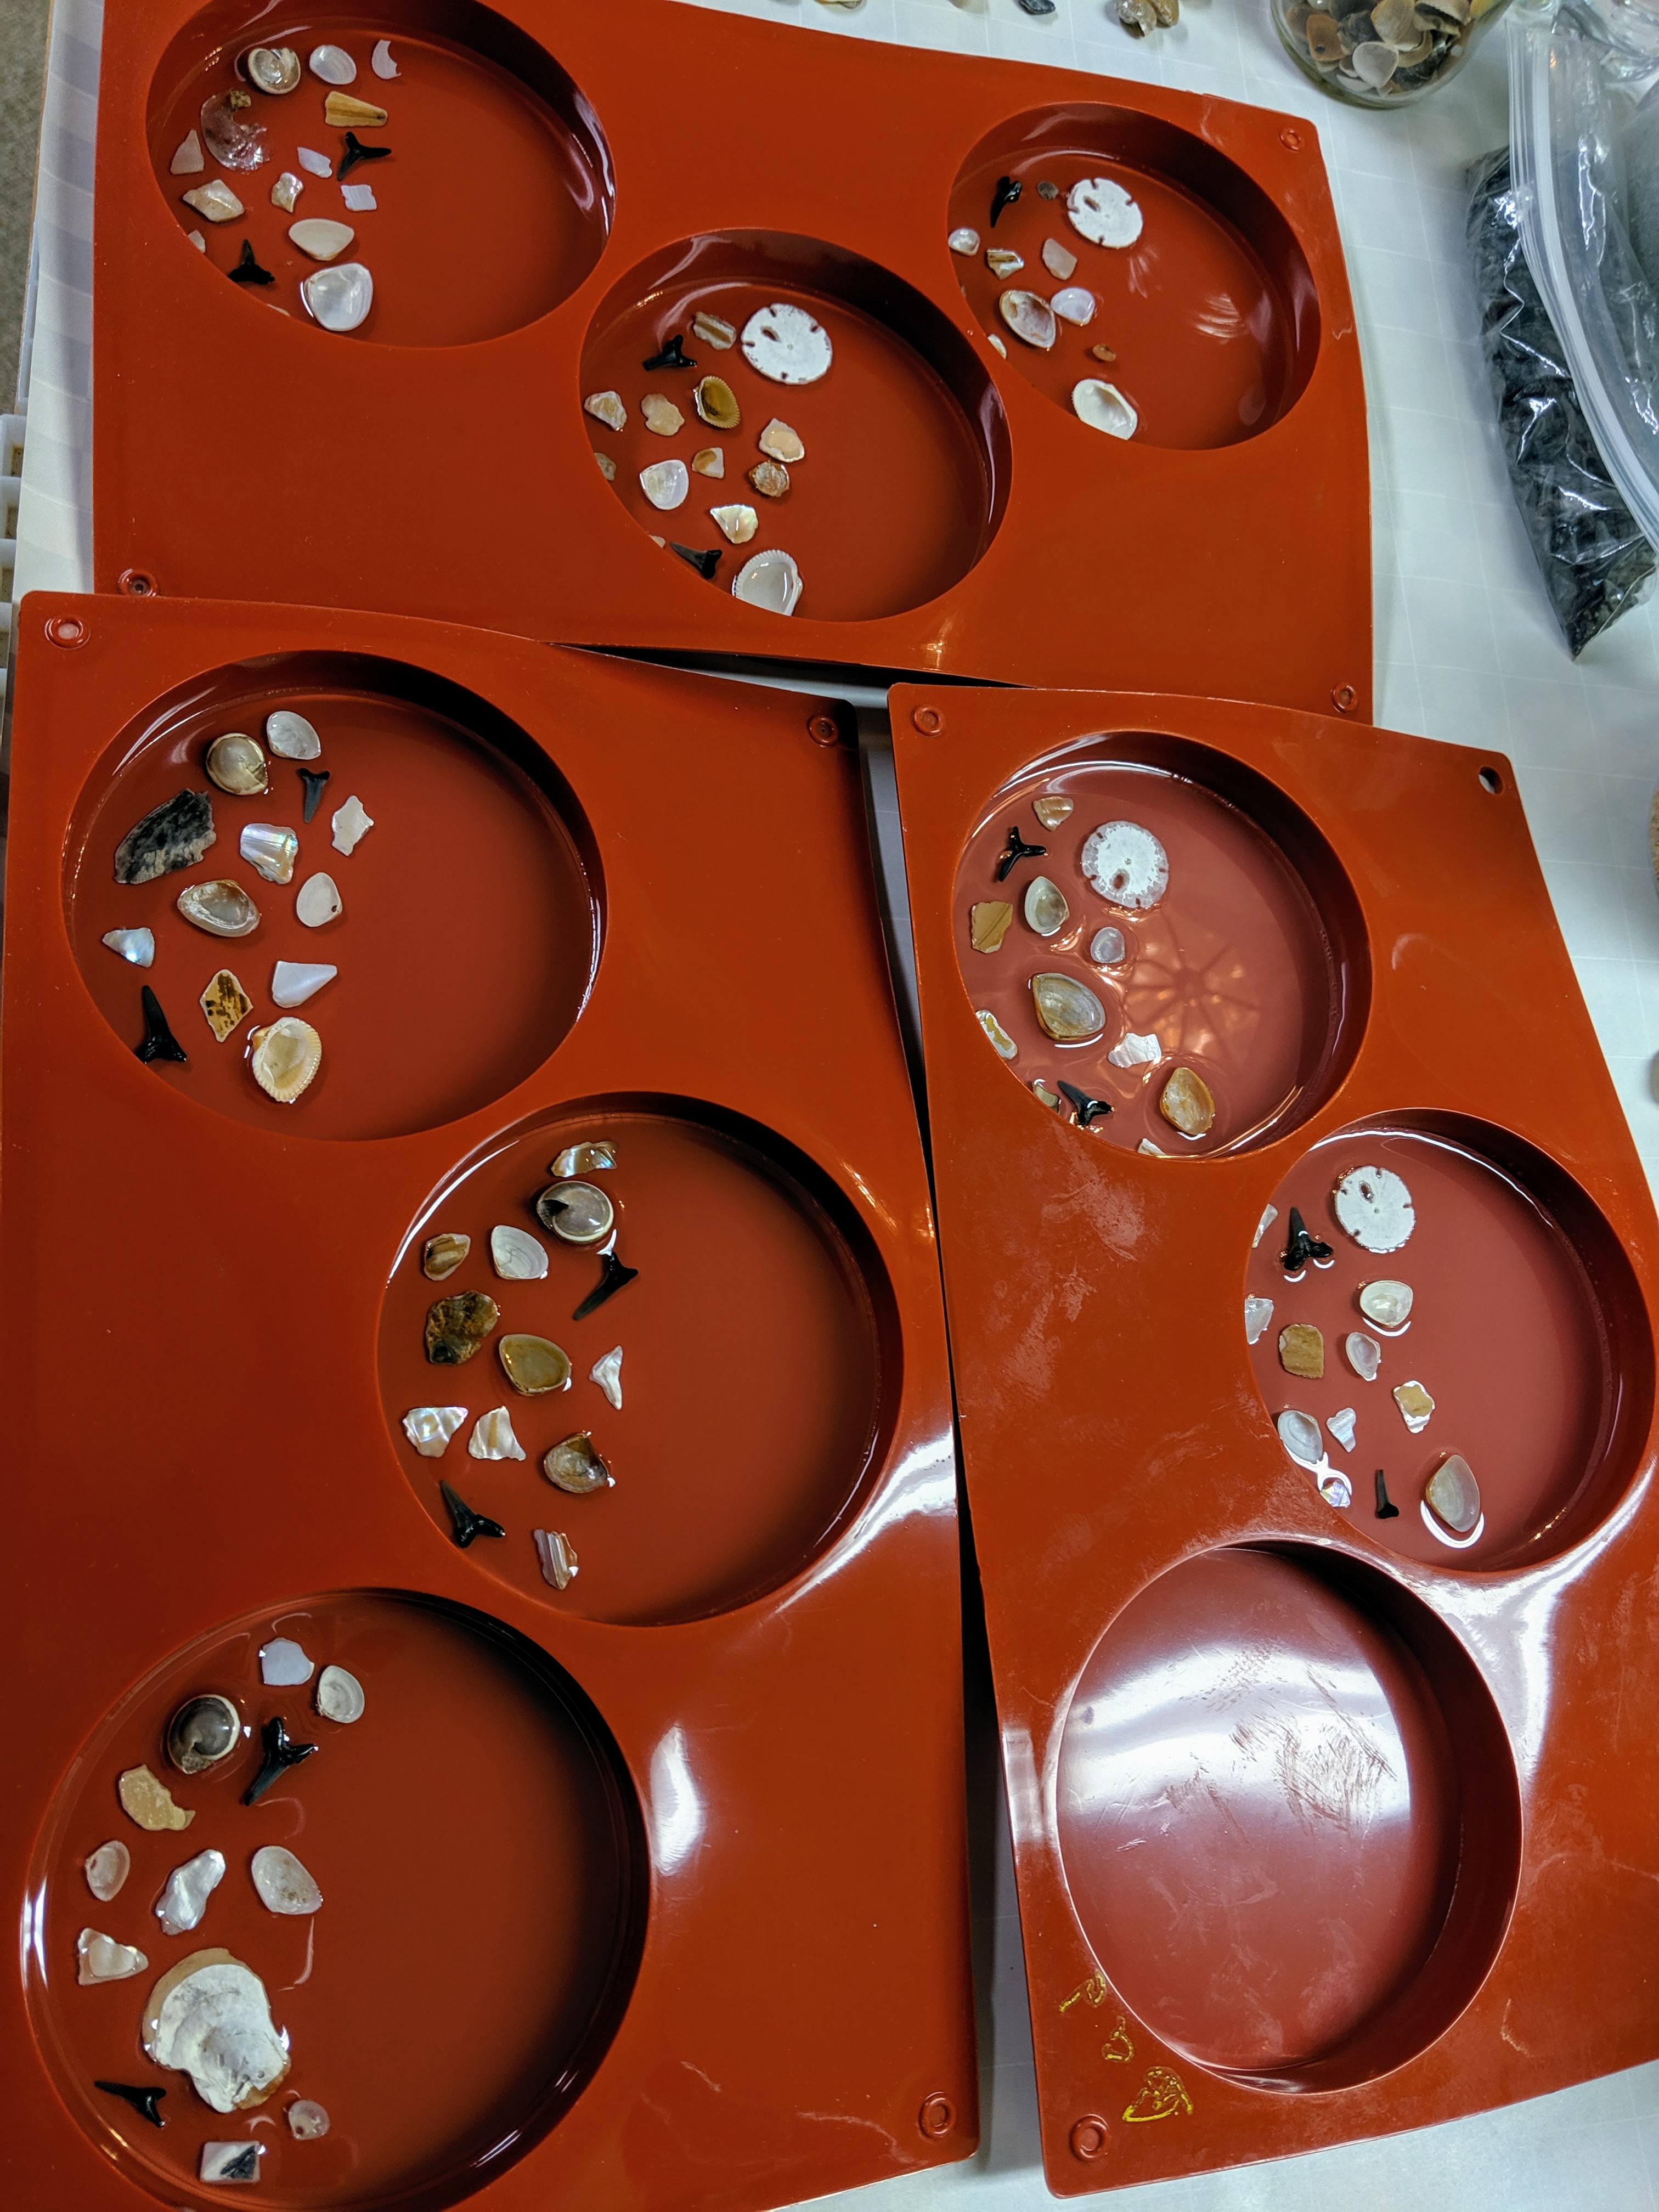
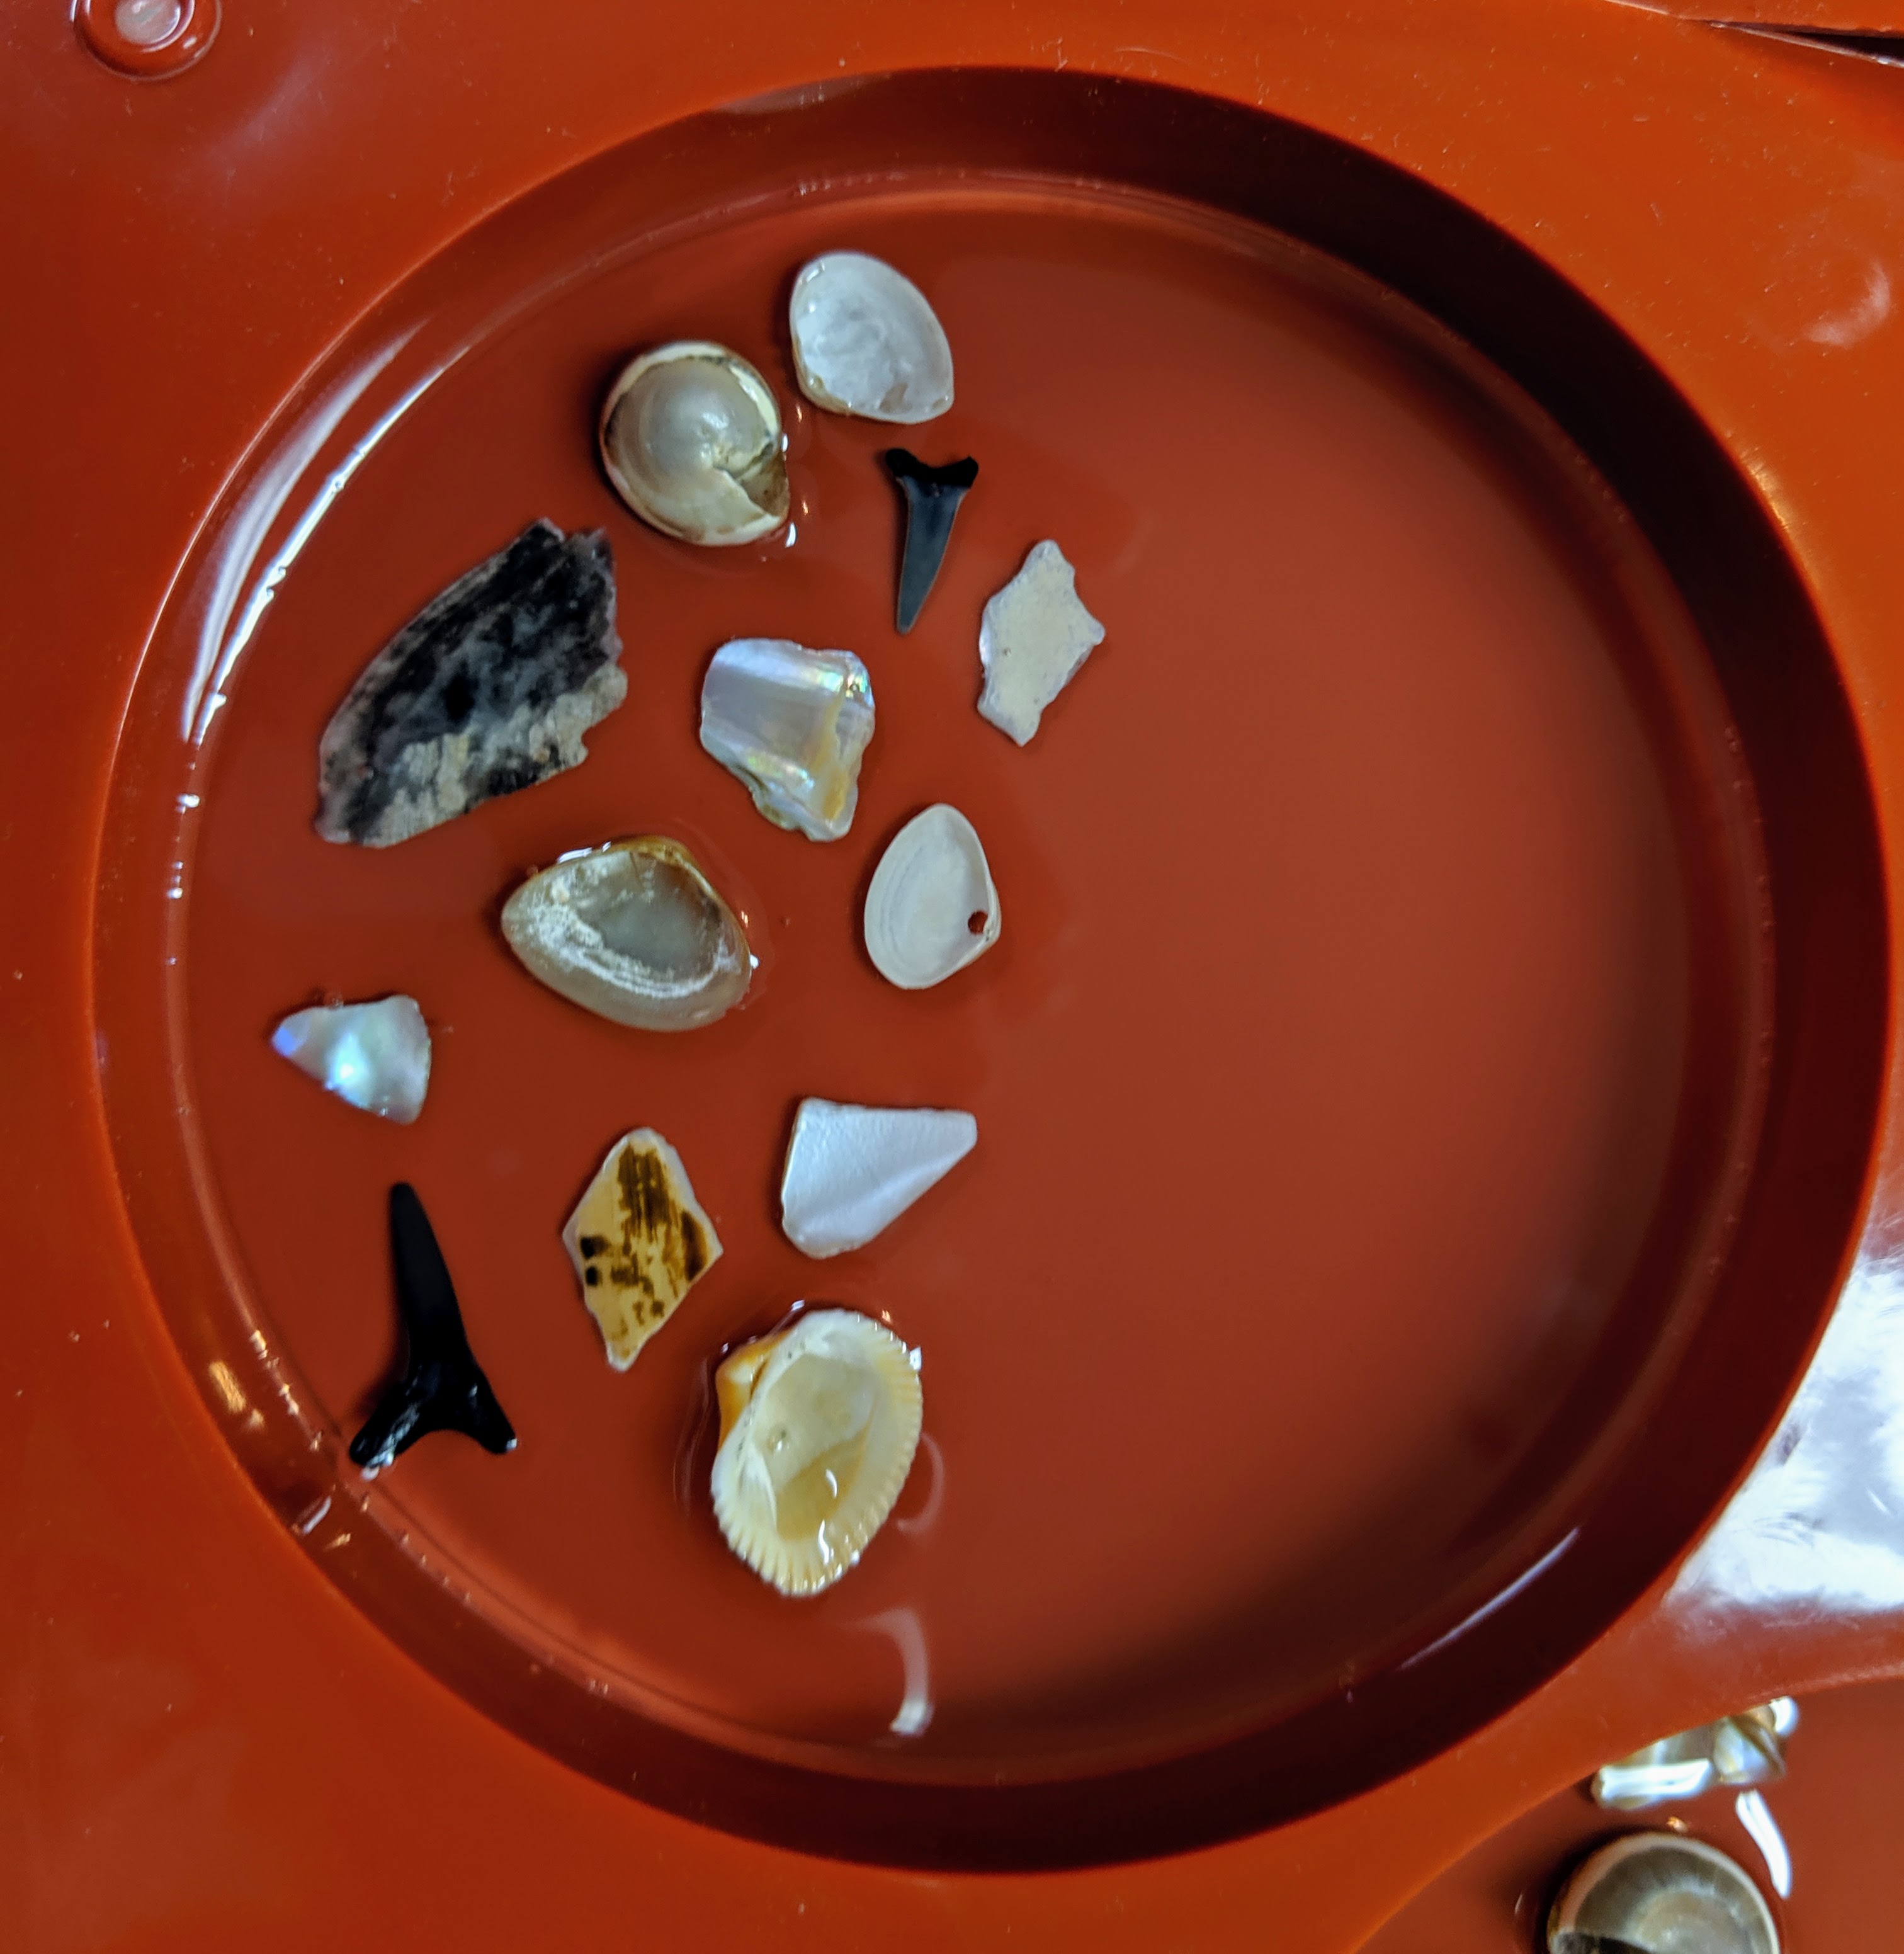
I took an informal “bubbles or no bubbles” poll amongst my friends to see whether they preferred the beach coasters with the bit of white pigment (for bubbles) between the water and the beach. Bubbles won, so it motivated me to continue working on my technique for pouring these. I like the bubbles, too, but it can be a challenge to get the bubbles in the right spot. Yesterday I poured the first layer of a batch of coasters and put the shells in place in preparation for some practice.
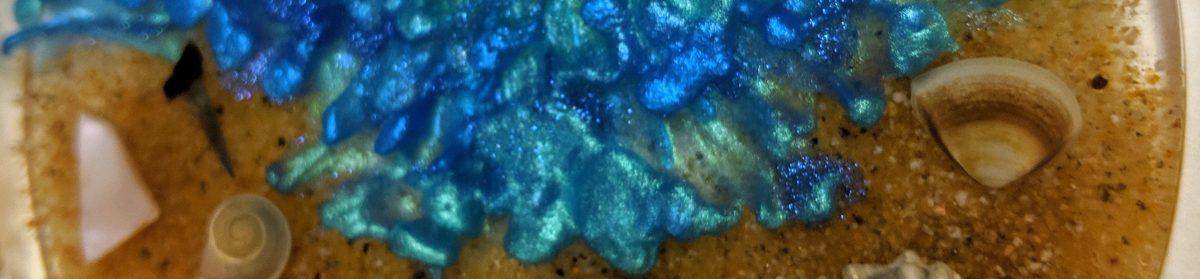
Today I poured a second layer of resin and added the sand for the beach and attempted to add the white pigment for the bubbles. I use a small craft stick to drizzle a line of white pigment along the edge of the beach, then sort of stir the line of pigment with the stick to give it a more bubbly appearance.
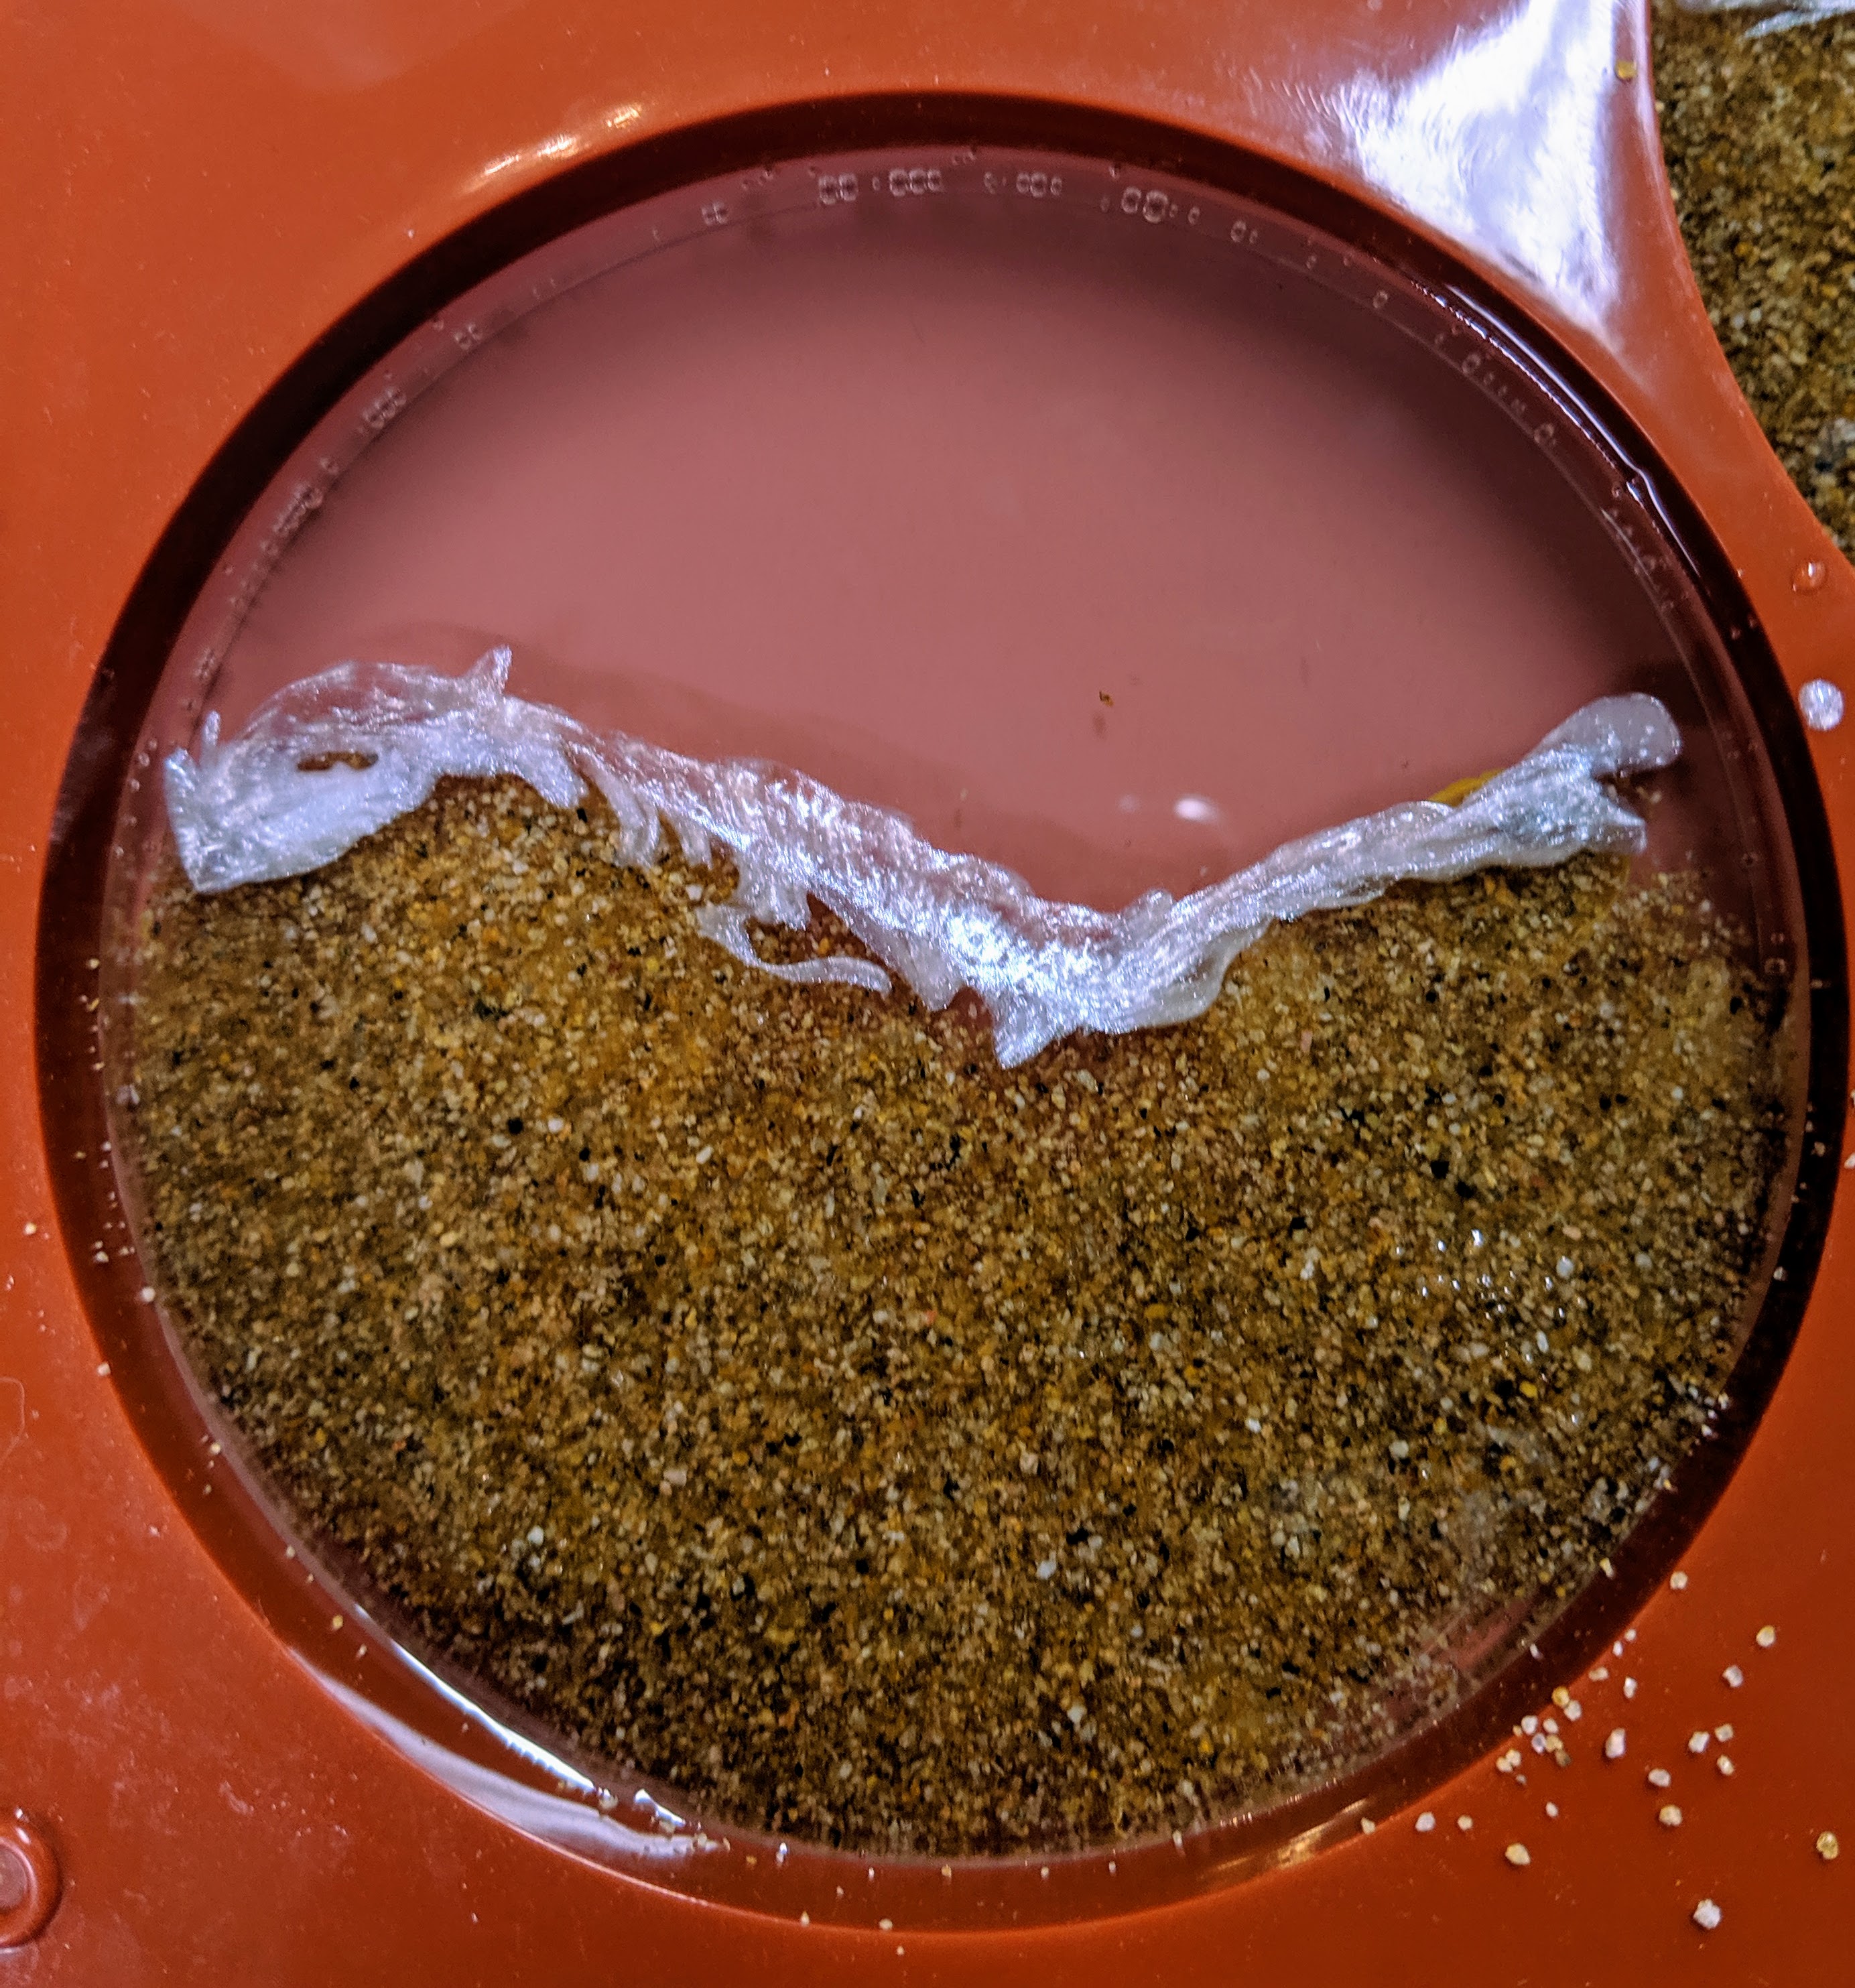
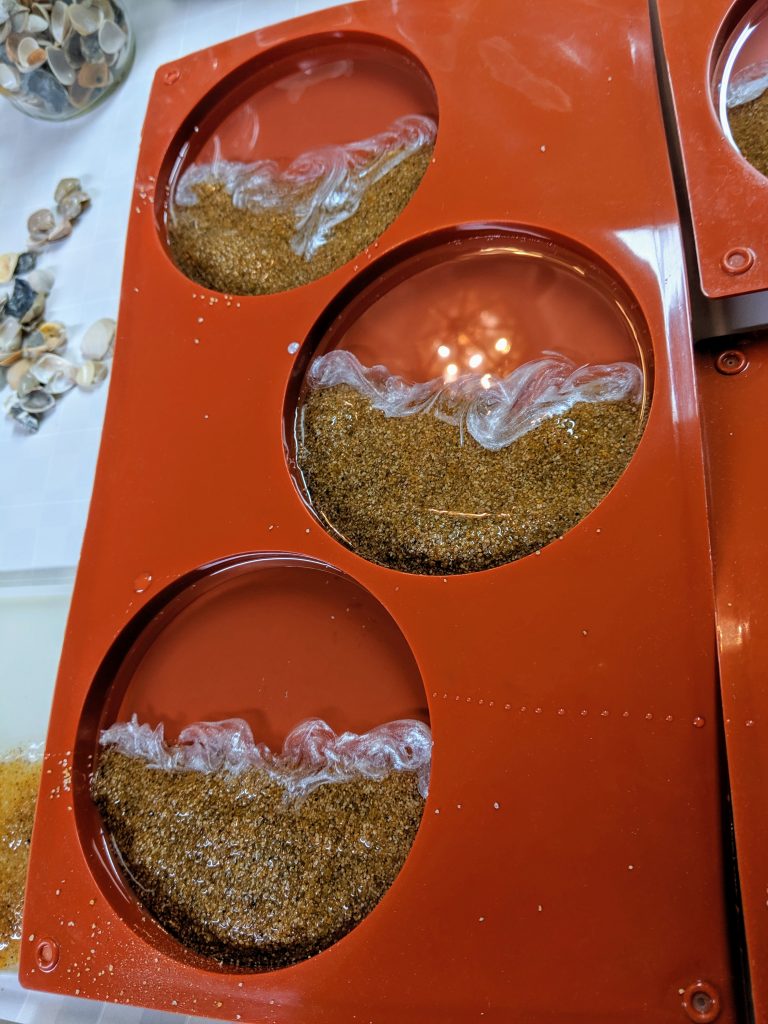
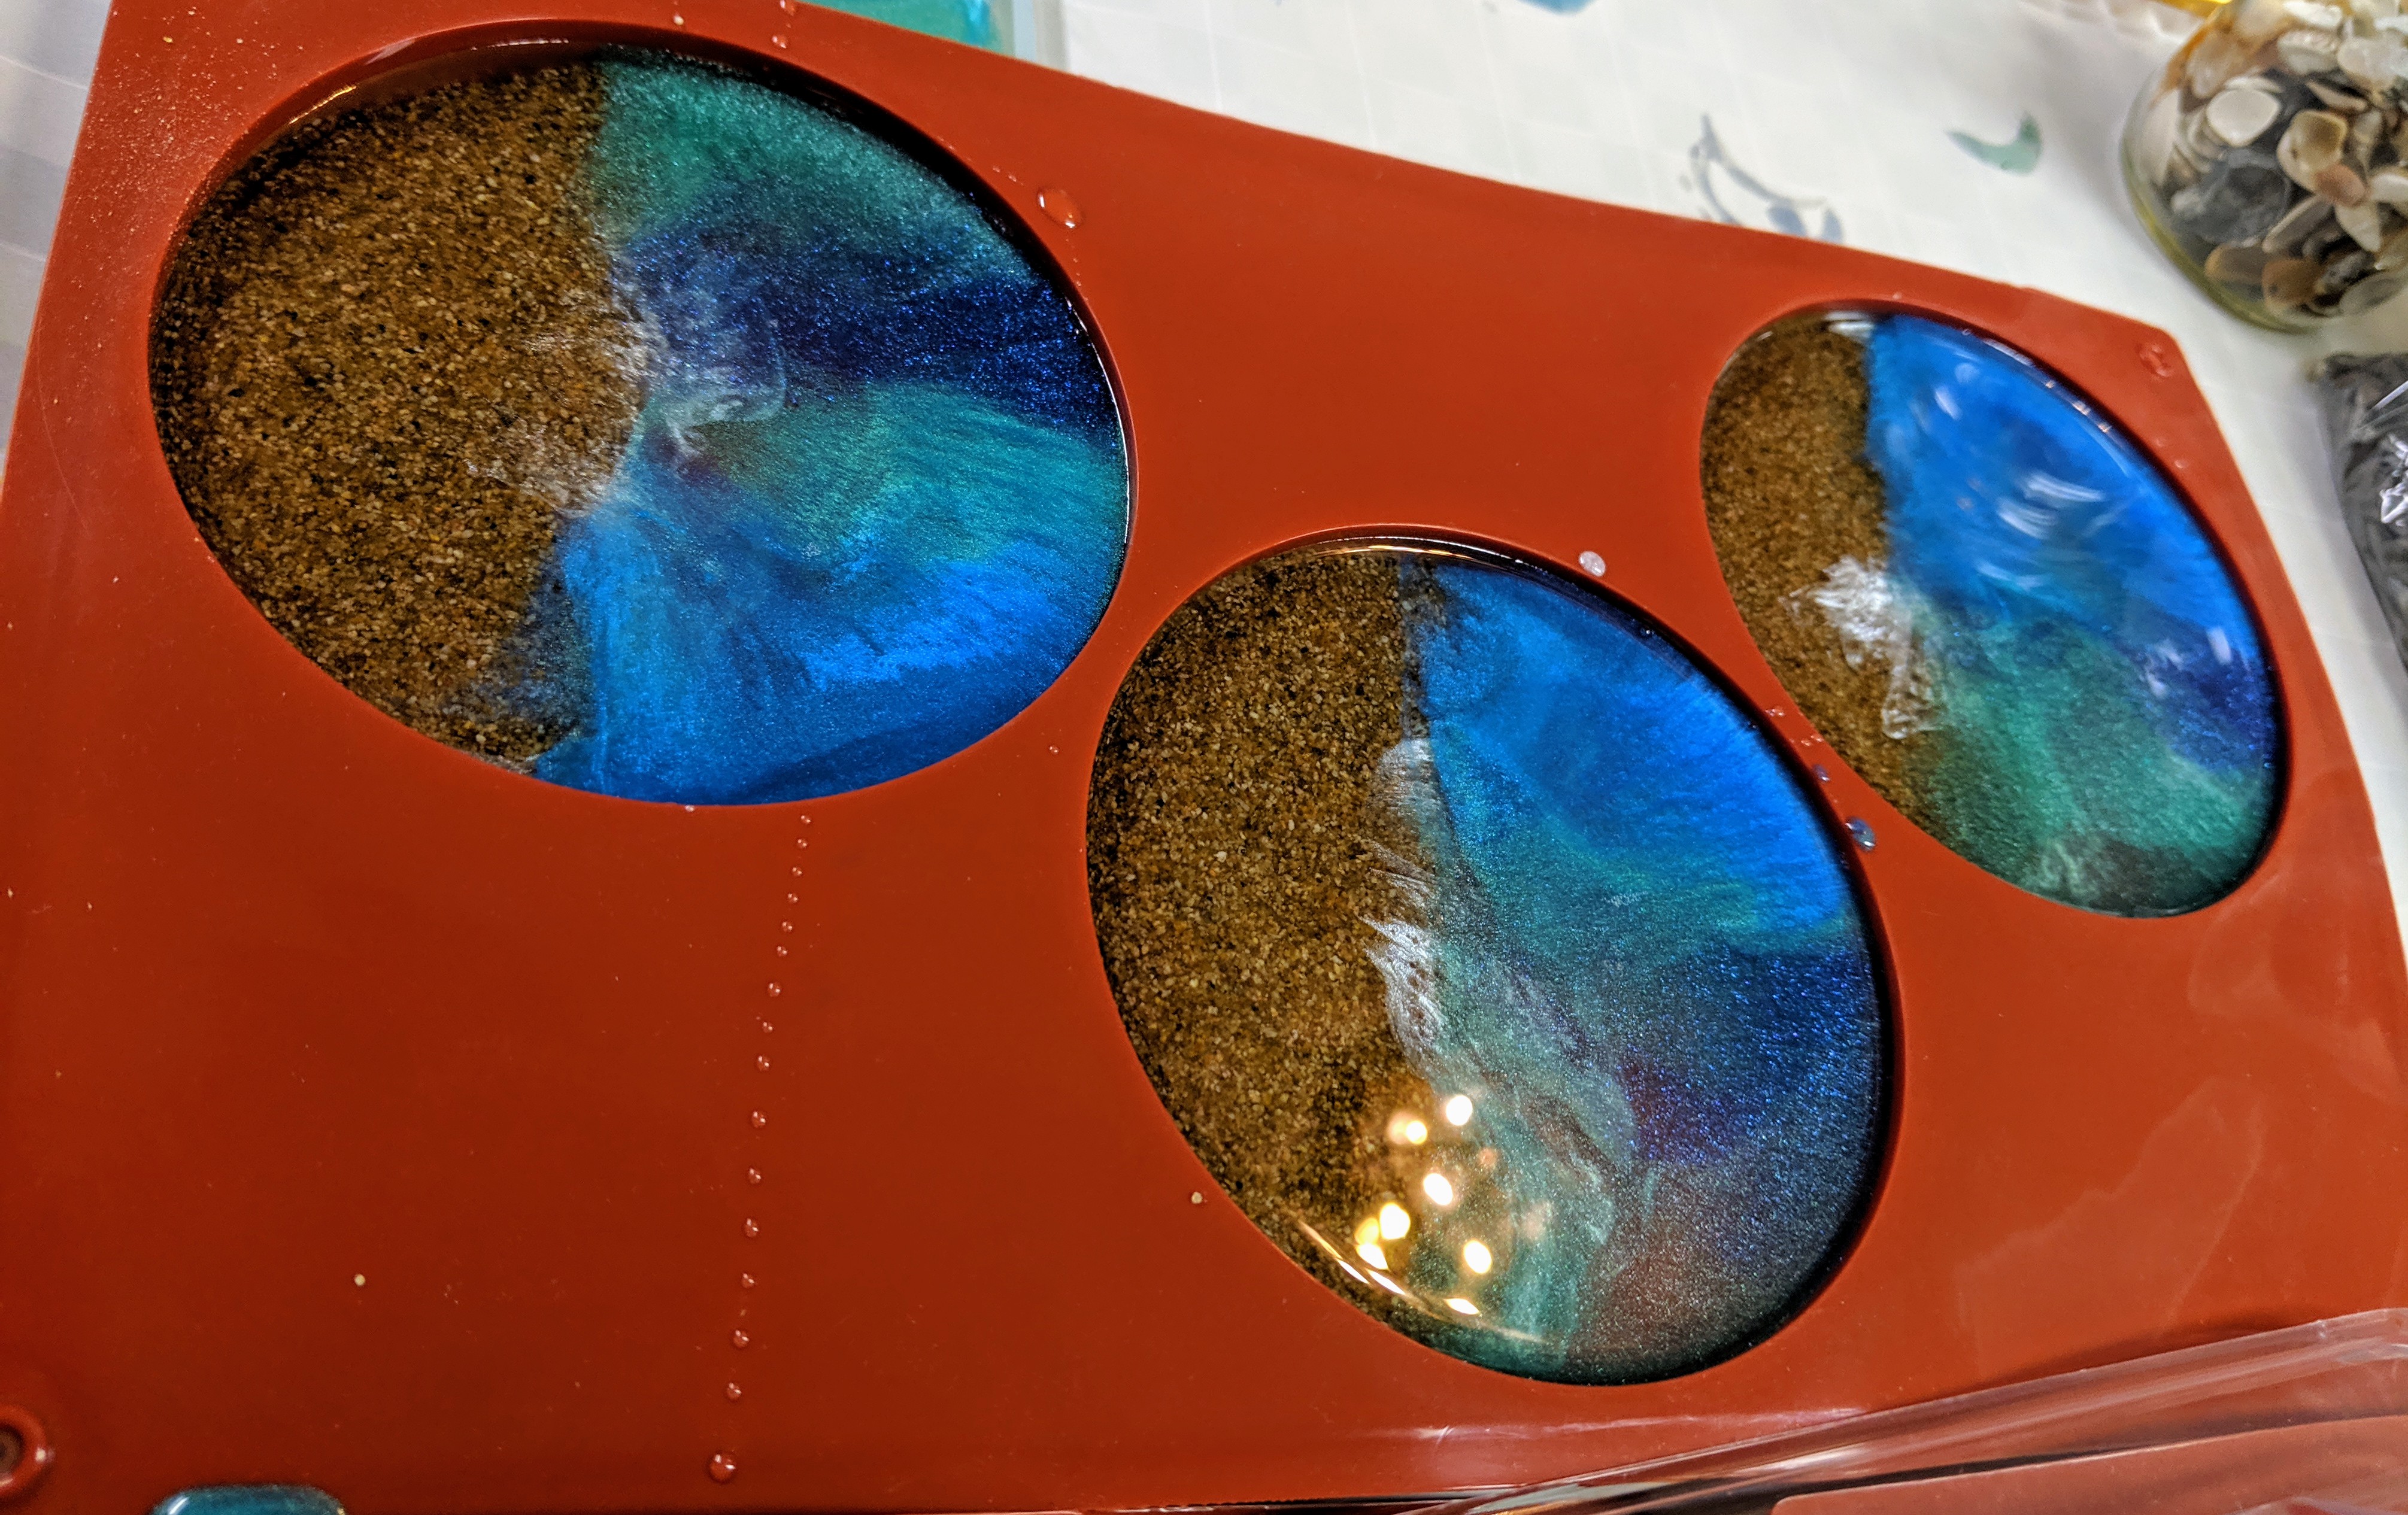
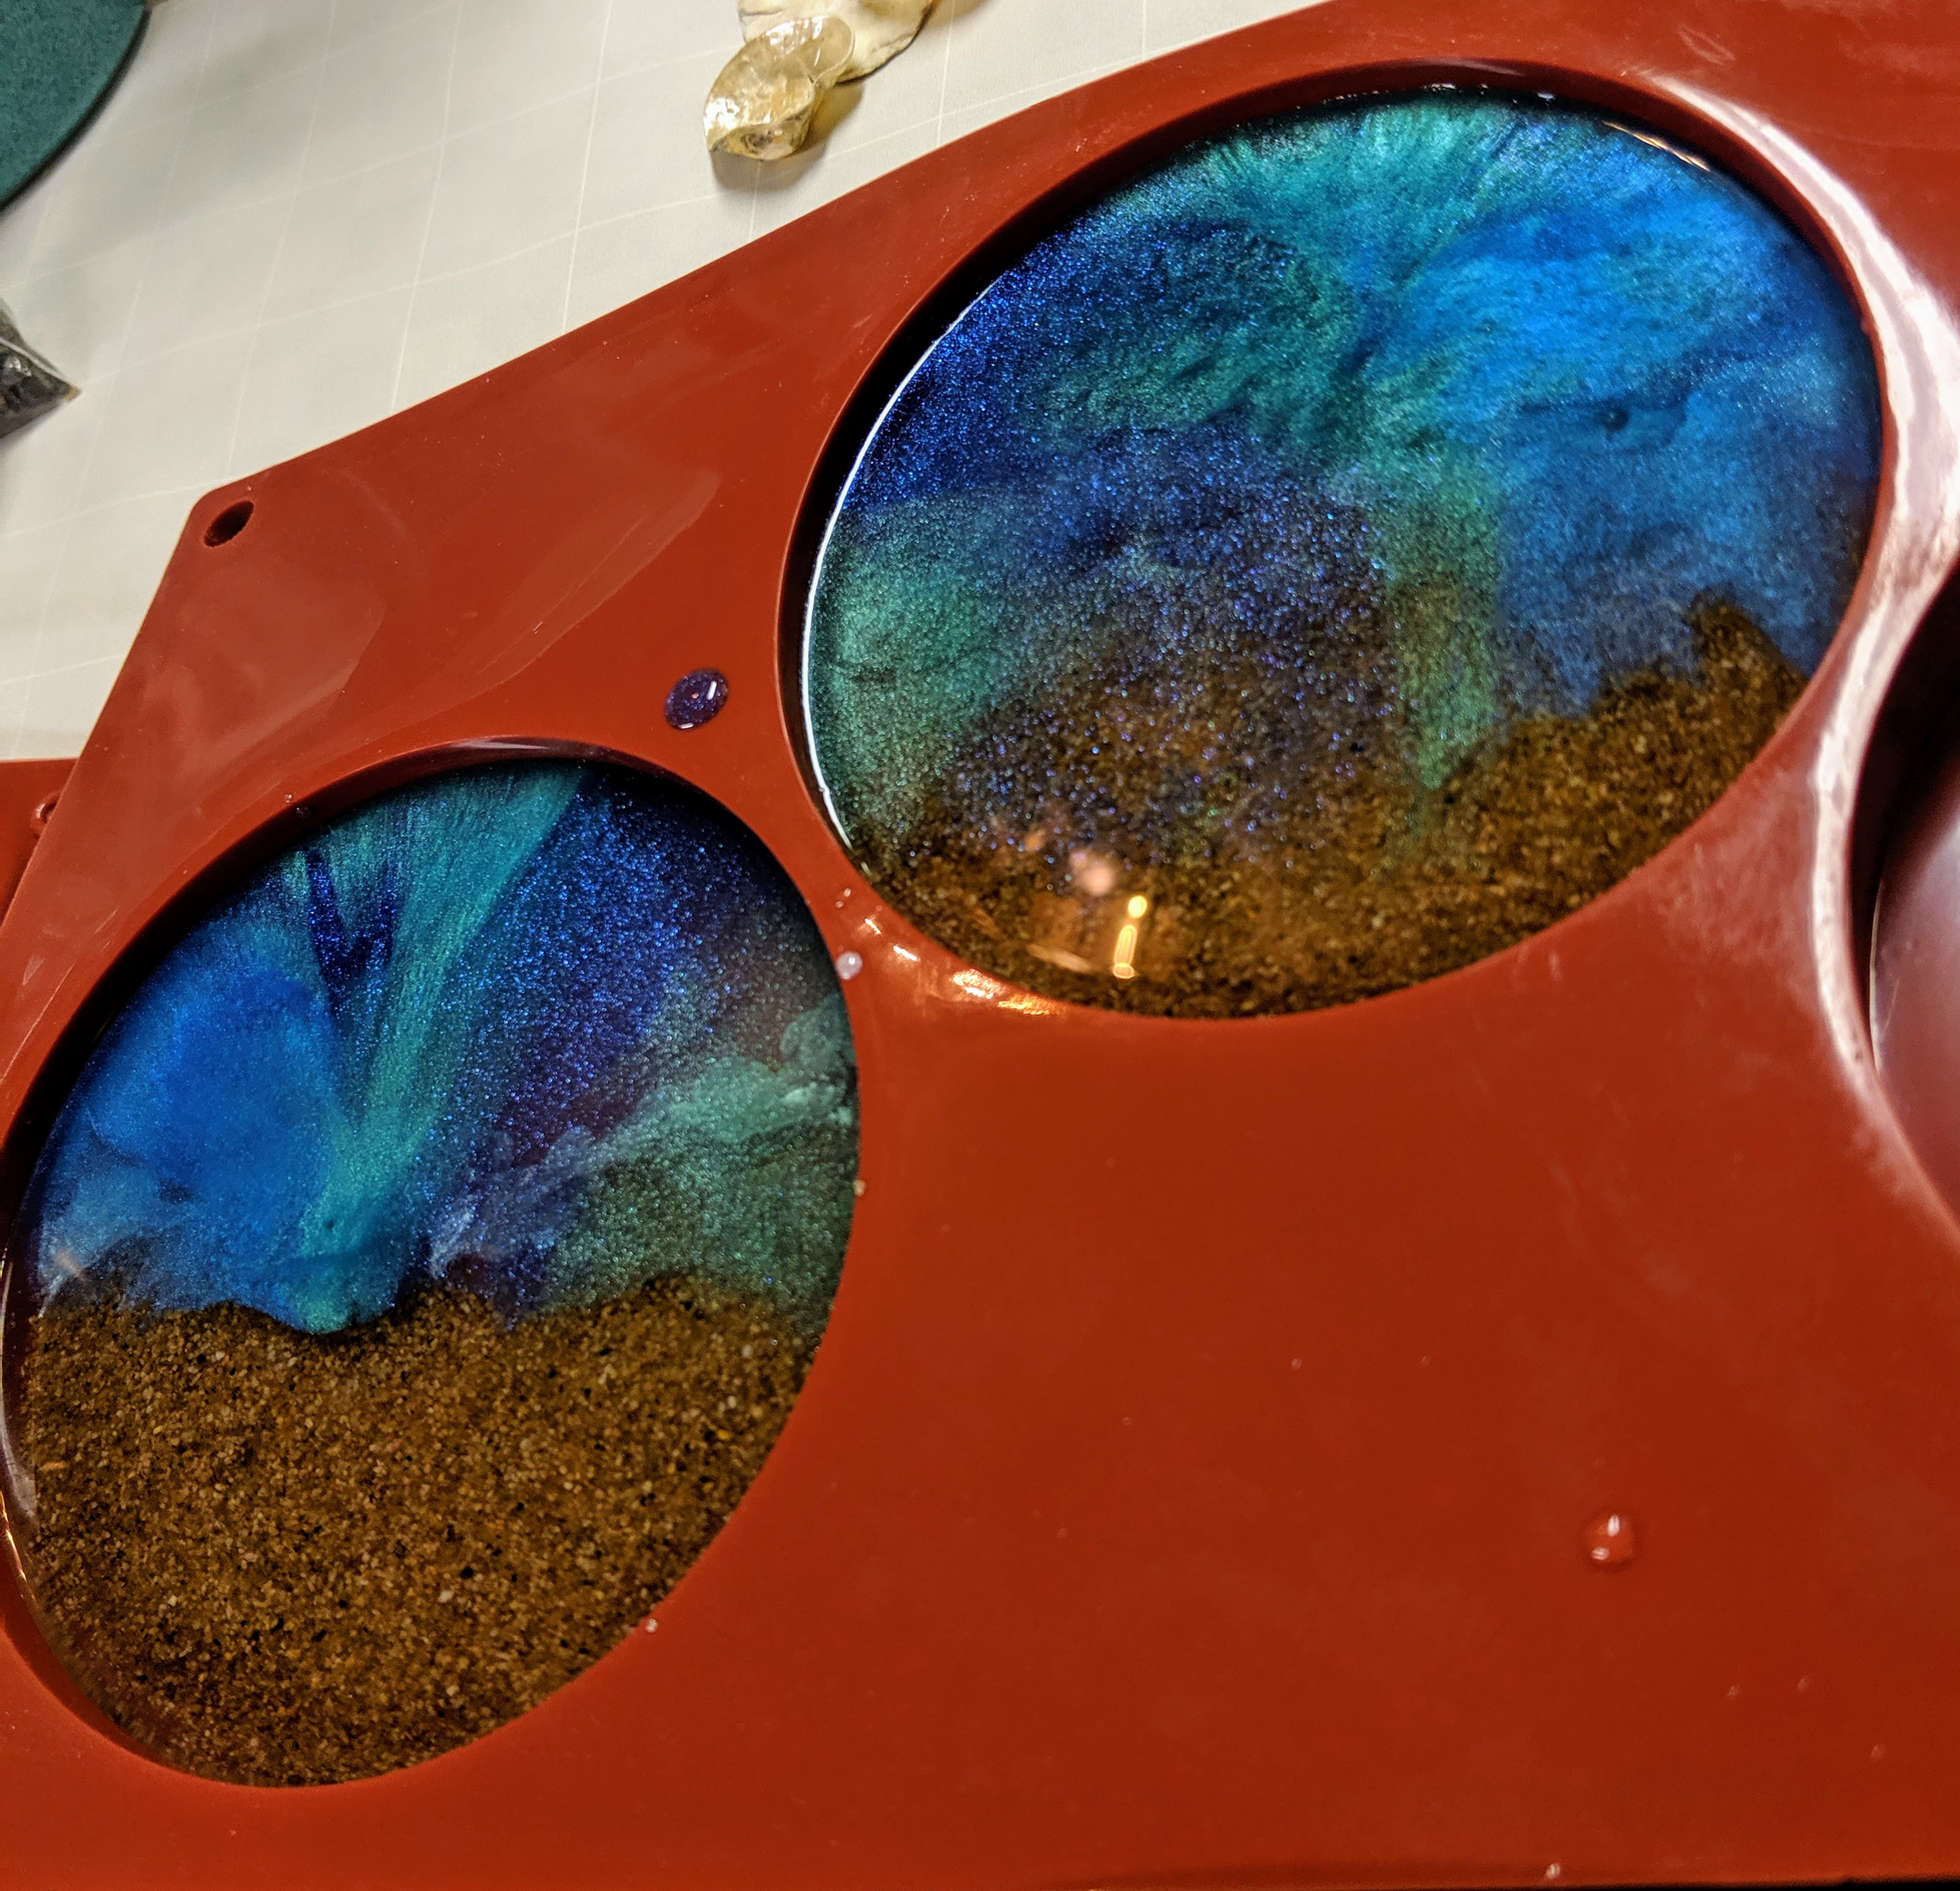
After that, the natural movement of the resin really spread out the white pigment. I’m a little worried that it’s too spread out, but I won’t know until after I let it cure overnight again. After waiting a few hours for this layer to gel, I was ready to add the water layer. I used the below pigments in these.
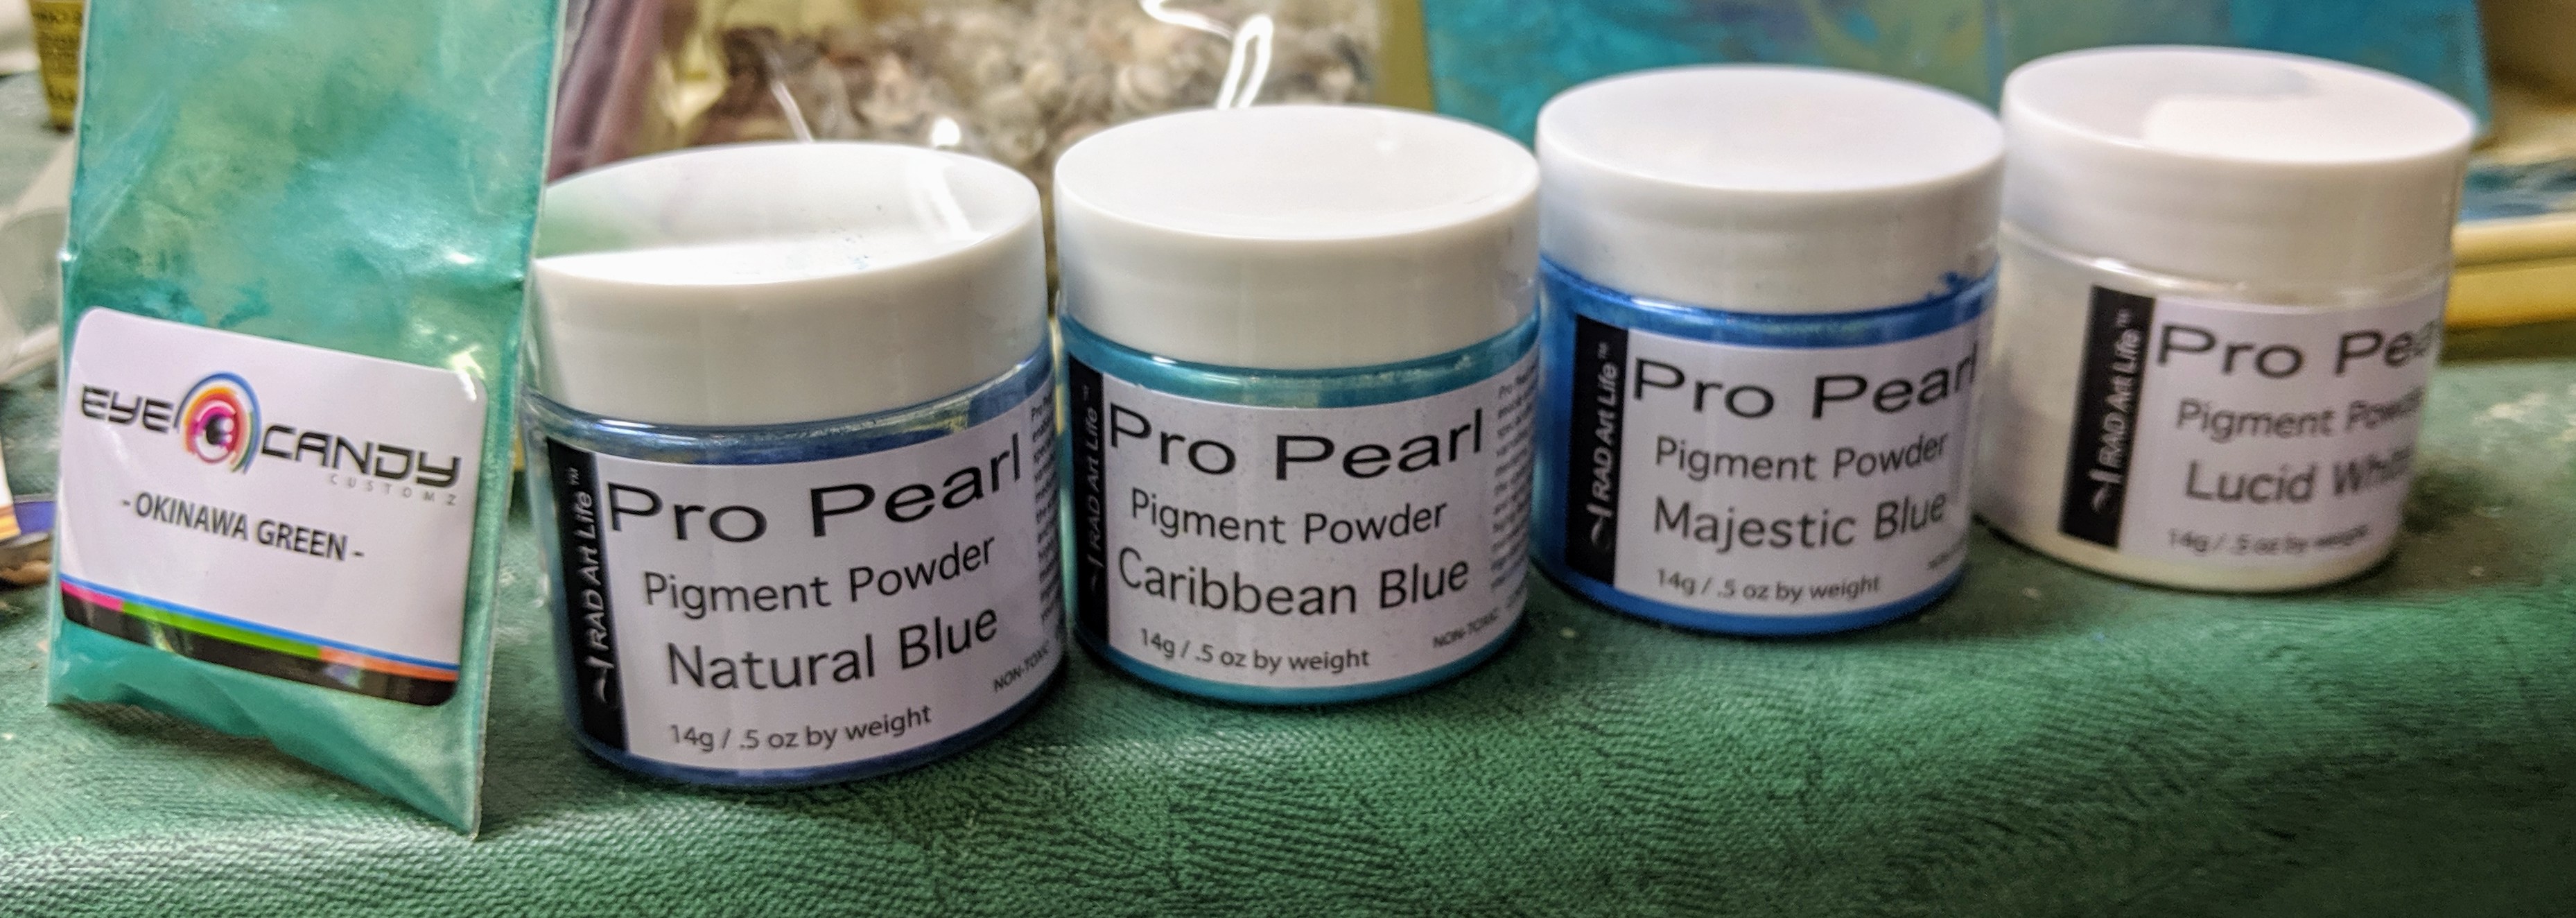
I then mixed the pigments with resin in individual medicine cups and drizzled a bit of each green and blue into the molds. After that, I added some additional clear resin to help even things out and distribute the pigments. Layering like this is causing my coasters to be a bit thicker than I usually make them. I will have to see if I can reduce the amount of resin I’m using so they aren’t so heavy in the future. Now I wait!