I had a request to “re-create” someone’s necklace using resin, so I bought some new molds and am trying out some different color combinations. Unfortunately I think these molds won’t work for the originally intended project, but I think they will make some cute windchime / suncatchers.
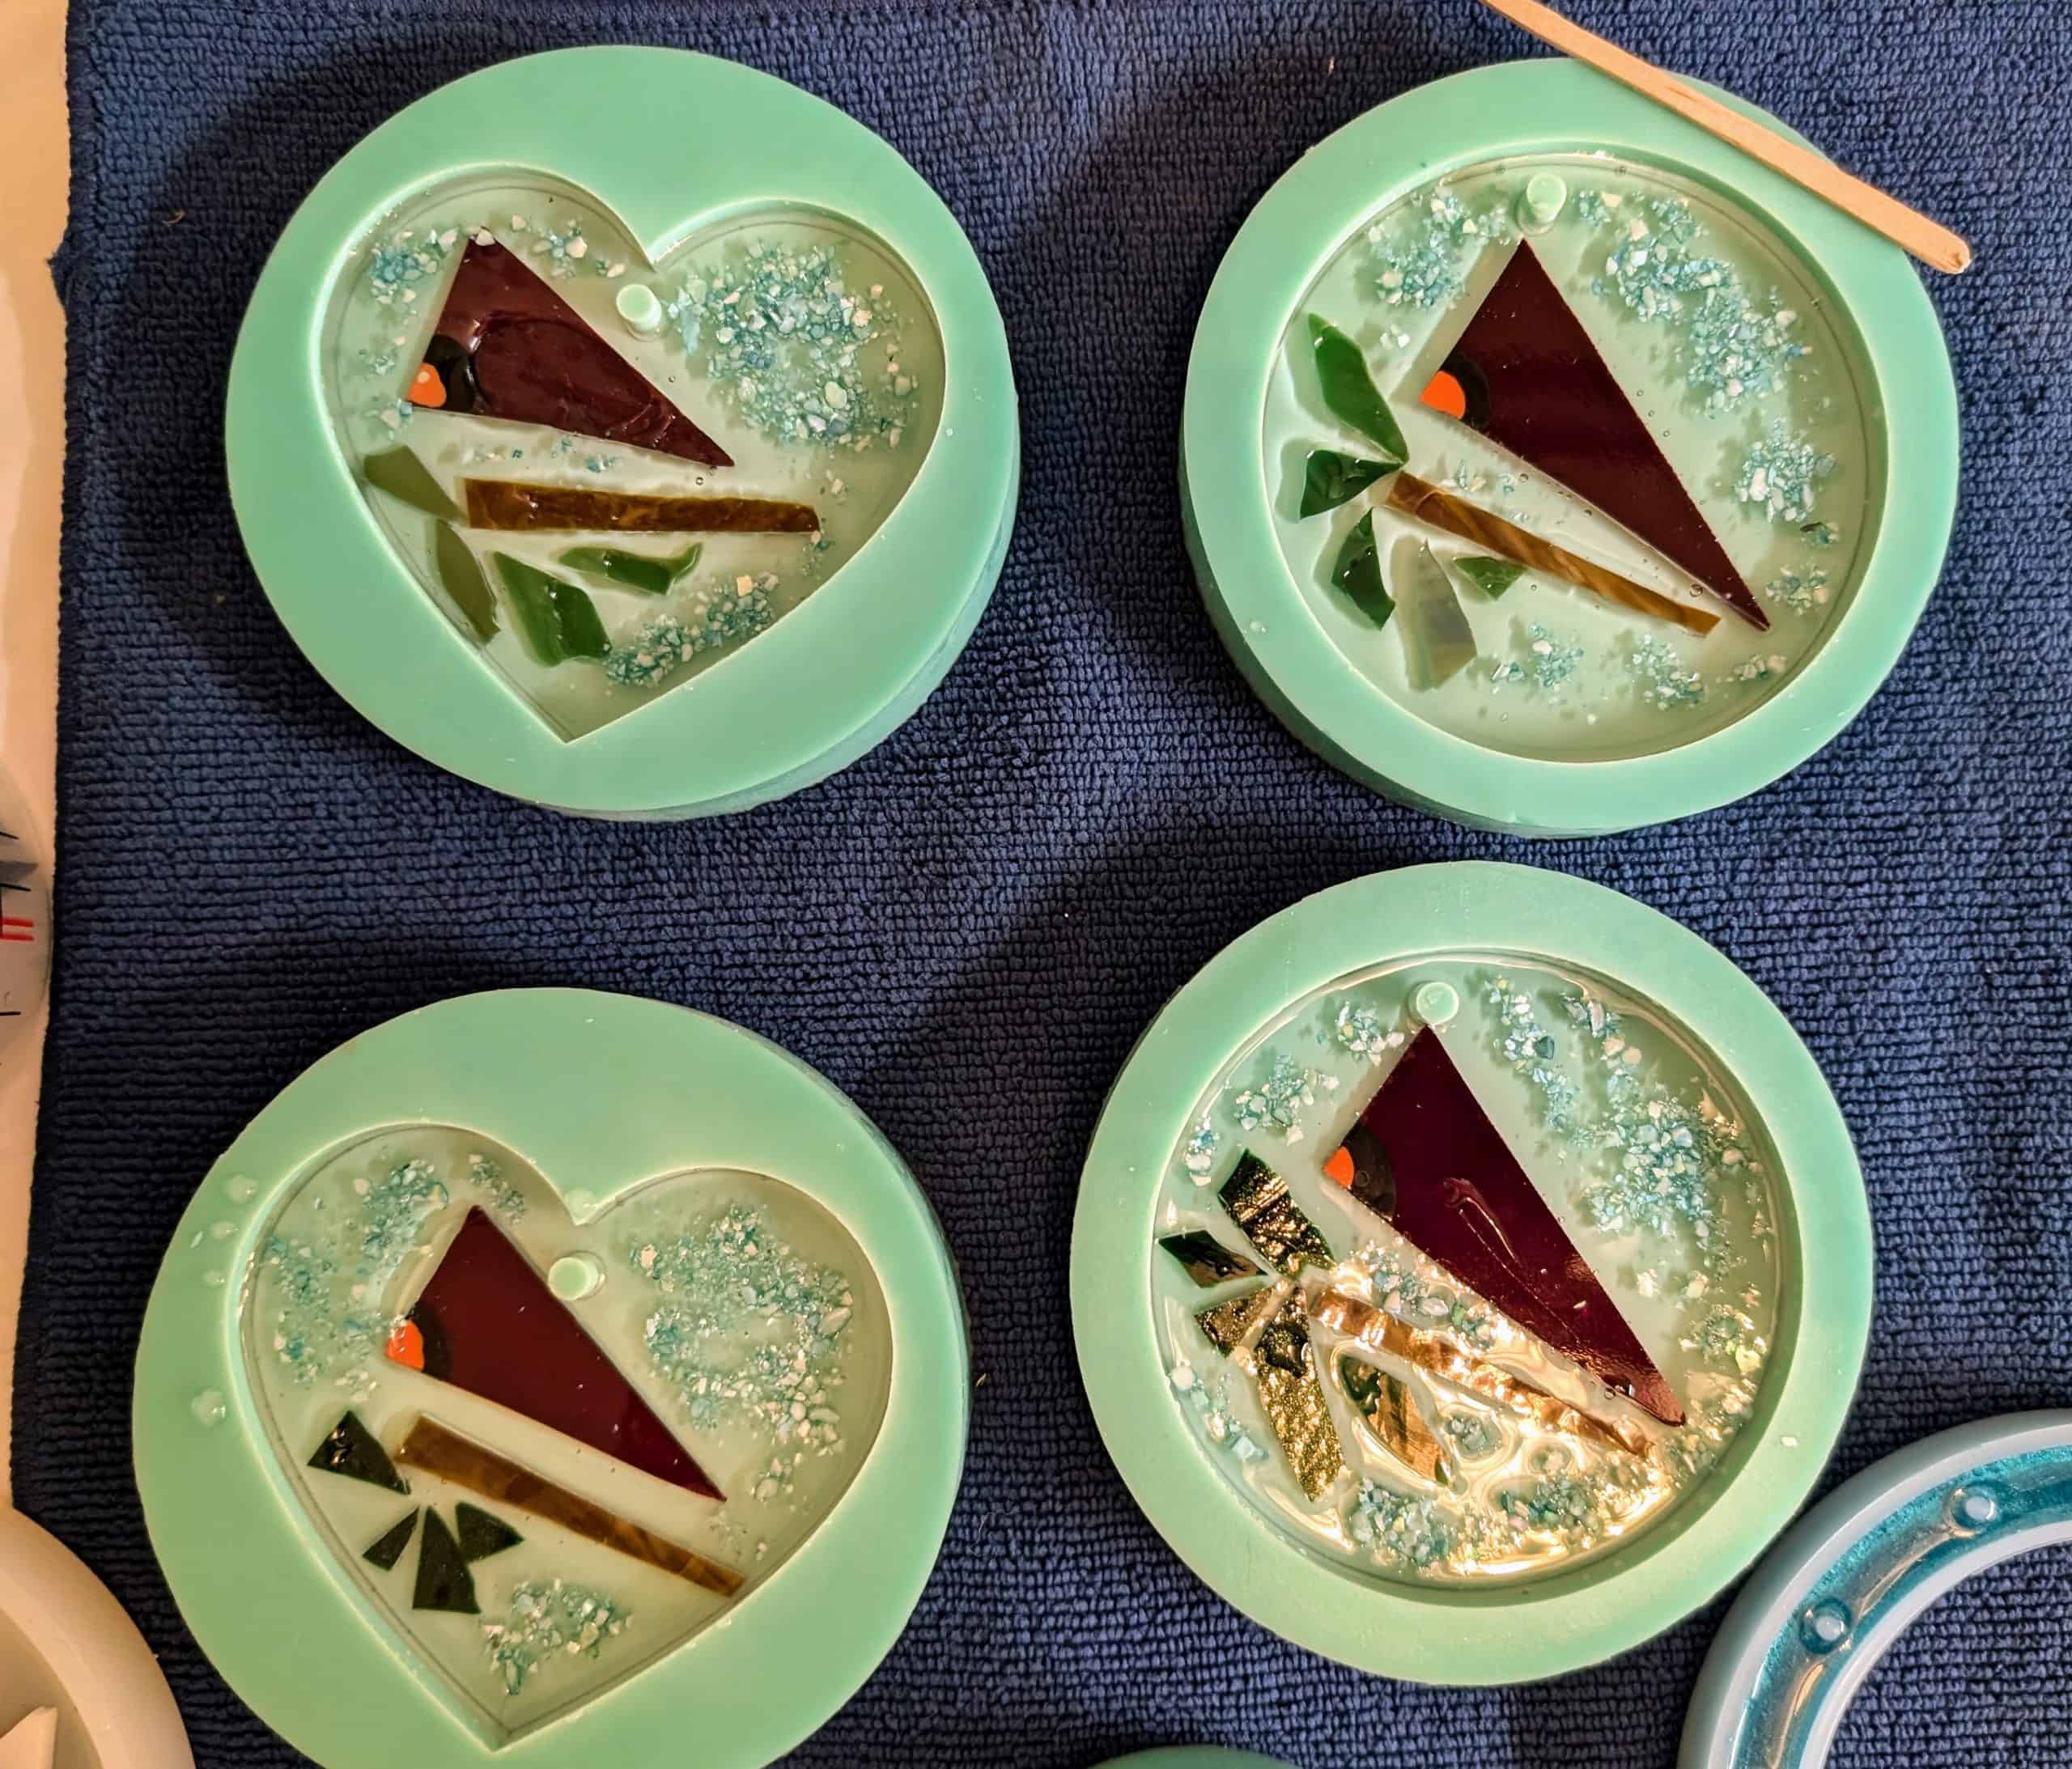
I also made a few new cardinal suncatchers & coasters while I was at it.
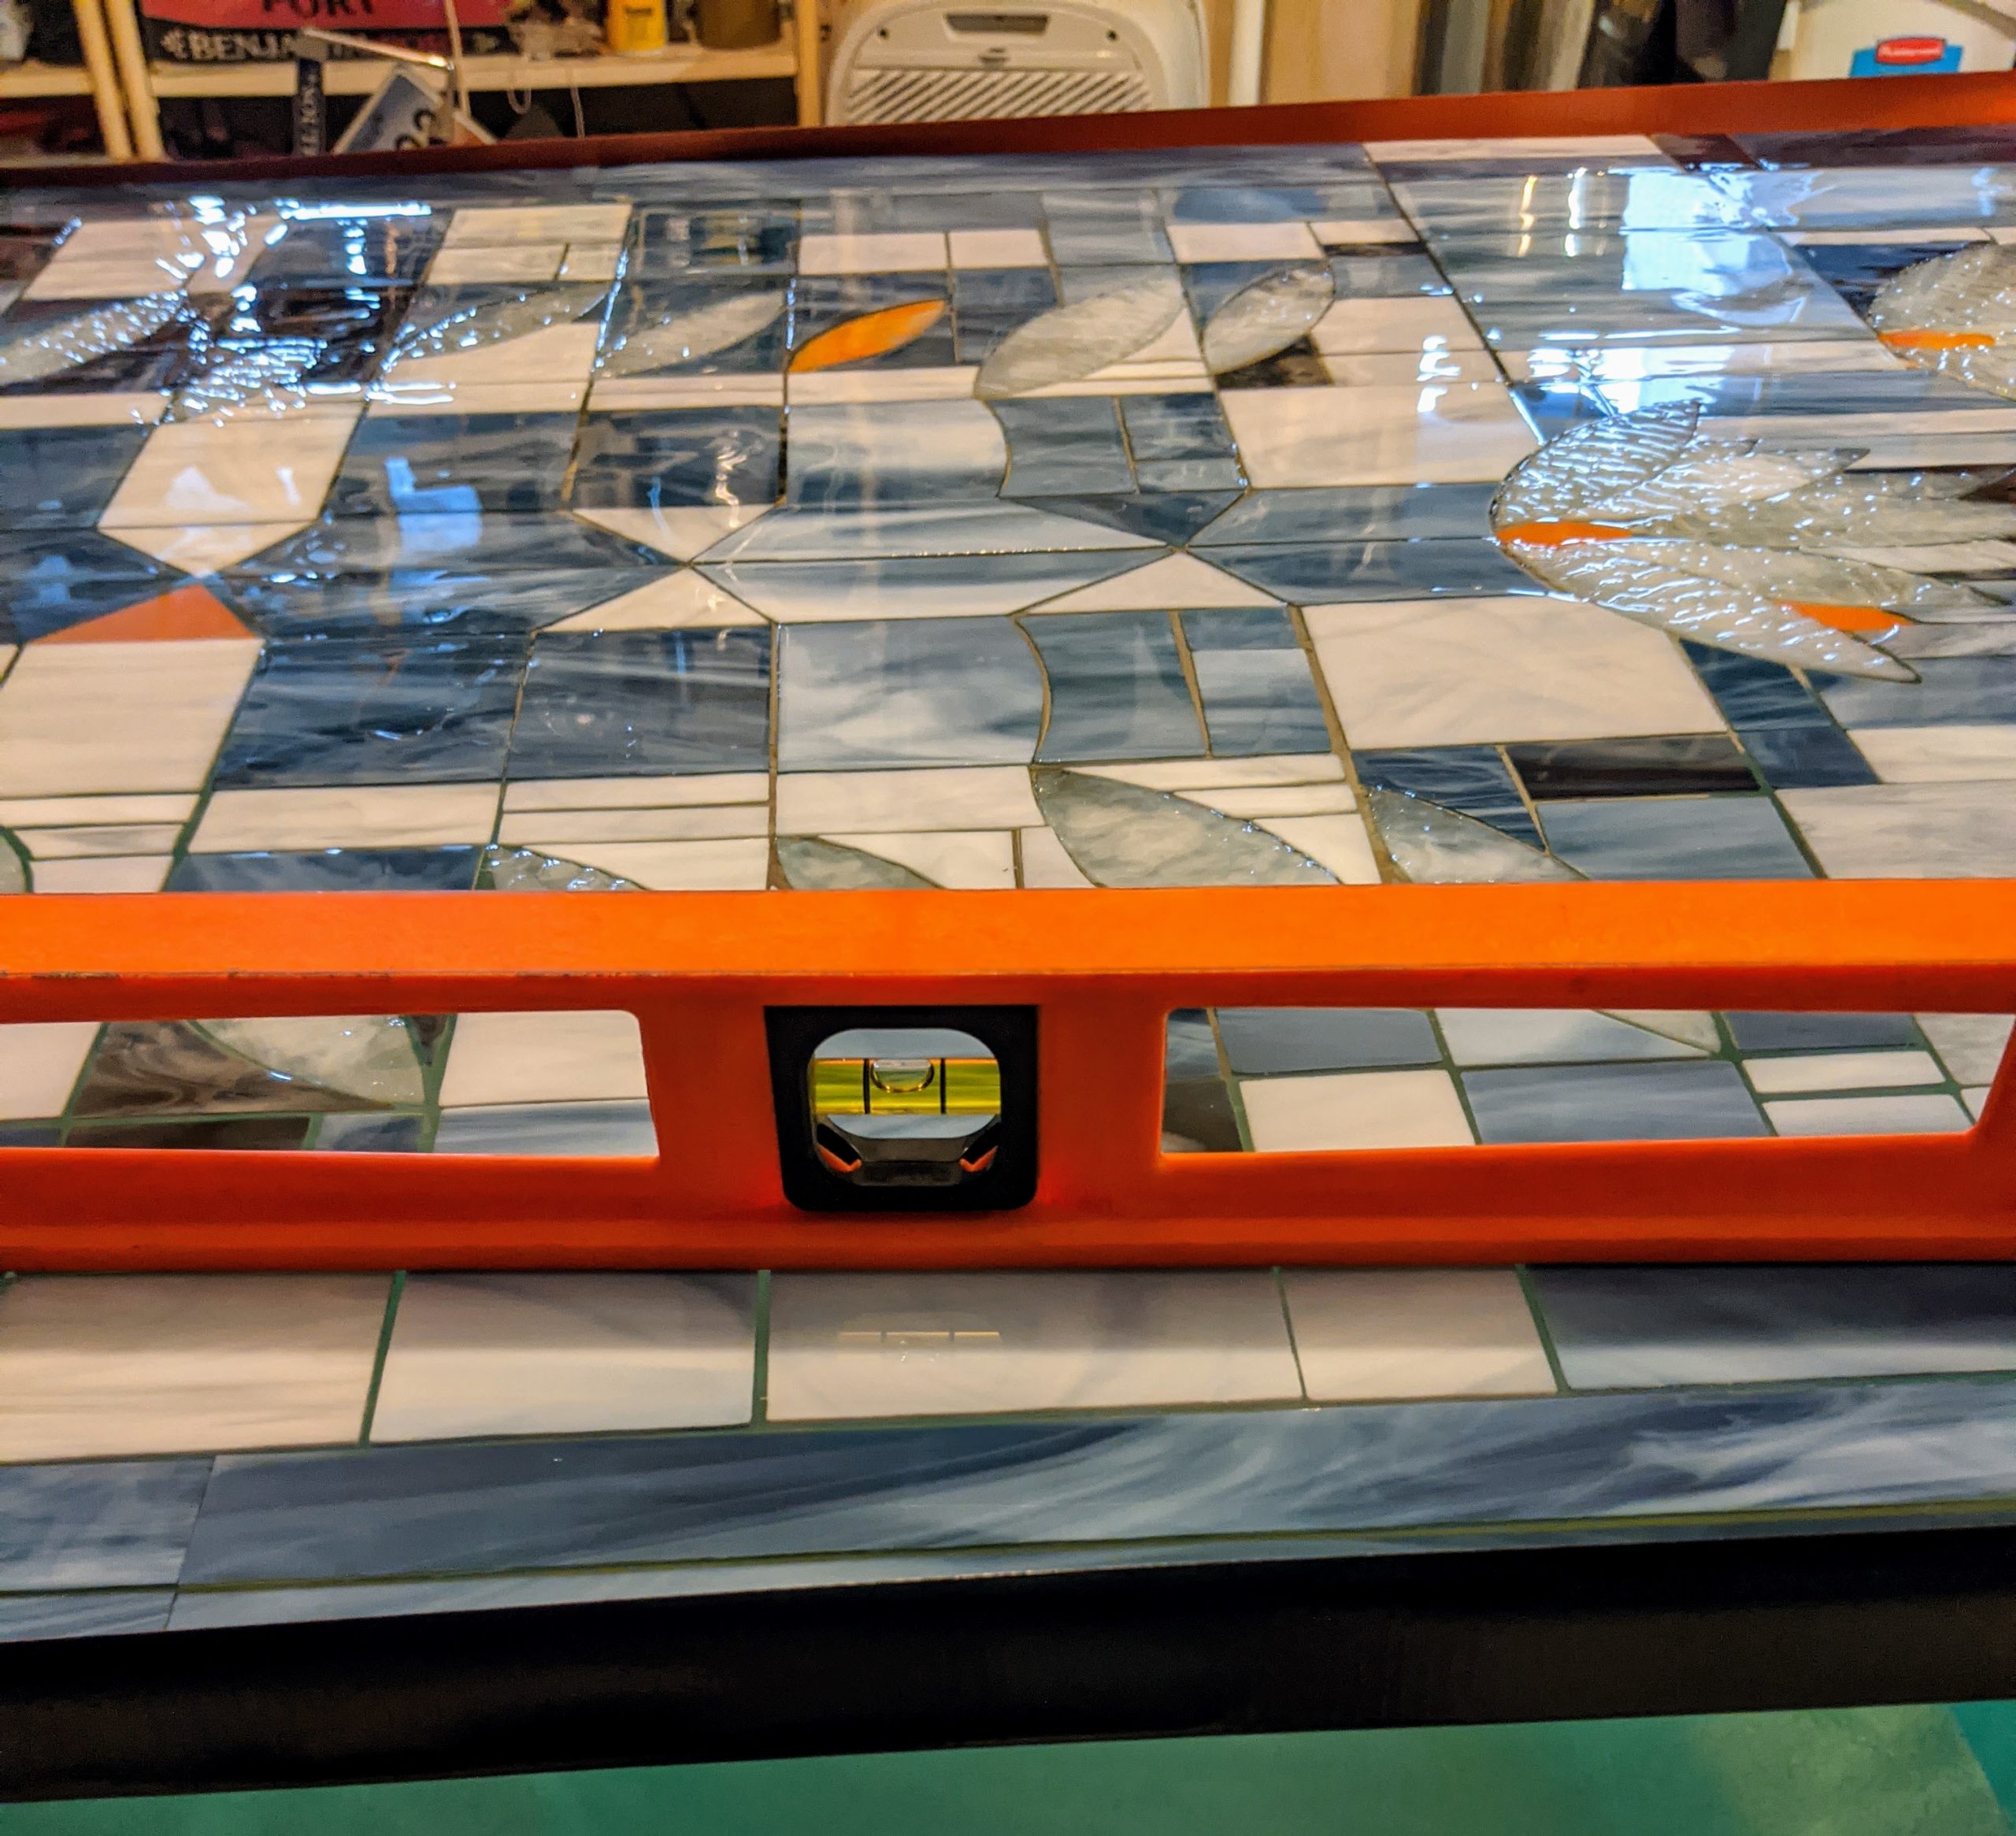
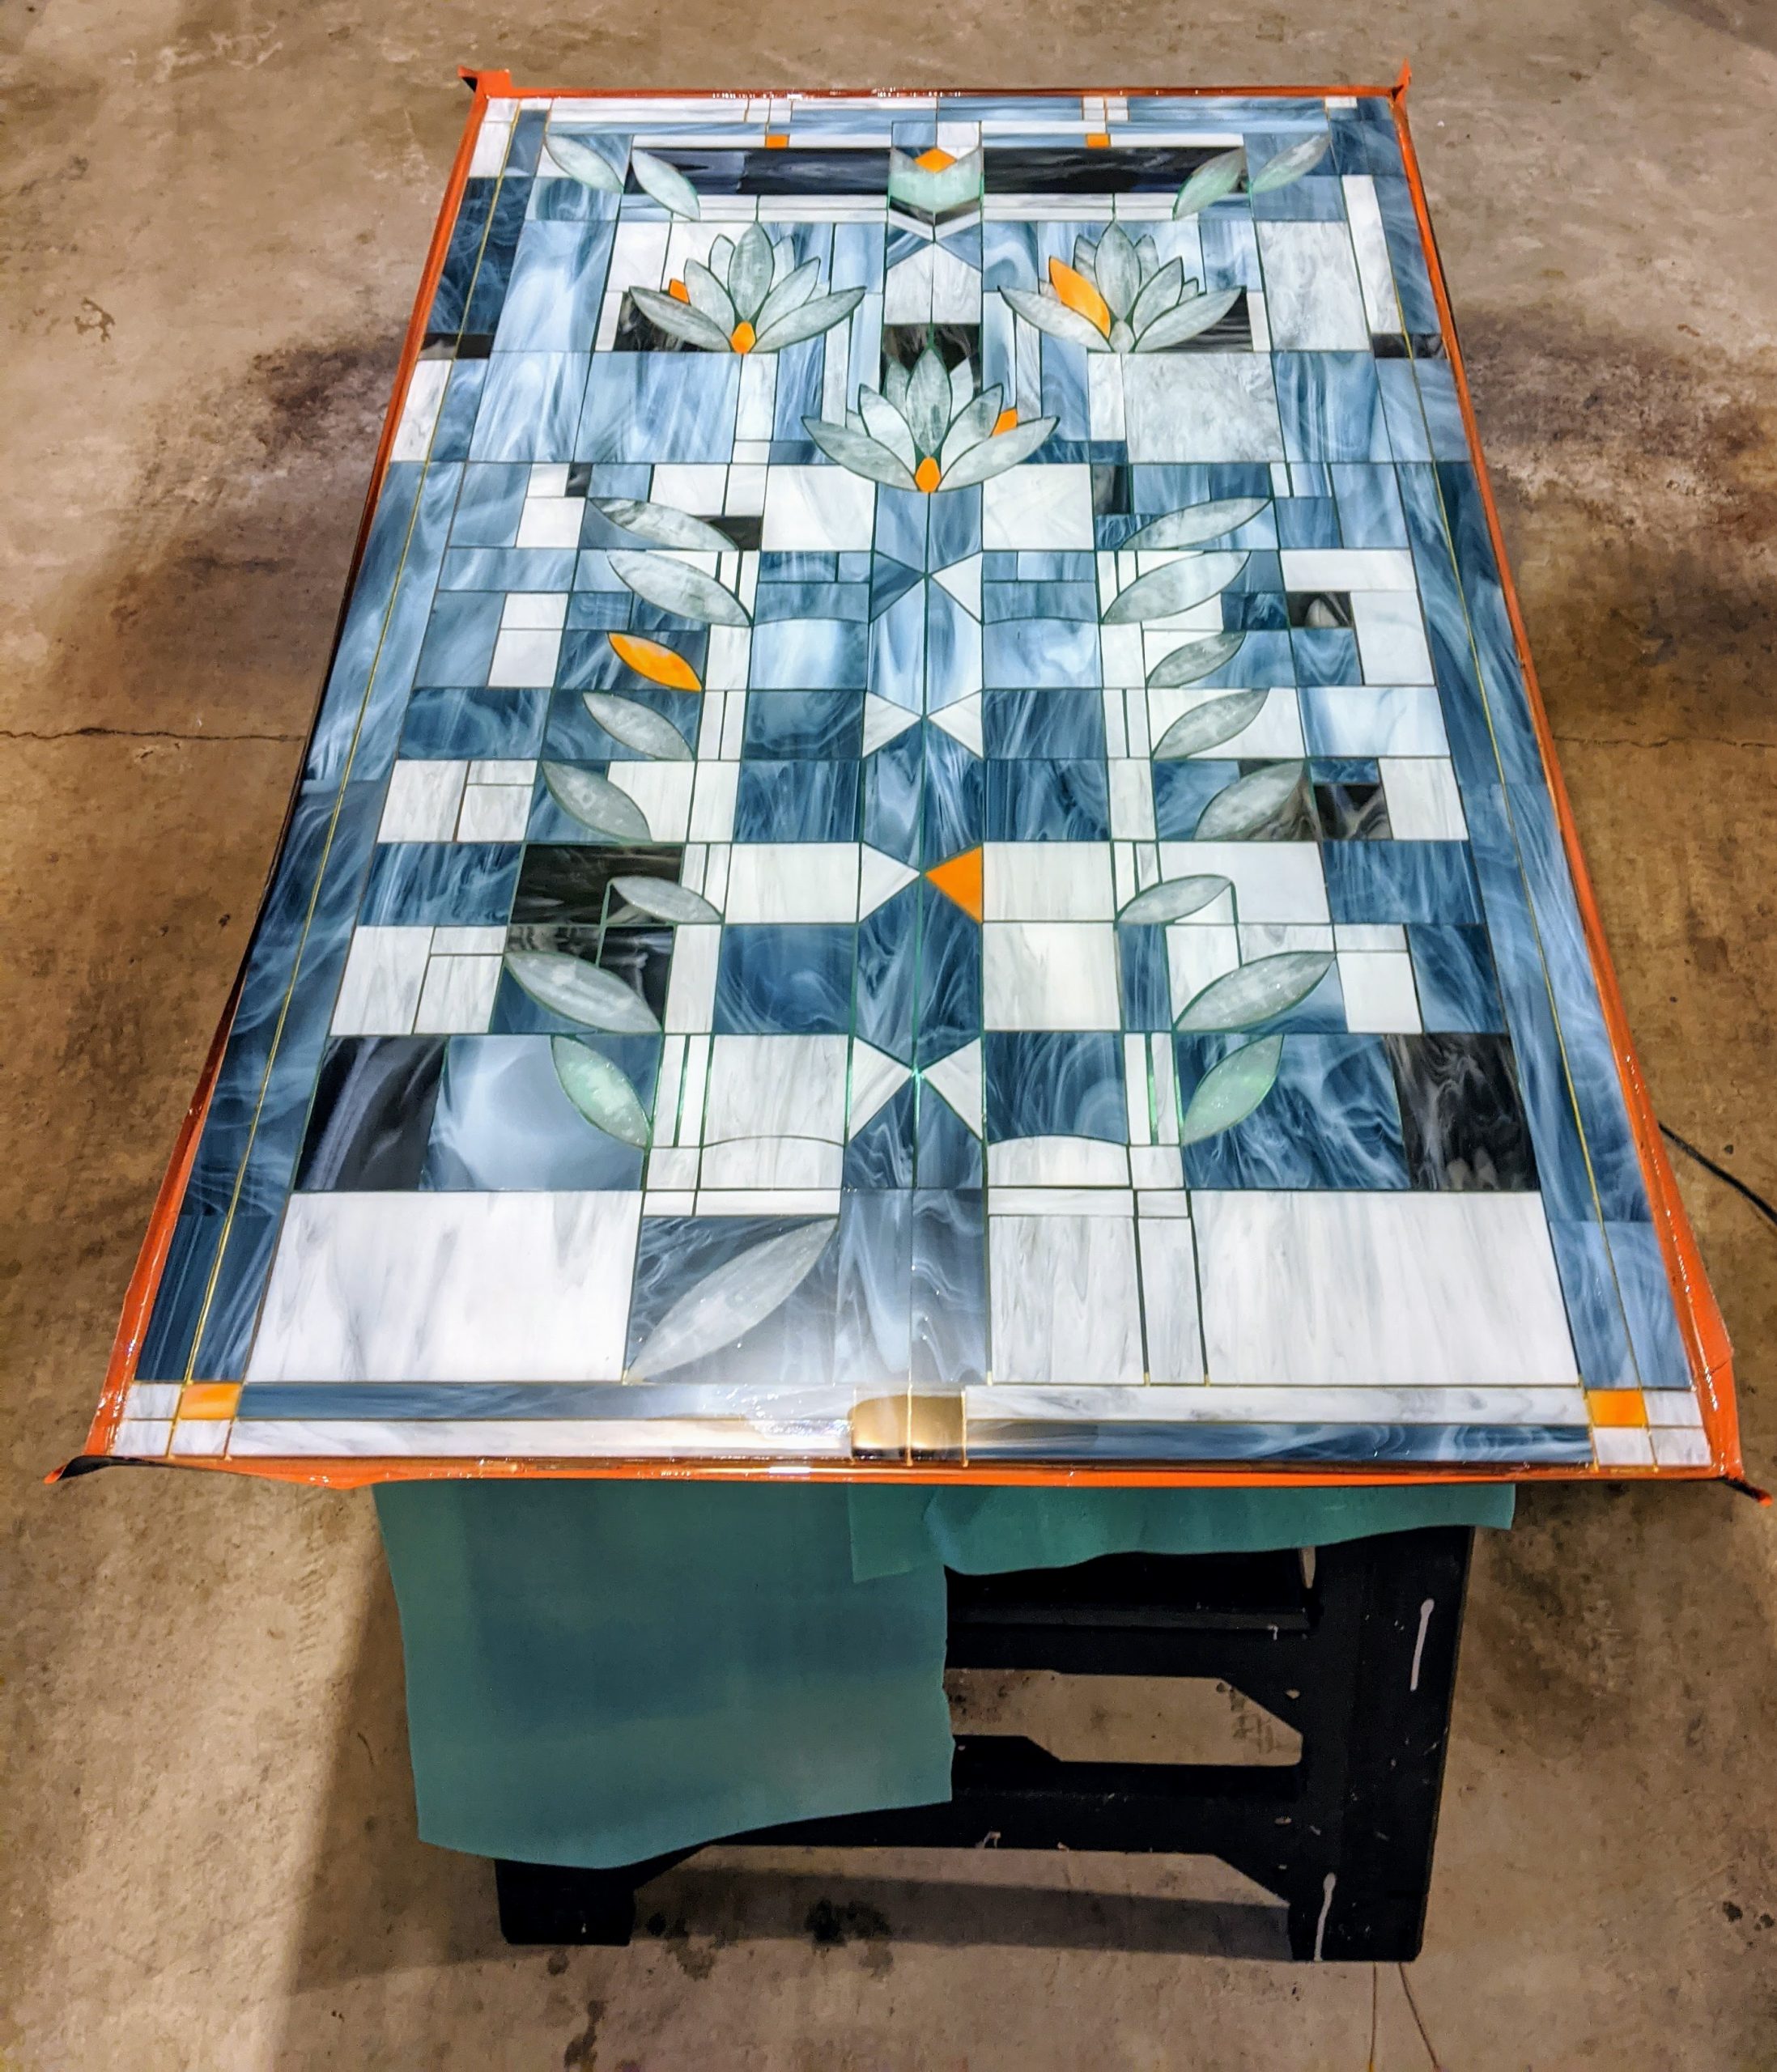
Yesterday the friends who will be the recipients of the big Frank Lloyd Wright window came over and we decided to do another layer of resin. I decided that I really needed to move it to the garage for the final layer so I could access all sides of the window, despite the space being more prone to dust / humidity. Luckily it is an unseasonably warm day and the temperature in the garage was 75, which is perfect for my resin (Envirotex Lite).
Making sure it is level
Layer 4 in the process of curing
Adding a final layer of resin.
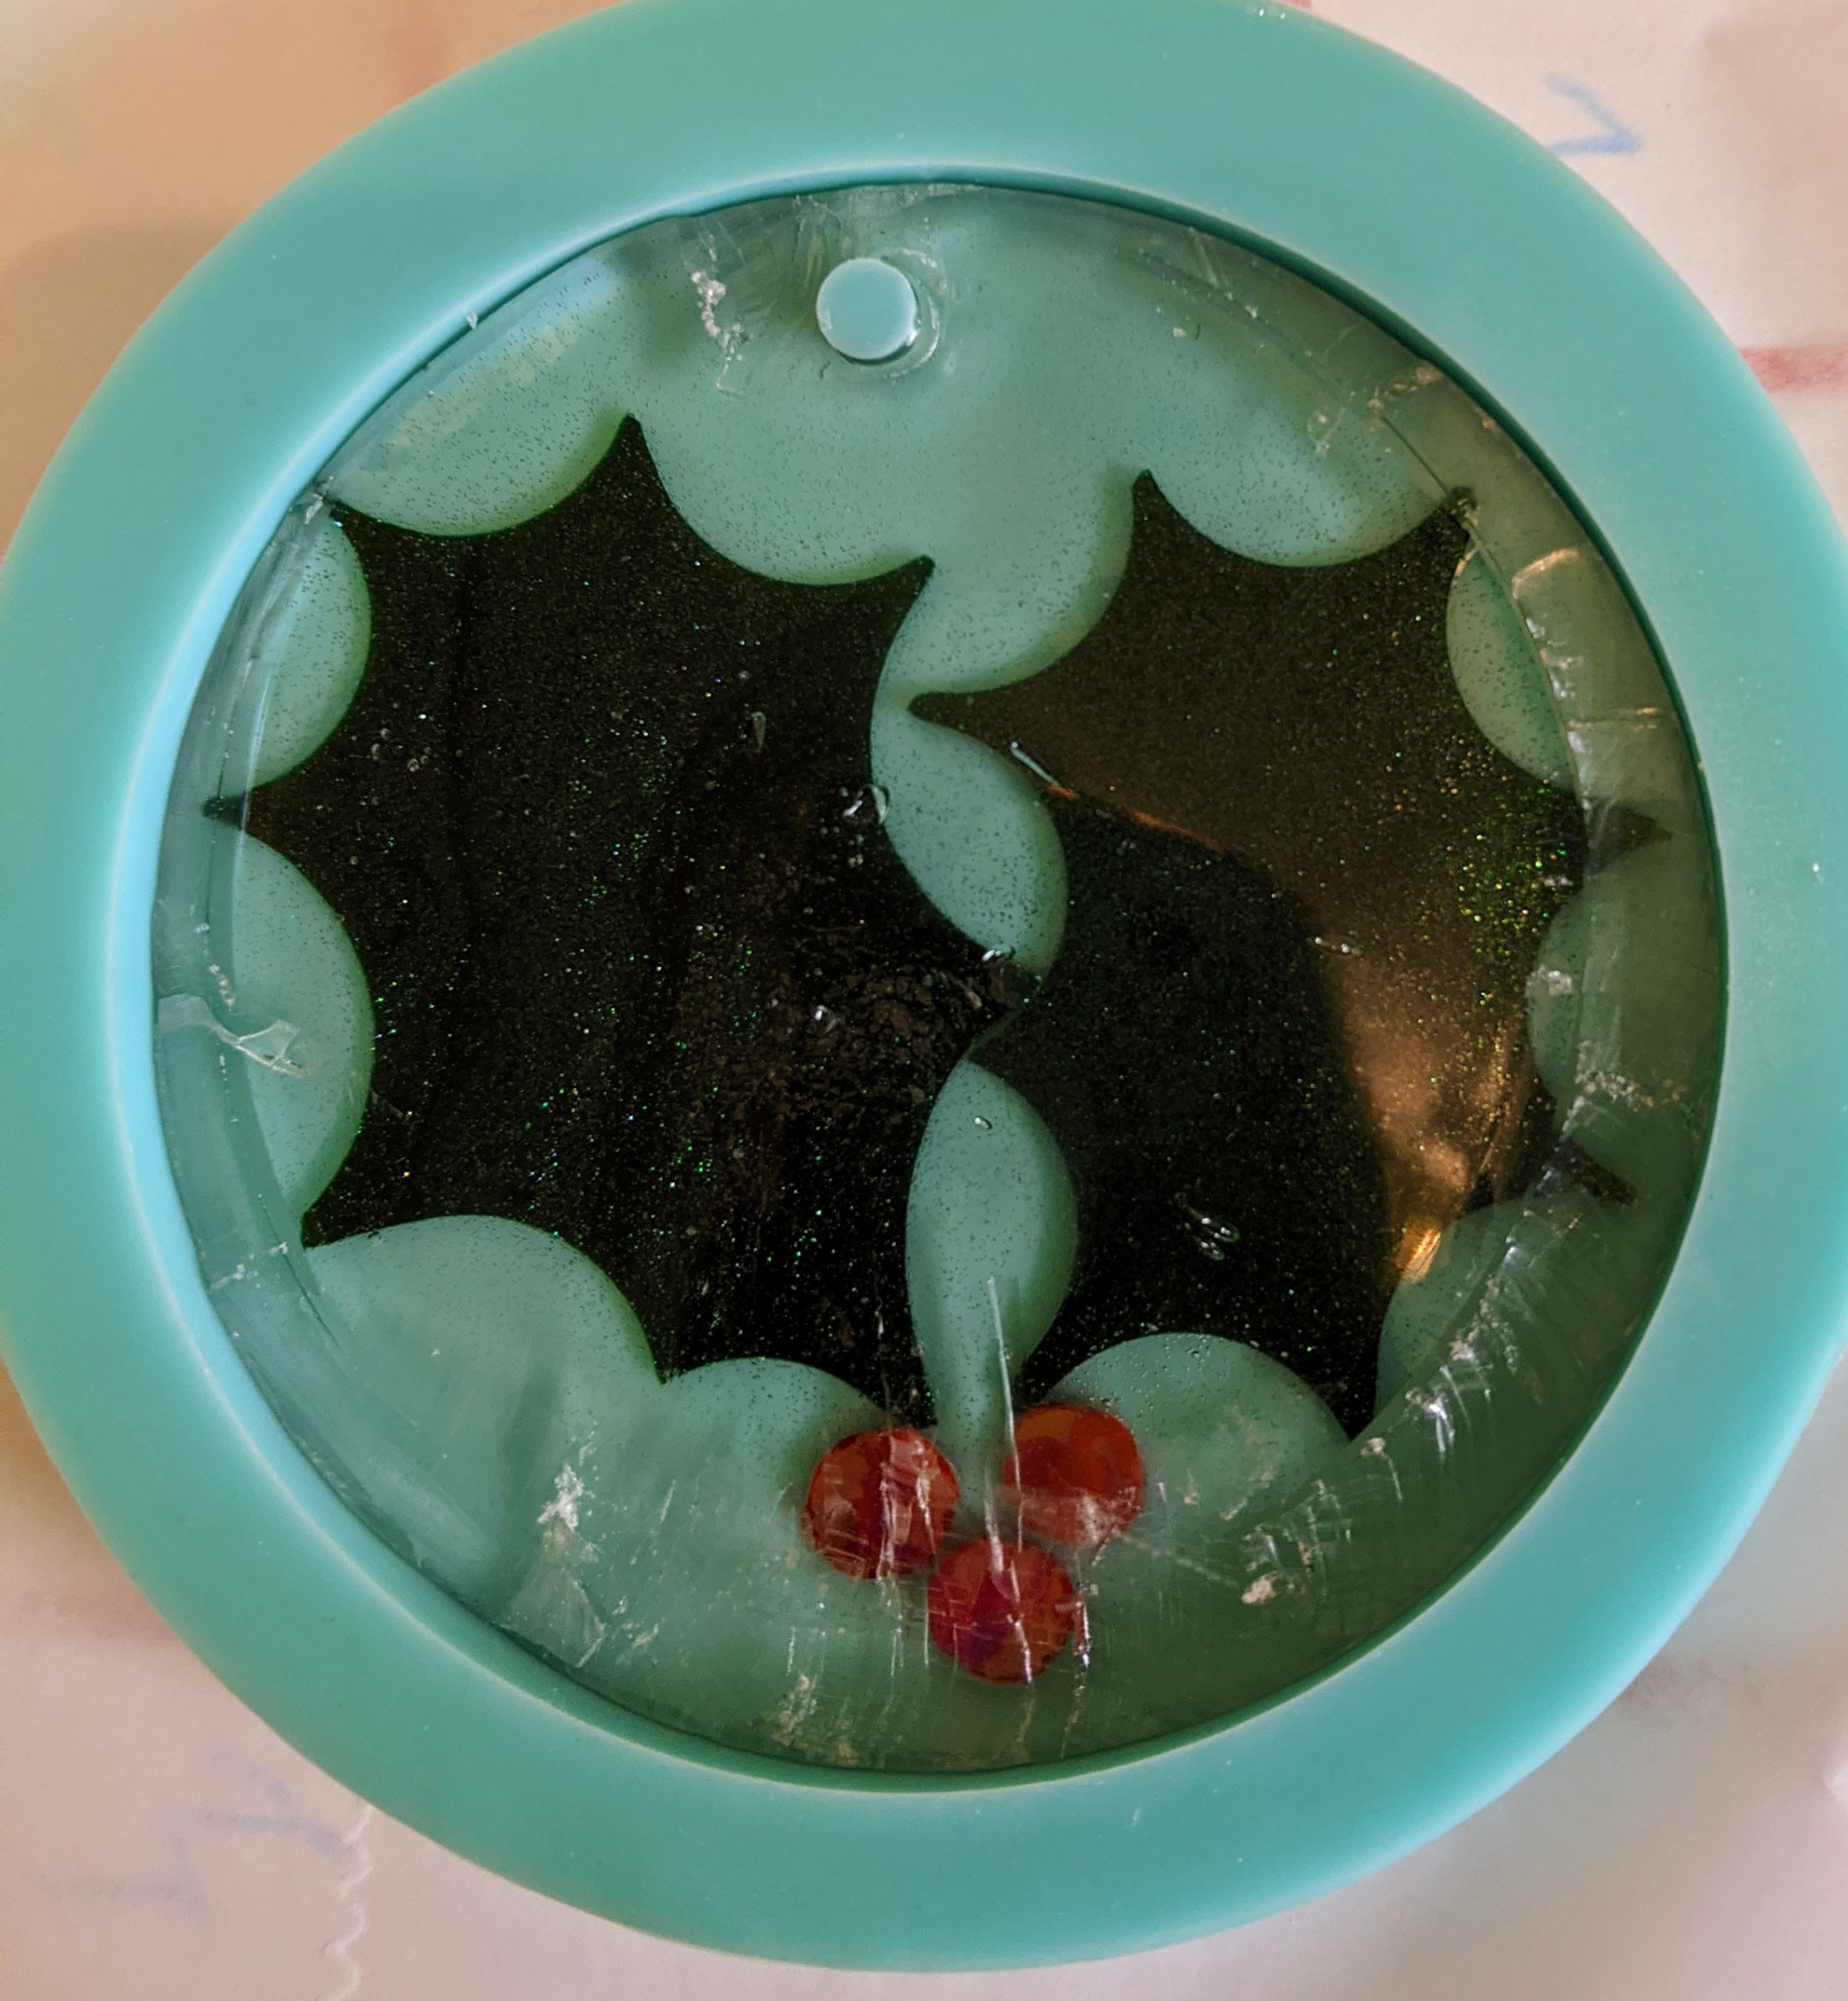
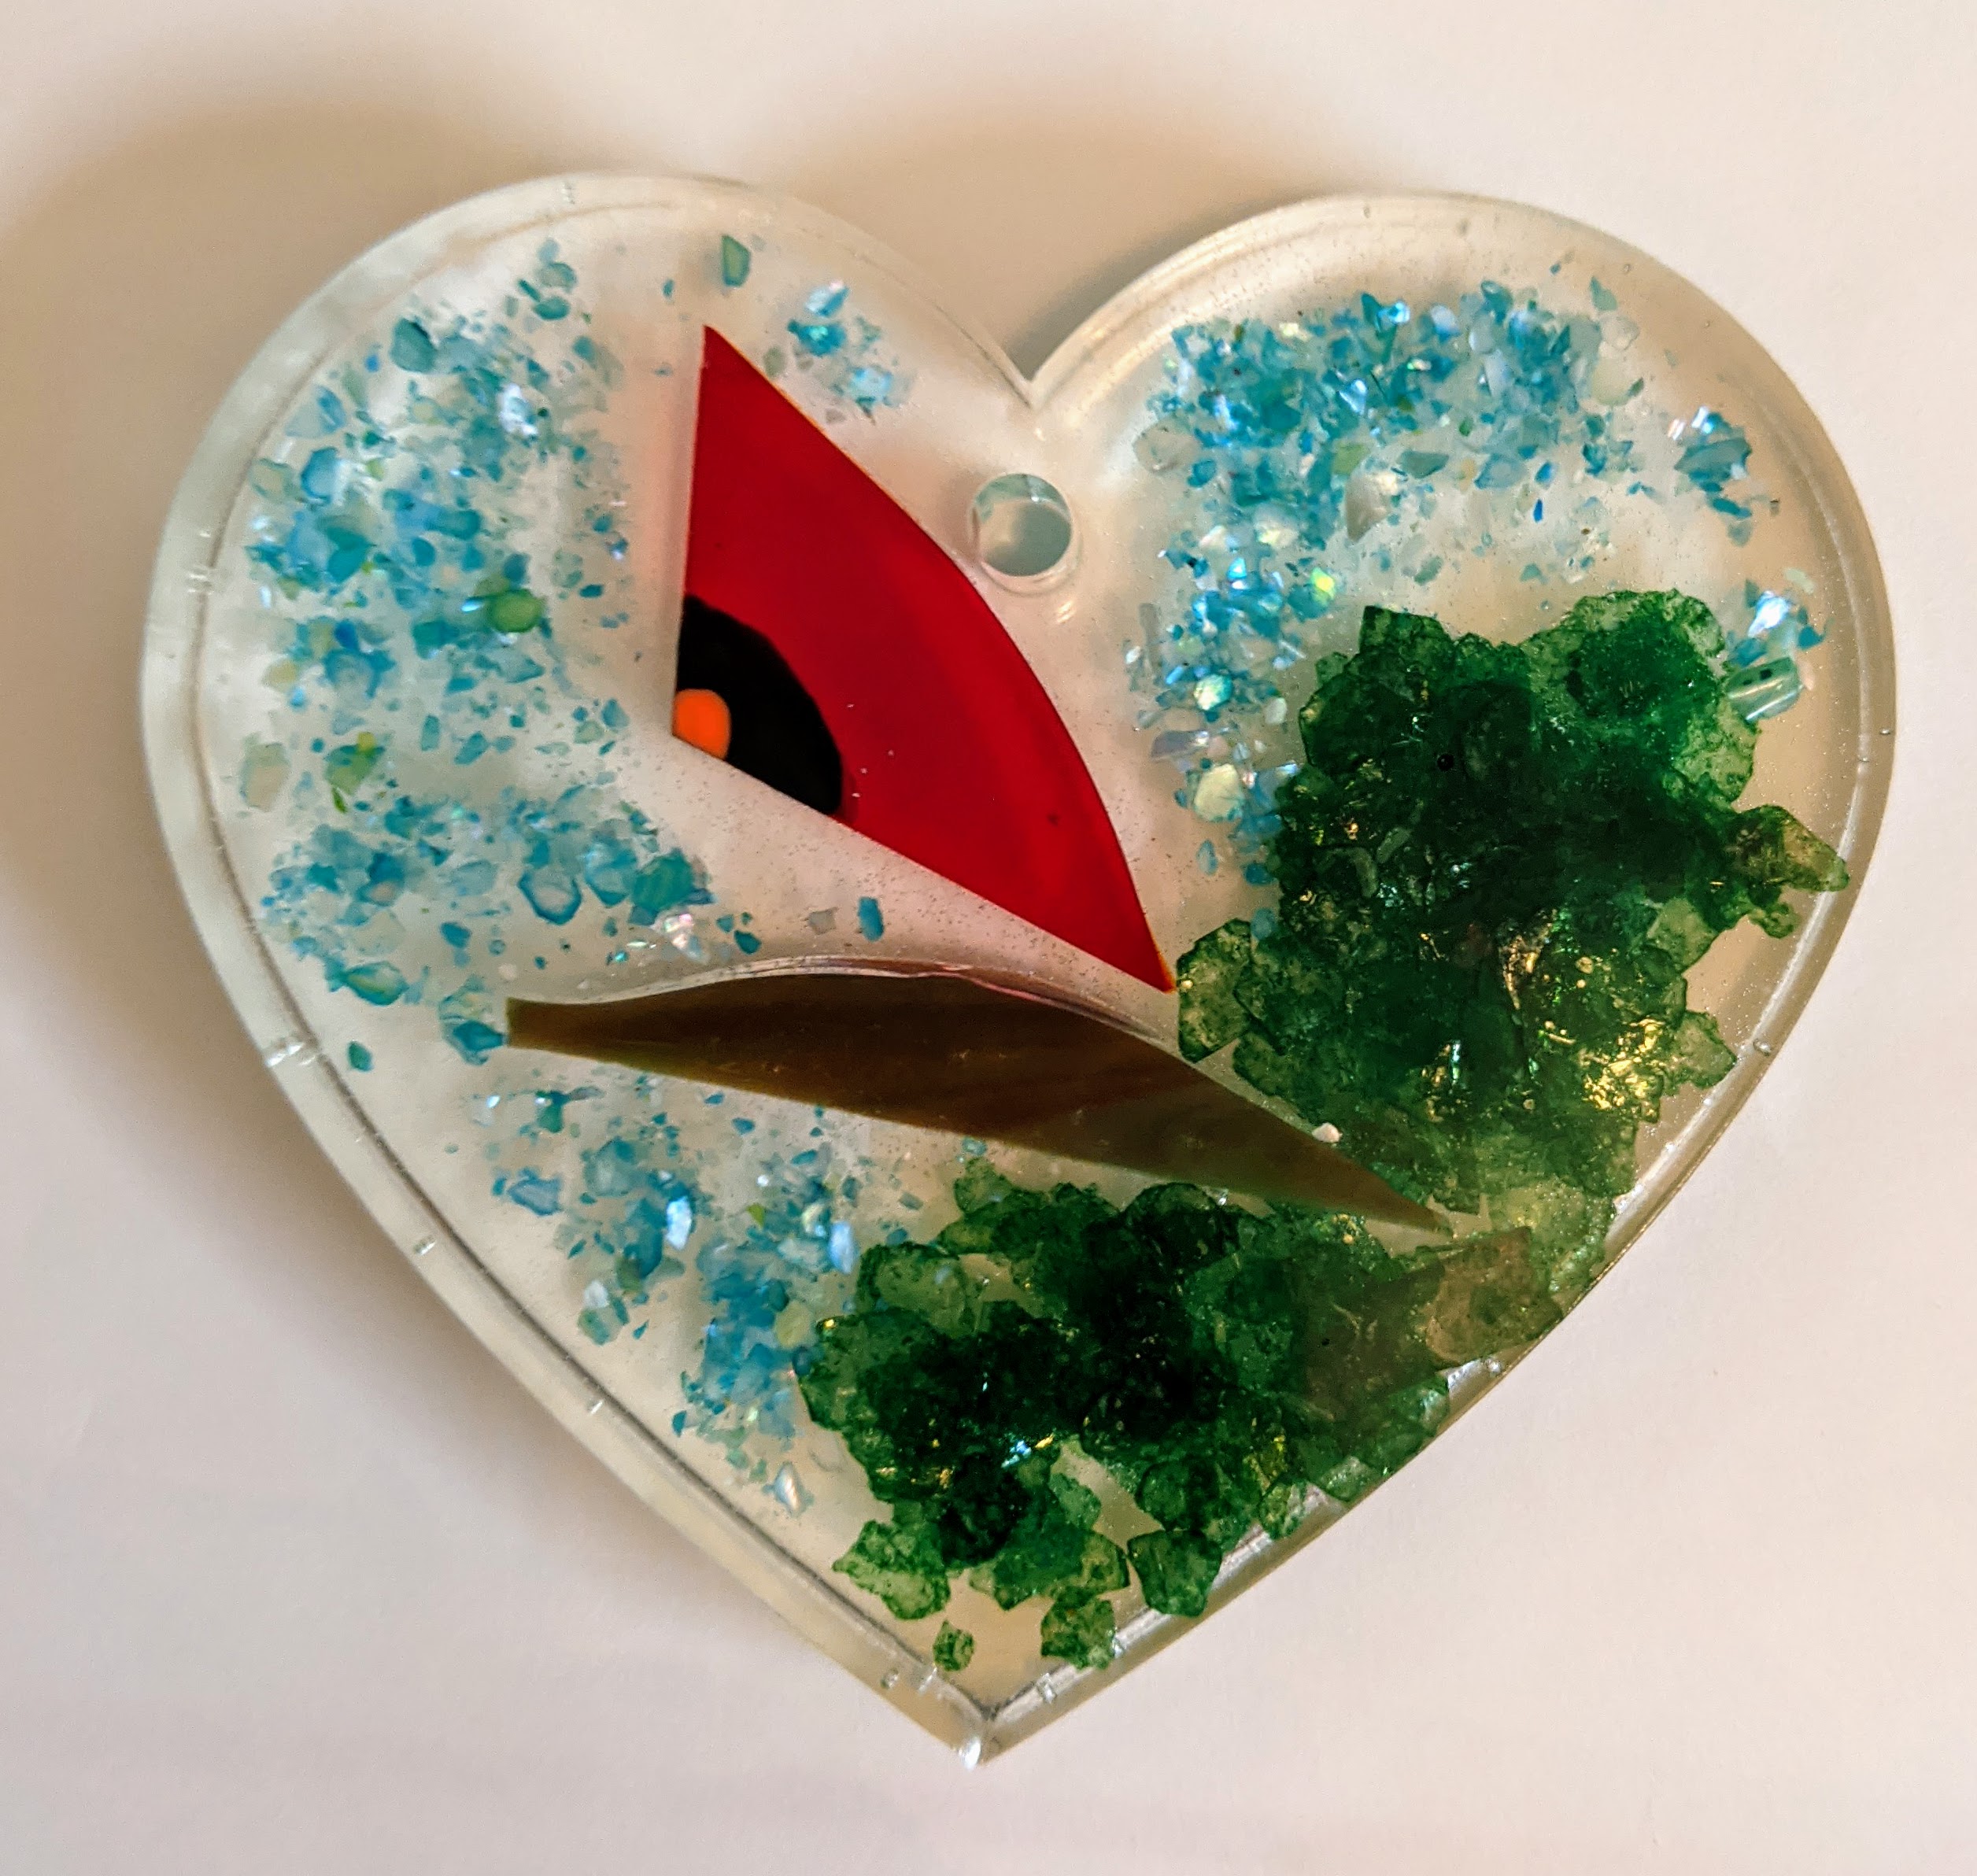
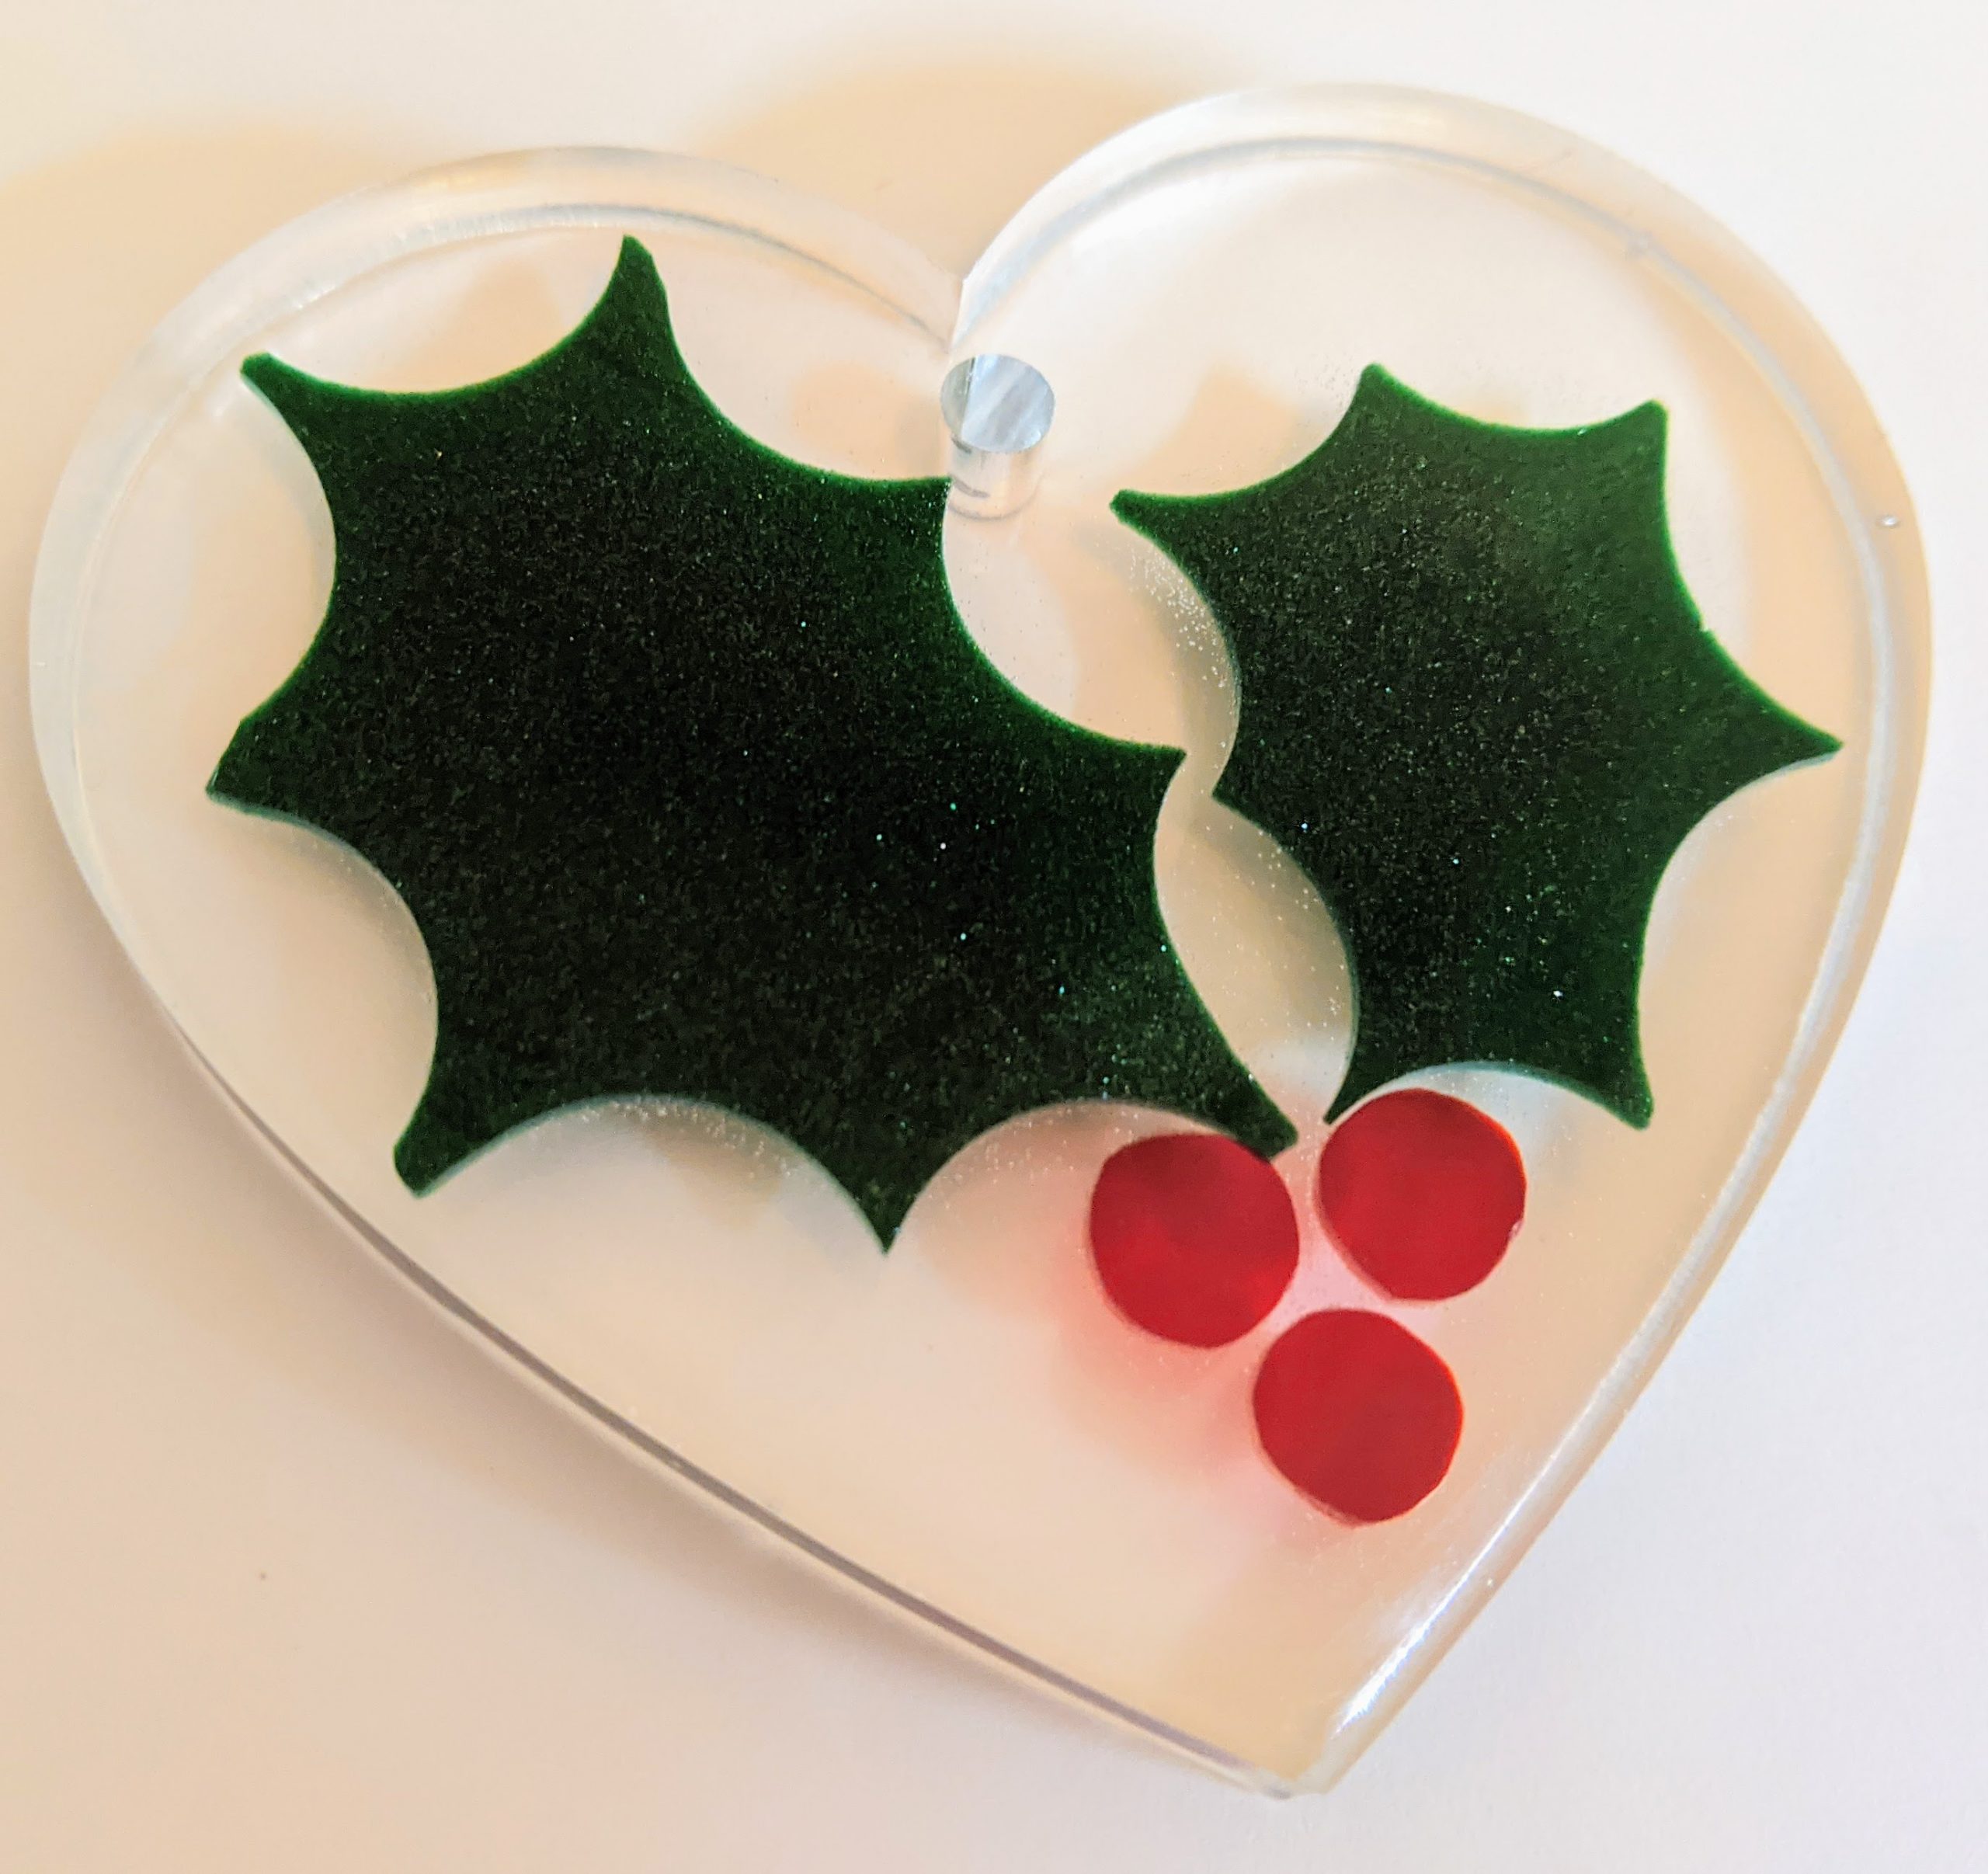
This took a bit of planning as I had to mix up a lot more resin than usual and keep my family out of the garage (next to impossible today for some reason). However, after pouring, spreading and using my heat gun to clear the resin, everything looks good so far. Hopefully we can move it into the mud room later in the evening so the temperature remains a bit more consistent while it continues to cure overnight. In the meantime, I had a few smaller projects in the works I wanted to continue / start. Unfortunately this included repairs on a holly suncatcher I made yesterday. I had covered it with some wax paper to keep dust out while it cured and the paper made contact with the resin and made a giant mess. I had to carve some lumps off of the suncatcher today when it was cured enough, reinsert it into the mold and sort of “top it off” with another layer of resin. We’ll see how good it looks tomorrow (hopefully). I don’t think it will look as good as it would have had it not needed the repair, but I can likely keep it to use at home.
After chipping off the bumps and reinserting in the mold, prior to repair layer of resin
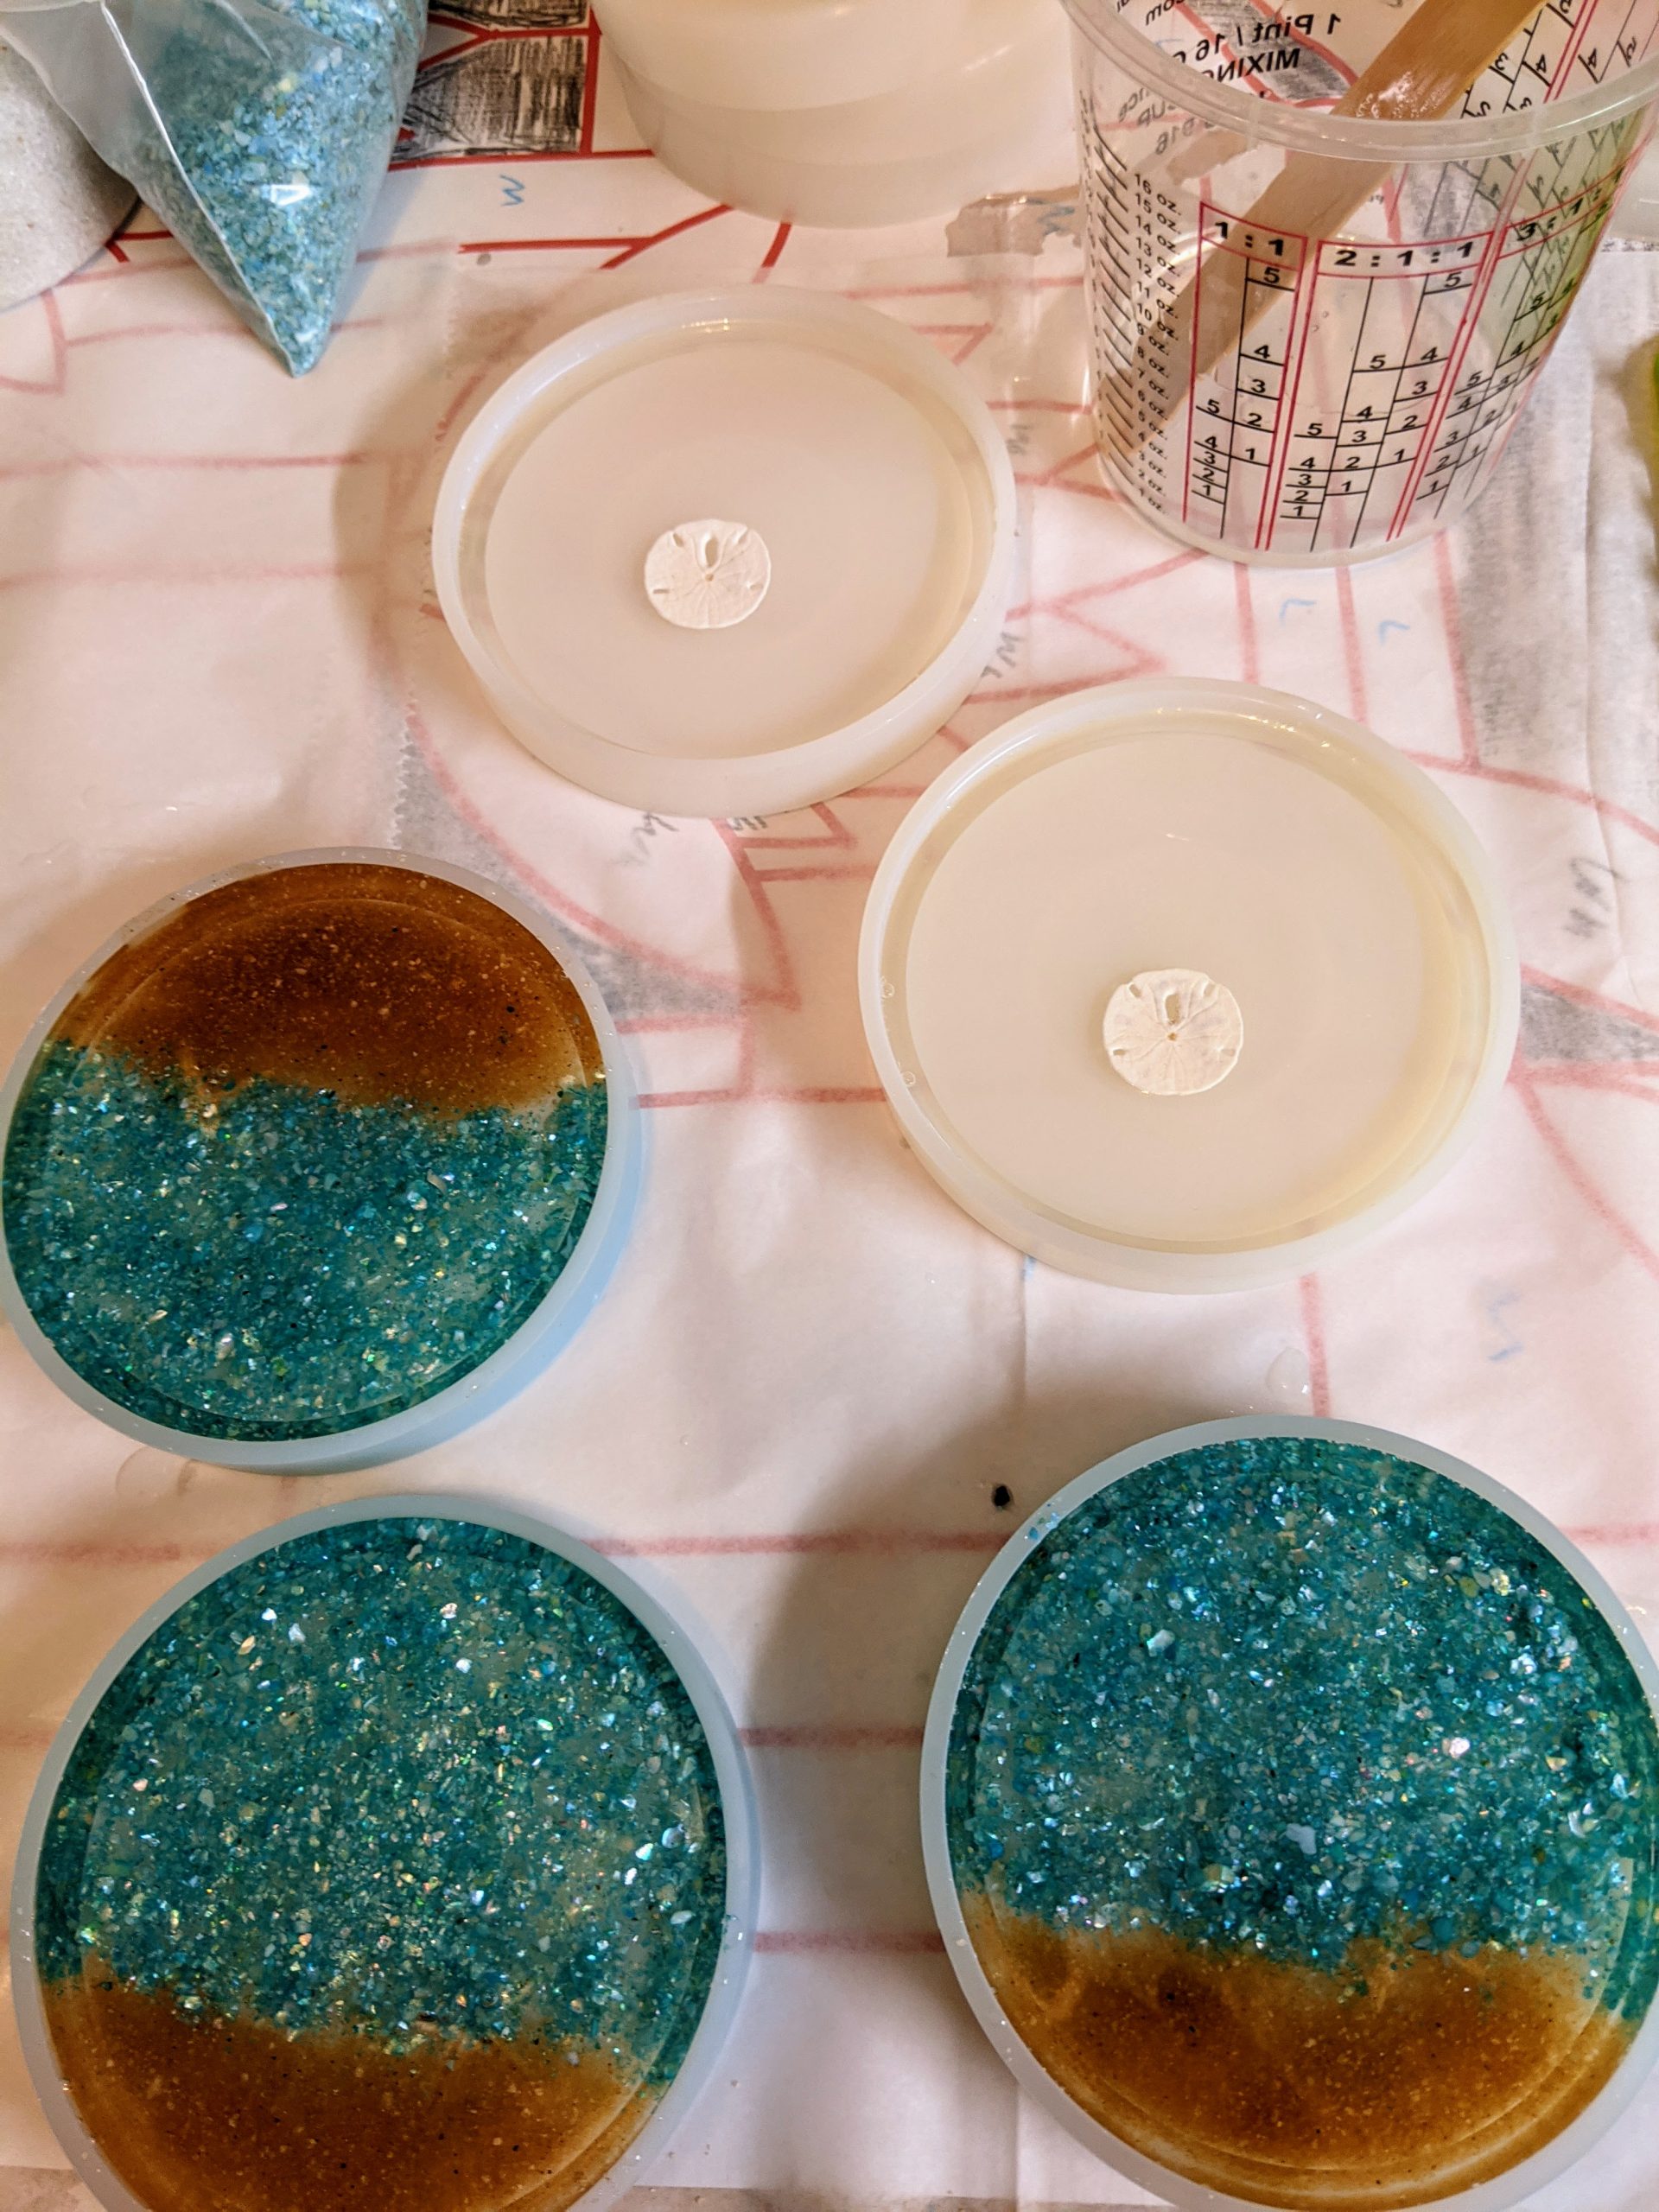
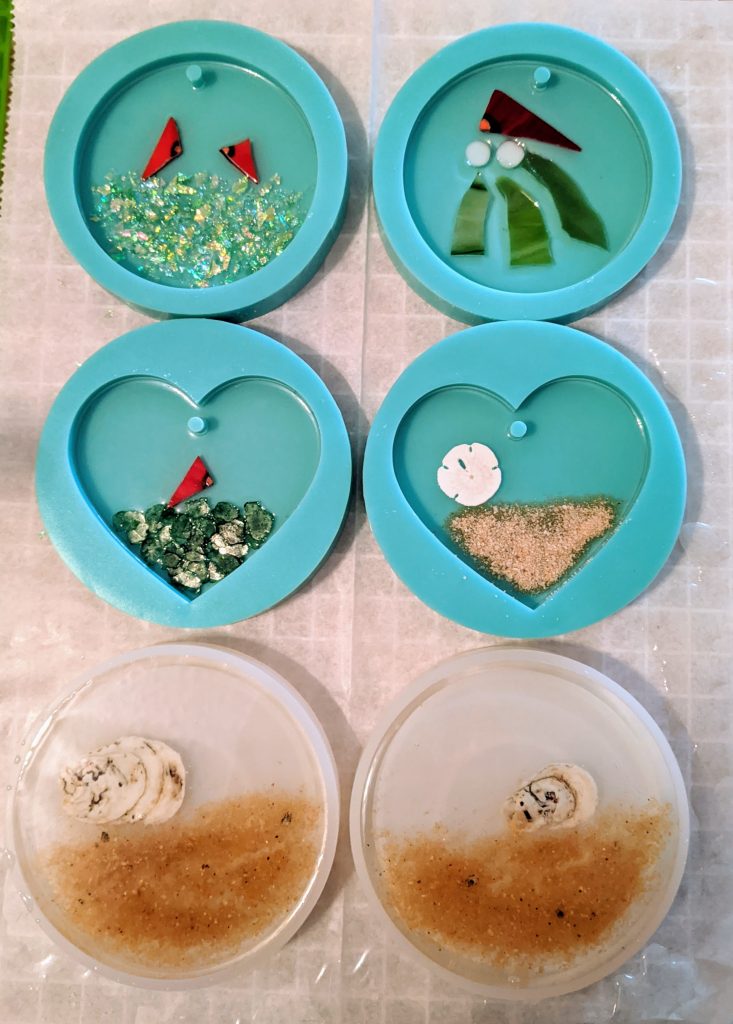
Coasters of the day
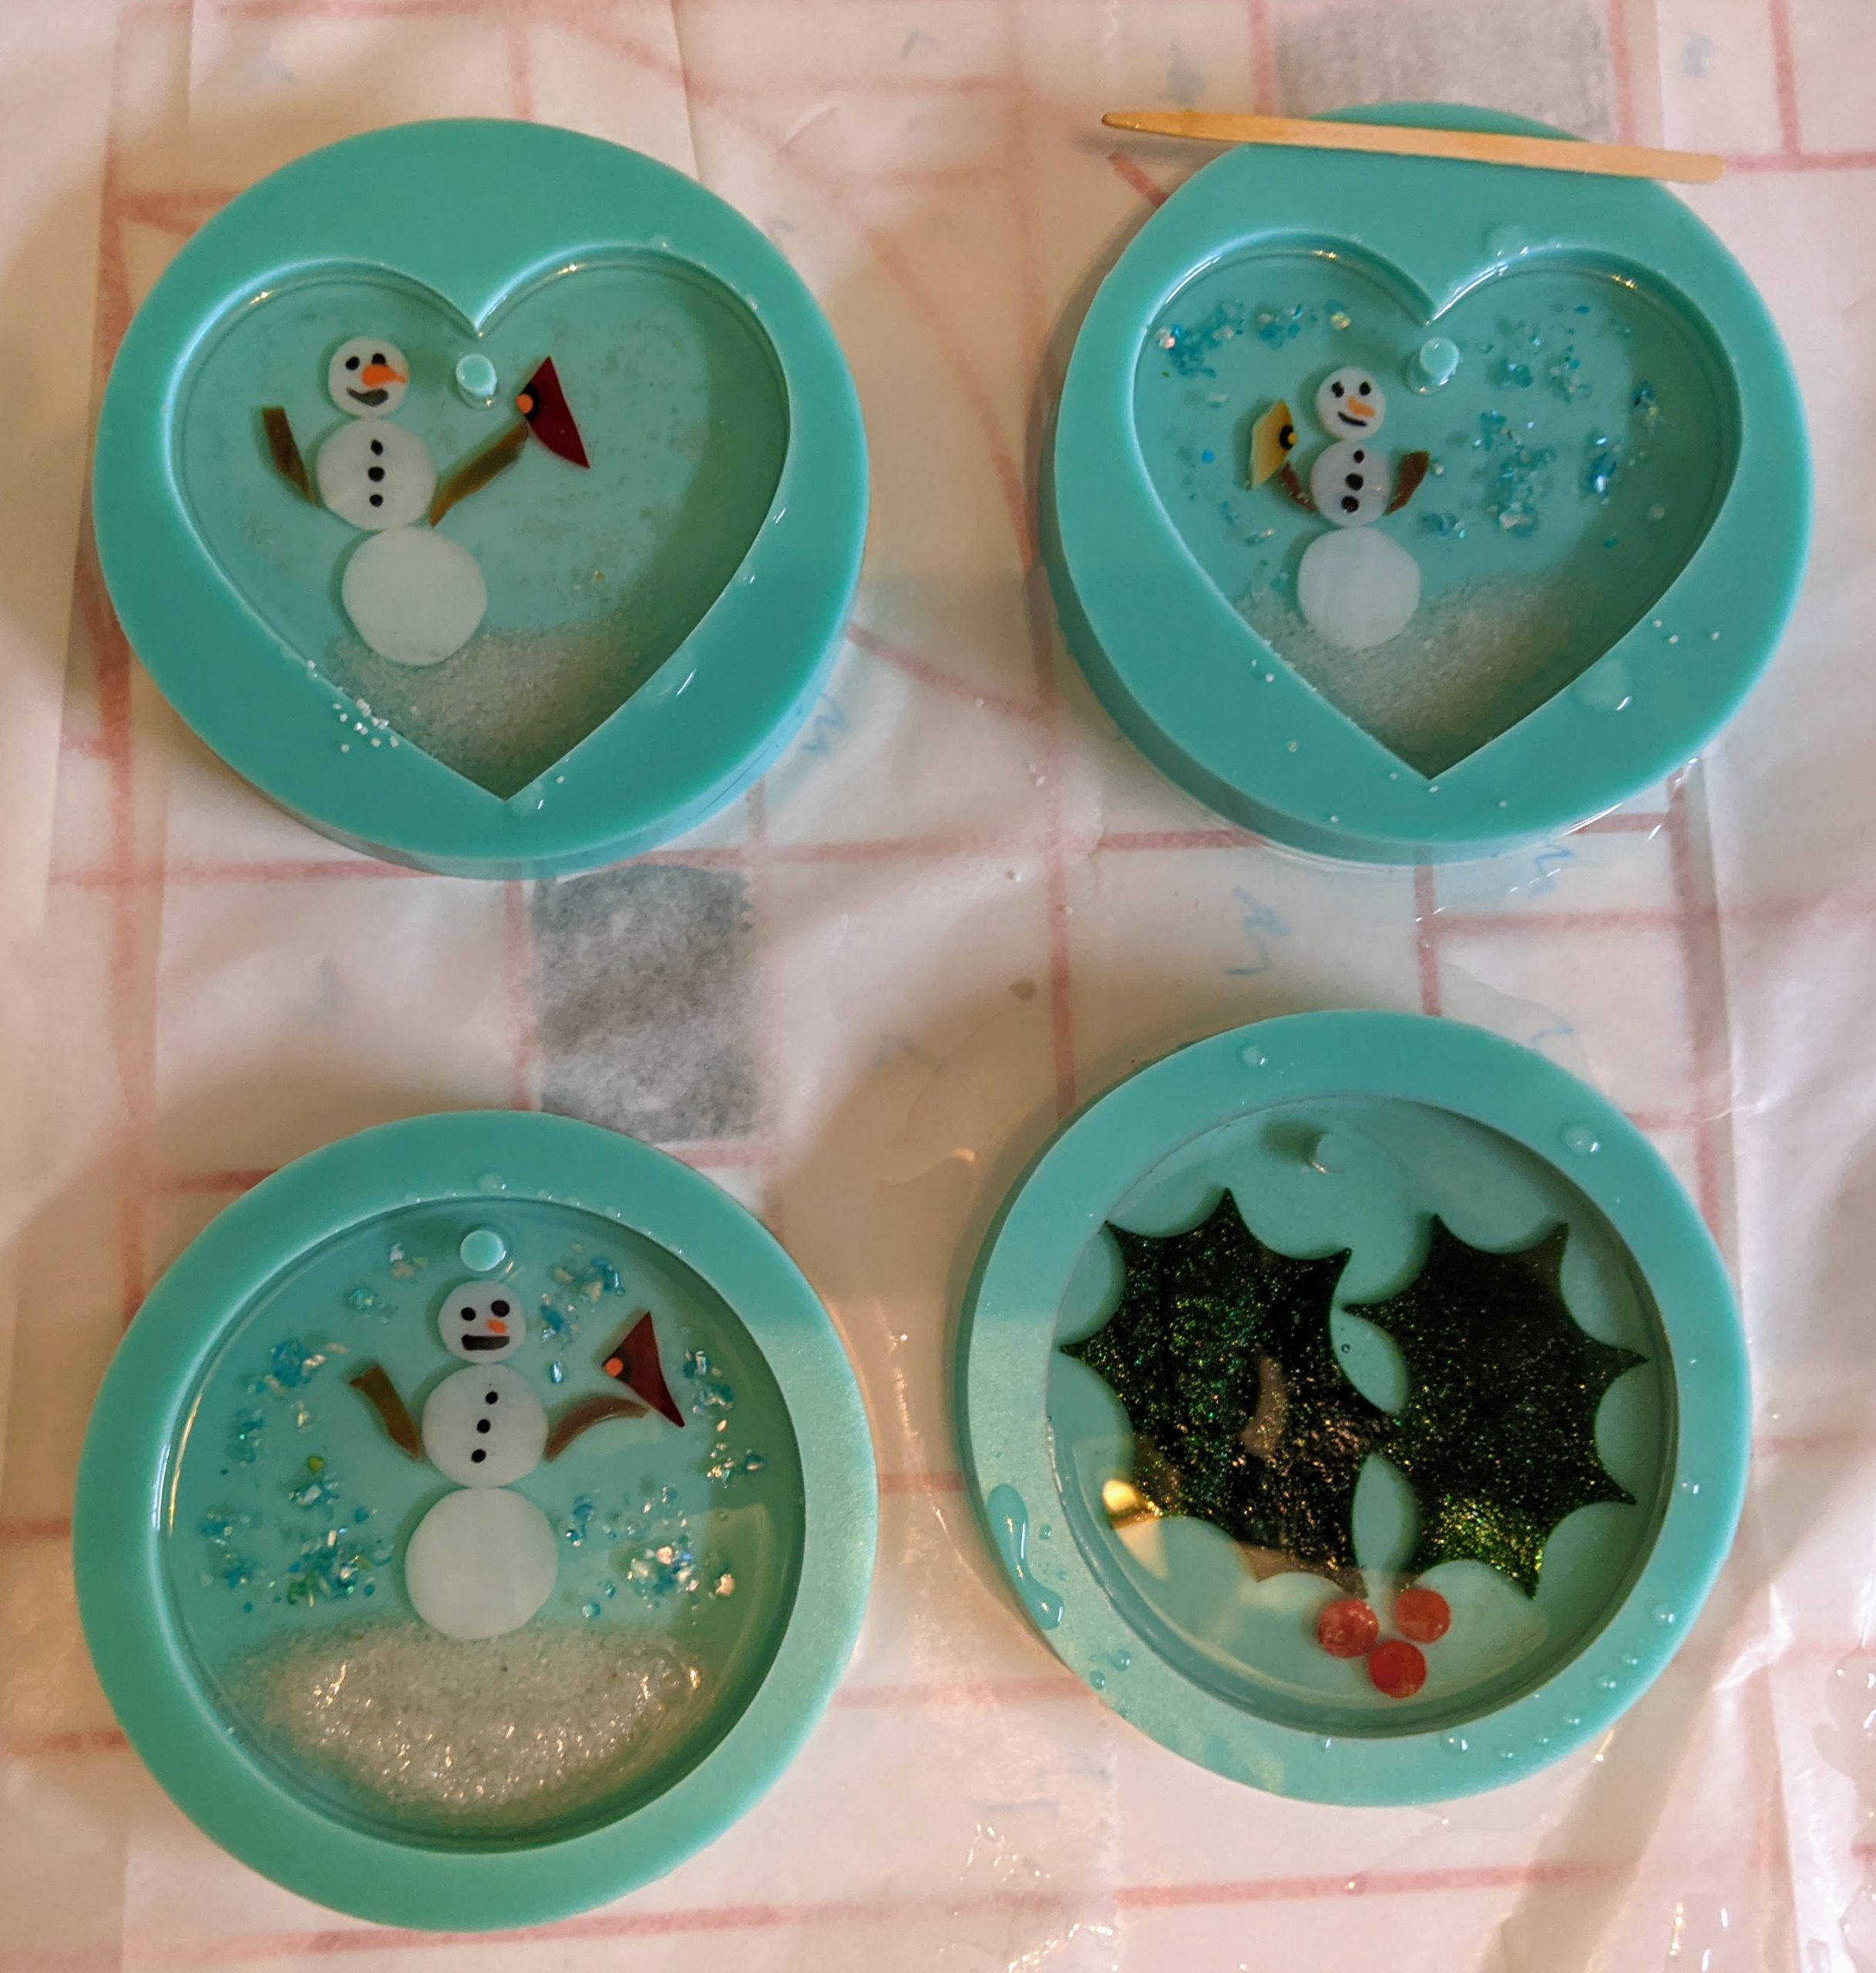
Suncatchers / Ornaments
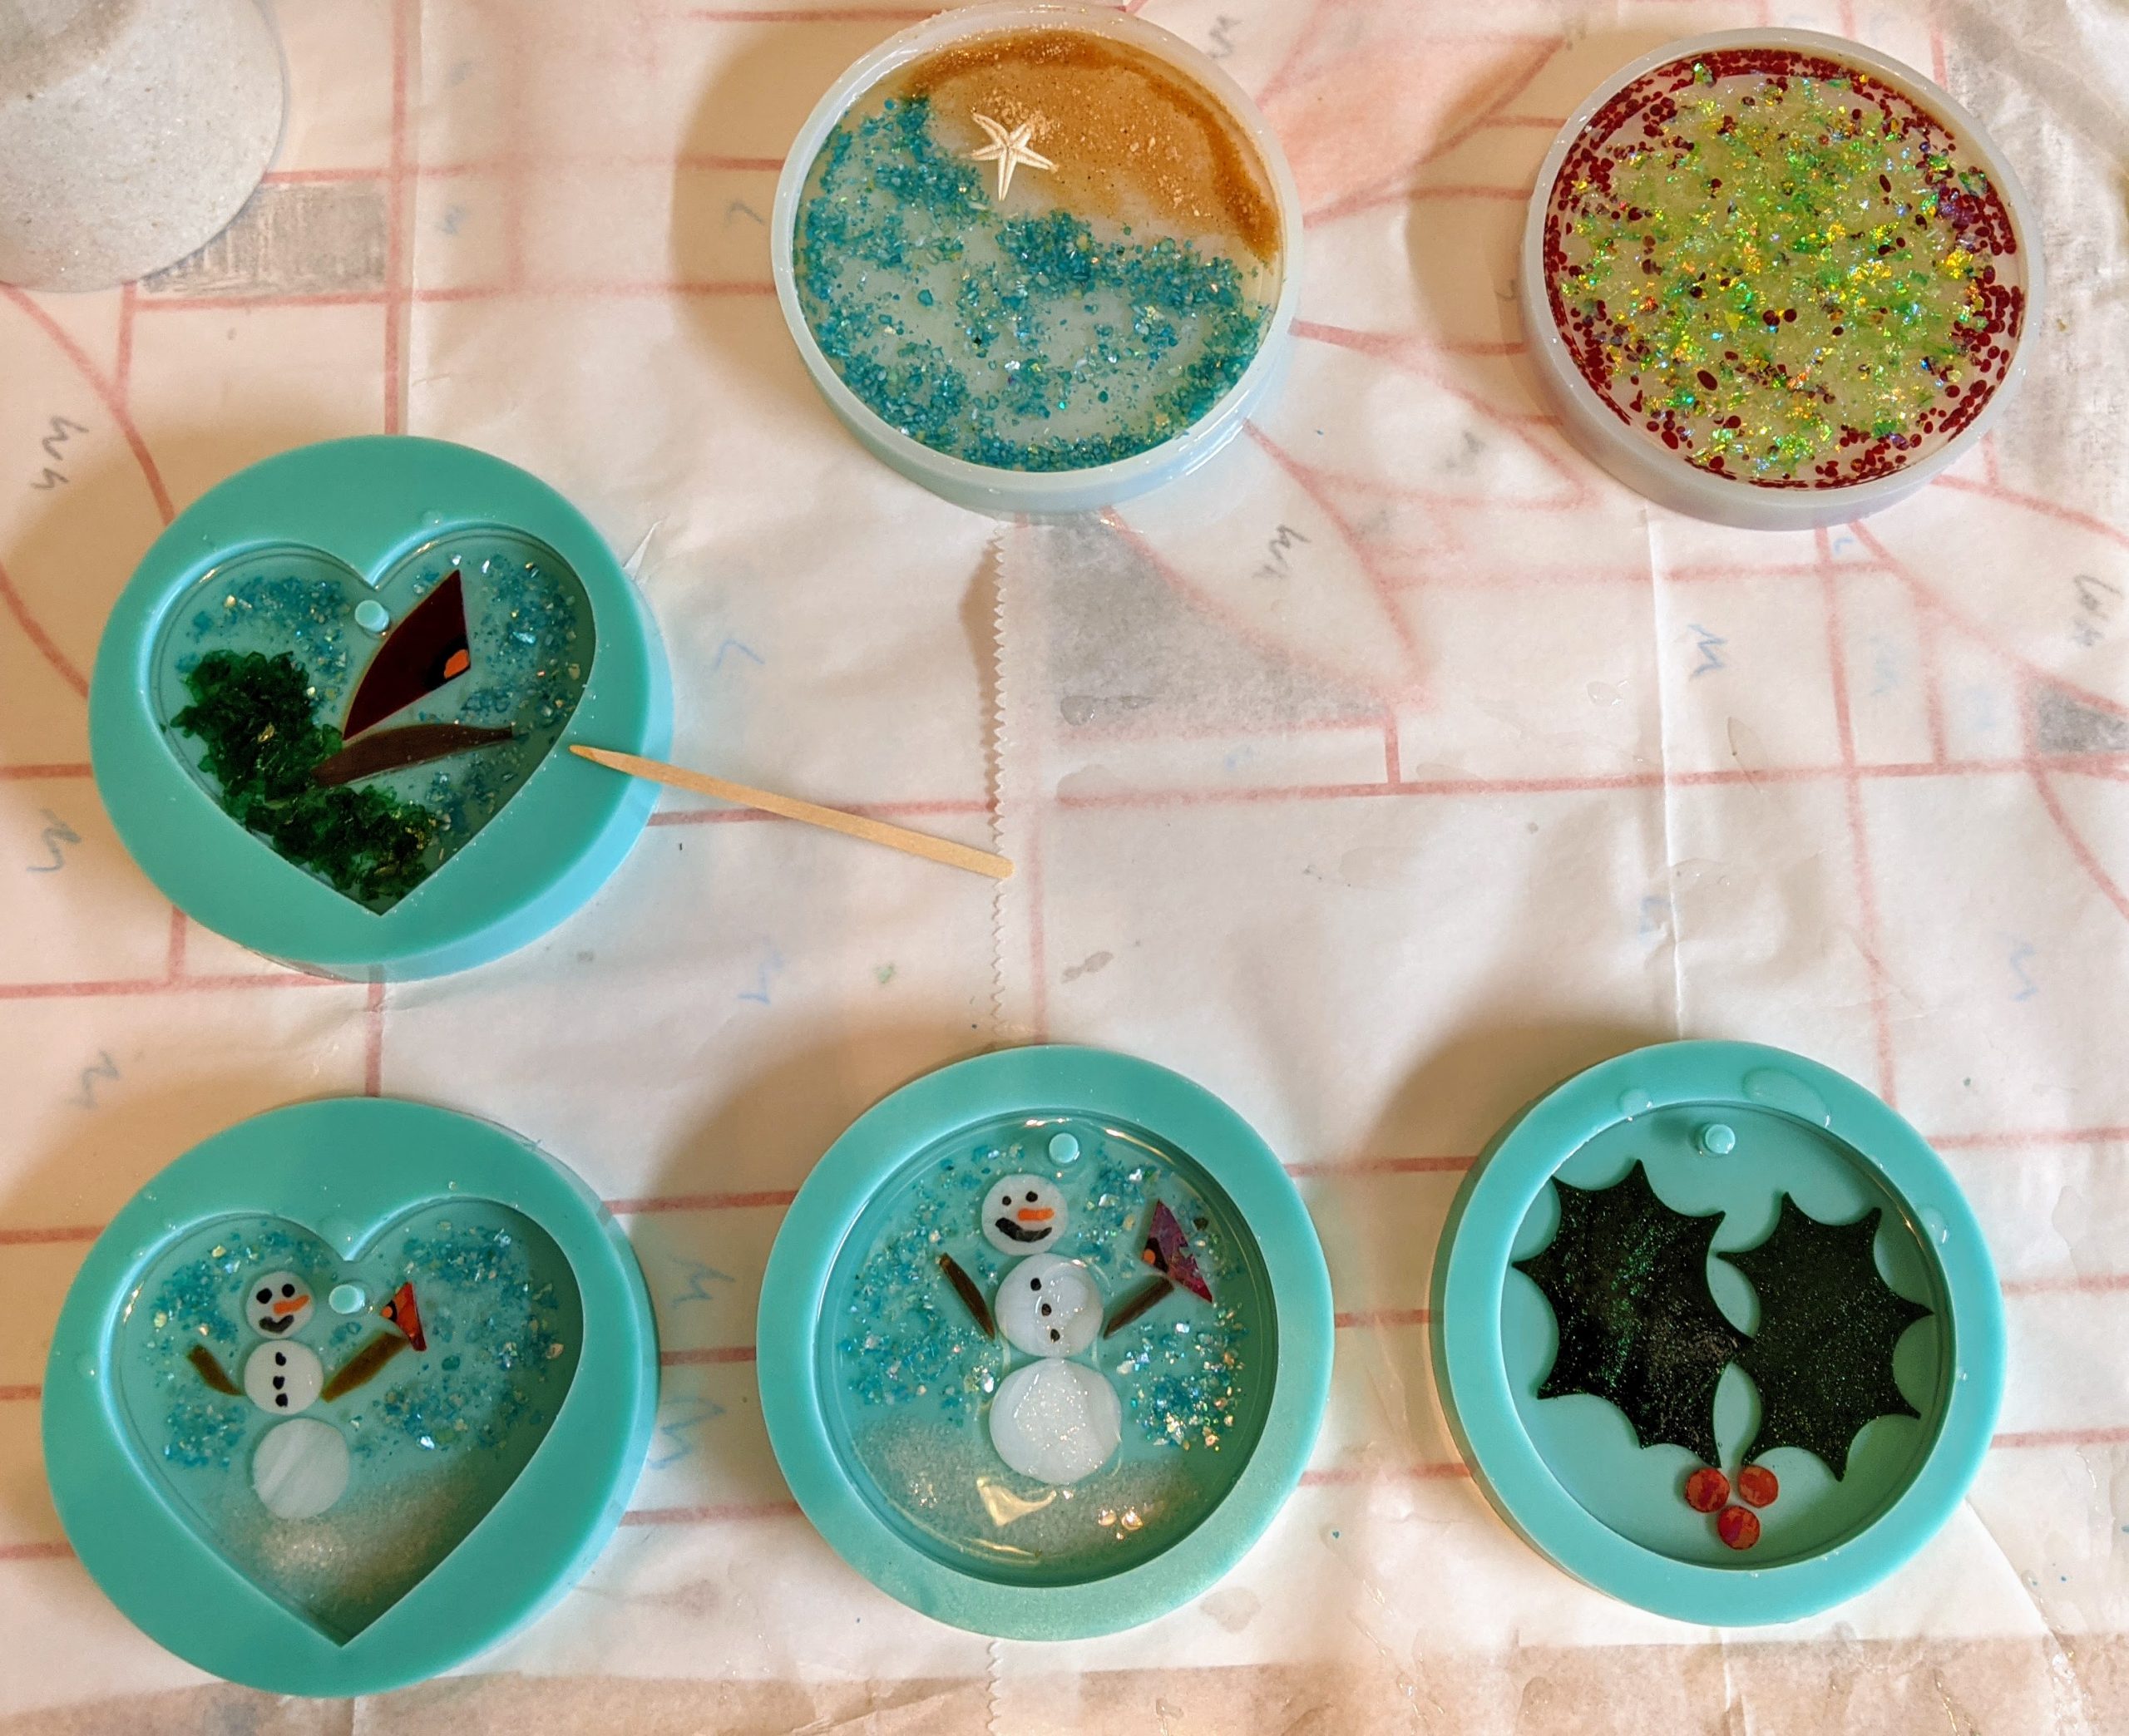
Today’s small projects
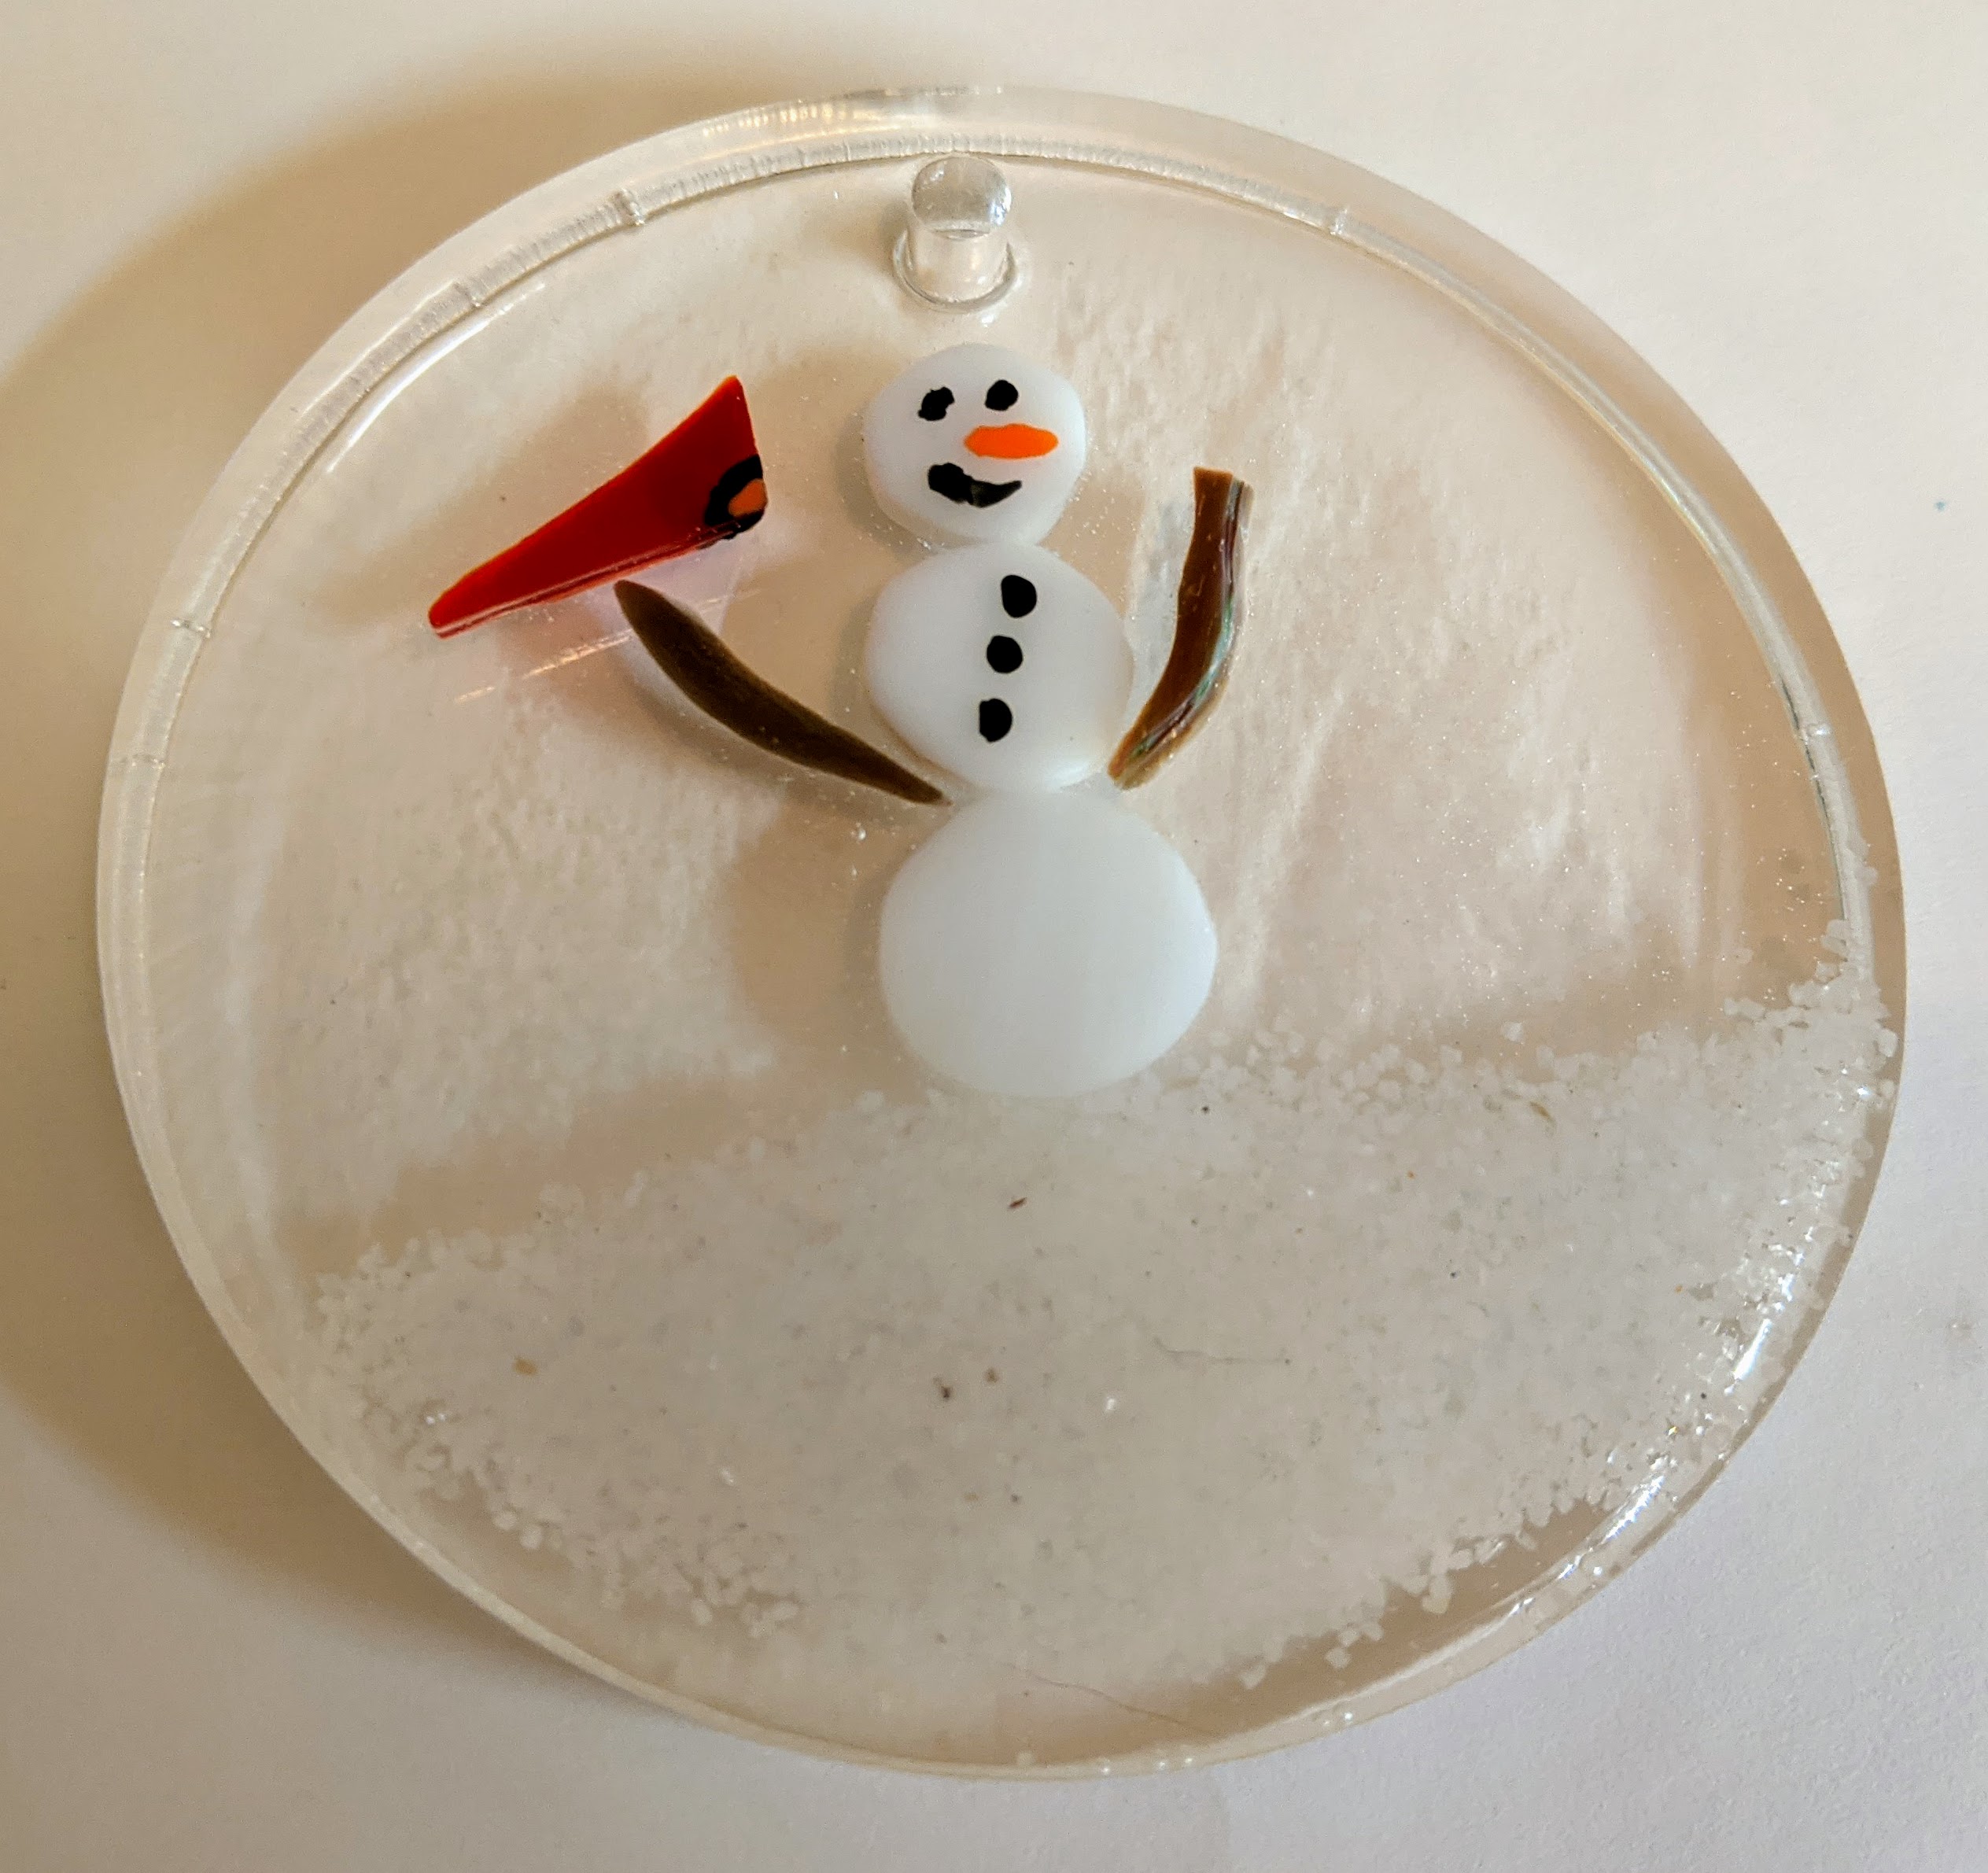
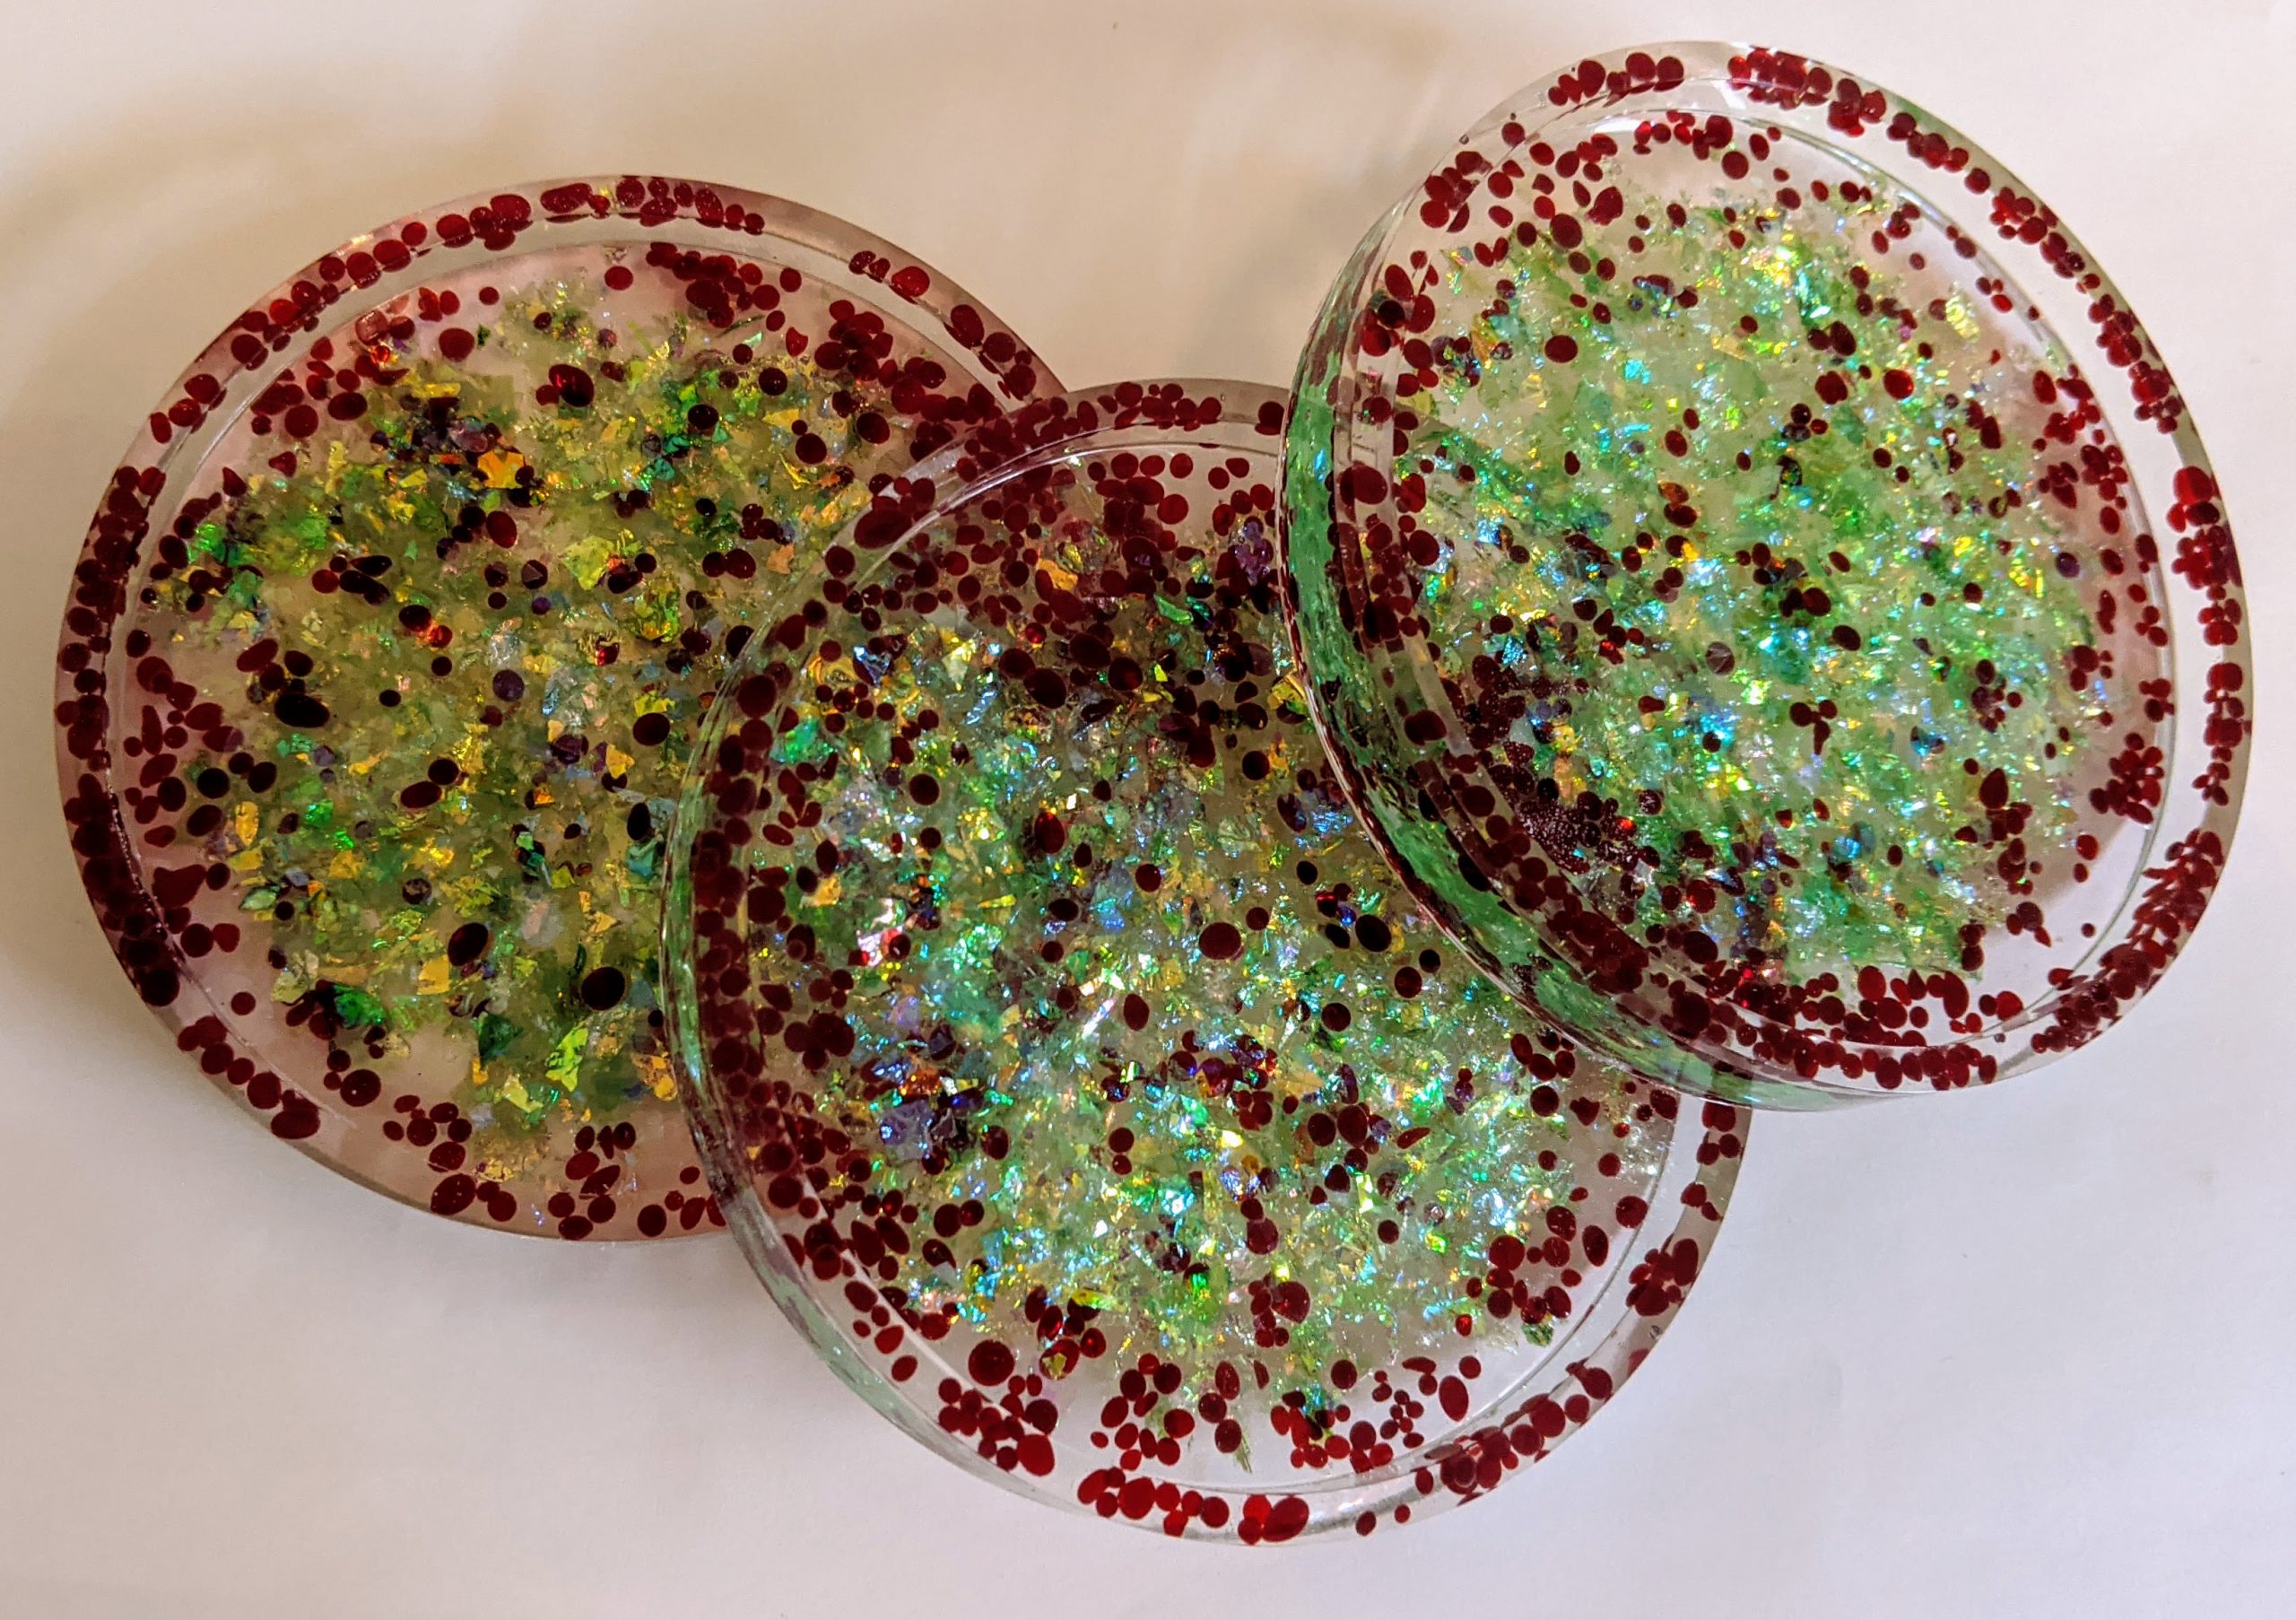
So all in all, I poured a second layer on three beachy coasters, first layer on two more beachy coasters, repair layer on the holly suncatcher / ornament and the first layers on three snowman ornaments.
I’m on roll with the holiday ornaments. I only have four molds, though, so I can only make four every other day, and that’s if I actually don’t skip any days, which I do. So it’s not a high output production, but it is a labor of love. 🙂
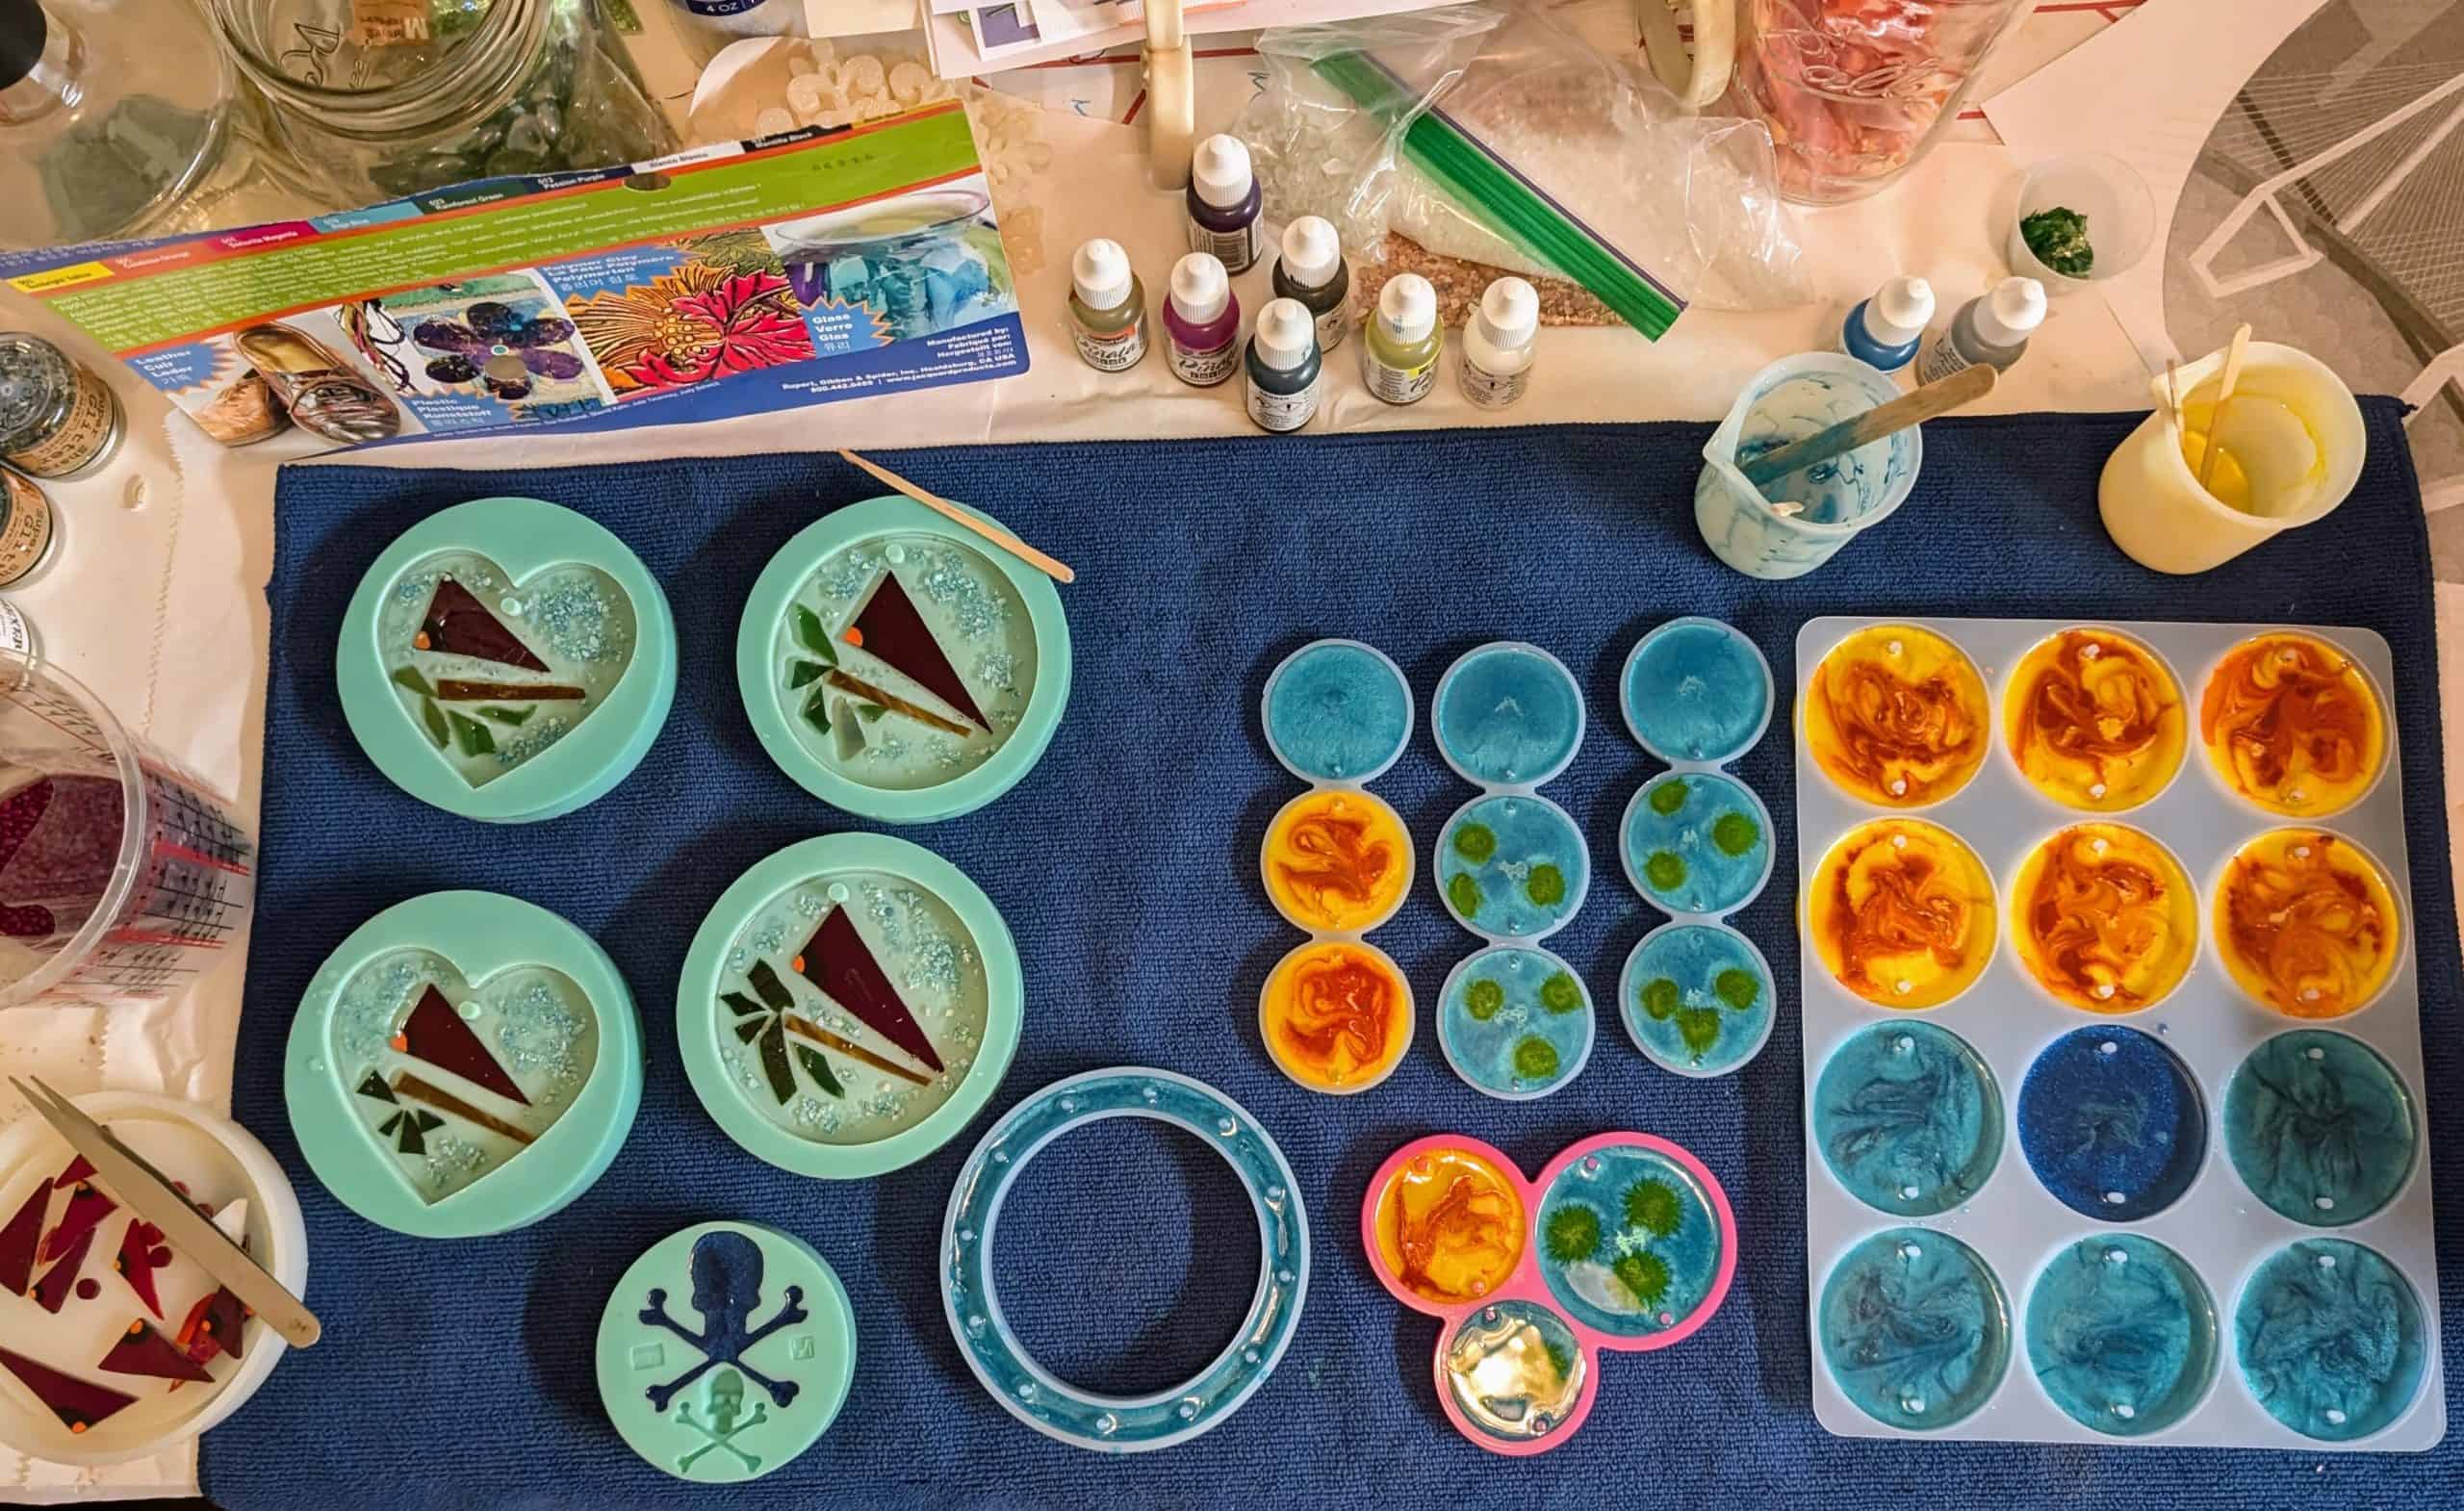
Today’s projects
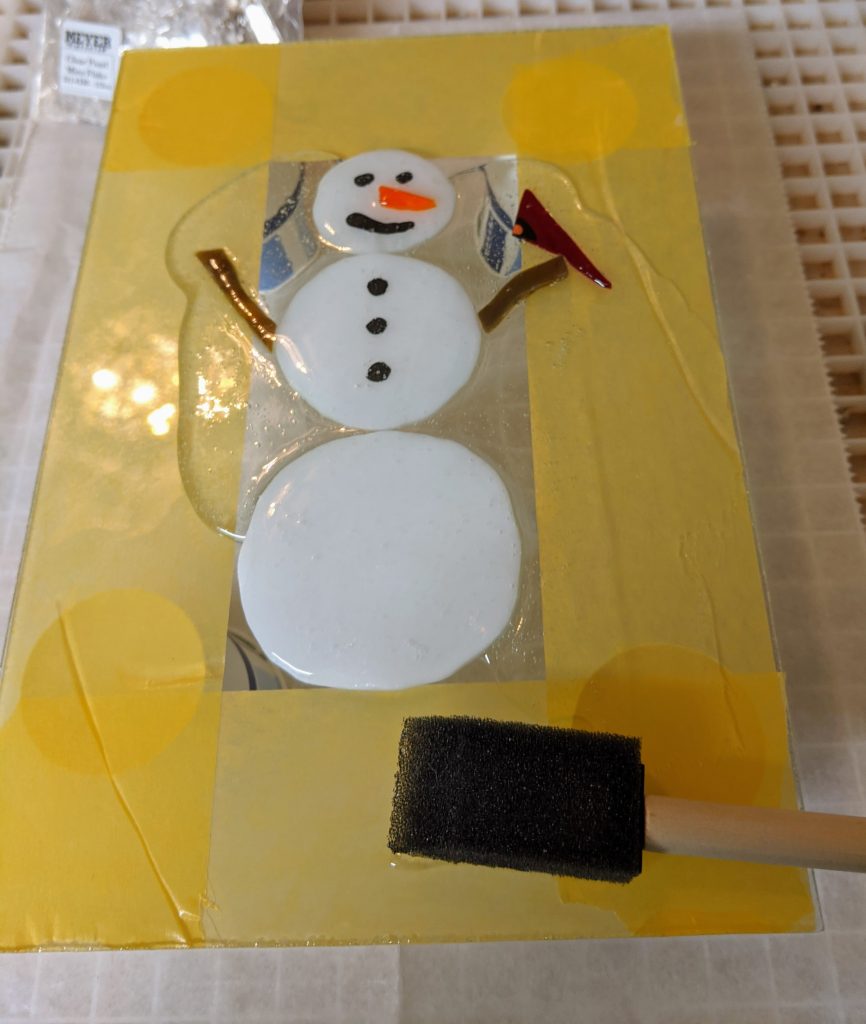
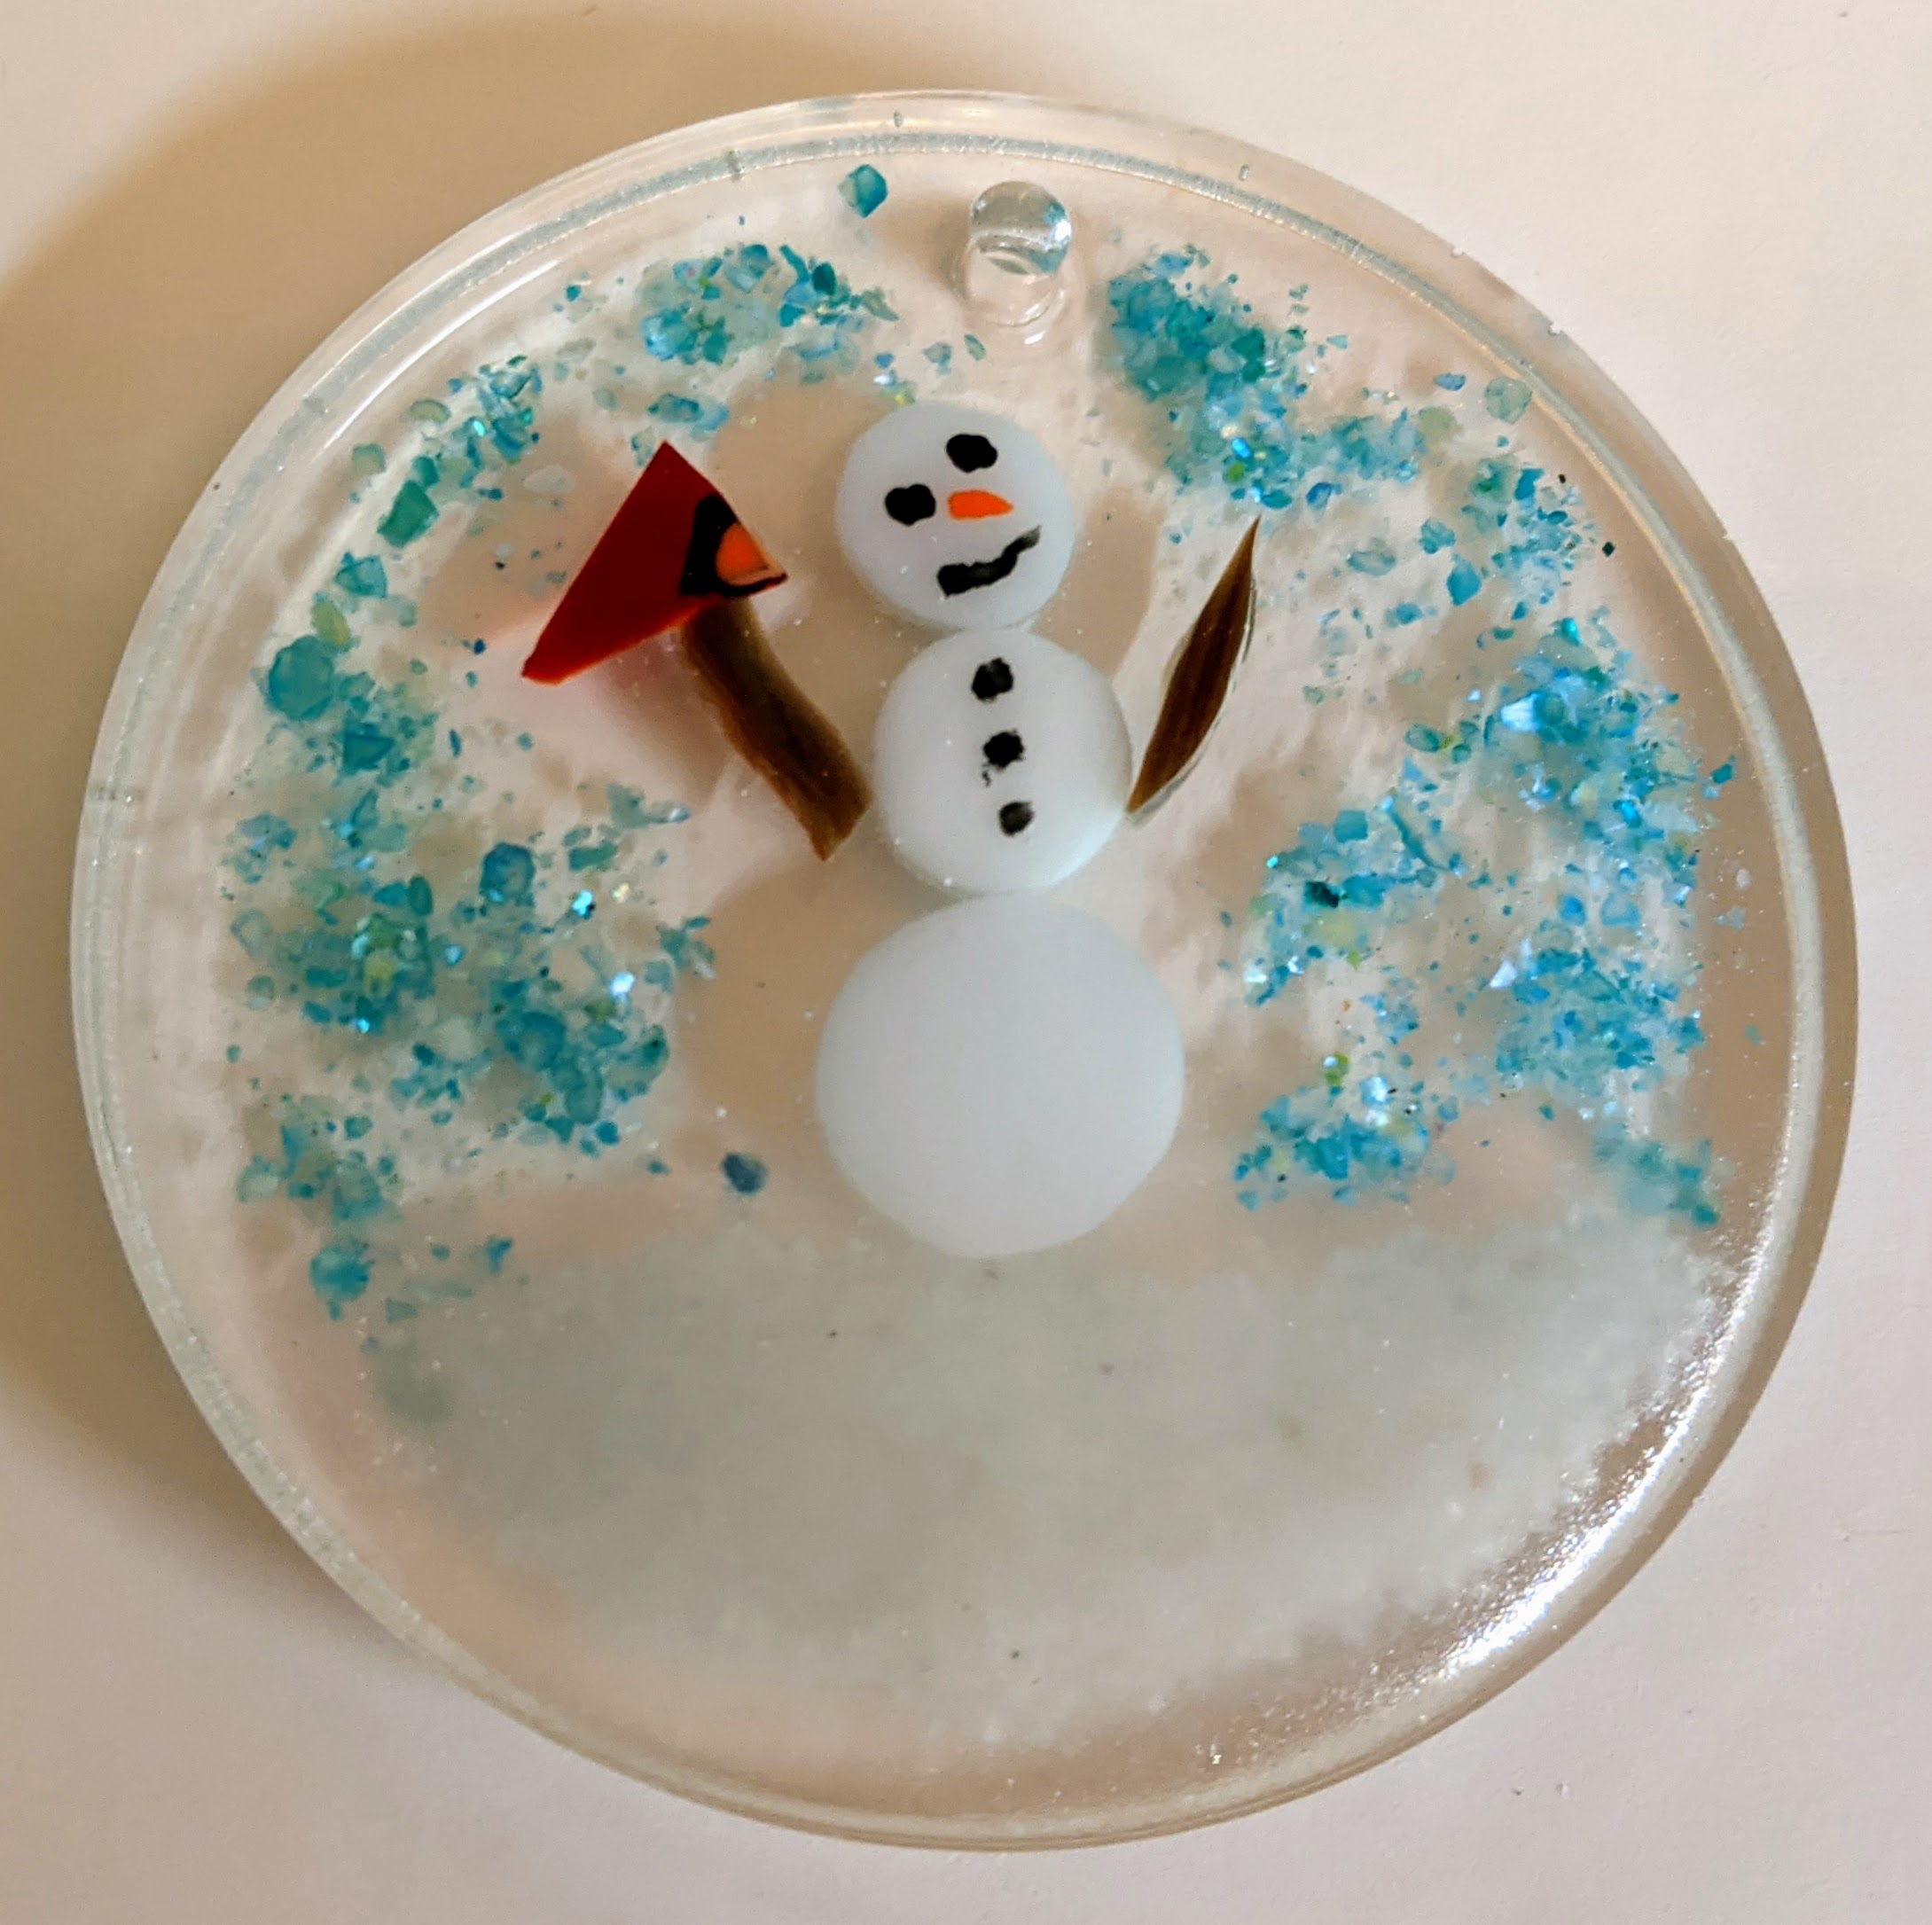
I poured the second layer on the fourth “Holiday Confetti” coaster and the first layer on the other five pieces. In addition, I poured the resin and decorated a small (though big compared to the other items) Snowman panel.
Pouring and spreading the resin
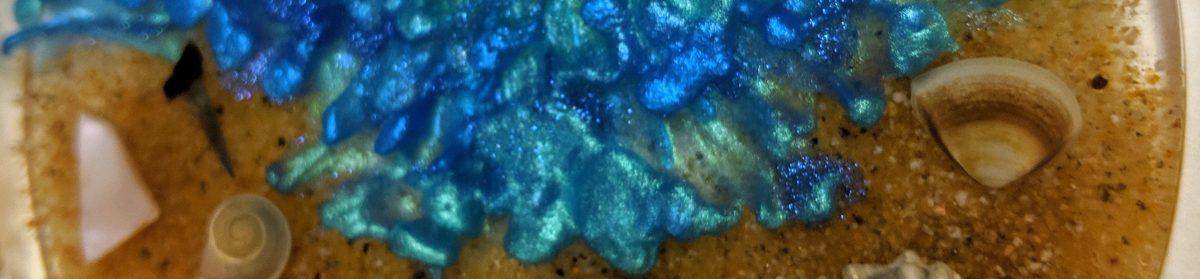
The yellow on the glass is actually painters tape I applied to the underside of the glass to make cleanup a bit easier. I pour a small amount of resin over all of the stained glass, then spread a thin layer over the rest of the backer glass so I have a substrate for my decorations to adhere to. In this case, I used crushed stone for snow, clear glass chips and blue shell chips for sparkle and interest. I dusted a bit of fine glass glitter over the snowbank and bottom area as well, but I’m finding that the glitter doesn’t seem to show up very well / as I would hope.
Resin curing with decorations embedded
I also popped out some finished products from yesterday’s time spent creating.
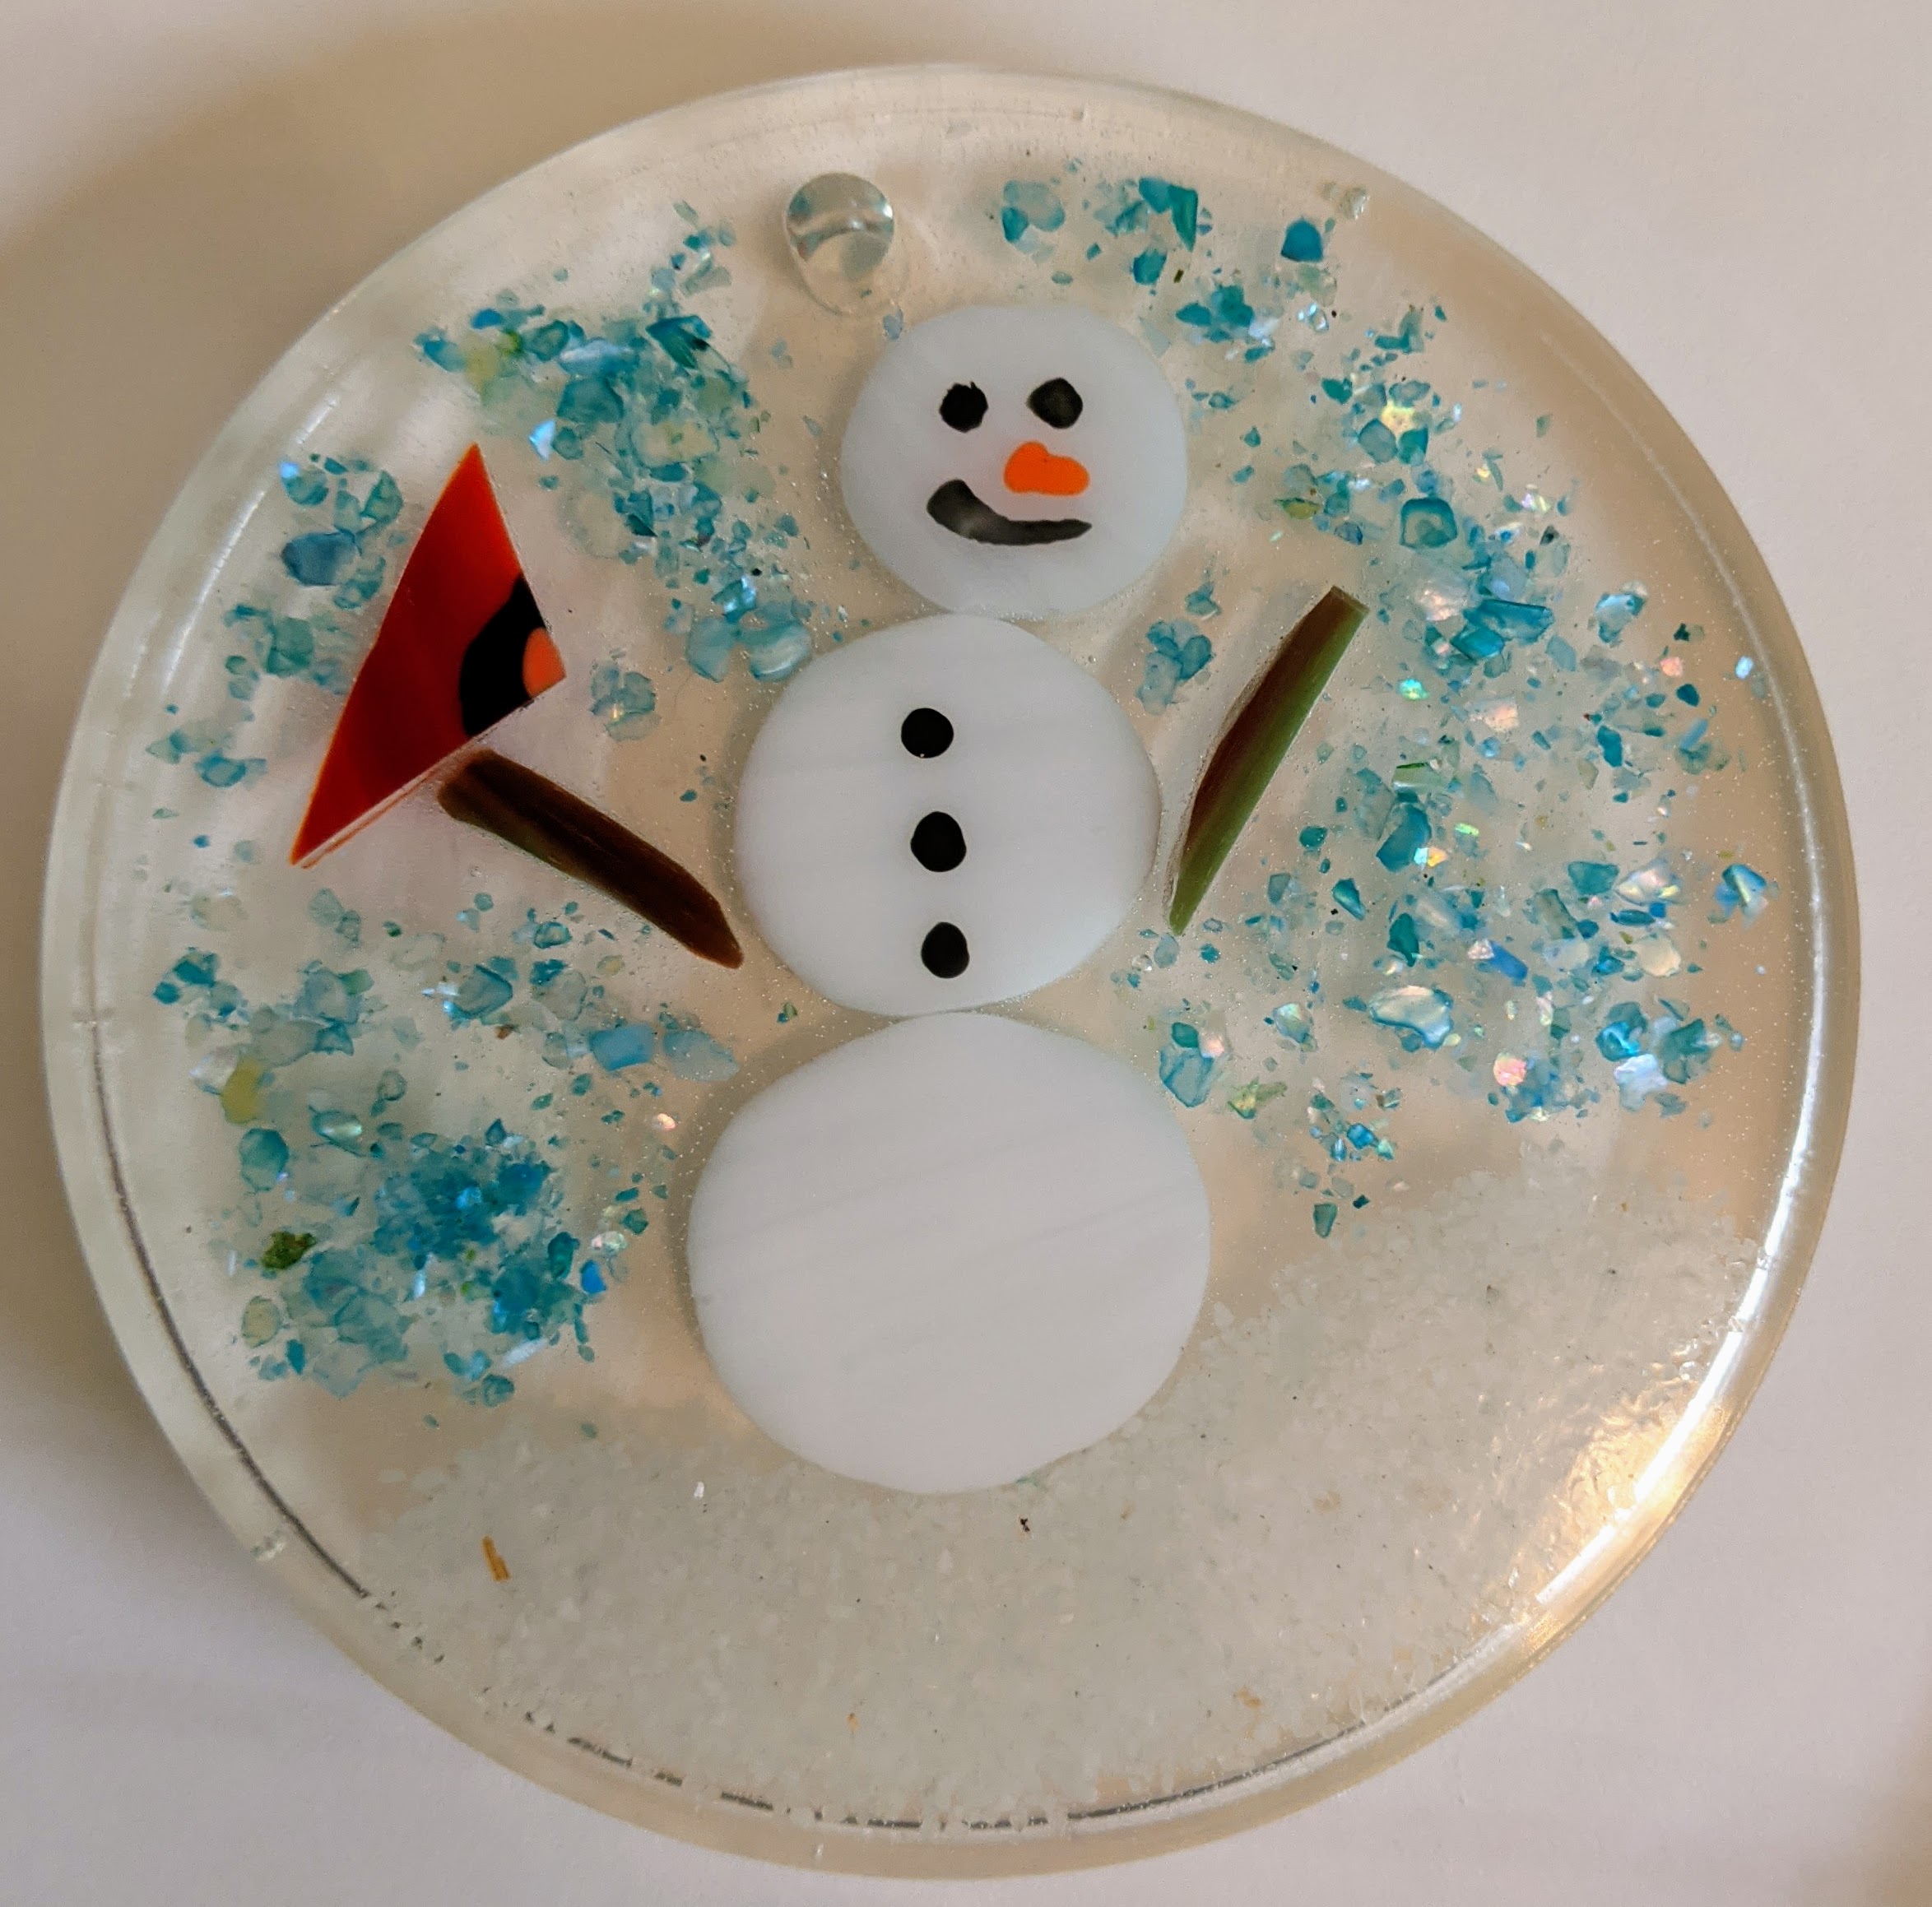
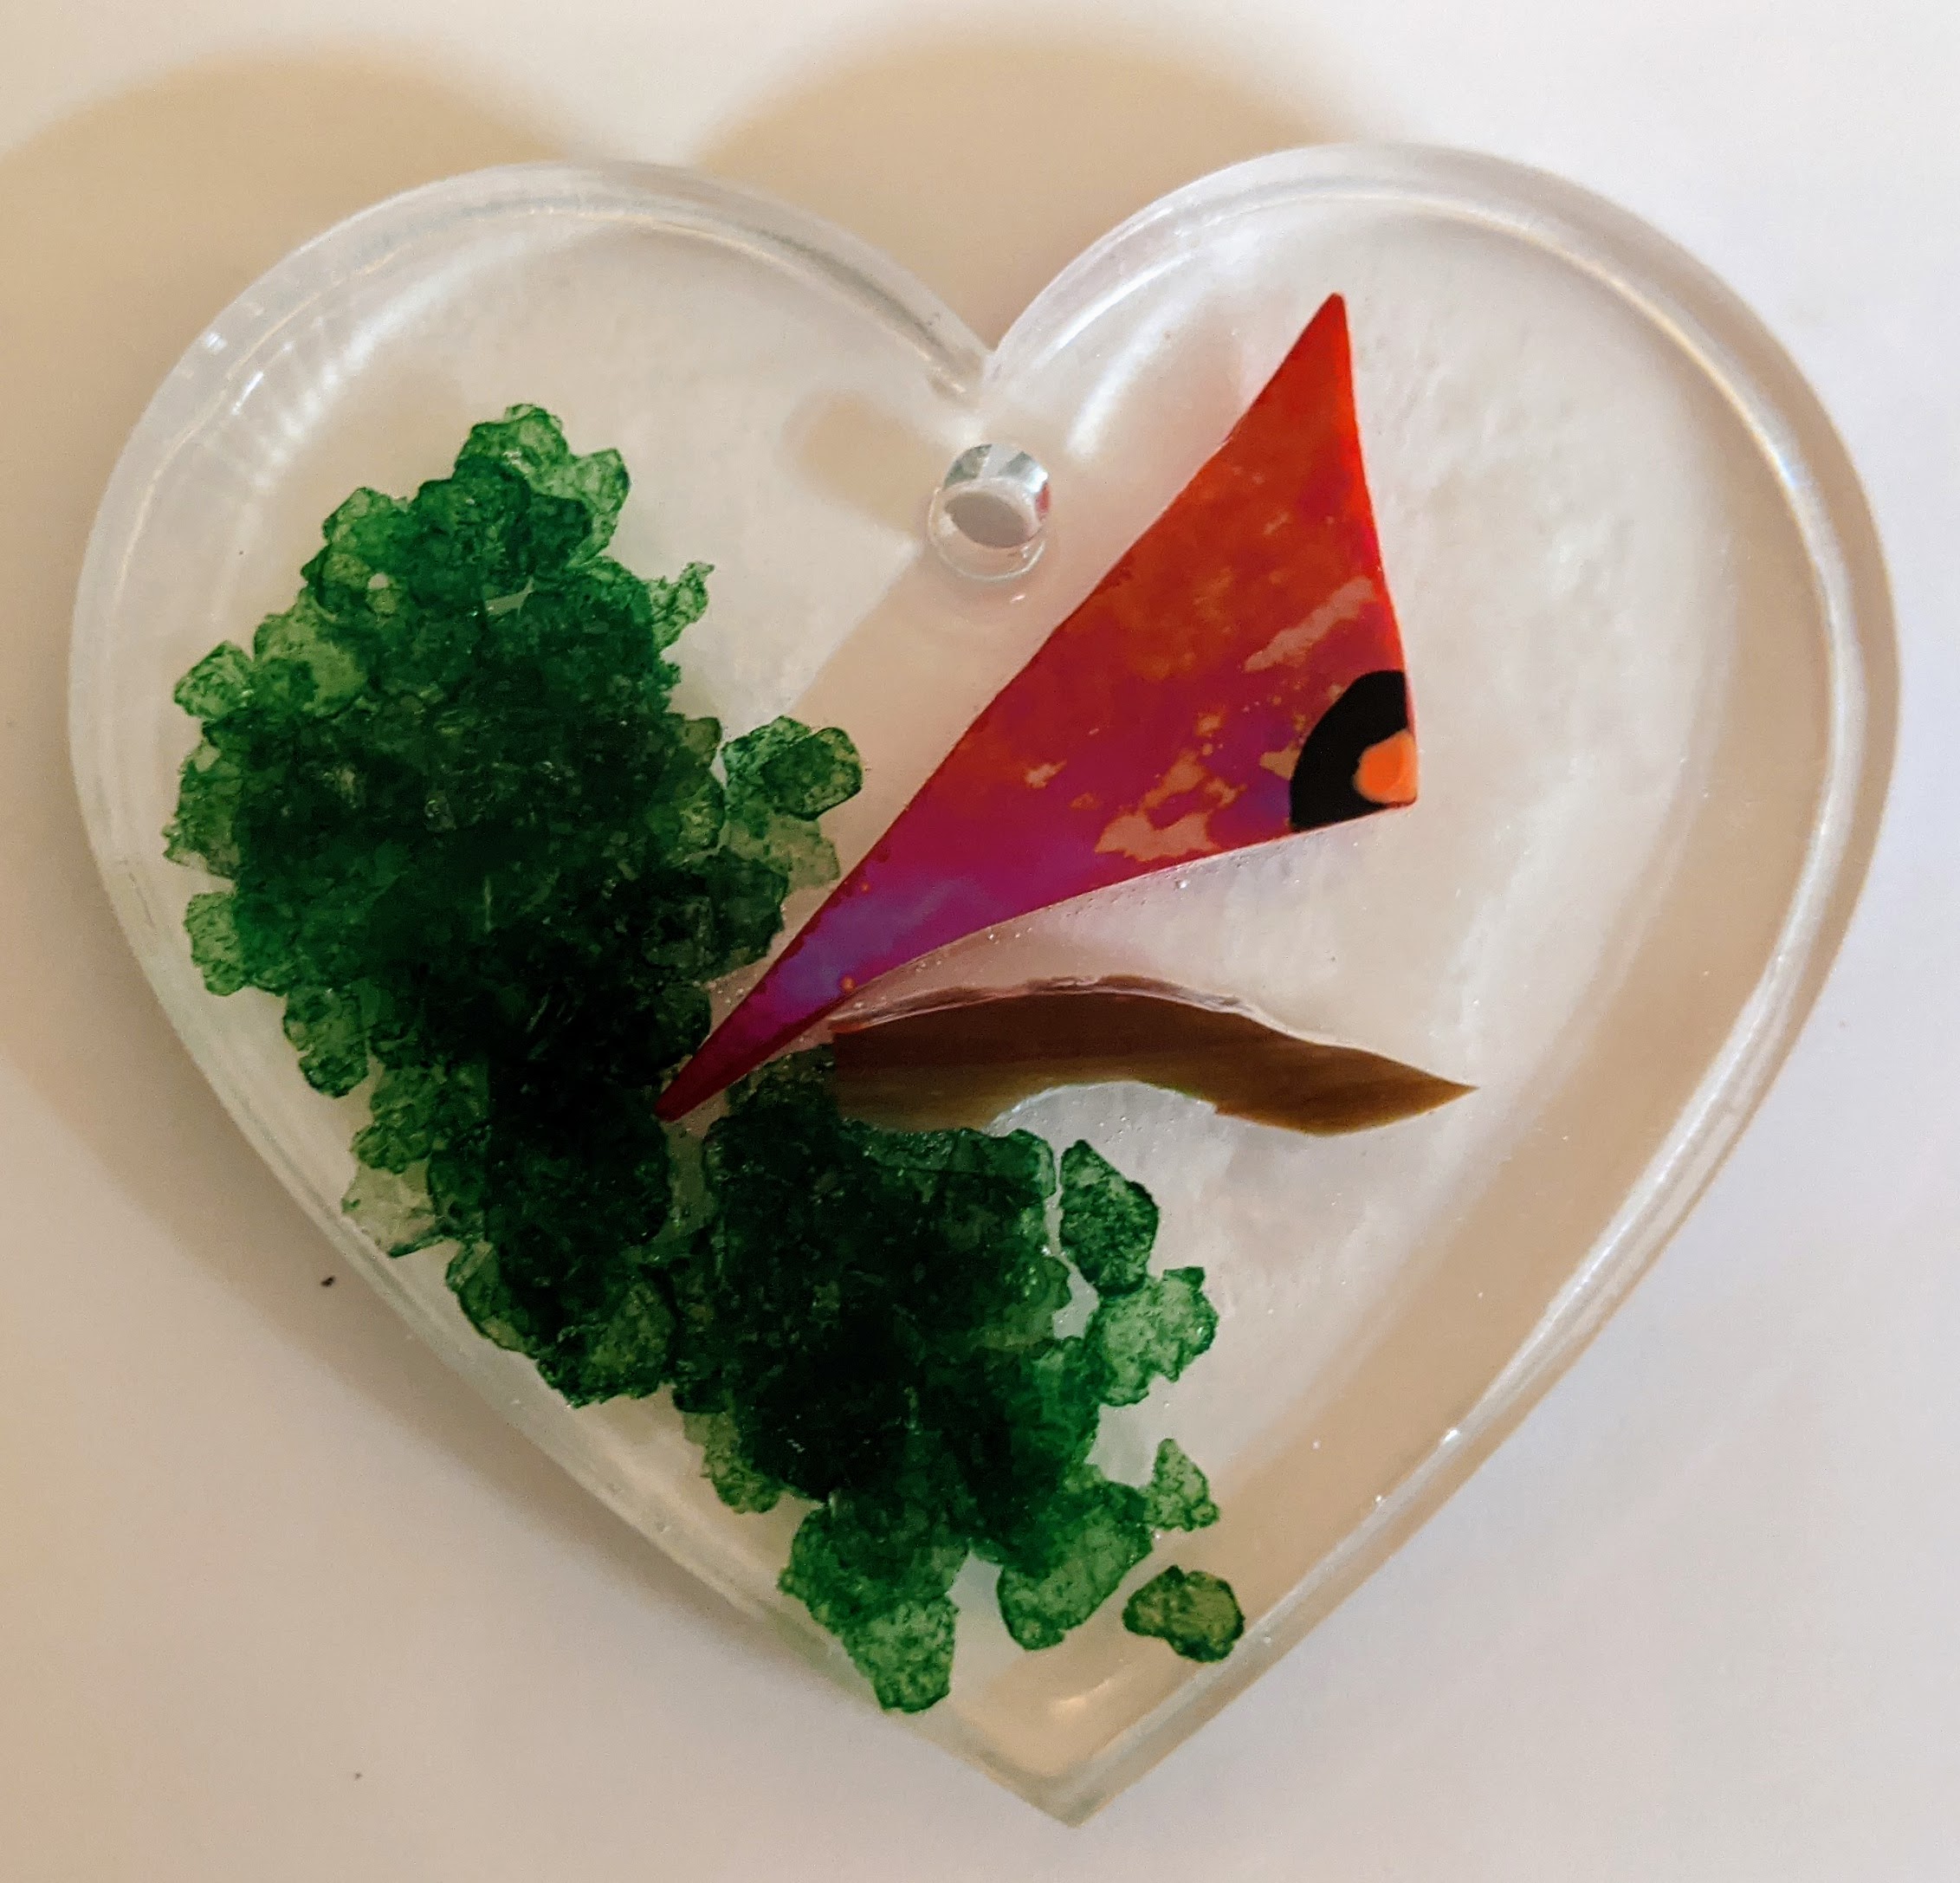
Cardinal Suncatcher / Ornament
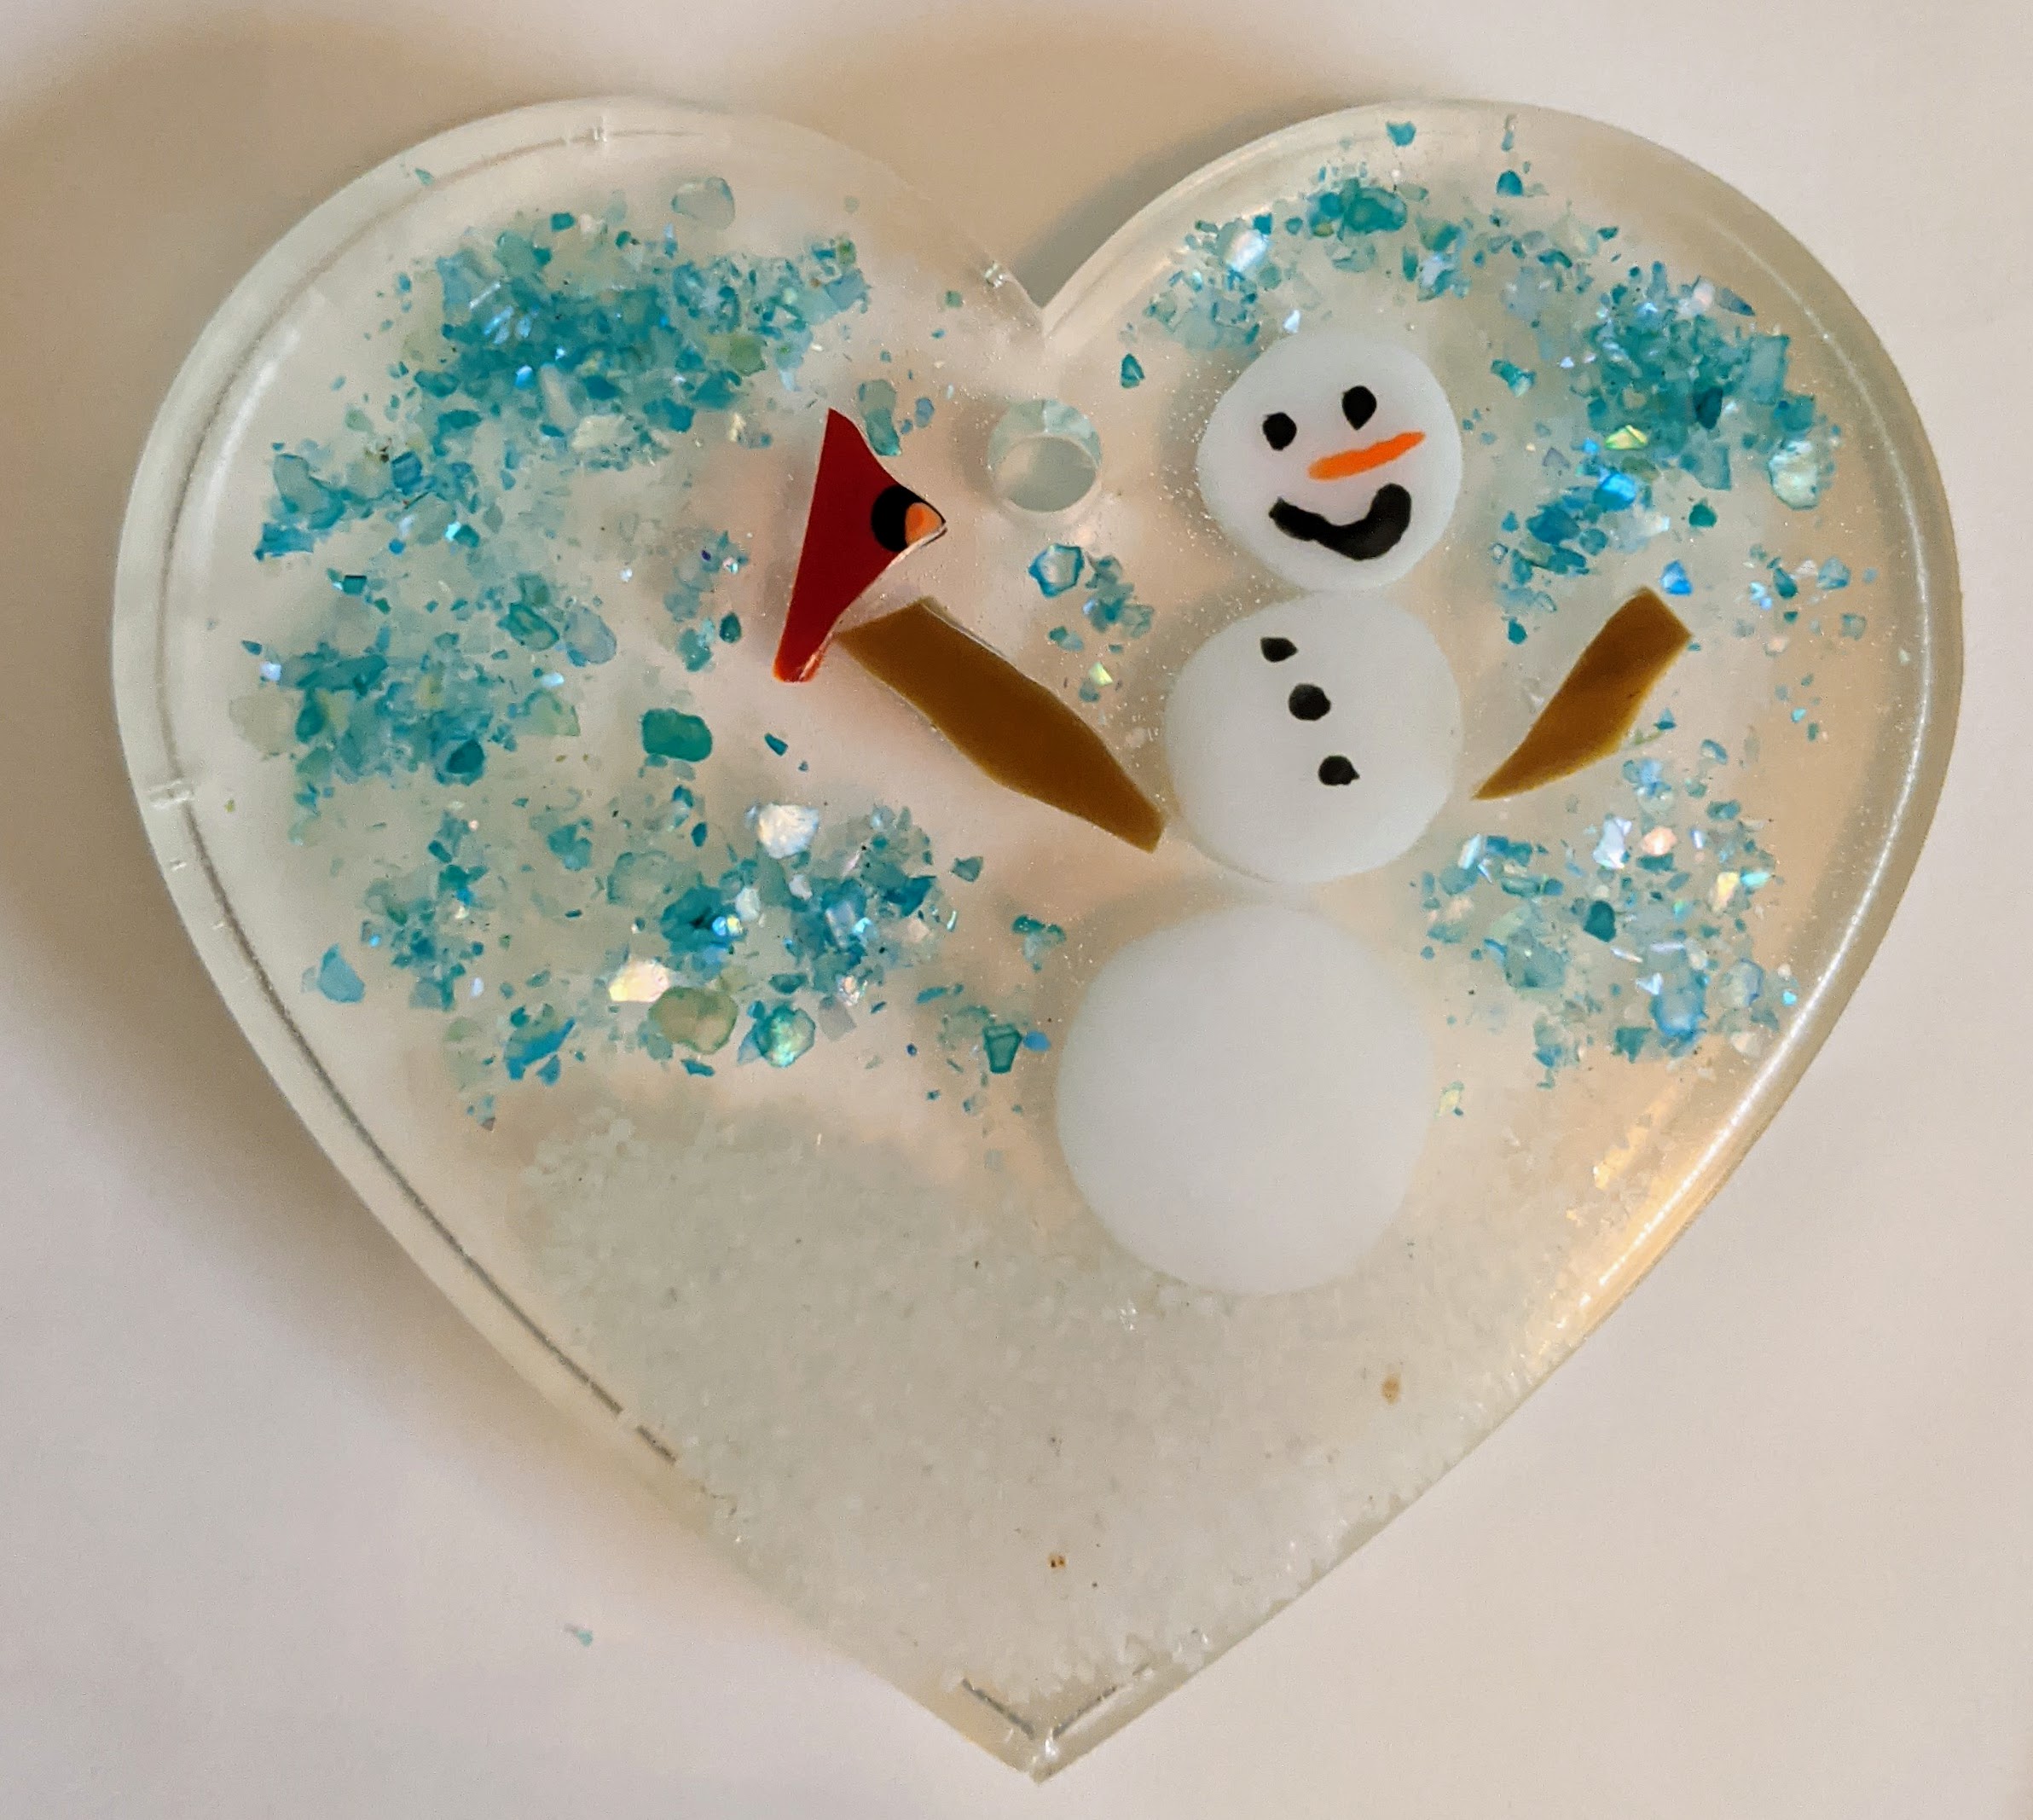
Snowman Suncatcher / Ornament
Snowman with blue sky
Holly Suncatcher / Ornament
Holiday Confetti Coasters
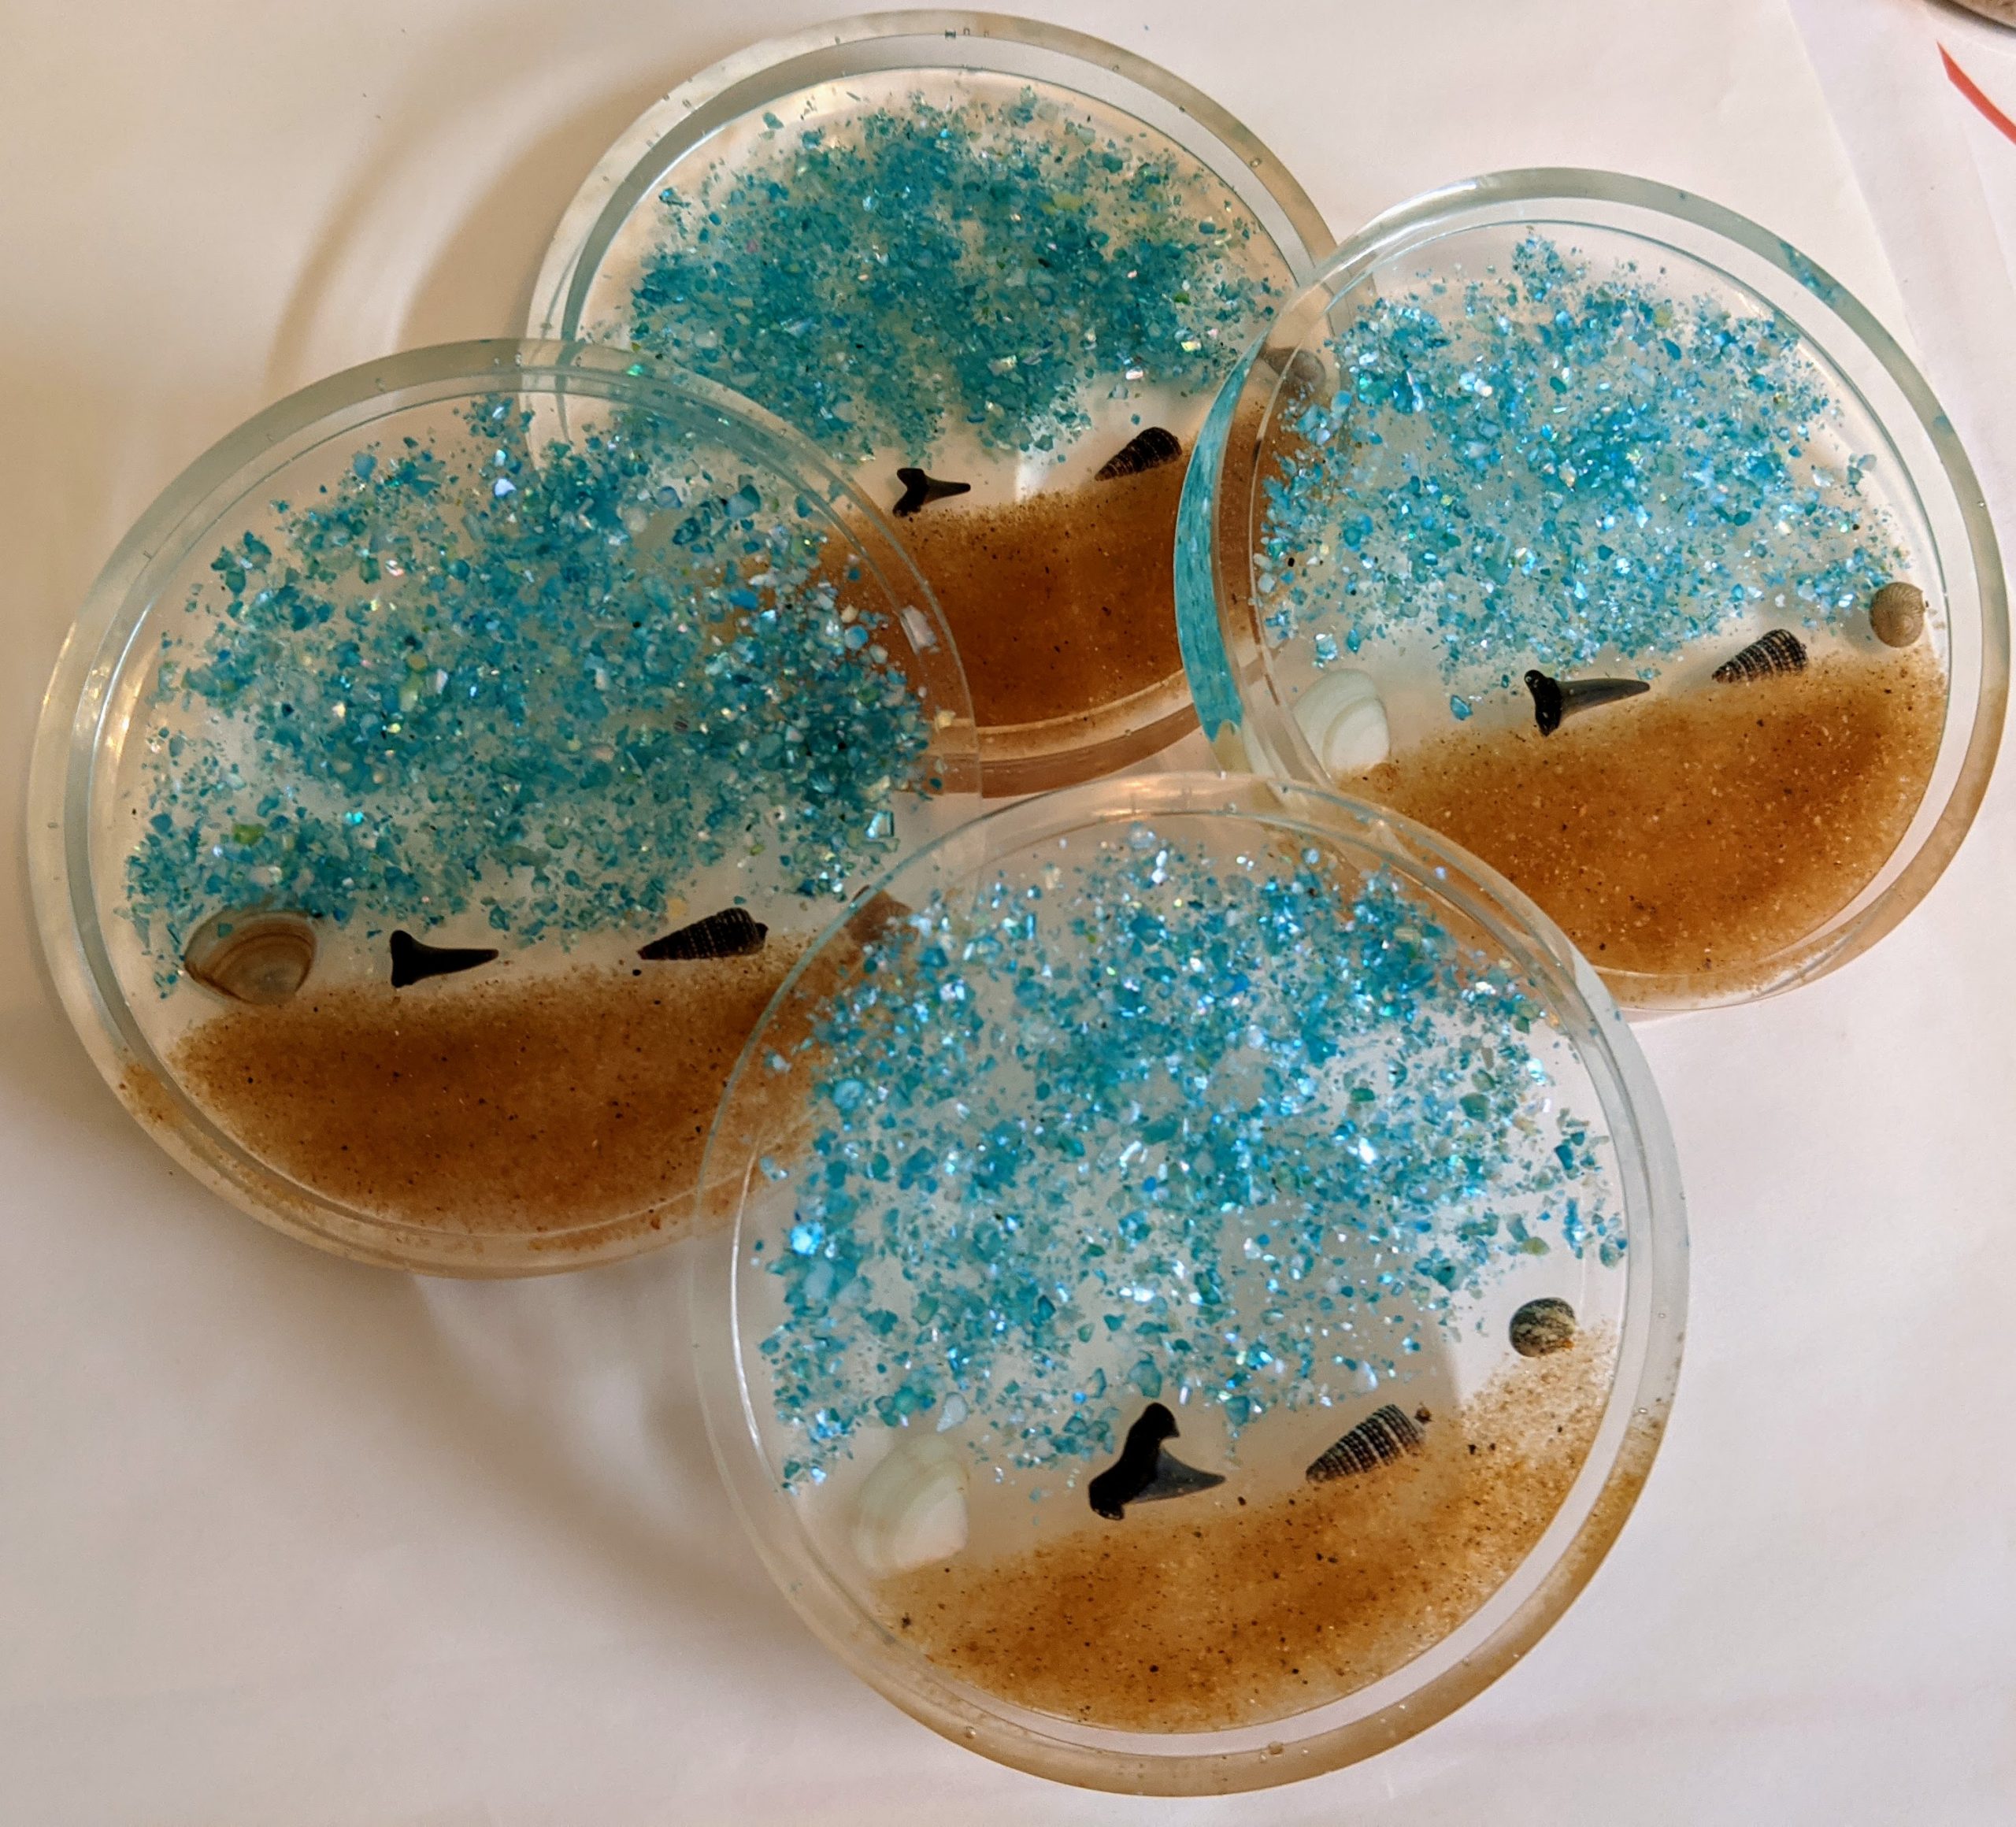
Beachy Coasters
I used some of the fine glass glitter in the Cardinal and Snowman suncatchers / ornaments above and it didn’t turn out as I had hoped. The glitter is sort of cloudy instead of sparkly. It still looks ok, just not the way I expected it to look. It might be better on the surface of my non-mold resin projects, so I will keep experimenting.
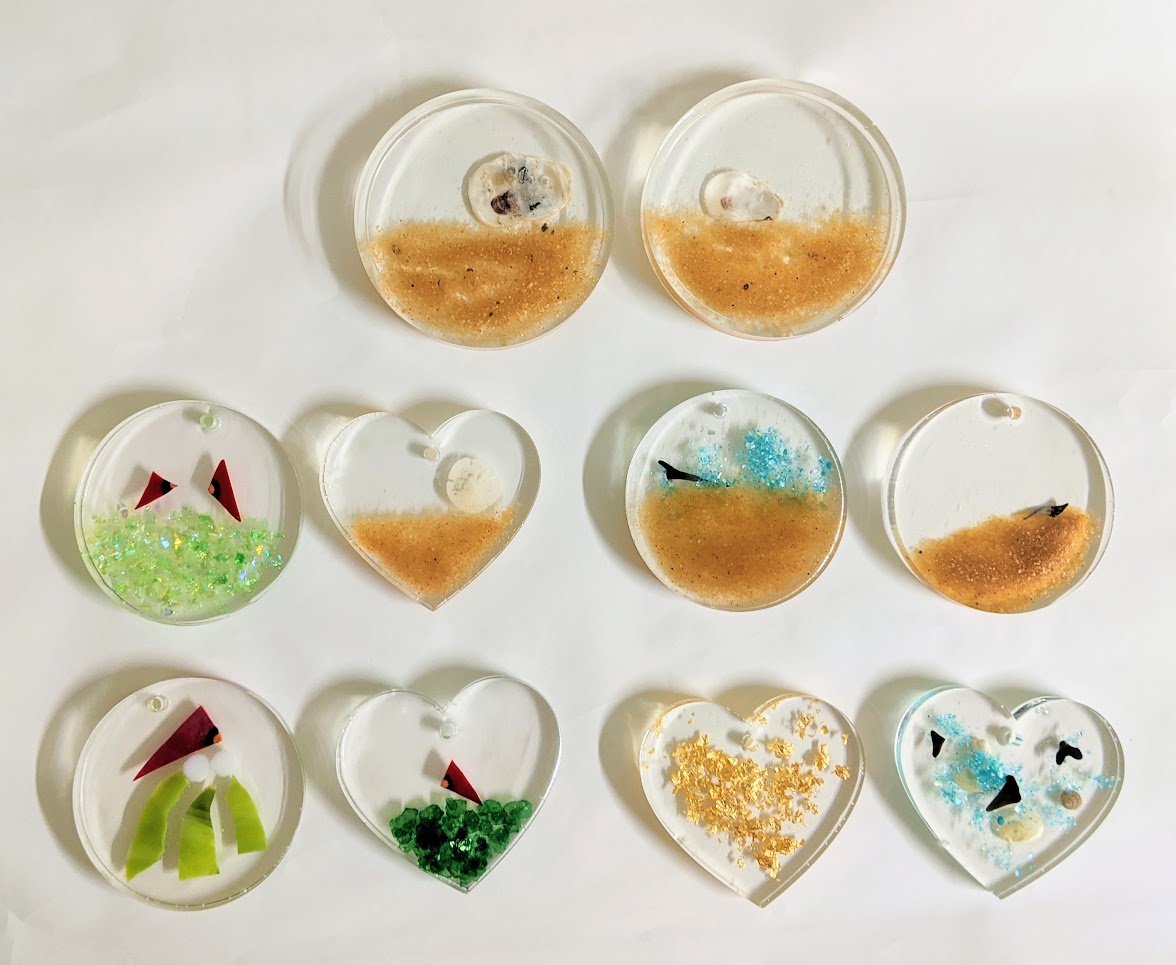
Finished a few more suncatchers today – also in this picture are a couple of beachy coasters! I used shells, shark teeth, sand, mica, various decorative flakes (metallic, metal, green) and stained glass set in resin for these.
Top two – coasters, the rest are suncatchers / ornaments
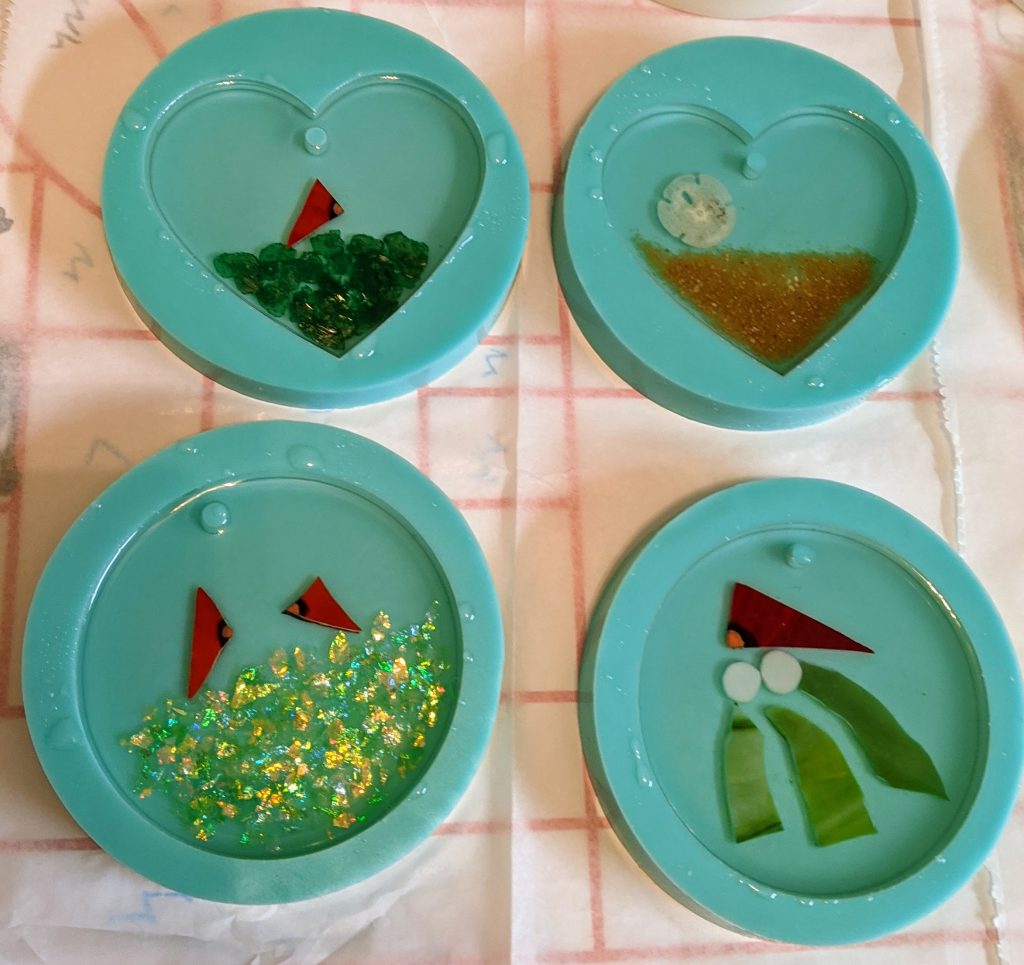
Working on some small, fun projects inspired by friends and holidays. Poured the second layer on these ornaments and the first layer of a set of cardinal coasters today.
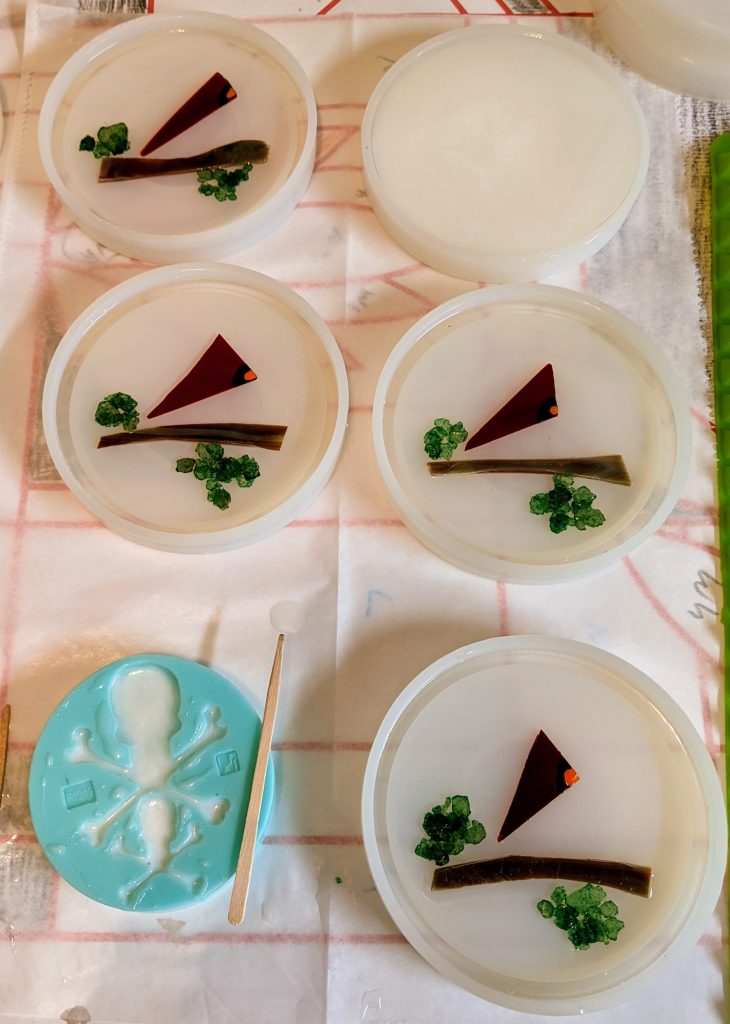
Ornaments of glass, mica, sand, shells, etc set in resinCardinal coasters and a new surprise project for an old friend
I decided to rotate the large Frank Lloyd Wright window I have been working on, and upon closer inspection of the “far” side, I decided to pour another thin layer of resin to address a few coverage issues. Since I was doing that, I mixed some extra resin to finish off a couple of coasters I’ve been working on and made a few new ornaments using mica, glass, sand, shells etc. I still have to pour a second layer on the ornaments, but the coasters should be ready to pop out of their molds tomorrow. The picture isn’t very good, but hopefully I’ll get some better ones once these are out of their molds.
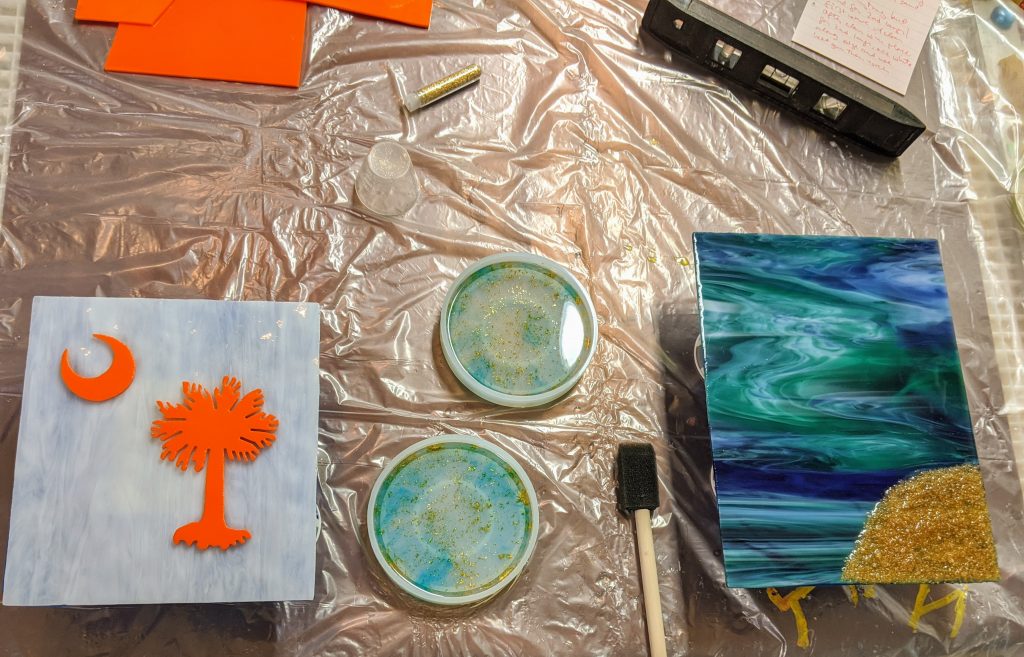
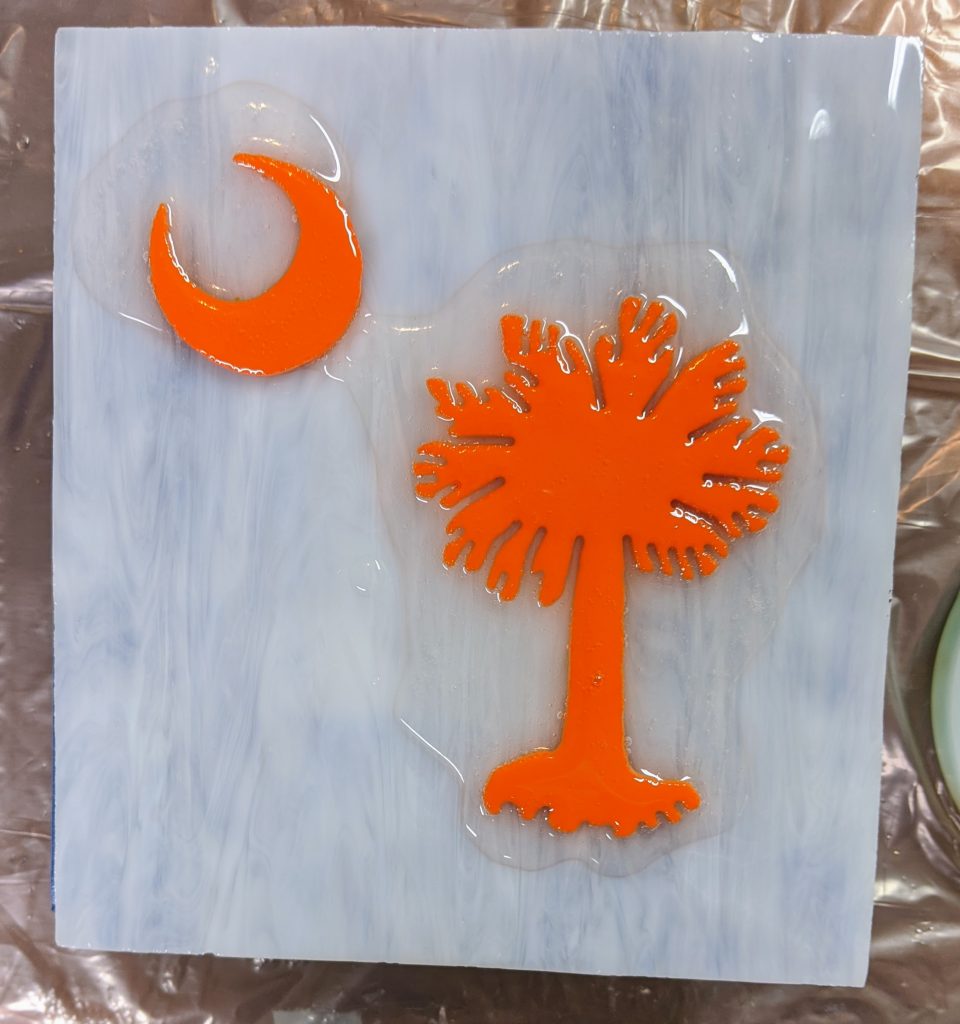
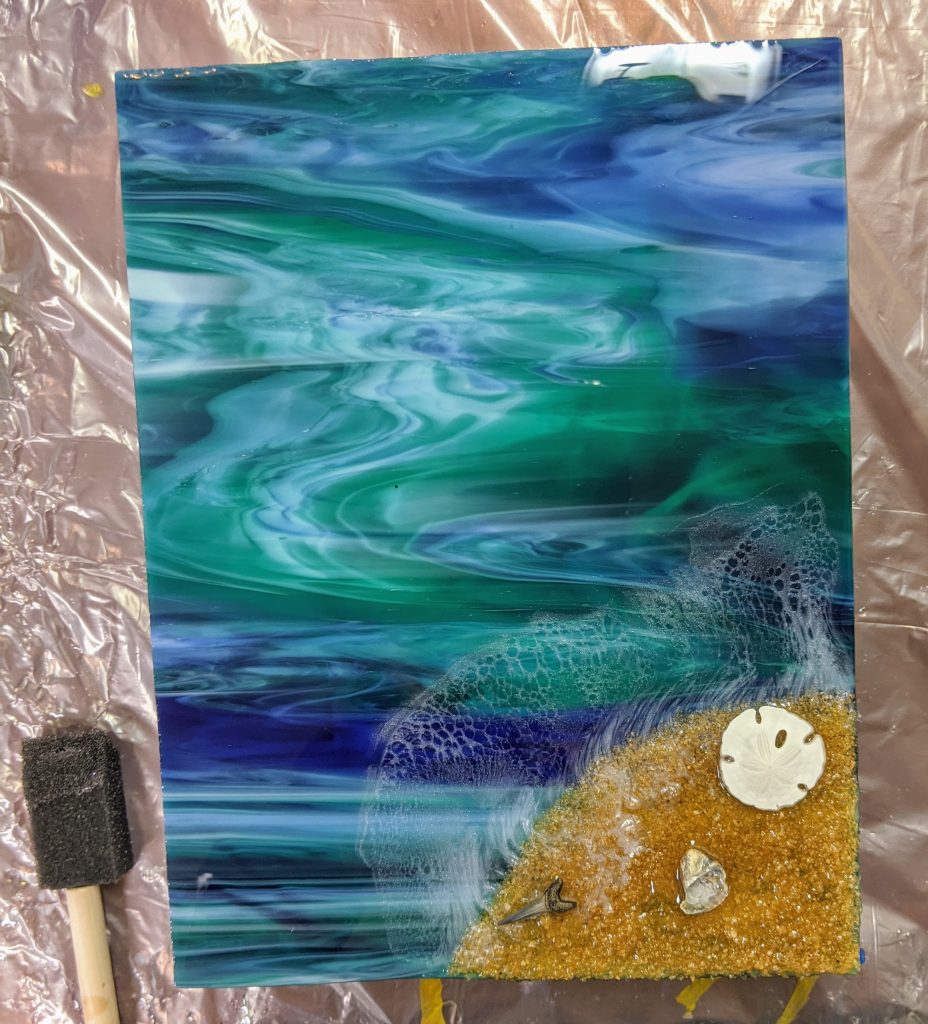
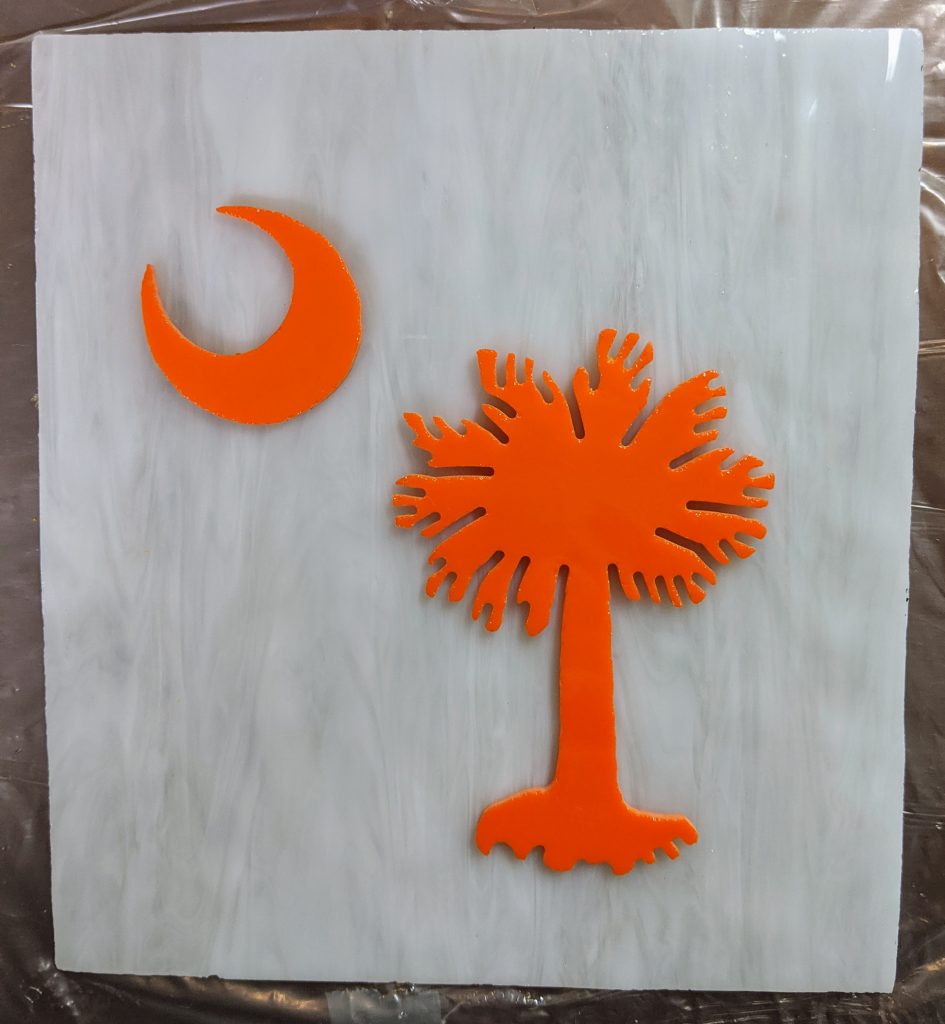
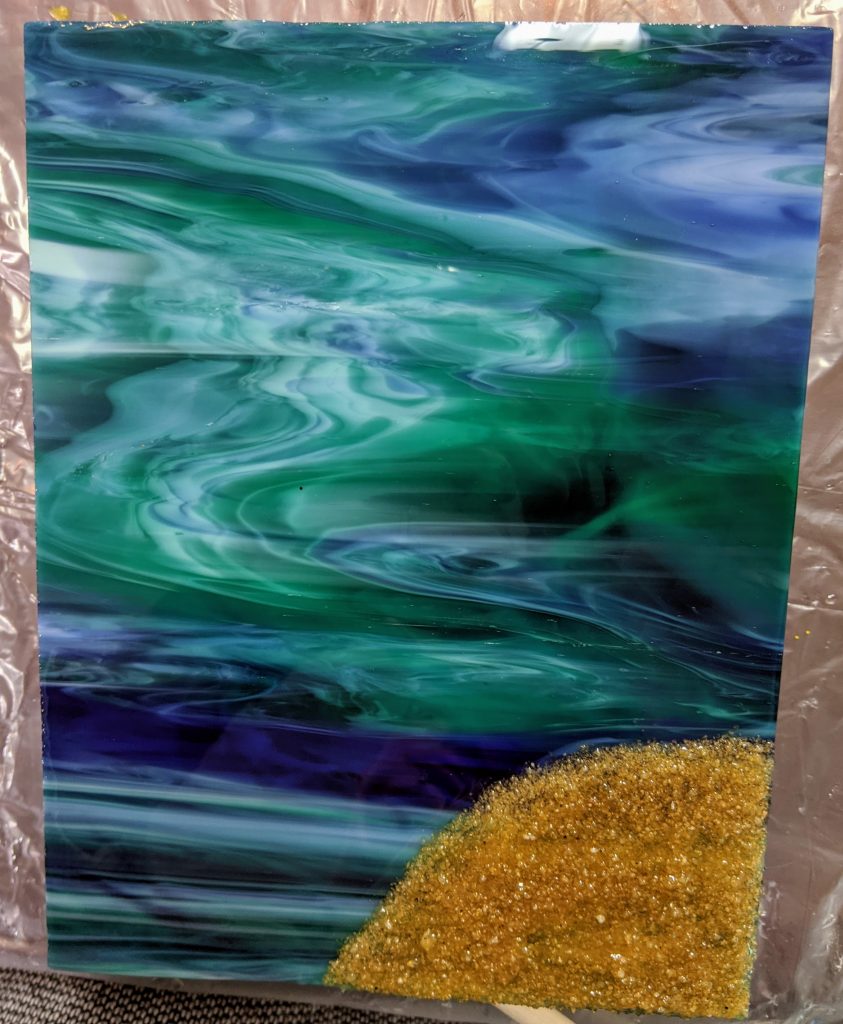
So yesterday I planned to work on these, but my real job was too busy, so today was the day. I added the first wave layer to my second beach / waves over stained glass panel, poured the resin coating on my stained glass “Clemson” colors Palmetto and Crescent panel, and added the second layer to my two alcohol ink / gold flake resin coasters.
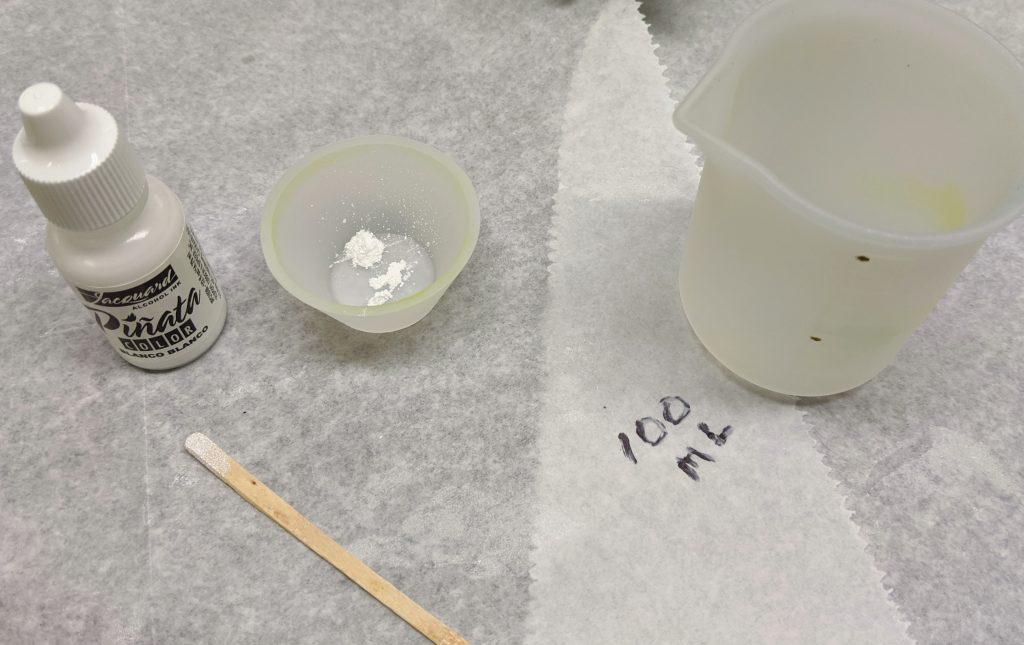
Prepping the resin
Projects laid out
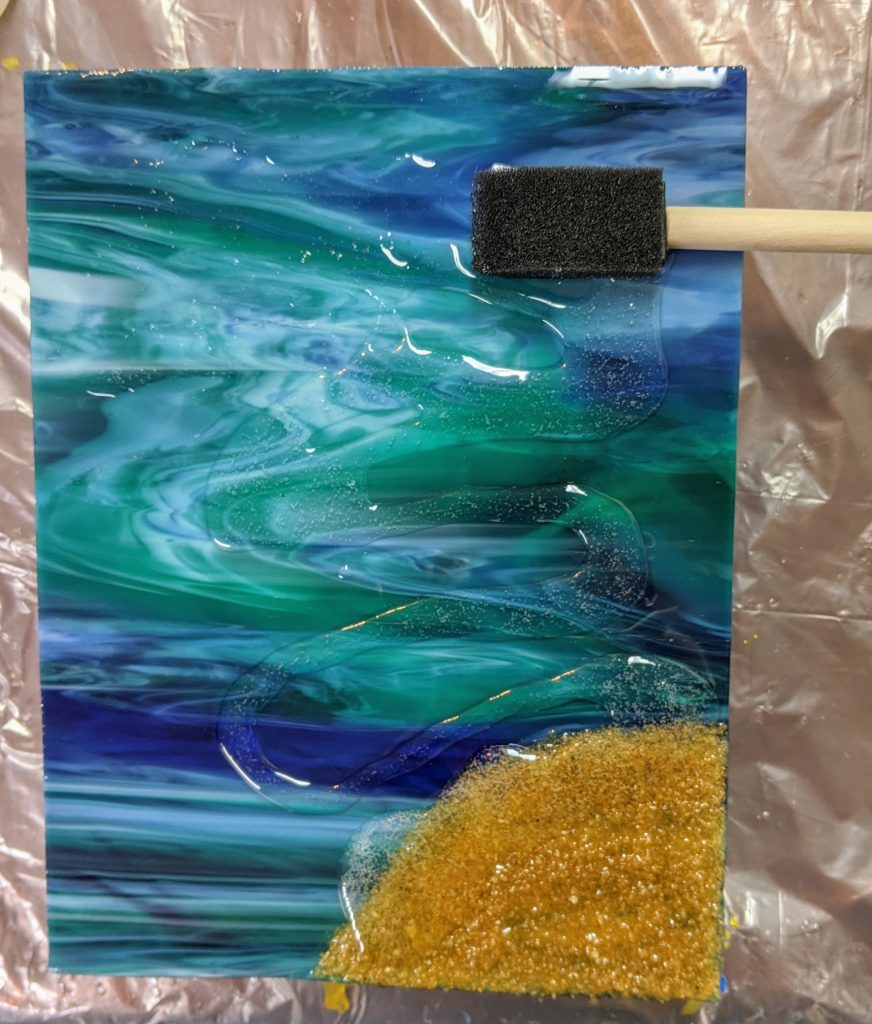
I mixed 100 ml of resin, then set a small amount aside for the white part of the waves on my beach panel. Next I poured the clear layer of resin over the glass panels and spread the resin around with a sponge on a stick.
Once the resin was spread all over the base glass, I used my heat gun to remove bubbles and spread the resin a bit more evenly. Next, I added a line of white tinted resin (powdered pigment plus a drop of white alcohol ink) to the sandy beach part of the wave panel.
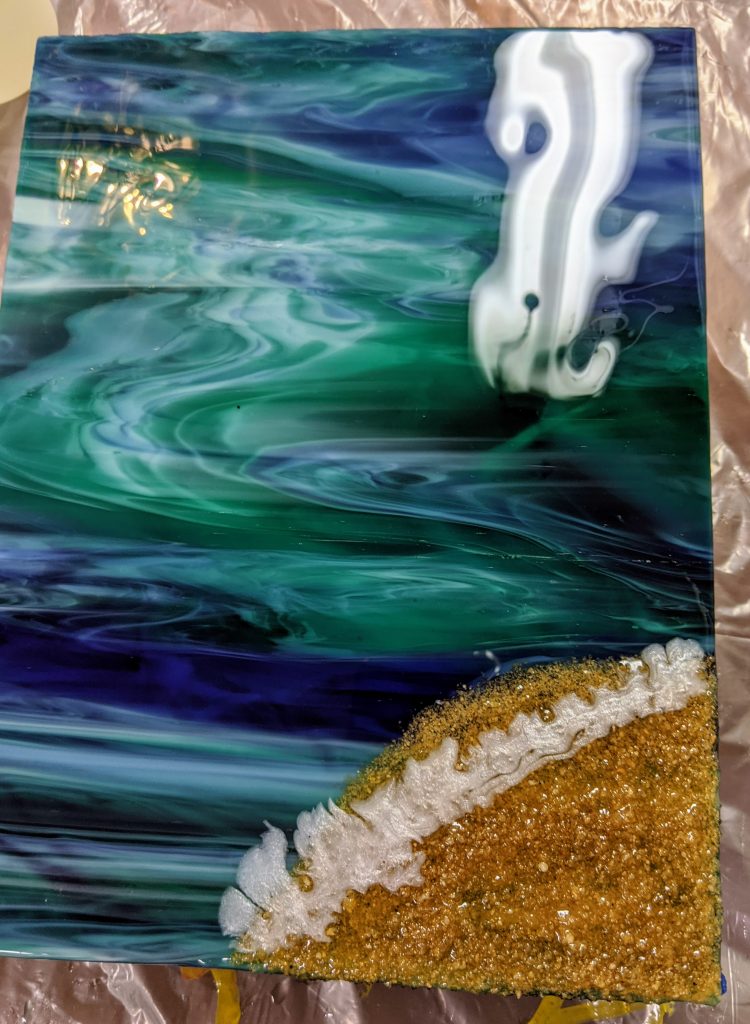
White resin poured in a line
After heat gun
Next I used my craft torch to spread out the white bubbles of the wave. The alcohol ink drop helps create the feathery effect in the resin when the torch hits it. I really only wave the torch very briefly over the white resin one time. The torch can quickly crack the stained glass if it gets too hot.
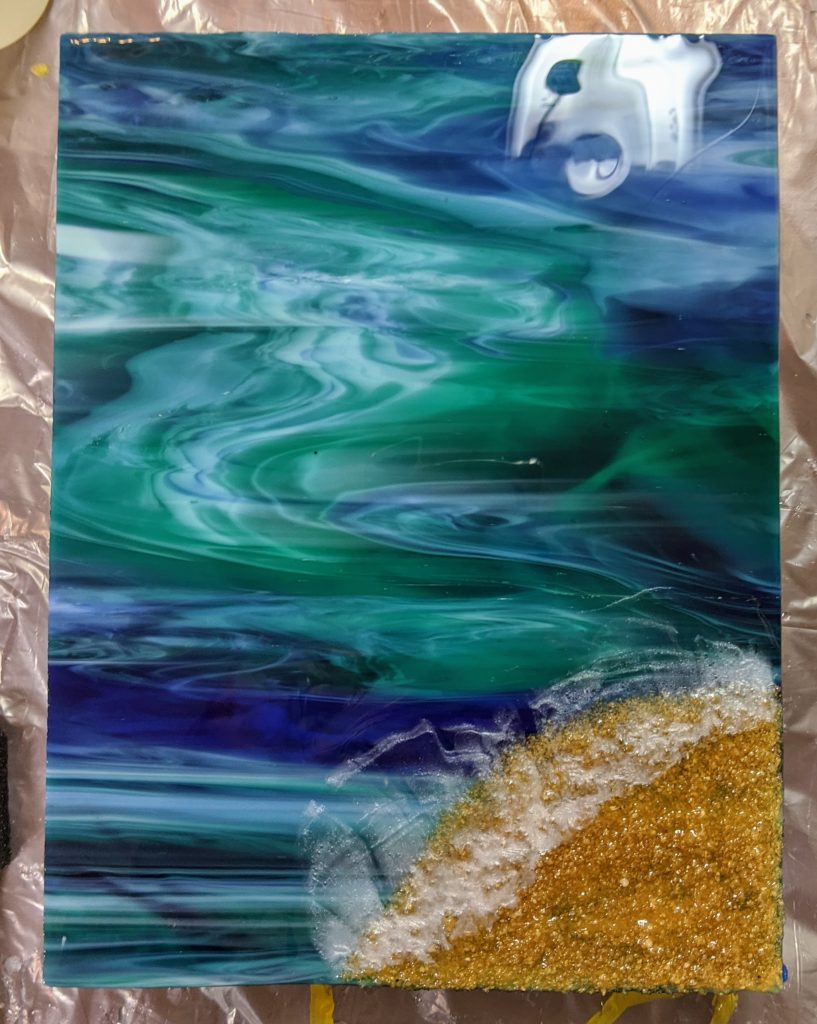
First layer with the “breaking wave” effect.
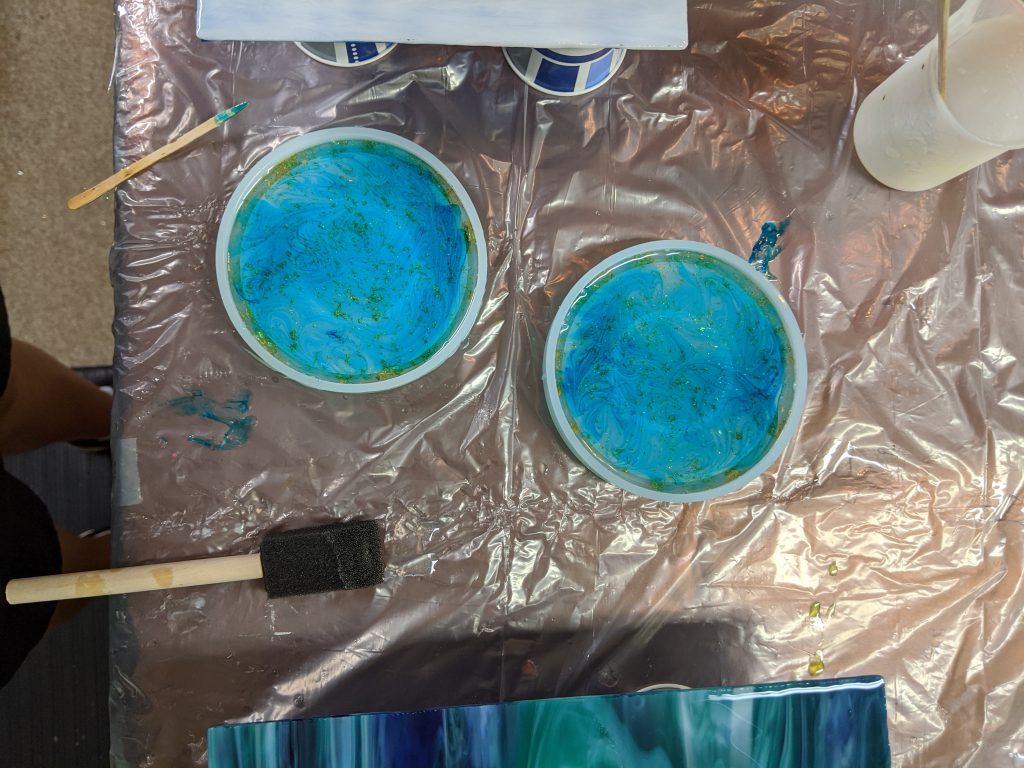
Next I poured the leftover clear resin into the coaster molds I started two days ago. The first layer was clear with some metallic flakes and a drop of blue alcohol ink. This layer was clear with about three drops of blue ink, which I added directly into the clear resin after I poured it into the molds. Afterward, I blew it with my heat gun (obligatory bubble removal) and manipulated a bit with a small craft stick.
The picture is a bit misleading – I was able to see some clear areas / variation in the resin.
Some shells / etc added
Ready to cure
I will likely need to add another layer of clear resin to the coasters and I’m hoping to add two more layers of wave to the beach panel, but the palmetto and crescent panel should be all set tomorrow afternoon. I will probably also brush a very light coat of resin over the sand dollar, shark tooth and shell on the beach panel.
Today I started another layered wave over glass project. I need more practice to get the layers the way I want to see them. I also decided to make a “Clemson” version of the palmetto and crescent. My leftover resin went to a new coaster project where I’m trying out a new “beachy look” theme with metallic flakes and some blue alcohol ink.
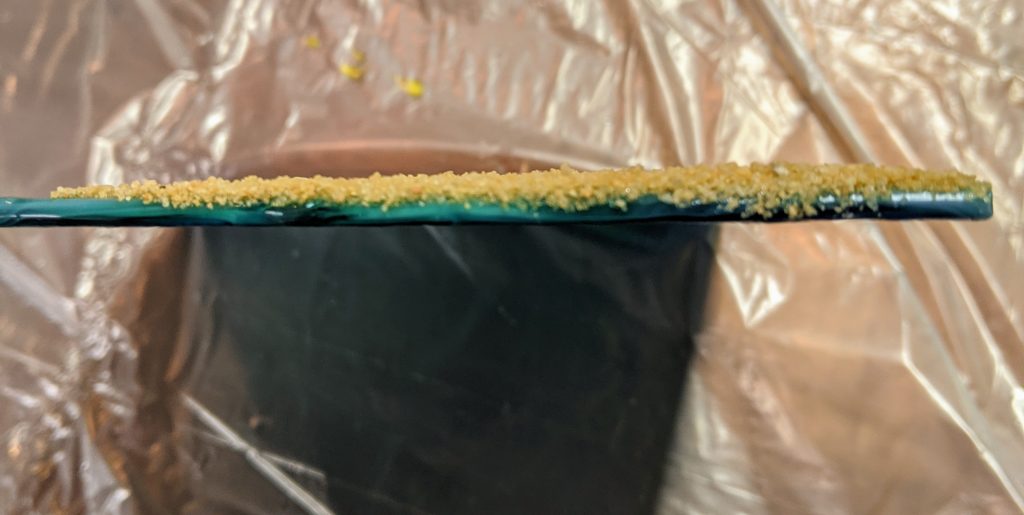
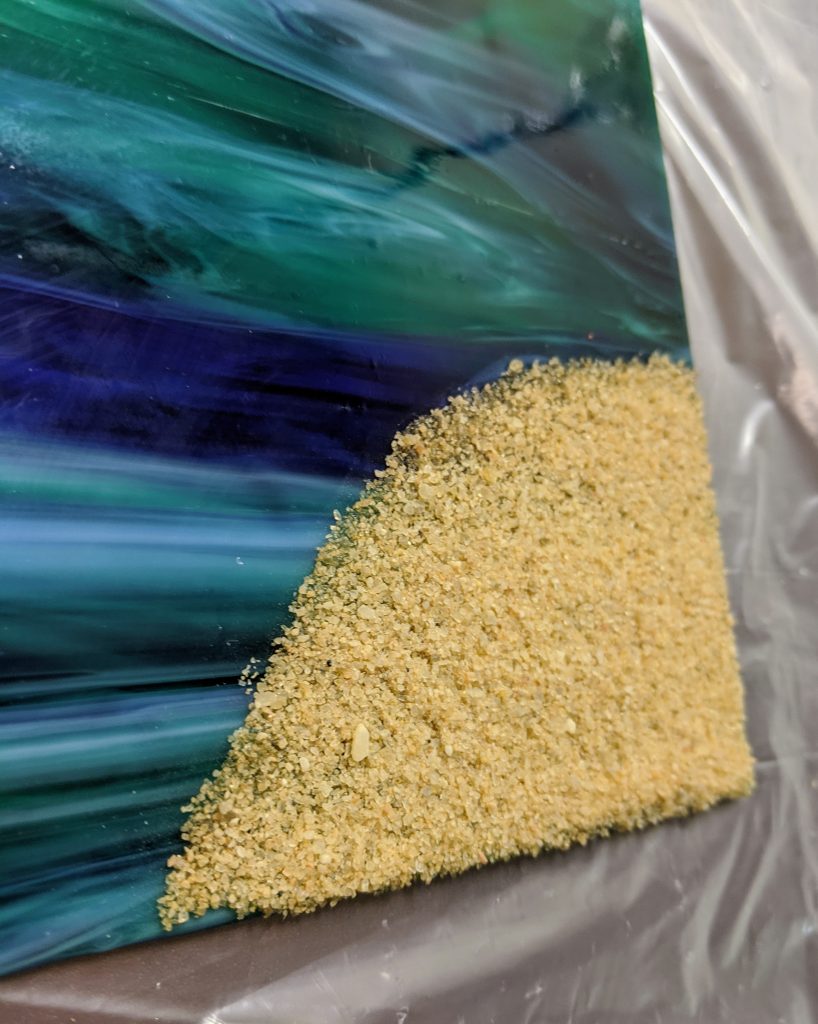
Thinner layer of sand
My first resin wave layers over glass project looked great, but I felt like I made the sand layer too thick, so for the past couple of days I have been slowly layering the sand to the point where it is pretty much opaque, but not thick. My plan for today was to pour the first layer of clear resin. I also wanted to add the first wave (white pigment), but I chickened out and decided to wait until the first resin layer had cured.
While I waited for the resin to settle over the sand and glass, I poured the first layer of resin into two coaster molds and added some metallic flakes and later some blue alcohol ink tinted resin drops as well.
Yes, another experiment
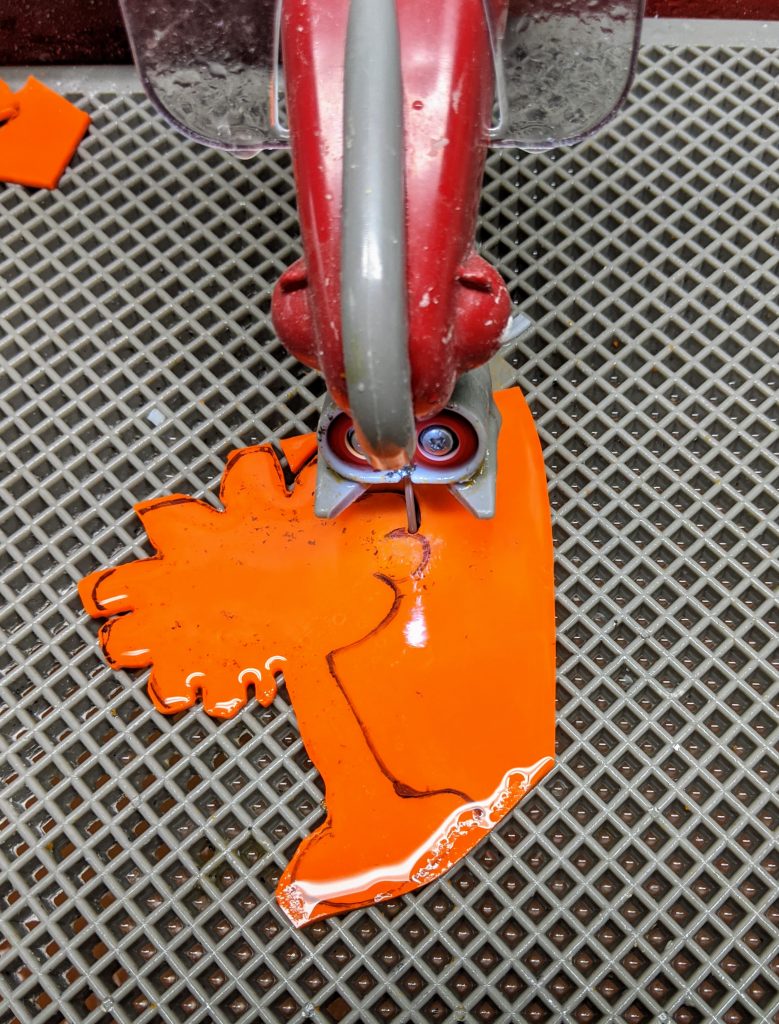
I ordered some bangle bracelet molds the other day and I’m hoping to use a mix similar to the one I used in these coaster molds in those, so I thought I’d try it out with my leftover resin today. I have no idea how it will turn out, but I think I will add another layer with more ink when I mix my next batch of resin for my art-glass-layered-wave-beach panel. I poured and spread the resin as needed, used my small craft stick to remove bubbles and then used the heat gun on all three items to further remove bubbles. While I waited for the resin to settle (you have to hang out for 30-60 minutes and watch for more bubbles in case they decide to pop up), I cut out two more palmetto and crescents using my glass saw; one set orange and one white.
The palm fronds are very delicate, so I cut them in stages.Waiting for the first resin layer to cure overnight
Tomorrow I will add the second wave layer over the sand / beach on the glass panel and hopefully layers for the orange / white palmetto and crescent glass panel and another tinted layer for the coaster experiment.
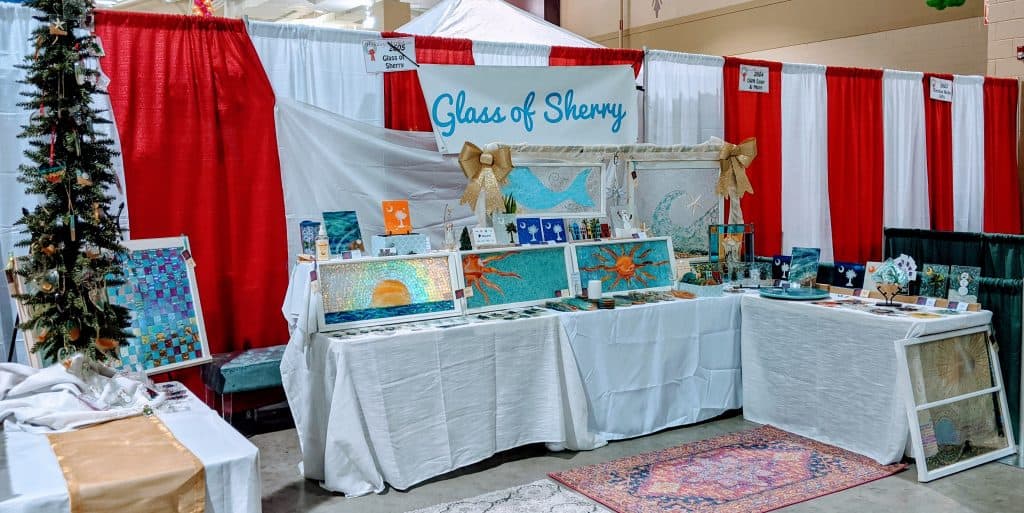
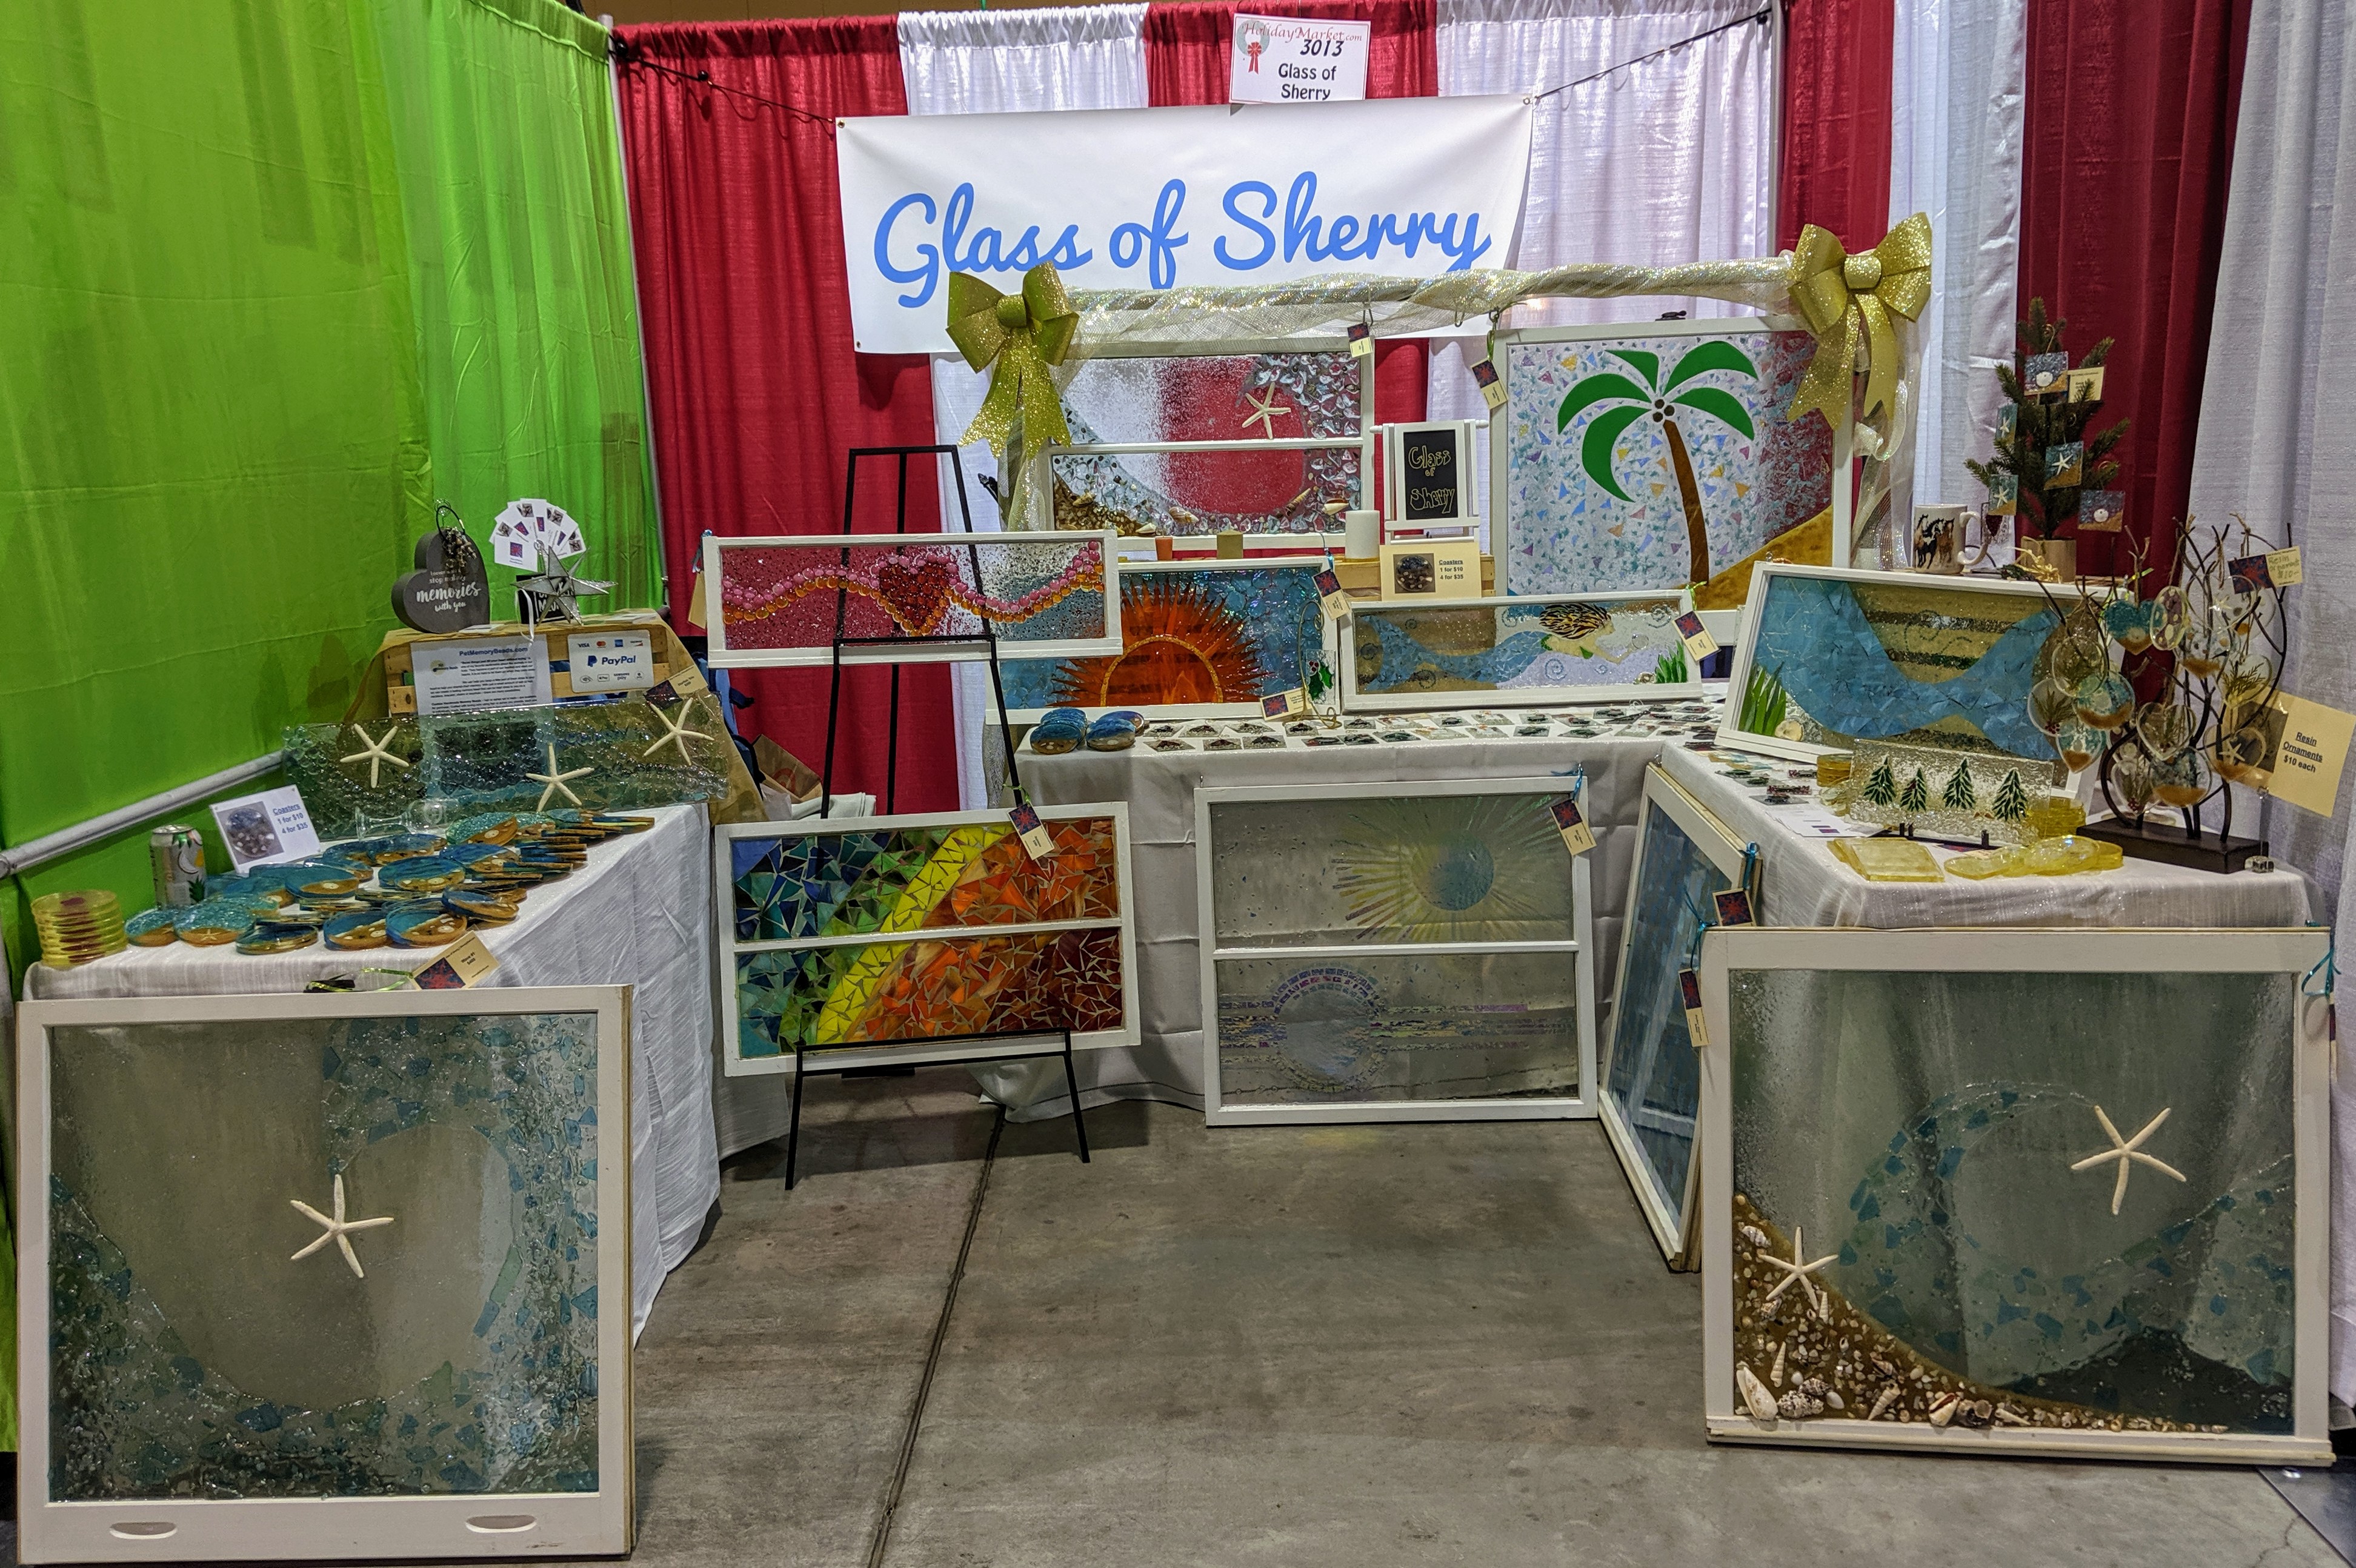
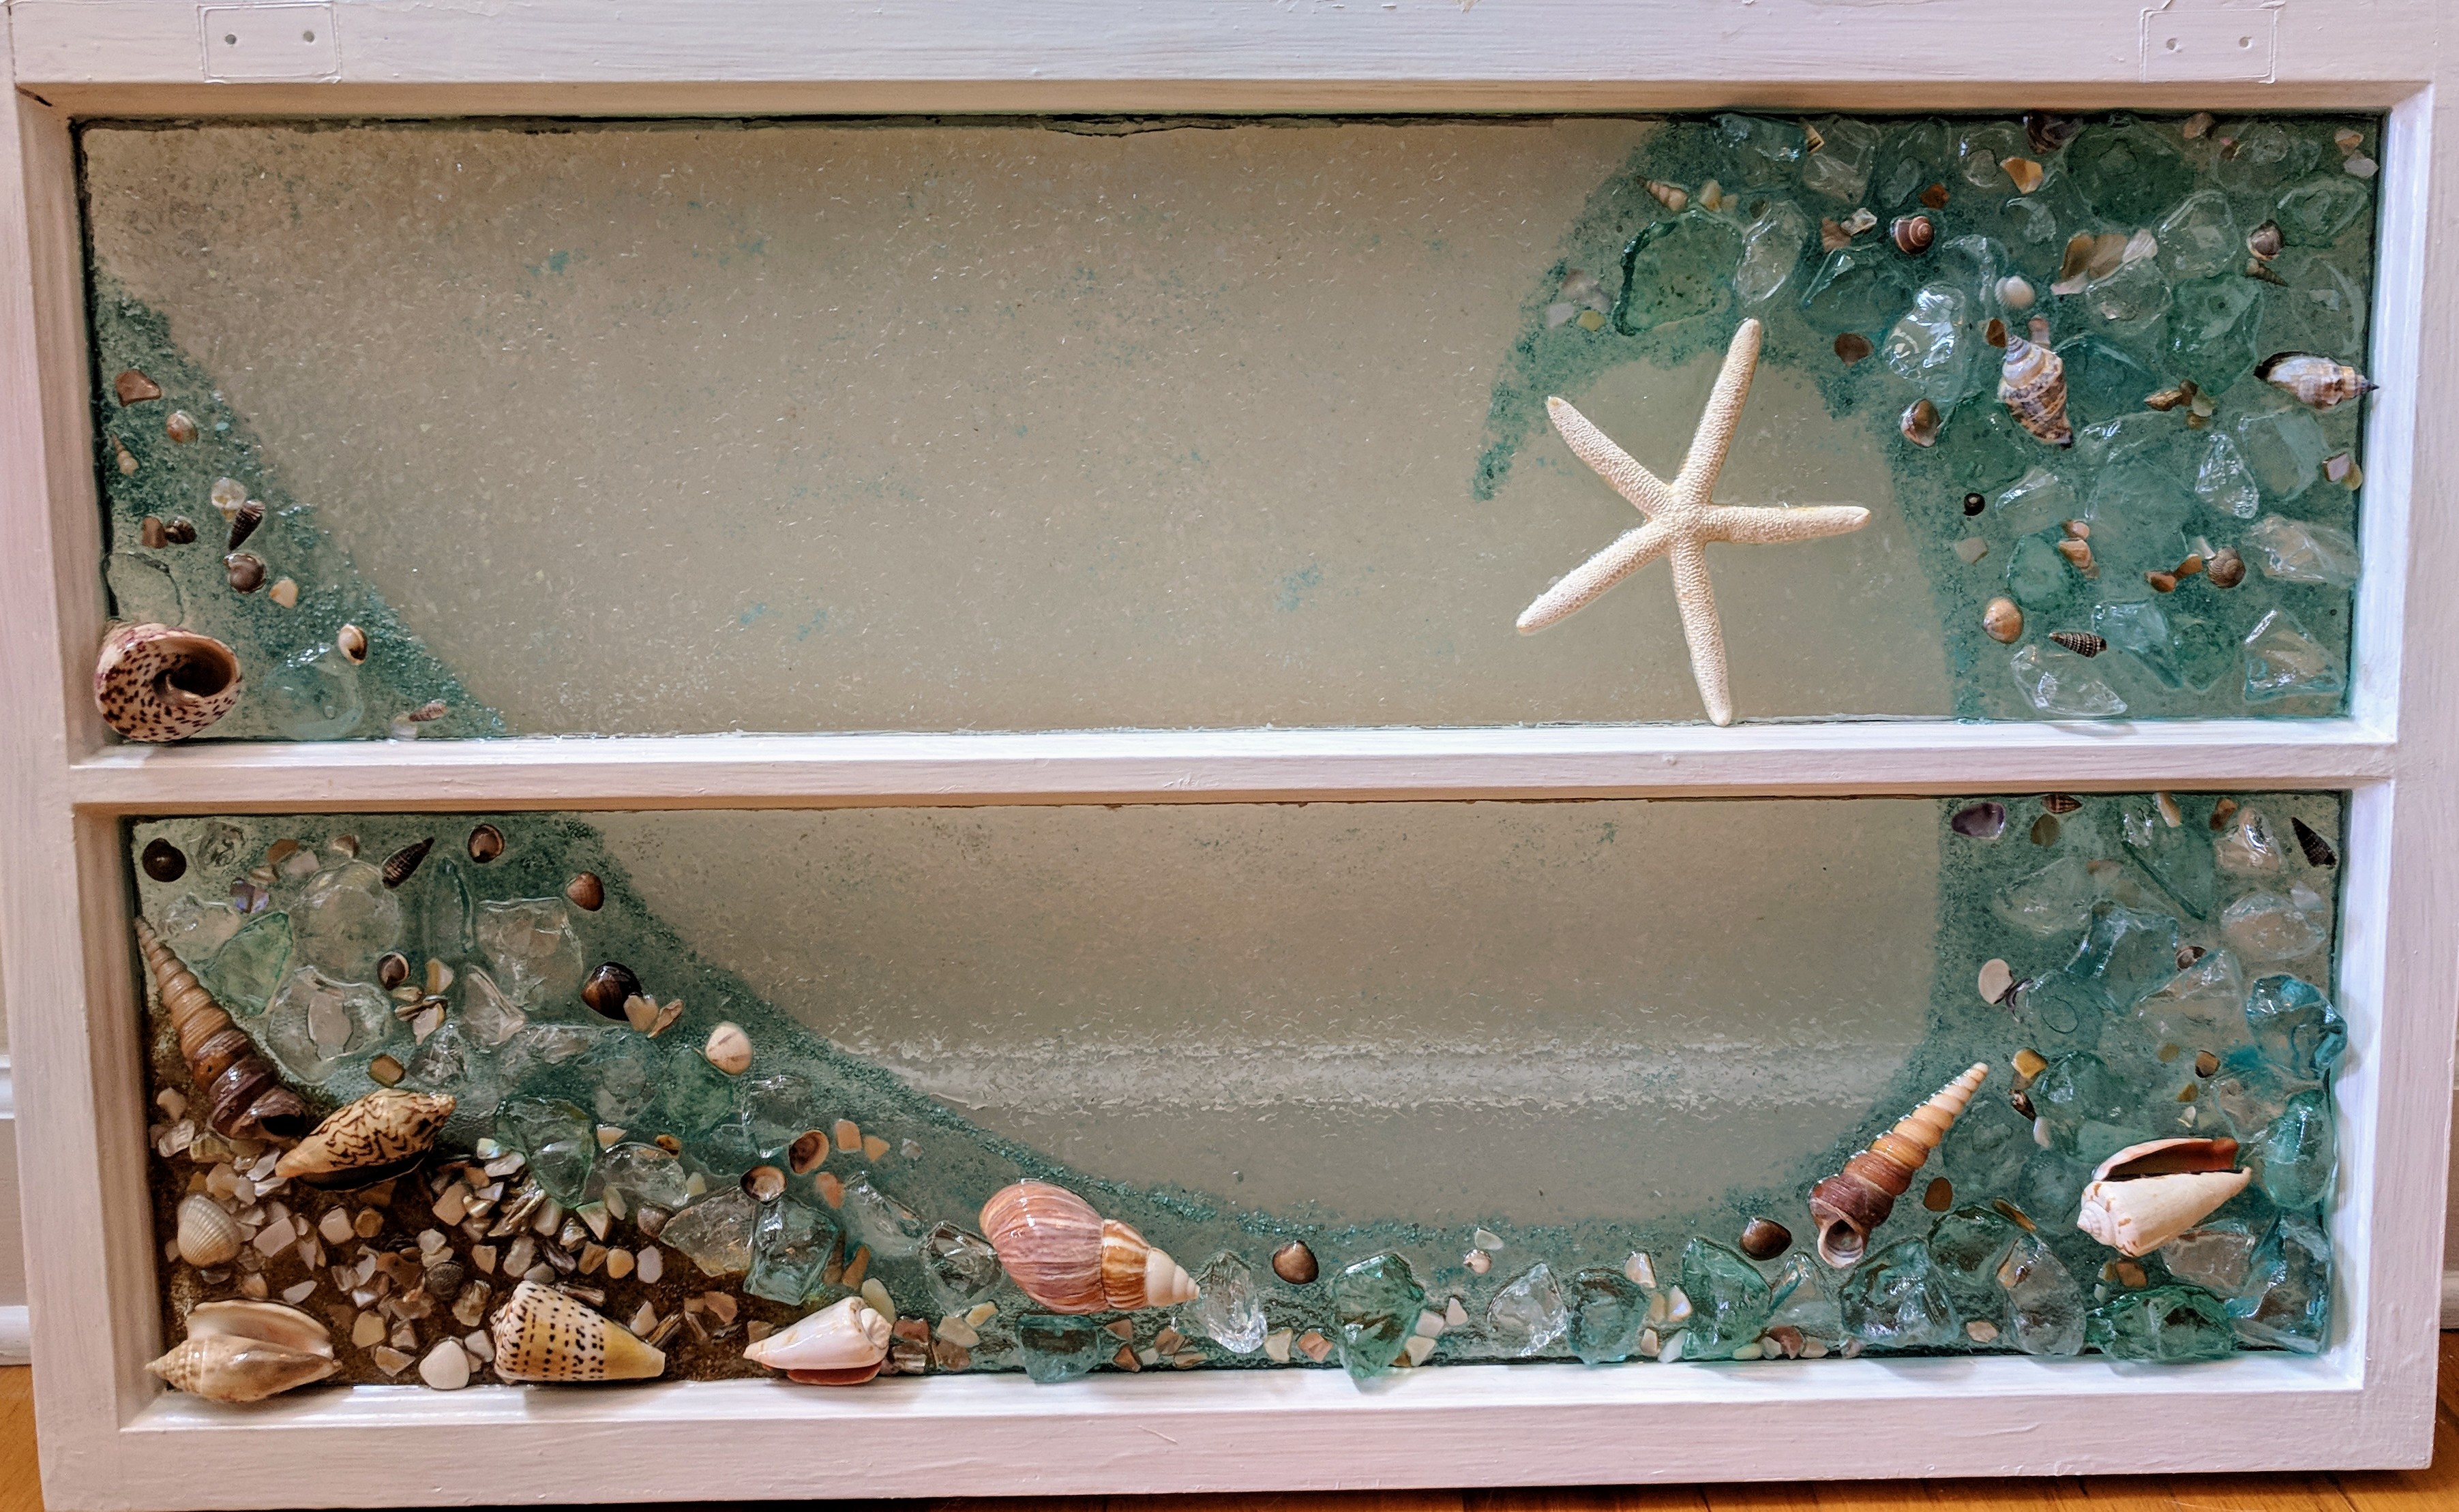
I had a busy first day at the Charleston Holiday Market today (you can get a coupon for a dollar off admission if you visit their website). I will be there from 10am to 6pm tomorrow (Saturday) and 11am to 5pm on Sunday. I don’t think I will have a single coaster left by this time Sunday. My Beach Window went to a loving home, and several ornaments did, as well. Since this is my first time participating in such a large show, it is a great learning experience!
My booth at the Charleston Holiday Market.
The best part is that I will have a whole year to prepare for next time; I will know what items resonate with people most and be able to work on similar projects. The date for this creeped up on my quickly because I signed up late in the game, but I will have plenty of time to prepare for next year. Since all of my projects (coasters, ornaments) take at a minimum 2 days to make (windows much longer), I can’t quickly make more. That is part of what makes them special, though! I still have some coasters, plenty of ornaments (both glass and resin) and several window mosaics for the rest of the weekend, though. Come on out to the Convention Center and visit – it’s a great time! Another bonus is that my booth is right next to Mountain Mist – I love their products (especially anything in Orange Blossom scent). My family thinks I will spend all of my earnings in their booth, though.
If I sell out of anything you really like, I can make more – just send me a message. My items are all one of a kind, but I can make something pretty close to what I made before (especially in glass – the coasters are more difficult to reproduce).

