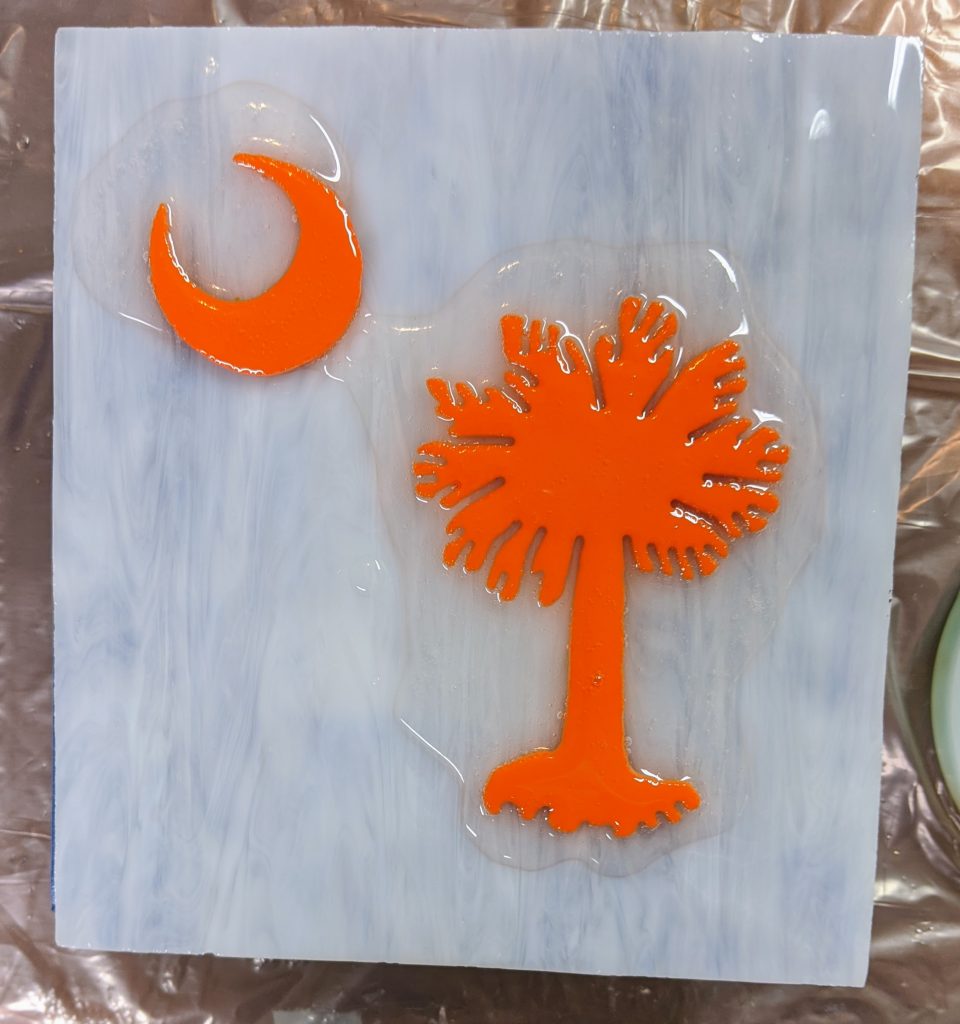
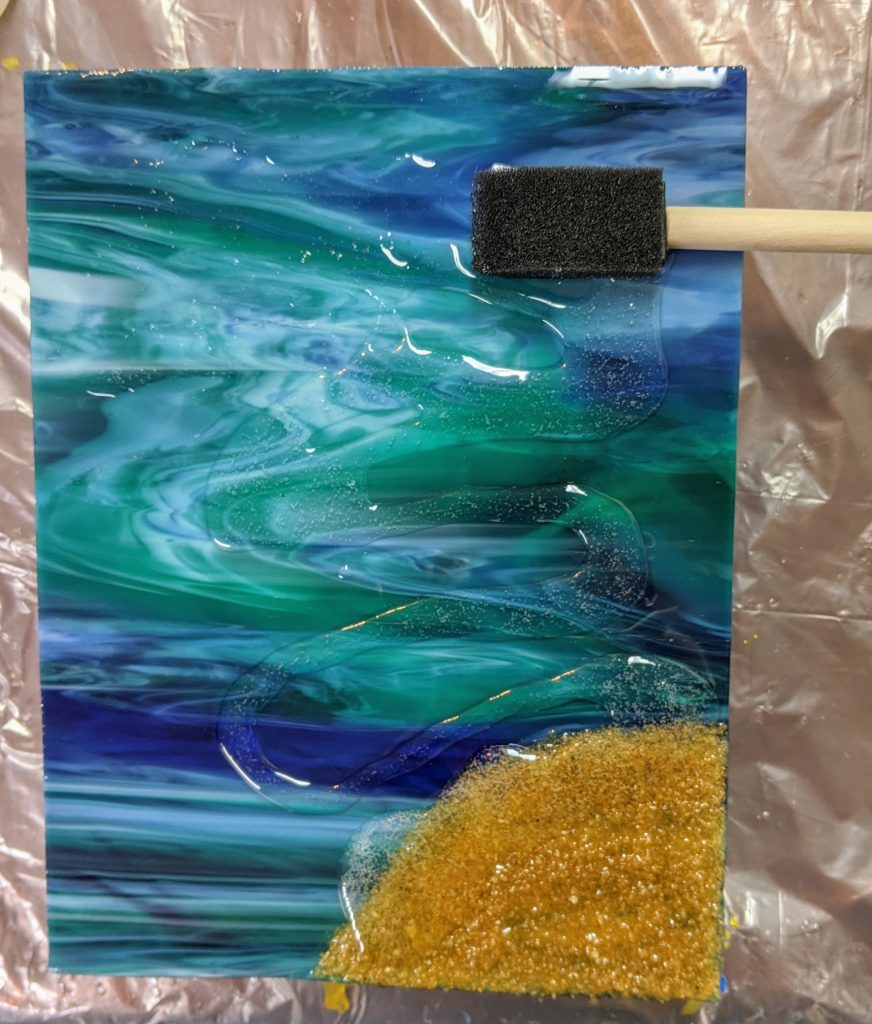
So yesterday I planned to work on these, but my real job was too busy, so today was the day. I added the first wave layer to my second beach / waves over stained glass panel, poured the resin coating on my stained glass “Clemson” colors Palmetto and Crescent panel, and added the second layer to my two alcohol ink / gold flake resin coasters.
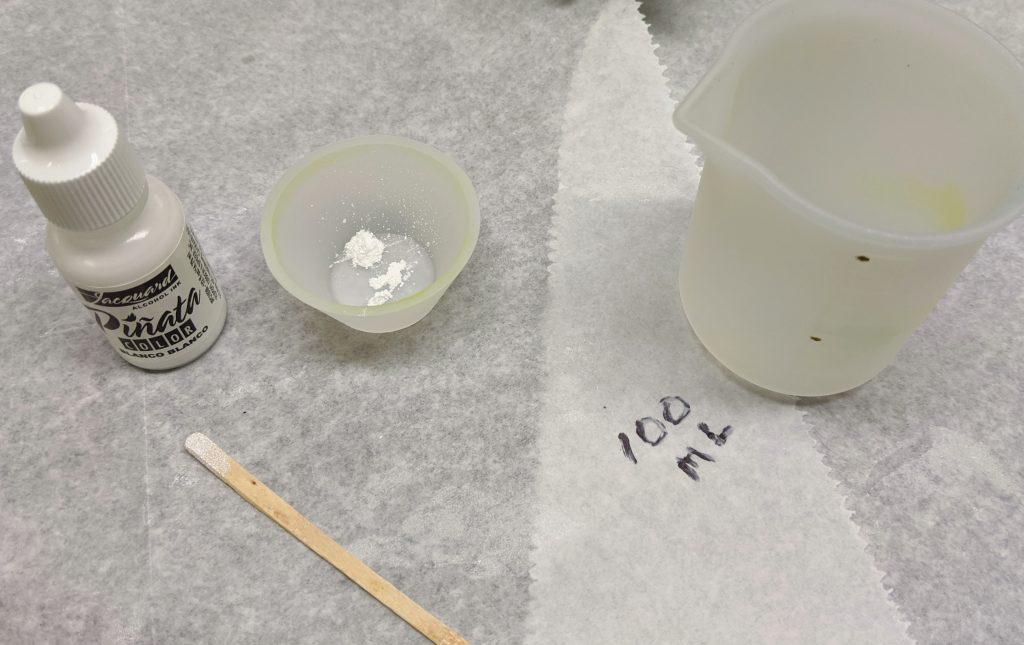
Prepping the resin 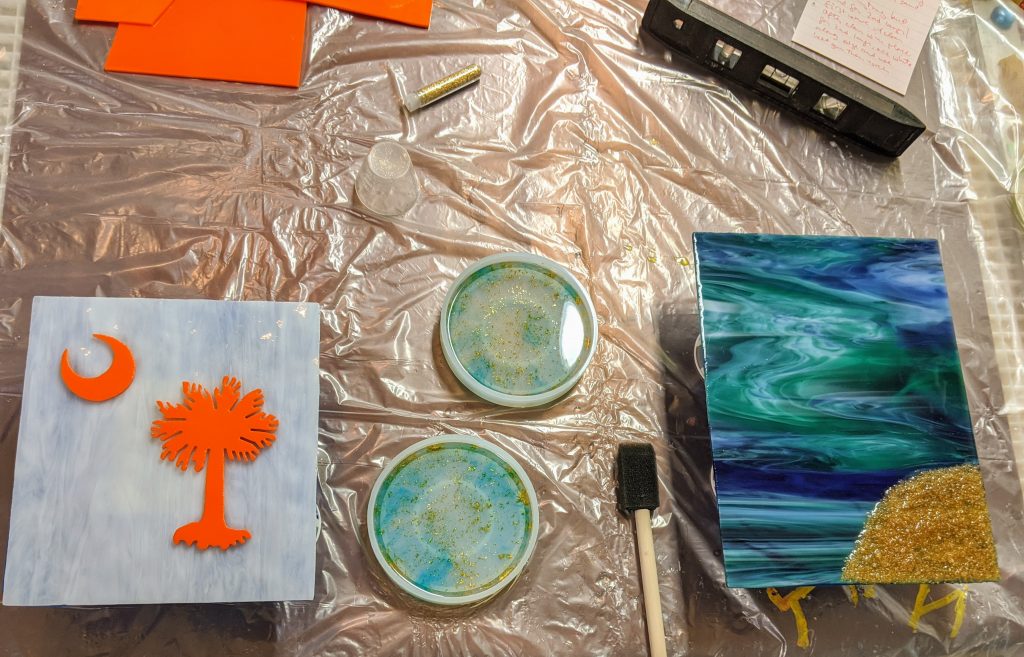
Projects laid out
I mixed 100 ml of resin, then set a small amount aside for the white part of the waves on my beach panel. Next I poured the clear layer of resin over the glass panels and spread the resin around with a sponge on a stick.
Once the resin was spread all over the base glass, I used my heat gun to remove bubbles and spread the resin a bit more evenly. Next, I added a line of white tinted resin (powdered pigment plus a drop of white alcohol ink) to the sandy beach part of the wave panel.
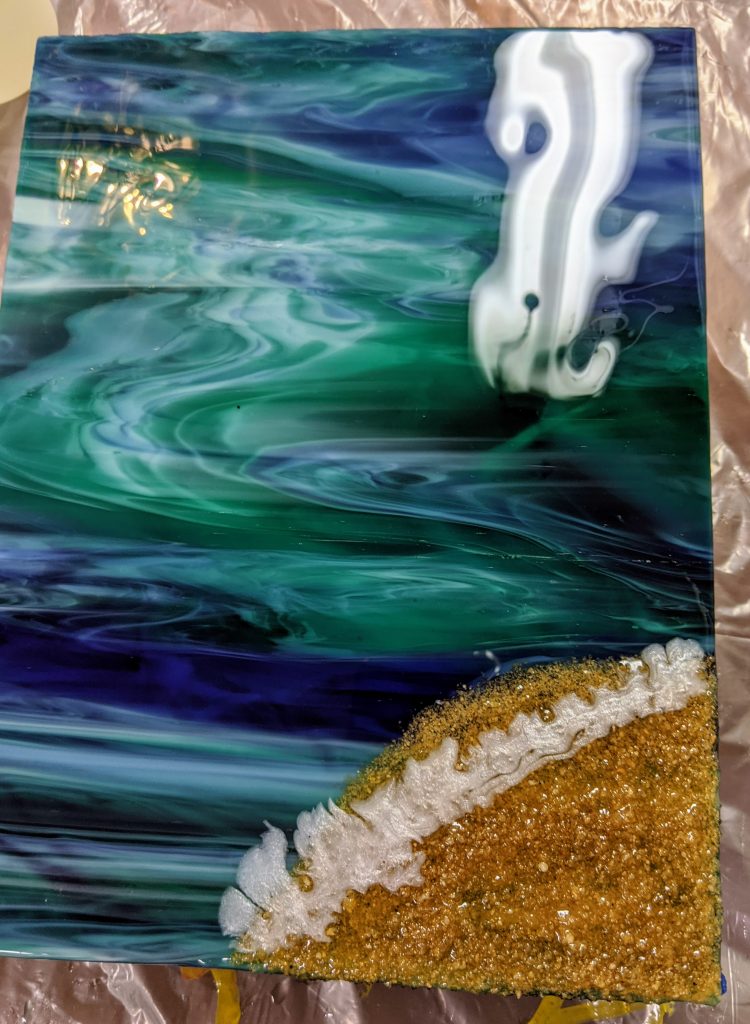
White resin poured in a line 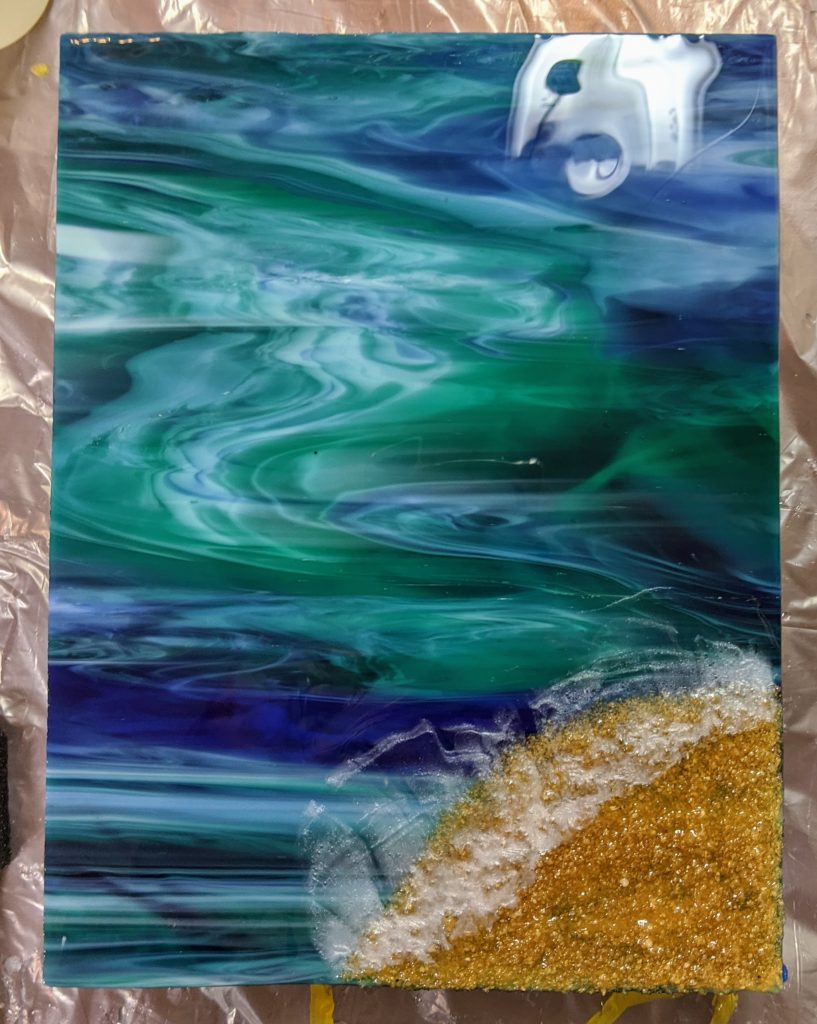
After heat gun
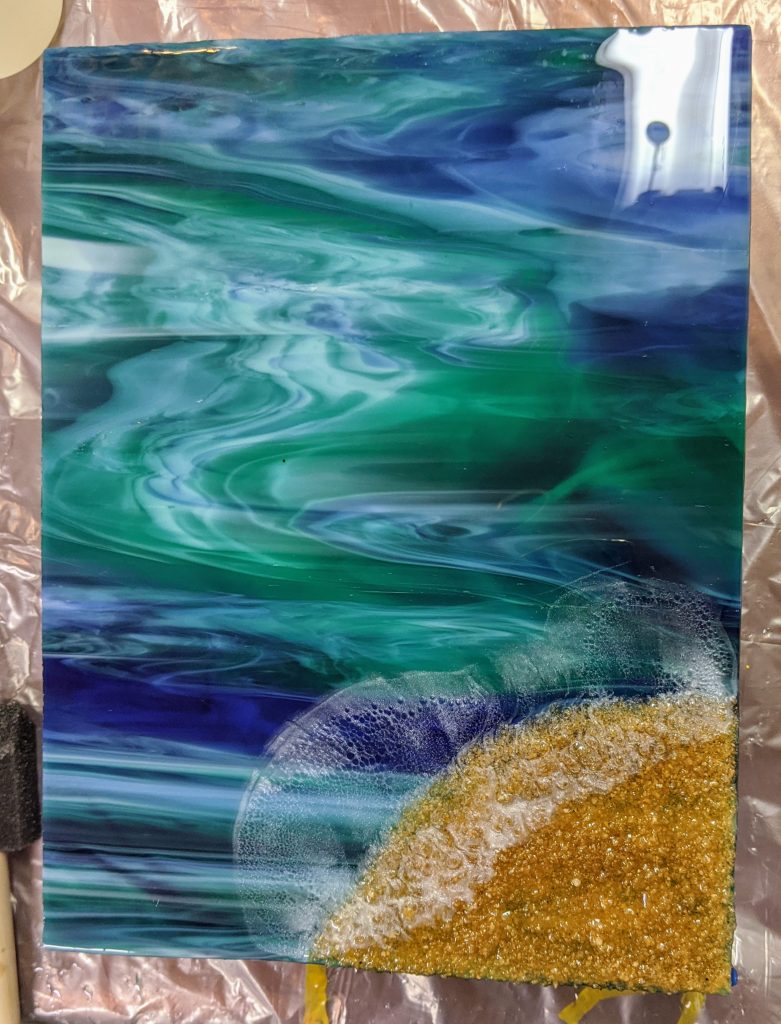
Next I used my craft torch to spread out the white bubbles of the wave. The alcohol ink drop helps create the feathery effect in the resin when the torch hits it. I really only wave the torch very briefly over the white resin one time. The torch can quickly crack the stained glass if it gets too hot.
Next I poured the leftover clear resin into the coaster molds I started two days ago. The first layer was clear with some metallic flakes and a drop of blue alcohol ink. This layer was clear with about three drops of blue ink, which I added directly into the clear resin after I poured it into the molds. Afterward, I blew it with my heat gun (obligatory bubble removal) and manipulated a bit with a small craft stick.
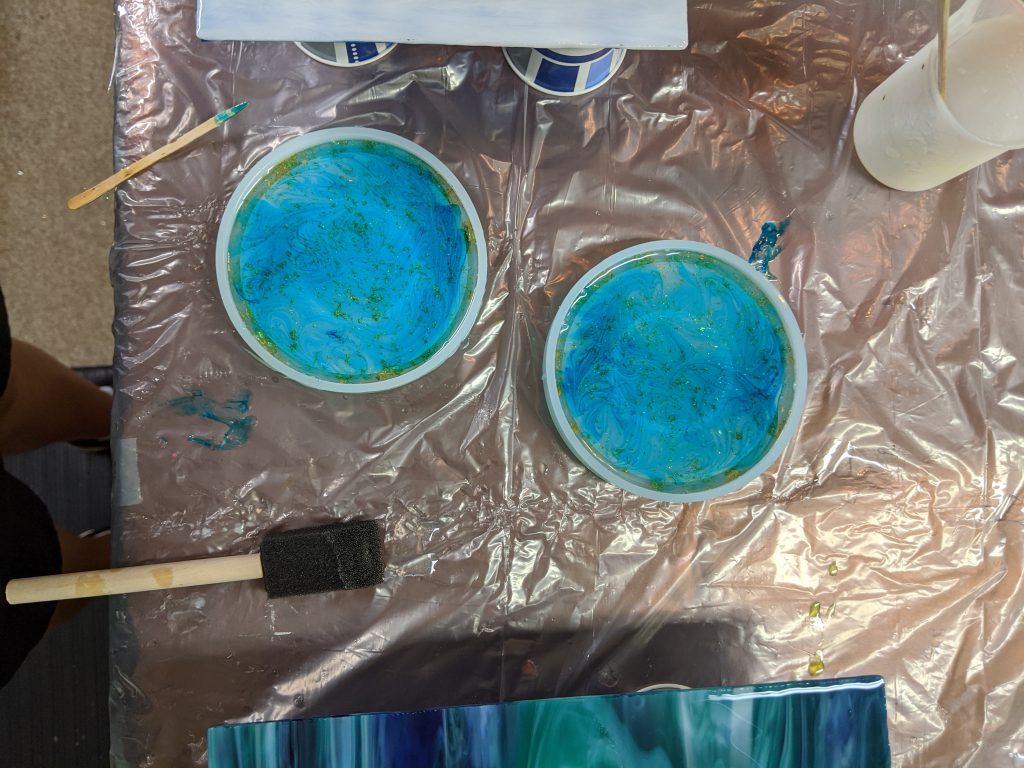
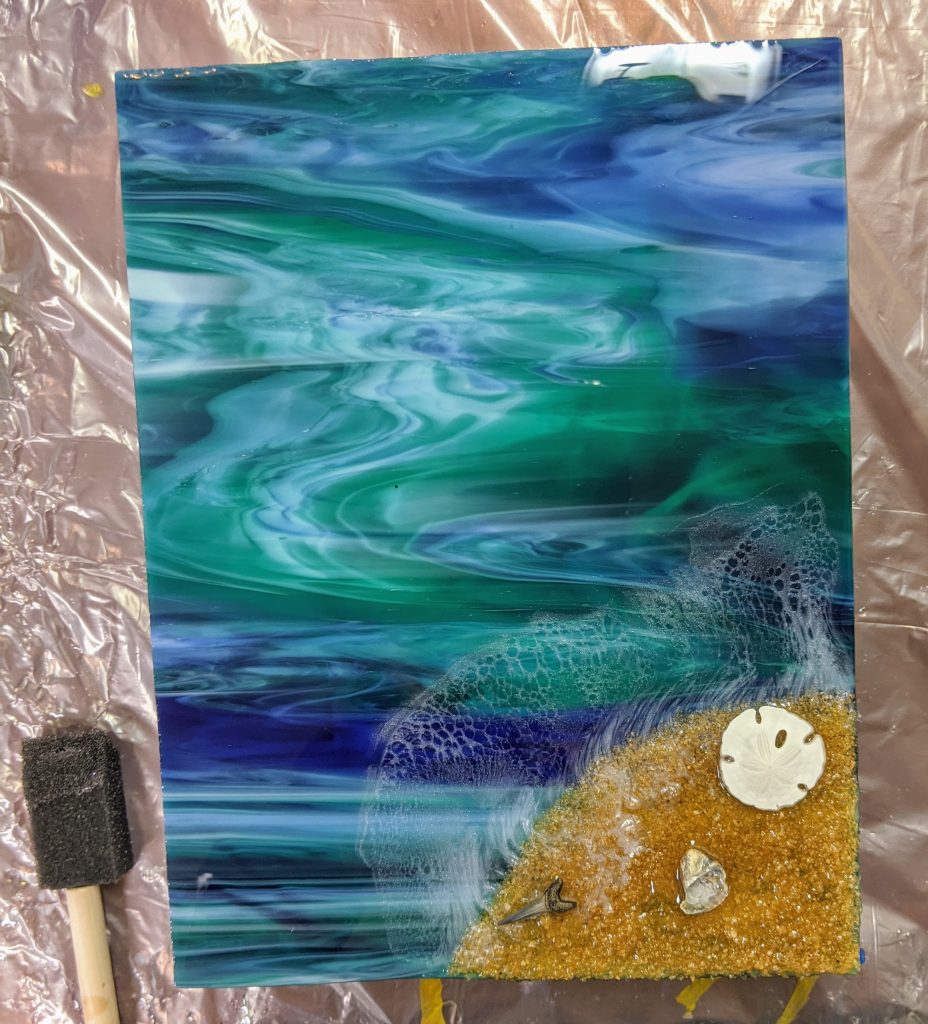
Some shells / etc added 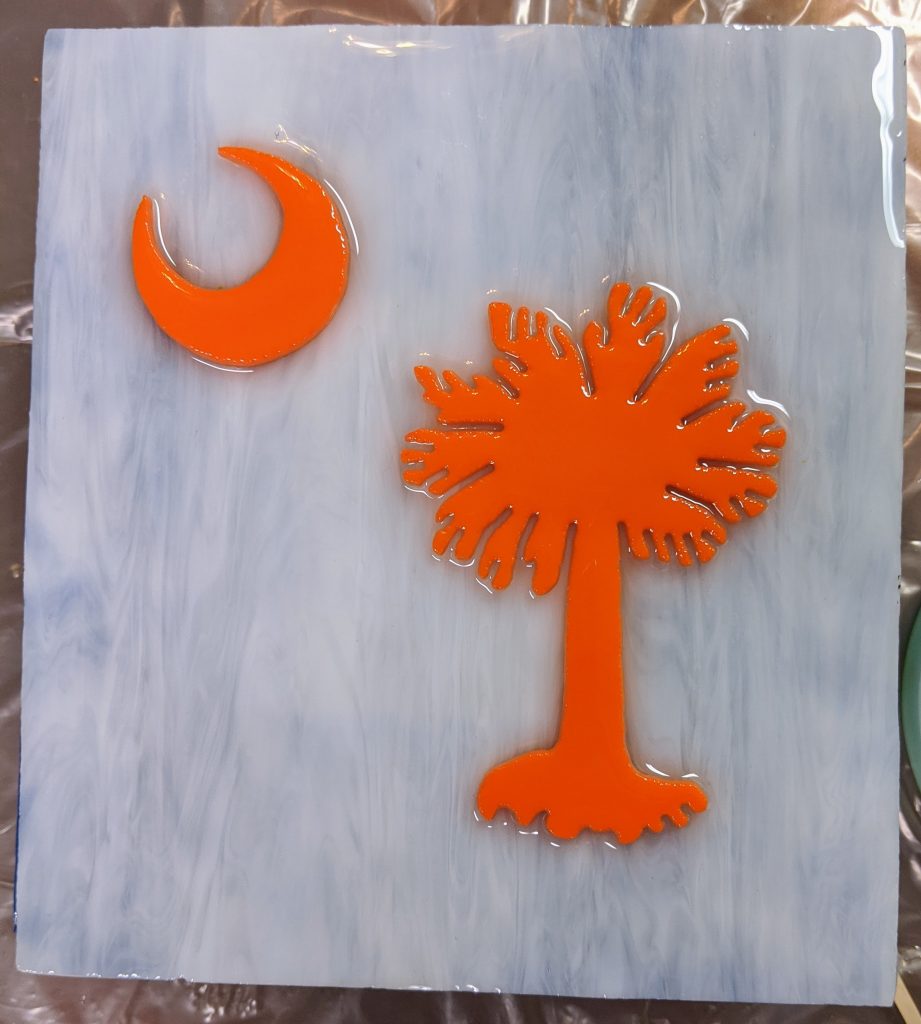
Ready to cure
I will likely need to add another layer of clear resin to the coasters and I’m hoping to add two more layers of wave to the beach panel, but the palmetto and crescent panel should be all set tomorrow afternoon. I will probably also brush a very light coat of resin over the sand dollar, shark tooth and shell on the beach panel.

