Branching out

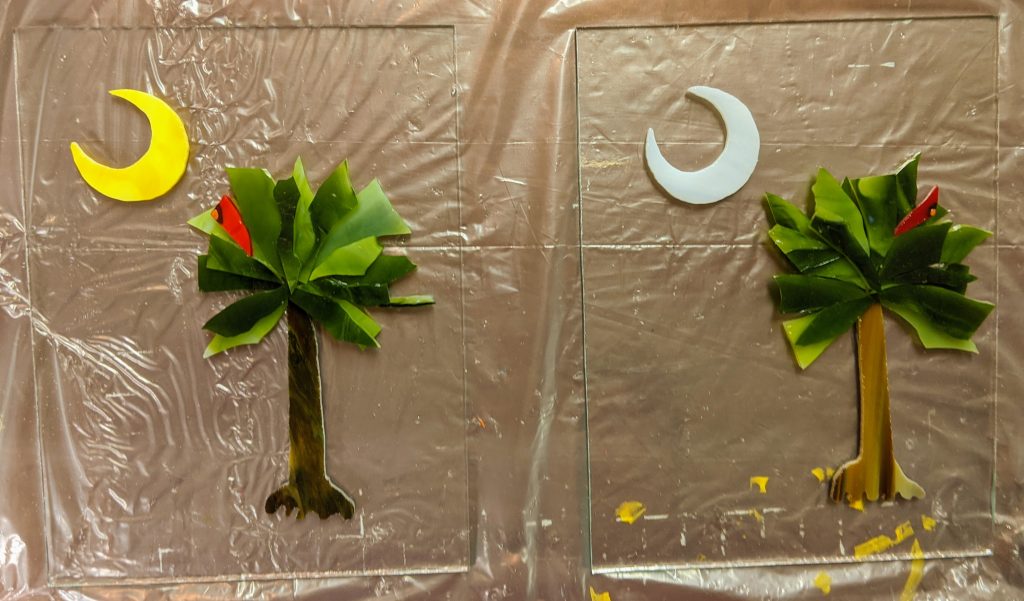
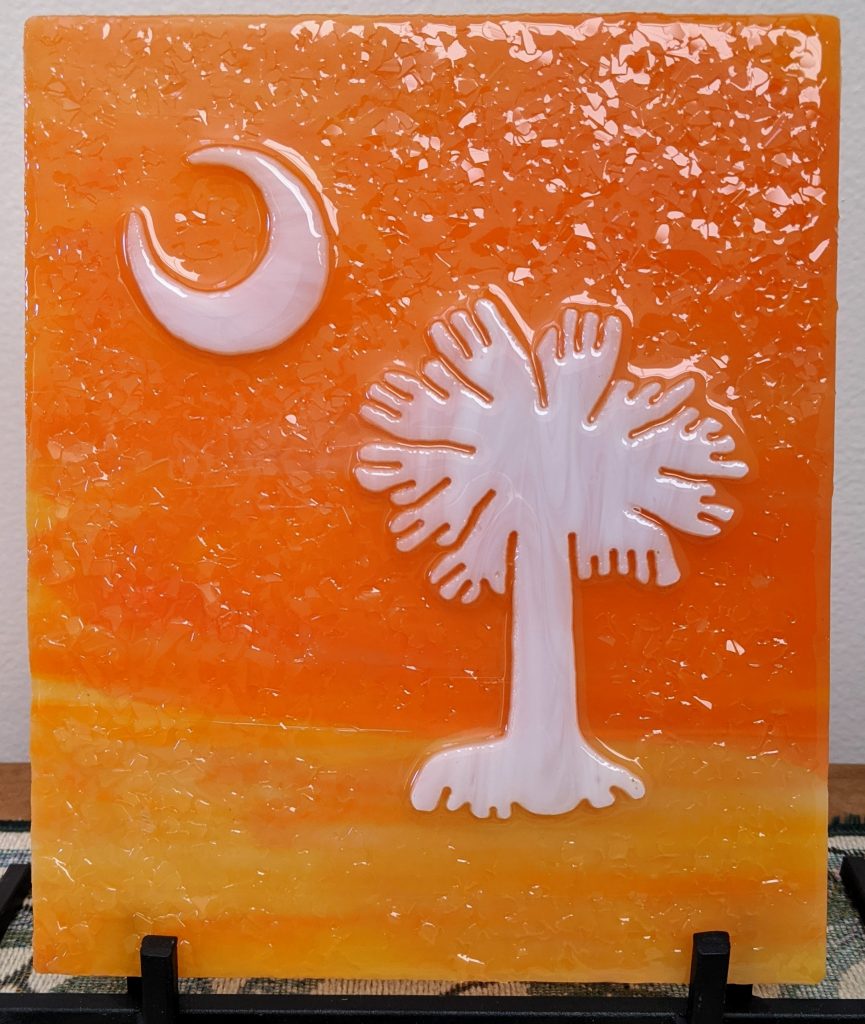
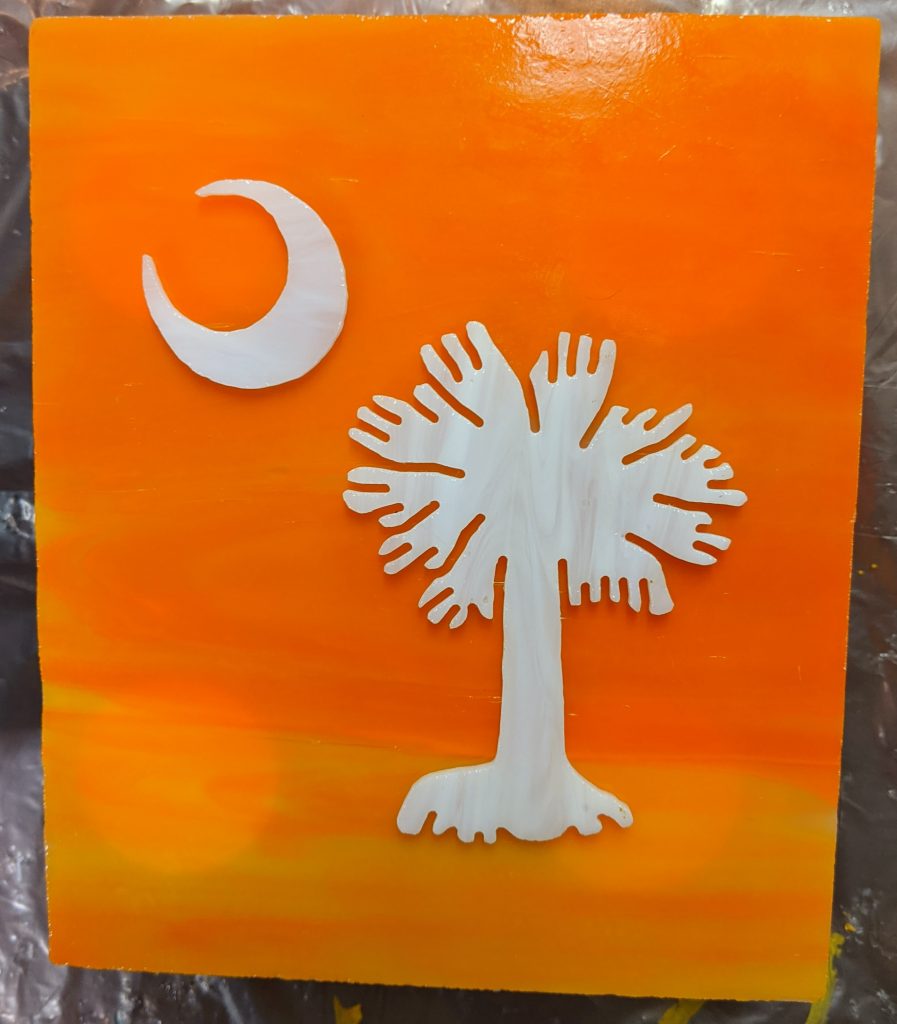
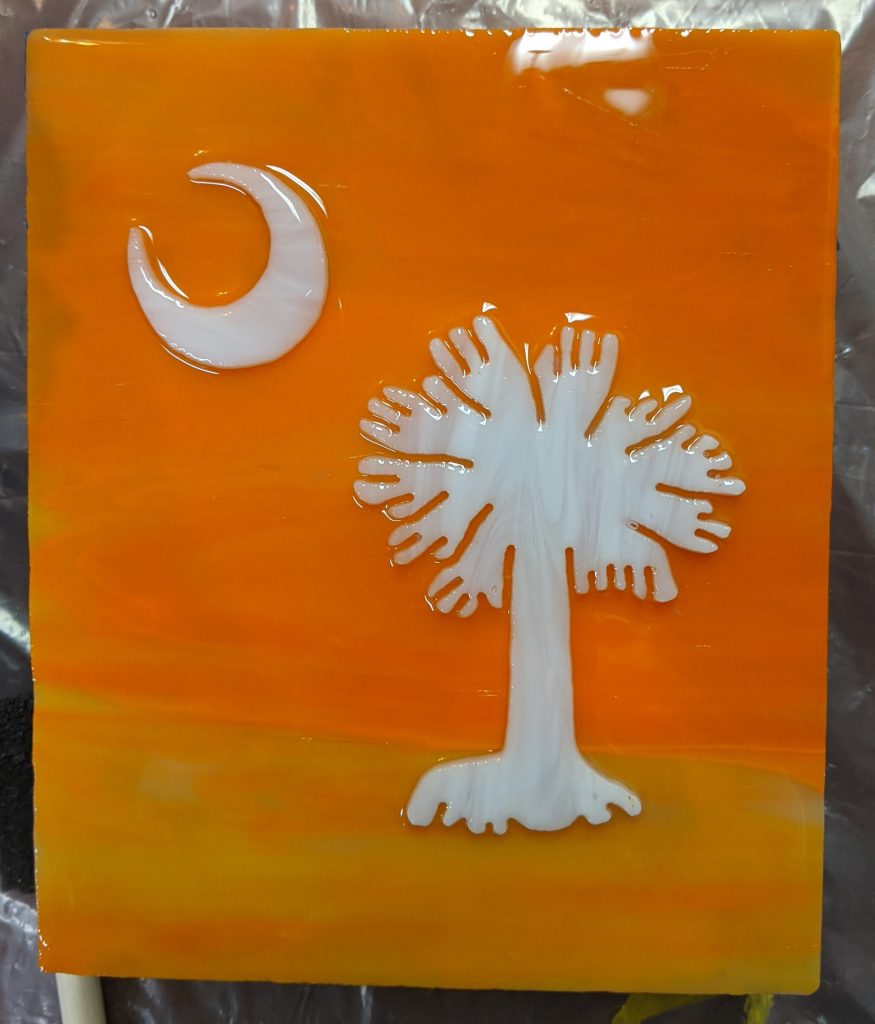
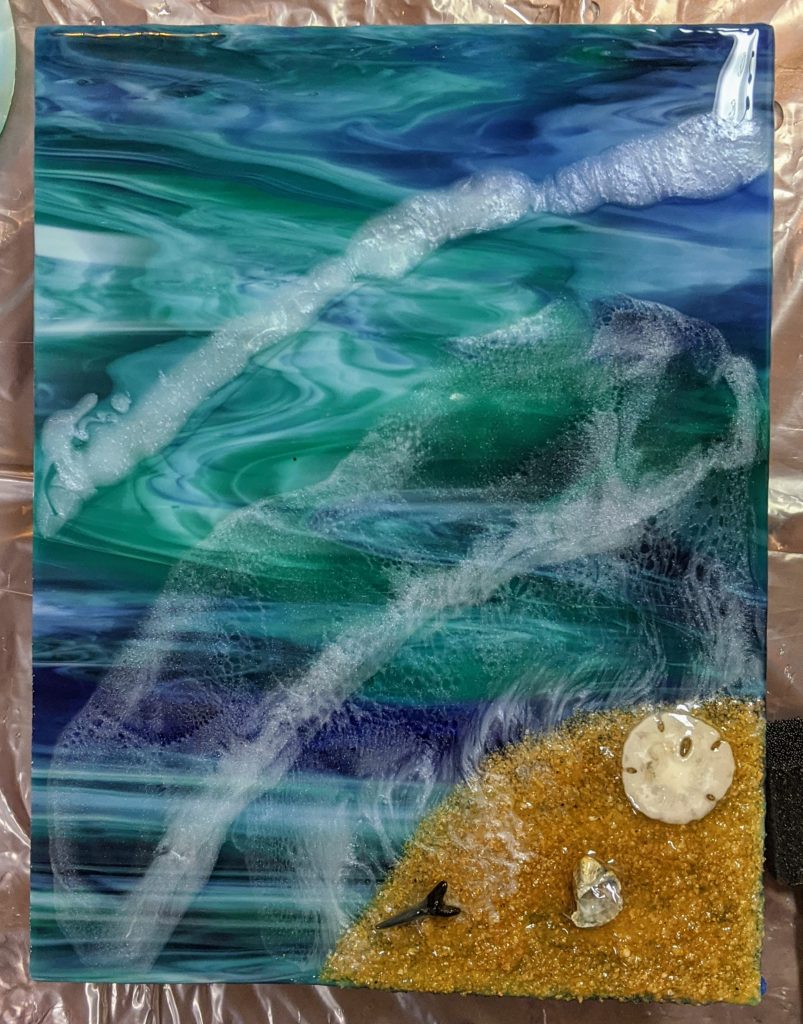
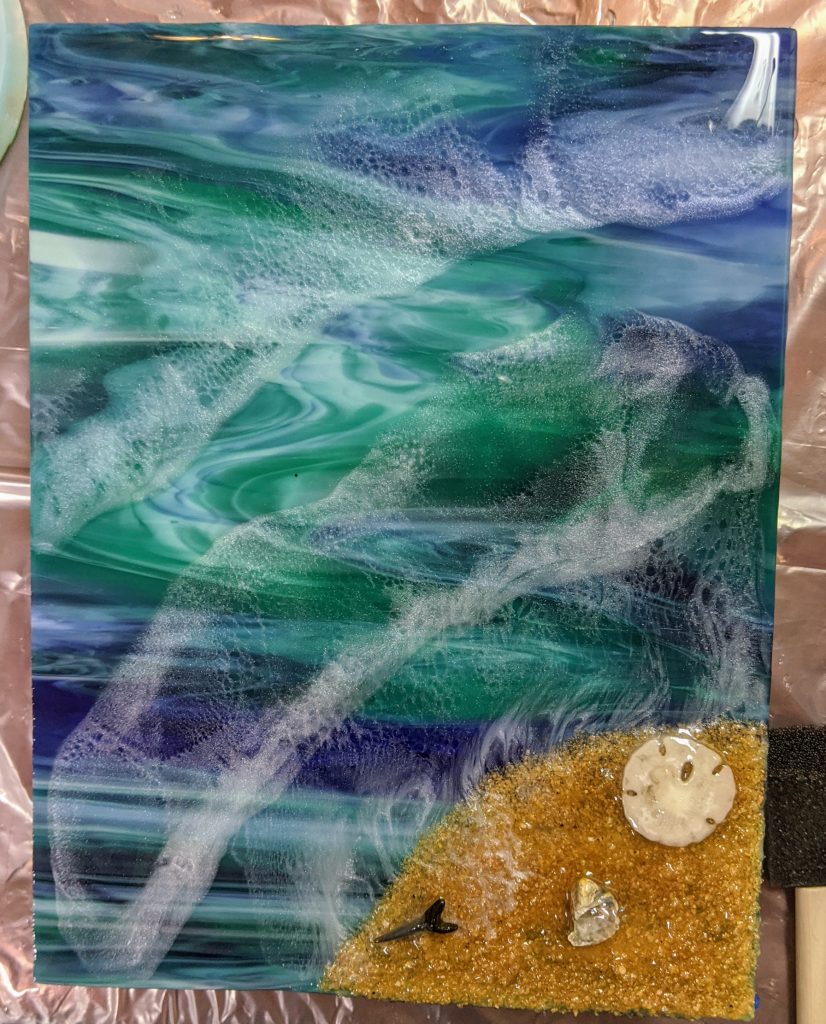
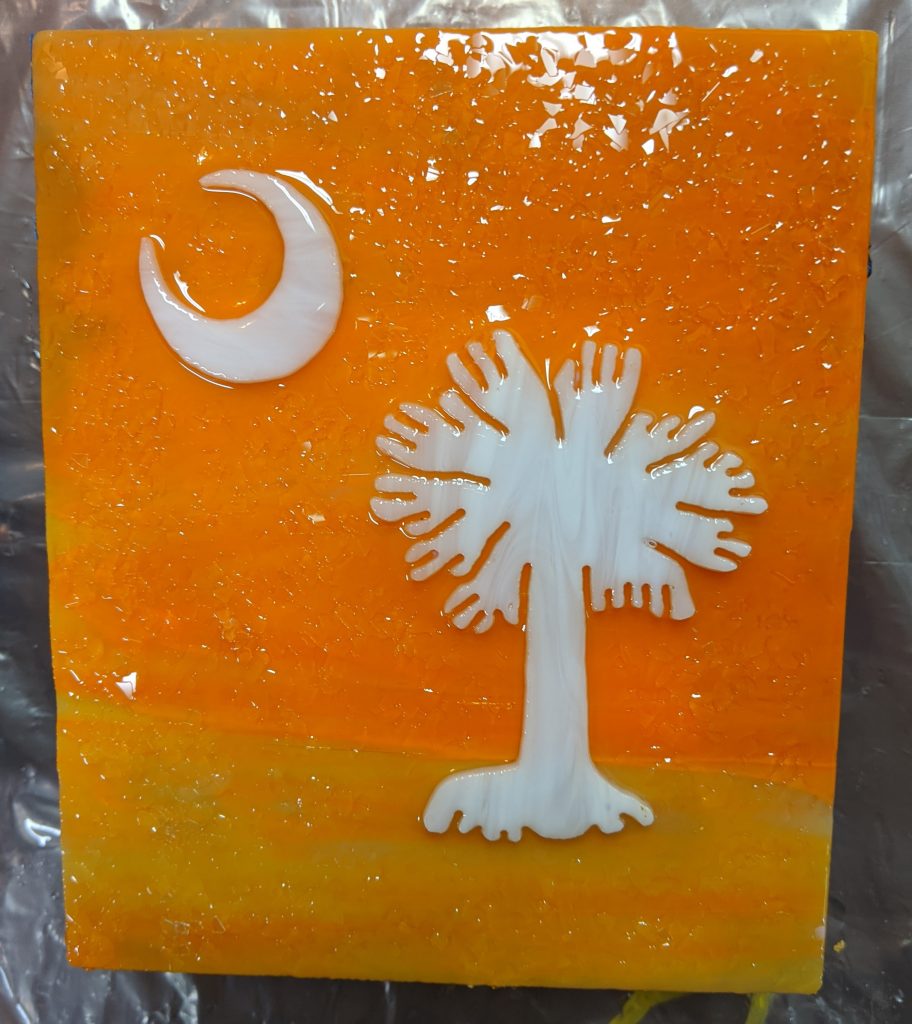
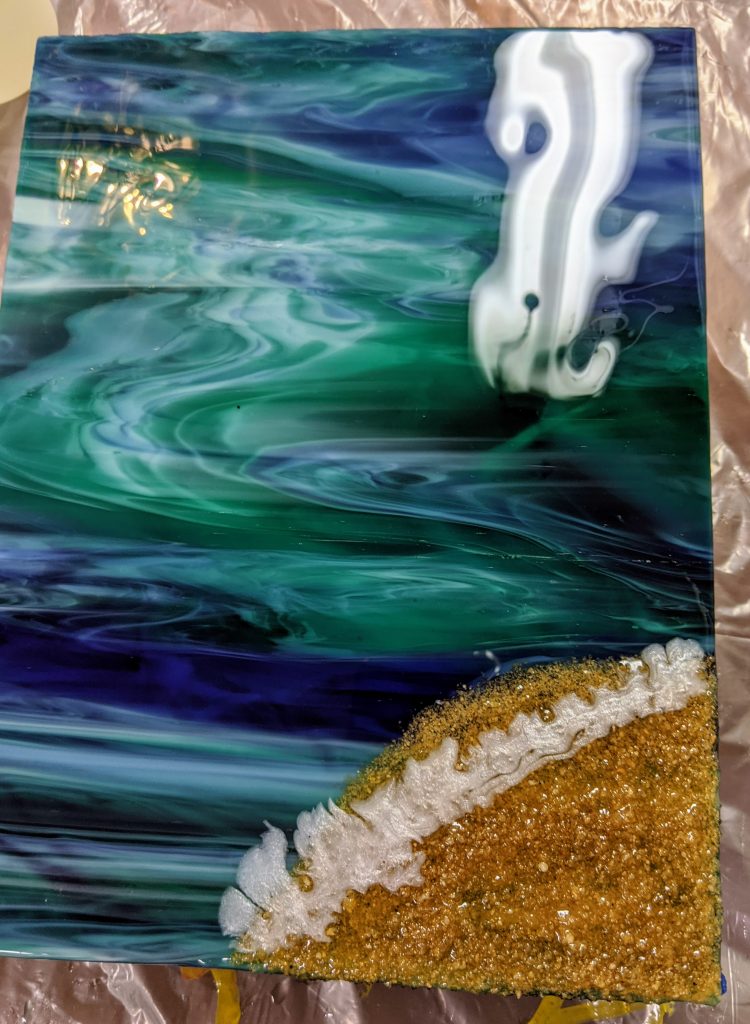
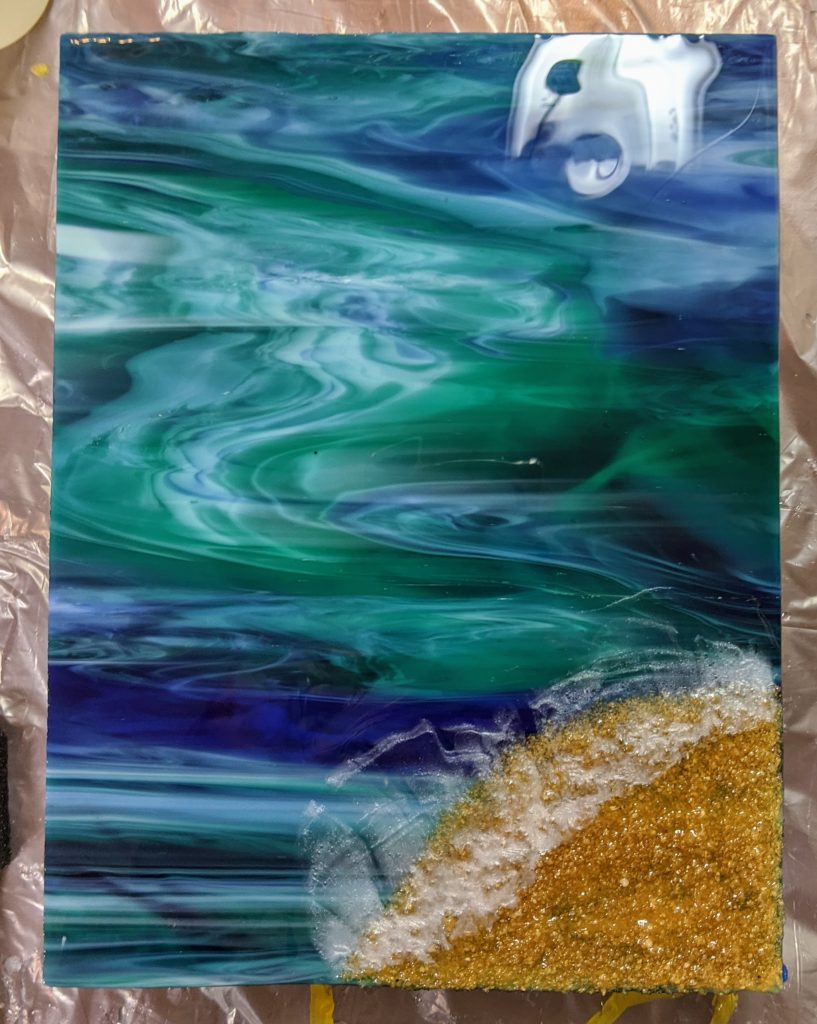
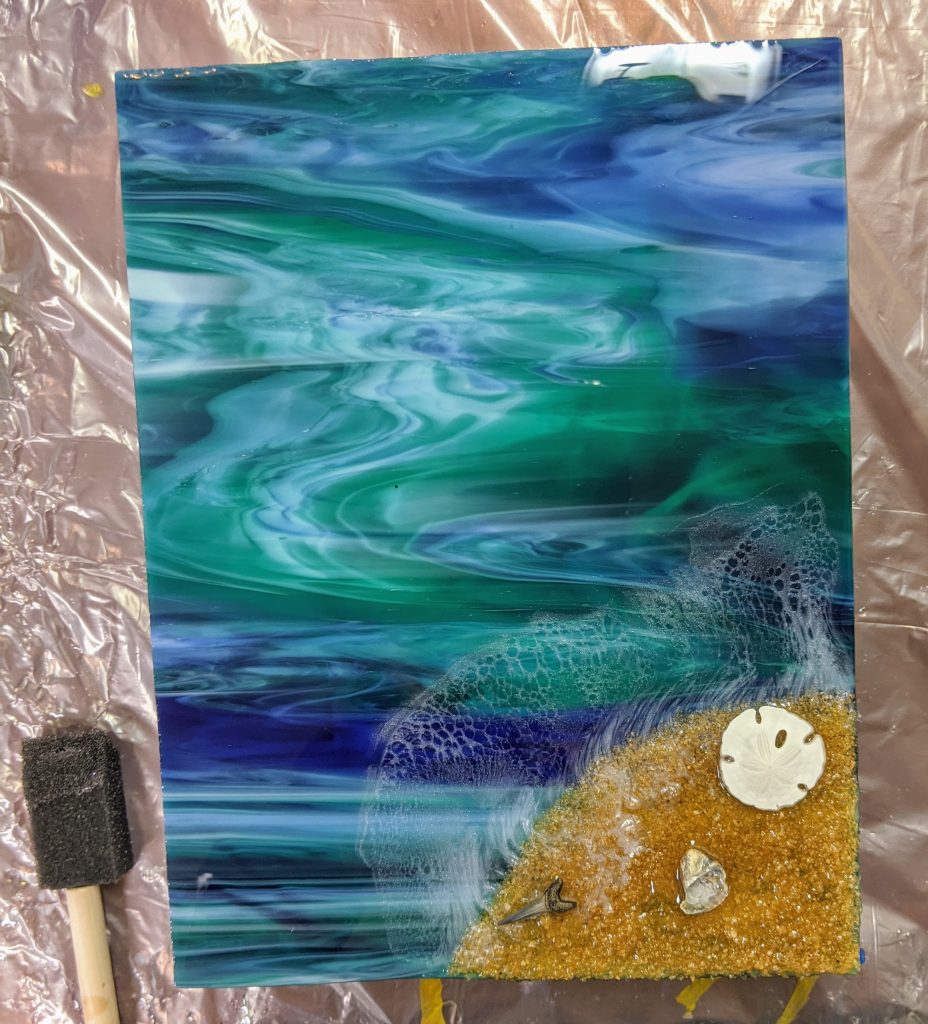
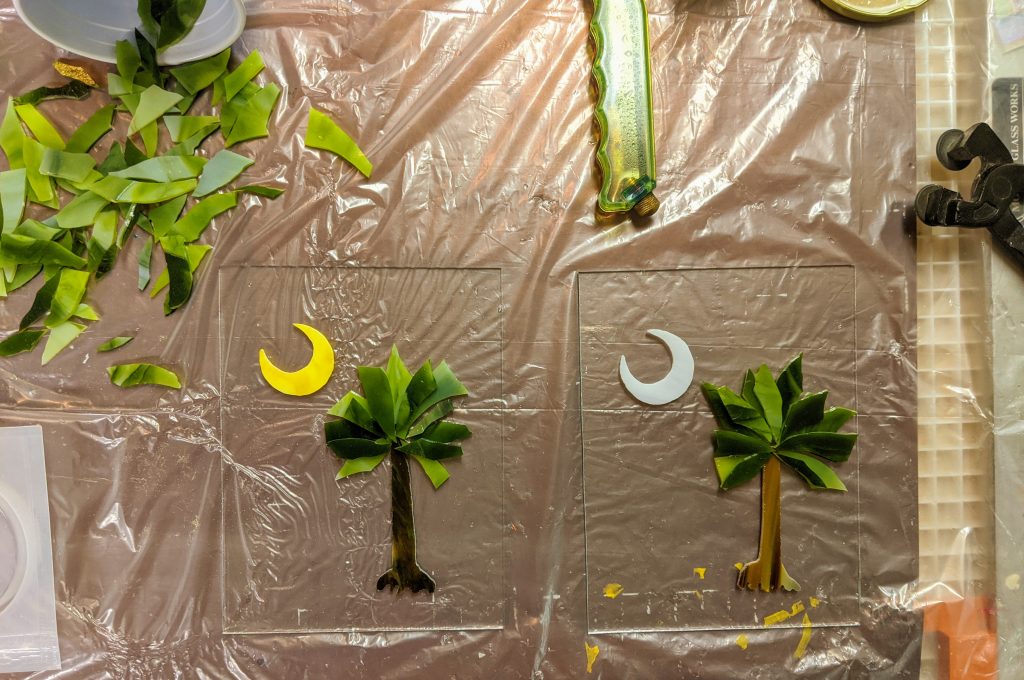
I finally got around to making some Palmetto and Crescents with variety today.

Laying out the pieces of glass for the Palmetto and Crescent panels

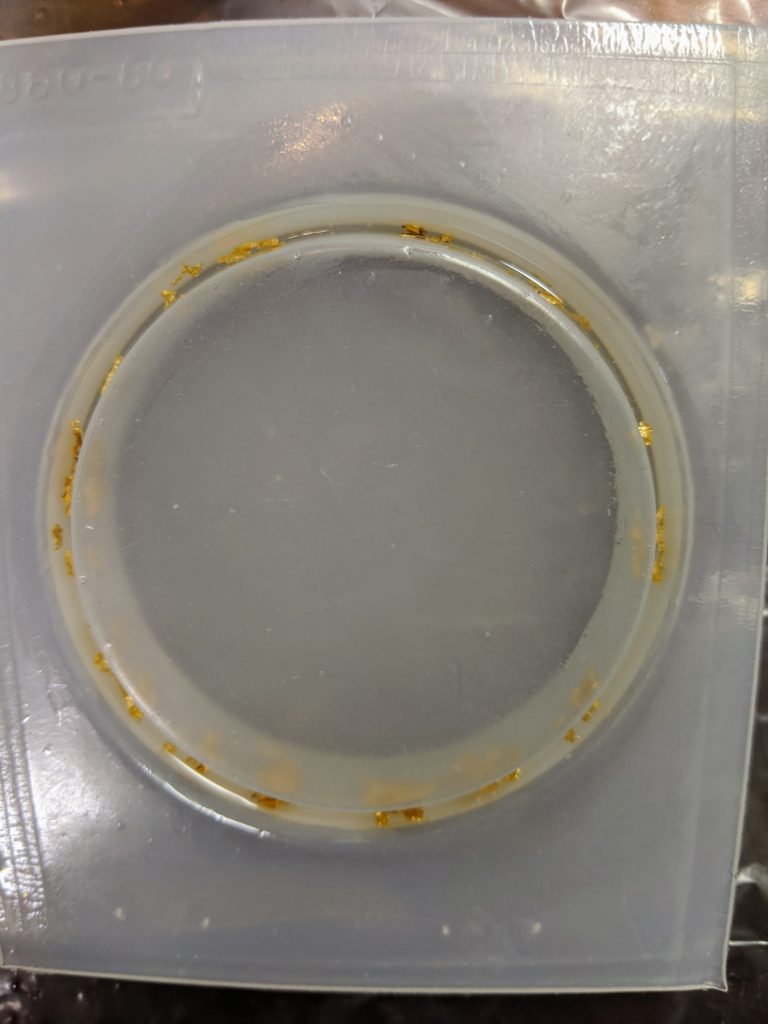
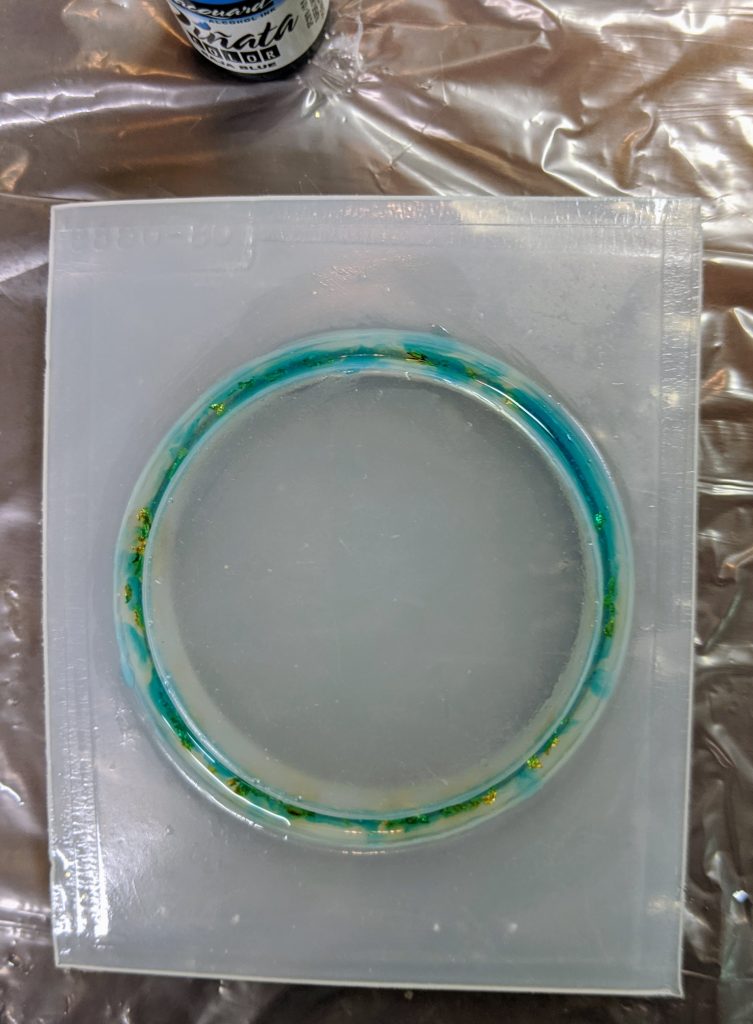
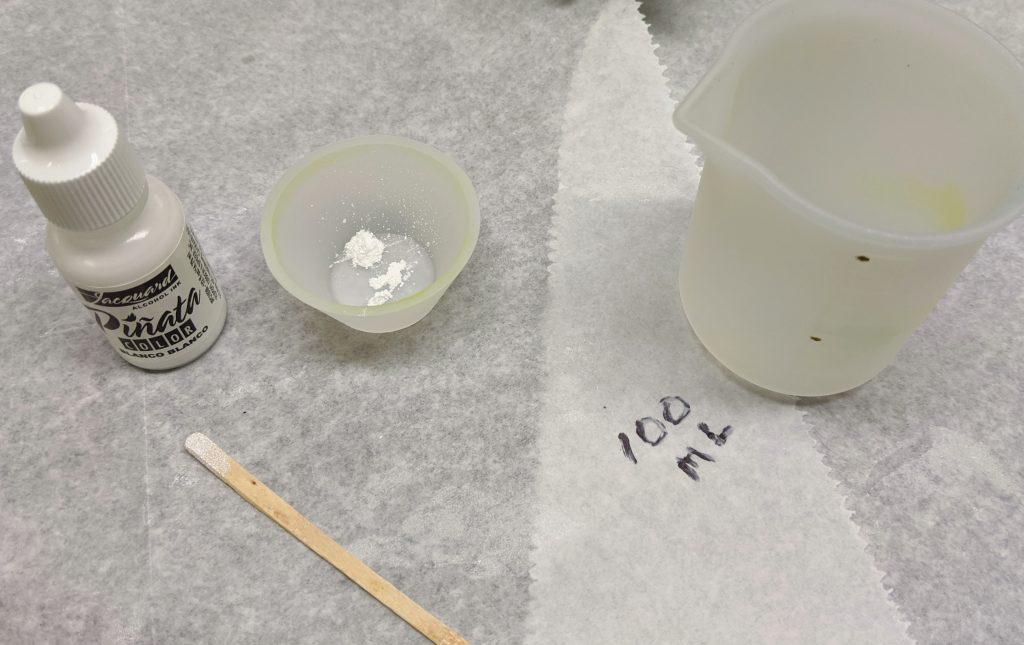
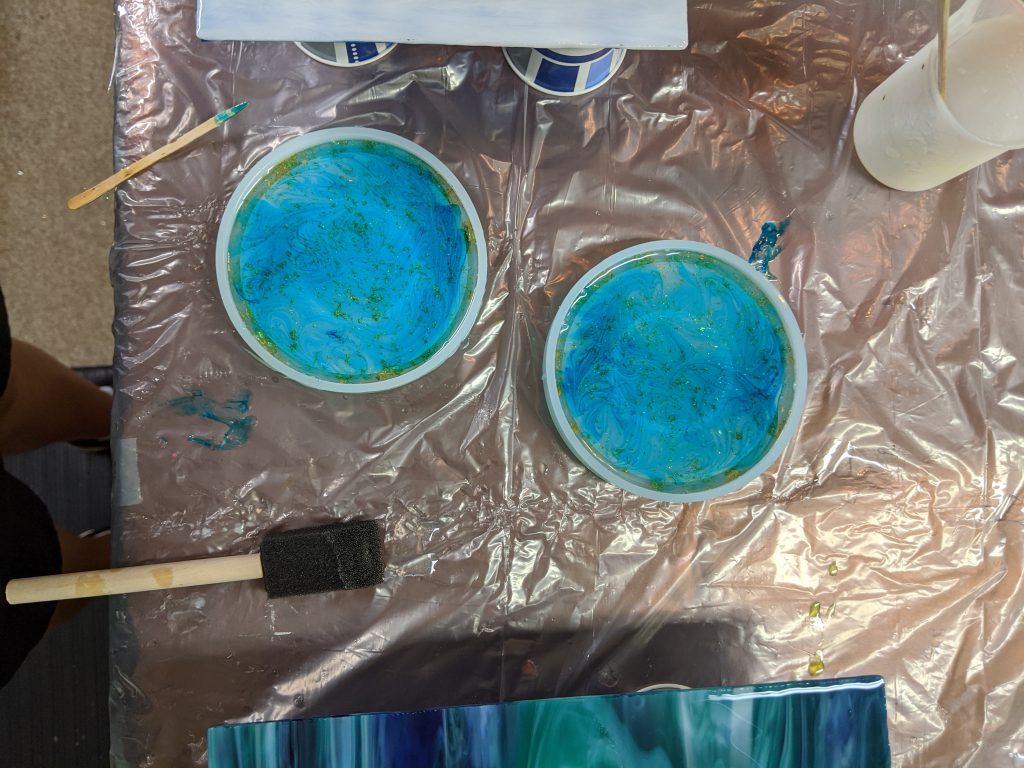
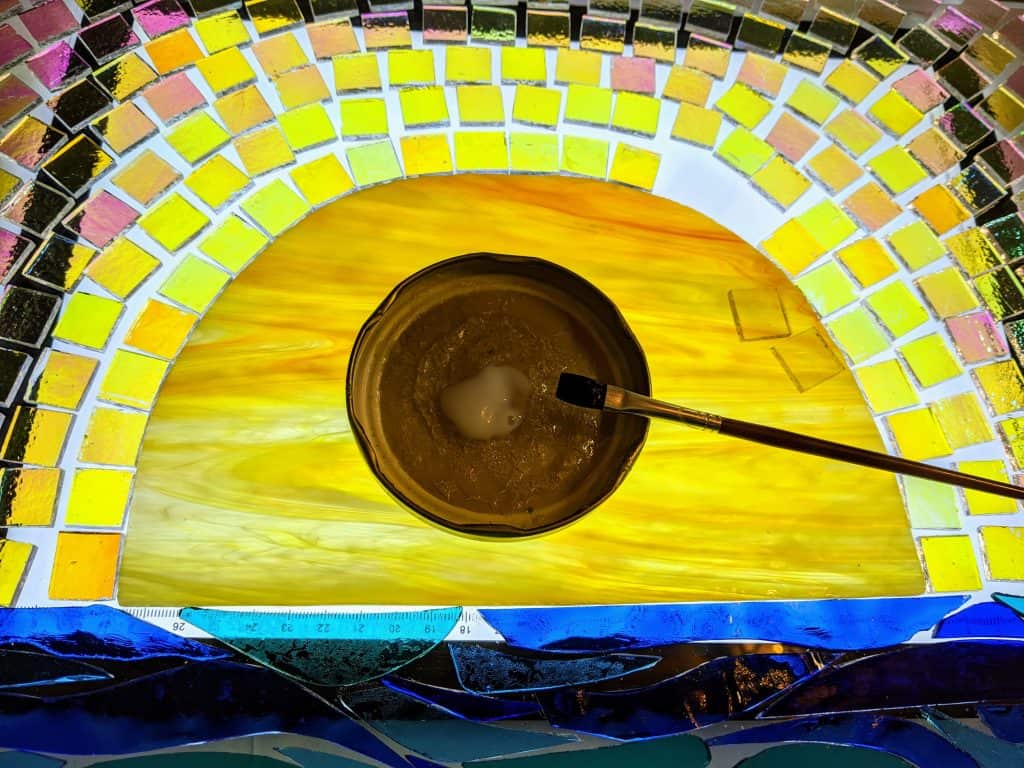
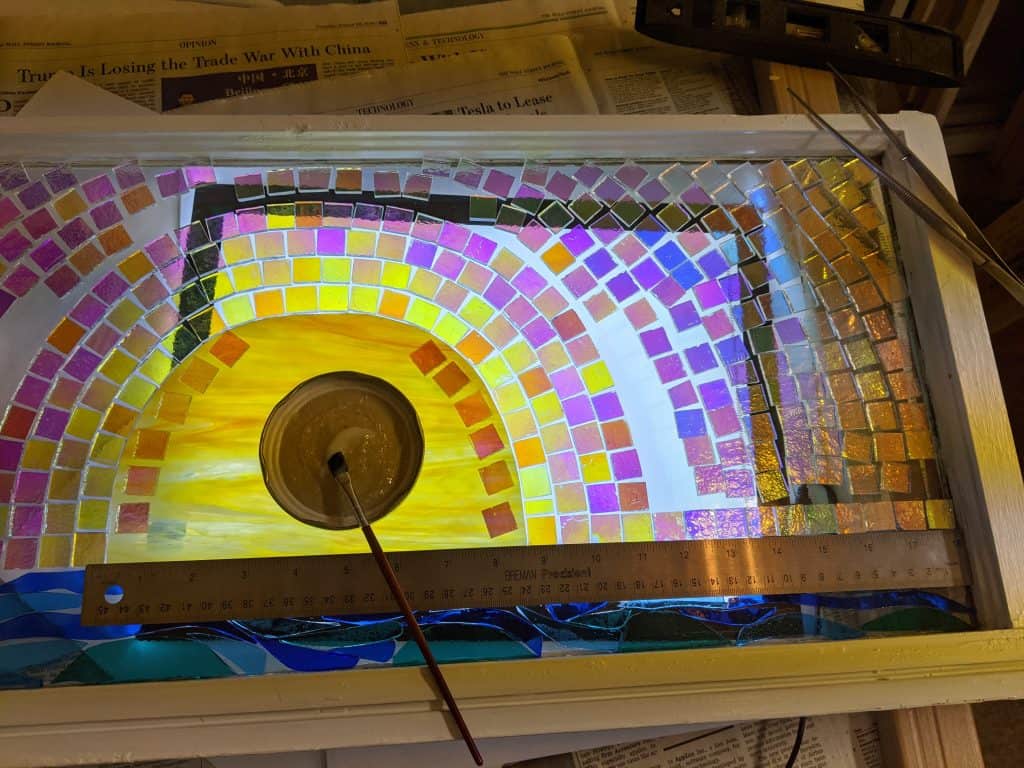
First, I mixed 80 ml of resin and then separated it into clear, a small container of clear with metallic flakes and one that would end up blue tinted.

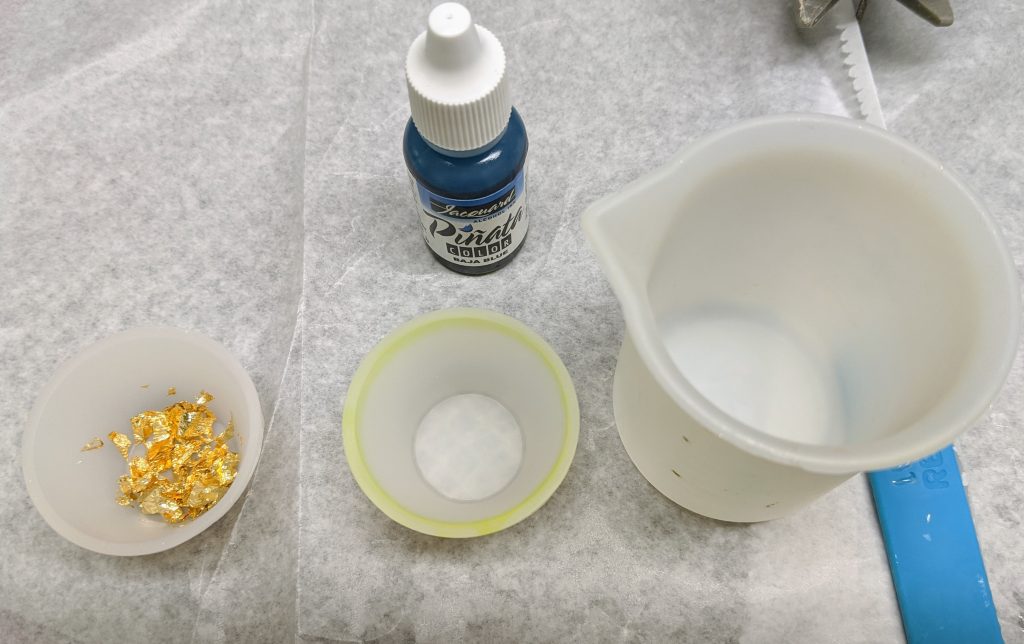
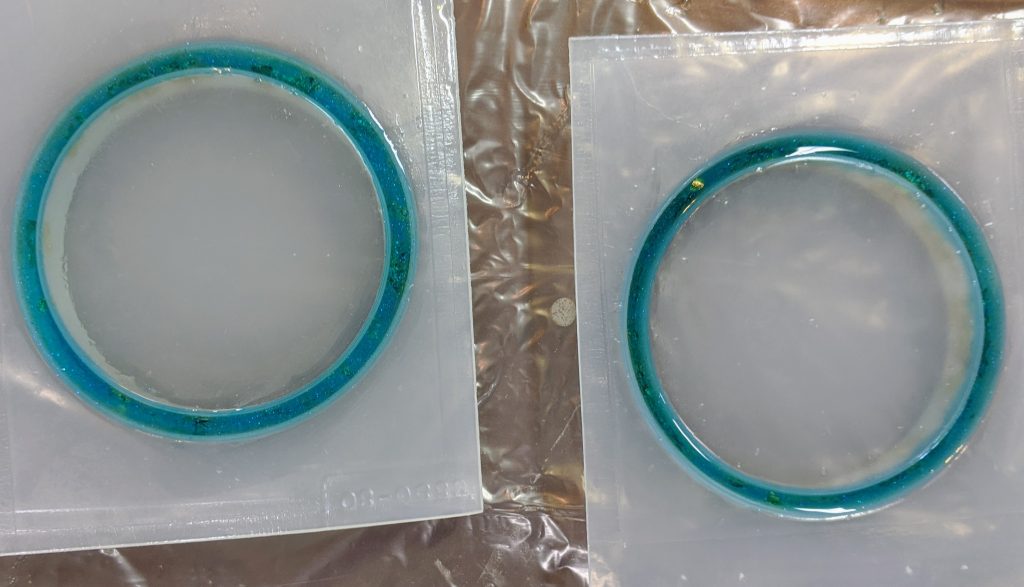
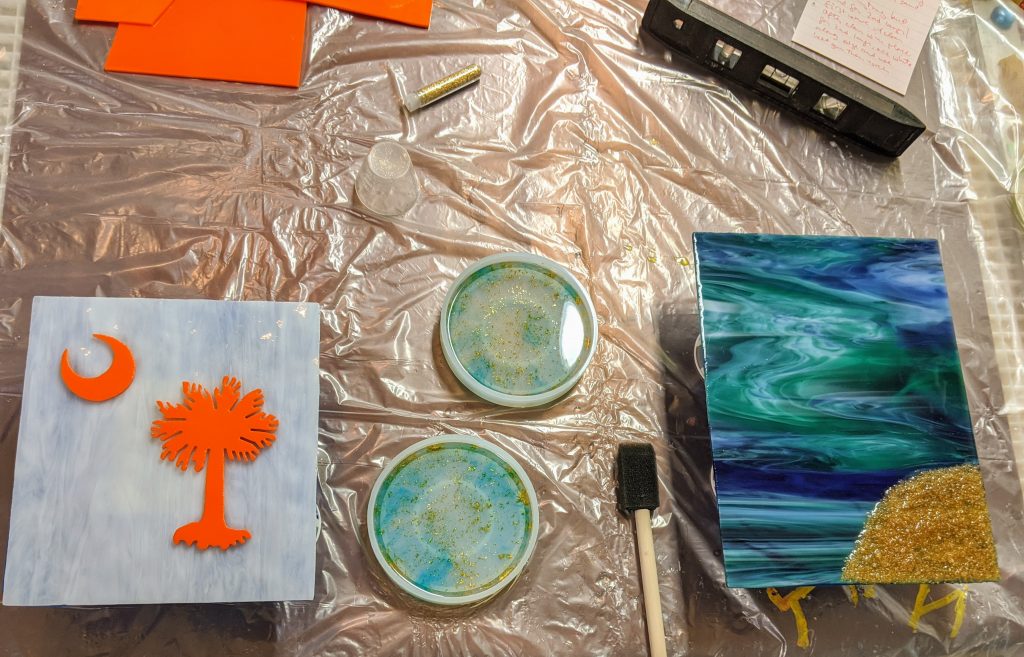
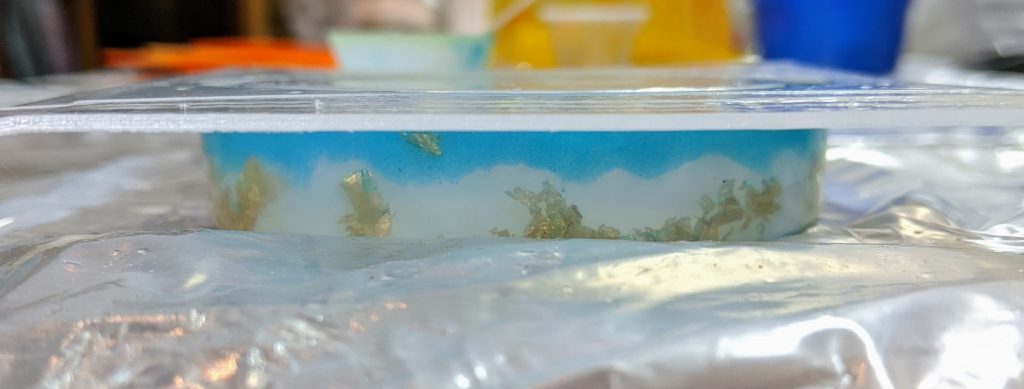
I also finished pouring the resin for my new bracelet molds. I’m not too sure how to get my desired look yet, but it’s just the first attempt. I think they might make a nice addition to my PetMemoryBeads.com offerings once I figure it out. I started pouring the one on the left a few days ago, with a clear layer then adding metallic flakes, then a little blue over that. I think mixing the flakes directly into the resin before pouring into the mold will make the flakes distribute better in the mold. I also needed to add more blue to the first mold today to fill in the space. For the one on the right, I mixed the flakes directly with the clear resin before pouring into the mold. The mold on the right also has been coated with Castin’ Craft Mold Release. I ordered the molds not realizing that they are stiff plastic, not silicone, which all of my other molds are made of. I never need mold release for my silicone molds, so I didn’t have it on hand when I poured the first one.

Side view of second / right hand bracelet mold

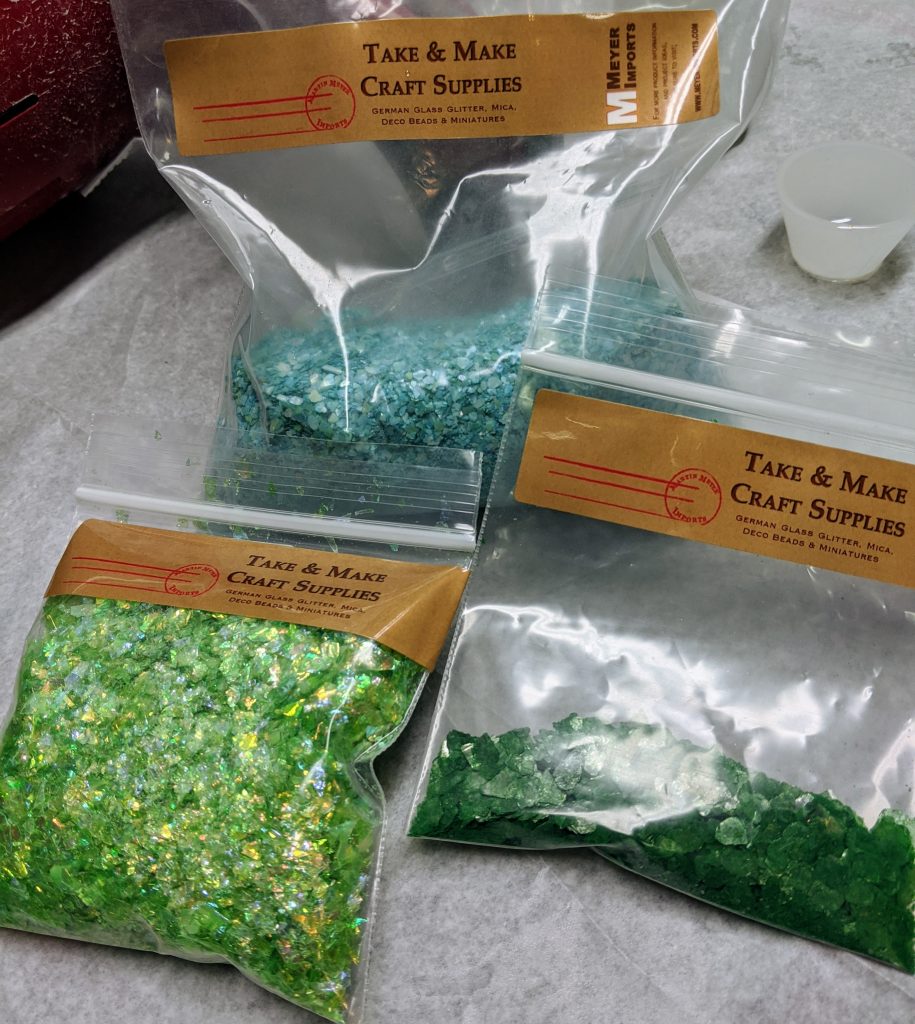
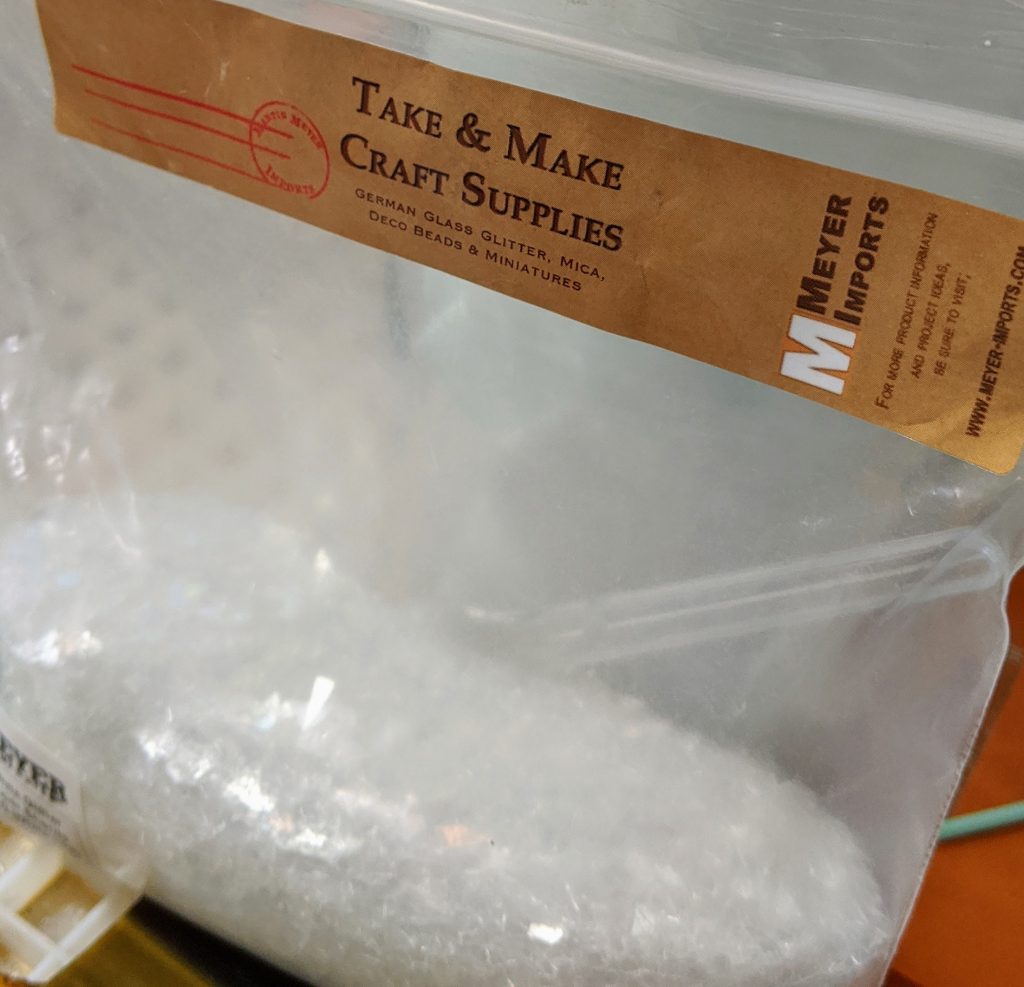
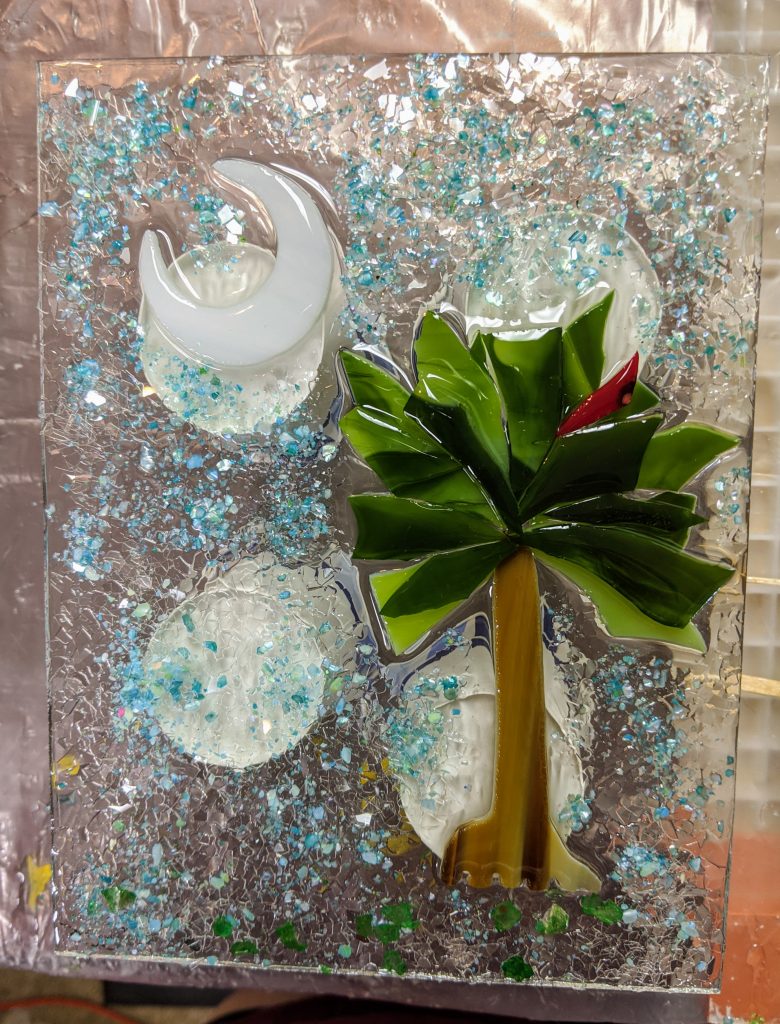
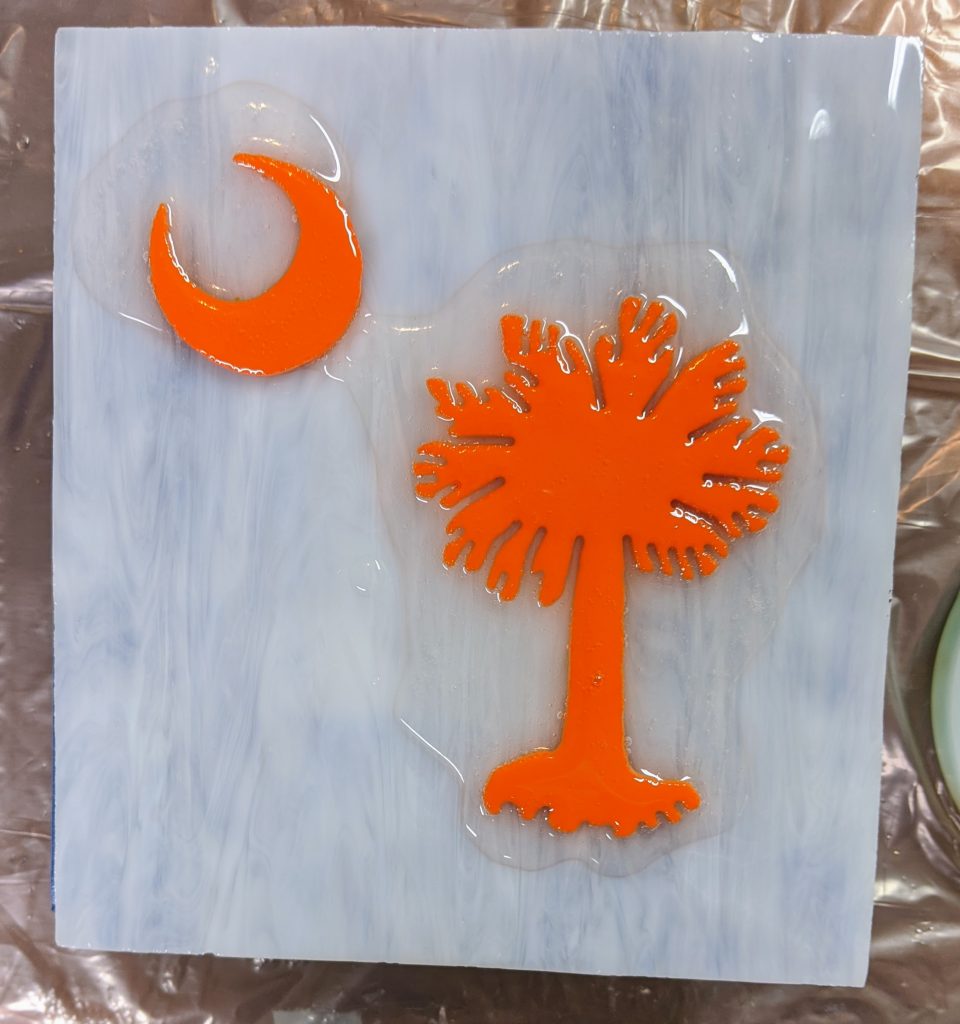
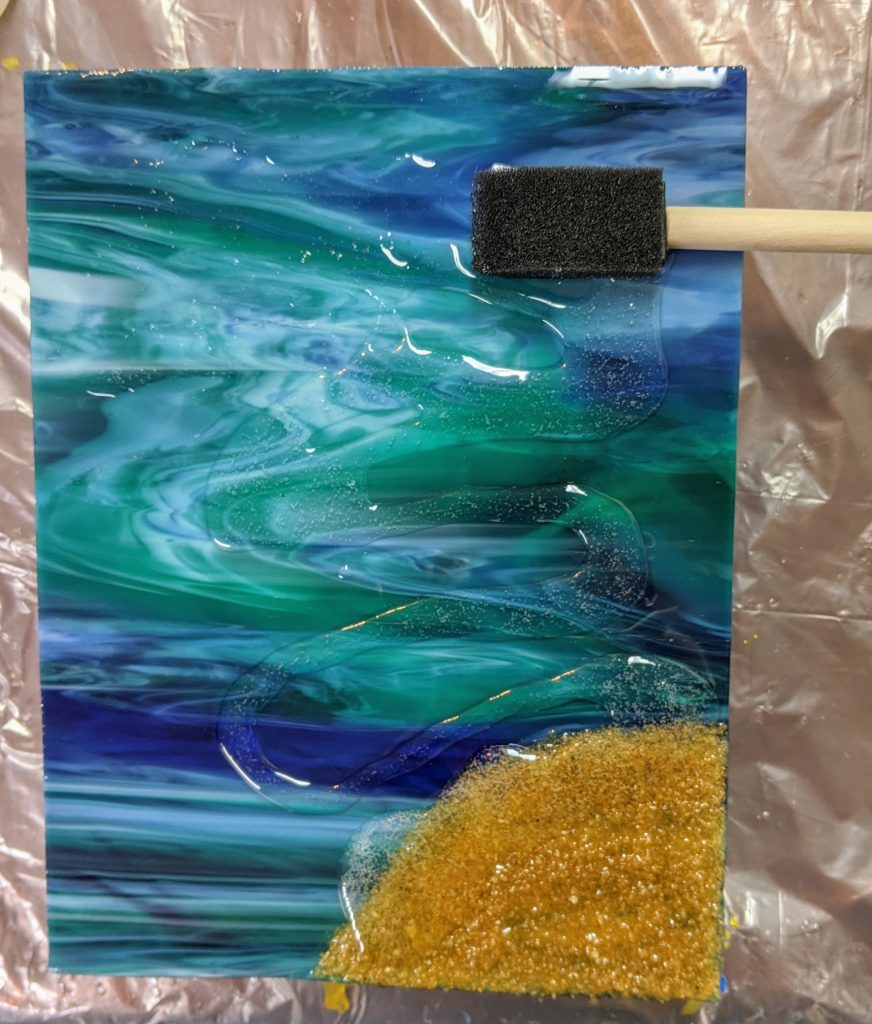
I actually poured the clear resin over the tree panels first, then tended to the bracelets, so my photos are a bit out of order. I decided to add a little red bird to the trees for interest. I also set aside some decorative class chips, mica, etc for decorating the background areas of the Palmetto and Crescent panels. I use a lot of materials from Meyer Imports and I really like their products.

Ready to pour / spread the resin

Beach waves done and two new projects

Today I added the last wave to my second beach glass panel, made another Palmetto and Crescent glass panel, finished a second metallic flake coaster and started a brand new cast resin bracelet project.

First I mixed up 80 ml of resin and set aside about a tbsp for the white wave for the beach panel. I spread the resin over the desired areas of the panels and mixed the white portion for the bubbles of the waves. I used the heat gun to manipulate the resin coating and also to remove bubbles. Next it was time to add the white bubble detail to the beach waves. I also got a new bangle bracelet mold and decided to use some of the extra resin for that. I should have waited until I had some mold release (this mold is hard plastic, not silicone like I’m used to), but I decided that I could try it out without the release for experience’s sake.

I couldn’t resist trying out a new bangle bracelet mold I ordered. I thought it was silicone, but it is hard plastic. I ordered some mold release for it, but this is an experiment to see how much I need the release chemical.

I also added some glass chips to an orange and white Palmetto and Crescent glass panel. The chips add some nice sparkle!

The bangle bracelet still needs a bit more resin, and it will take some practice to figure out how to place the decorations / pigments in that mold, so check back!

Just a little more

So doing the wave layers just takes a short amount of time (maybe an hour total including setup and cleanup) each day, but here is today’s progress. First I mixed 80 ml of resin, setting aside a very small amount (about 1 TBSP) for the white pigment for the wave bubbles. I then spread the resin over most of the glass, leaving out most of the part where the sand and the first white bubbles are located. I then used the heat gun to remove bubbles and added a line of white resin all along the very edge of the clear resin.

Next I used the heat gun to spread the white pigment and then the torch to add detail to the bubbles.

I also had some touch up to do on the Palmetto and Crescent panel, as I added glass chips late last night and sprayed over them with resin spray and I wasn’t happy with the look. Soooo I spread another layer of clear resin over the panel and added the chips again. I also used the leftover clear resin to finish up one of the coasters from yesterday, so tomorrow I should be able to see how it looks. 🙂 I will also add at least one more wave to the beach panel (hopefully also tomorrow).

Progress on 3 small projects

So yesterday I planned to work on these, but my real job was too busy, so today was the day. I added the first wave layer to my second beach / waves over stained glass panel, poured the resin coating on my stained glass “Clemson” colors Palmetto and Crescent panel, and added the second layer to my two alcohol ink / gold flake resin coasters.

I mixed 100 ml of resin, then set a small amount aside for the white part of the waves on my beach panel. Next I poured the clear layer of resin over the glass panels and spread the resin around with a sponge on a stick.

Once the resin was spread all over the base glass, I used my heat gun to remove bubbles and spread the resin a bit more evenly. Next, I added a line of white tinted resin (powdered pigment plus a drop of white alcohol ink) to the sandy beach part of the wave panel.

Next I used my craft torch to spread out the white bubbles of the wave. The alcohol ink drop helps create the feathery effect in the resin when the torch hits it. I really only wave the torch very briefly over the white resin one time. The torch can quickly crack the stained glass if it gets too hot.

First layer with the “breaking wave” effect.

Next I poured the leftover clear resin into the coaster molds I started two days ago. The first layer was clear with some metallic flakes and a drop of blue alcohol ink. This layer was clear with about three drops of blue ink, which I added directly into the clear resin after I poured it into the molds. Afterward, I blew it with my heat gun (obligatory bubble removal) and manipulated a bit with a small craft stick.

The picture is a bit misleading – I was able to see some clear areas / variation in the resin.

I will likely need to add another layer of clear resin to the coasters and I’m hoping to add two more layers of wave to the beach panel, but the palmetto and crescent panel should be all set tomorrow afternoon. I will probably also brush a very light coat of resin over the sand dollar, shark tooth and shell on the beach panel.

First and last layers

I didn’t pour quite enough resin on the canvas I made the other day, so I wanted to add a thin layer on the top of it and also pour the first layer on my new beach / layered wave project. First I propped up my glass on which I applied the sandy beach yesterday so it would be ready for the resin.

I probably should have taped the underside of the glass, but I didn’t think of it until it was too late, so I had to scrape the drips off before the resin cured.

Poured, spread, bubbles removed with heat gun, errant grains of sand removed.
Love this glass!

I’m not sure I will get the desired outcome with the canvas, but it’s my first one so I’m still on the steep learning curve. I might need to make a cardboard or foam support that fits the inside of these frames for better support.

Last layer spread to include side edges of the frame, heat gun and torch for bubbles

I wasn’t able to remove all the bubbles / irregularities in this coat, so I will see how bad it is tomorrow.

Trying a new method for waves

I’ve got so many project ideas I want to try that it seems like I’m doing something new each day. Right now I have the canvas I started the other day that needs a finishing coat of clear resin, and I started a new glass / beachy project. For this panel, I started with a pretty sheet of glass that reminded me of the ocean. After cutting the glass to a manageable size and grinding the edges, the first step was to add some sand for the beach. I used real sand and mosaic adhesive.

Some nice art glass with the beach in place

The down side of this project is it is going to take several days to complete, as I can’t pour any resin until the adhesive on the sand dries completely. My plan for the waves is to do one wave per day. Sigh. At least I will be able to finish the canvas I started the other day and then start on a new canvas when I’m working on the layers for the waves.

Making Waves

I spent most of the day Monday working on gluing down the pieces I had already cut for the rays of the sun, and making waves to start layering the ocean below the sun. First I rough cut some waves, then used my grinder to shape and smooth the edges.

Ready to grind the glass pieces for the 2nd layer of waves

After I got the above pieces ready, I realized that I would need to glue the dichroic glass I had cut and laid out for the suns rays before I started working on the layering for the waves, so I set out to do that.

How the waves / rays looked when I started the day’s work

Using Mac mosaic adhesive and a small paint brush, I spread a thin layer of adhesive onto each piece and then position it where I want it. I already did this step for the main ball of the sun and the first layer of waves last week.

Gluing the rays around the sun

Using a light tray to help me see what I was doing, I worked one row at a time from the inner row to the outer edges. I decided to place the pieces a bit closer together than I previously had them laid out, so I had to rearrange some and also cut quite a few more squares.

Gluing the rays

Once I had all of the rays glued down, including the smaller filler pieces at the edges, I started gluing the second layer of waves in place.

Layering the waves

I will need to make quite a few more waves, but I at least got a start on them today. Gluing the rays in place took most of the day. I really want the mosaic adhesive on the rays to have plenty of time to cure before I pour the resin, otherwise they will be cloudy.

How everything looked at the end of today (light tray powered off)
Snapshot with the flash on my camera (phone)
One last snapshot with reflective light

Hopefully I’ll have time on Tuesday to put some additional waves in place. I also need to plan how / if I will embellish the resin when I pour it. I think I would like to do something at least around the edges of the frame.

Sunset and water

I needed to cut some more dichroic squares to fill in the rest of the background on the sunset window, and I got some time this afternoon, so I worked on that.

Cutting squares of light blue / red metallic dichroic glass.

I filled in as I cut, leaving the smaller pieces I will need to cut to fill in the very edges for later. I have been having second thoughts about the overall look of this the past several days, so I haven’t glued anything in place yet. I also worked on the water / waves underneath the sun. So far I’m pretty pleased with the look of the waves. Now the challenge will be gluing the waves in place without jostling the rest of the pieces around too much.

Filling in the edges using a light table.

The colors of this glass when the light table is underneath the window are surprisingly bright. I love working with this dichro glass. I am hoping the look of the blue squares I added on the edges today will have the effect I’m going for, as the reflecting color of the dichroic coating is metallic red on these pieces as opposed to silver / gold on the rest of the sunset’s rays.

Closeup of the area above the light table

I tried to get some photos with the light table off and a bit more reflective light, but it’s pretty challenging to do with my phone in this lighting. Later on I’ll get my husband to help with the photos, as he’s got better equipment and a lot more experience taking photos.

Ambient light in the room.
More reflective angle.

I still need to glue down these pieces, then start cutting smaller pieces to fill in the gaps, especially around the edges and between the waves. I might try using some decorative flakes in the resin when I pour it, but I’m several days away from getting to that point right now. At least my confidence is up quite a bit now that I have most of the window filled in. I was procrastinating because I was afraid it would look too simplistic, but the progress I made today has made me more satisfied with the overall look. I will probably layer the waves to give them more texture, so they will have more depth (no pun intended).