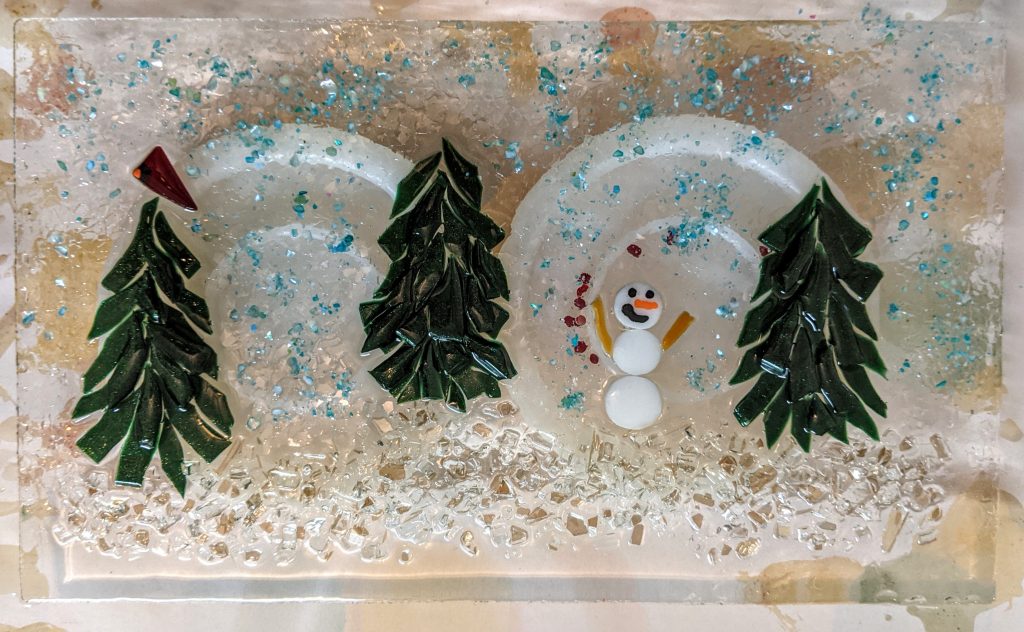
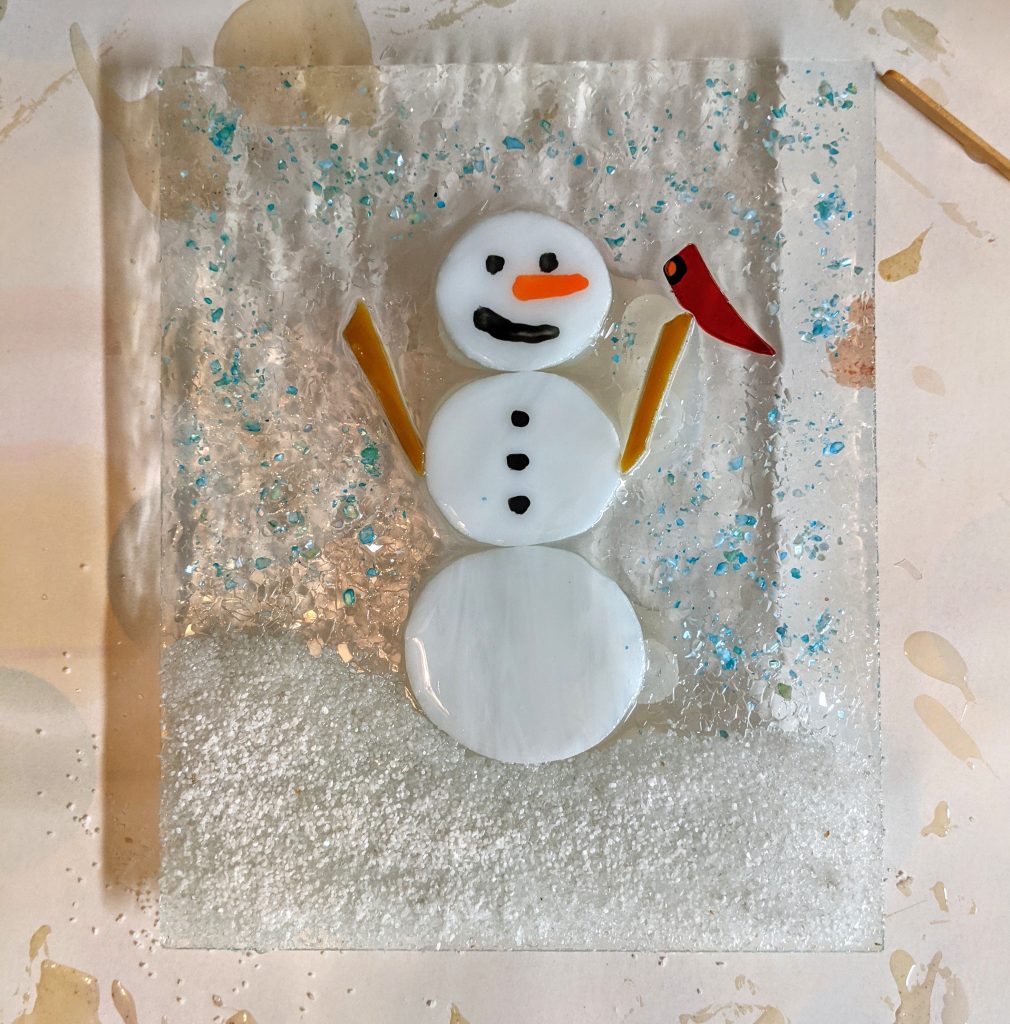
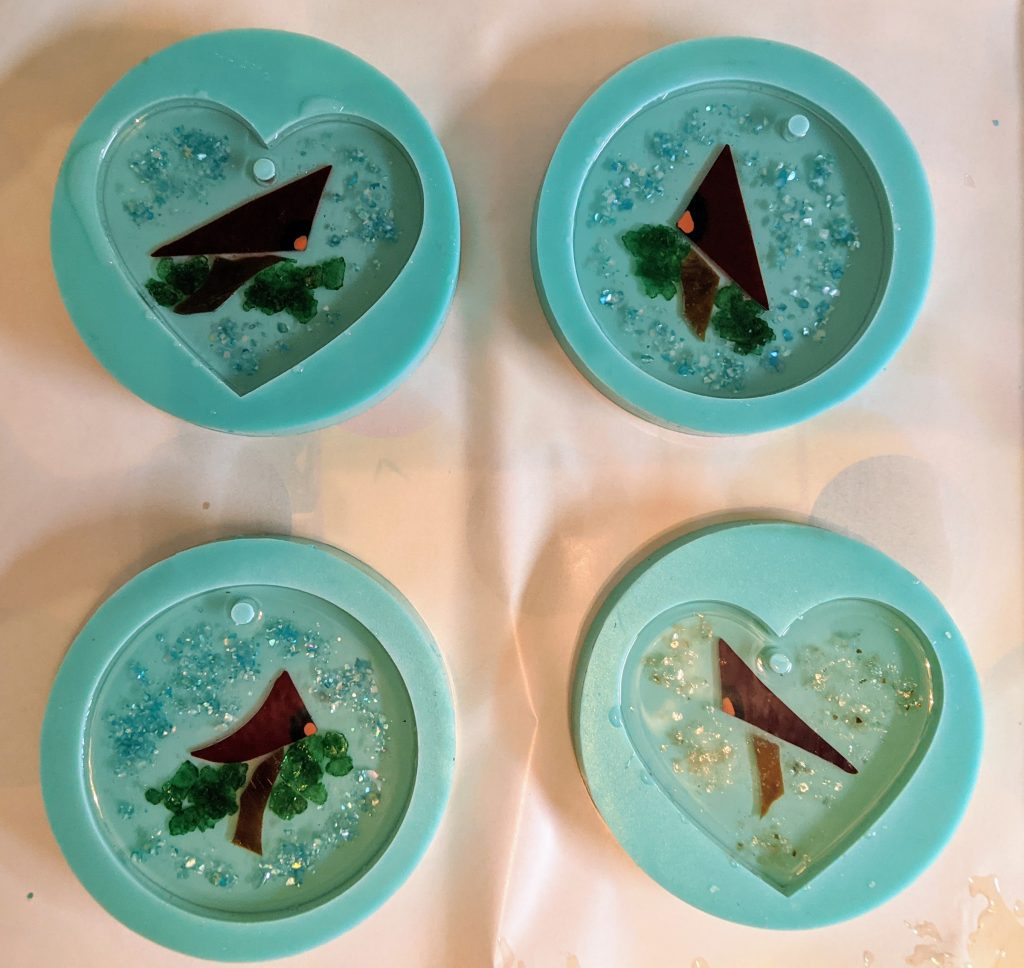
Yesterday I poured / decorated the resin for the winter scene and snowman, as well as added a second resin layer to four molded ornaments. Hopefully I will be able to get finished pictures of them this evening!
Glass of Sherry
Yesterday I poured / decorated the resin for the winter scene and snowman, as well as added a second resin layer to four molded ornaments. Hopefully I will be able to get finished pictures of them this evening!


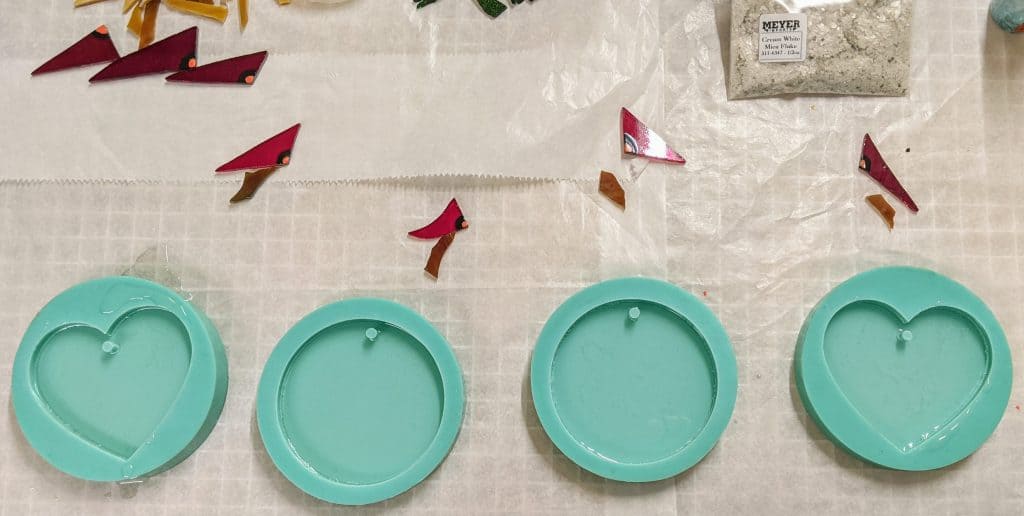
I’ve been busier than usual at work, but was finally able to circle back to these ornaments to pour the resin. For these molds, I first pour a thin layer of resin and then use the heat gun to reduce the amount of bubbles. I also run a craft stick around the edge of the mold for the same reason.
I also had these ornaments assembled and elevated on silicone ready for the resin coating.
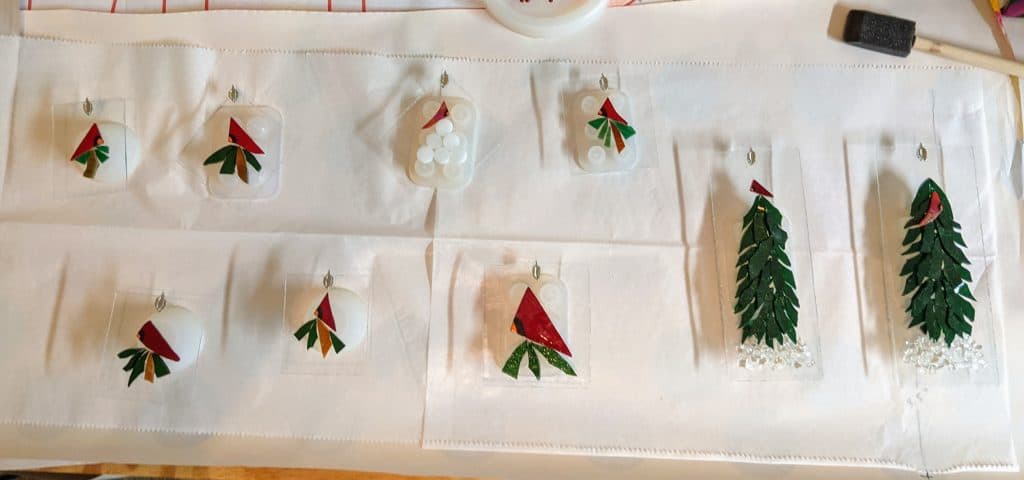
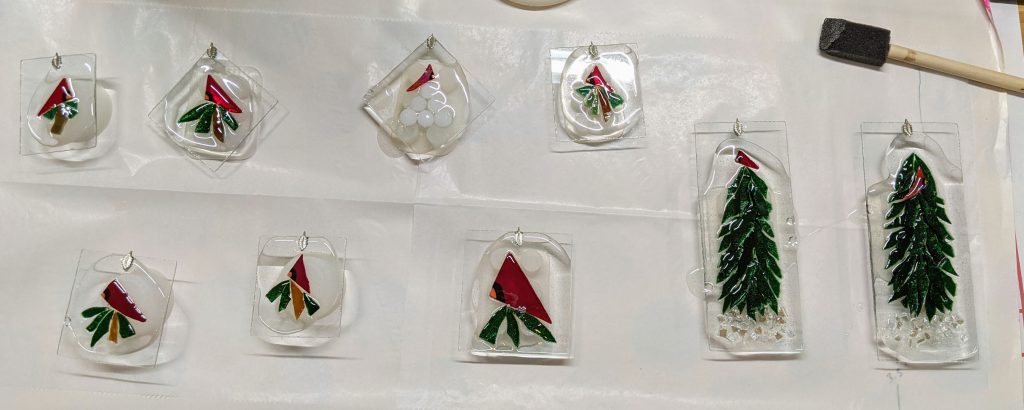
I try to cover the glass in the foreground completely, then use a sponge on a stick to spread the resin to any areas that aren’t yet coated.
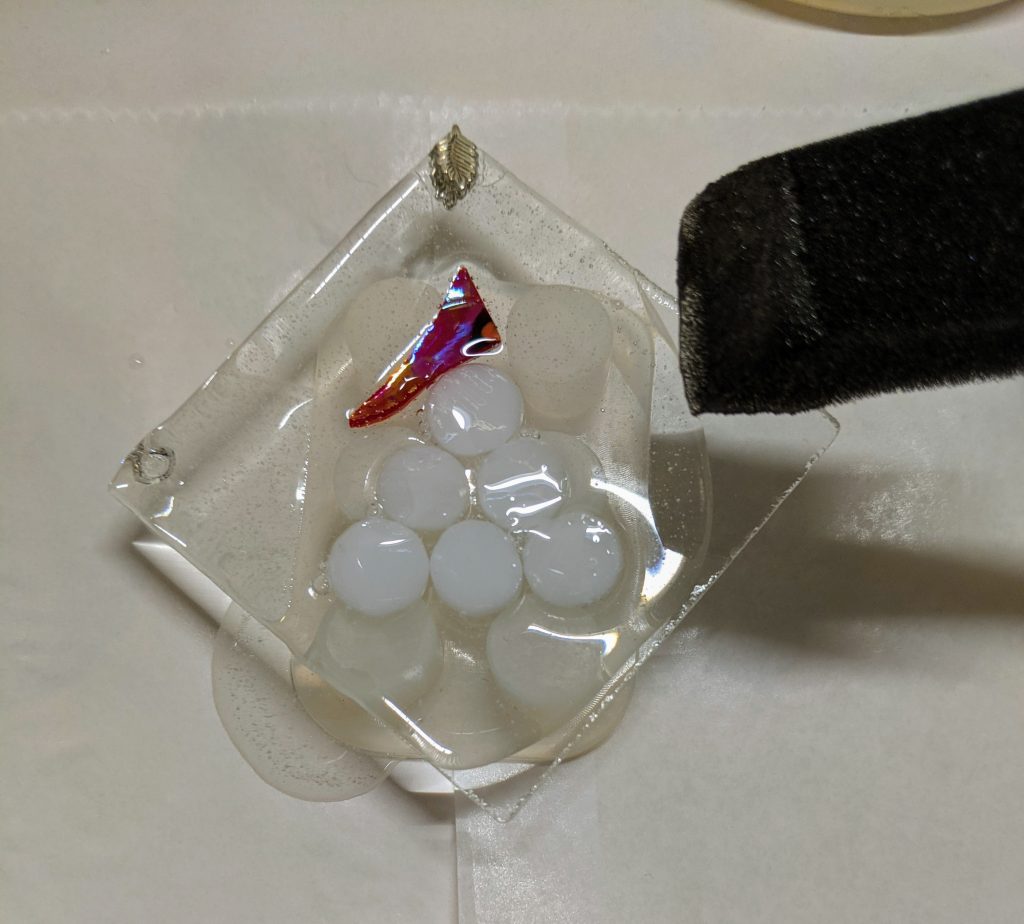
Once the resin is spread, I also use the heat gun on these to remove bubbles.

Once the resin in the molds is starting to thicken, I place the glass pieces and then the sparkly mica chips used for the snow / sky / leaves.
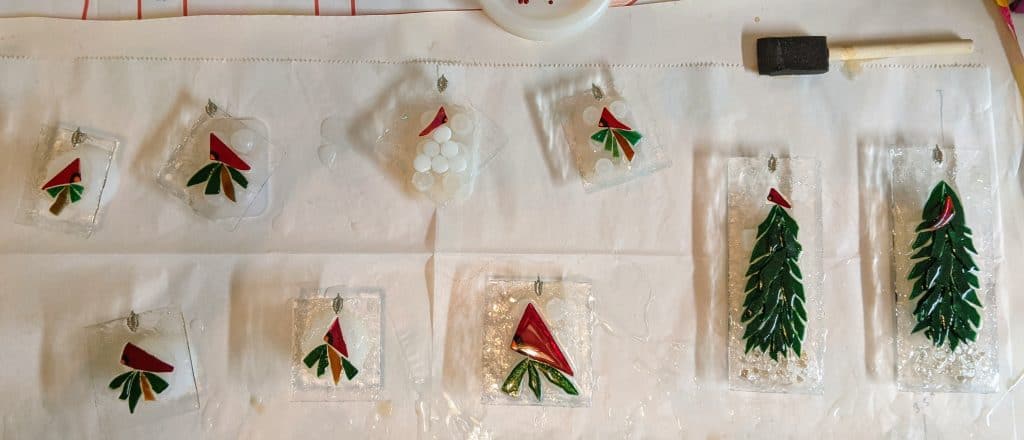
For this type of ornament, I sprinkle glass chips into the resin in the clear background areas for sparkle, then I spend about an hour scraping drips off the backs of the backer glass. I can clean up any leftover drips with a razor blade once the resin has cured, but this helps reduce the cleanup. On larger pieces I like to use masking tape on the back, but I don’t always remember to apply it in time. Now just to wait until the resin cures!
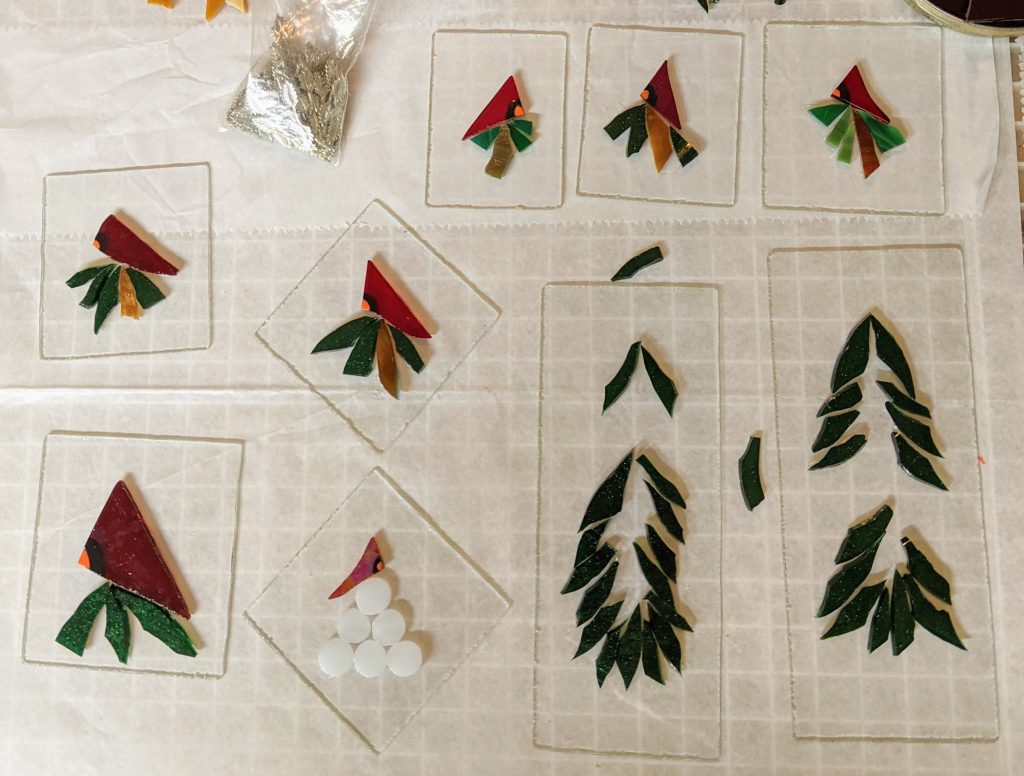
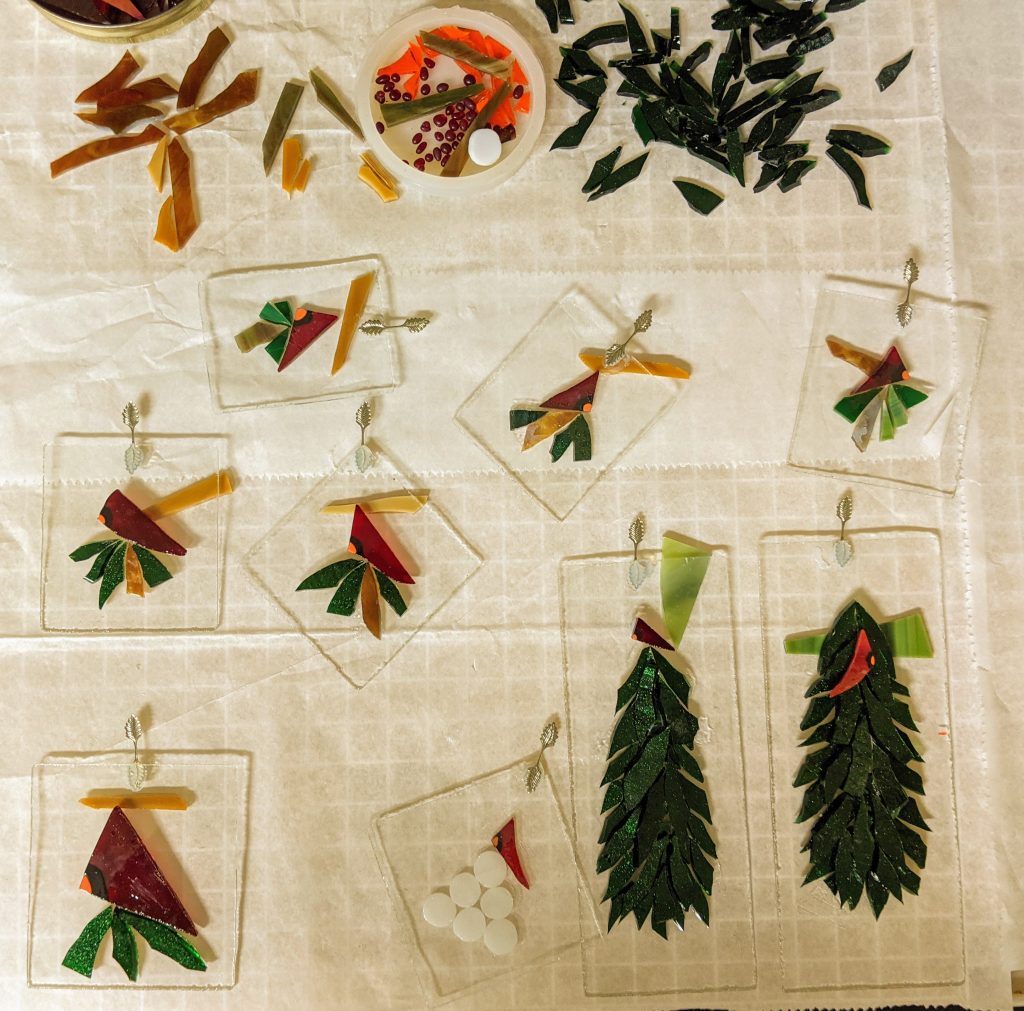
Today I laid out some designs and glued them in place. These will have a lot more detail once the resin is poured and decorated. I like to use “glass chunk snow” under the trees and glass chips / mica accents for sparkle.
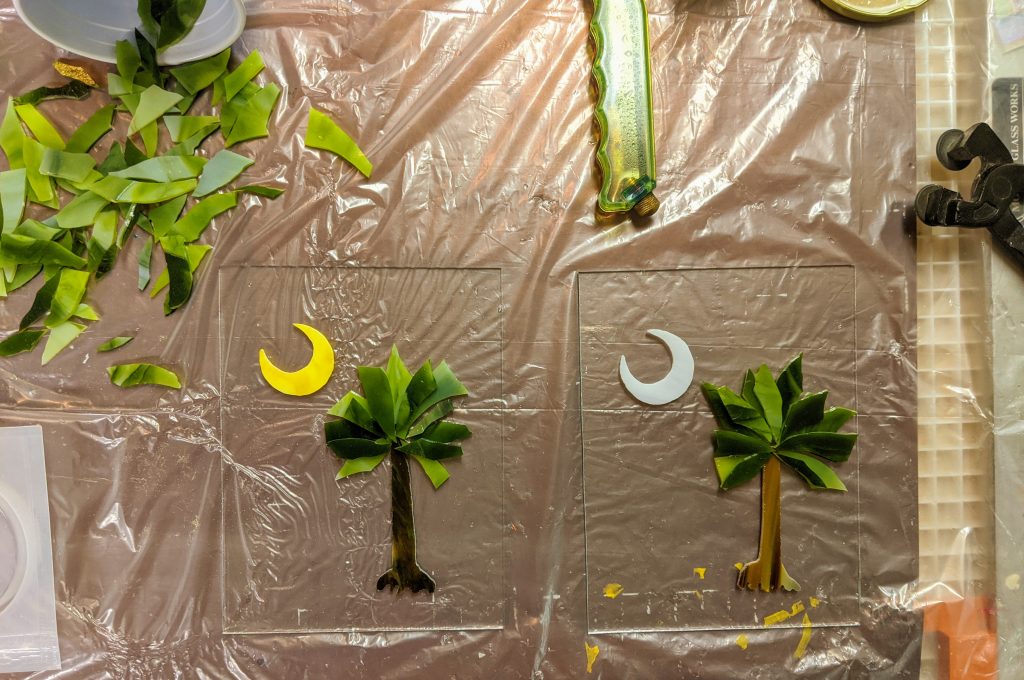
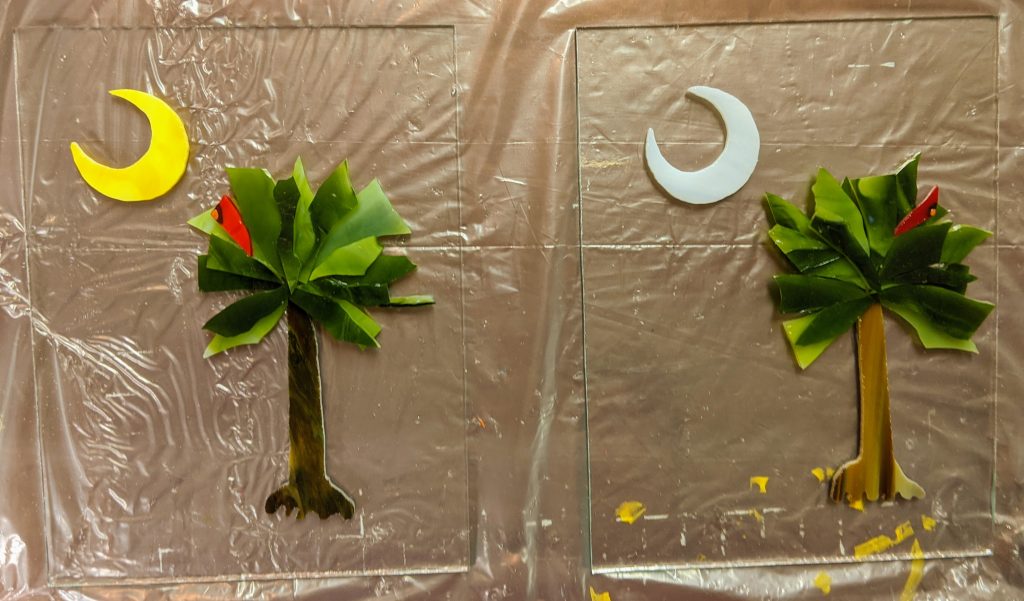
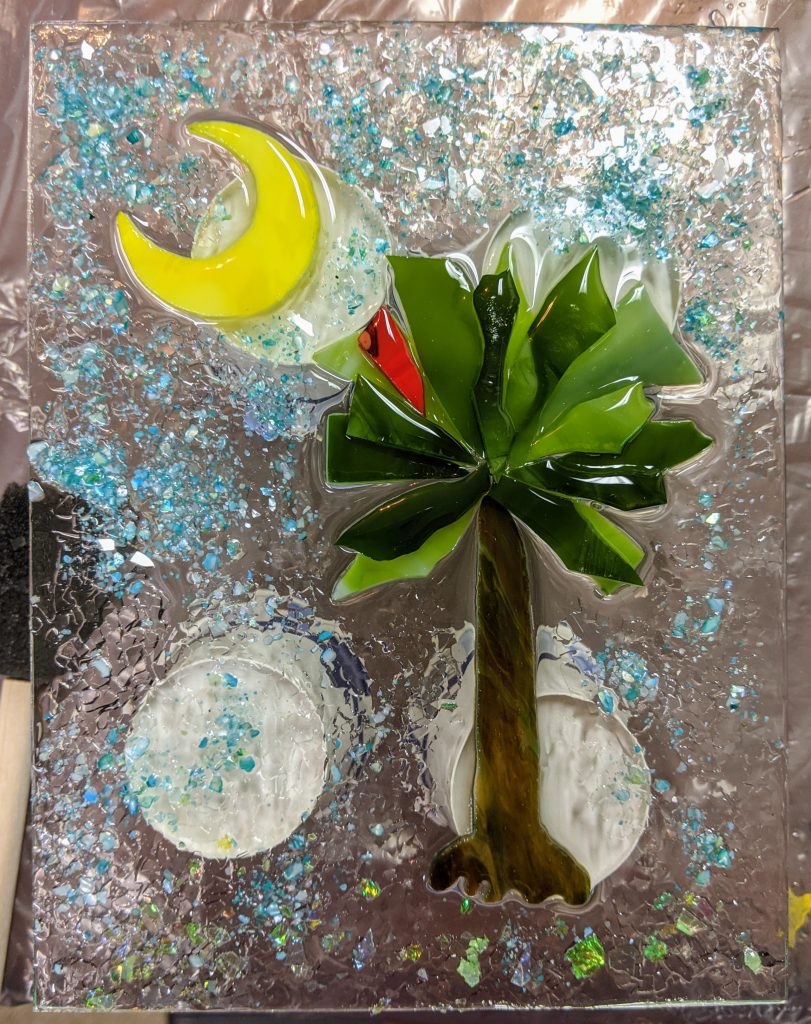
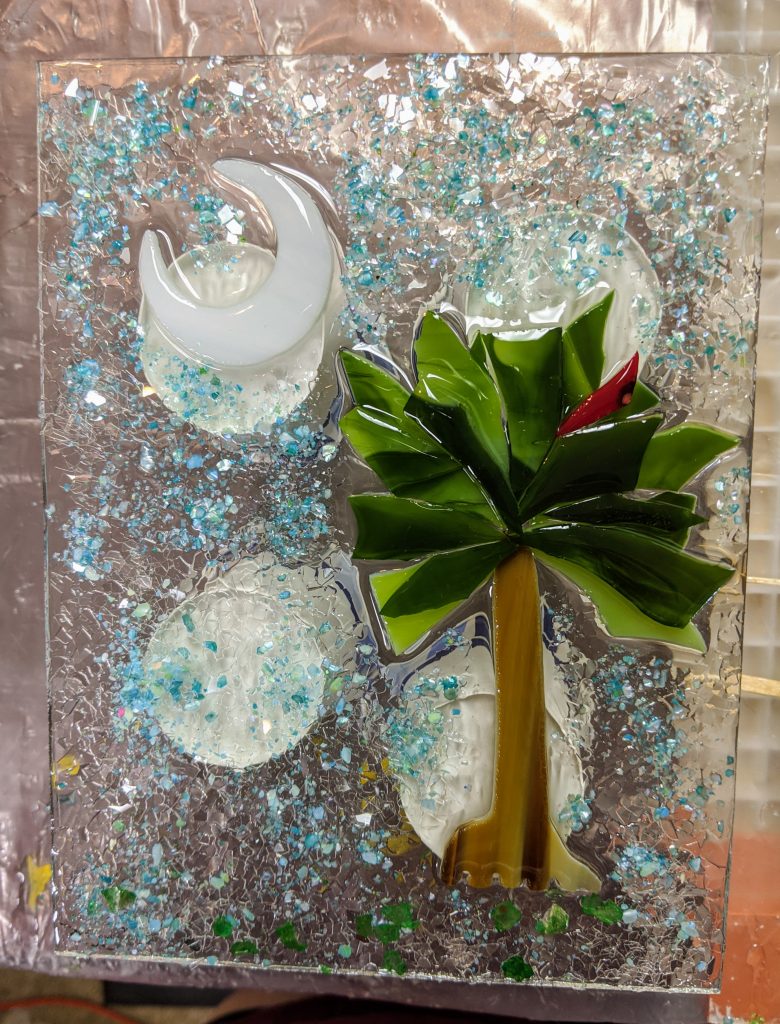
I finally got around to making some Palmetto and Crescents with variety today.
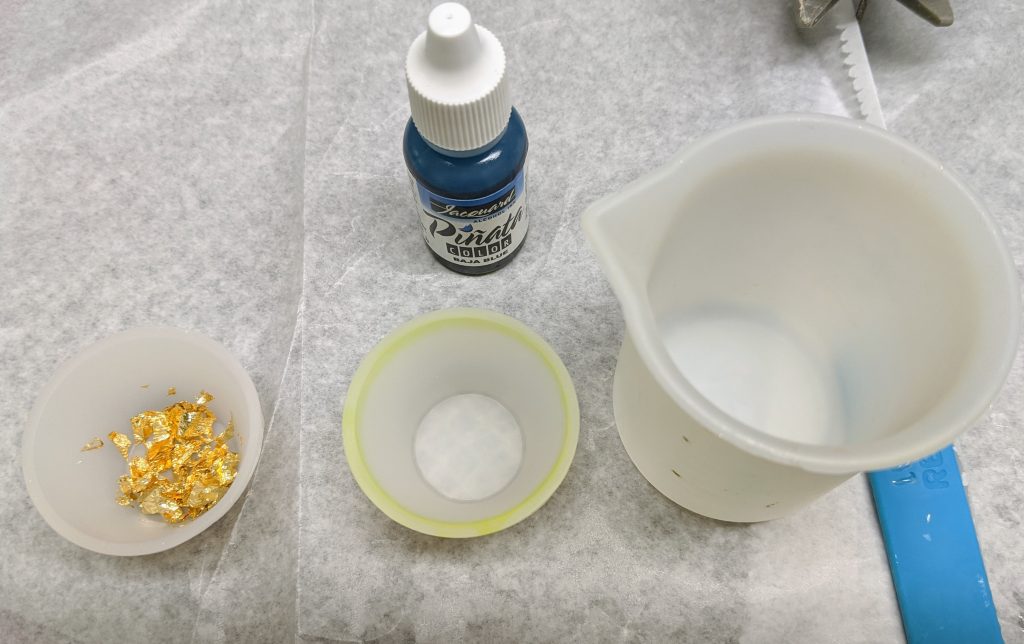
First, I mixed 80 ml of resin and then separated it into clear, a small container of clear with metallic flakes and one that would end up blue tinted.
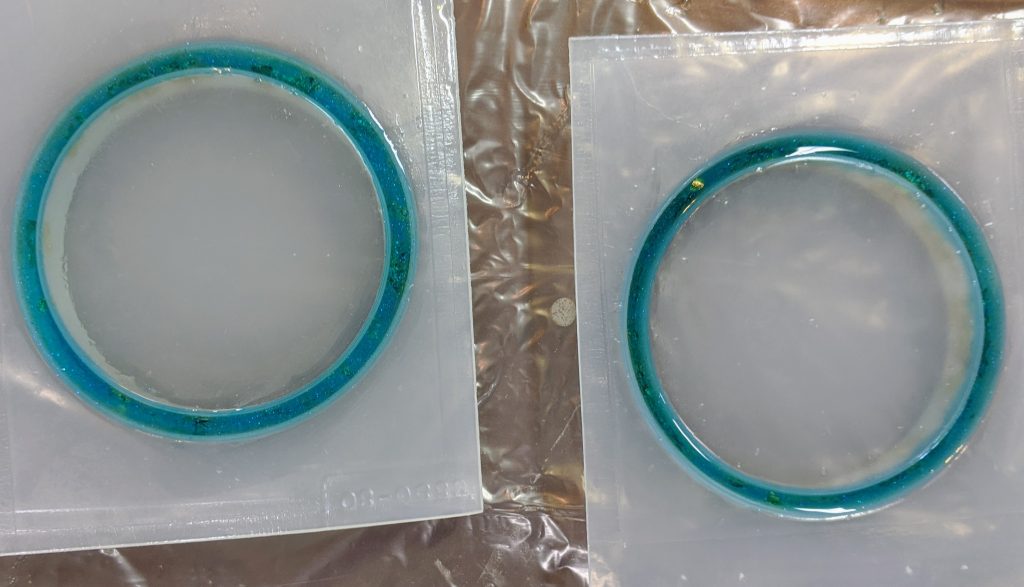
I also finished pouring the resin for my new bracelet molds. I’m not too sure how to get my desired look yet, but it’s just the first attempt. I think they might make a nice addition to my PetMemoryBeads.com offerings once I figure it out. I started pouring the one on the left a few days ago, with a clear layer then adding metallic flakes, then a little blue over that. I think mixing the flakes directly into the resin before pouring into the mold will make the flakes distribute better in the mold. I also needed to add more blue to the first mold today to fill in the space. For the one on the right, I mixed the flakes directly with the clear resin before pouring into the mold. The mold on the right also has been coated with Castin’ Craft Mold Release. I ordered the molds not realizing that they are stiff plastic, not silicone, which all of my other molds are made of. I never need mold release for my silicone molds, so I didn’t have it on hand when I poured the first one.
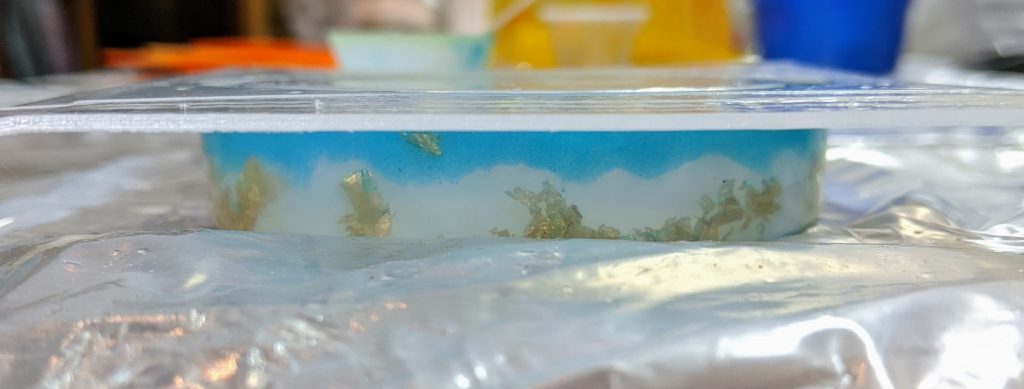
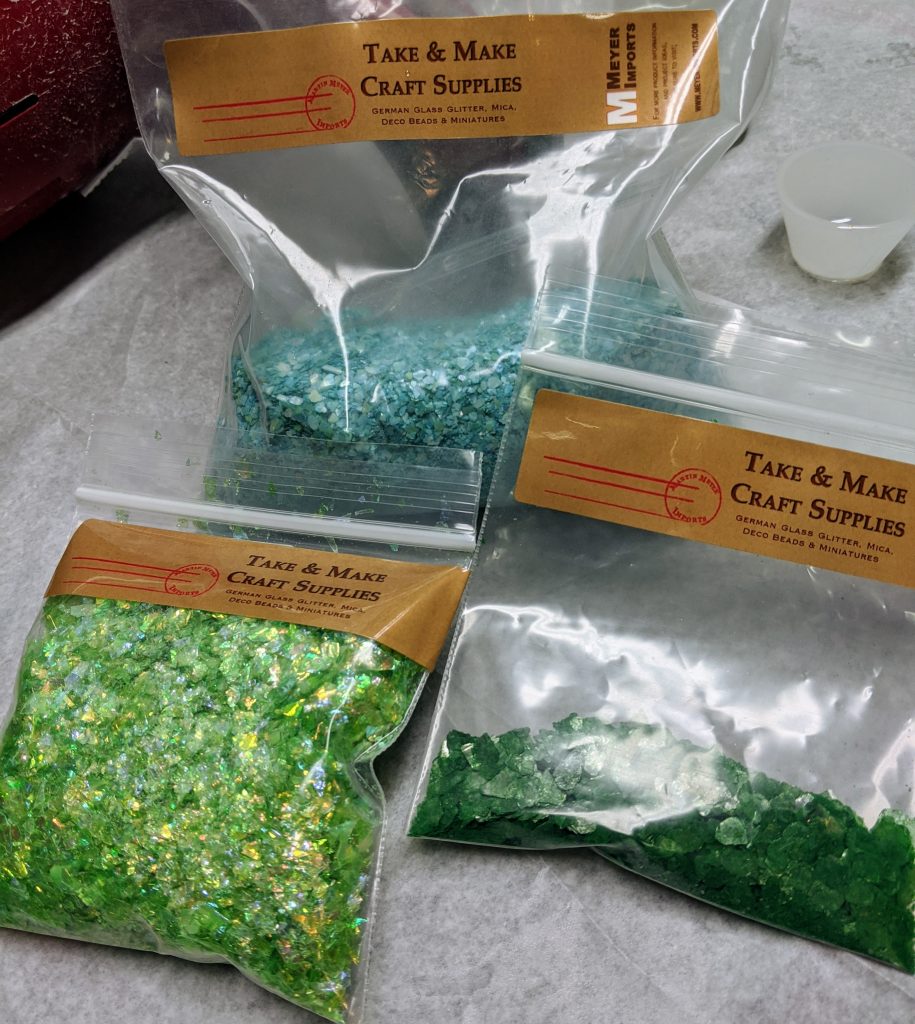
I actually poured the clear resin over the tree panels first, then tended to the bracelets, so my photos are a bit out of order. I decided to add a little red bird to the trees for interest. I also set aside some decorative class chips, mica, etc for decorating the background areas of the Palmetto and Crescent panels. I use a lot of materials from Meyer Imports and I really like their products.
Today I tried adding windows and doors to a couple of the houses on these Rainbow Row pieces. I just wasn’t feeling the love for them. I’m not good with painting / drawing at all and they didn’t look the way I had hoped, so I removed them and decided to focus on the Palmetto trees today. Maybe I can add enough visual interest with plants. I glued the trees and greenery in place, but I haven’t glued the red glass flowers in the shrubs yet. Still thinking about that.
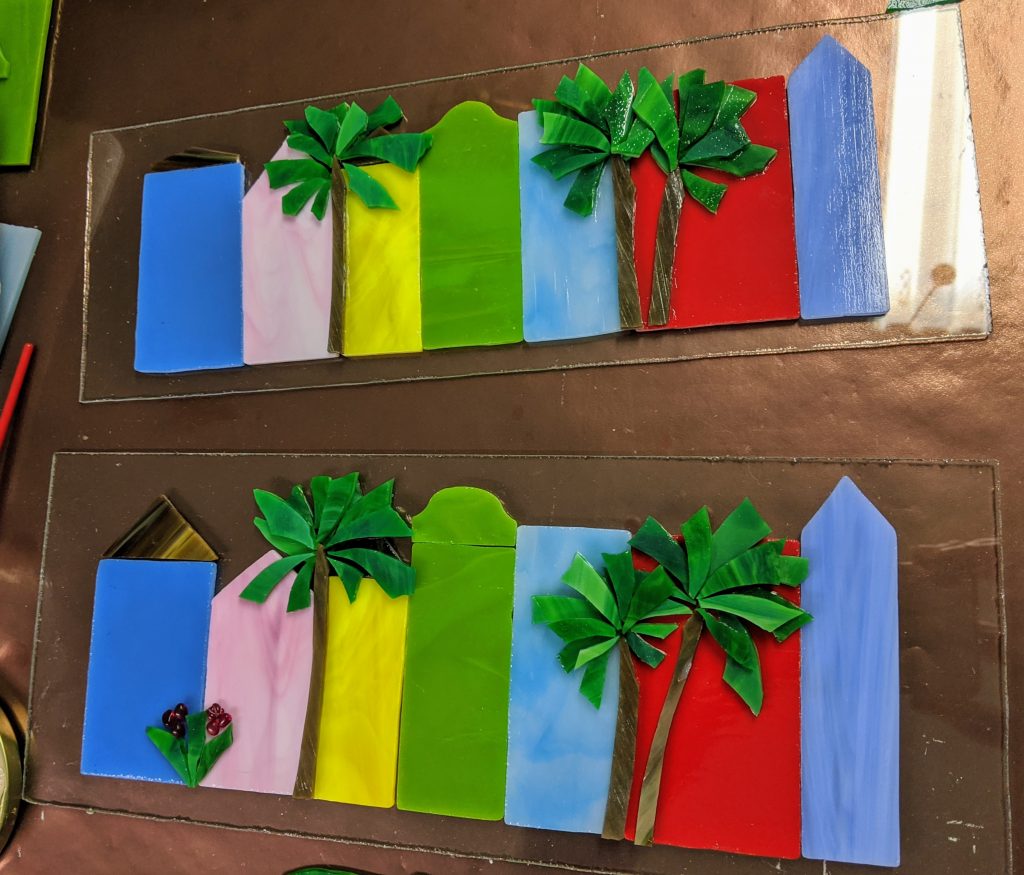
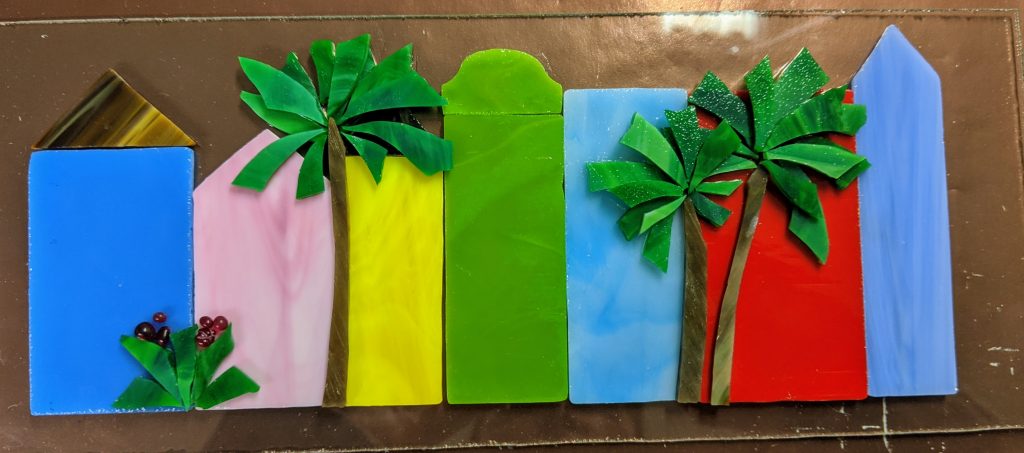
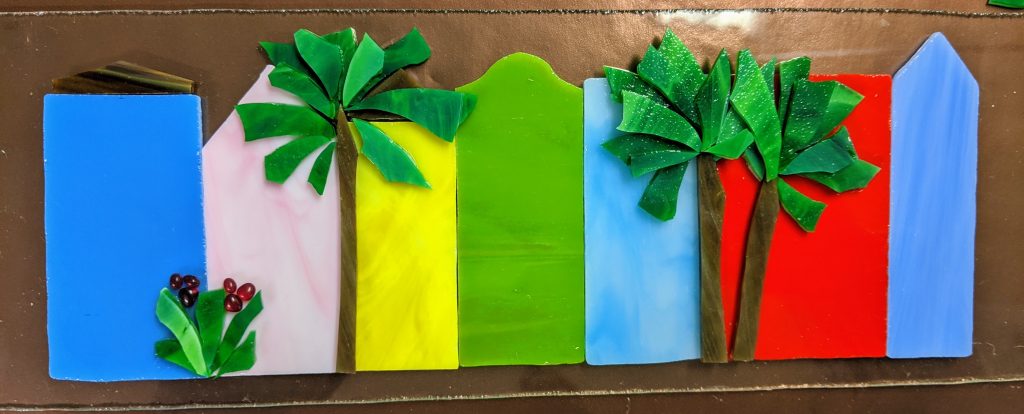
Maybe if I make them a bit smaller next time I will like the look a little better. I still feel like these need more decoration. I have considered making windows and doors out of glass, but they would really stick out. I decided to try that and see how it looks.
In the mean time, the little trees inspired me to try designing some smaller pieces (larger than ornaments, but about a third of the size of the above pieces) with the Palmetto and Crescent for the South Carolina flag. I often have people ask about pieces with the SC flag (I’ve made large window mosaics as well as stepping stones with it in the past).
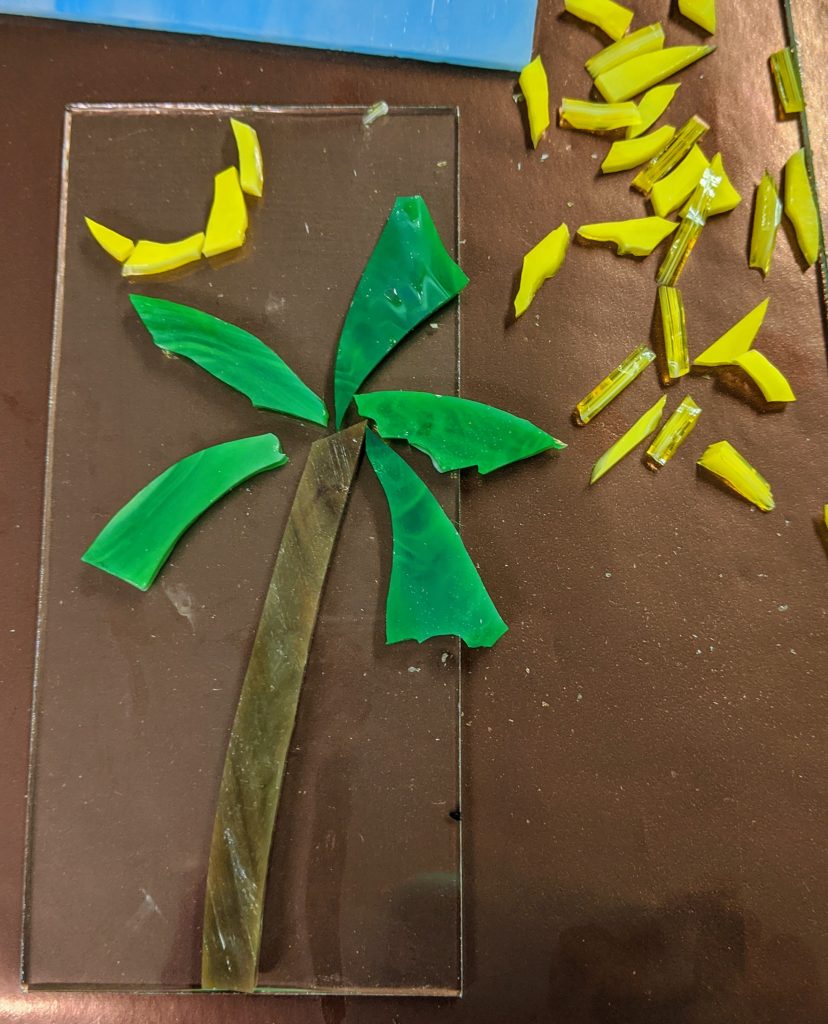
I’ll need backer glass that’s about twice this size. I’ll also likely use white and blue glass for the Palmetto and the Crescent, but this is just for brainstorming.
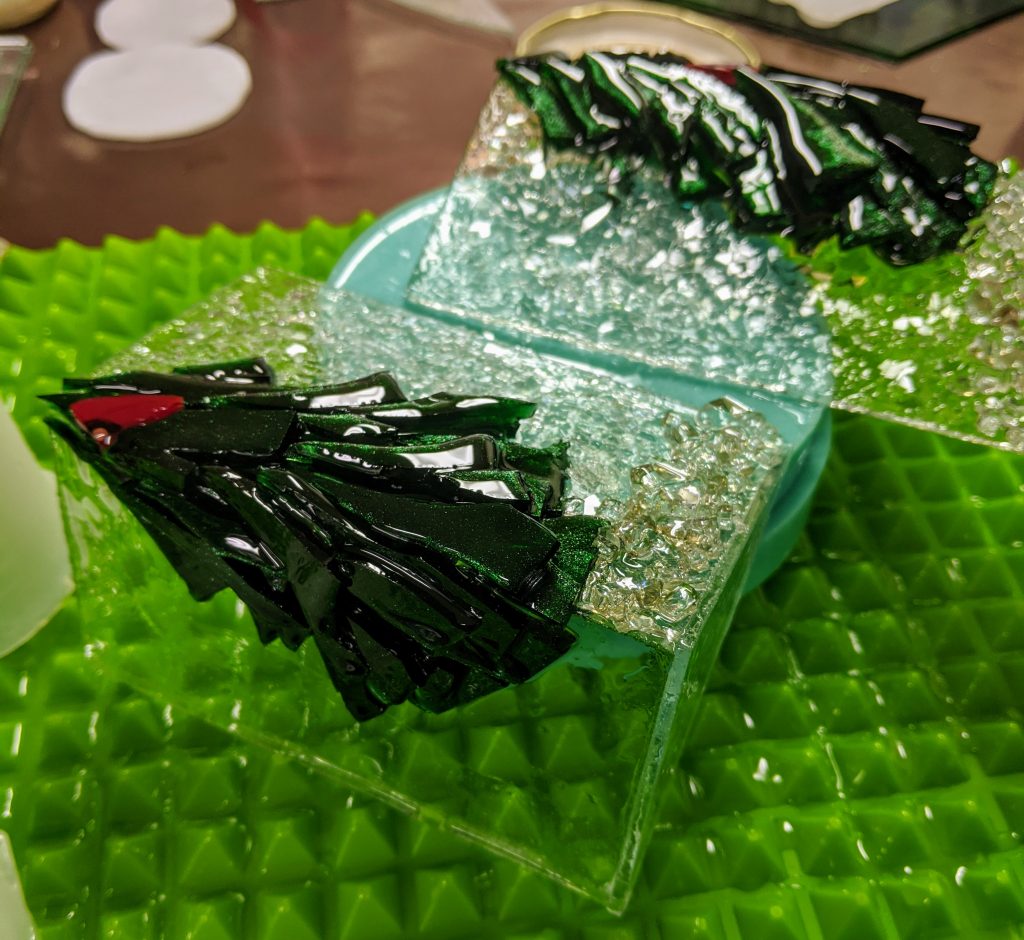
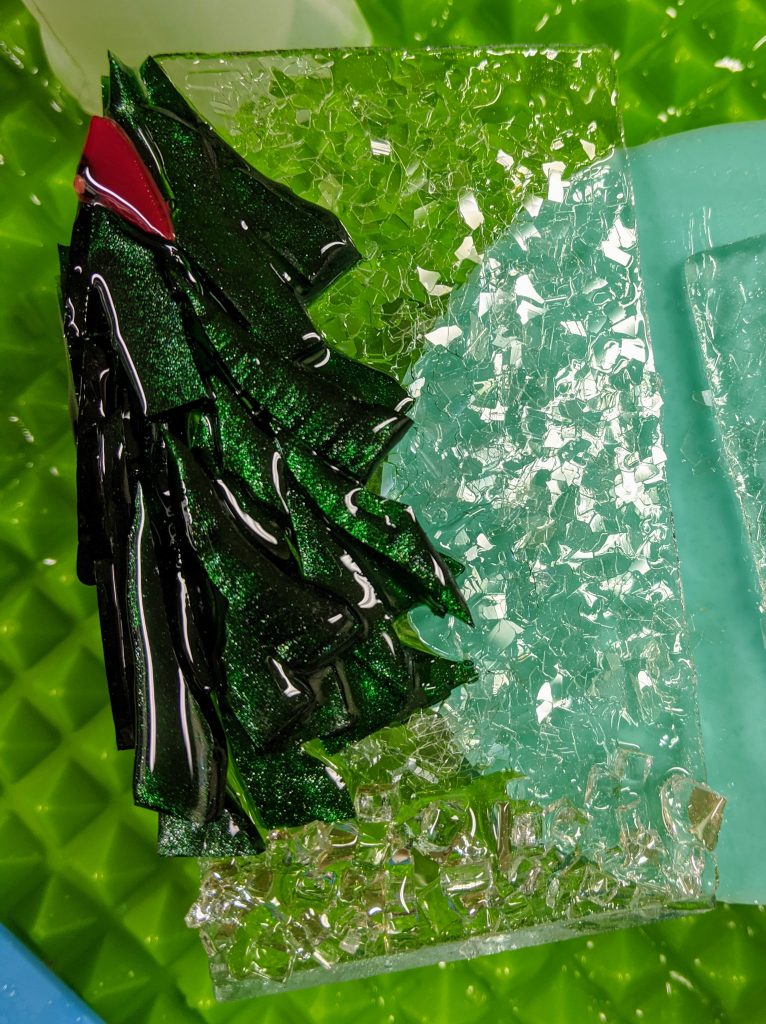
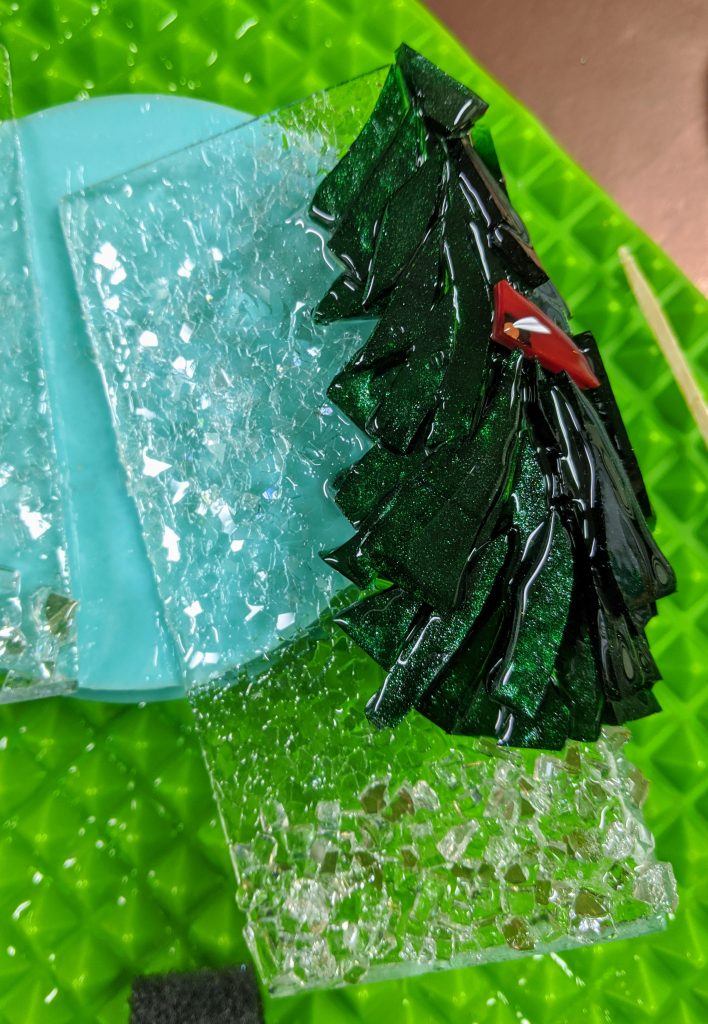
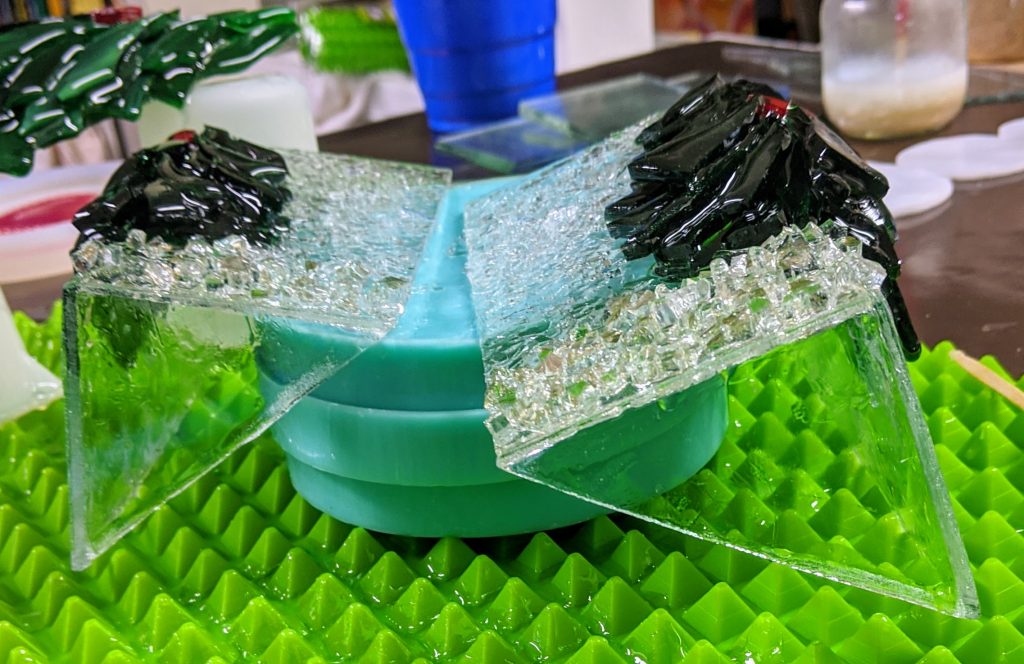
I finished all three tree candle holders today – here are snapshots of the finished products. Overall, I like the tree that’s standalone (not on a rectangular base) the best. I had a hard time keeping the resin tidy looking on the rectangular glass pieces with multiple stages of pouring.
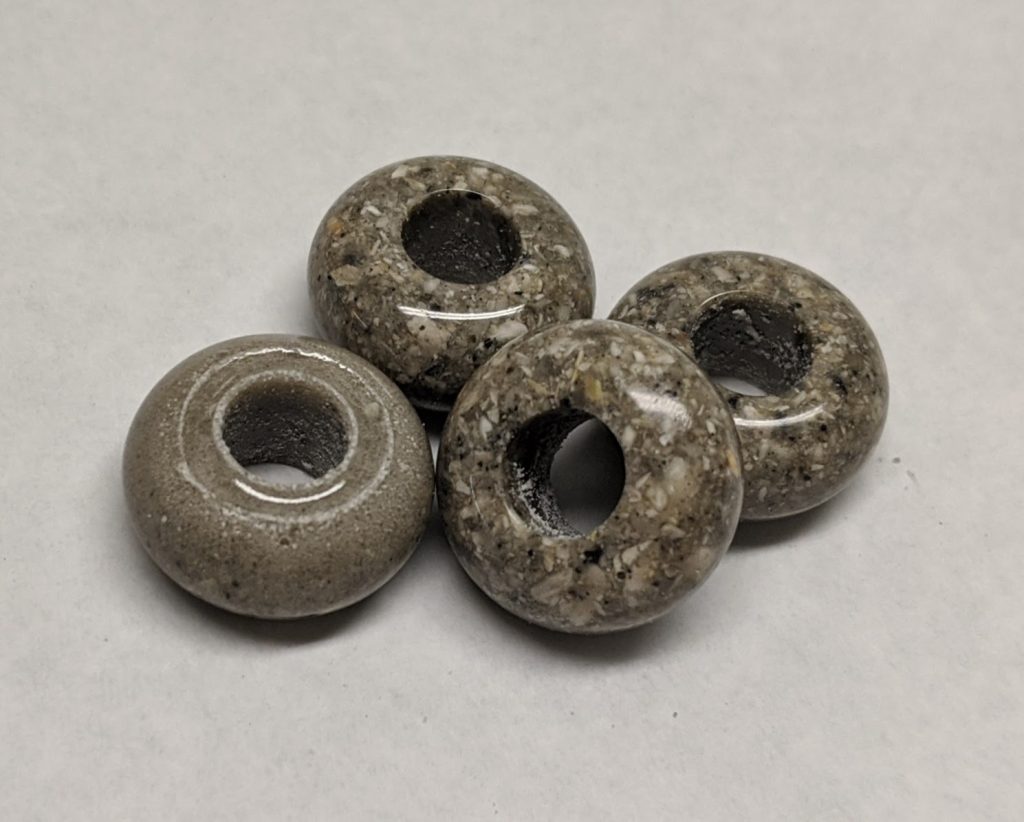
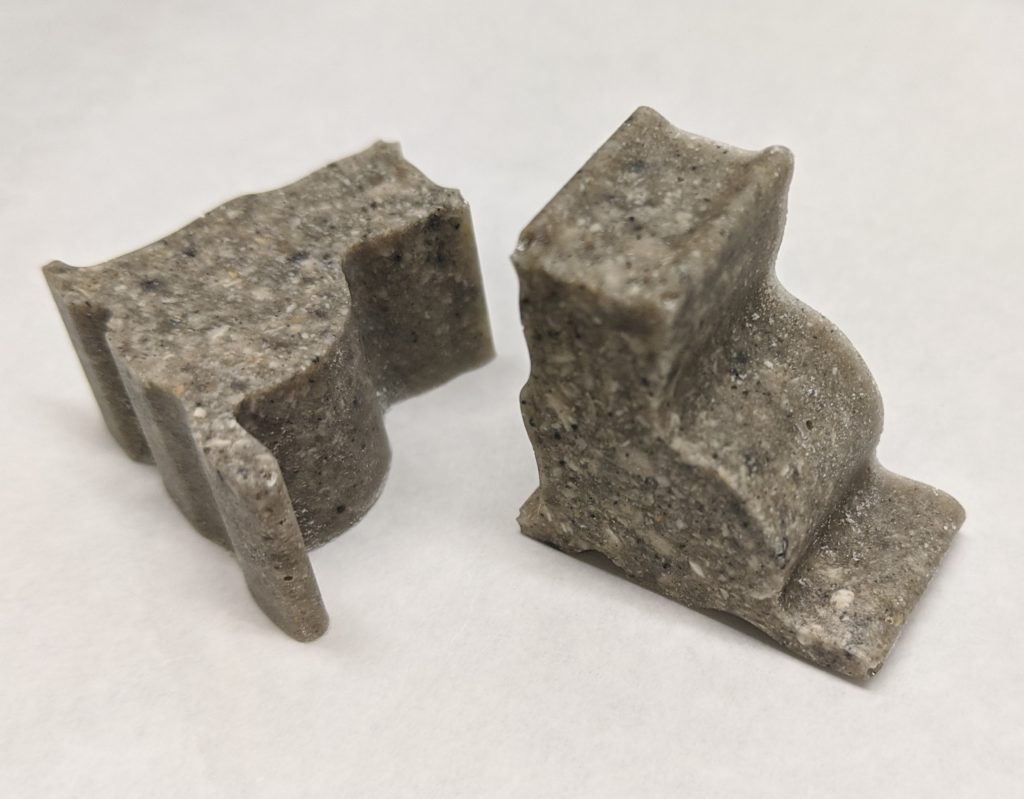
Today I was able to complete what I think is the last step in the 3D tree experiment. For the standalone tree, that was to add and decorate a base. For the two rectangular trees, it was to decorate the unfinished half. I also was able to pop the memory beads and kitty shaped mementos I made with our cat Neo’s ashes out of their molds.
The rectangular trees had quite a bit of drips on the unfinished edge, despite my efforts to prevent them. I was able to remove them with a razor blade.
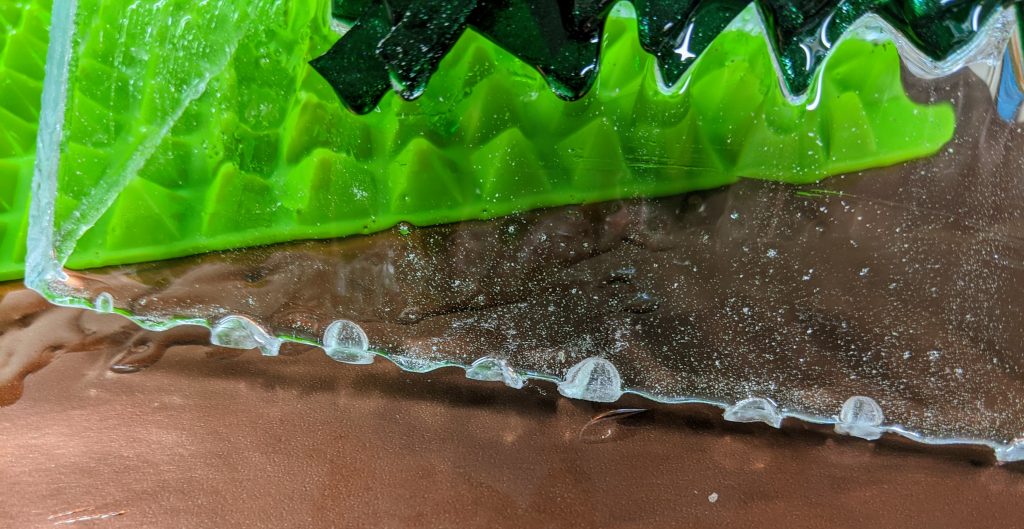
Once I cleaned up the edges a bit, I laid them out on the work surface, ready to coat with a thin covering of resin.
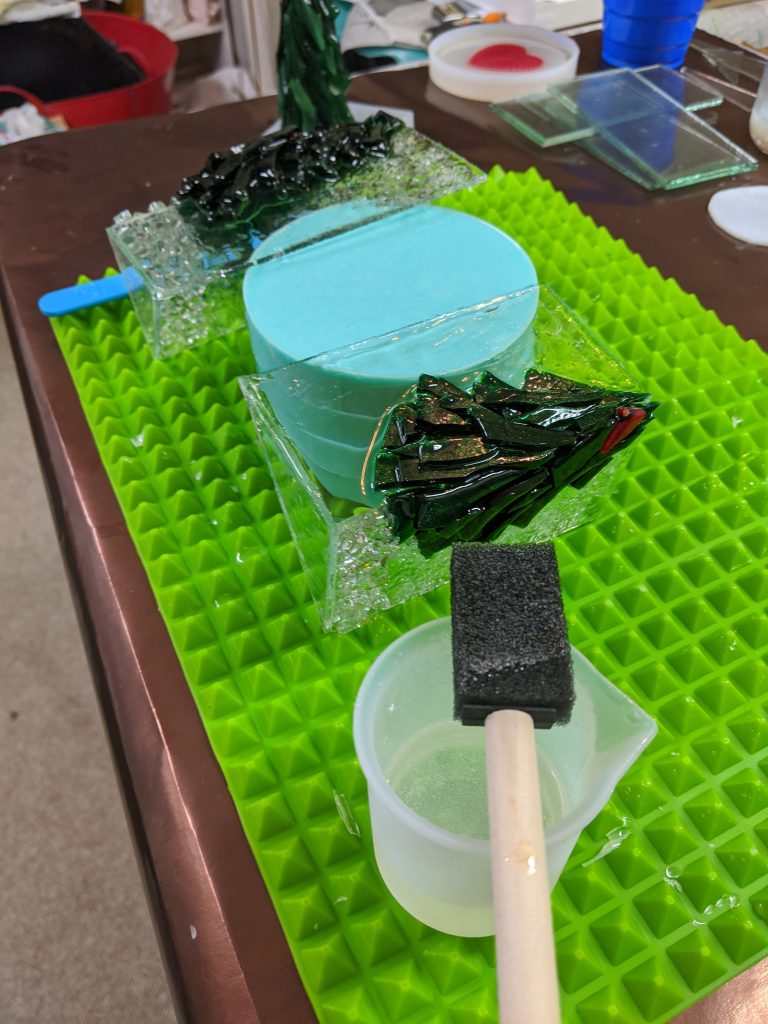
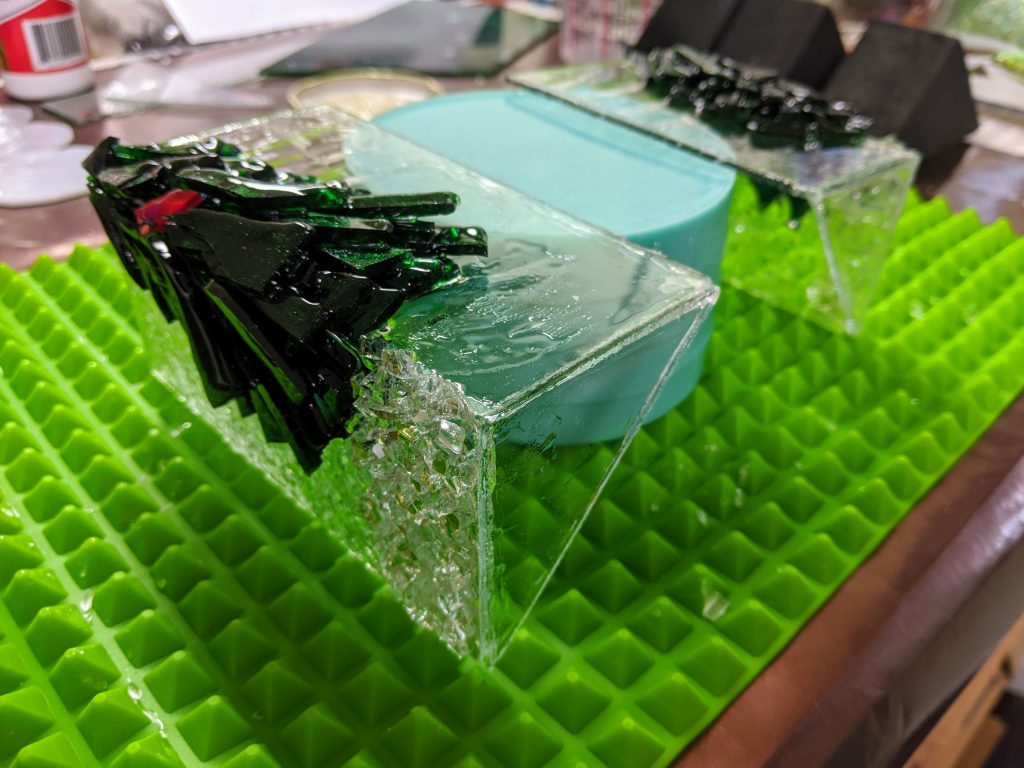
Once the resin was in place, I sprinkled the glass chips / chunks onto it.
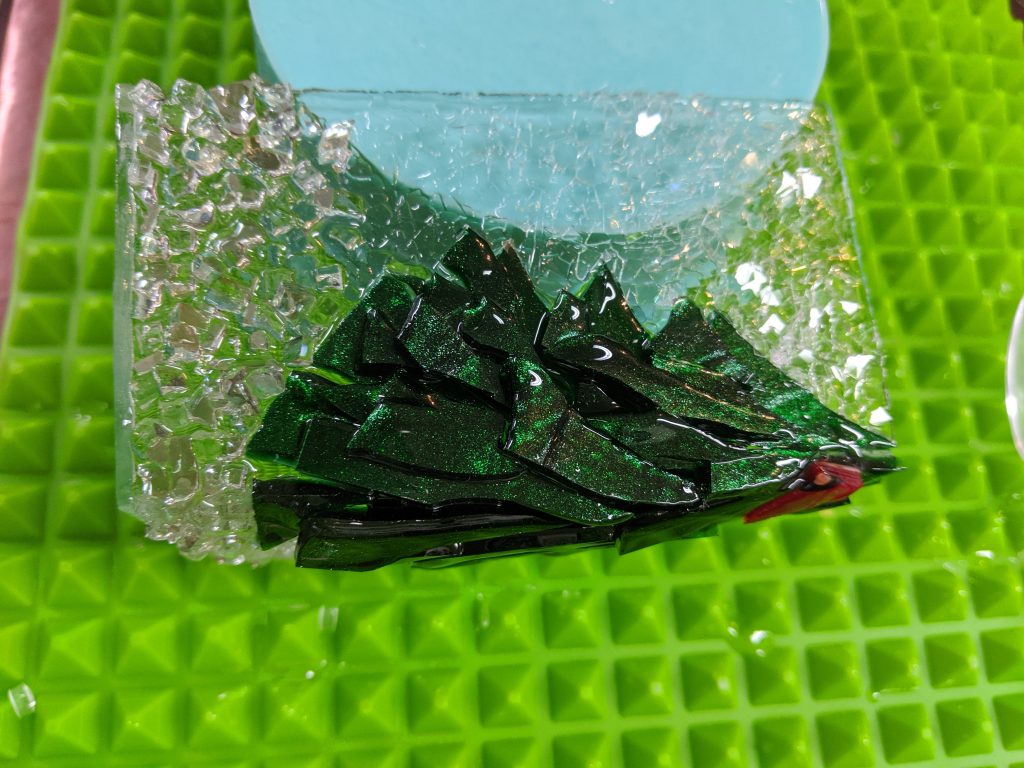
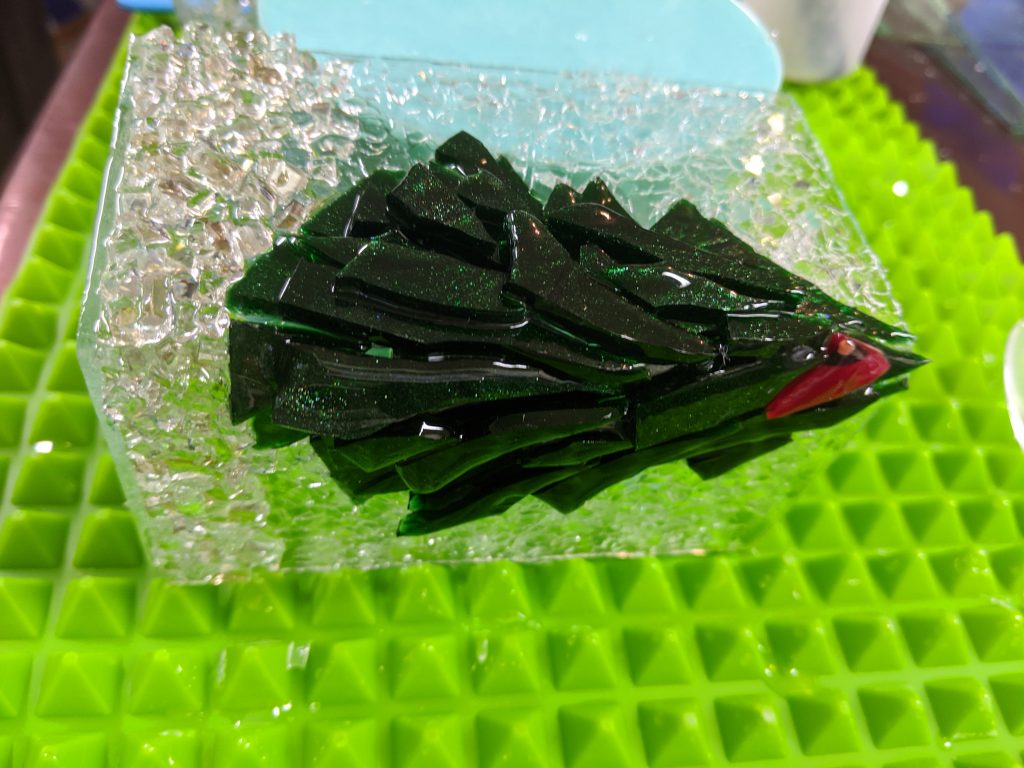
Next I turned my attention to the standalone tree, which needed a base of resin poured and decorated.
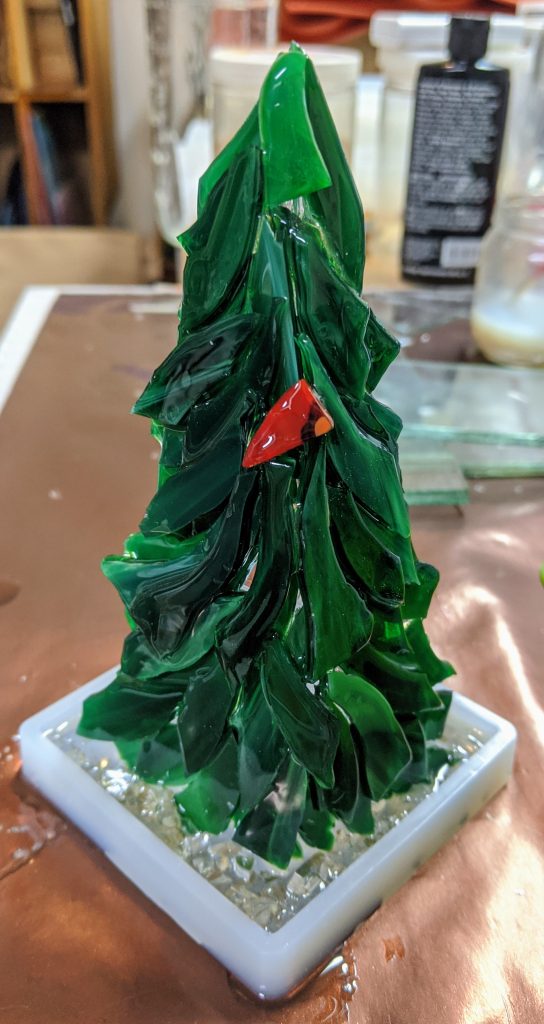
Tomorrow we’ll see how they look! I think if I do more of these I will use colored glass for the backer that matches the tree glass instead of the clear, at least behind the tree itself. It’s hard to cover all of the possible gaps between the branches otherwise. So far I like the look of the standalone tree best, but it also has sharper edges.
I spent the past few days mulling over how best to pour the resin on these projects, and came to the conclusion that it would have to be in stages. Today is the first stage, which is an experiment. My plan is to coat the trees with a thin coat of resin and possibly decorate one side of each of the rectangular trees. The second stage will be (for the rectangular trees) to pour another coat on just the undecorated side and decorate. The second stage for the stand alone tree will be to pour and decorate the base that will serve as the candle stand as well as provide stability.
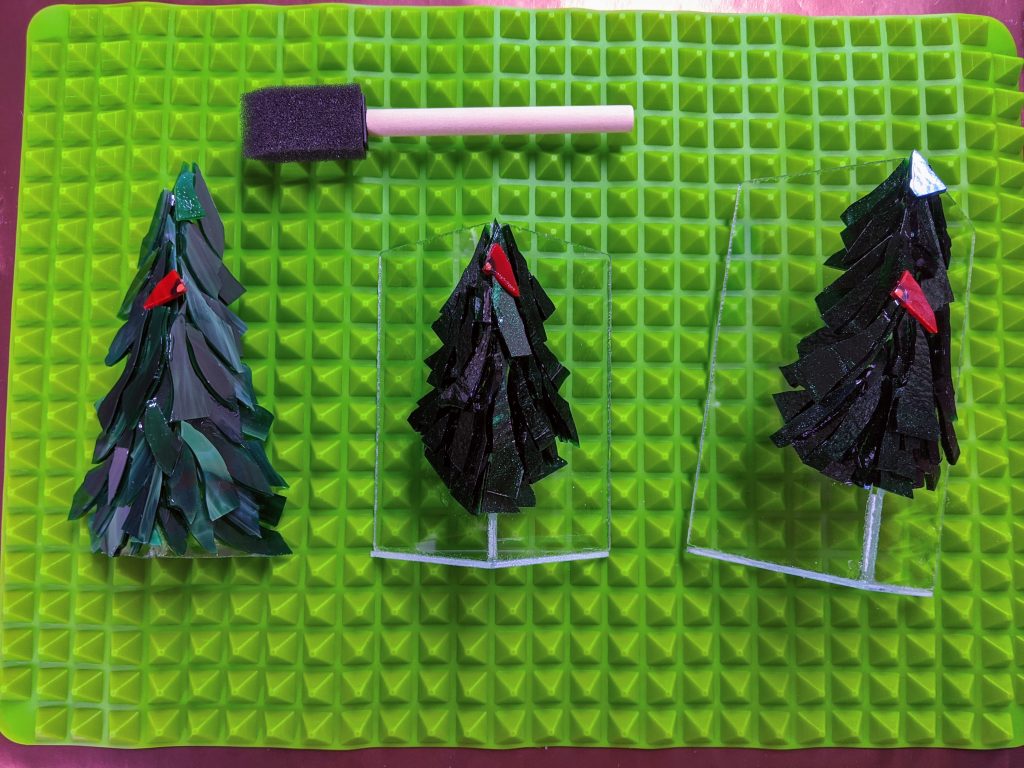
It’s cold out today and my work area is only 60 degrees F. My resin likes it to be a minimum of 70 degrees, so I used my heat gun to warm each part of the 2 part resin prior to mixing it.
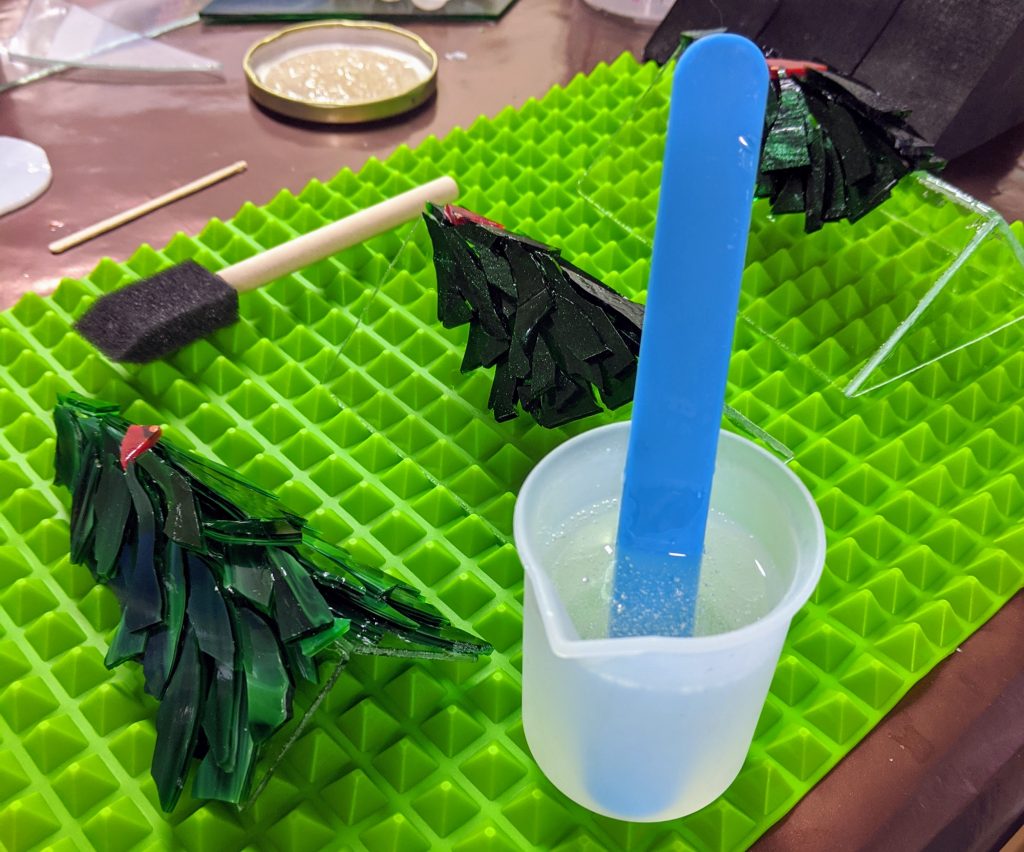
I ended up elevating this one higher off the mat on top of a couple of silicone measuring containers to help me manage the drips on the edges.
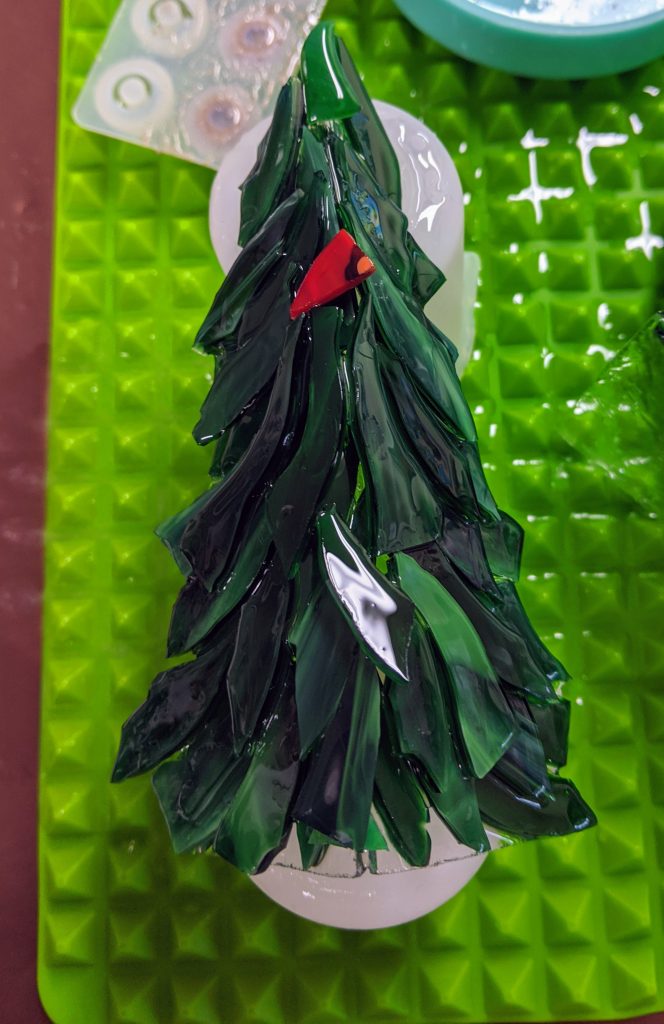
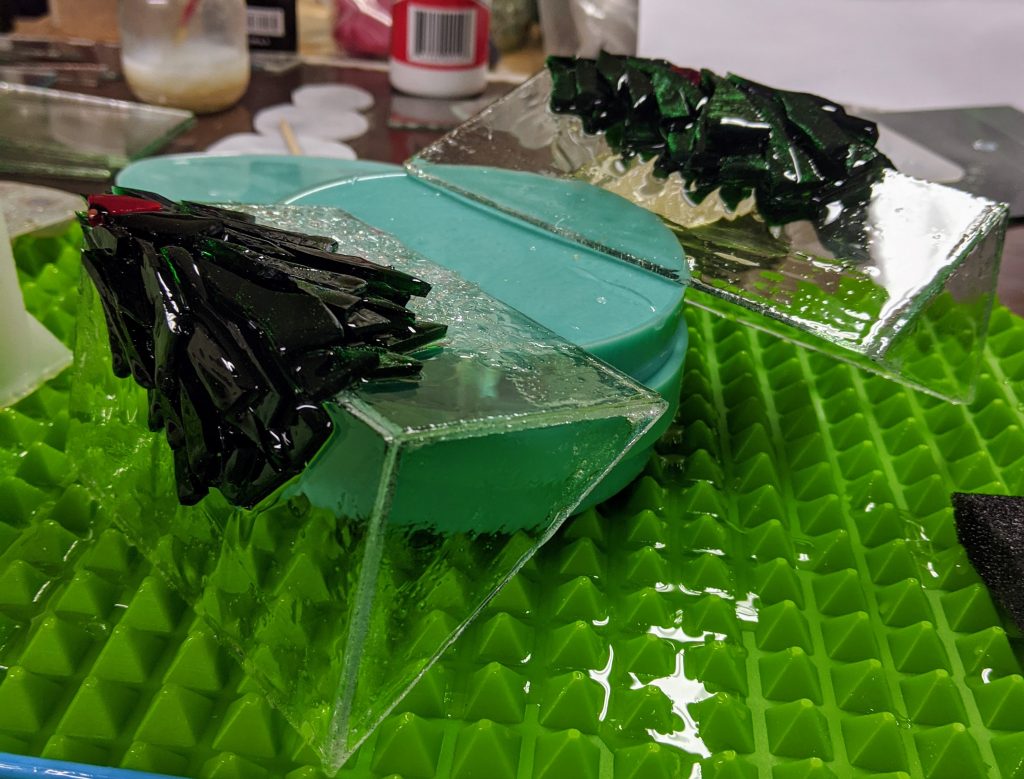
I continued trying to touch up bare spots and wipe off drips with my sponge on a stick. I repositioned these two and sprinkled the glass chips / chunks I am using to decorate the background and base of the tree. Above you can see the glass chips in place on the left hand piece.
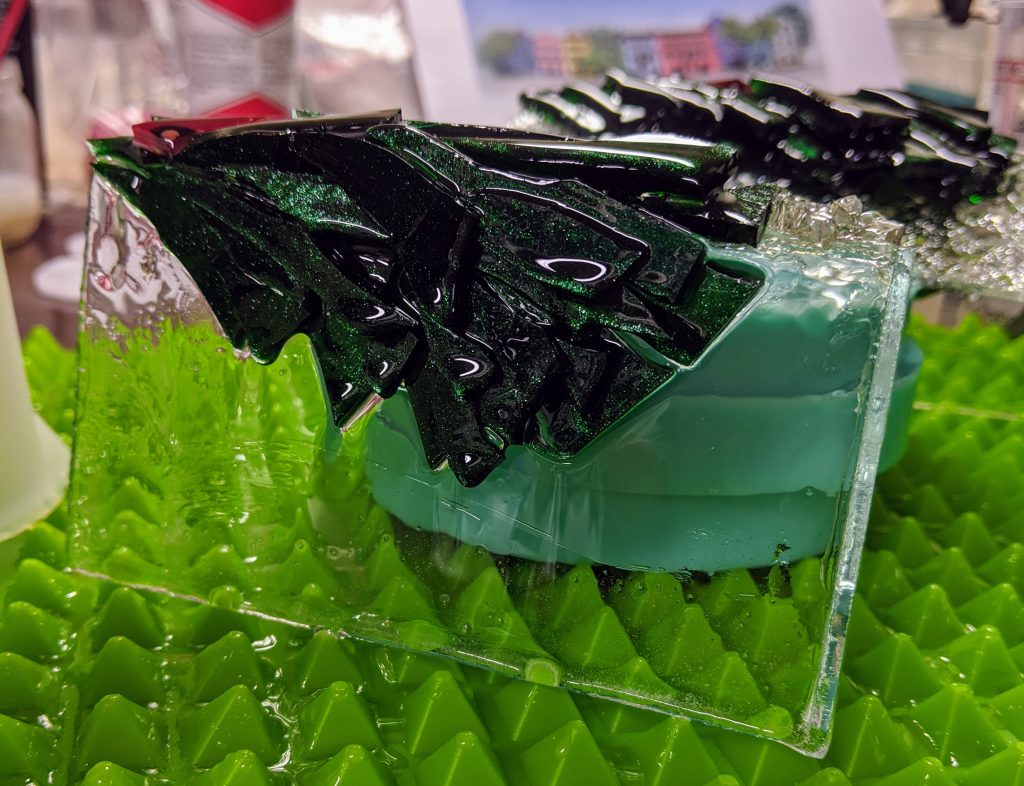
I had enough resin left over to make some memory beads for our beloved cat, Neo, who passed away in November. I’m also trying some cat shaped mementos with his ashes.
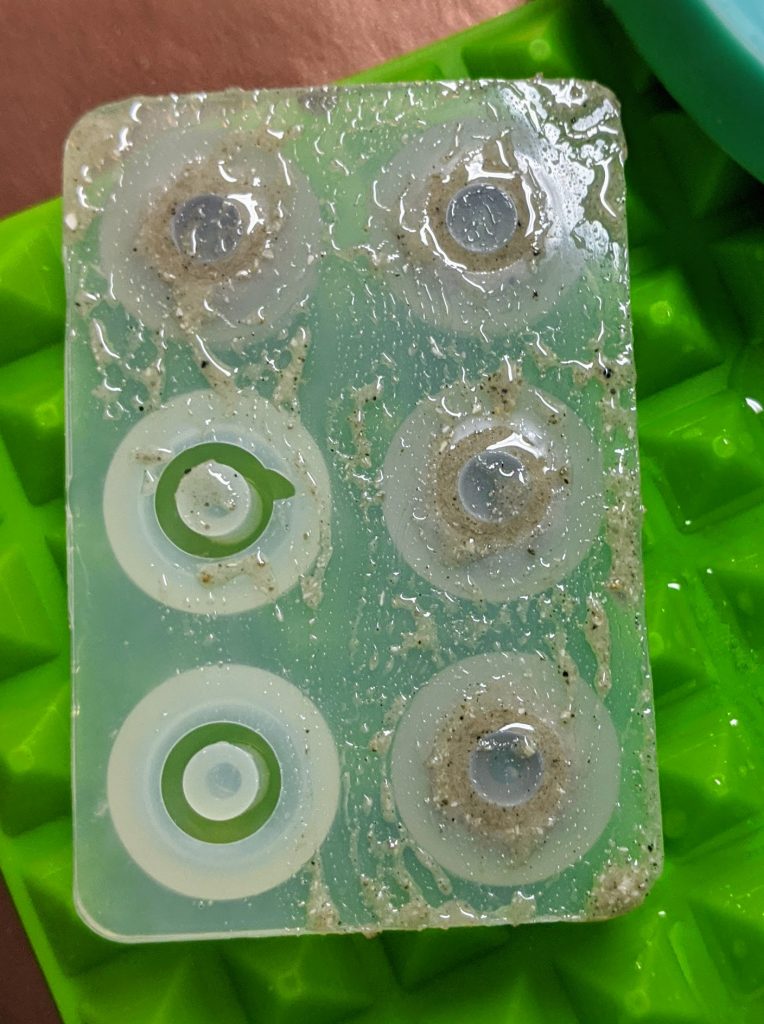
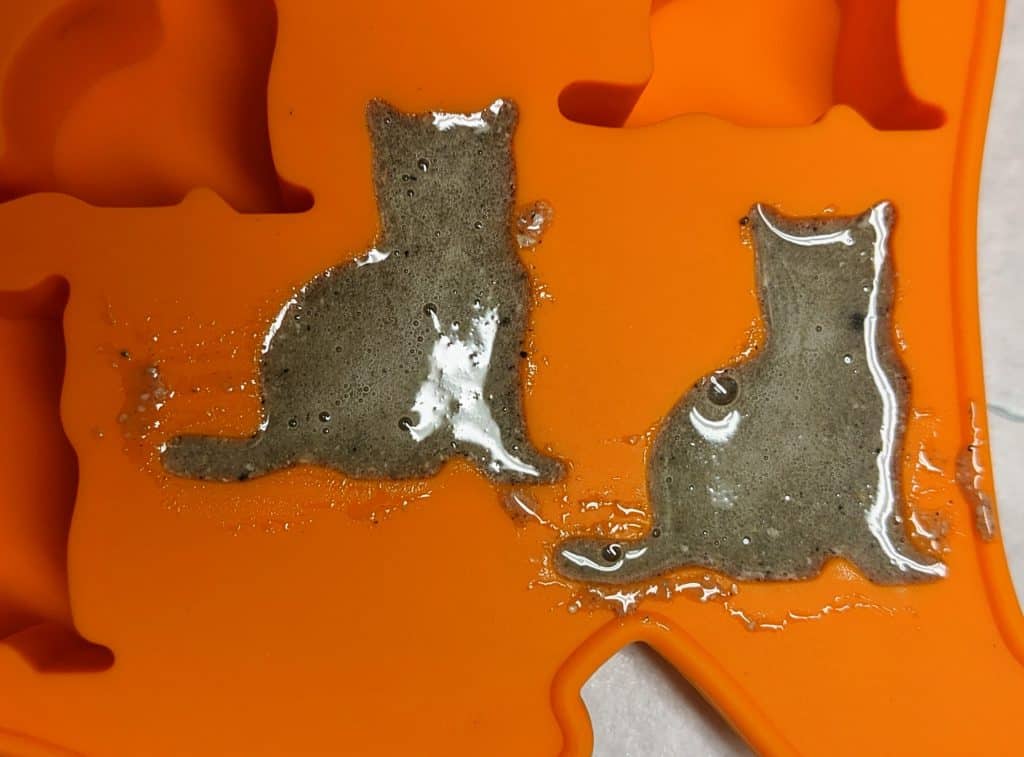
In addition to scraping the drips, I periodically blew all of the above pieces with my heat gun to remove bubbles and also to warm the resin, as my working area is only 60 degrees F today!
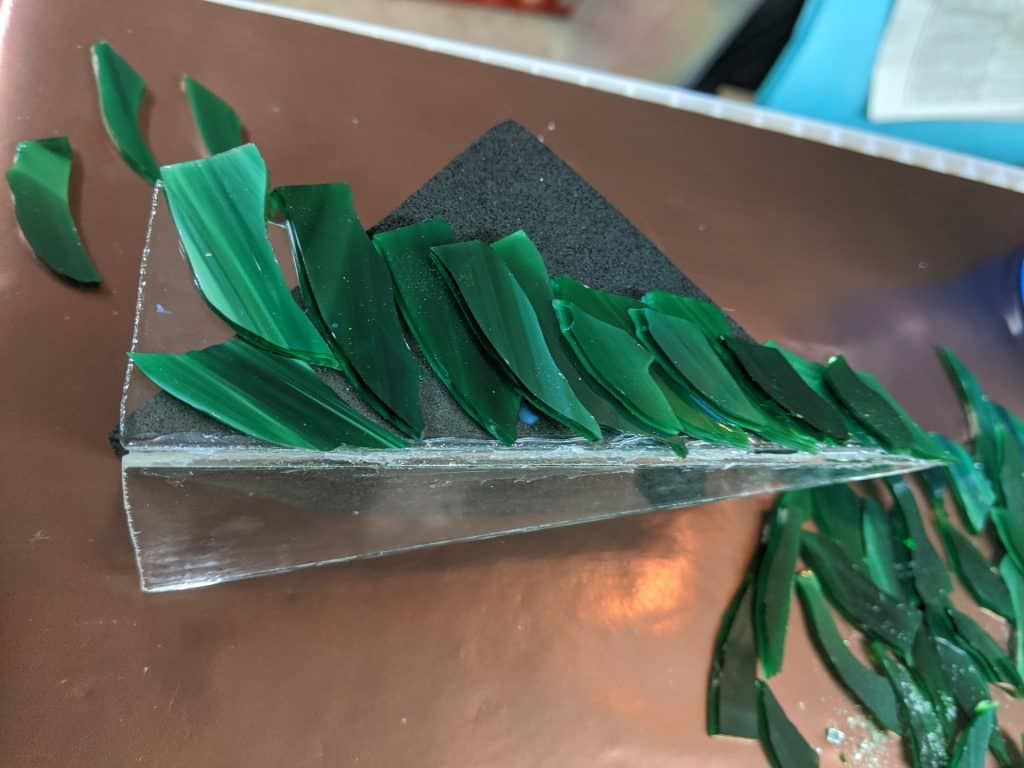
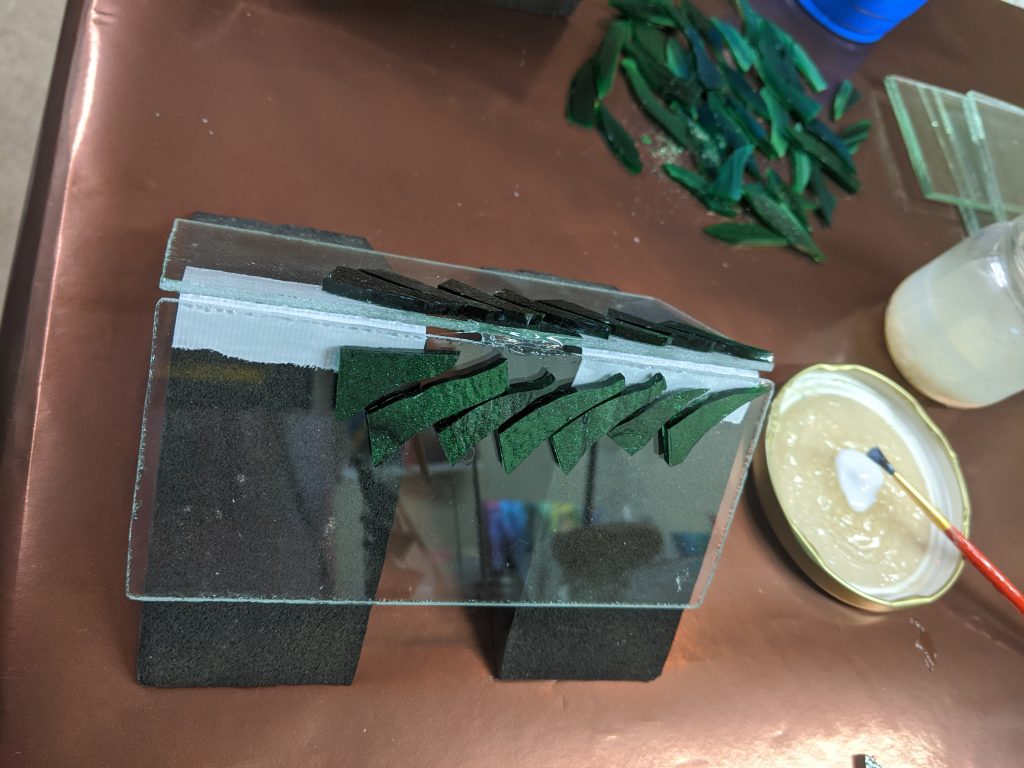
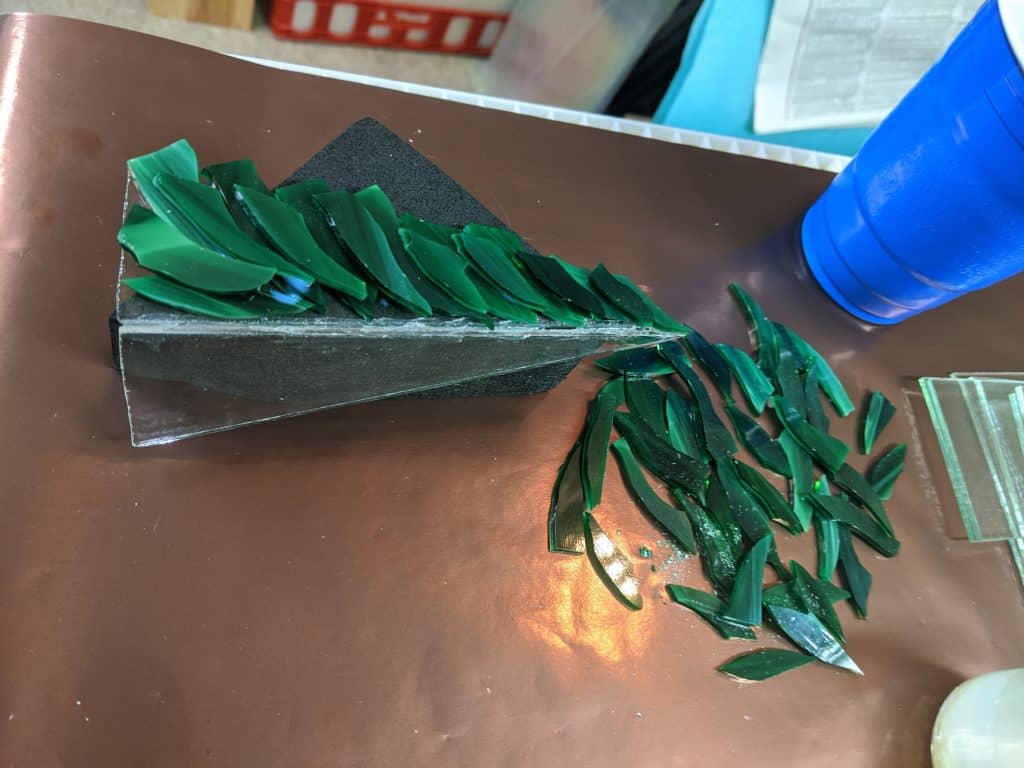
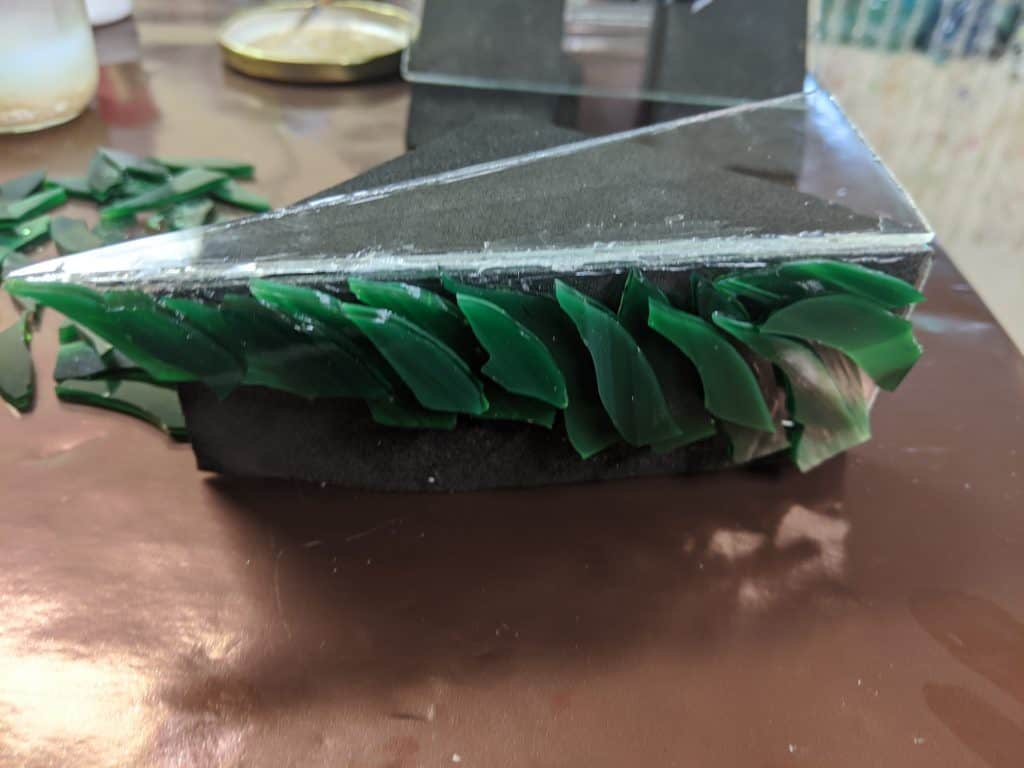
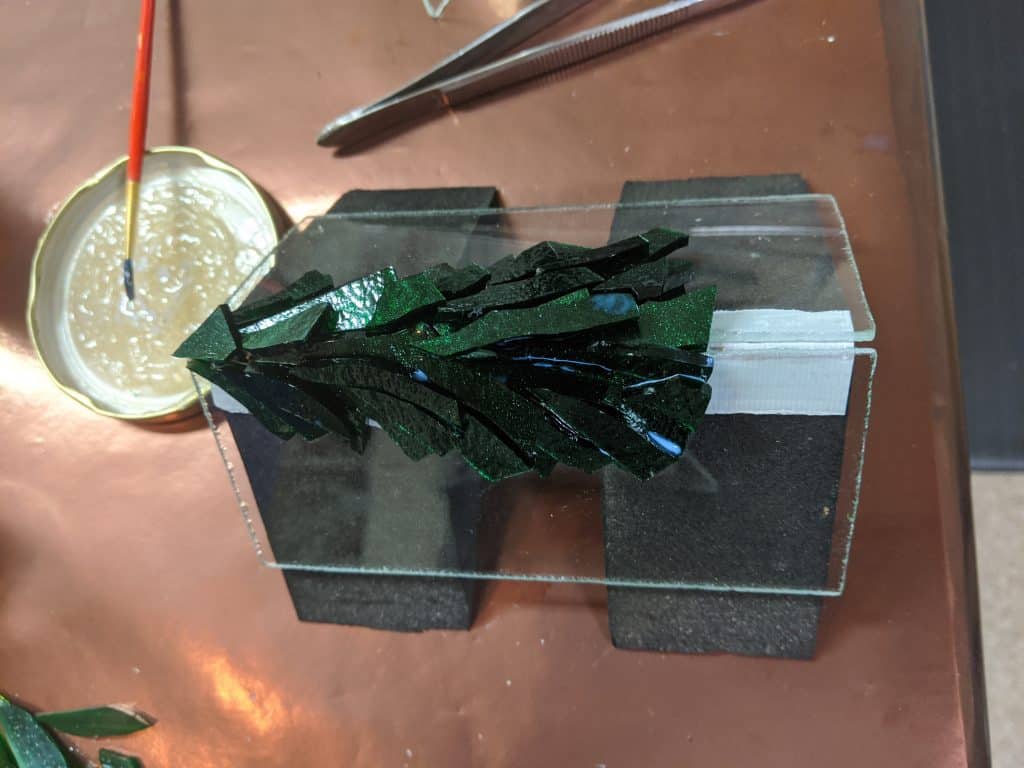
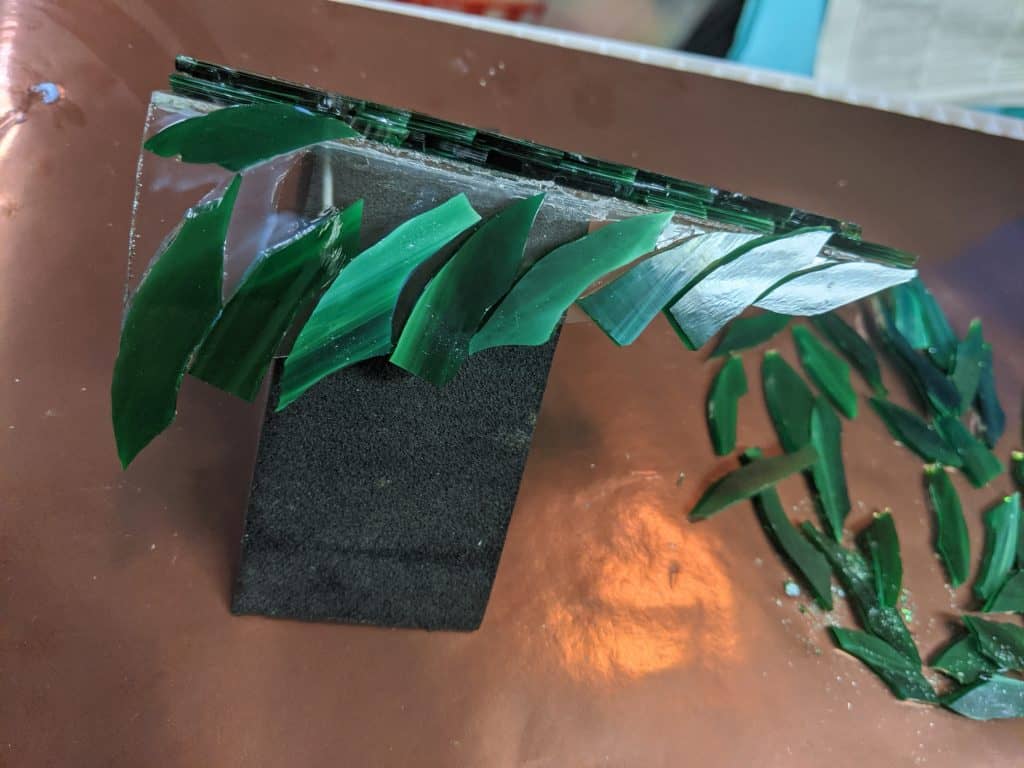
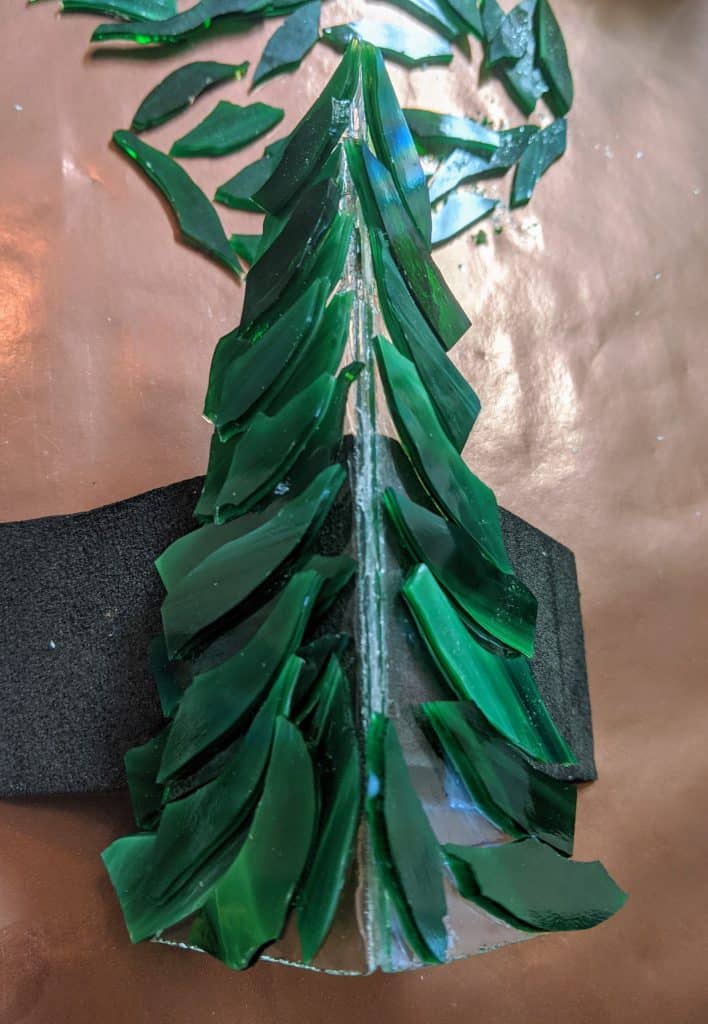
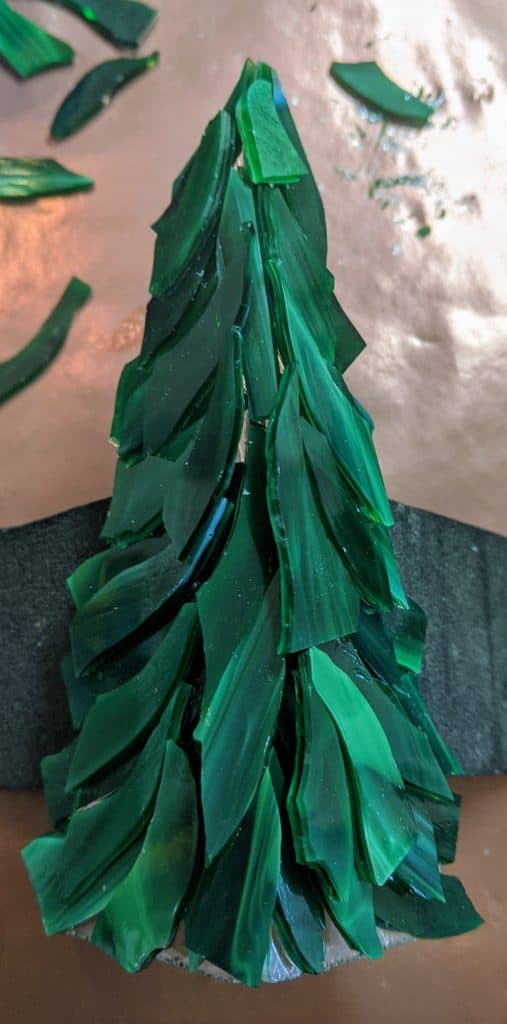
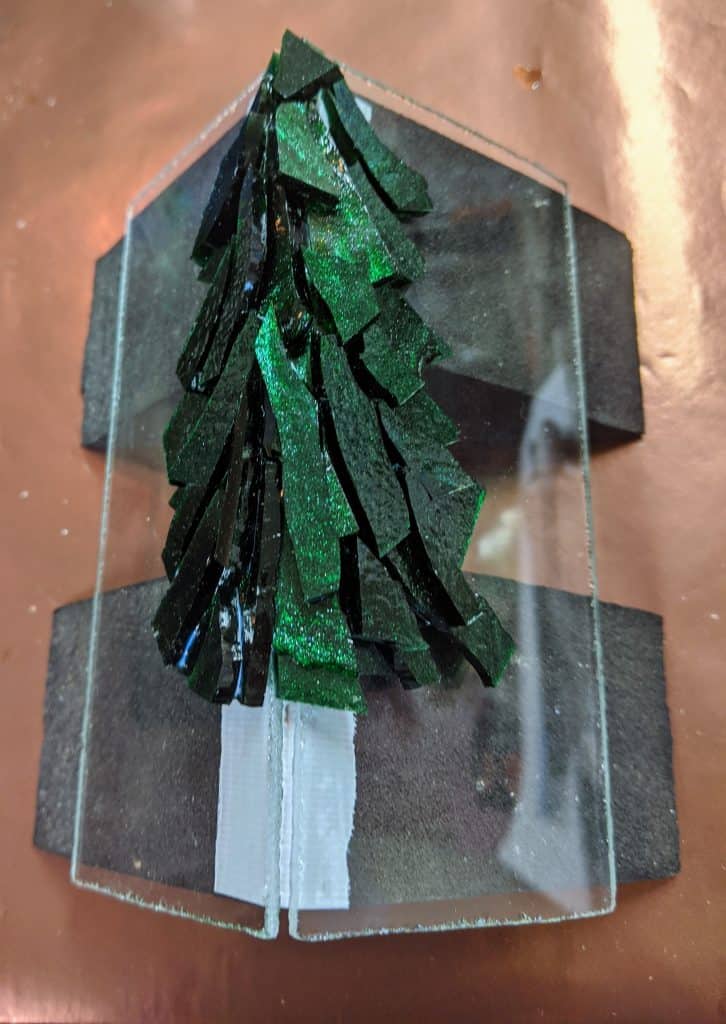
I’ve been adding a few branches / details each day to these 3D tree projects. I can only do a little at a time because the branches shift if I do more than one side at a time (3D). So one thing I am learning is that 3D is slow and you have to be patient. I’m also sort of worried that I’m adding too much – I’ll think I’m done, then I decide to add just one more branch, then I look at it some more and do the same again! Over yesterday and today I also added a glass triangle base to the two rectangular trees and planned a resin base for the triangle tree. I am planning on coating these with resin and decorating the resin with glass chips, but I’ve not quite sorted out the best order to do it in yet. Because they are 3D, I think I will need to coat the trees in stages and then pour the base last. We’ll see how it goes.
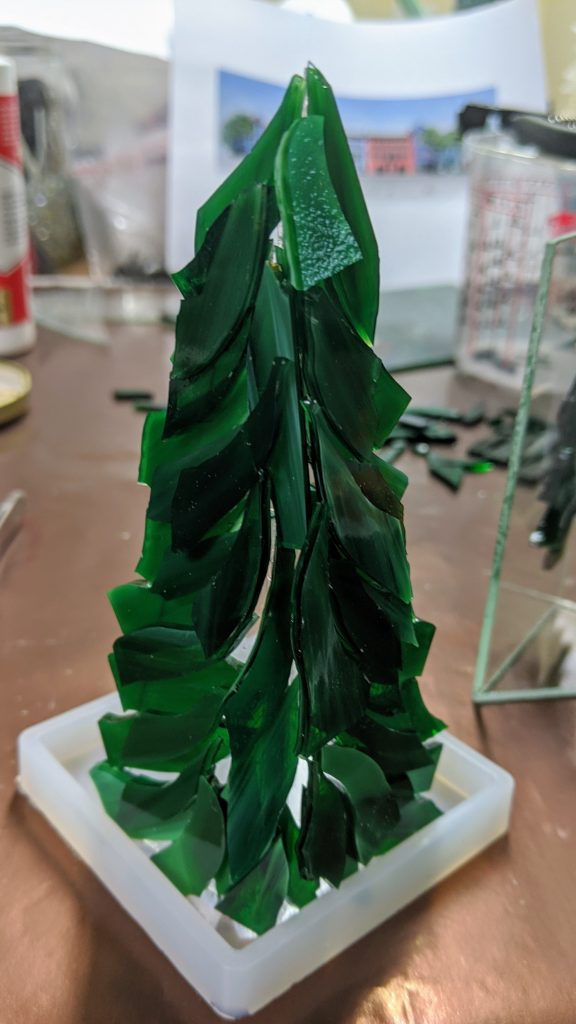
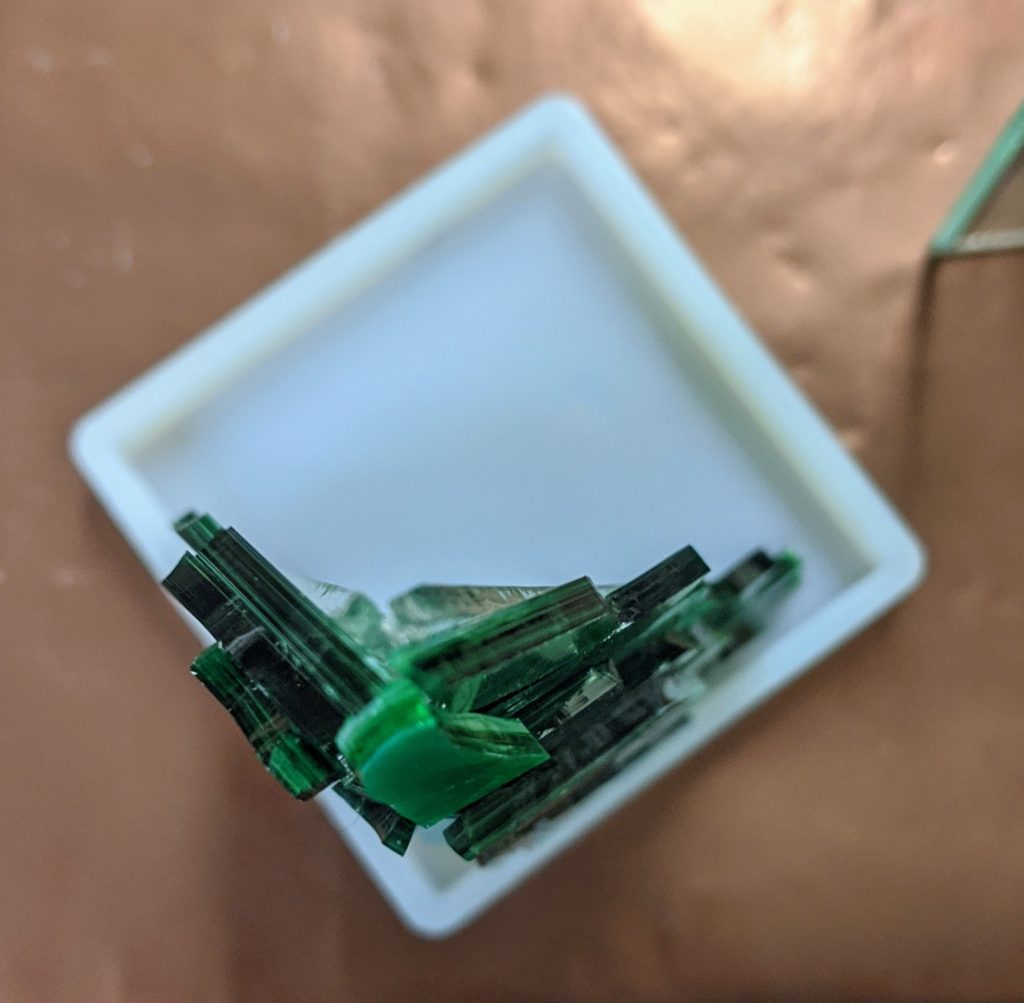
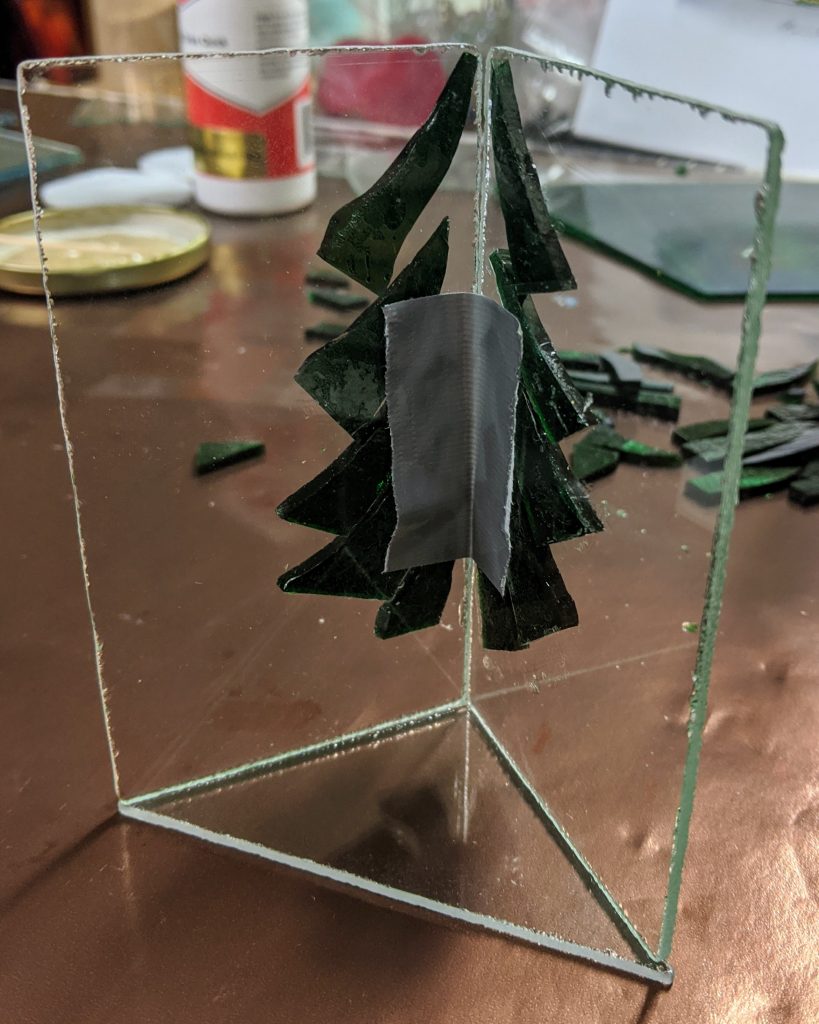
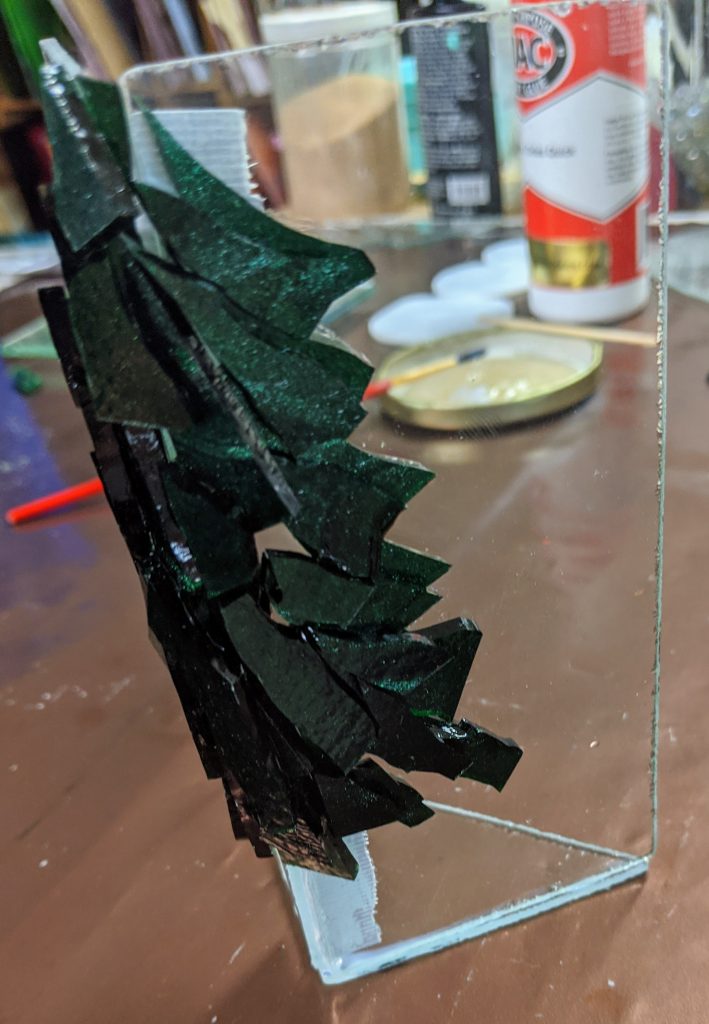
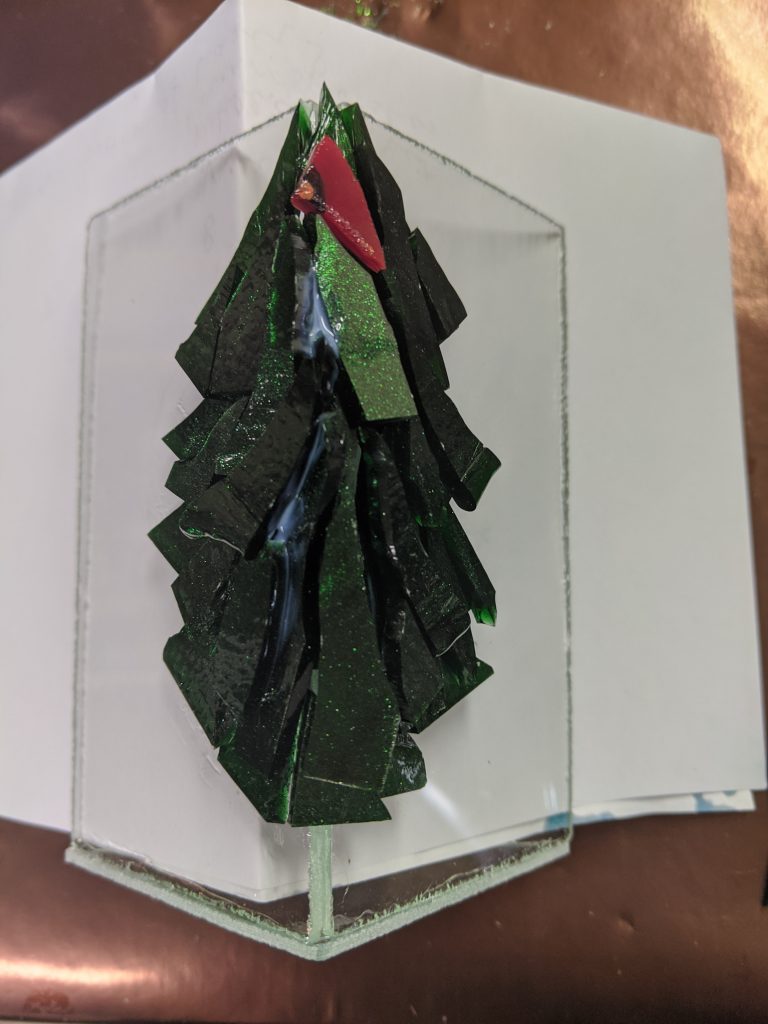
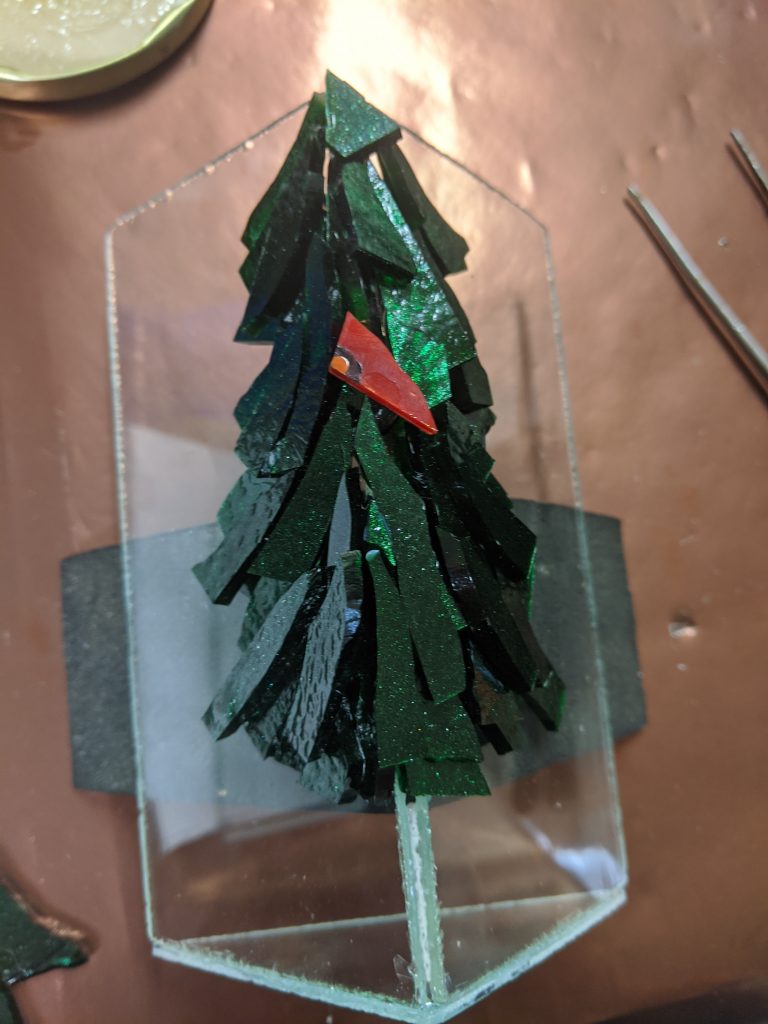
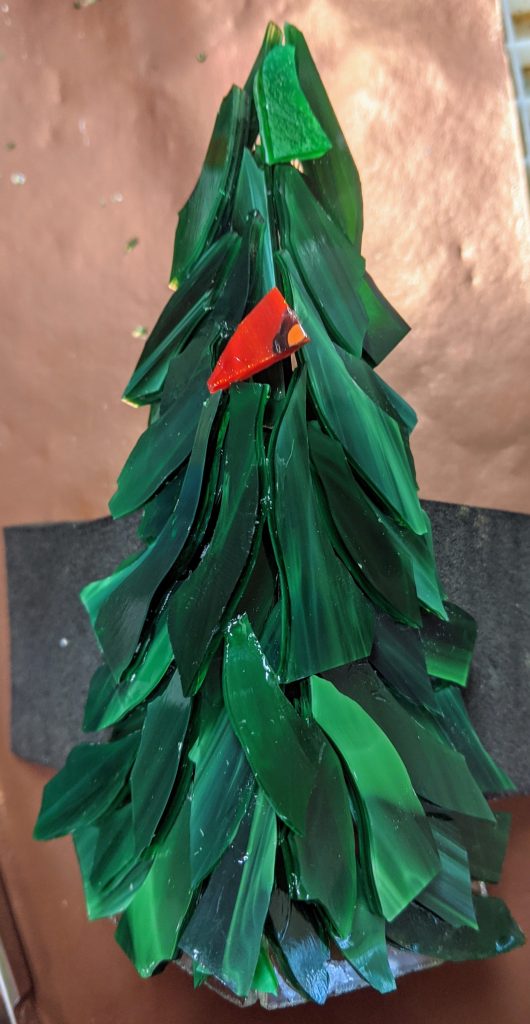
It’s been a few hectic weeks here, but today I finally got the chance to work on these 3D tree experiments again. I’m trying two different approaches, one is a tree made with two clear glass triangles as the base, the other two will be rectangular. I think they would be good with a tealight candle behind them if they come out as I hope they will.
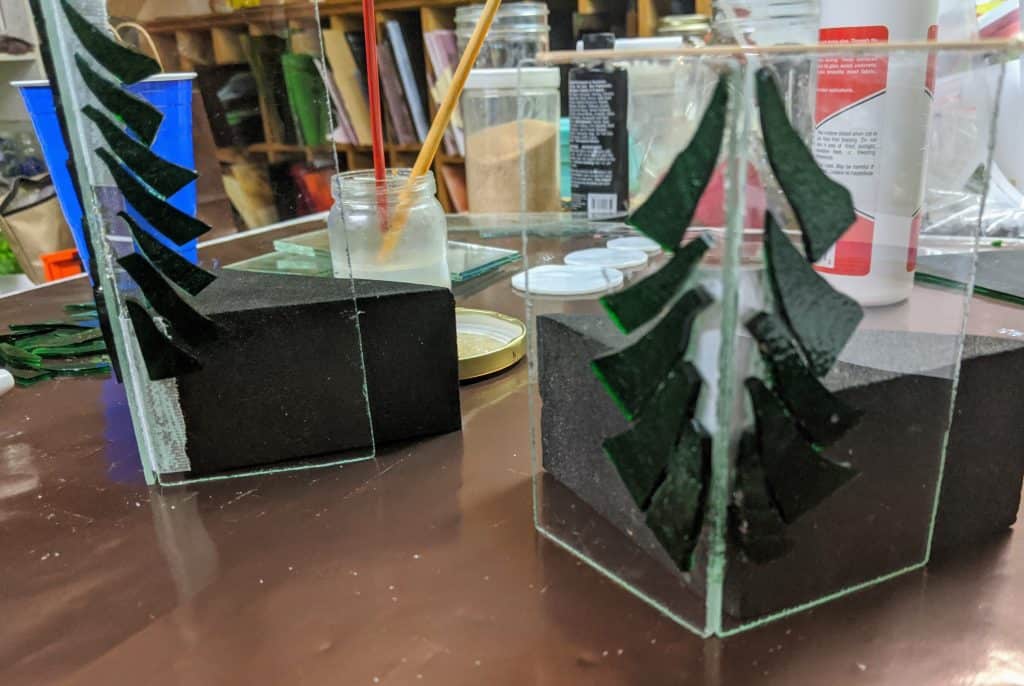
This is mainly an exercise in patience, as I have to glue individual branches in place and make sure they don’t drift while they are drying.
