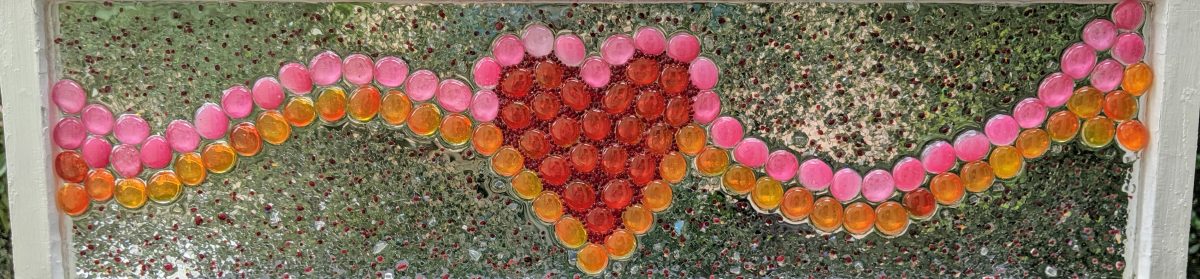
Here are some snapshots of my latest batch of winter themed pieces / suncatchers / ornaments. This week’s beach-themed ornaments are still a work in progress; hopefully I will be able to finish them over the weekend.
Glass of Sherry
Here are some snapshots of my latest batch of winter themed pieces / suncatchers / ornaments. This week’s beach-themed ornaments are still a work in progress; hopefully I will be able to finish them over the weekend.
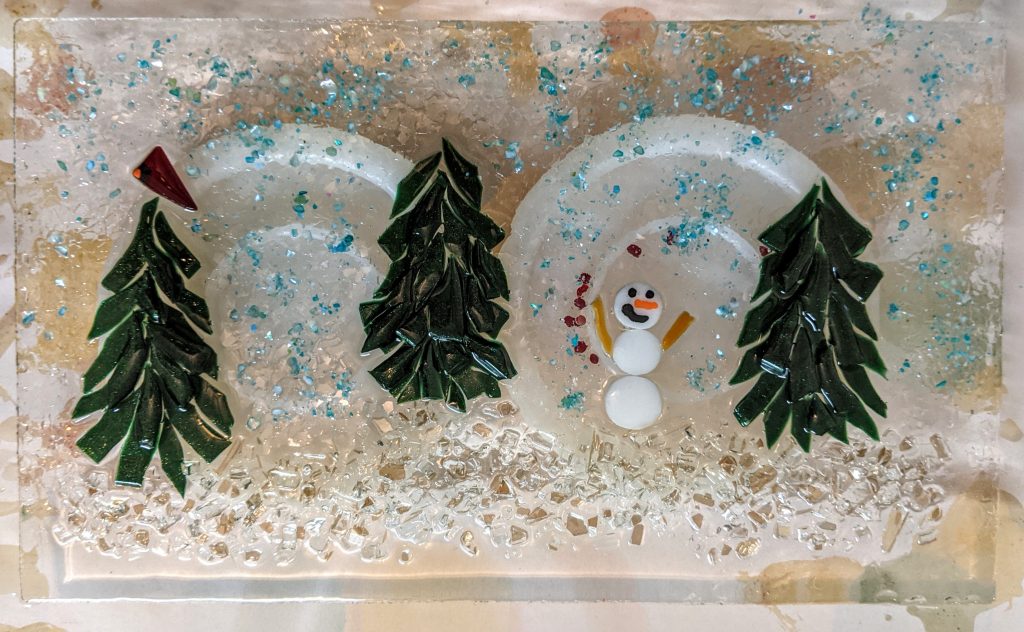
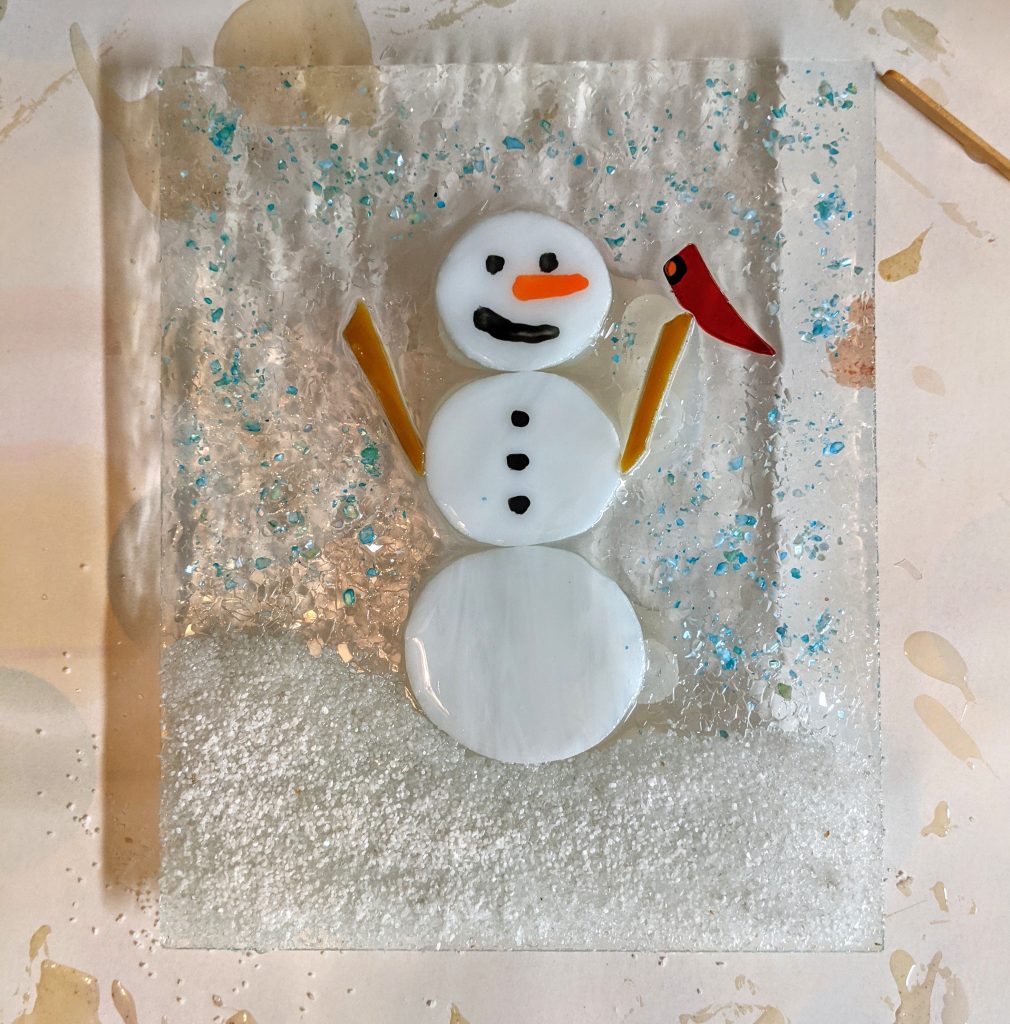
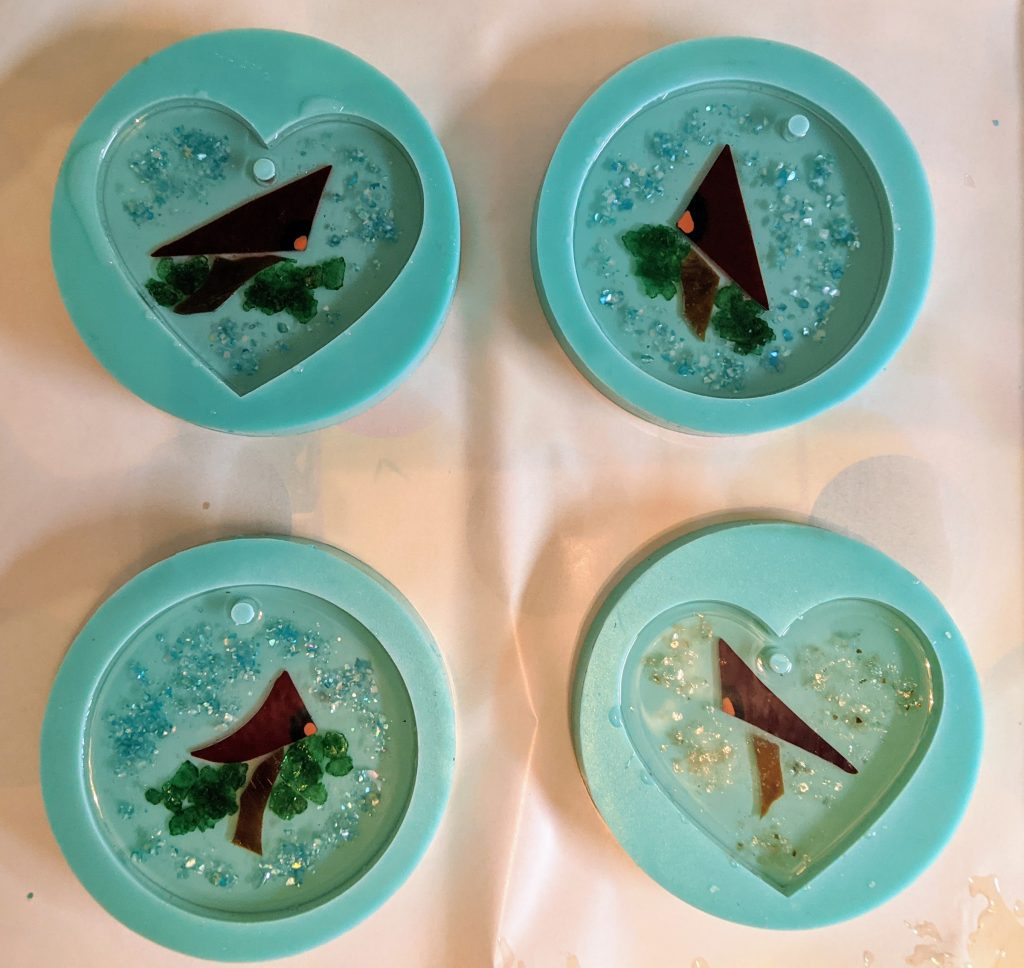
Yesterday I poured / decorated the resin for the winter scene and snowman, as well as added a second resin layer to four molded ornaments. Hopefully I will be able to get finished pictures of them this evening!
I’ve been busier than usual at work, but was finally able to circle back to these ornaments to pour the resin. For these molds, I first pour a thin layer of resin and then use the heat gun to reduce the amount of bubbles. I also run a craft stick around the edge of the mold for the same reason.
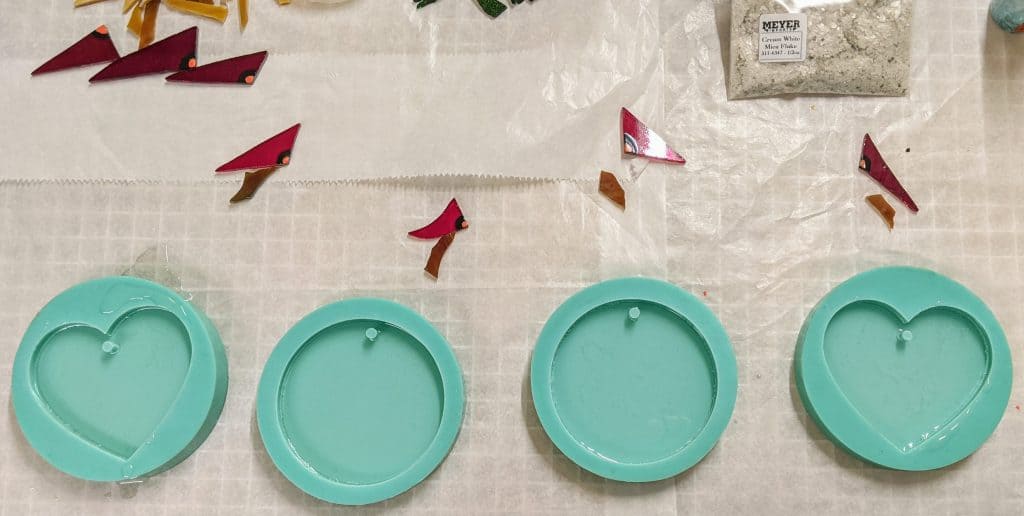
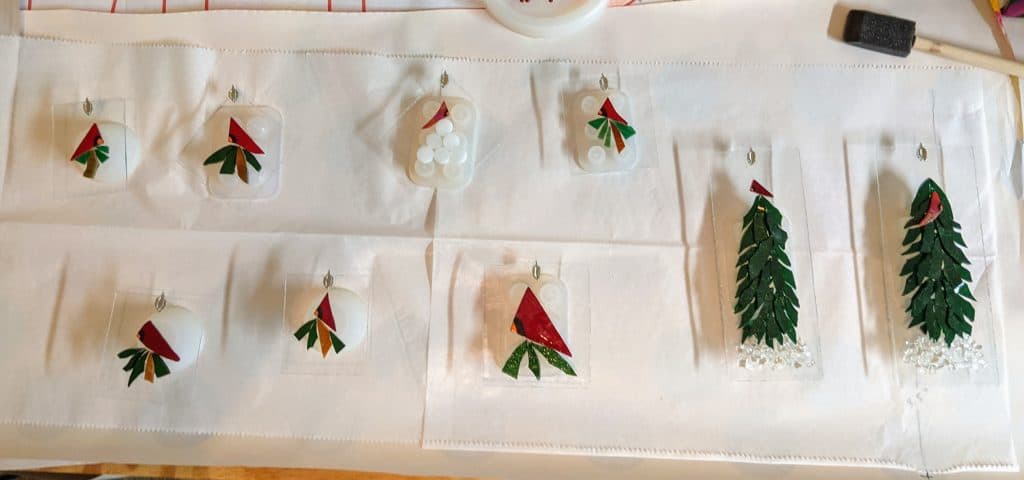
I also had these ornaments assembled and elevated on silicone ready for the resin coating.
I try to cover the glass in the foreground completely, then use a sponge on a stick to spread the resin to any areas that aren’t yet coated.
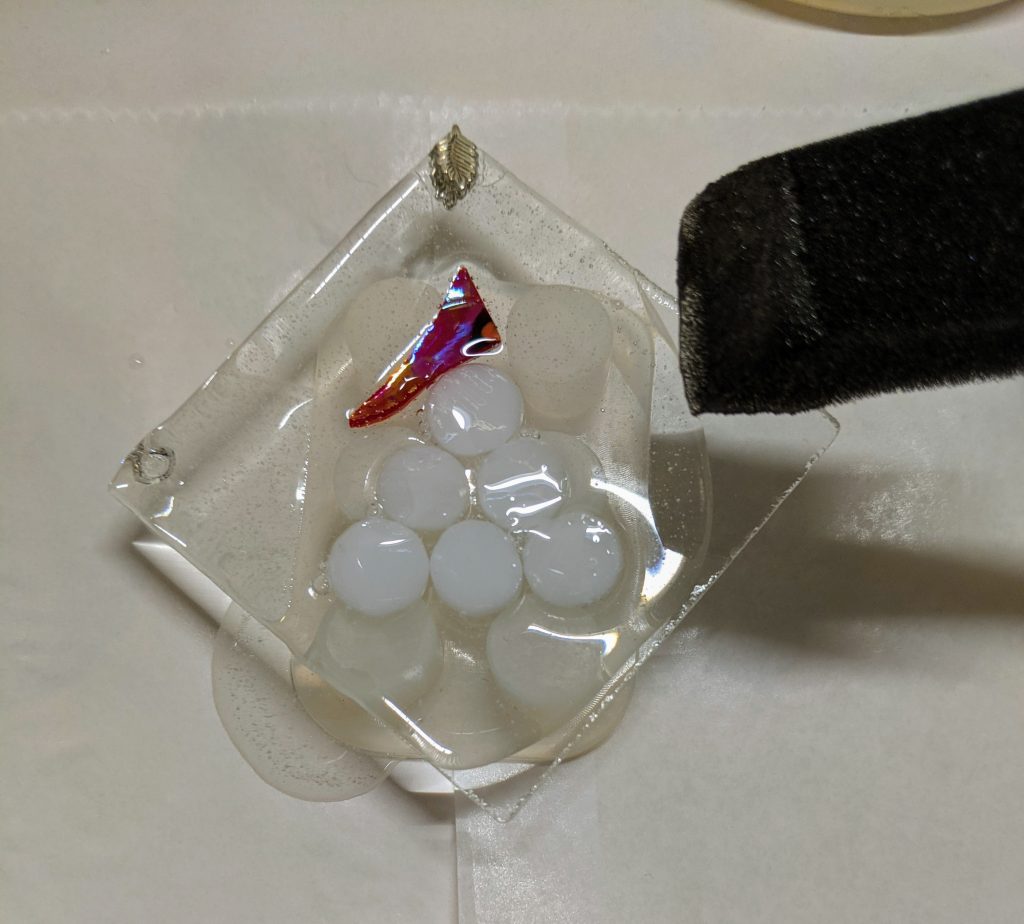
Once the resin is spread, I also use the heat gun on these to remove bubbles.
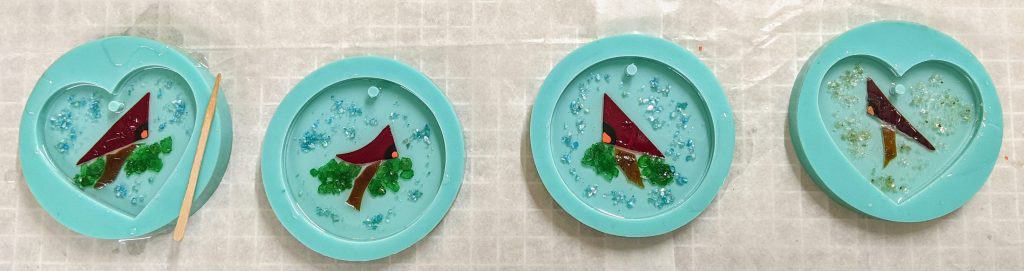
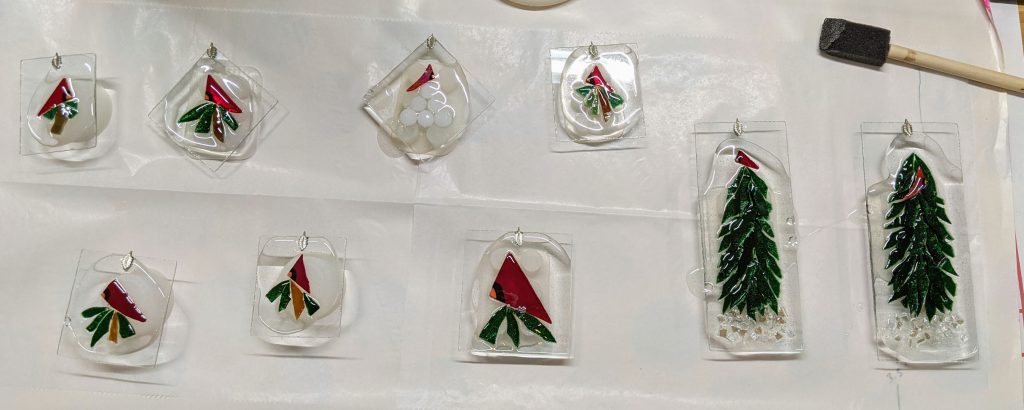
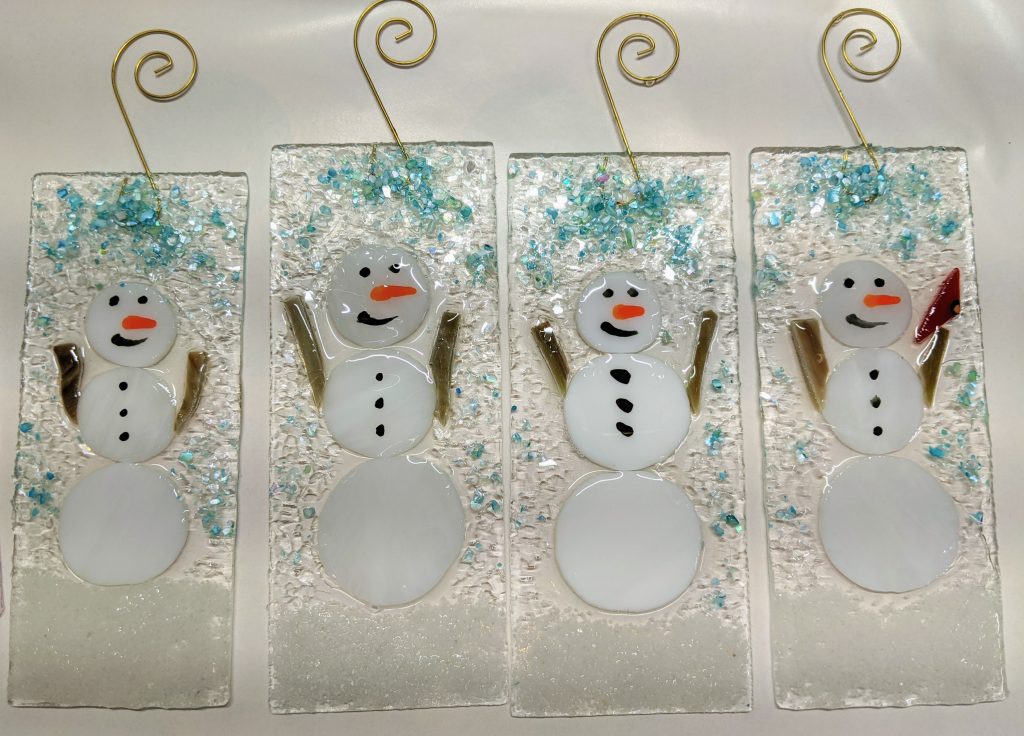
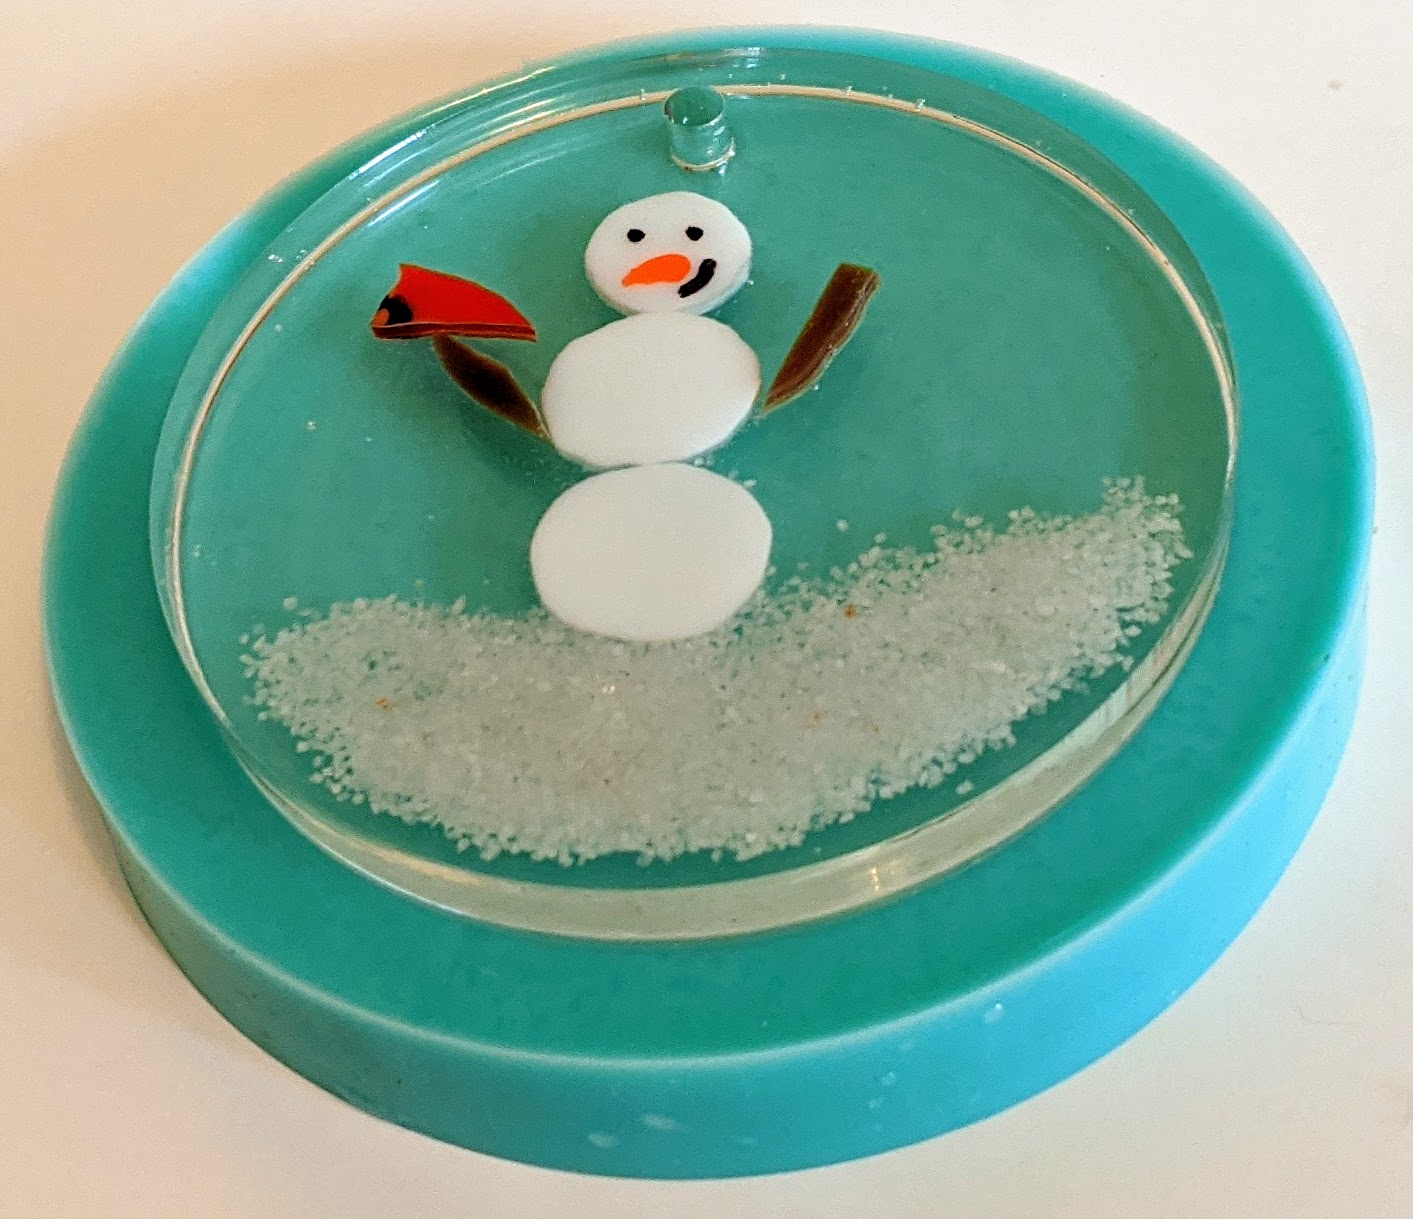
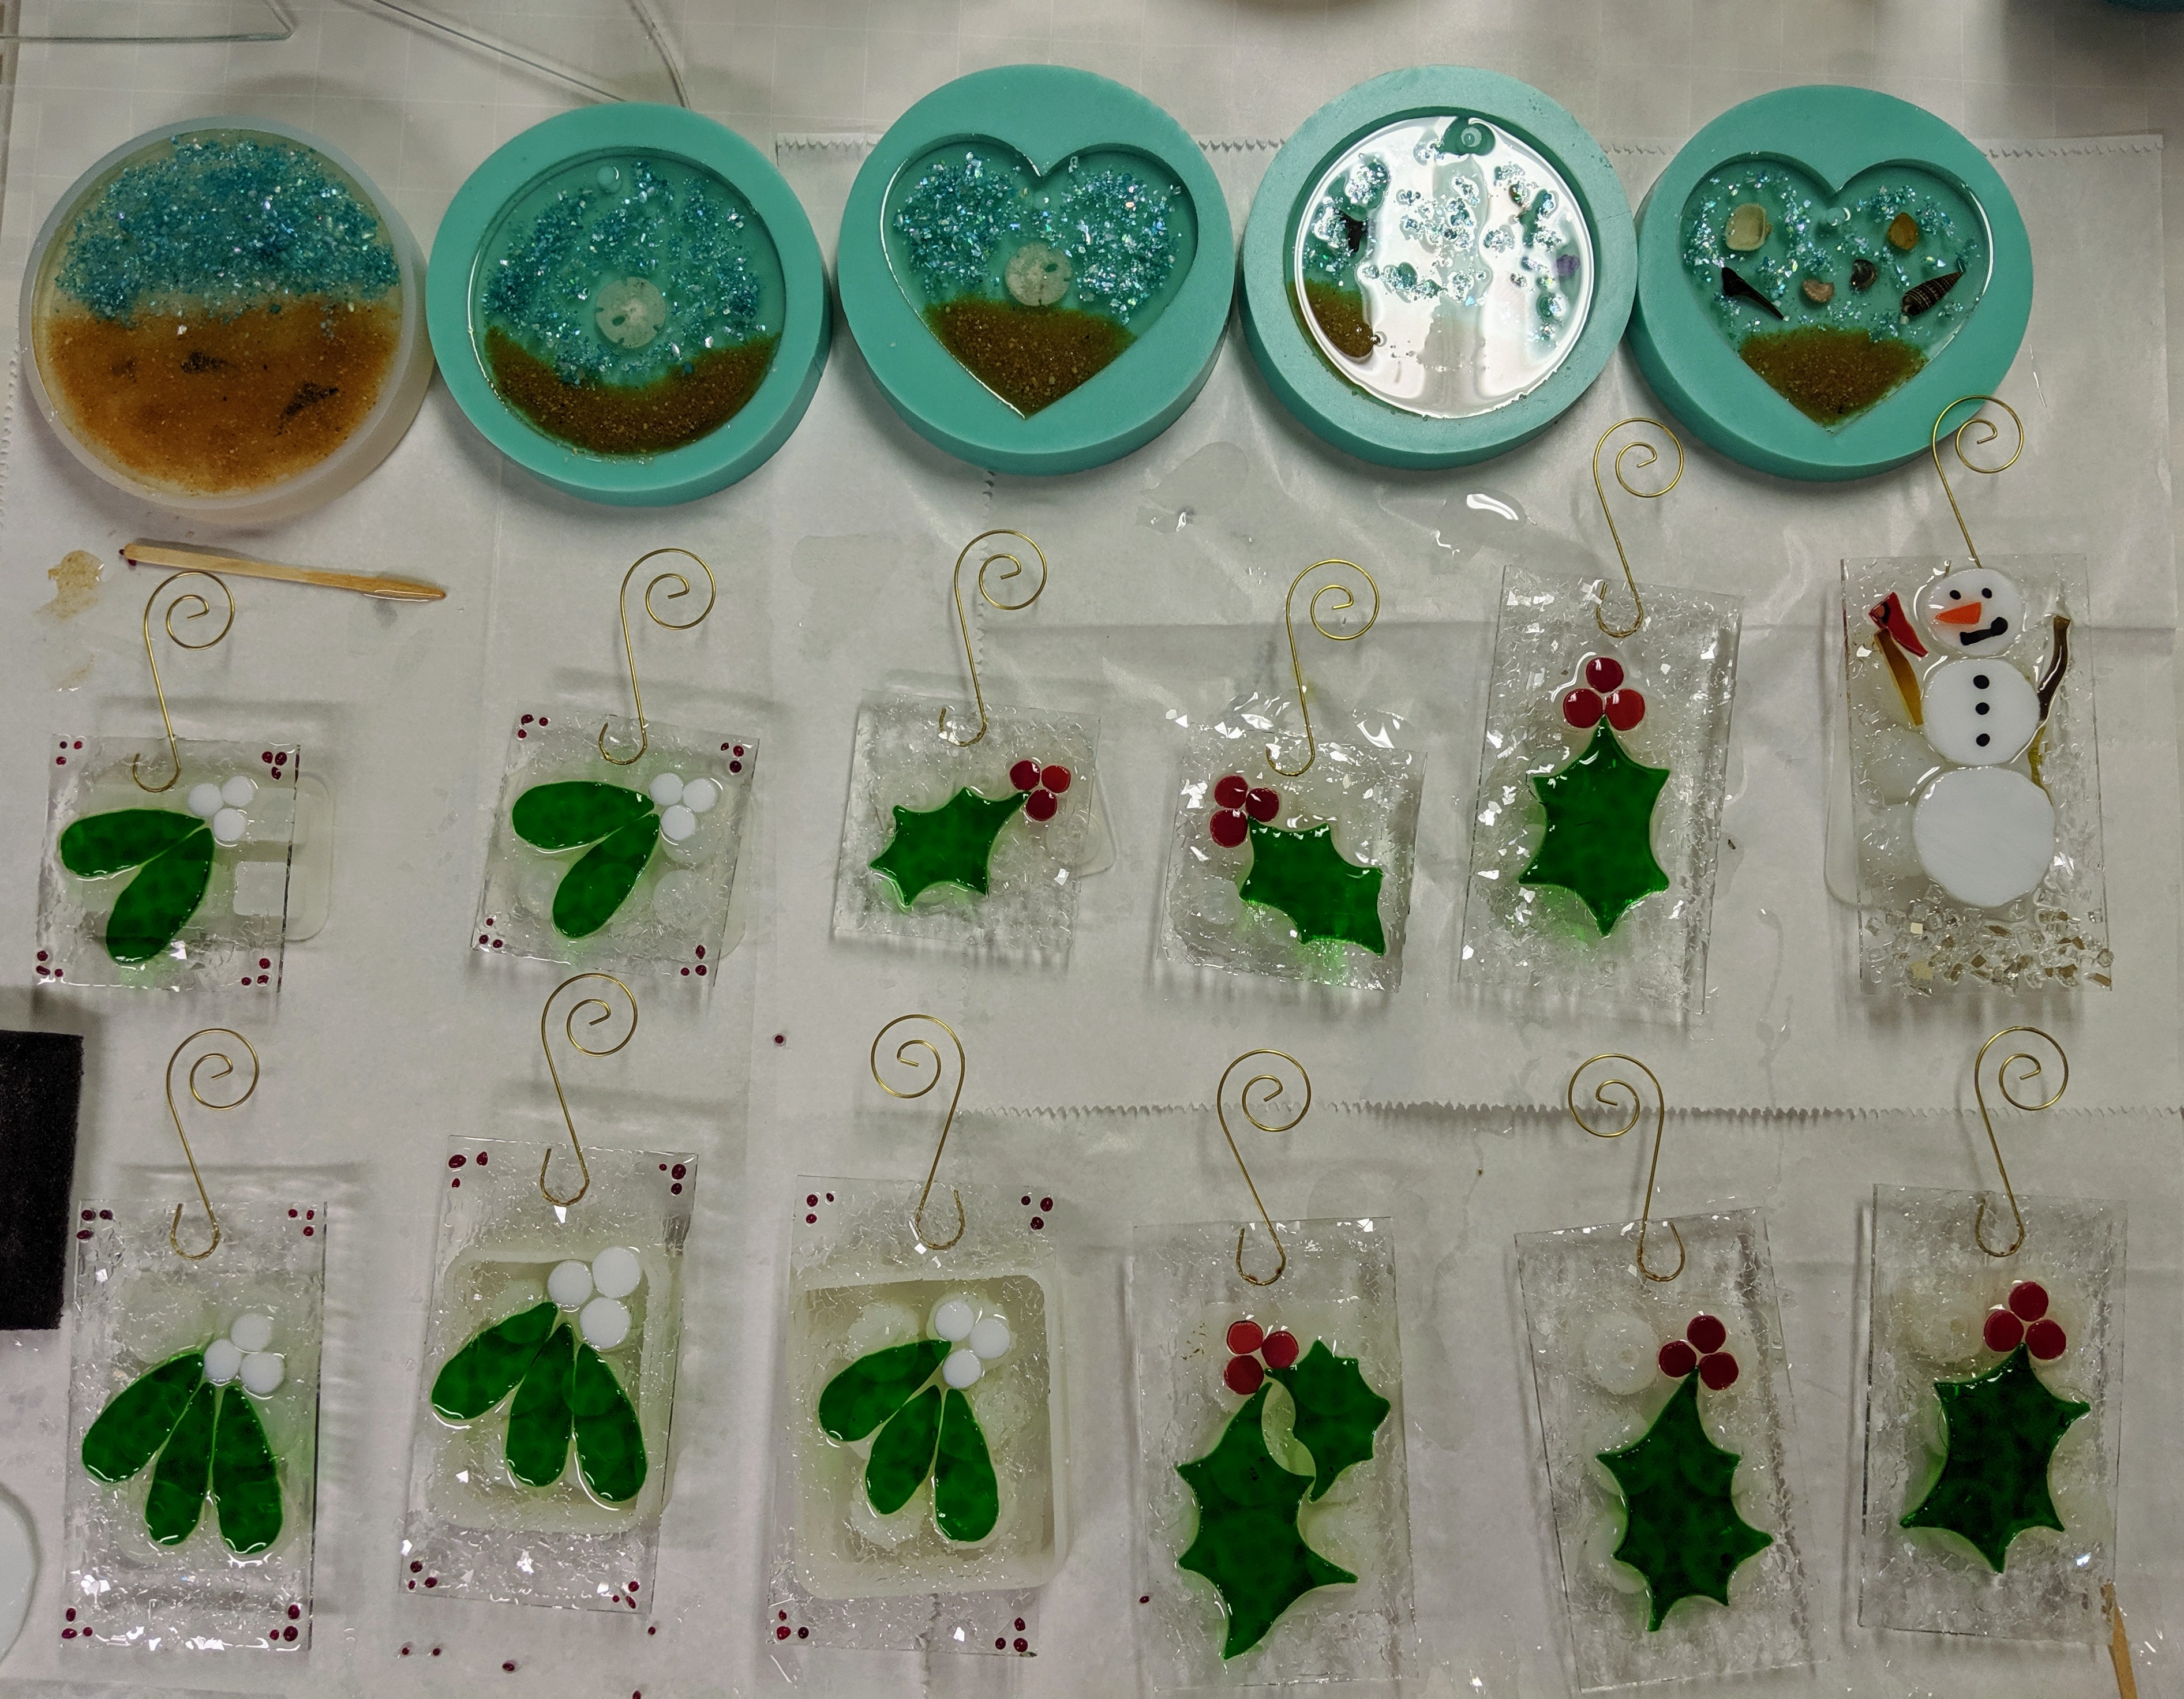
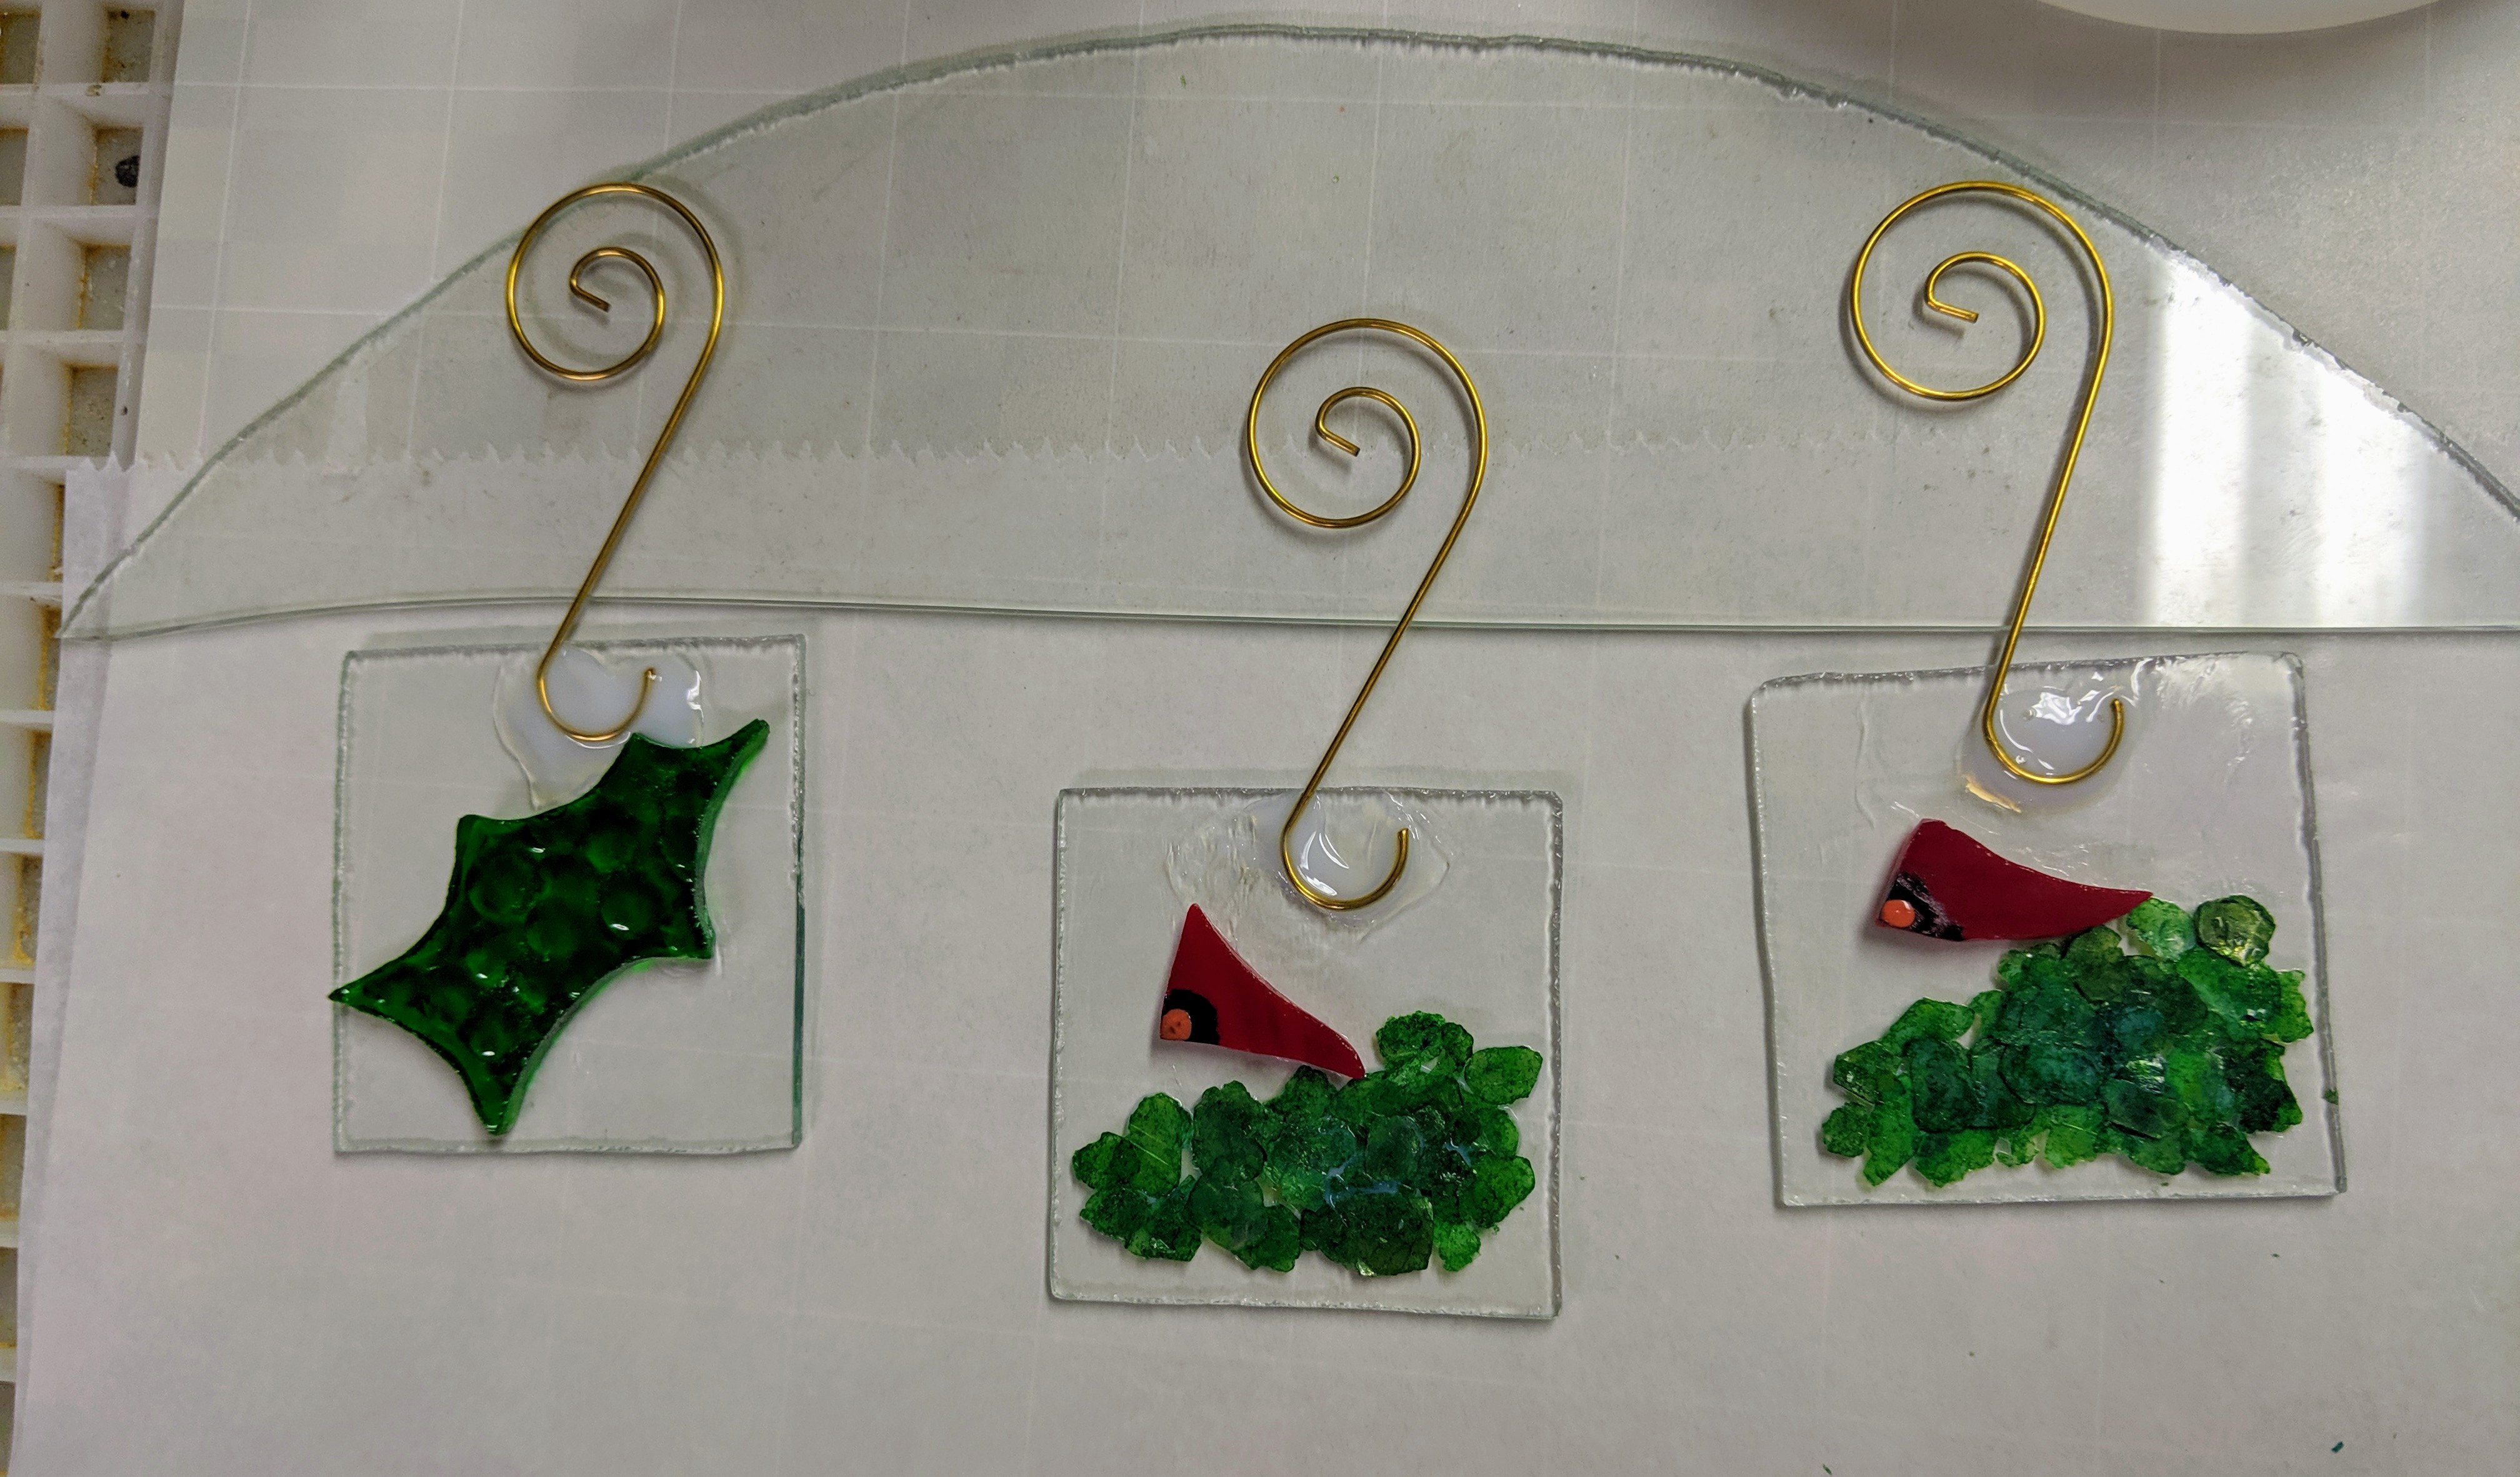
Once the resin in the molds is starting to thicken, I place the glass pieces and then the sparkly mica chips used for the snow / sky / leaves.
For this type of ornament, I sprinkle glass chips into the resin in the clear background areas for sparkle, then I spend about an hour scraping drips off the backs of the backer glass. I can clean up any leftover drips with a razor blade once the resin has cured, but this helps reduce the cleanup. On larger pieces I like to use masking tape on the back, but I don’t always remember to apply it in time. Now just to wait until the resin cures!
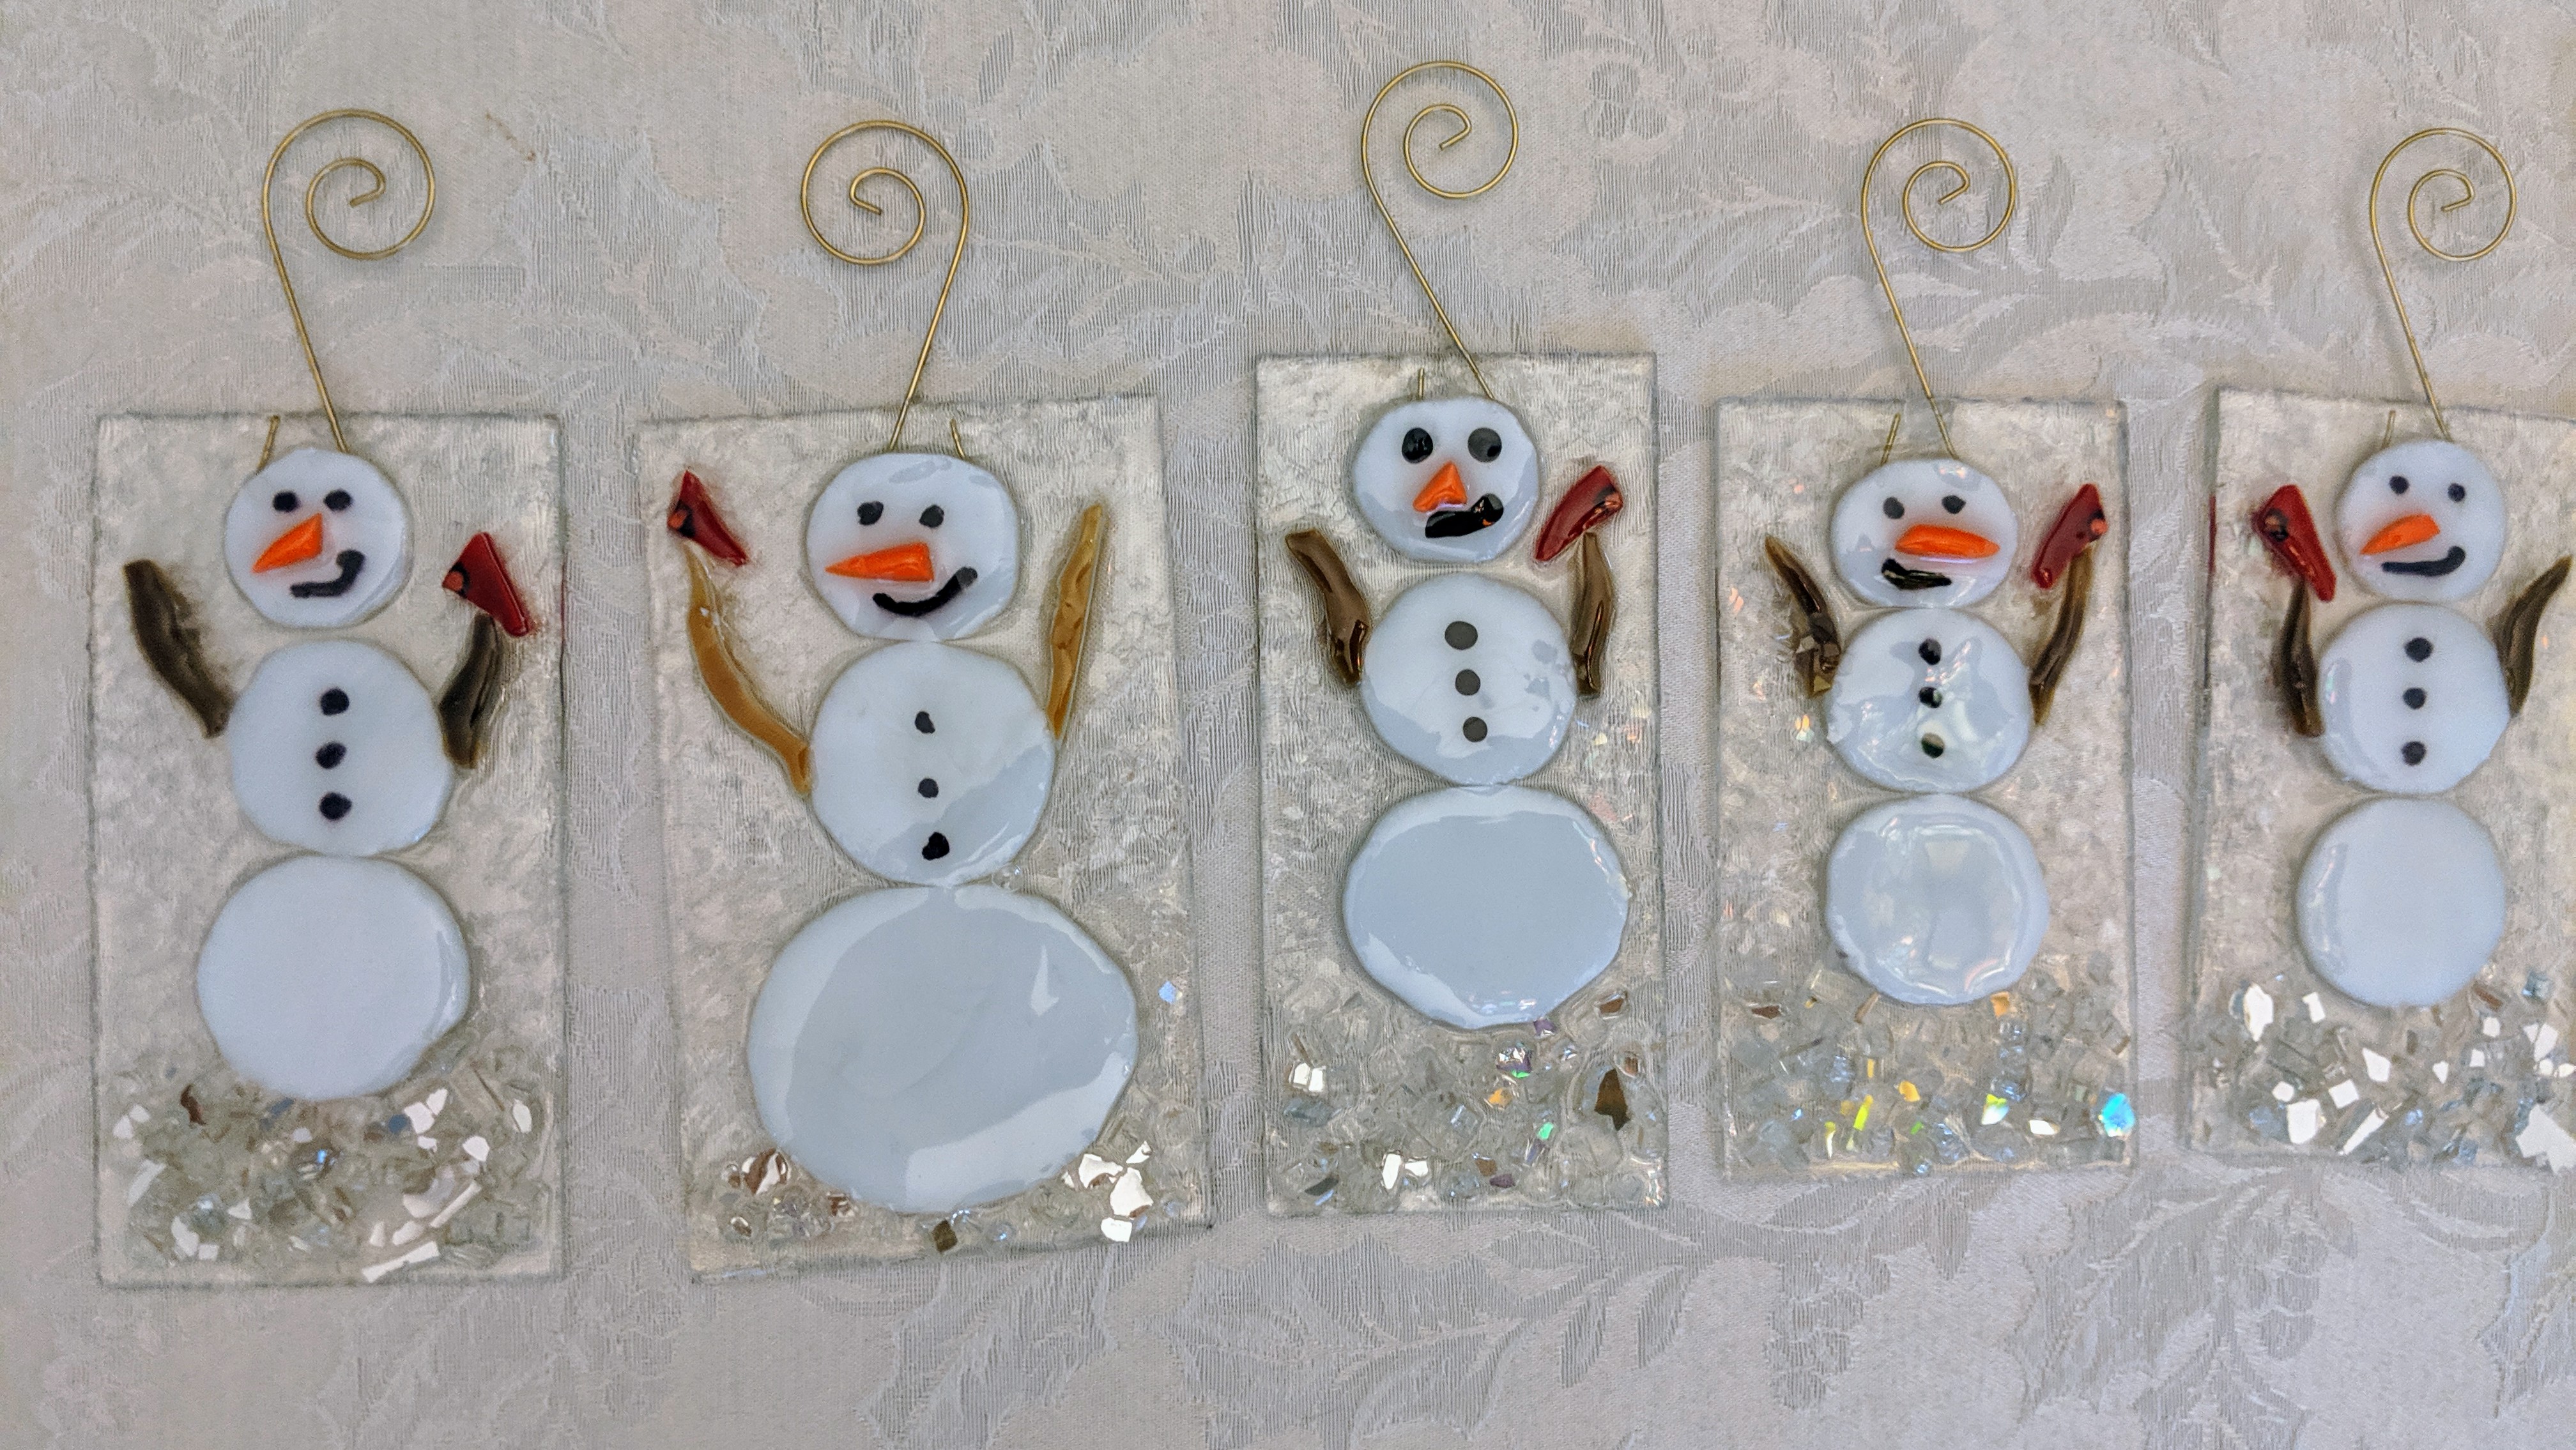
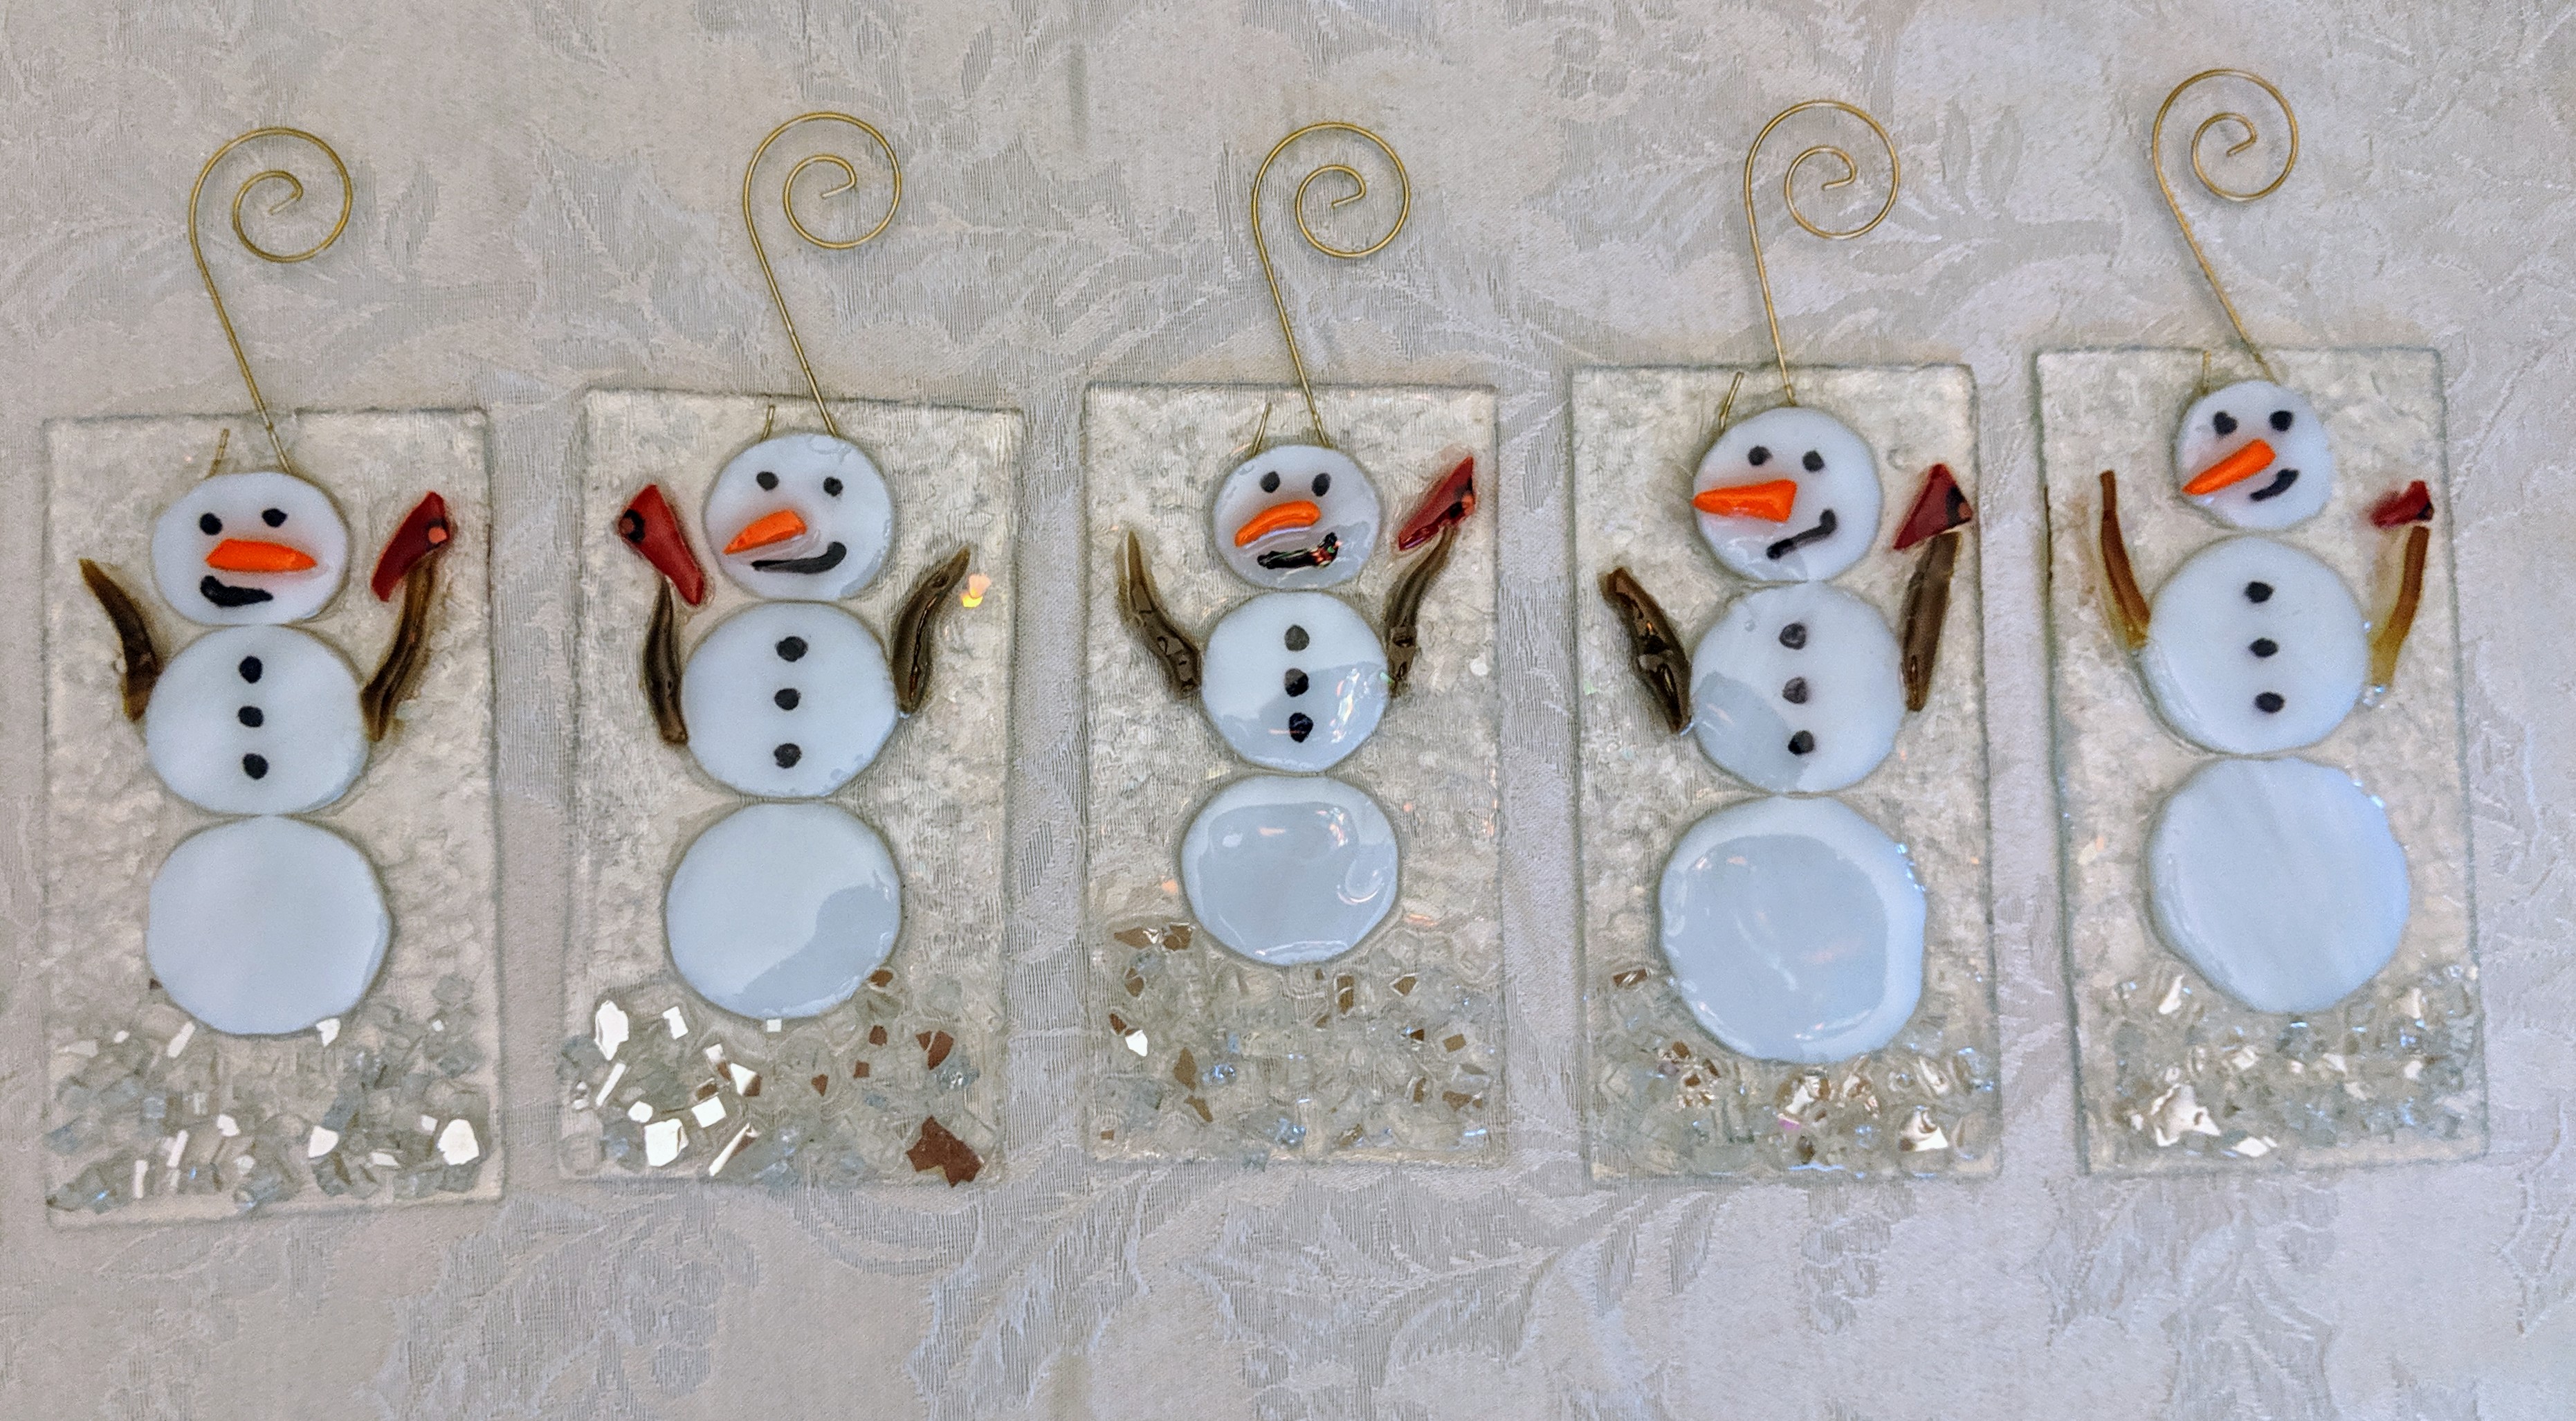
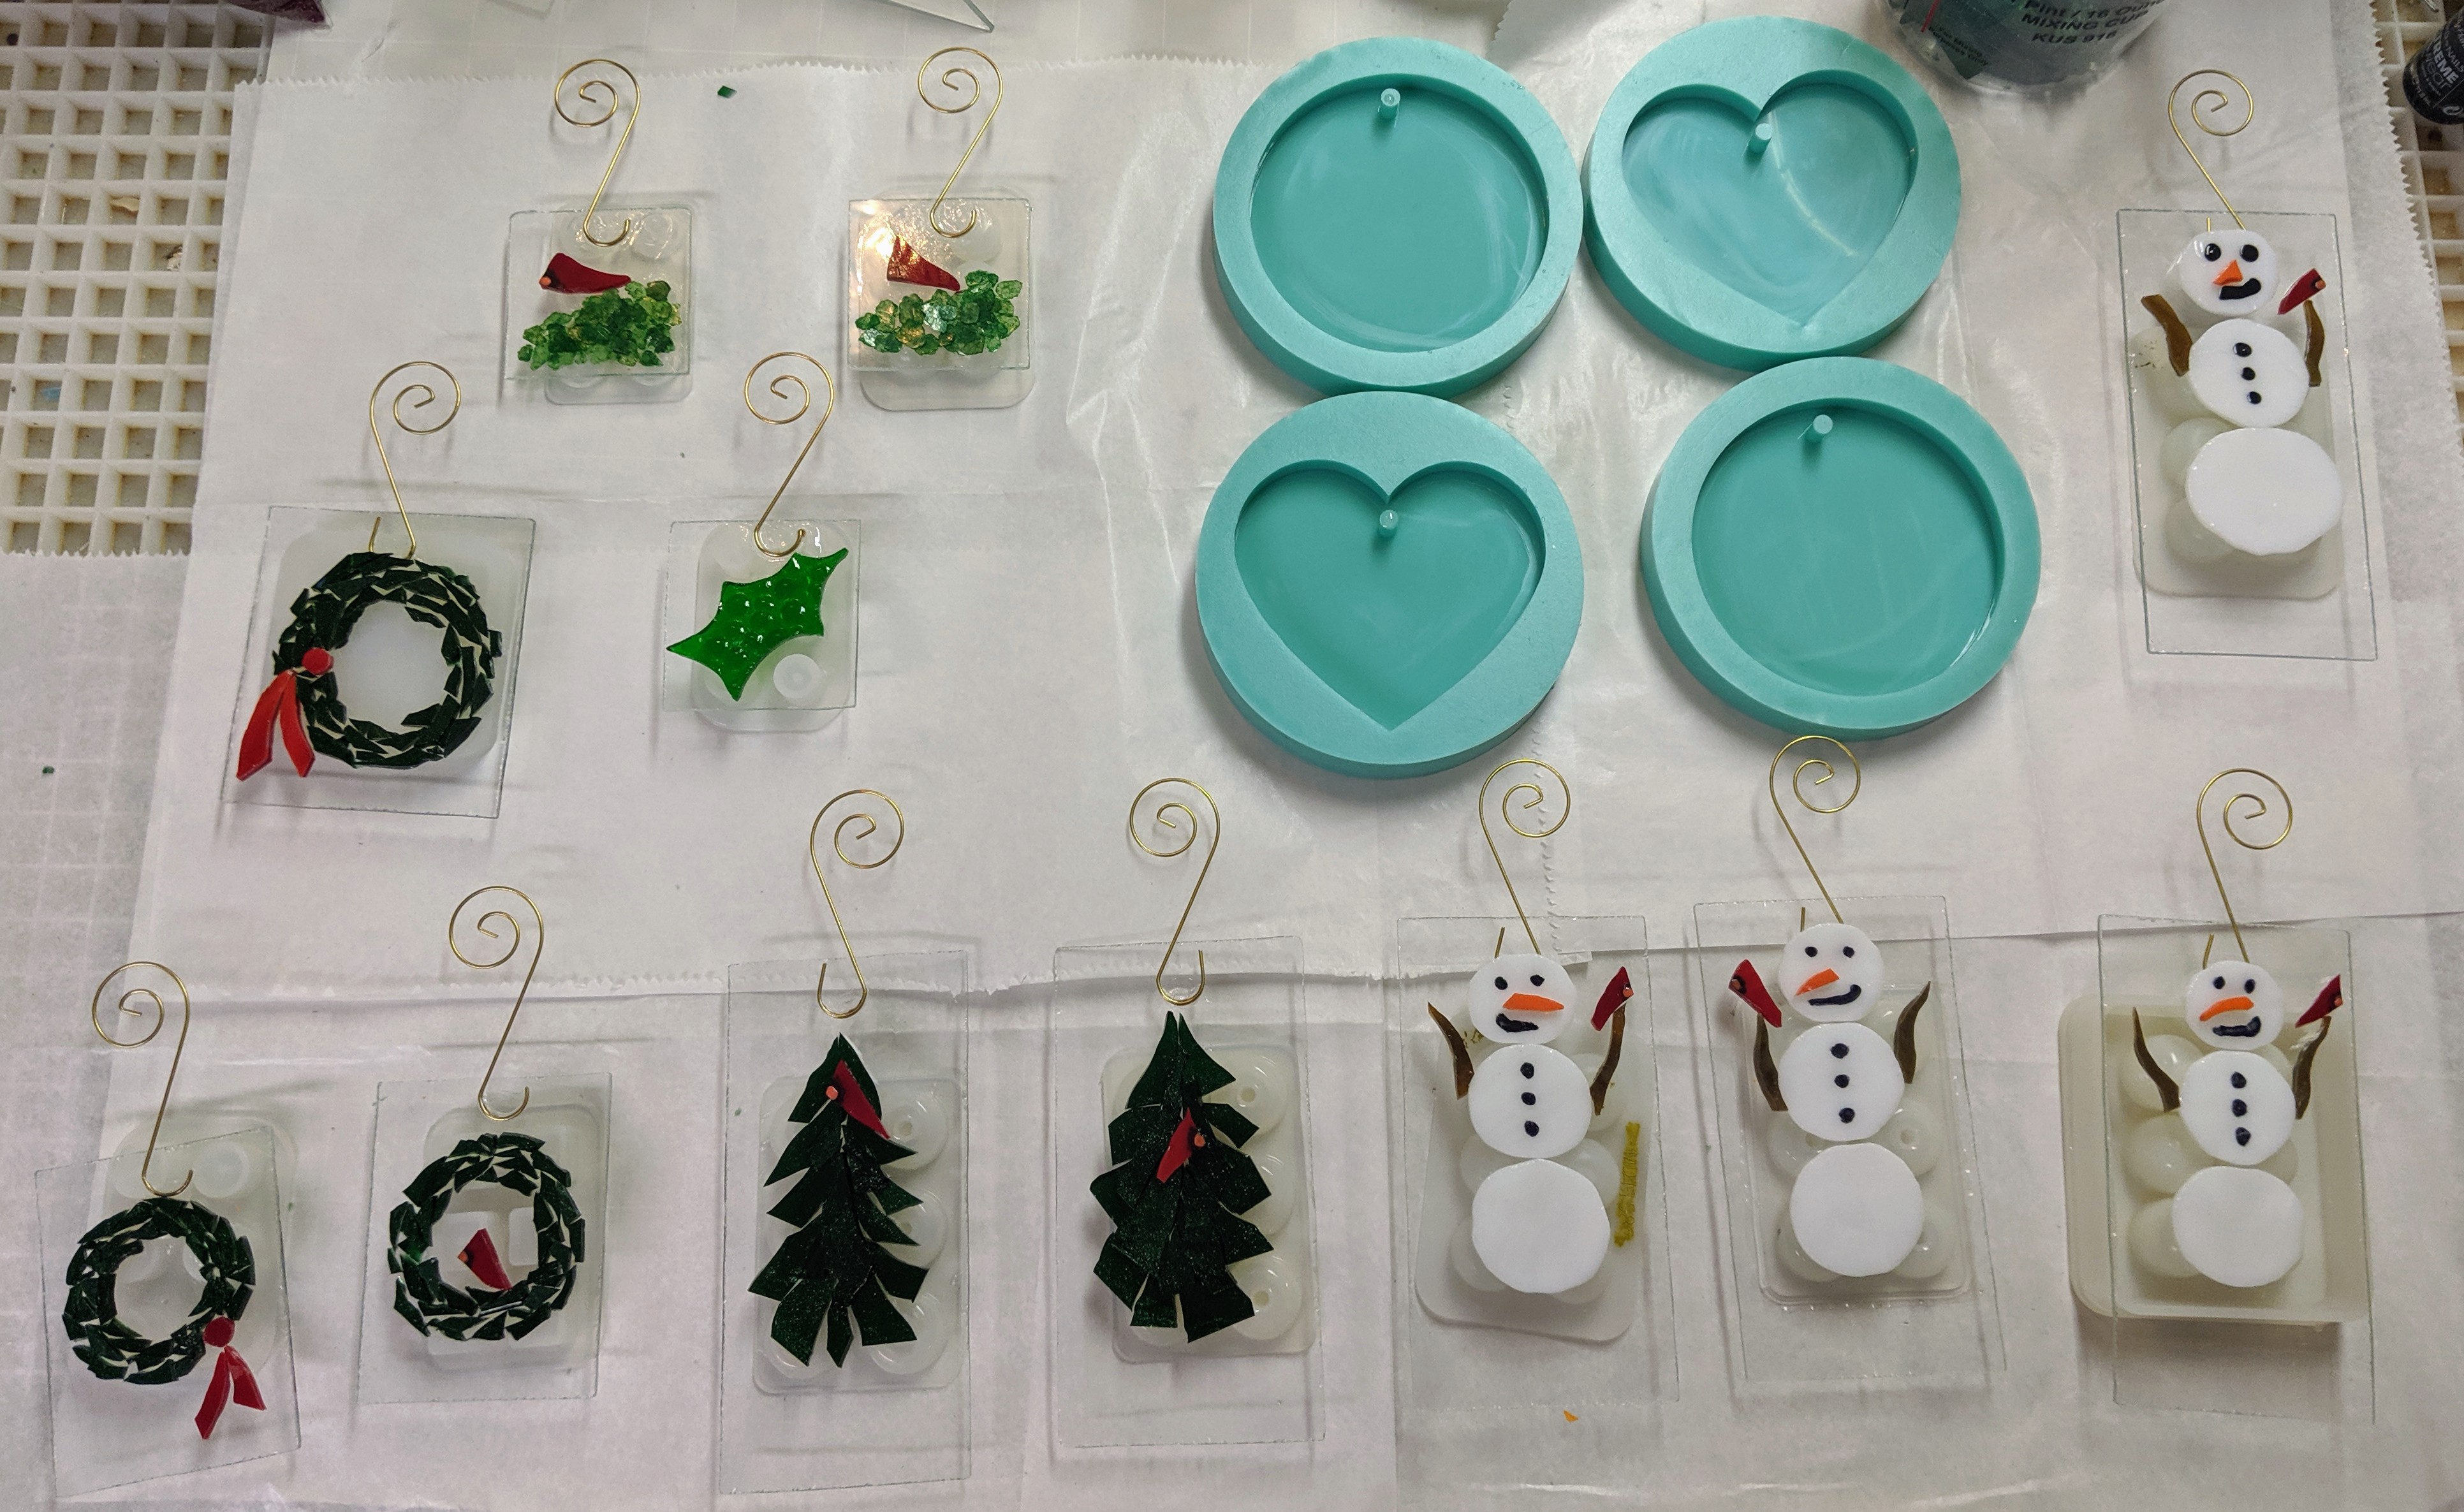
The resin cured overnight on the ornaments I made yesterday, so I cleaned them and my work area up and started on some…more….ORNAMENTS!
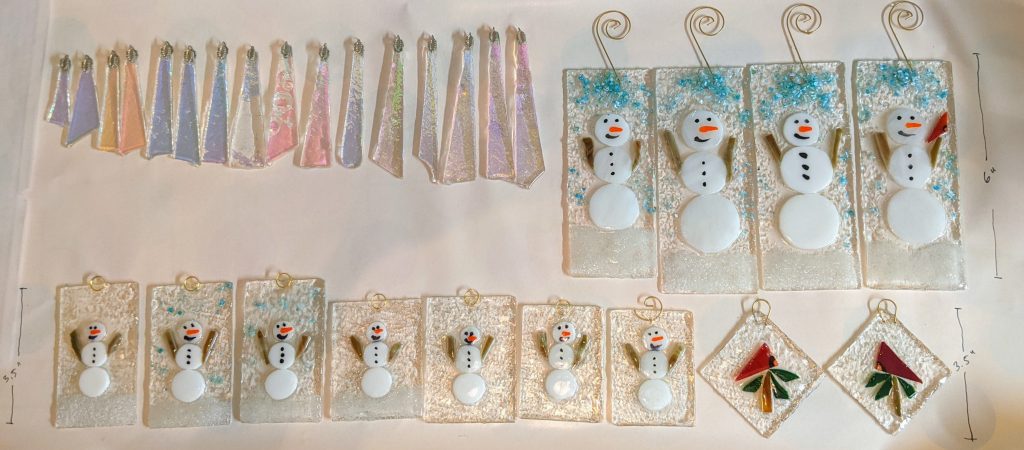
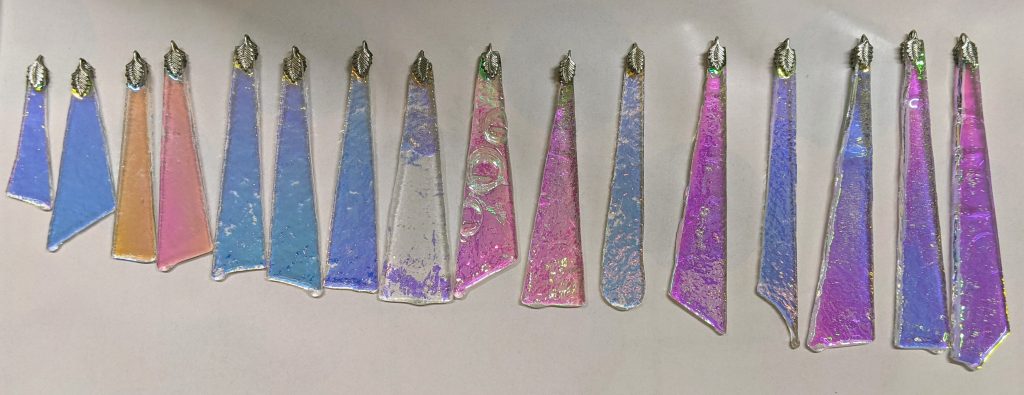

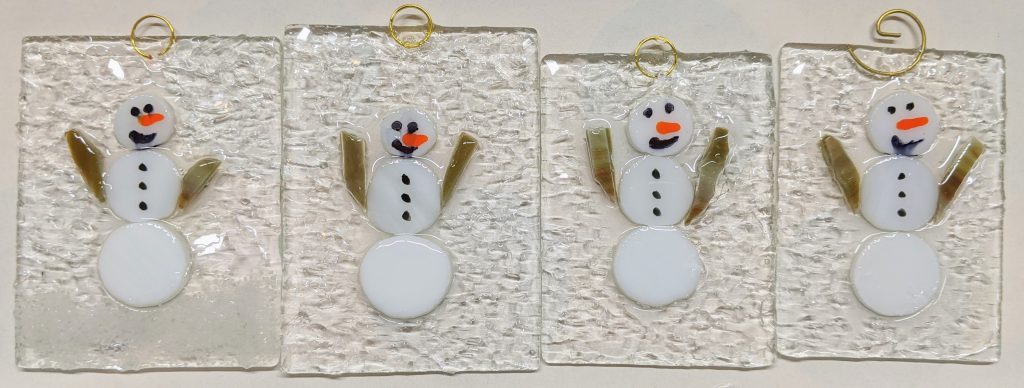
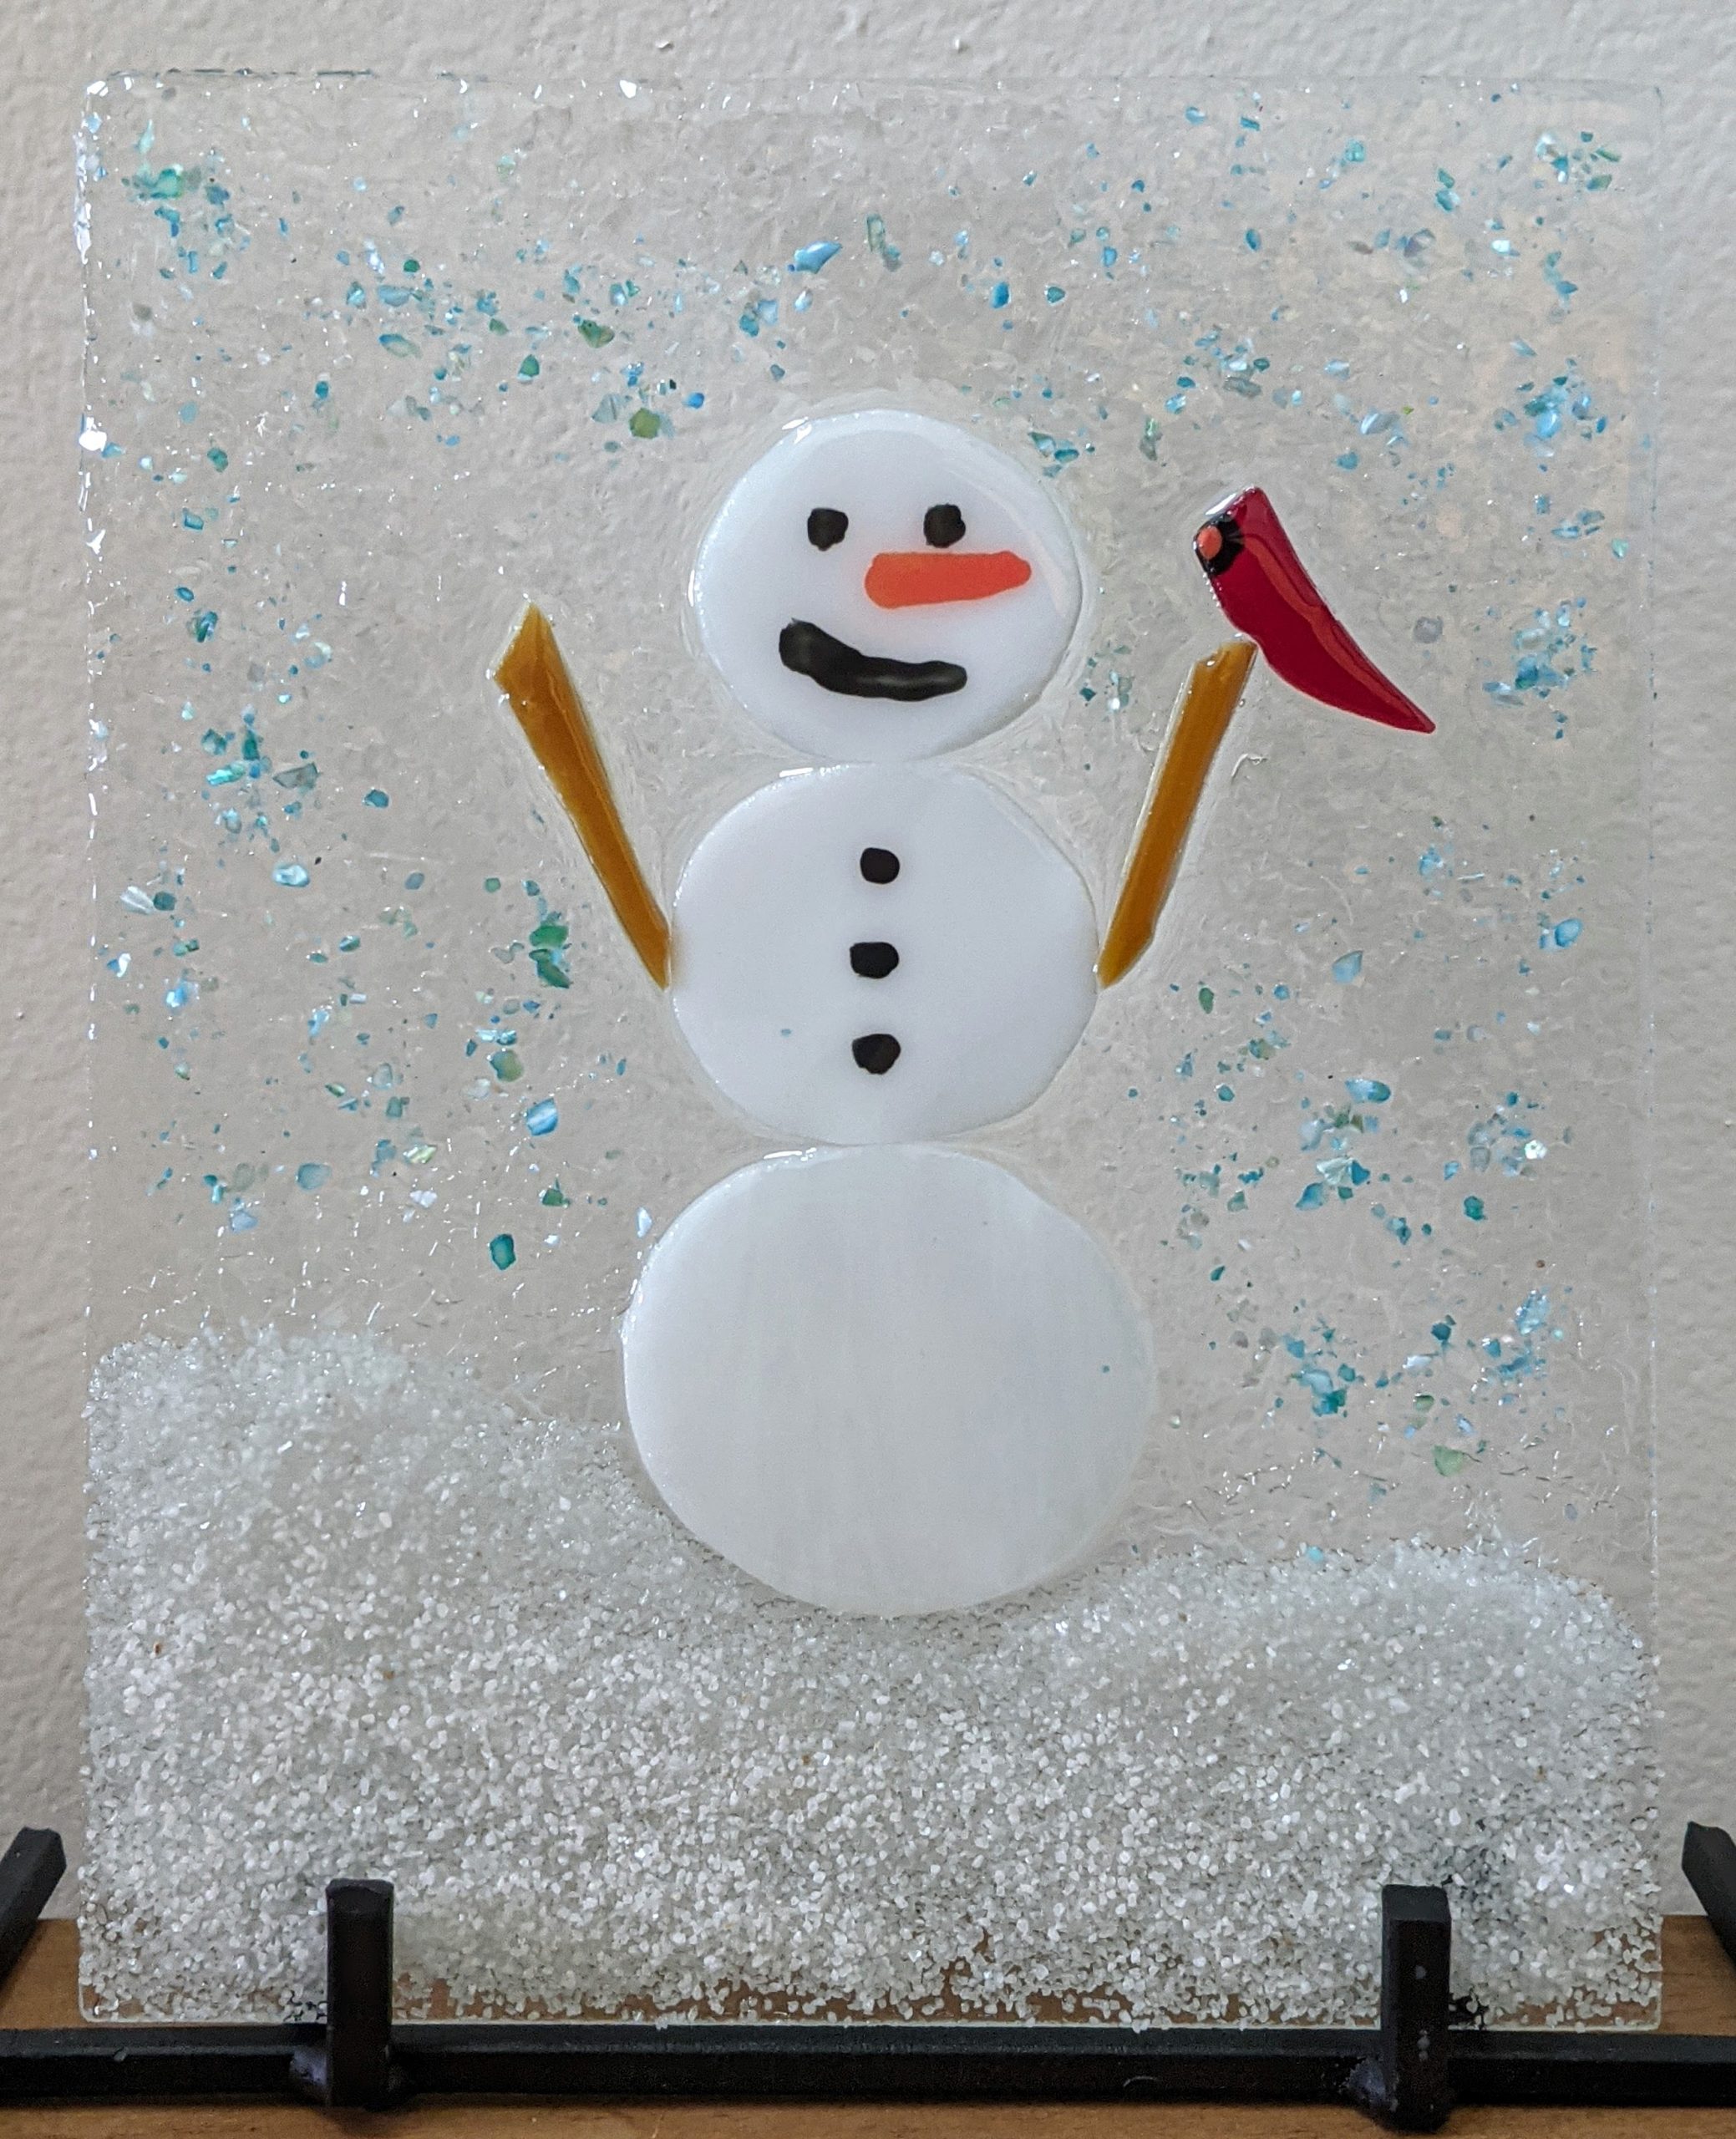
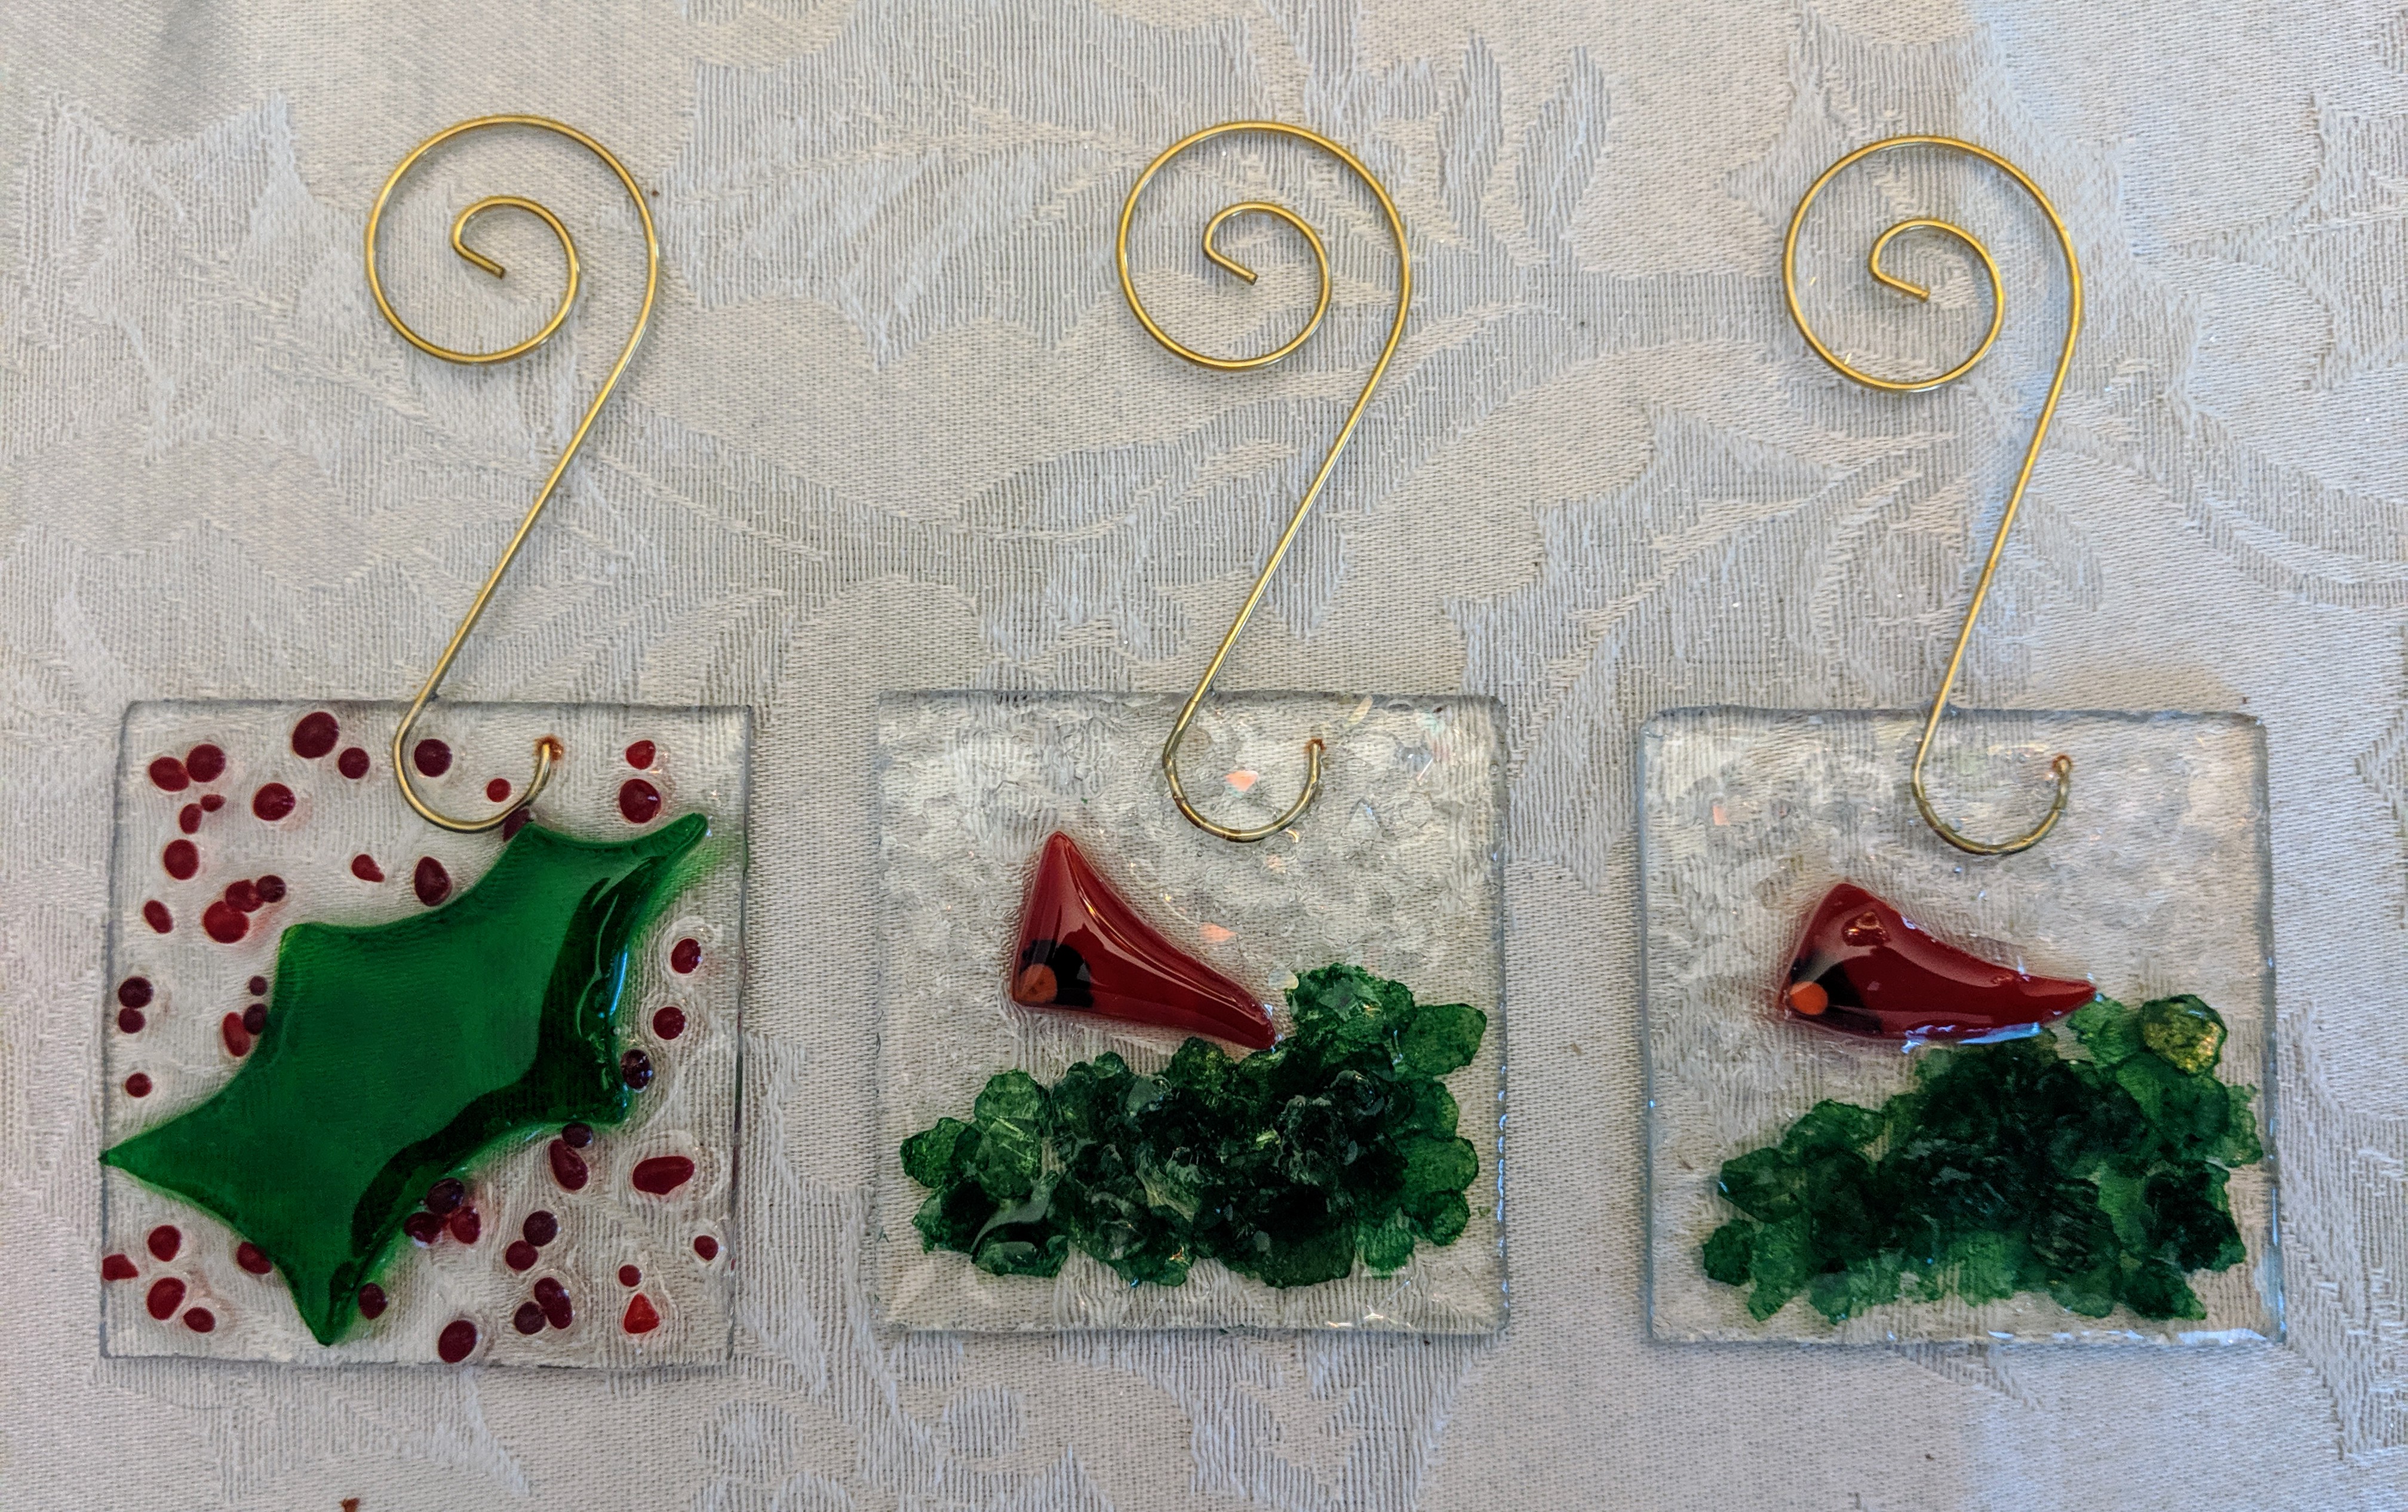
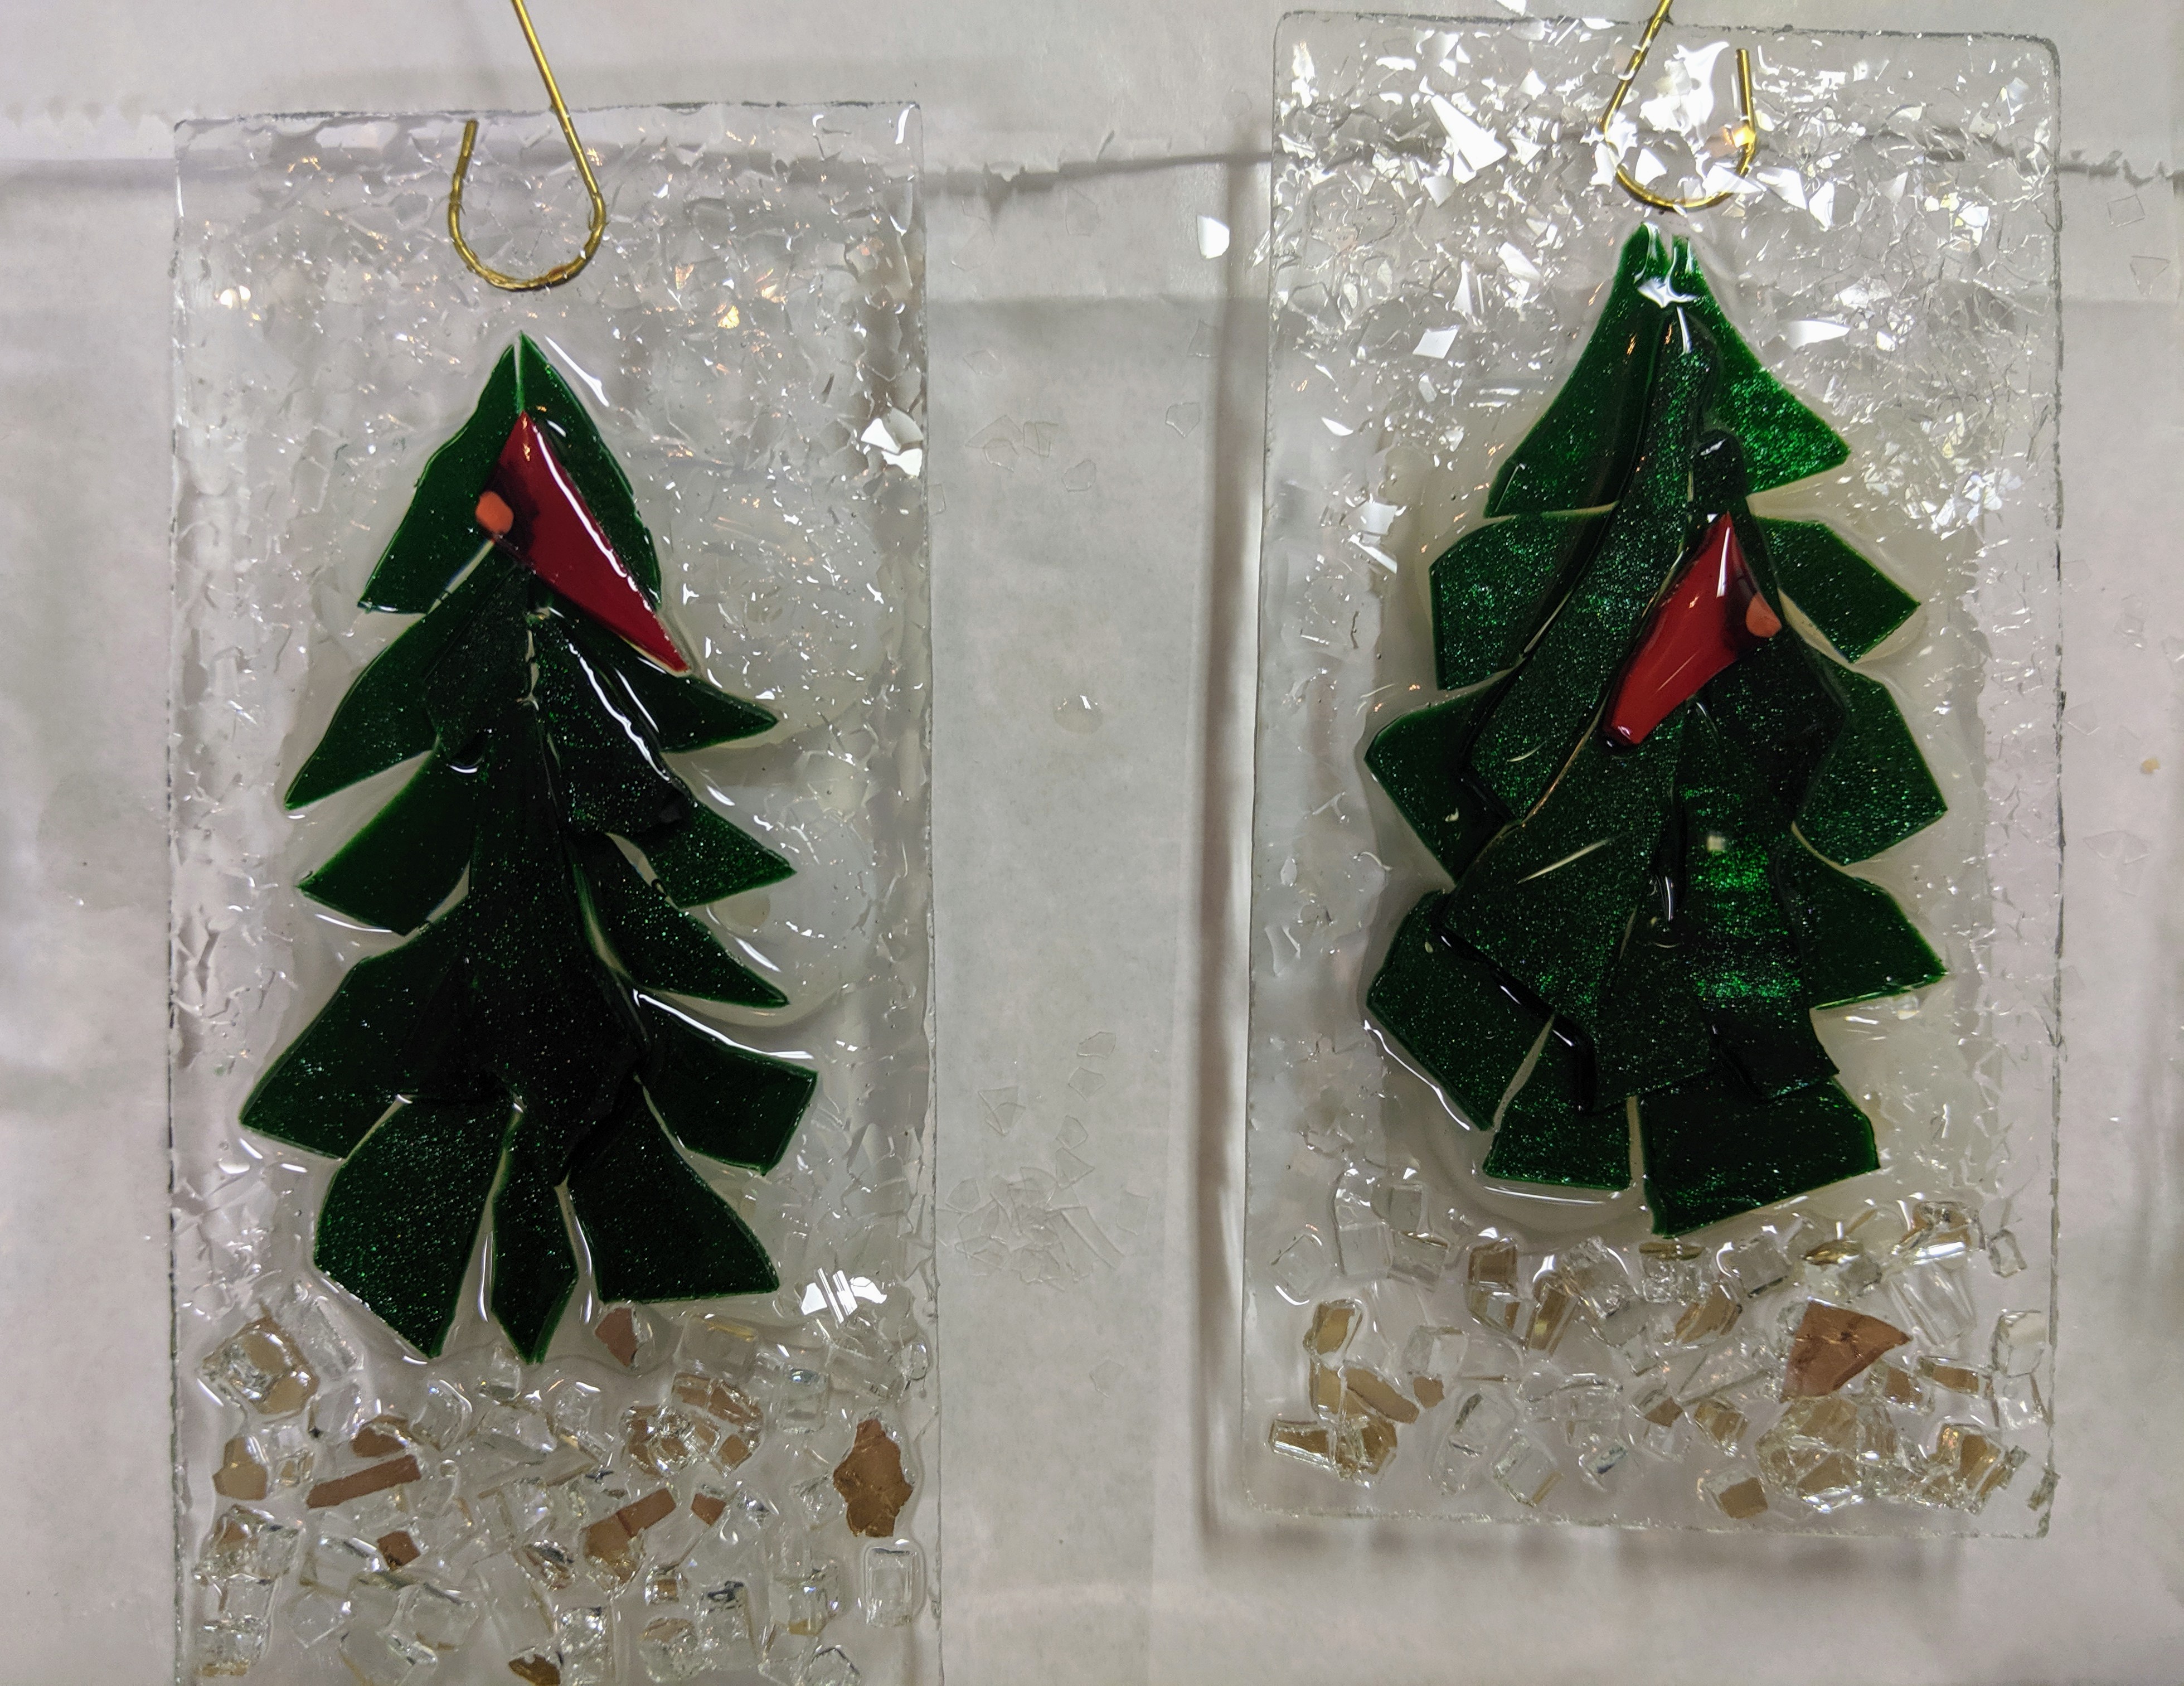
The large snowmen are around 6″ (not including hanger), the medium snowmen are around 3.5″ and the smaller ones are around 3″. The dichro-cicles range from around 4.5″-2″. I have some additional backer glass ready for more ornaments, but I haven’t made many “parts” for the scenes, so I decided to make a stockpile of cardinals to use.
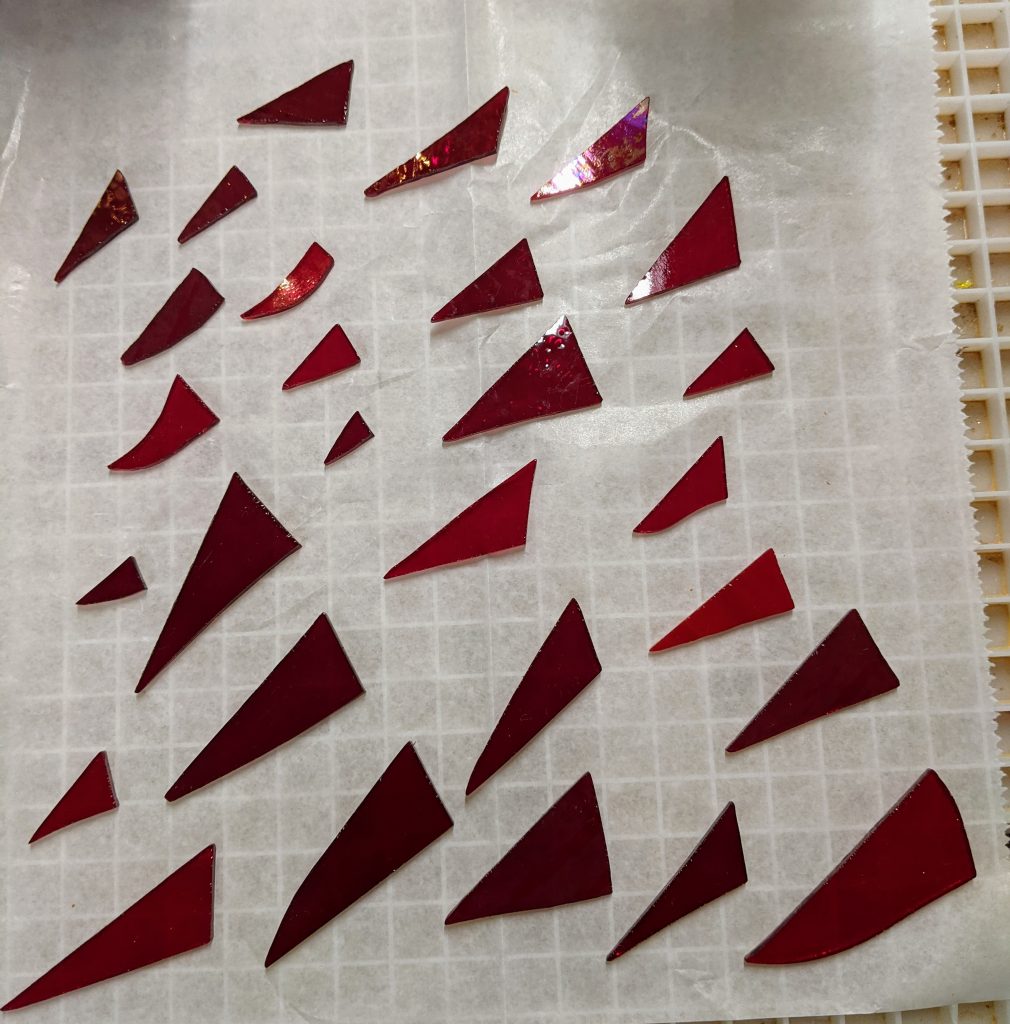

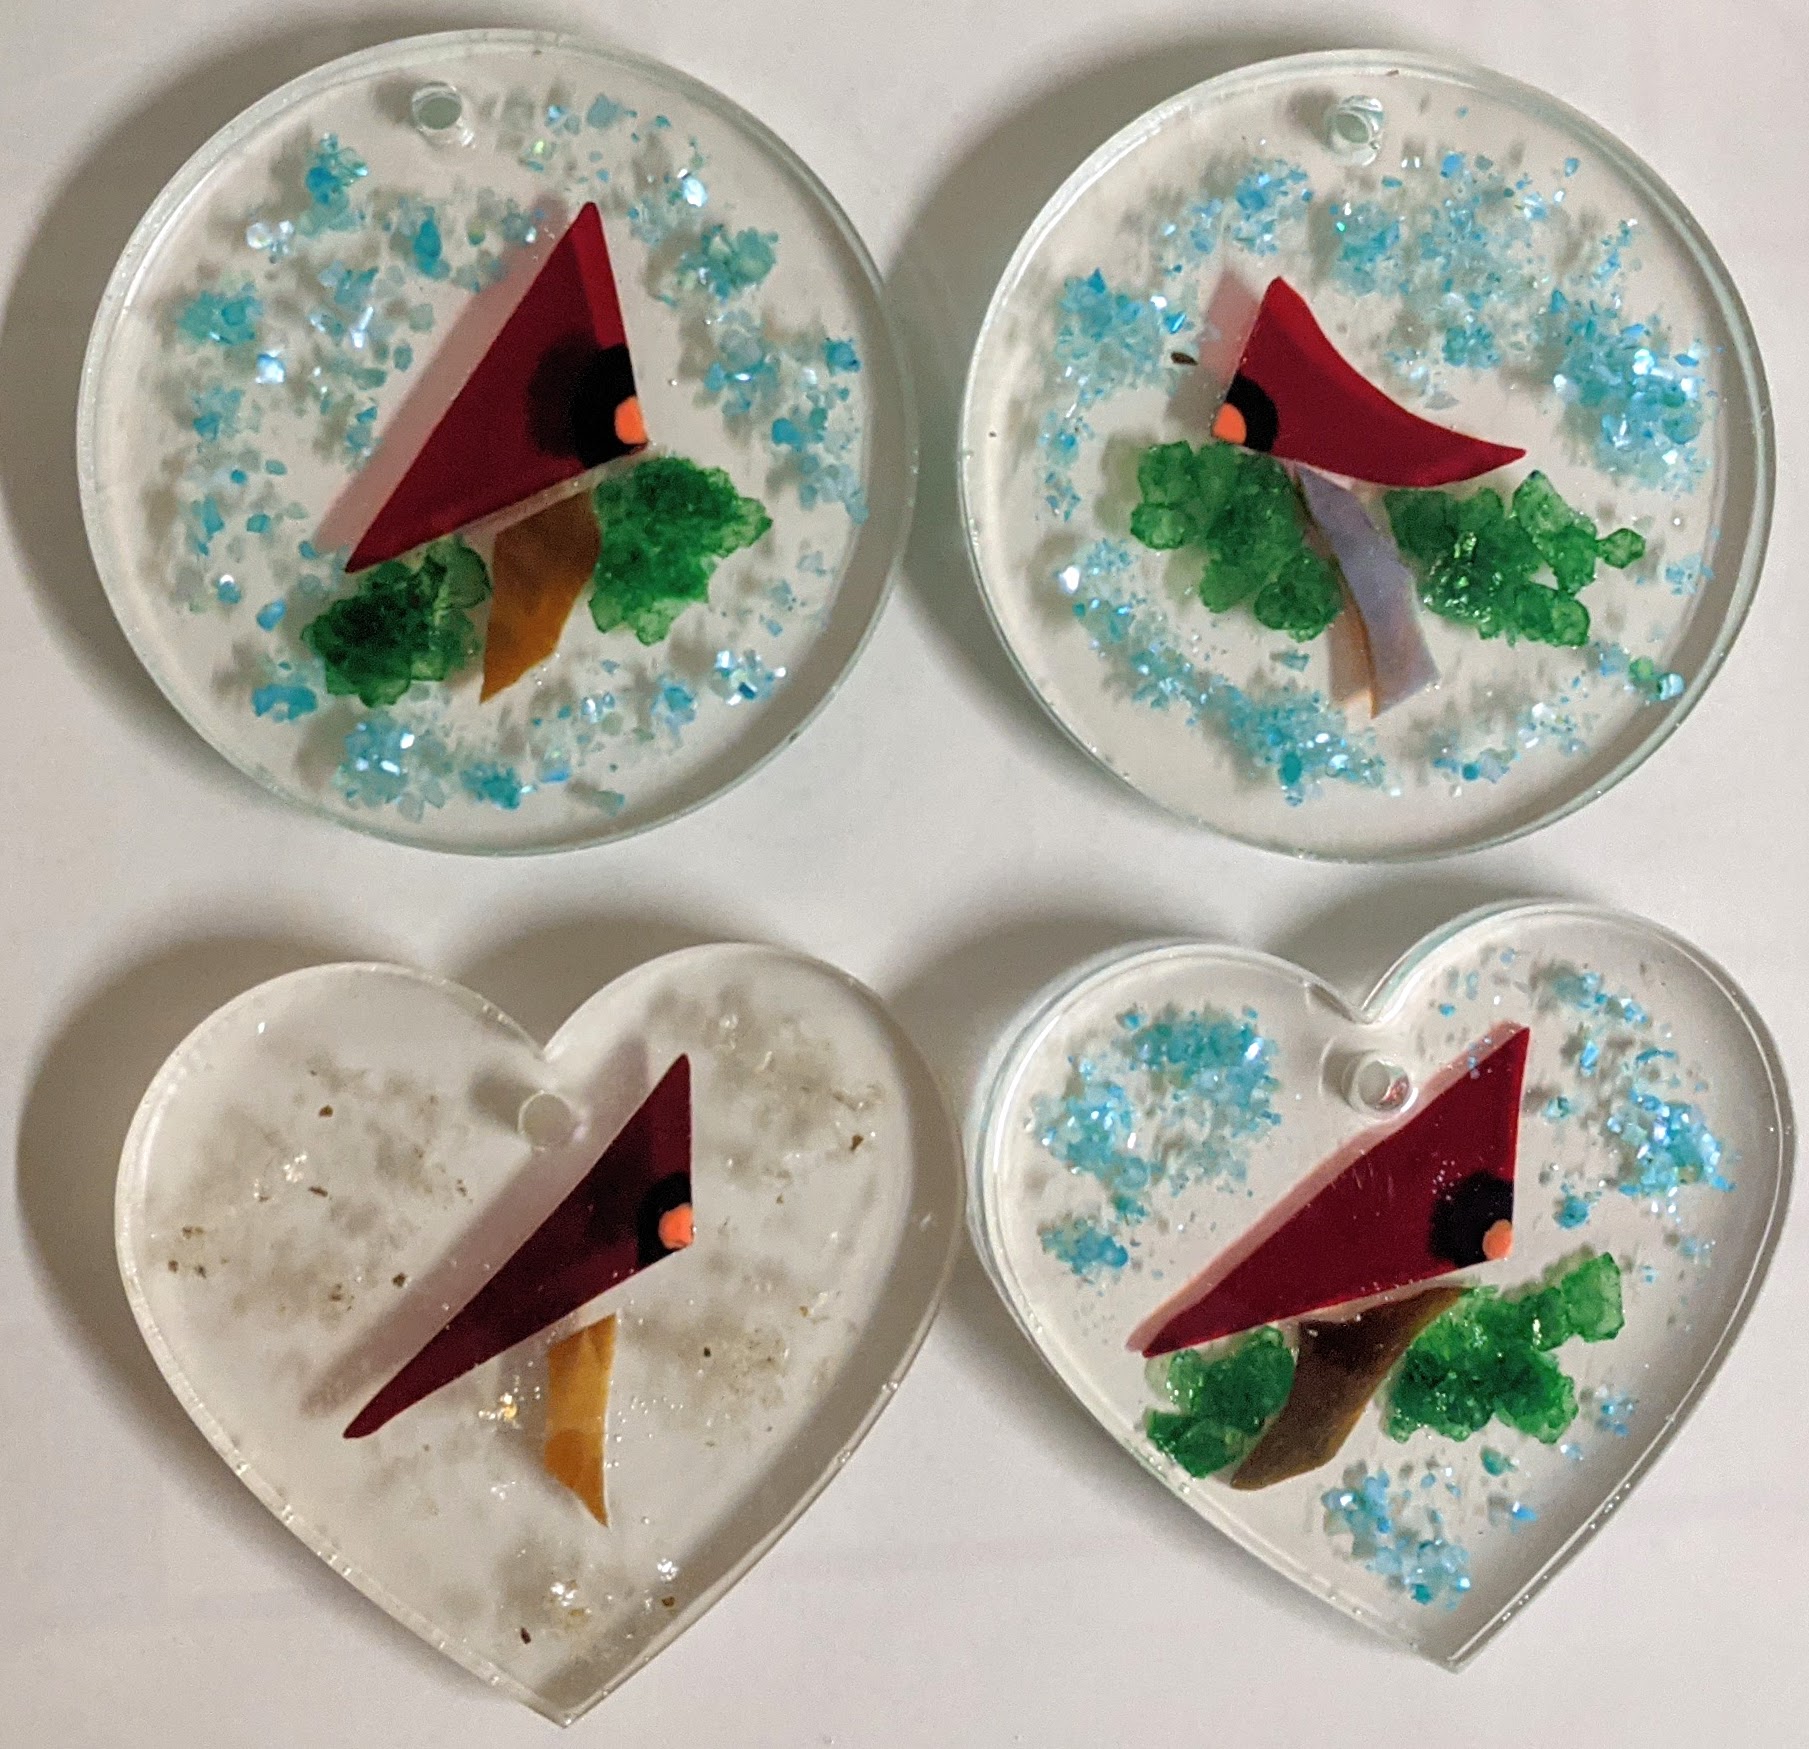
First I cut out the triangles, then grind the edges to smooth & shape them. Then I dry them off and paint the black patch on each bird’s face. Once that dries, I paint the orange beak on top. After that layer dries, I can flip them over and start again with the black and orange layers. I like the simplicity of these little red birds.
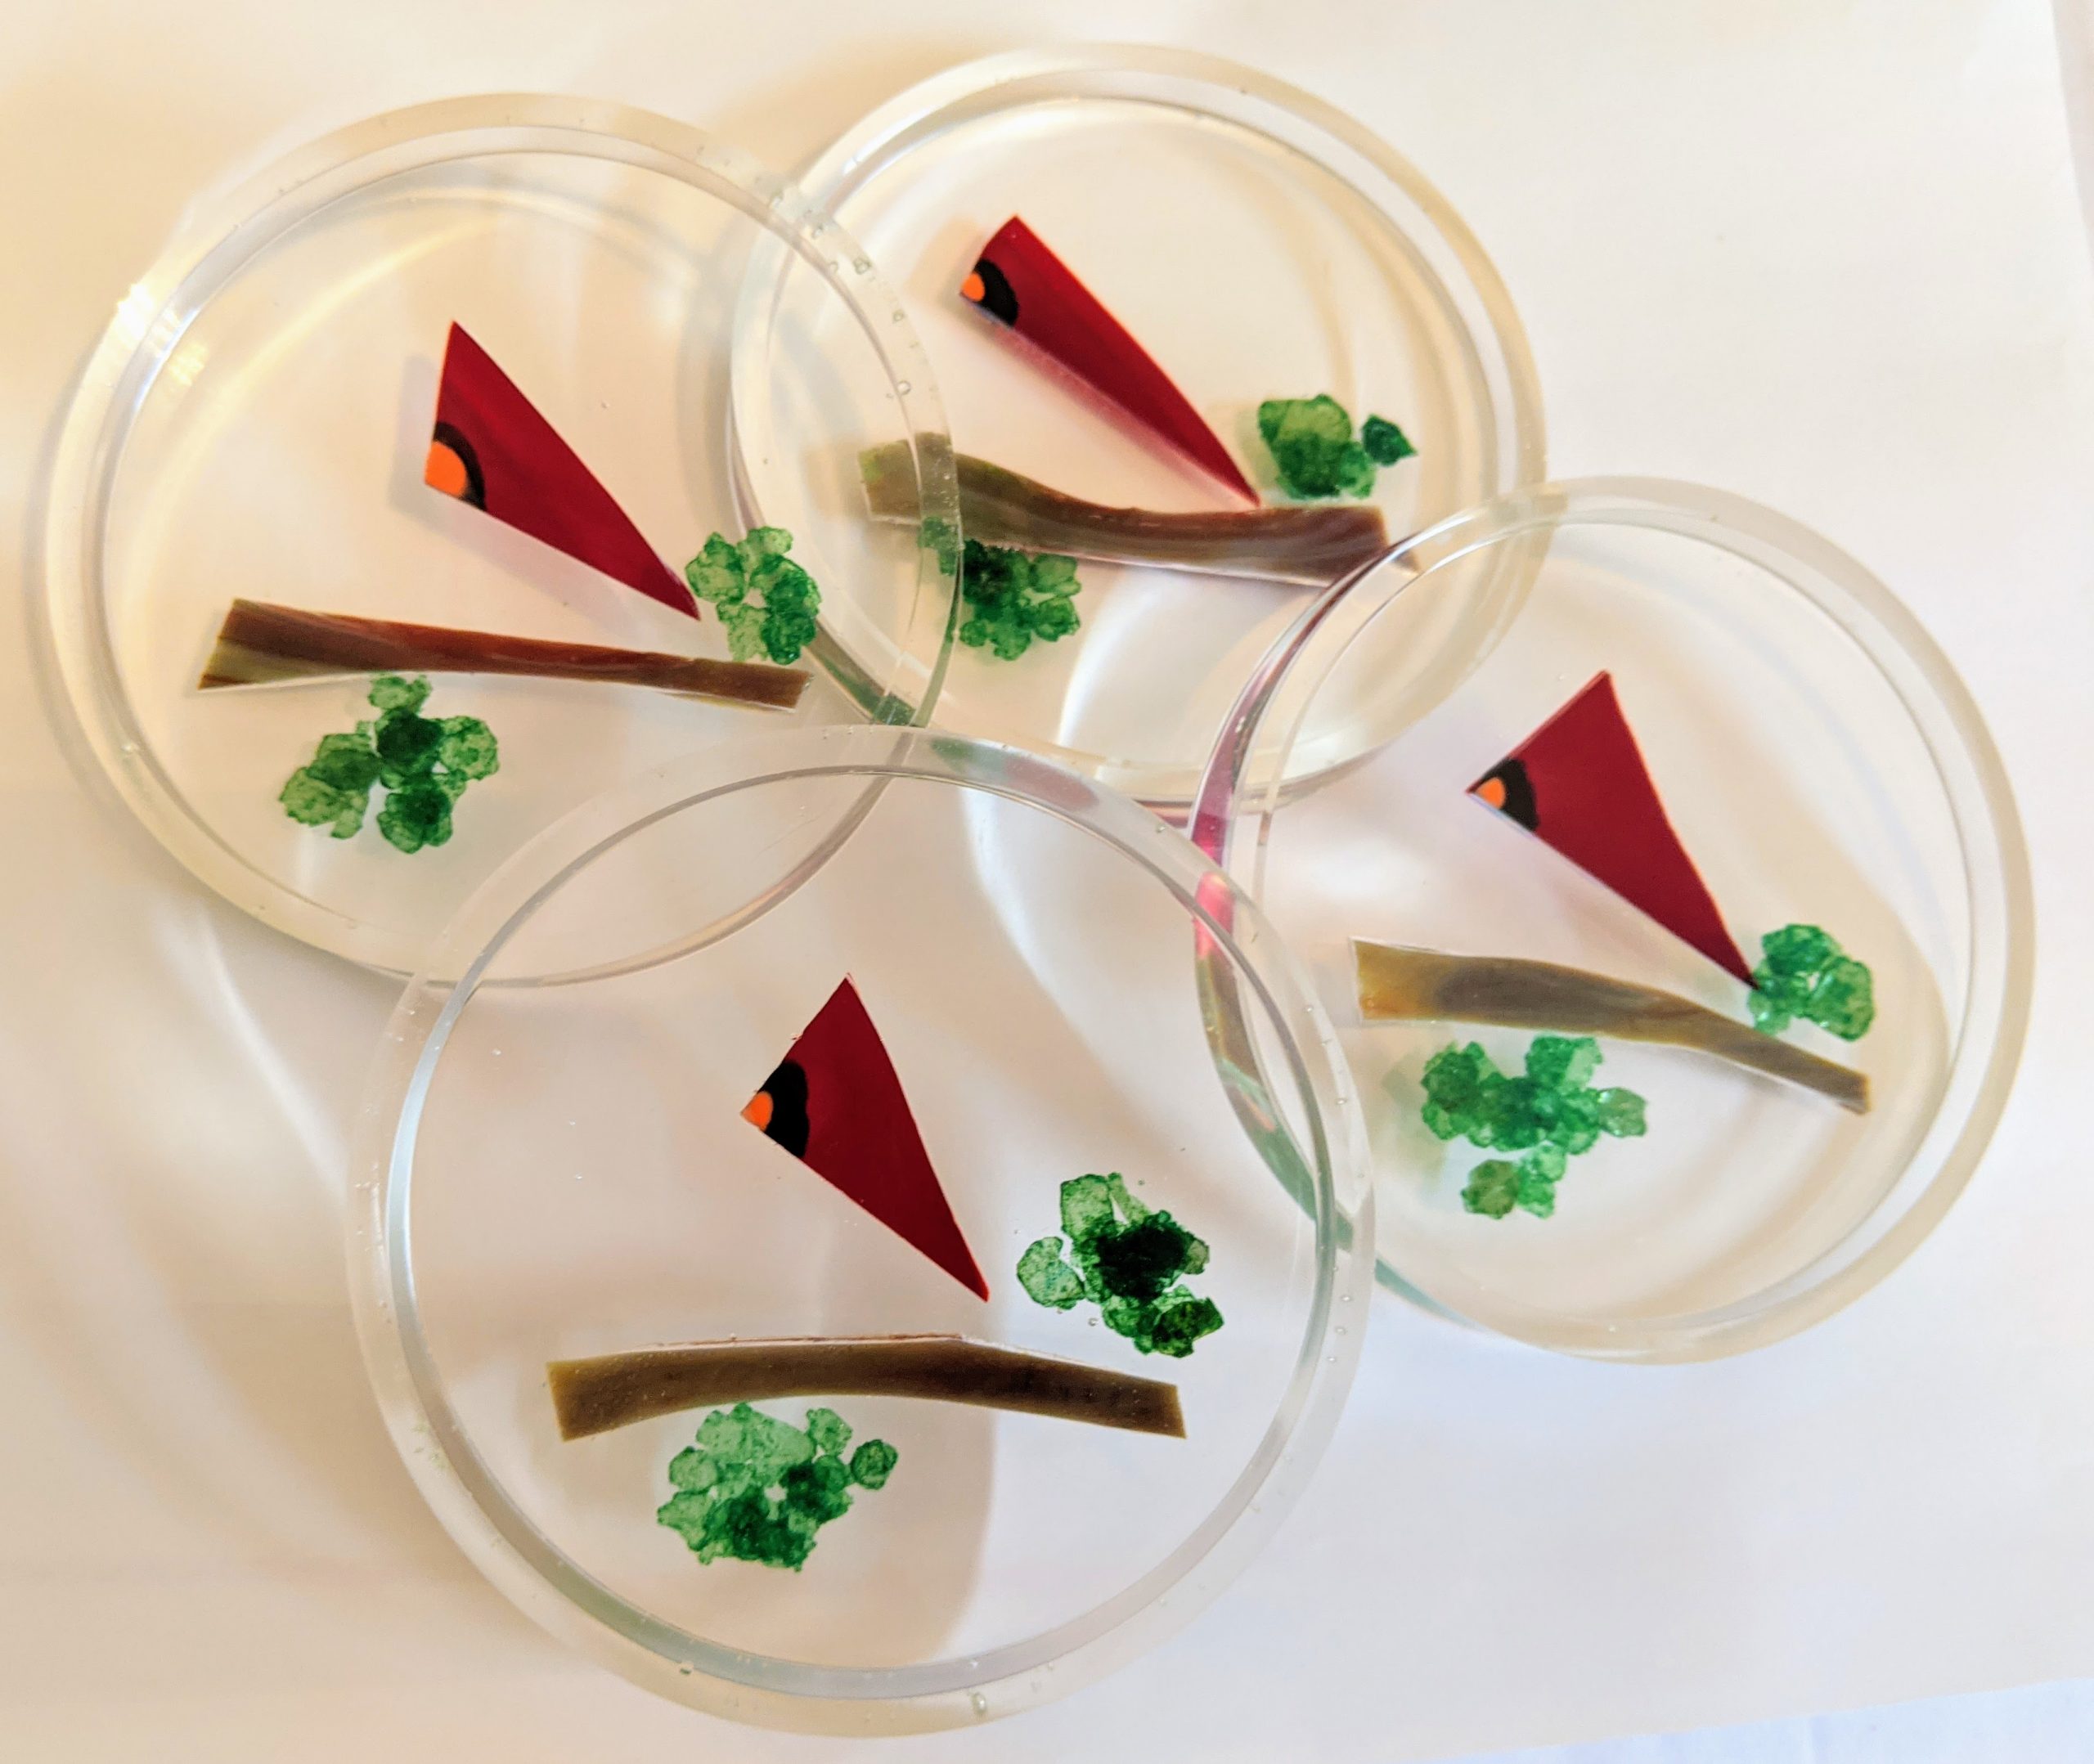
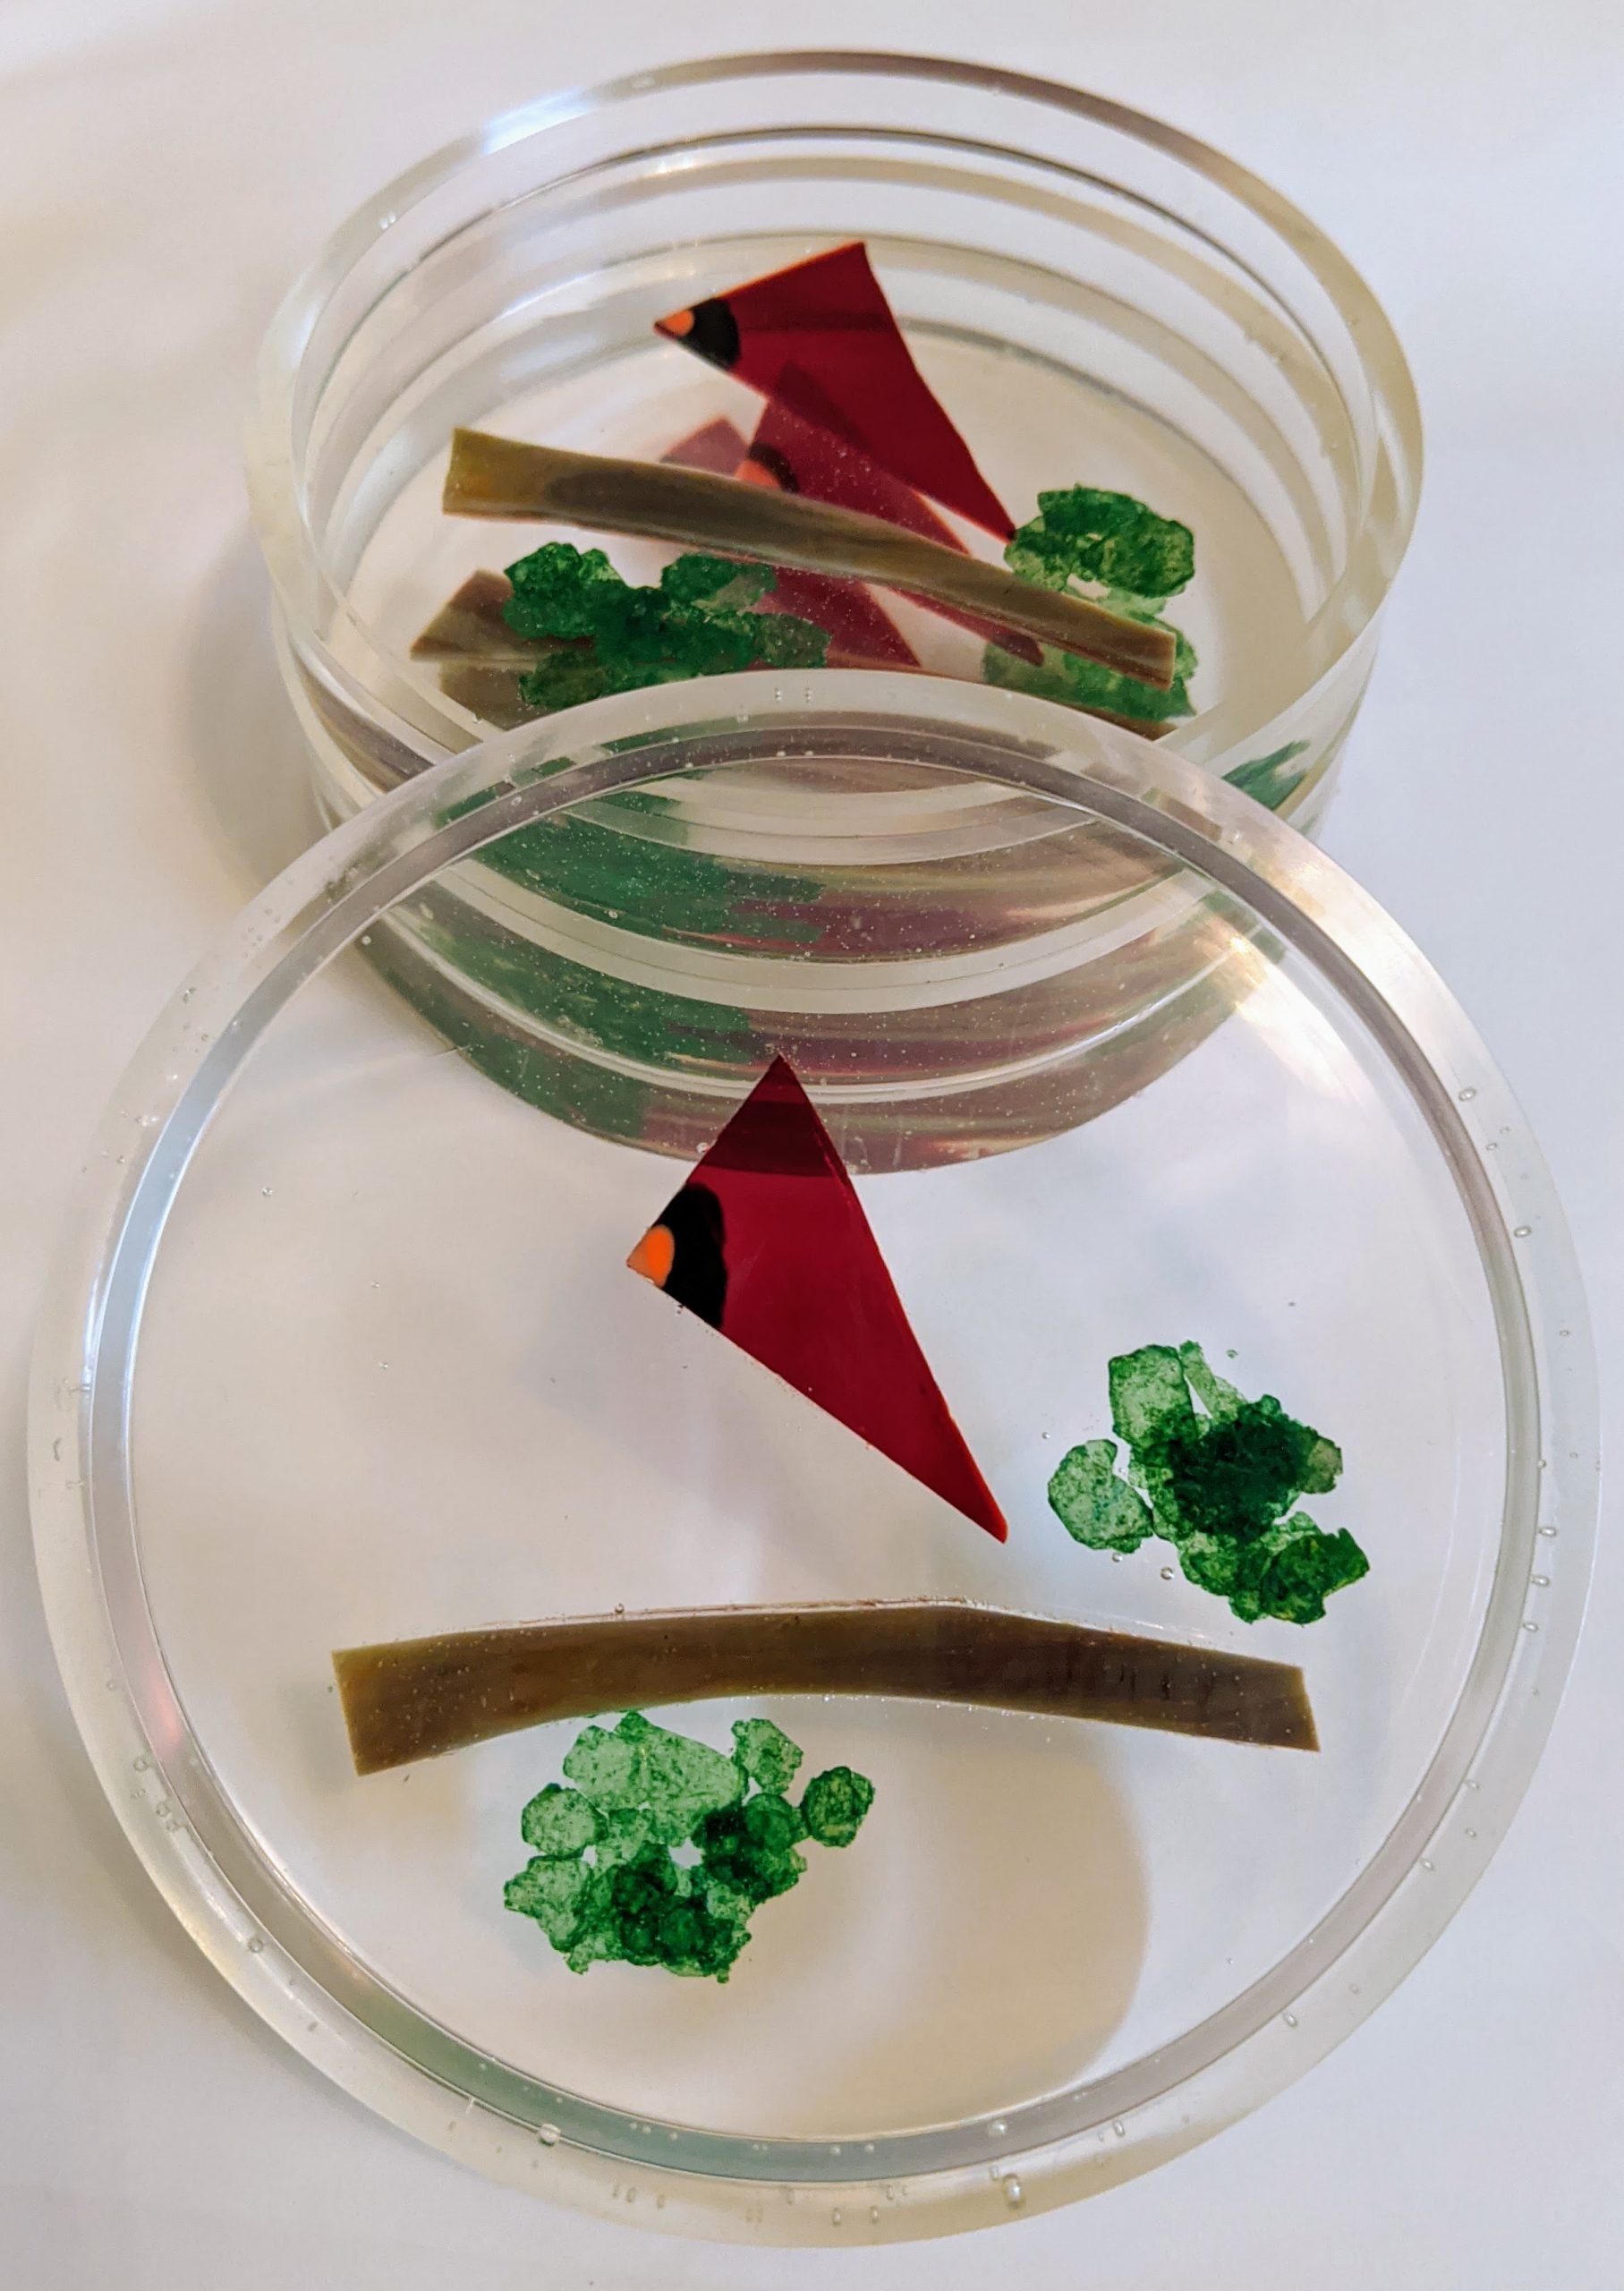
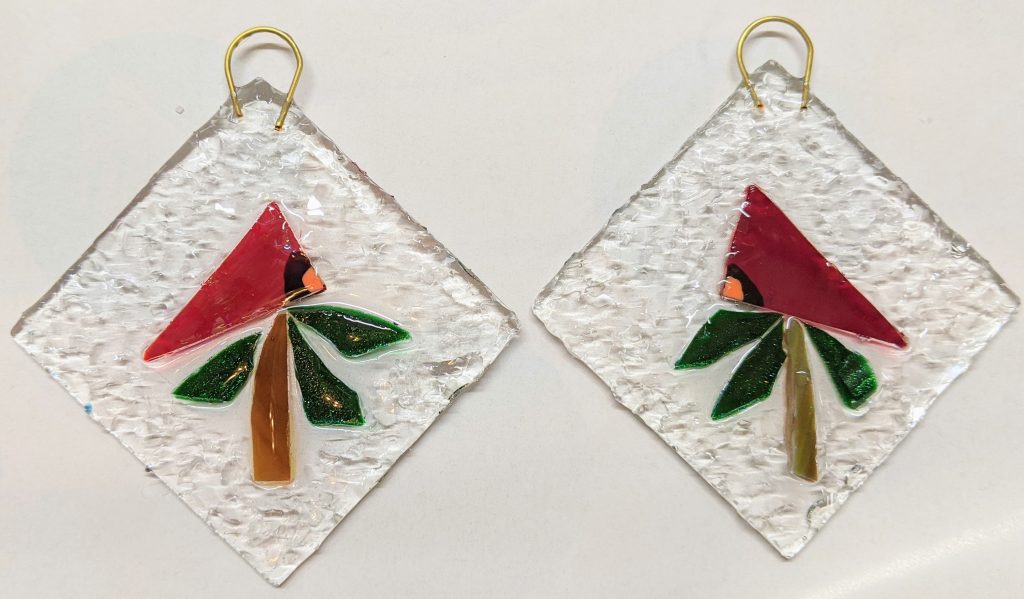
Suncatchers / ornaments are between 3-3.5″ across. Handmade suncatchers are $20 each. Handmande coasters with stained glass are $50 for the set. Contact me for delivery / shipping options.
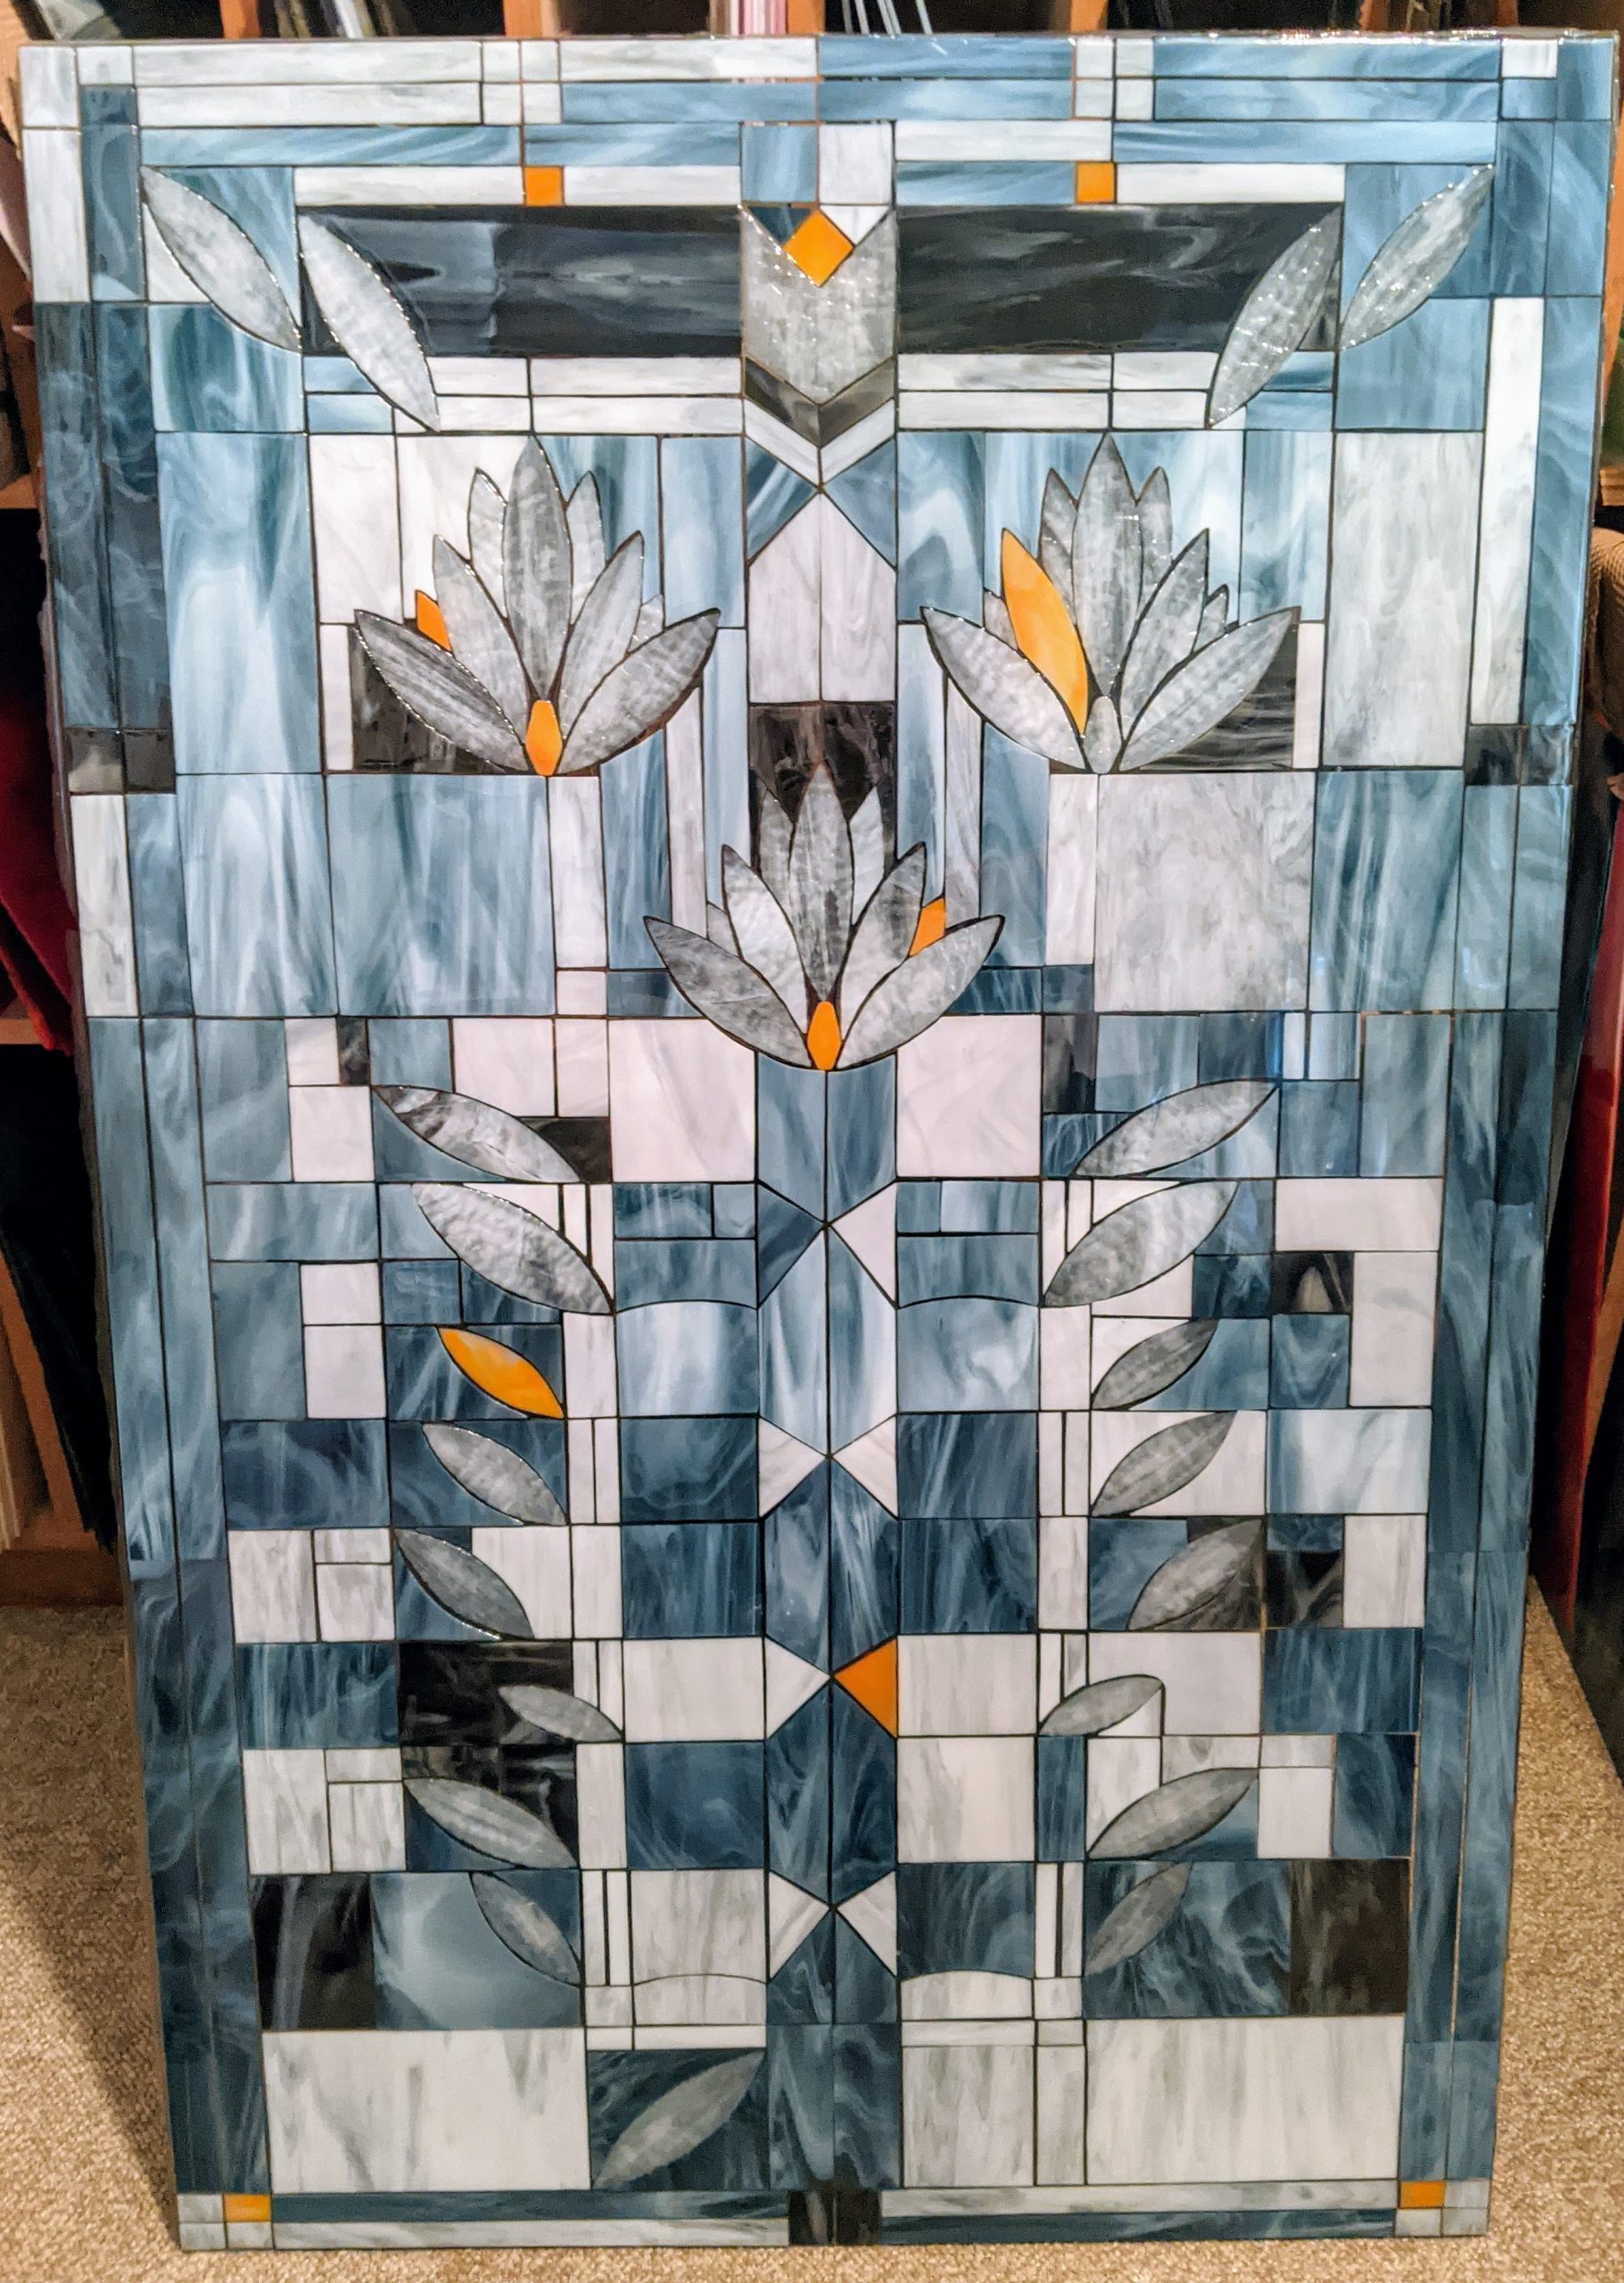
Shifting gears into holiday mode with some small projects now that the Frank Lloyd Wright Waterlilies 31″ x 48.25″ window is done (at least, I think I’m done with it). I’ve poured three layers of resin and each time there is some imperfection I’m tempted to address with another layer. There are still some imperfections; the third layer cleared up the worst, but contributed a few more. For example, I was trying to keep the texture of the flower petals visible, but the third layer covered a couple of the petals a bit more than I wanted it to. I can also see some edges of the third layer where it didn’t blend / flatten well. However, if I pour a fourth layer, I might mess something else up. Best to set it aside and get a second opinion.
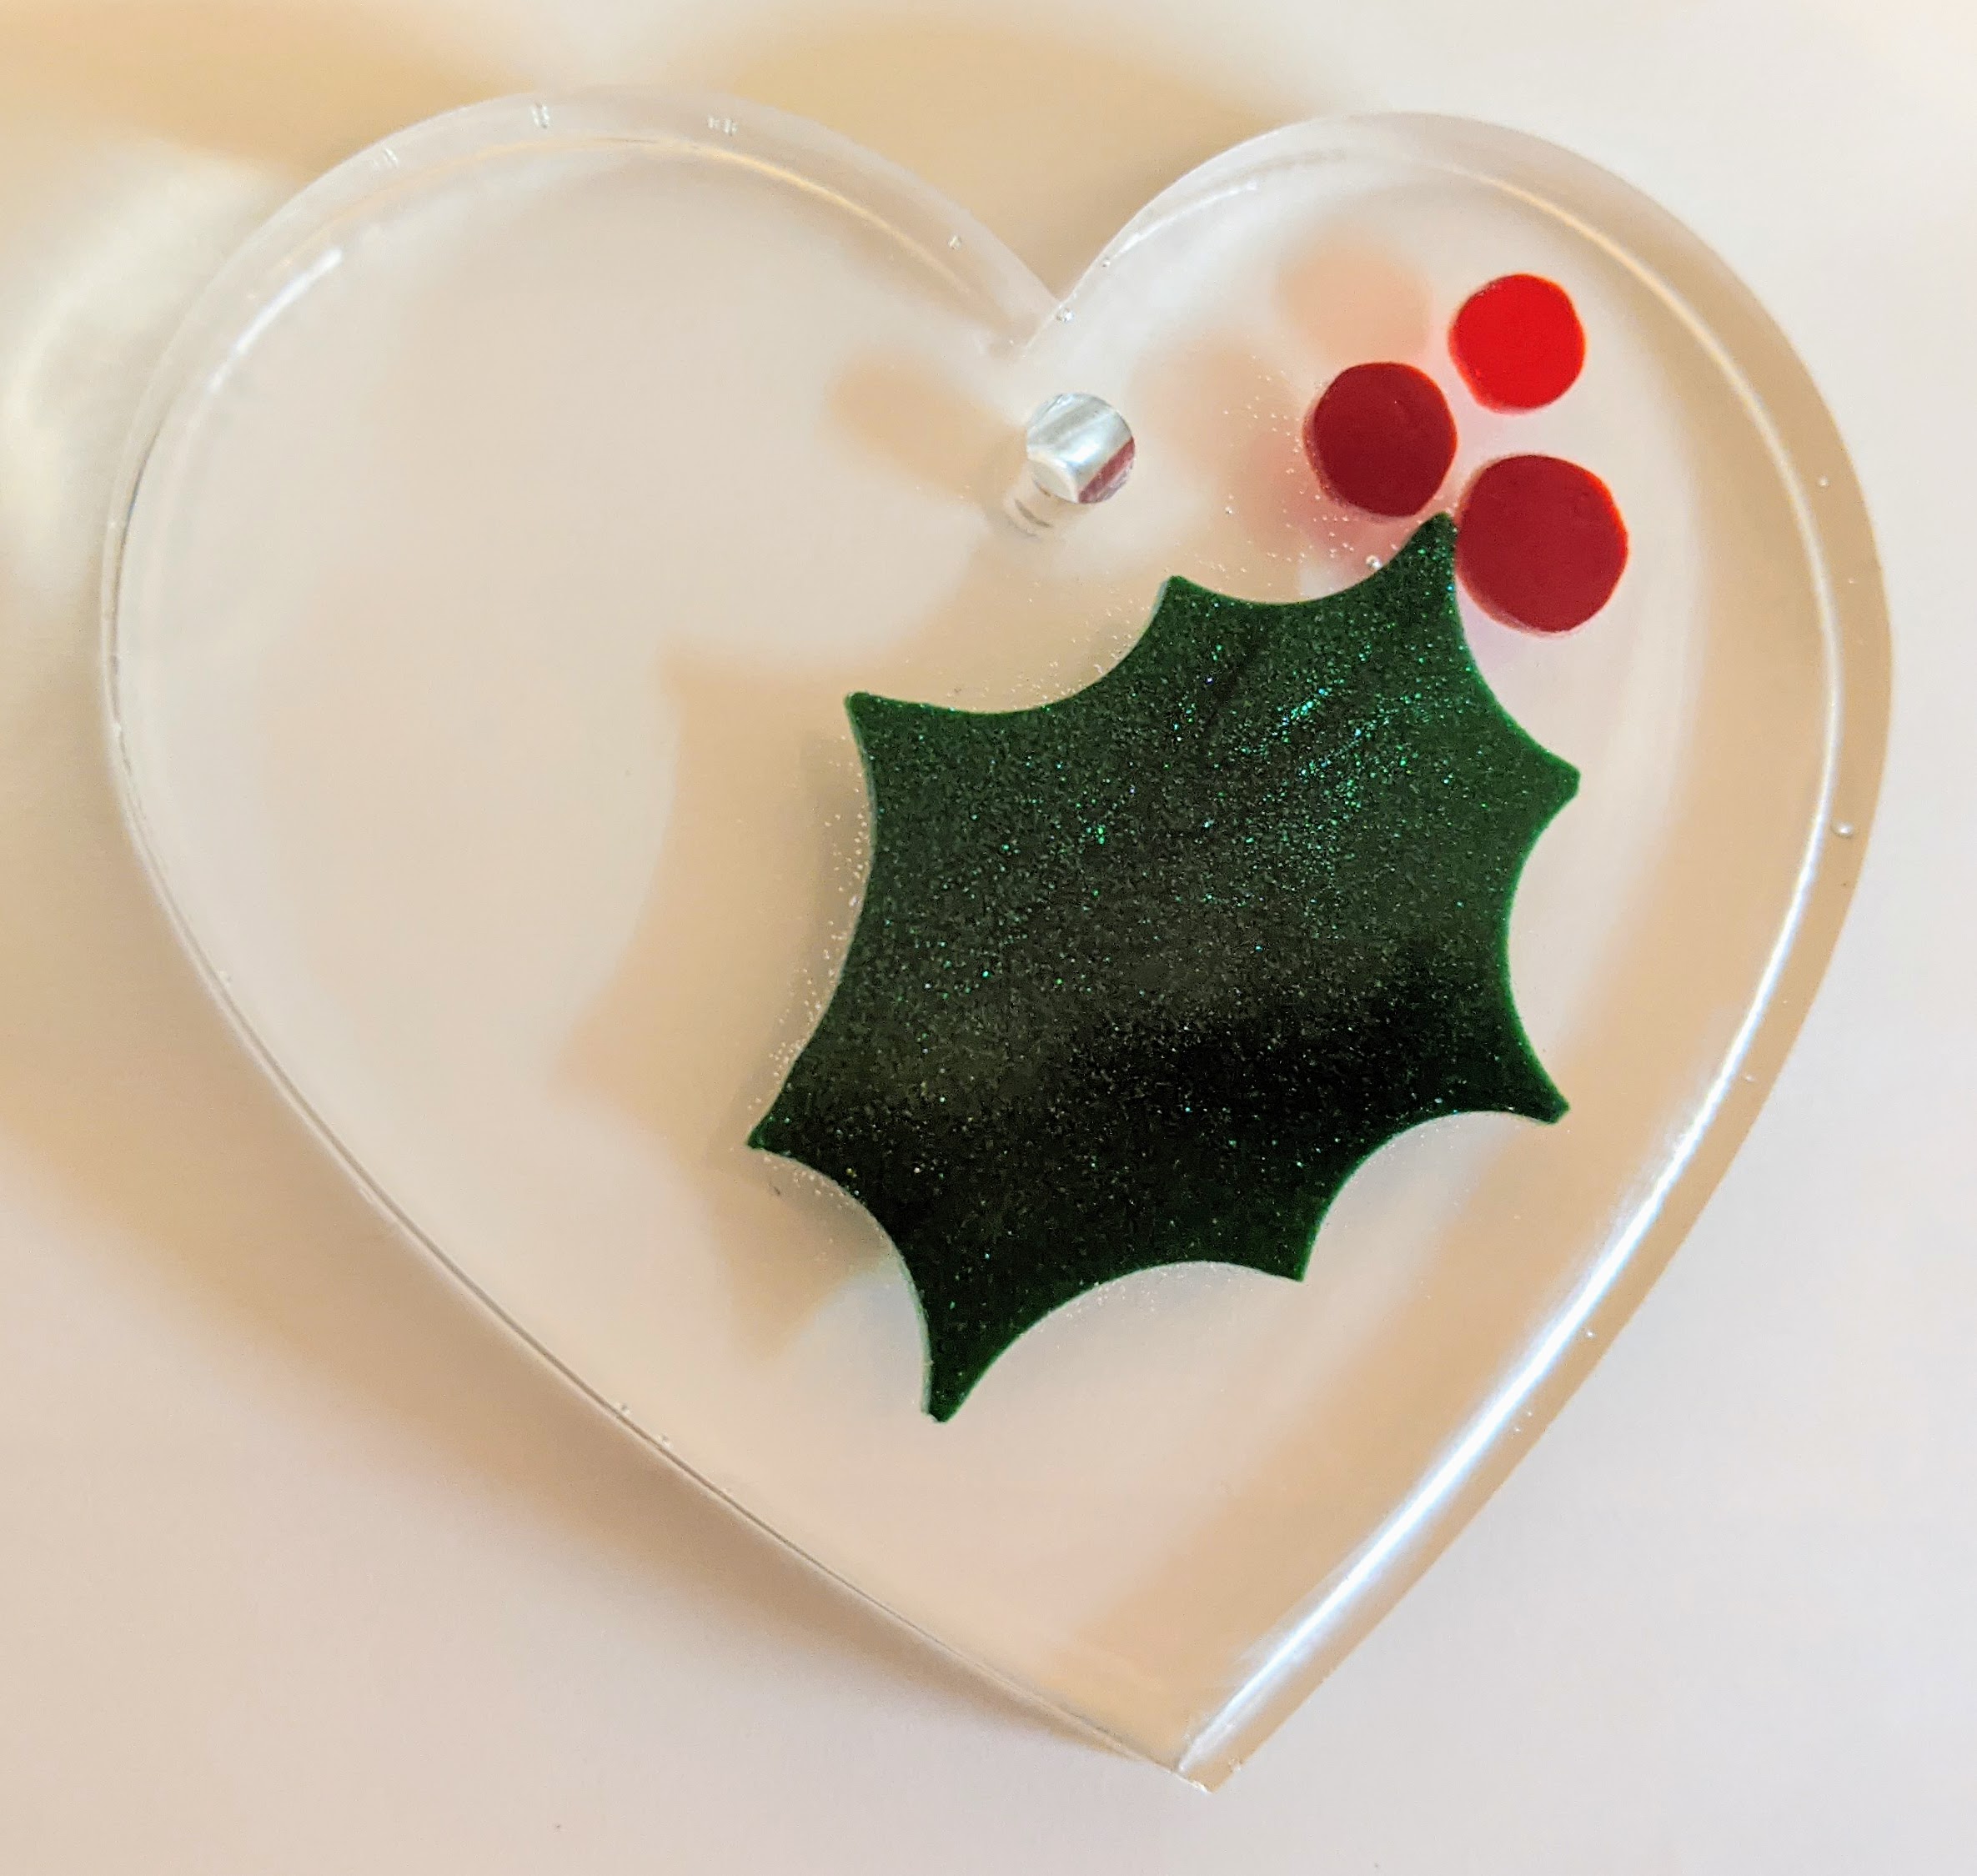
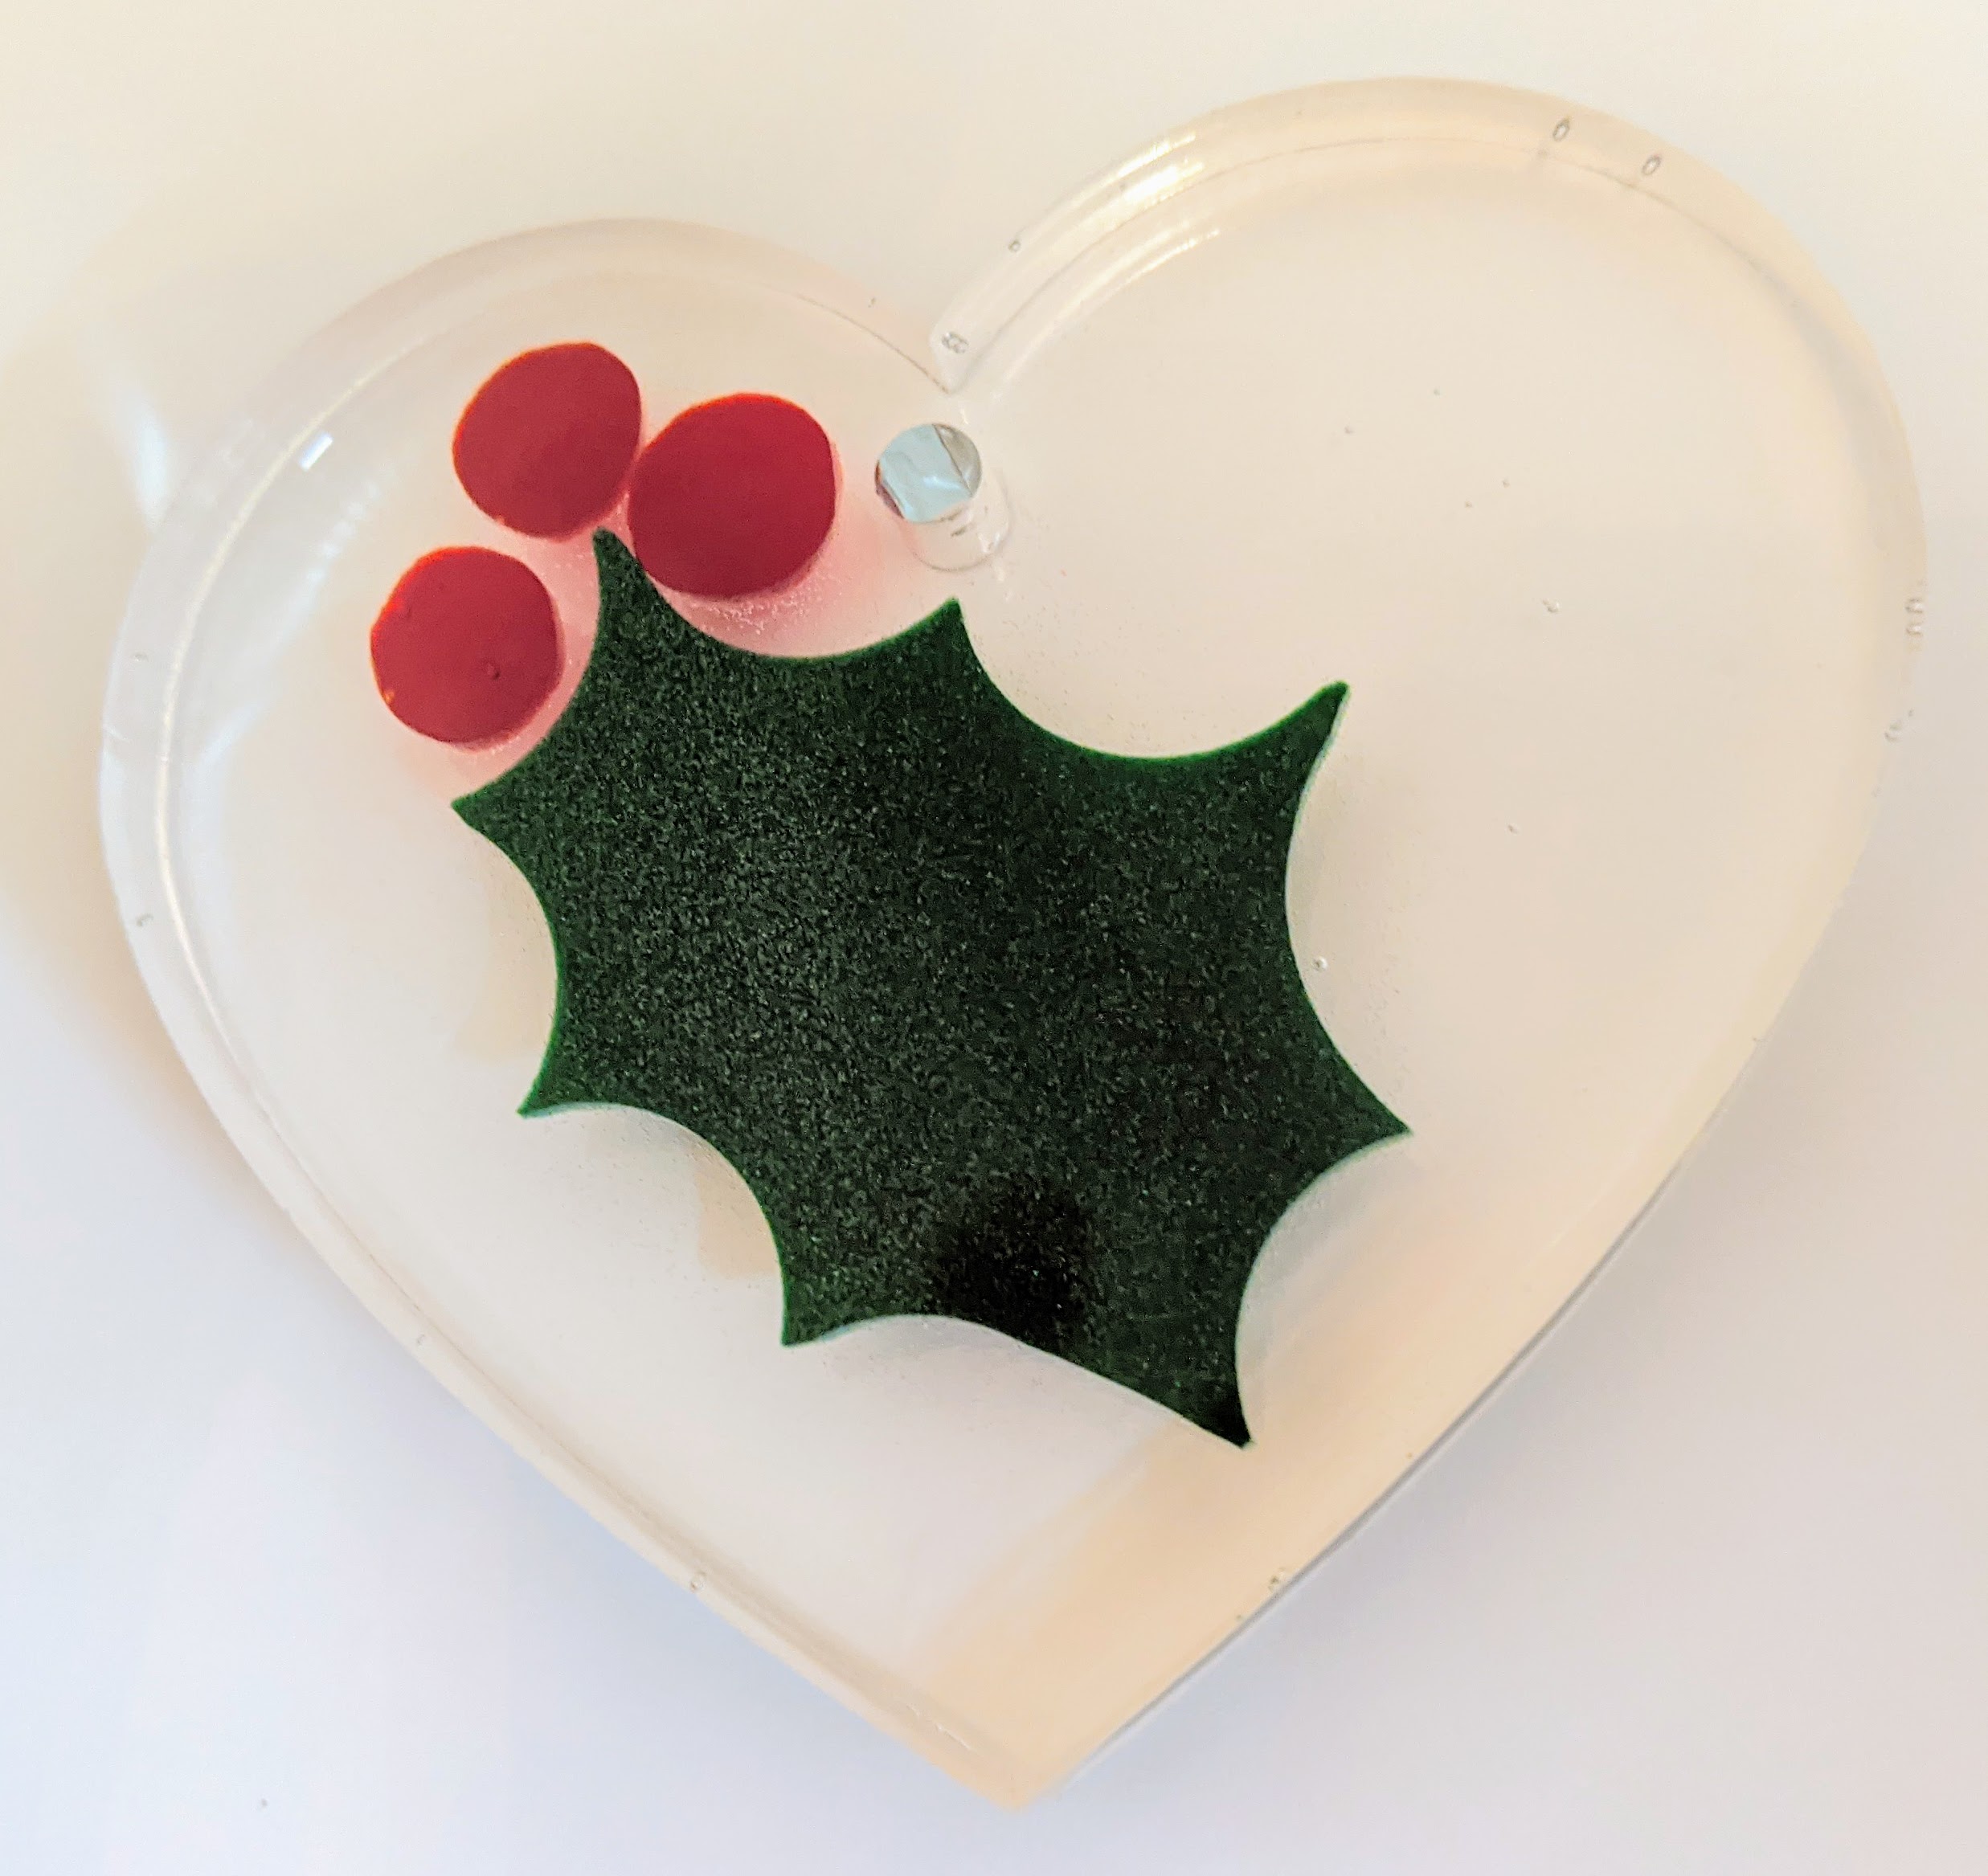
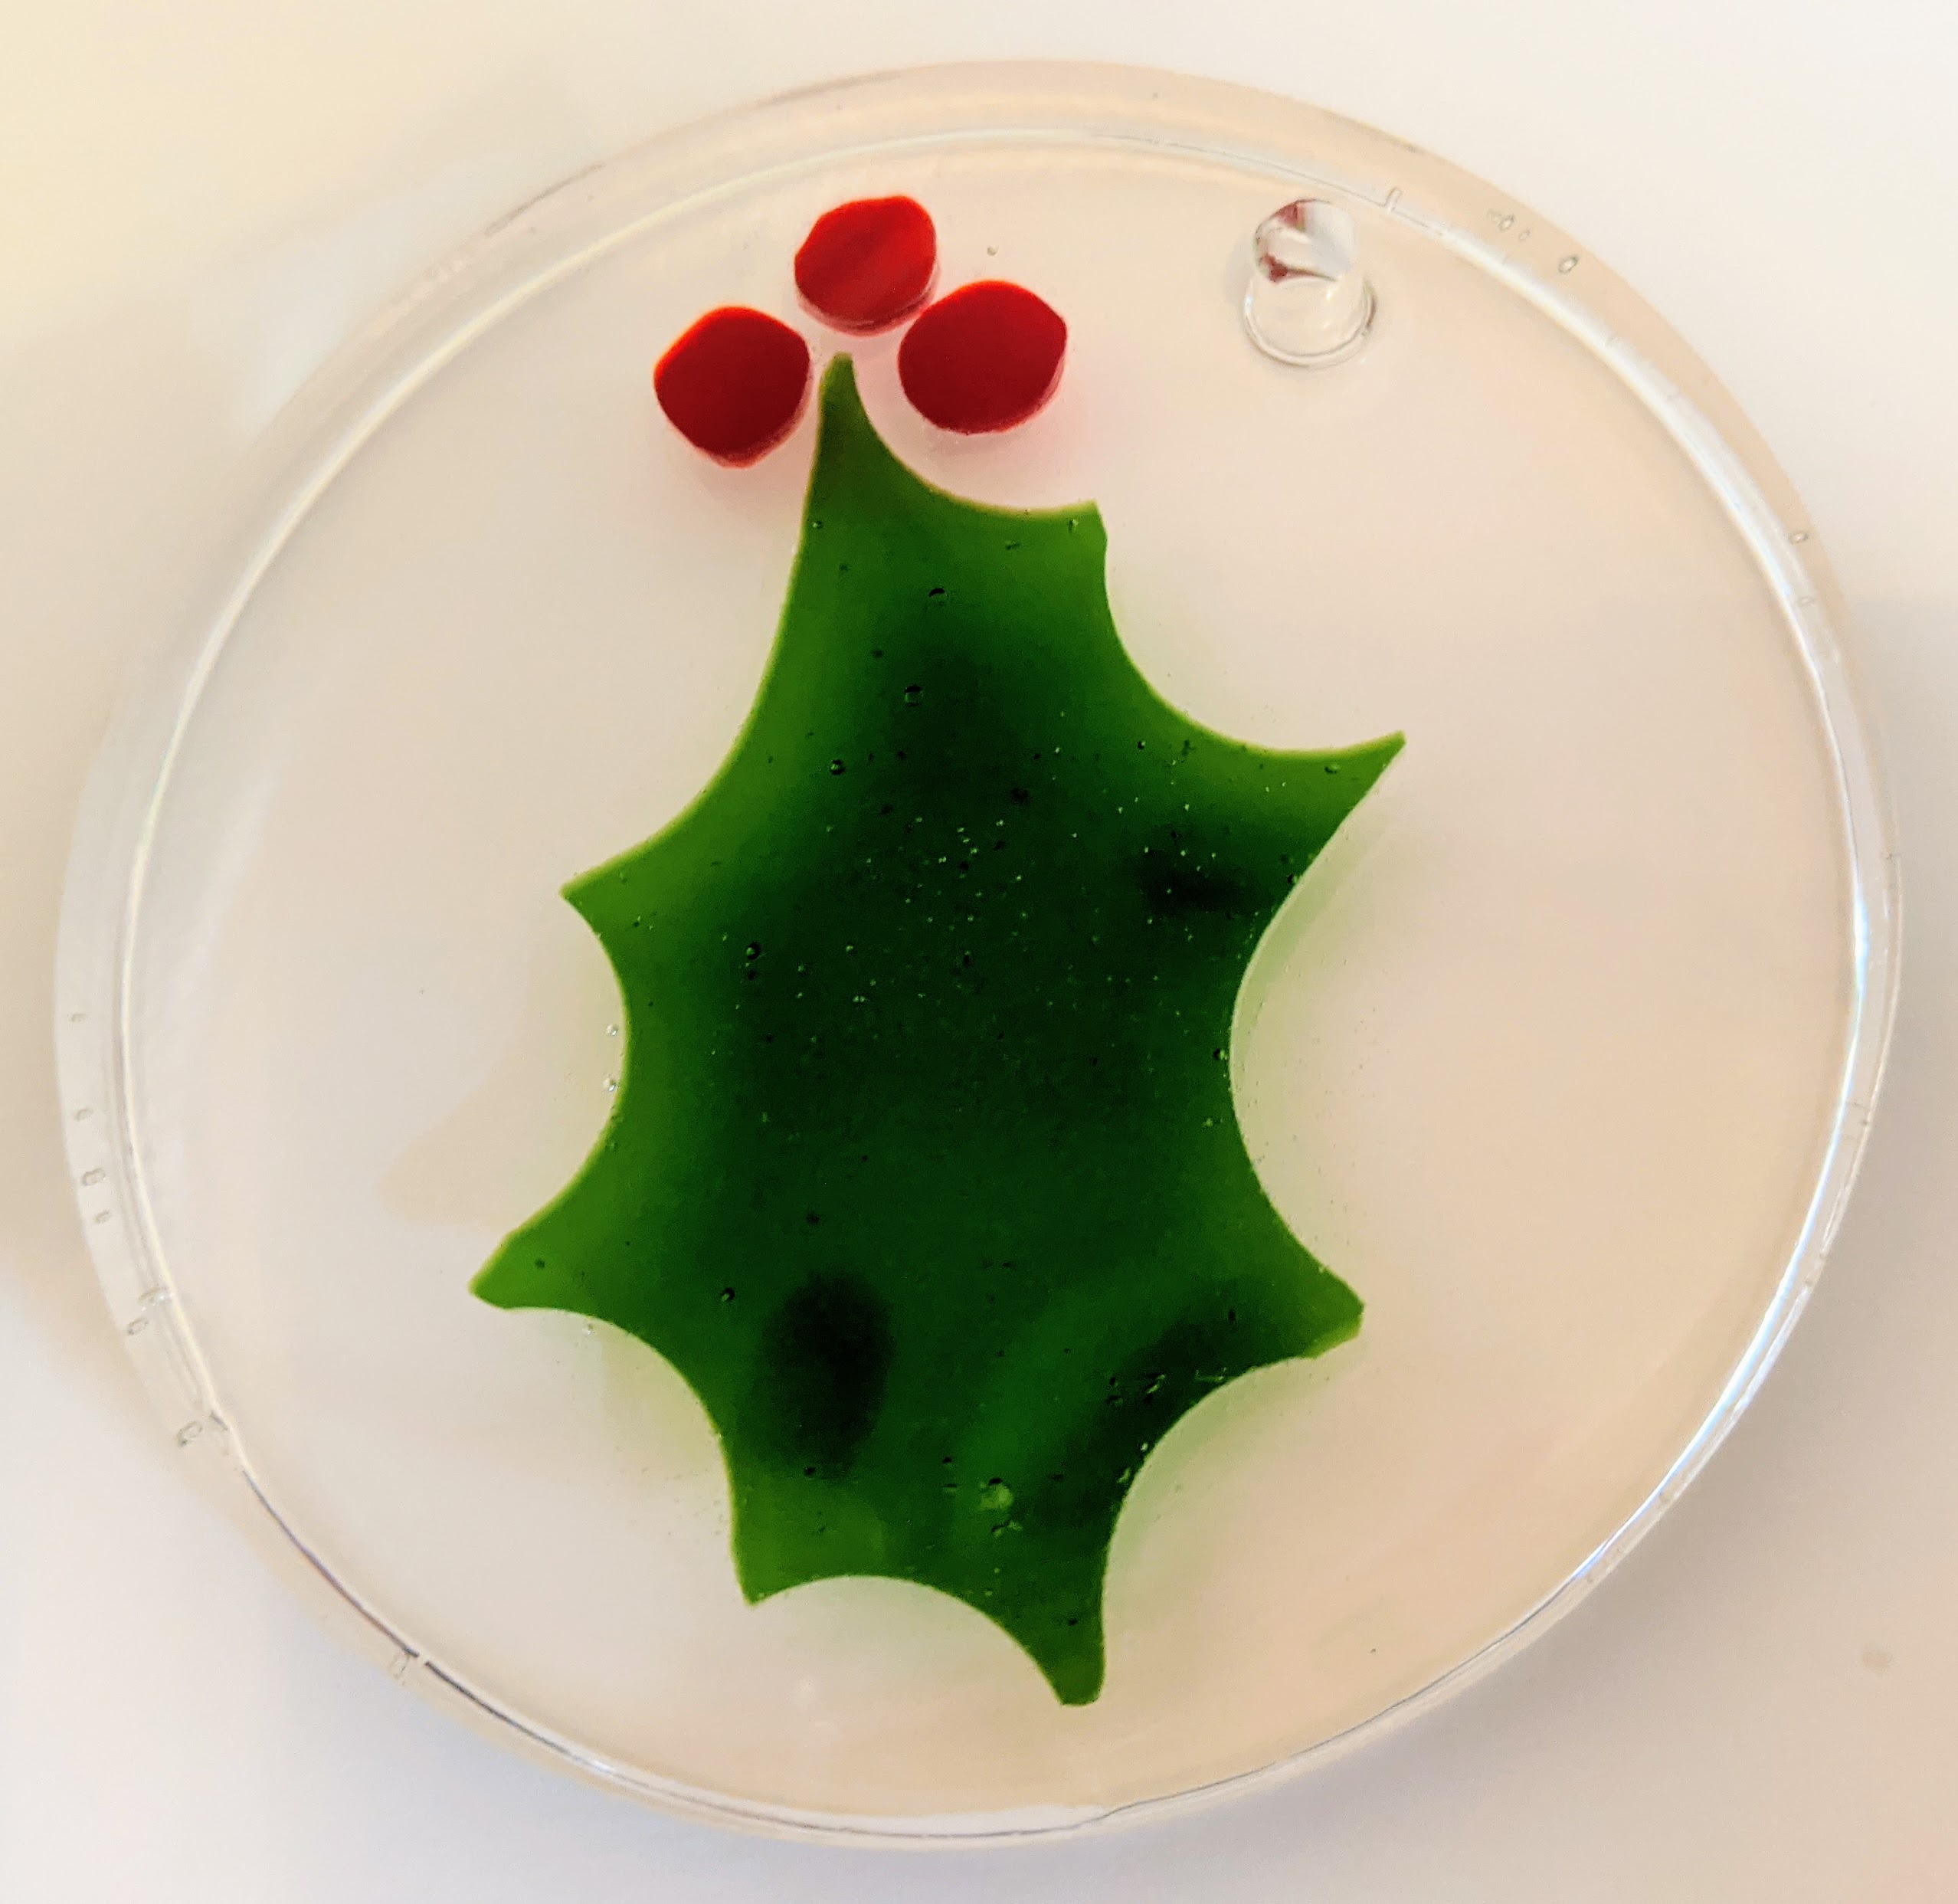
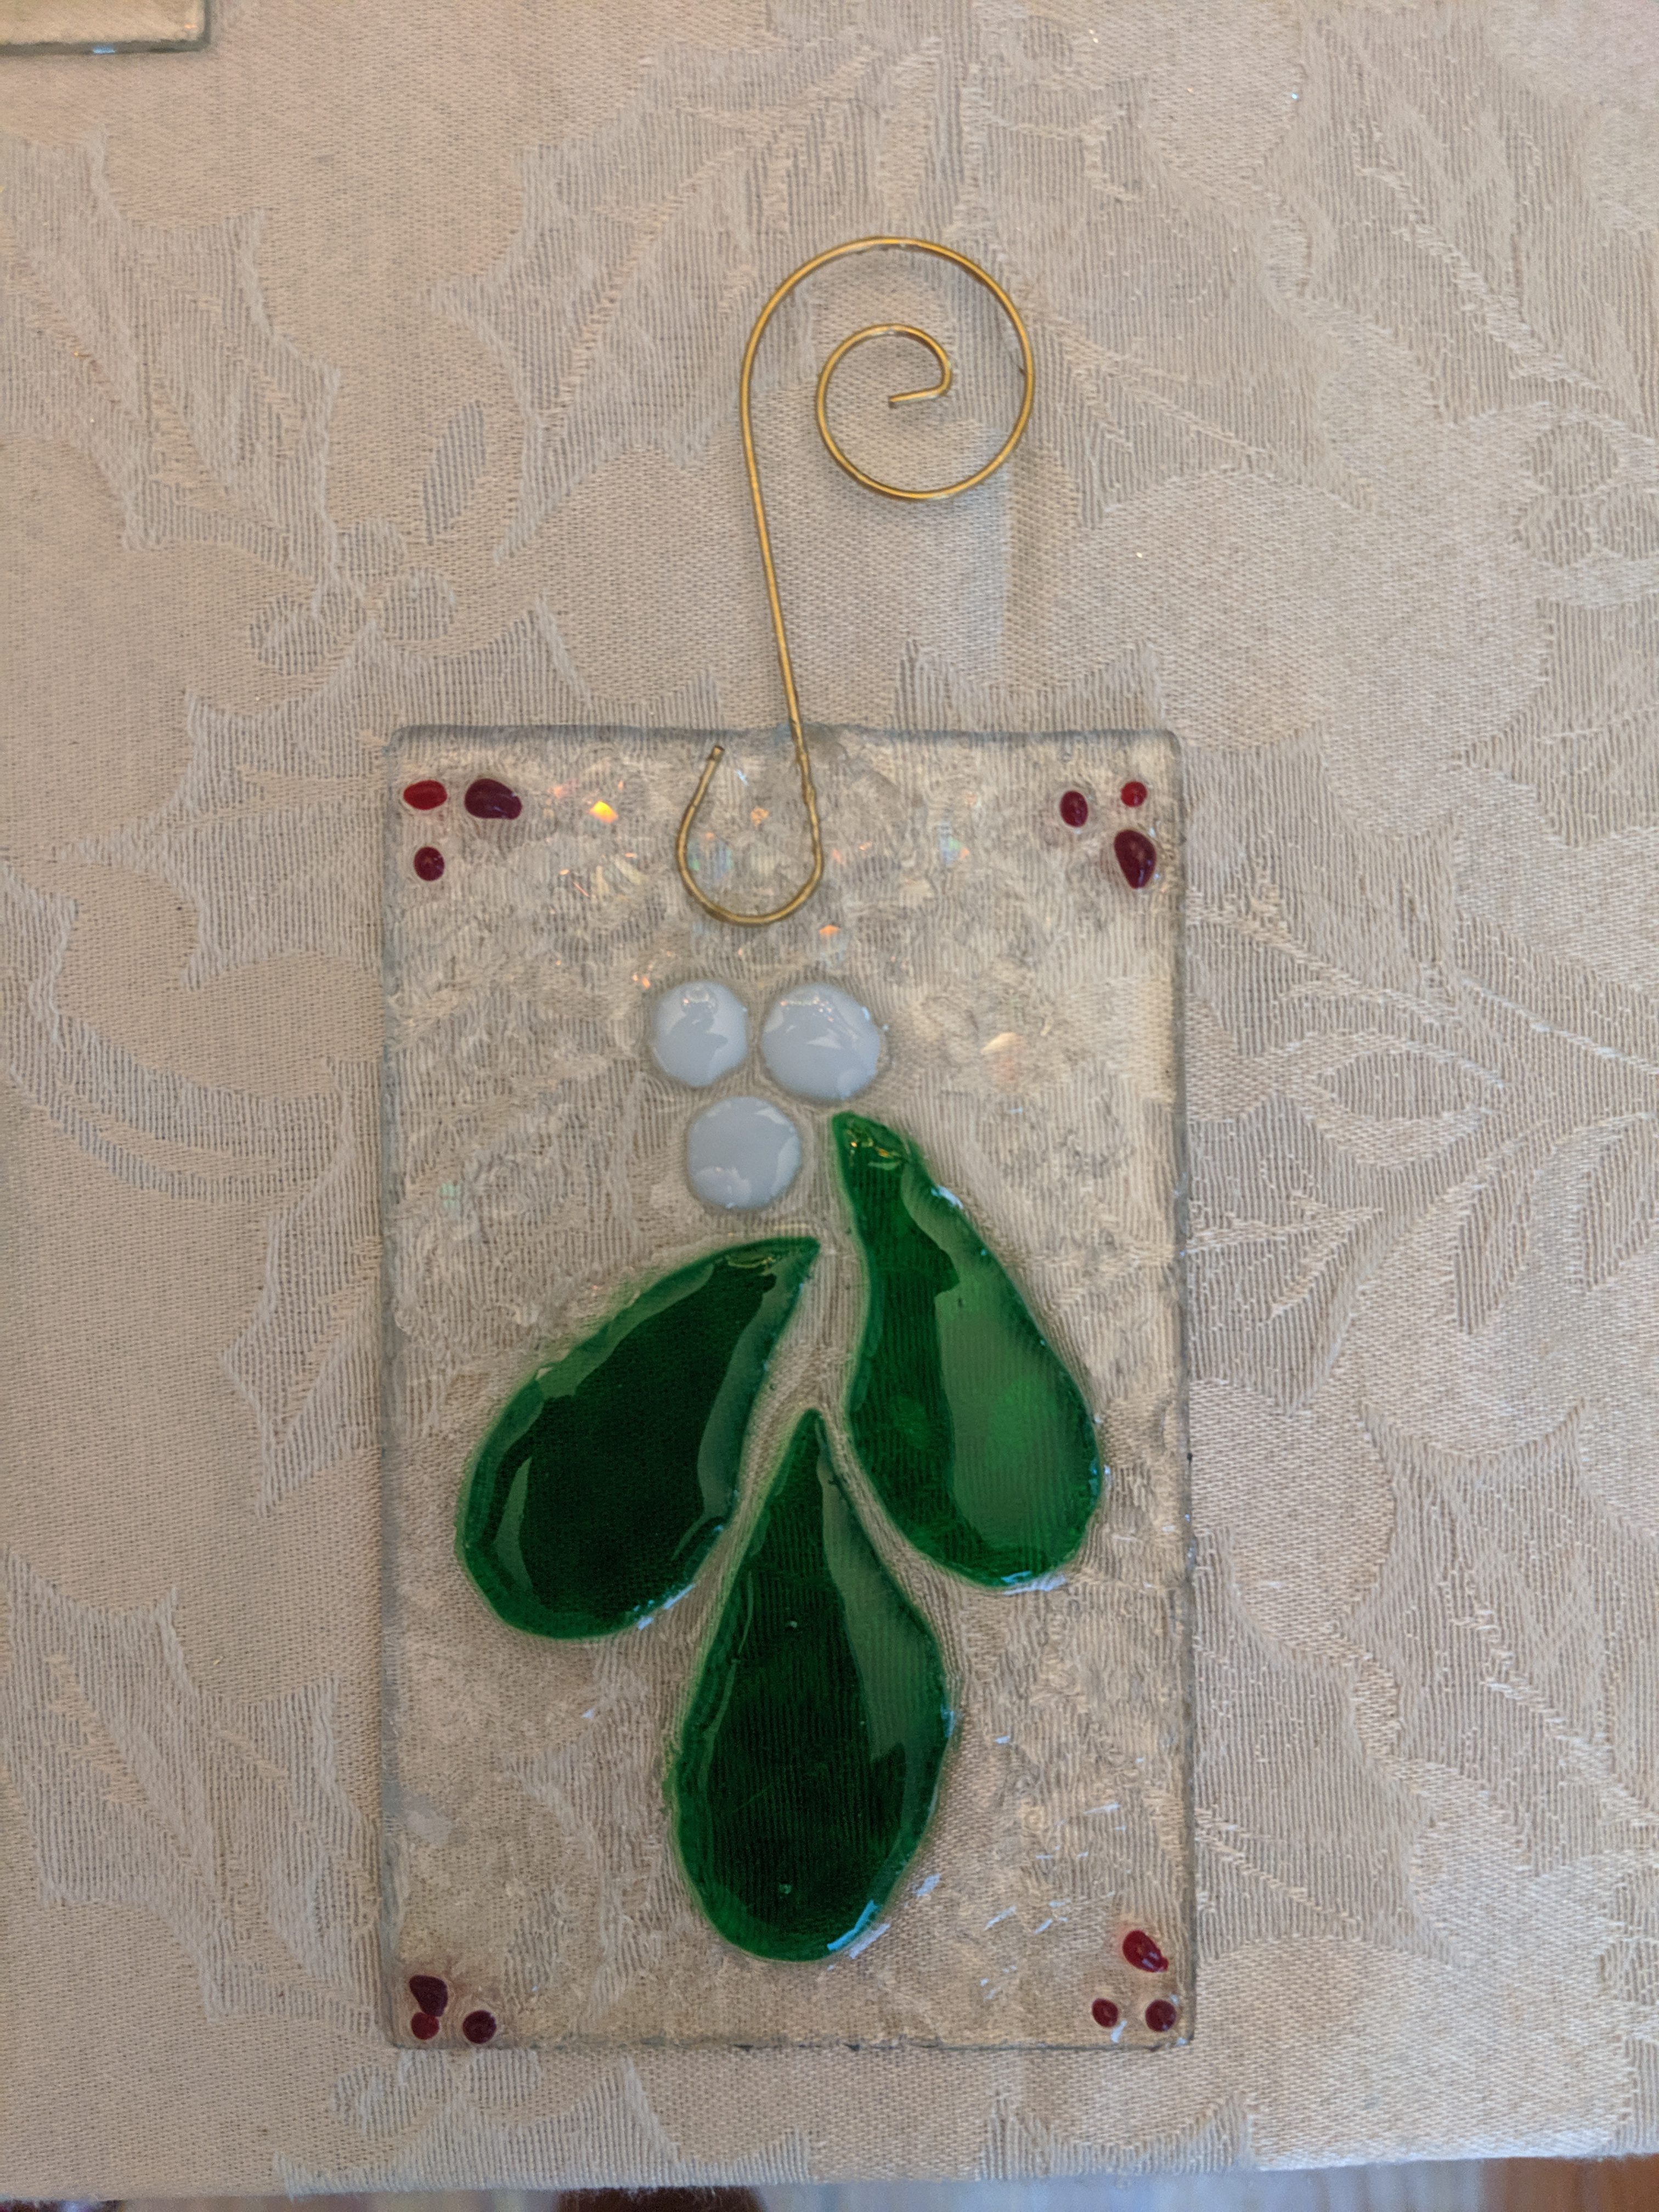
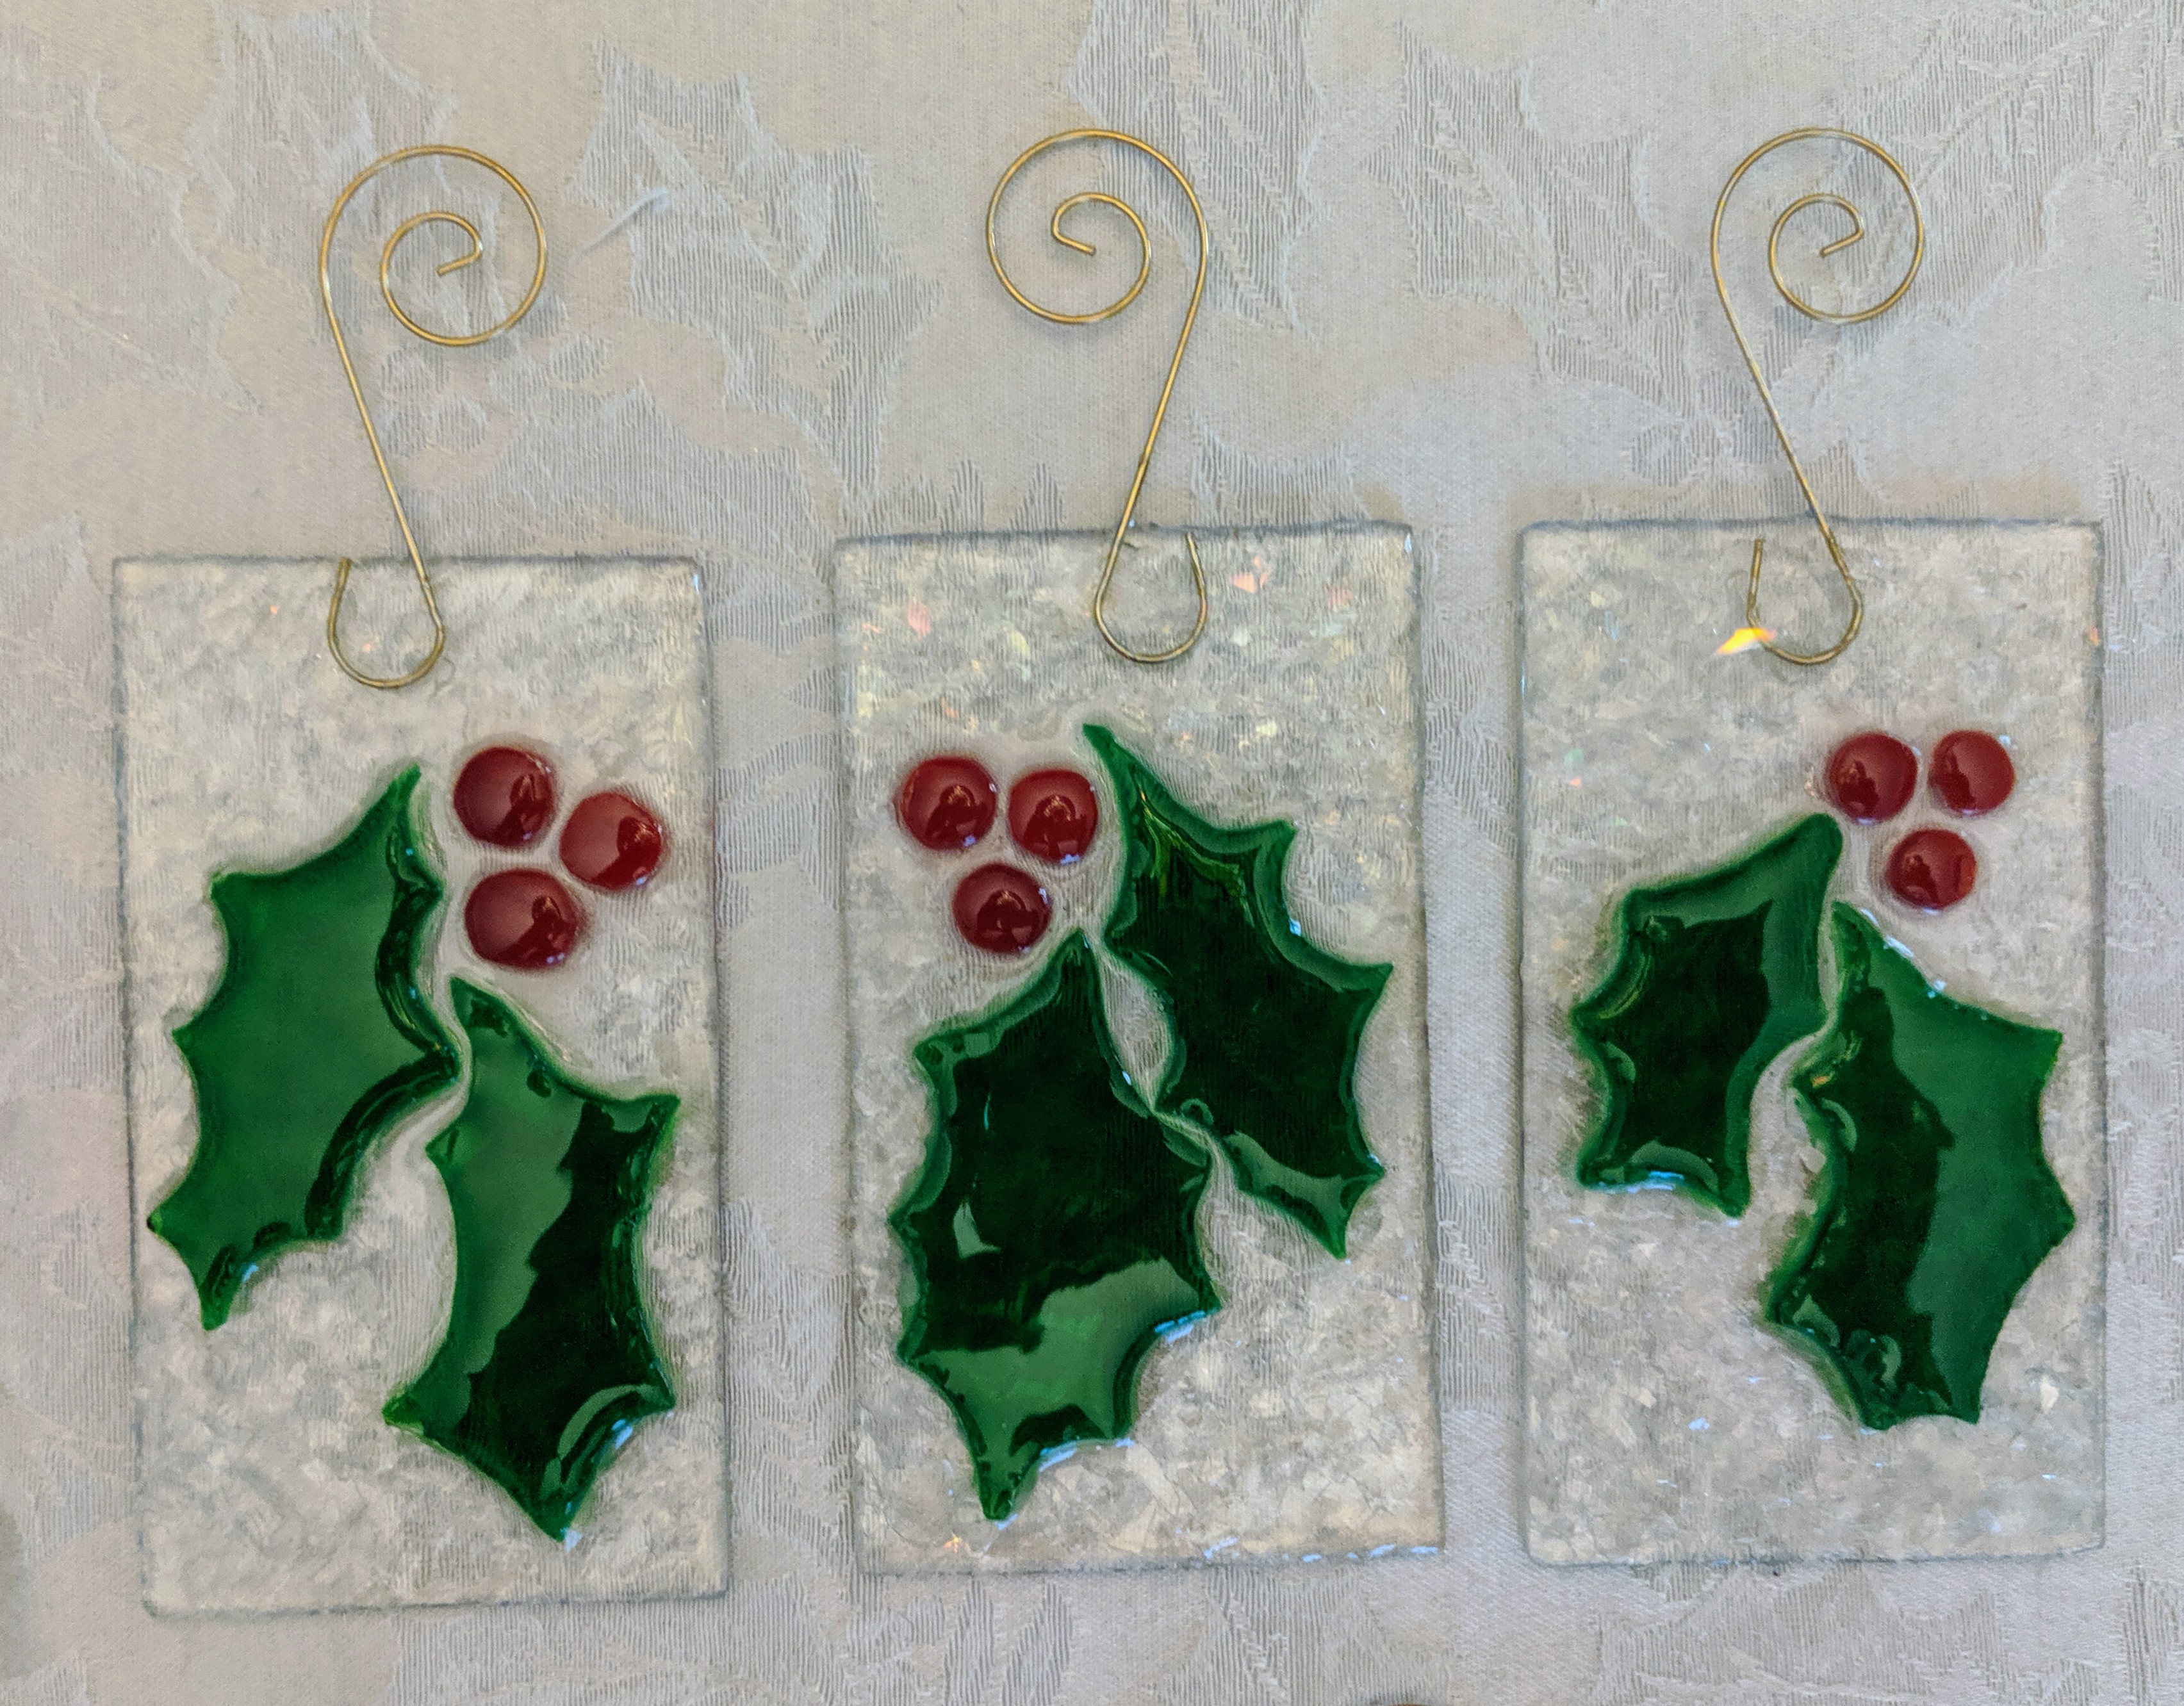
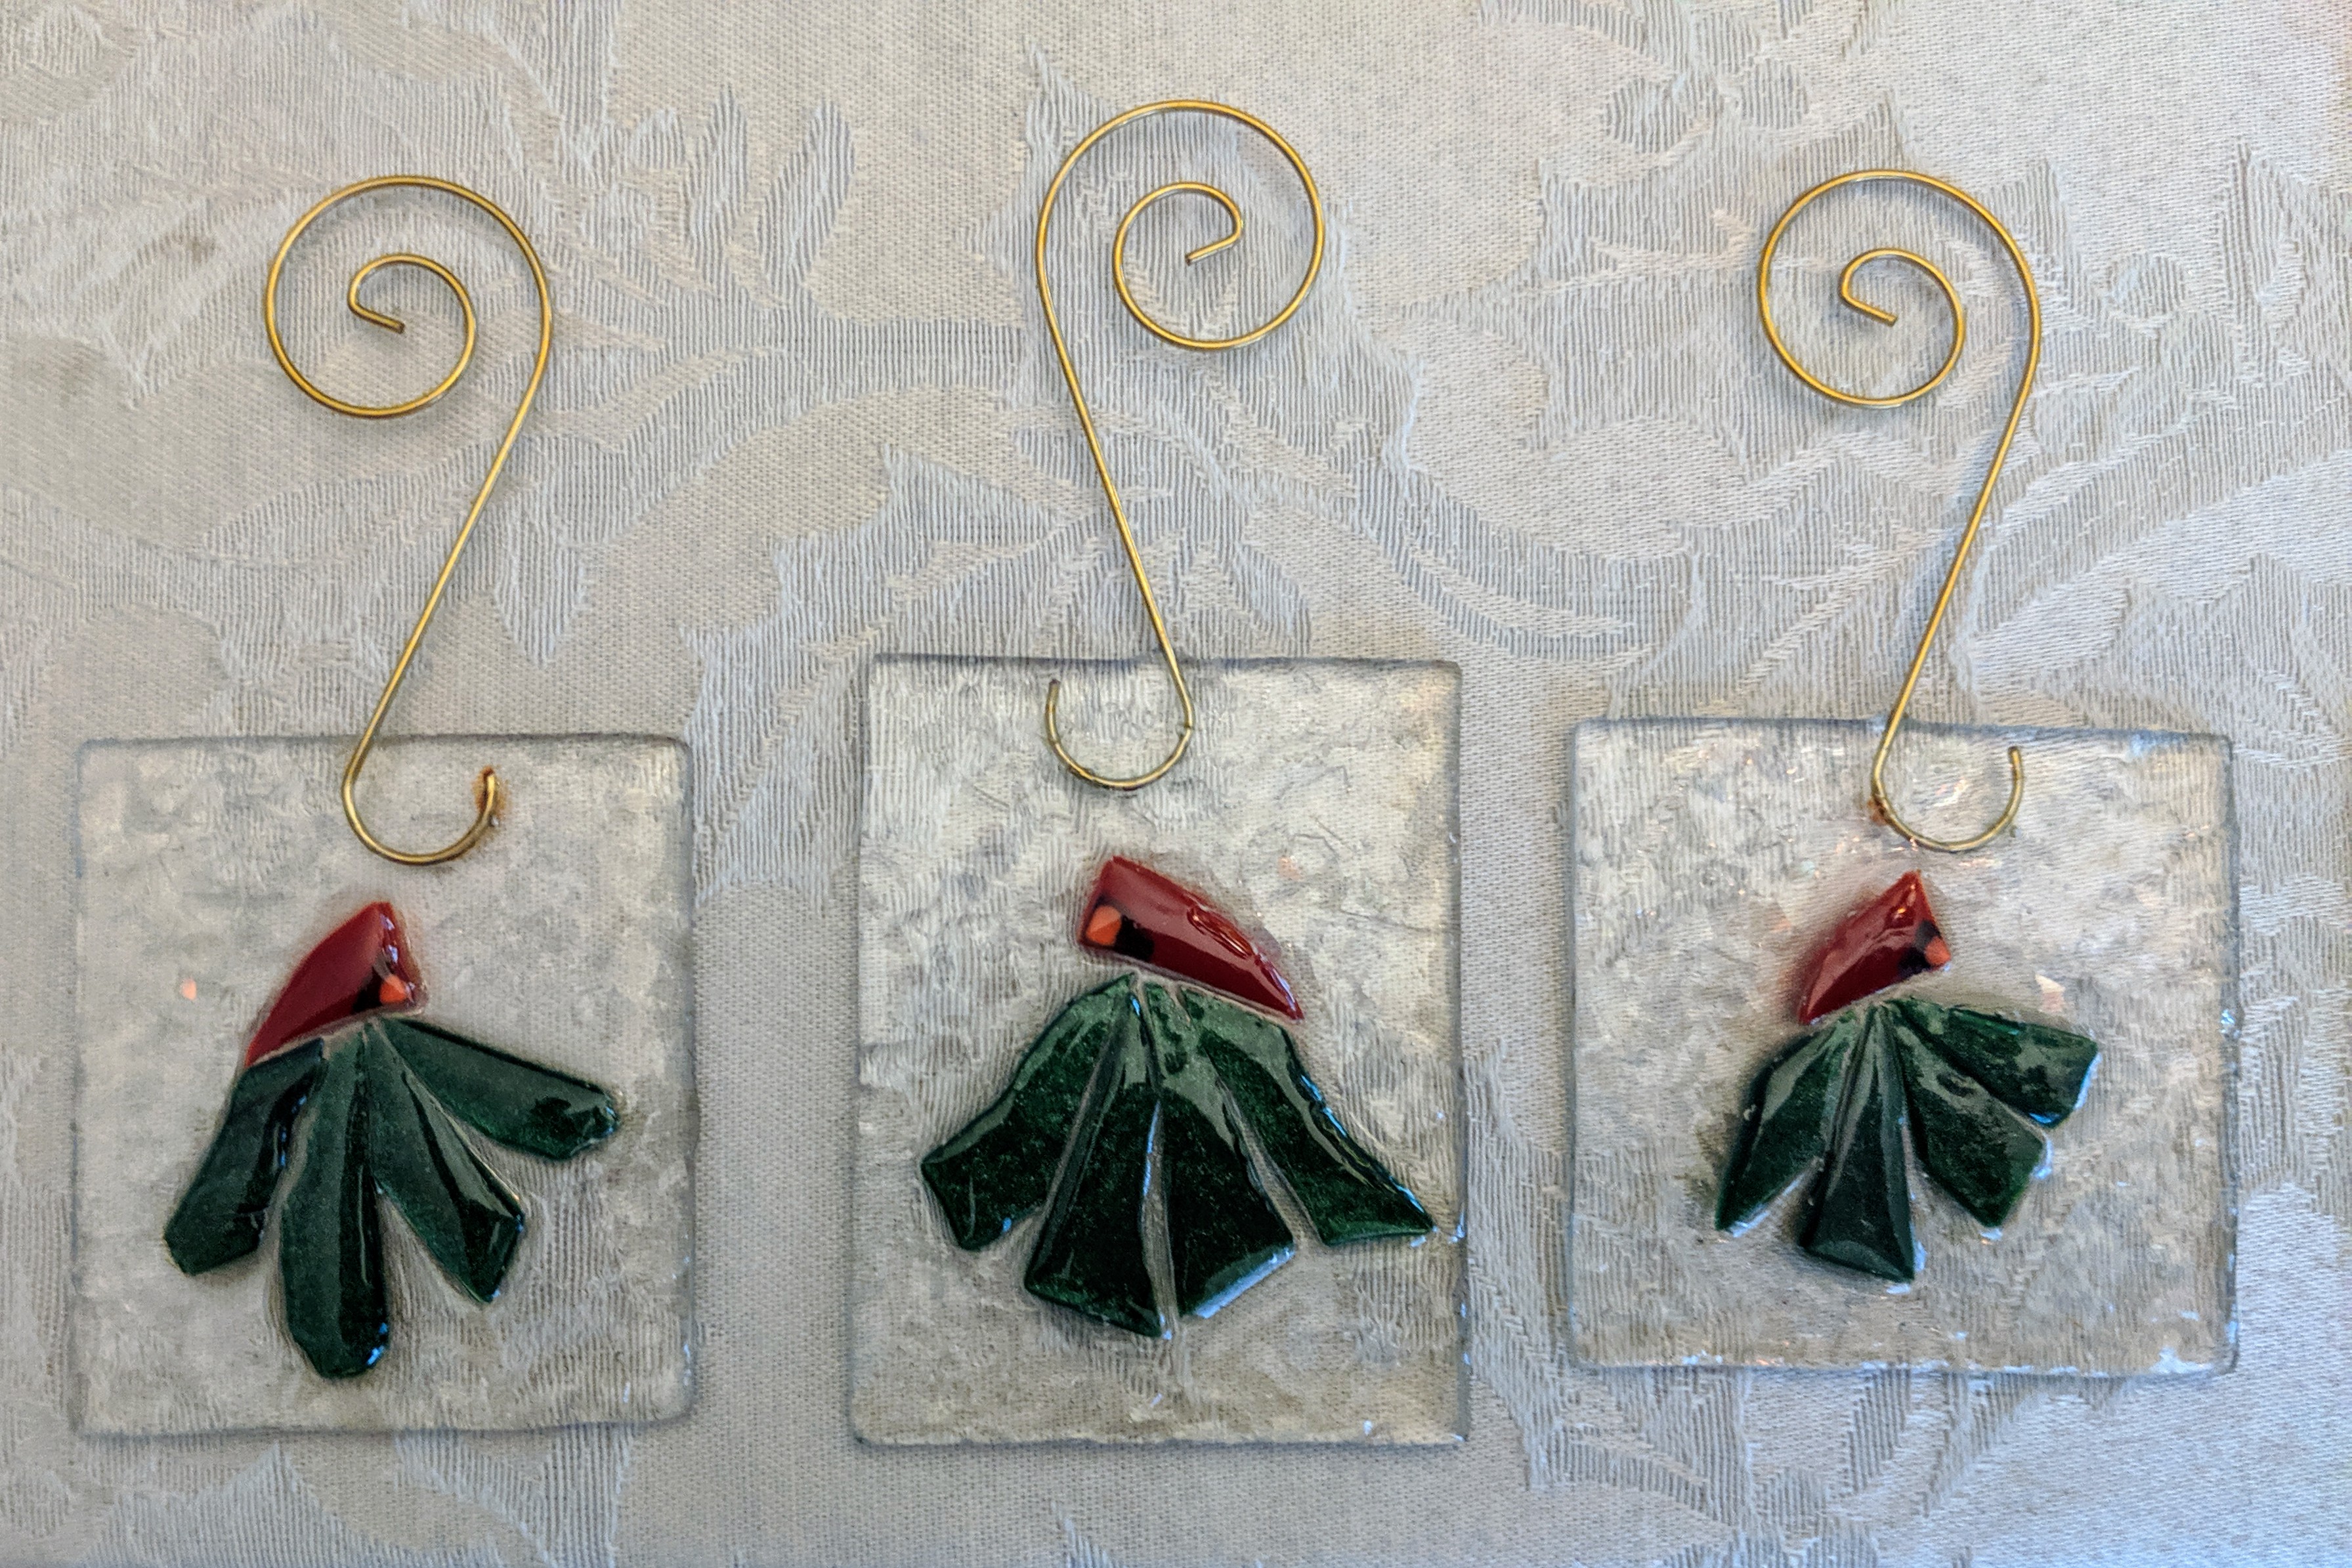
In the meantime, I am moving into holiday mode and working on some small projects. I made a flock of cardinals and some holly leaves / berries. My fingers are torn up from grinding all the tiny pieces of glass.
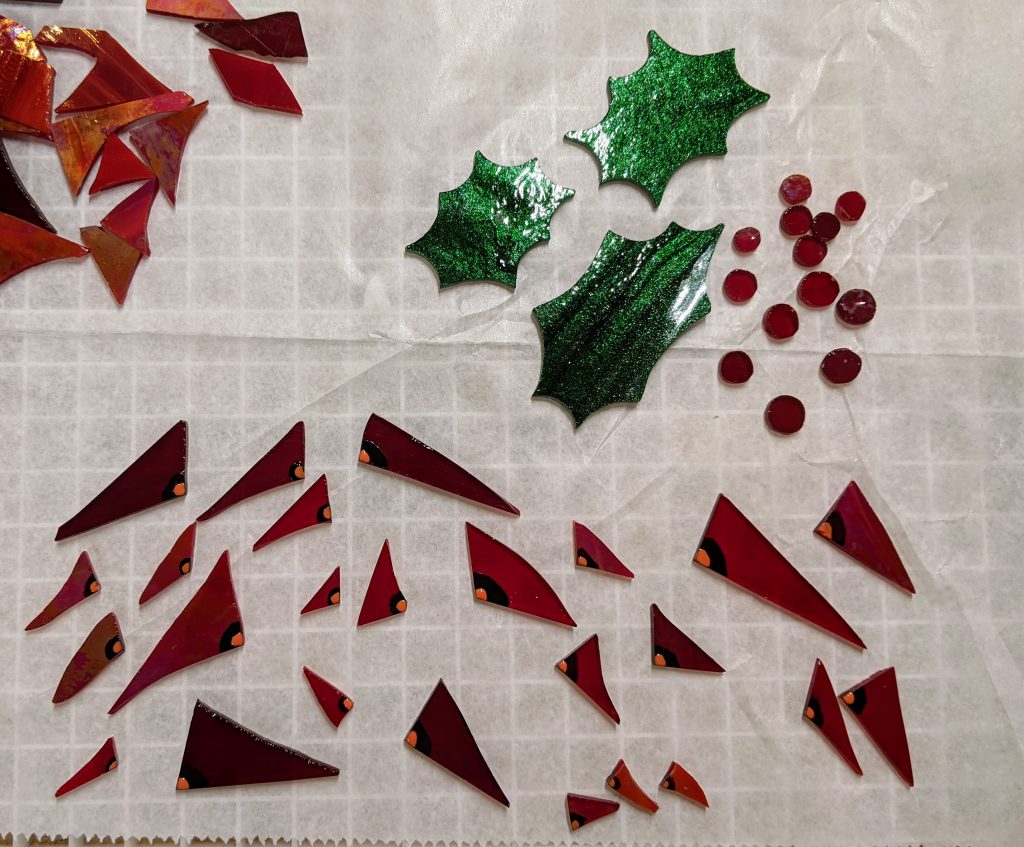
I will likely use these in some resin ornaments and coasters.
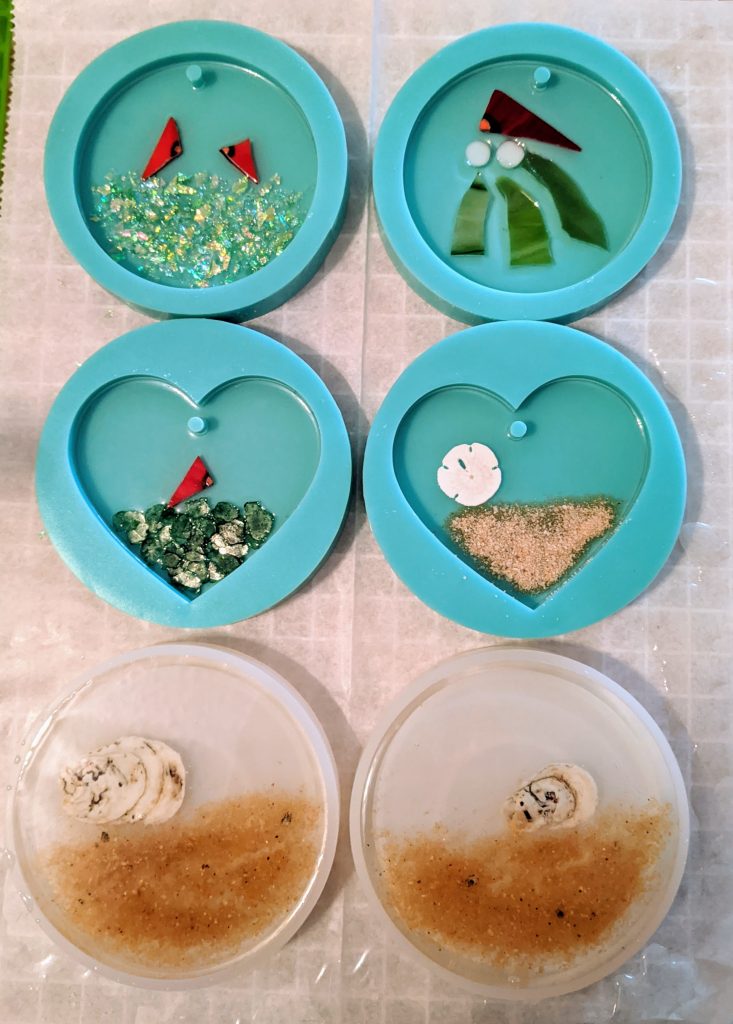
I decided to rotate the large Frank Lloyd Wright window I have been working on, and upon closer inspection of the “far” side, I decided to pour another thin layer of resin to address a few coverage issues. Since I was doing that, I mixed some extra resin to finish off a couple of coasters I’ve been working on and made a few new ornaments using mica, glass, sand, shells etc. I still have to pour a second layer on the ornaments, but the coasters should be ready to pop out of their molds tomorrow. The picture isn’t very good, but hopefully I’ll get some better ones once these are out of their molds.
I’ve had a lot going on the past couple of weeks and I haven’t been able to make as many new small items as I expected for the Charleston Holiday Market that is starting on Friday. It’s a pretty big event, much larger than any I’ve ever done before, so it should be a learning experience! If you click on the link, you can get advance tickets for $2 off, or a coupon for $1 off admission. I was able to finally pour the resin on several new ornaments as well as the second layer of resin on a few resin ornaments and a coaster today, though.
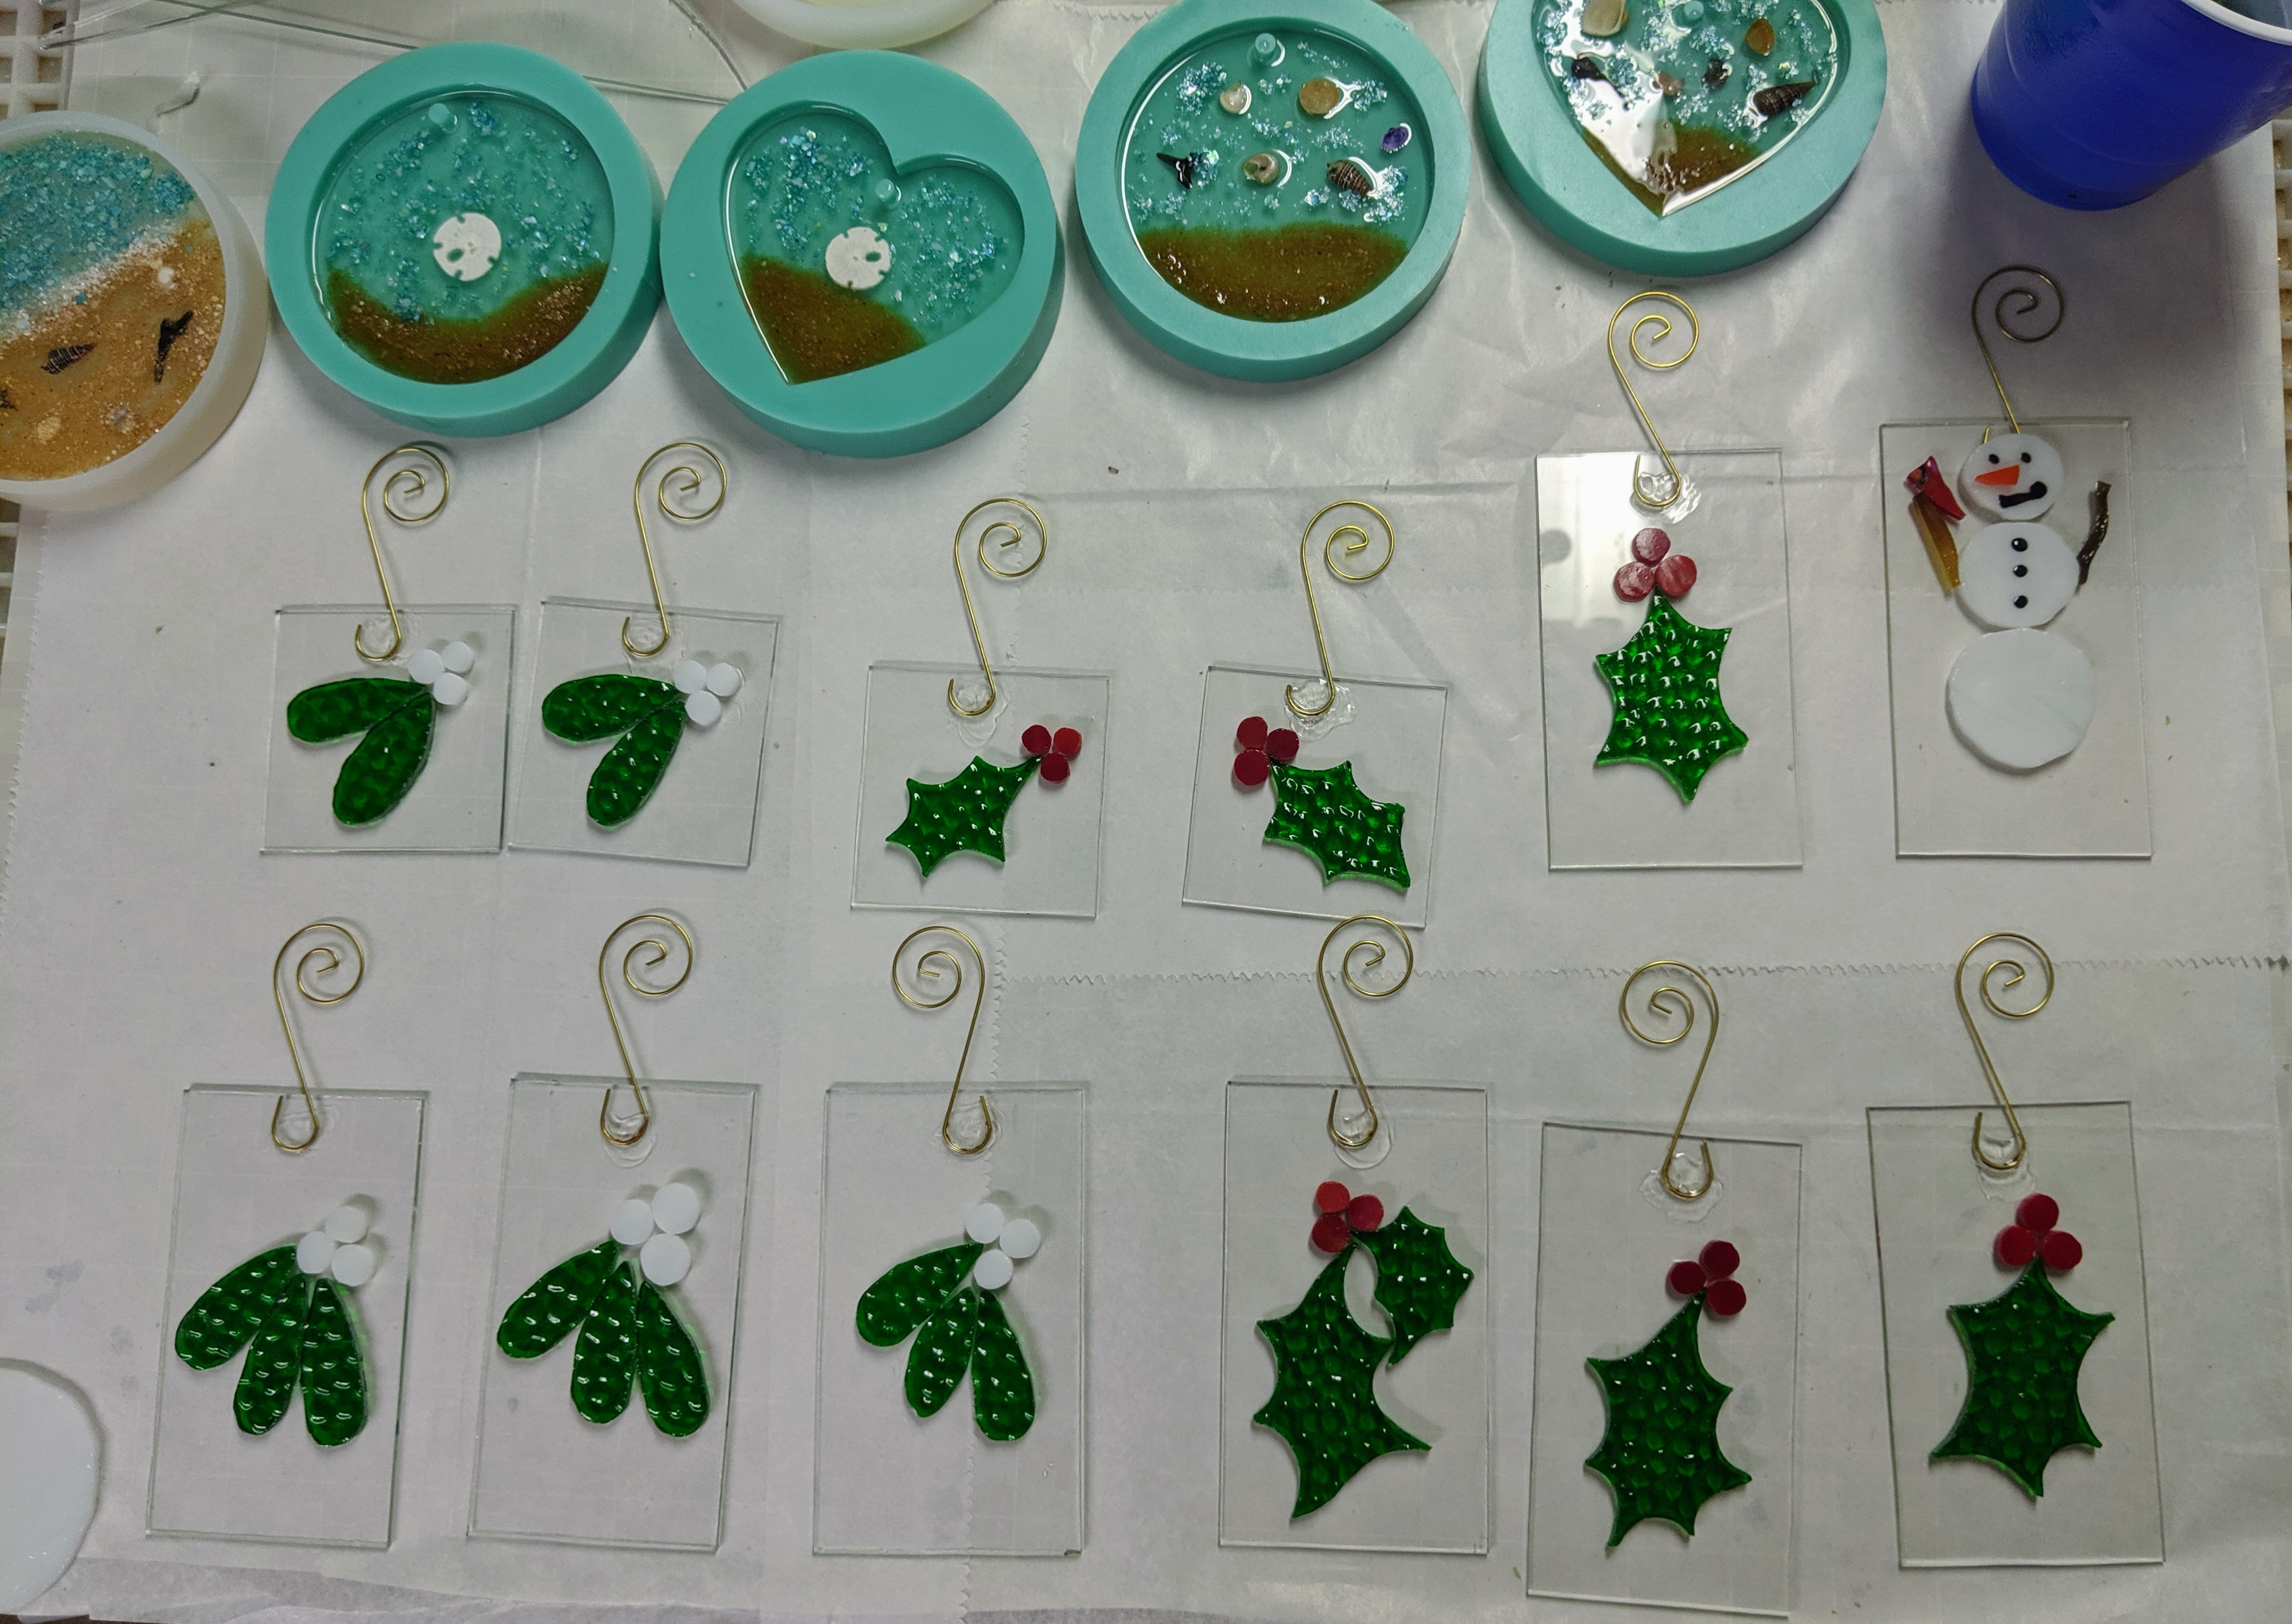
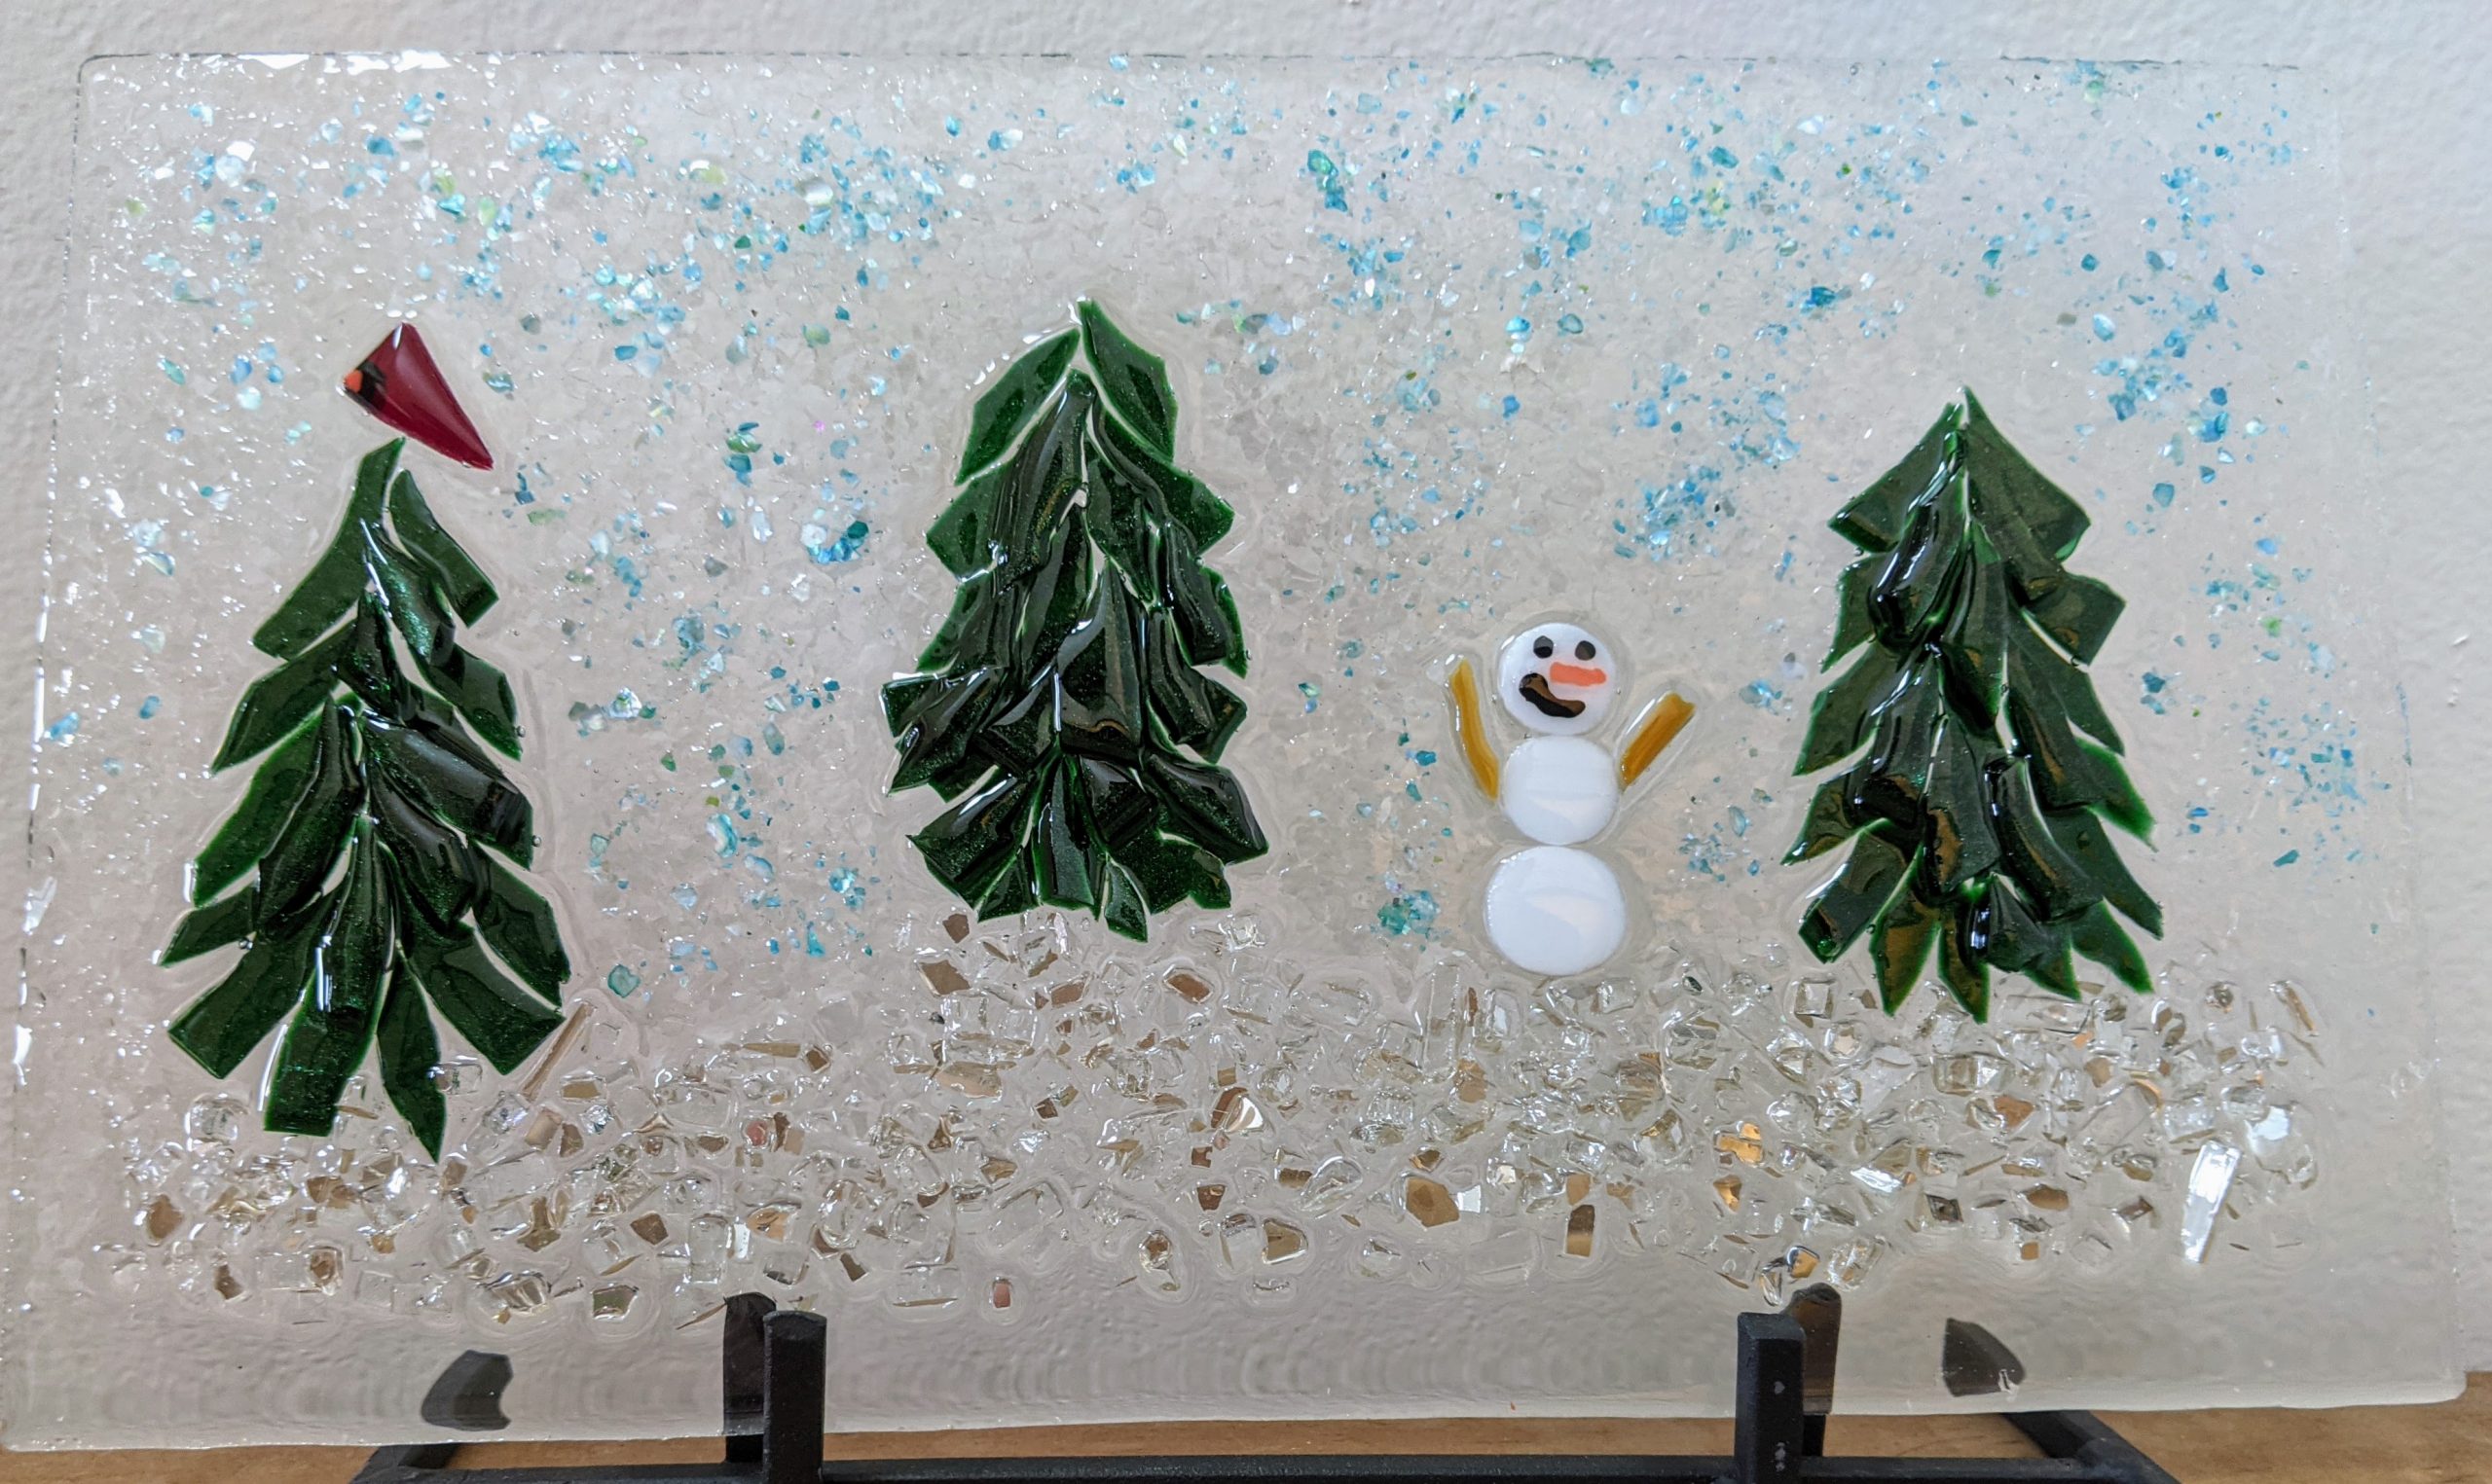
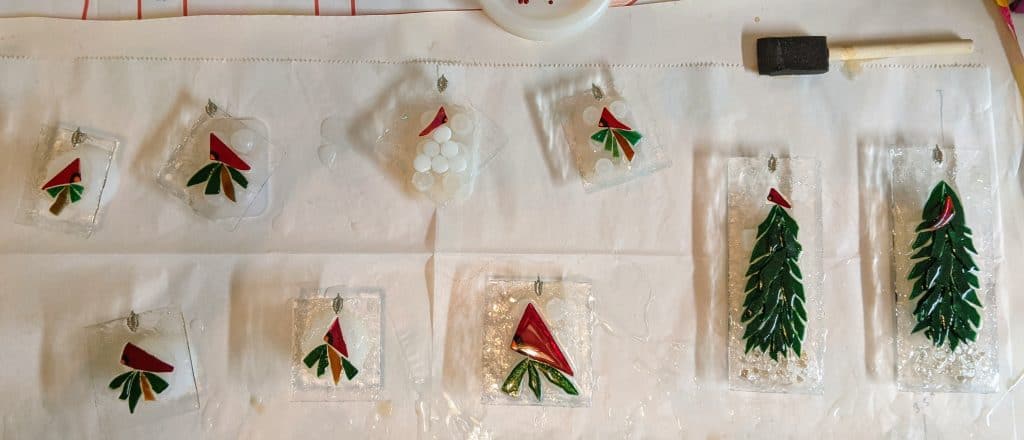
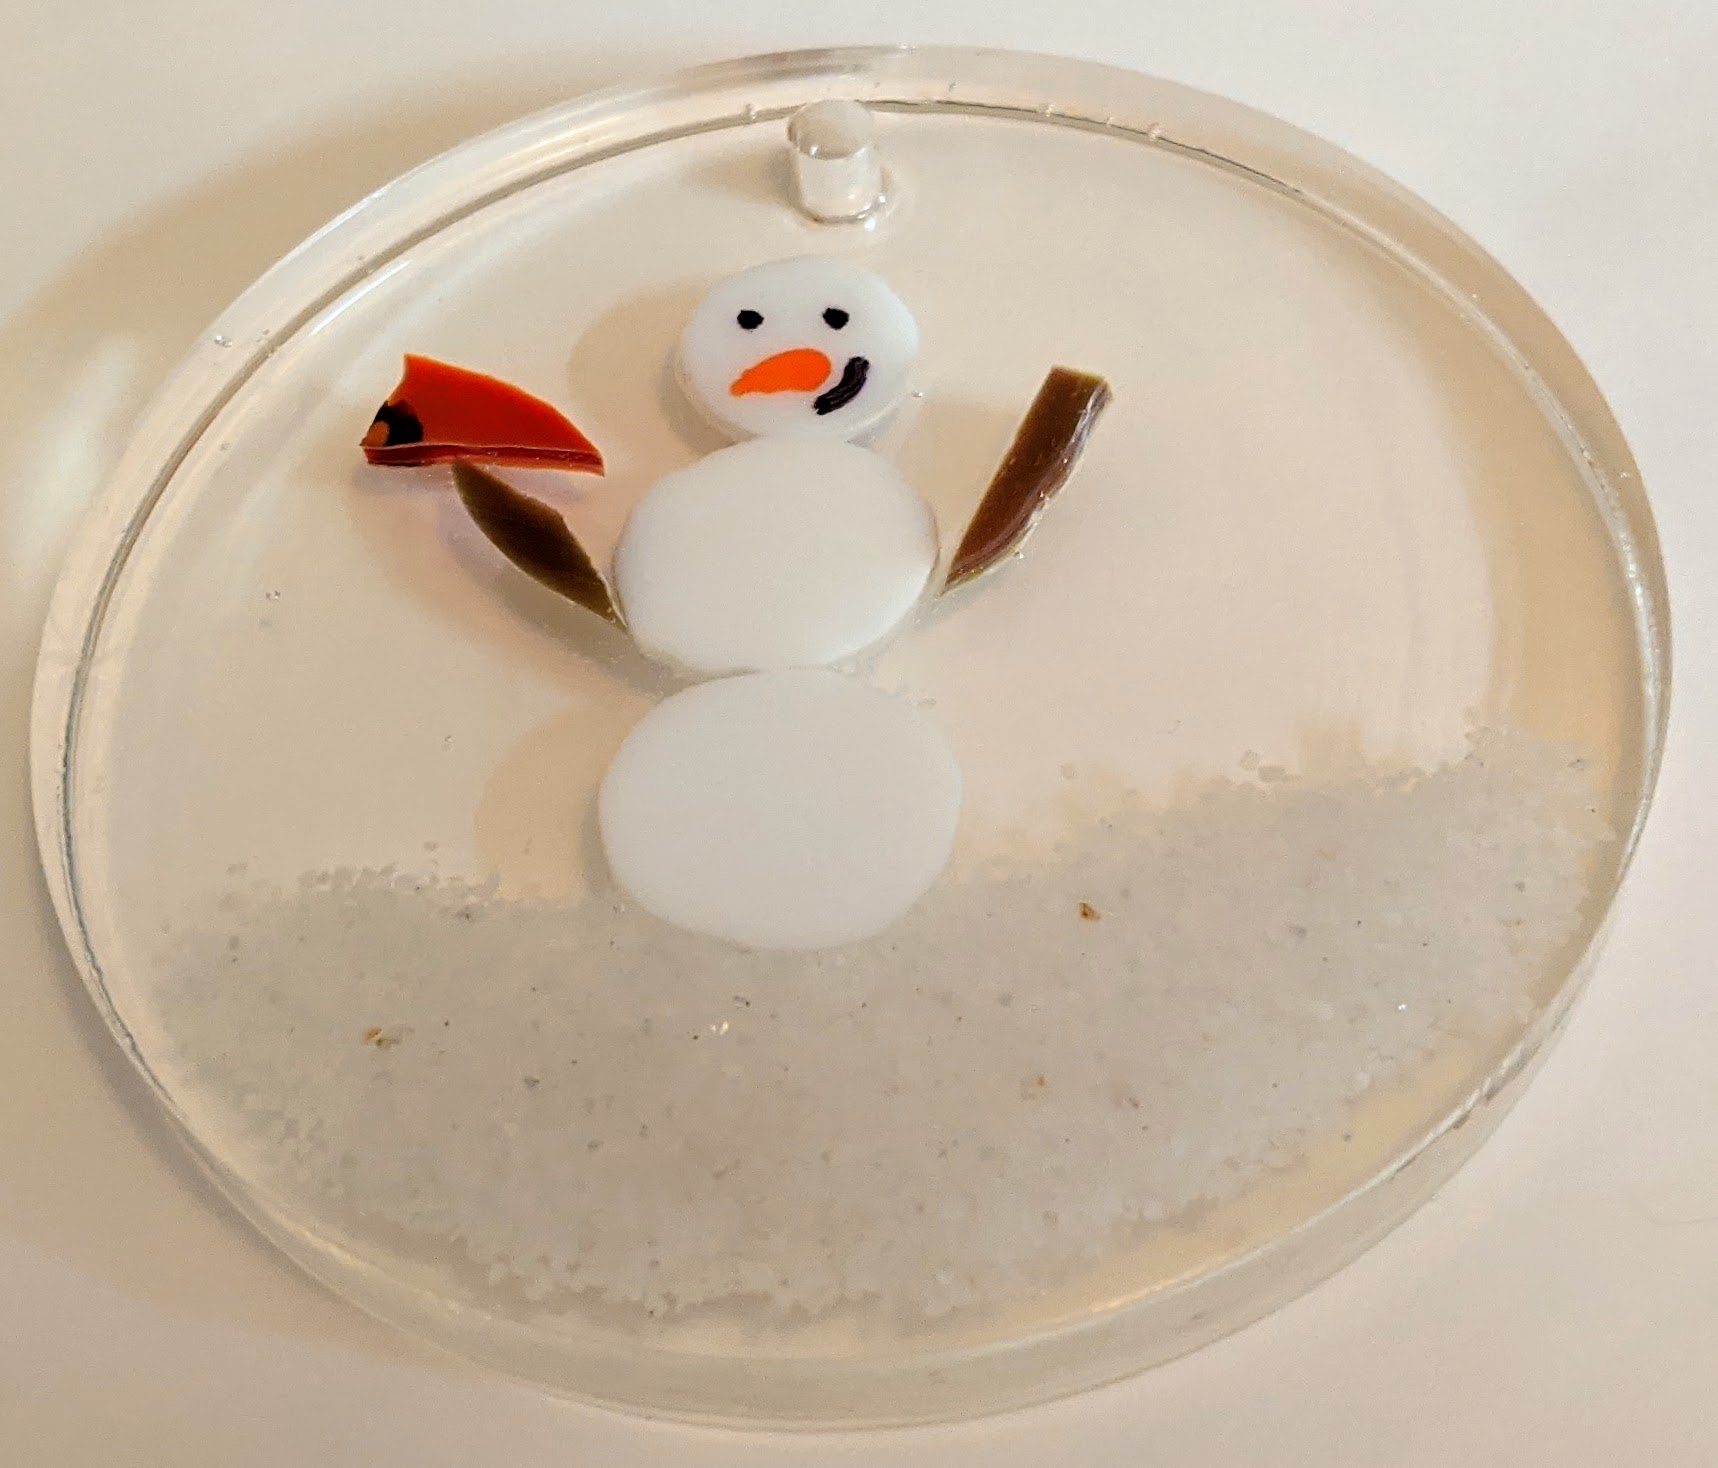
I use stained glass for the leaves, berries and snowman and clear glass that is recycled from old windows to make these festive ornaments. I cut the glass for these ornaments and glued it down yesterday, so today it was time for the resin layer. After mixing, I pour a blob of resin on each ornament. A little goes a long way, and too much makes for more difficulty with drips, so it’s better to use too little and then add more later. I went a bit overboard with a few of these and had to wipe away a lot of drips. That also causes some of the resin to form on the underside in such a way that I have to scrape it off with a razor blade later, which is tedious and a little dangerous if you’re clumsy like I am.
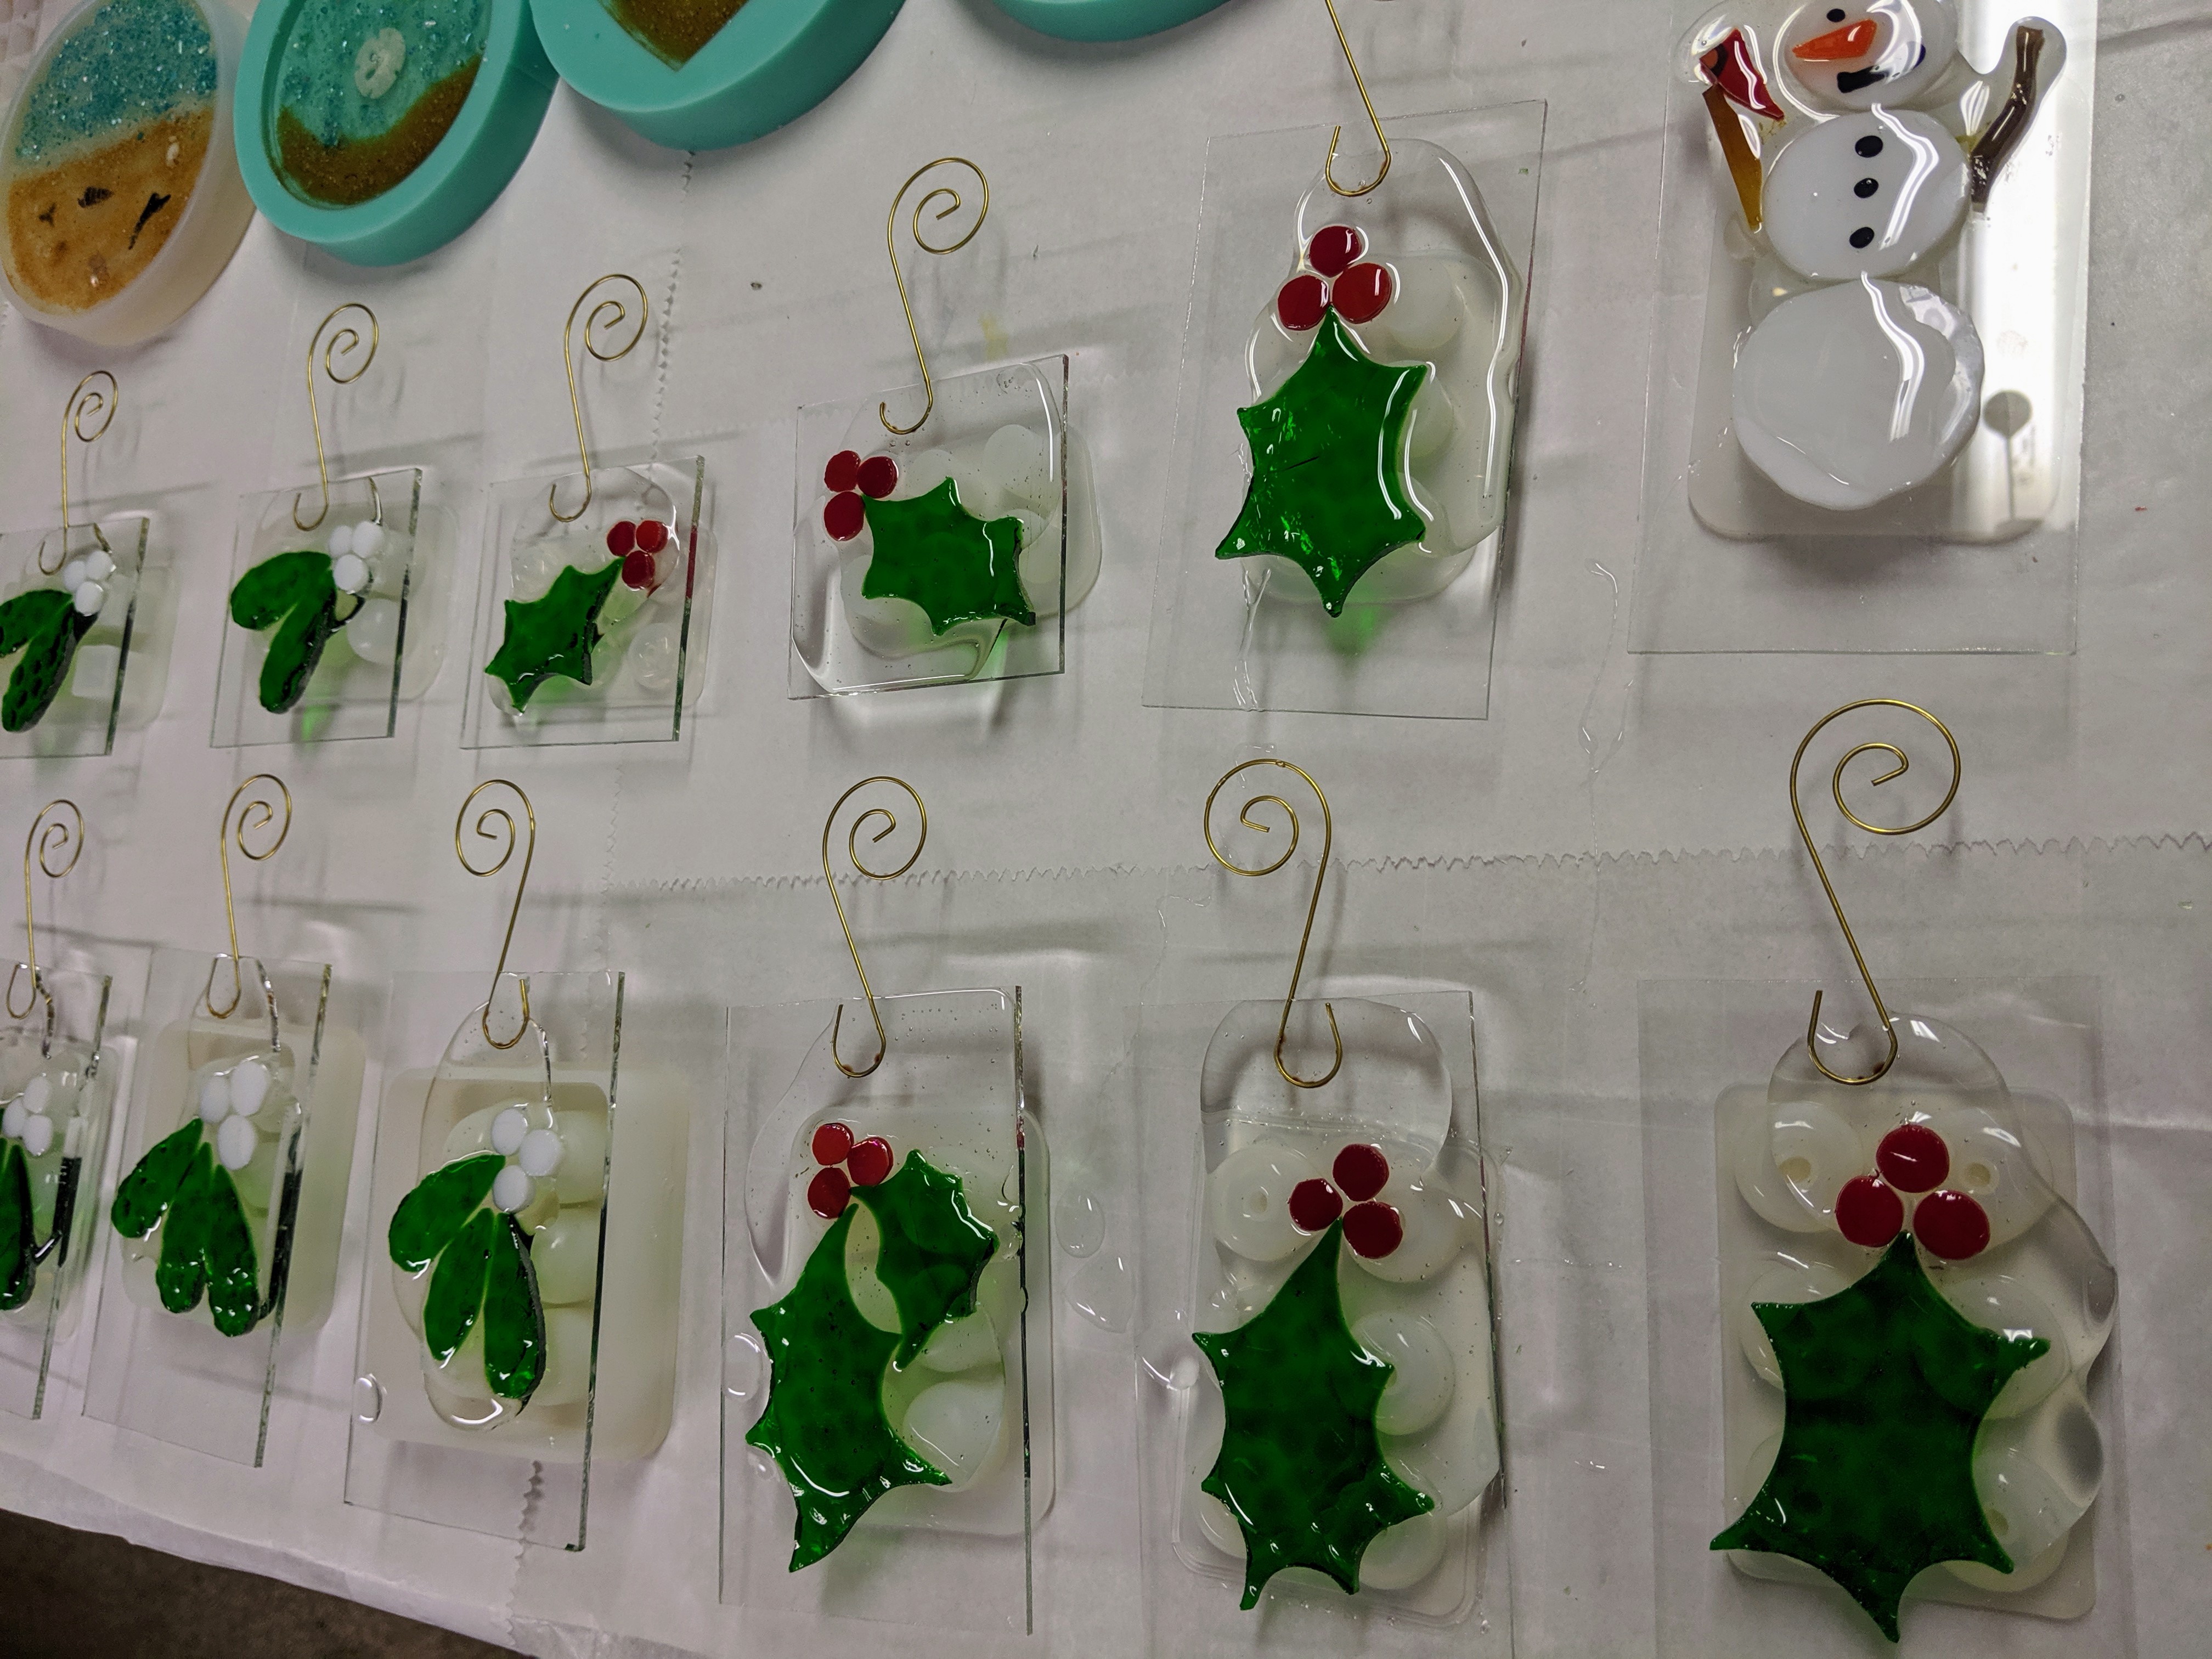
I used a sponge on a stick to spread the resin around so it covers all of the top surface of the ornaments. The resin will settle itself down and look smooth once it cures, so I don’t worry about the streaks left by the sponge. I do have to use a heat gun a few times during this stage to remove bubbles. They are worse in the deep molds for the beach themed resin ornaments and coasters than the thin layer on the stained / recycled glass ornaments, though.
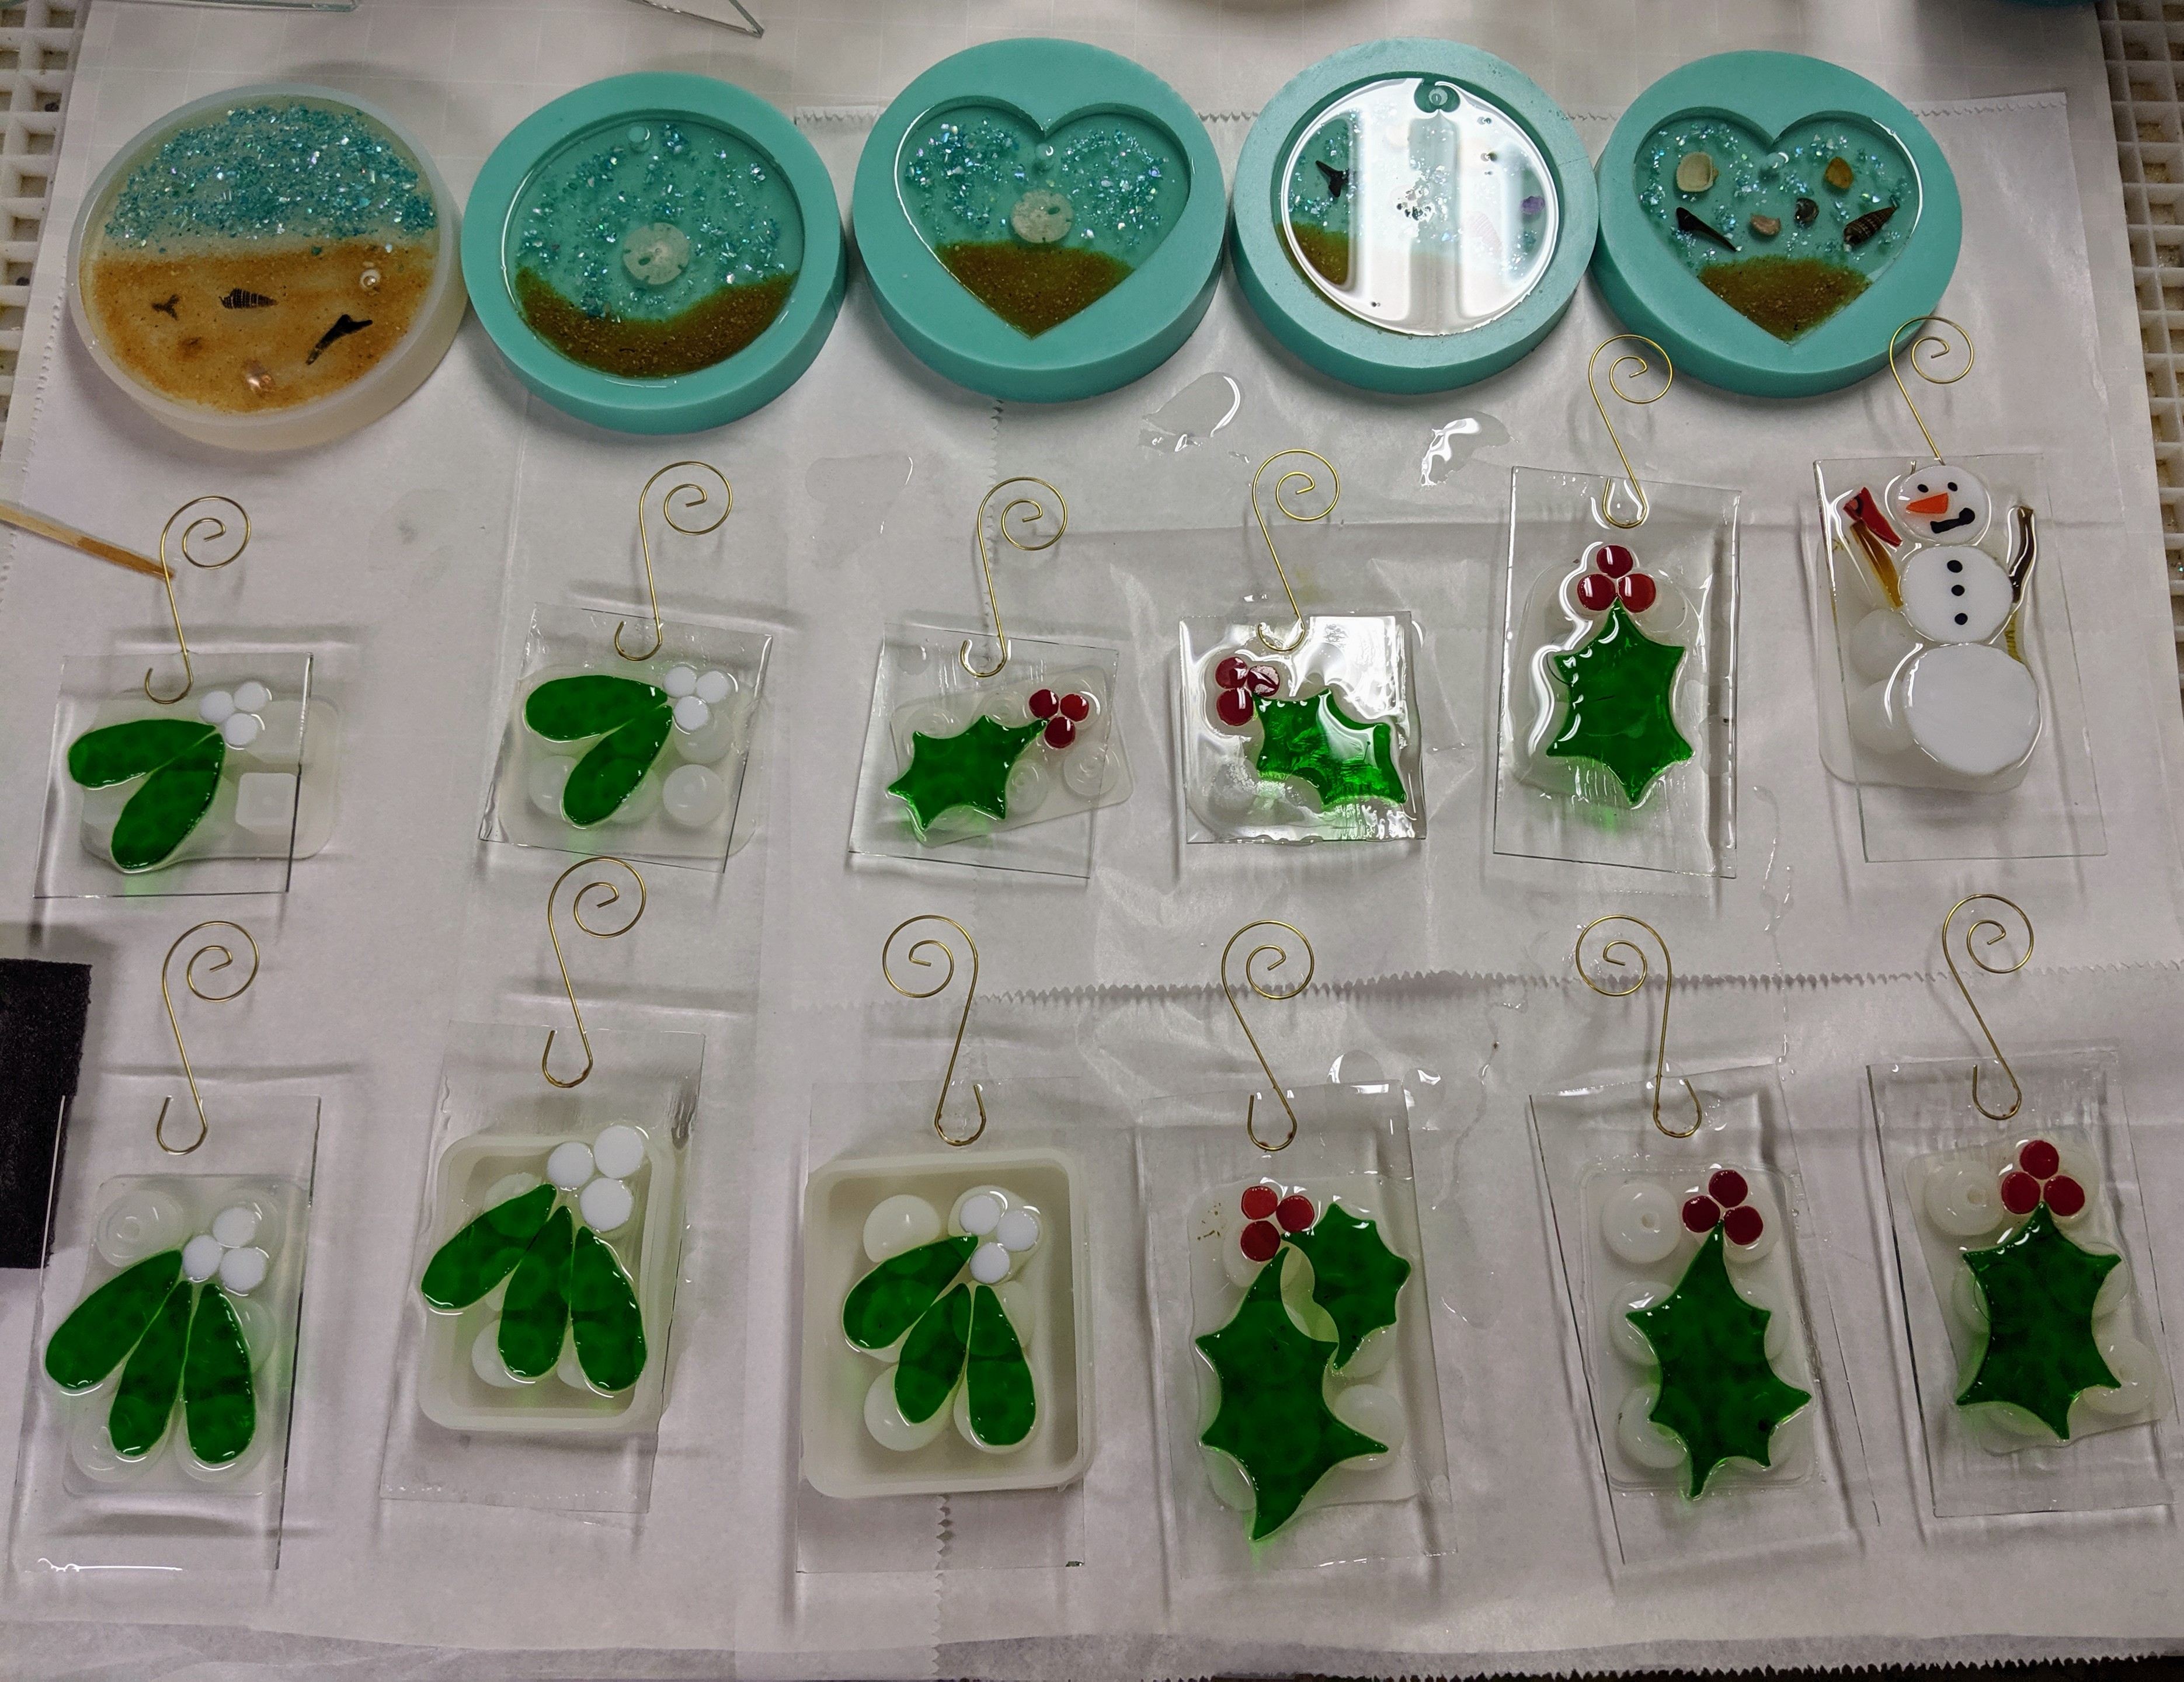
After the resin is spread, I place the glass blobs, chunks and chips I like to use for decoration in the resin. I also poured a little leftover resin into three new coaster molds that I decorated for the first layer of some more coasters.
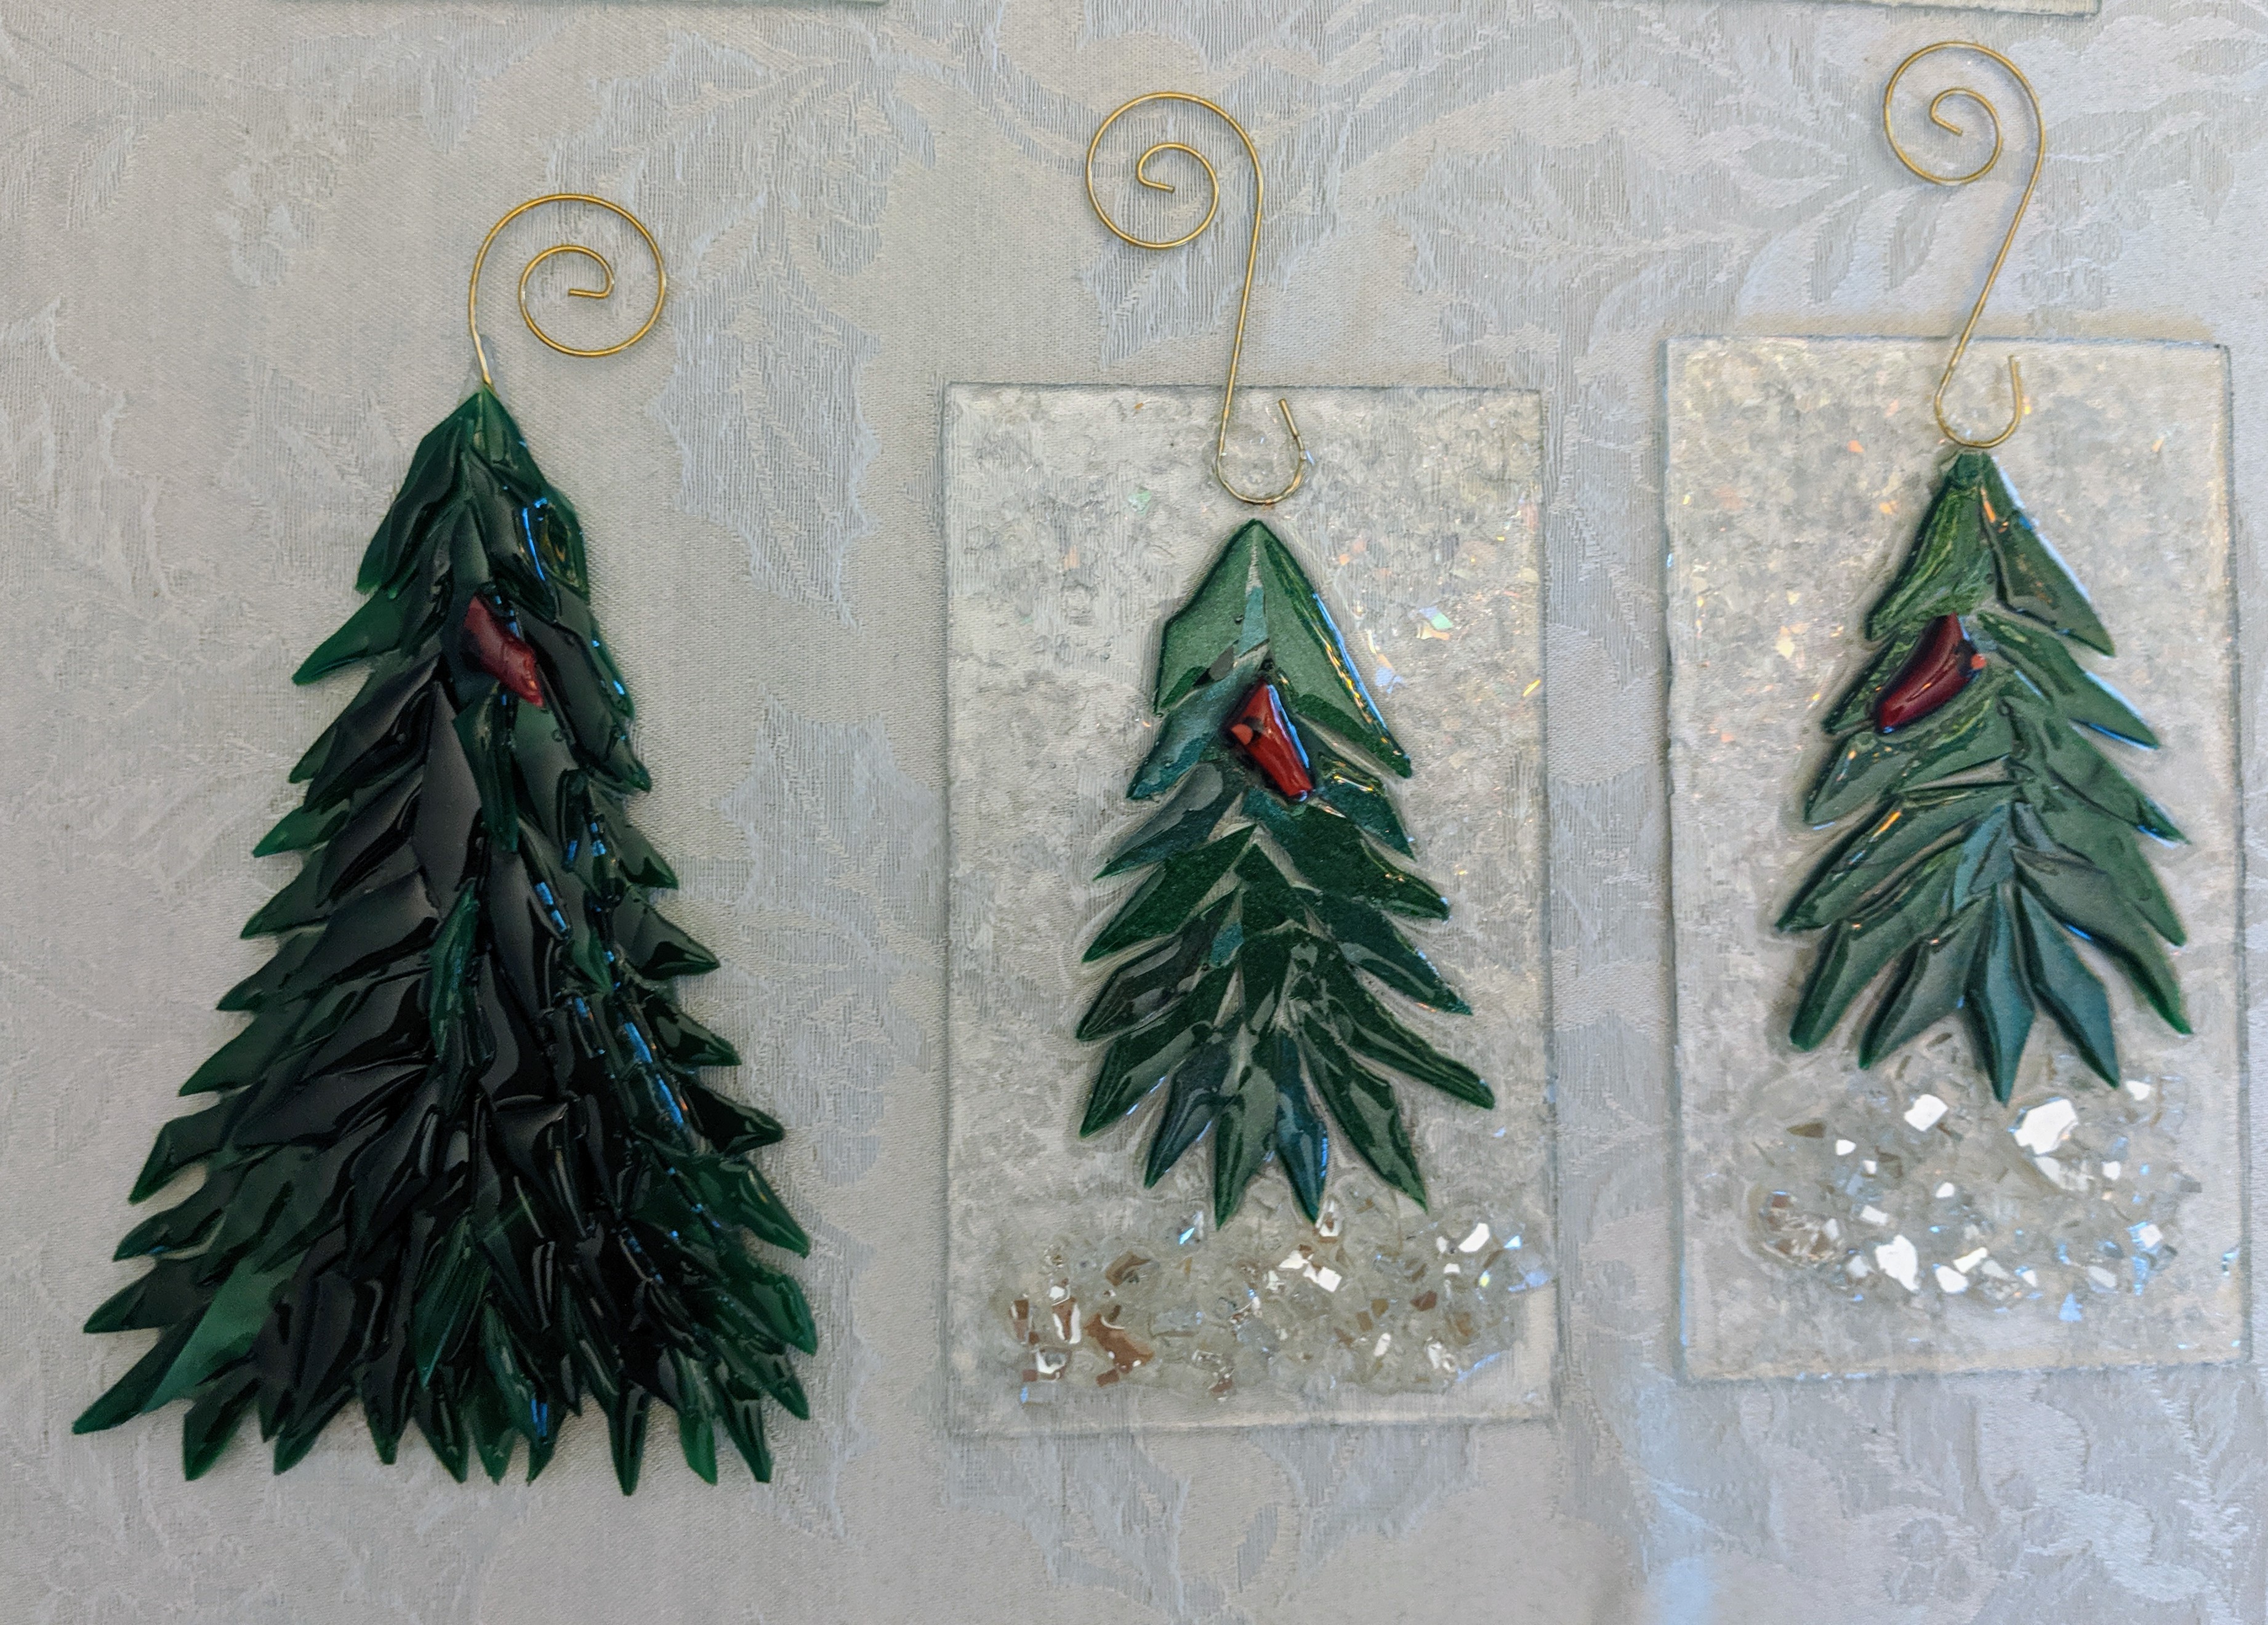
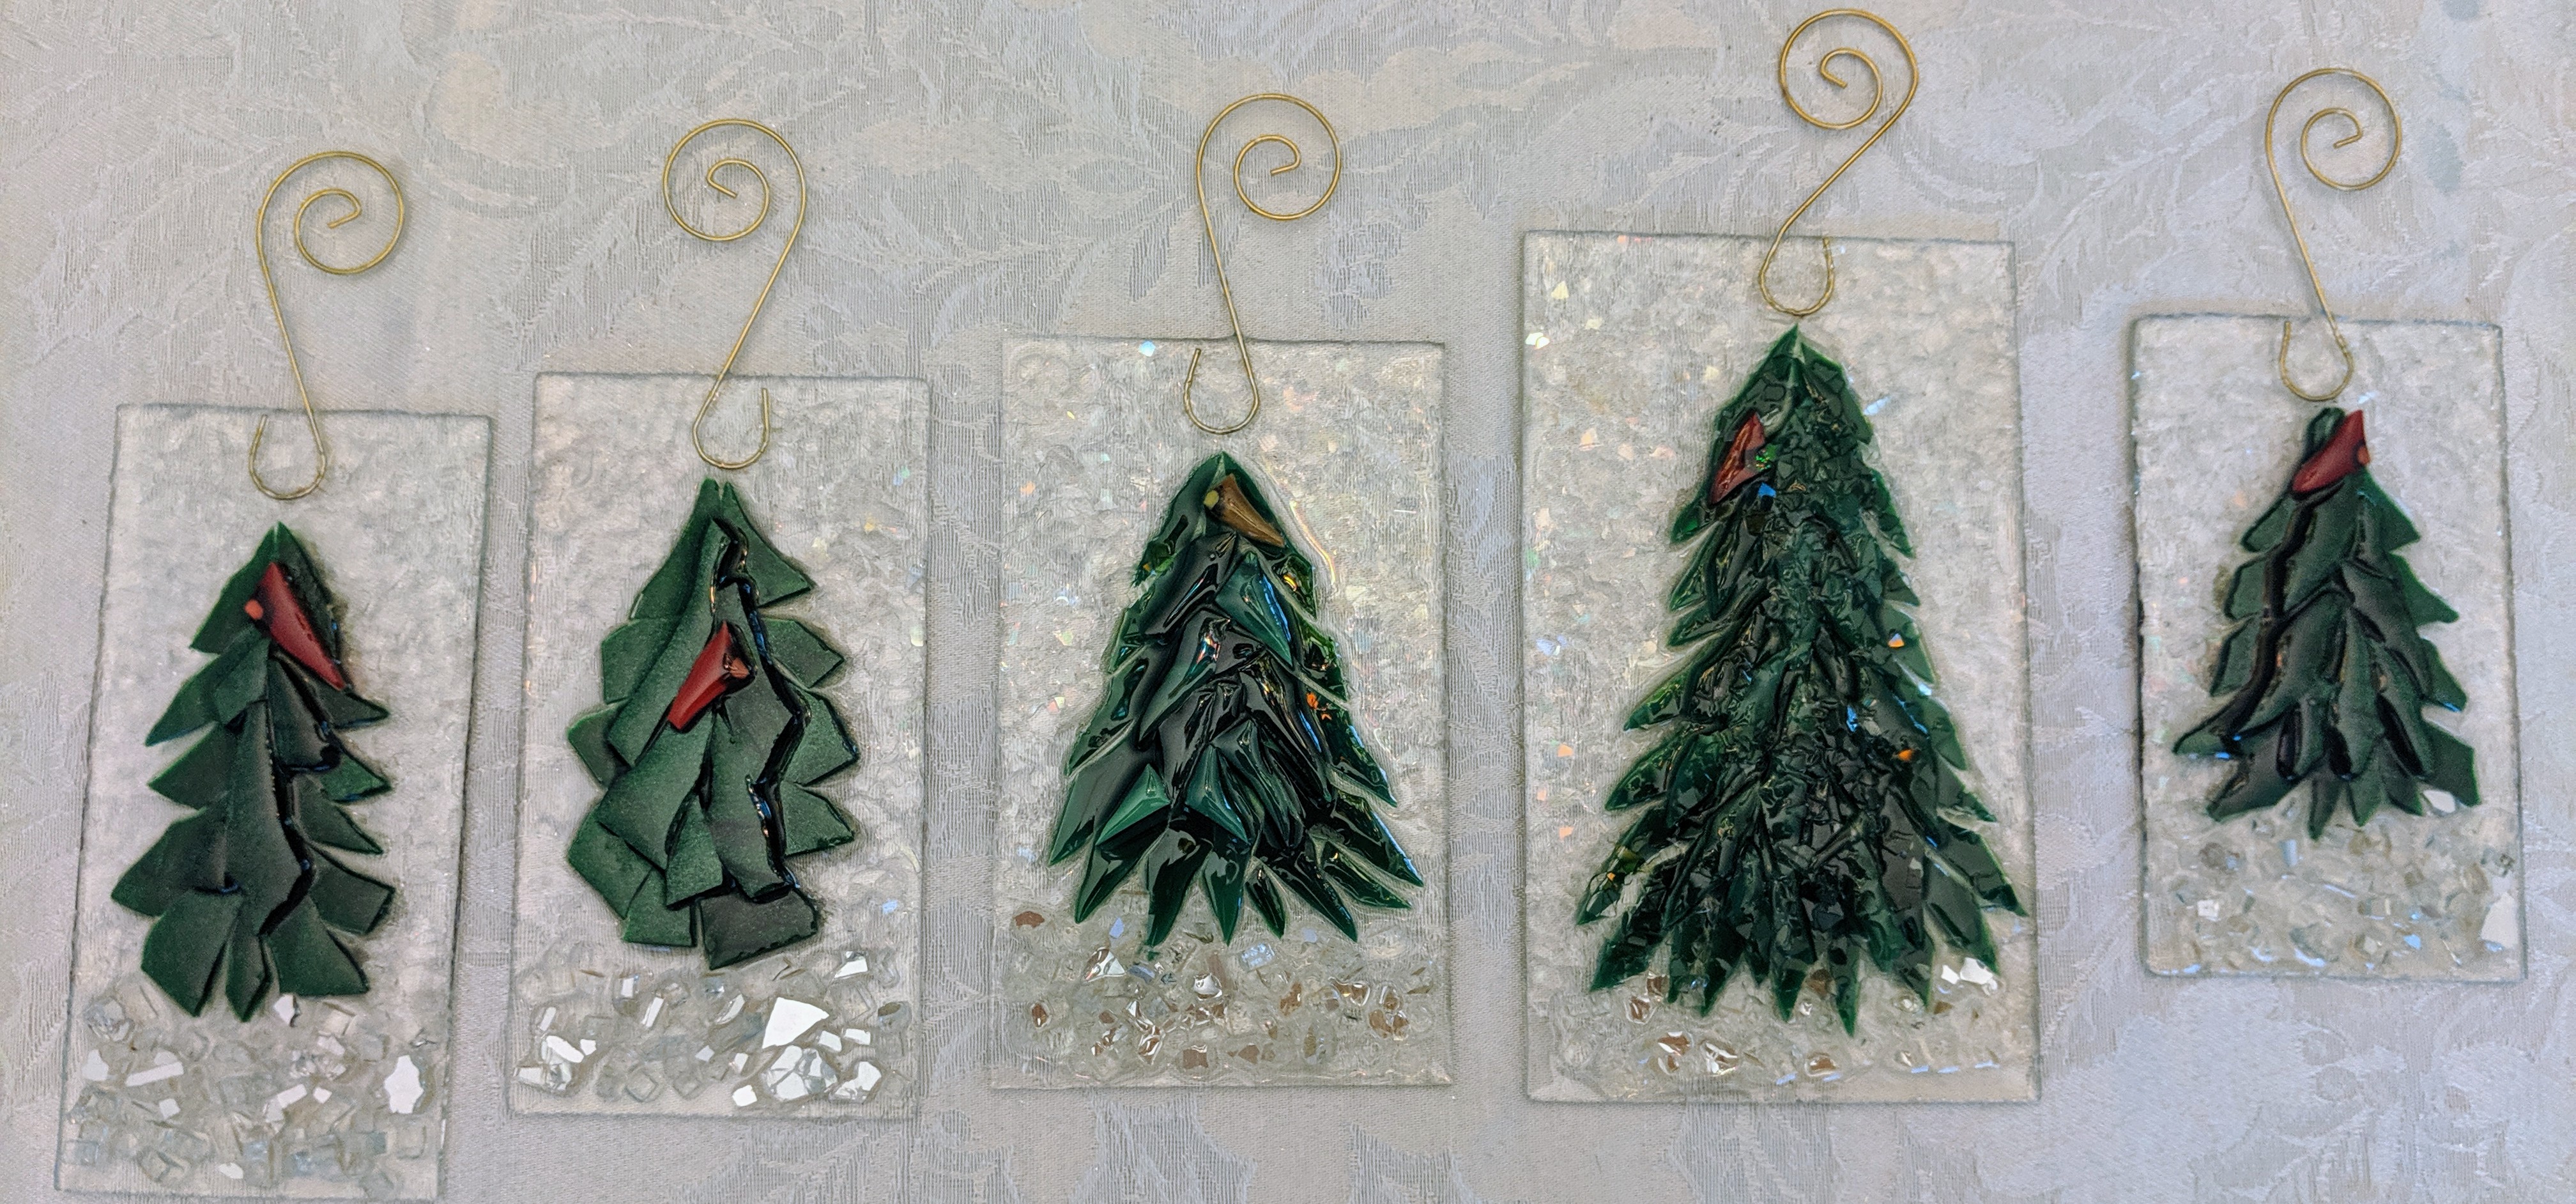
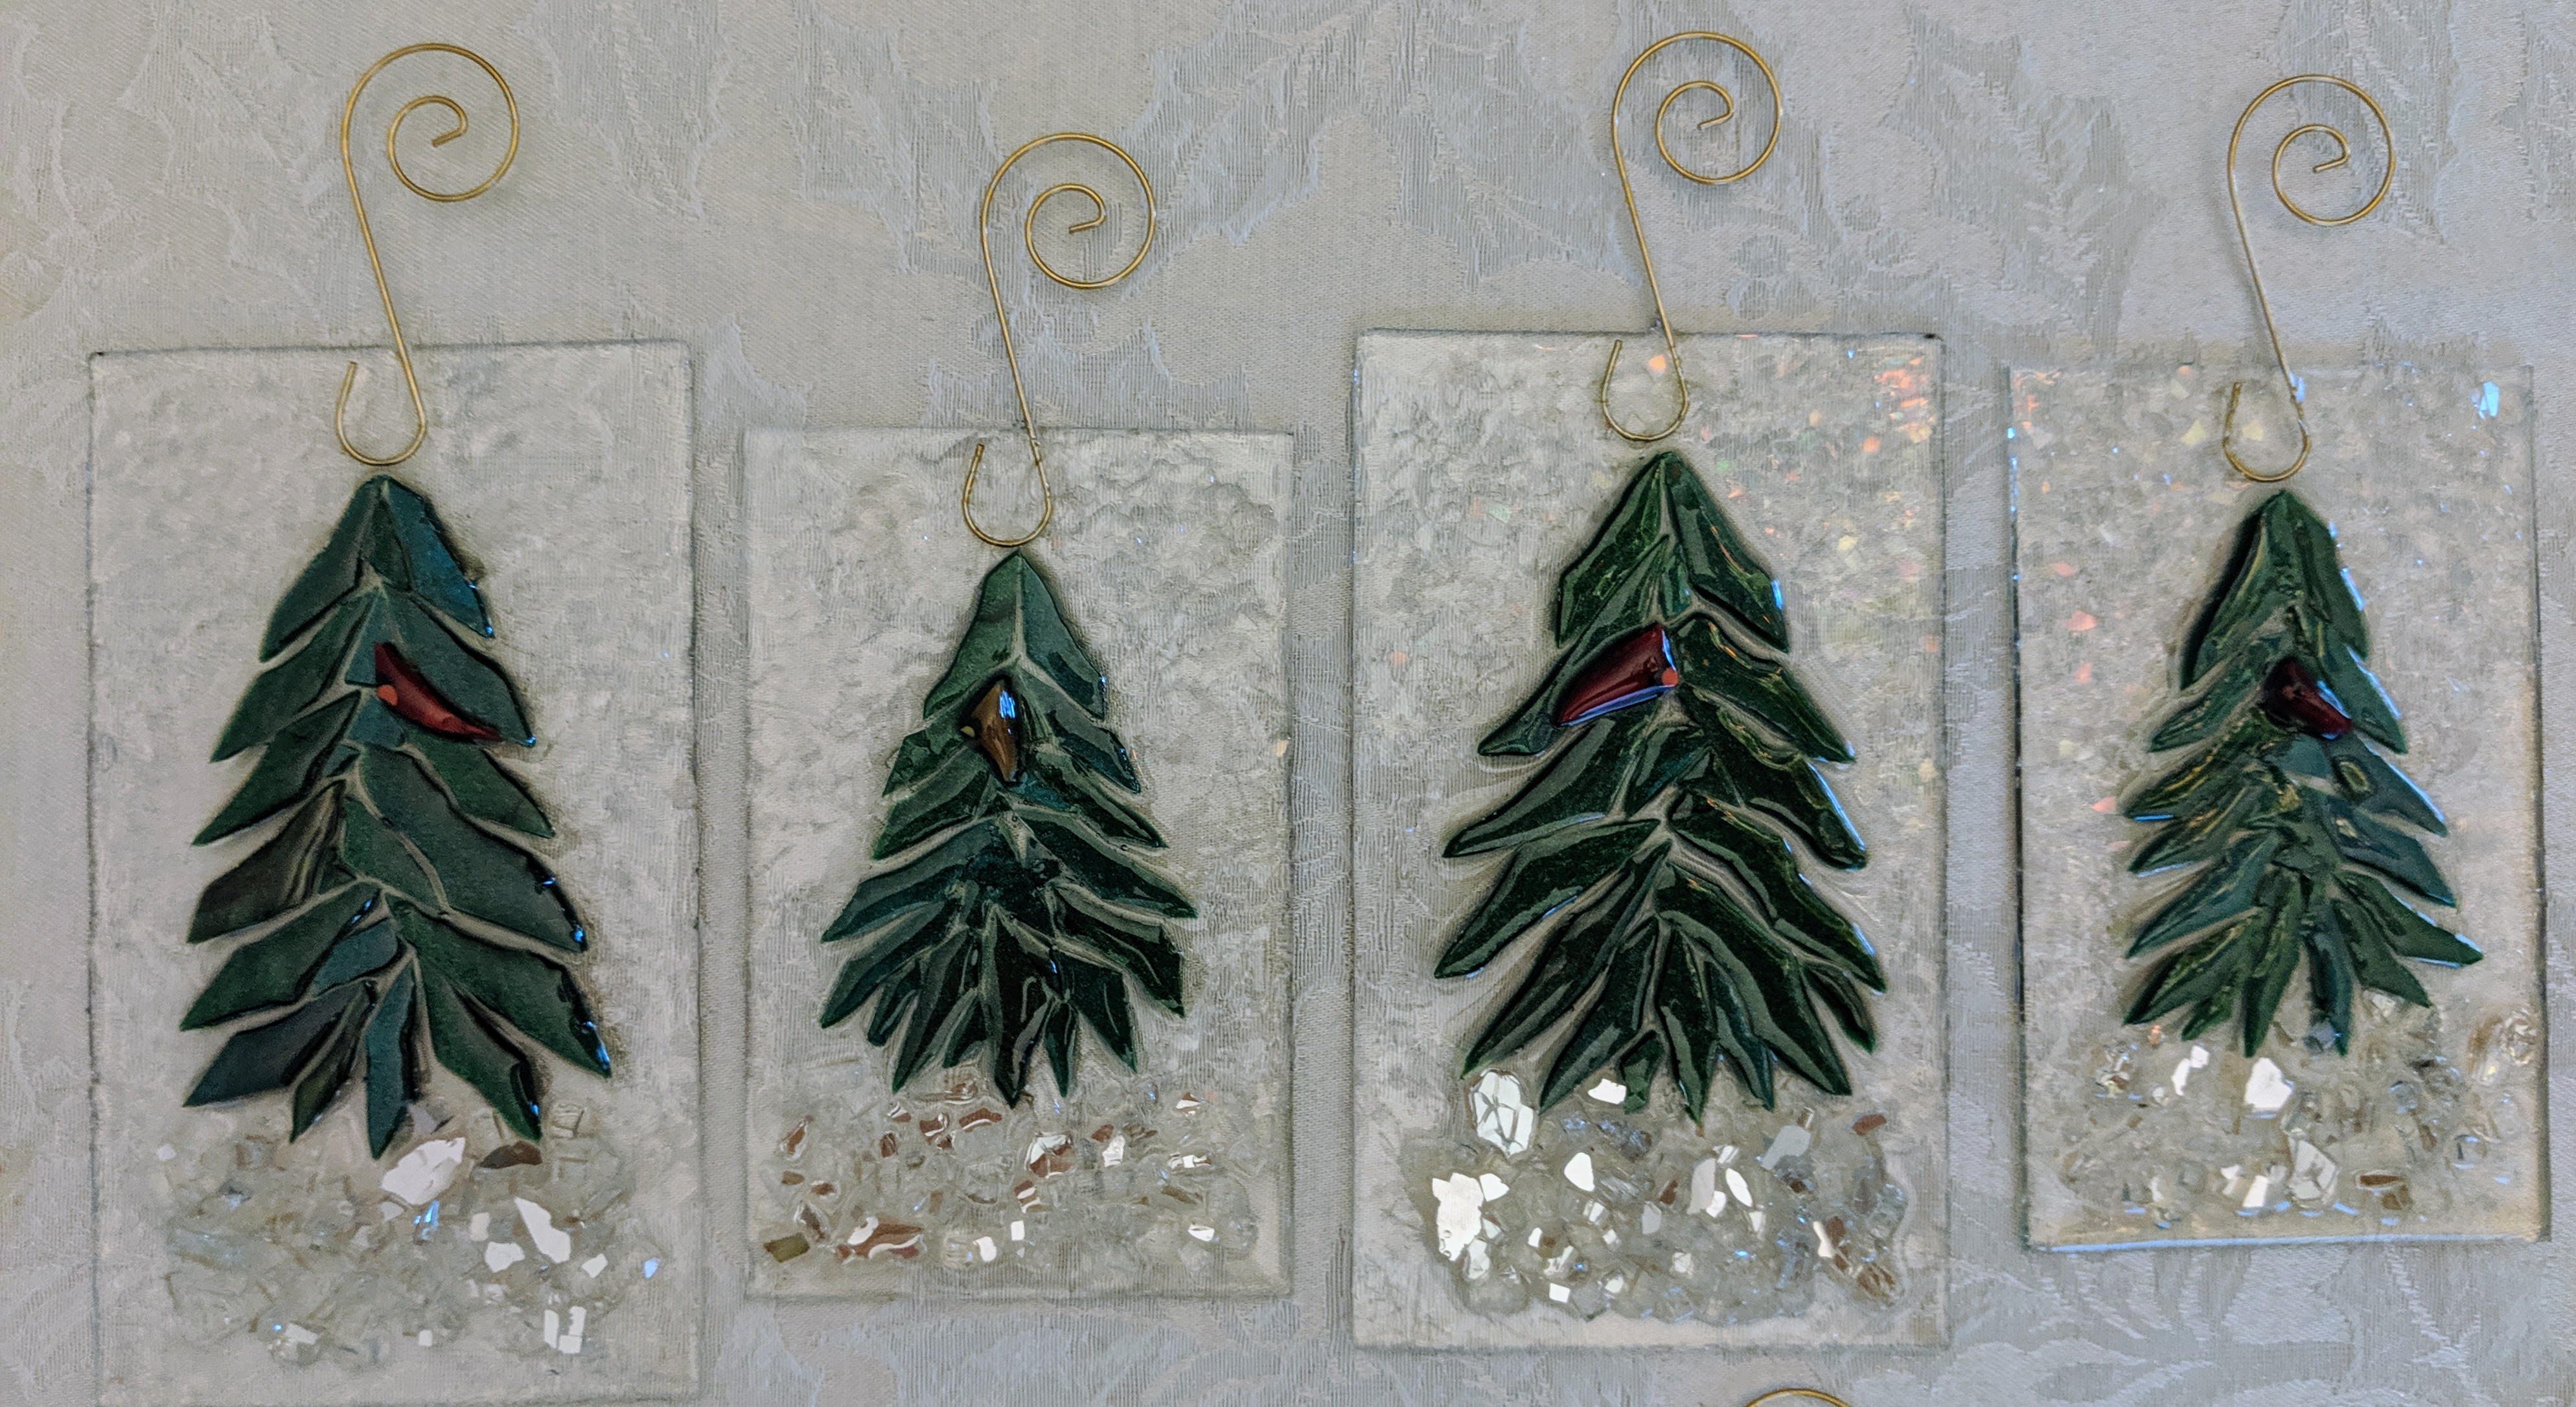
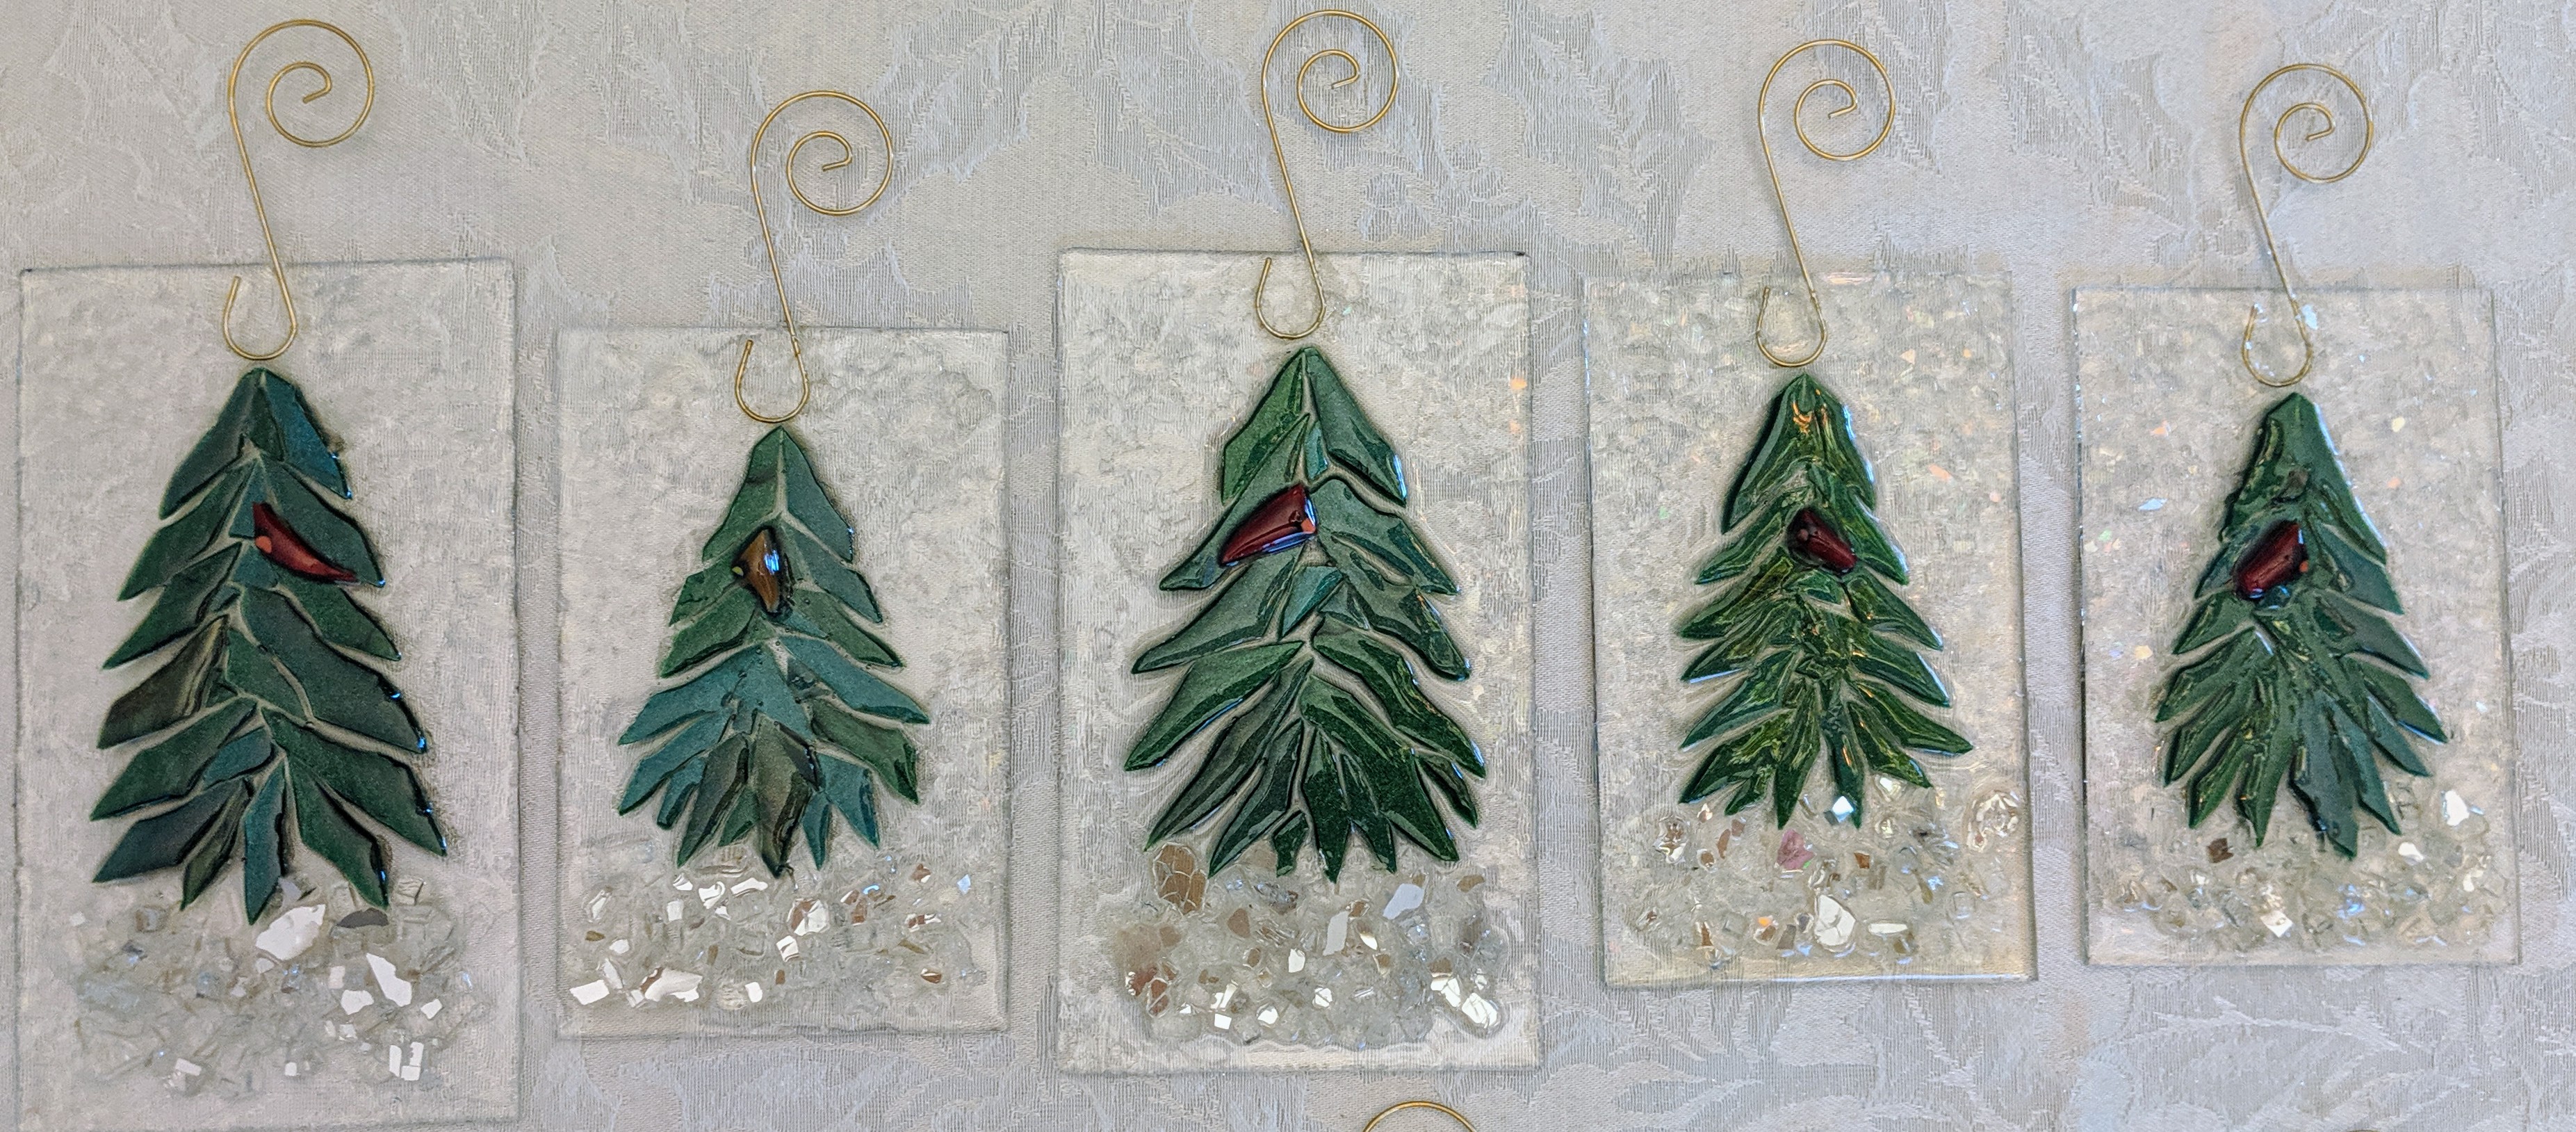
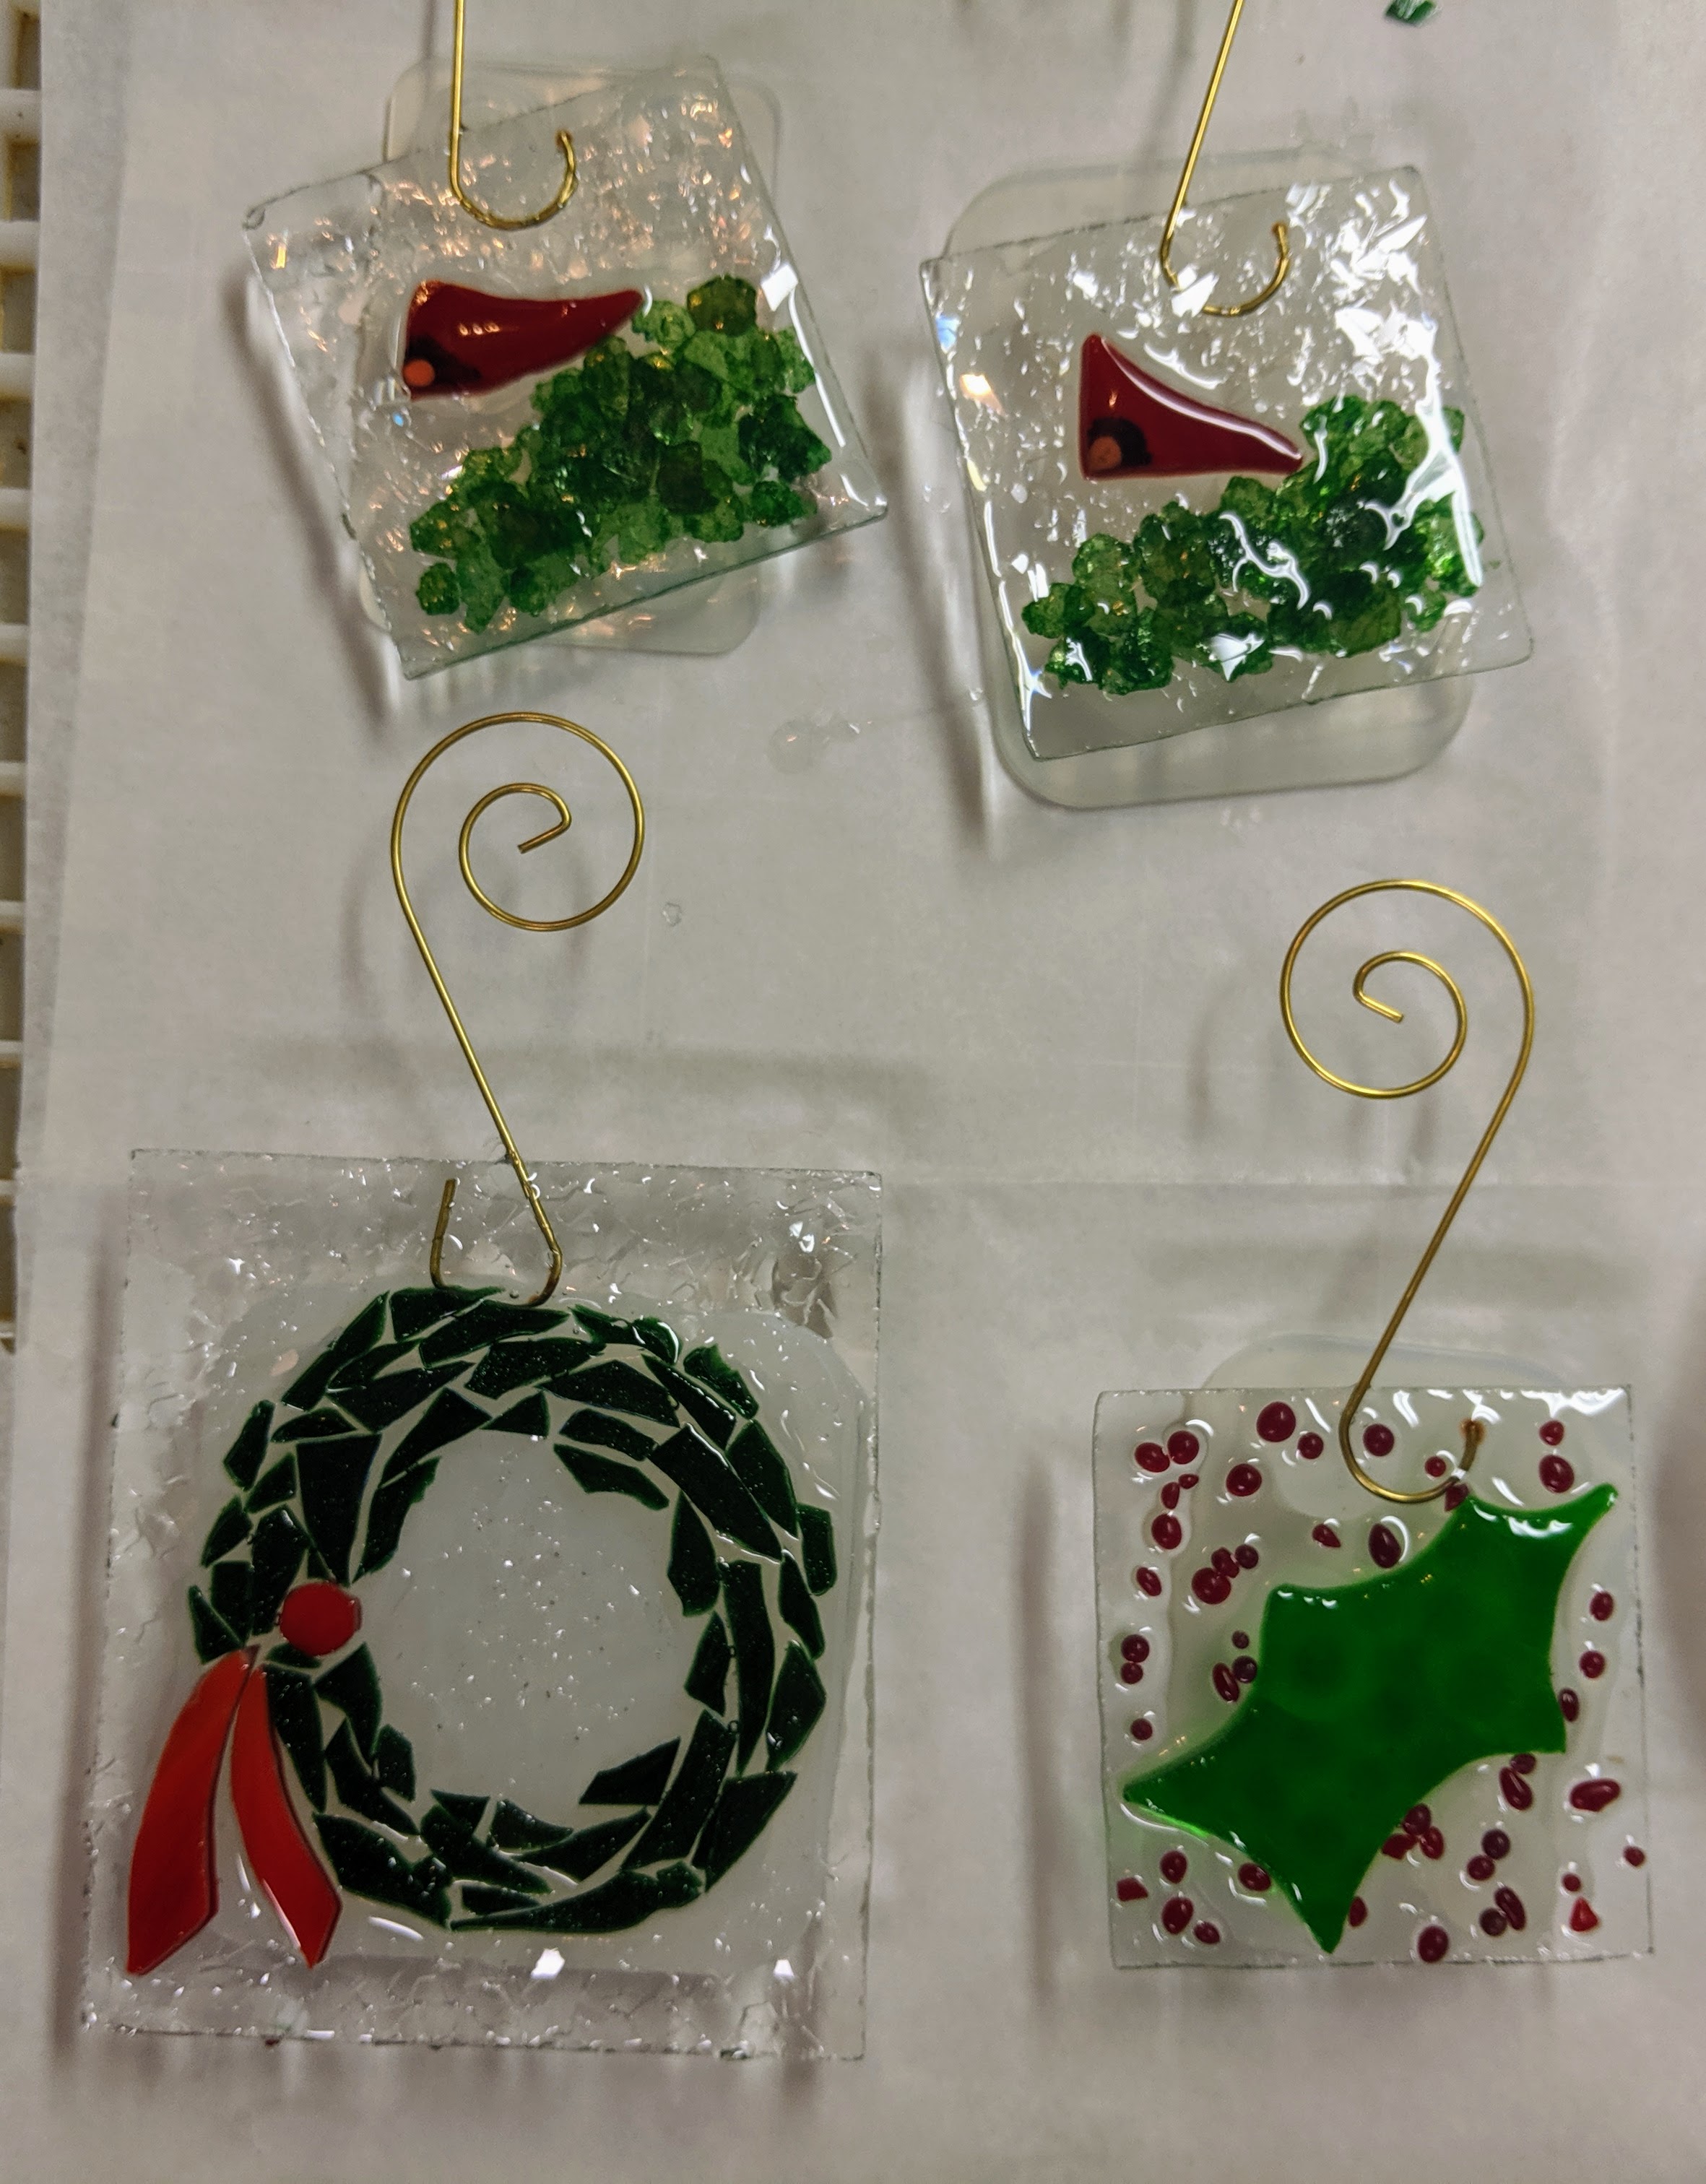
This post is just photos of the glass ornaments I’ve finished over the past few weeks. Enjoy! I will have these at the N. Charleston Farmers Market this Thursday (Halloween!) and at the Charleston Holiday Market at the N. Charleston Convention Center November 8-10.
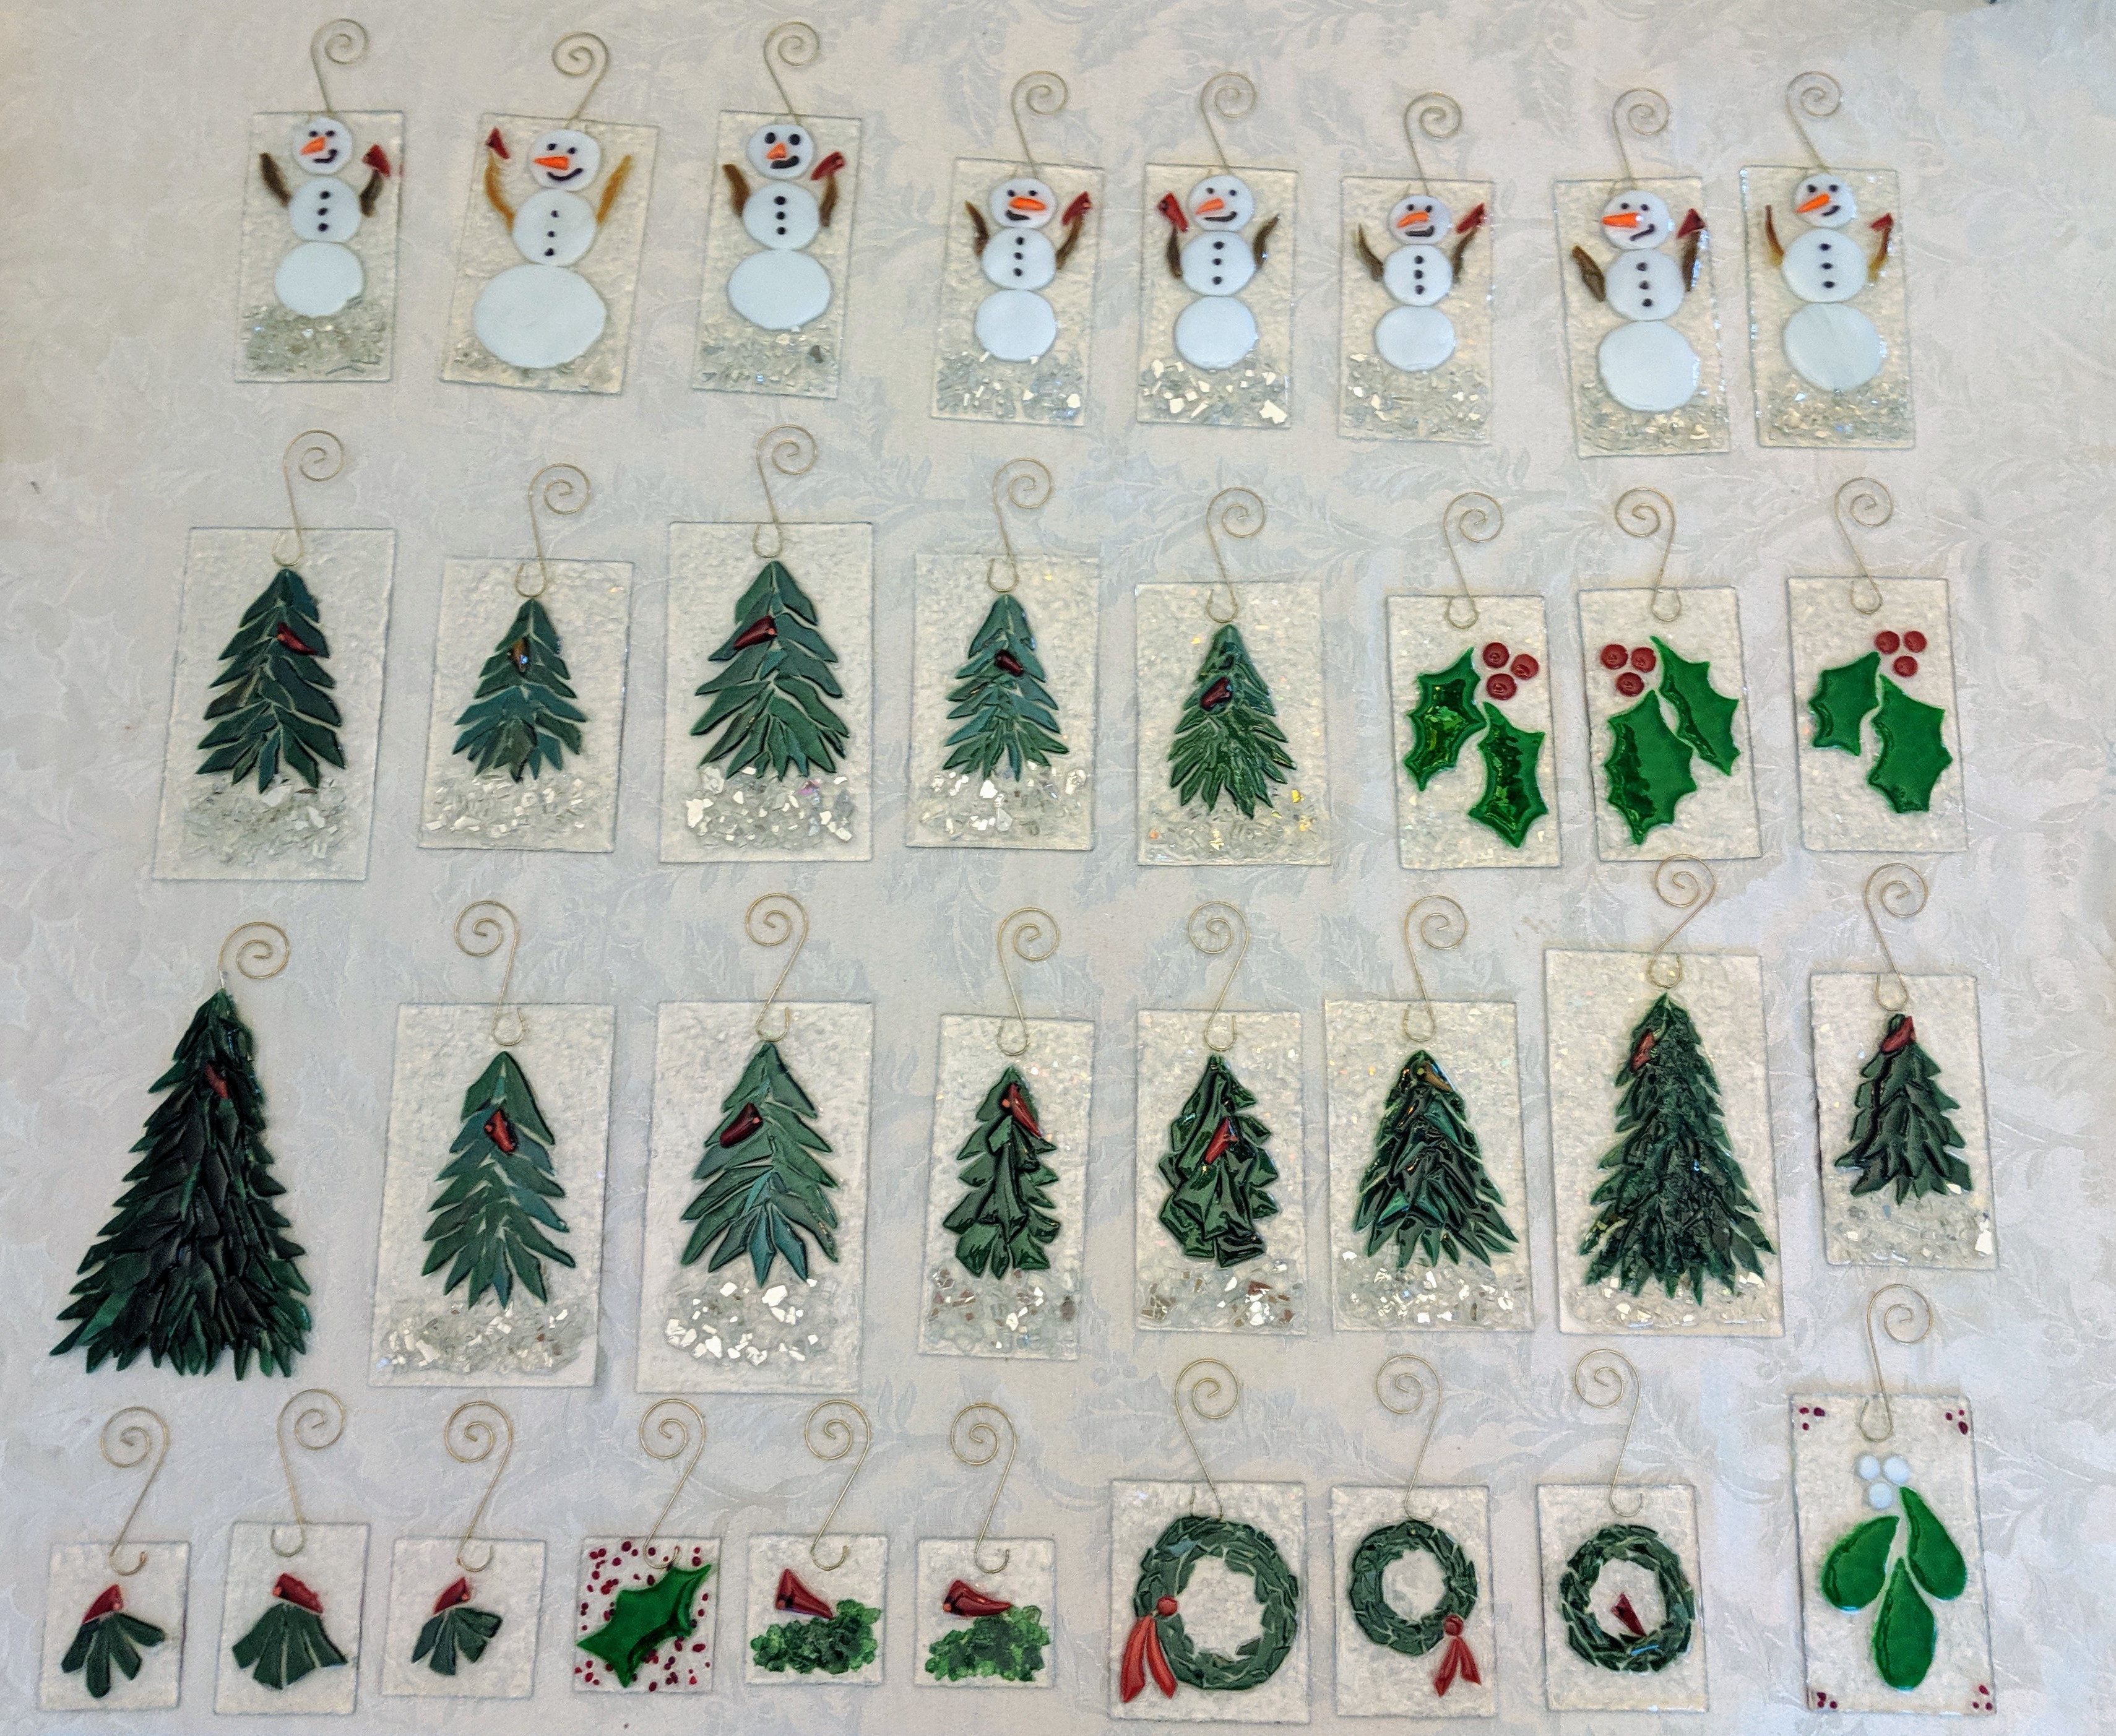
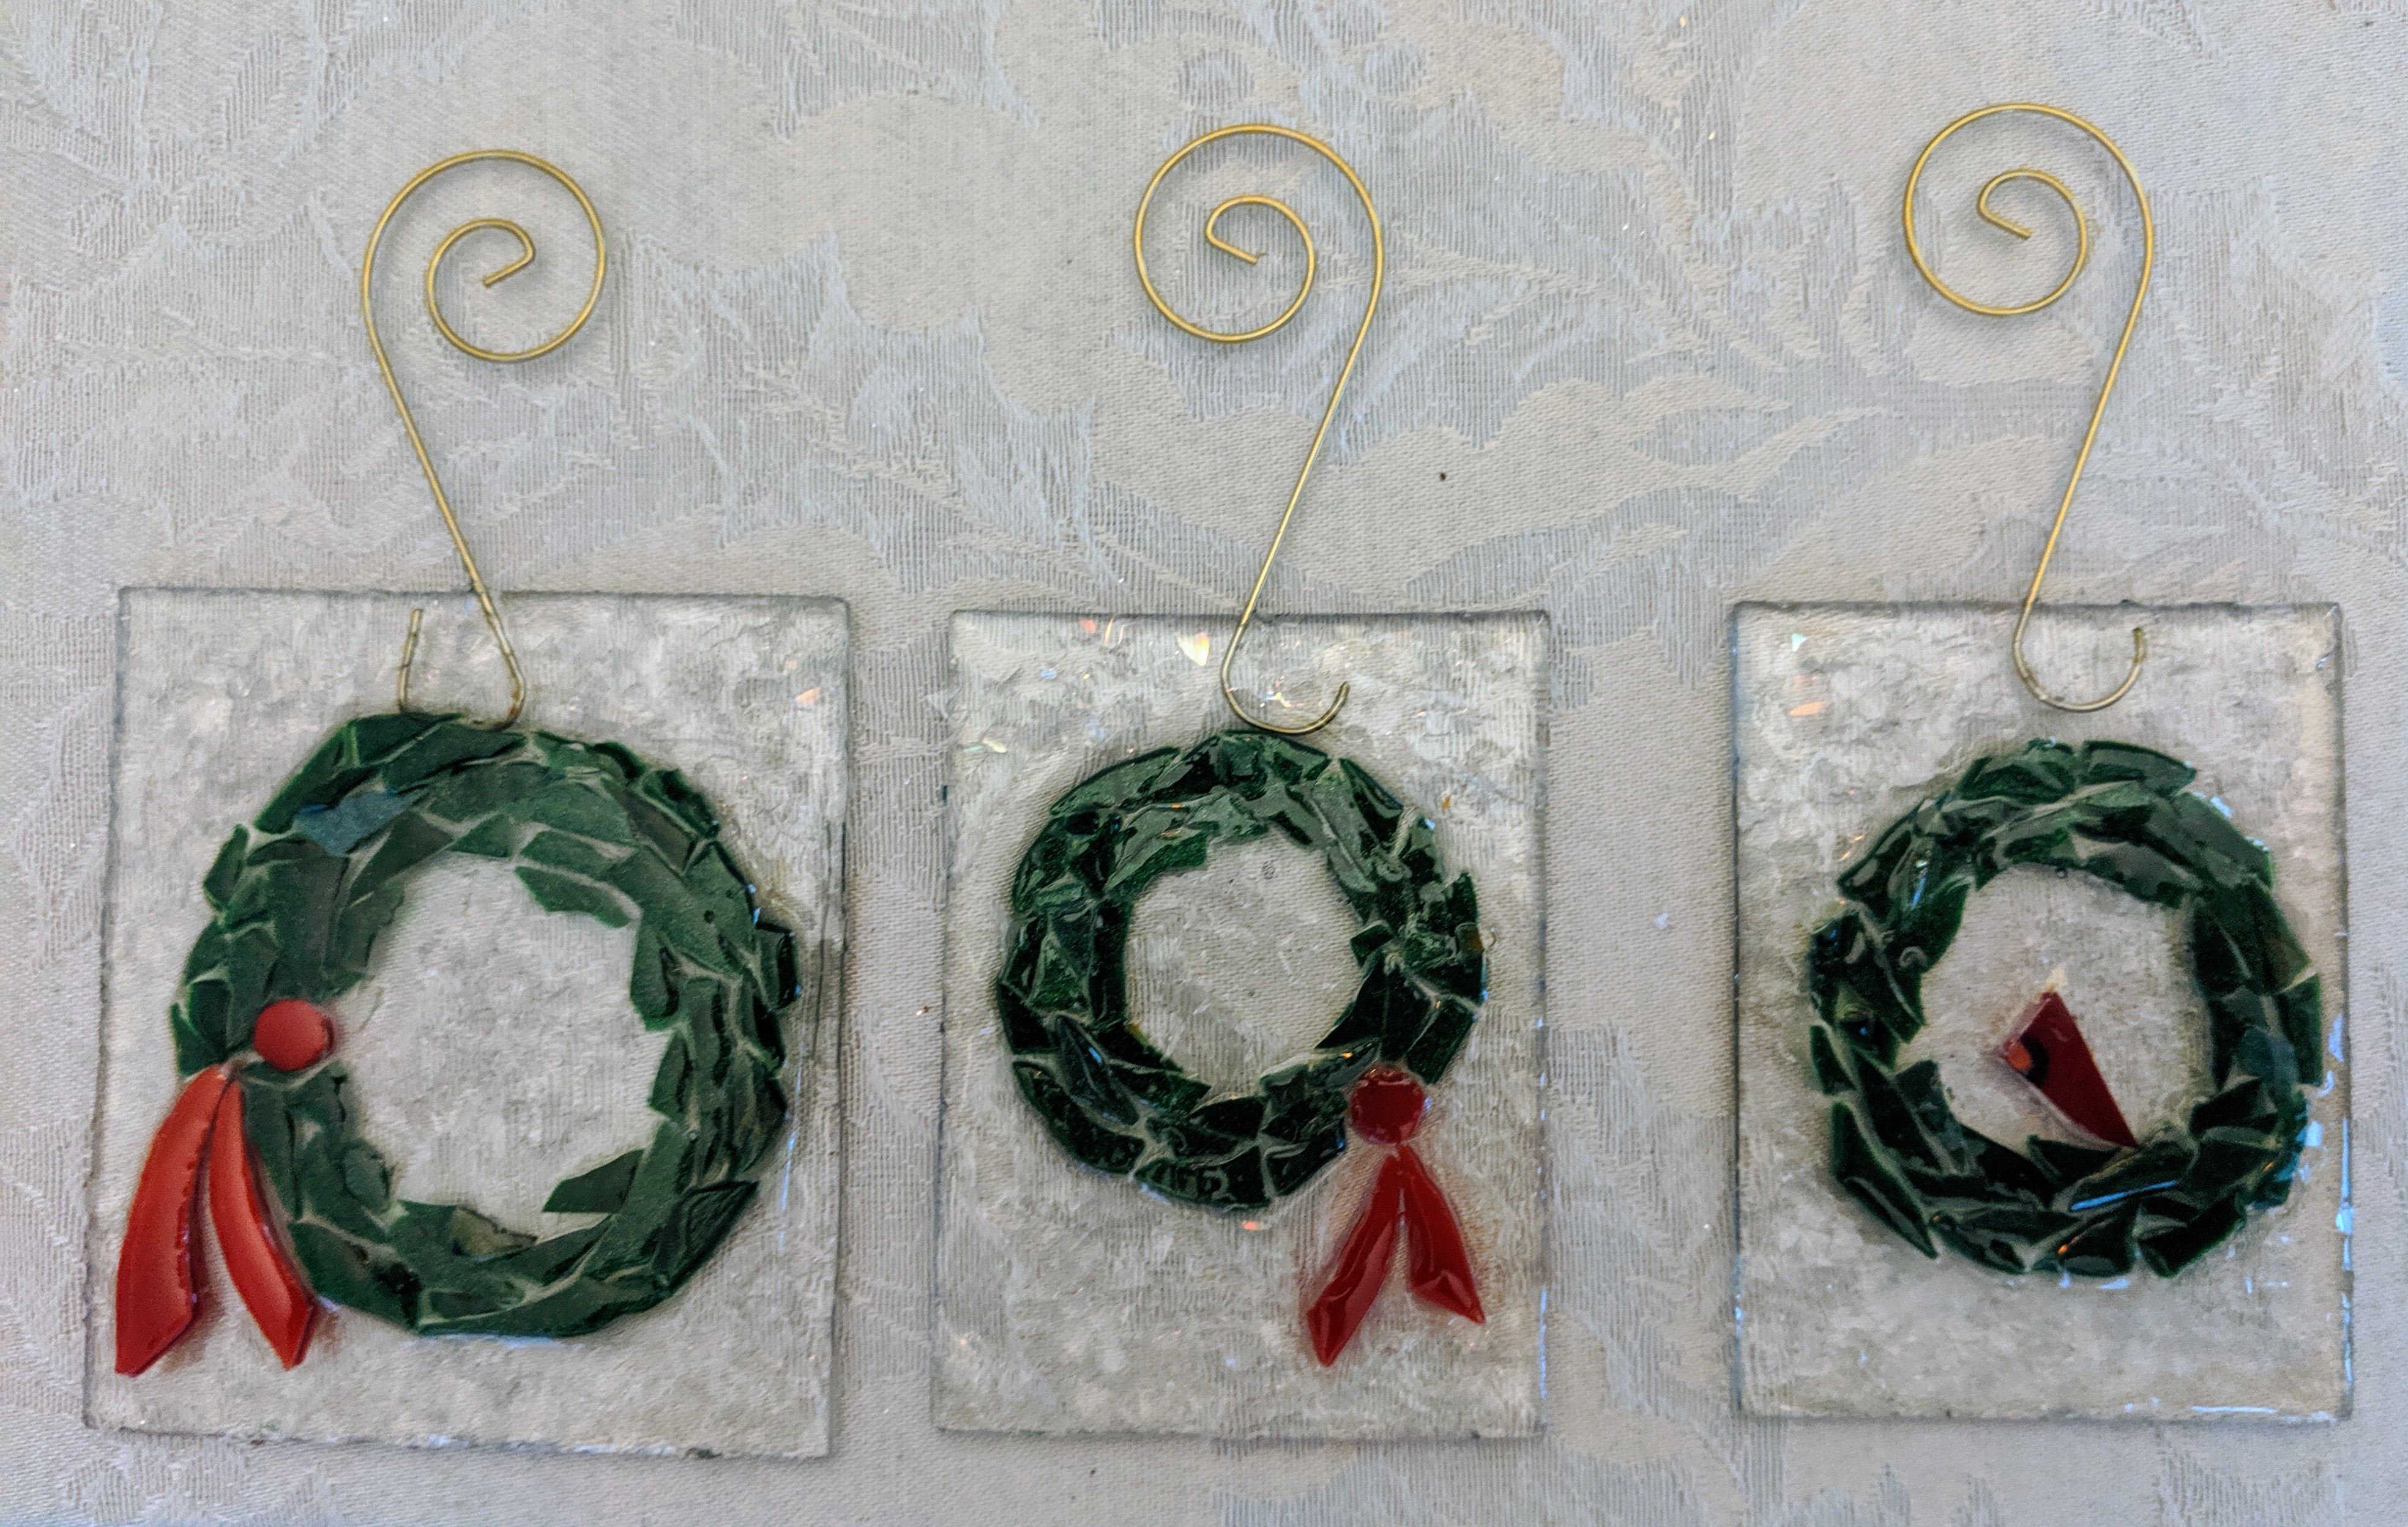
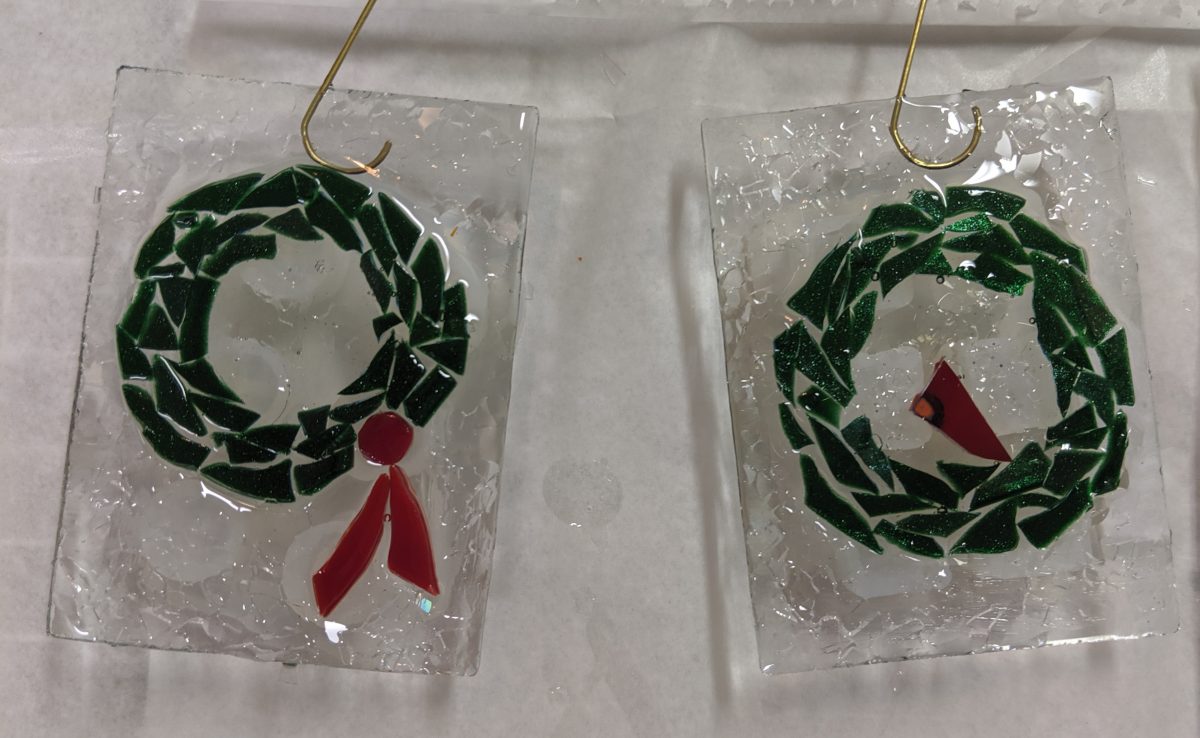
I’m on a roll with the ornaments. Yesterday I spent all day cutting and gluing these together and had every intention of pouring the resin, as well, but I got the idea to make tiny wreath ornaments and all the tiny pieces took an extremely long time to cut and place, so I gave up and poured the resin today.
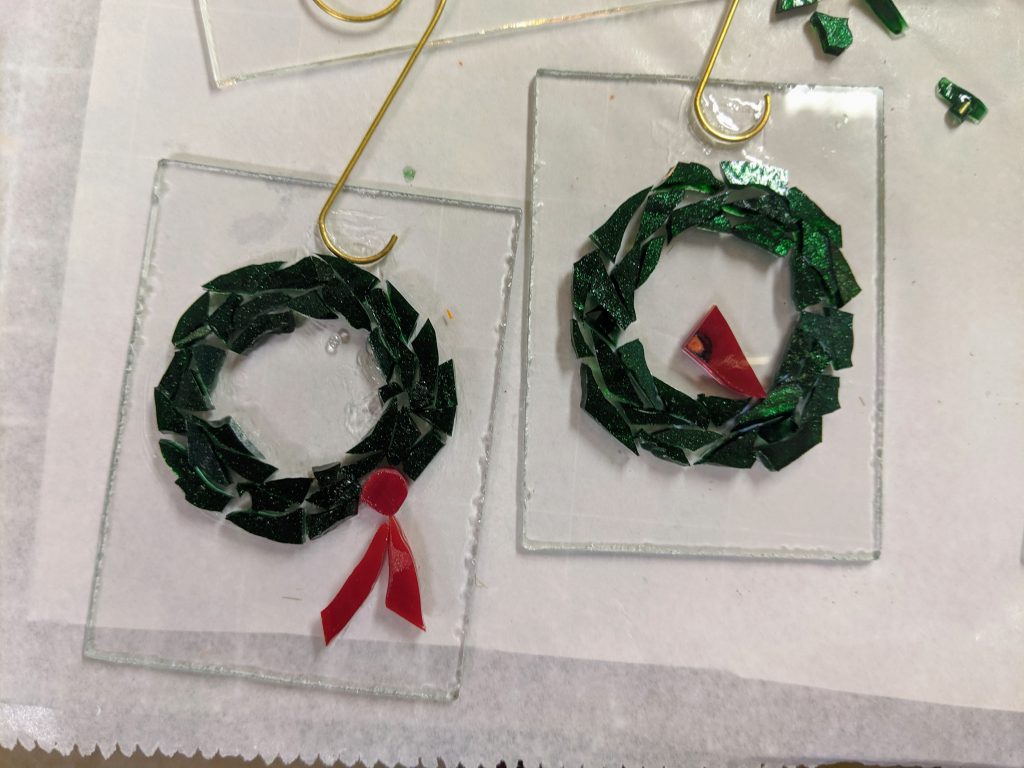
I really like these tiny ornaments, I think they are between 1-2″ (have not measured yet). I am using mica chips for the first time under the little cardinals. Can’t wait to see how they turn out!
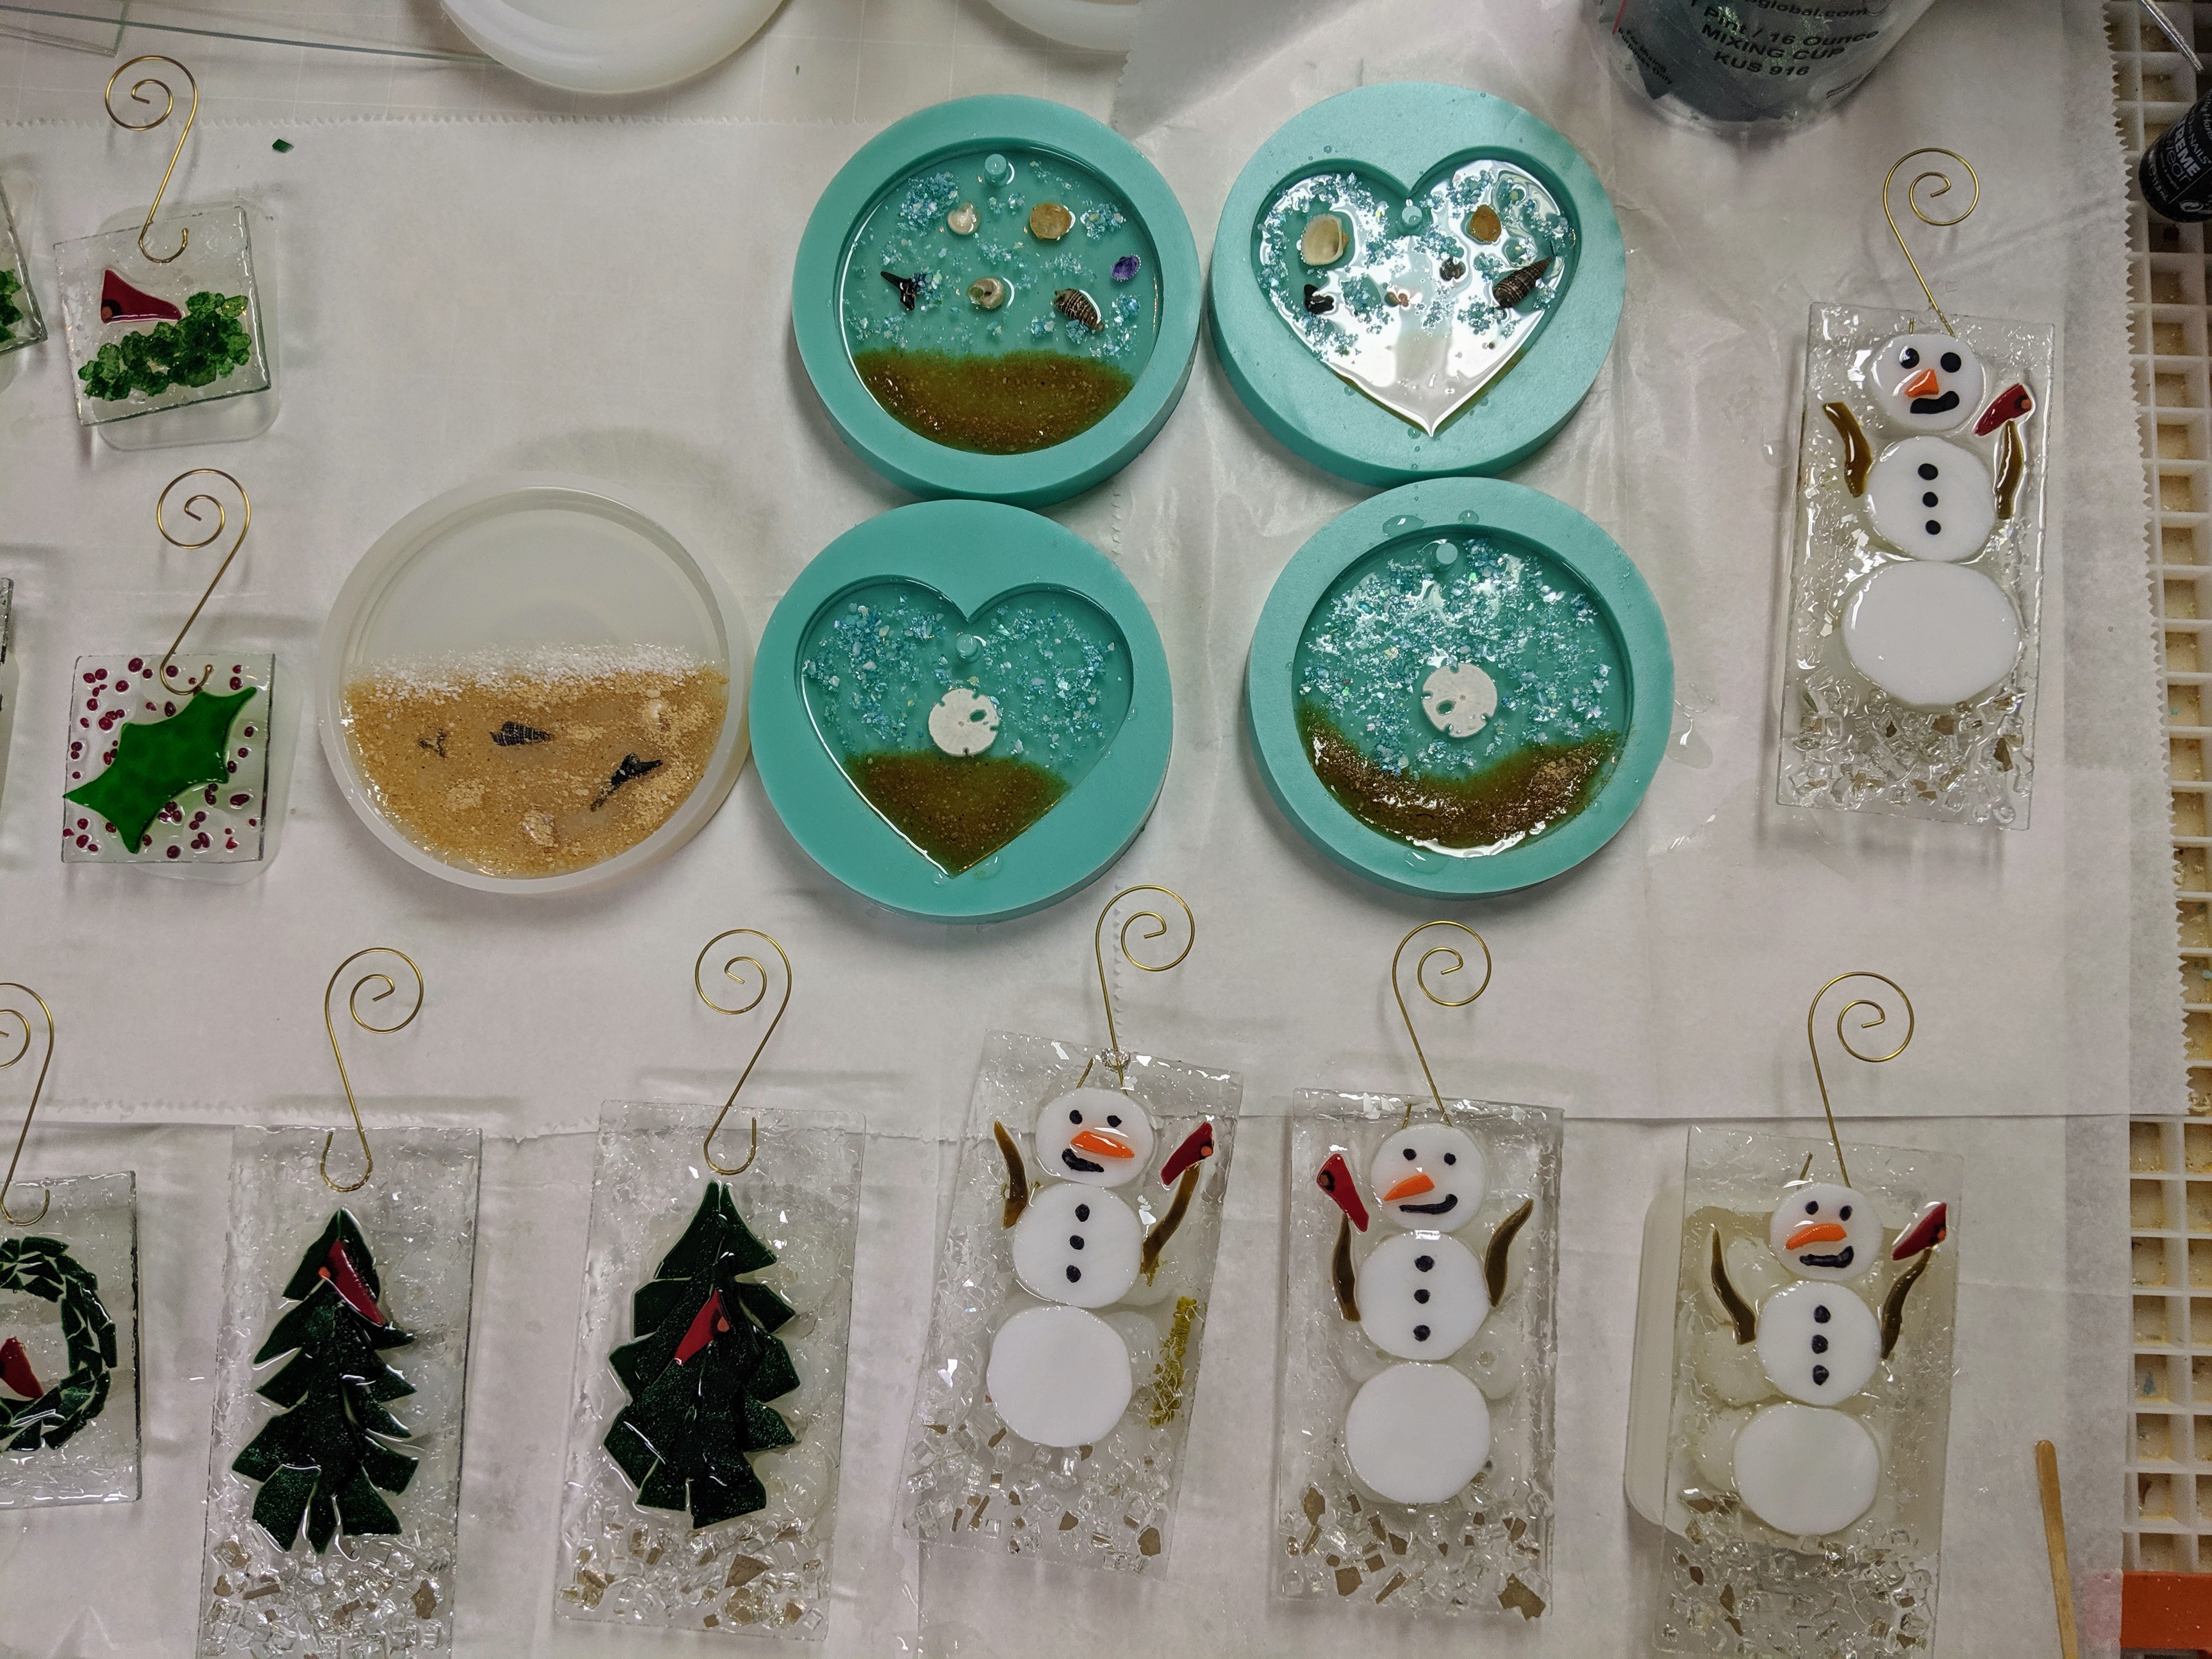
I used 200 ccs of resin for this batch, which was enough to add one extra coaster to the day’s work. I might have had just enough for the first half of one more coaster, but I wasn’t confident in the amount and didn’t try for two. I will have to pour another layer of resin on both the circle and heart shaped ornaments as well as the coaster.

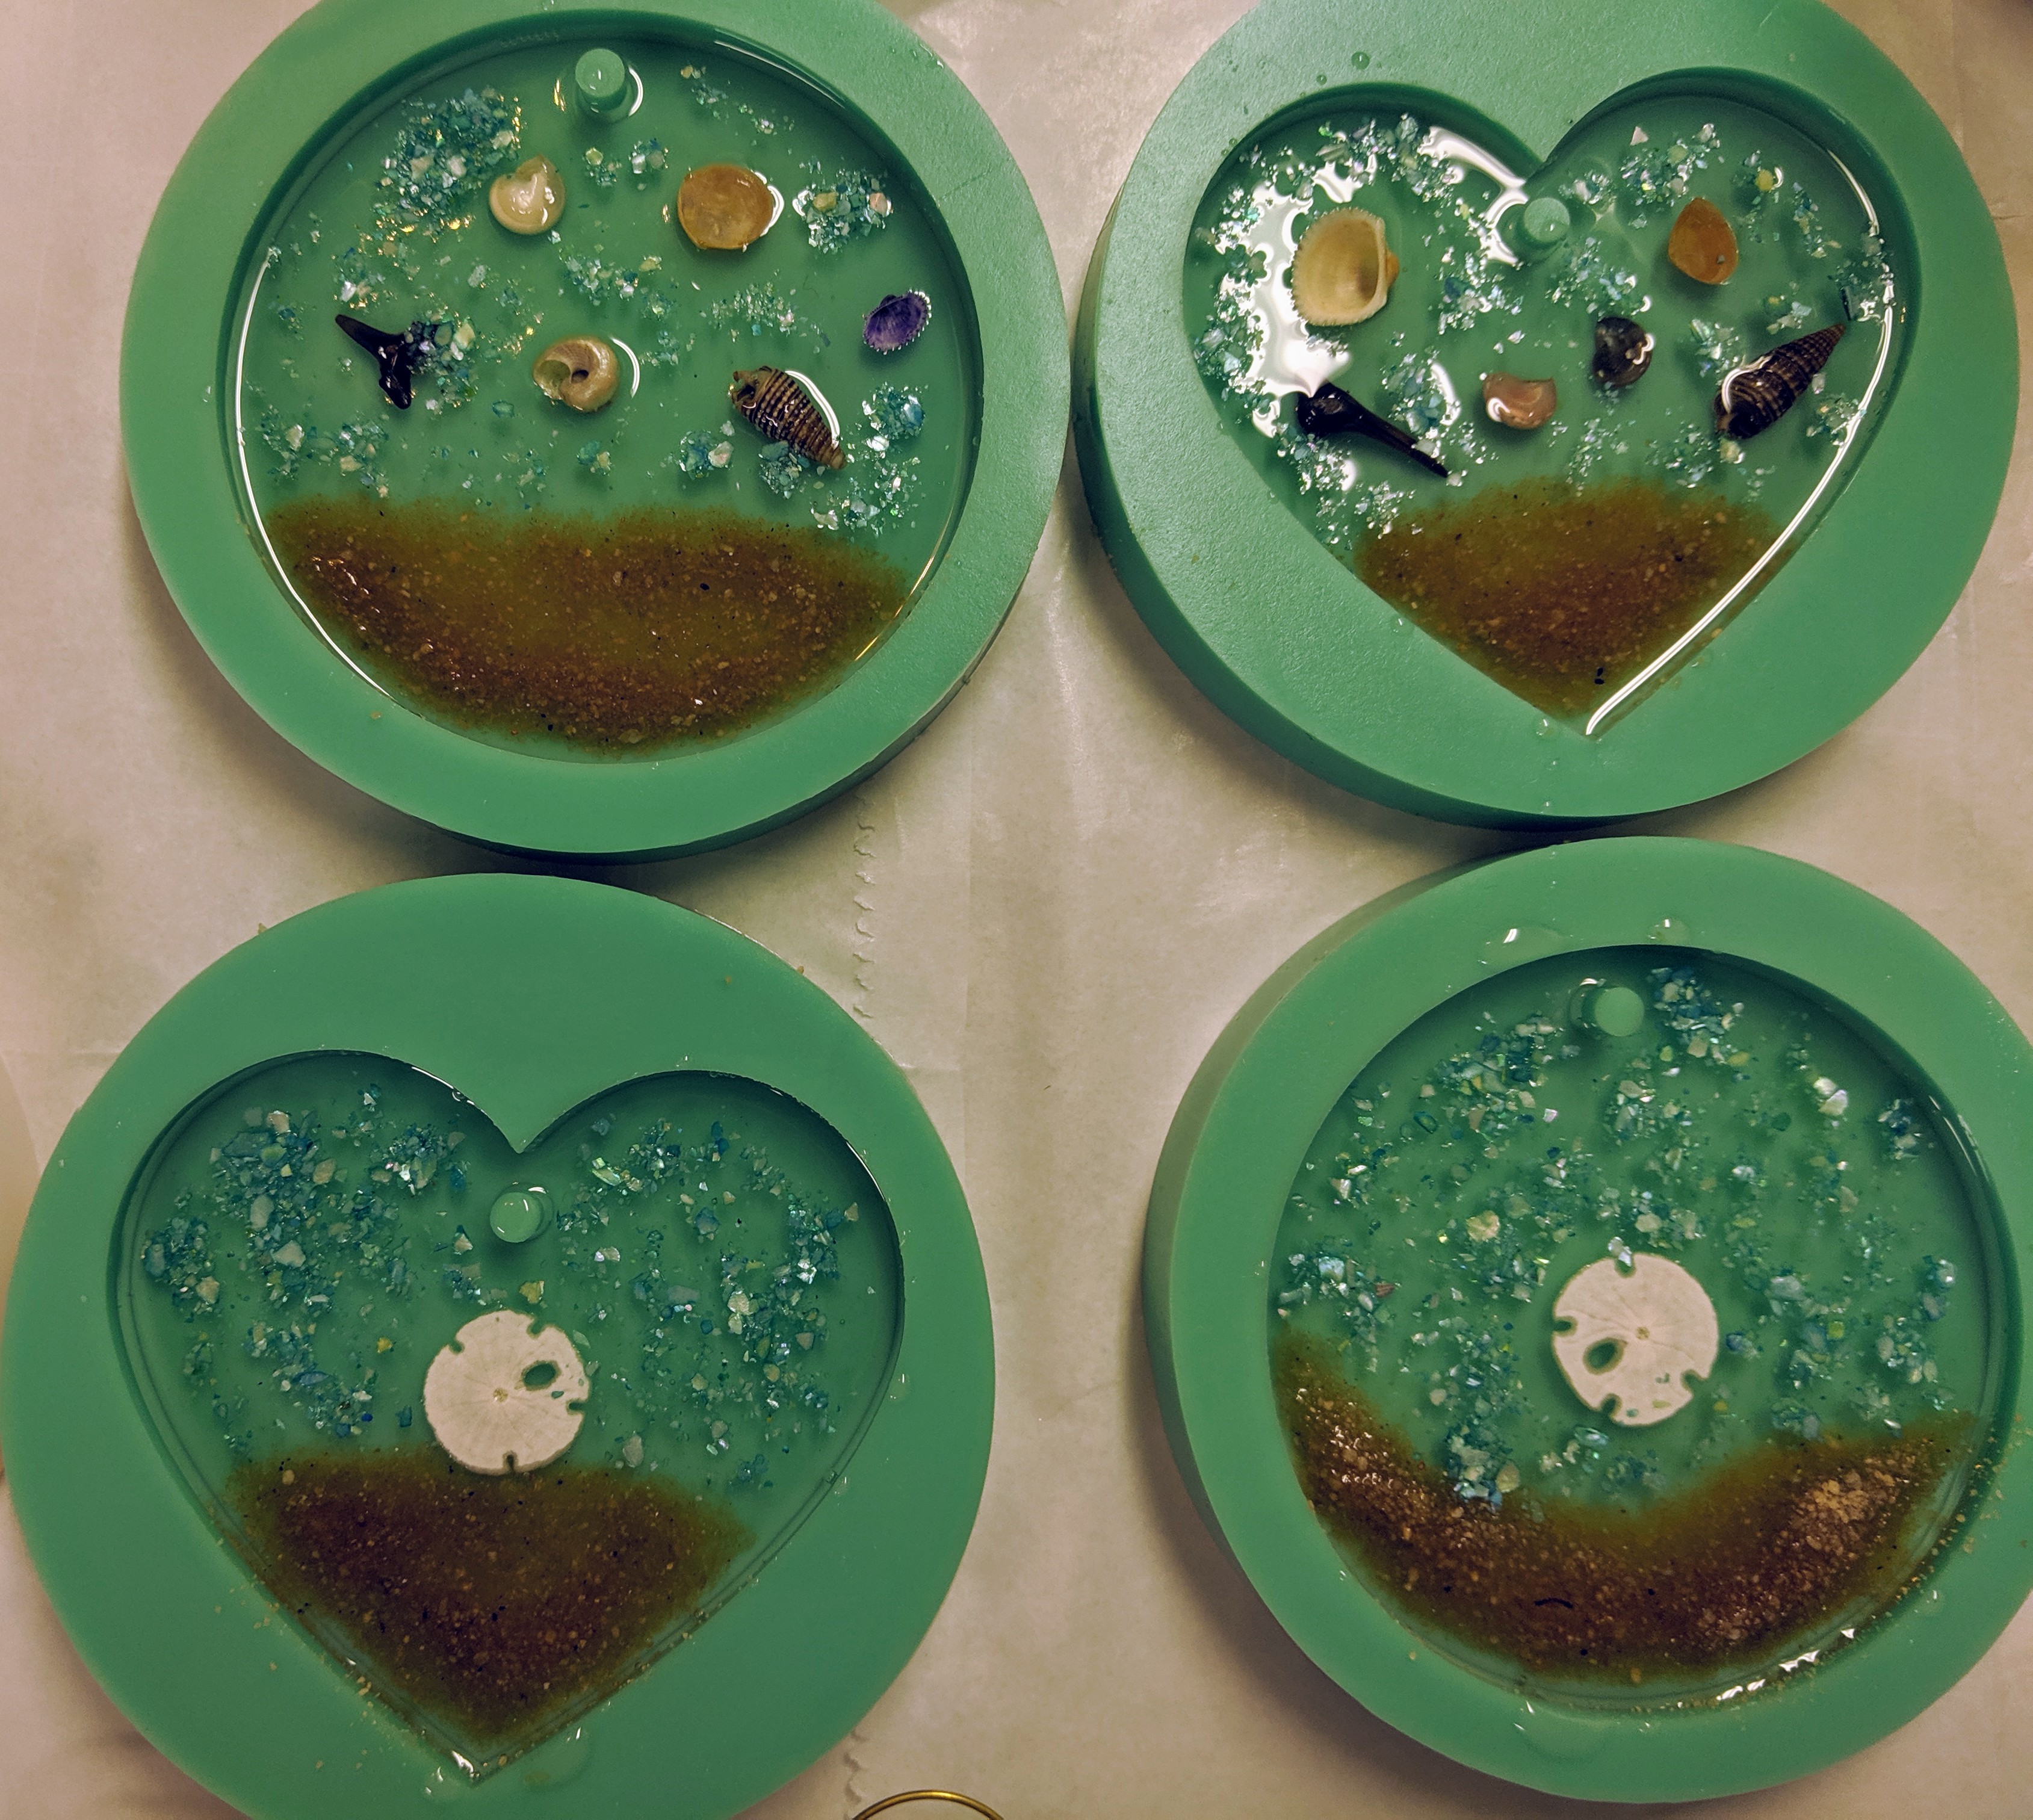
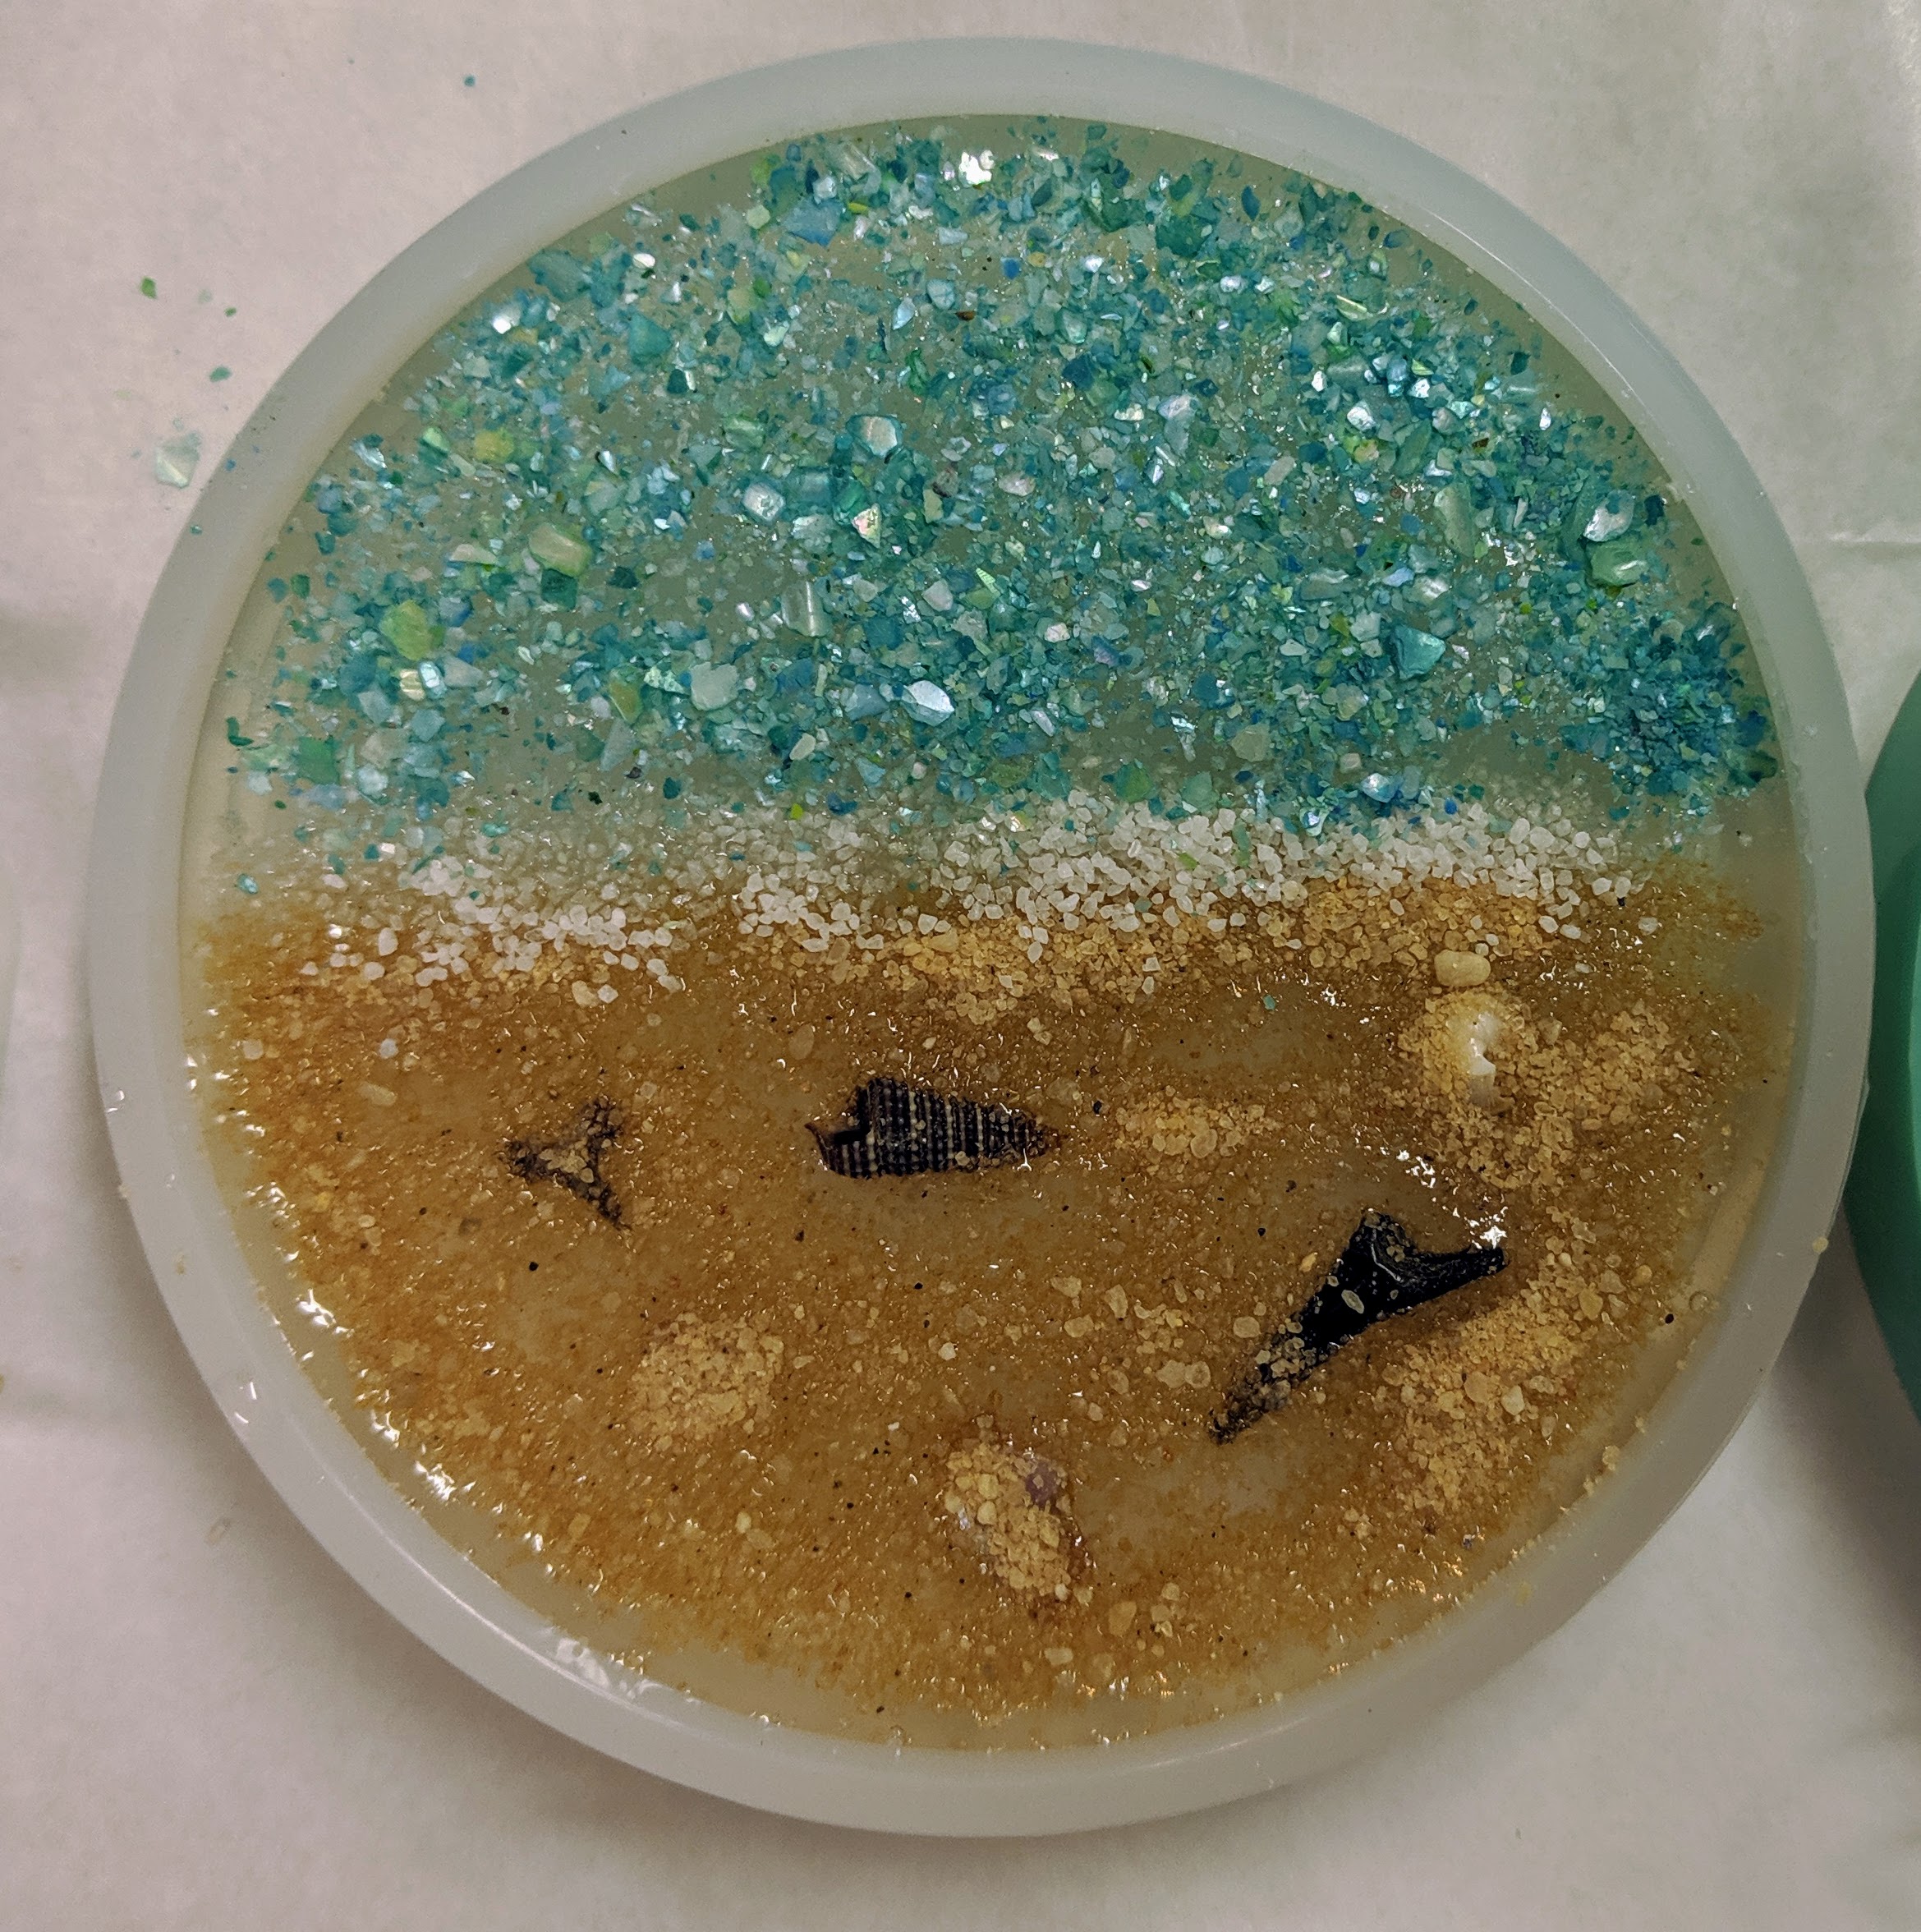
I decided to try adding all the layers to this coaster in the first half, though there was a time lag between the heavy shells / shark teeth, then the sand and lastly the water layer of blue shell chips, which were last and the resin was pretty thick by then.