Continuing to try and make some new things for the small, outdoor, masks required pop-up craft fair I signed up to do at 3 Matadors for December 5th.
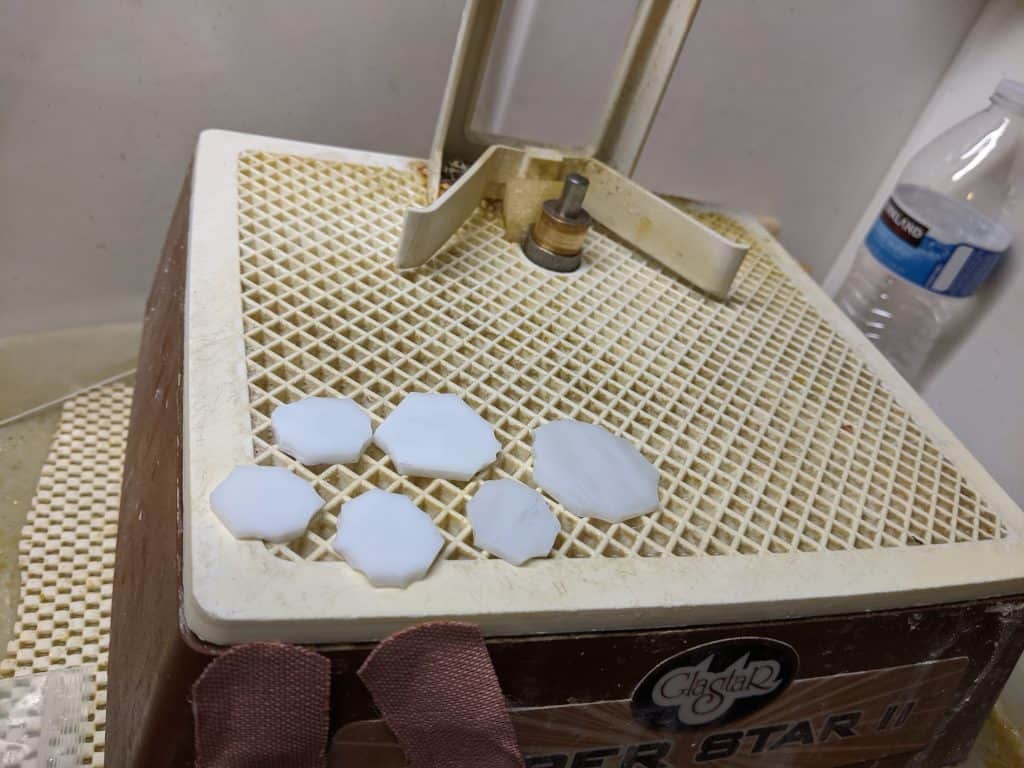
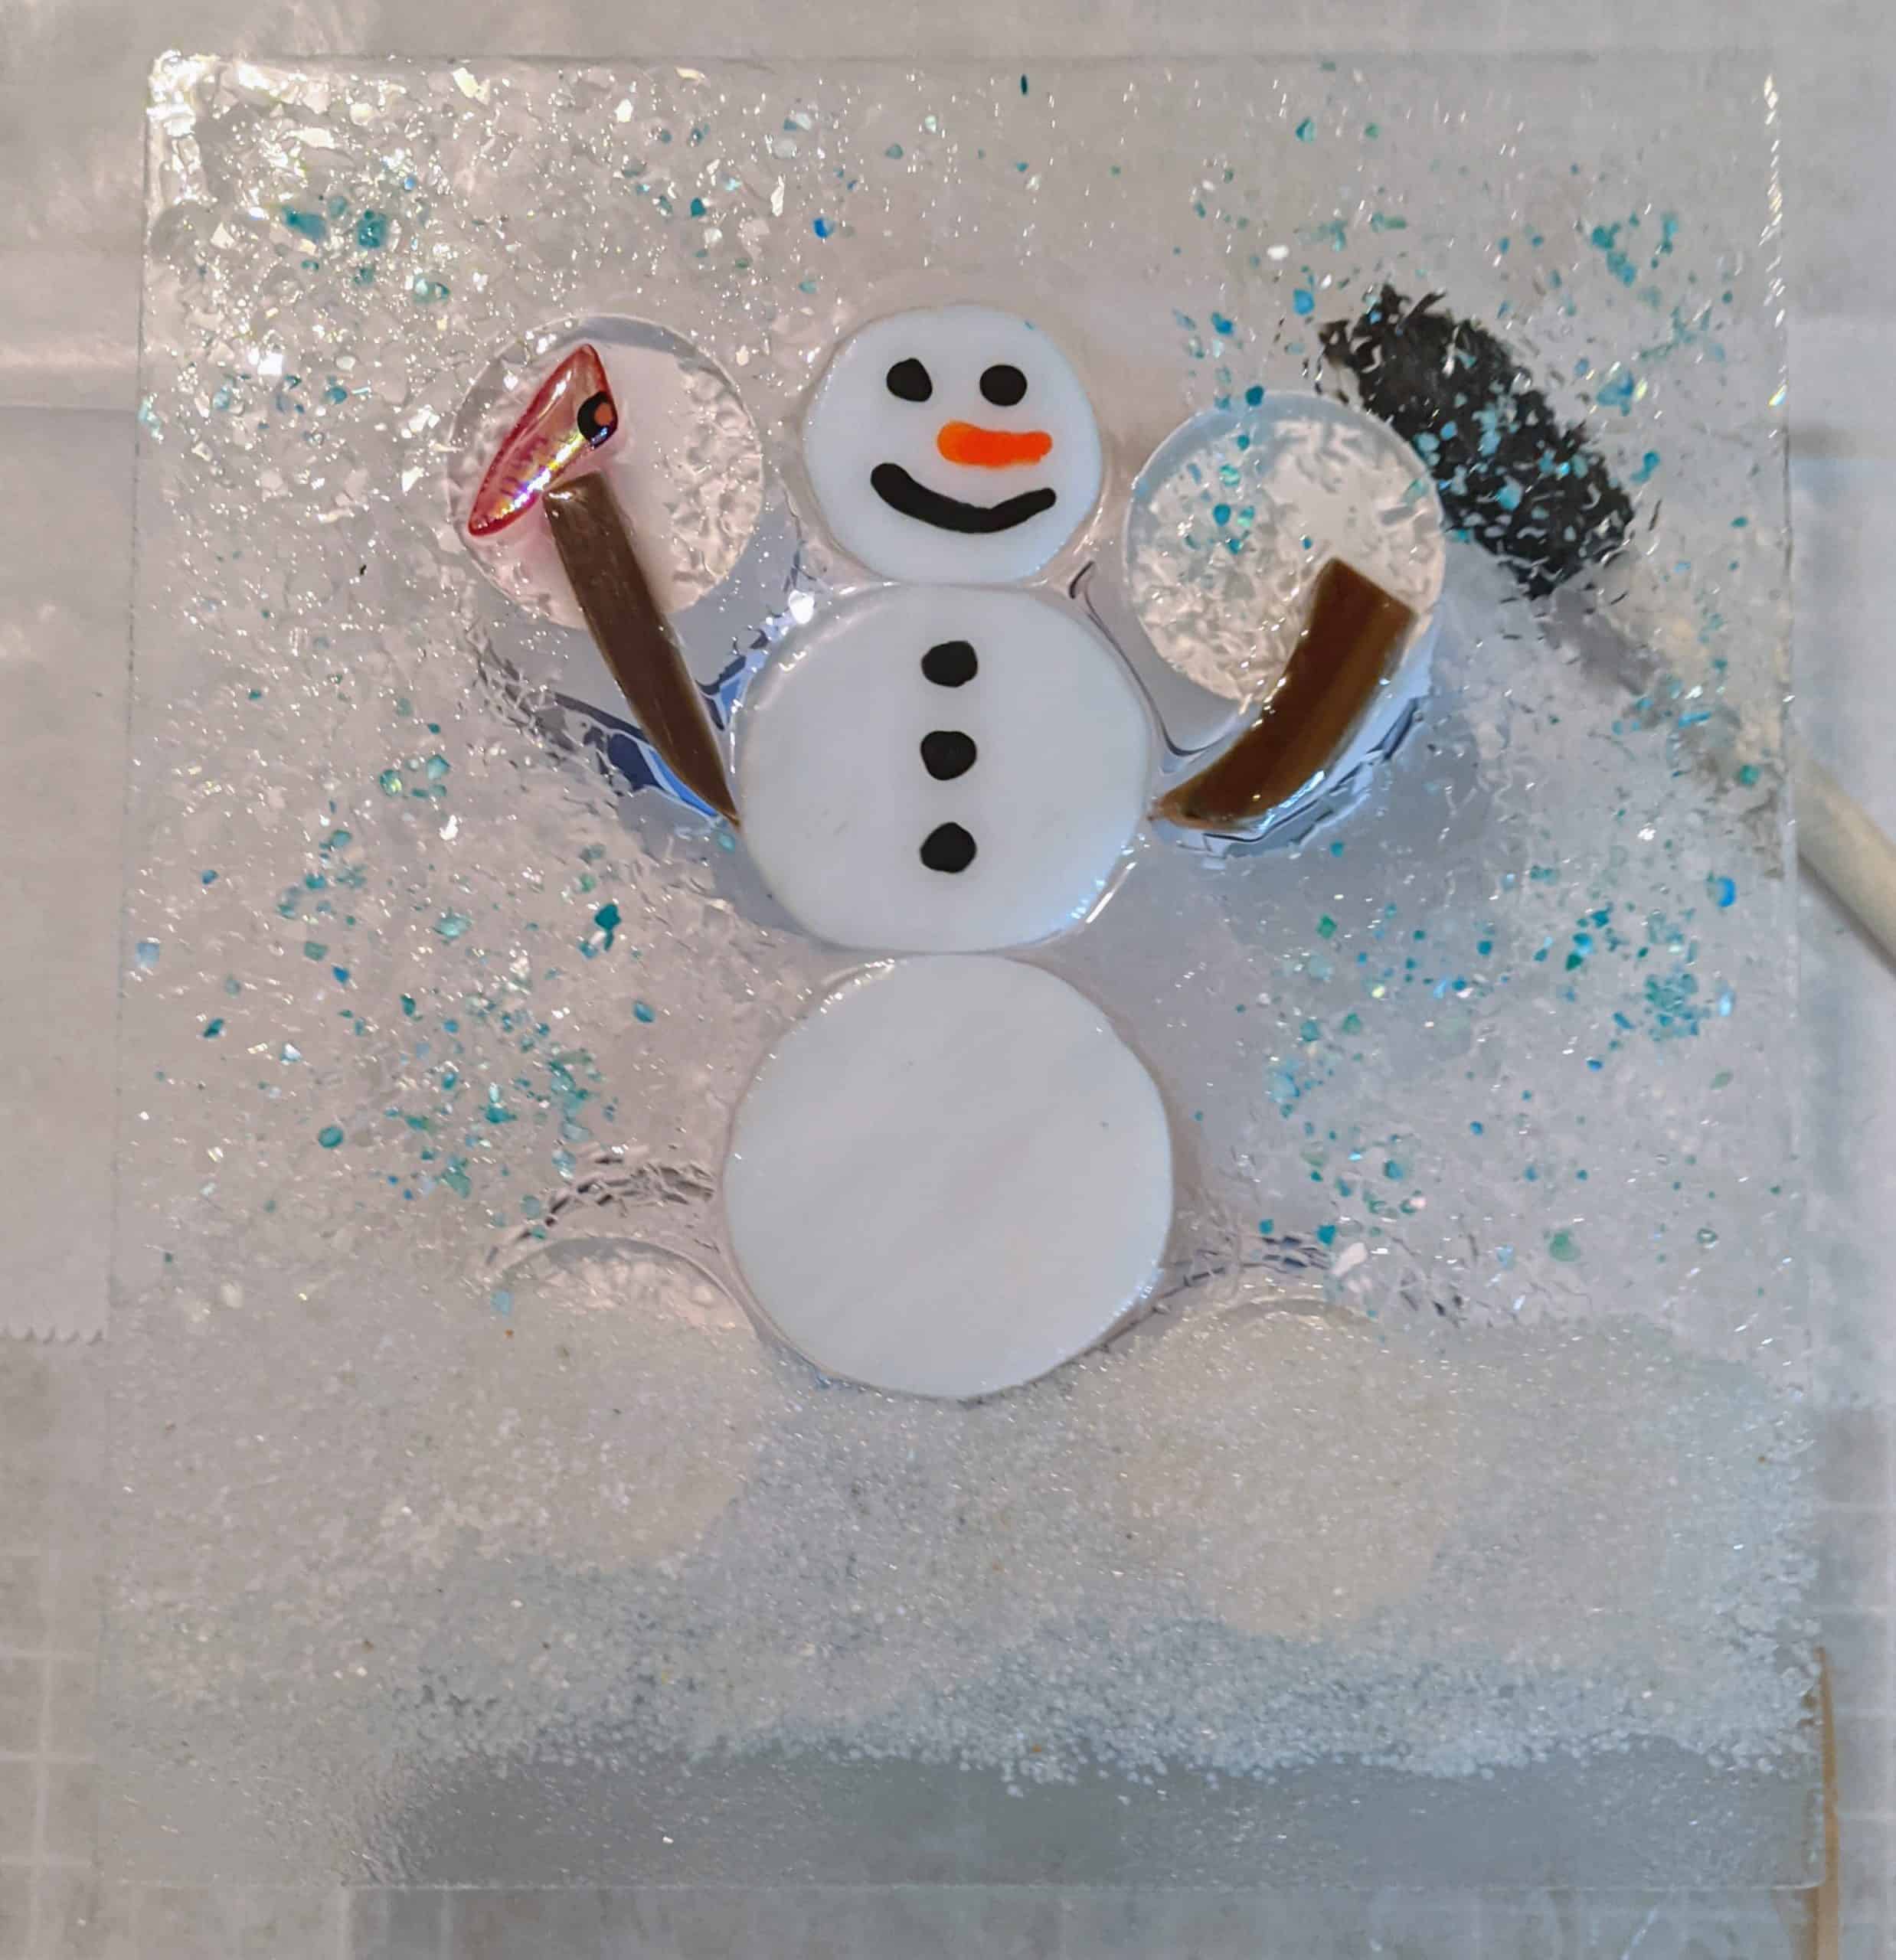
First I needed some more snowballs for snowmen, as I used up all the ones I had on hand. Back to the old grinder so to speak. 🙂
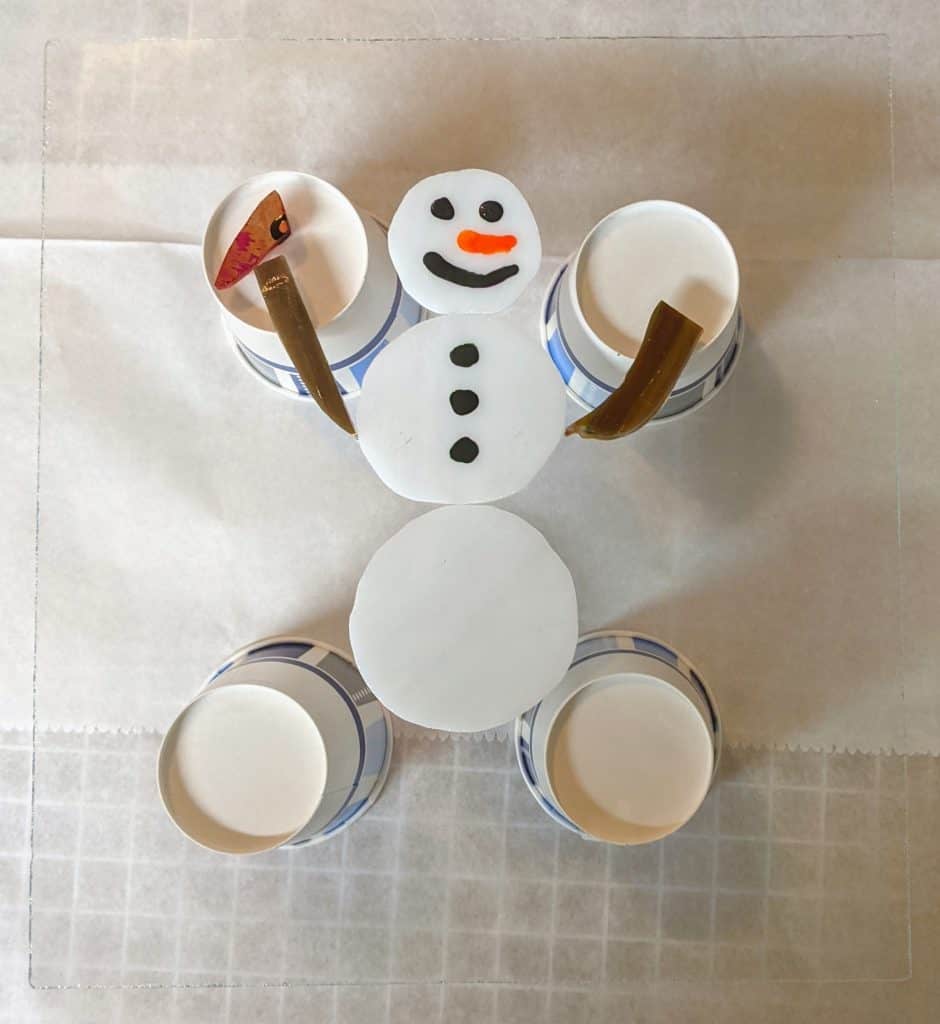
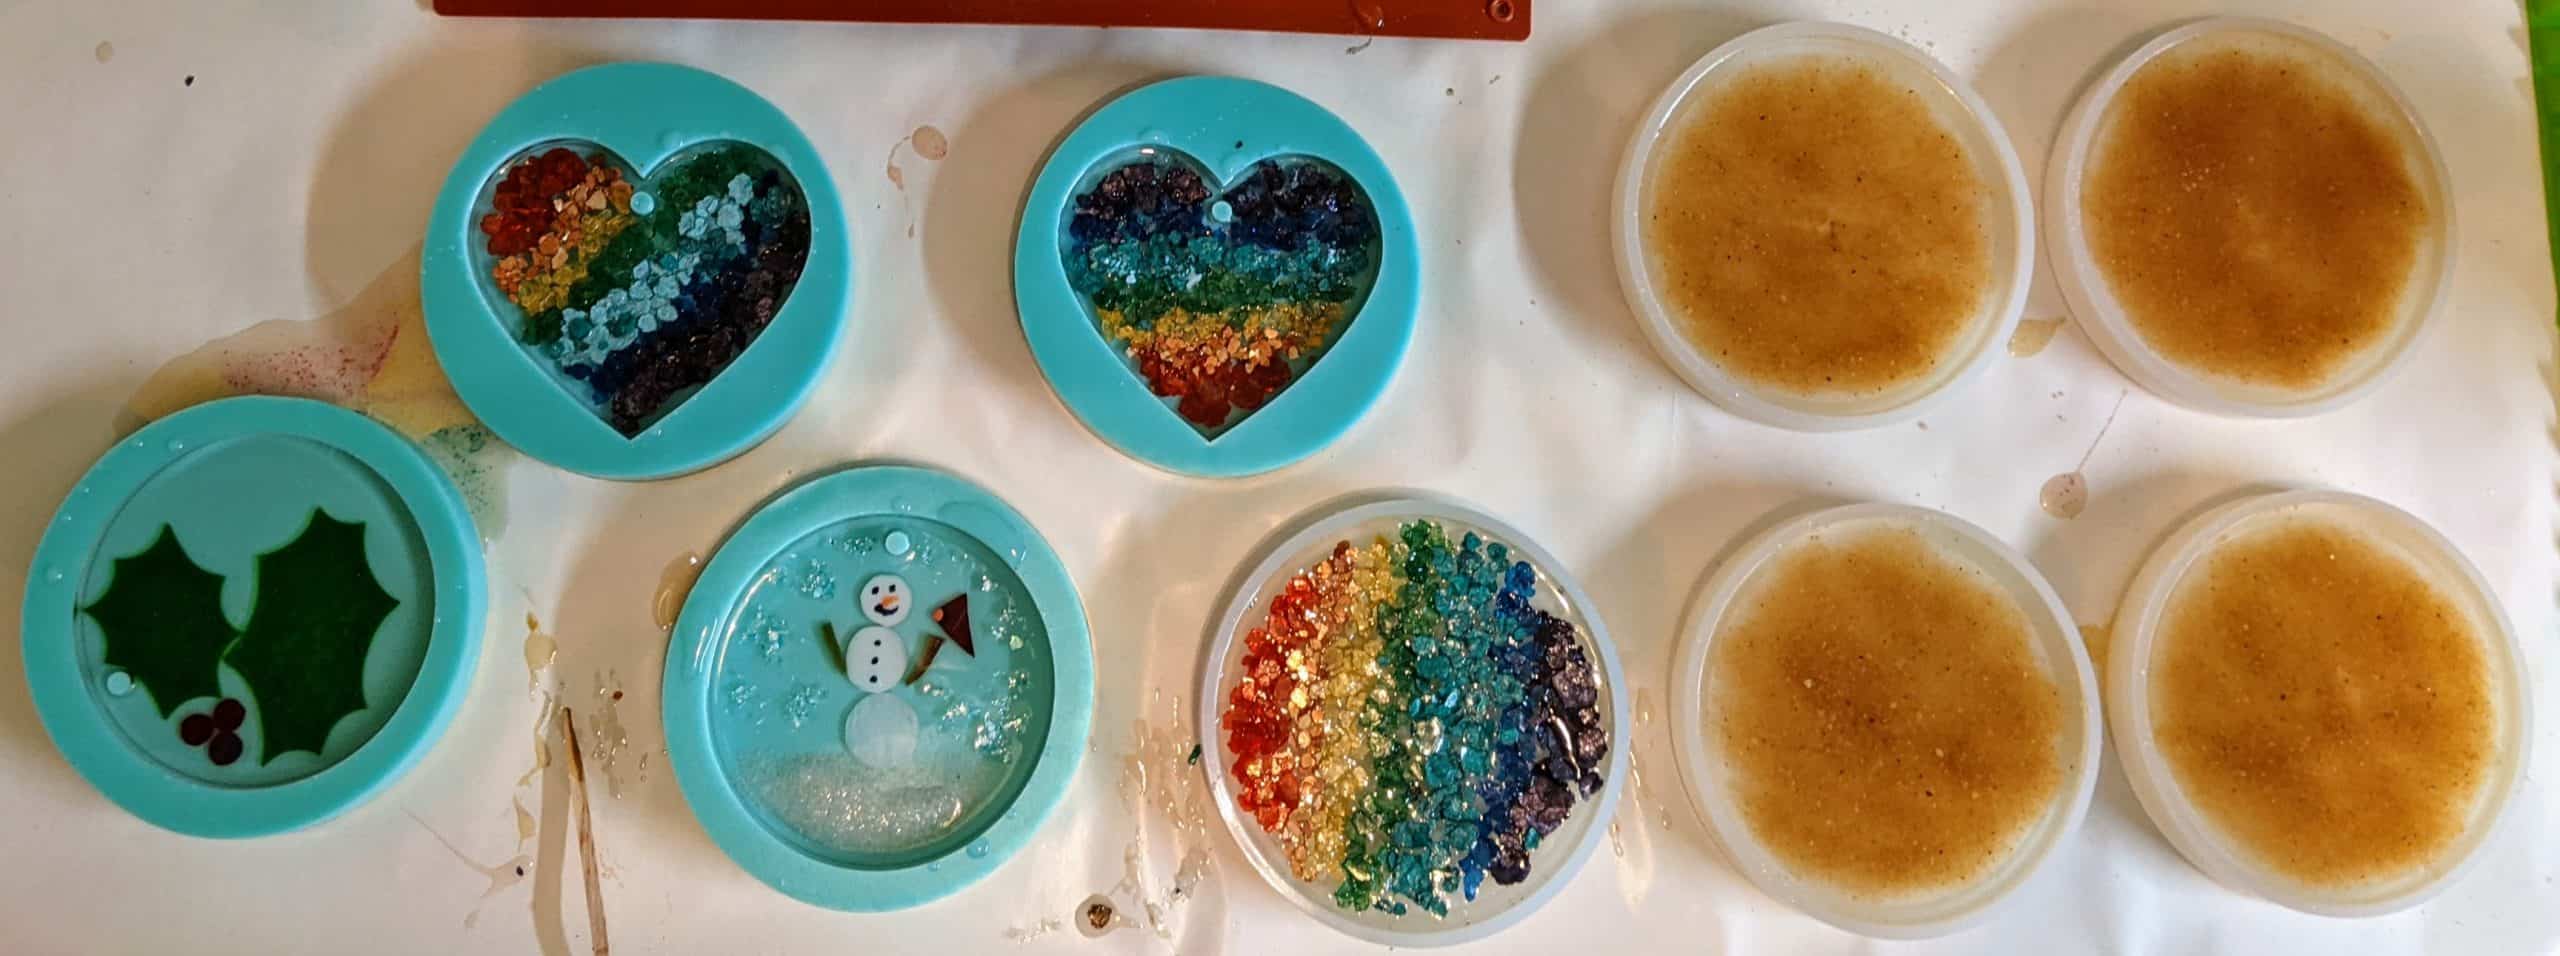
Making snowballs – rough cut then grind down to roundGetting the “big” snowman ready for resinLaying out all of my small projects to work on today
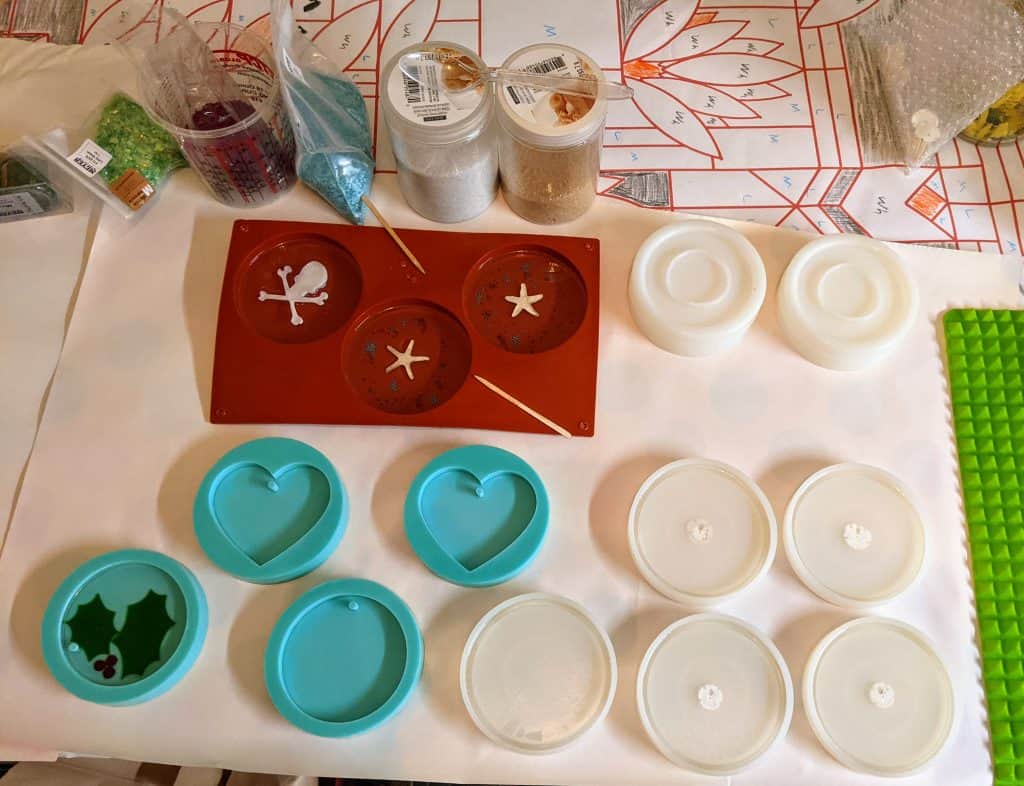
Before I start mixing my resin, I lay out all of my projects and needed supplies. Today was the second layer of resin on the holly suncatcher and all five coasters, though one will be a new coaster design and the other four will be sandollars in the sand. I like to elevate the larger projects like the snowman panel so I can reach any drips that happen. I sometimes tape the underside edge, but forgot this today.
After resin and decorating – ready to cure!
I’m trying out some new colors of mica for the rainbow projects. I think they will be really pretty!
Close up of the rainbows / snowman suncatchers and coasterSnowman panel curing
Now everything just needs to sit overnight to cure.
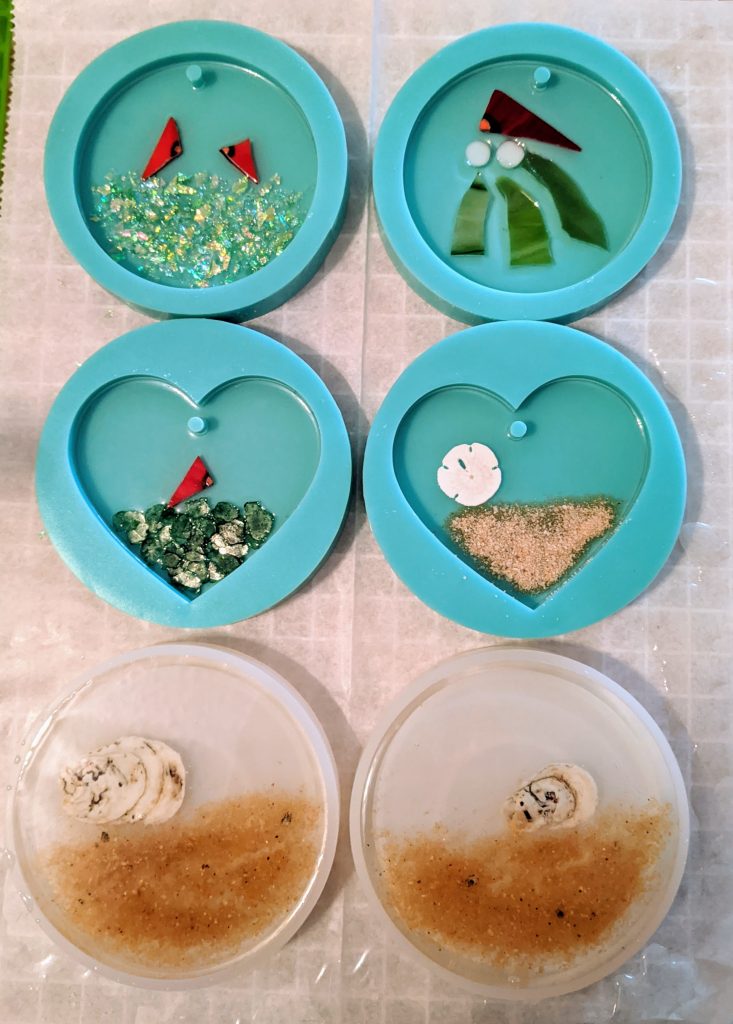
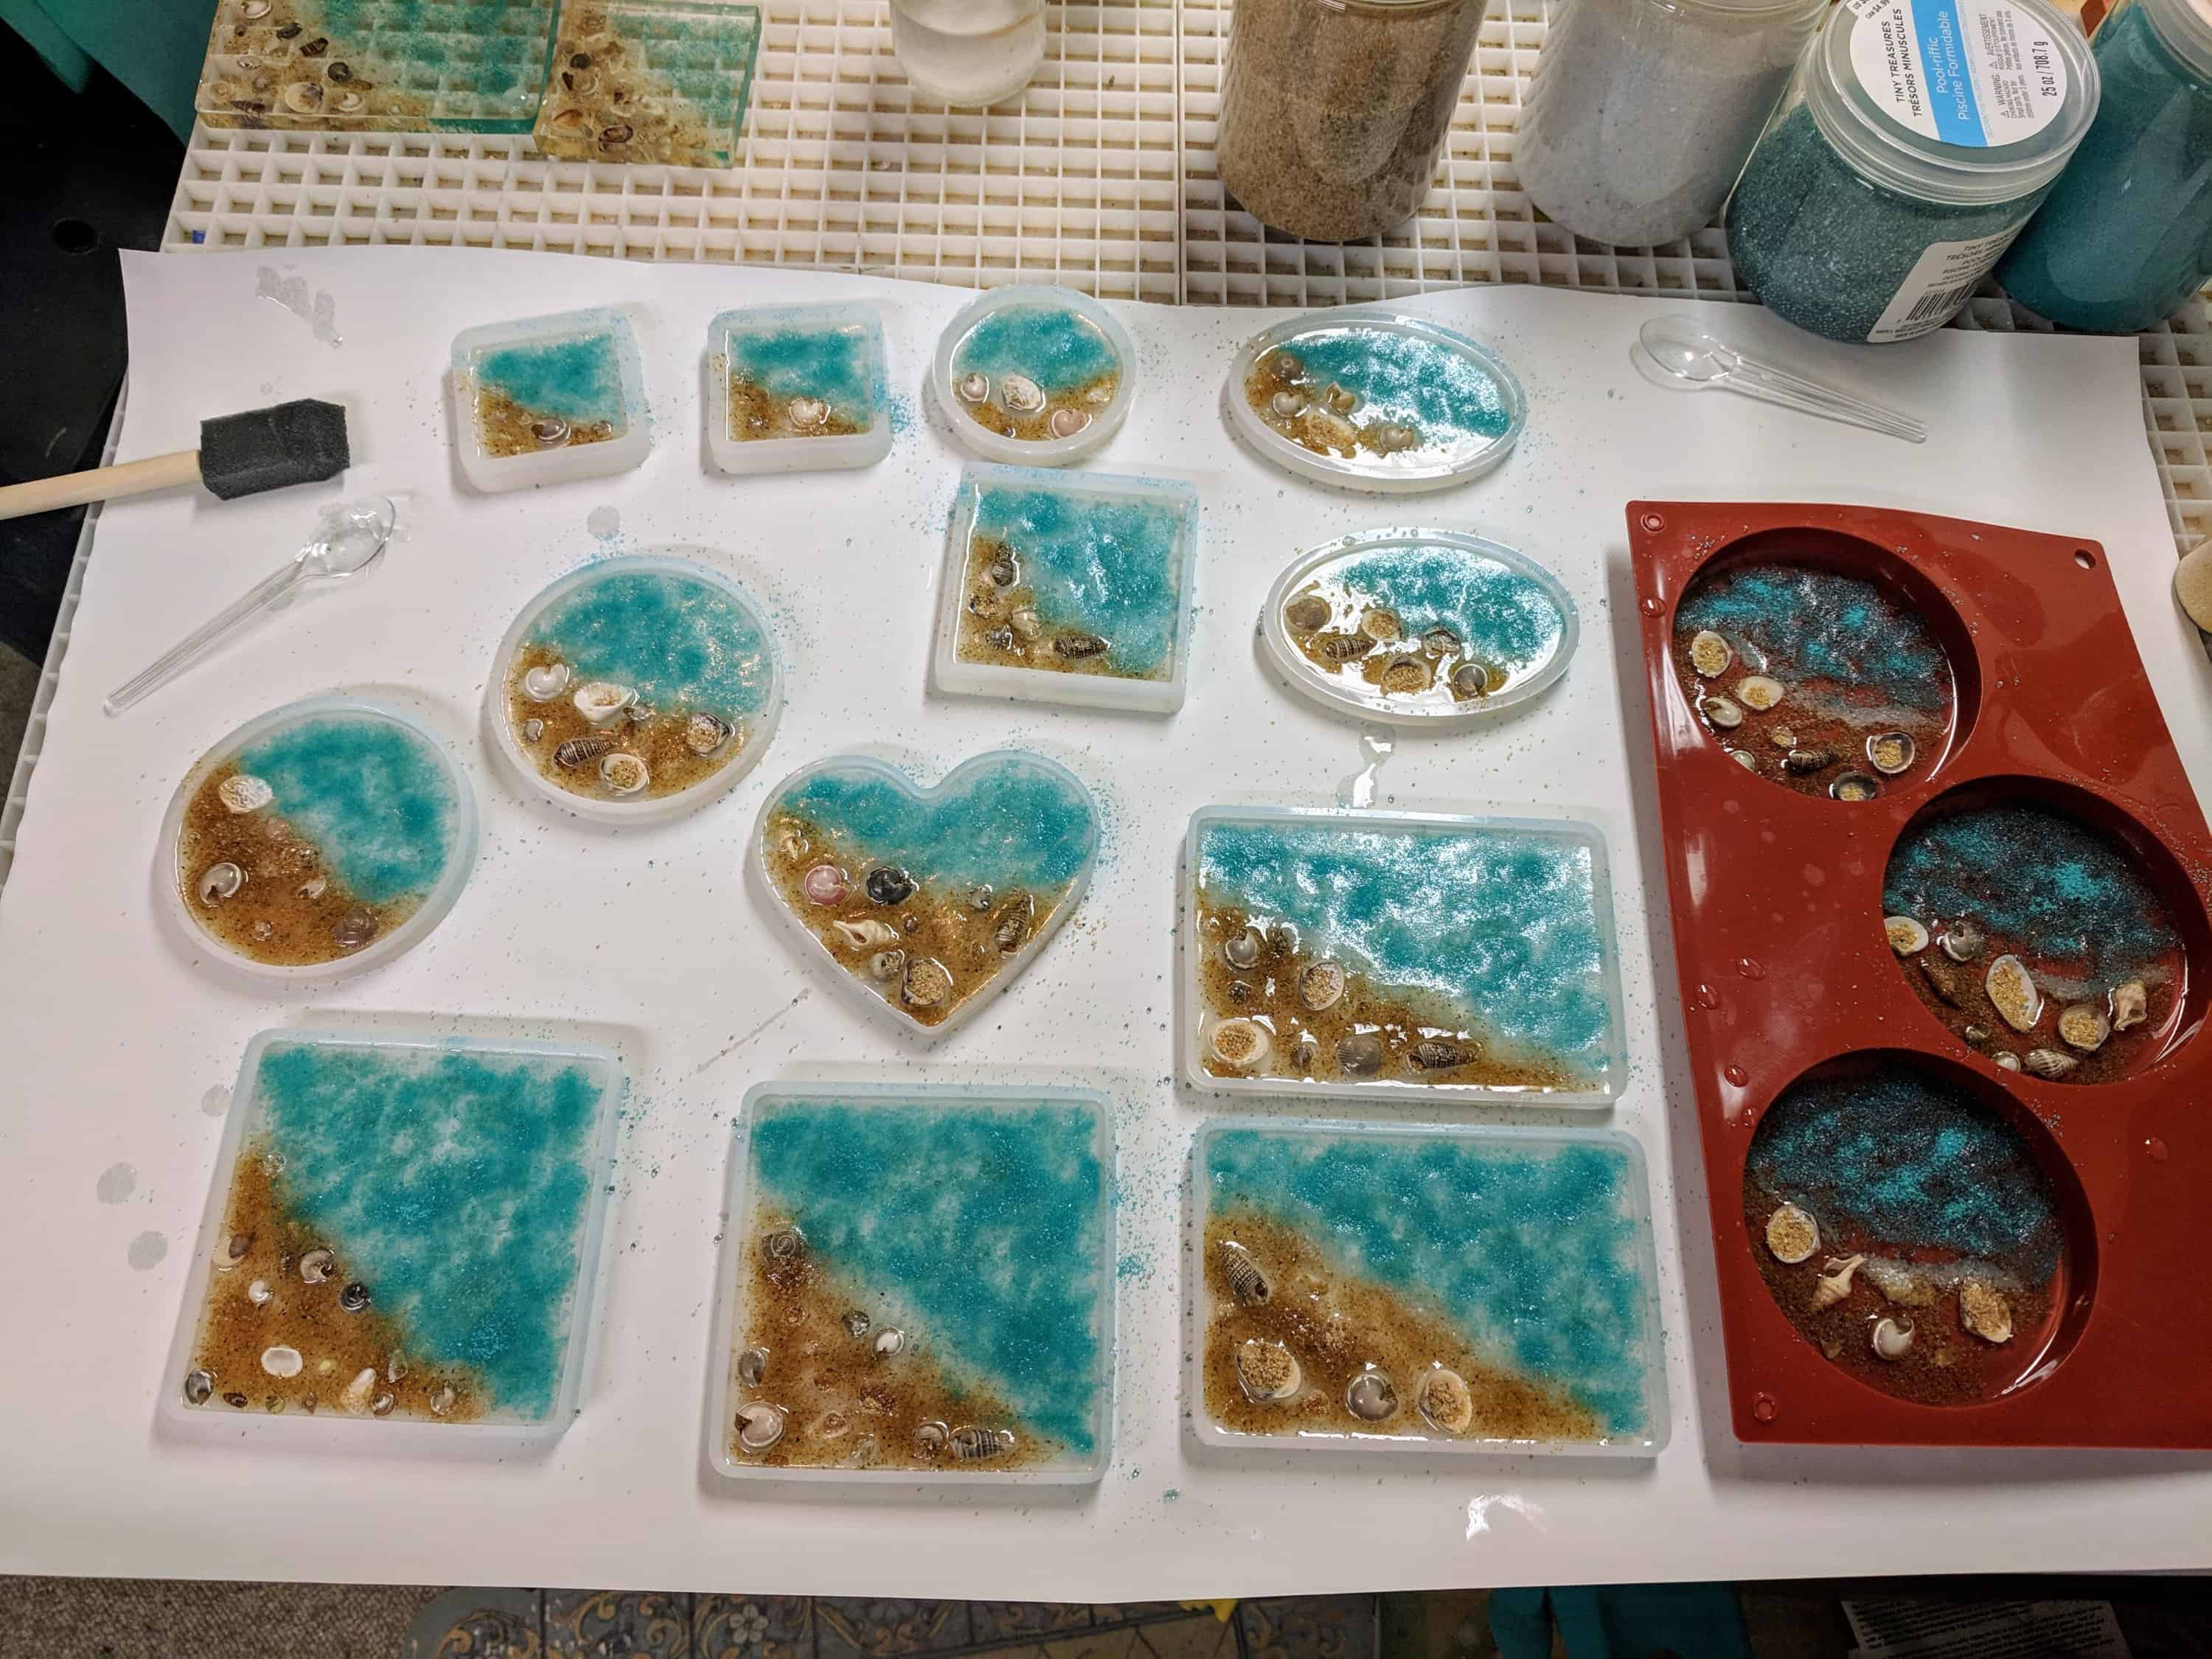
I decided to rotate the large Frank Lloyd Wright window I have been working on, and upon closer inspection of the “far” side, I decided to pour another thin layer of resin to address a few coverage issues. Since I was doing that, I mixed some extra resin to finish off a couple of coasters I’ve been working on and made a few new ornaments using mica, glass, sand, shells etc. I still have to pour a second layer on the ornaments, but the coasters should be ready to pop out of their molds tomorrow. The picture isn’t very good, but hopefully I’ll get some better ones once these are out of their molds.
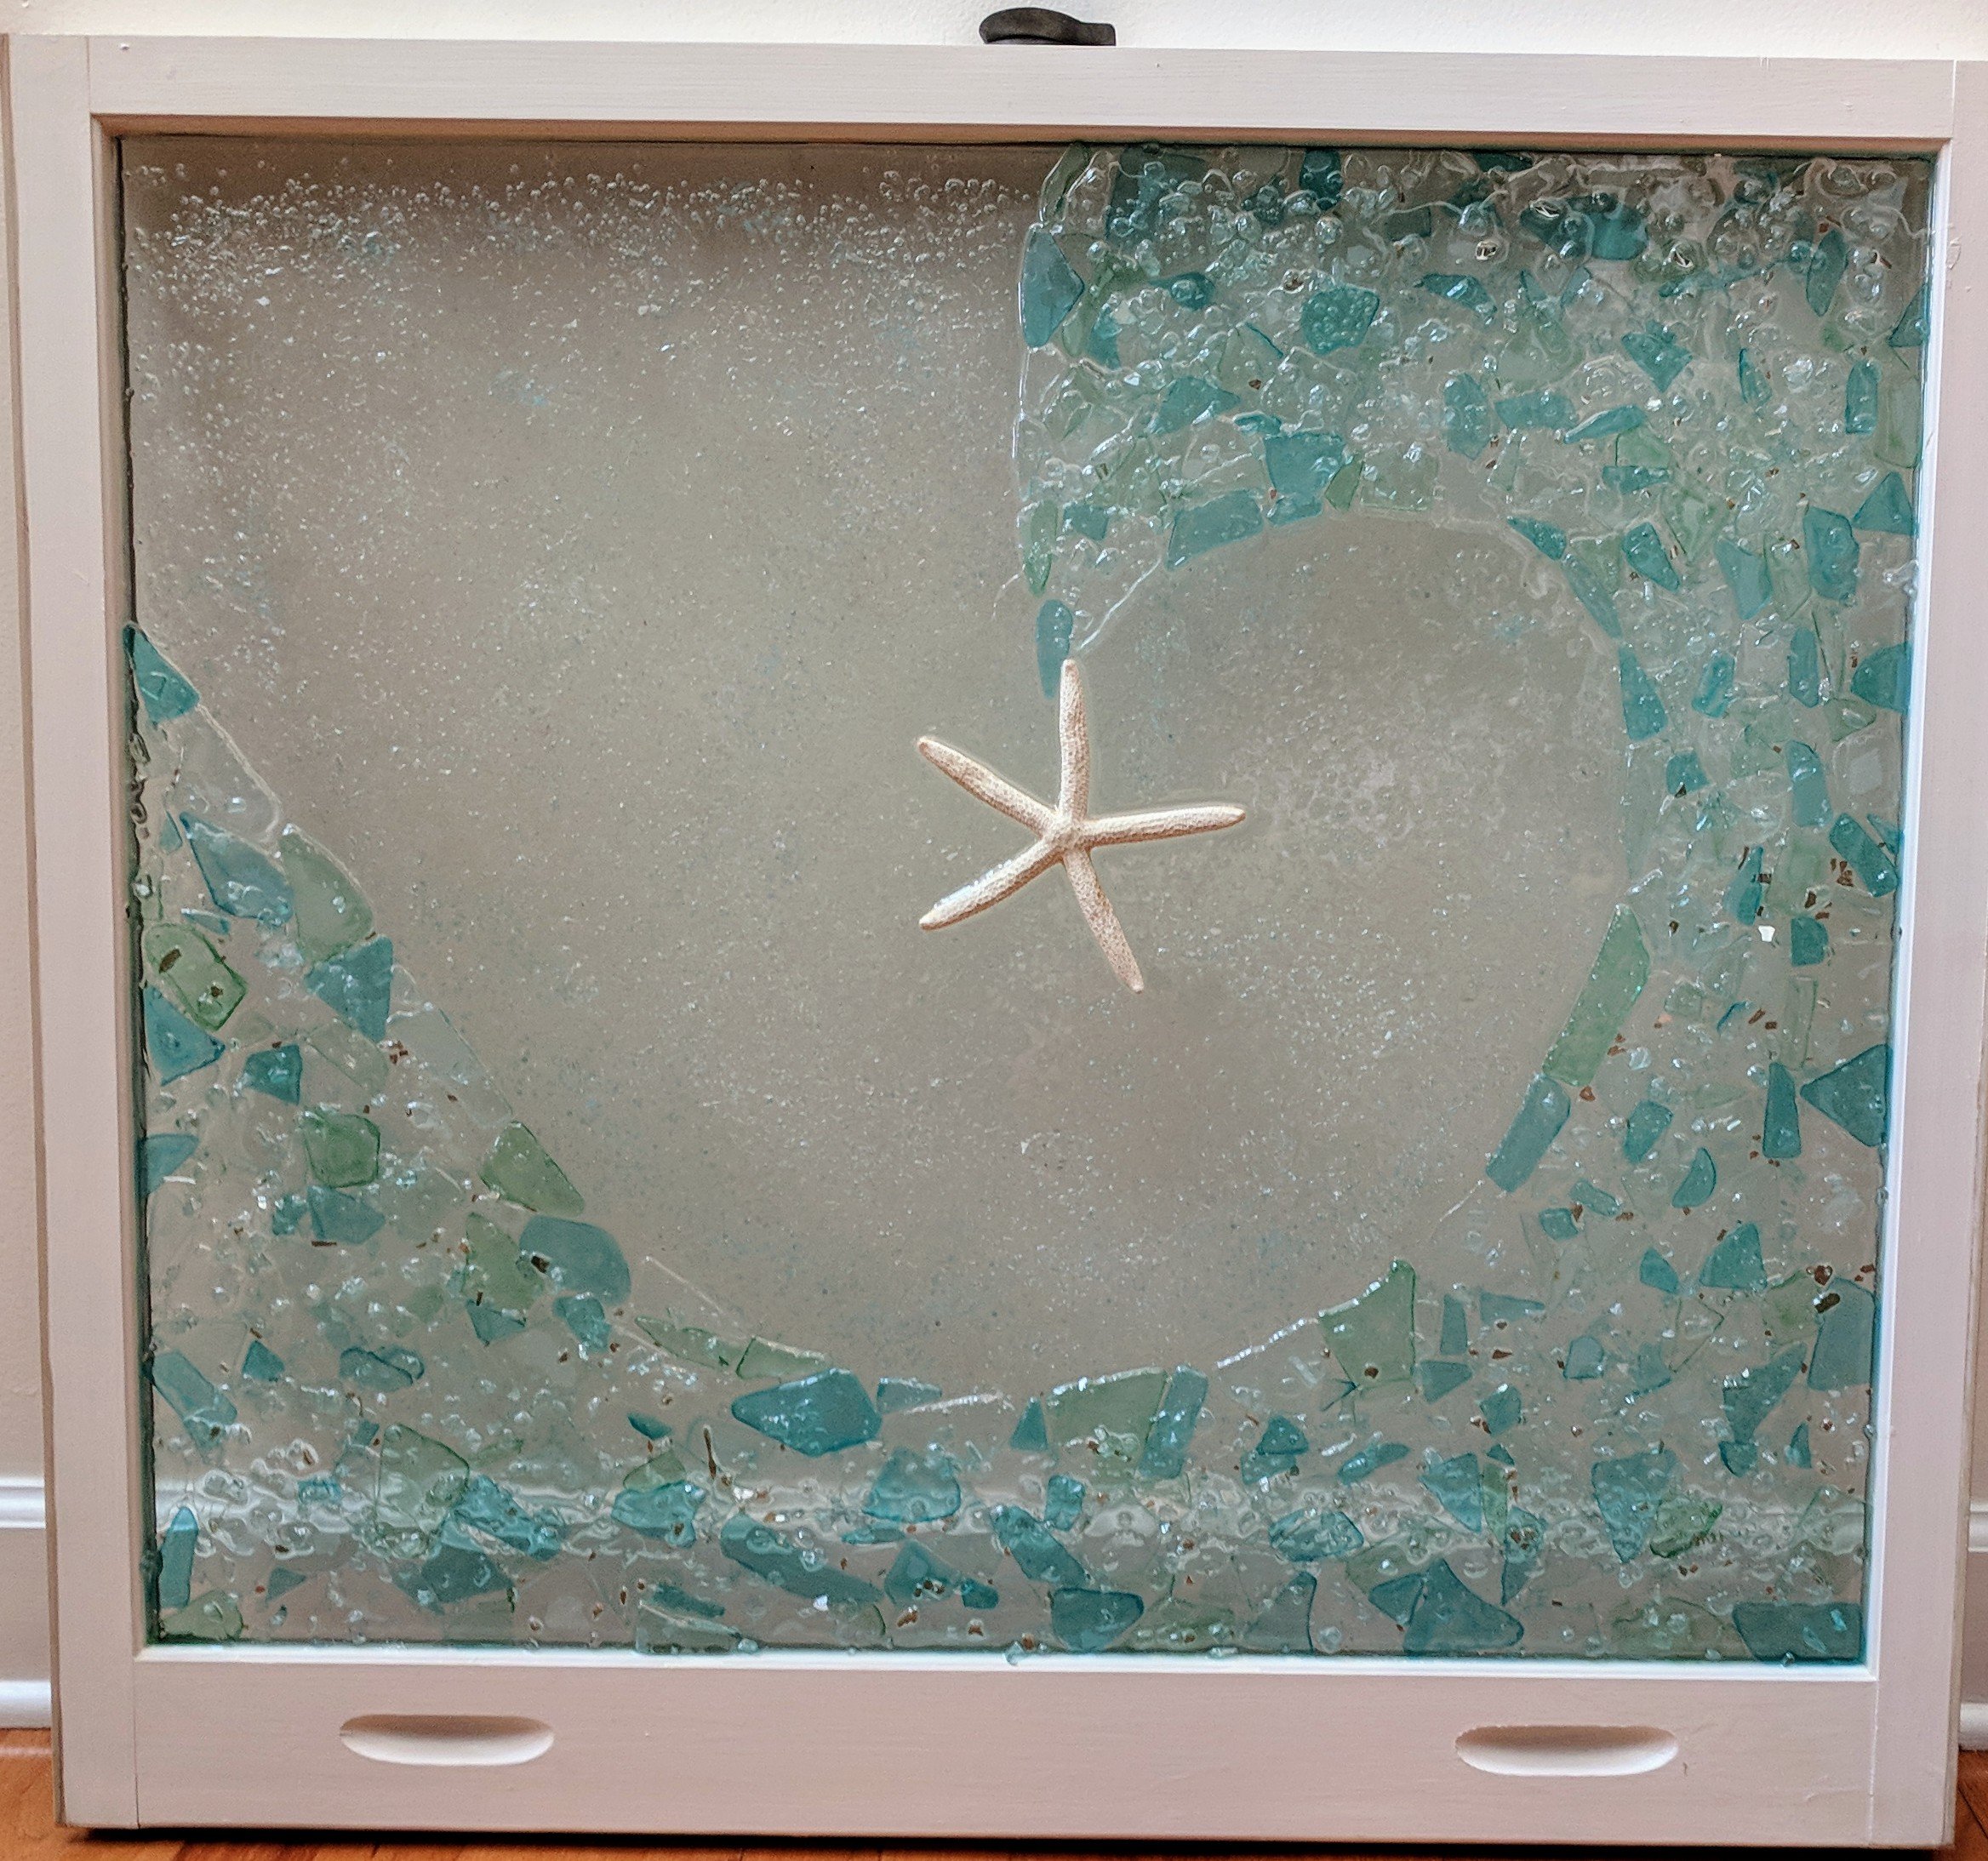
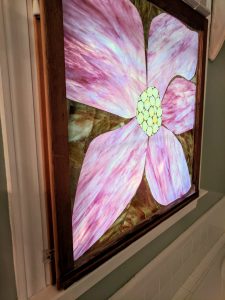
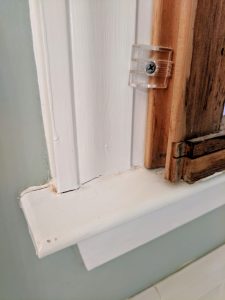
Once you have one of these windows of your own, how do you display them? My favorite way is to just display them over the inside of an existing window. Most of them fit the space (being old windows themselves). The down side is you have to go through some hassle if you want to open the covered window. However, there are many situations where this is just fine or even desirable. For example, in my bathroom, I have two windows that both happen to be on the front of my house, so if you are standing on my front porch, you could peer right into the bathroom. Not much privacy. So I mounted this Clematis flower in the window over the tub. We can still open the top half of the window if we want, but we usually just open the other window that is in the same room if we want some fresh air. It couldn’t be easier, either – just get a couple (four is really probably best) of inexpensive mirror mounts at the hardware store and screw them into the window trim. The window sill provides support, as well. See below.
There are other ways to do it, but this is my favorite way – easy and very sturdy / secure. Another way is to use eye screws and put them into the wood frame. This method is better if you need to open the window behind the mosaic, but can be tricky with old windows that might not have the best frame.
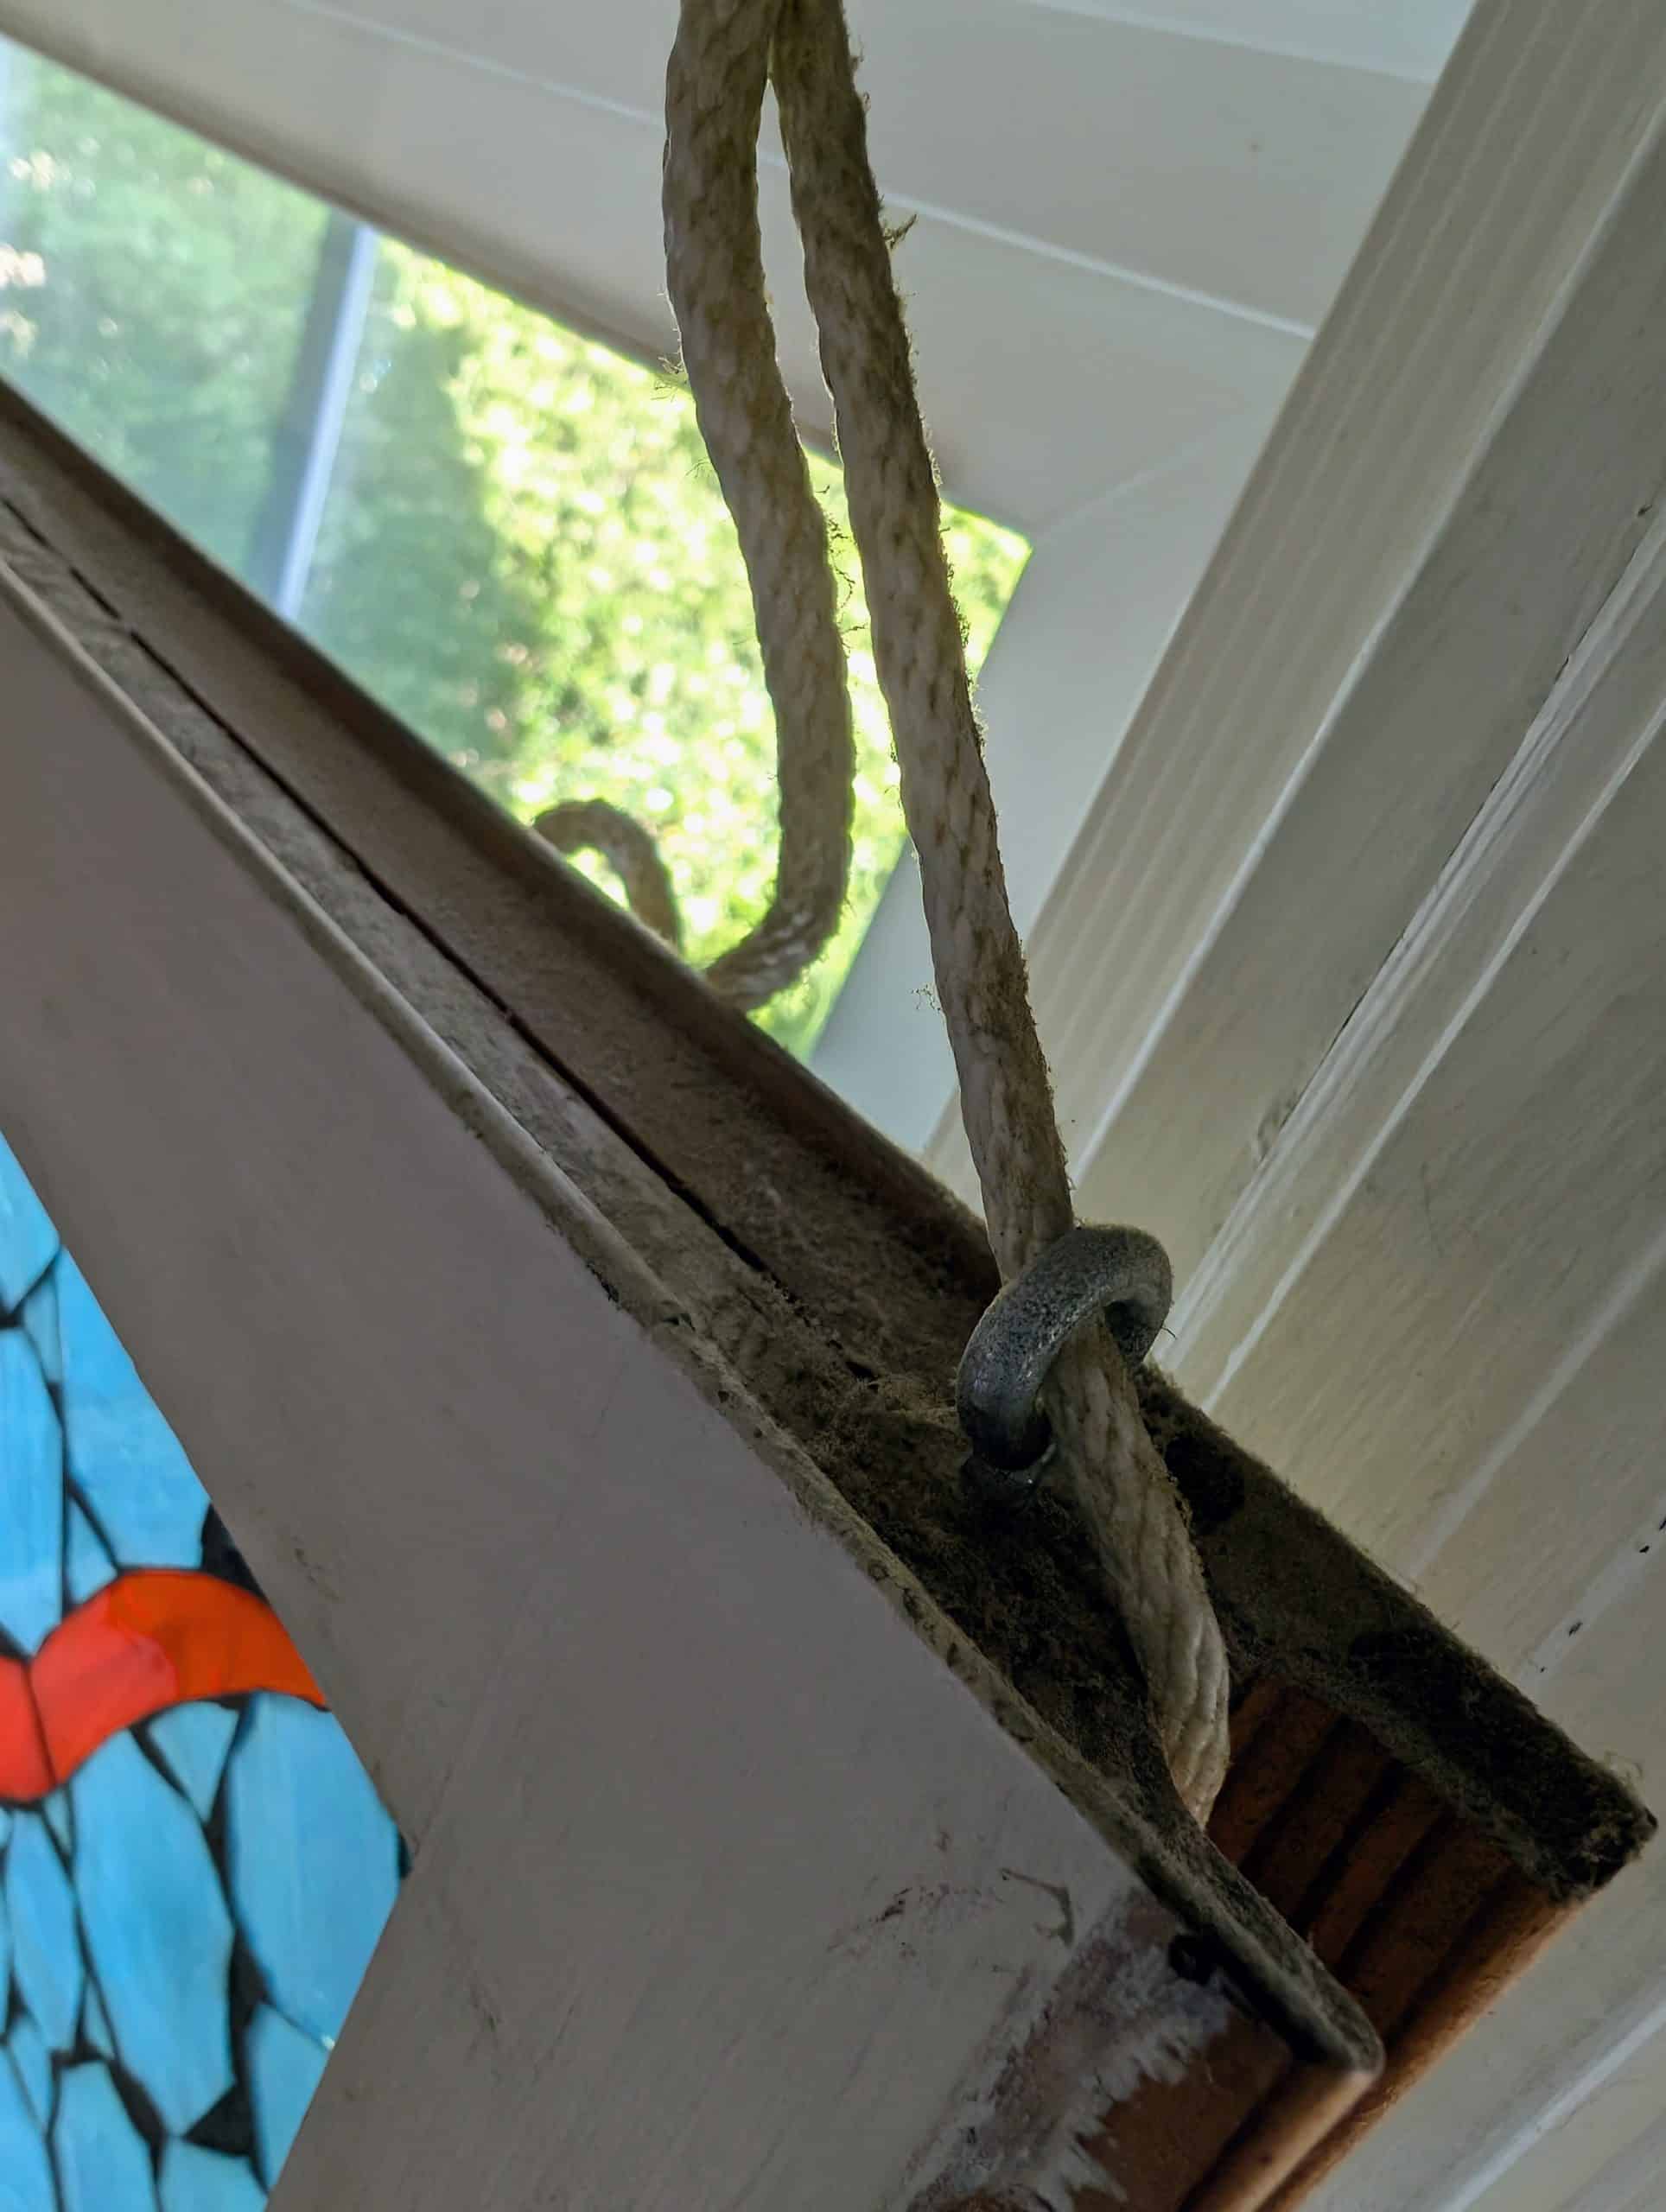
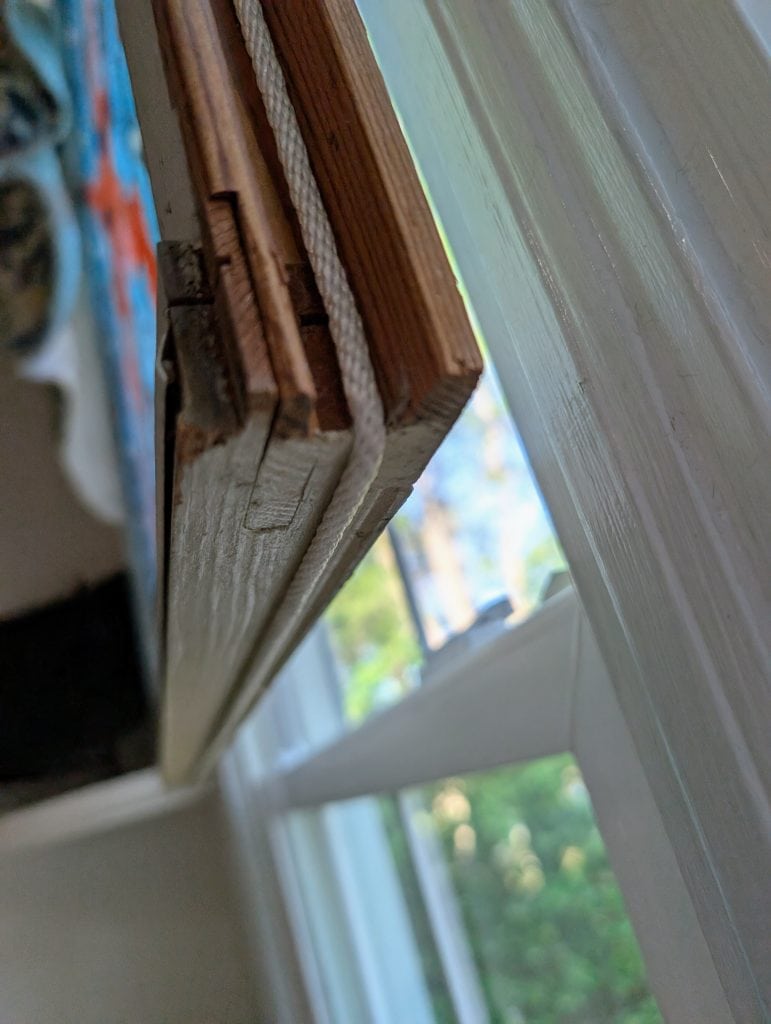
For heavier windows, you can use the below method, where you run a support cord underneath and around the window frame u-channel. In this case, I installed heavy eyelet screws (included with windows I make) on the top corners, strung a cord through one, around the right side, bottom and left side and back through the other eyelet screw. The cord was then tied off with a standard loop knot and hooked over large hook screw mounts that had been installed in the wall. The below window has been hanging in my kitchen for 20 years.
Heavy mosaic Cord along edgeDetail of cord / eyelet screwCord secured to wallCord bottom corner
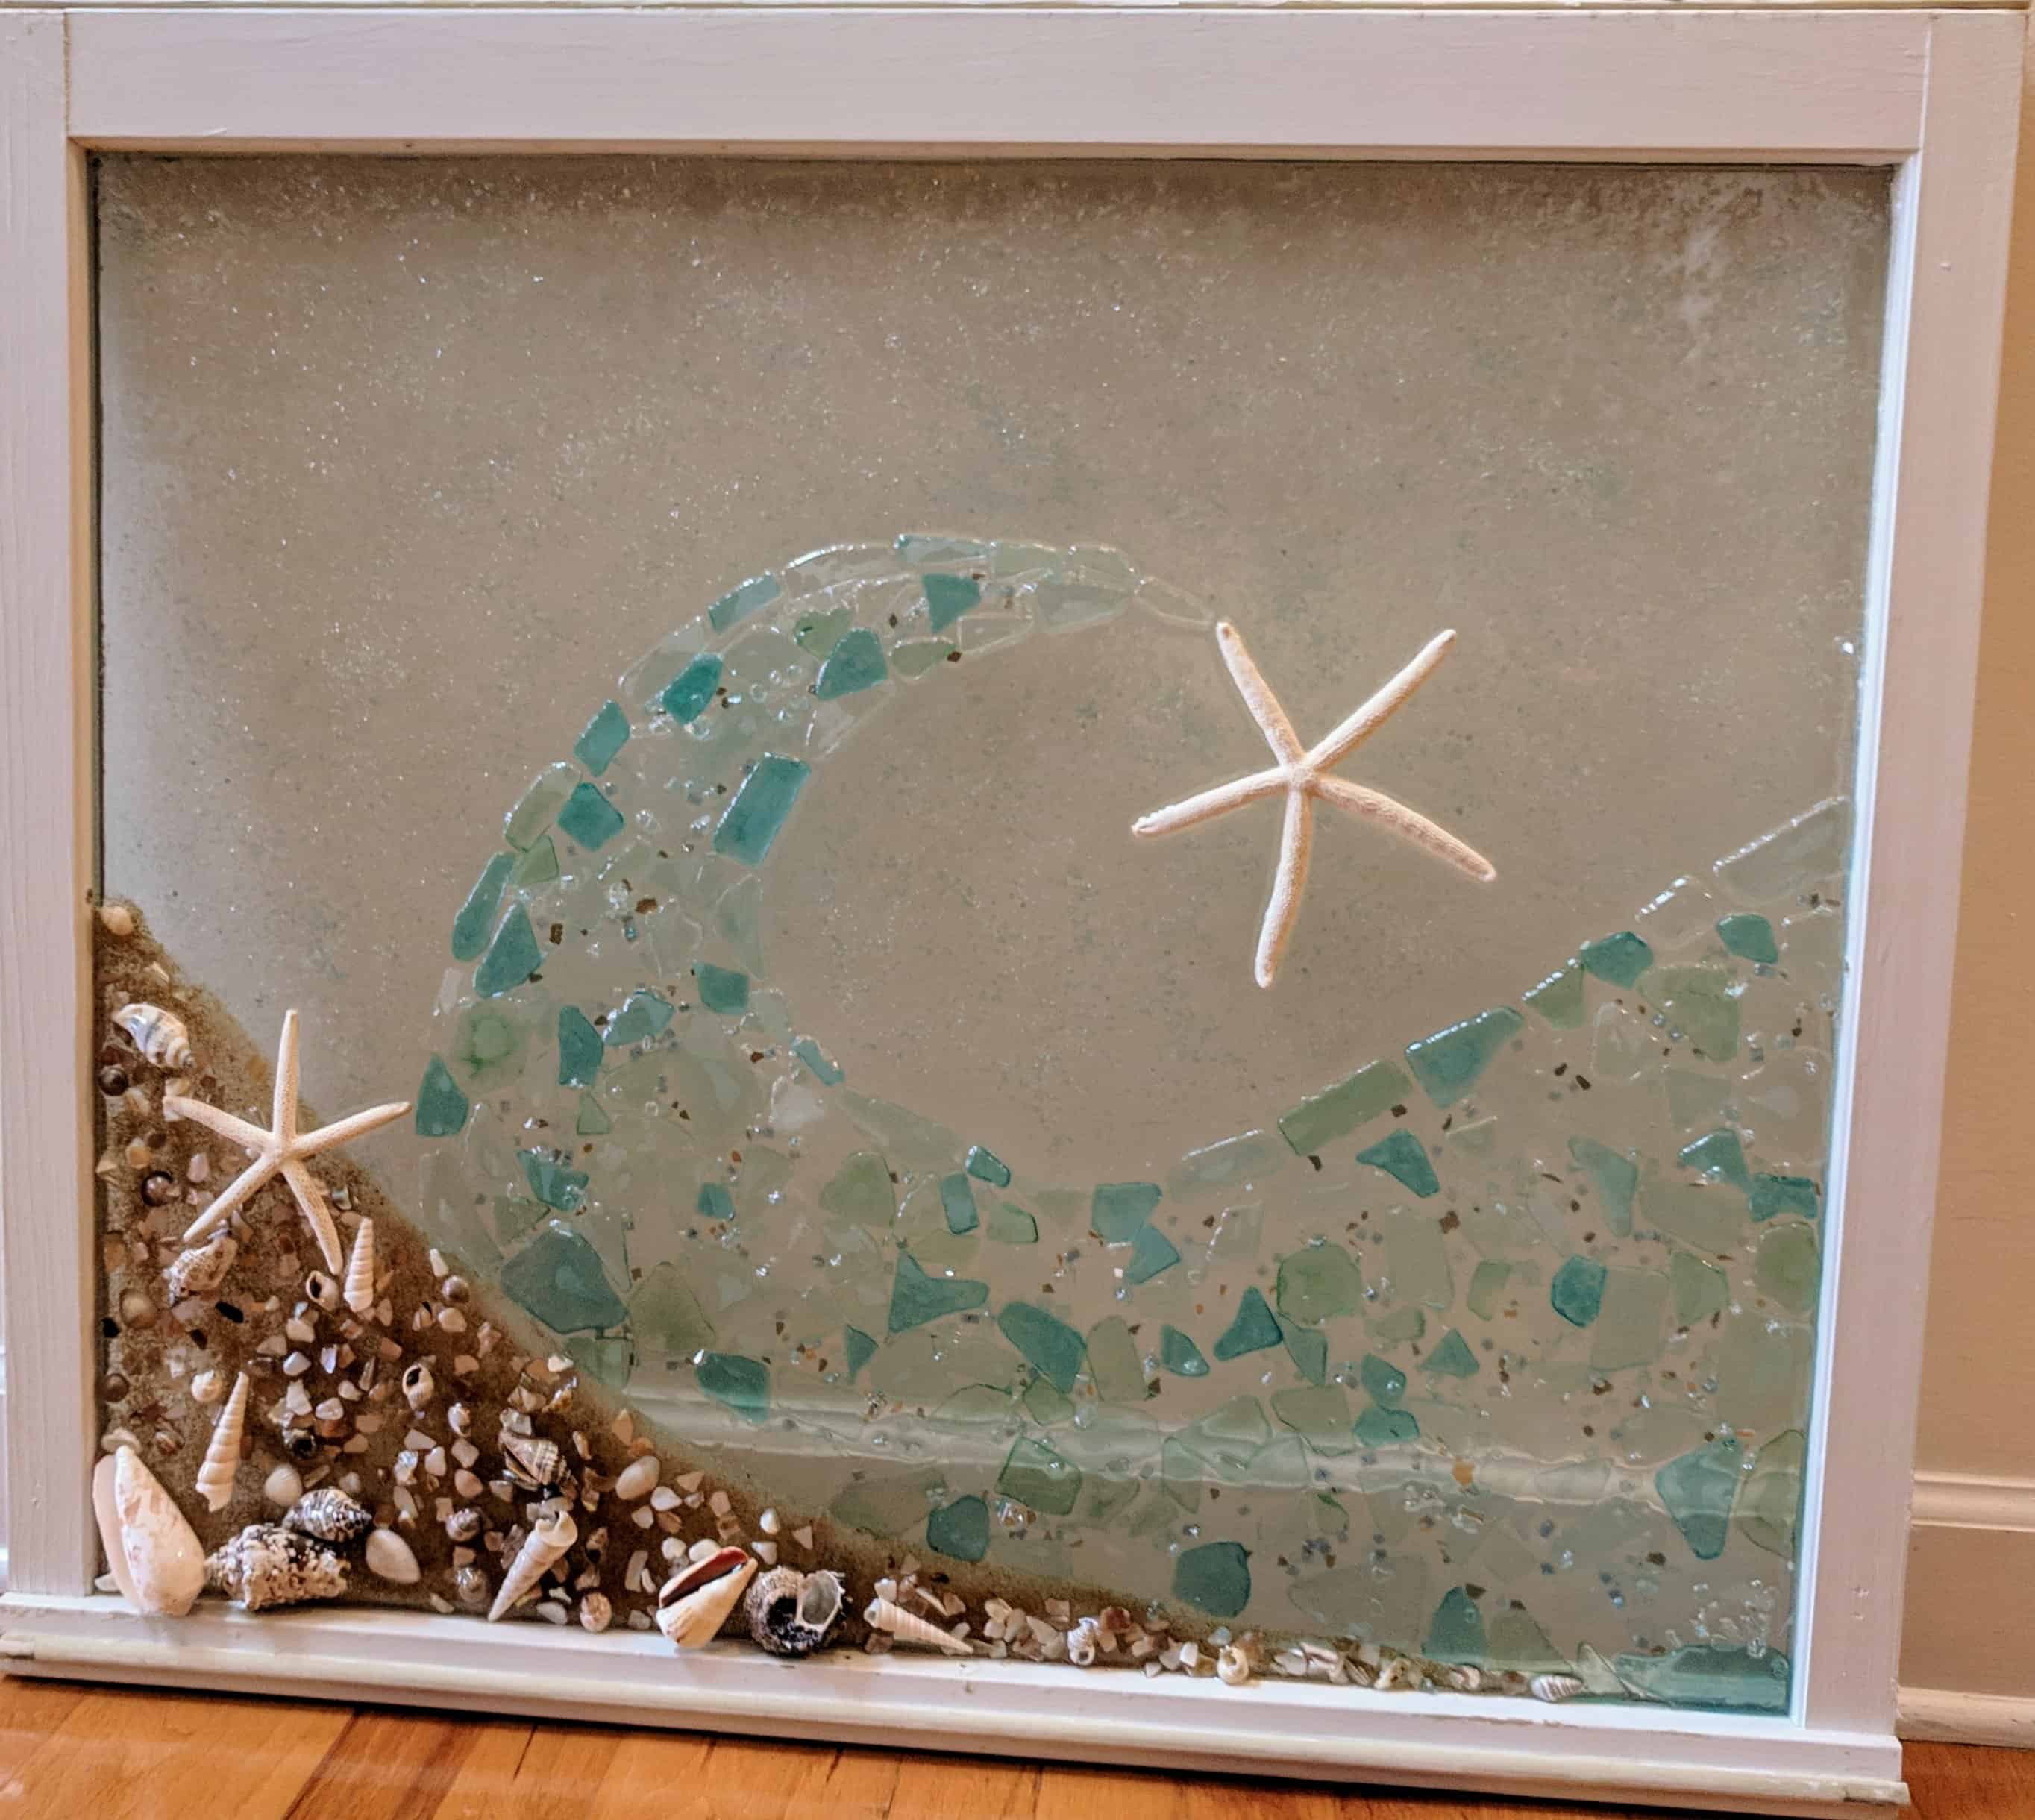
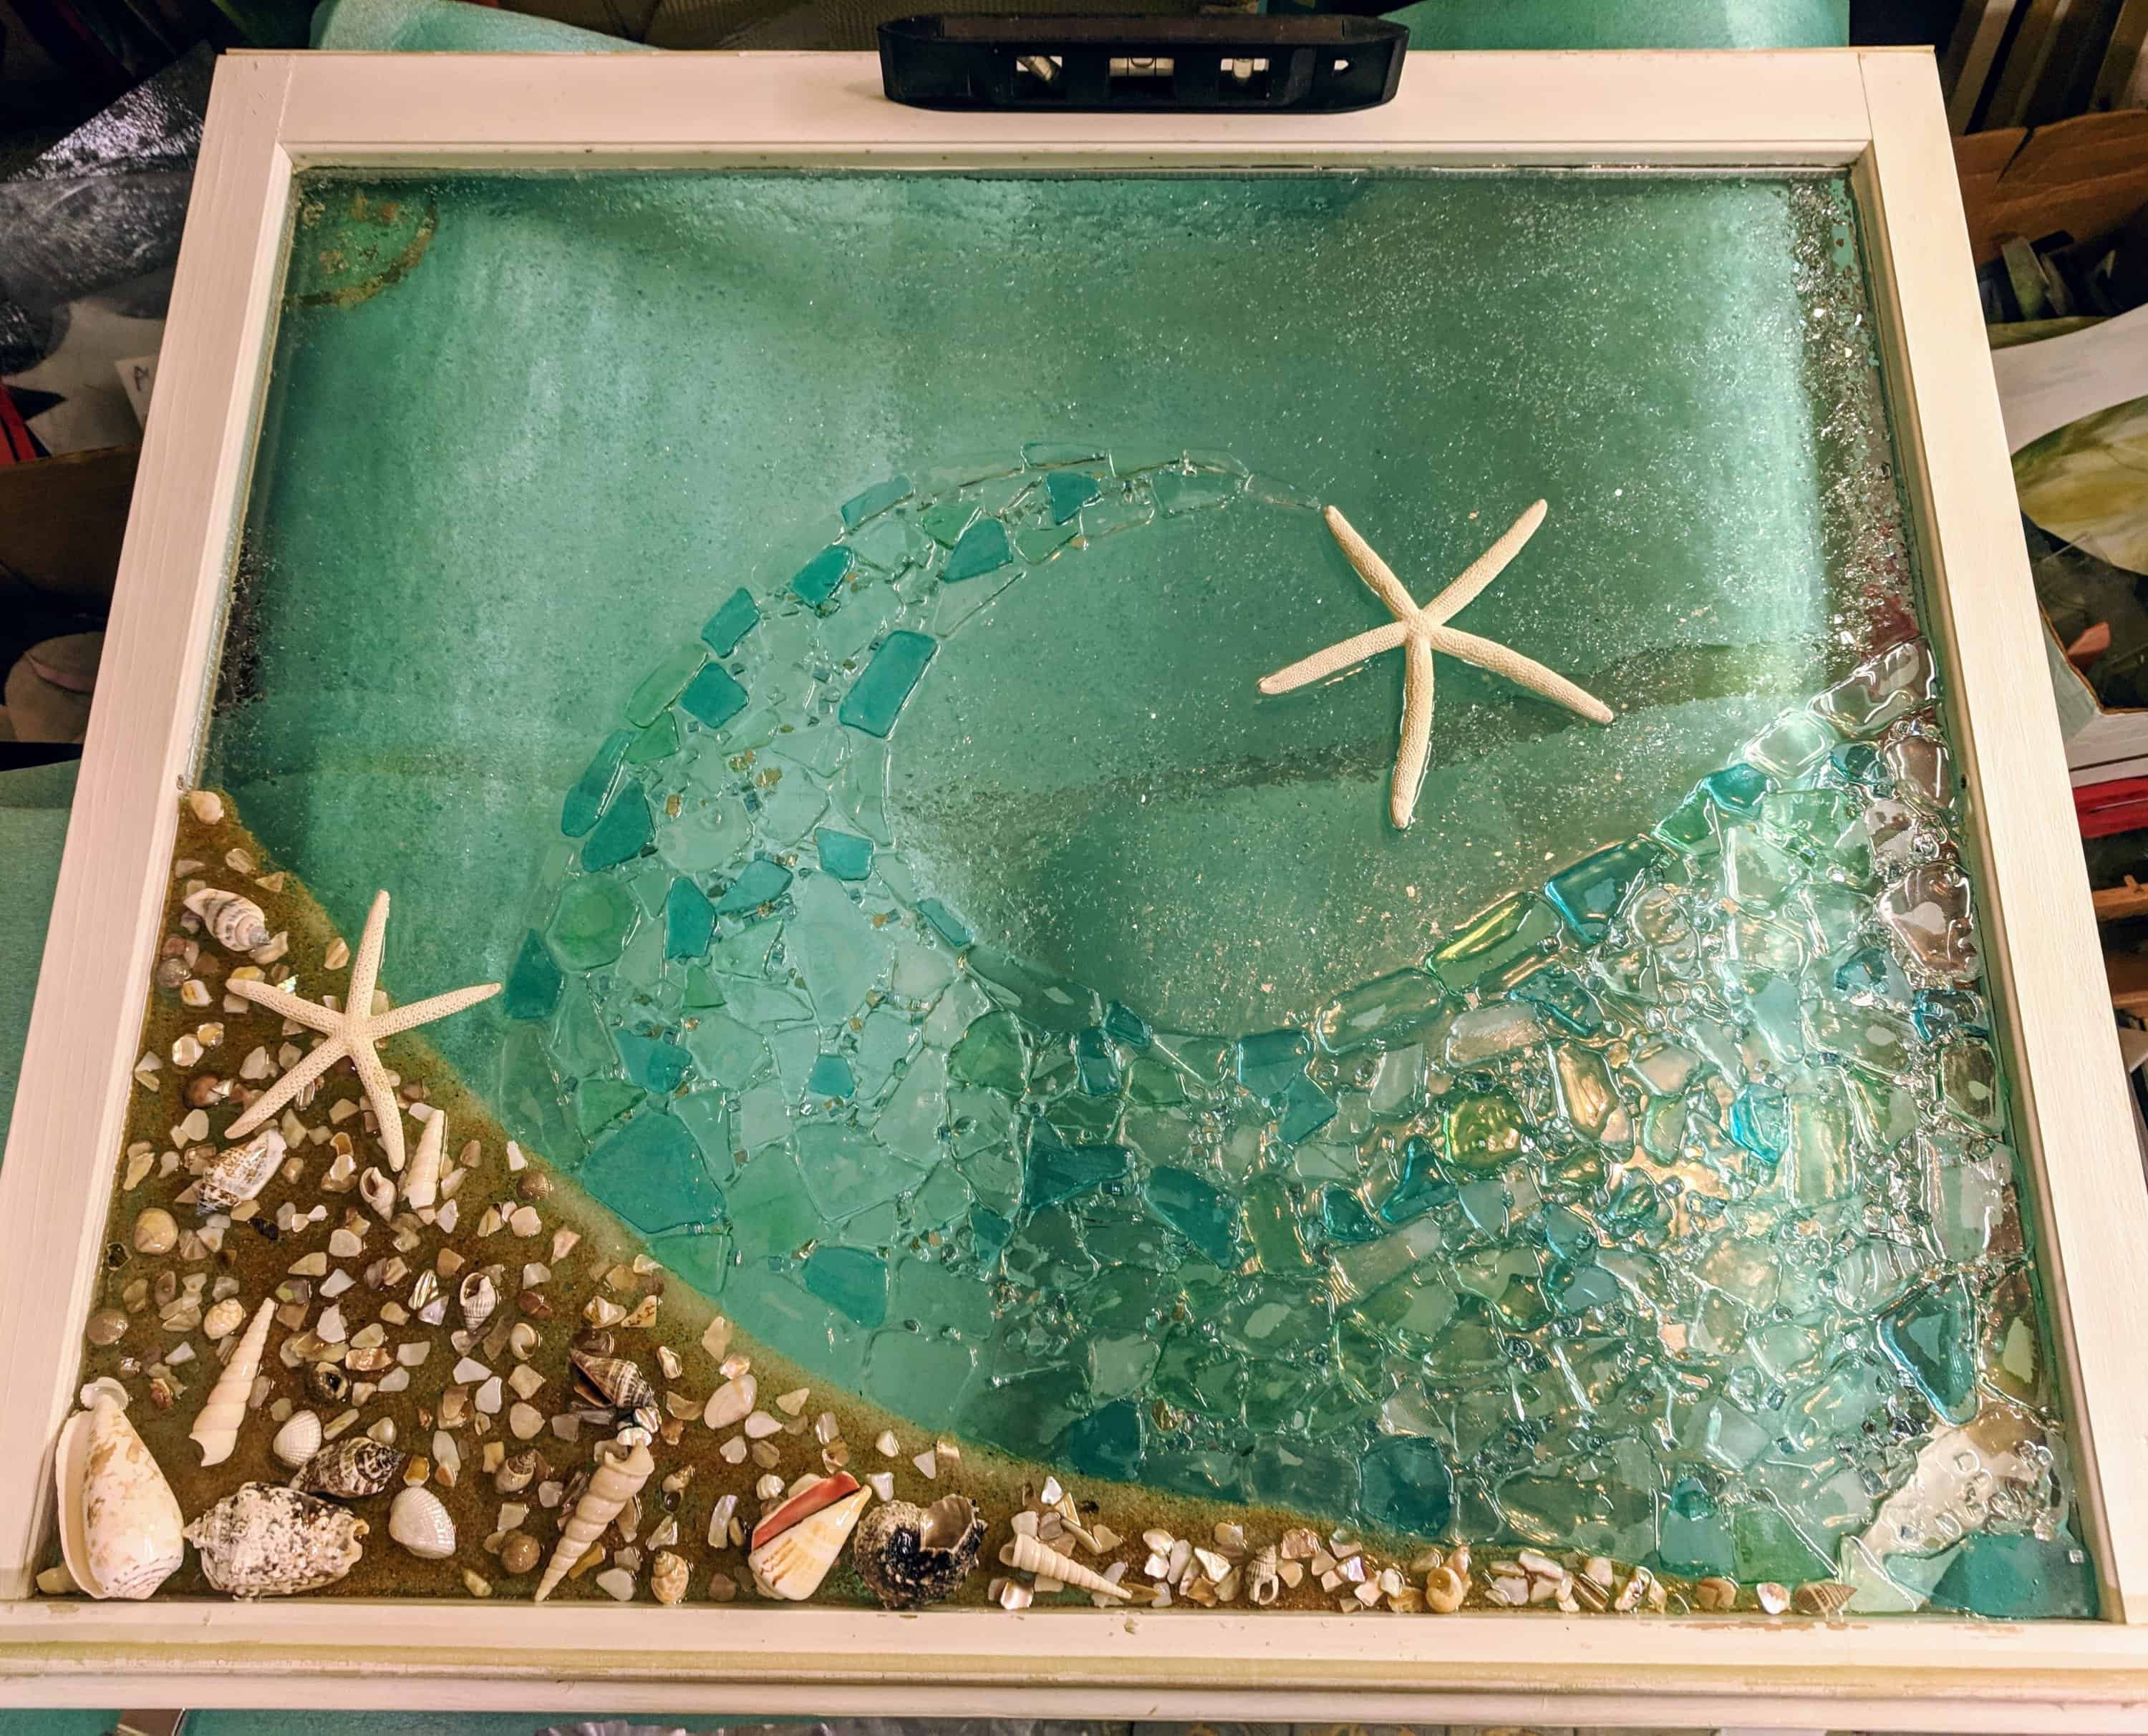
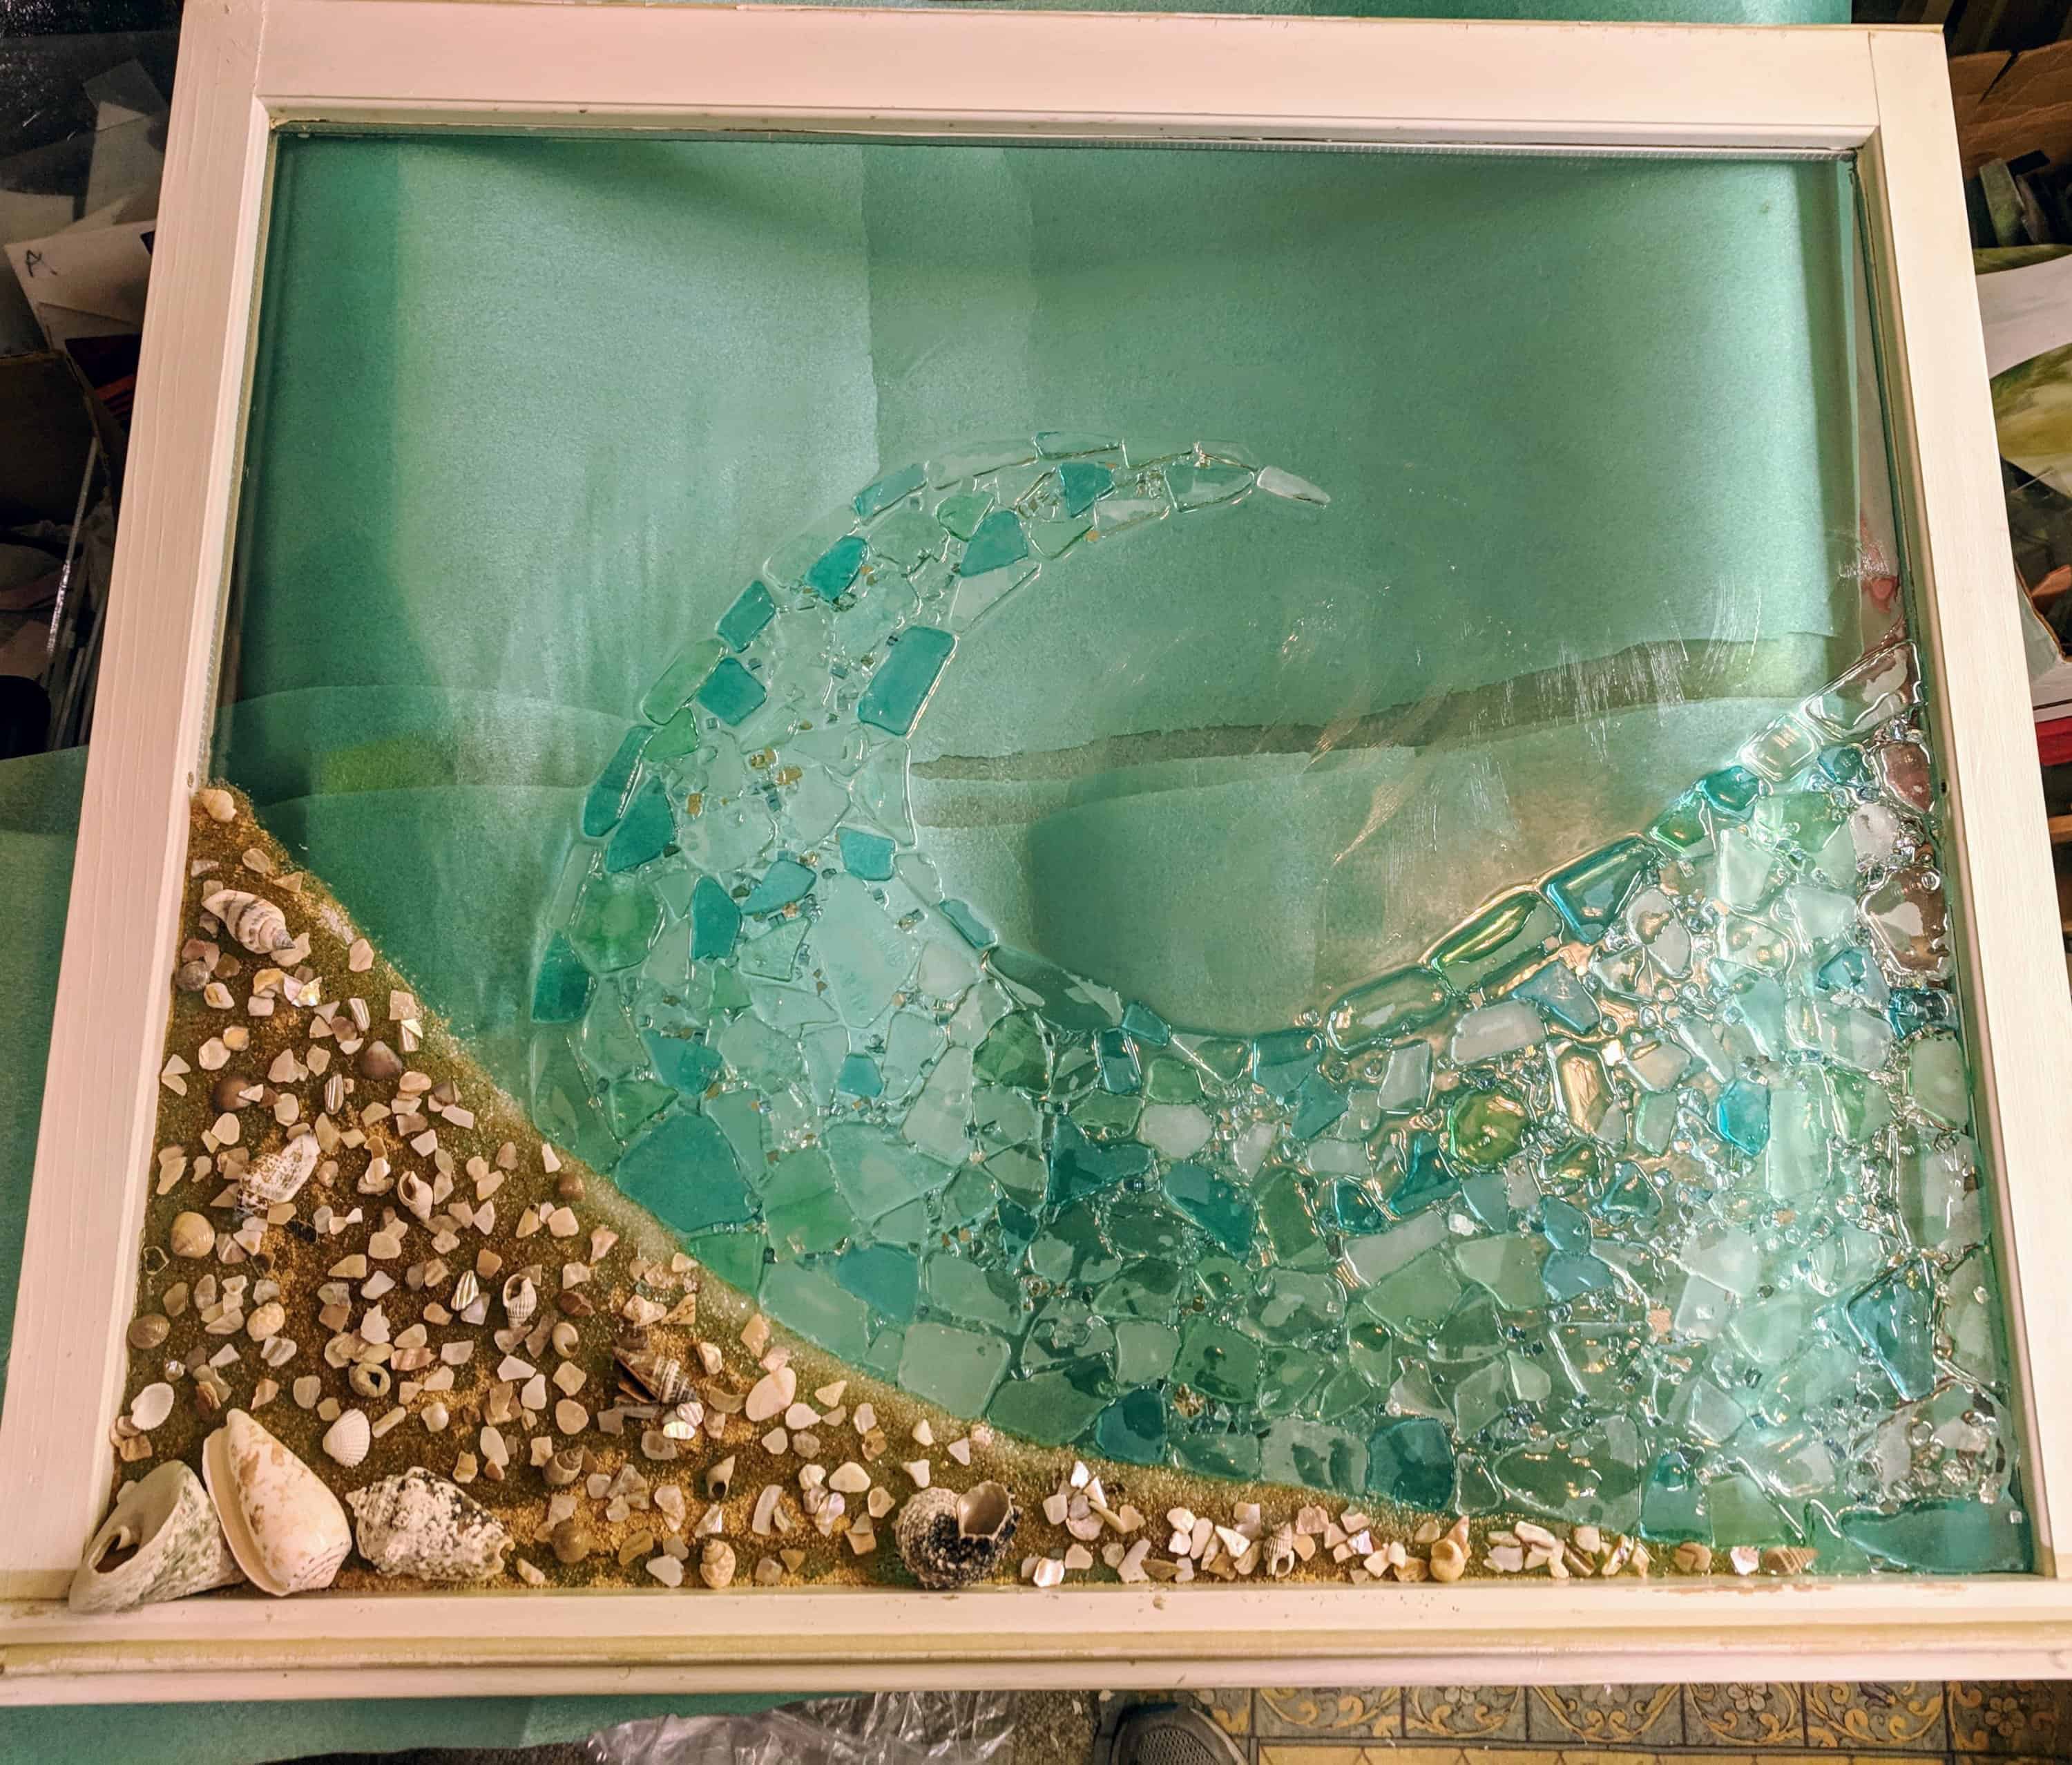
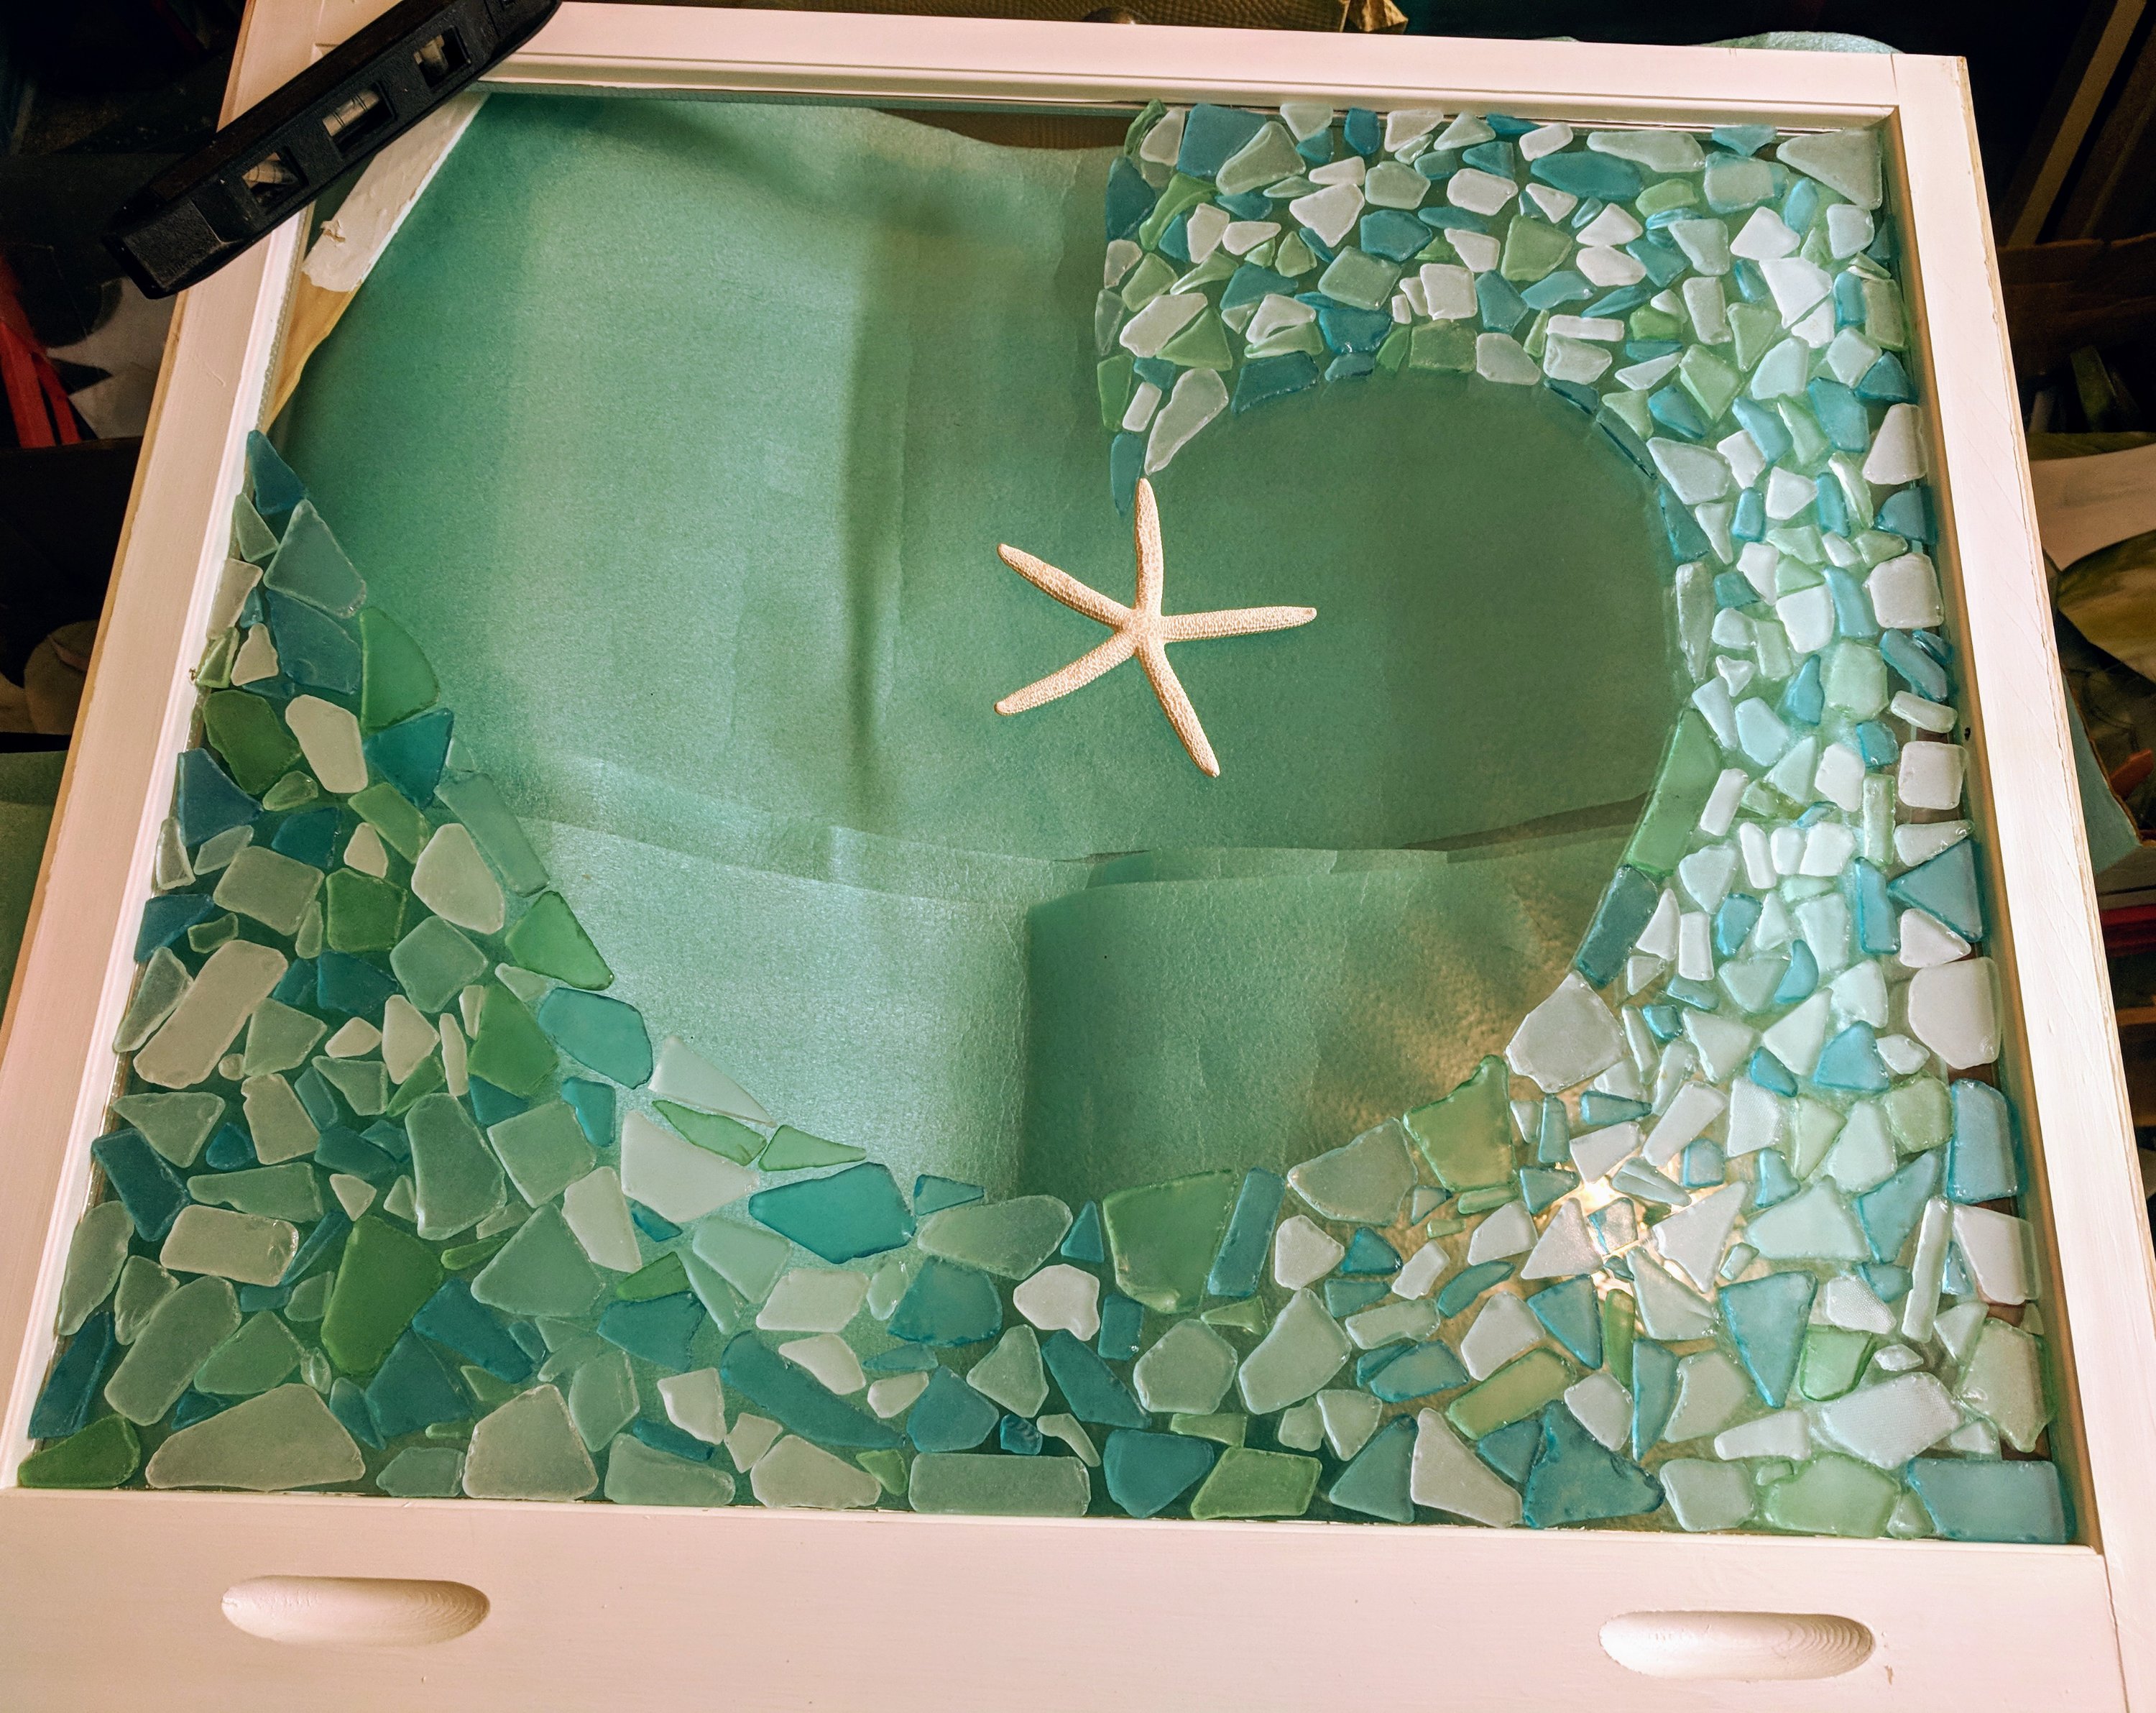
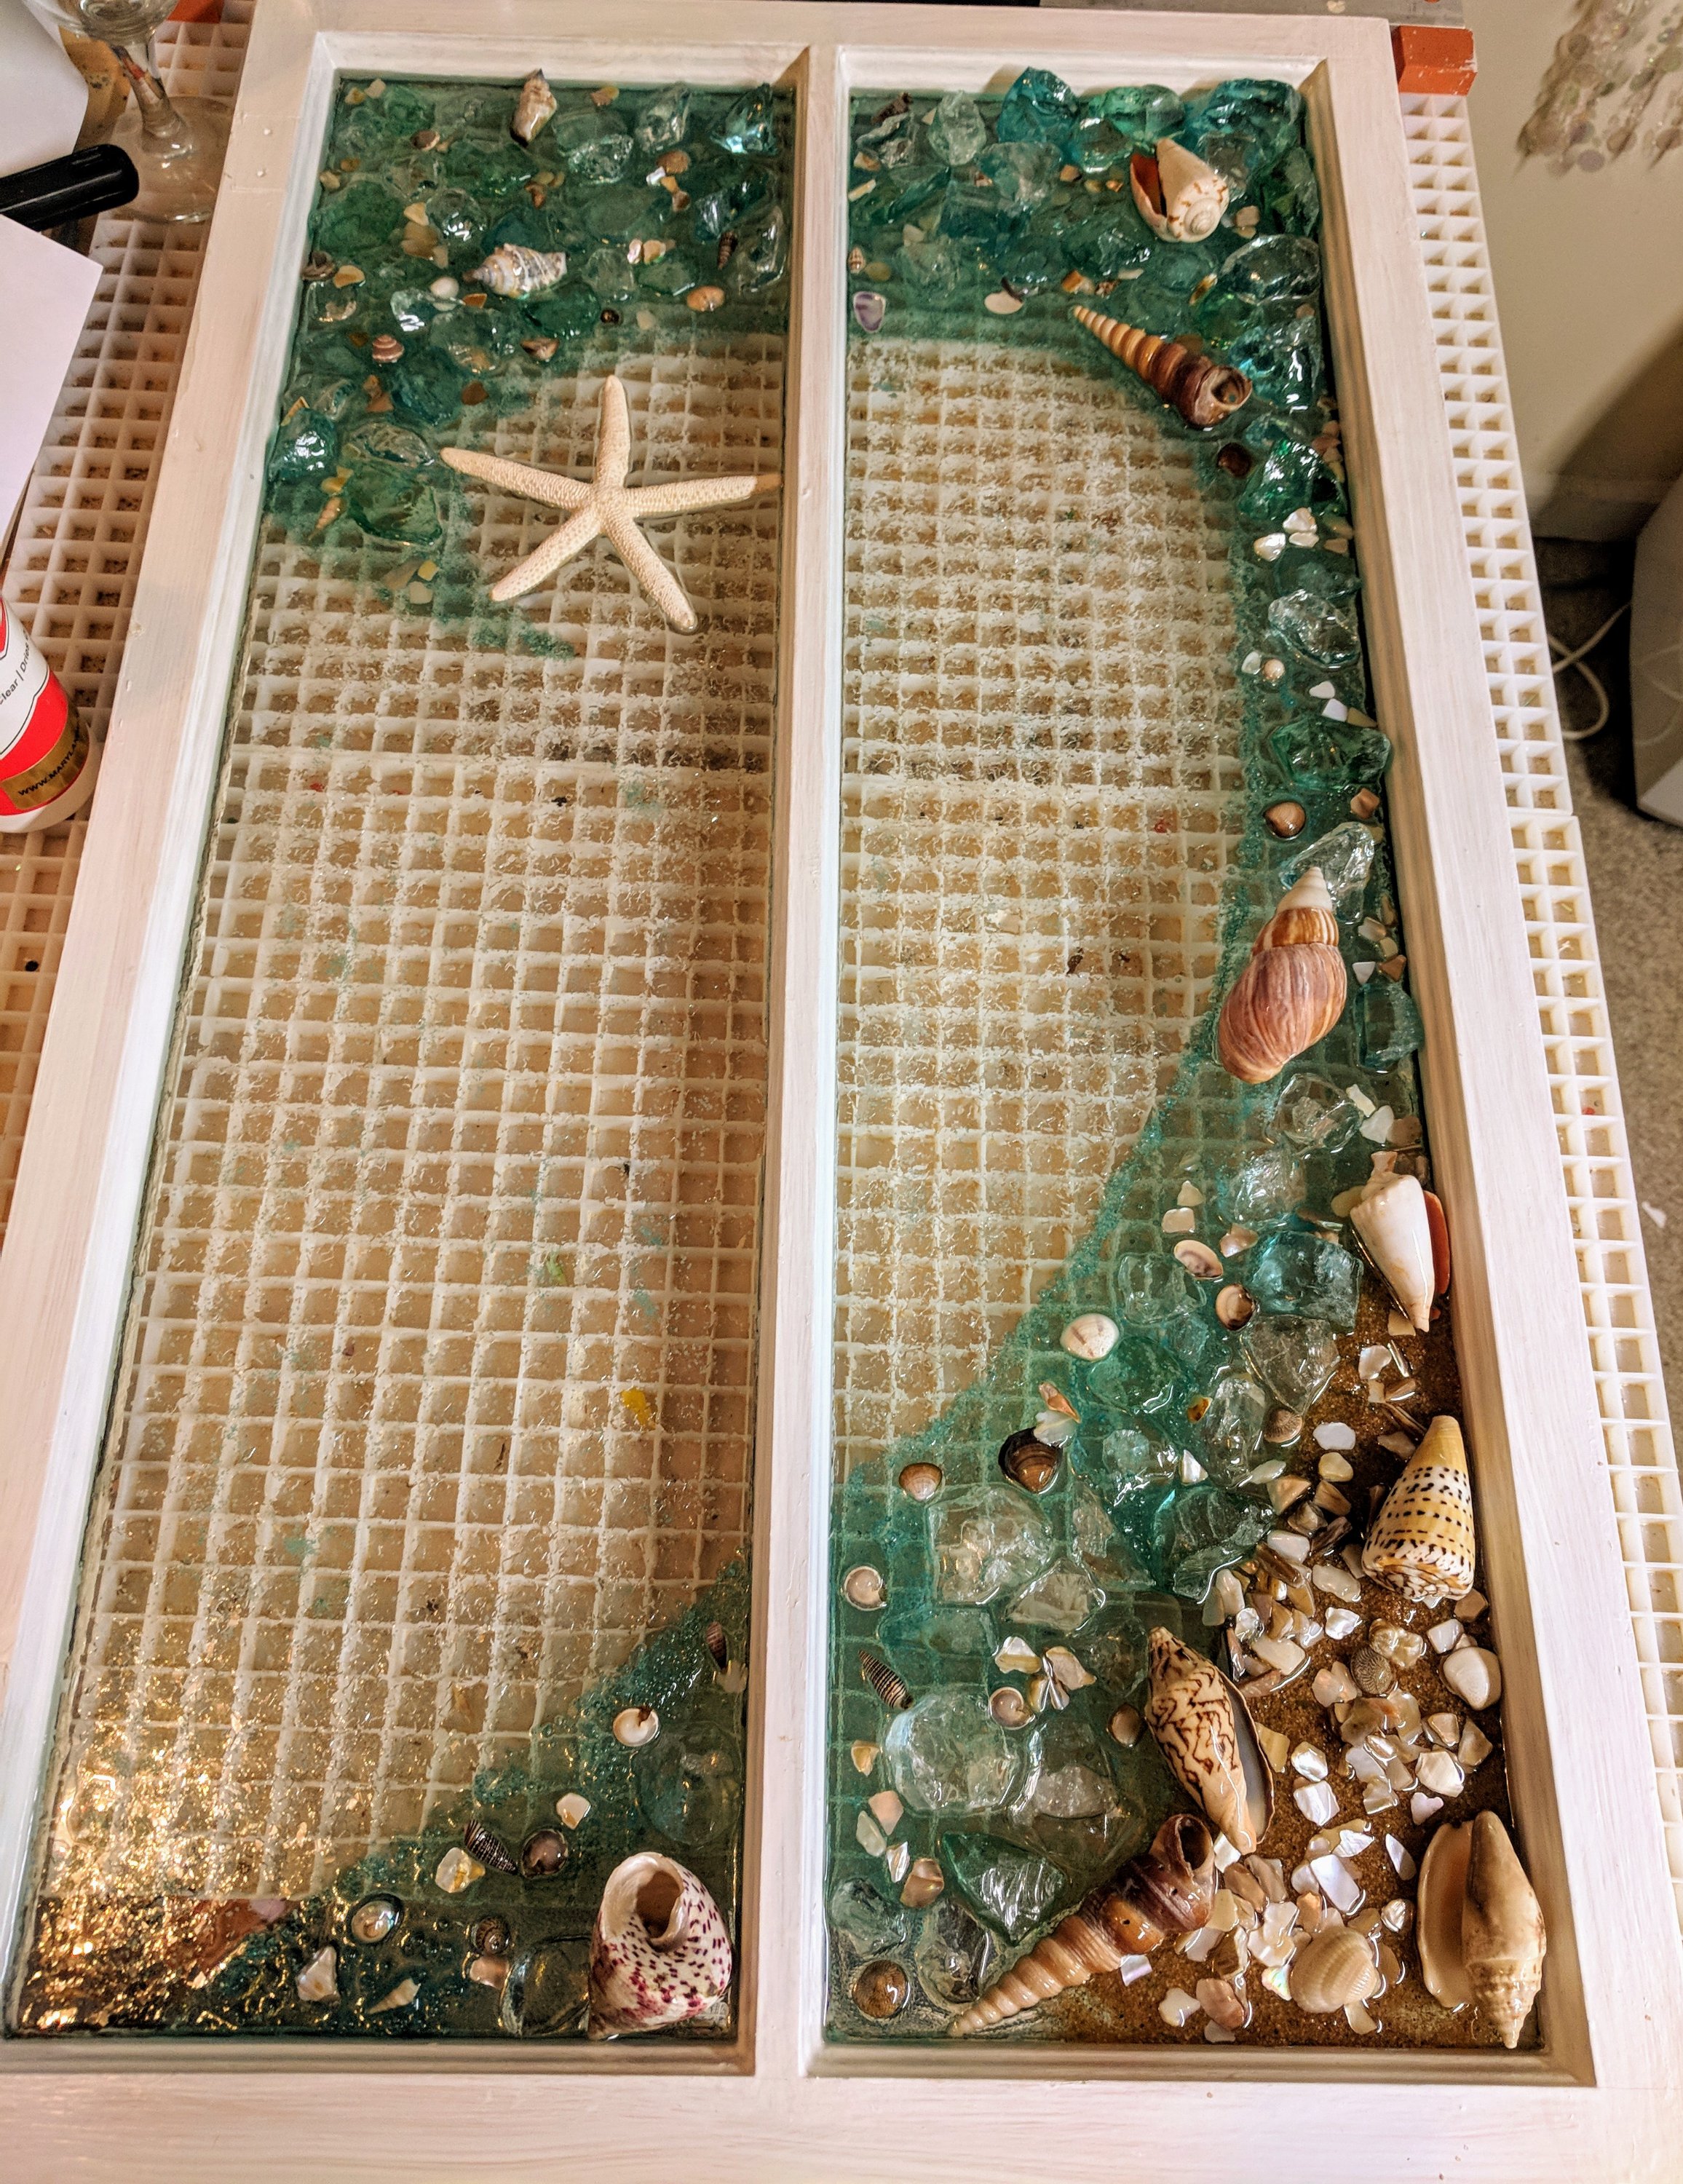
I found some sea glass I like a lot better (at Bed, Bath and Beyond, of all places!) and couldn’t wait to start the next project. This is all I’ll get done on this one today, though, as I 1) need to wait for the glue to dry 2) don’t have enough resin on hand to pour this and 3) I haven’t figured out what I want to do in the background – or if I want to add shells or not!
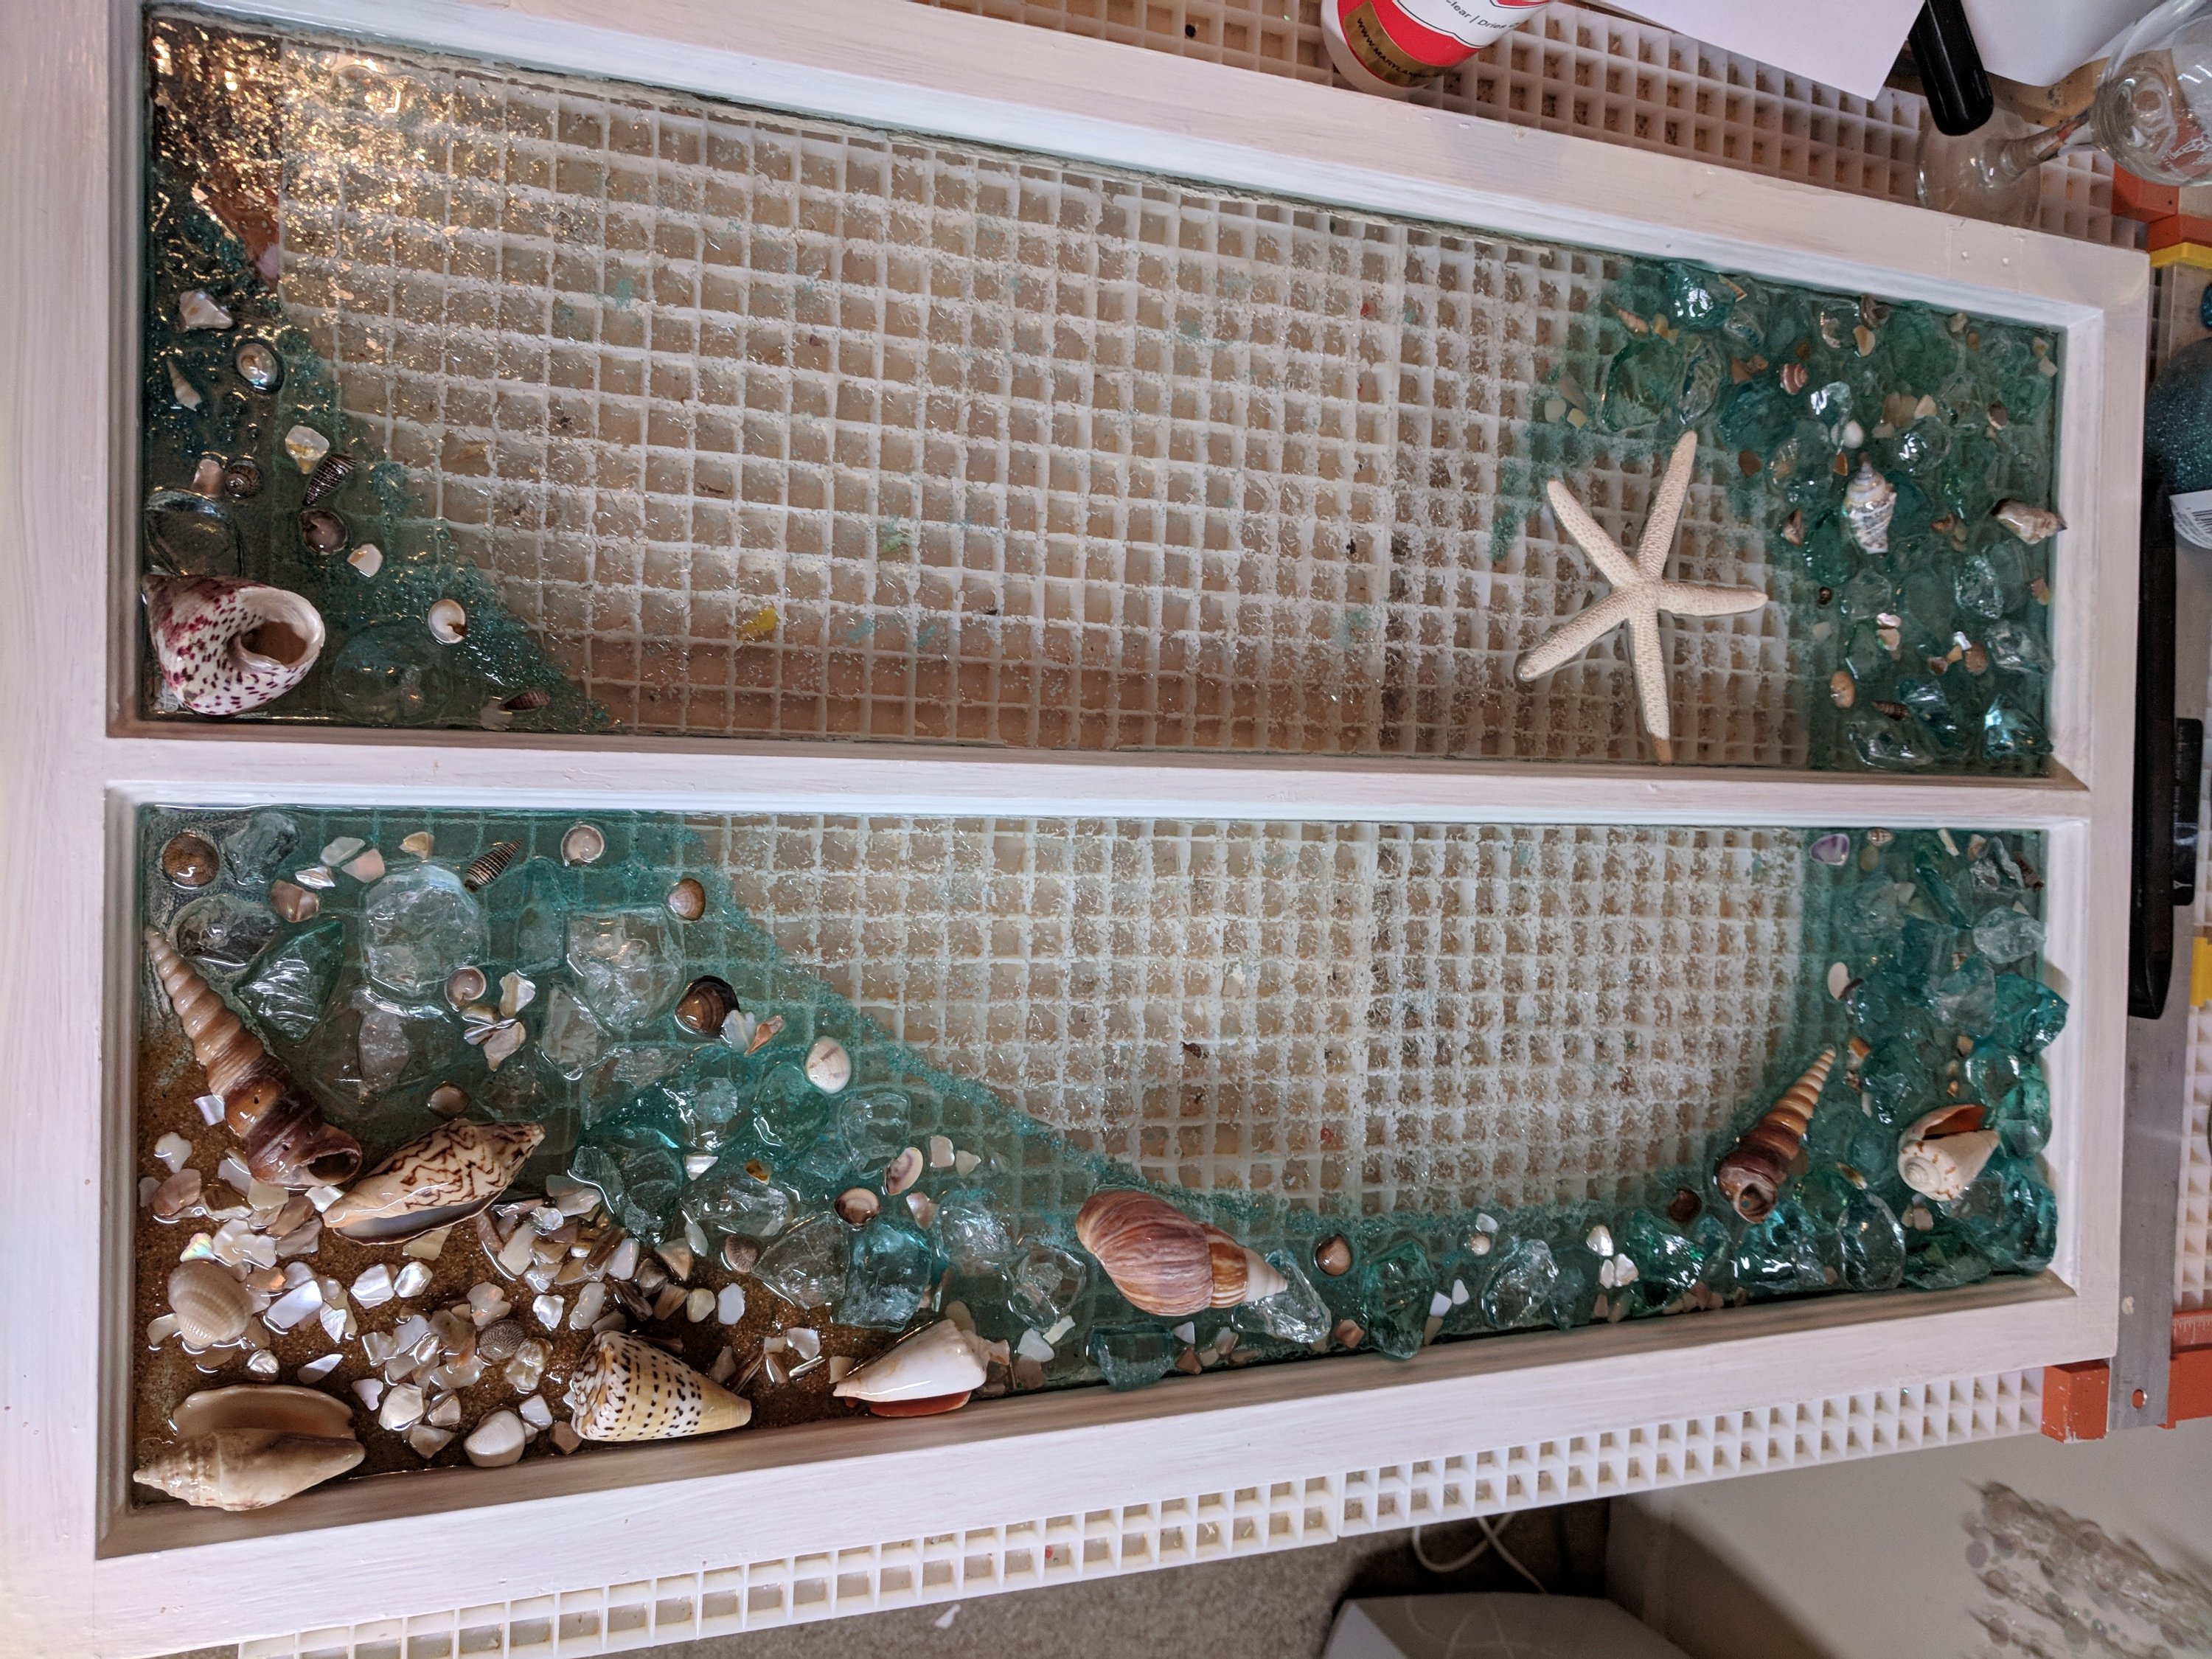
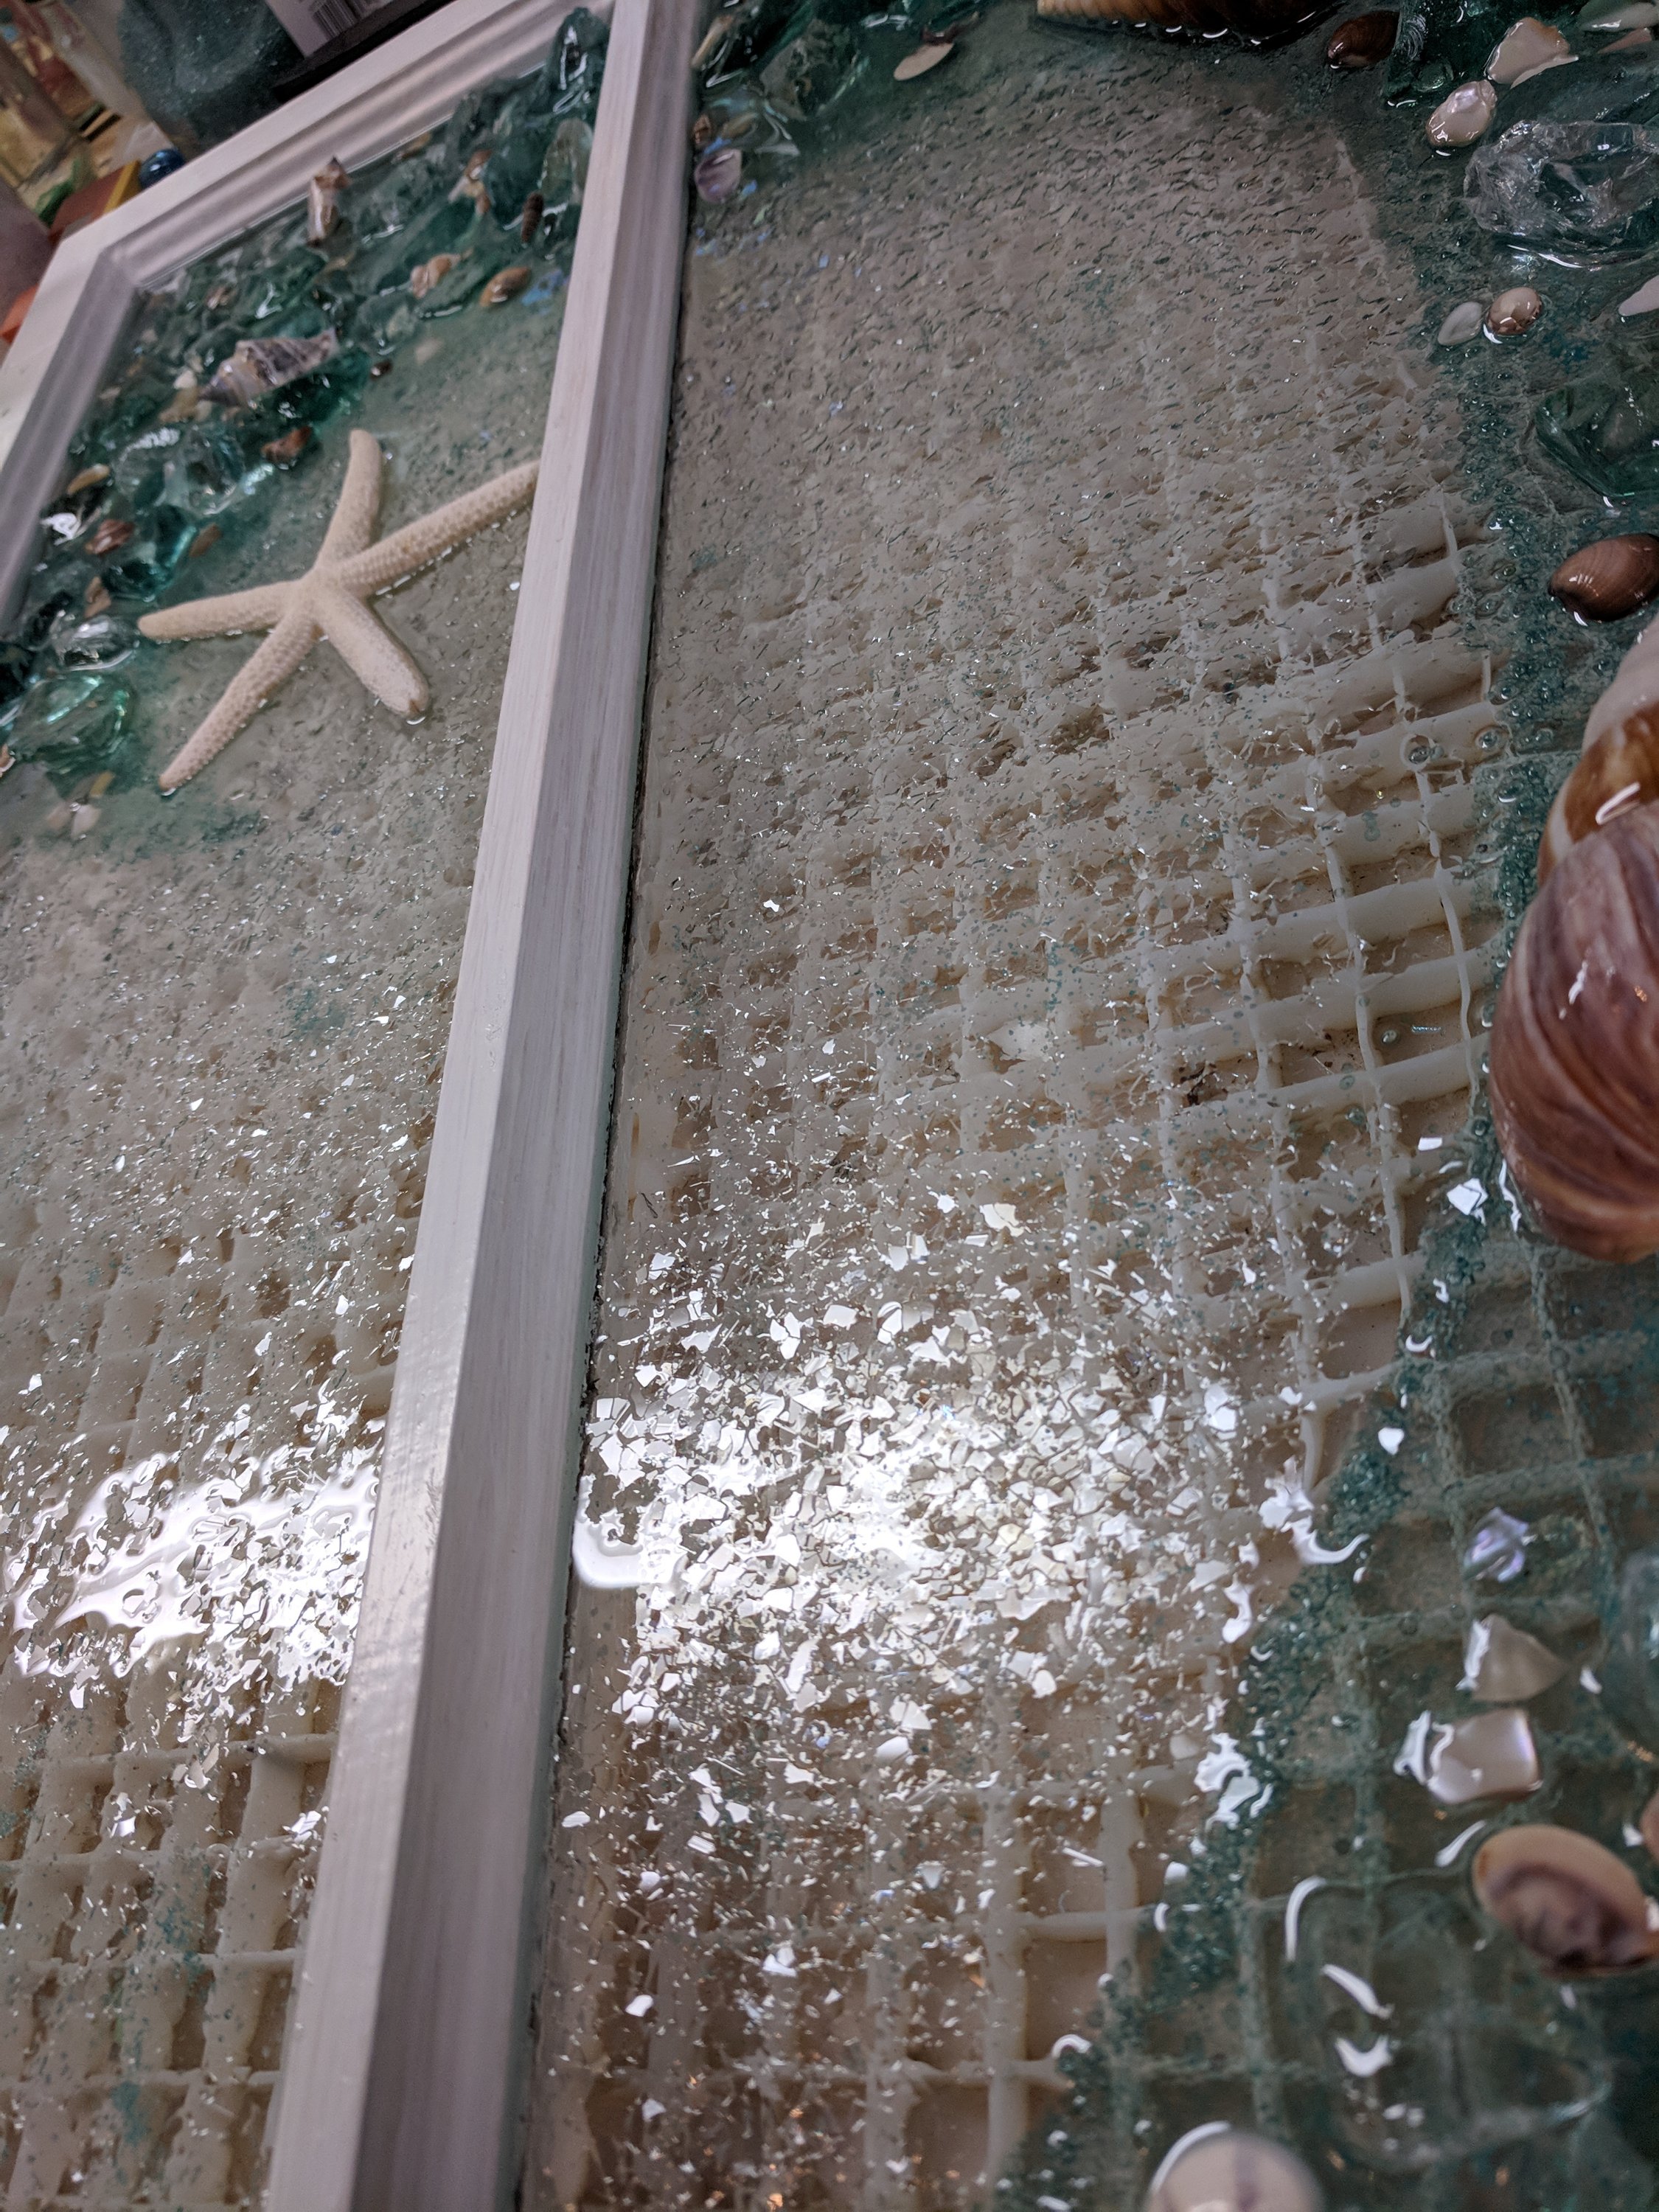
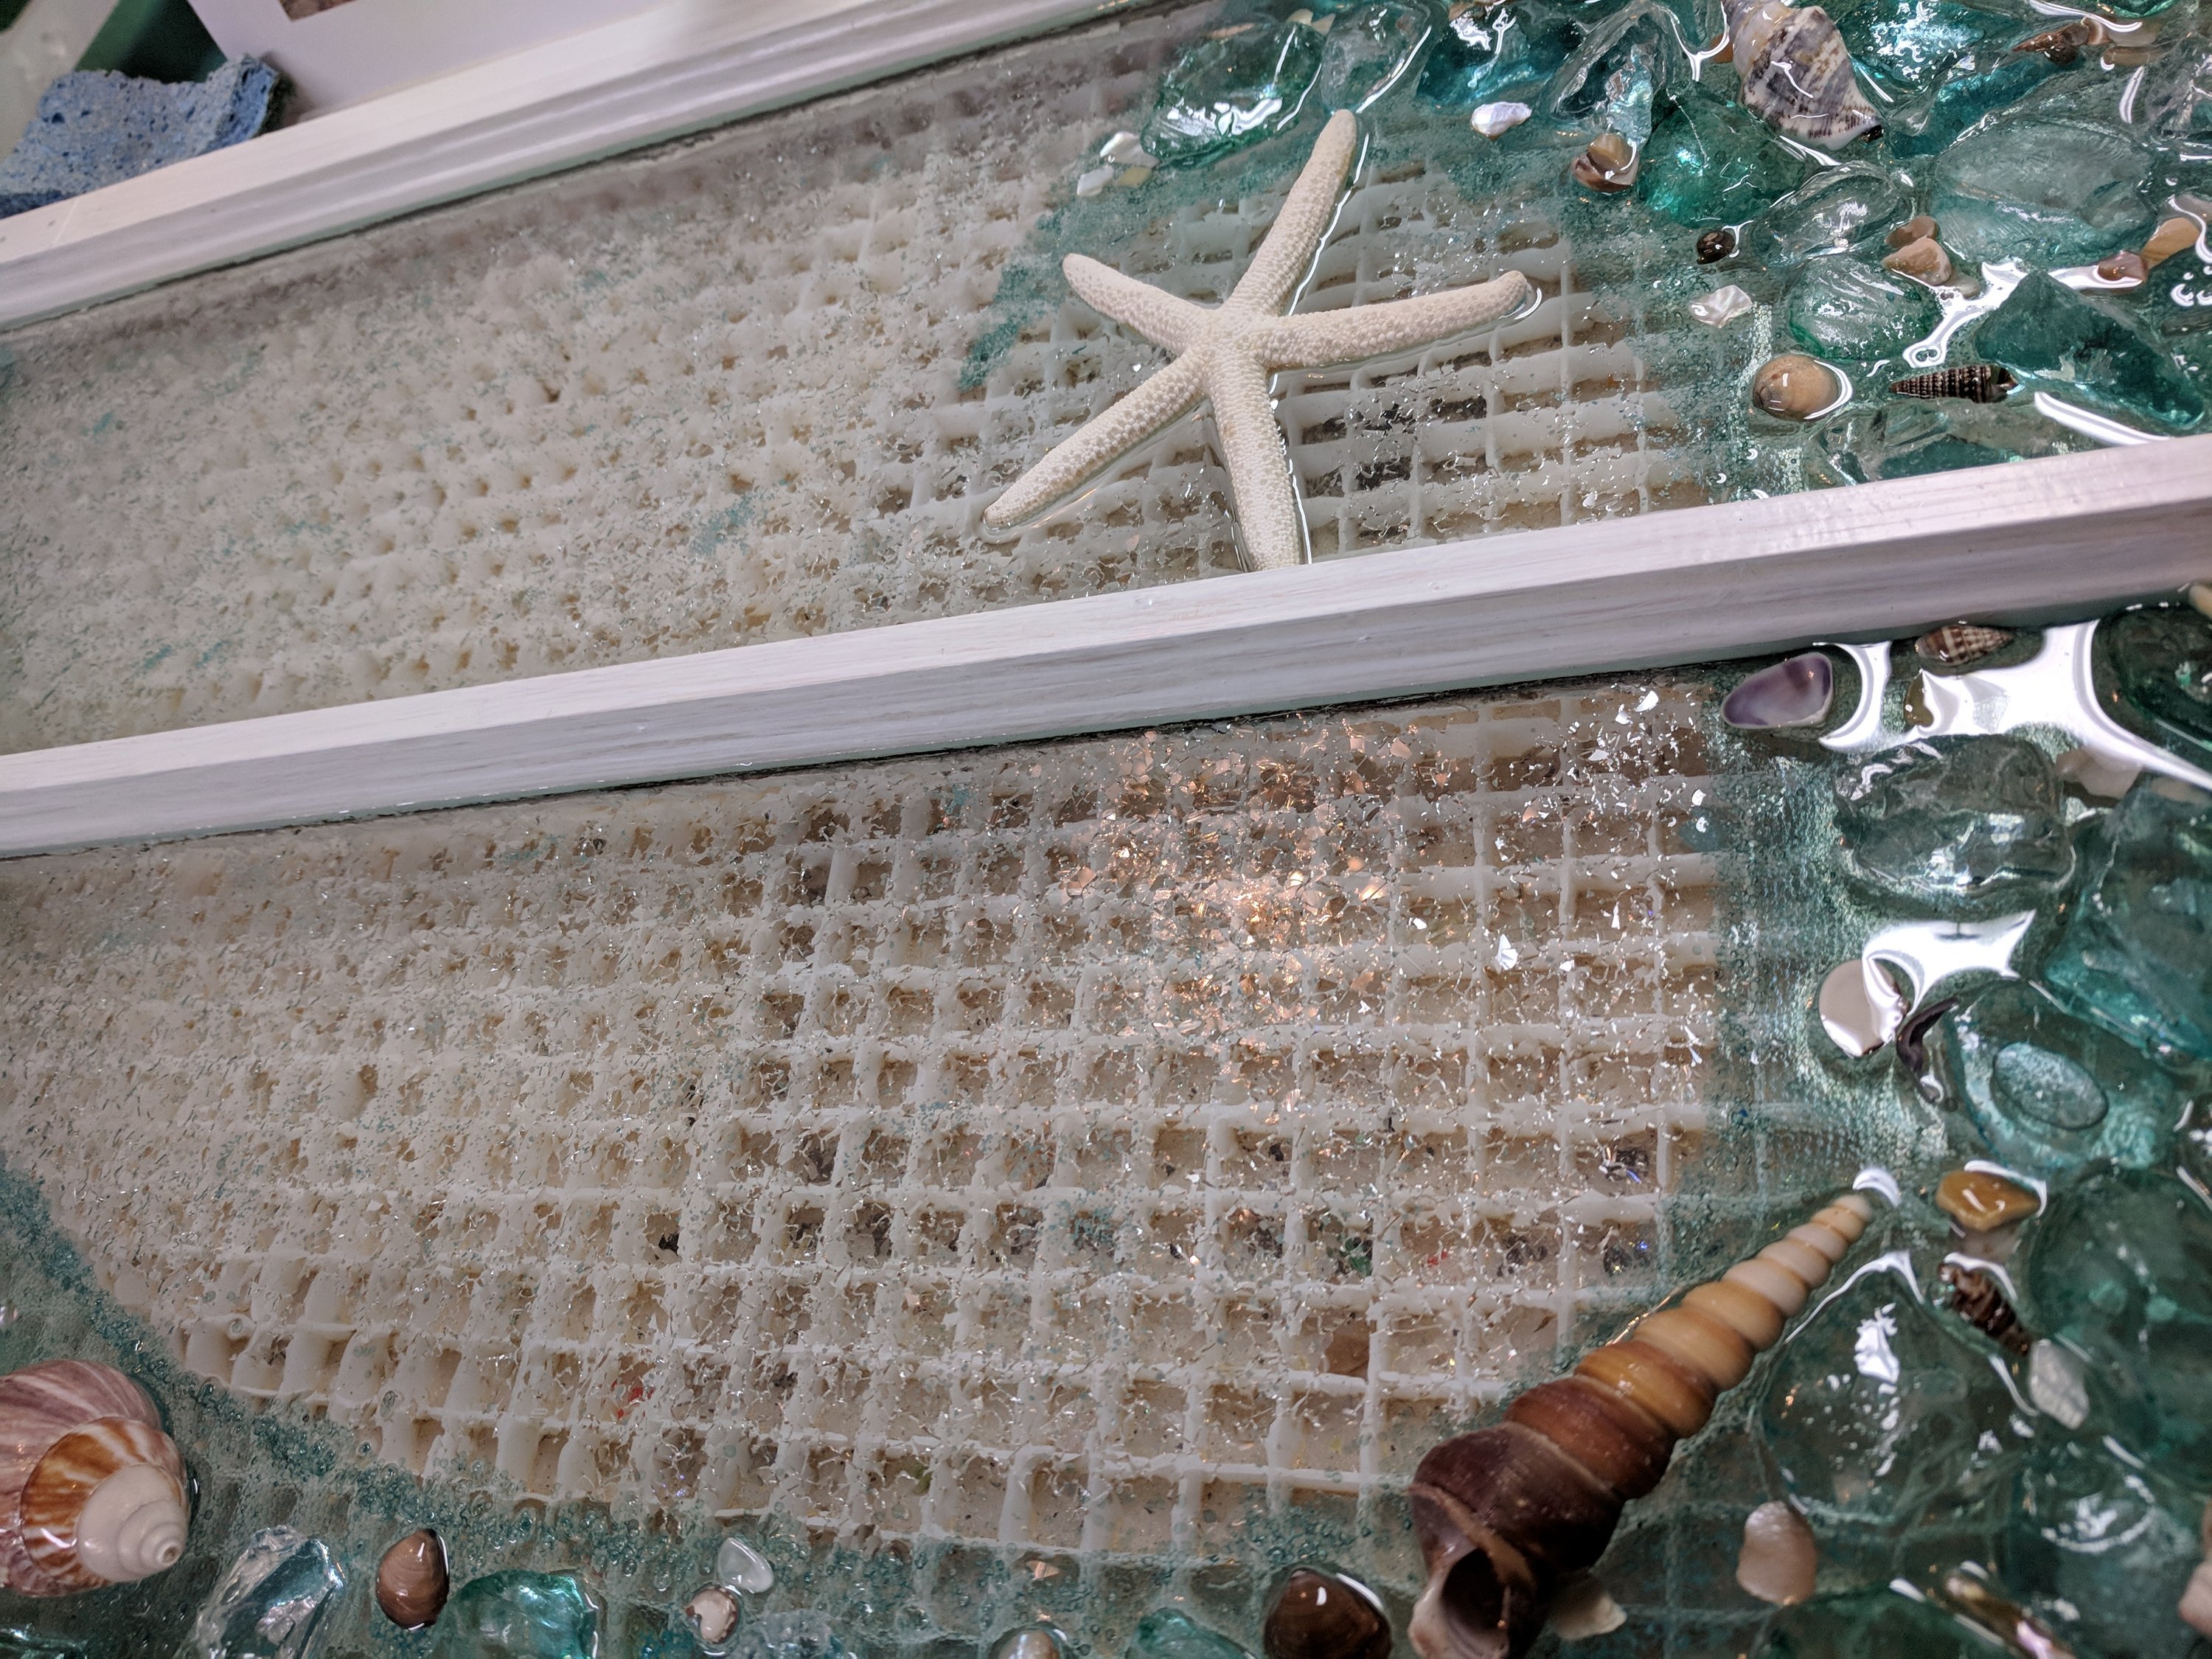
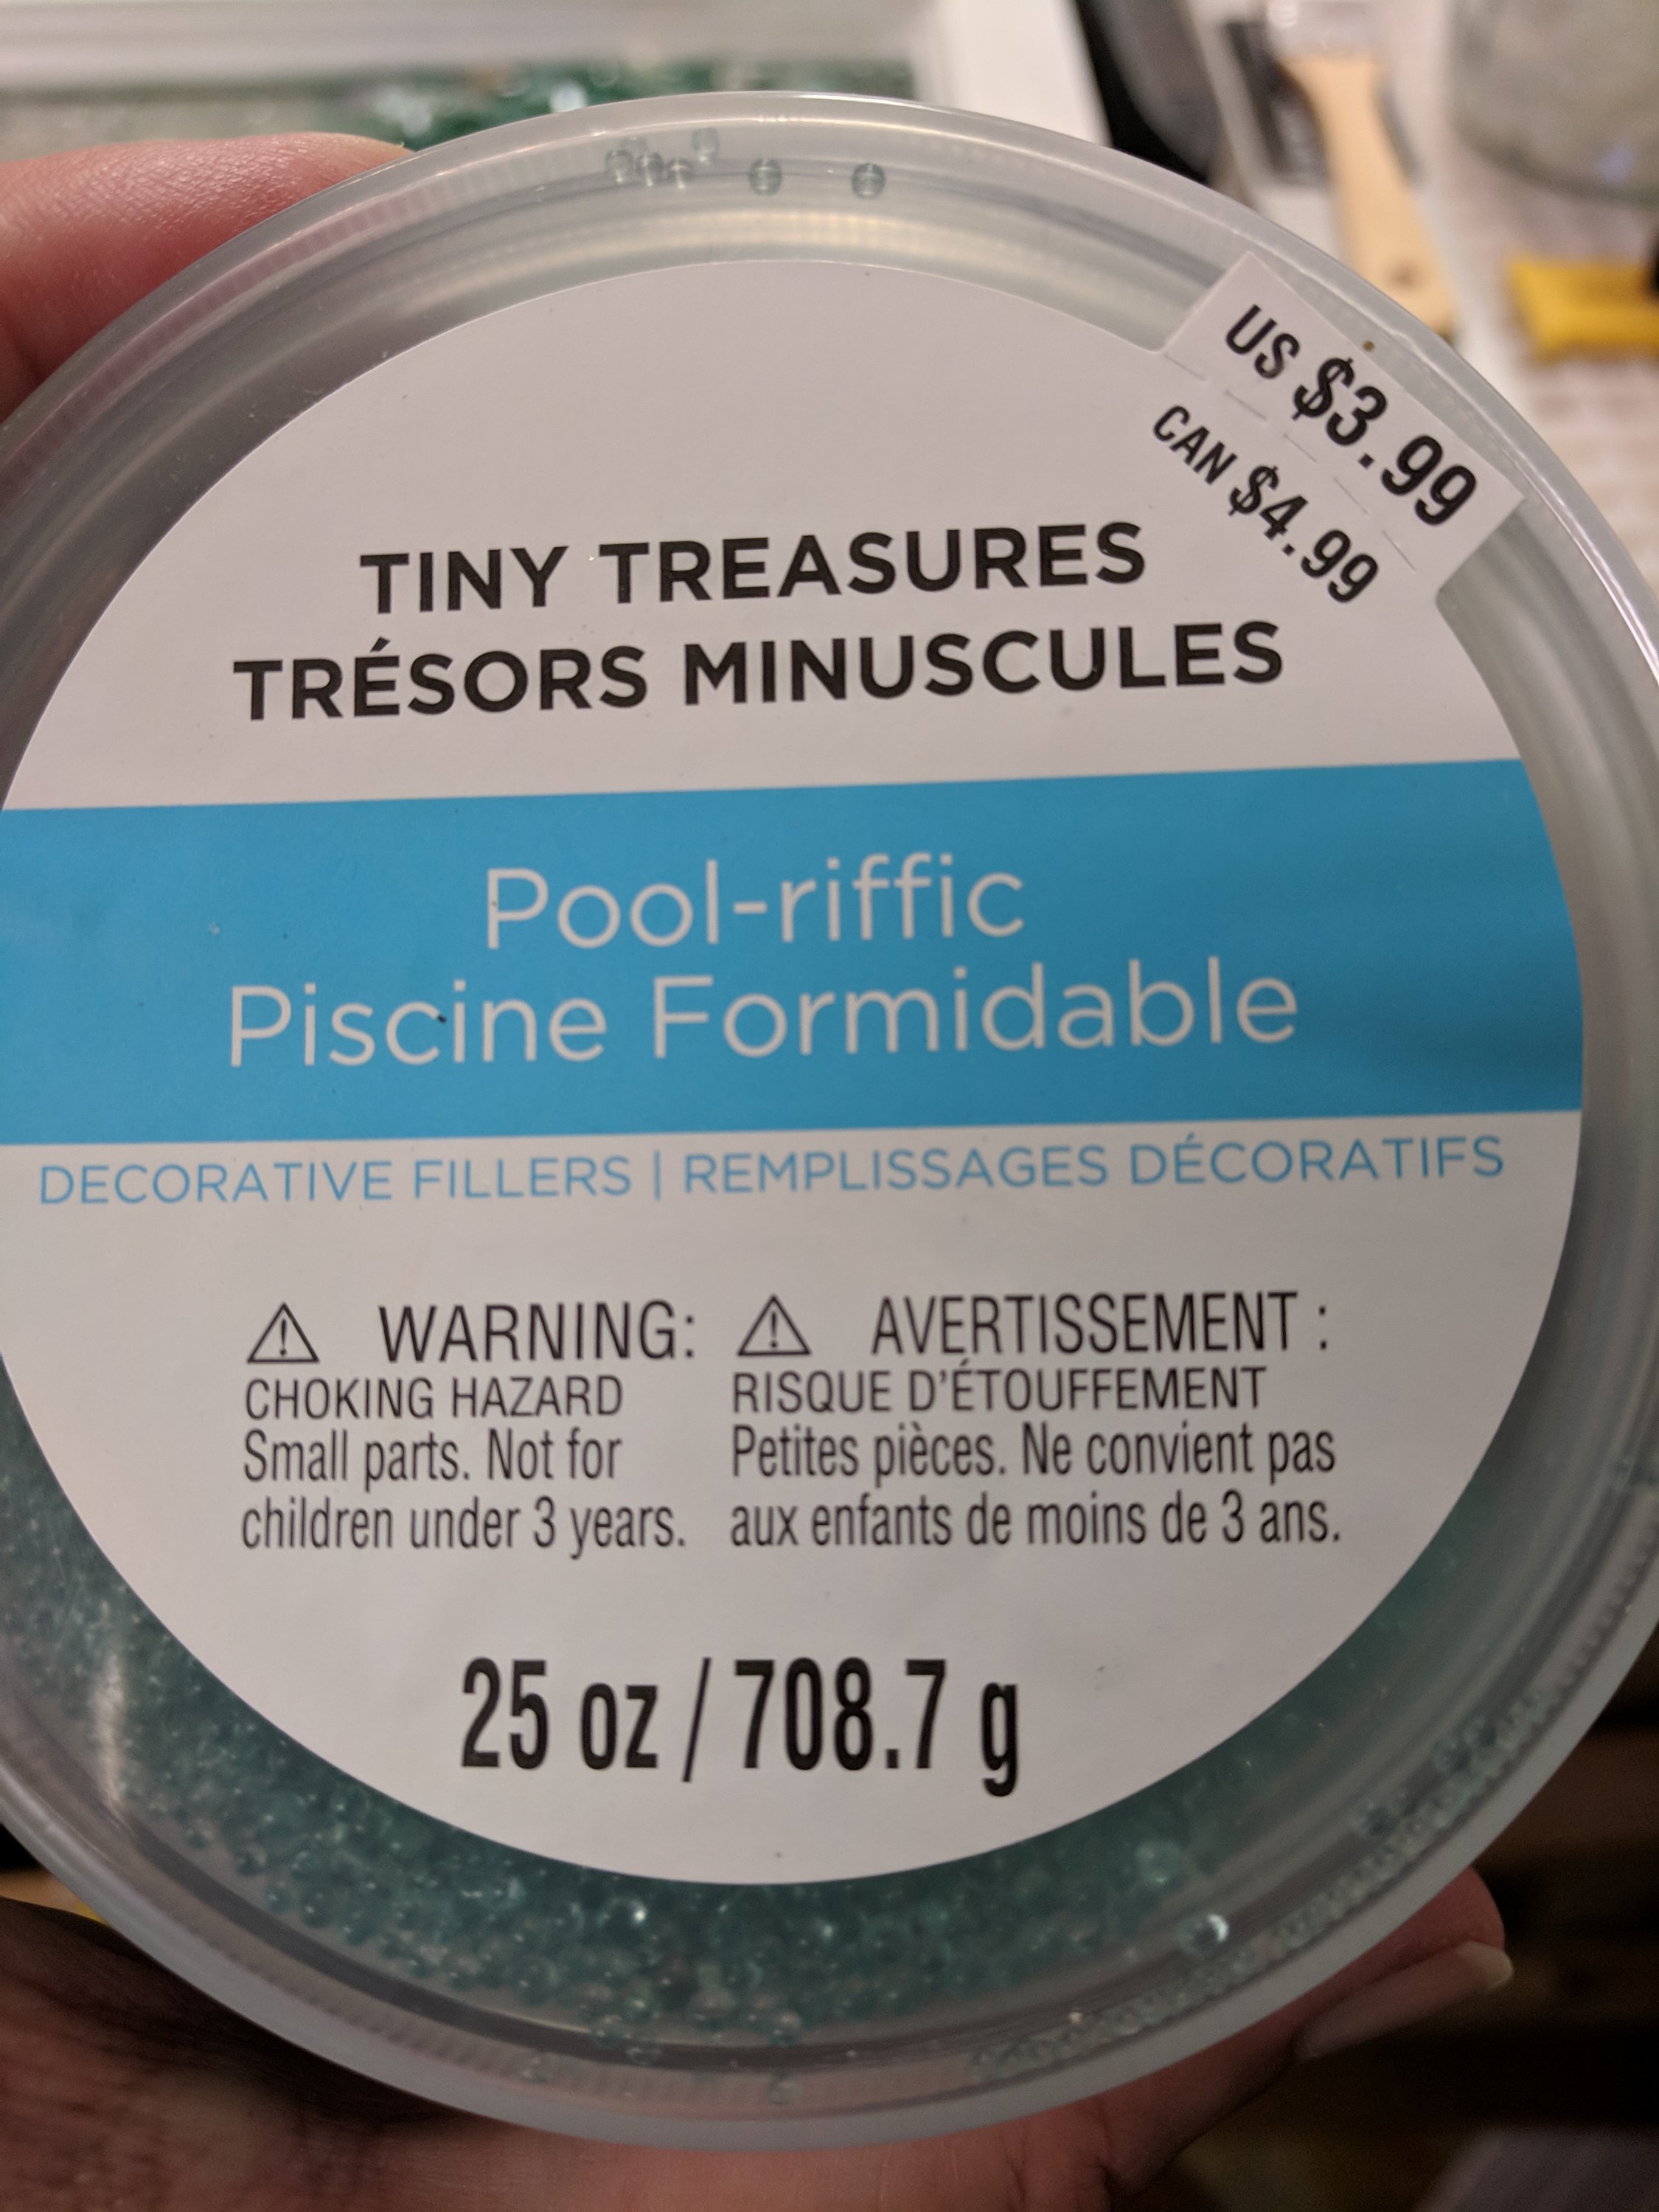
I see these online and decided to try one myself. I used seaglass, shells, sand and “pool-riffic” fillers, along with glass chips for the background. Love this filler for water. I just poured the resin in these photos – now it’s time to keep the bubbles at bay while it dries.