Beachy Batch

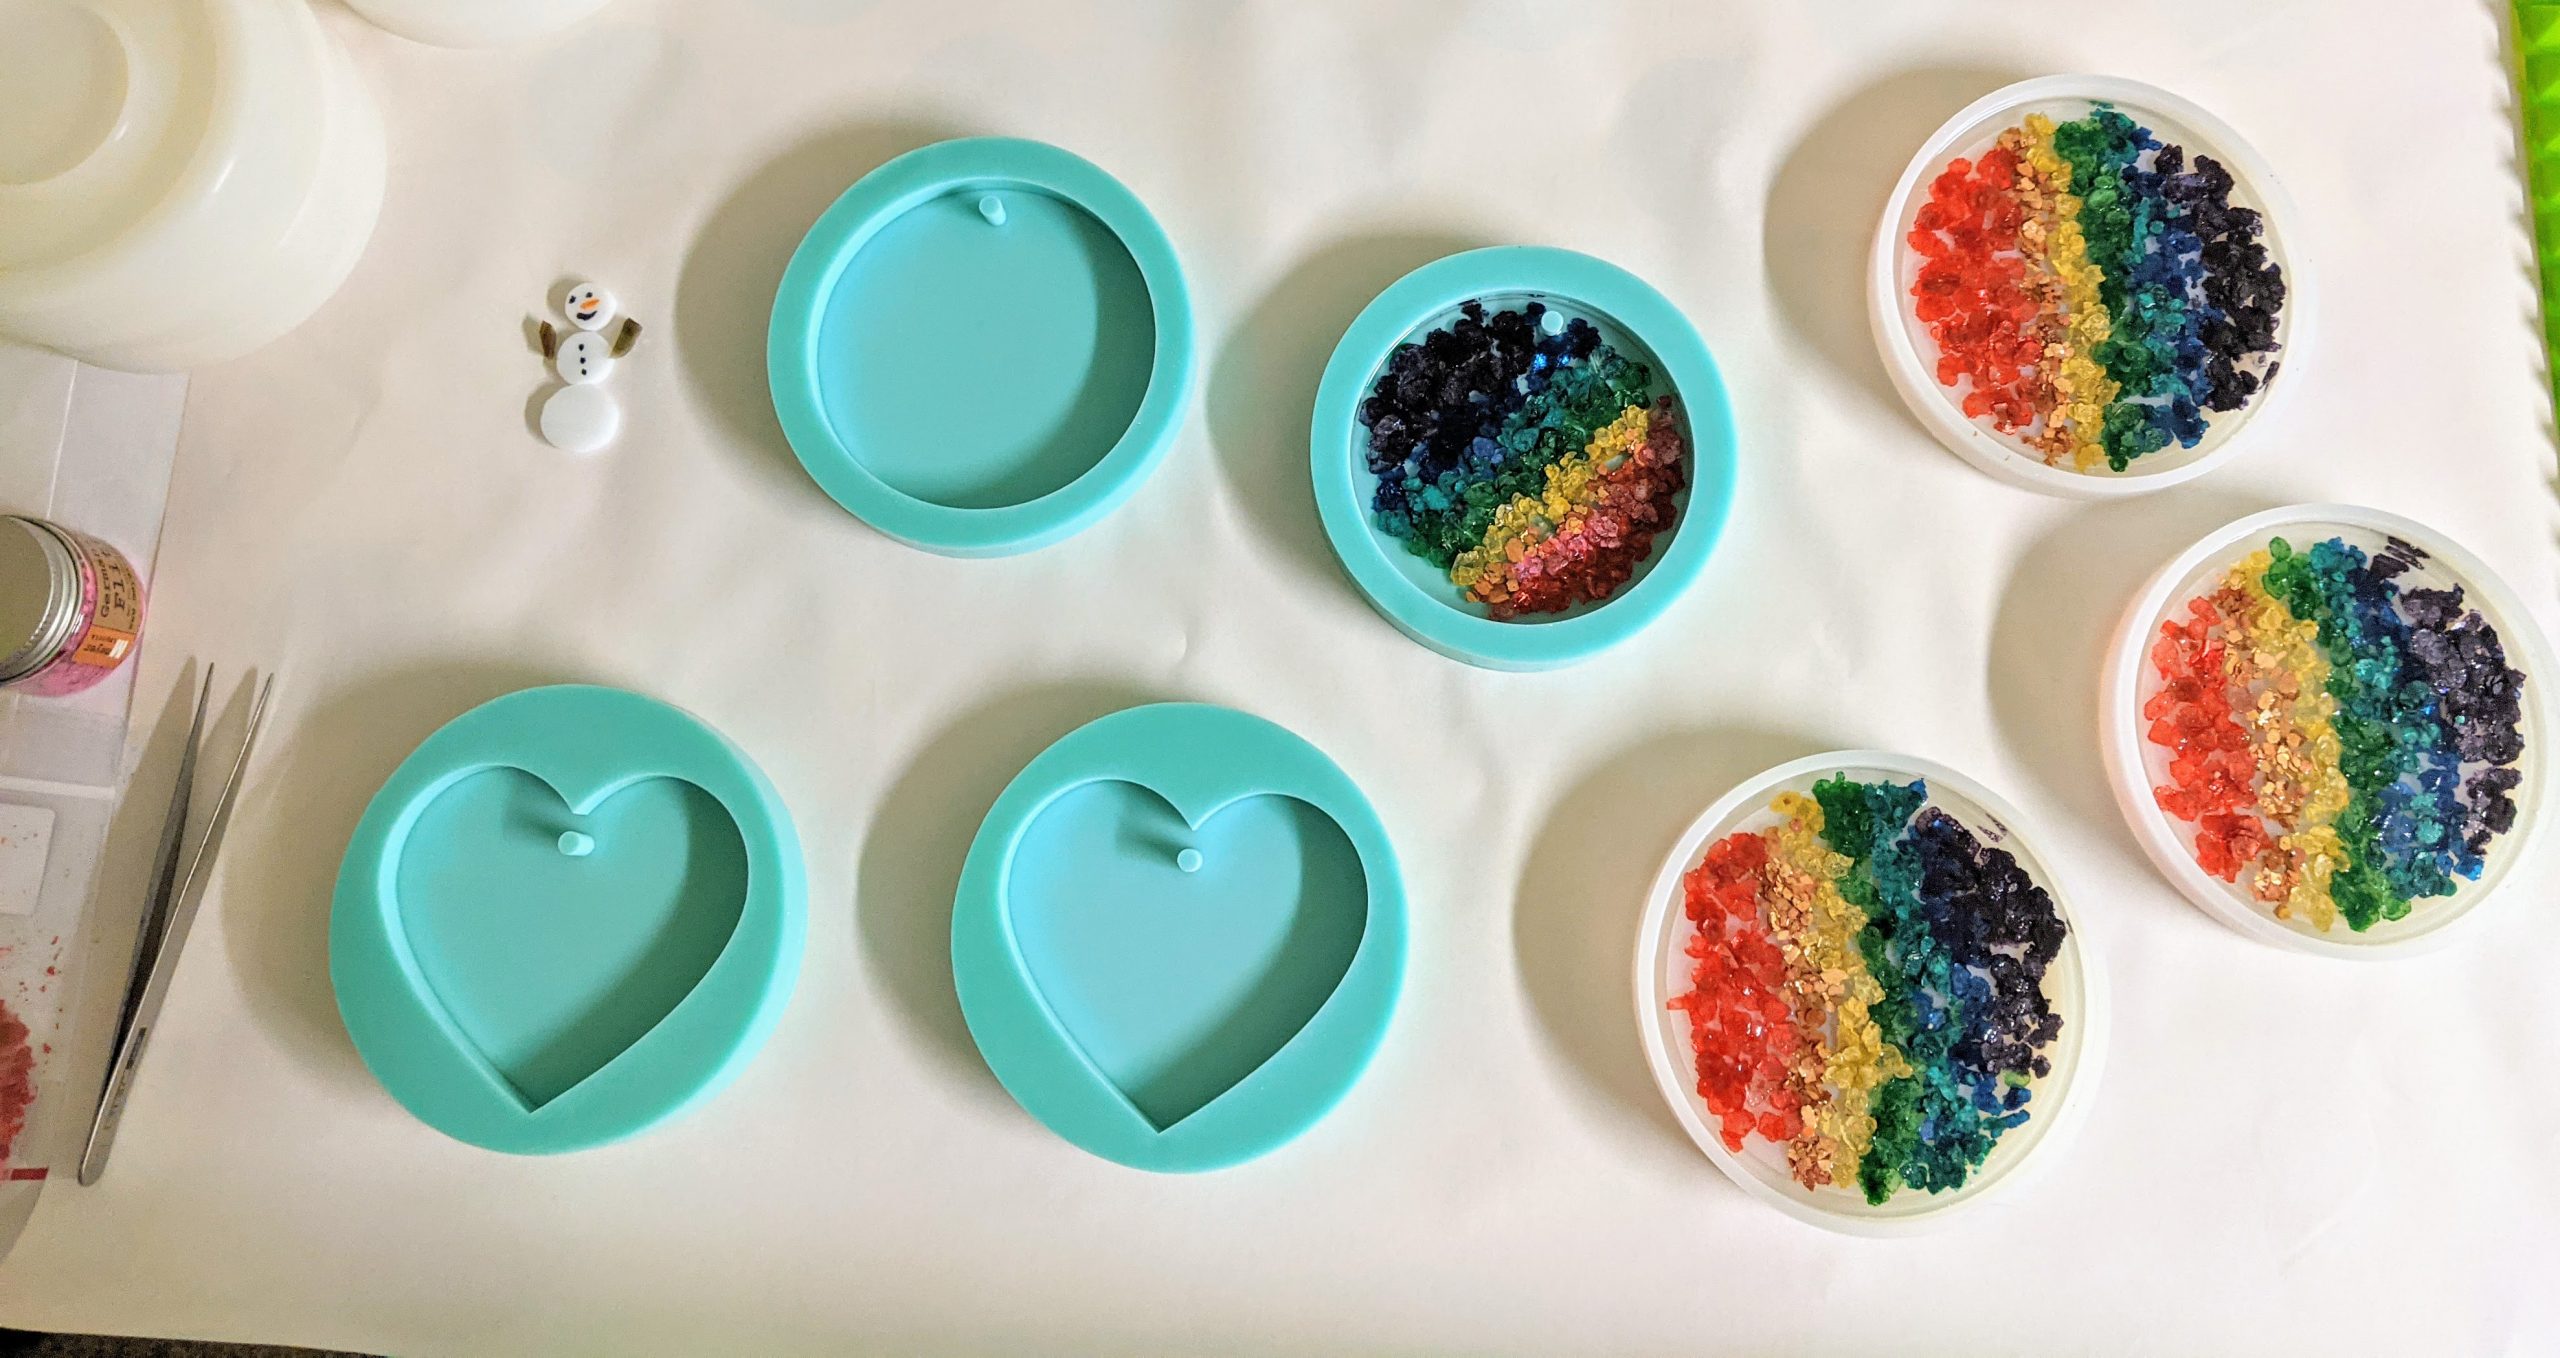
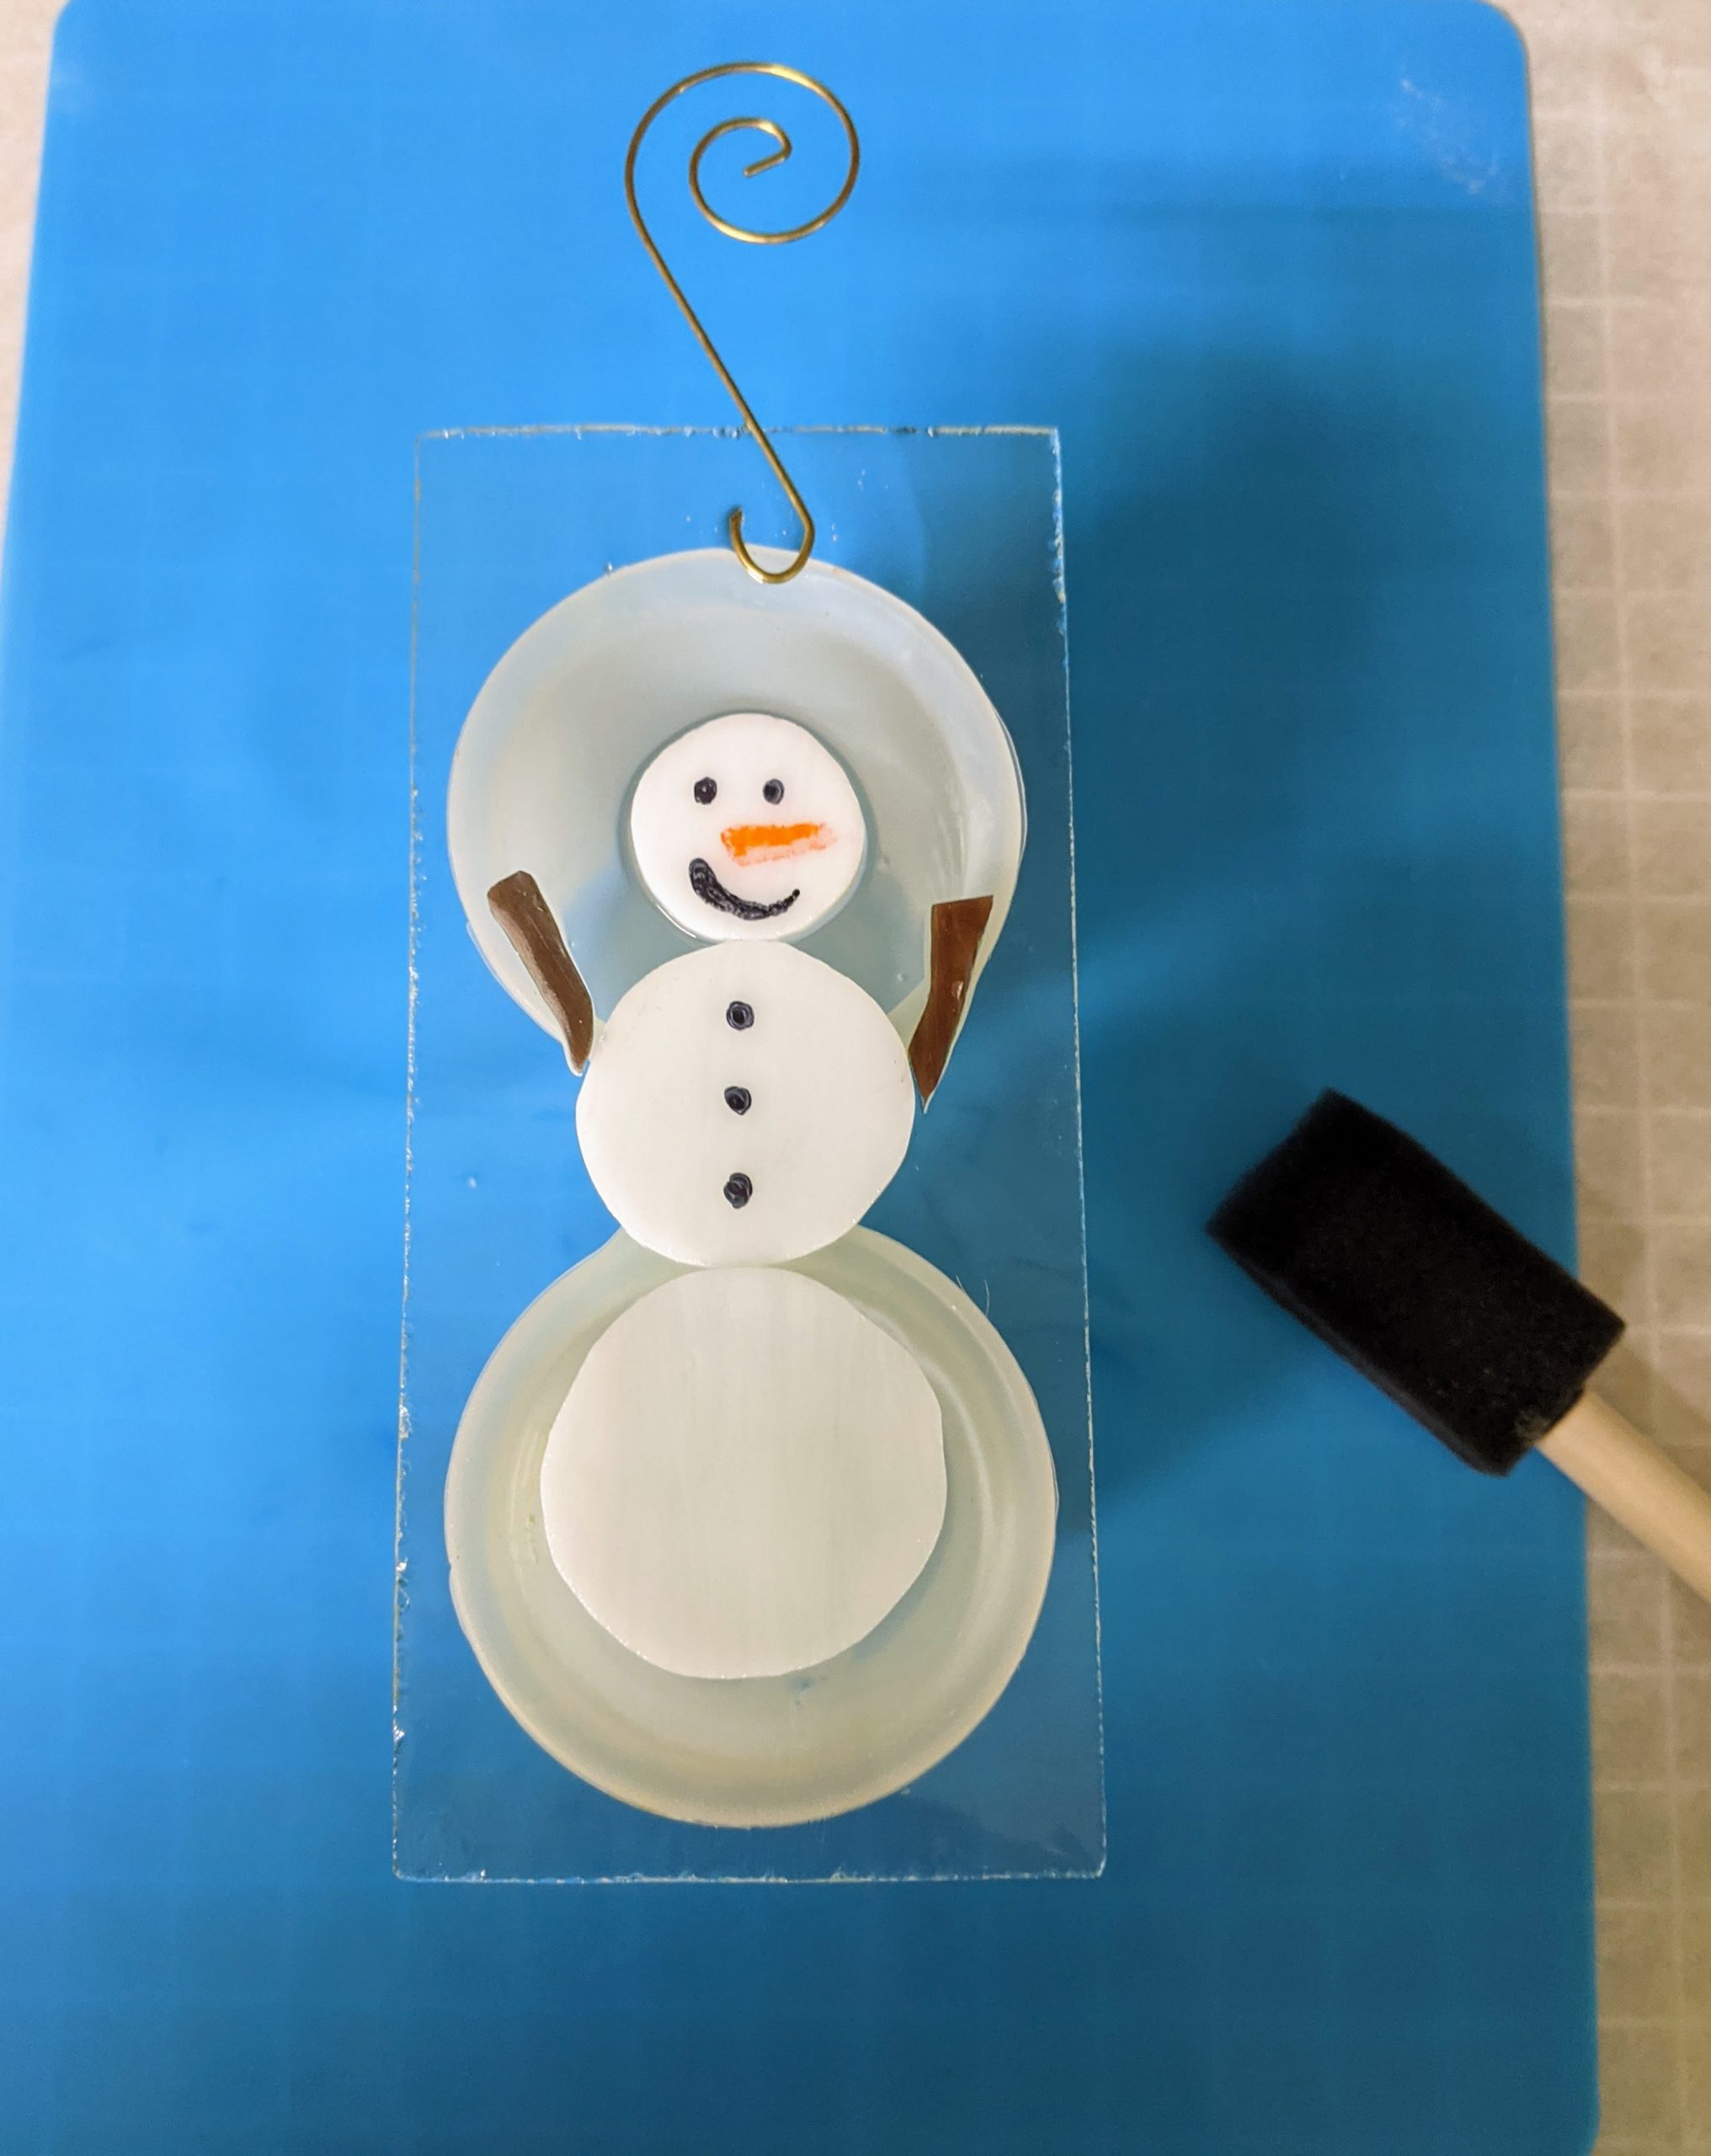
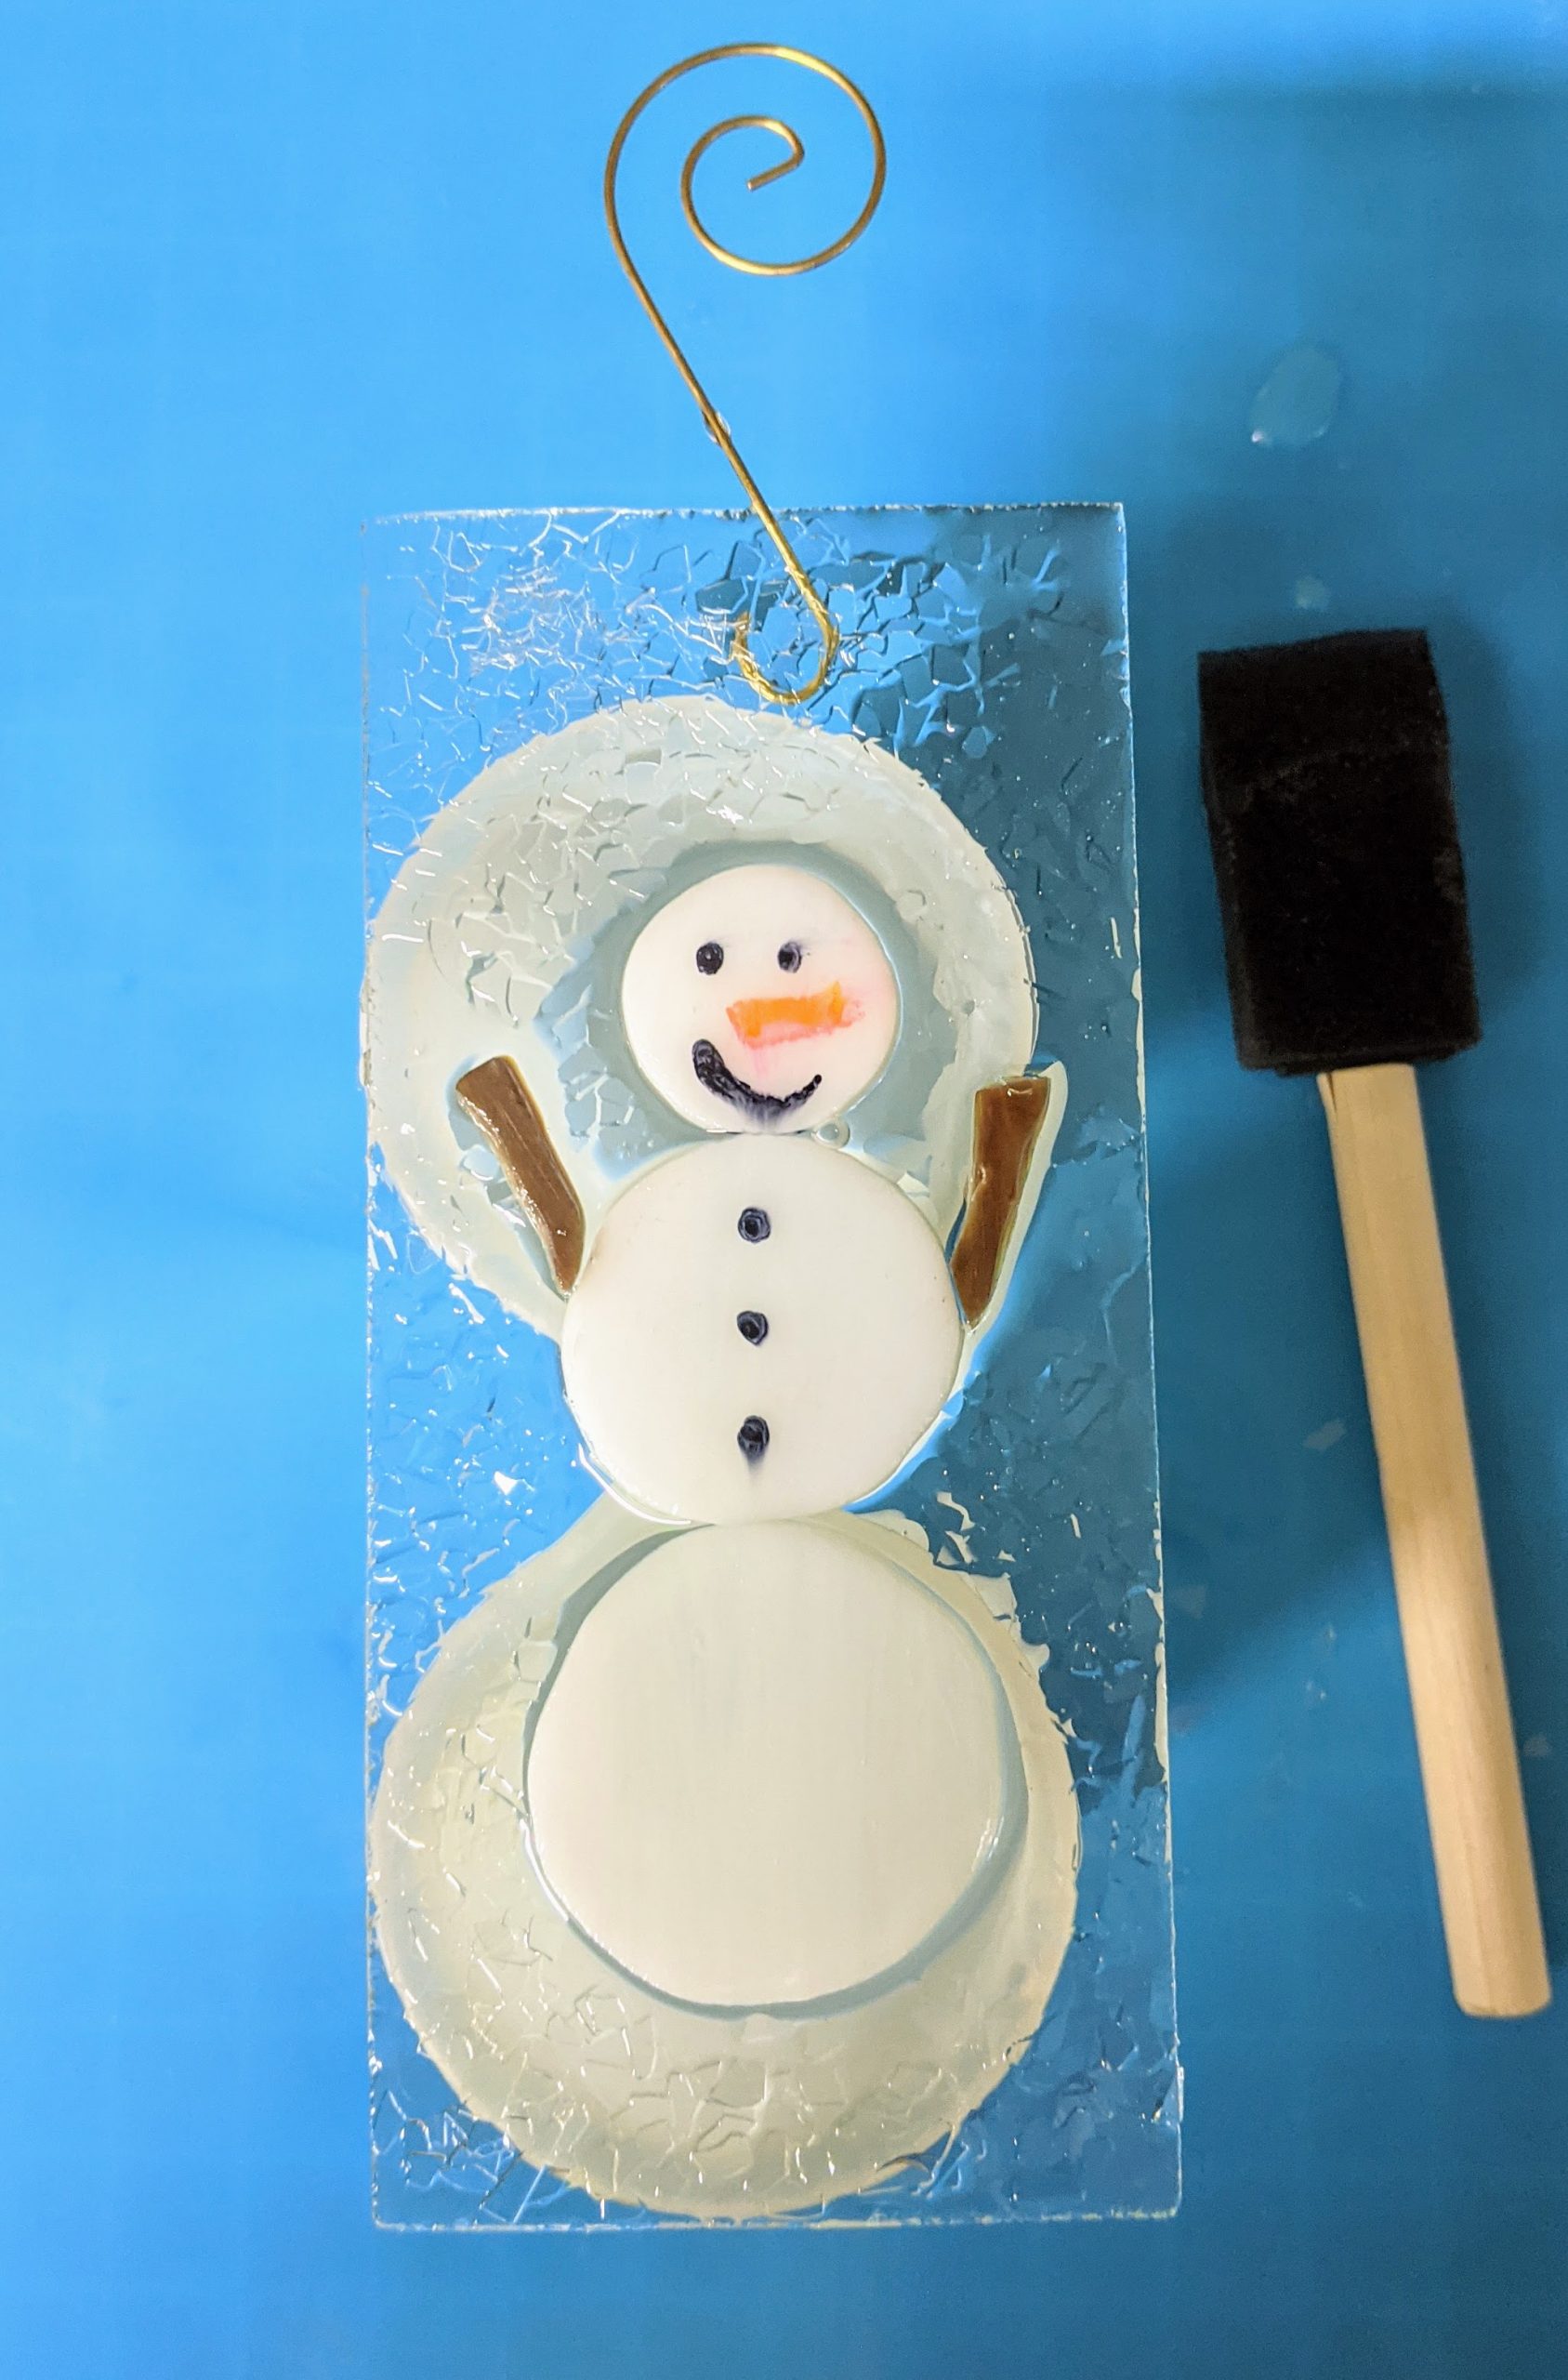
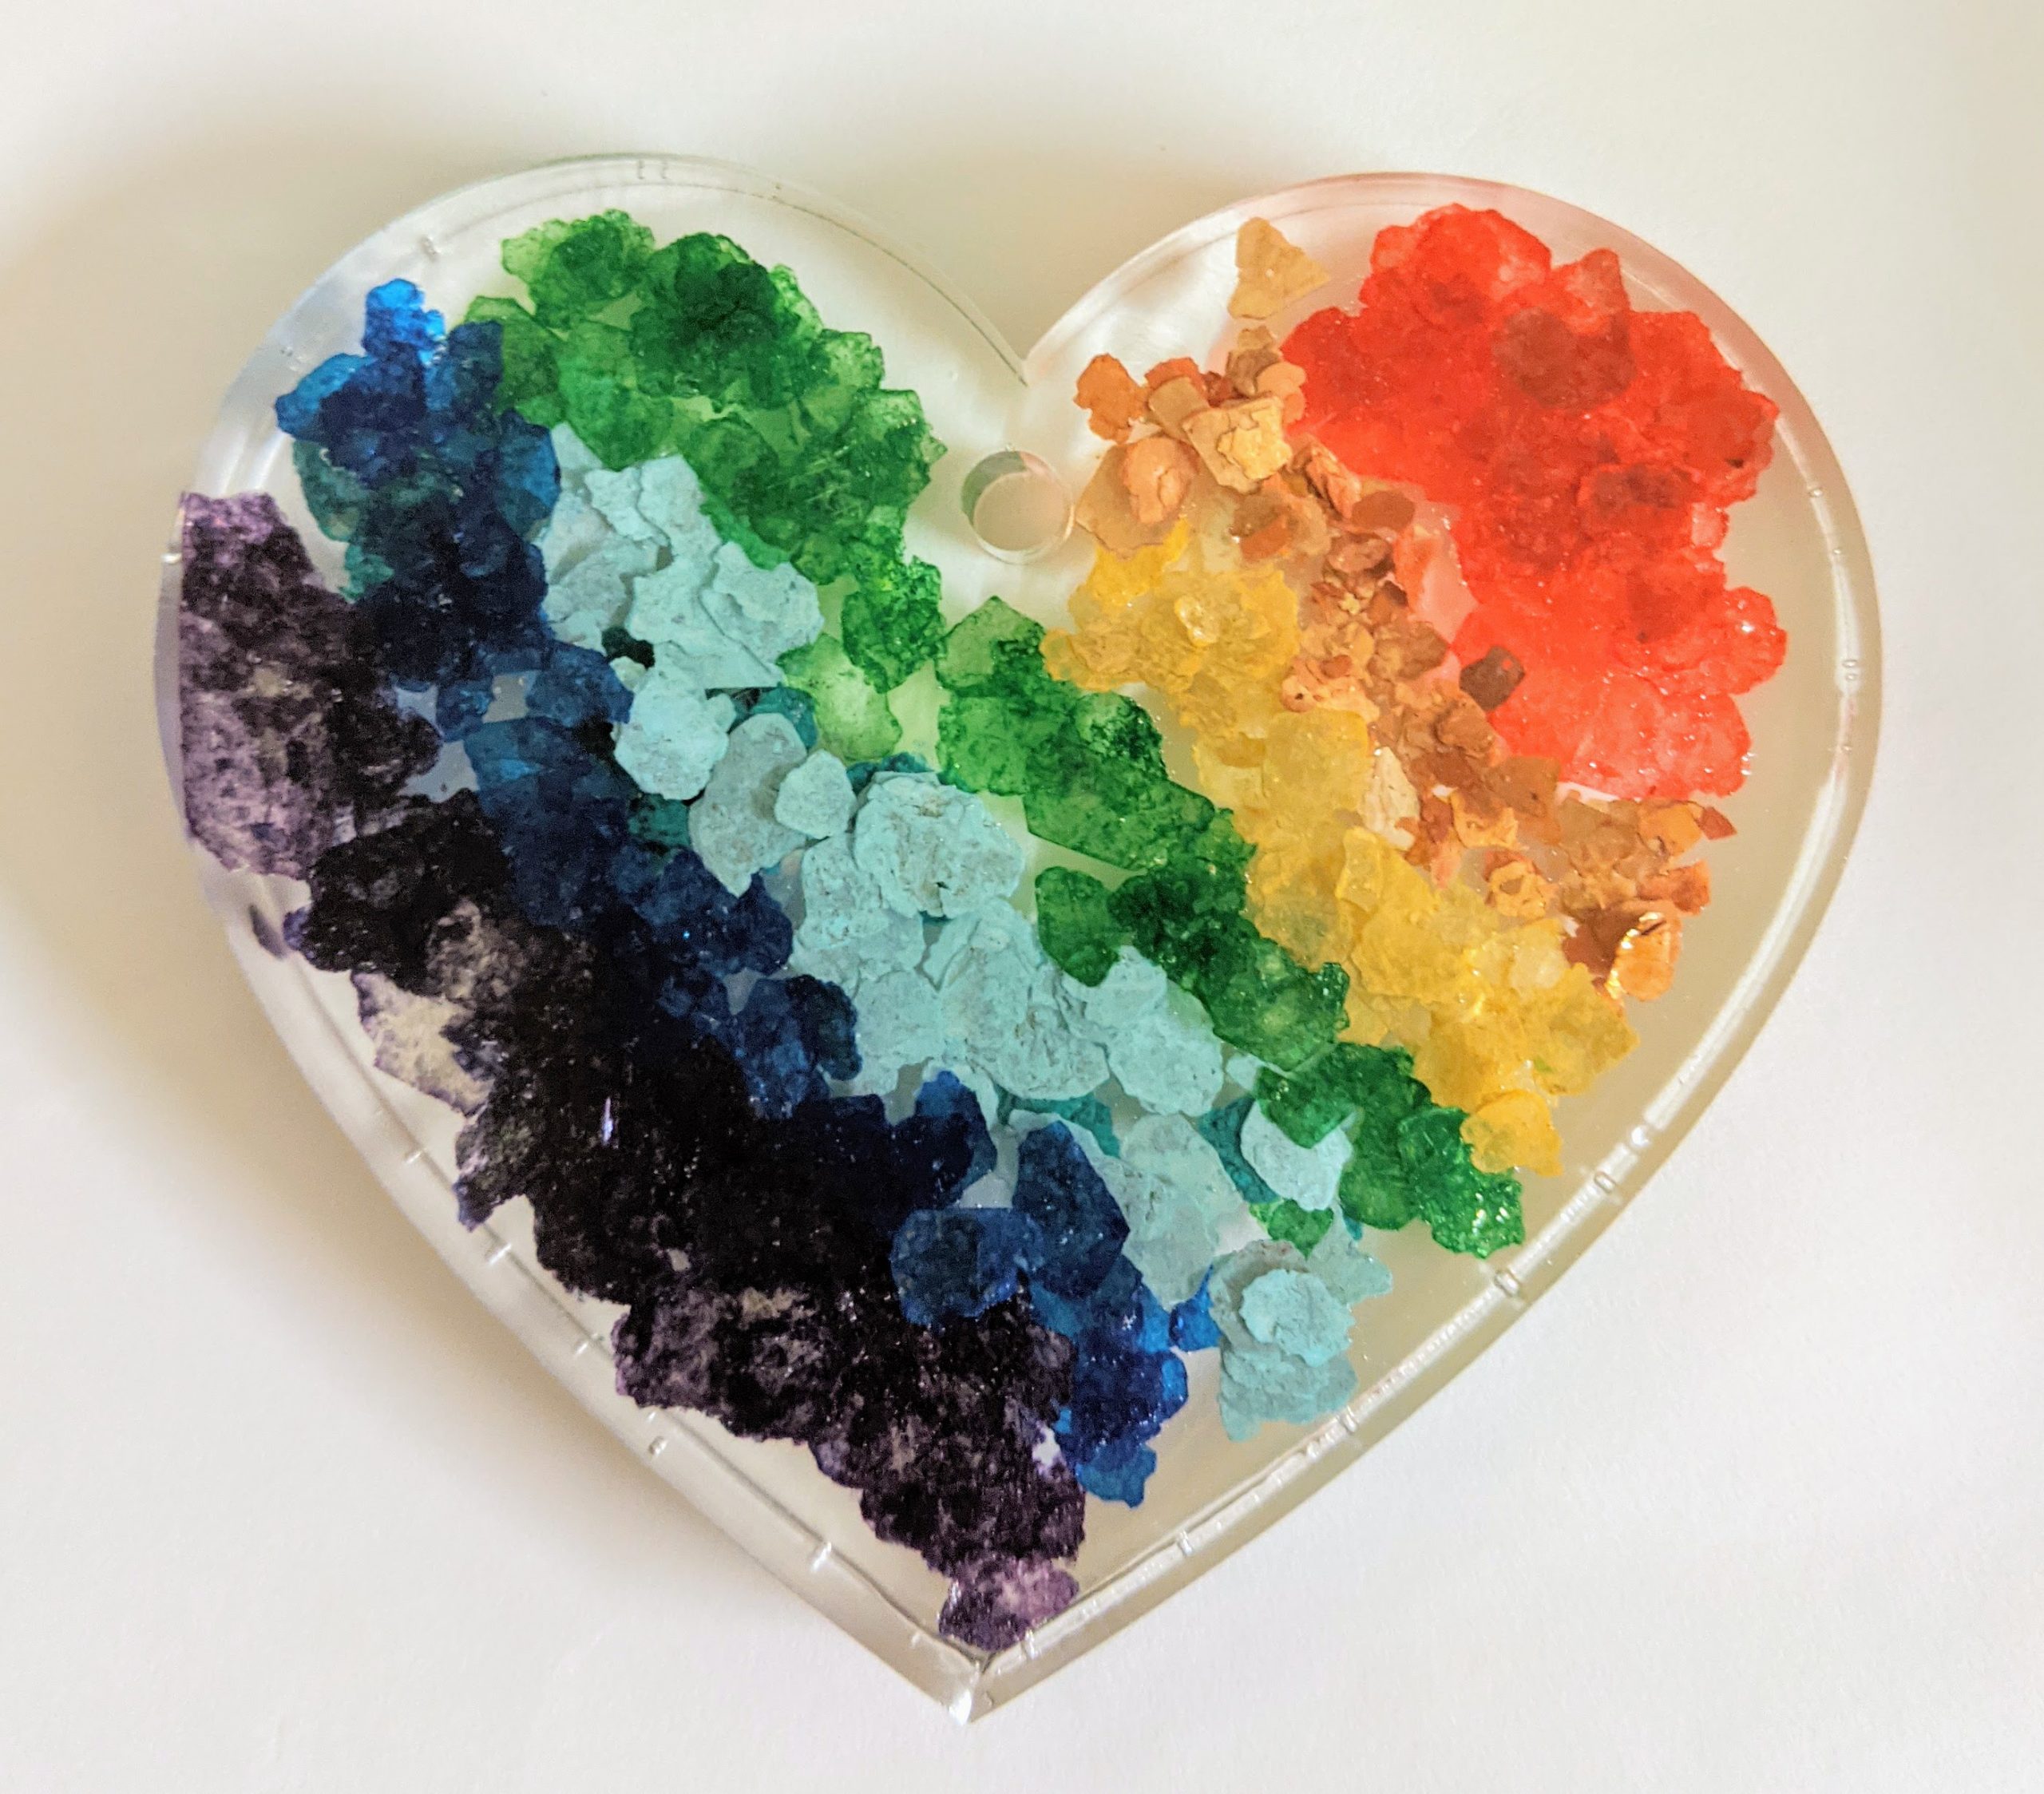
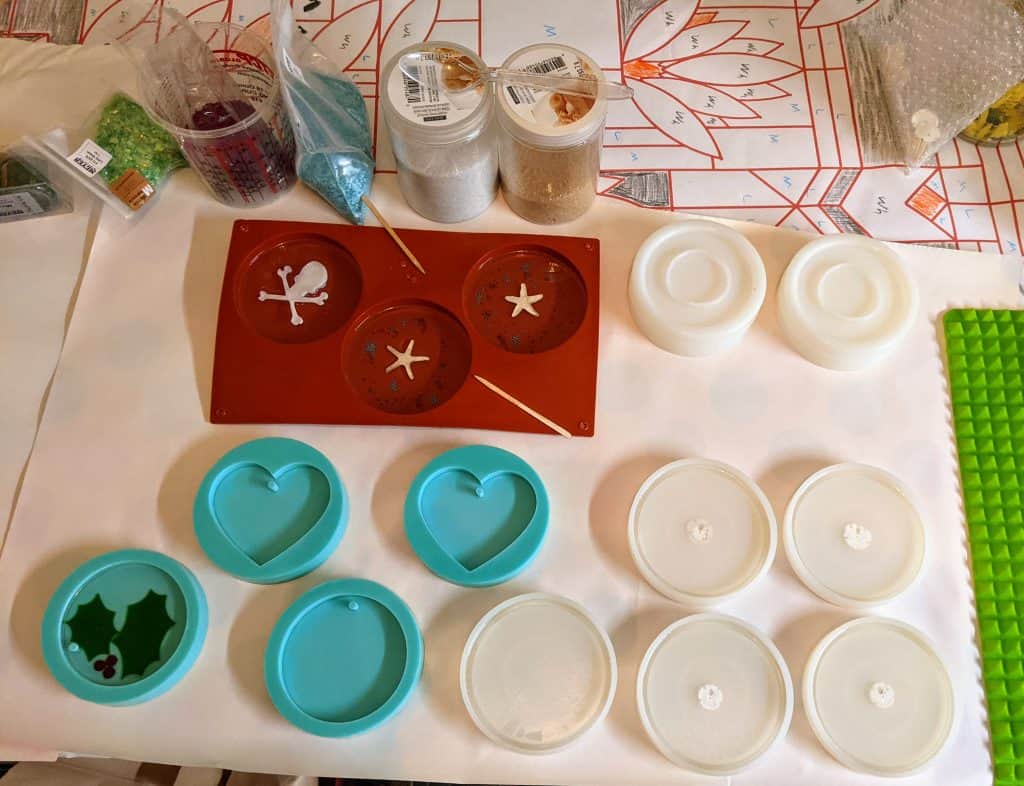
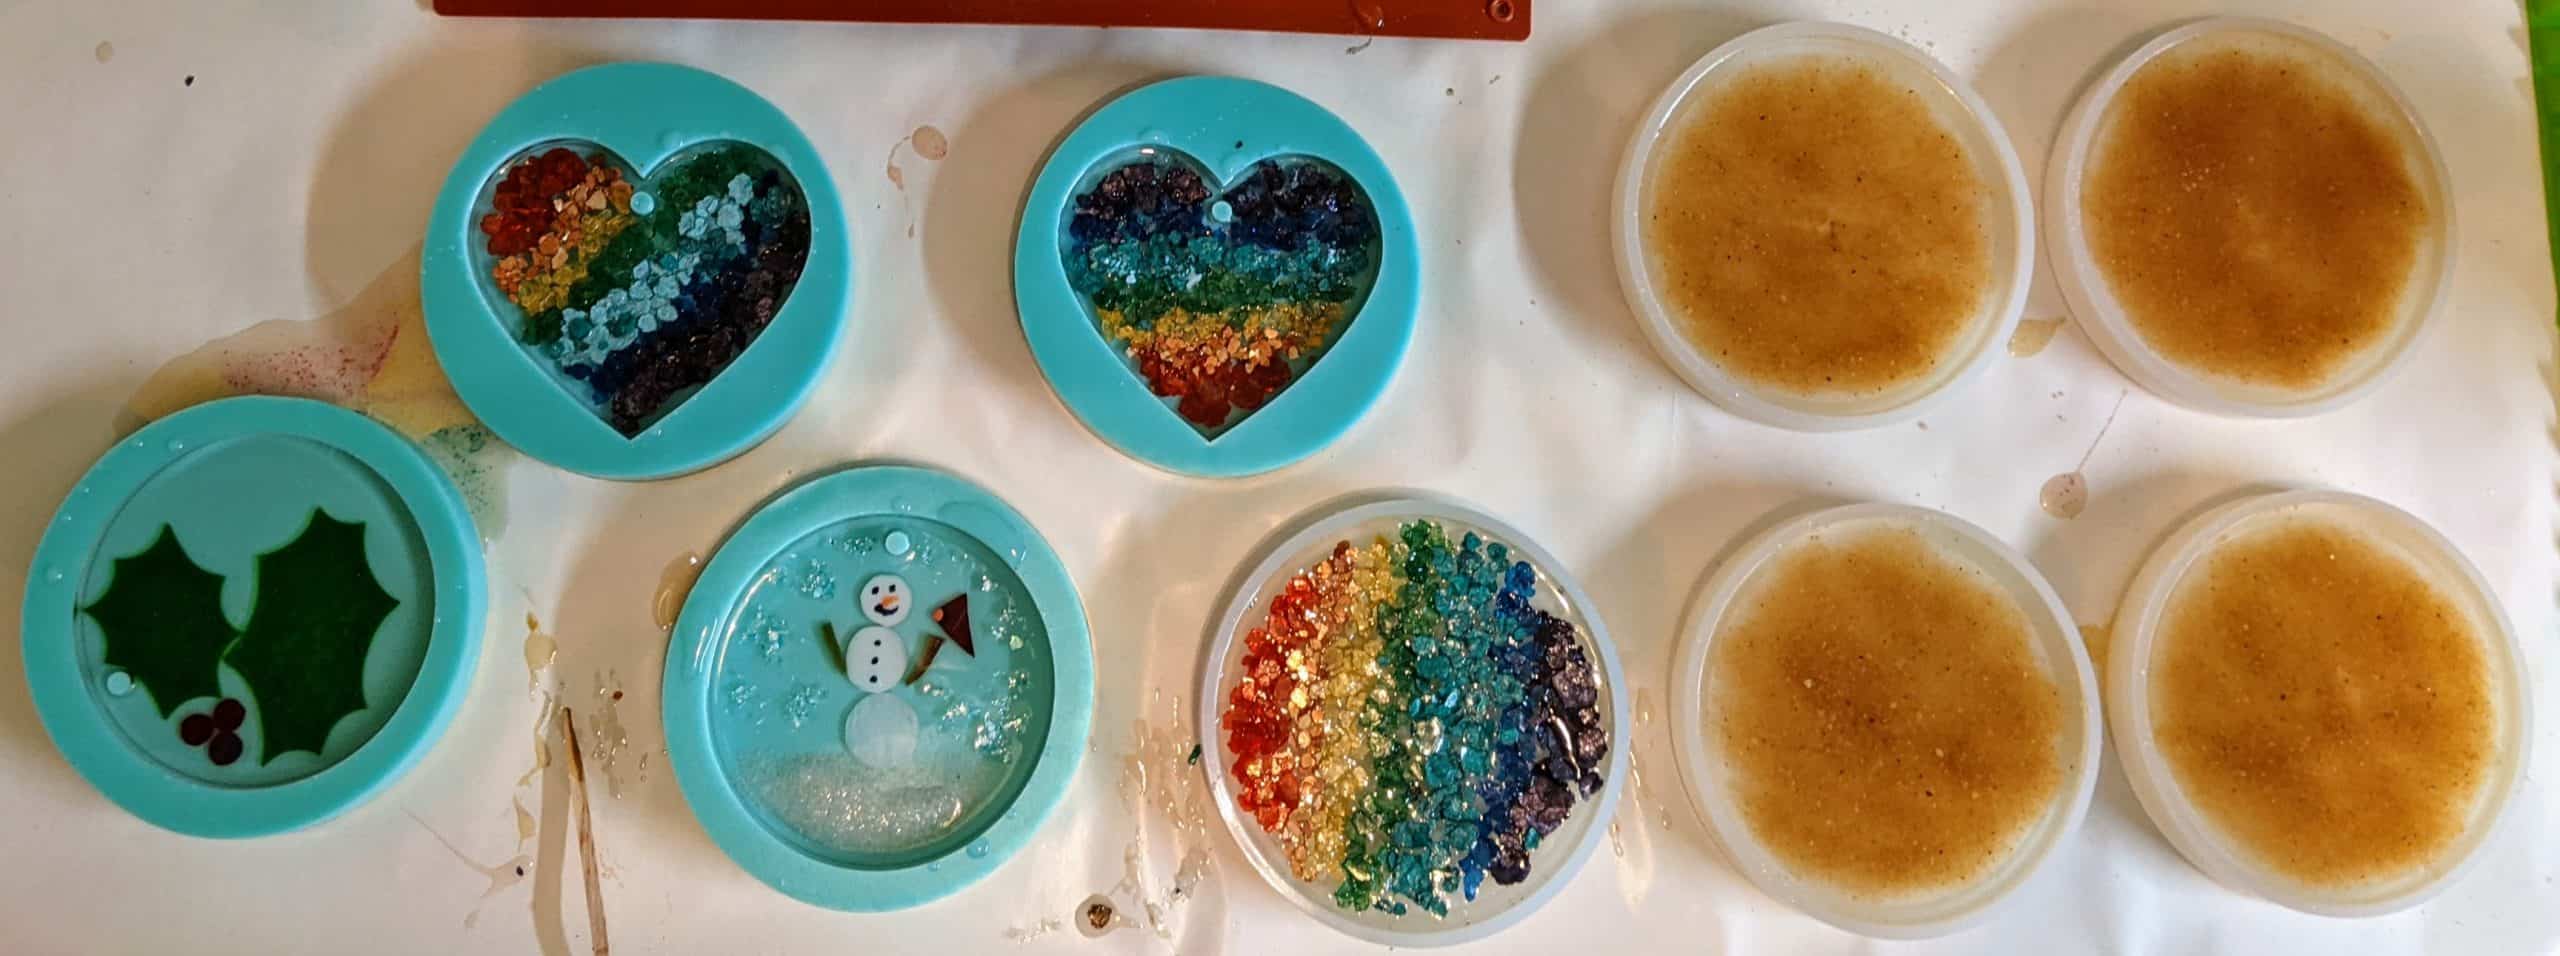
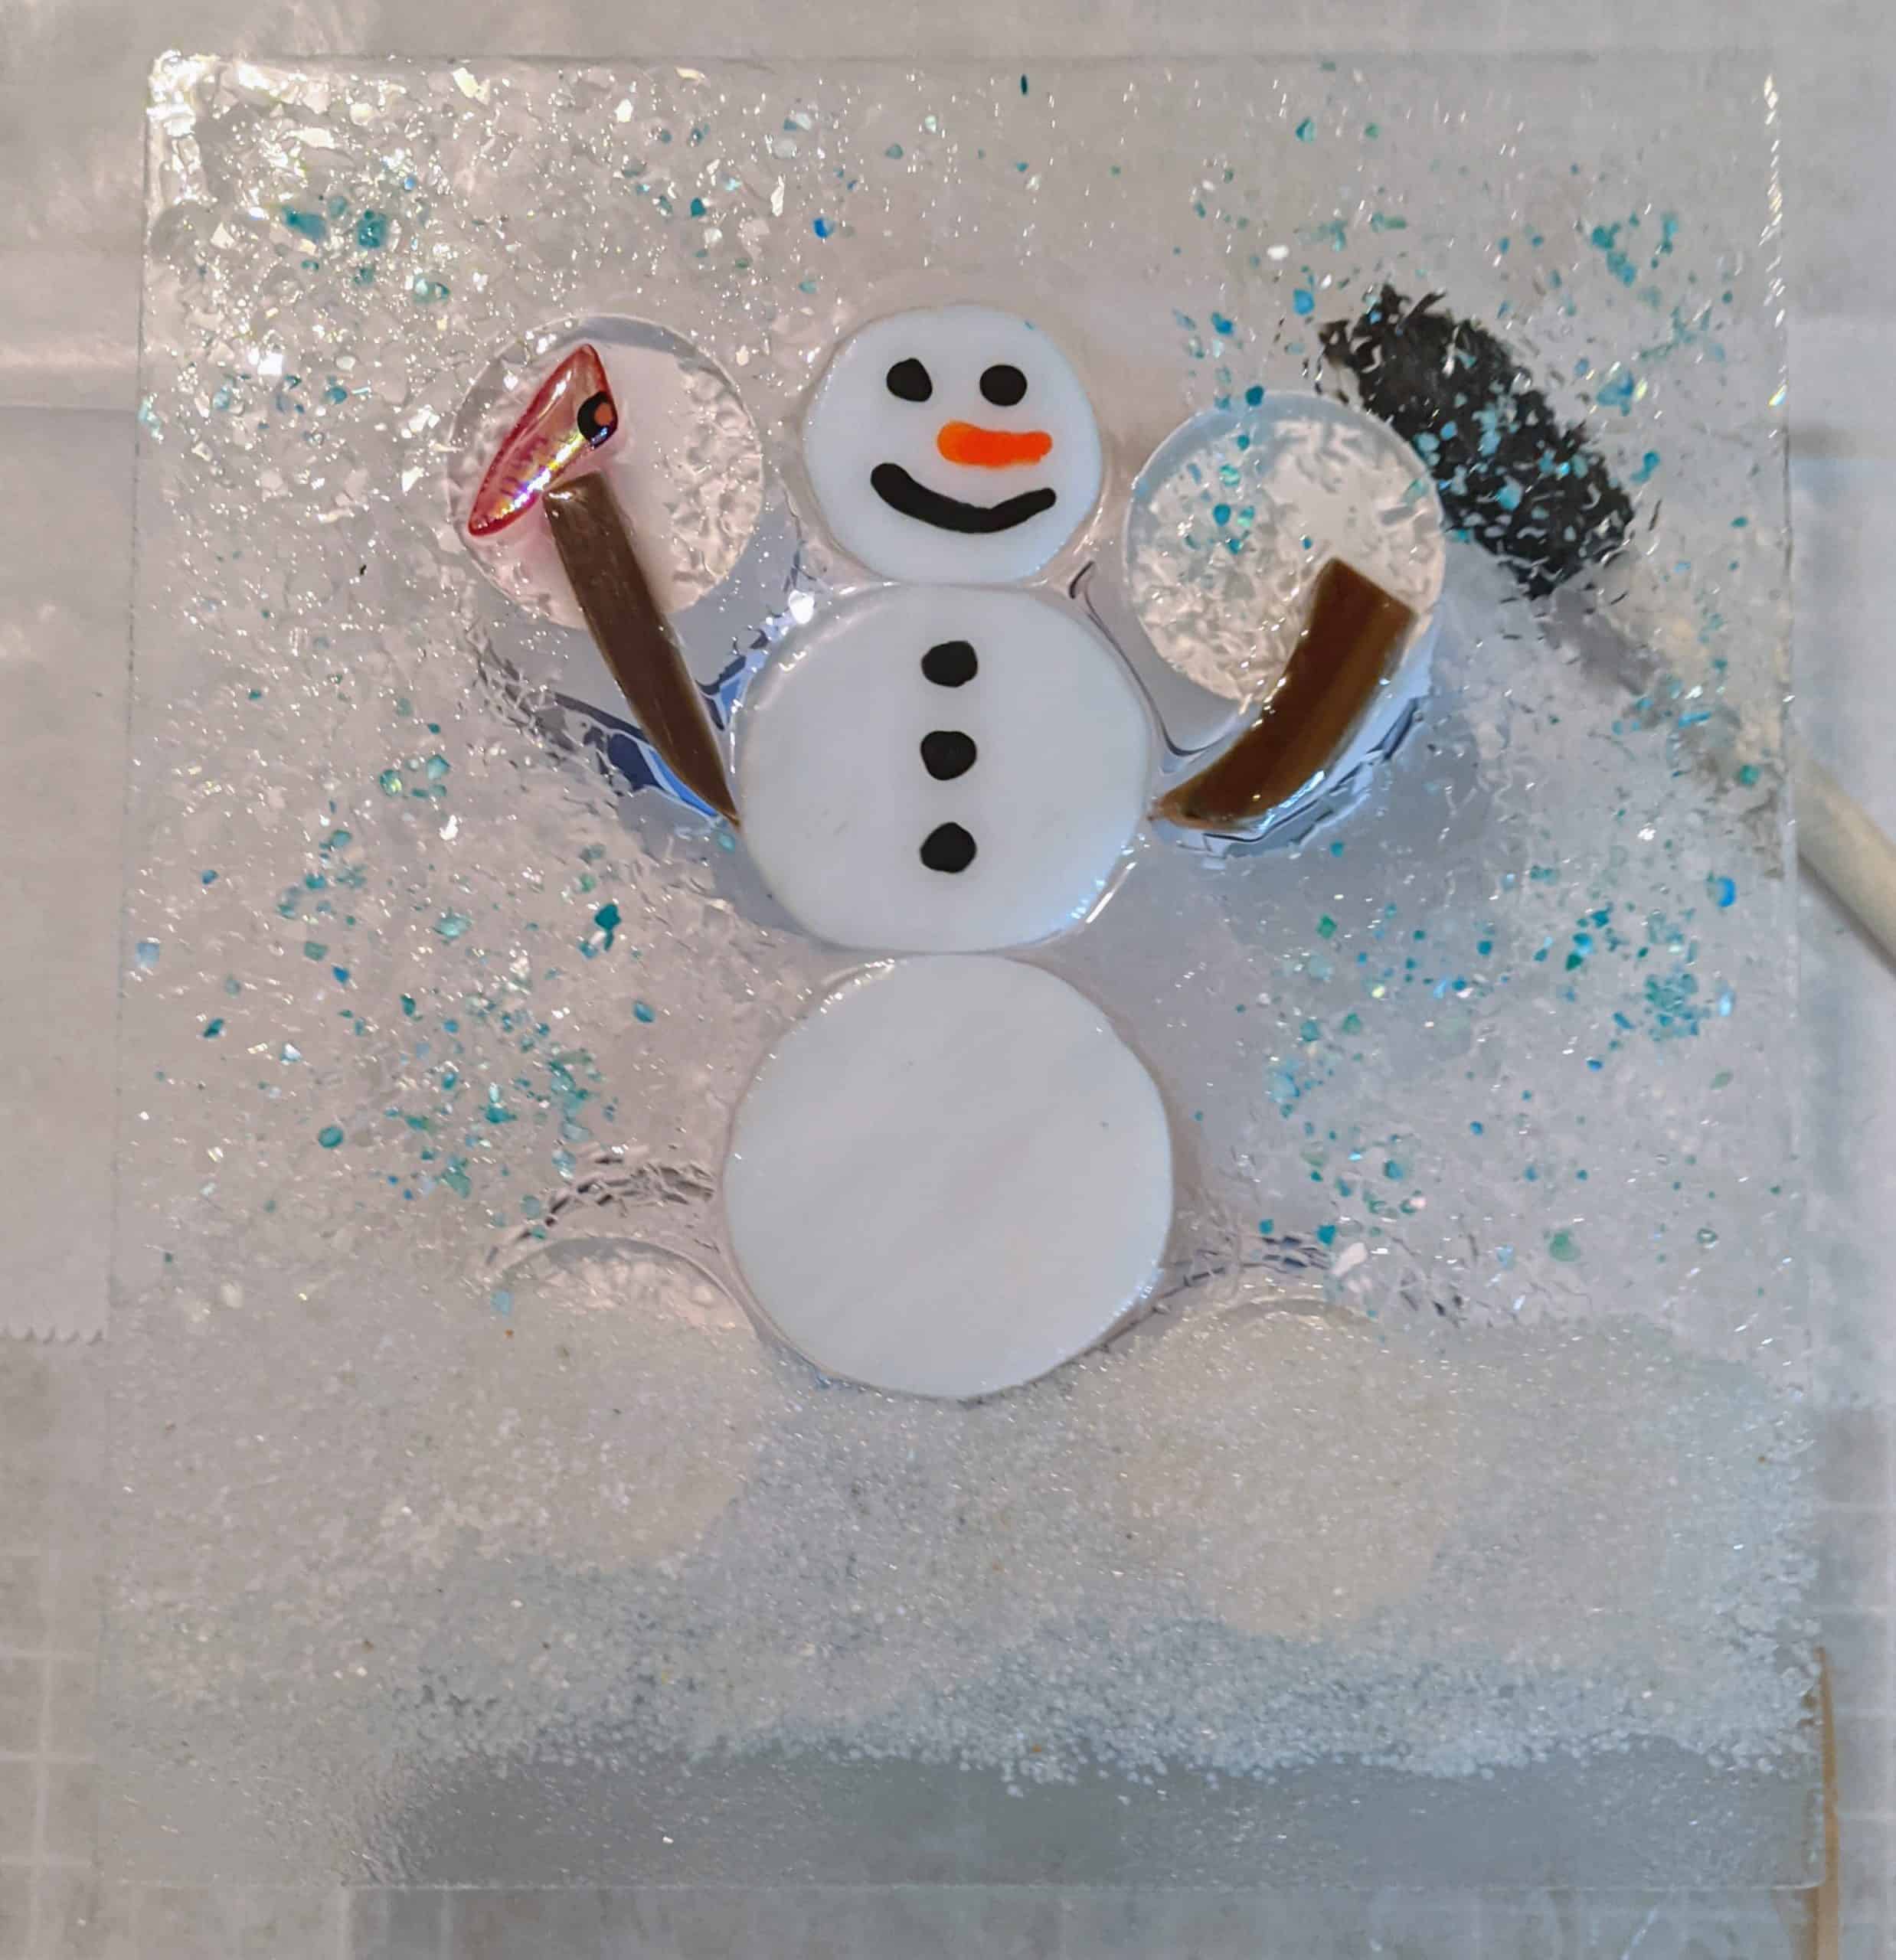
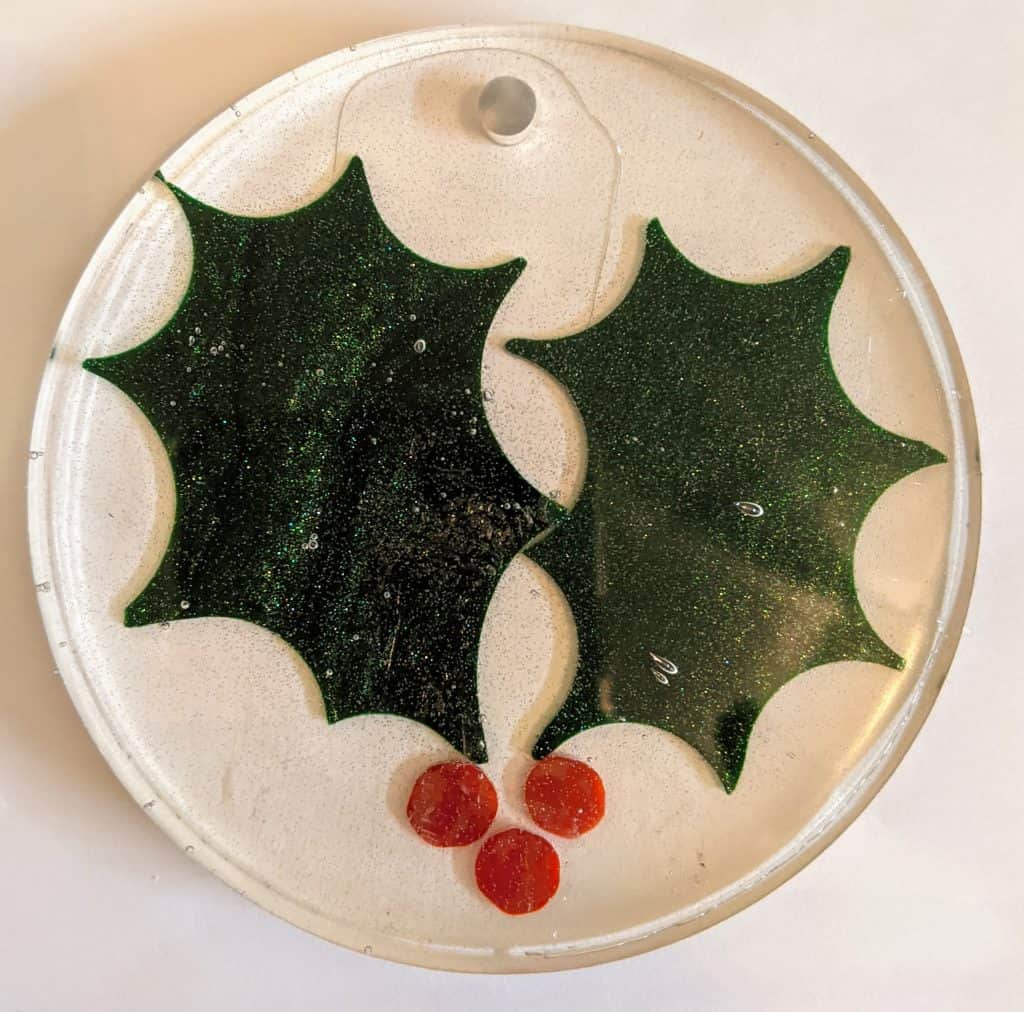
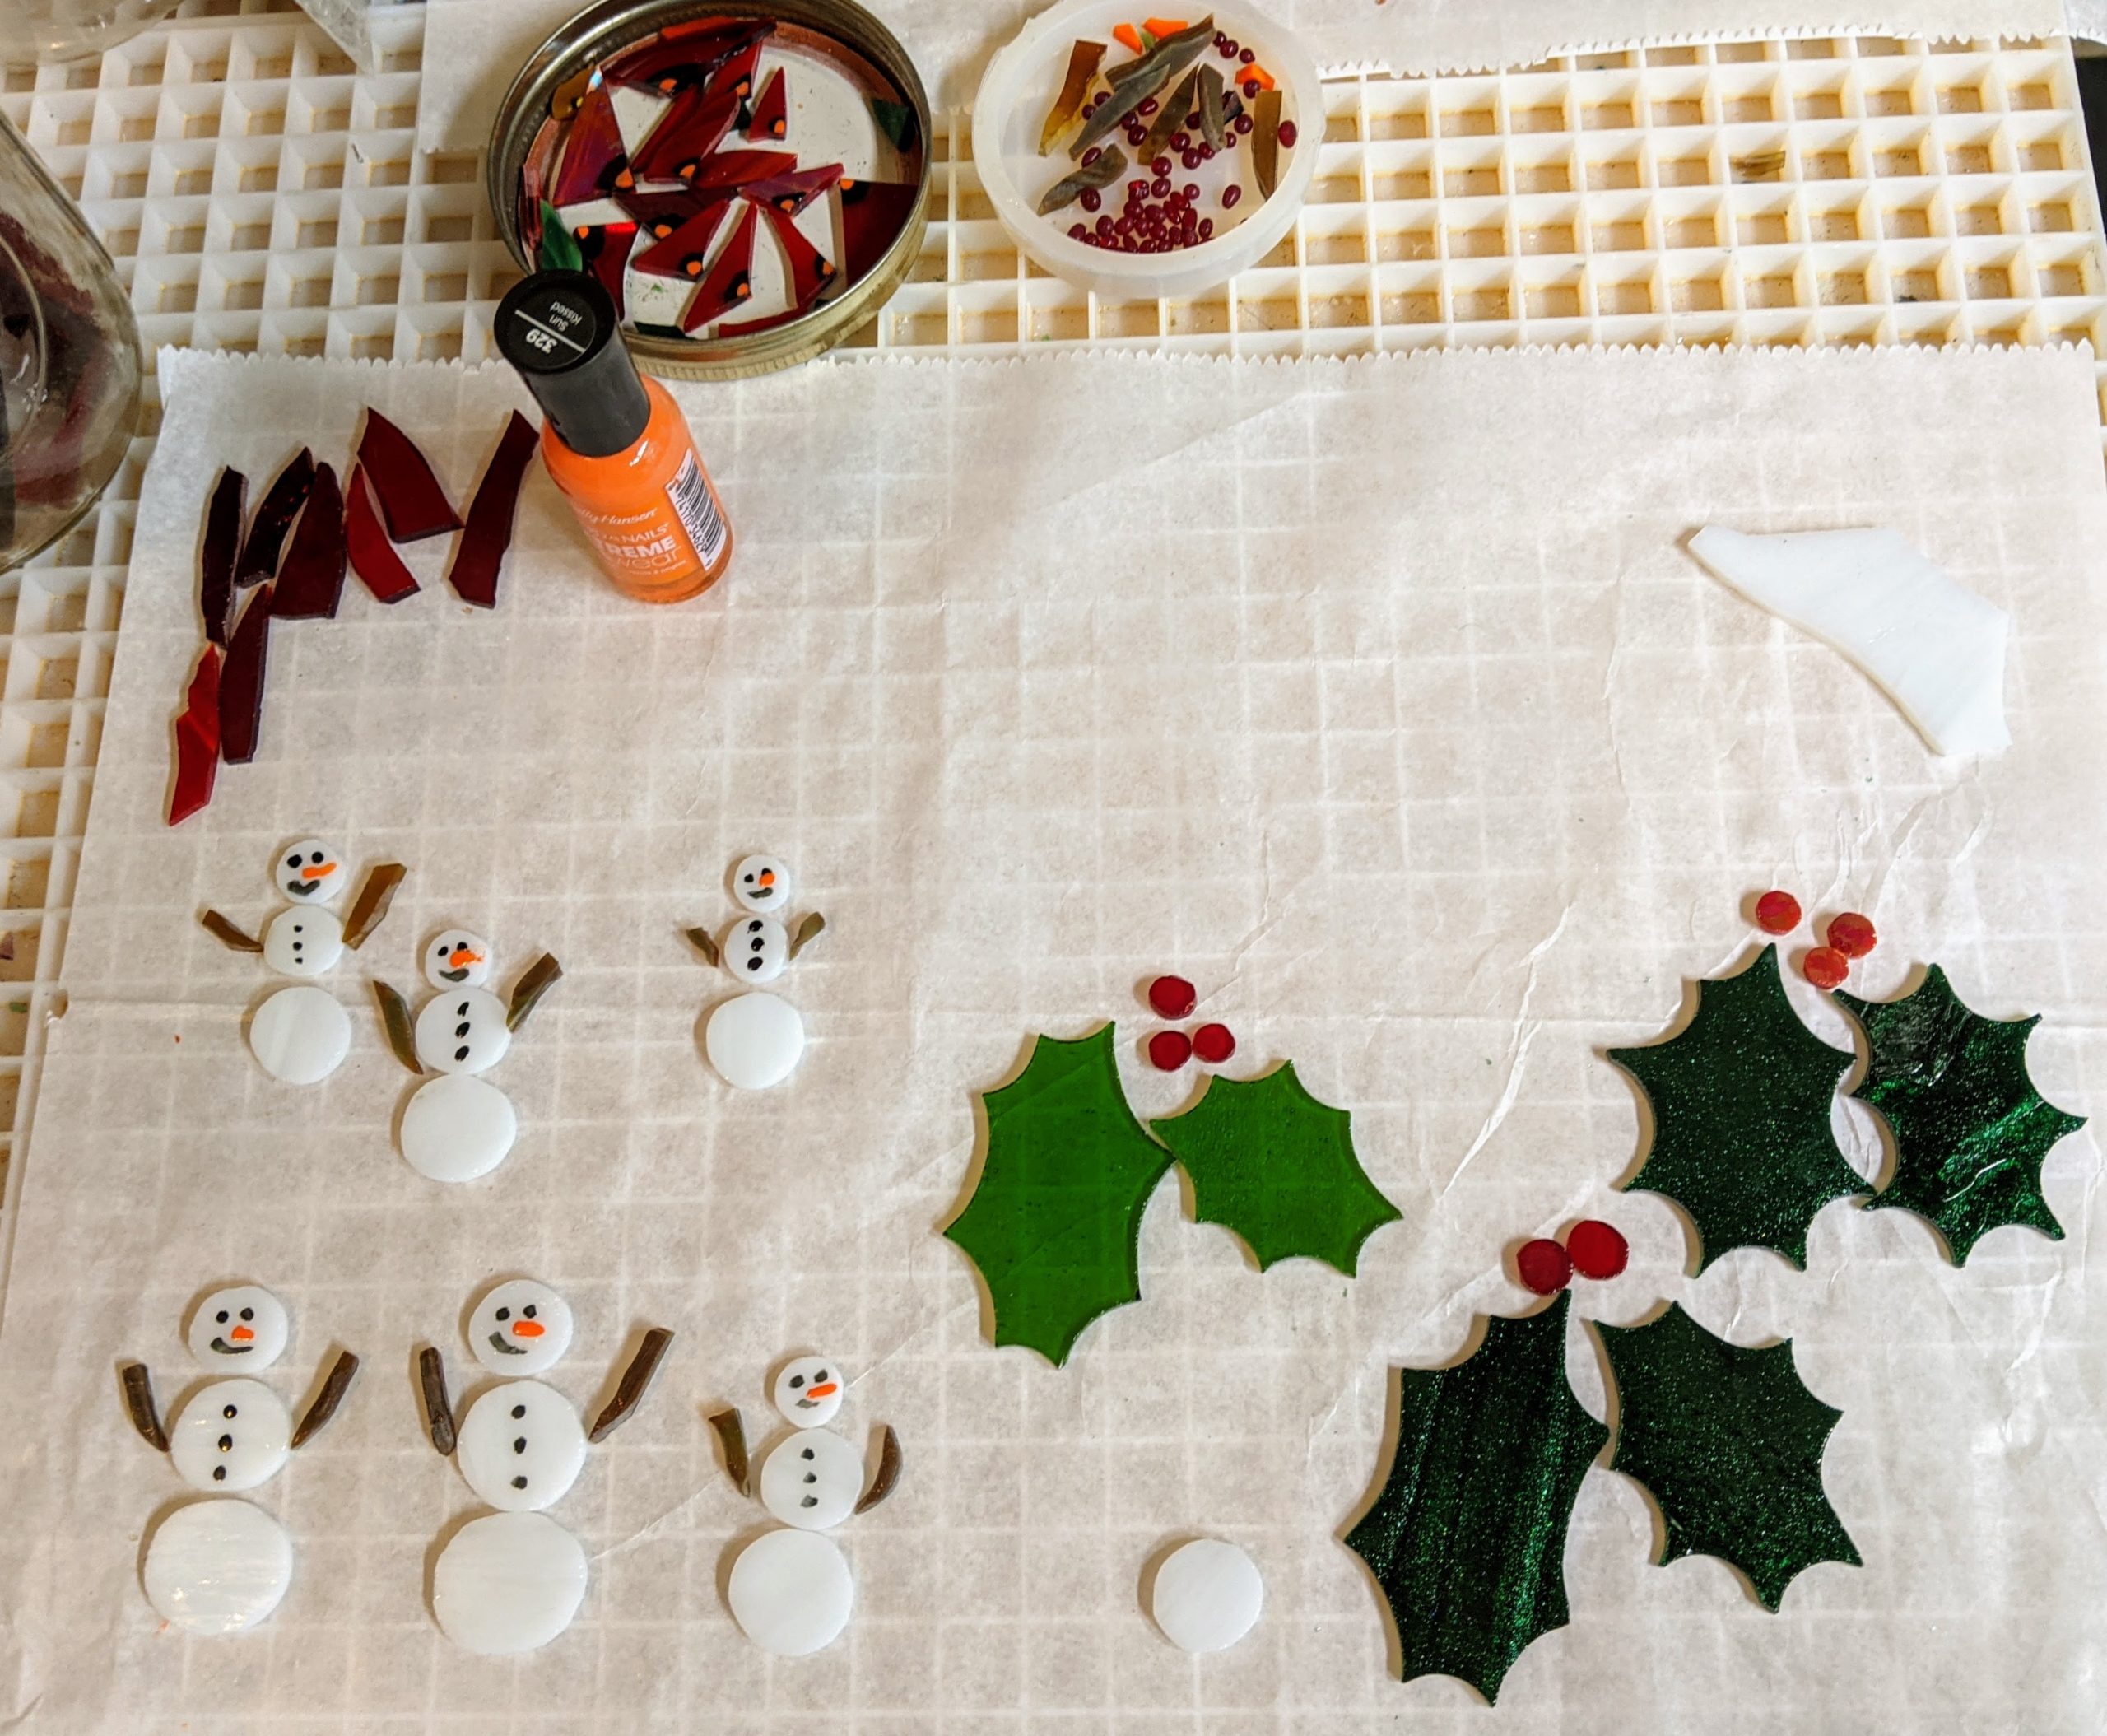
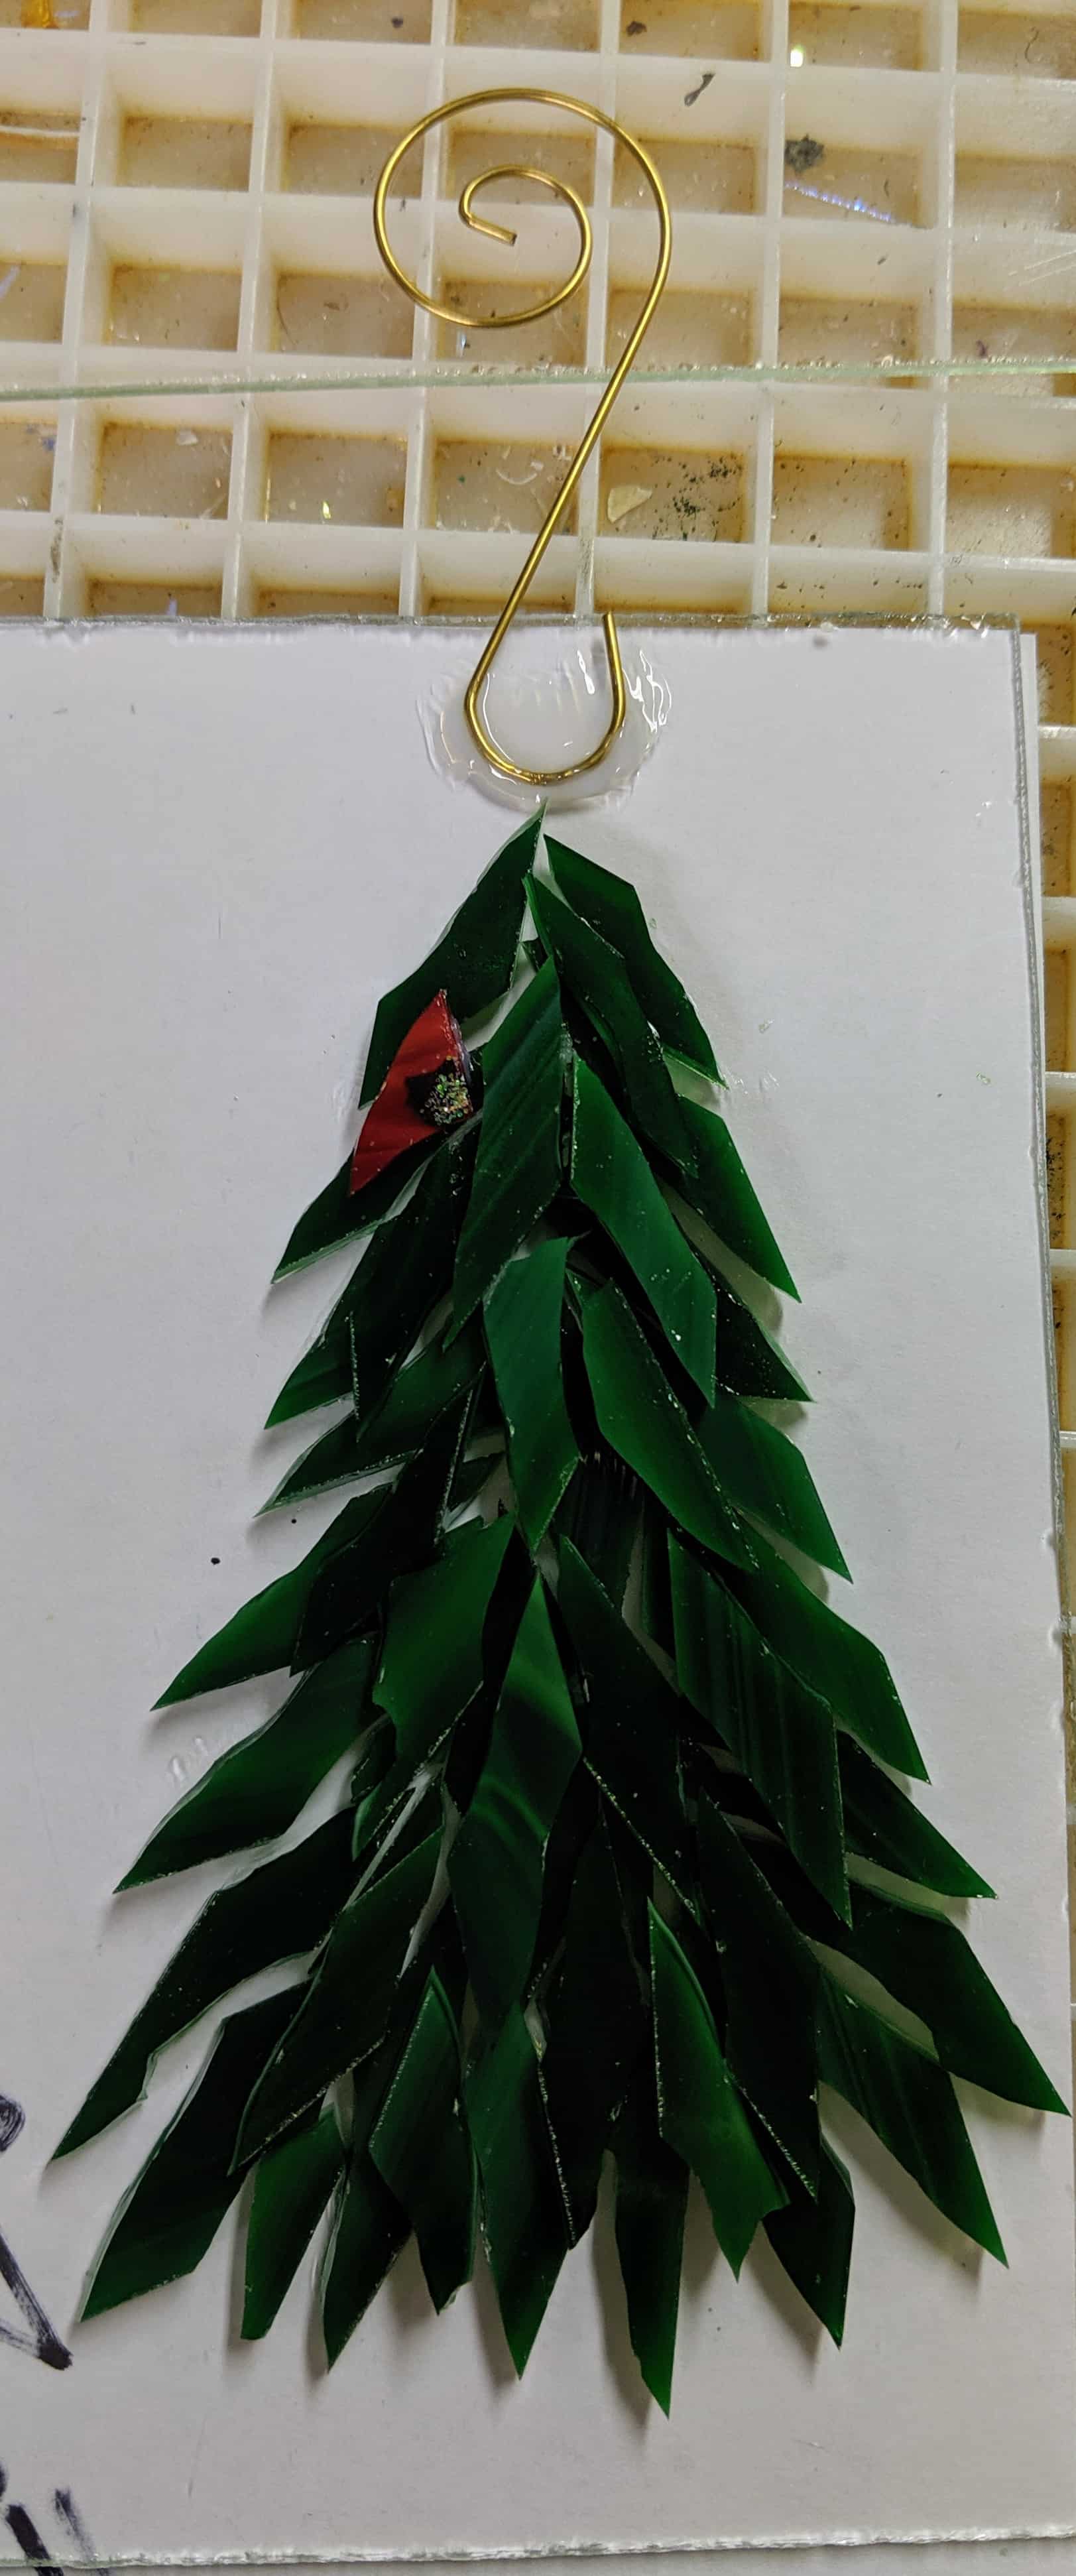
I started these a few weeks ago, but had to wait for the ornament hangers, then had to glue them in place and let it dry. This weekend was my first opportunity to finish them by taping the backs with painter’s tape, pouring the resin and decorating. The molded suncatchers / ornaments only have the first layer of resin poured (today) and will require at least a second layer.

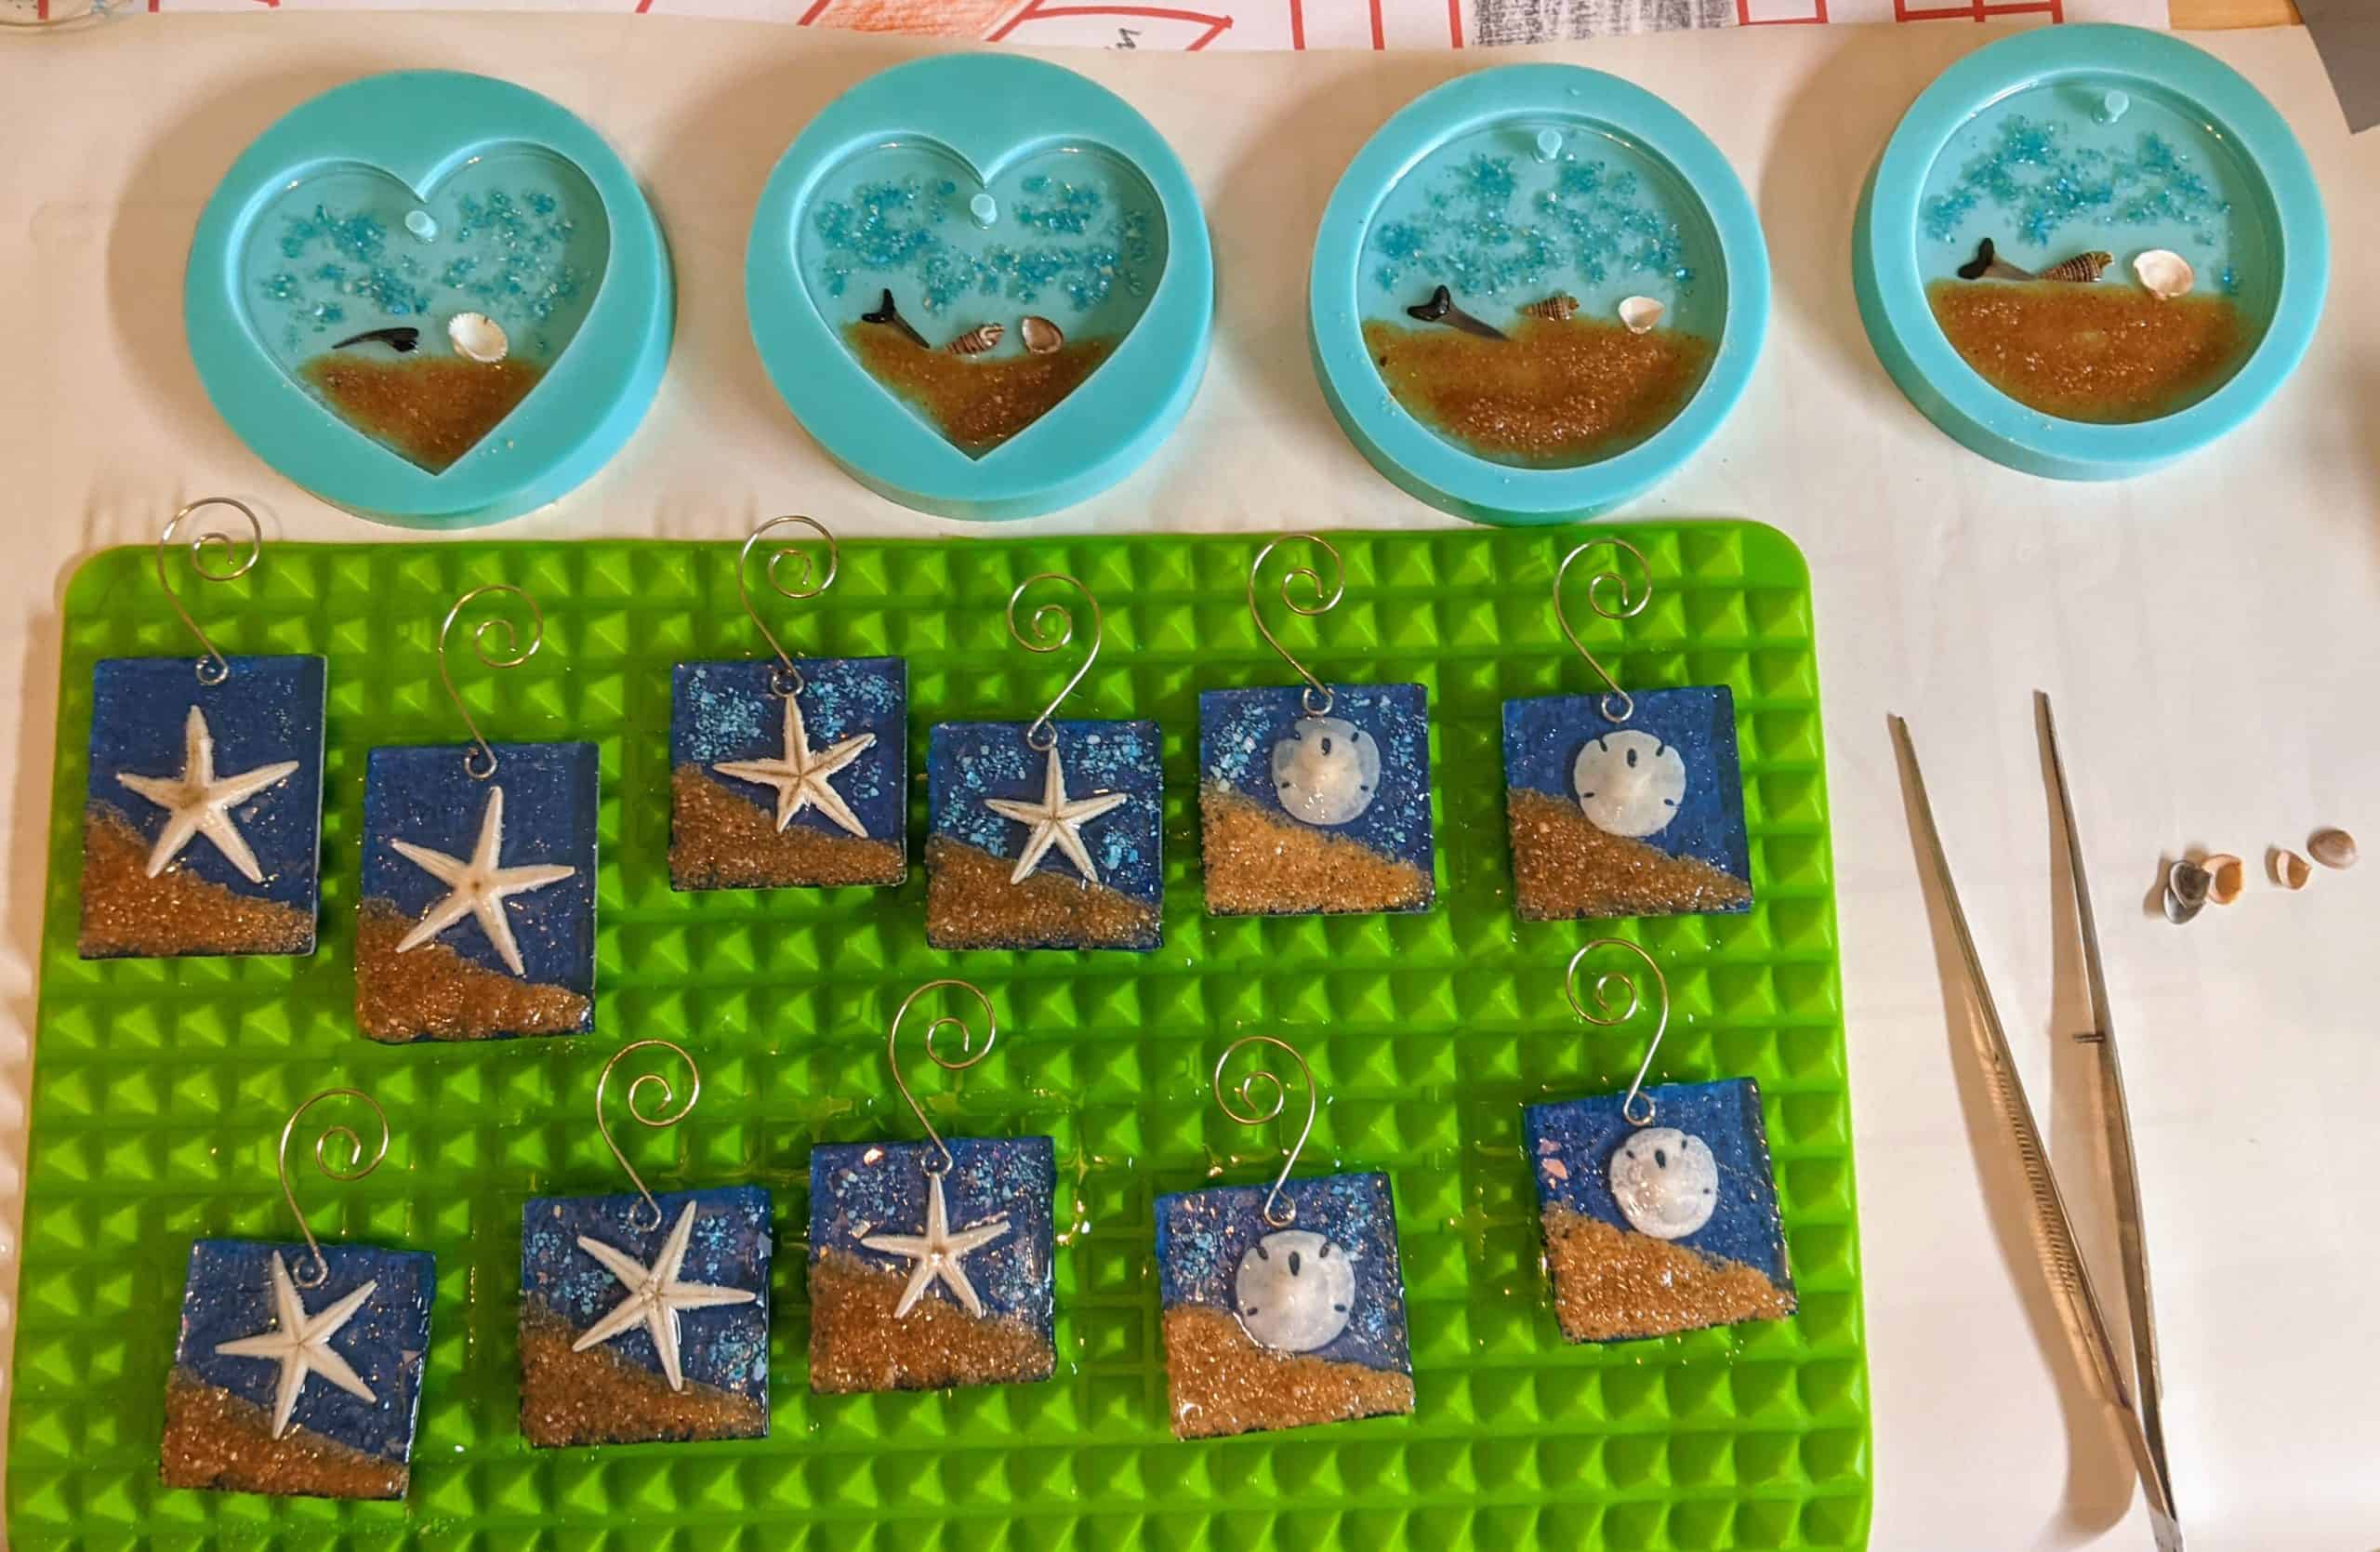
Beachy batch – the blue painters tape will be removed from the glass ornaments / suncatchers after the resin cures.

The last time I made these smaller starfish / sand dollar ornaments / suncatchers, I believe I glued the sand for the beach in place before pouring the resin, so I did that again this time. I still ended up adding some sand here and there after I poured the resin this time. I’m not sure the extra step of gluing the sand in place in advance is needed at all. I likely will skip it the next time I make some of these.

Snow & Rainbows II

Just a quick post to show off my first rainbow projects and today’s little gems. Methinks my new orange marker isn’t going to work out. Will need to find a paint pen…..

Snow and Rainbows

Continuing to try and make some new things for the small, outdoor, masks required pop-up craft fair I signed up to do at 3 Matadors for December 5th.

First I needed some more snowballs for snowmen, as I used up all the ones I had on hand. Back to the old grinder so to speak. 🙂

Making snowballs – rough cut then grind down to round
Getting the “big” snowman ready for resin
Laying out all of my small projects to work on today

Before I start mixing my resin, I lay out all of my projects and needed supplies. Today was the second layer of resin on the holly suncatcher and all five coasters, though one will be a new coaster design and the other four will be sandollars in the sand. I like to elevate the larger projects like the snowman panel so I can reach any drips that happen. I sometimes tape the underside edge, but forgot this today.

After resin and decorating – ready to cure!

I’m trying out some new colors of mica for the rainbow projects. I think they will be really pretty!

Close up of the rainbows / snowman suncatchers and coaster
Snowman panel curing

Now everything just needs to sit overnight to cure.

Charleston Snowmen

Today I poured the second layer of resin on several small projects and then spent some time making several small snowmen. I am experimenting with some abstract red and green coasters too, though my son says his favorite is the holly leaf suncatcher. My current favorites are the little snowmen. This is as close as you can get to making snowmen here in Charleston, SC. It’s 80 degrees outside and it’s well into November!

Resin curing!

To make the “snowballs” for their bodies, I use glass nippers to rough out a generally round shape, then I use my glass grinder to smooth the edges. My fingers are pretty sore after making so many snowmen in one day! After the “snowballs” are ready, I paint on their faces (on the tiny ones). I use glass for the detail on the faces of the larger snowmen. Since these tiny ones are destined to be in two sided ornaments, I painted both sides of their faces / buttons and the little birds that will perch on their stick arms.

Lots of snowmen!
One “big” snowman

I also cut some backer glass and glued the pieces of this “big” snowman in place. I will pour the resin and decorate it another day, after the mosaic adhesive has had a chance to fully cure. This piece will be table top sized as it’s slightly smaller than a standard sheet of paper.

Evergreen trees

I just started a dichroic window project, but yesterday my eldest child suggested that I make some evergreen trees, so I set that aside for a few days. I decided to start with just a small suncatcher and then see if I could expand it a bit in future projects. First I looked at some photos of trees online to decide what “look” I liked, then I grabbed a Sharpie marker and made a rough sketch. After that, I cut some clear background glass. Then I pulled out some green glass and cut it into strips. The strips were cut with mosaic nippers into pieces that would become the branches.

A sketch and the raw materials

Now it was time to start laying out the branches. I liked the way the first layer looked, so I went ahead and glued it down using Mac glue.

The first layer

I might make some later on with just one layer, but for this tree I decided to fill in the gaps with a second layer, giving the tree more dimension. I also added a whimsical little cardinal bird to it. I have to wait for the glue to dry before I pour the resin layer, but for now, this is how it looks.

The second layer

I also added a hanger that will be held in place by the resin. I won’t use hangers if I make a larger version of this later on.

Everything glued in place

Tomorrow I can pour the resin and decorate it with some glass chips for snow and sparkle.