Here are some snapshots of my latest batch of winter themed pieces / suncatchers / ornaments. This week’s beach-themed ornaments are still a work in progress; hopefully I will be able to finish them over the weekend.
Glass of Sherry
Here are some snapshots of my latest batch of winter themed pieces / suncatchers / ornaments. This week’s beach-themed ornaments are still a work in progress; hopefully I will be able to finish them over the weekend.
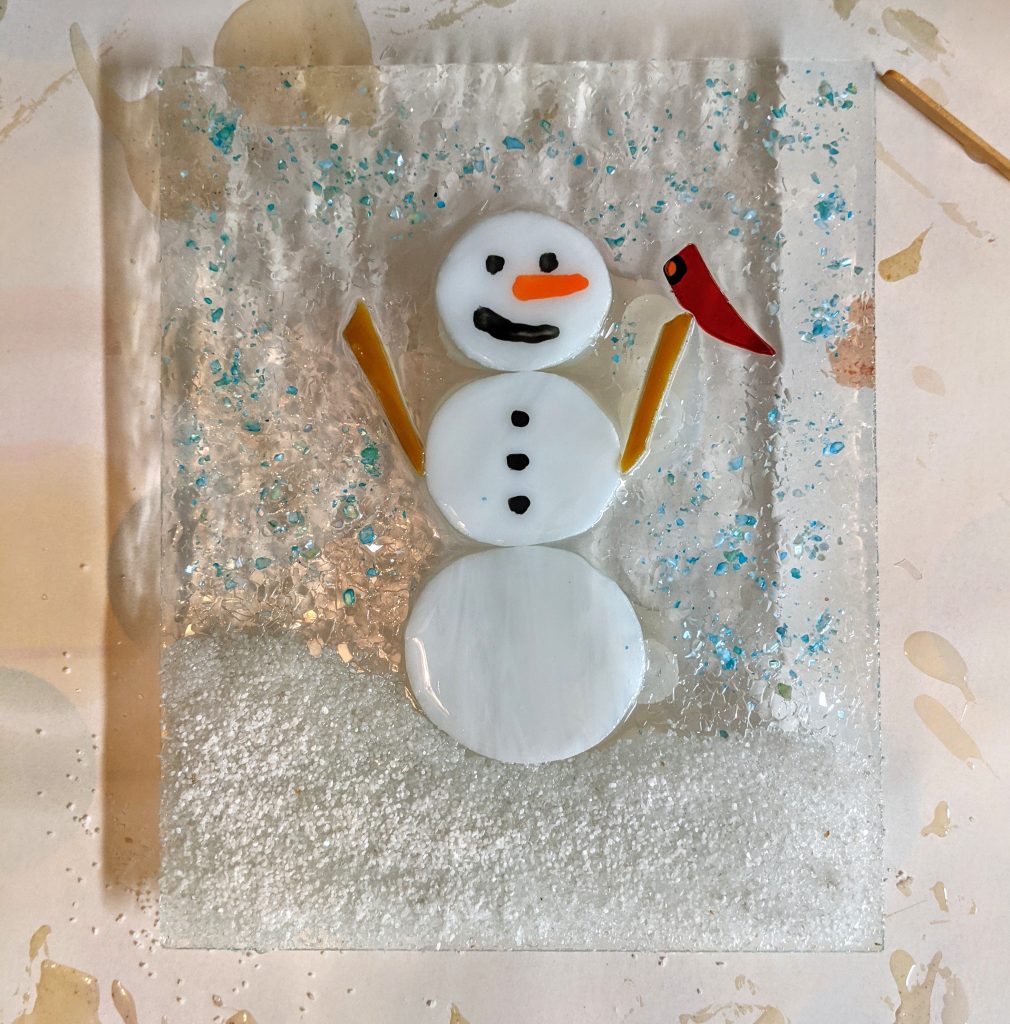
Yesterday I poured / decorated the resin for the winter scene and snowman, as well as added a second resin layer to four molded ornaments. Hopefully I will be able to get finished pictures of them this evening!
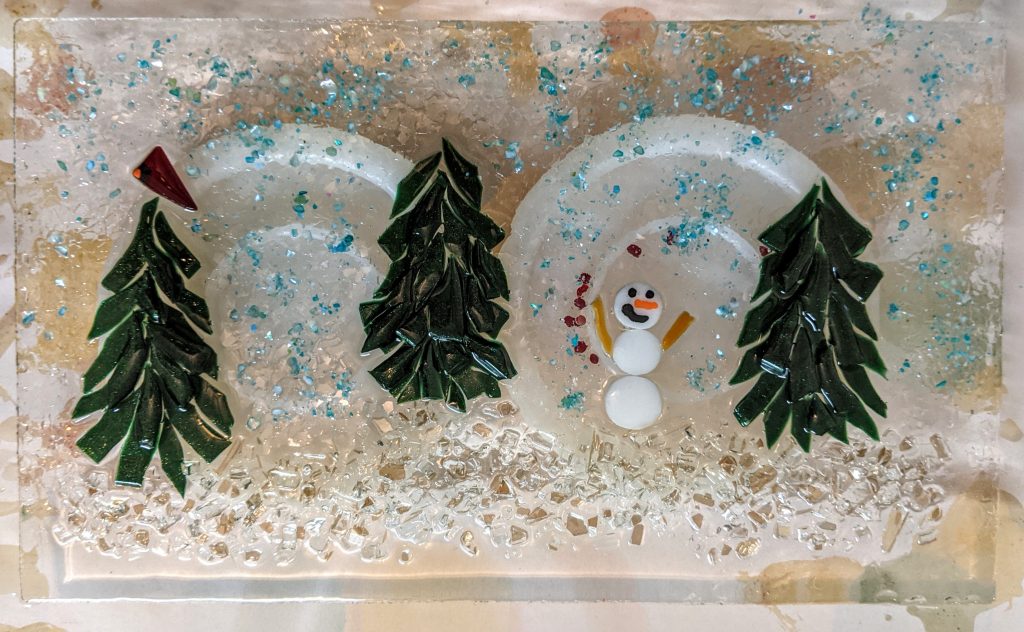
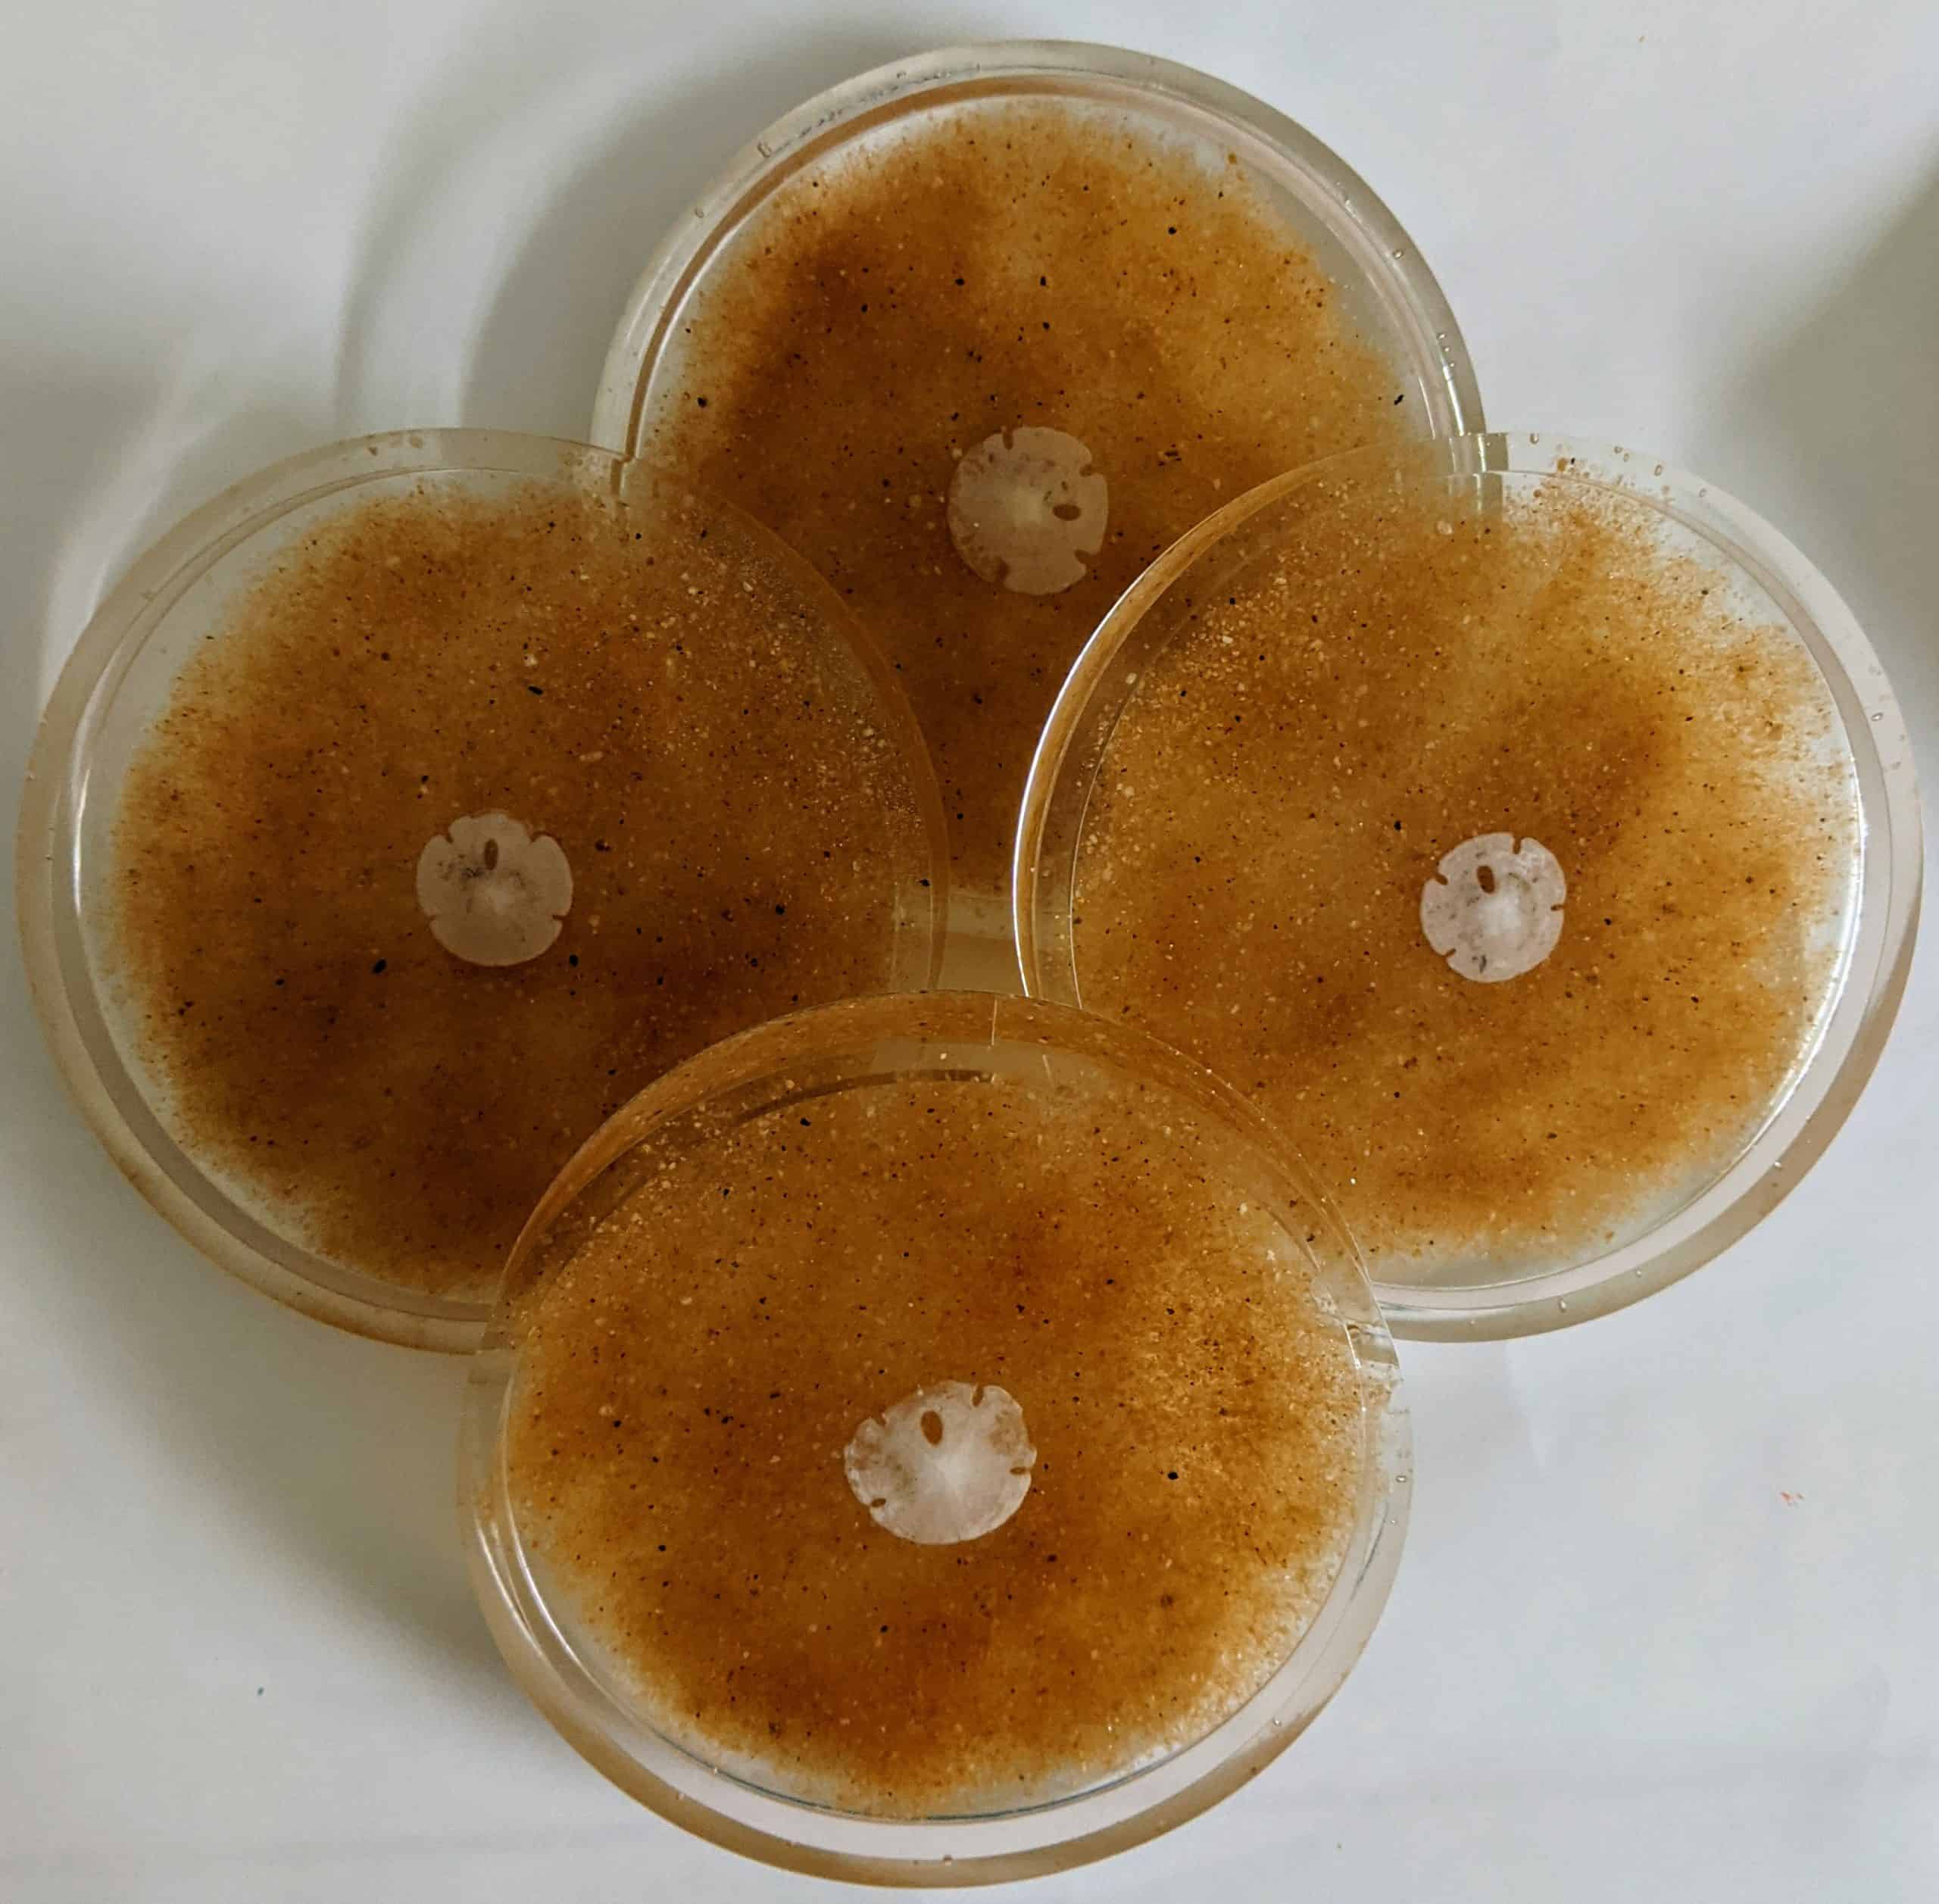
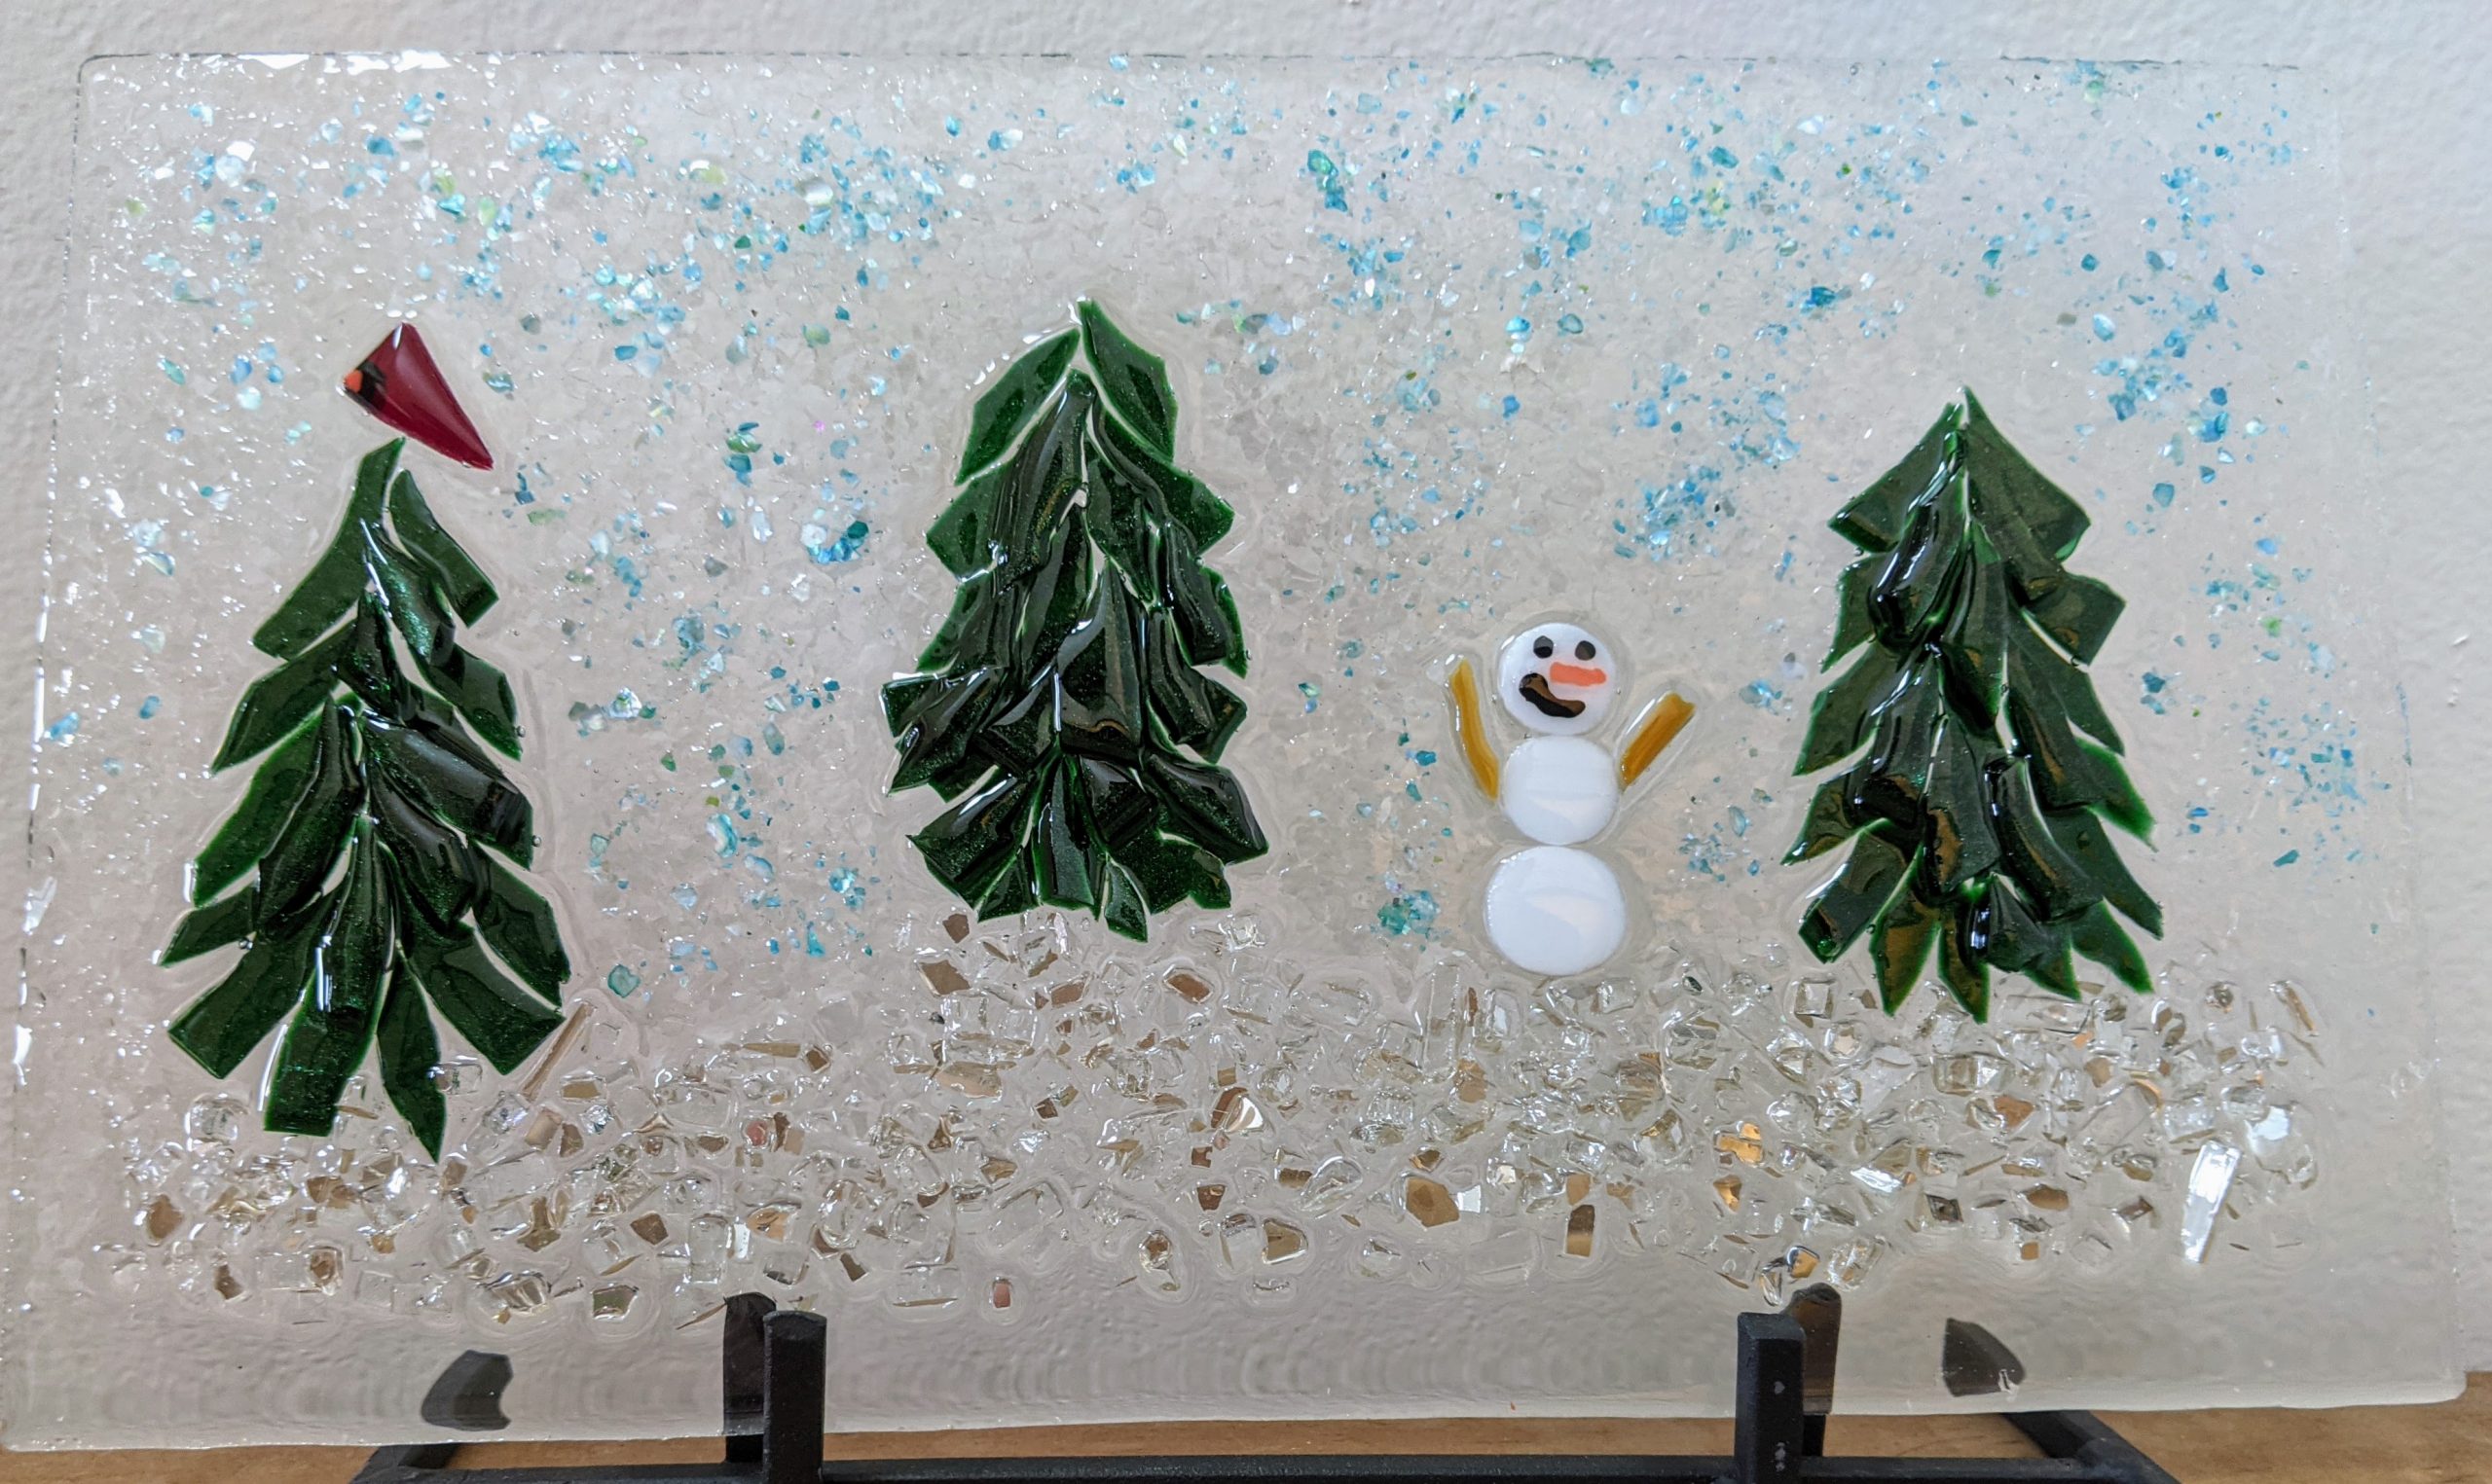
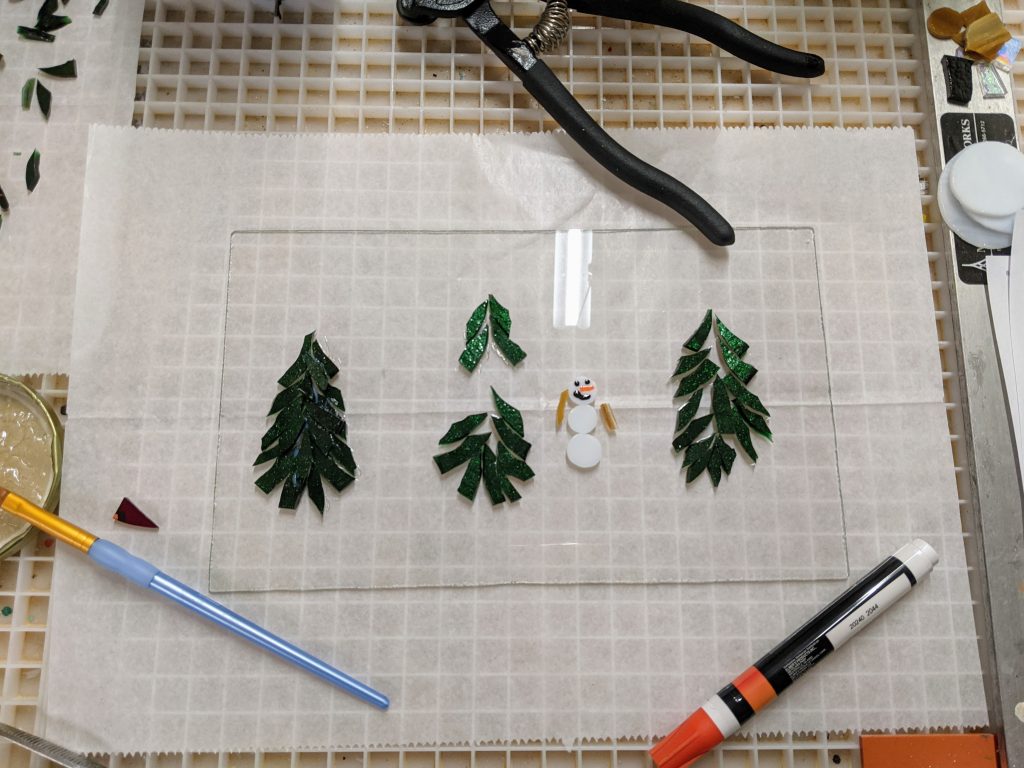
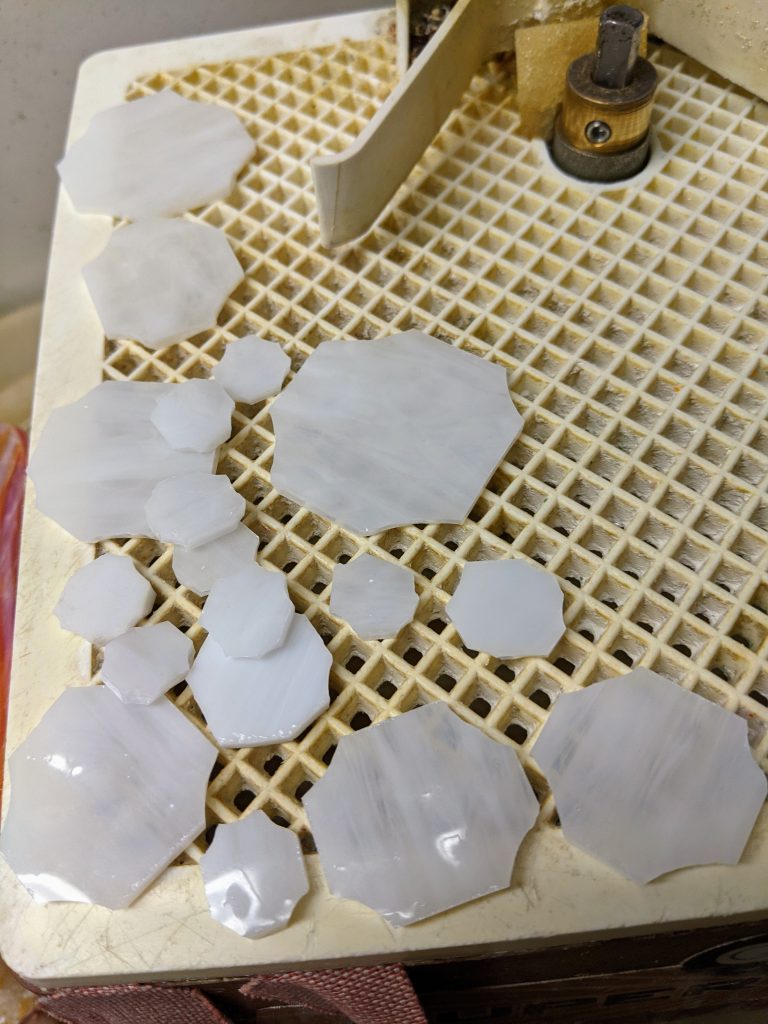
I’m still busier than usual at work, so my weekends are my best time for crafting. Today I finished cutting out and gluing the glass for a little winter scene and a small snowman panel (not pictured), as well as laid out the “beach” for some starfish and sand dollar ornaments.
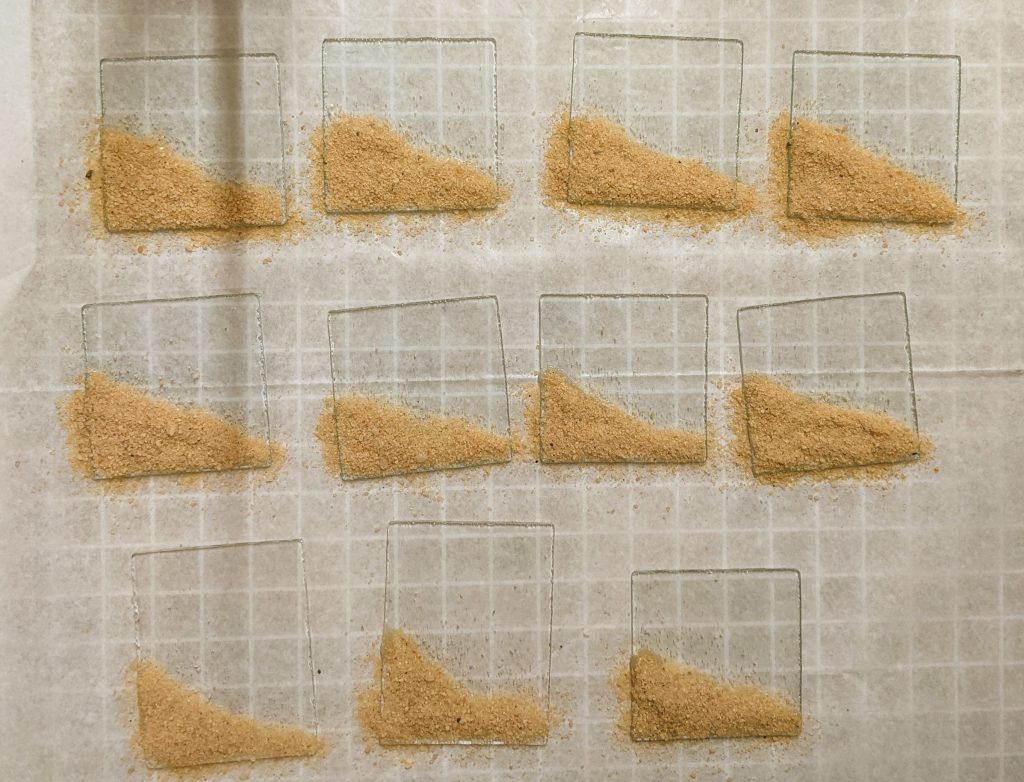
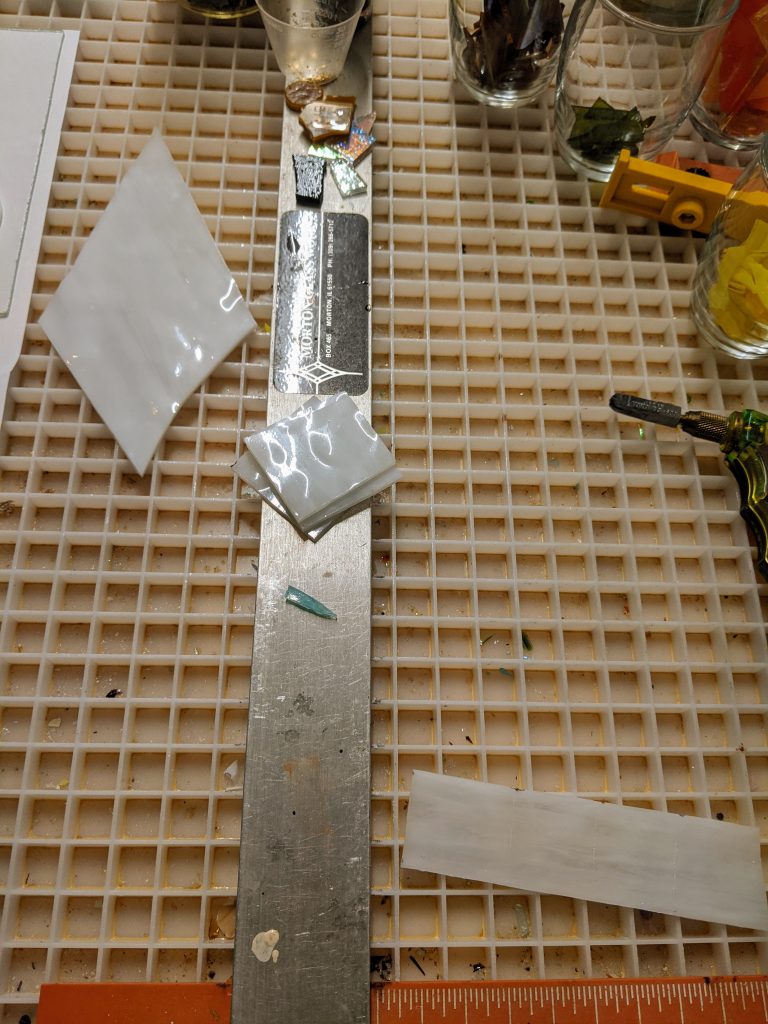
Of course, I had to cut the backer glass and sand the edges for all of these before decorating could begin. Hopefully the sand will stick well and I won’t have to add another layer before I can pour the resin, but I have a feeling I’ll need a bit more sand once the glue cures. I plan to make these into mini starfish & sand dollar ornaments / suncatchers.
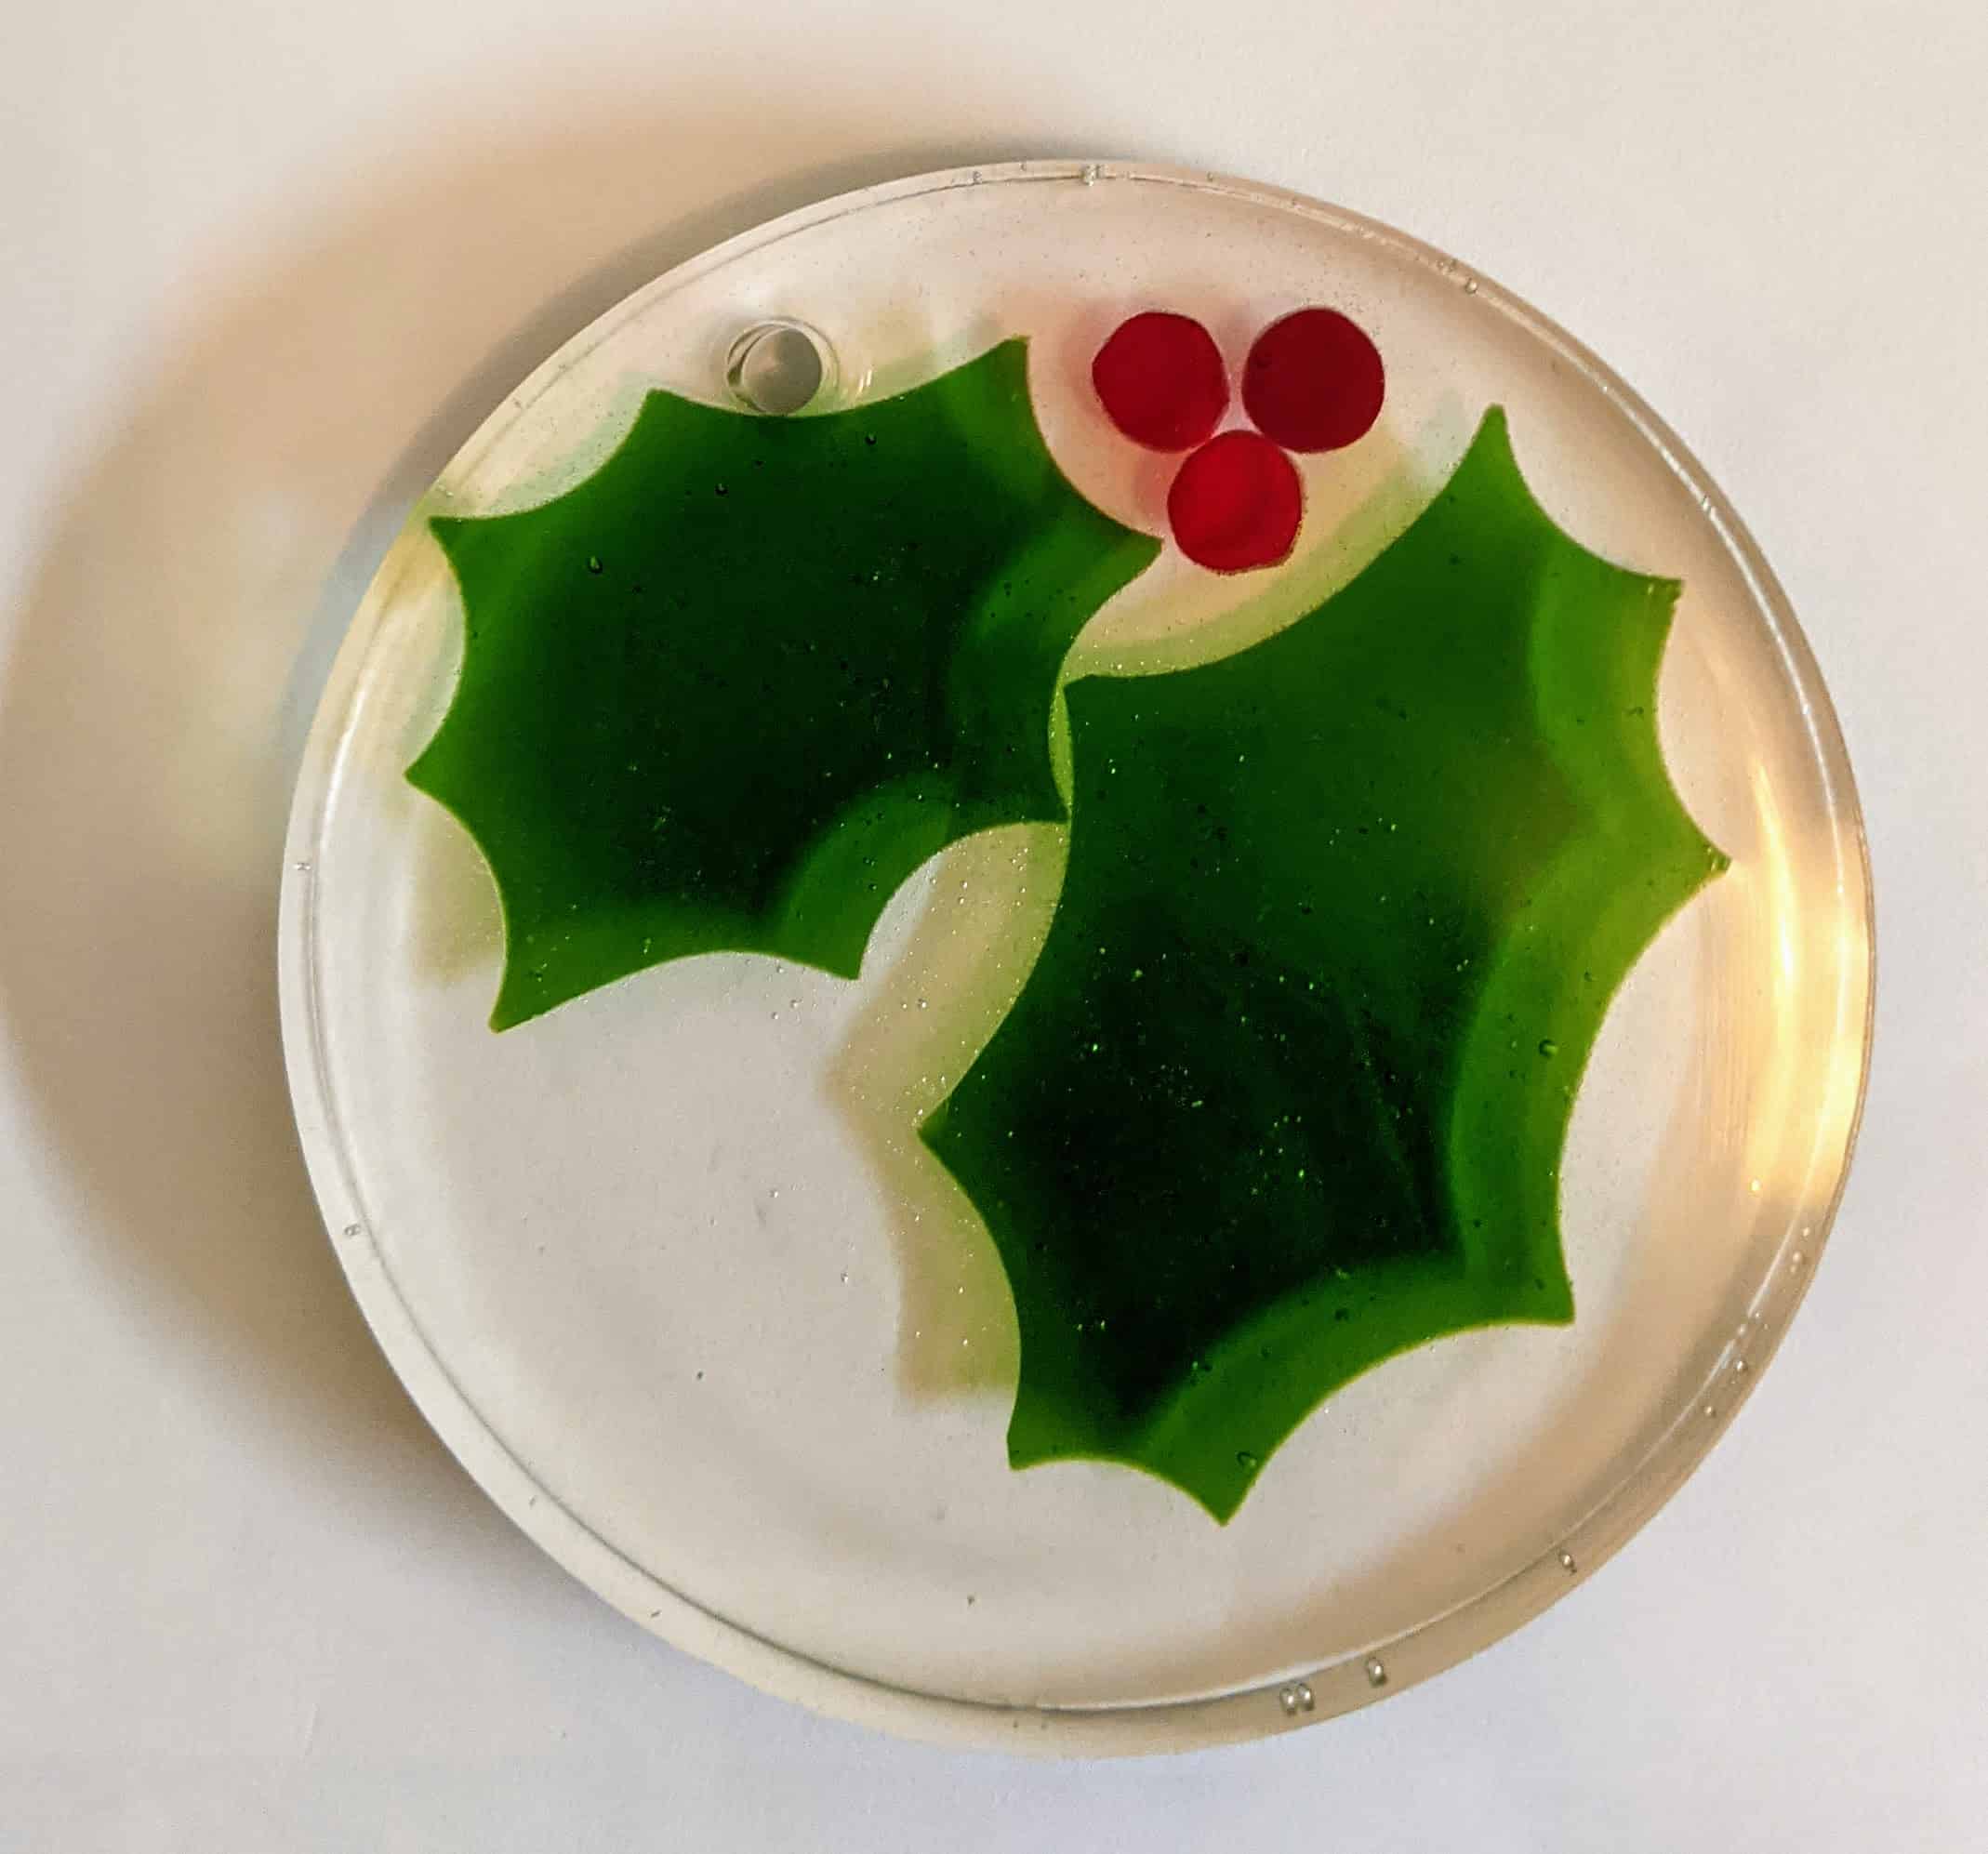
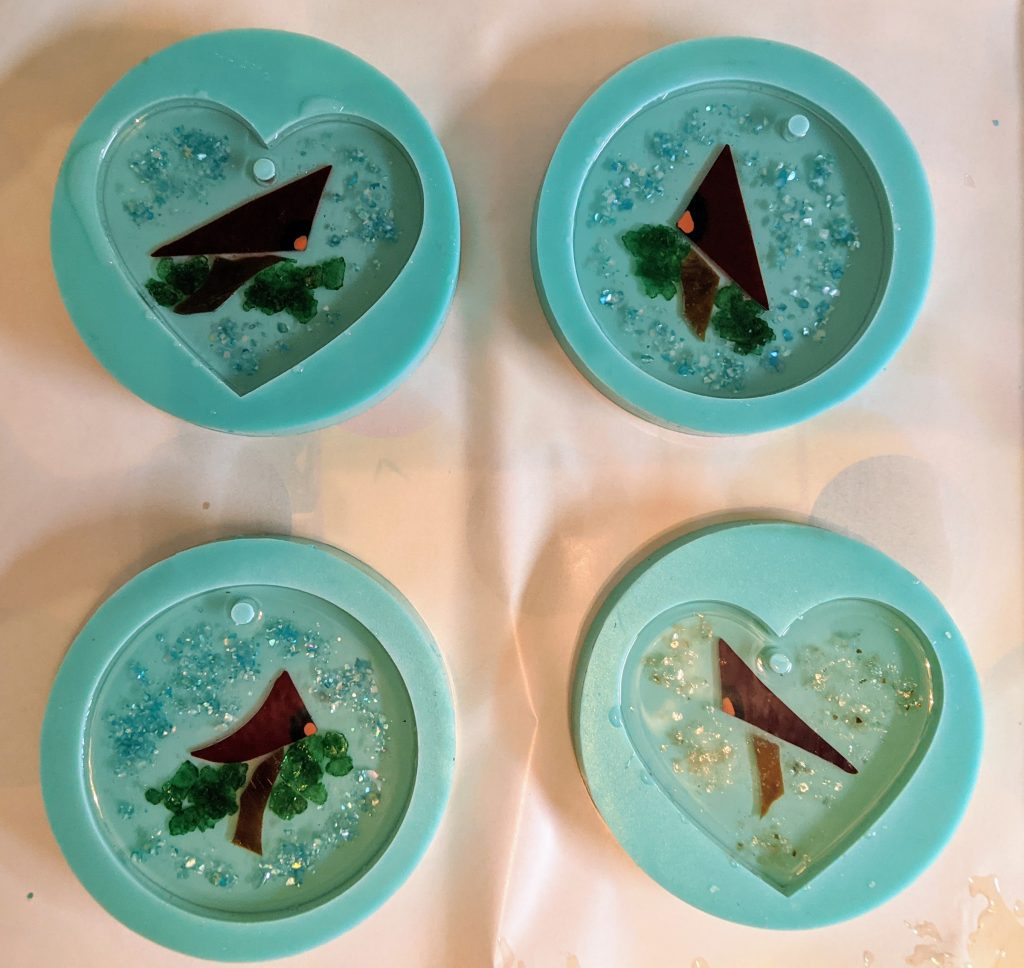
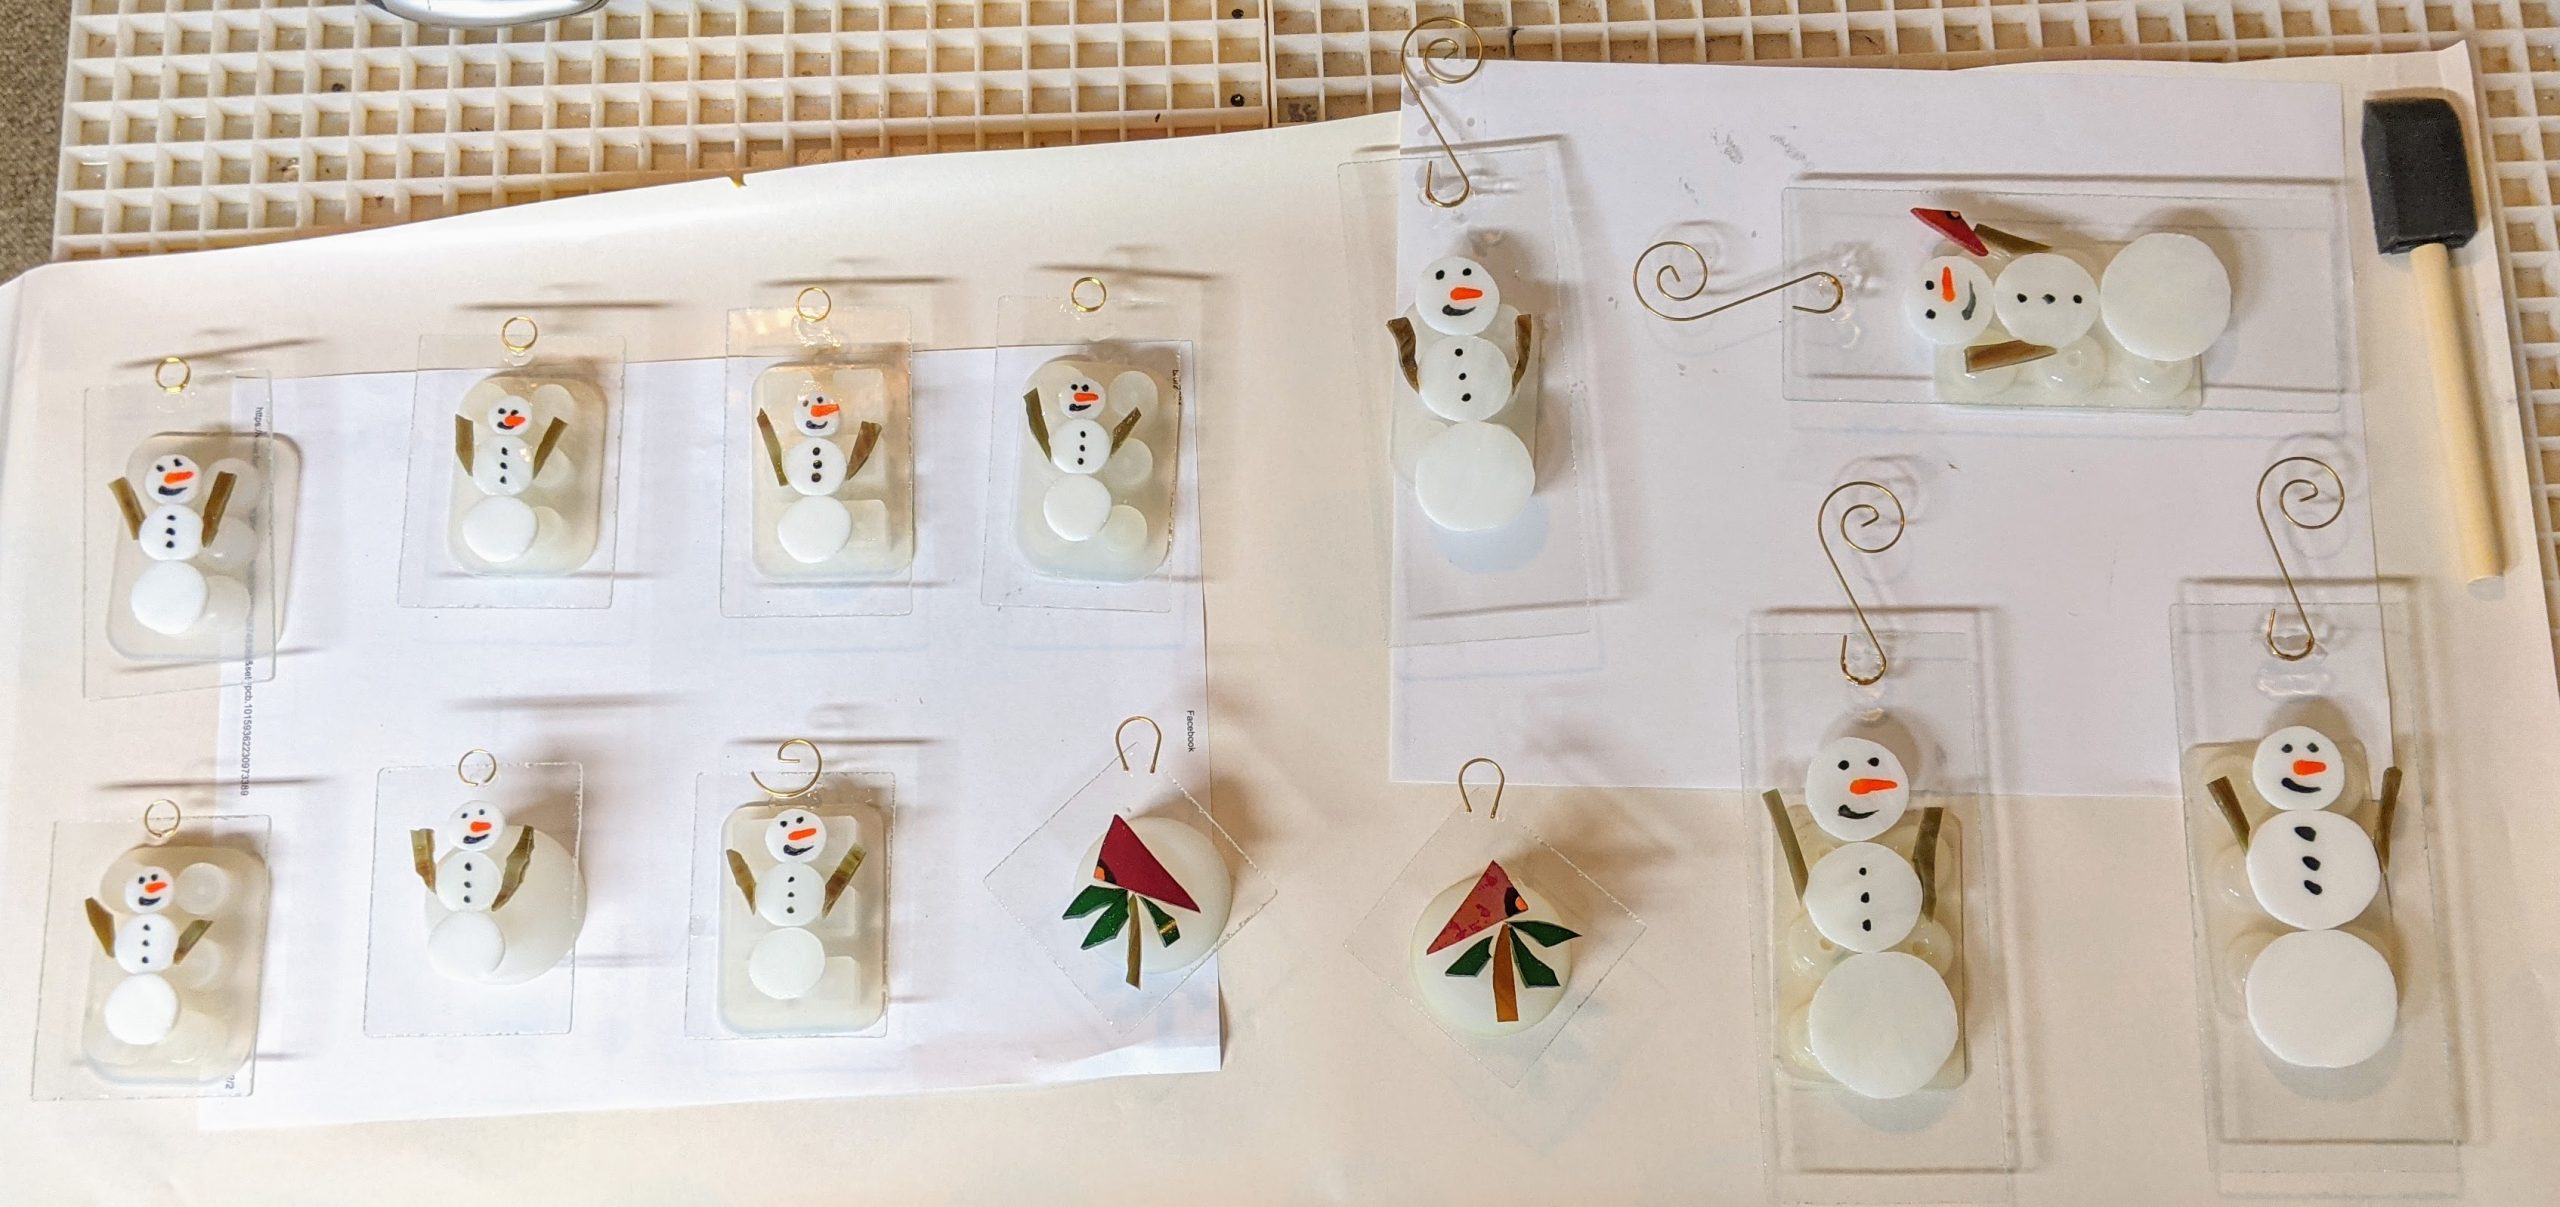
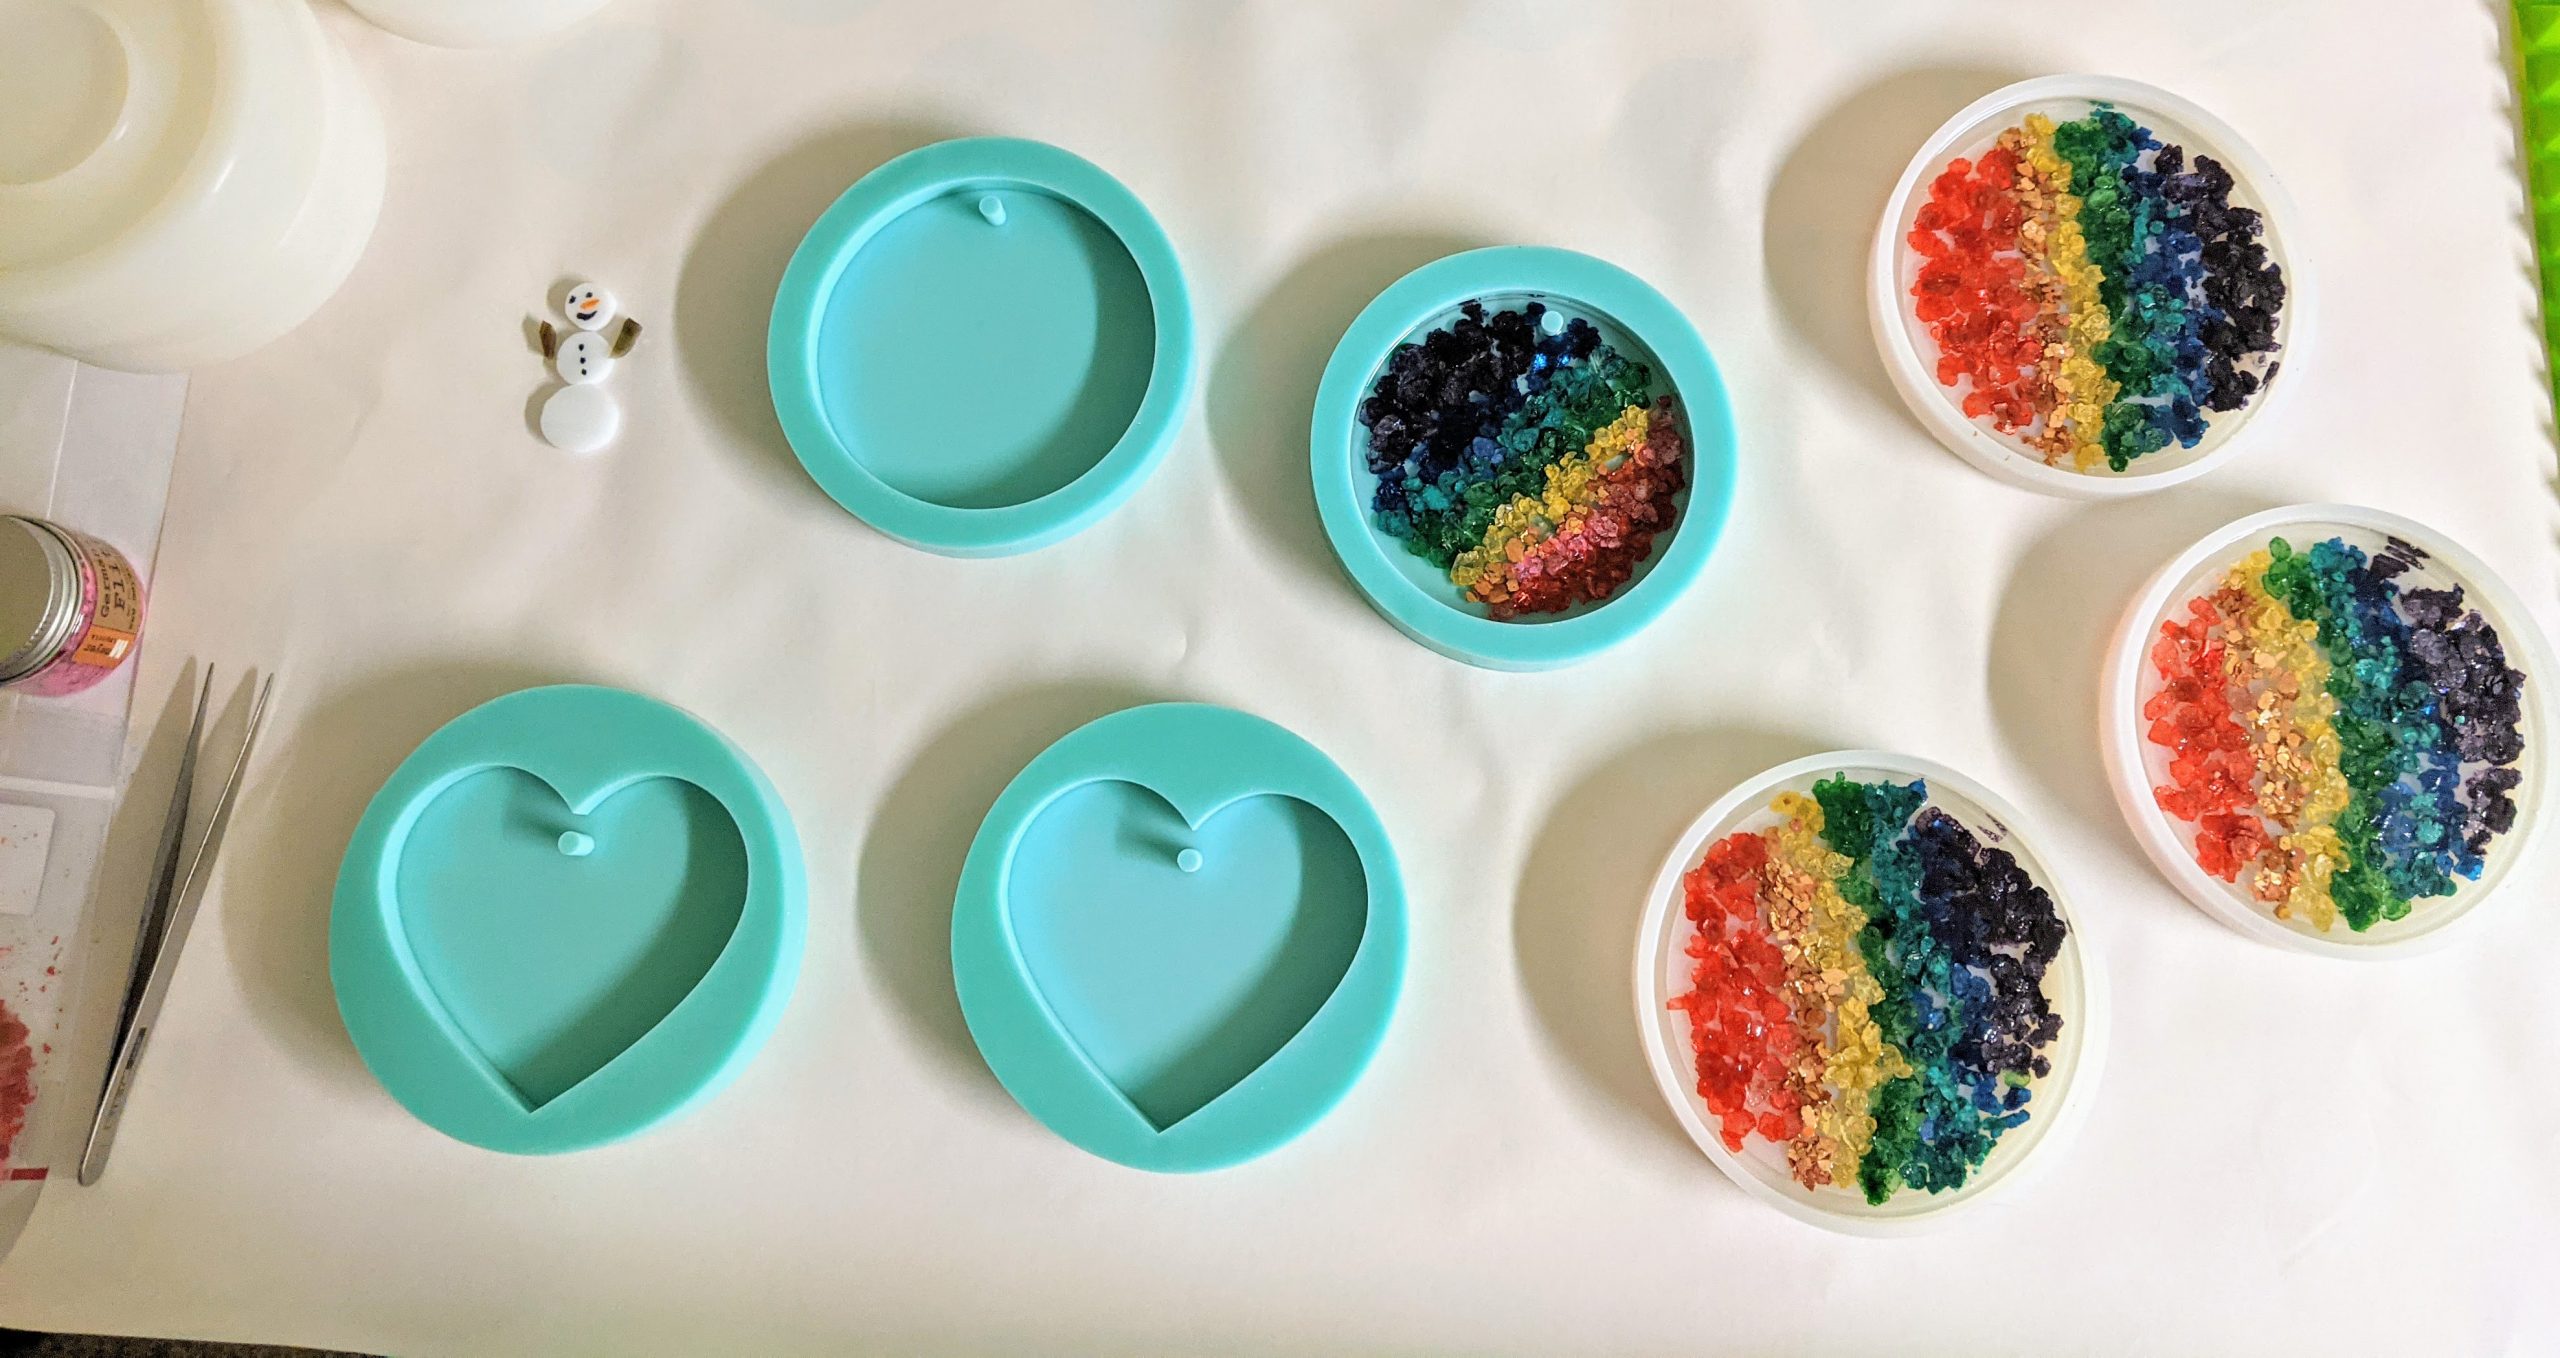
The other morning I glued the metal hooks / receivers that will be used to hang the ornaments with MAC glue. I like to glue them even though the resin coating will hold them in place. The next step will be coating them with resin and decorating the resin with glass chips and mica.
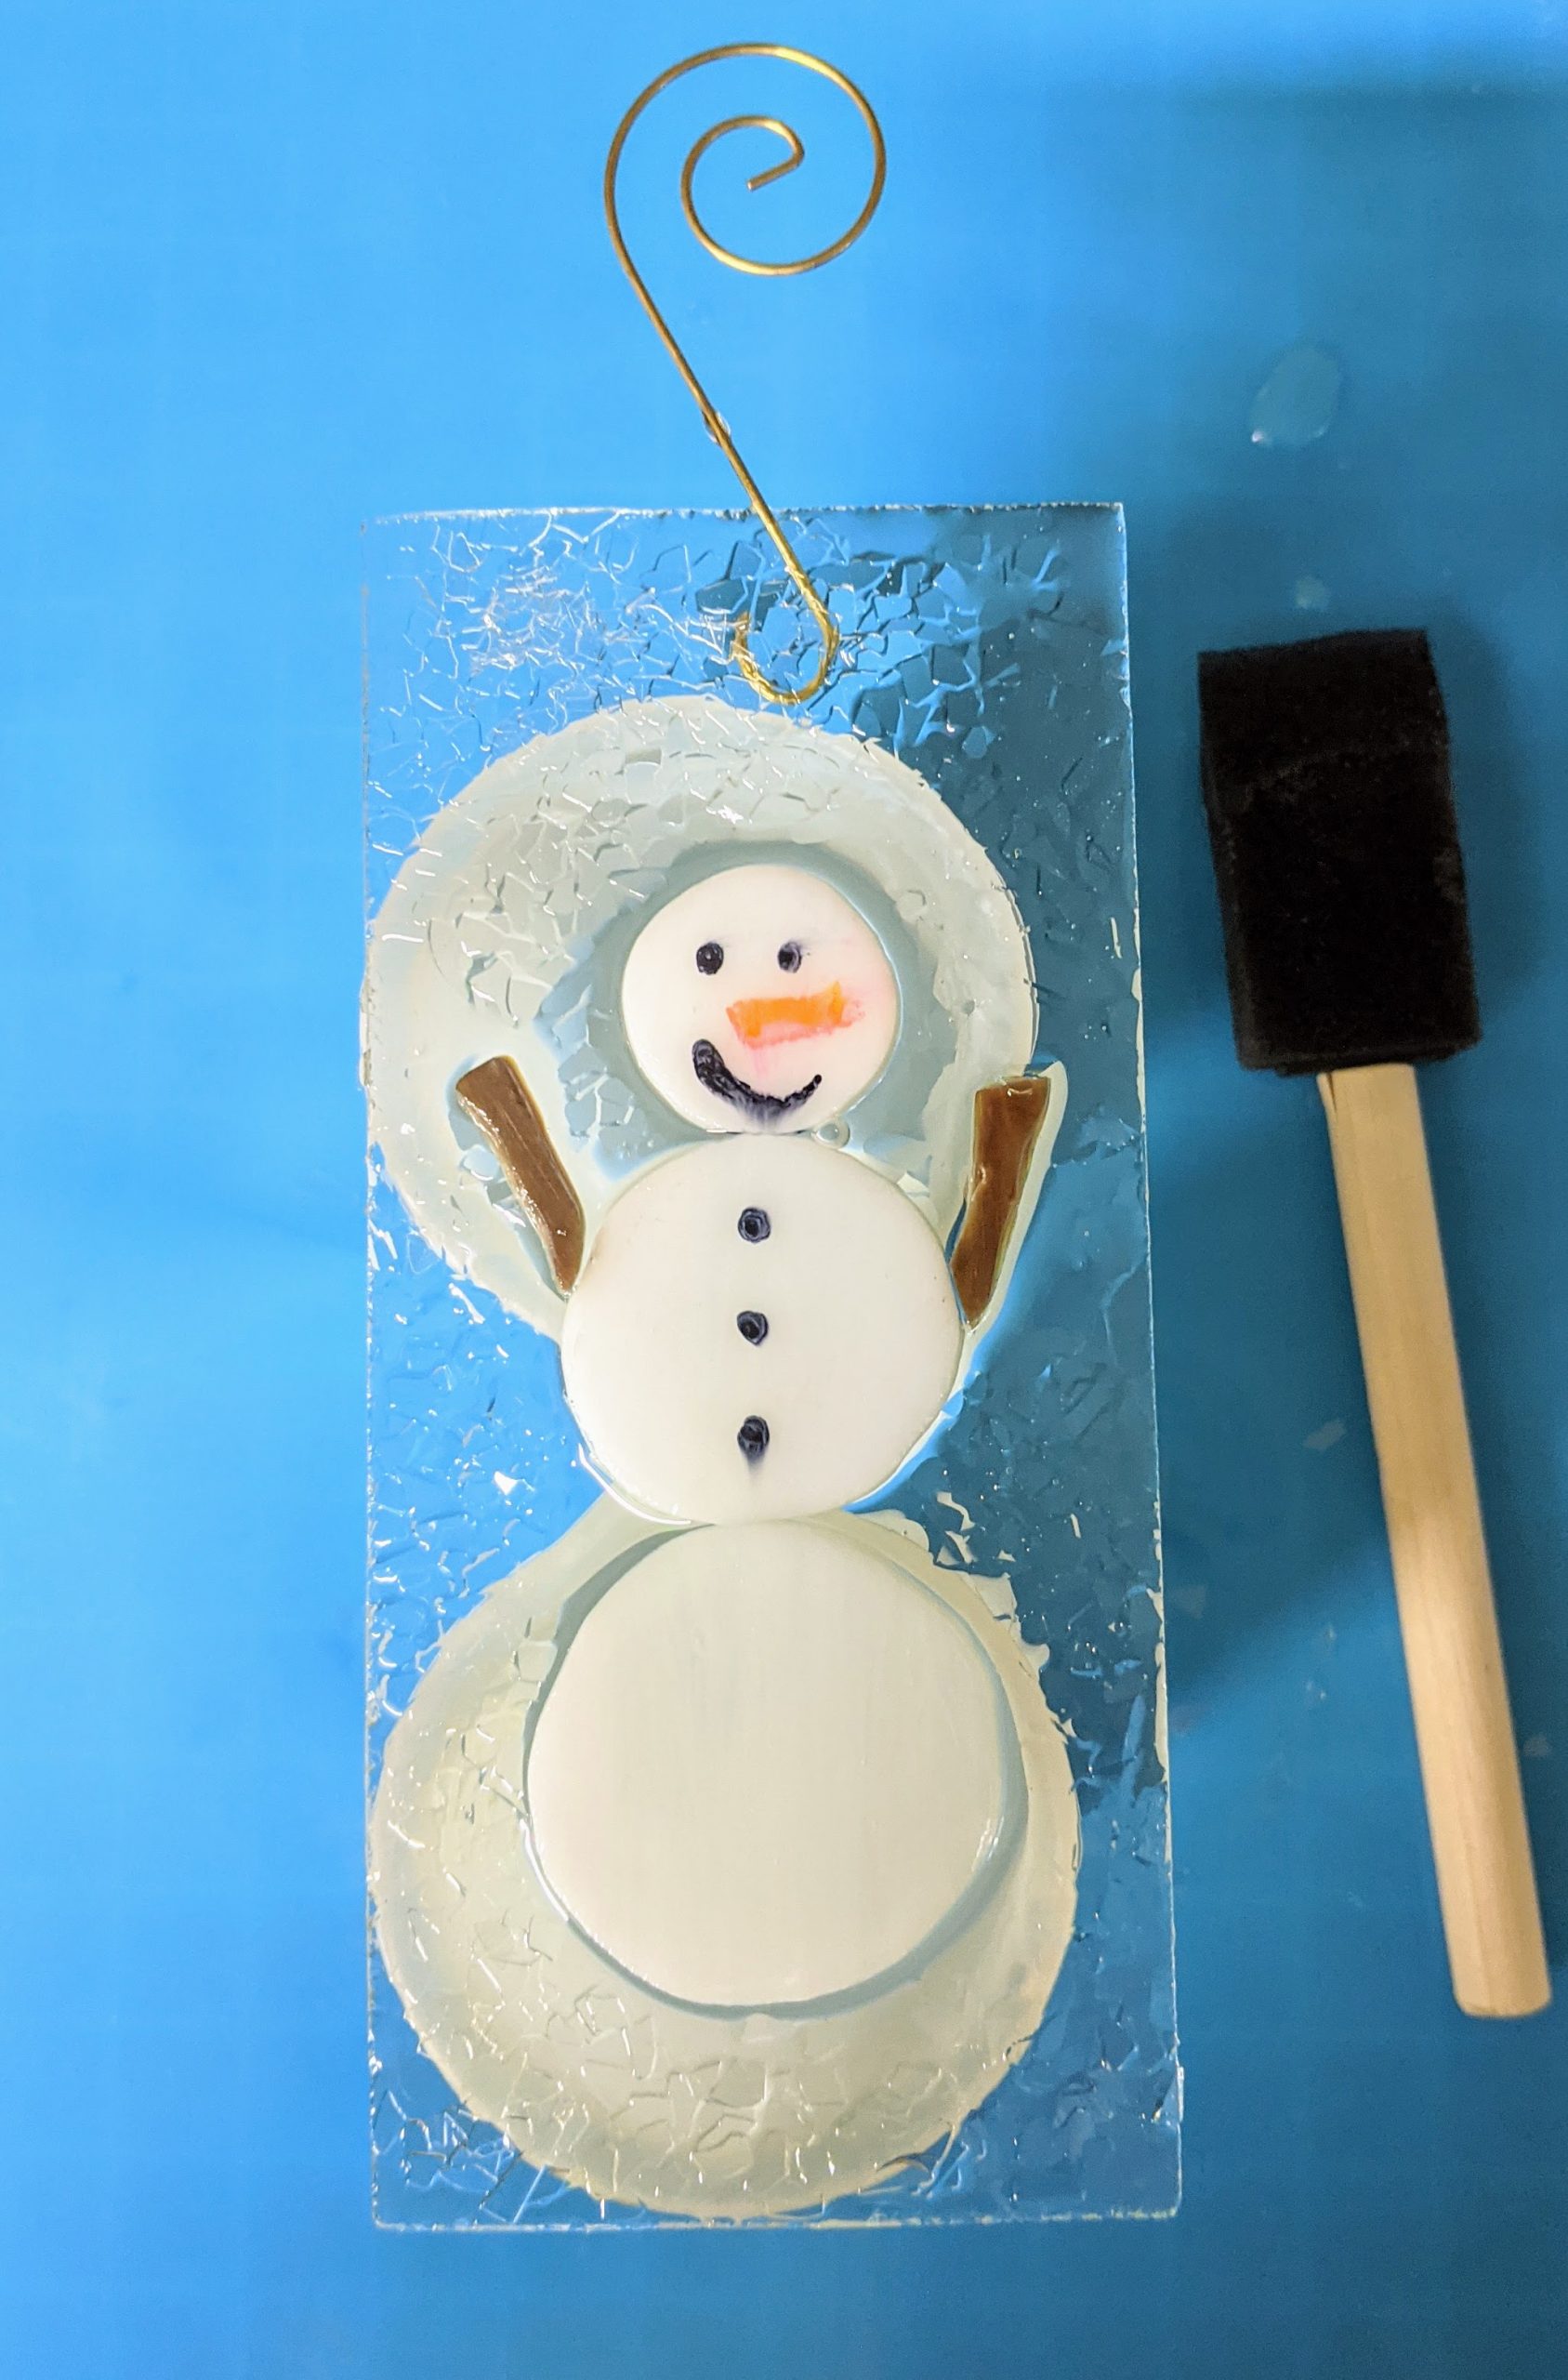
Before I can pour the resin, I have to elevate each ornament on something that the resin won’t adhere to. I usually use silicone cups or molds. They all need to have a bit of space between them so I can scrape drips off with a wooden craft stick while the resin settles. First I pour the resin and spread it around with a sponge on a stick to make sure everything is coated. Then I use a heat gun to remove bubbles in the resin. Once that is done, I can sprinkle glass chips and other decorations in the resin. Unfortunately, once I mix the resin I’m in a big sticky mess that doesn’t lend itself well to taking photos / video. I need to get my husband to help with that one of these days.
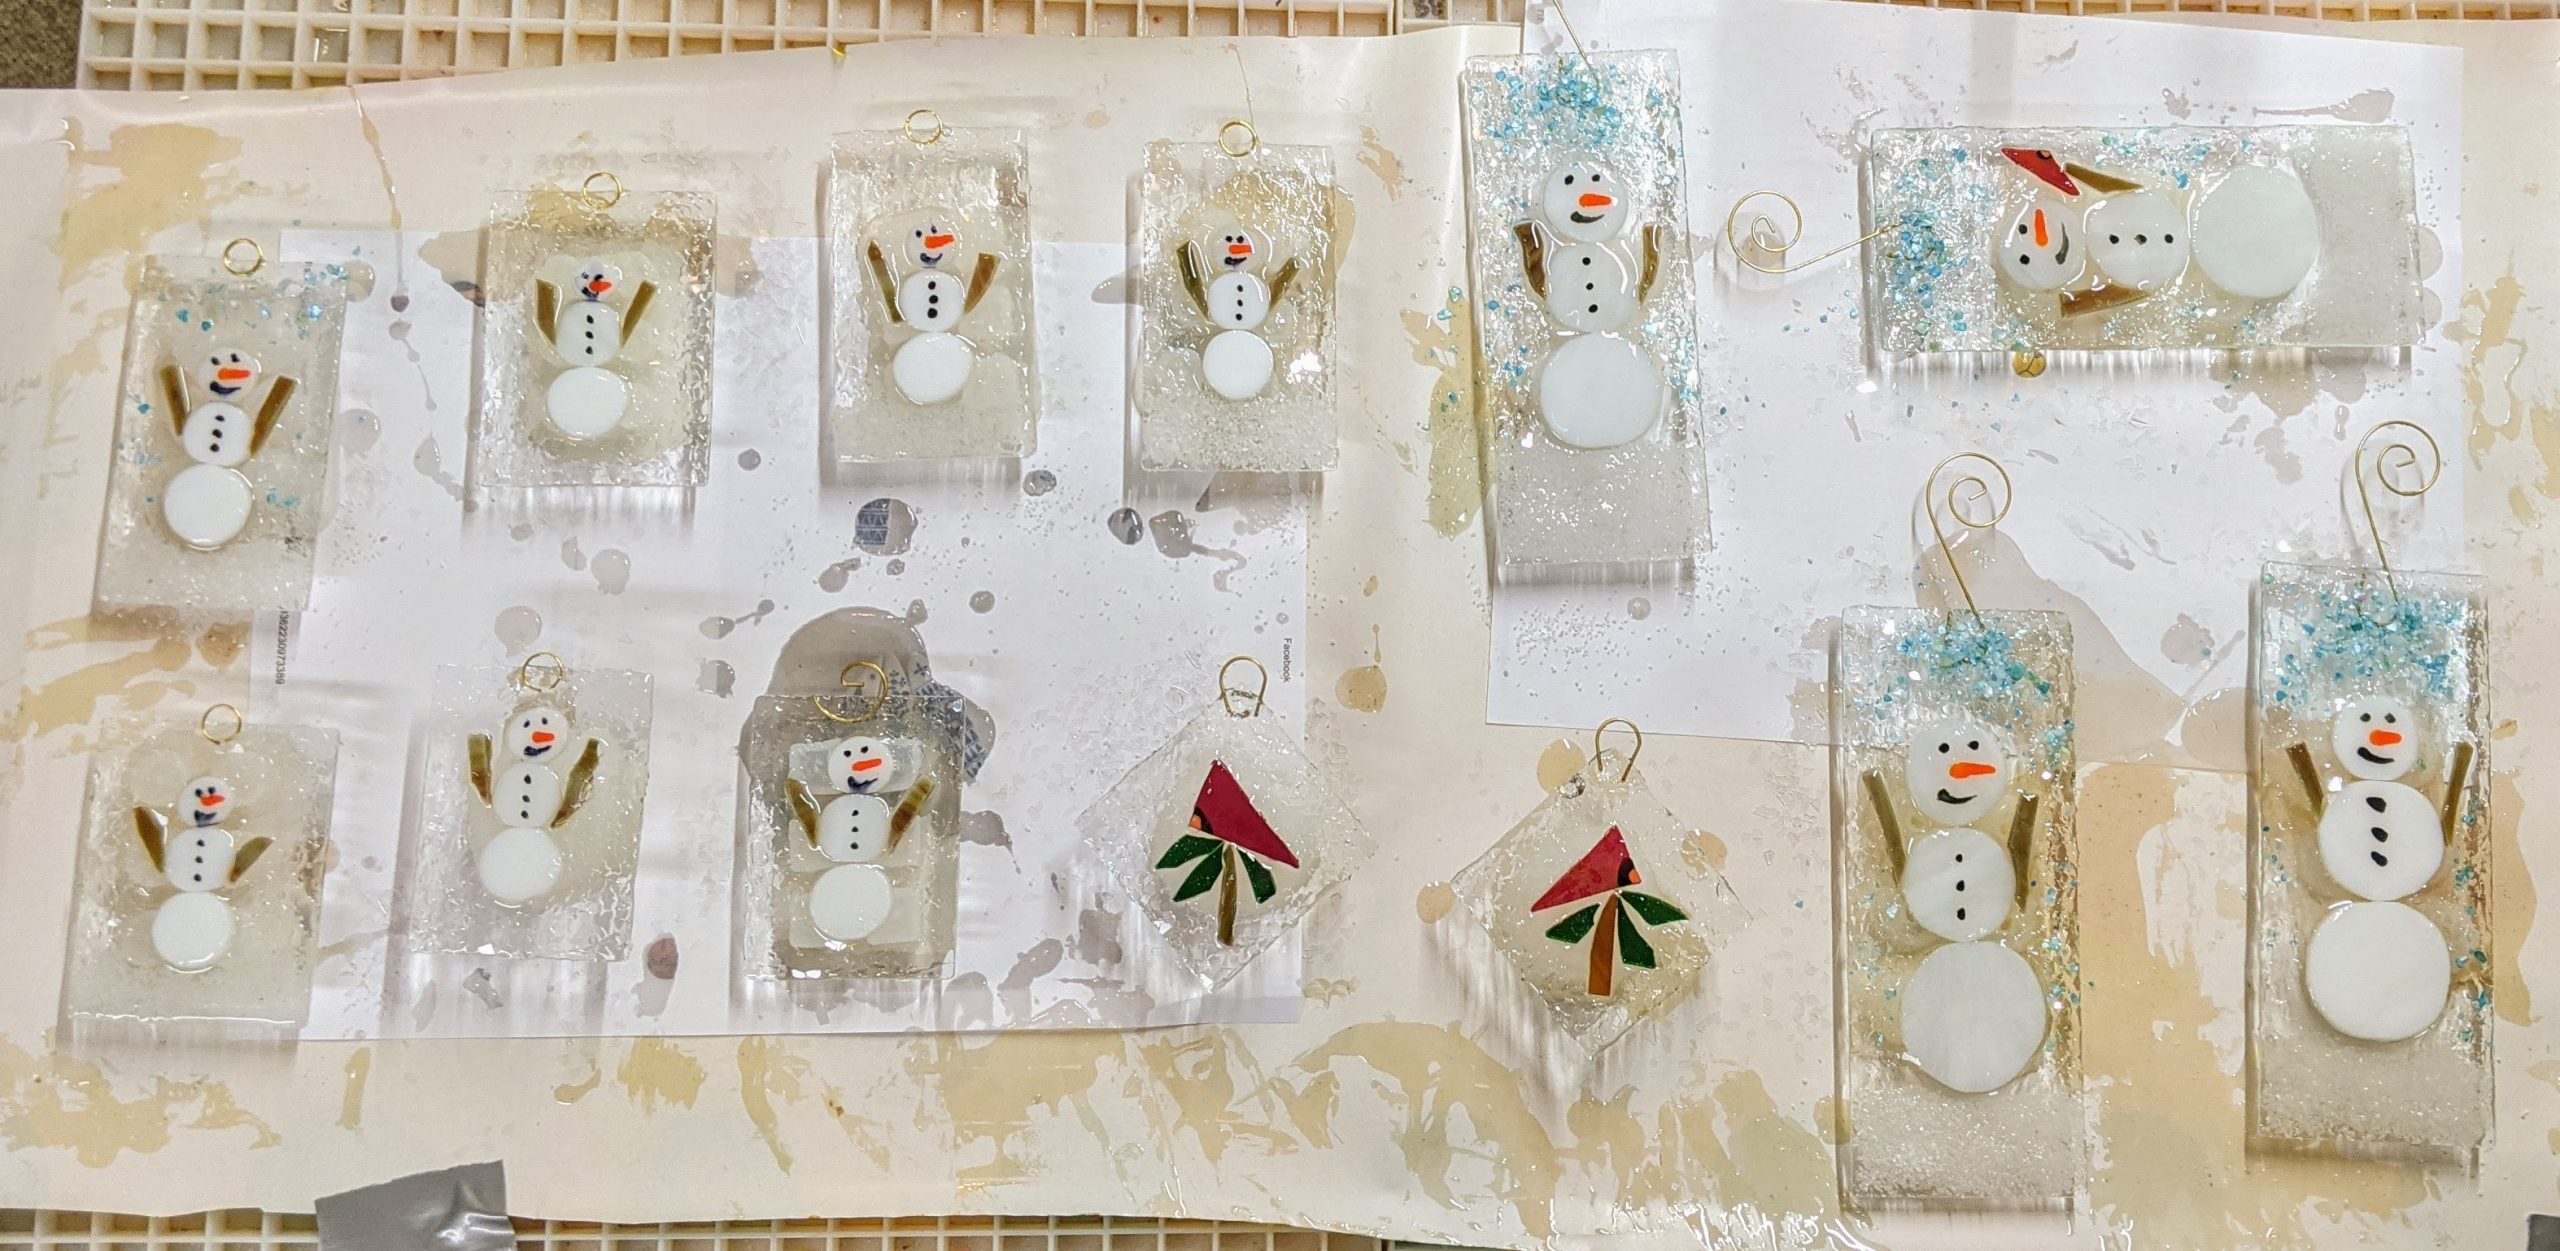
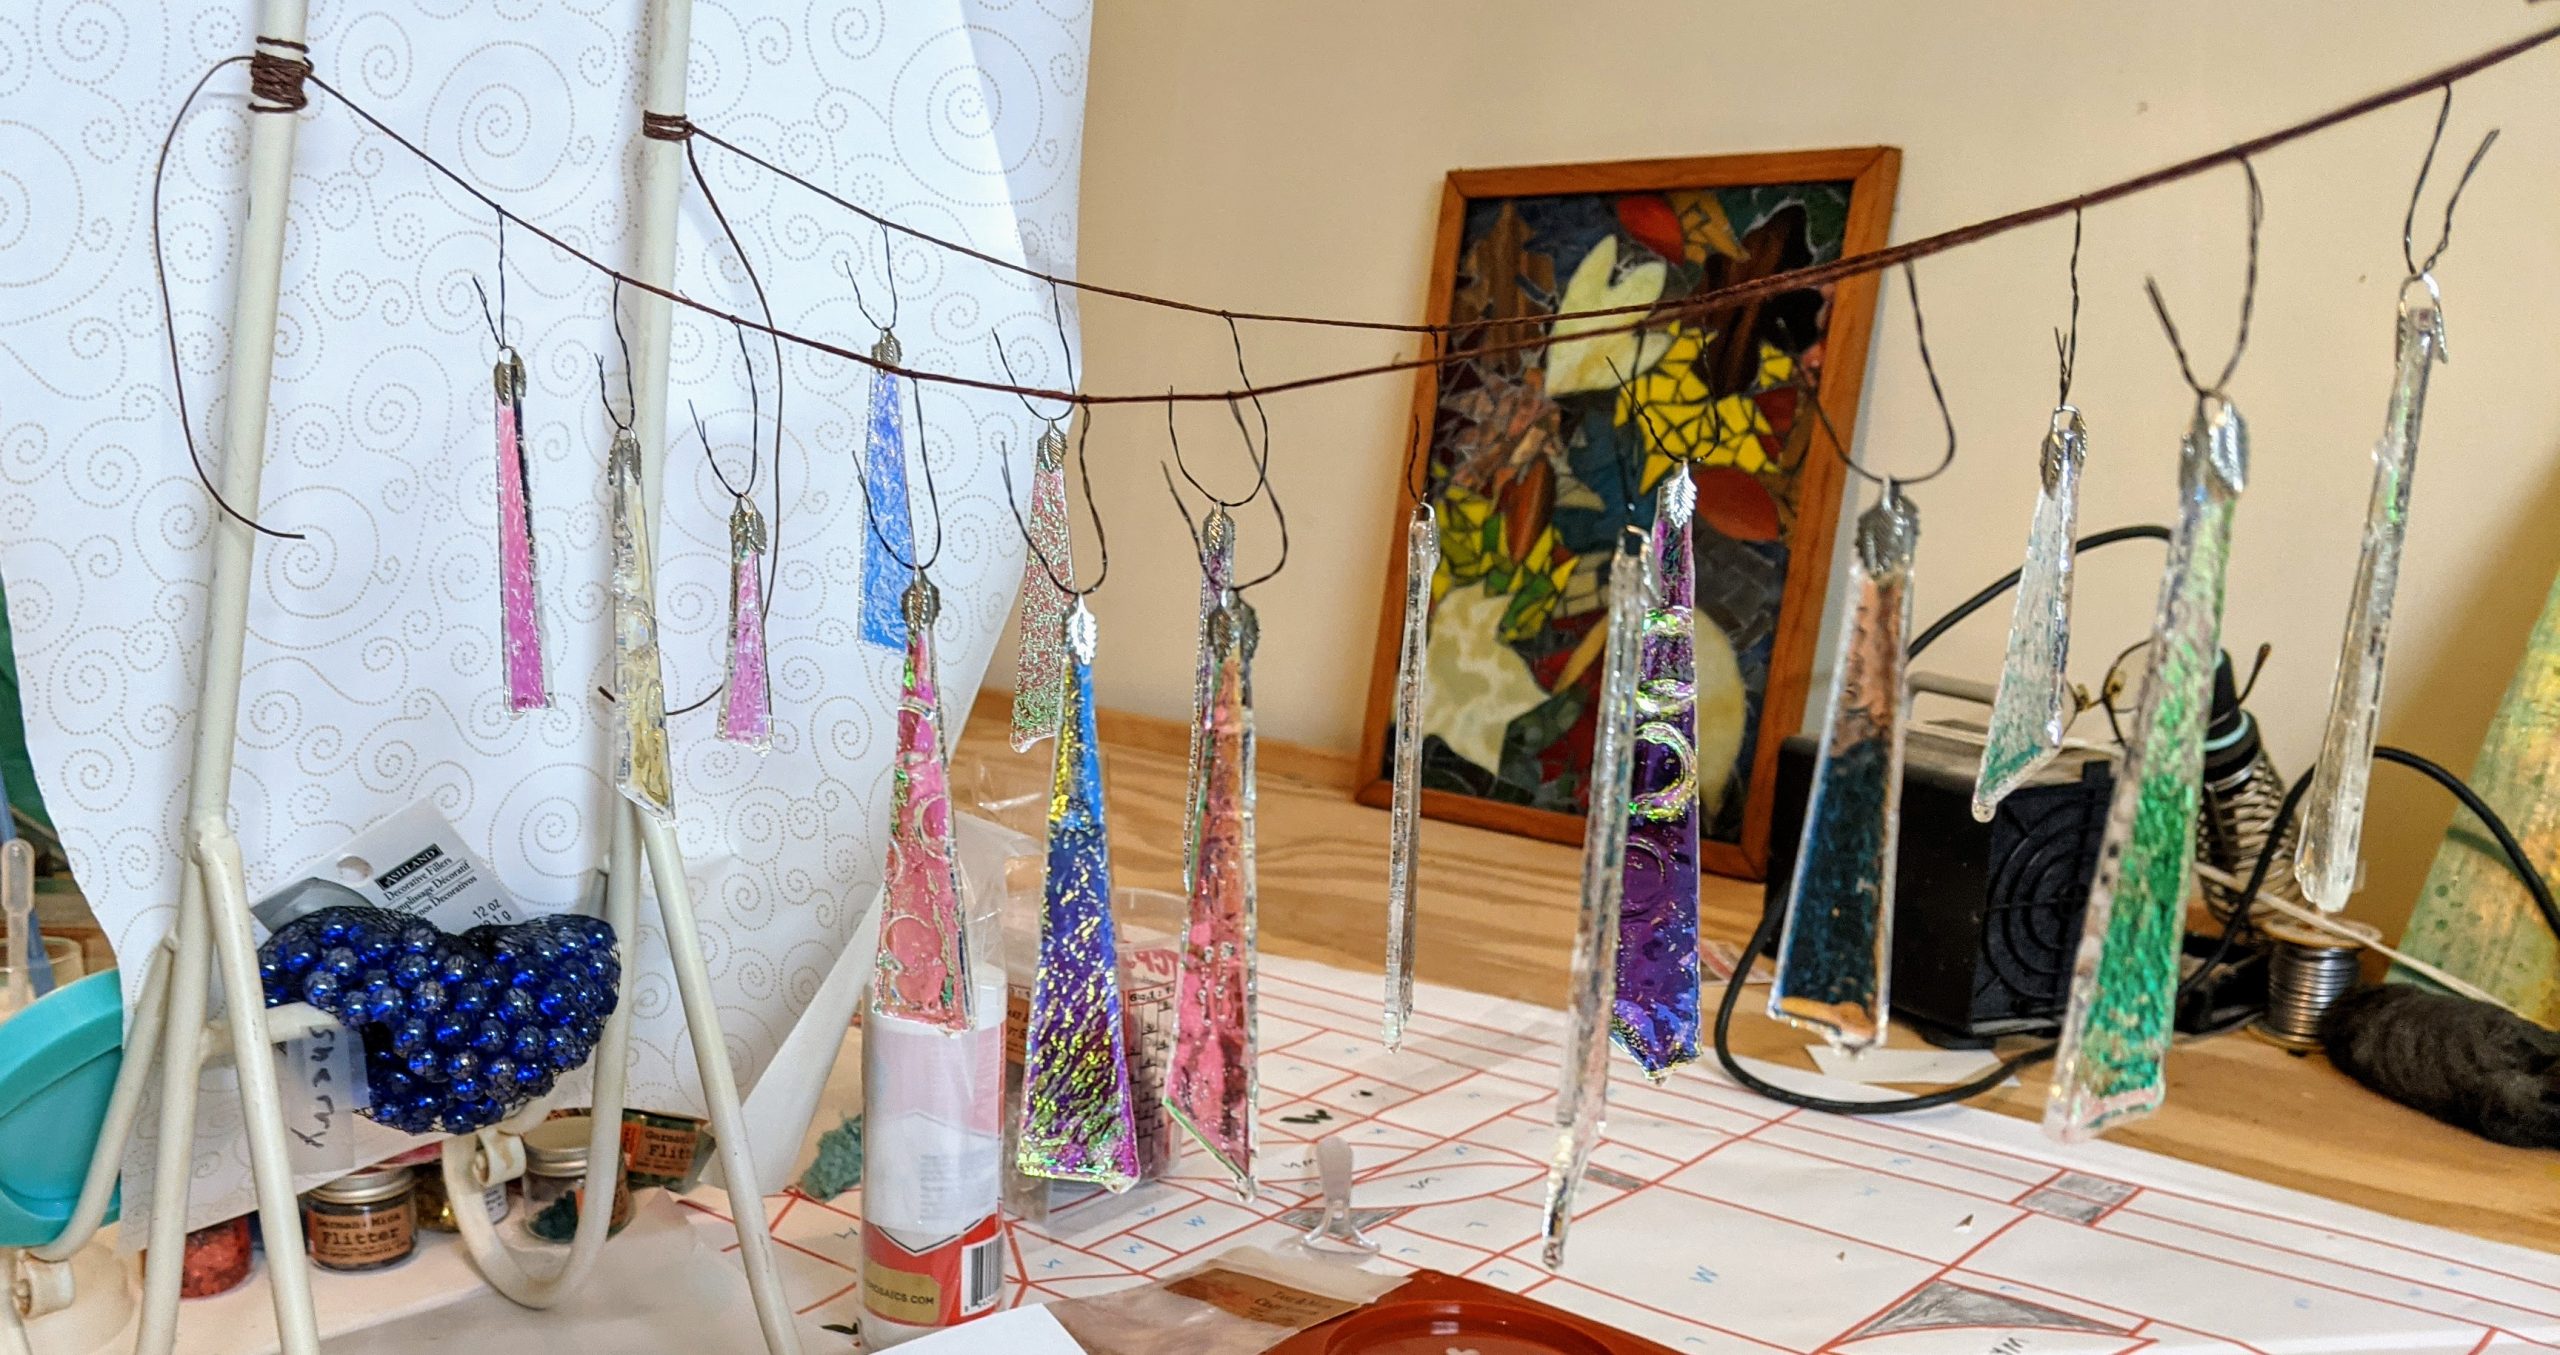
Some of the smaller snowmen’s mouths drifted a bit after covered with resin. It’s always a new challenge, sigh. I also dipped the “Dichro-cicles” and hung them on my little laundry line. We’ll see how they come out.
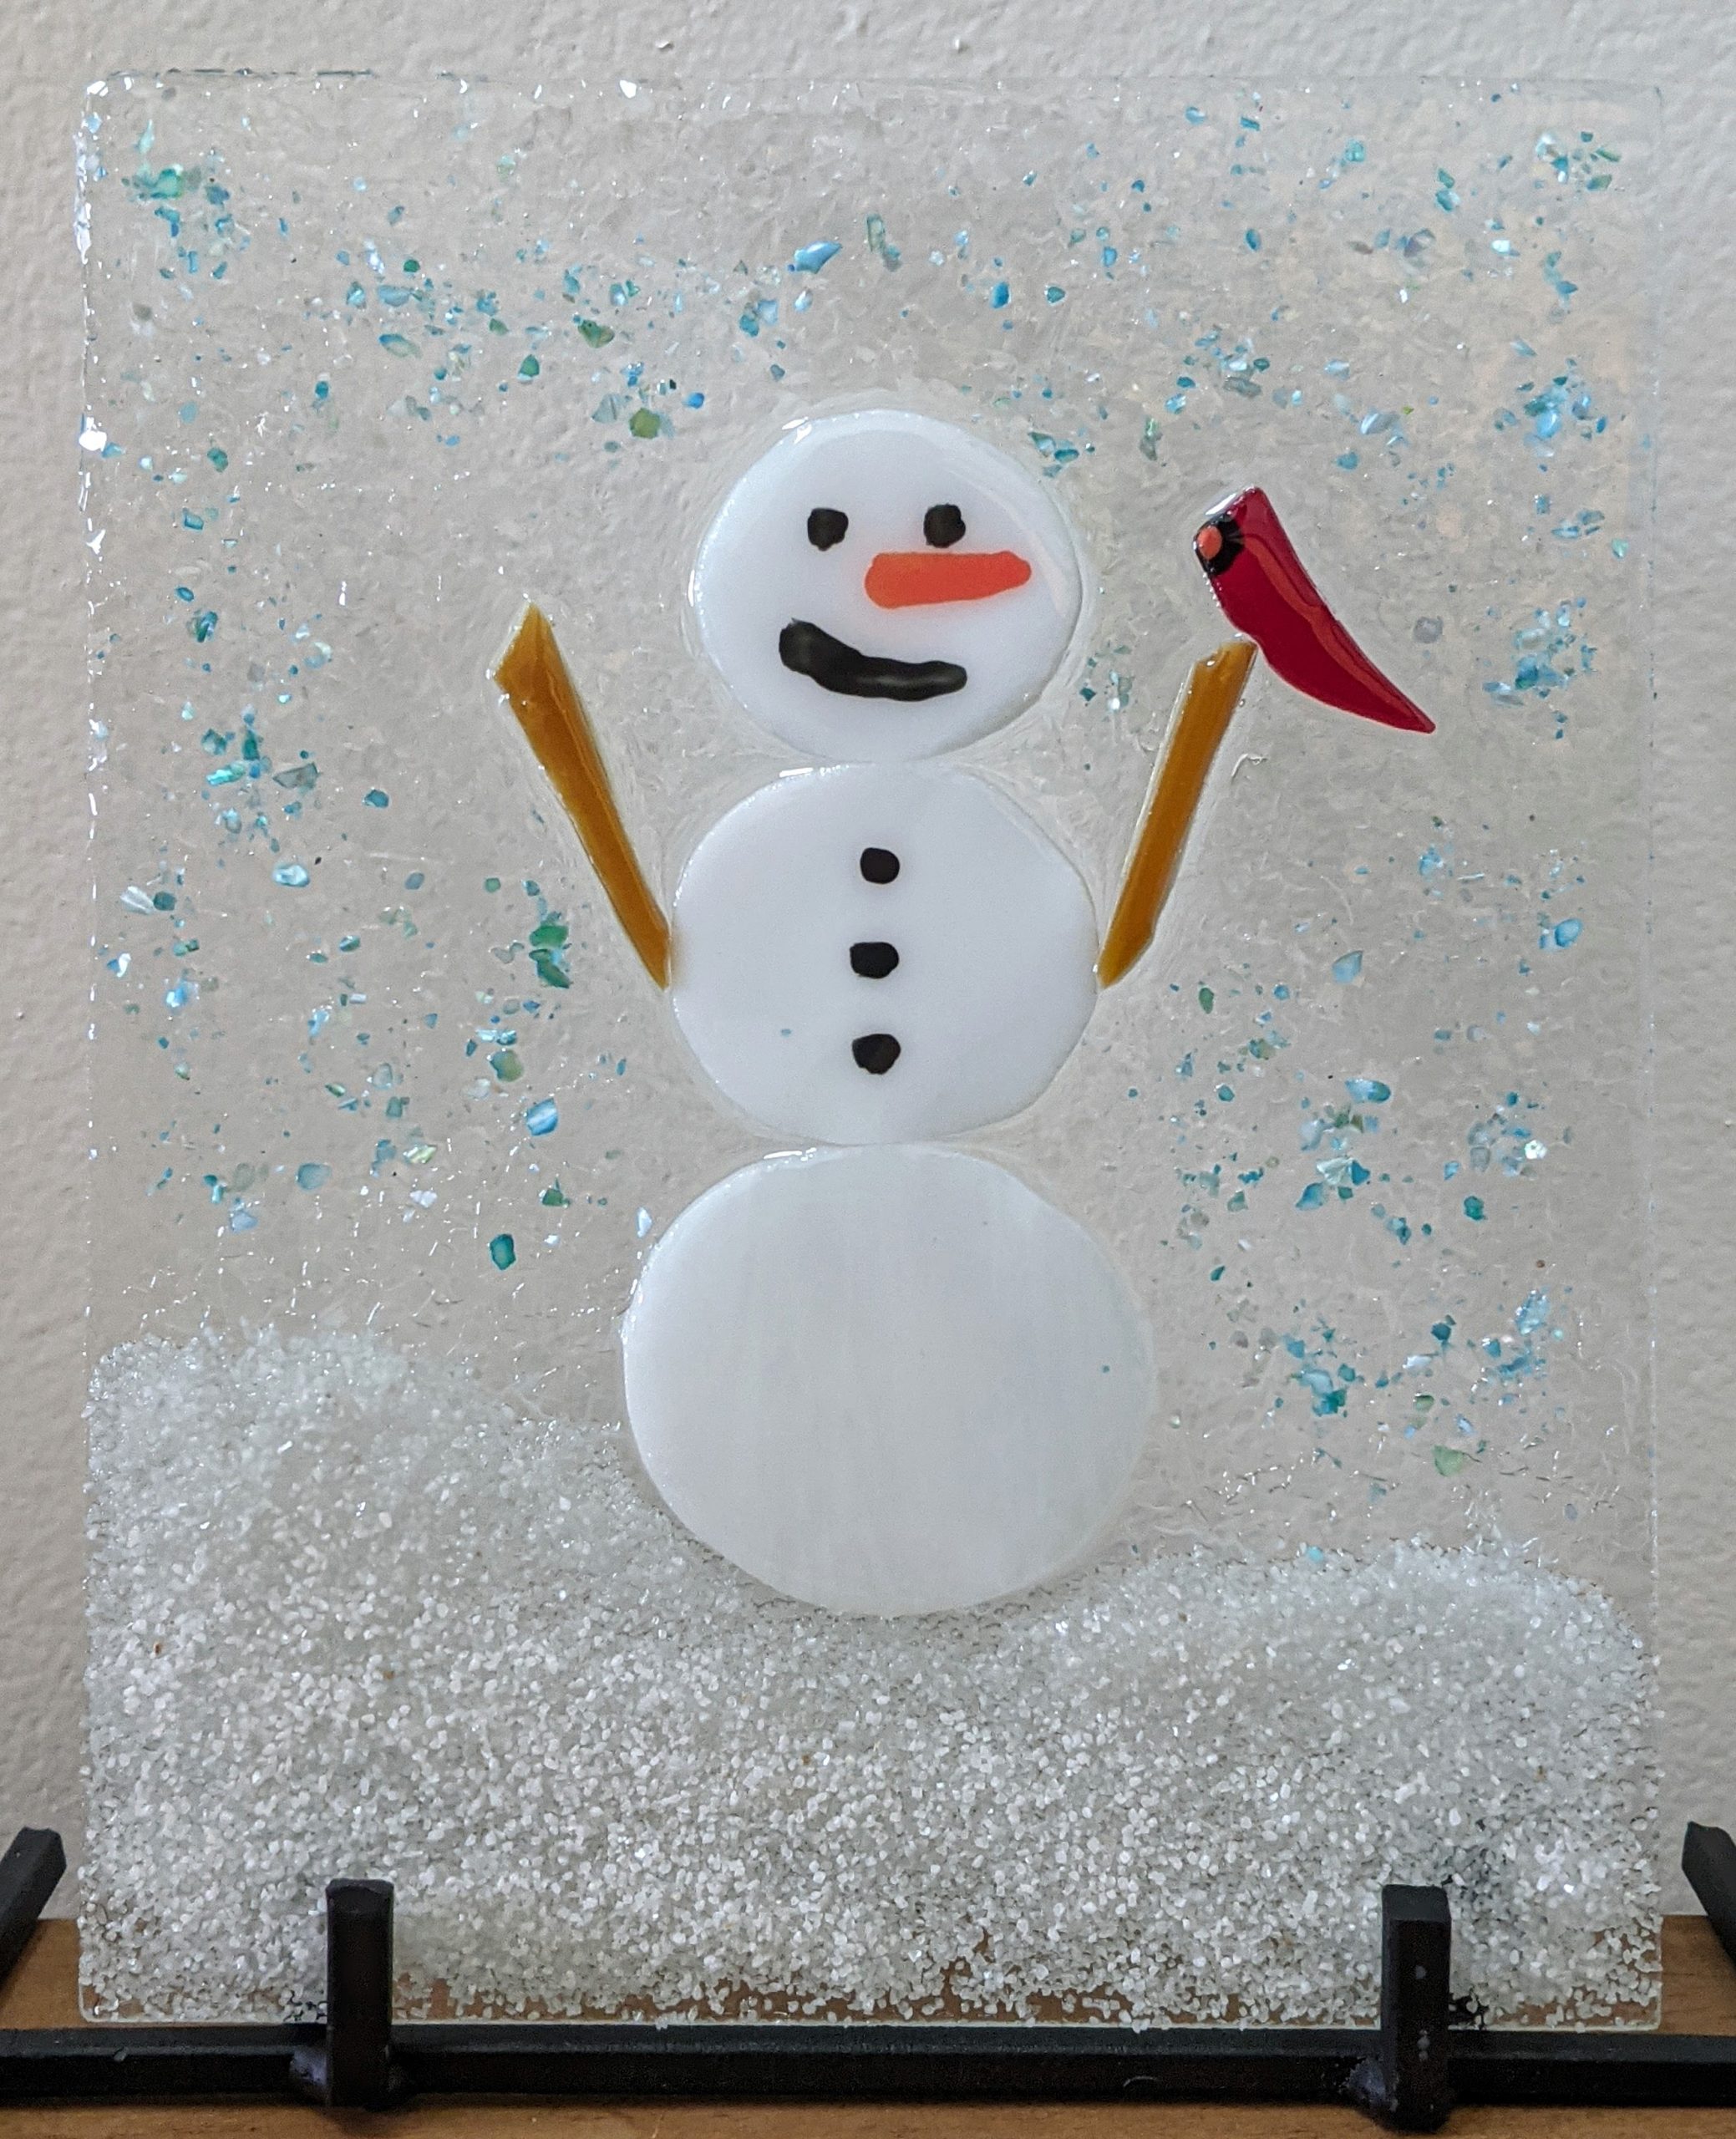
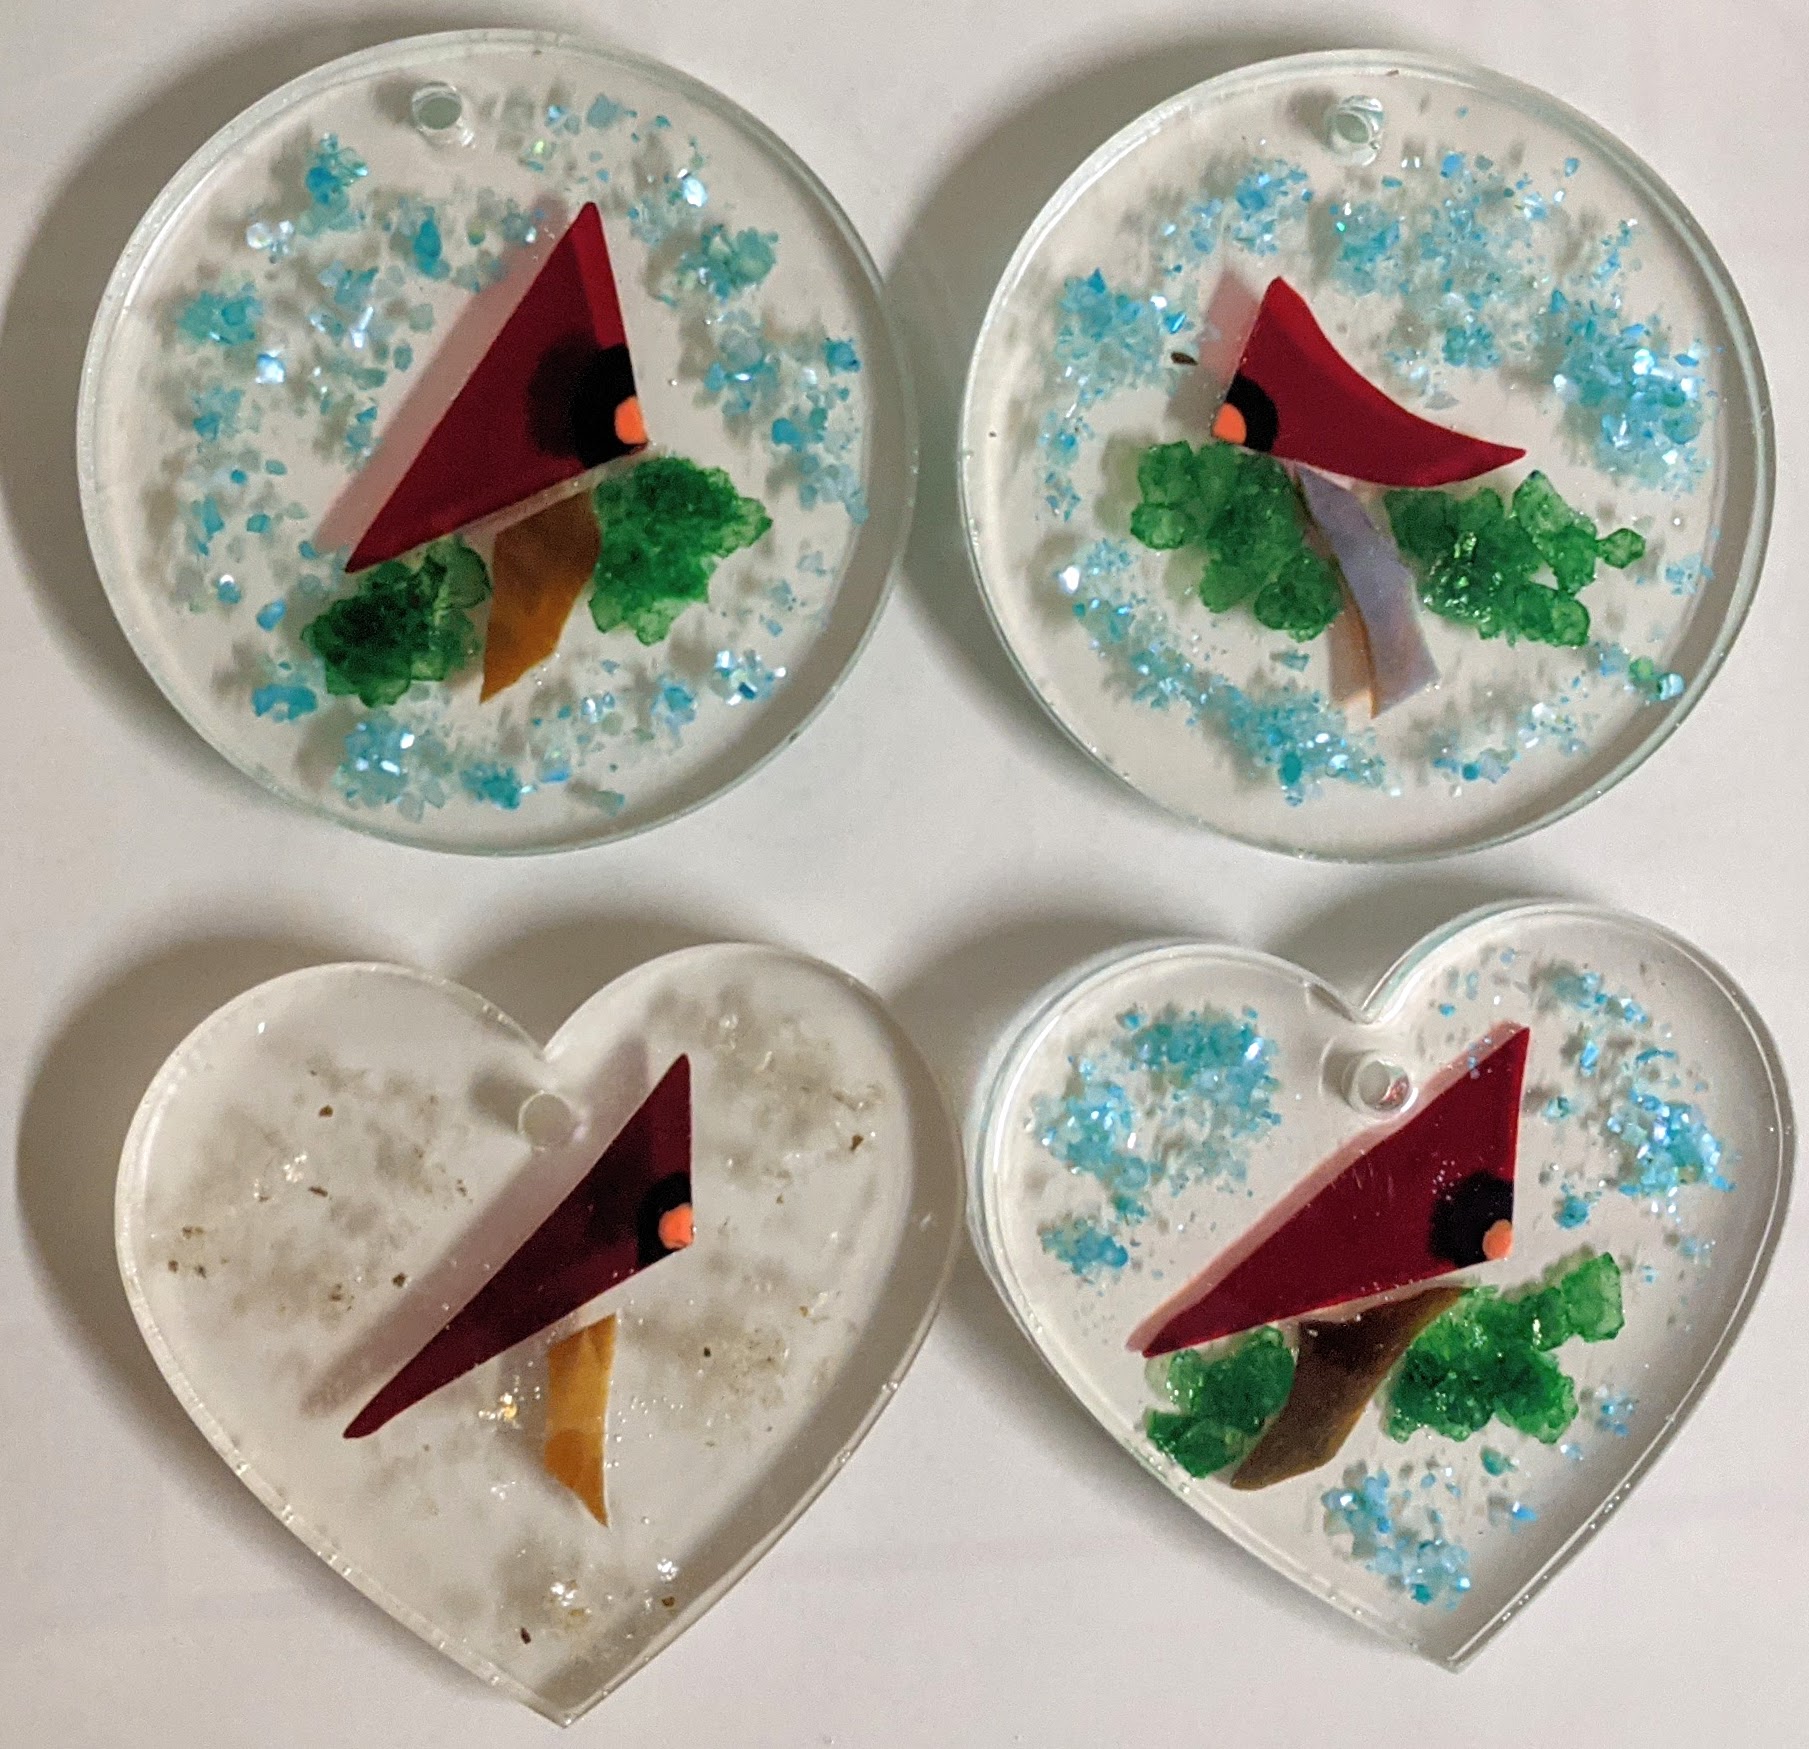
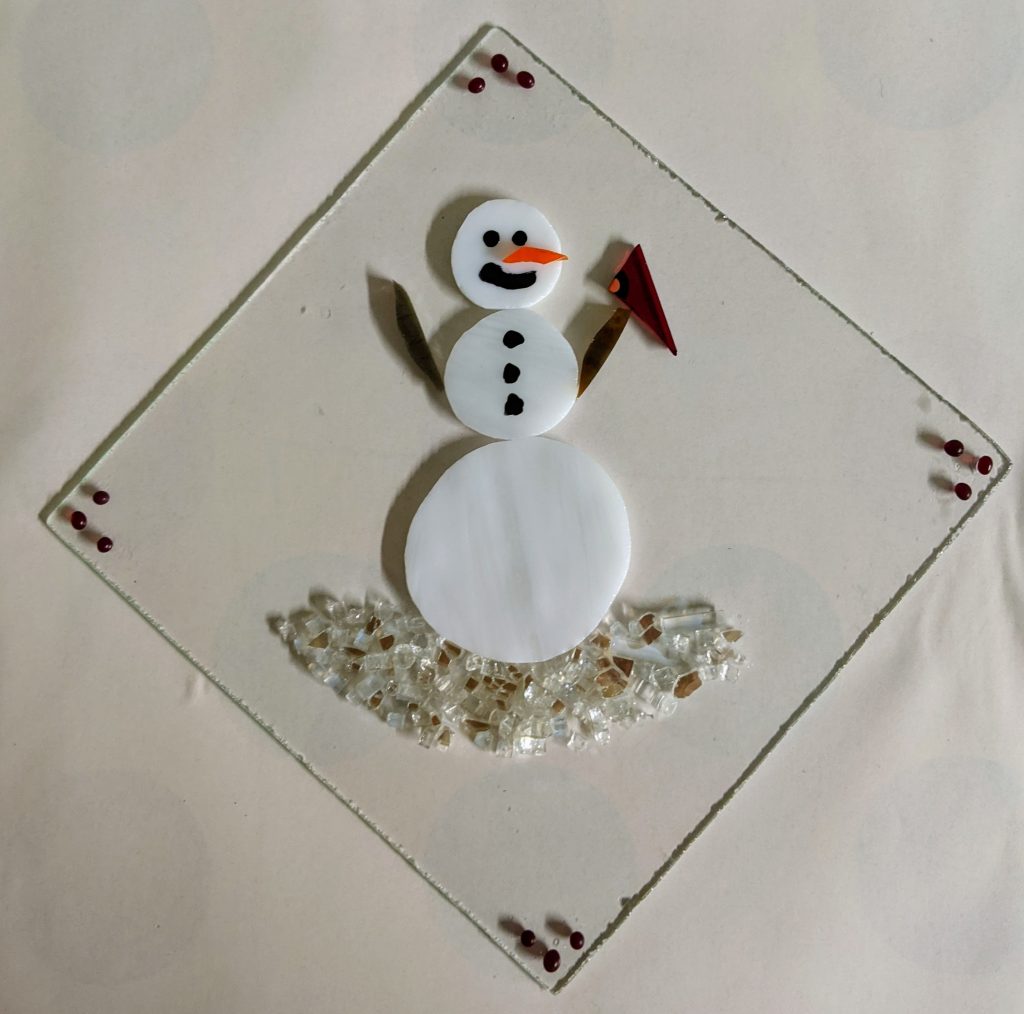
I needed to make some more projects before mixing the next batch of resin (don’t want to waste the resin), so I spent today cutting out parts for snowmen and cardinals and prepping them for the resin.
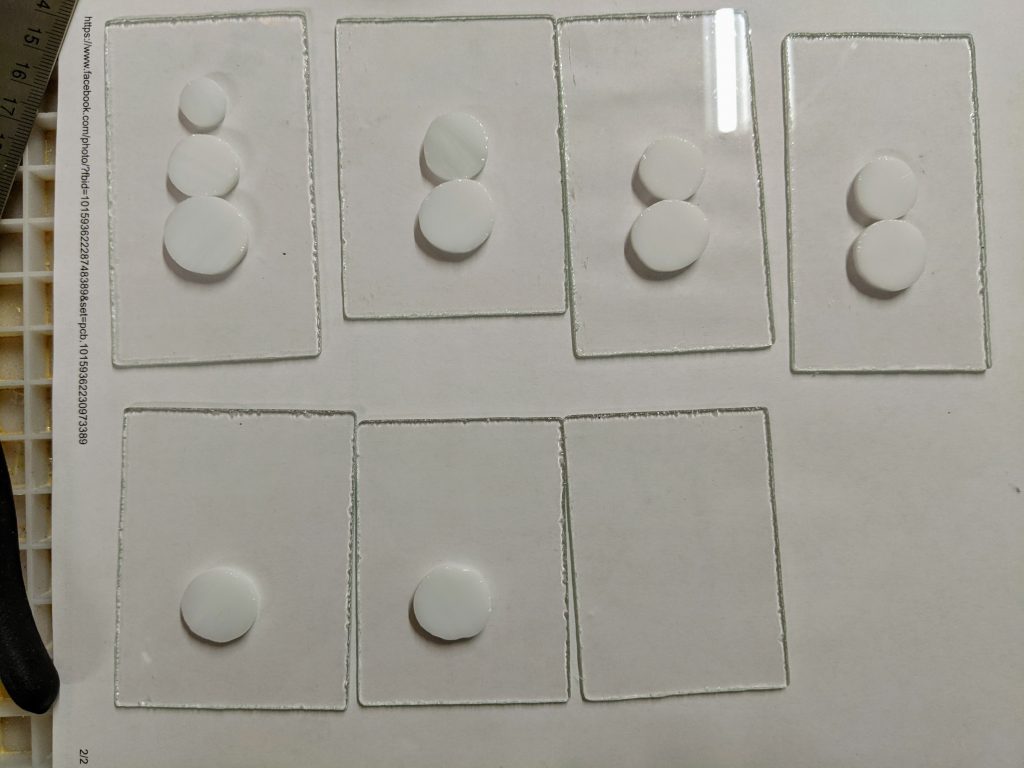
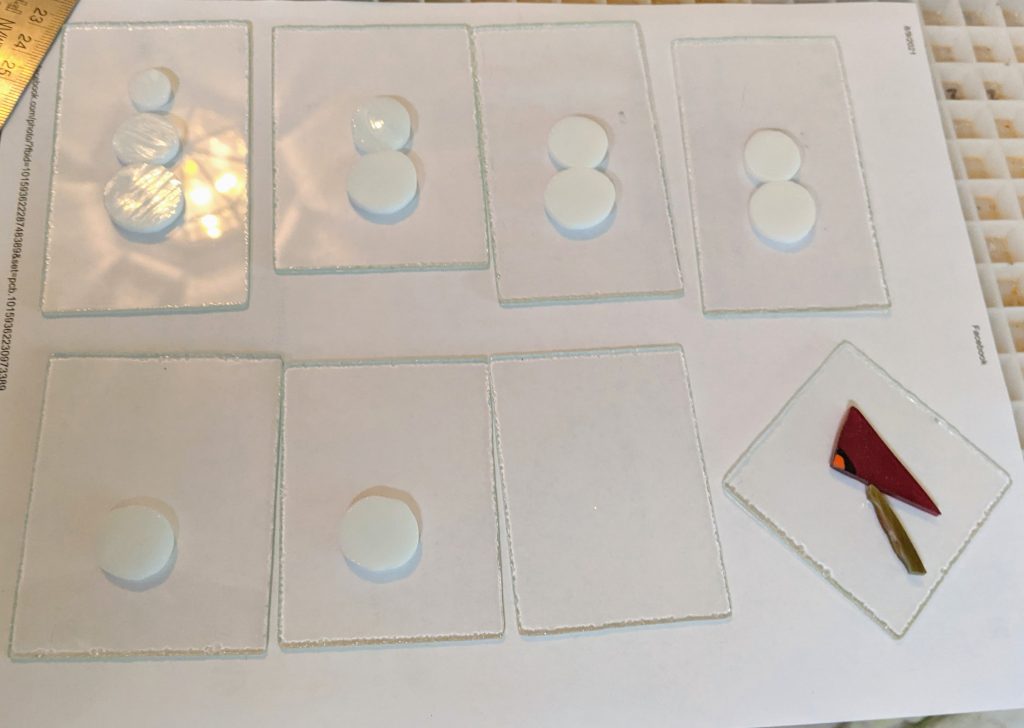
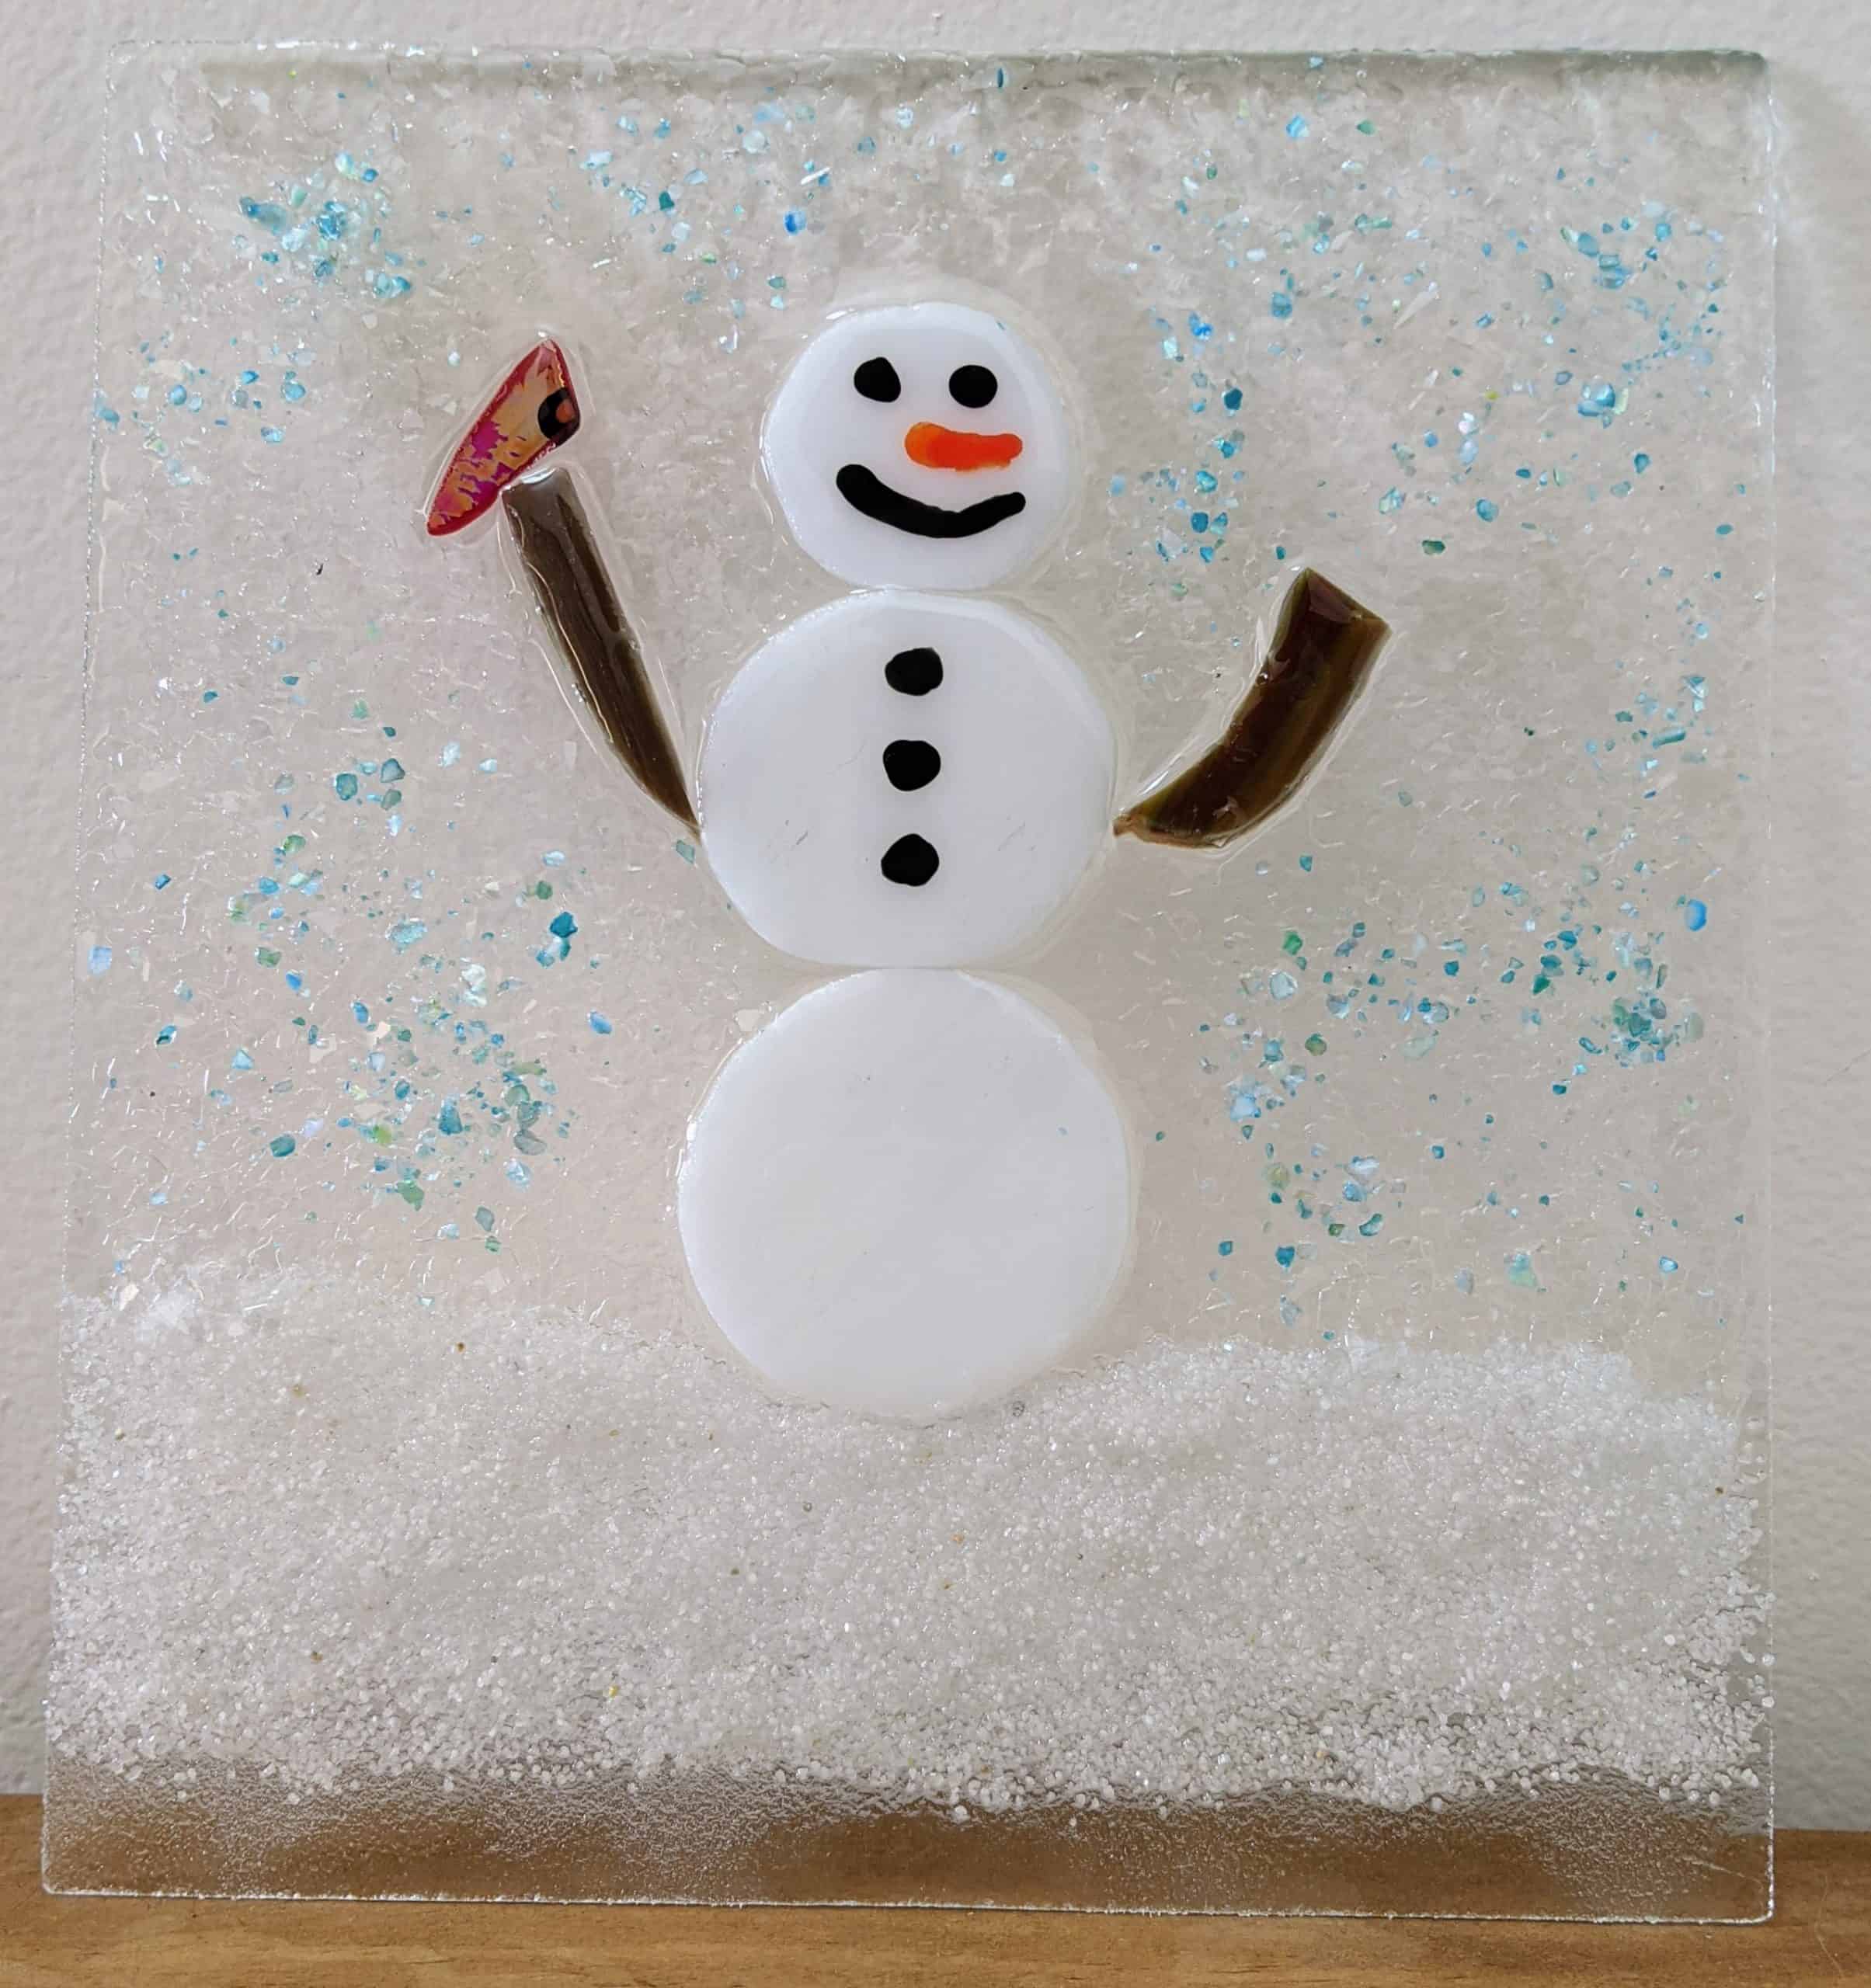
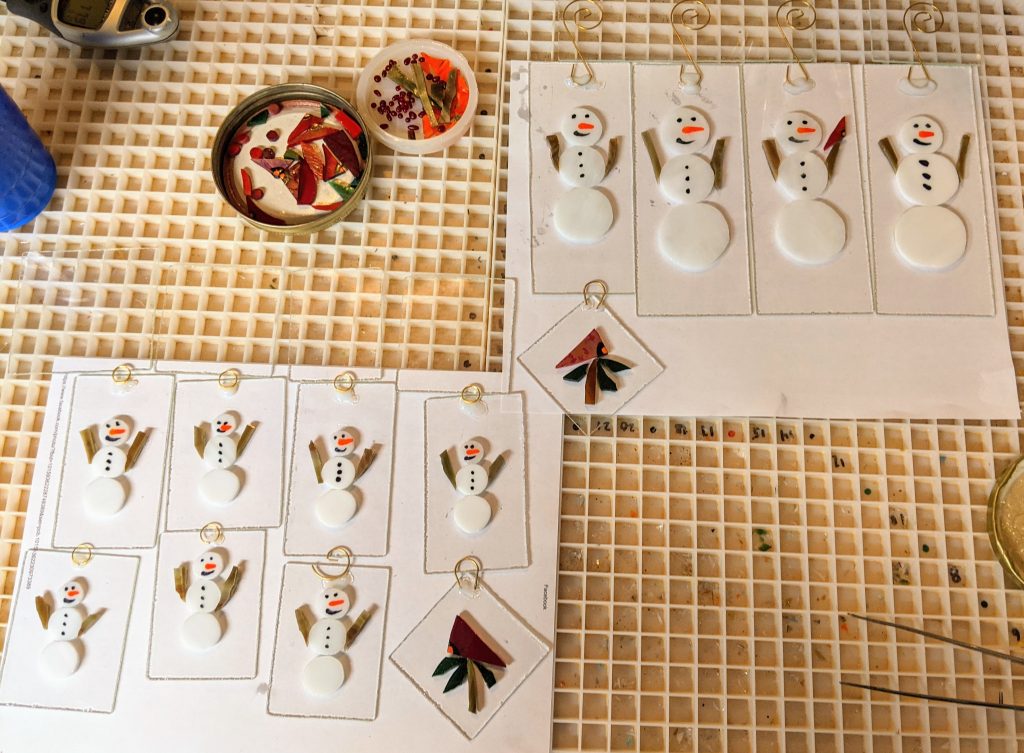
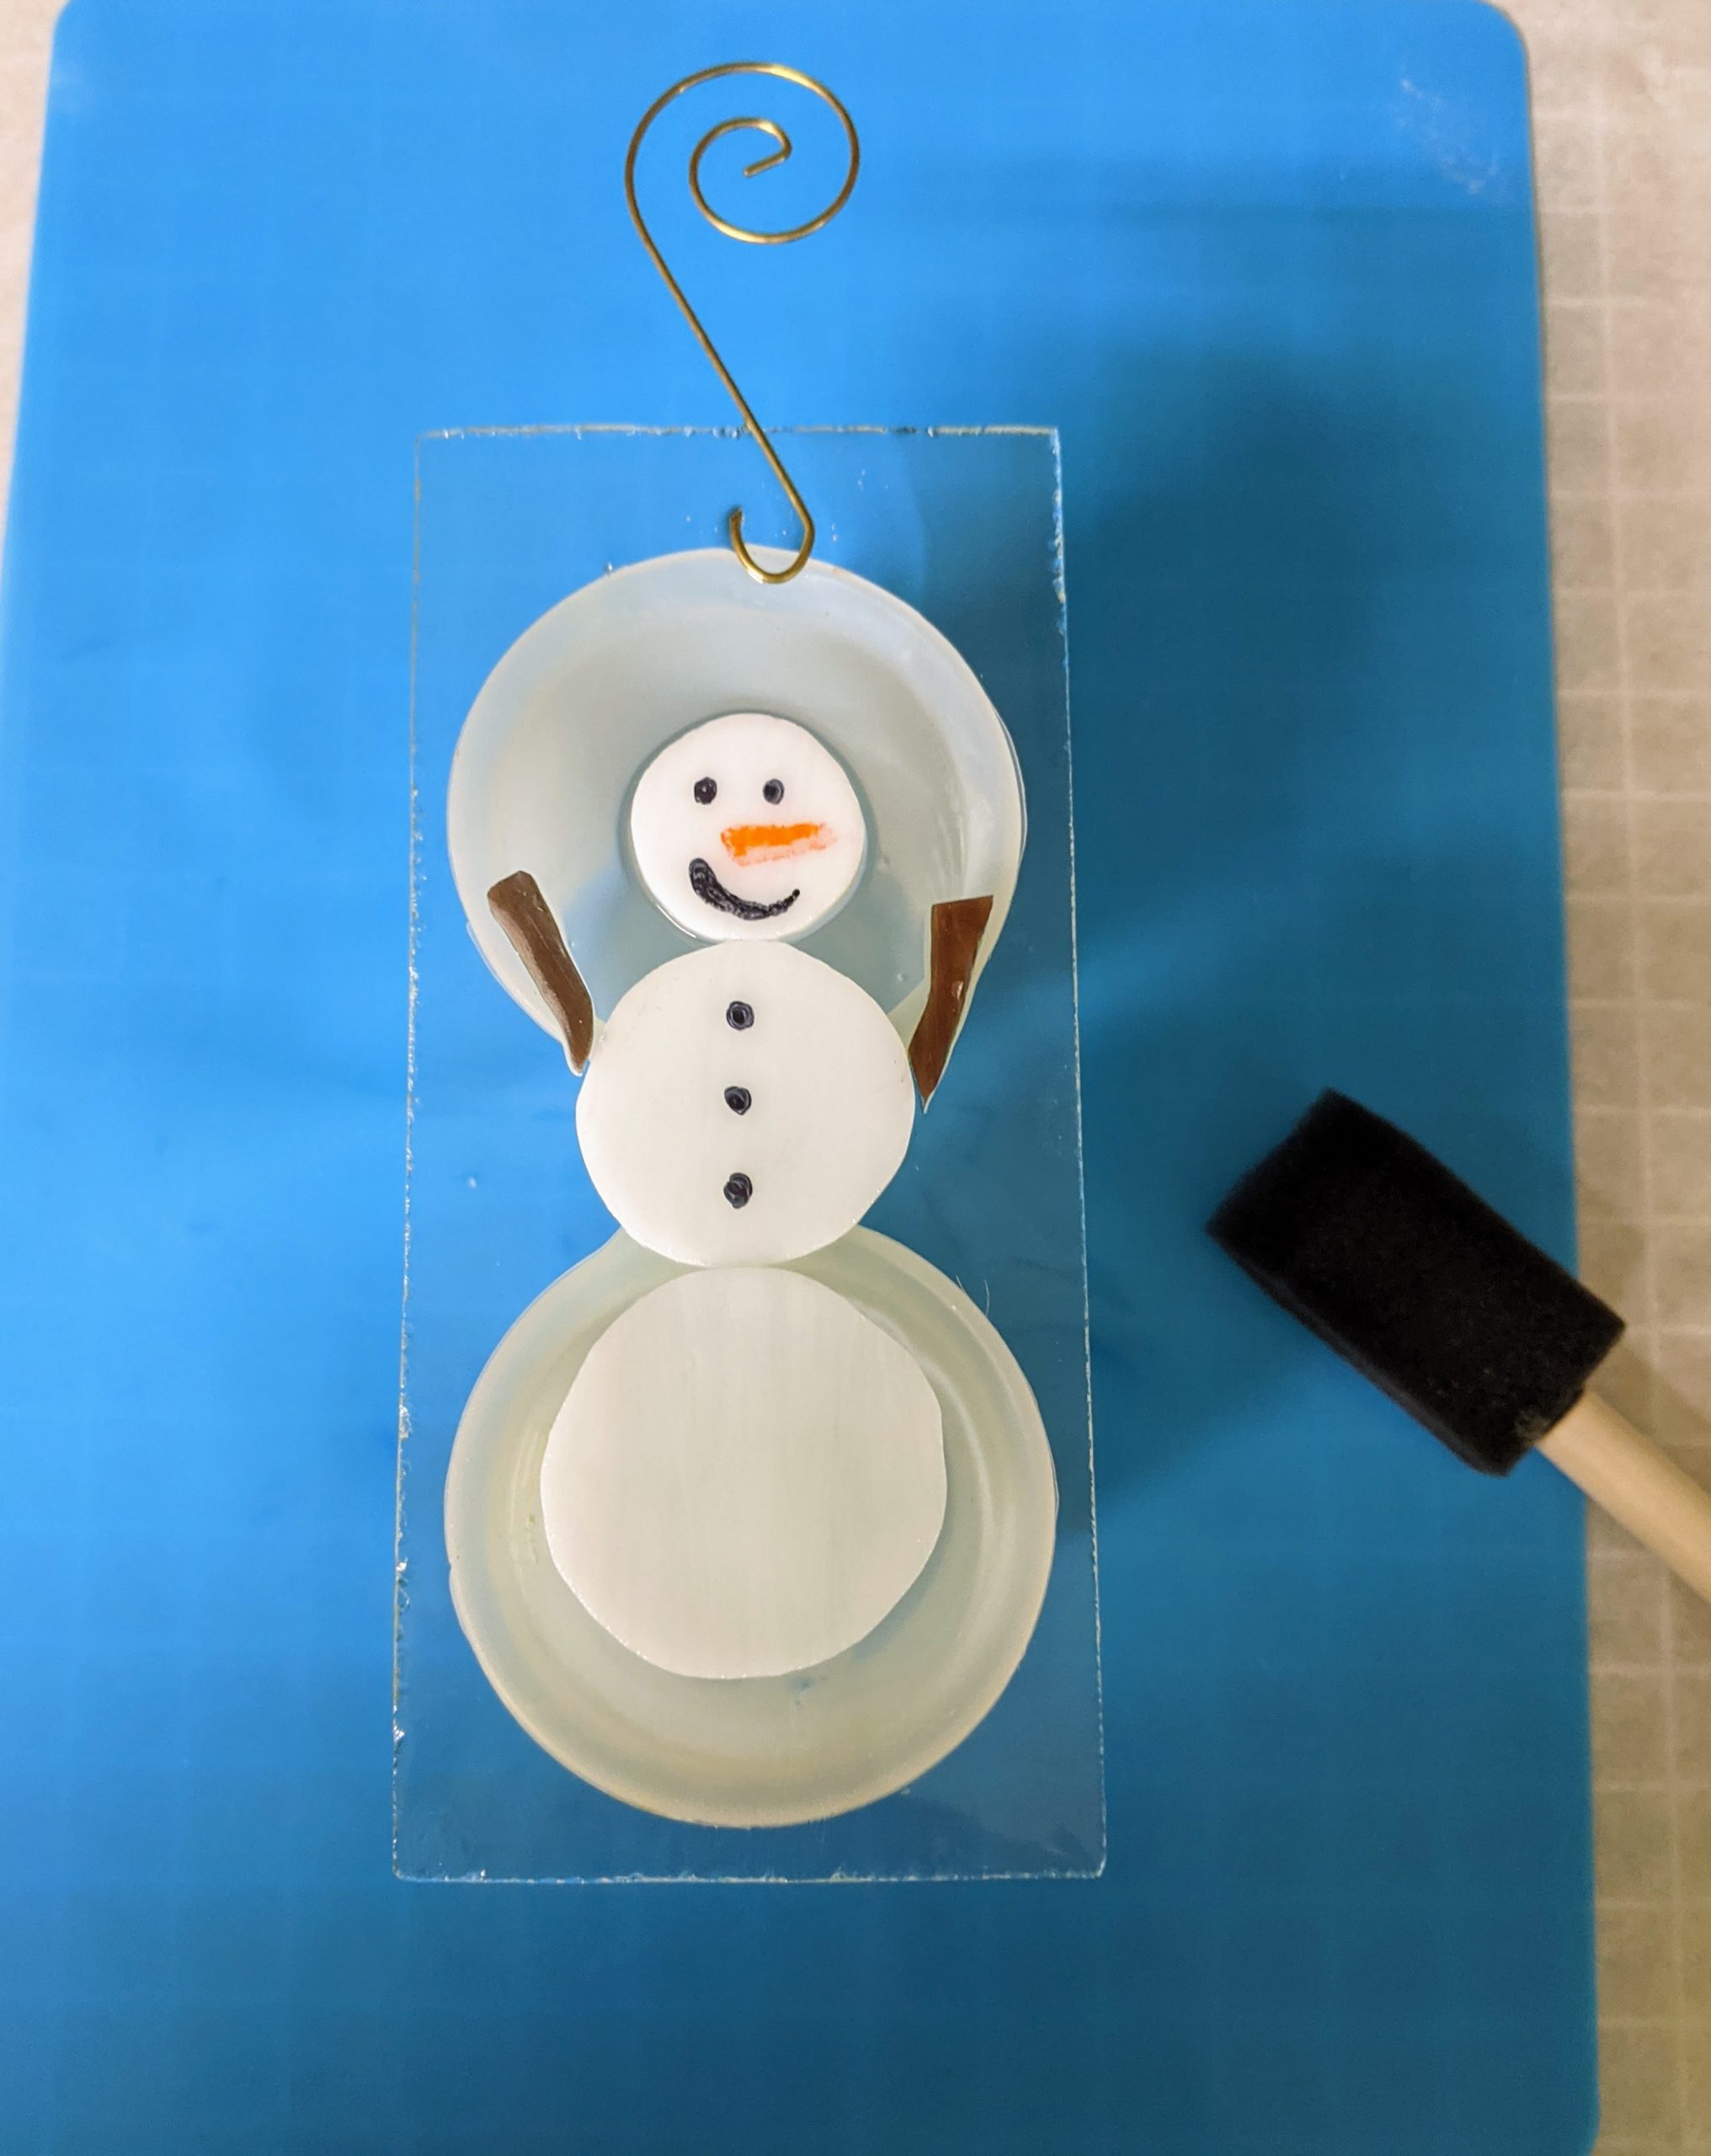
After I lay out all the parts, I decorate the snowmen with nail polish for their faces and coal buttons (I did this previously for the cardinals I’m using). Once the glue dries, they can be coated with resin and decorated. Sometimes I use glass for the noses on the snowmen when they are larger, but these are smaller ornaments.
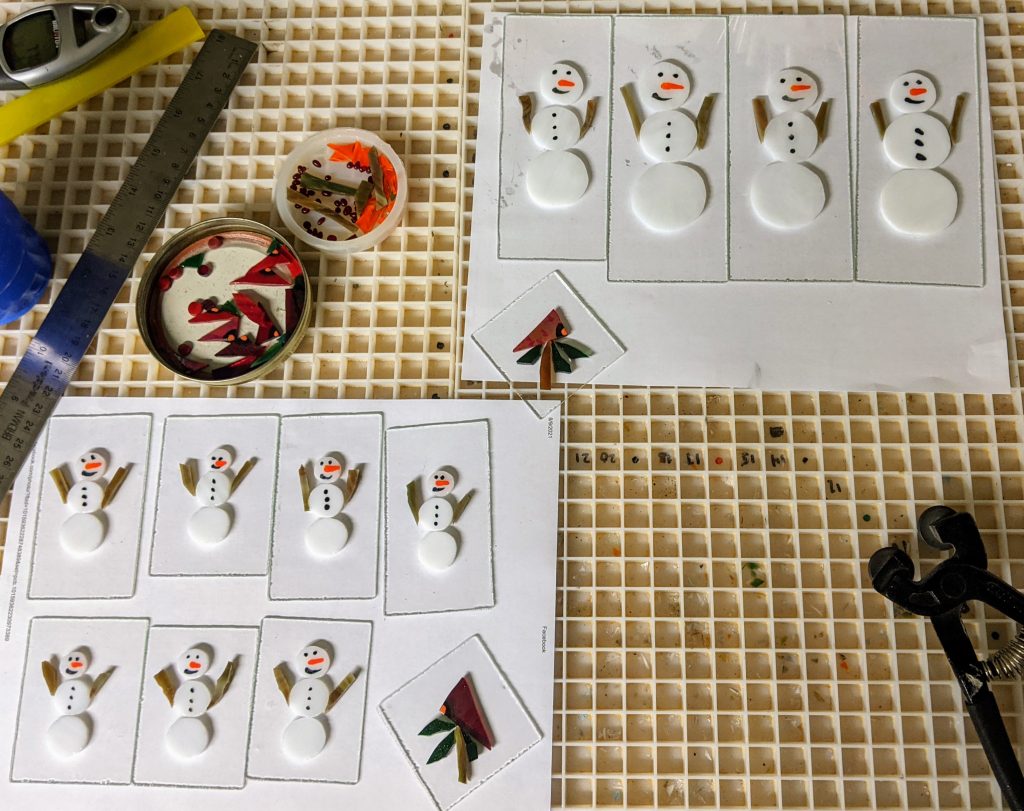
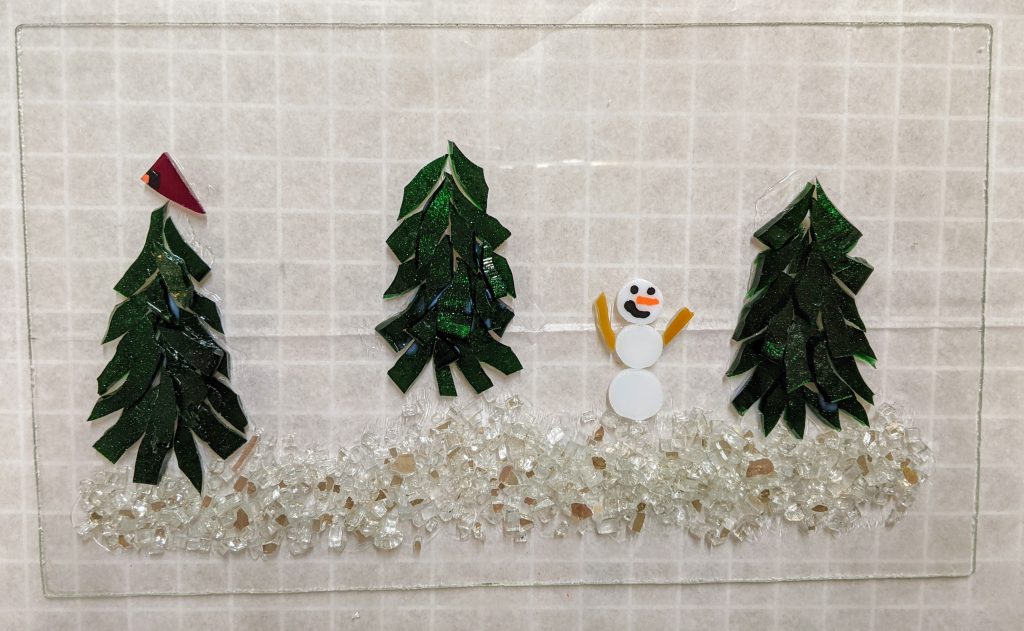
Once the decorations dry, I can glue the glass pieces to the clear backer glass. After they dry overnight, they should be ready for the resin coating.
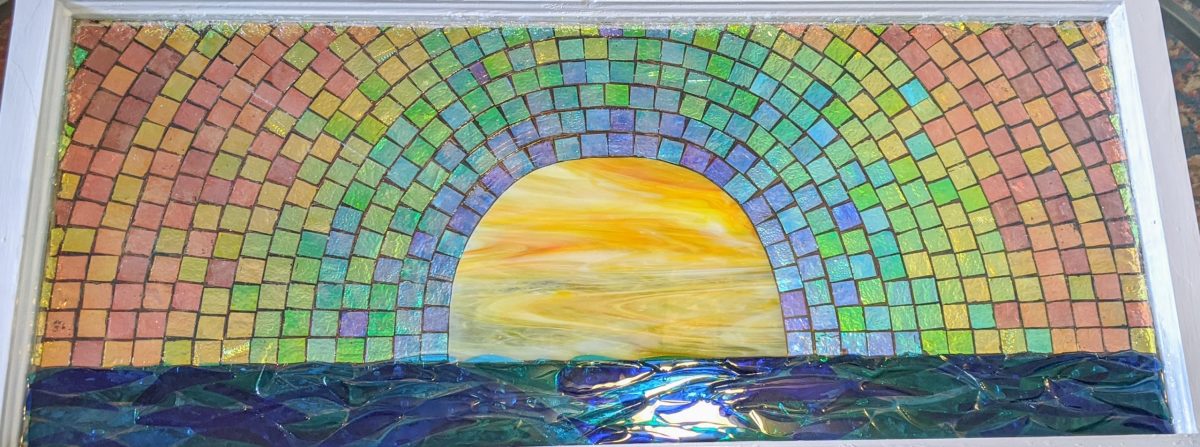
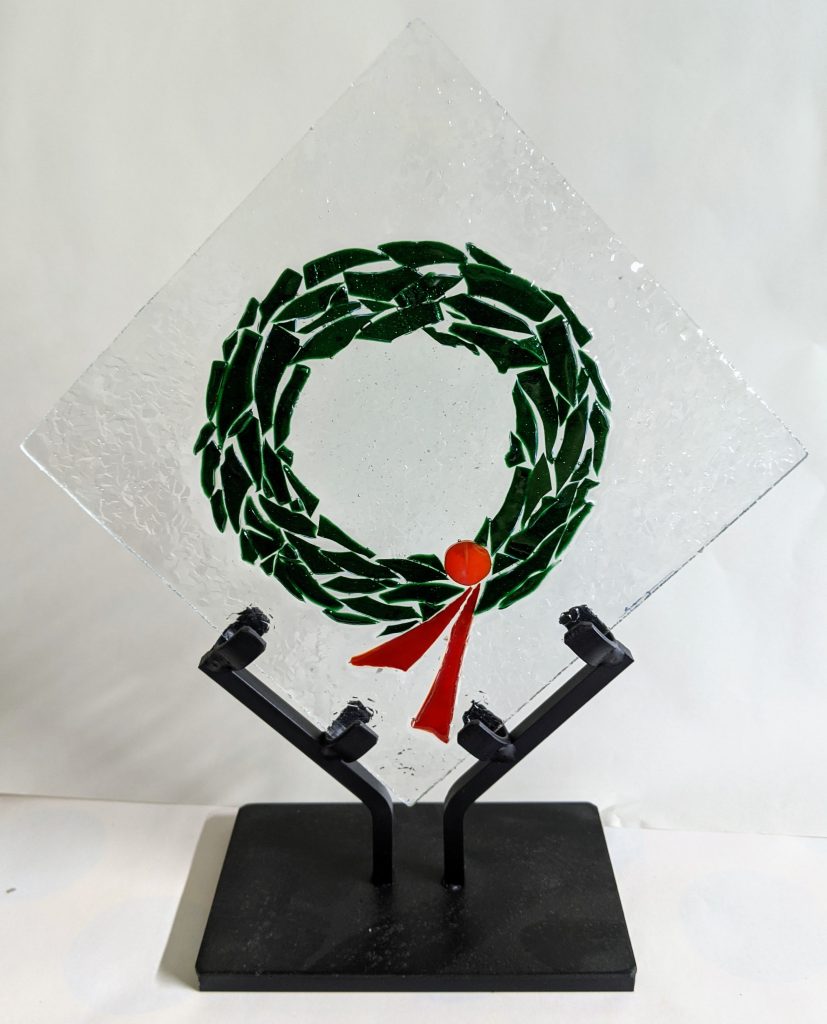
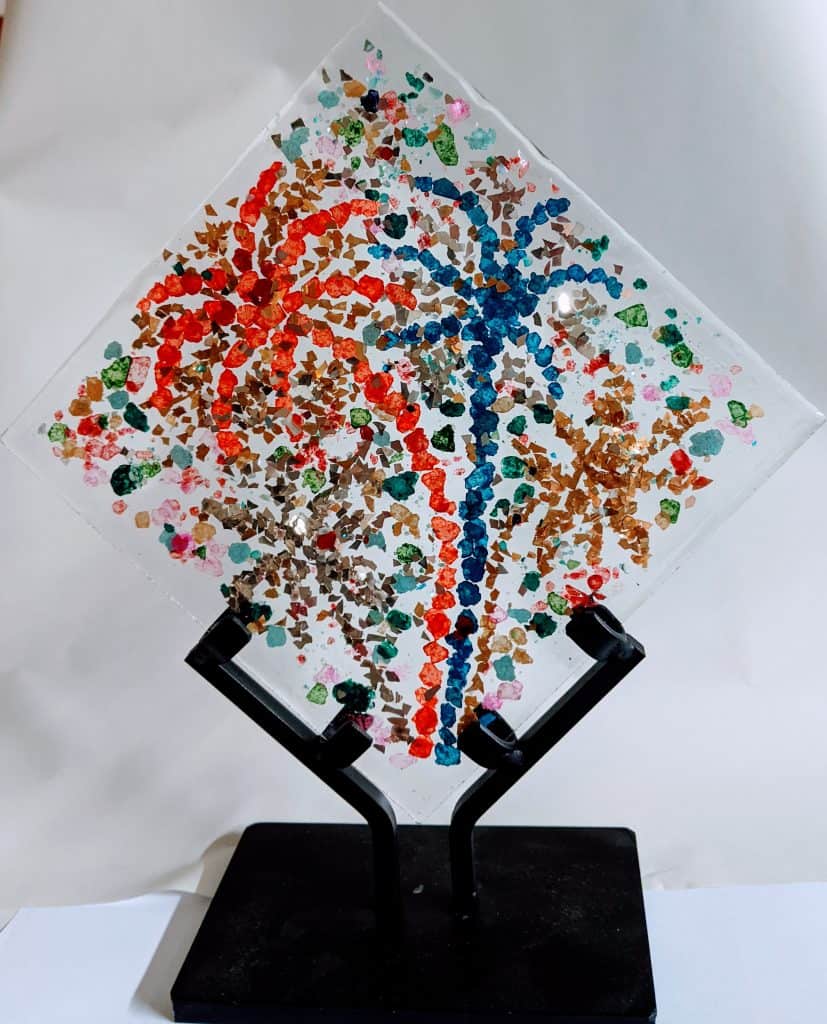
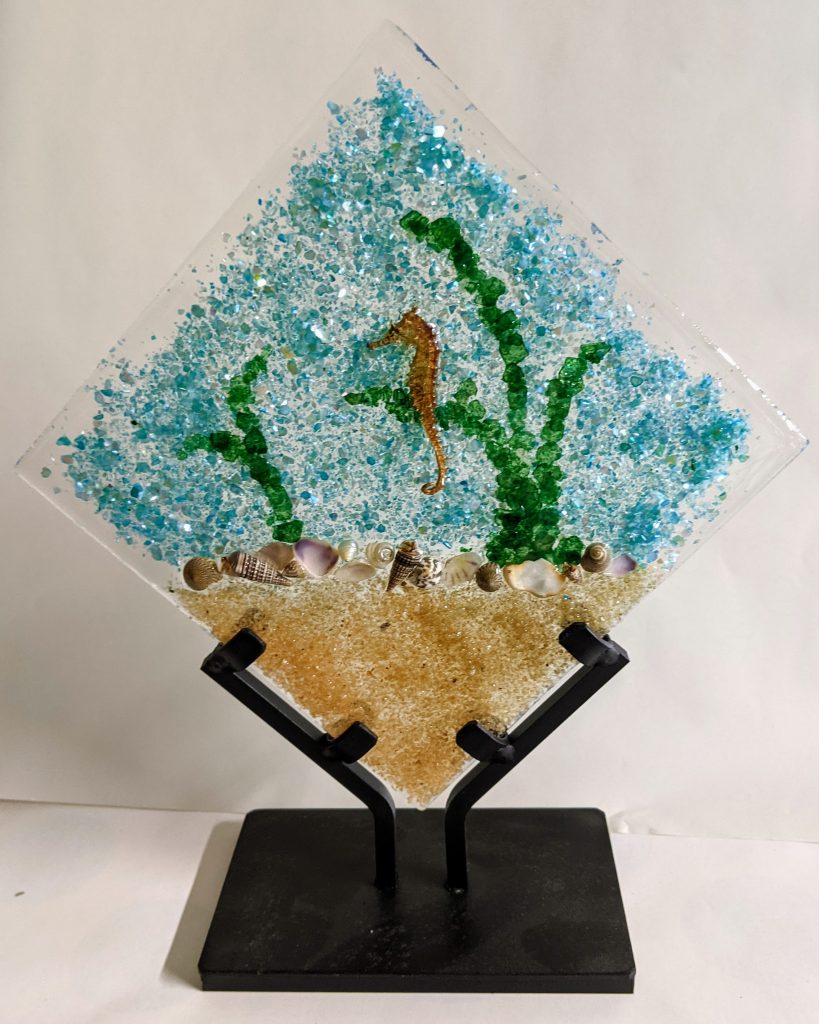
Wrapped up my “8 Seasons” set project today. I’m pretty happy with how they turned out. Eight panels (each approximately 6″ square). Two for each season (Spring, Summer, Autumn and Winter). These will be sold with the display stand as a set for $400.
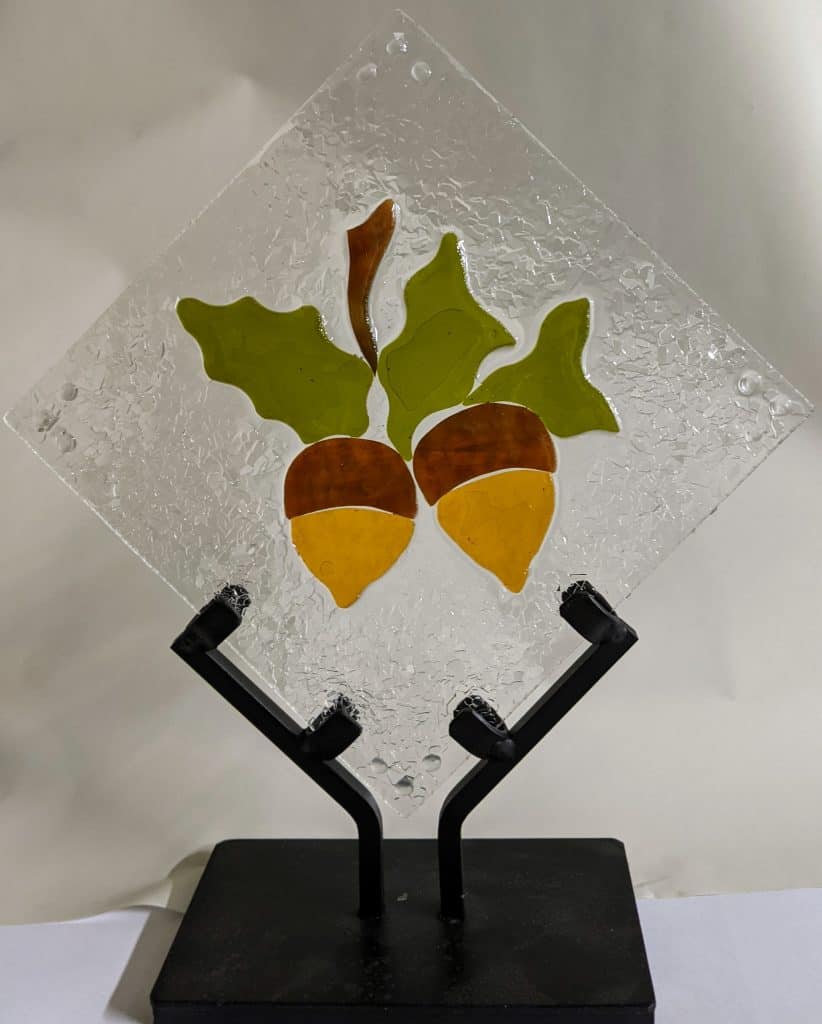
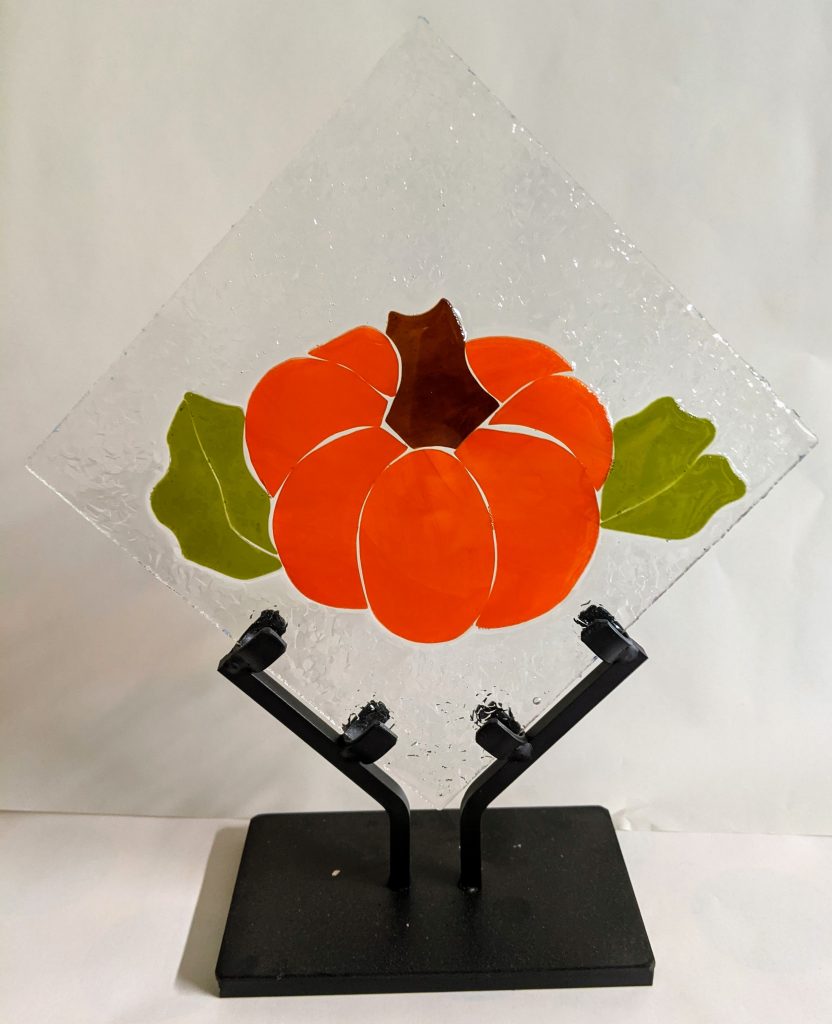
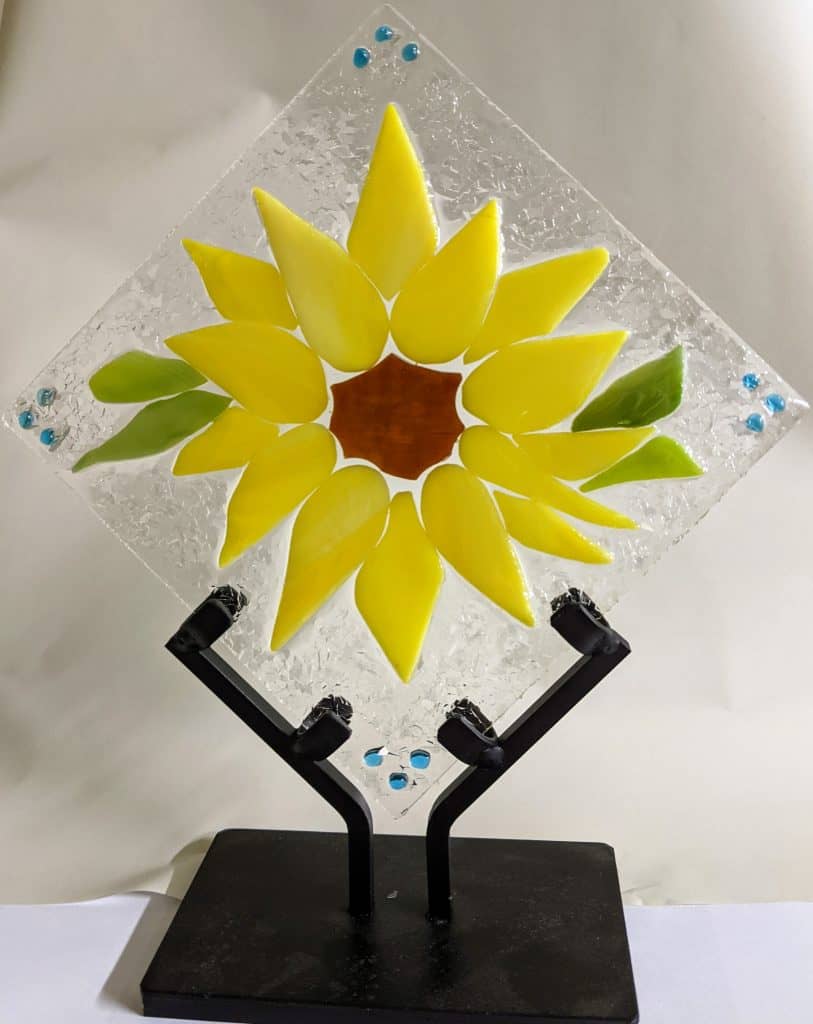
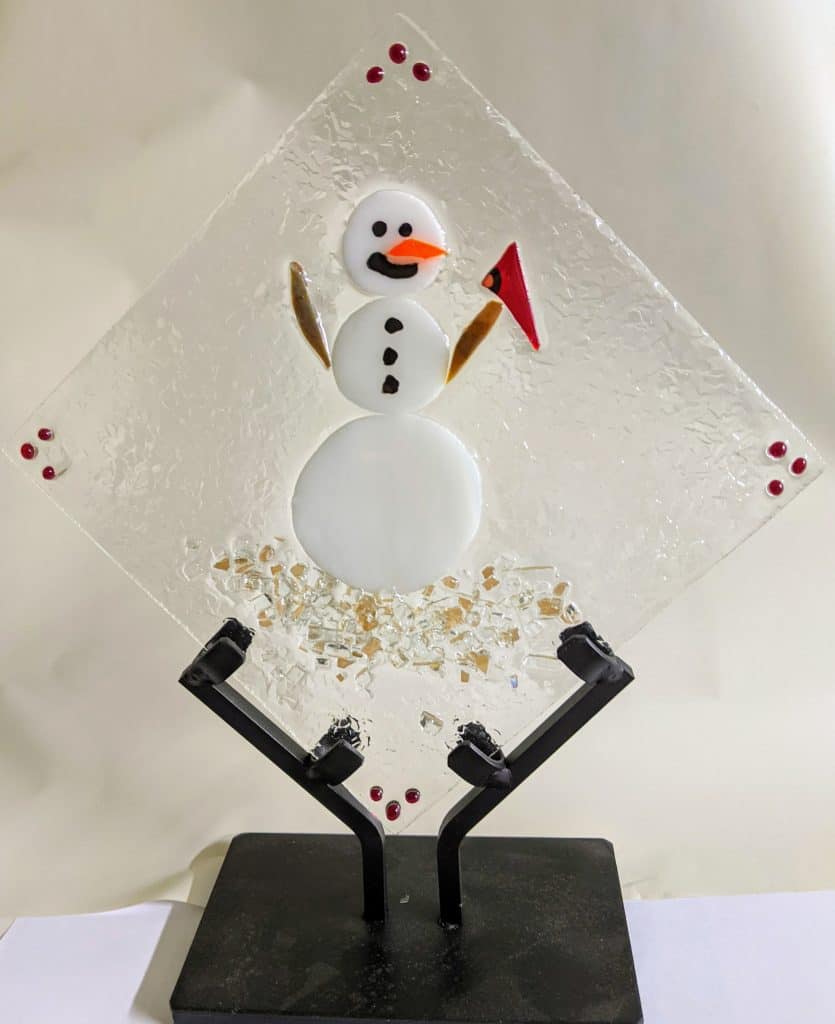
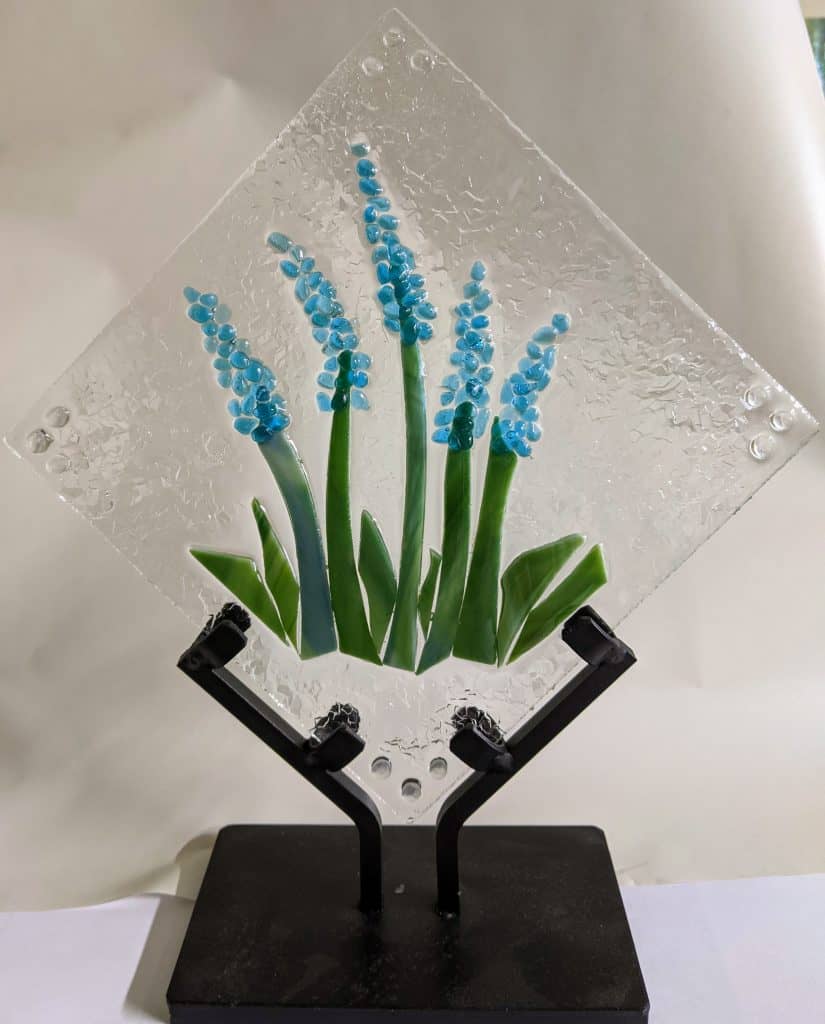

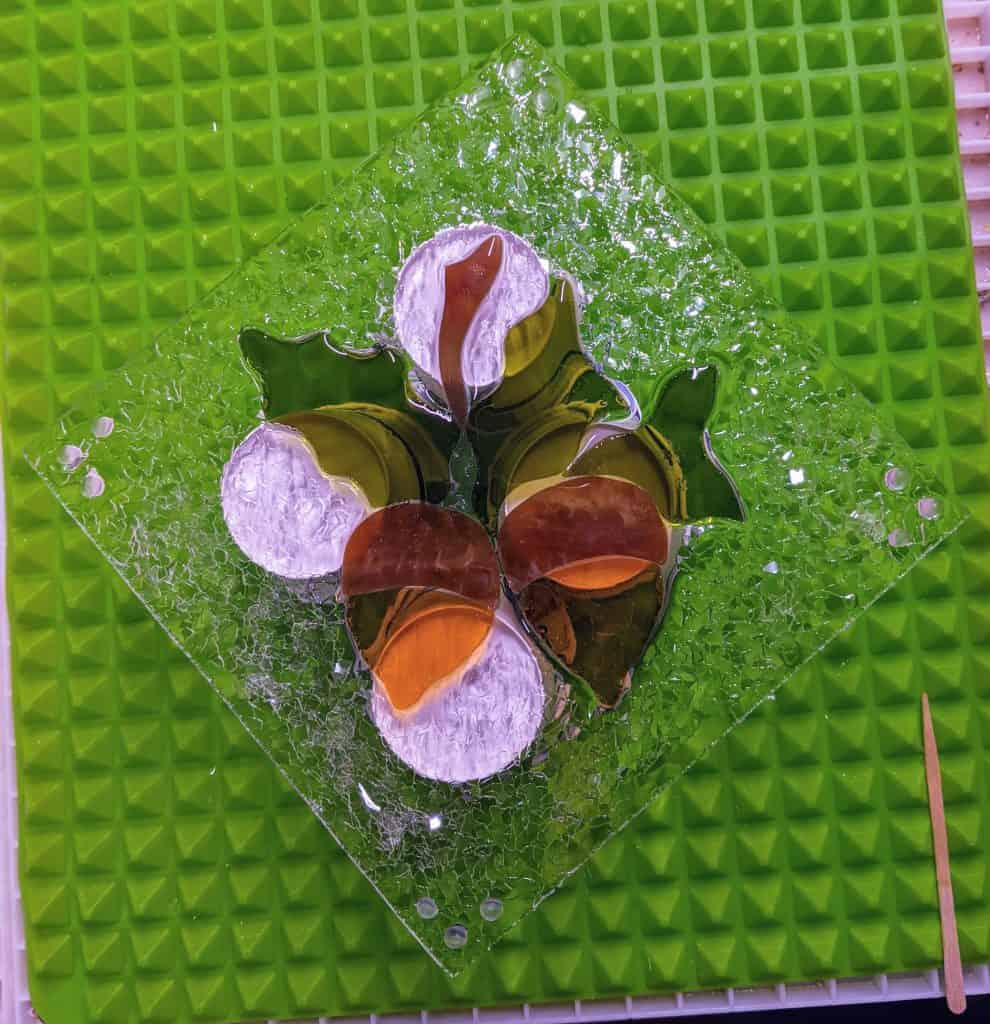
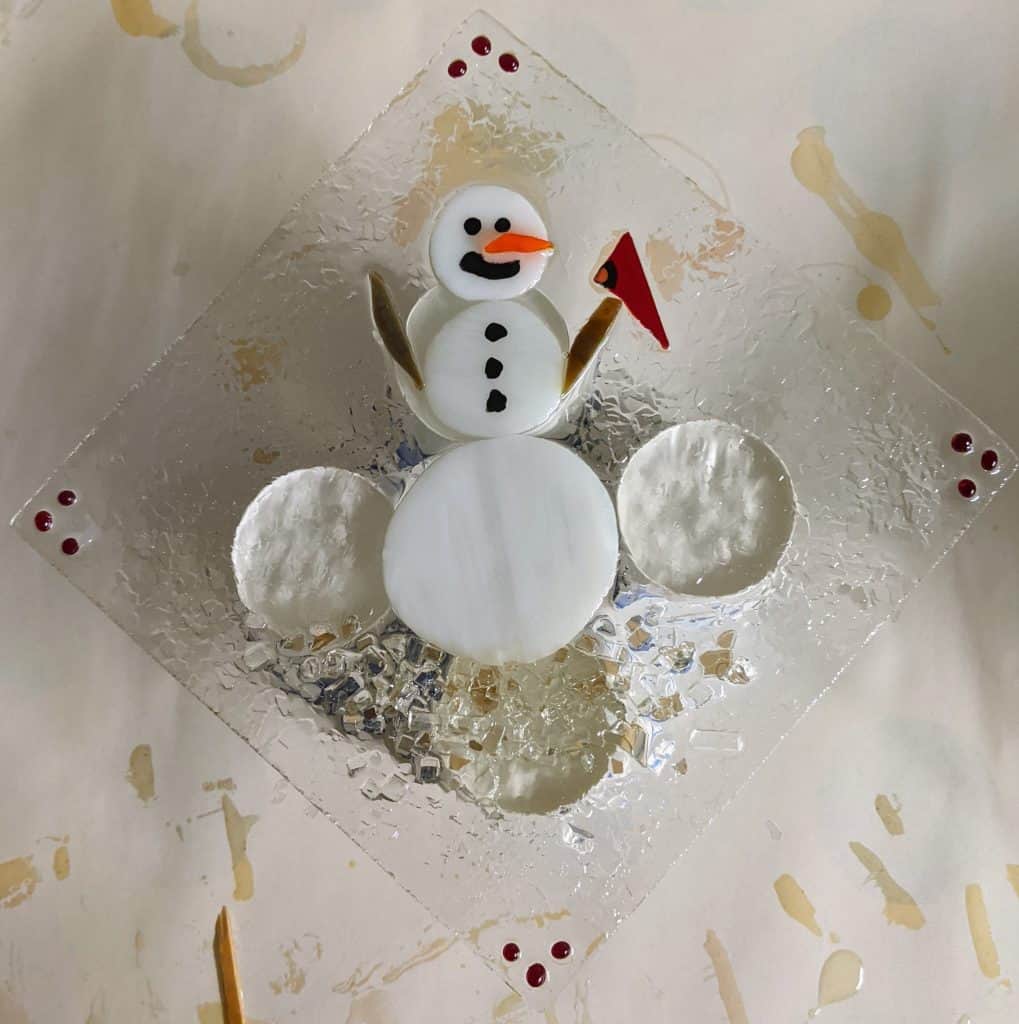
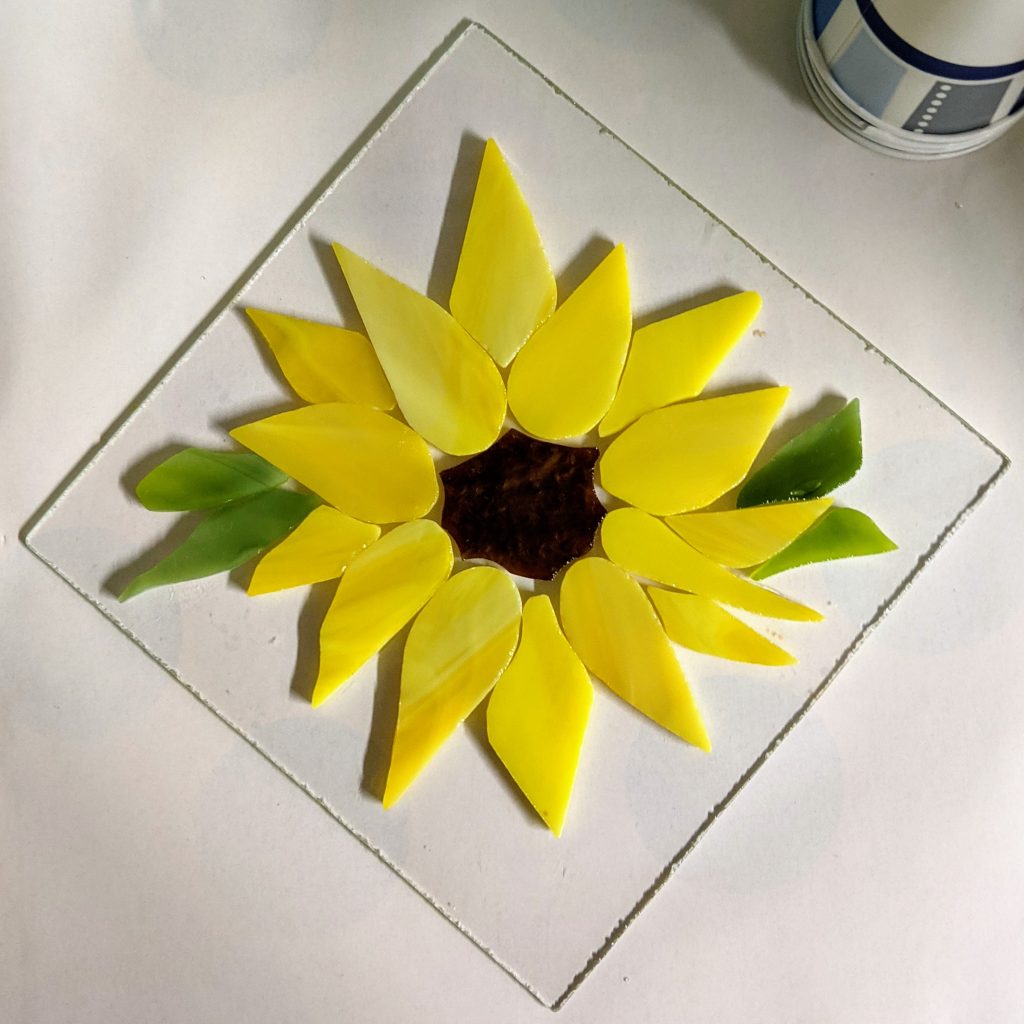
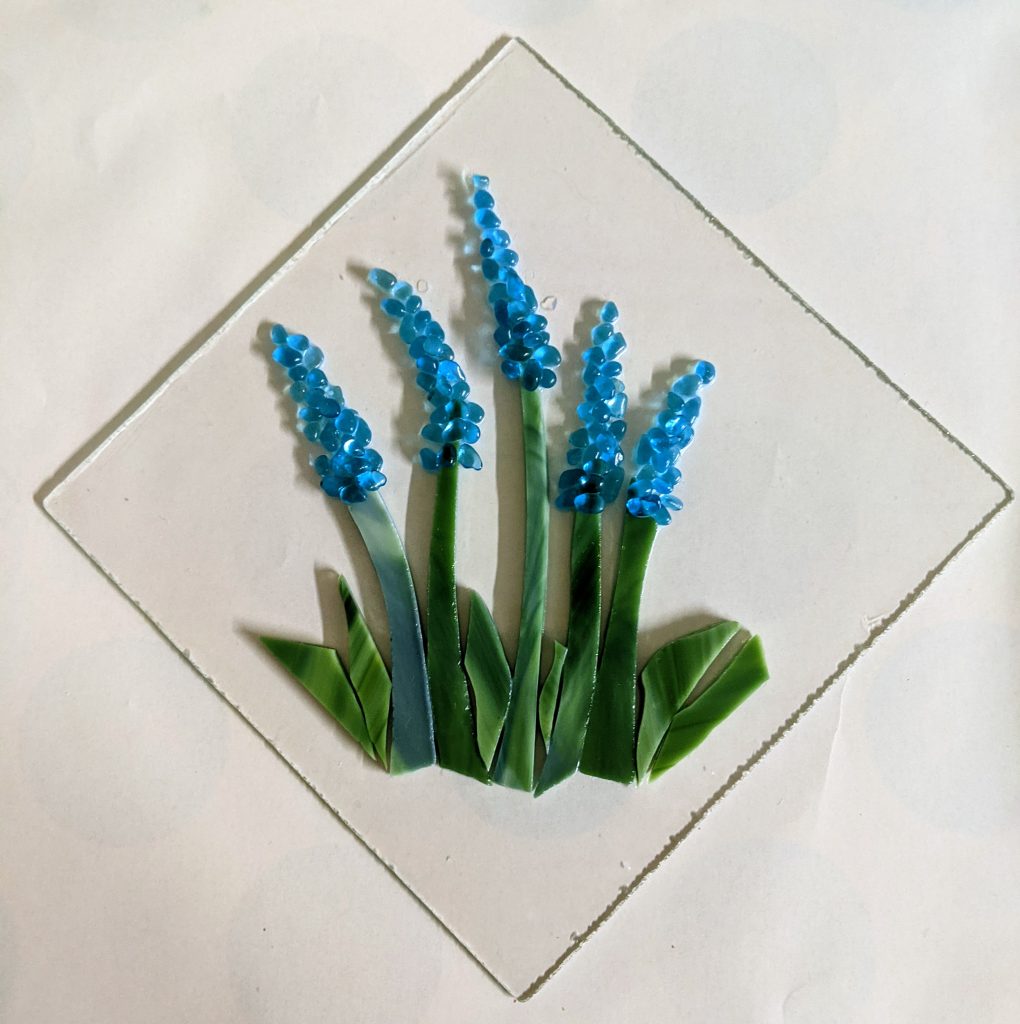
Today I was able to pour the resin on the Sunflower, Spring Flowers (Delphinium / Grape Hyacinth inspired), Acorns and Snowman panels. I forgot to use the masking tape on the undersides, so there was a lot of tending to the drips to take care of for these. Looking forward to seeing how the turn out in the next day or two!

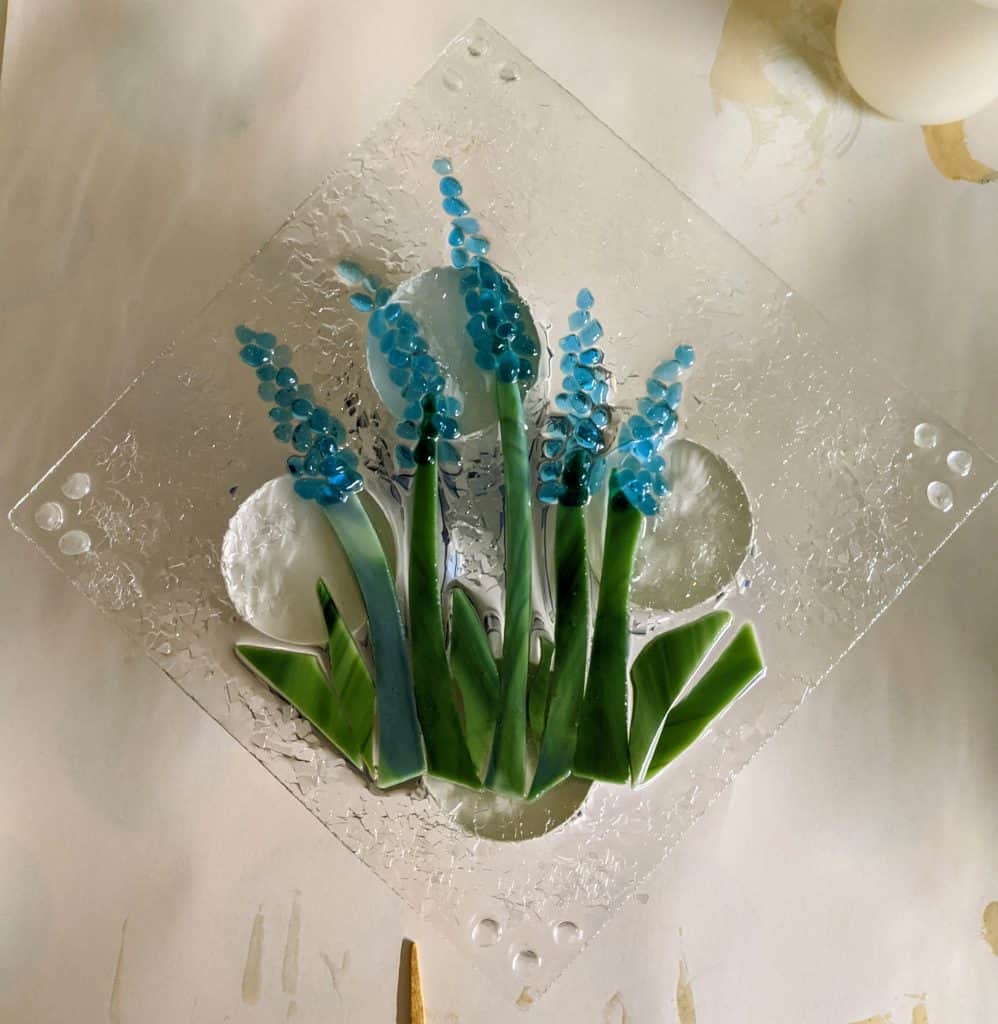
Today I glued in place the three panels I worked on laying out yesterday. Now to wait for the glue to dry so I can pour the resin. I have one more empty panel I want to add to this group – need to come up with some ideas to round out the set! The spring flowers remind me of Grape Hyacinth more than Delphinium.
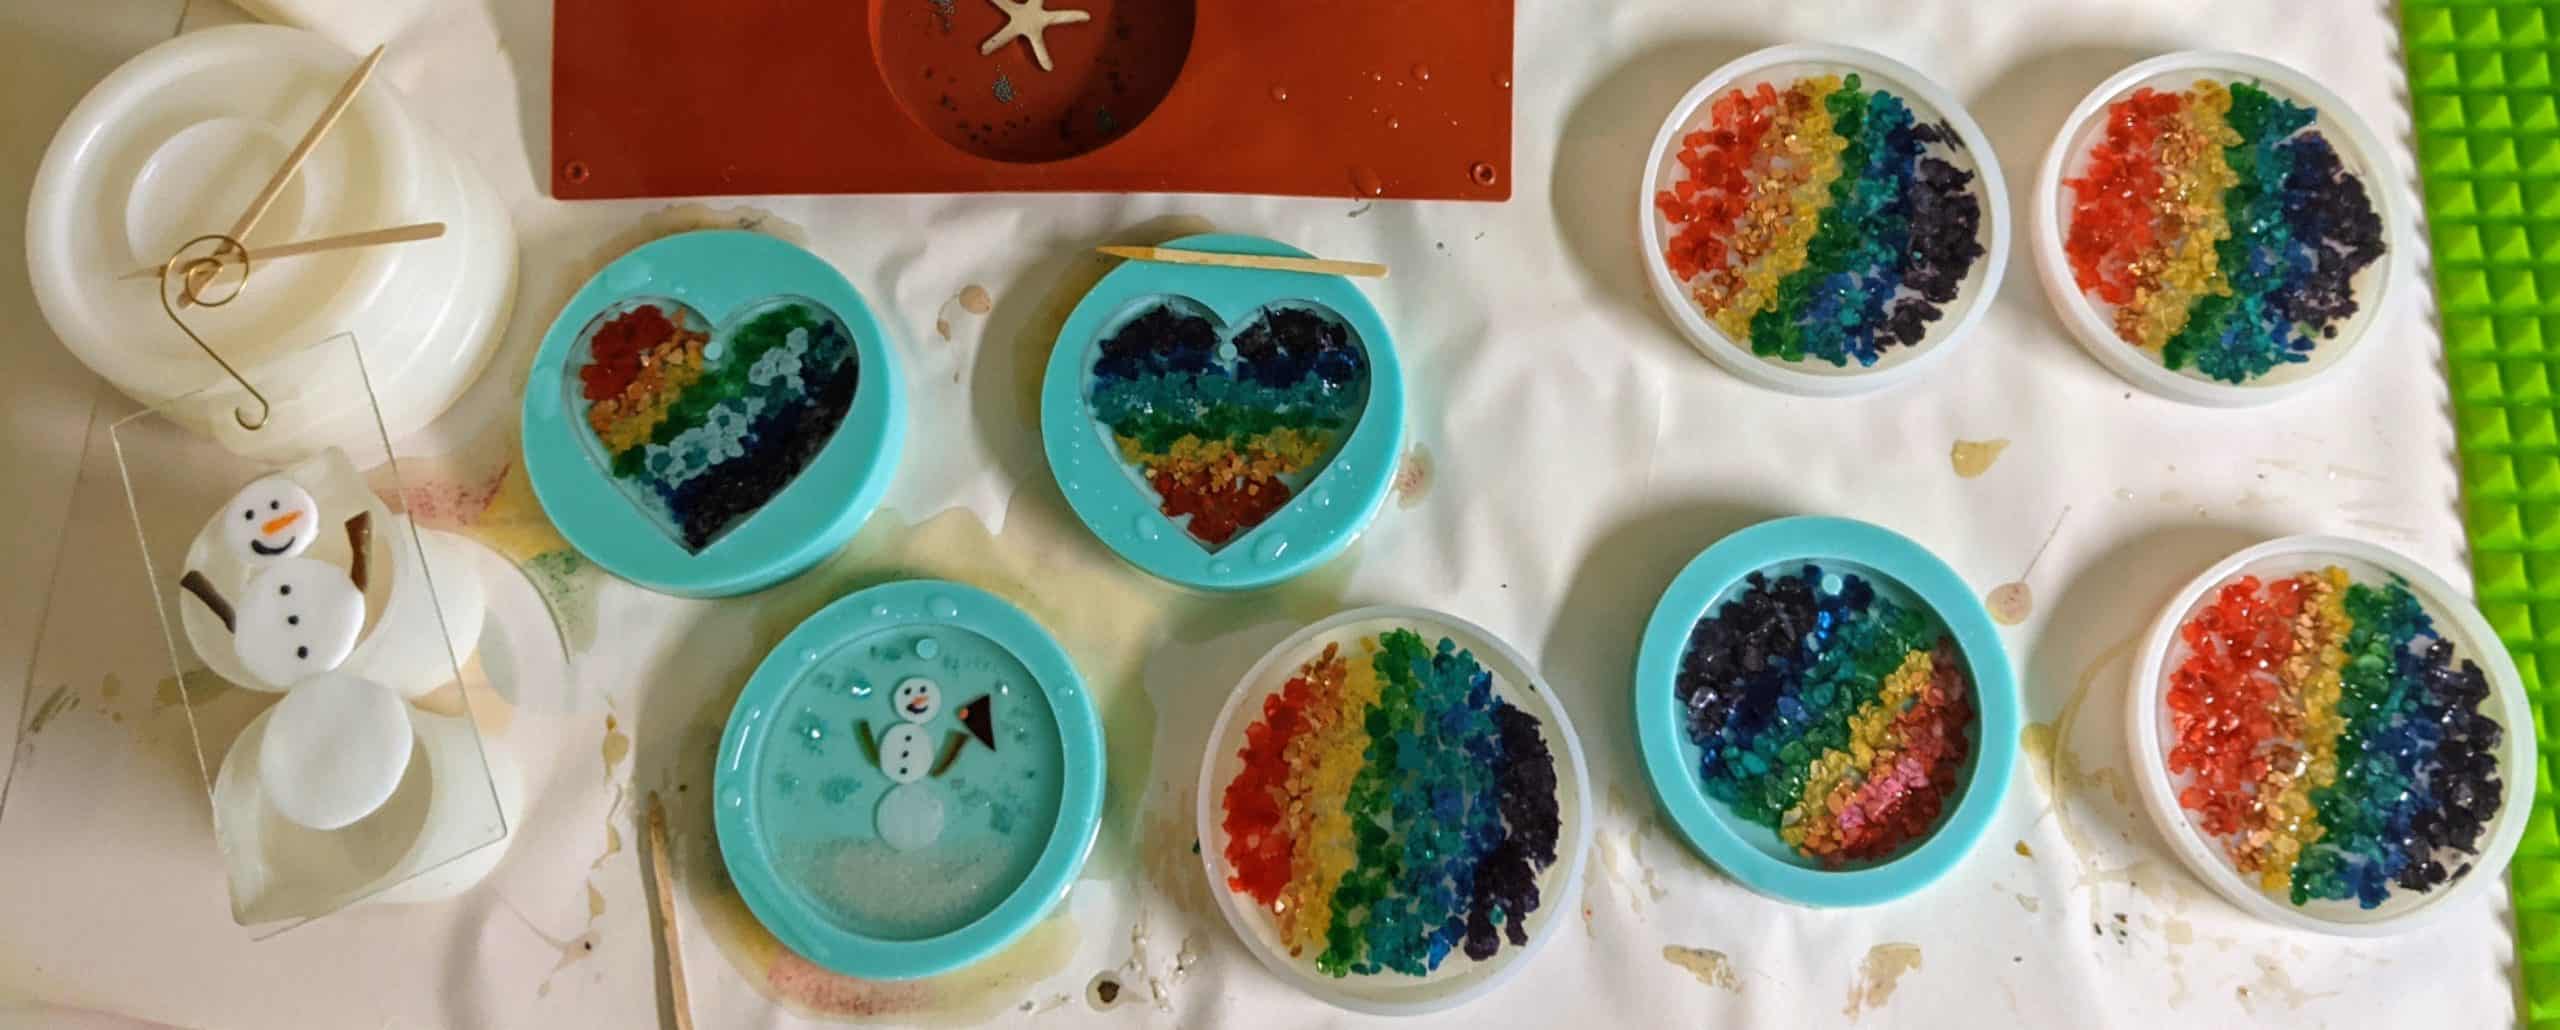
Just a quick post to show off my first rainbow projects and today’s little gems. Methinks my new orange marker isn’t going to work out. Will need to find a paint pen…..

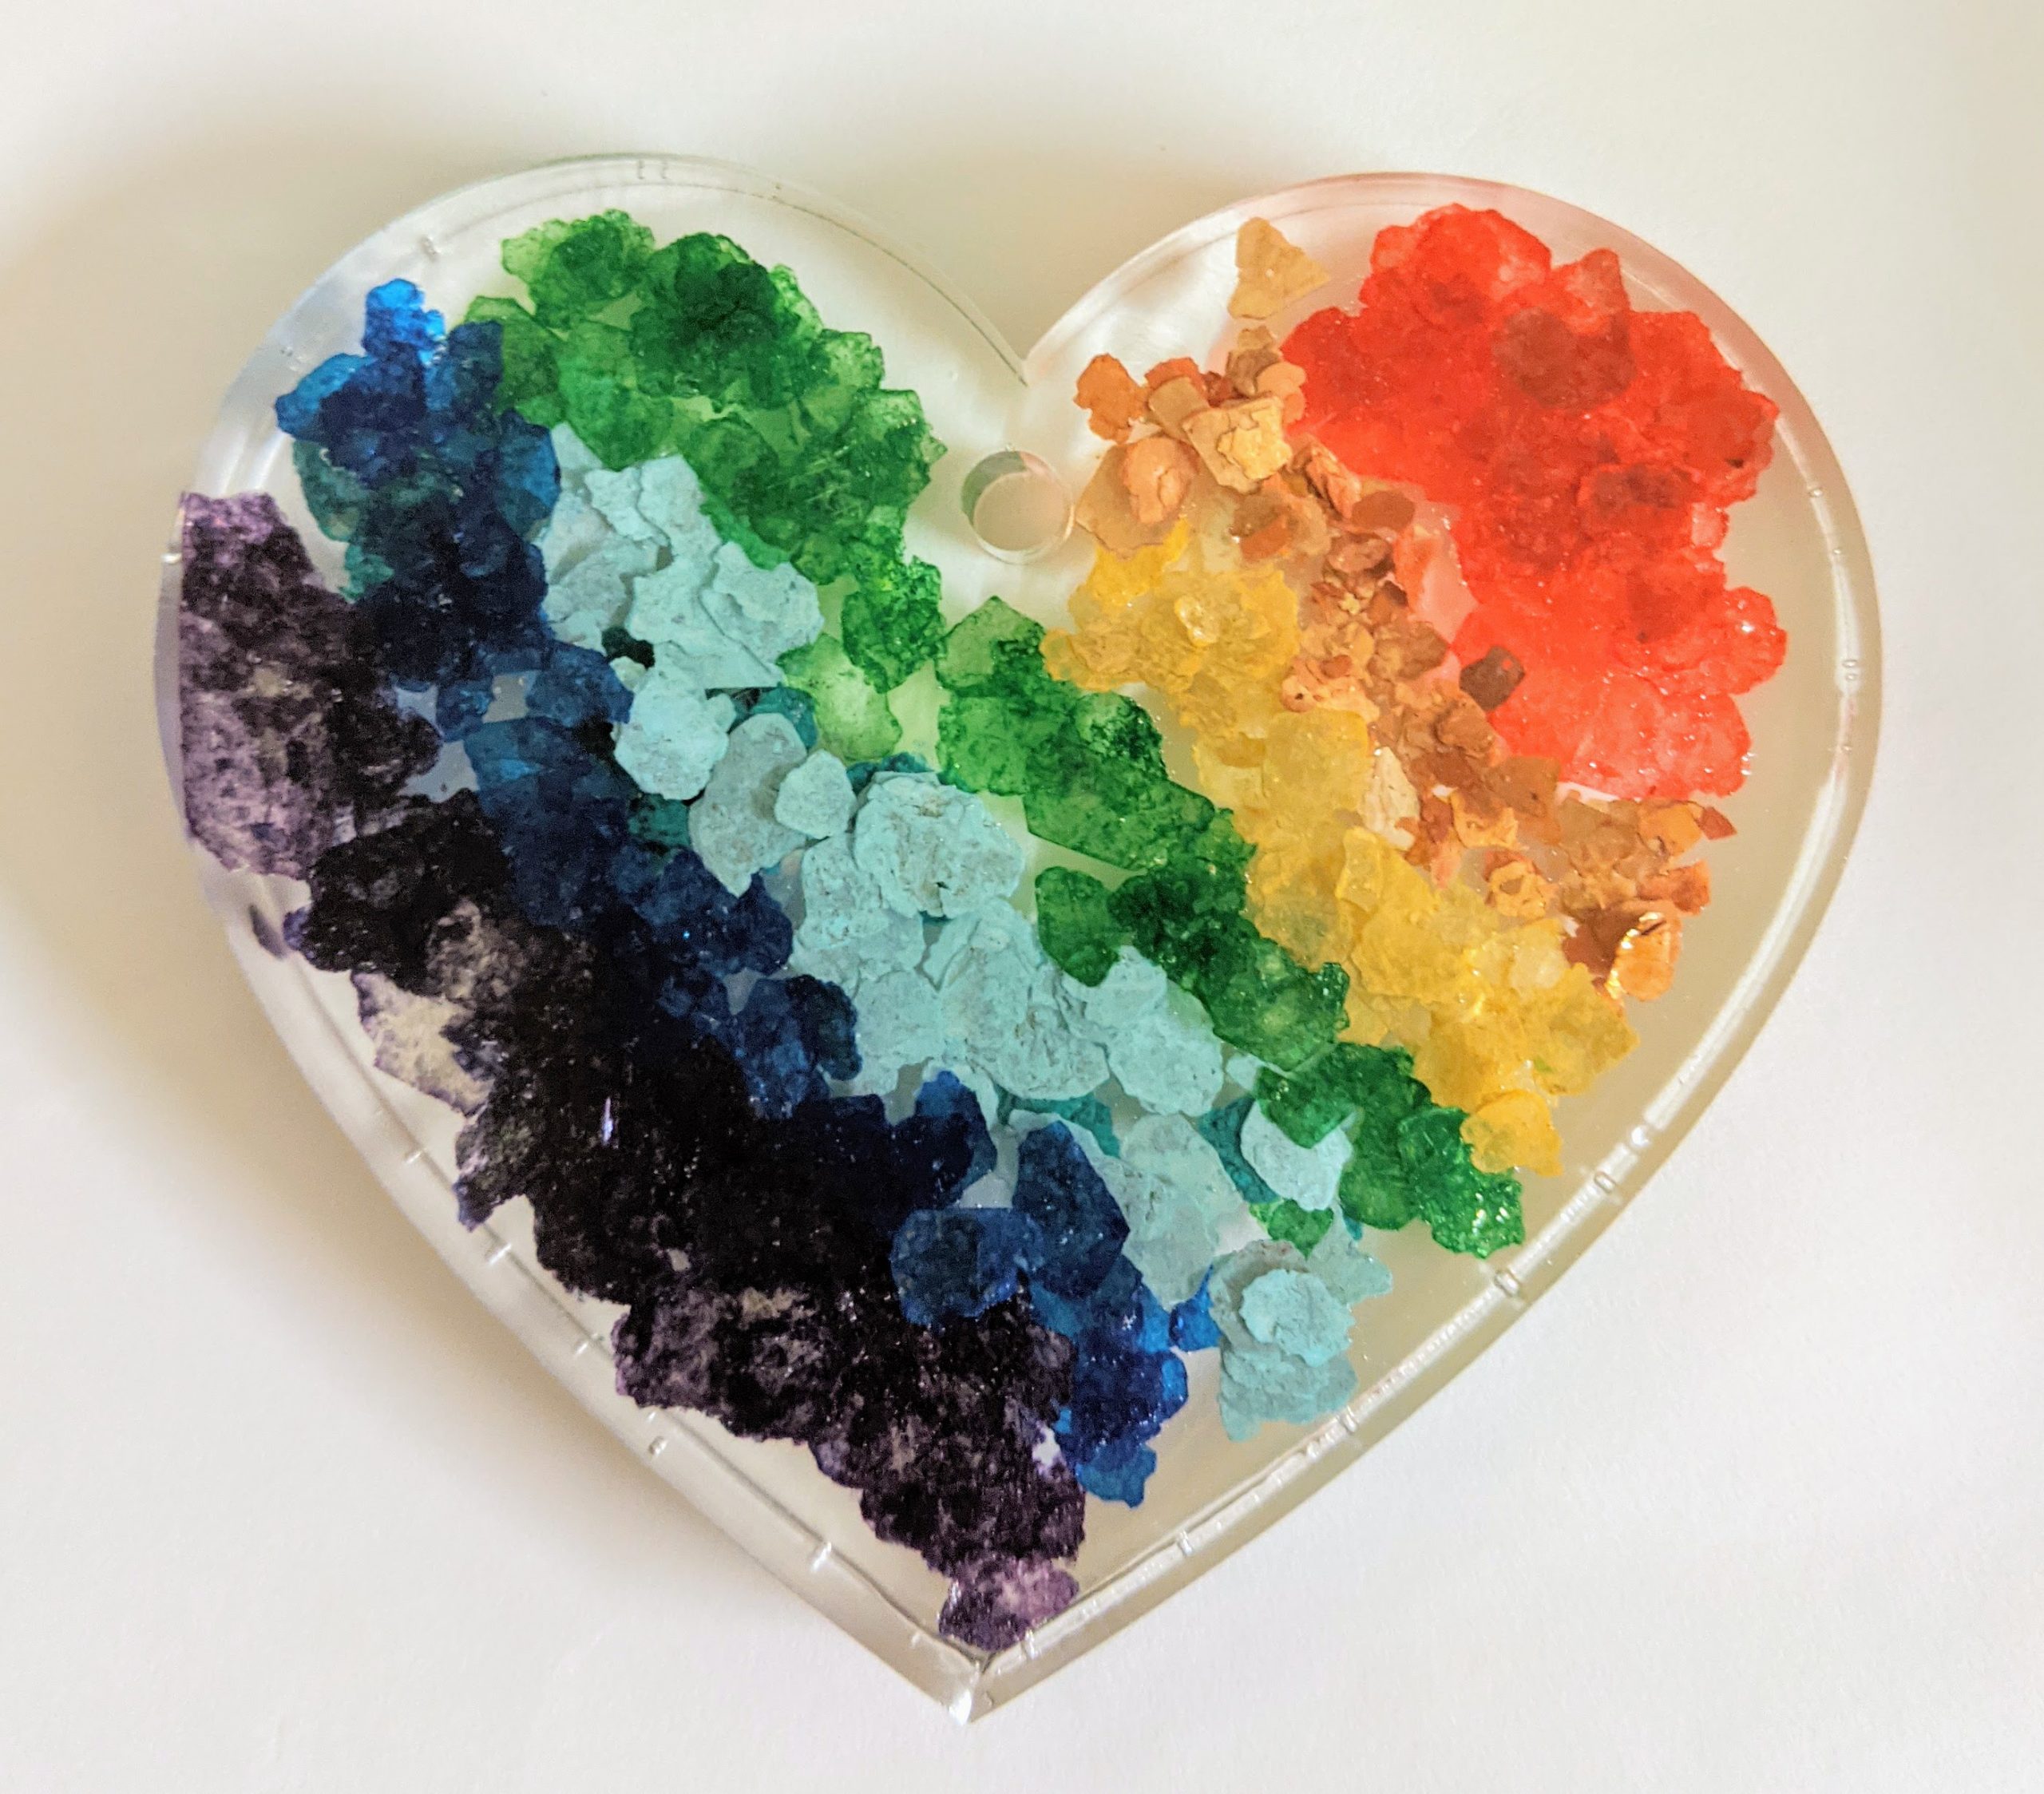
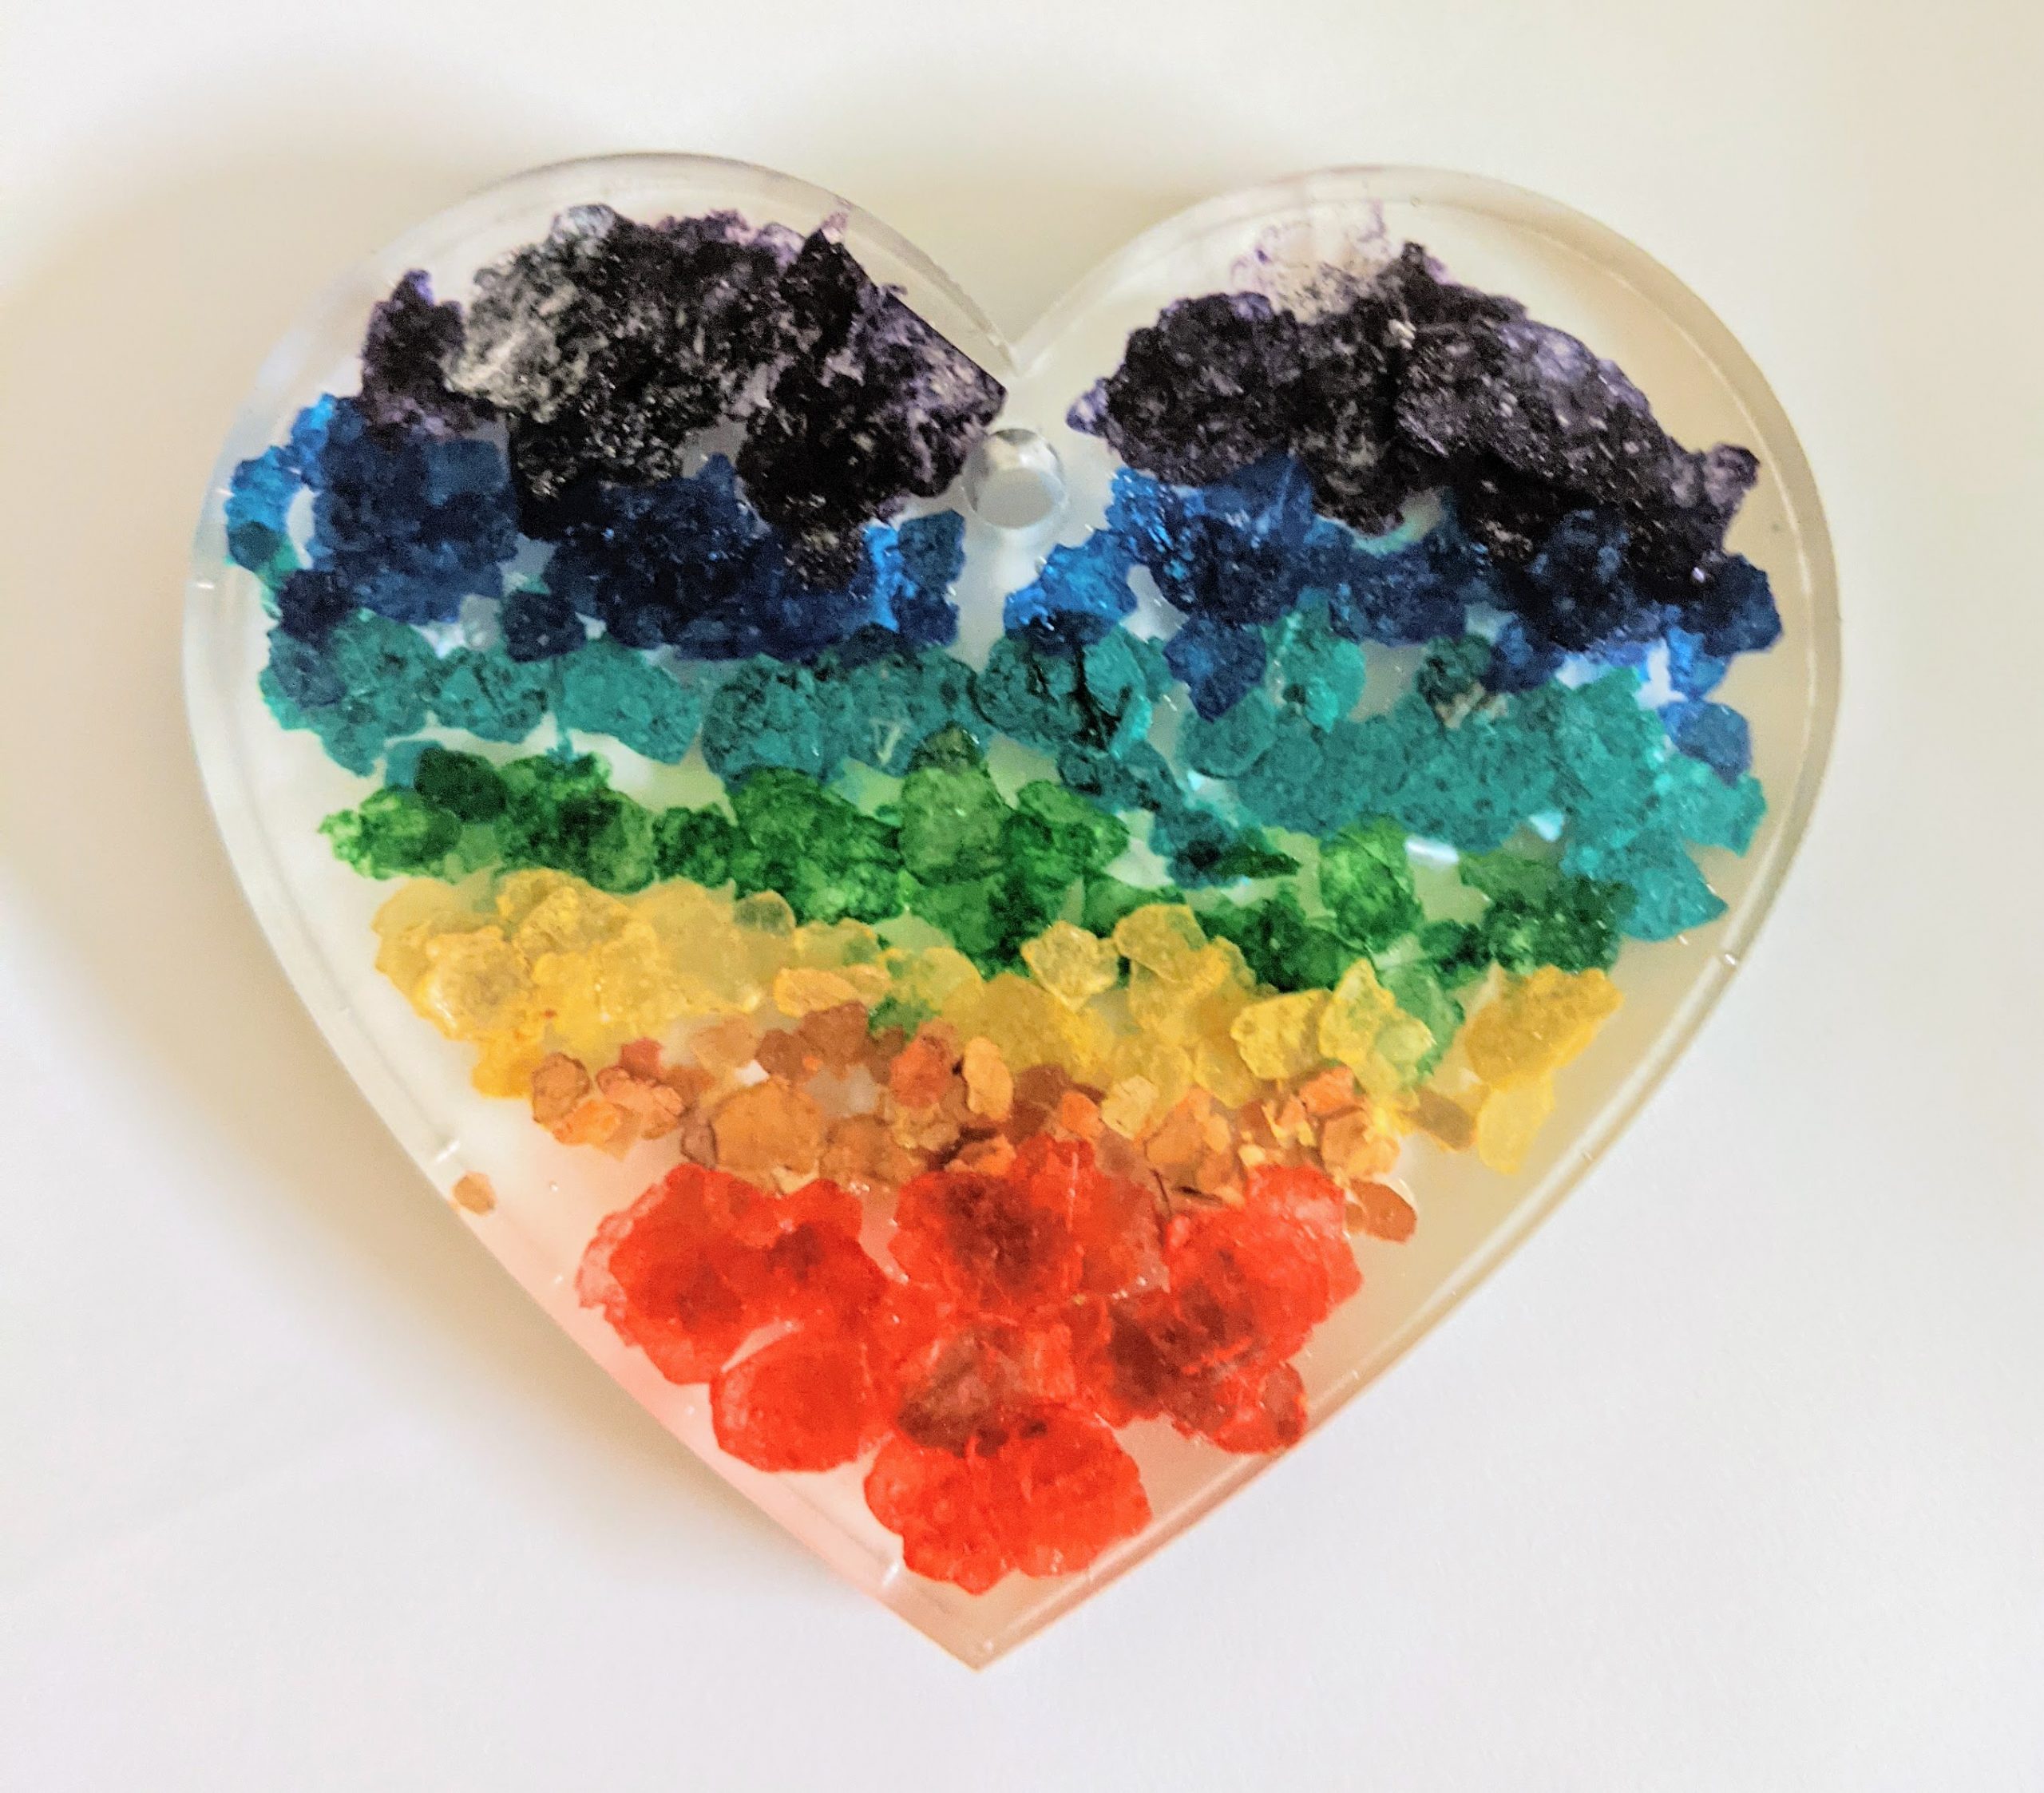
Today is Thanksgiving, a great day to make some progress on small projects! Today was second layer of resin over the two heart / mica rainbow suncatchers / ornaments and also for the first mica rainbow coaster. I liked the first mica rainbow batch so much that I decided to make a round mica rainbow suncatcher / ornament and three more coasters to match the first. Next up will be the second layers on those. I also made a medium sized stained glass snowman suncatcher that will need another layer of resin and some decorations tomorrow.
I was able to pop out a few finished projects from yesterday’s batch, too!