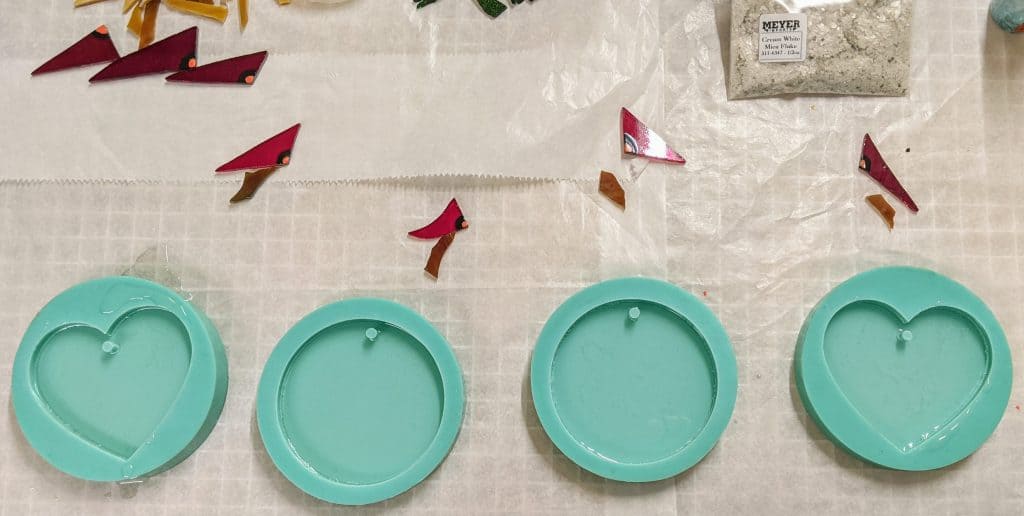
I had a request to “re-create” someone’s necklace using resin, so I bought some new molds and am trying out some different color combinations. Unfortunately I think these molds won’t work for the originally intended project, but I think they will make some cute windchime / suncatchers.
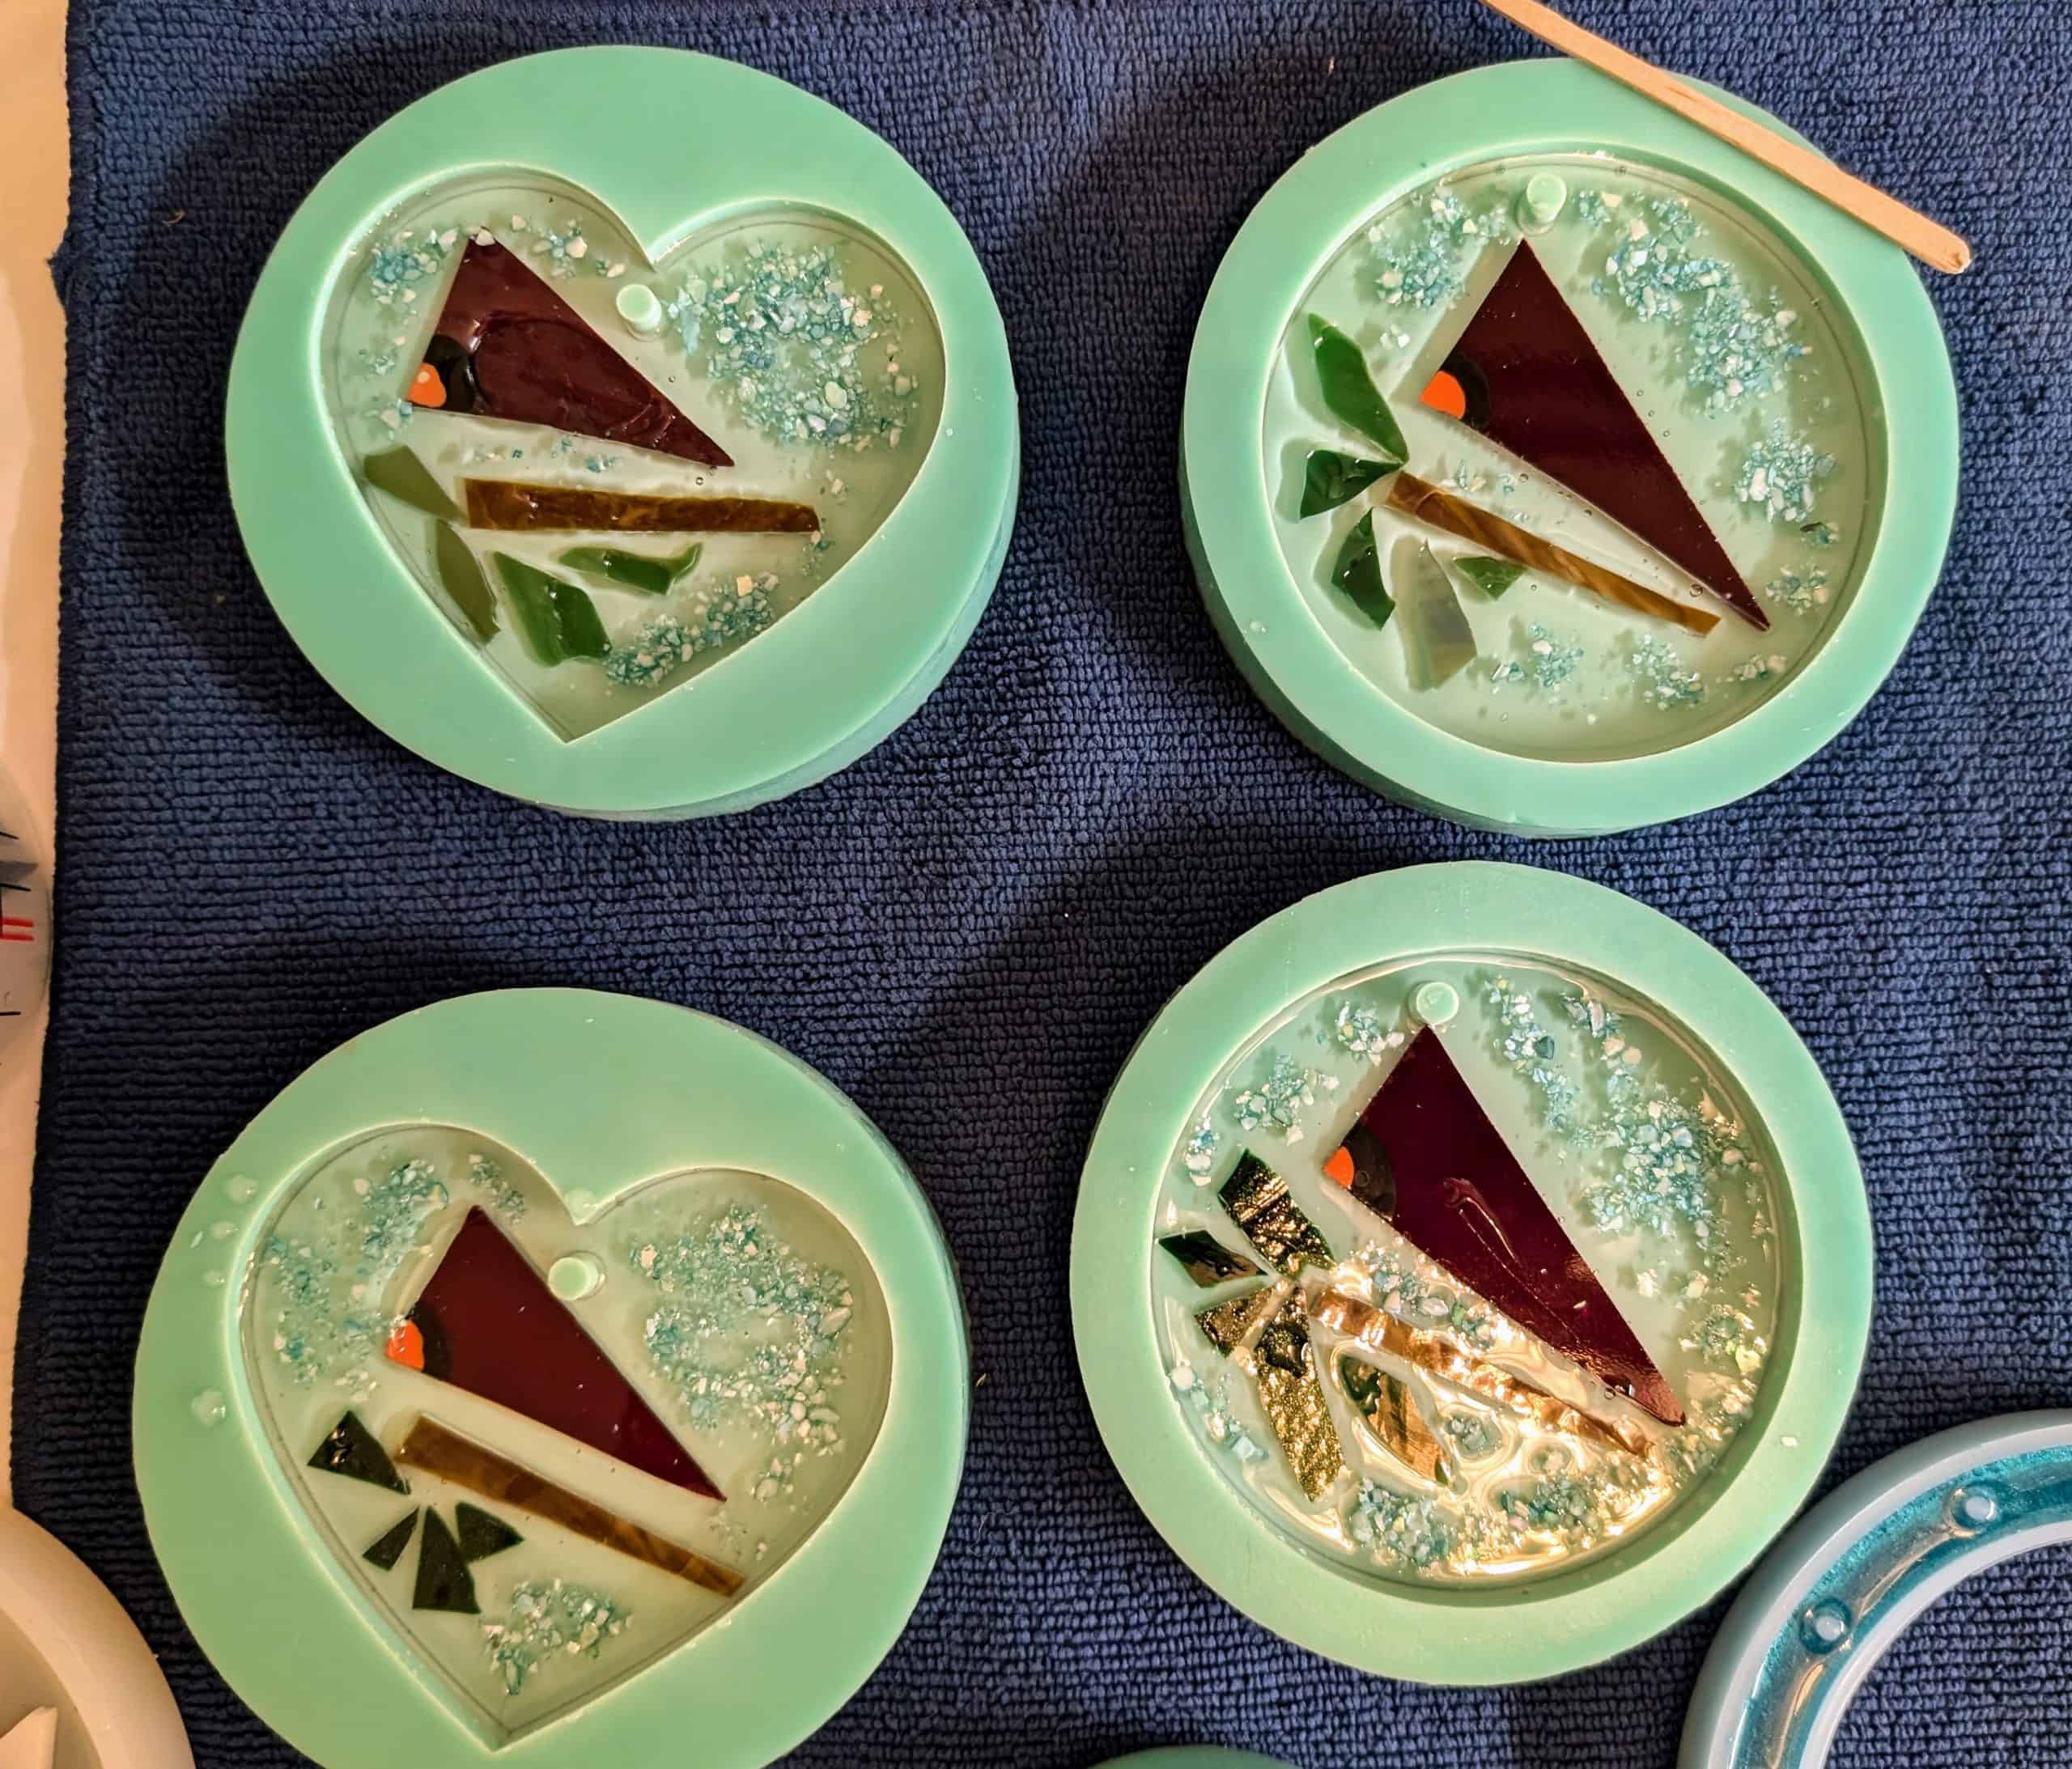
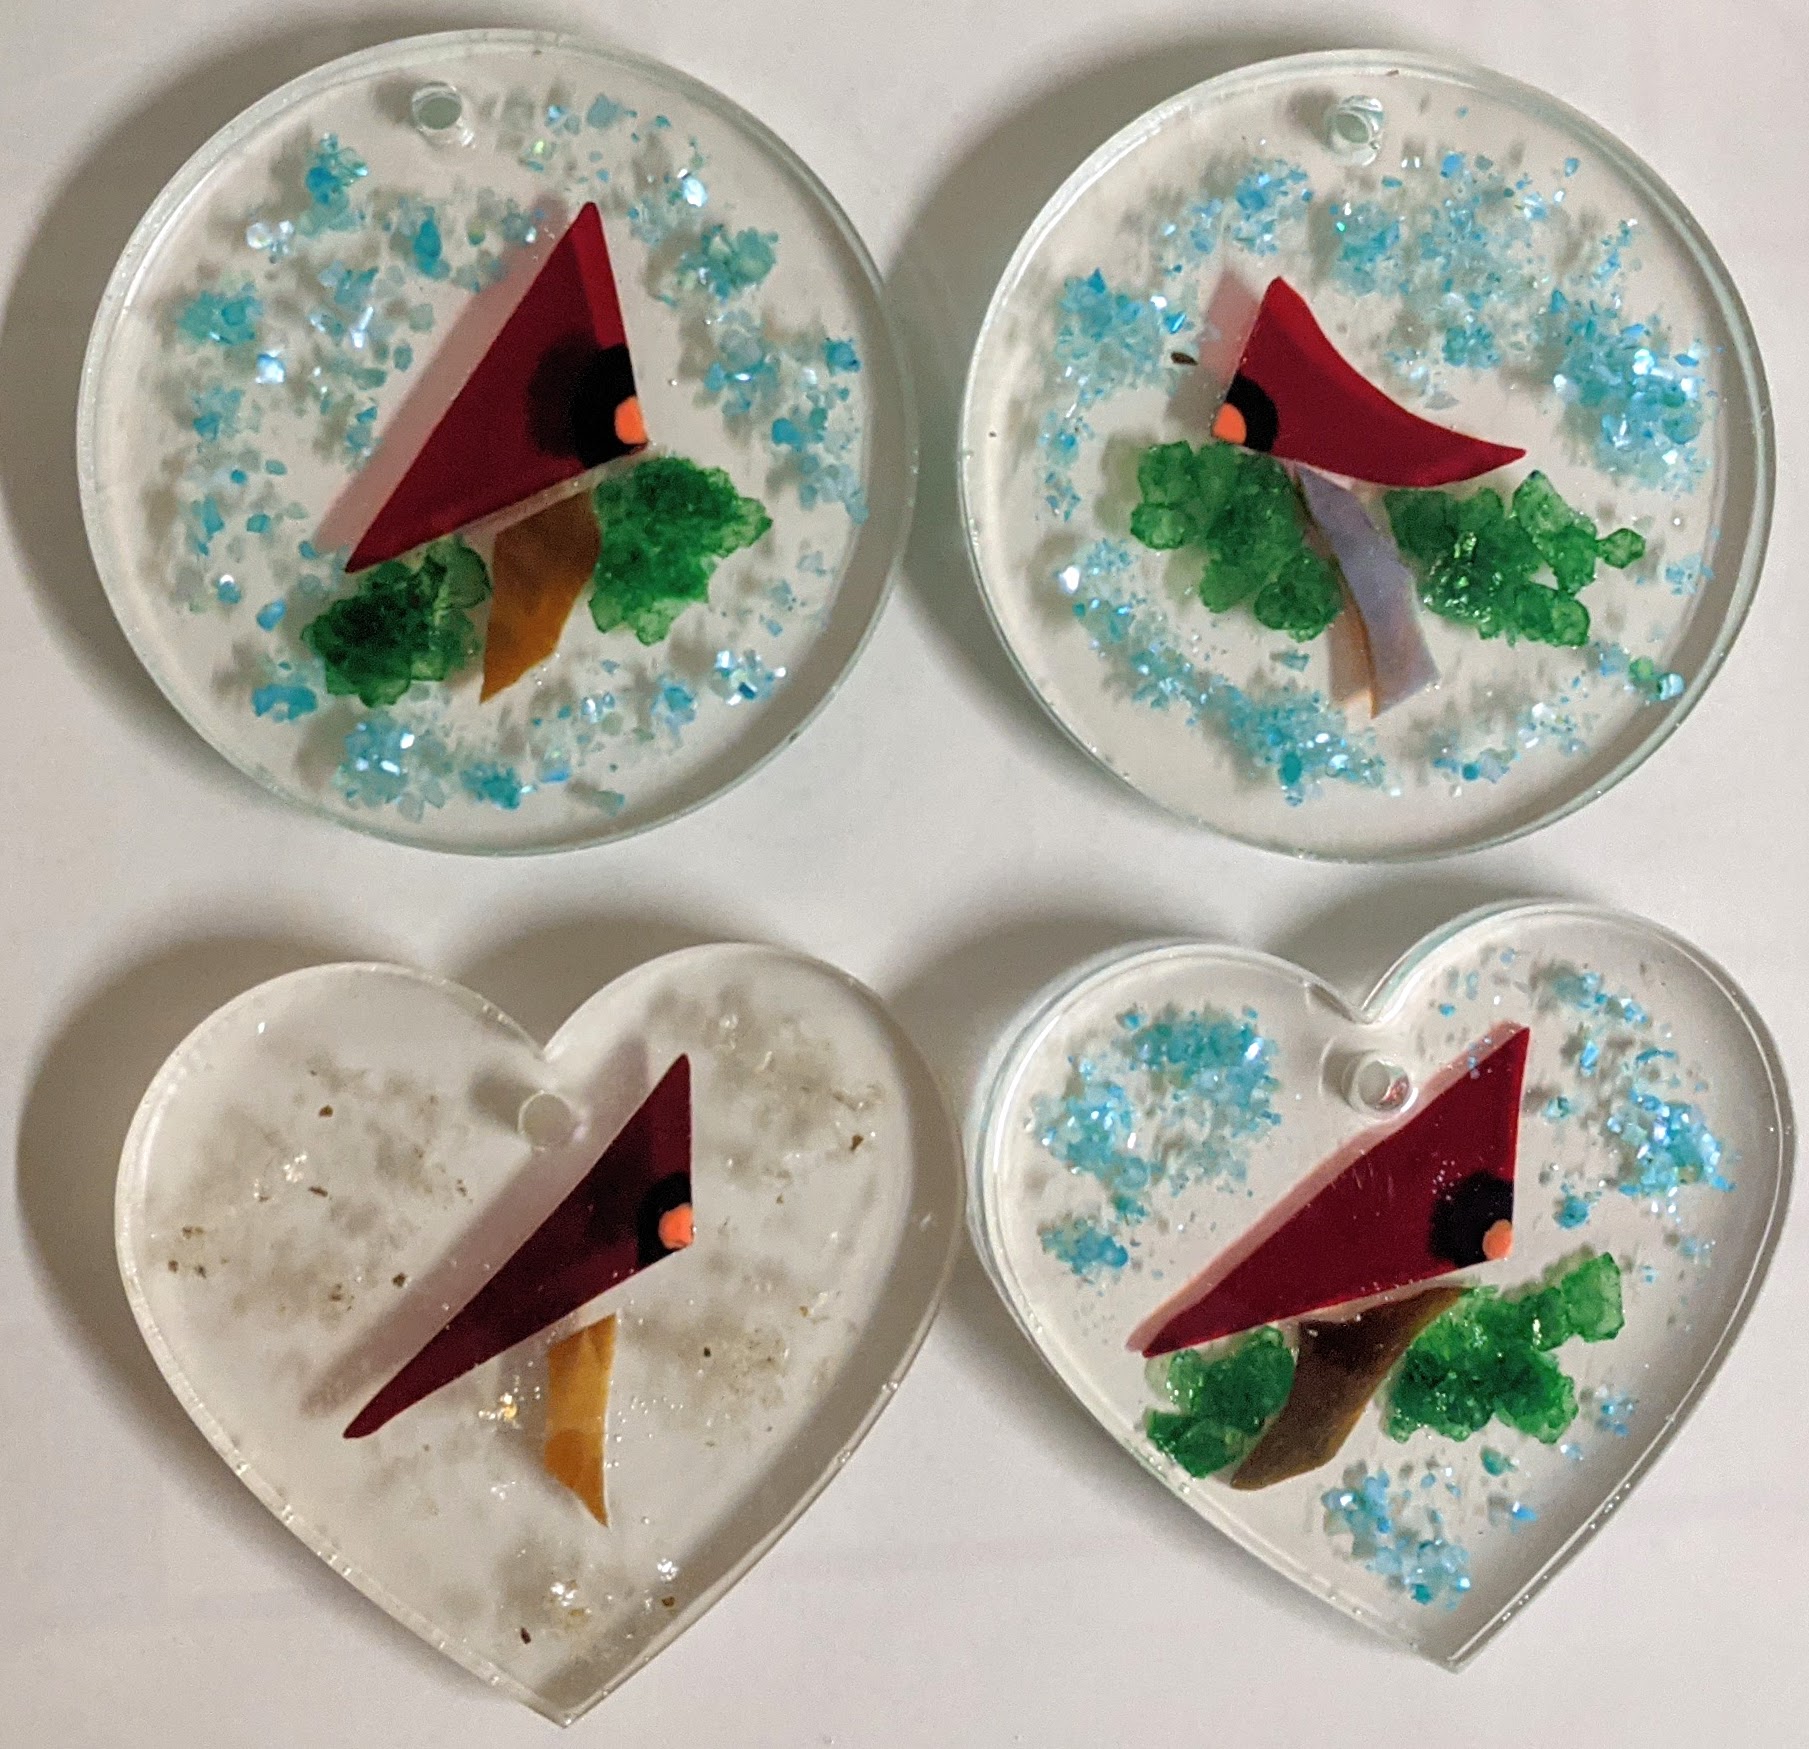
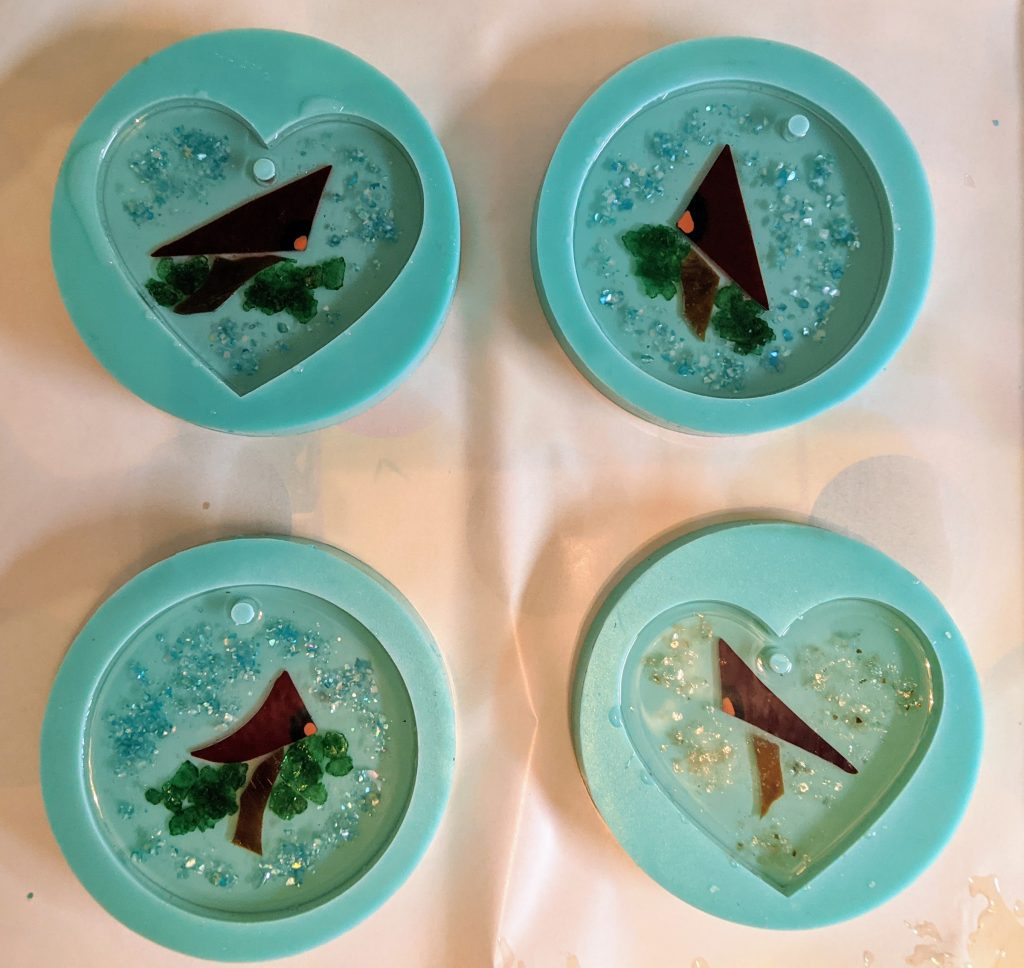
I also made a few new cardinal suncatchers & coasters while I was at it.
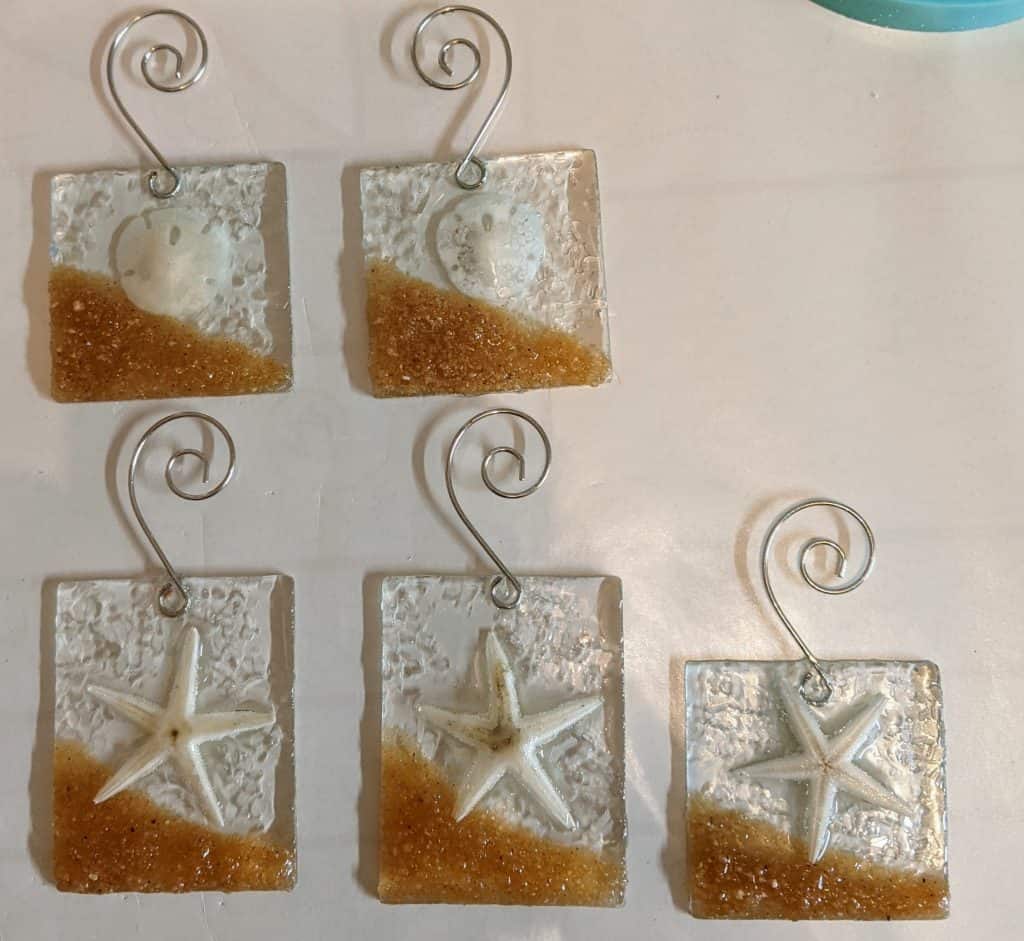
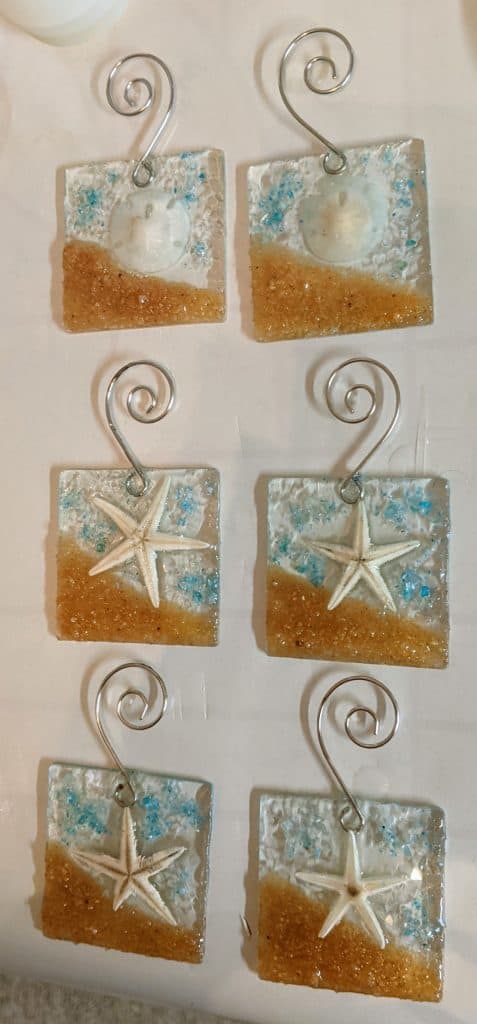
Here are a couple of snapshots of the Starfish and Sand Dollar suncatcher/ornaments, ready for display. I still have to pour one or two more layers on the molded ones from the other day to finish those.
Clear
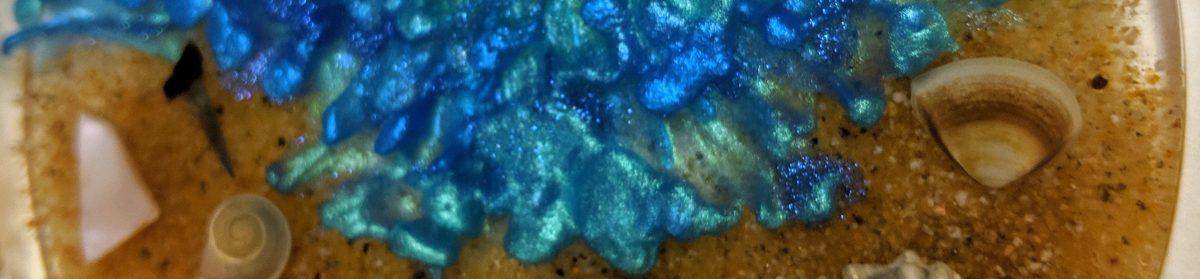
With blue shell accents
Small beach themed ornaments with dried craft sand dollars and starfish
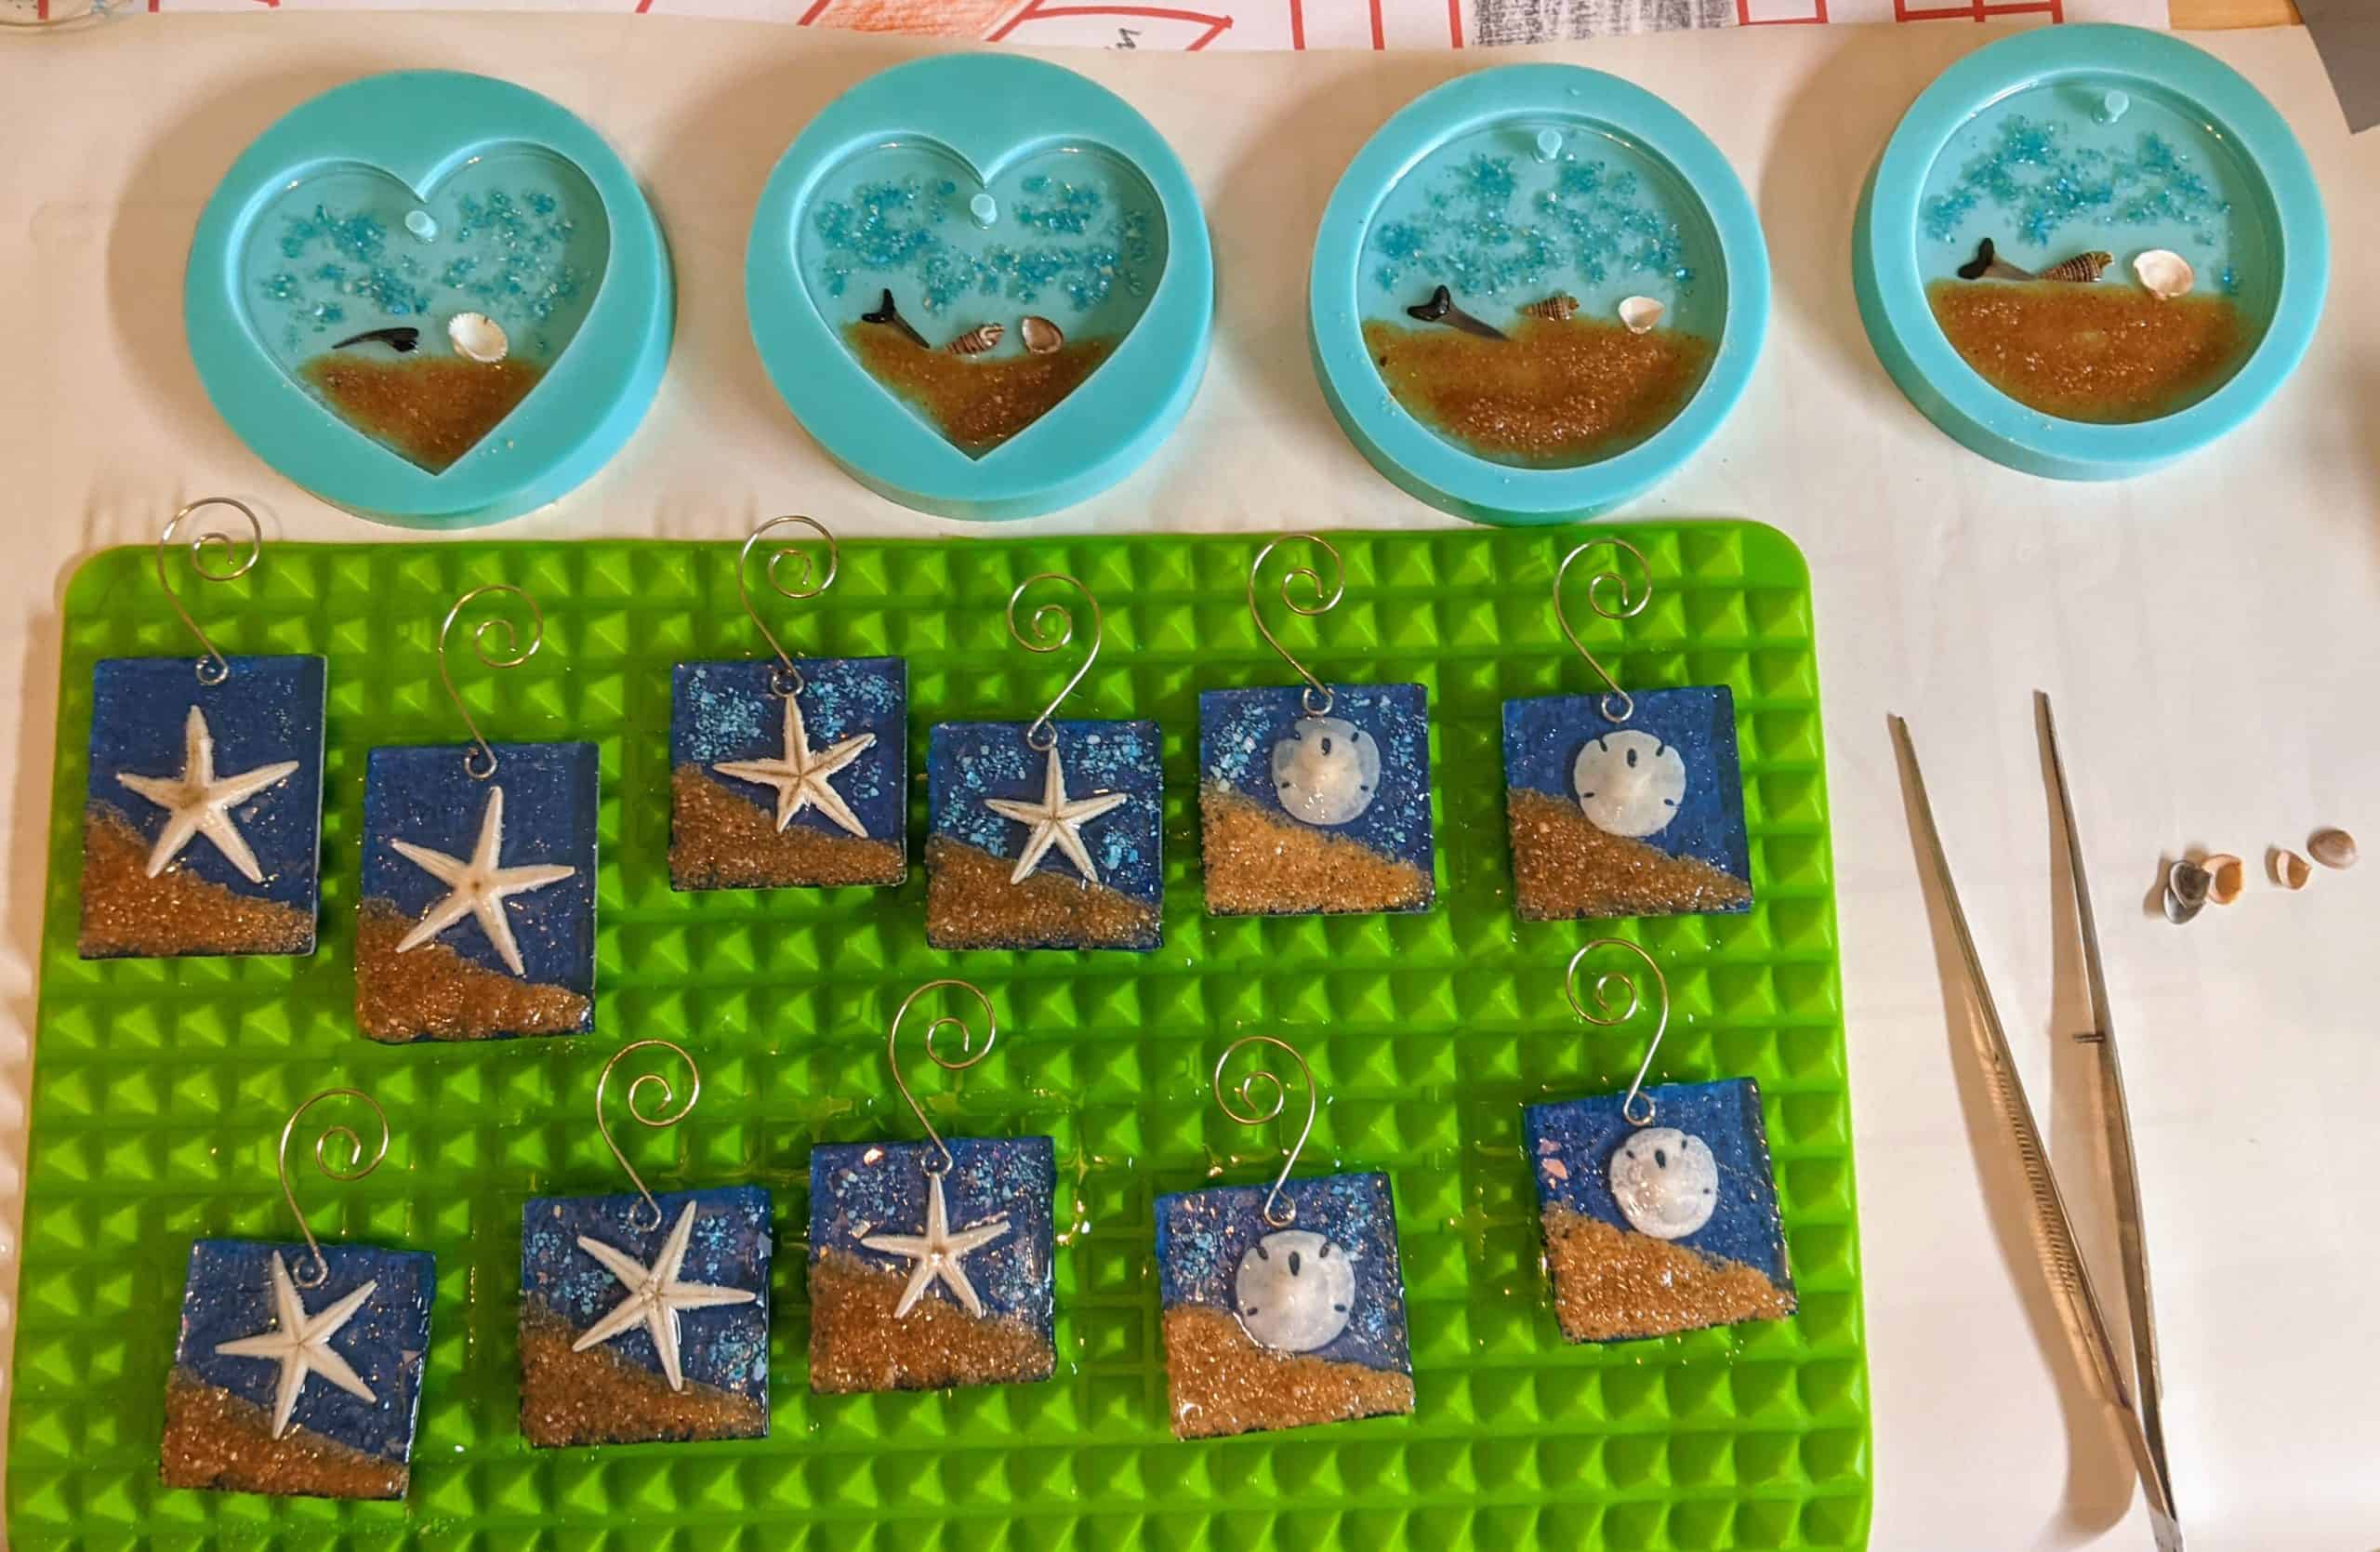
I started these a few weeks ago, but had to wait for the ornament hangers, then had to glue them in place and let it dry. This weekend was my first opportunity to finish them by taping the backs with painter’s tape, pouring the resin and decorating. The molded suncatchers / ornaments only have the first layer of resin poured (today) and will require at least a second layer.
Beachy batch – the blue painters tape will be removed from the glass ornaments / suncatchers after the resin cures.
The last time I made these smaller starfish / sand dollar ornaments / suncatchers, I believe I glued the sand for the beach in place before pouring the resin, so I did that again this time. I still ended up adding some sand here and there after I poured the resin this time. I’m not sure the extra step of gluing the sand in place in advance is needed at all. I likely will skip it the next time I make some of these.
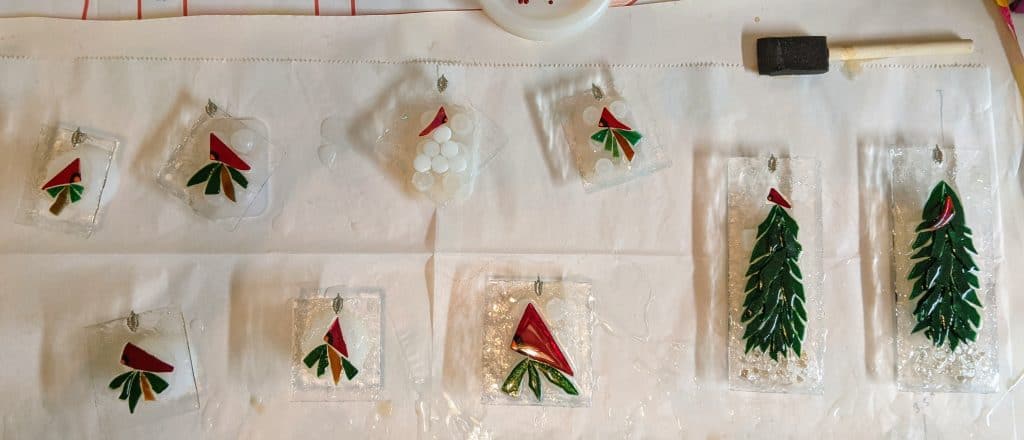
Here are some snapshots of my latest batch of winter themed pieces / suncatchers / ornaments. This week’s beach-themed ornaments are still a work in progress; hopefully I will be able to finish them over the weekend.
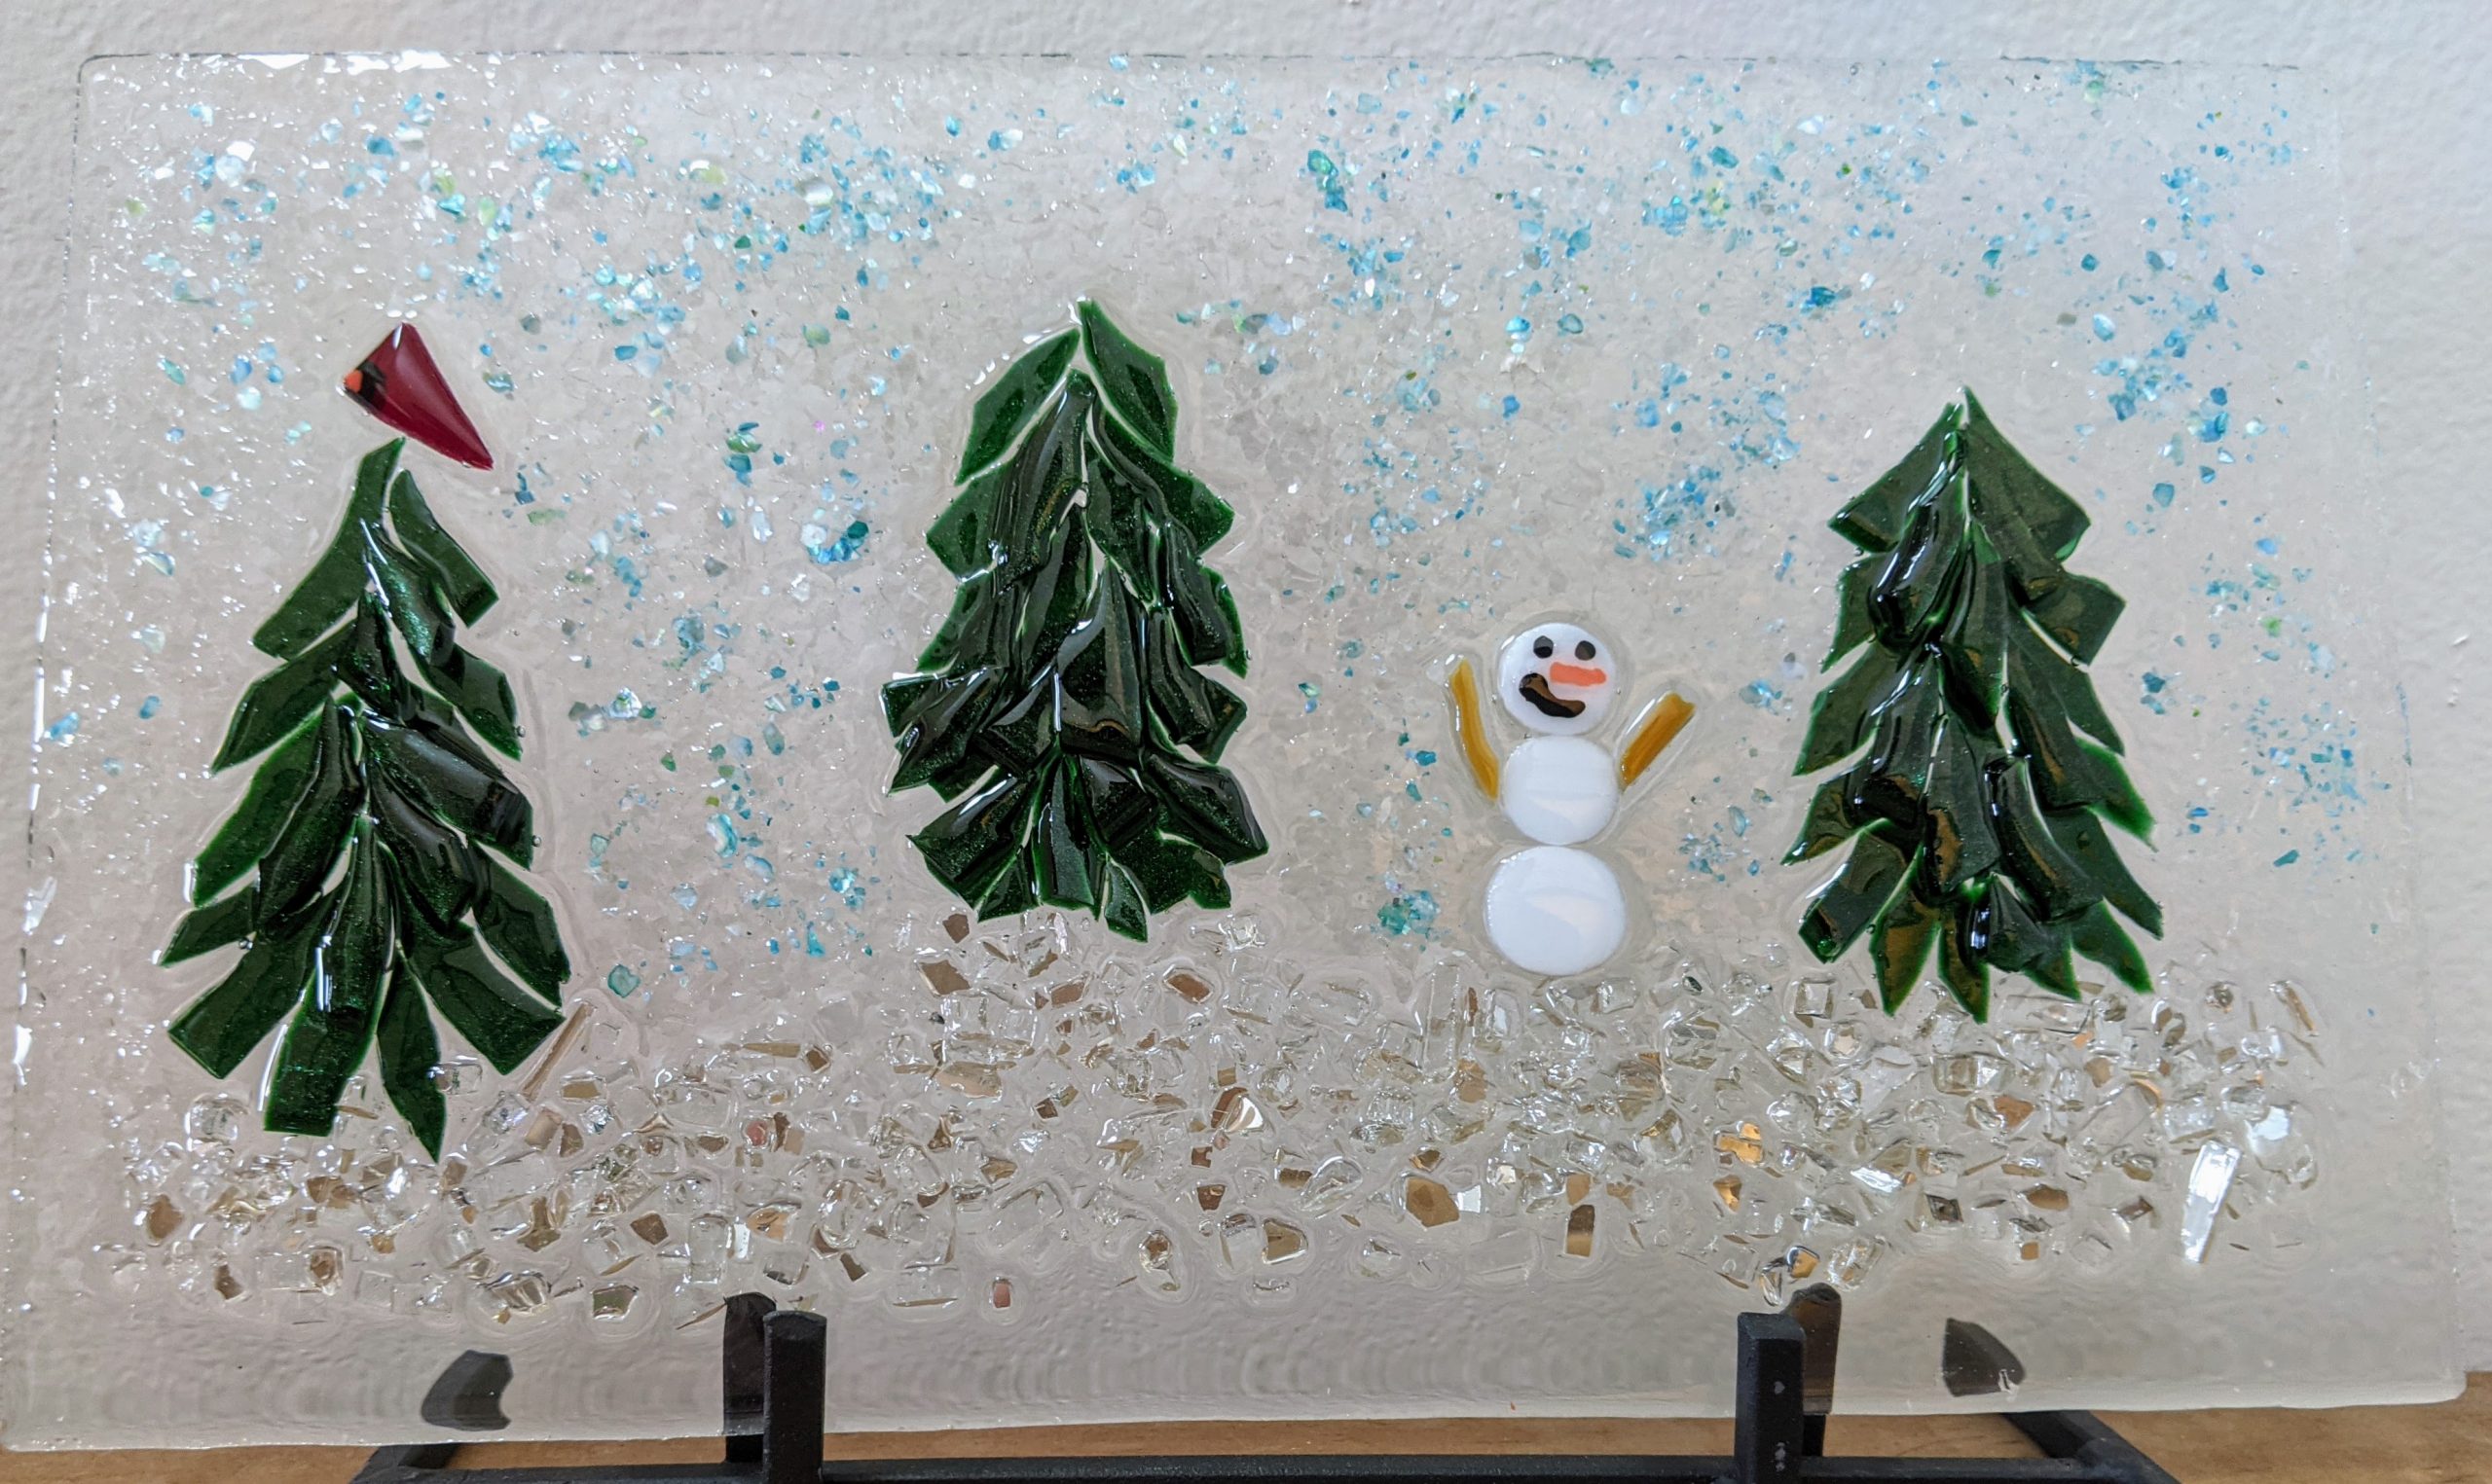
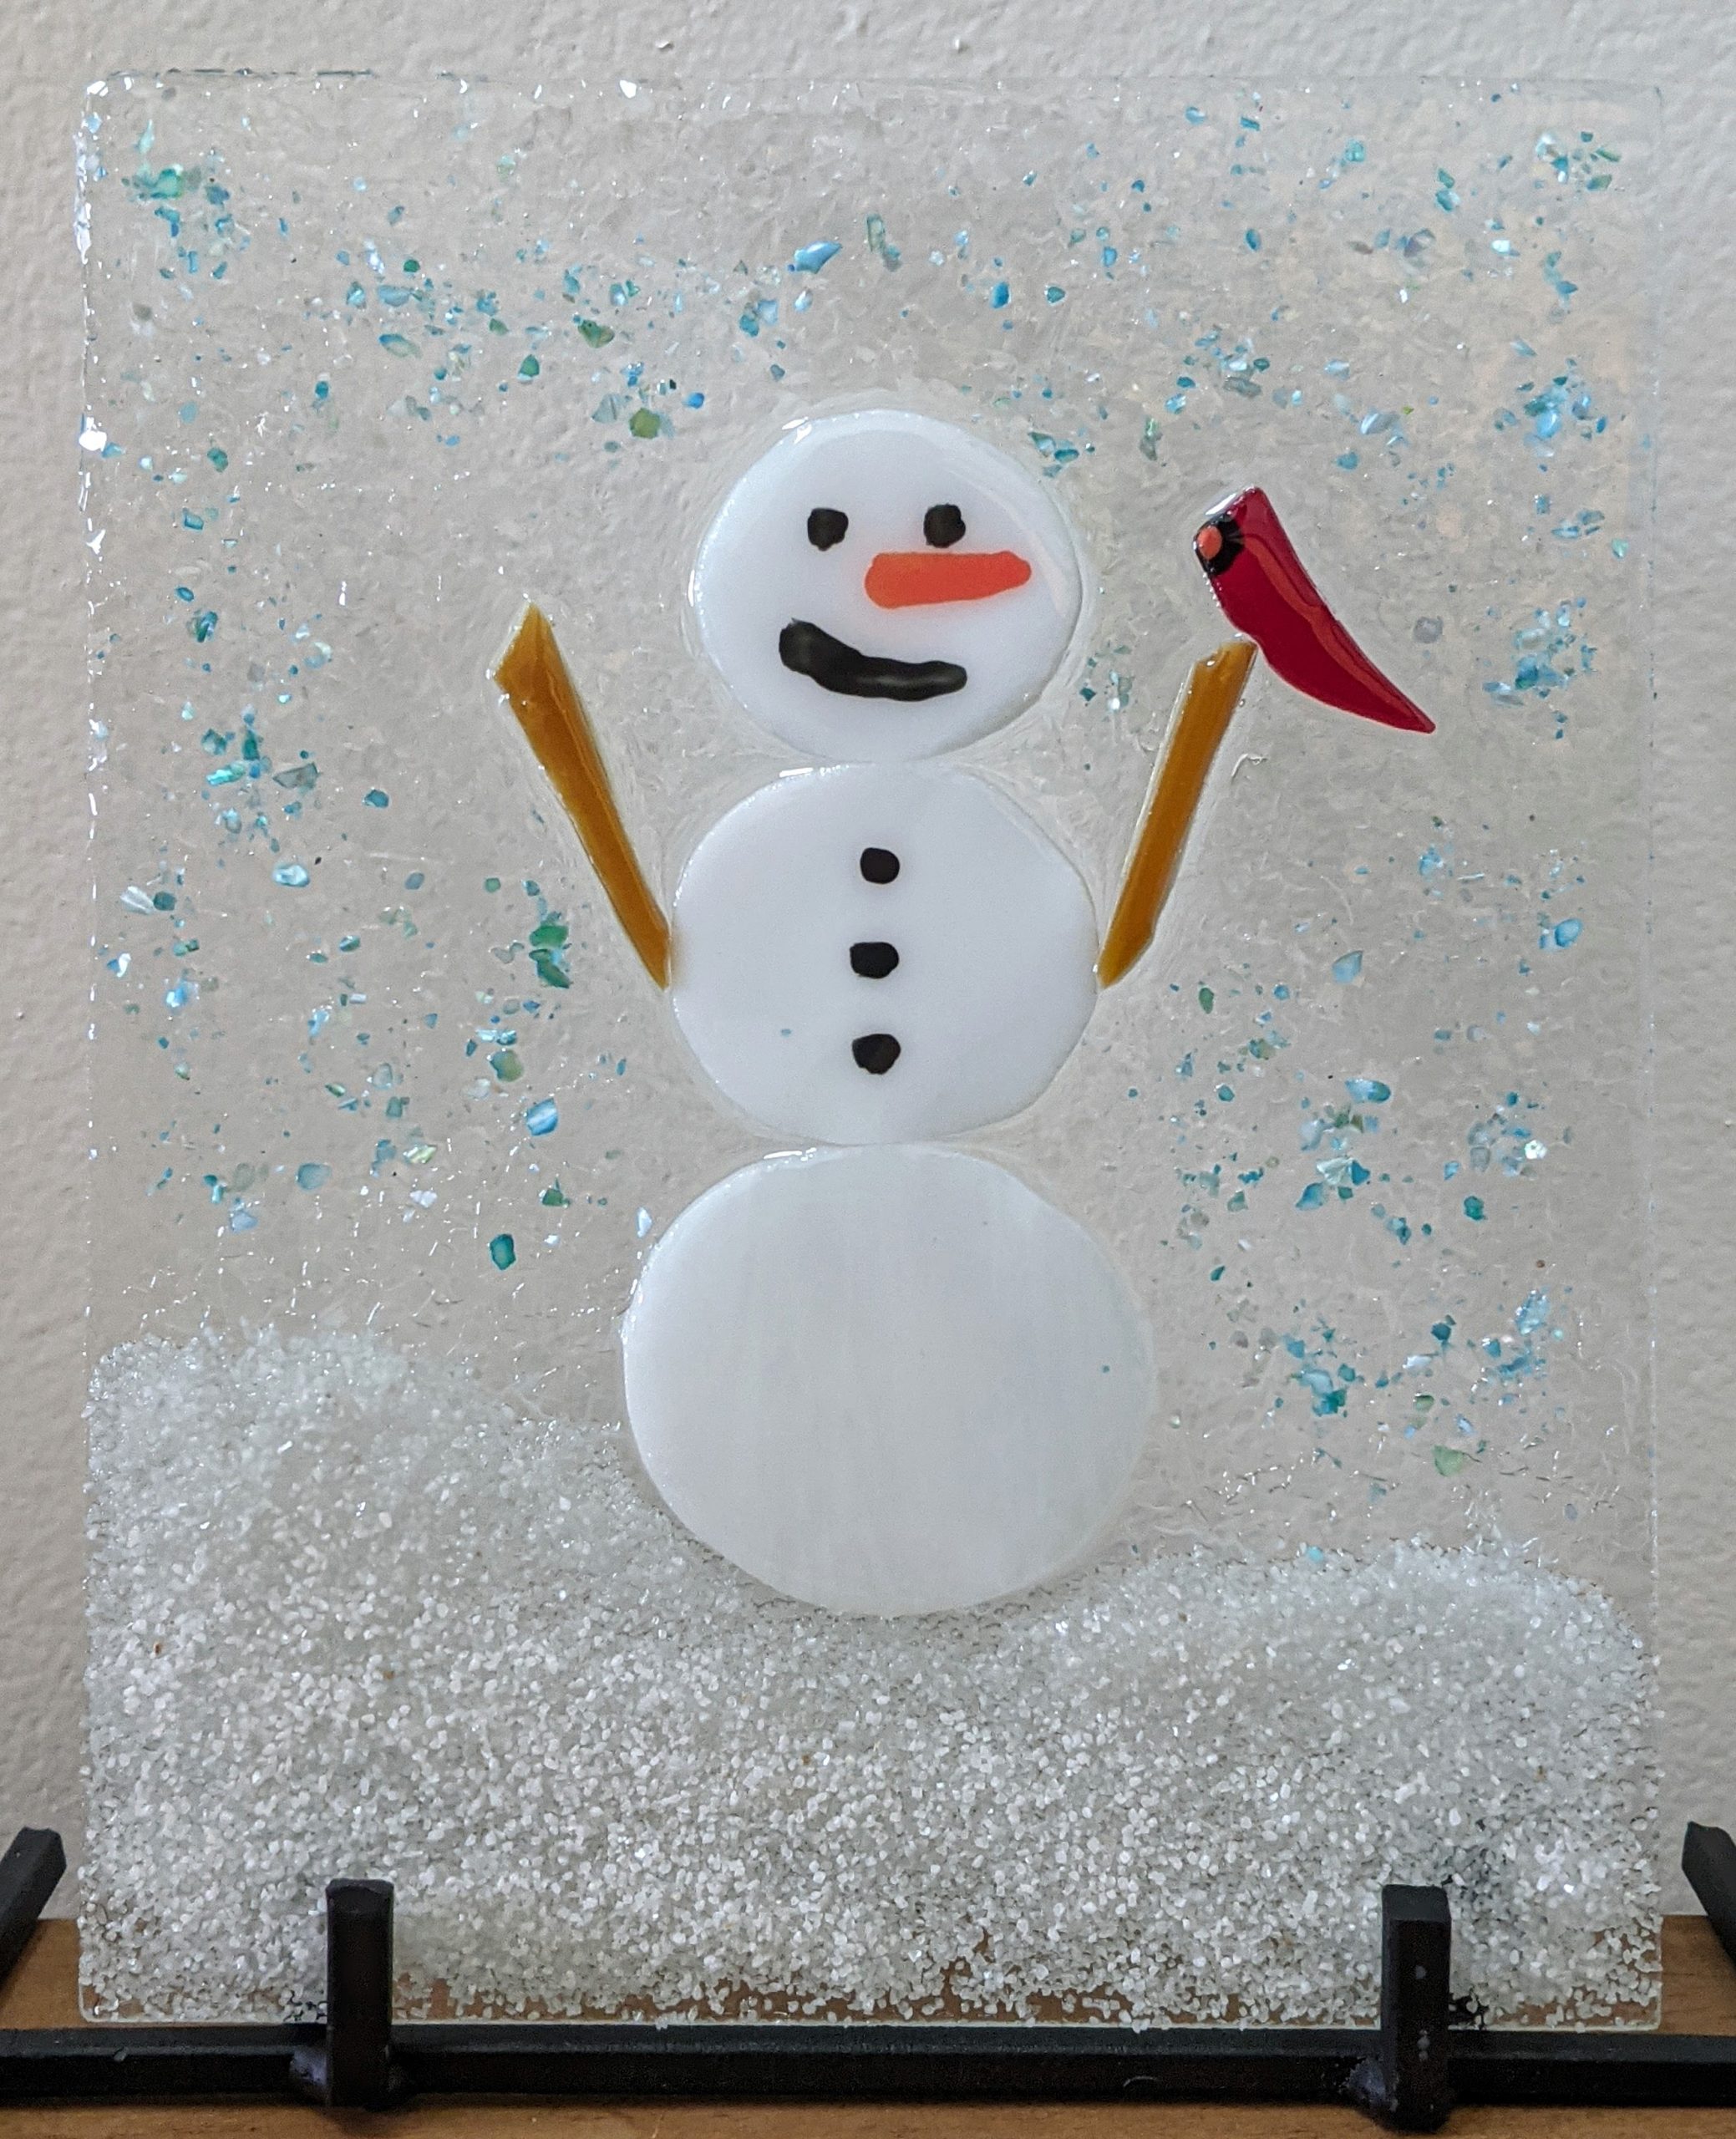
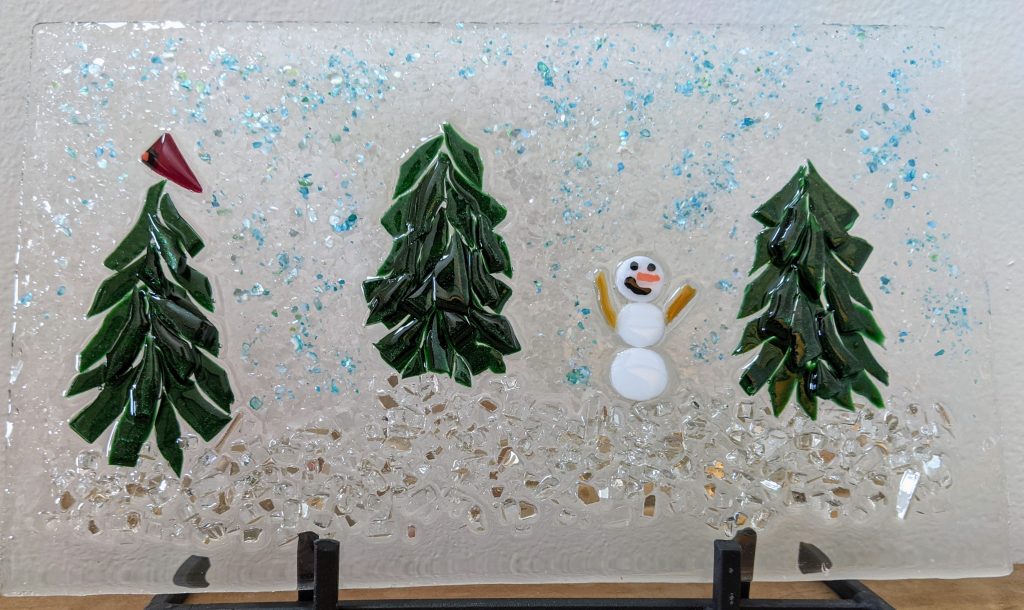
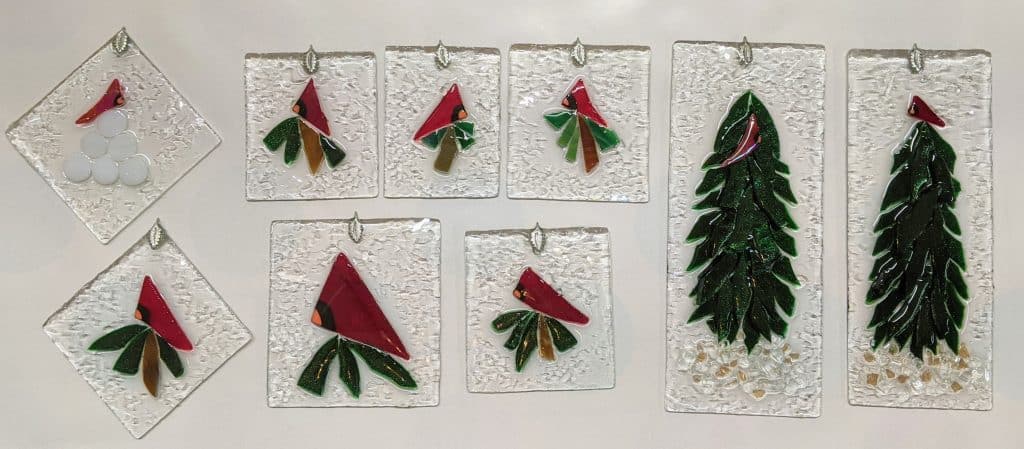
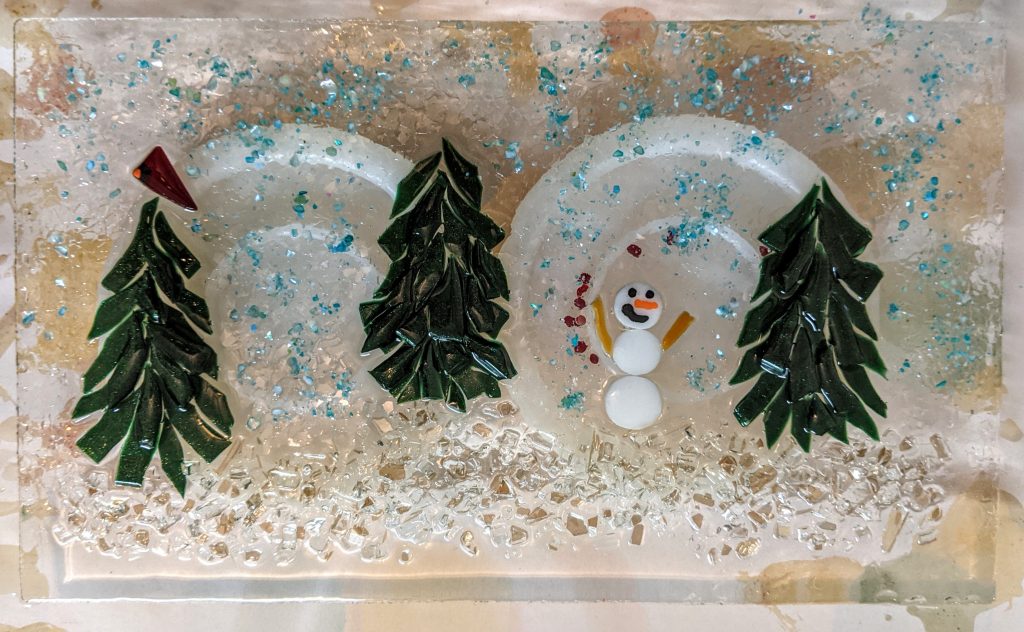
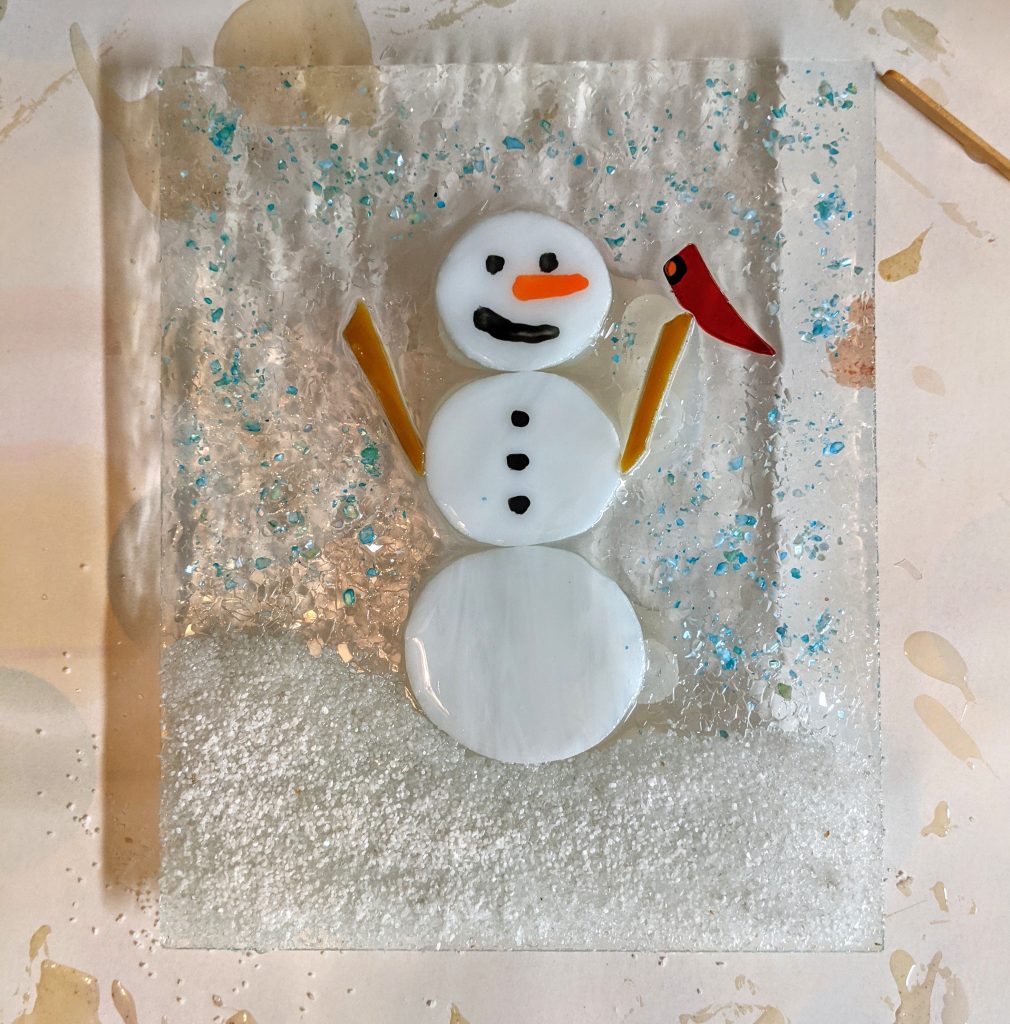
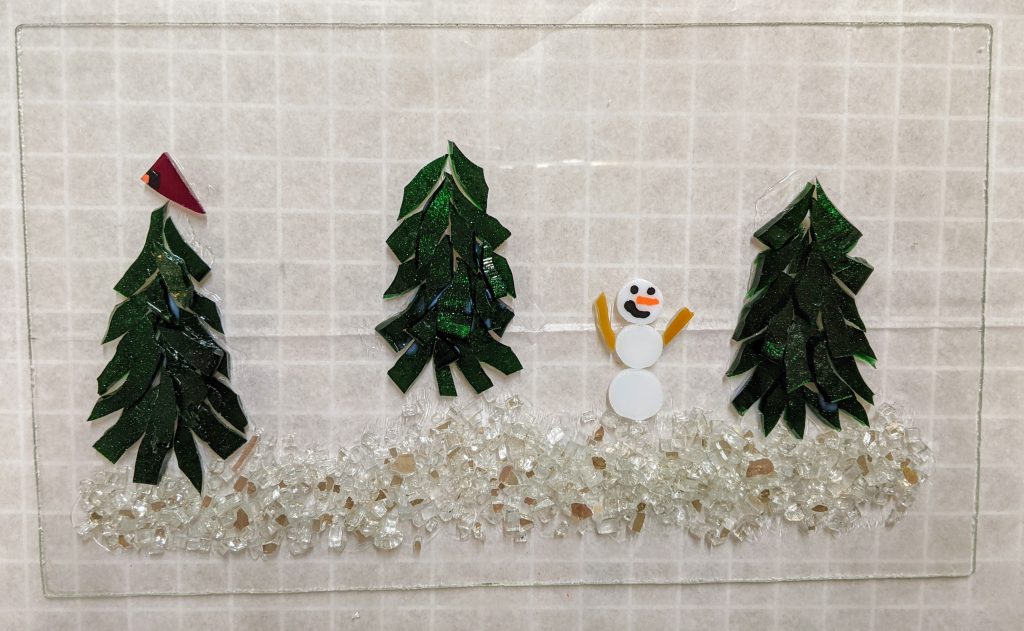
Winter Scene with evergreen trees, snowman, cardinal. Approx 10.5″ x 6.5″.Happy Snowman with cardinal panel, approx. 6.25″ x 8″Stained glass cardinal (embedded in resin) suncatchers / ornaments with mica flakes.
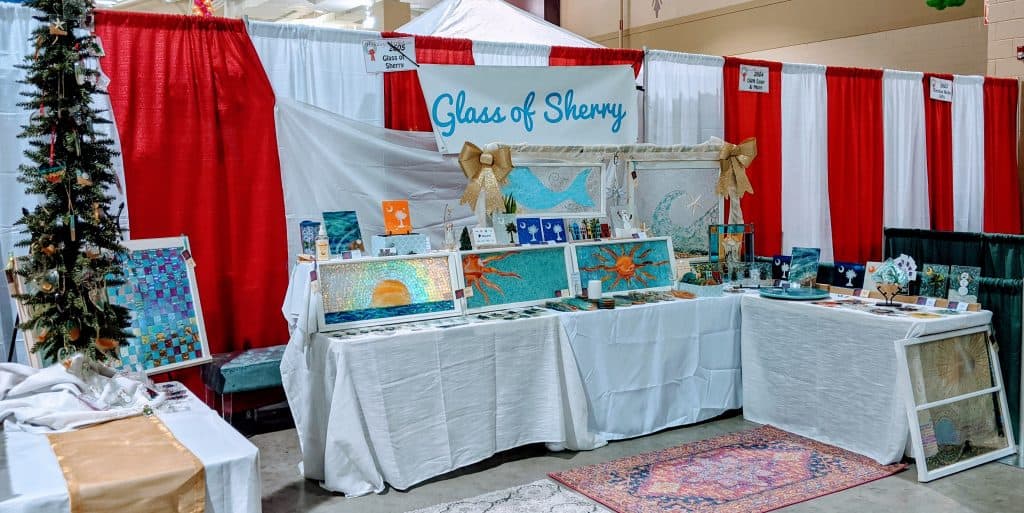
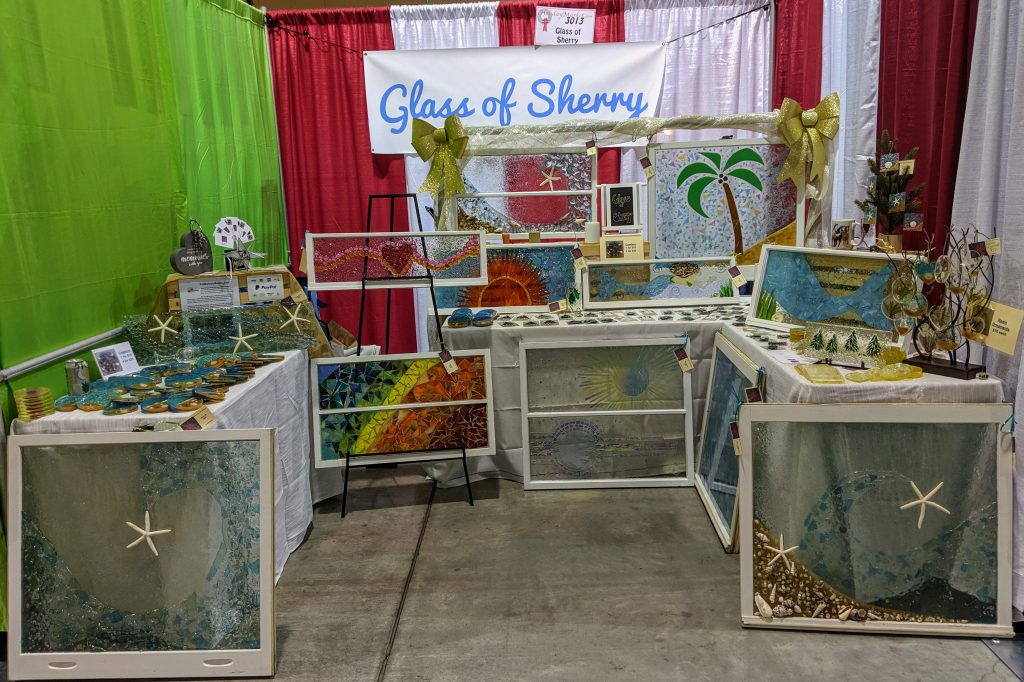
I will have a booth at the Holiday Market at the North Charleston Convention Center. This event was cancelled last year due to COVID-19. The hours are: November 19, 2021 – Fri. (10am – 8pm) November 20, 2021 – Sat. (10am – 6pm) November 21, 2021 – Sun. (11am – 5pm)
I haven’t seen the admission price for this year on the event website yet, but in the past, tickets were around $5 for access to all three days of the event, and you can usually get a coupon for a discount at the above link a couple of weeks before the event. The new parking garage should make getting in and out a breeze!
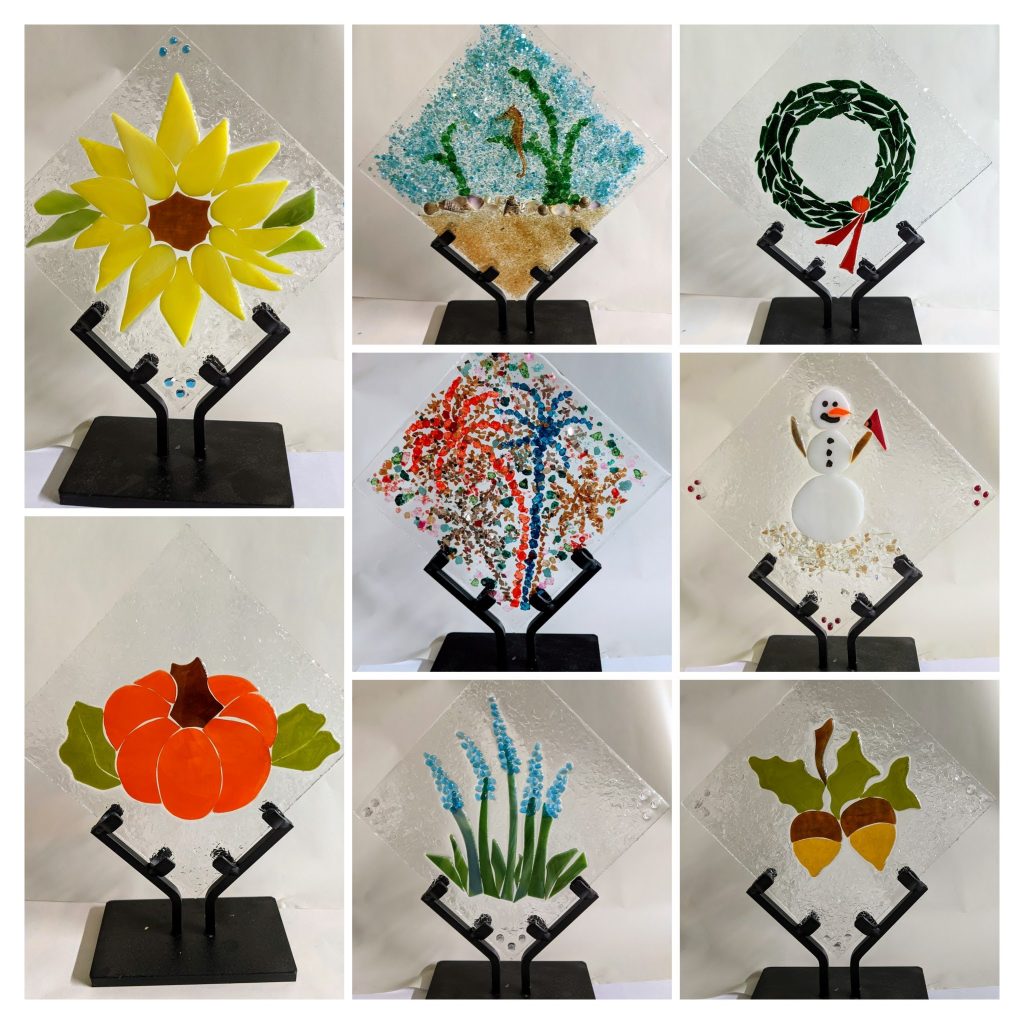
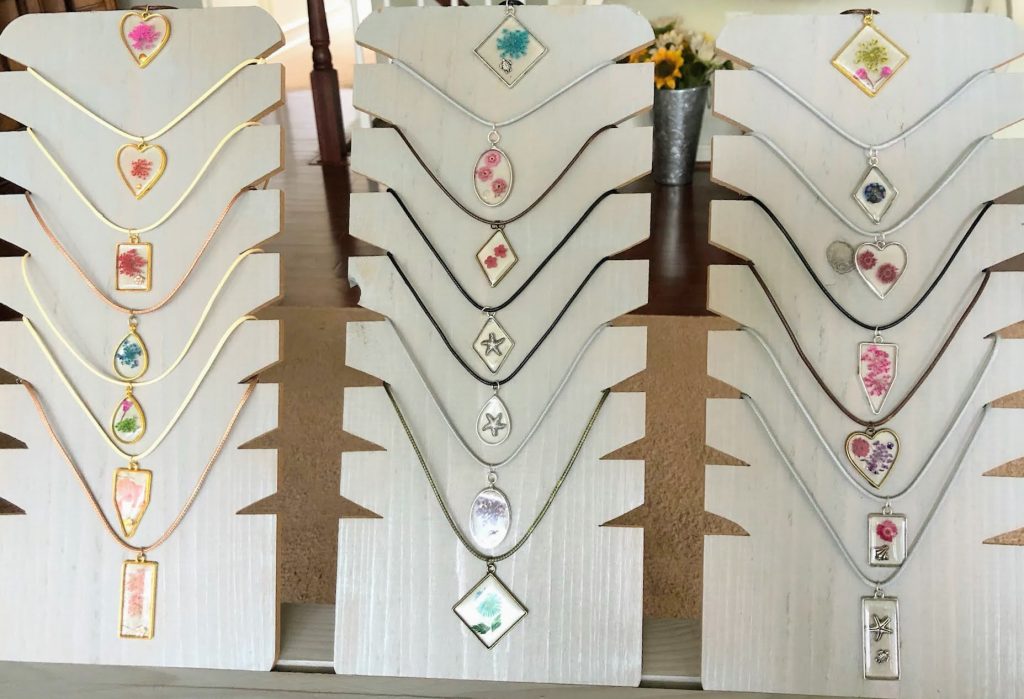
I will have hand made items from suncatchers and ornaments up to large mosaic windows, and a special $400 “Seasons” gift set that includes a display stand. Get all of your holiday shopping done before Thanksgiving and be able to really relax for the holidays! Check out some of the items that I will have in my booth at this link. There will even be some hand made pendants / necklaces. I hope to see you there!
Winter Scene
Happy Snowman
Suncatchers / Ornaments
Ornaments / Suncatchers
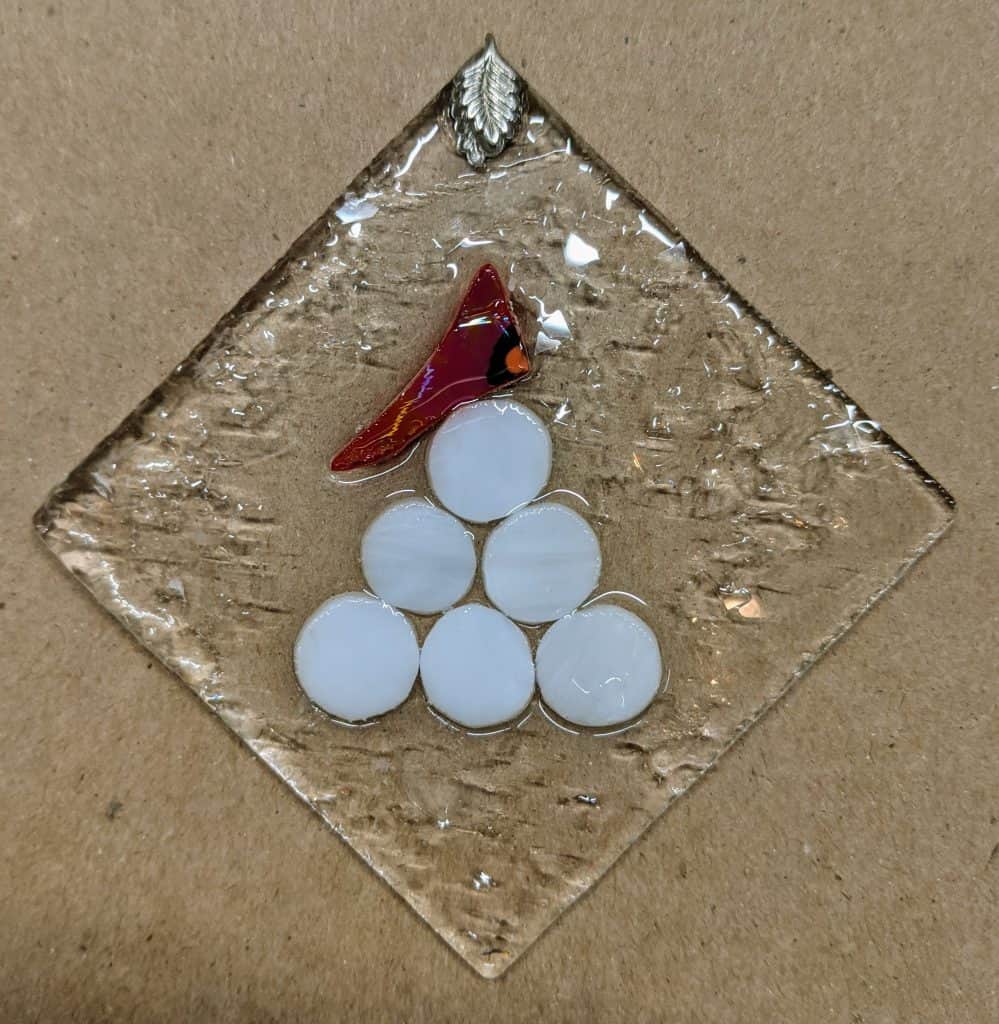
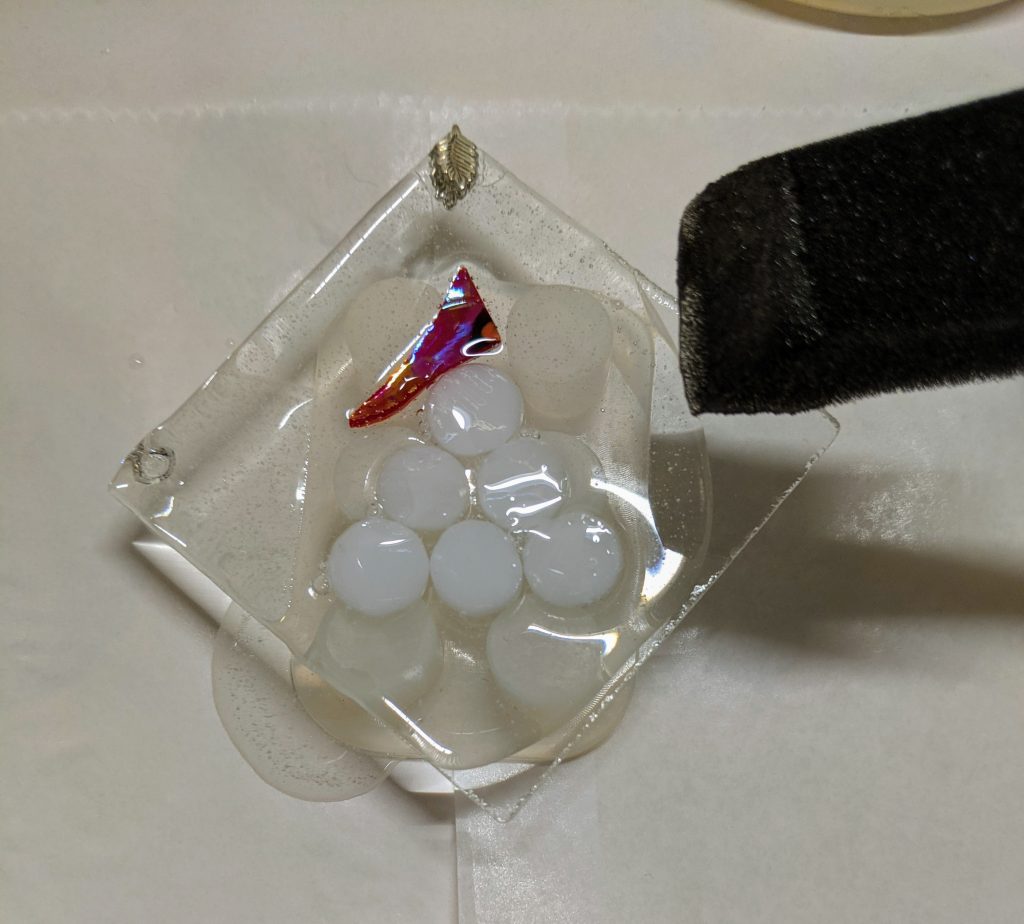
Red bird w/snowballs
Seasons Set
Pendants, made by a friend of mine in a similar fashion as my glass pieces.
Yesterday I poured / decorated the resin for the winter scene and snowman, as well as added a second resin layer to four molded ornaments. Hopefully I will be able to get finished pictures of them this evening!
Resin curing on Winter SceneResin curing on SnowmanSecond resin layer poured / curing
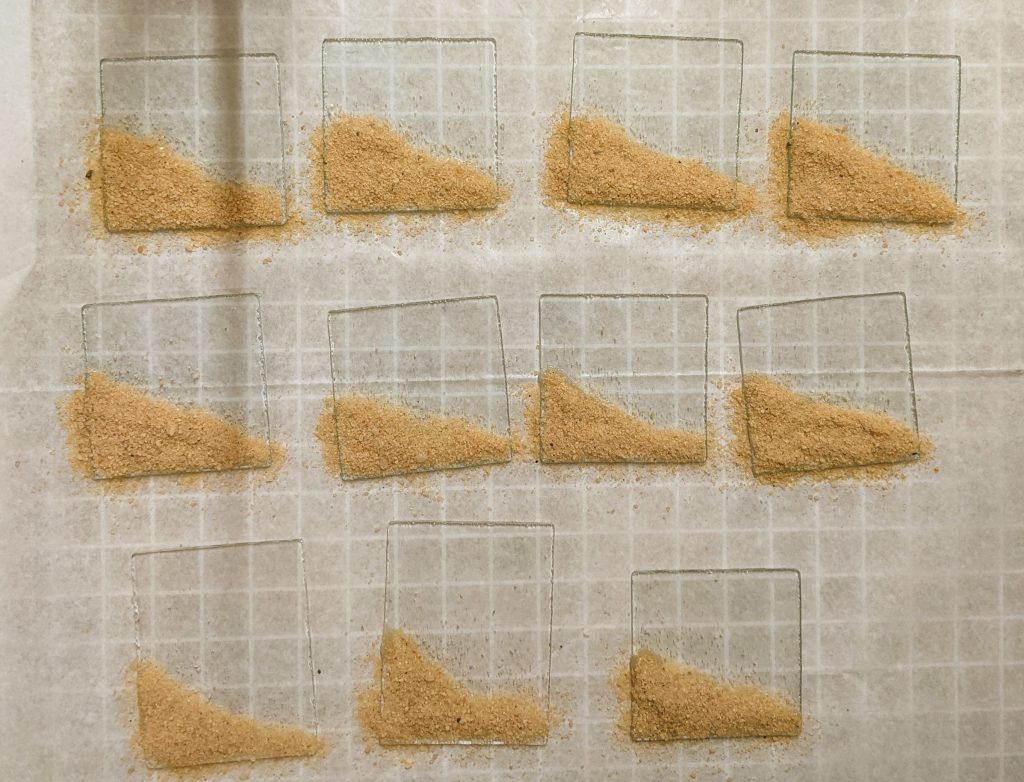
I’m still busier than usual at work, so my weekends are my best time for crafting. Today I finished cutting out and gluing the glass for a little winter scene and a small snowman panel (not pictured), as well as laid out the “beach” for some starfish and sand dollar ornaments.
Laying out the pieces / gluing in place.Everything glued – waiting for the glue to dry.Gluing the sand for the “beach” on some ornaments.
Of course, I had to cut the backer glass and sand the edges for all of these before decorating could begin. Hopefully the sand will stick well and I won’t have to add another layer before I can pour the resin, but I have a feeling I’ll need a bit more sand once the glue cures. I plan to make these into mini starfish & sand dollar ornaments / suncatchers.
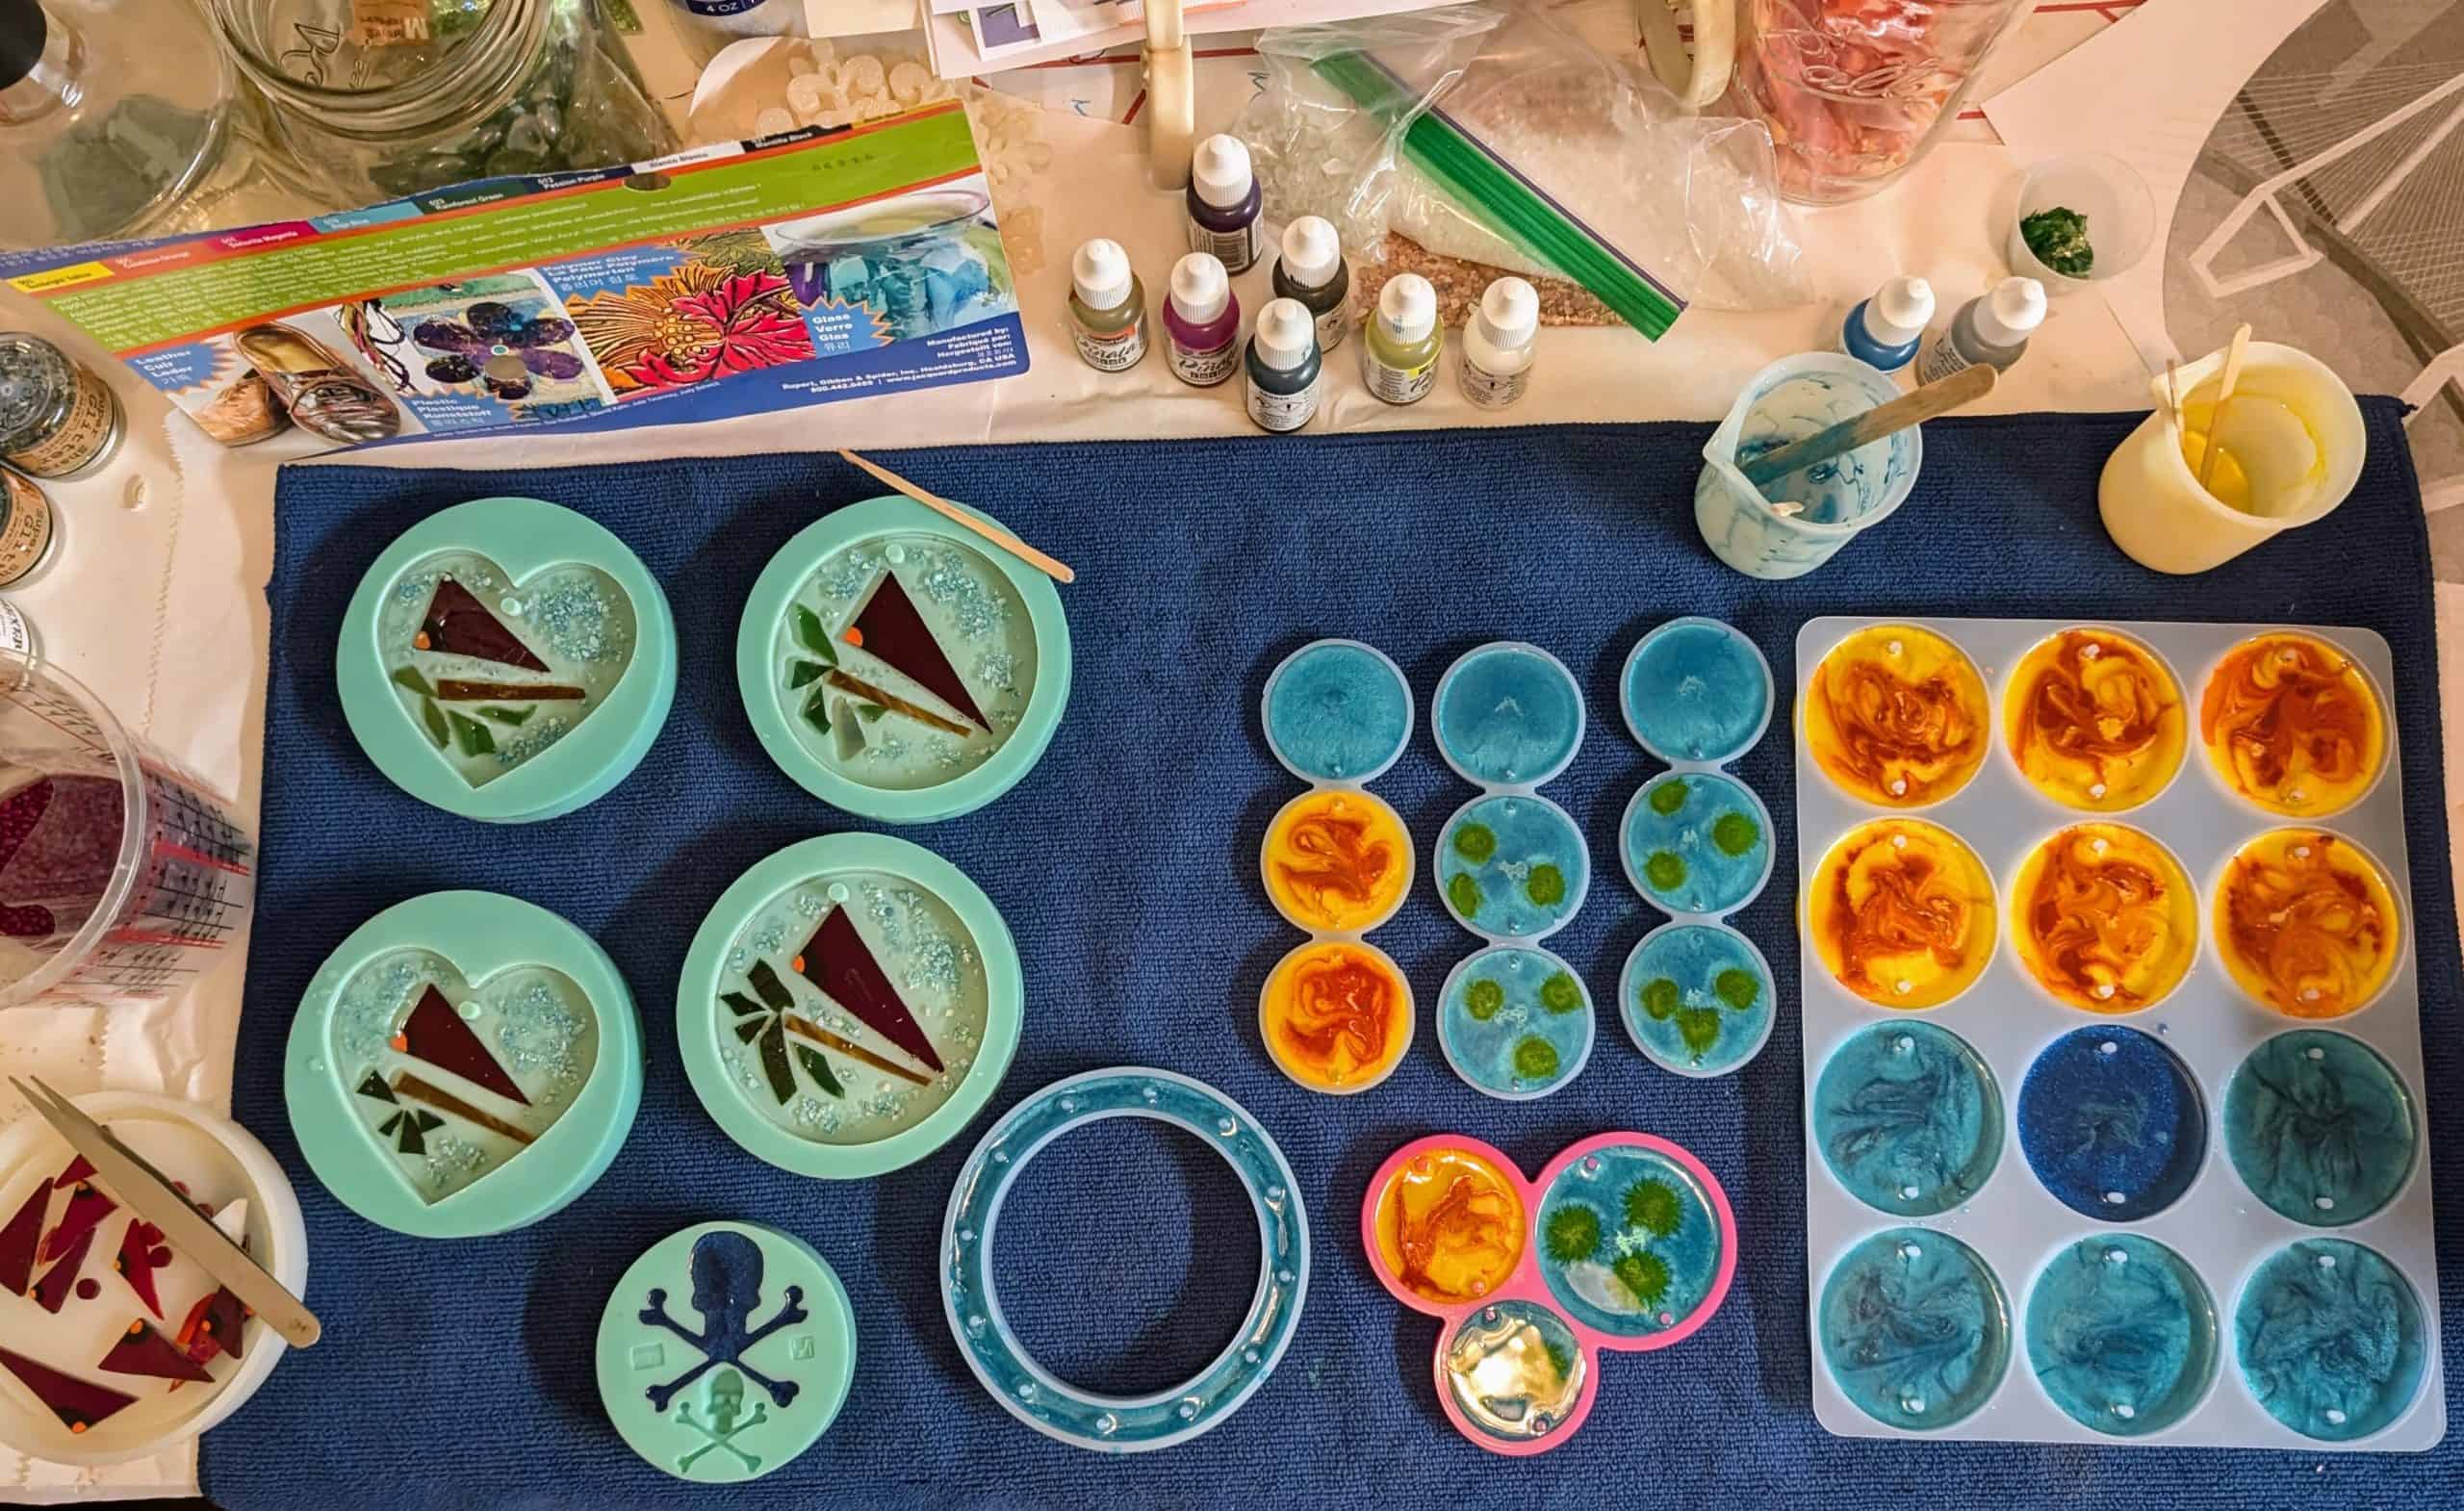
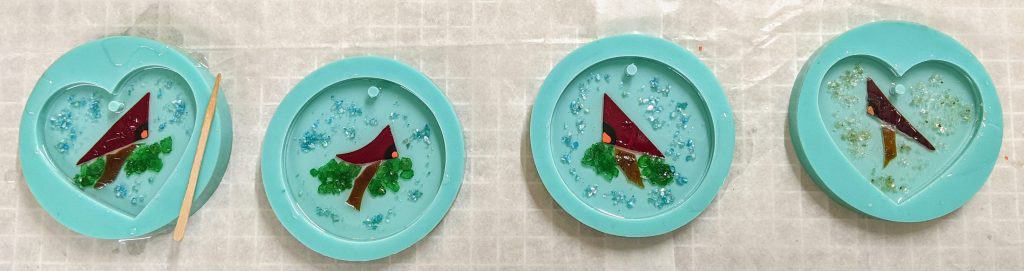
I’ve been busier than usual at work, but was finally able to circle back to these ornaments to pour the resin. For these molds, I first pour a thin layer of resin and then use the heat gun to reduce the amount of bubbles. I also run a craft stick around the edge of the mold for the same reason.
First resin layer poured
I also had these ornaments assembled and elevated on silicone ready for the resin coating.
Ready for resinResin poured
I try to cover the glass in the foreground completely, then use a sponge on a stick to spread the resin to any areas that aren’t yet coated.
Spreading the resinSpreading the resin
Once the resin is spread, I also use the heat gun on these to remove bubbles.
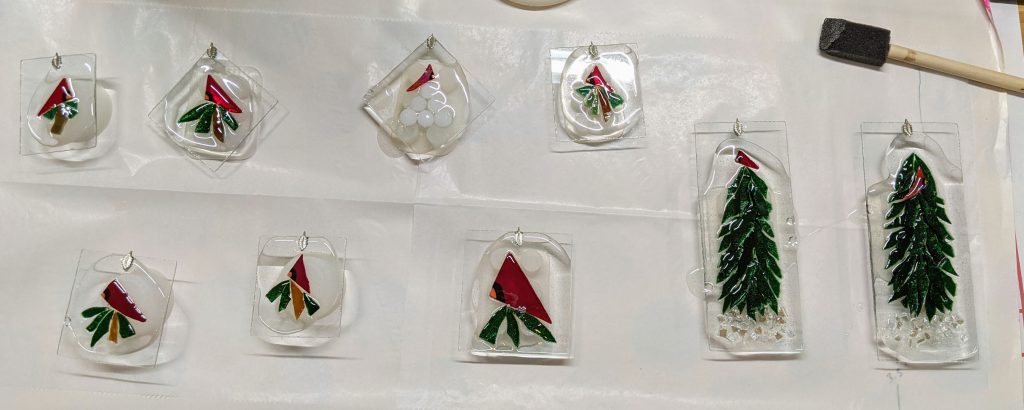
Decorations set into the first layer of resin
Once the resin in the molds is starting to thicken, I place the glass pieces and then the sparkly mica chips used for the snow / sky / leaves.
Glass chips added to the background
For this type of ornament, I sprinkle glass chips into the resin in the clear background areas for sparkle, then I spend about an hour scraping drips off the backs of the backer glass. I can clean up any leftover drips with a razor blade once the resin has cured, but this helps reduce the cleanup. On larger pieces I like to use masking tape on the back, but I don’t always remember to apply it in time. Now just to wait until the resin cures!
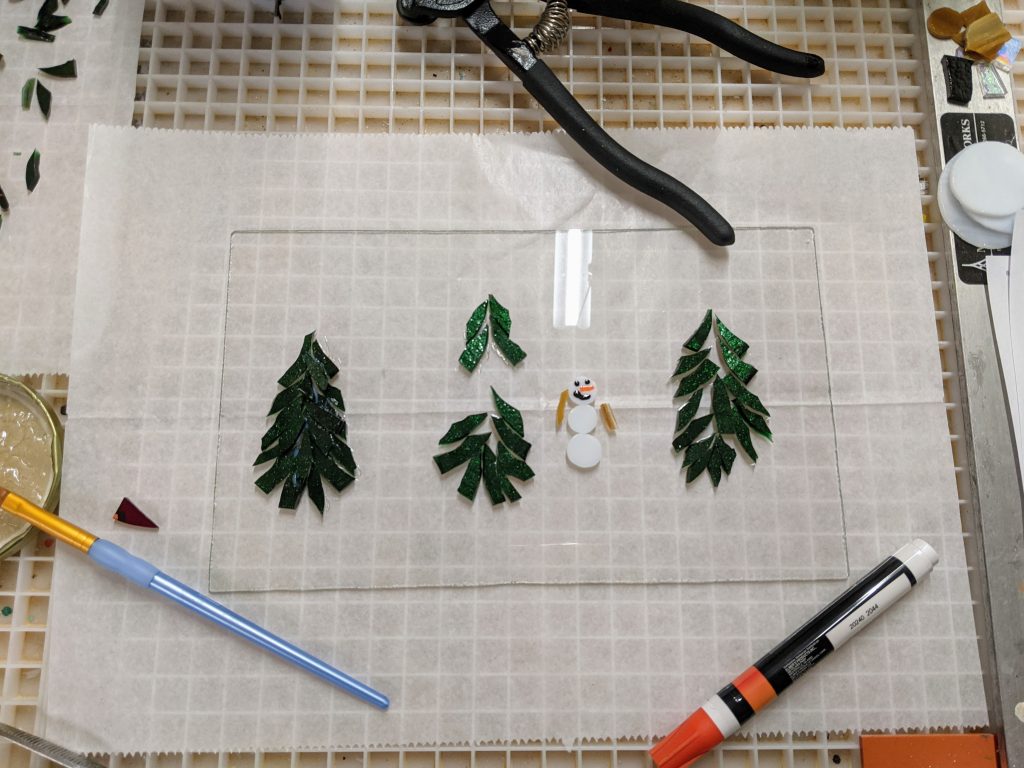
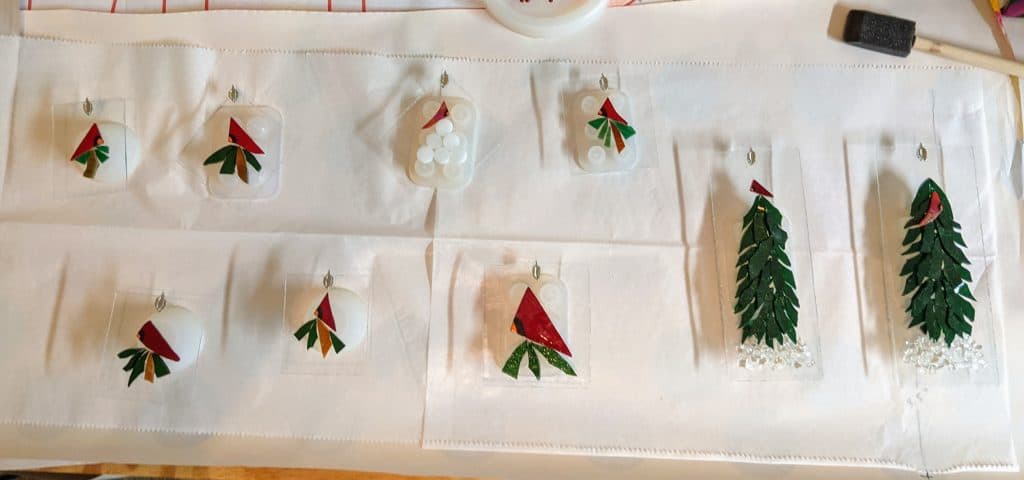
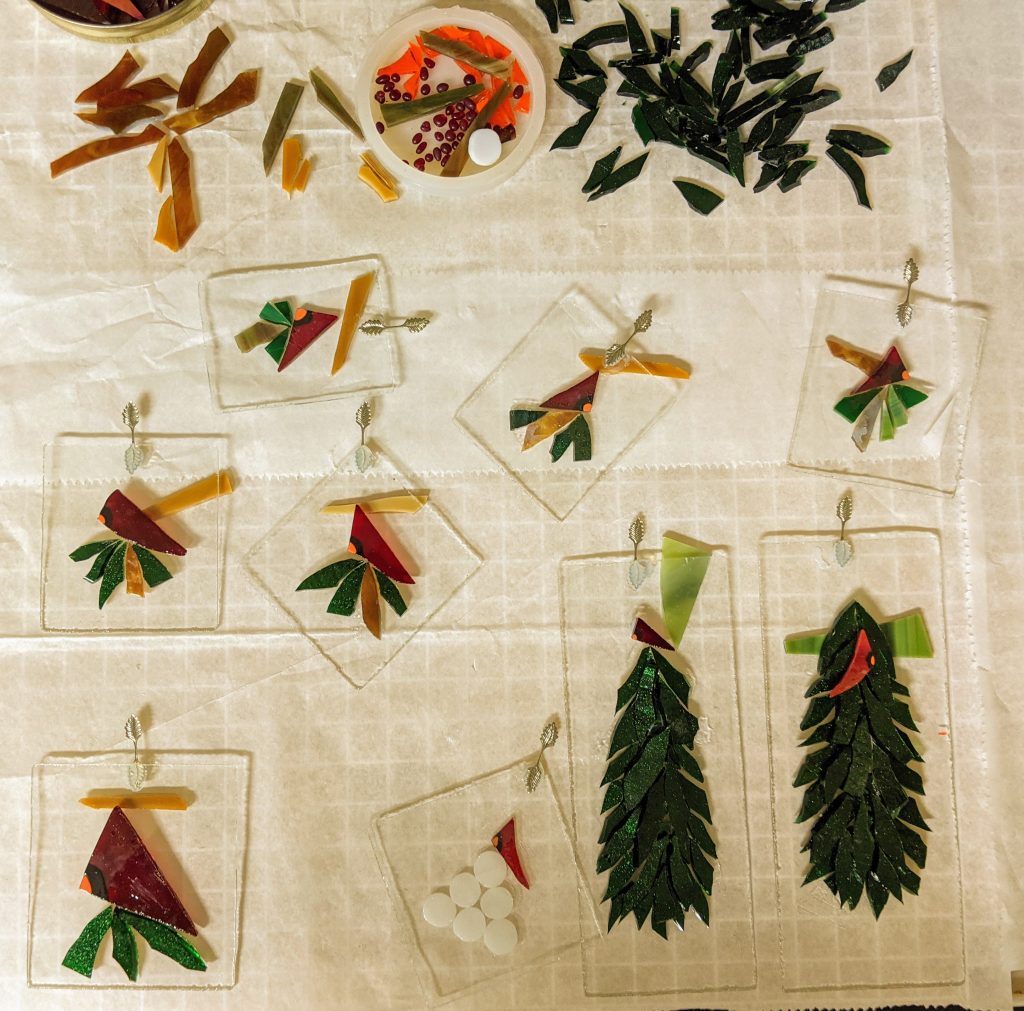
Today I laid out some designs and glued them in place. These will have a lot more detail once the resin is poured and decorated. I like to use “glass chunk snow” under the trees and glass chips / mica accents for sparkle.
Laying out the pieces for the ornamentsGlued in place and propped up for drying