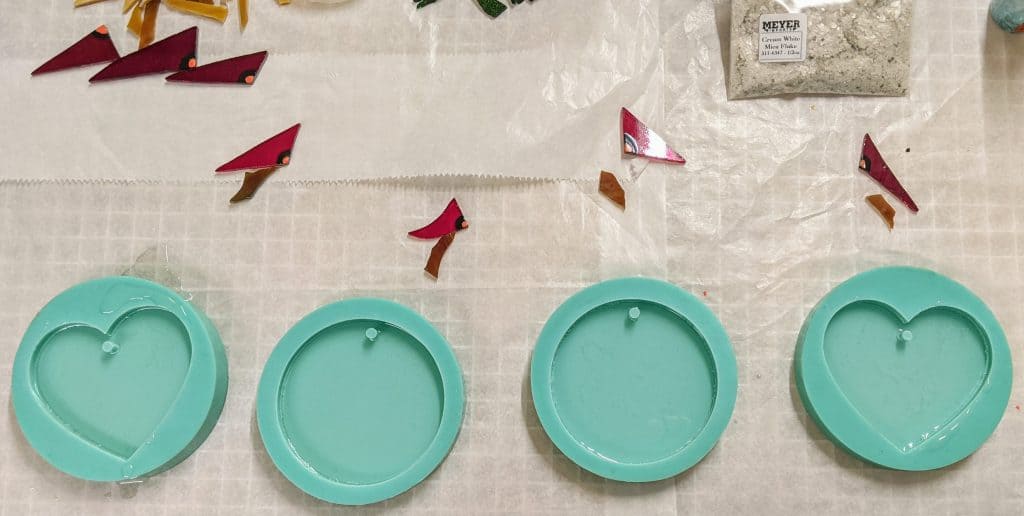
I’ve been busier than usual at work, but was finally able to circle back to these ornaments to pour the resin. For these molds, I first pour a thin layer of resin and then use the heat gun to reduce the amount of bubbles. I also run a craft stick around the edge of the mold for the same reason.
I also had these ornaments assembled and elevated on silicone ready for the resin coating.
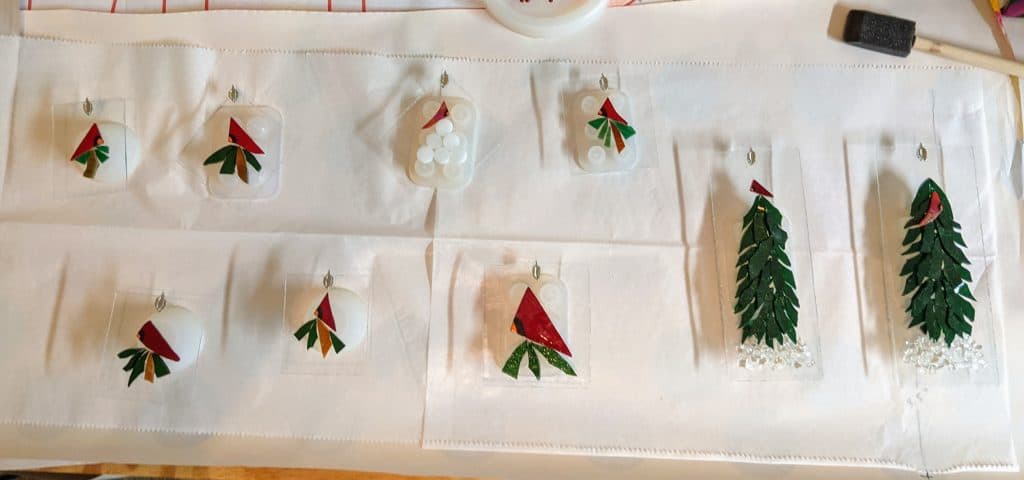
I try to cover the glass in the foreground completely, then use a sponge on a stick to spread the resin to any areas that aren’t yet coated.
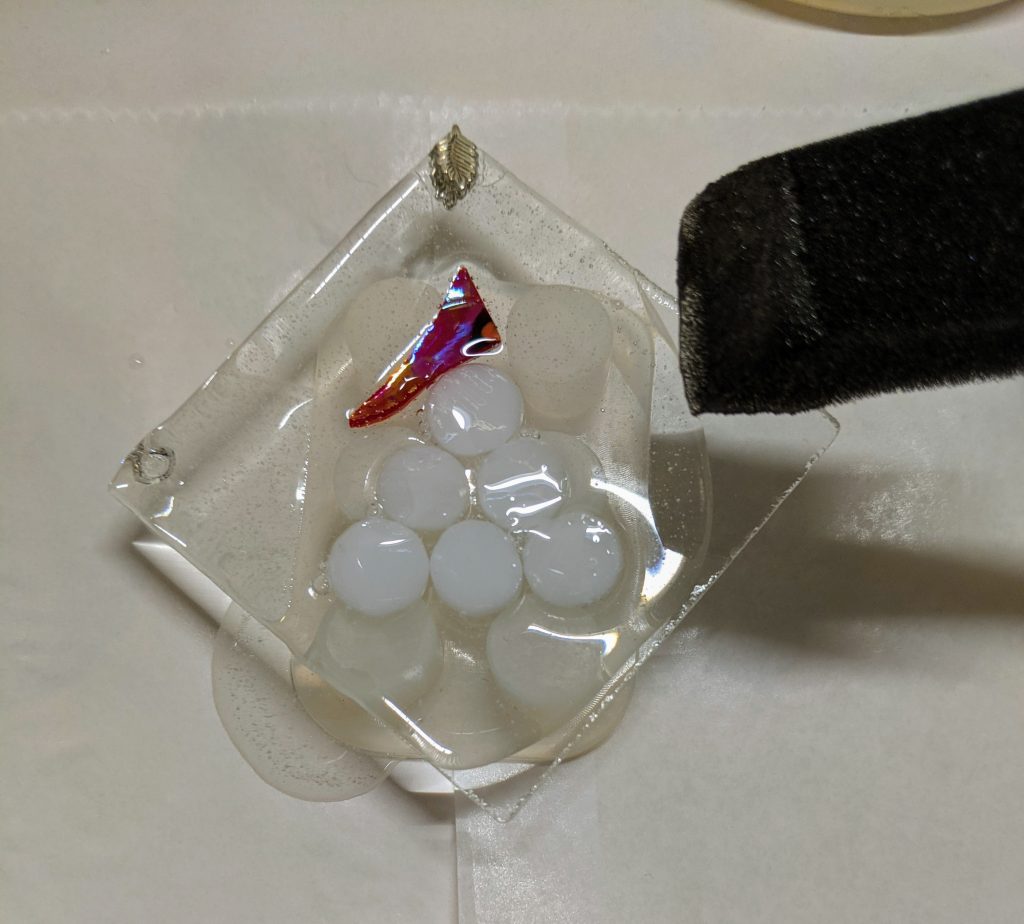
Once the resin is spread, I also use the heat gun on these to remove bubbles.
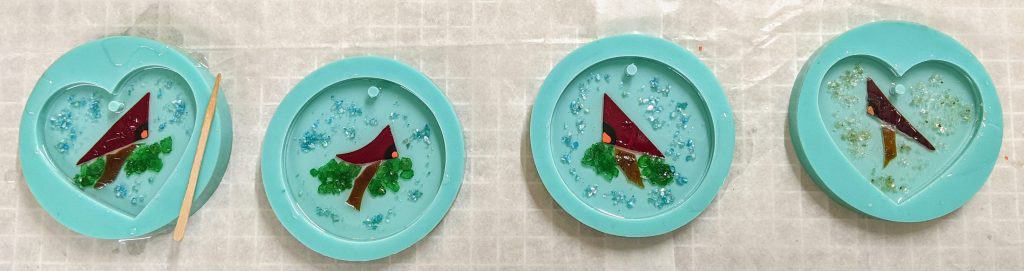
Once the resin in the molds is starting to thicken, I place the glass pieces and then the sparkly mica chips used for the snow / sky / leaves.
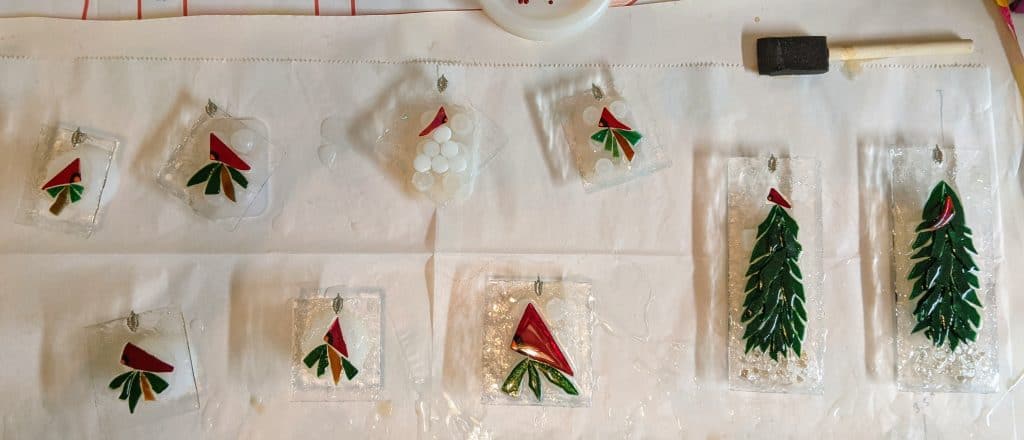
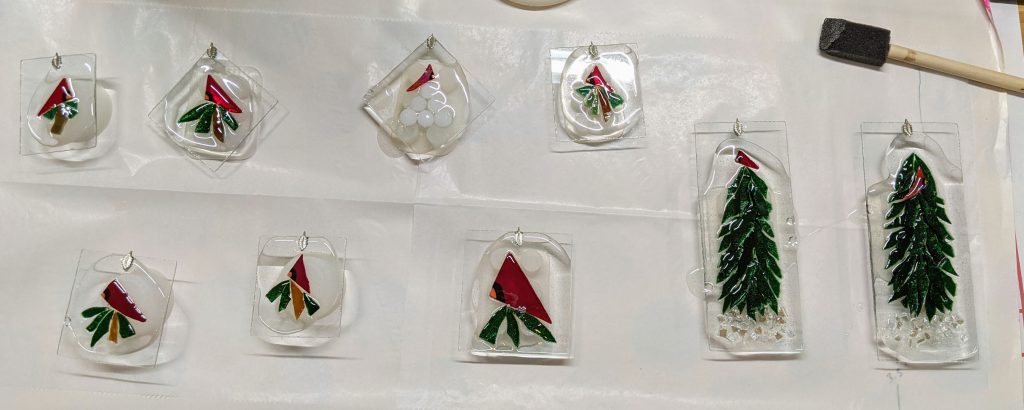
For this type of ornament, I sprinkle glass chips into the resin in the clear background areas for sparkle, then I spend about an hour scraping drips off the backs of the backer glass. I can clean up any leftover drips with a razor blade once the resin has cured, but this helps reduce the cleanup. On larger pieces I like to use masking tape on the back, but I don’t always remember to apply it in time. Now just to wait until the resin cures!