Beachy Batch

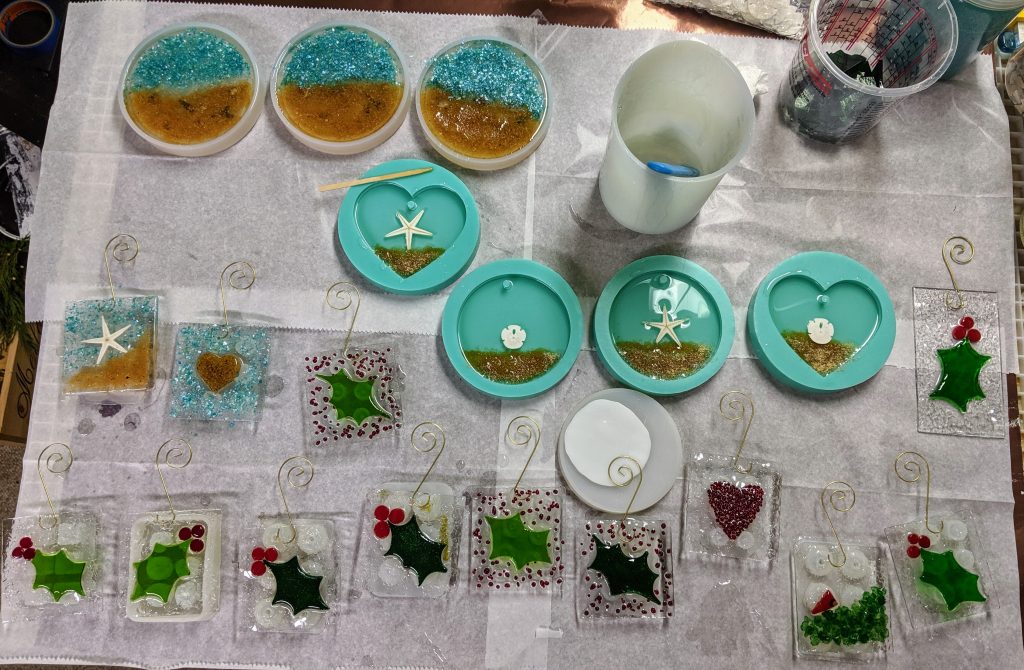
I started these a few weeks ago, but had to wait for the ornament hangers, then had to glue them in place and let it dry. This weekend was my first opportunity to finish them by taping the backs with painter’s tape, pouring the resin and decorating. The molded suncatchers / ornaments only have the first layer of resin poured (today) and will require at least a second layer.
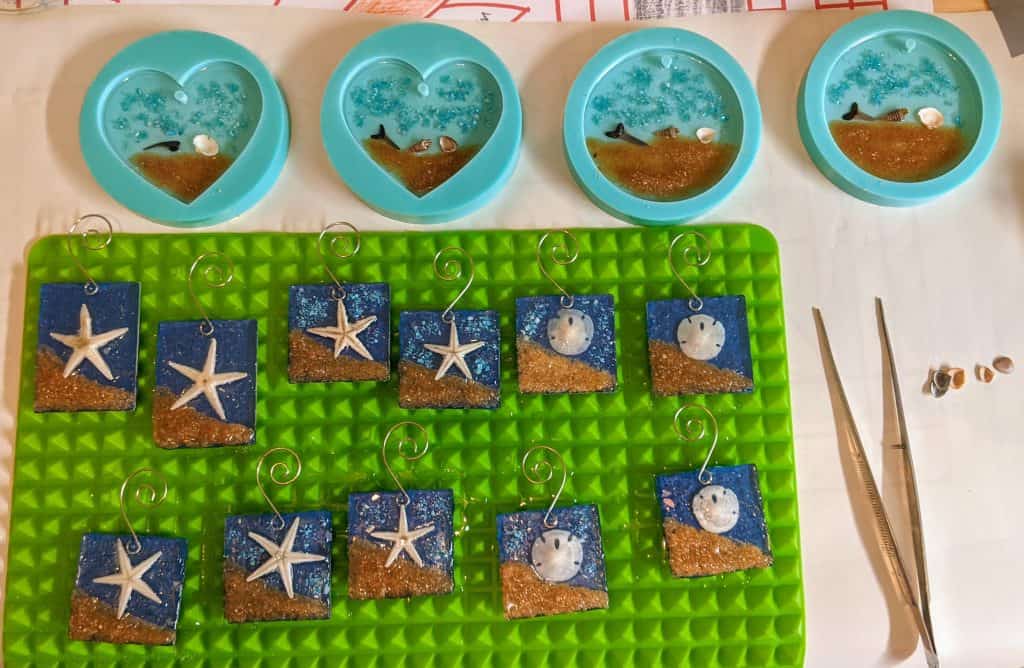
Beachy batch – the blue painters tape will be removed from the glass ornaments / suncatchers after the resin cures.

The last time I made these smaller starfish / sand dollar ornaments / suncatchers, I believe I glued the sand for the beach in place before pouring the resin, so I did that again this time. I still ended up adding some sand here and there after I poured the resin this time. I’m not sure the extra step of gluing the sand in place in advance is needed at all. I likely will skip it the next time I make some of these.

Snow and Rainbows

Continuing to try and make some new things for the small, outdoor, masks required pop-up craft fair I signed up to do at 3 Matadors for December 5th.

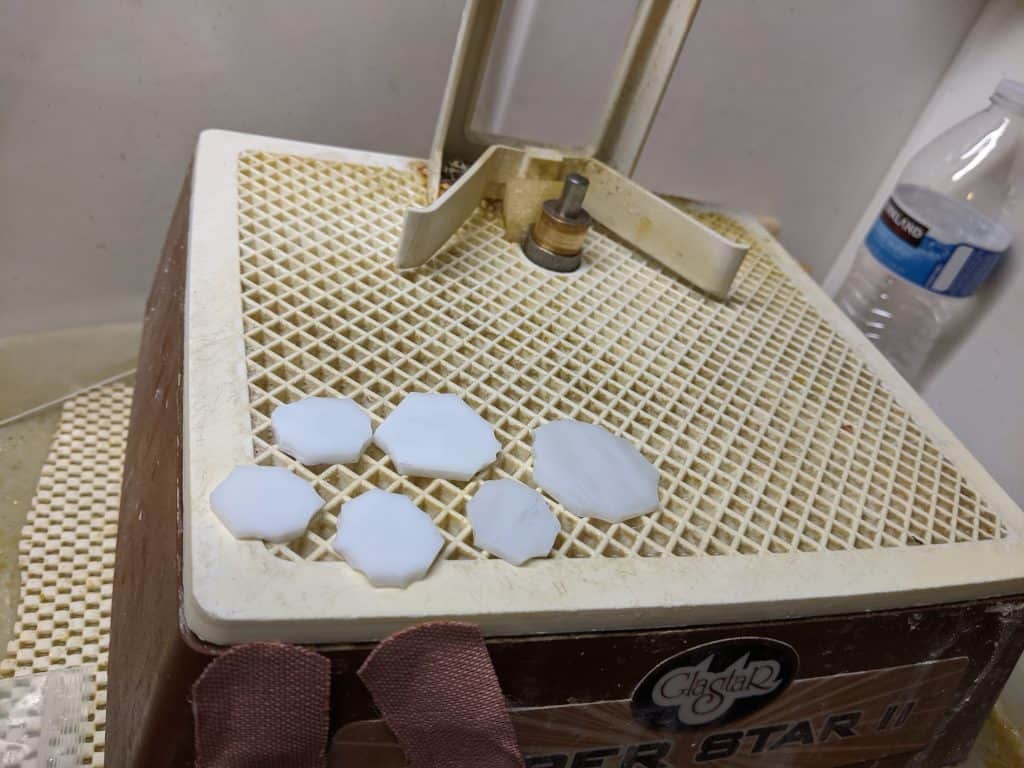
First I needed some more snowballs for snowmen, as I used up all the ones I had on hand. Back to the old grinder so to speak. 🙂

Making snowballs – rough cut then grind down to round
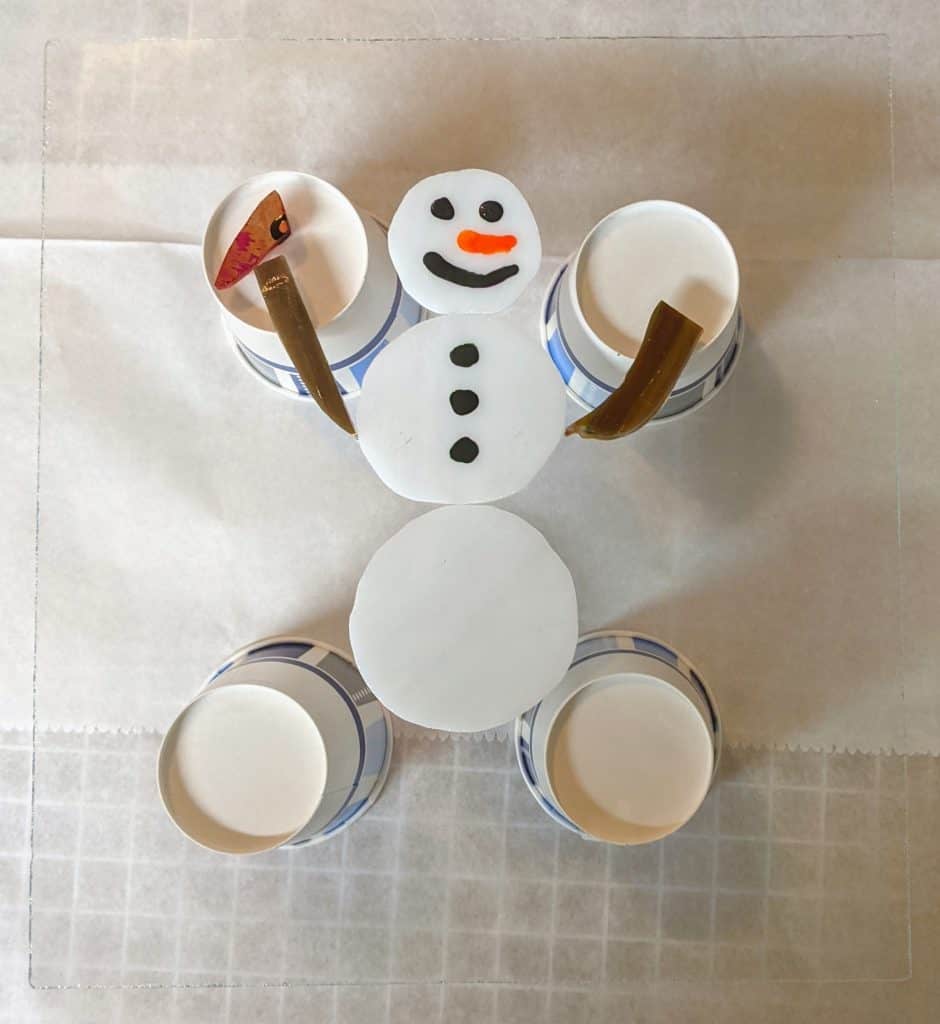
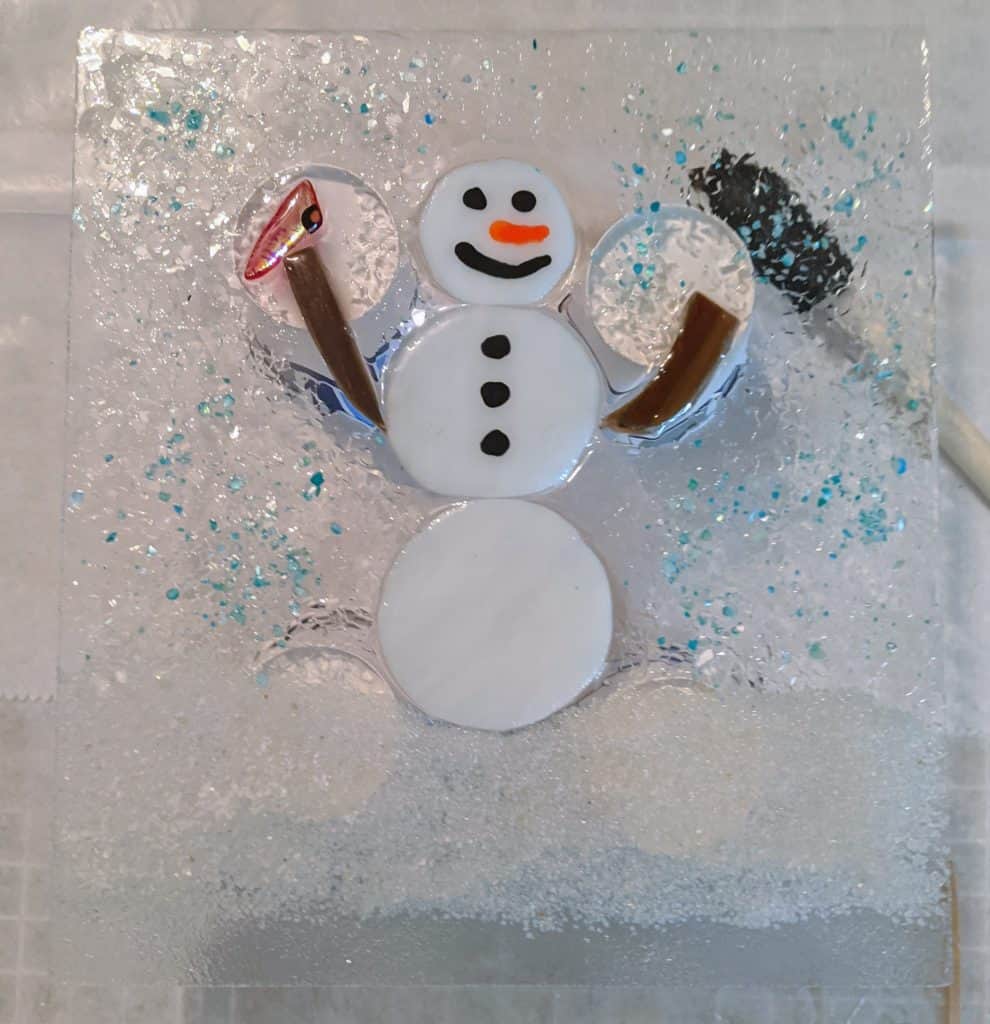
Getting the “big” snowman ready for resin
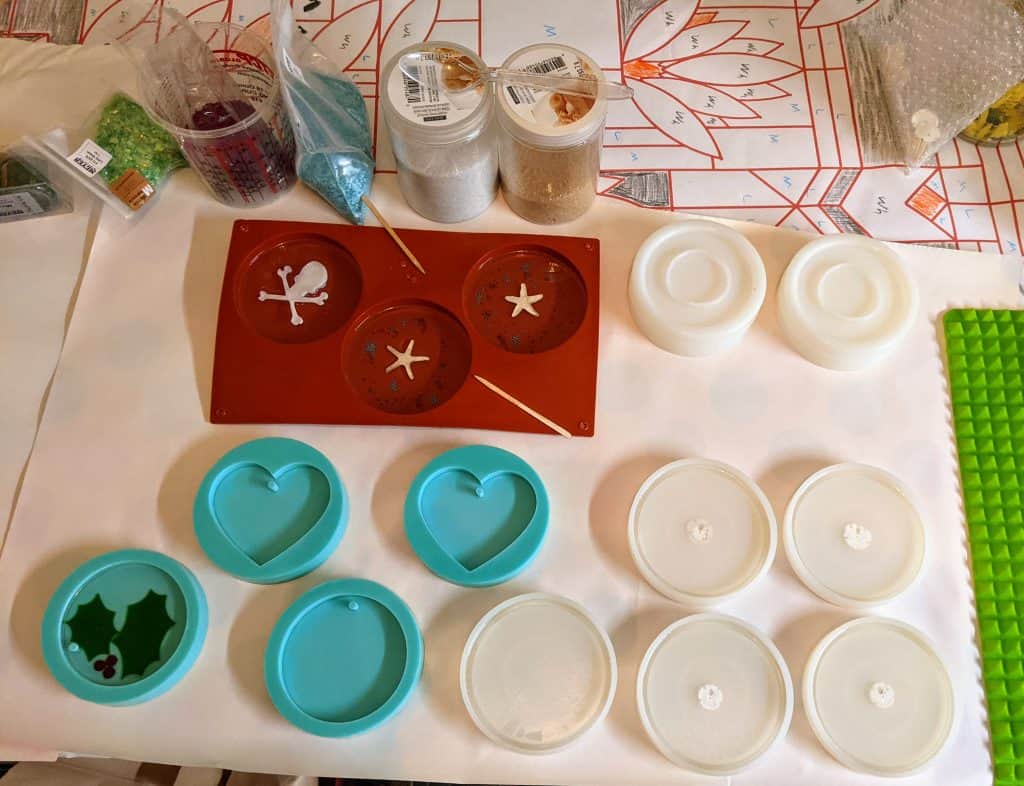
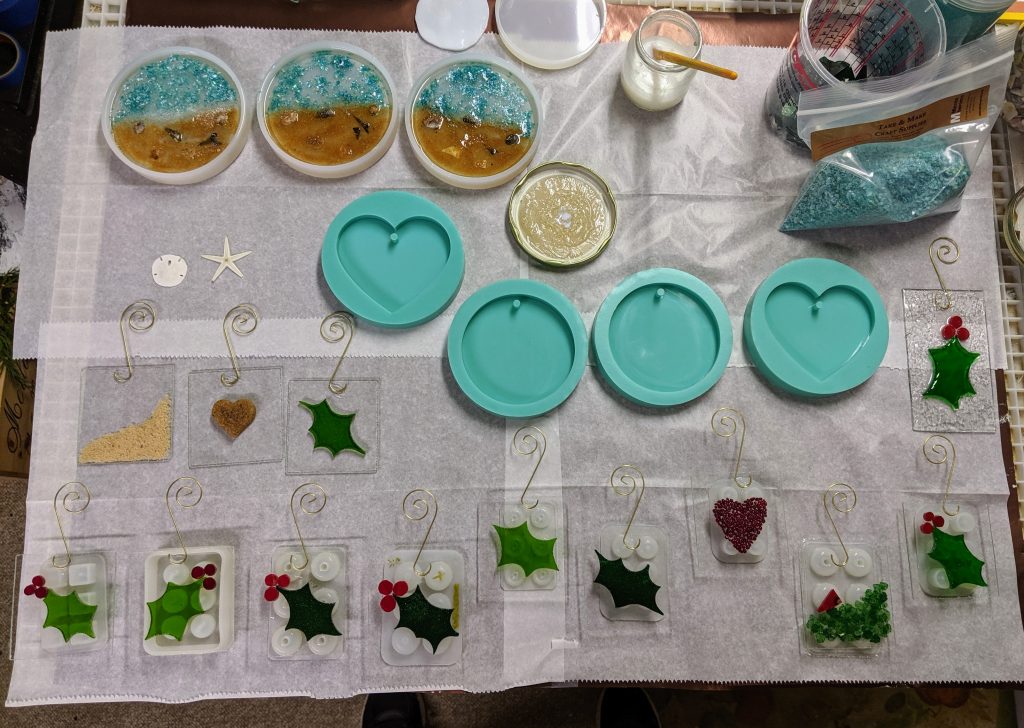
Laying out all of my small projects to work on today

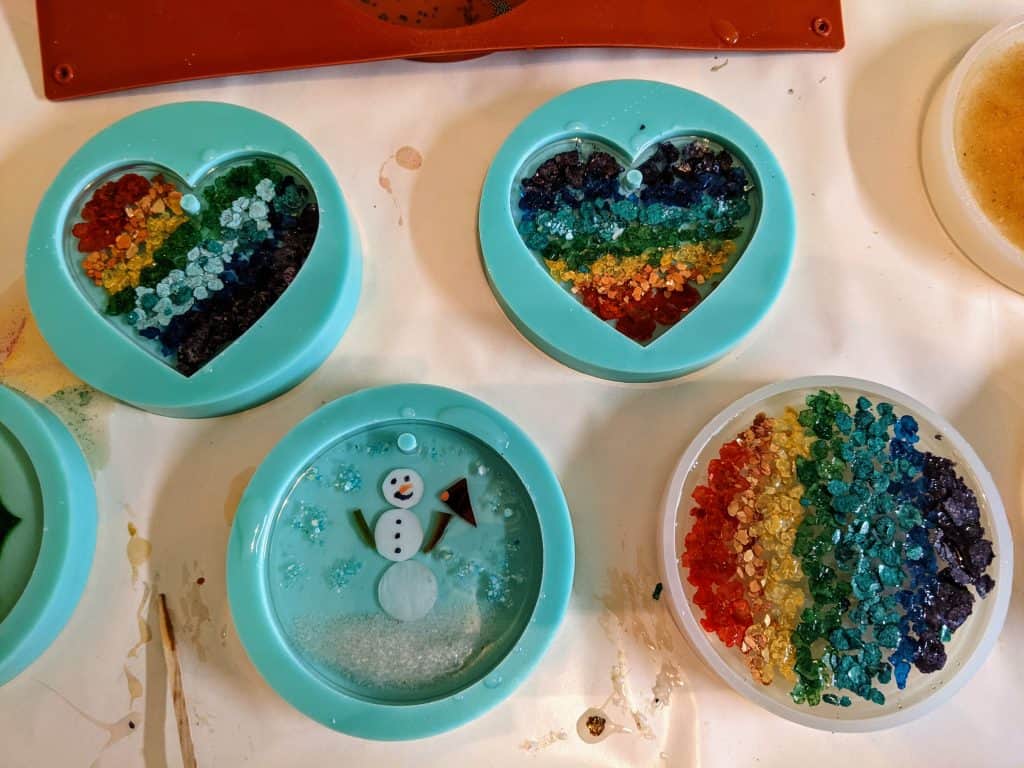
Before I start mixing my resin, I lay out all of my projects and needed supplies. Today was the second layer of resin on the holly suncatcher and all five coasters, though one will be a new coaster design and the other four will be sandollars in the sand. I like to elevate the larger projects like the snowman panel so I can reach any drips that happen. I sometimes tape the underside edge, but forgot this today.

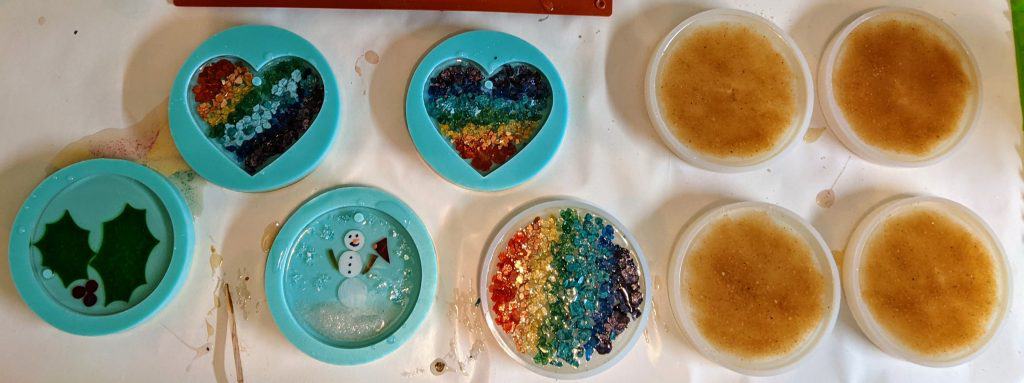
After resin and decorating – ready to cure!

I’m trying out some new colors of mica for the rainbow projects. I think they will be really pretty!

Close up of the rainbows / snowman suncatchers and coaster
Snowman panel curing

Now everything just needs to sit overnight to cure.

Still prepping

In preparation for this week’s Charleston Holiday Market, I’m really pushing the limits on how many individual items I can pour and decorate at the same time. If it goes well, at least I will have all year to prepare for the next one! I finished shaping the stained glass items for this batch of ornaments and was able to pour / decorate the resin this evening.

Glued and ready for resin.

Many thanks to my husband for taking care of dinner while I tended these – I really need a solid two hours after pouring the resin to work with them, which can be hard to find between my regular work and carting my teenagers around to their various obligations. I had a few issues during the pouring (pouring too much resin, a couple of the ornament hooks came loose, etc). I think they will turn out OK, though. I’m pretty sure I will be spending a chunk of time tomorrow cleaning up cured resin drips from the back sides of these ornaments, though.

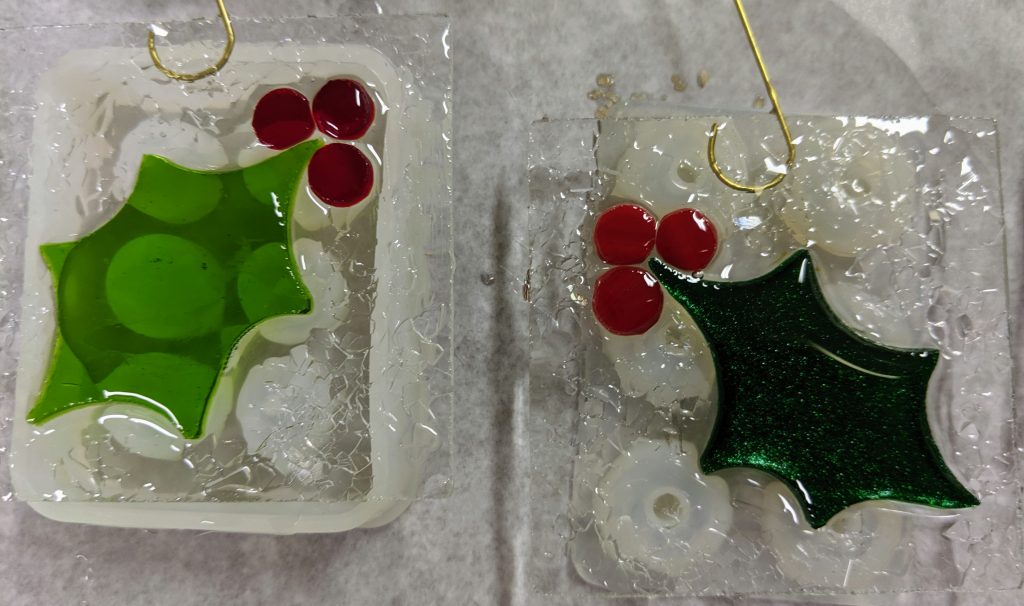
Poured, decorated and ready to cure.

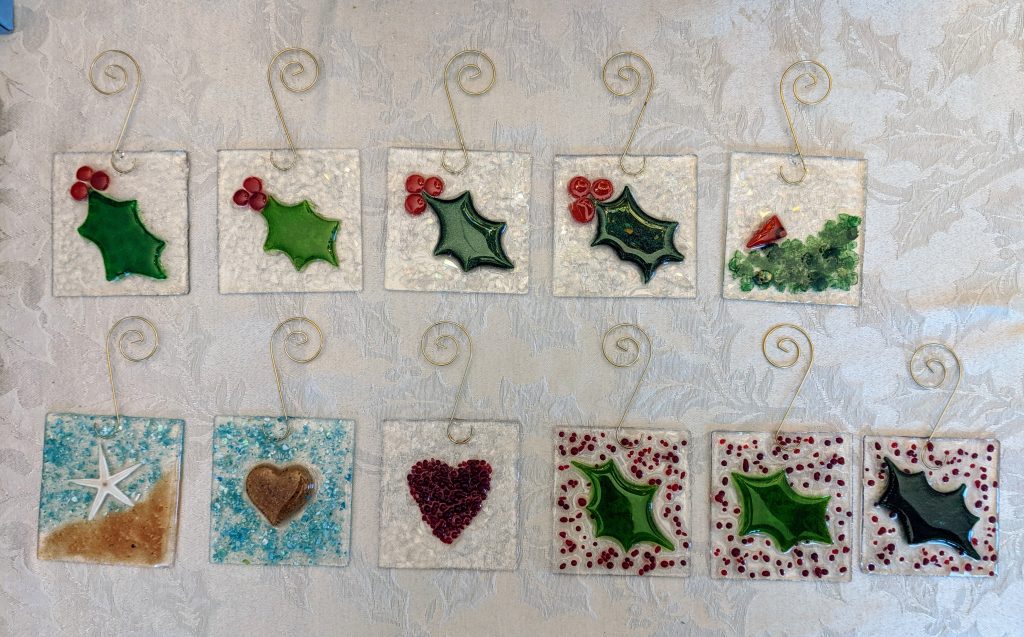
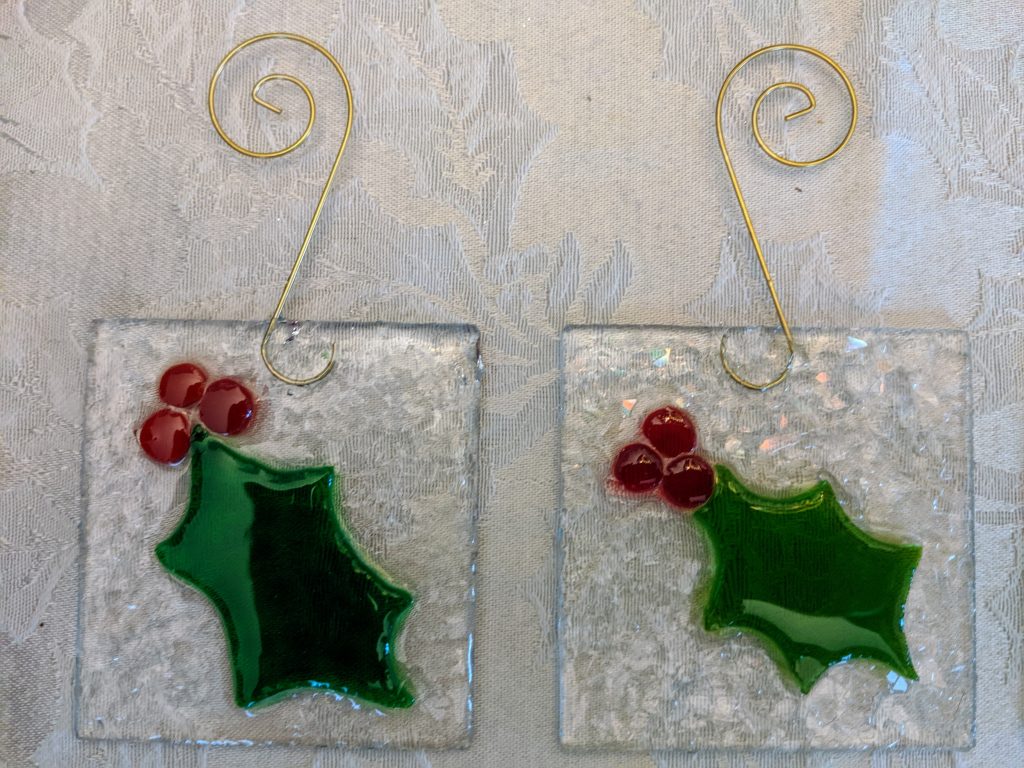
Neat Holly designs.

I used some different glass for the holly ornaments I made today (on the left). The glass on the right is the sparkly green I love for so many different projects. I’ve made several tree / wreath ornaments with it. It’s really great for hummingbirds, too!

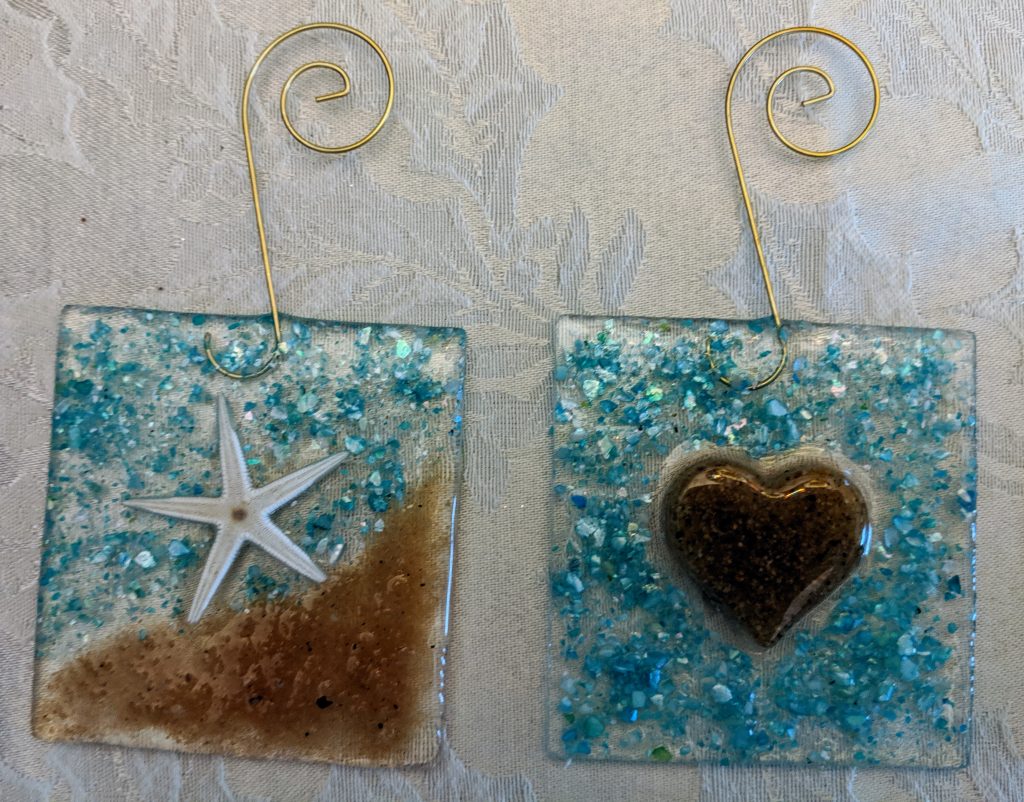
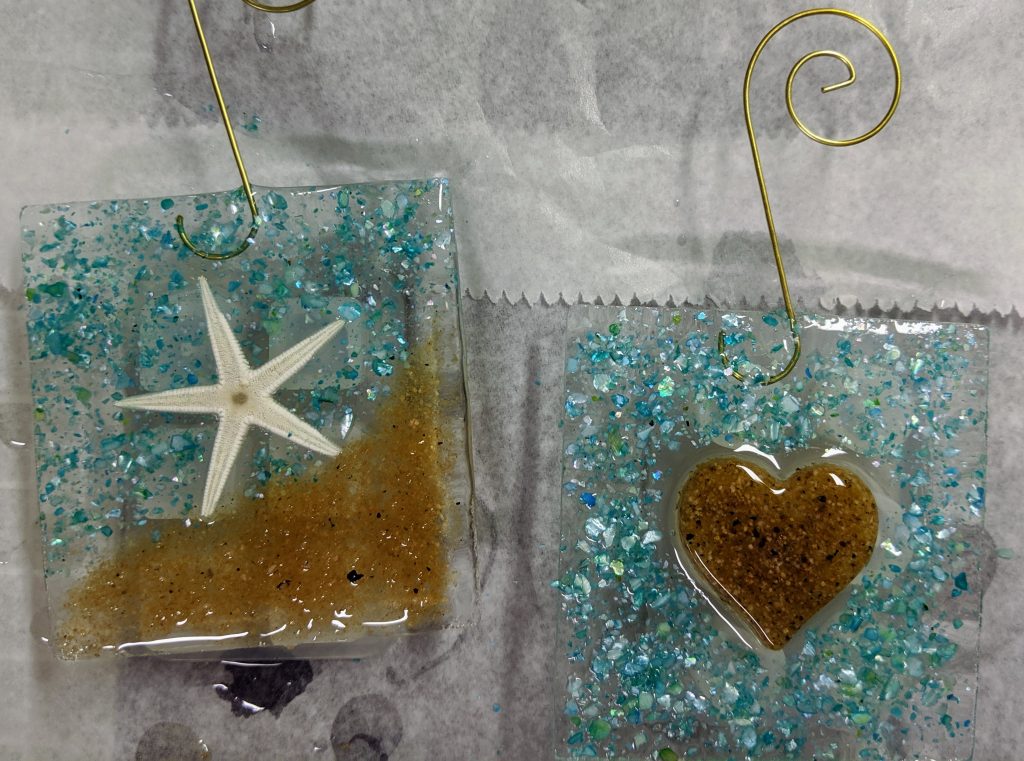
I decided to try some beach themed ornaments.

I went out of my usual habit and made some new designs for beach themed ornaments – the heart is made of resin and sand that I molded a few months ago. They both have recycled clear glass bases (the squares), sand, and blue shell chips for the water effect. Great for anyone who loves the beach!