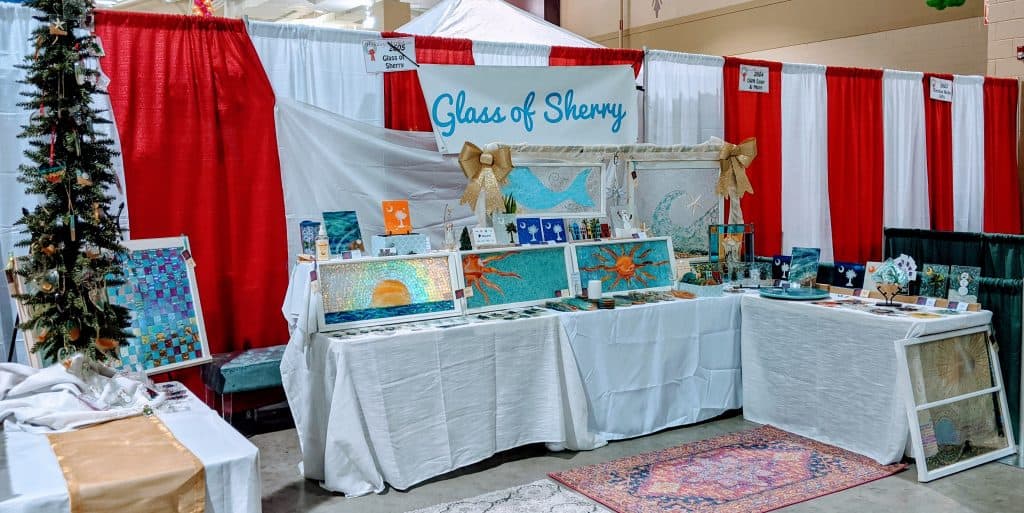
My booth is ready to go and the Holiday Market starts tomorrow morning at 10am. Come by and visit!

Glass of Sherry
My booth is ready to go and the Holiday Market starts tomorrow morning at 10am. Come by and visit!


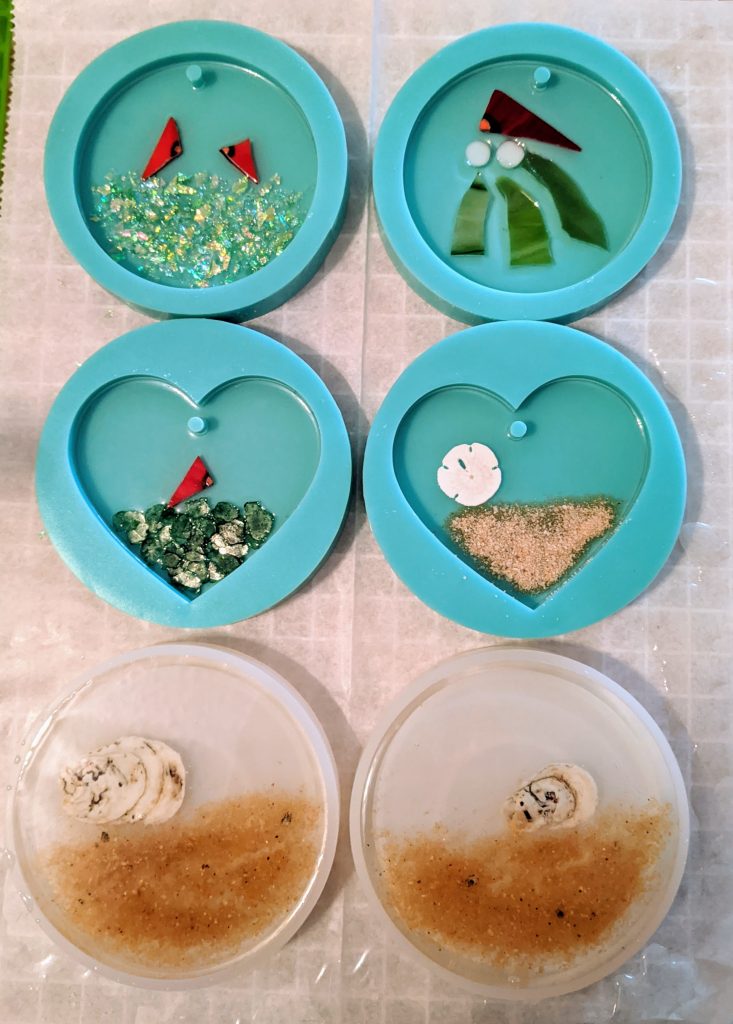
Here are a couple of snapshots of the Starfish and Sand Dollar suncatcher/ornaments, ready for display. I still have to pour one or two more layers on the molded ones from the other day to finish those.
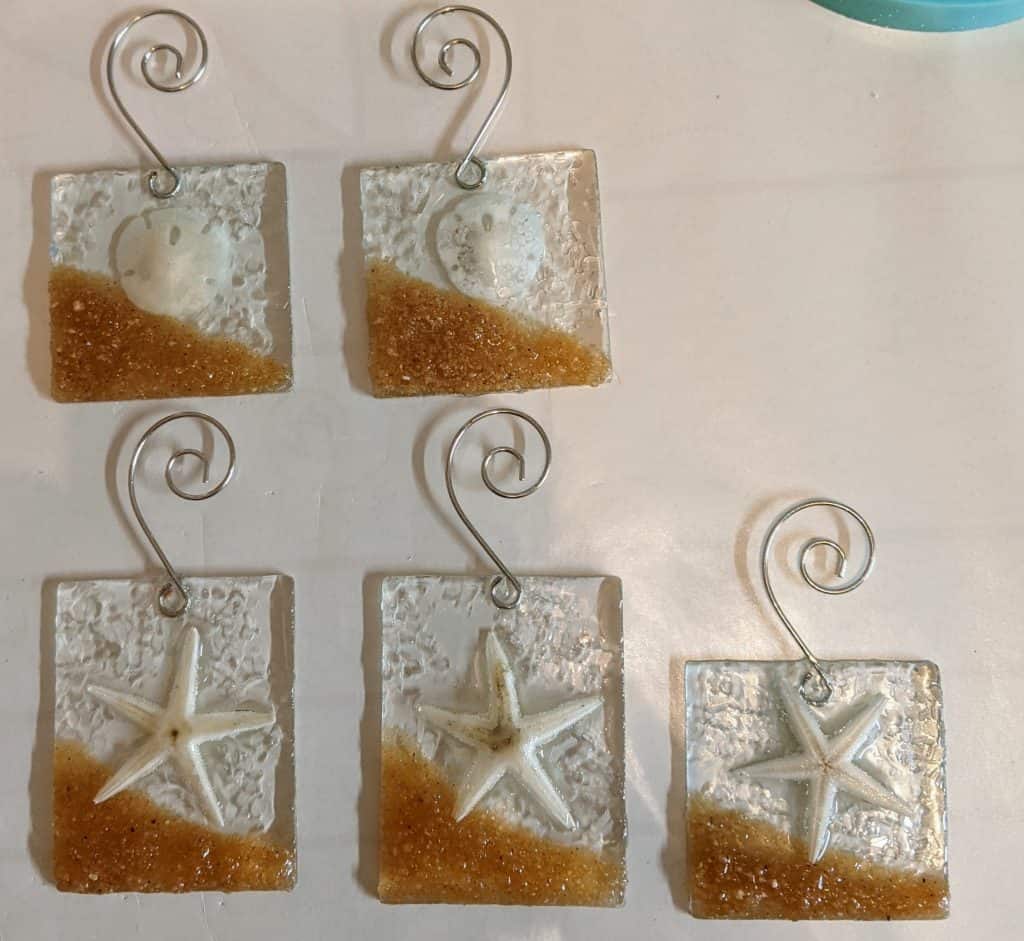
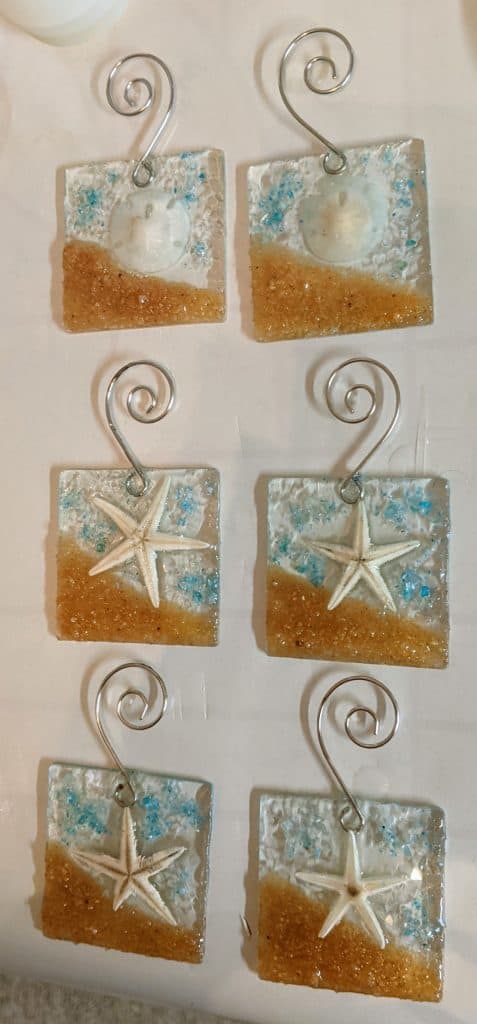
I started these a few weeks ago, but had to wait for the ornament hangers, then had to glue them in place and let it dry. This weekend was my first opportunity to finish them by taping the backs with painter’s tape, pouring the resin and decorating. The molded suncatchers / ornaments only have the first layer of resin poured (today) and will require at least a second layer.
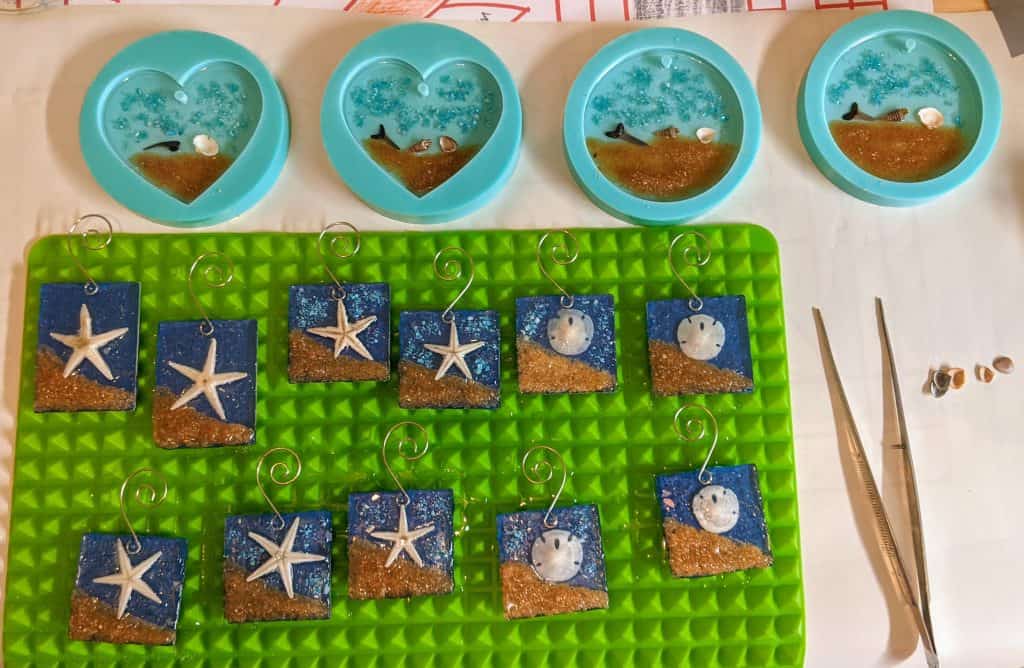
Beachy batch – the blue painters tape will be removed from the glass ornaments / suncatchers after the resin cures.
The last time I made these smaller starfish / sand dollar ornaments / suncatchers, I believe I glued the sand for the beach in place before pouring the resin, so I did that again this time. I still ended up adding some sand here and there after I poured the resin this time. I’m not sure the extra step of gluing the sand in place in advance is needed at all. I likely will skip it the next time I make some of these.
I’m still busier than usual at work, so my weekends are my best time for crafting. Today I finished cutting out and gluing the glass for a little winter scene and a small snowman panel (not pictured), as well as laid out the “beach” for some starfish and sand dollar ornaments.
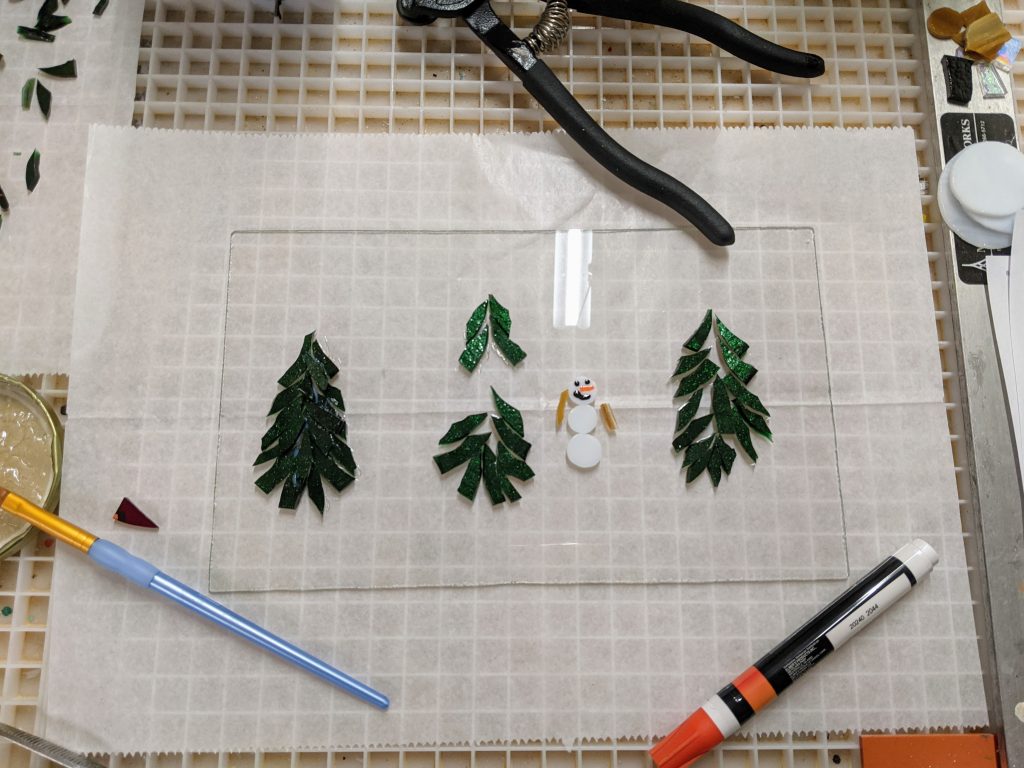
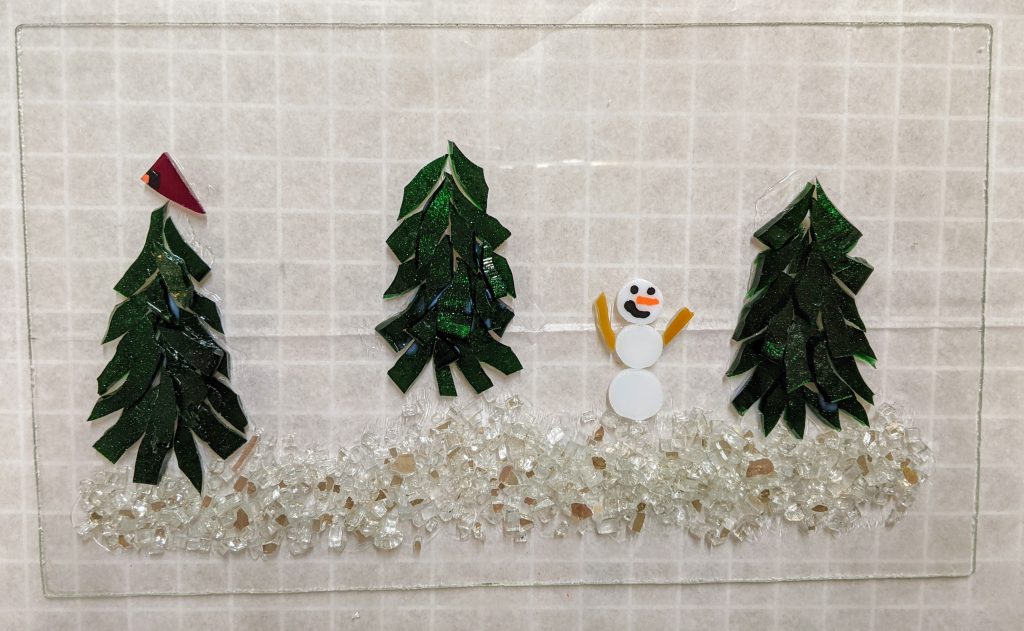
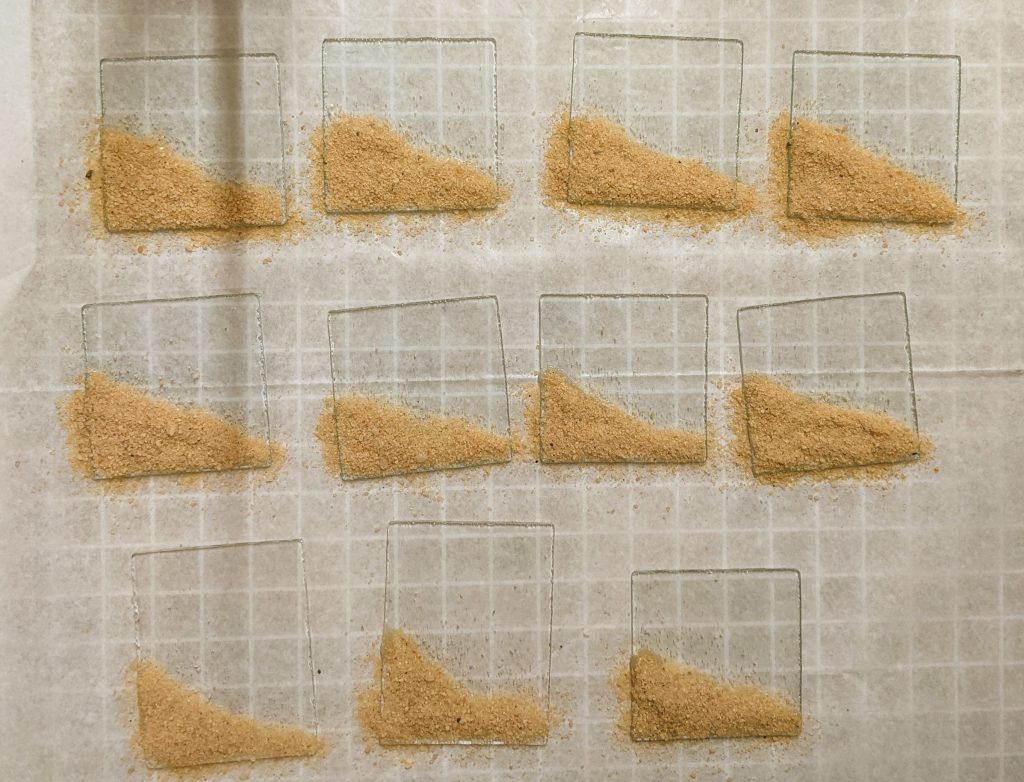
Of course, I had to cut the backer glass and sand the edges for all of these before decorating could begin. Hopefully the sand will stick well and I won’t have to add another layer before I can pour the resin, but I have a feeling I’ll need a bit more sand once the glue cures. I plan to make these into mini starfish & sand dollar ornaments / suncatchers.
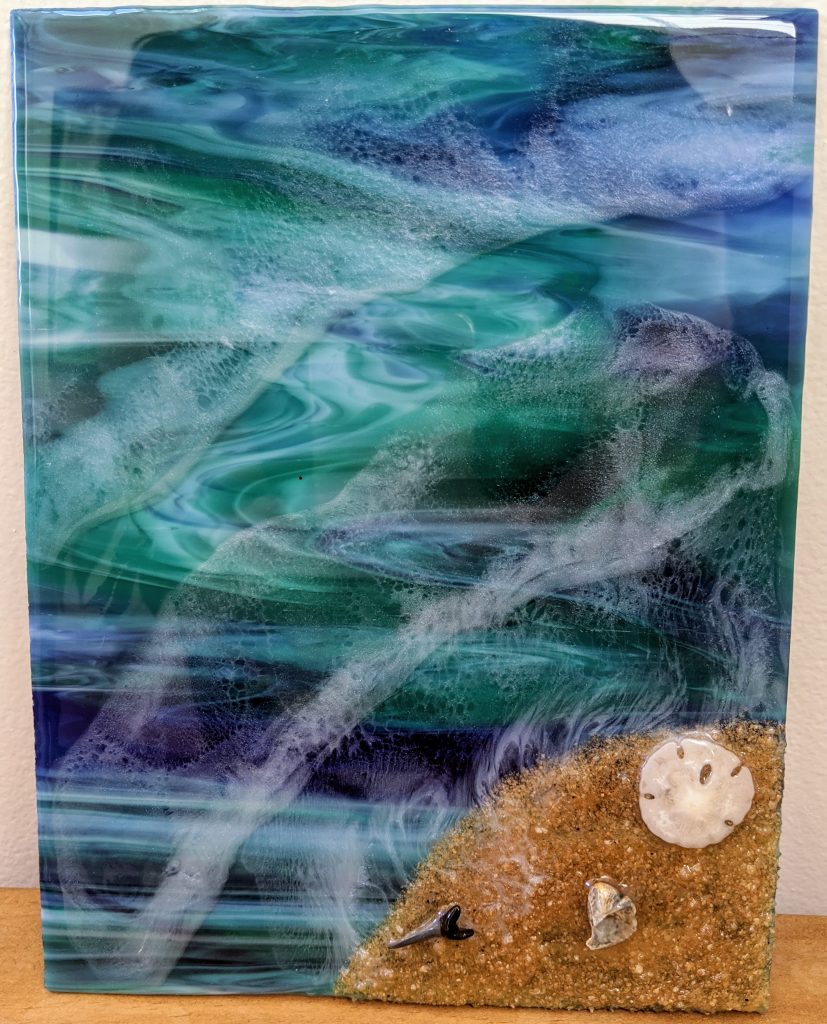
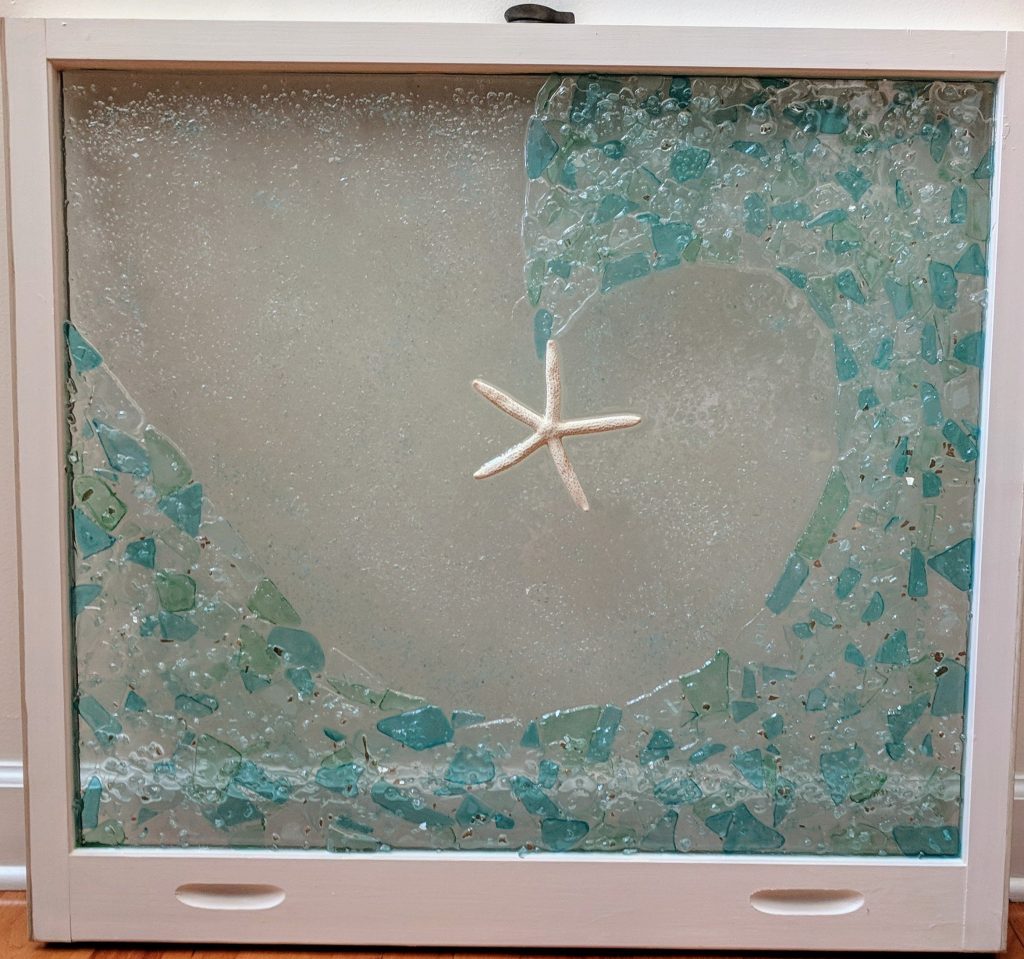
If you like this beach glass window, it is up for bids through Feb 20th in support of an amazing local school, SJCS! You will also find one of my resin-embellished lazy susans in the auction. Happy bidding! https://qtego.net/qlink/saintjohn
Today is Thanksgiving, a great day to make some progress on small projects! Today was second layer of resin over the two heart / mica rainbow suncatchers / ornaments and also for the first mica rainbow coaster. I liked the first mica rainbow batch so much that I decided to make a round mica rainbow suncatcher / ornament and three more coasters to match the first. Next up will be the second layers on those. I also made a medium sized stained glass snowman suncatcher that will need another layer of resin and some decorations tomorrow.
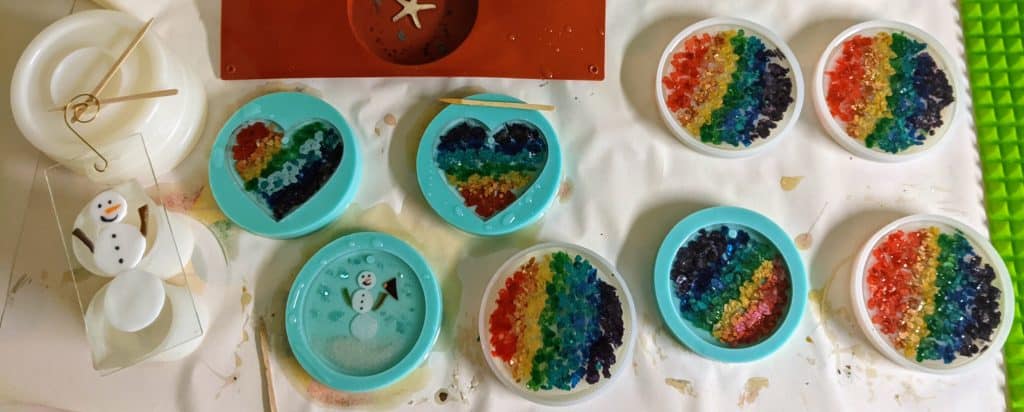
I was able to pop out a few finished projects from yesterday’s batch, too!
Continuing to try and make some new things for the small, outdoor, masks required pop-up craft fair I signed up to do at 3 Matadors for December 5th.

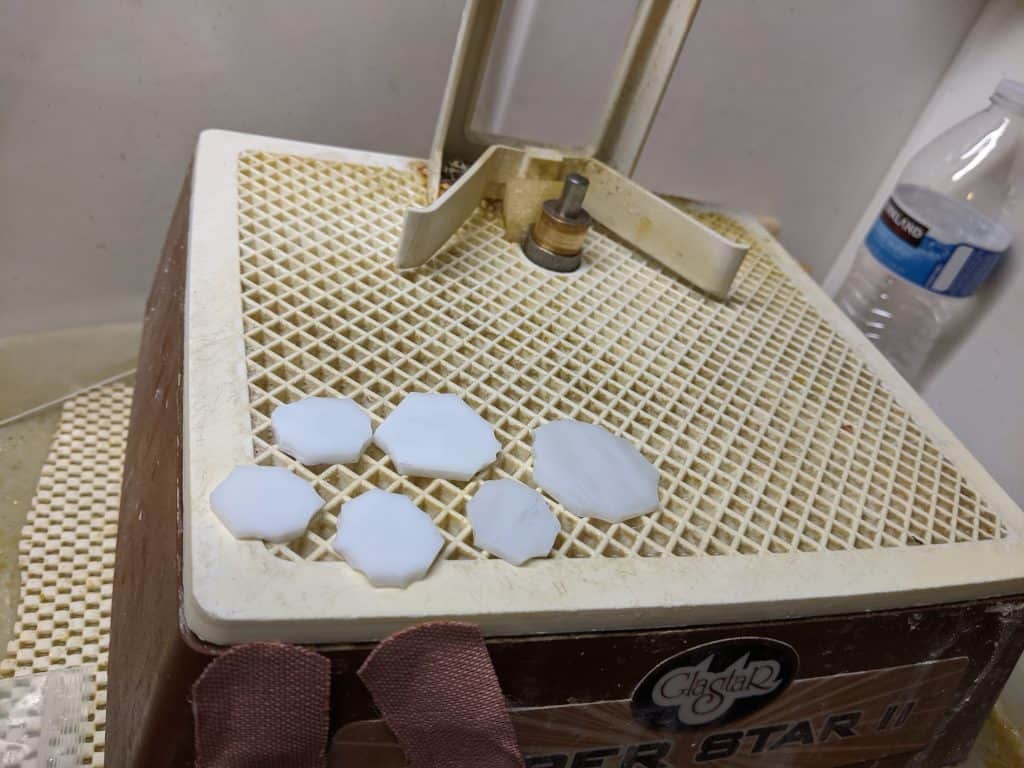
First I needed some more snowballs for snowmen, as I used up all the ones I had on hand. Back to the old grinder so to speak. 🙂
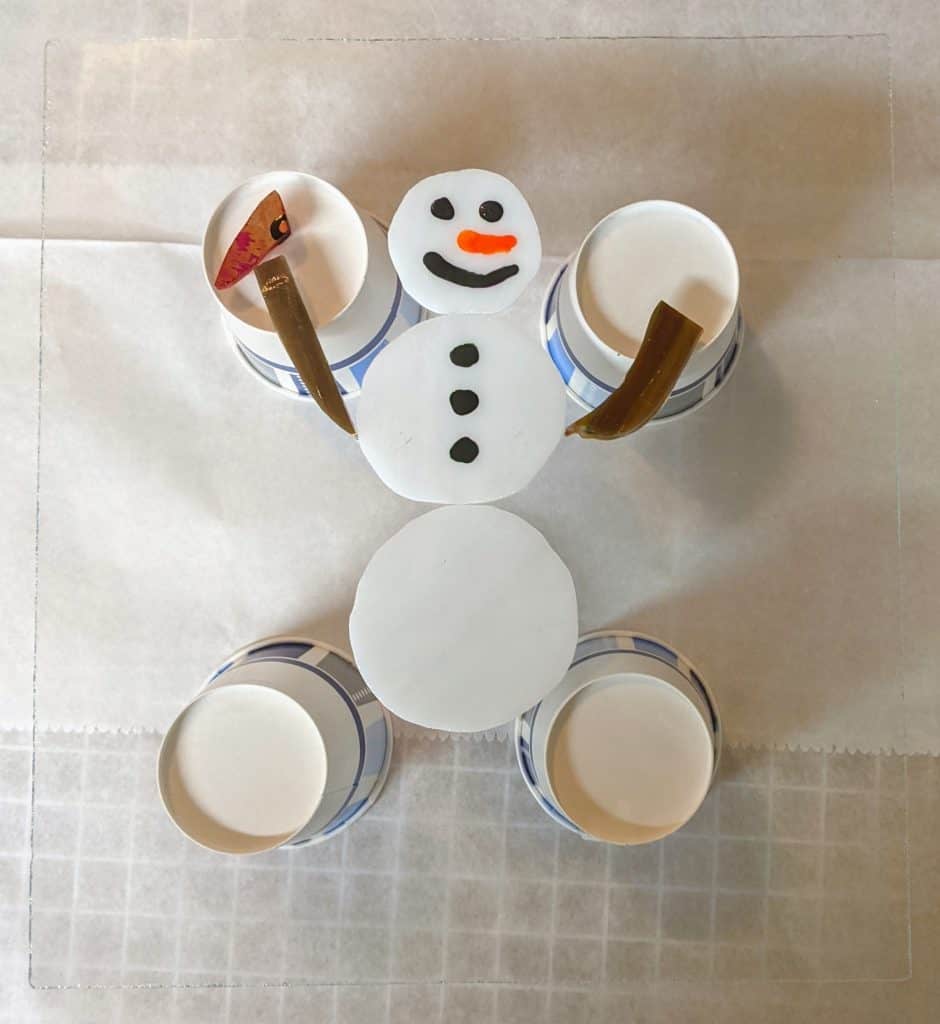
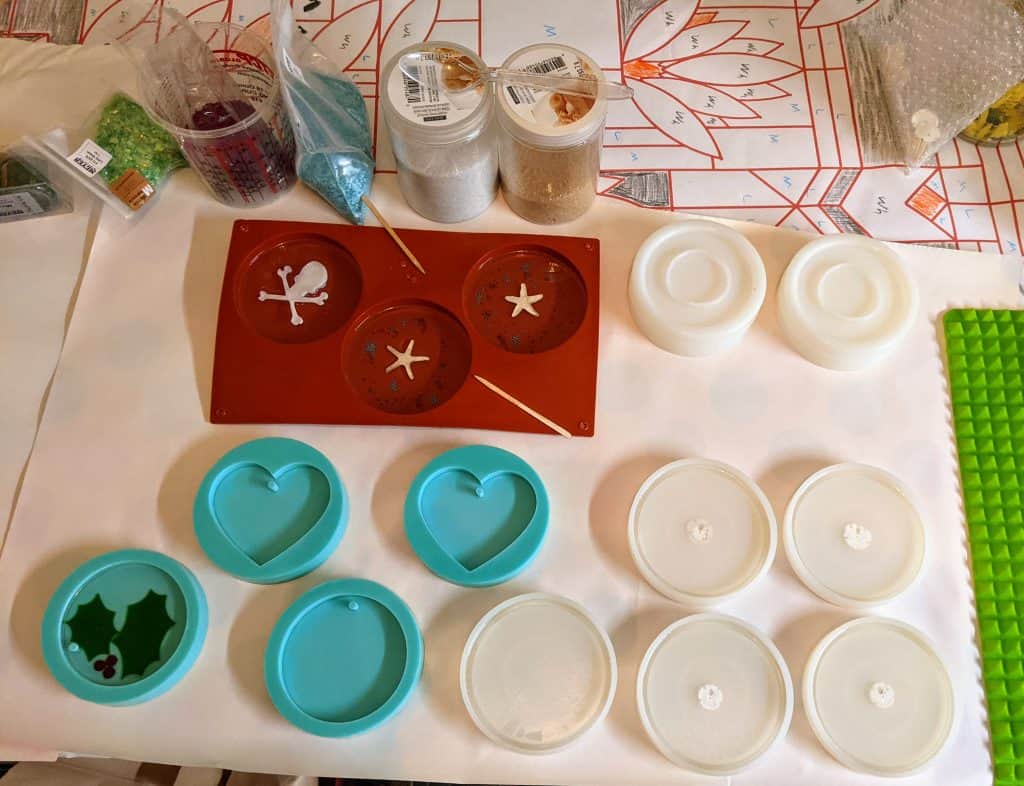
Before I start mixing my resin, I lay out all of my projects and needed supplies. Today was the second layer of resin on the holly suncatcher and all five coasters, though one will be a new coaster design and the other four will be sandollars in the sand. I like to elevate the larger projects like the snowman panel so I can reach any drips that happen. I sometimes tape the underside edge, but forgot this today.
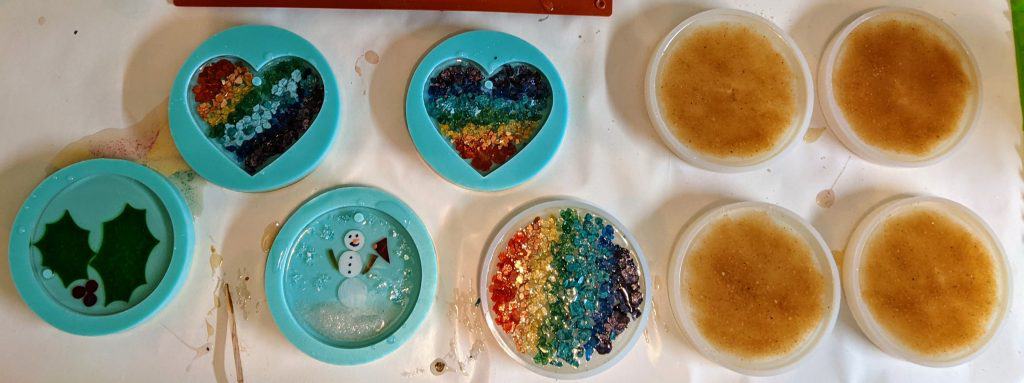
I’m trying out some new colors of mica for the rainbow projects. I think they will be really pretty!
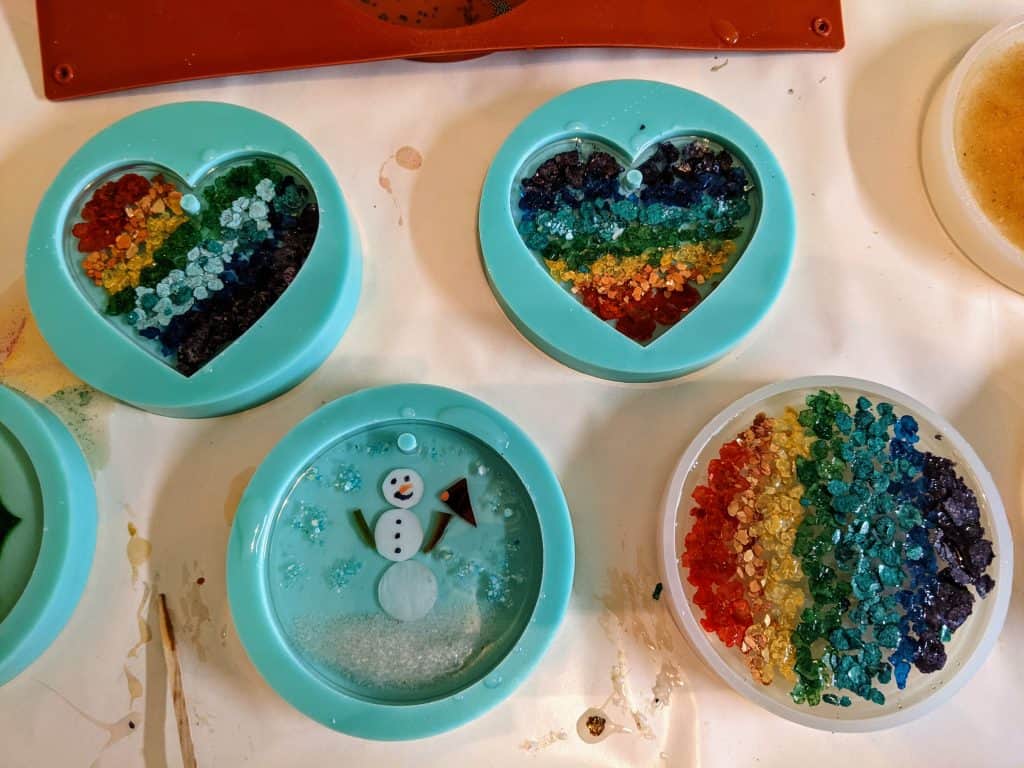
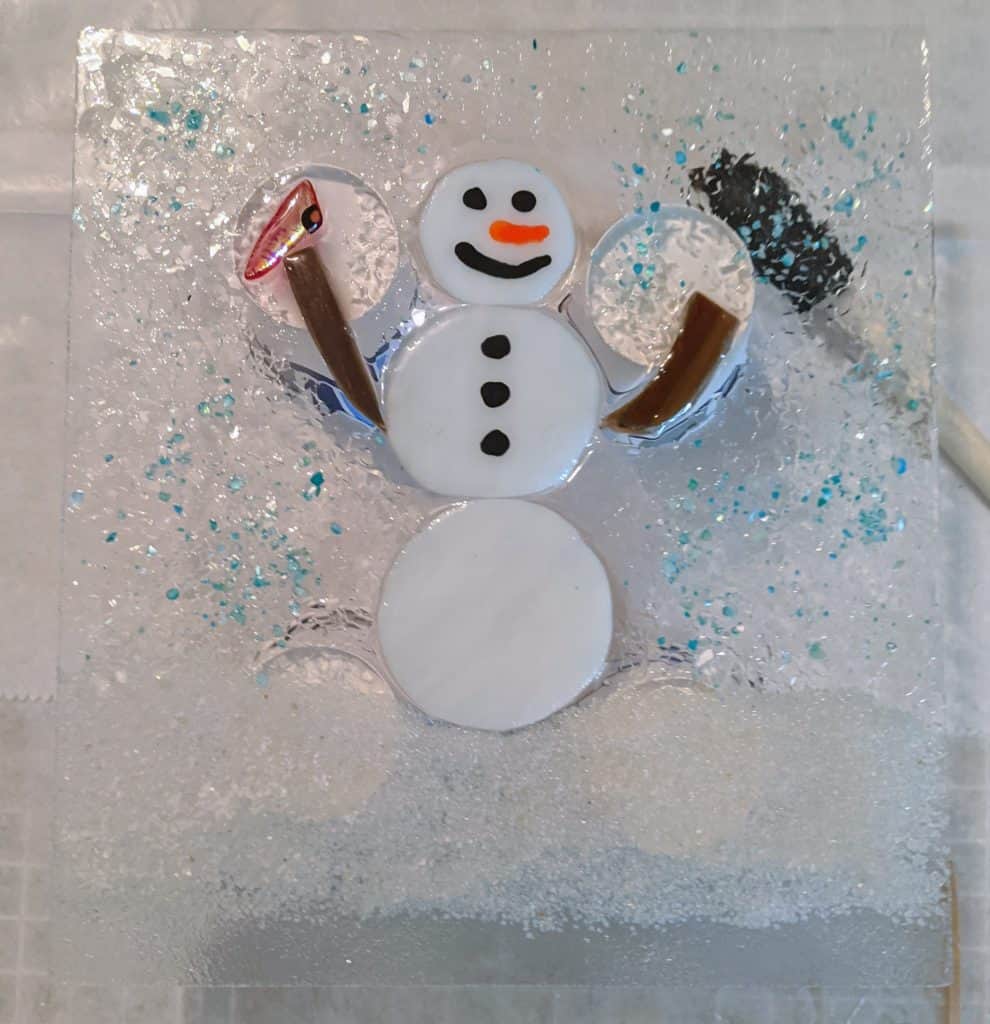
Now everything just needs to sit overnight to cure.
Yesterday the friends who will be the recipients of the big Frank Lloyd Wright window came over and we decided to do another layer of resin. I decided that I really needed to move it to the garage for the final layer so I could access all sides of the window, despite the space being more prone to dust / humidity. Luckily it is an unseasonably warm day and the temperature in the garage was 75, which is perfect for my resin (Envirotex Lite).
This took a bit of planning as I had to mix up a lot more resin than usual and keep my family out of the garage (next to impossible today for some reason). However, after pouring, spreading and using my heat gun to clear the resin, everything looks good so far. Hopefully we can move it into the mud room later in the evening so the temperature remains a bit more consistent while it continues to cure overnight. In the meantime, I had a few smaller projects in the works I wanted to continue / start. Unfortunately this included repairs on a holly suncatcher I made yesterday. I had covered it with some wax paper to keep dust out while it cured and the paper made contact with the resin and made a giant mess. I had to carve some lumps off of the suncatcher today when it was cured enough, reinsert it into the mold and sort of “top it off” with another layer of resin. We’ll see how good it looks tomorrow (hopefully). I don’t think it will look as good as it would have had it not needed the repair, but I can likely keep it to use at home.
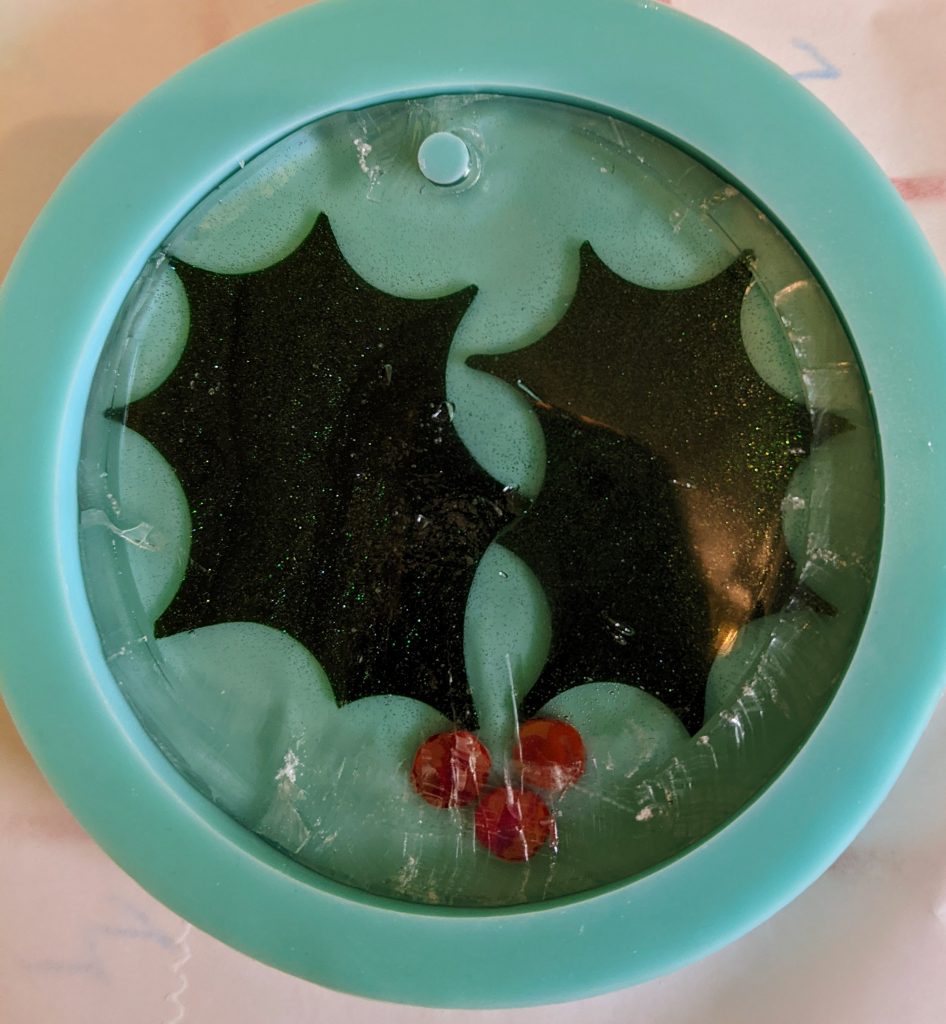
So all in all, I poured a second layer on three beachy coasters, first layer on two more beachy coasters, repair layer on the holly suncatcher / ornament and the first layers on three snowman ornaments.
I decided to rotate the large Frank Lloyd Wright window I have been working on, and upon closer inspection of the “far” side, I decided to pour another thin layer of resin to address a few coverage issues. Since I was doing that, I mixed some extra resin to finish off a couple of coasters I’ve been working on and made a few new ornaments using mica, glass, sand, shells etc. I still have to pour a second layer on the ornaments, but the coasters should be ready to pop out of their molds tomorrow. The picture isn’t very good, but hopefully I’ll get some better ones once these are out of their molds.
