So today is a results day – didn’t start anything new, just got to see the results of previous hours of work.
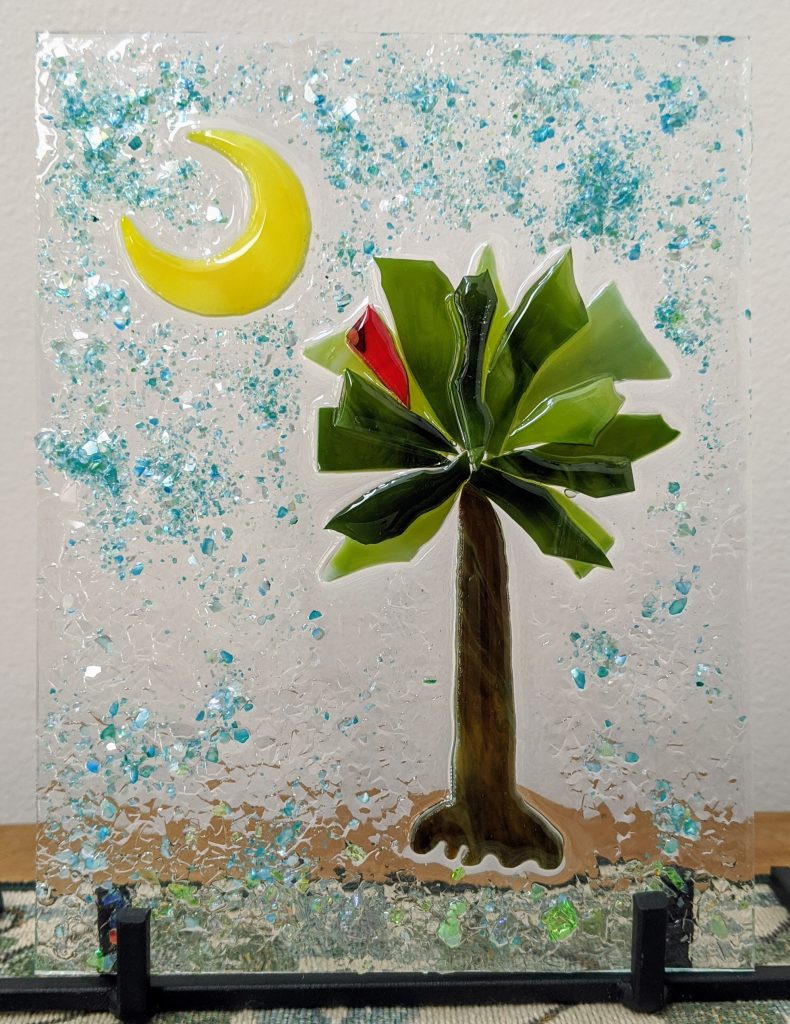
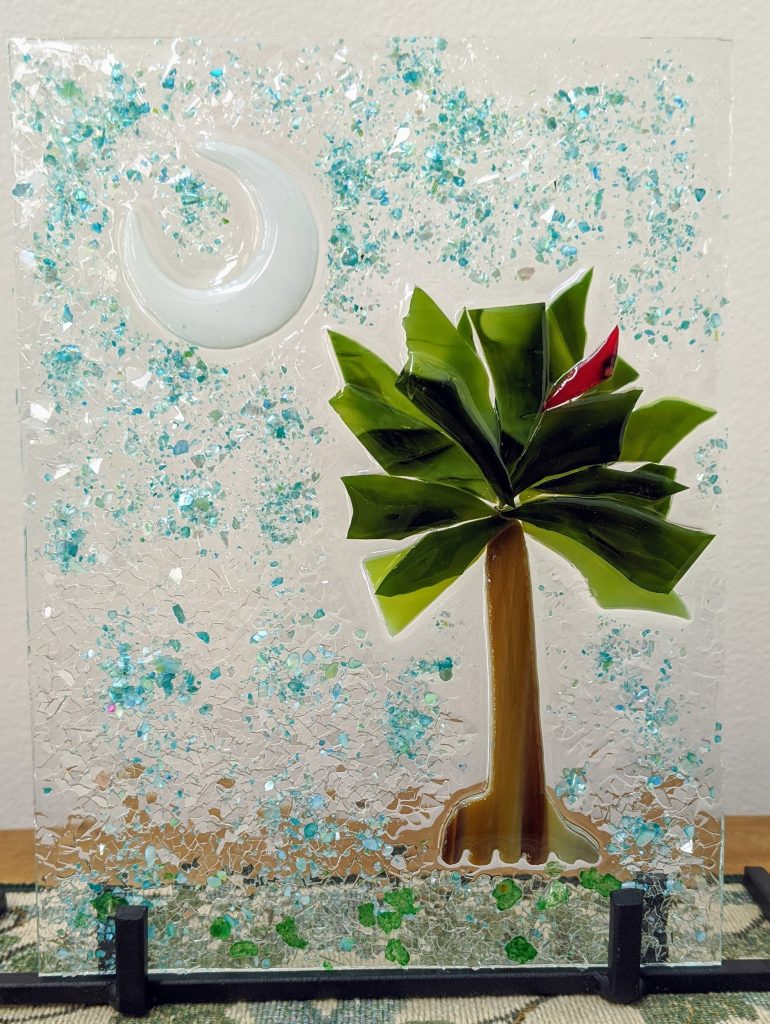
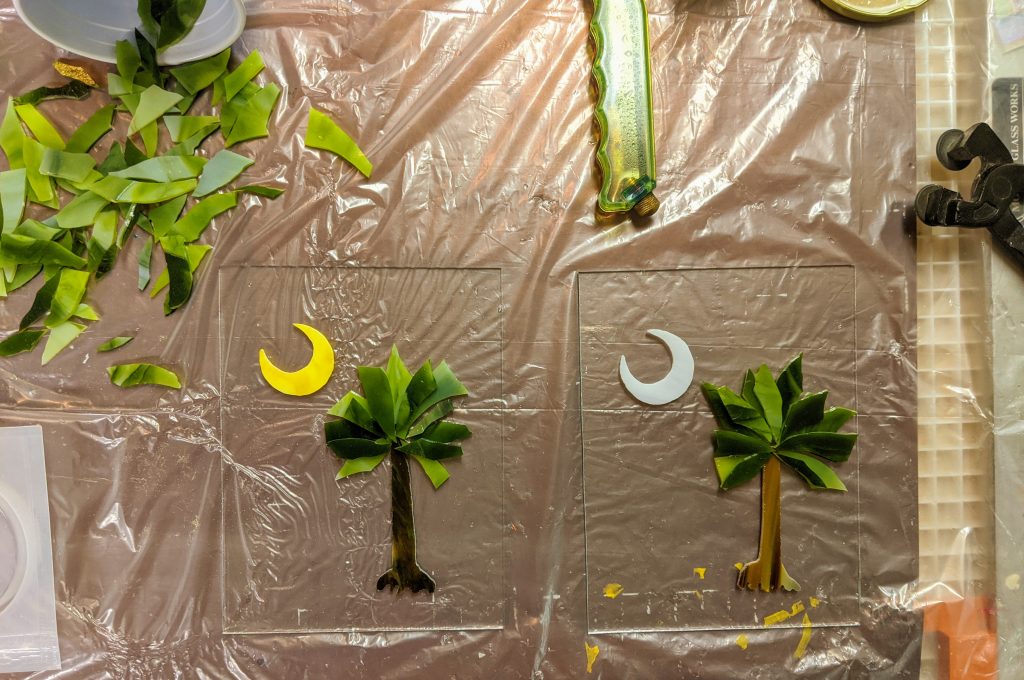
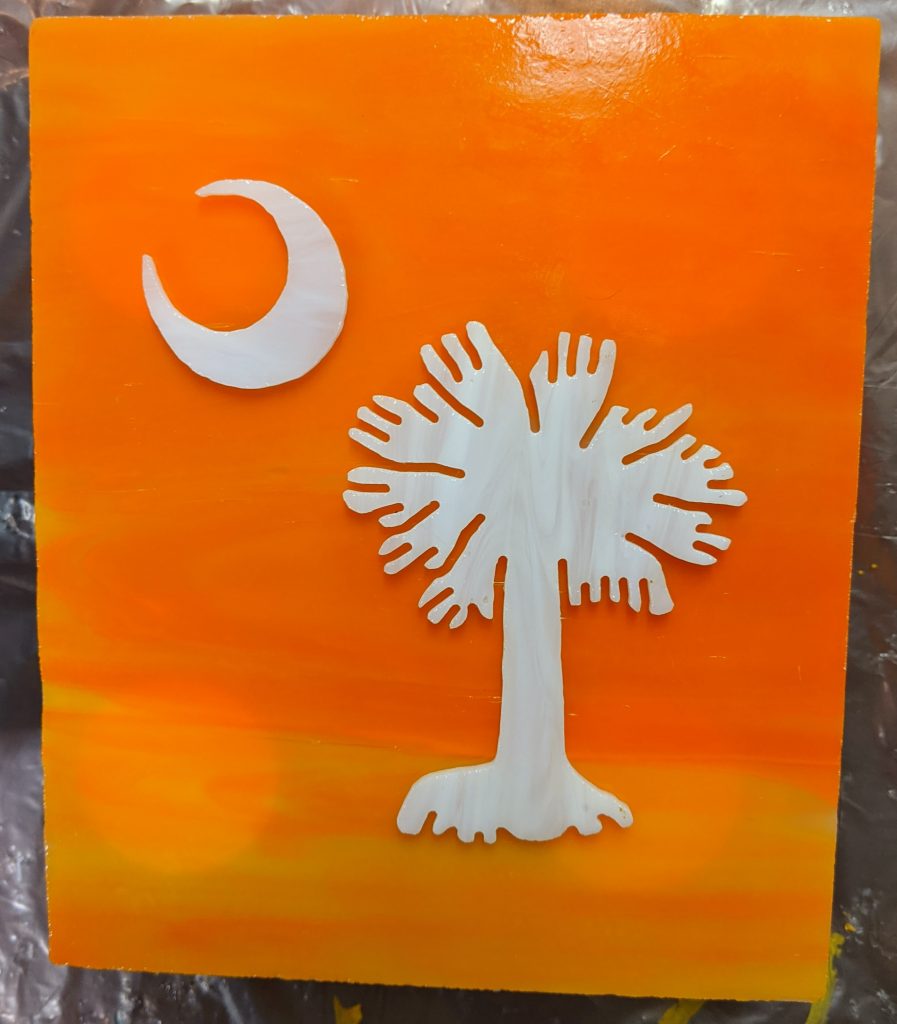
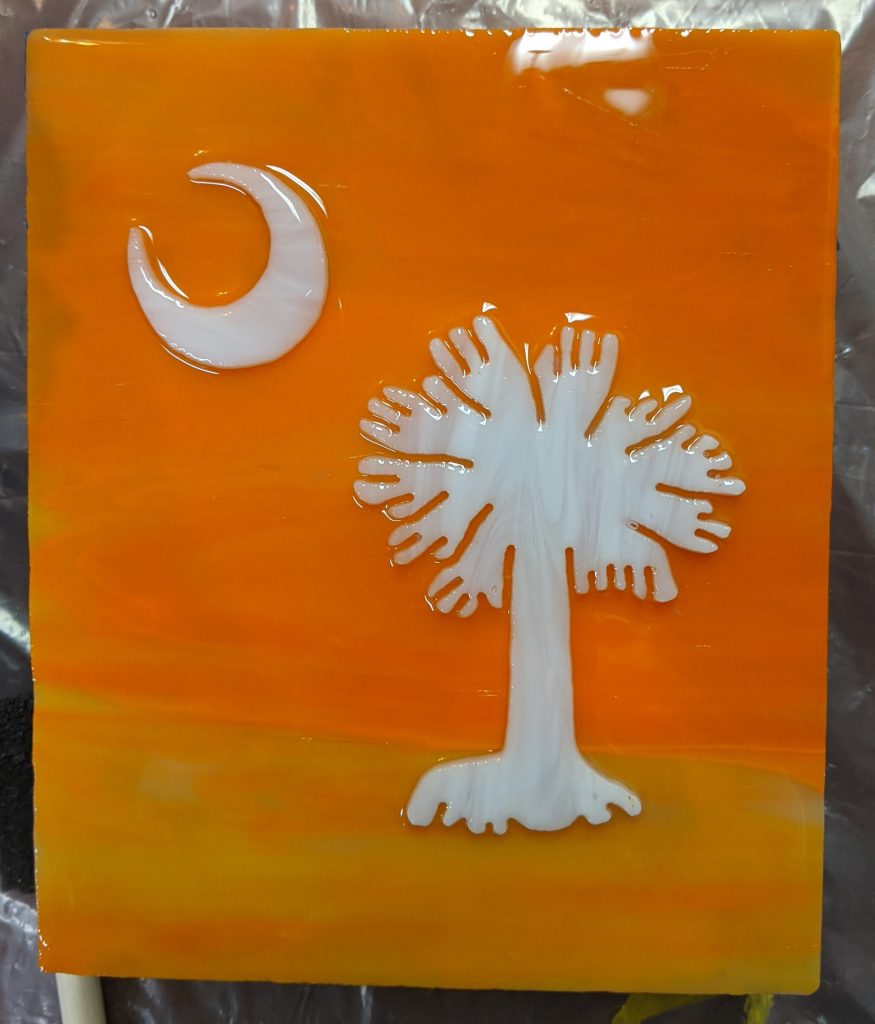
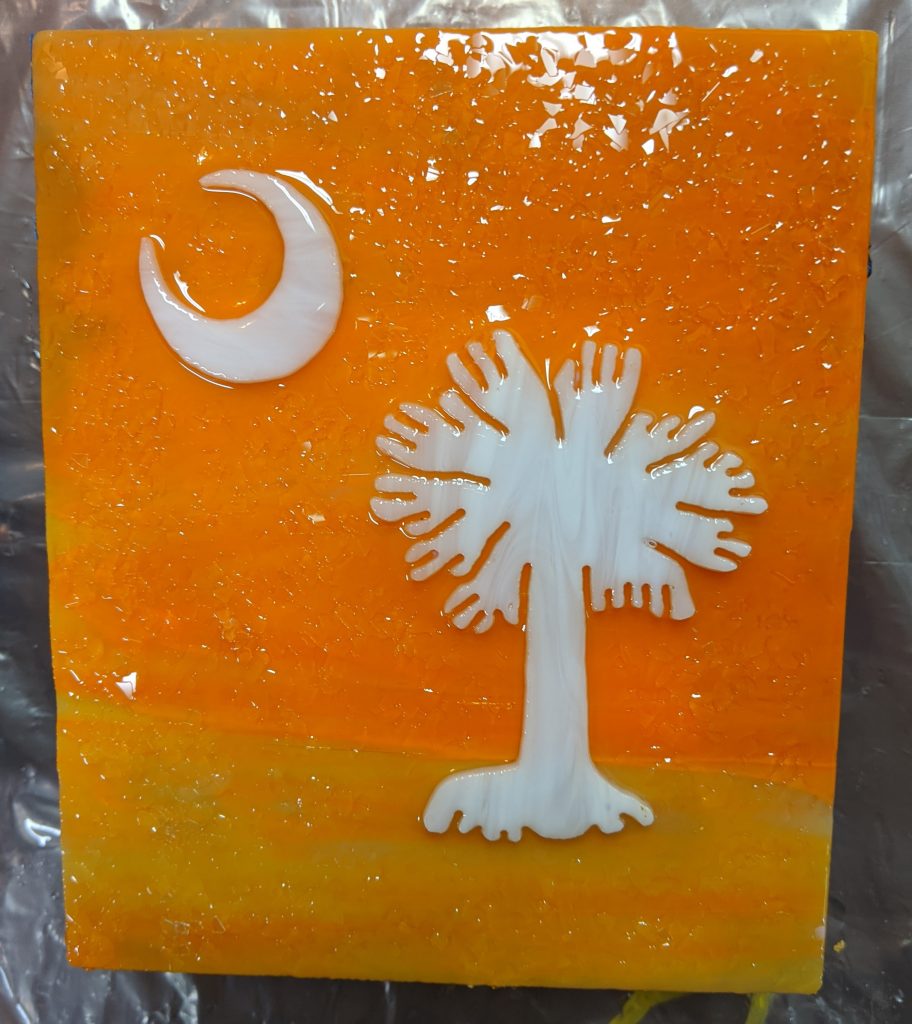
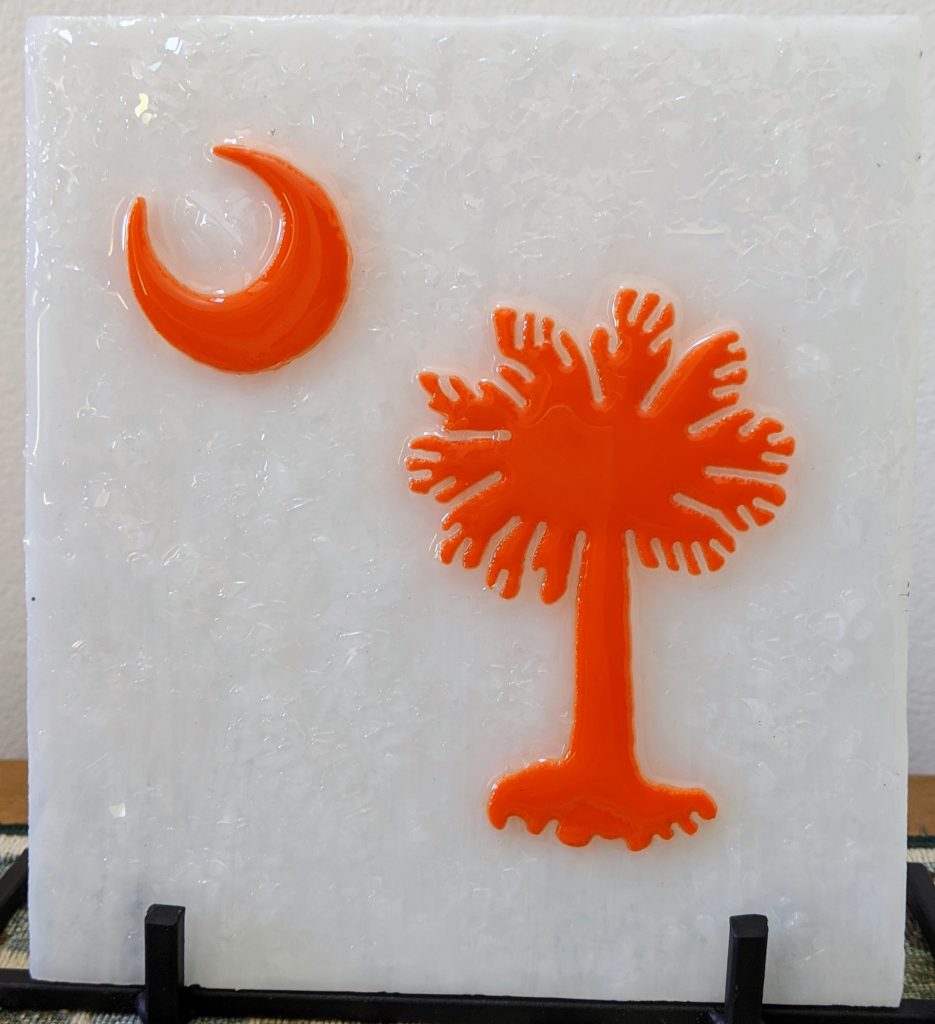
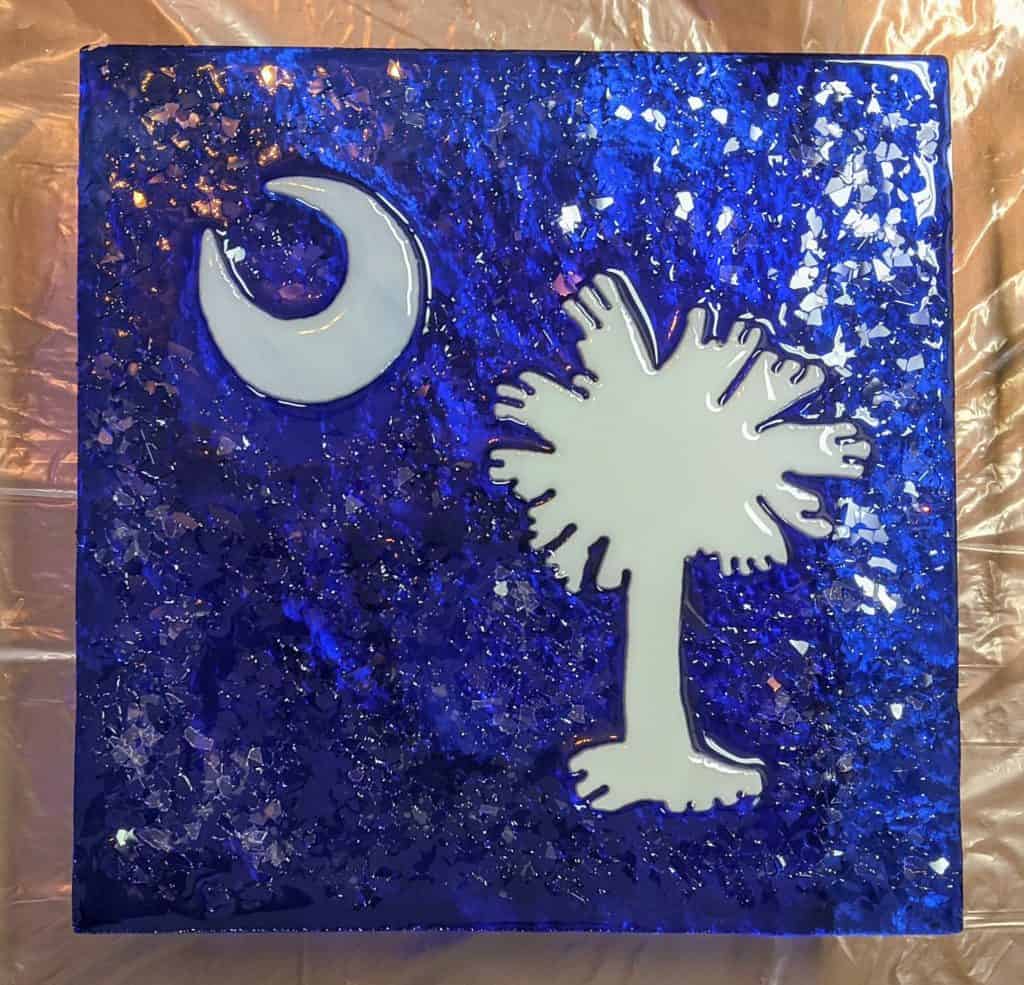
Palmetto & Crescent, yellow – approx. 6″ x 7.5″Palmetto & Crescent, white – approx. 6″ x 7.5″
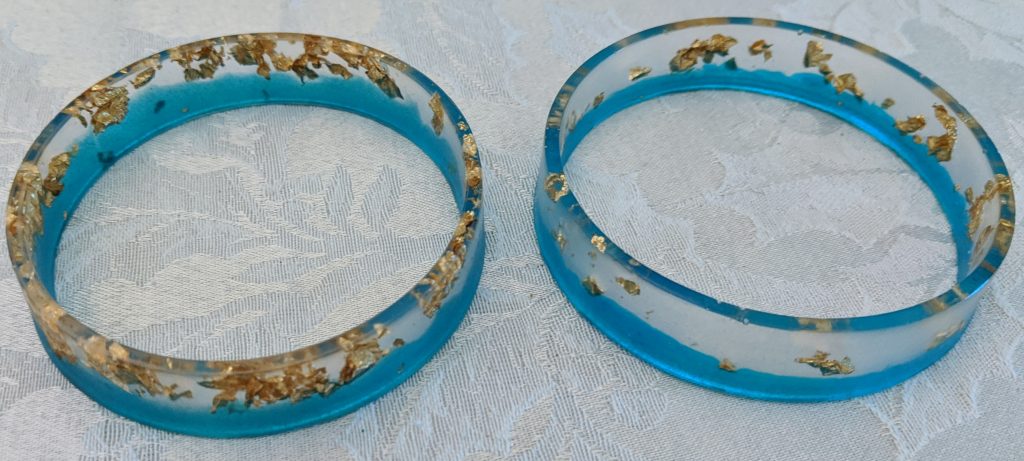
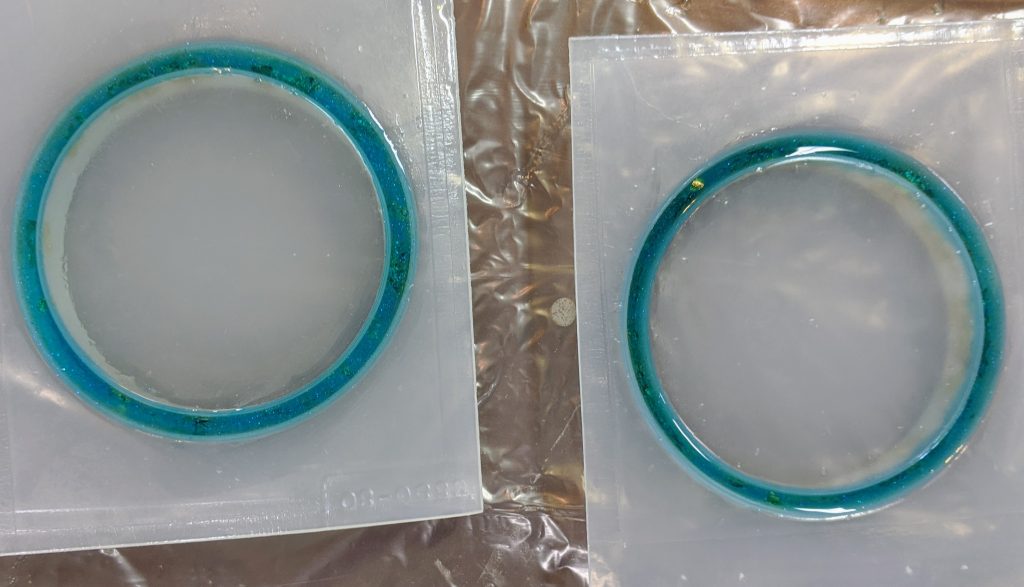
My first shot at the bracelets was interesting. I had a pretty rough time getting them out of the molds. Ironically, the one without the mold release was harder than the other one. I’m not really that excited about them. I think I need to pour a little less resin into the mold so the resin doesn’t get to the top. I’ve got a lot of sanding to do on the top edge.
Second attempt (all one pour) at left, first attempt at right (two stage pour)
The next project on my list will be a 13.5″ x 30″ window. I have no idea what I’m going to do. A sun? Maybe some spring flowers? A beachy scene?
I finally got around to making some Palmetto and Crescents with variety today.
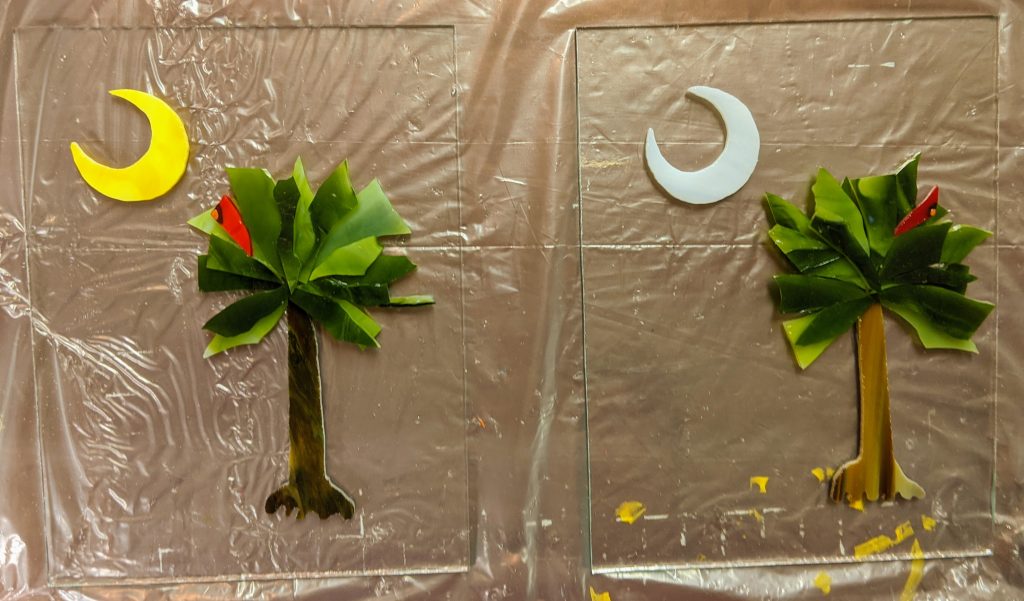
Laying out the pieces of glass for the Palmetto and Crescent panels
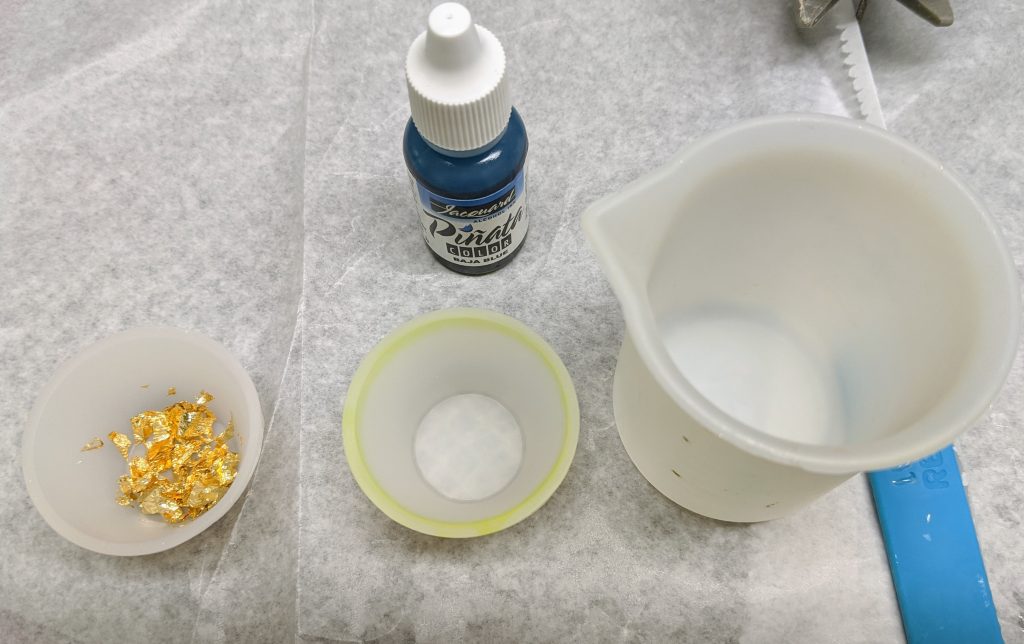
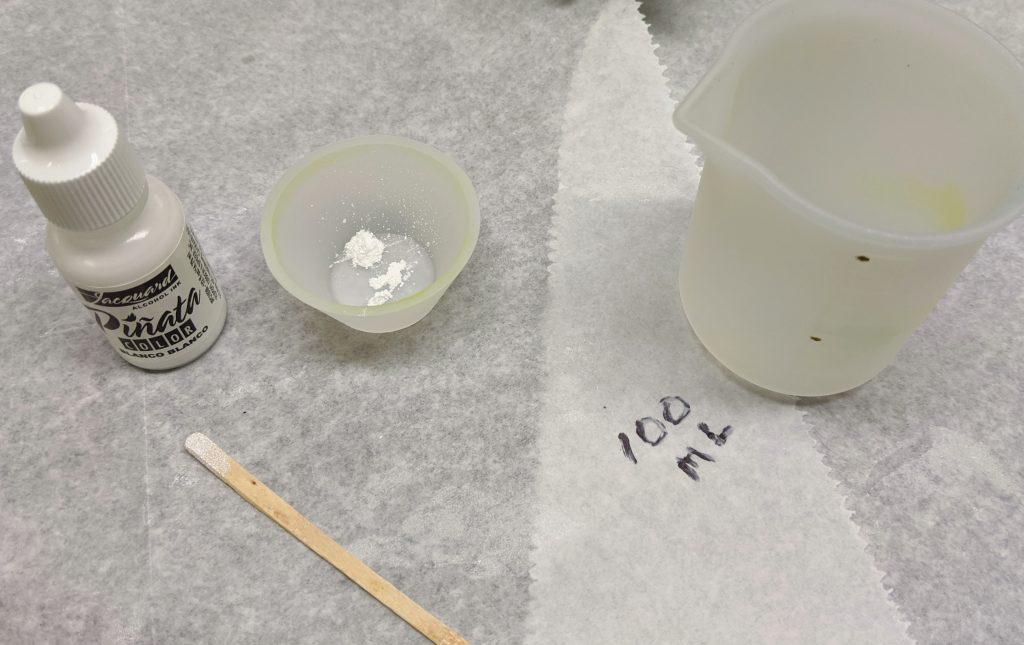
First, I mixed 80 ml of resin and then separated it into clear, a small container of clear with metallic flakes and one that would end up blue tinted.
I used a drop of blue alcohol ink and also a tiny bit of natural blue powdered pigment in the blue resin
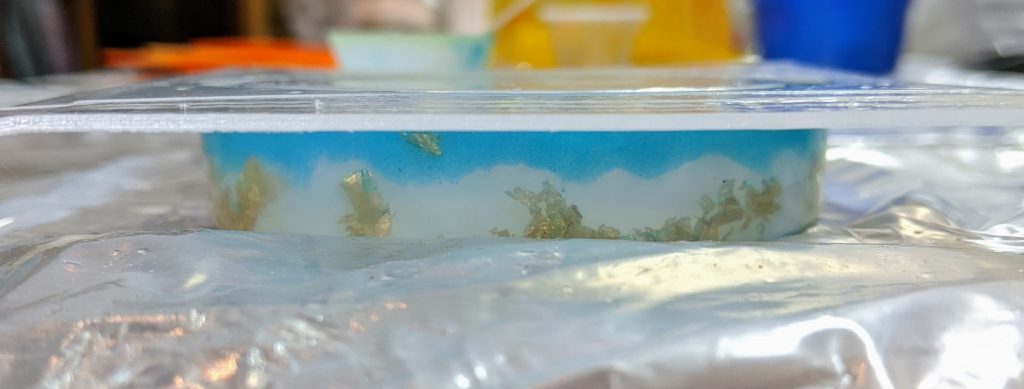
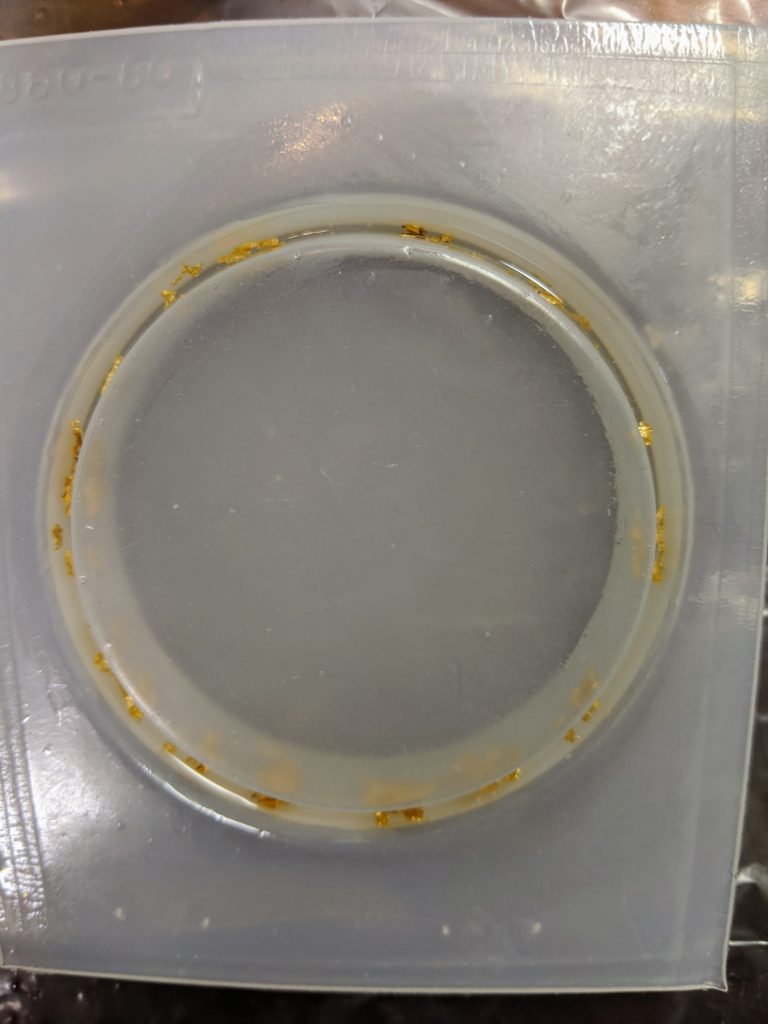
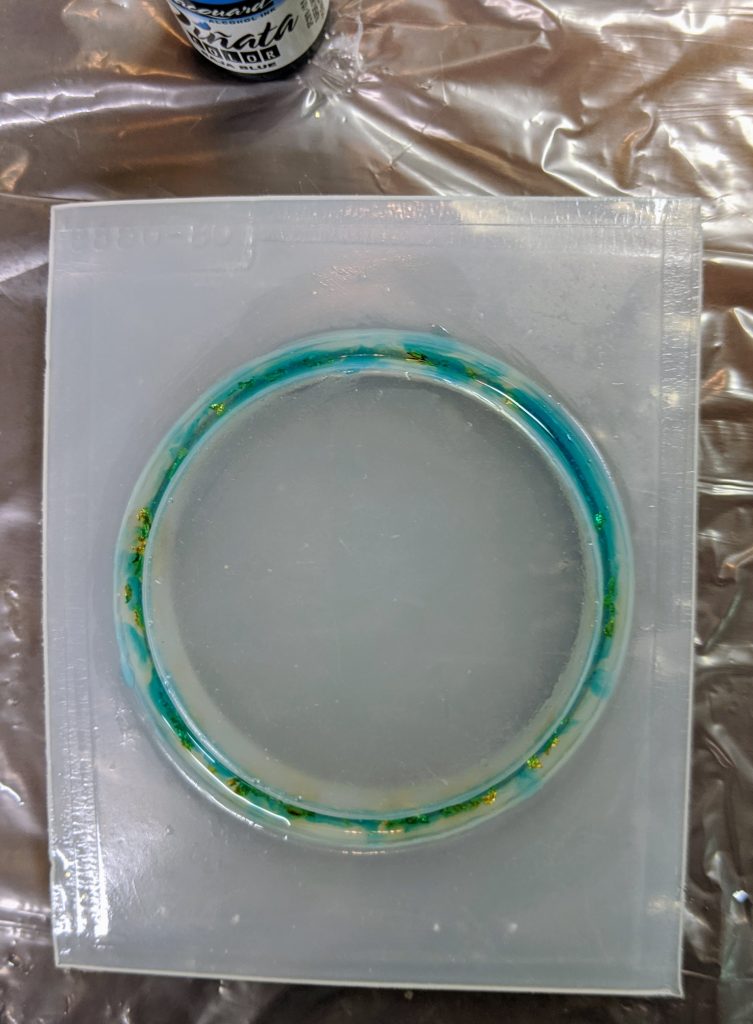
I also finished pouring the resin for my new bracelet molds. I’m not too sure how to get my desired look yet, but it’s just the first attempt. I think they might make a nice addition to my PetMemoryBeads.com offerings once I figure it out. I started pouring the one on the left a few days ago, with a clear layer then adding metallic flakes, then a little blue over that. I think mixing the flakes directly into the resin before pouring into the mold will make the flakes distribute better in the mold. I also needed to add more blue to the first mold today to fill in the space. For the one on the right, I mixed the flakes directly with the clear resin before pouring into the mold. The mold on the right also has been coated with Castin’ Craft Mold Release. I ordered the molds not realizing that they are stiff plastic, not silicone, which all of my other molds are made of. I never need mold release for my silicone molds, so I didn’t have it on hand when I poured the first one.
Side view of second / right hand bracelet mold
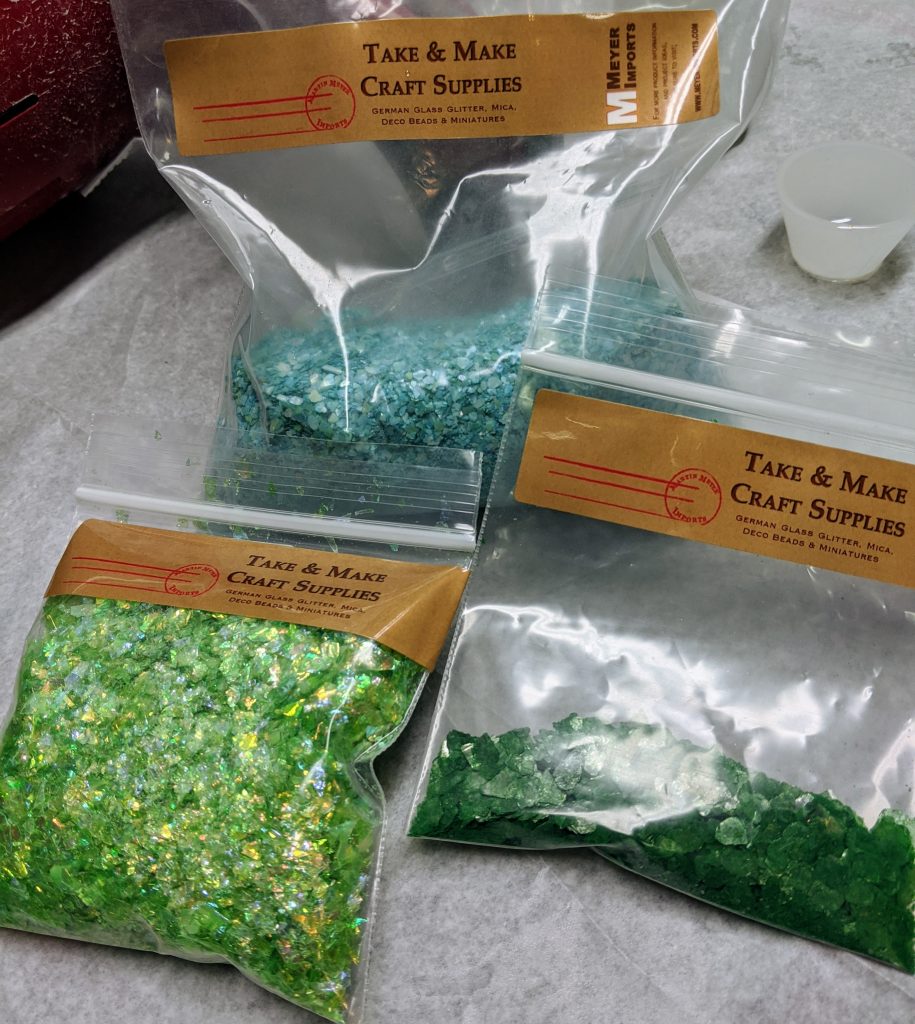
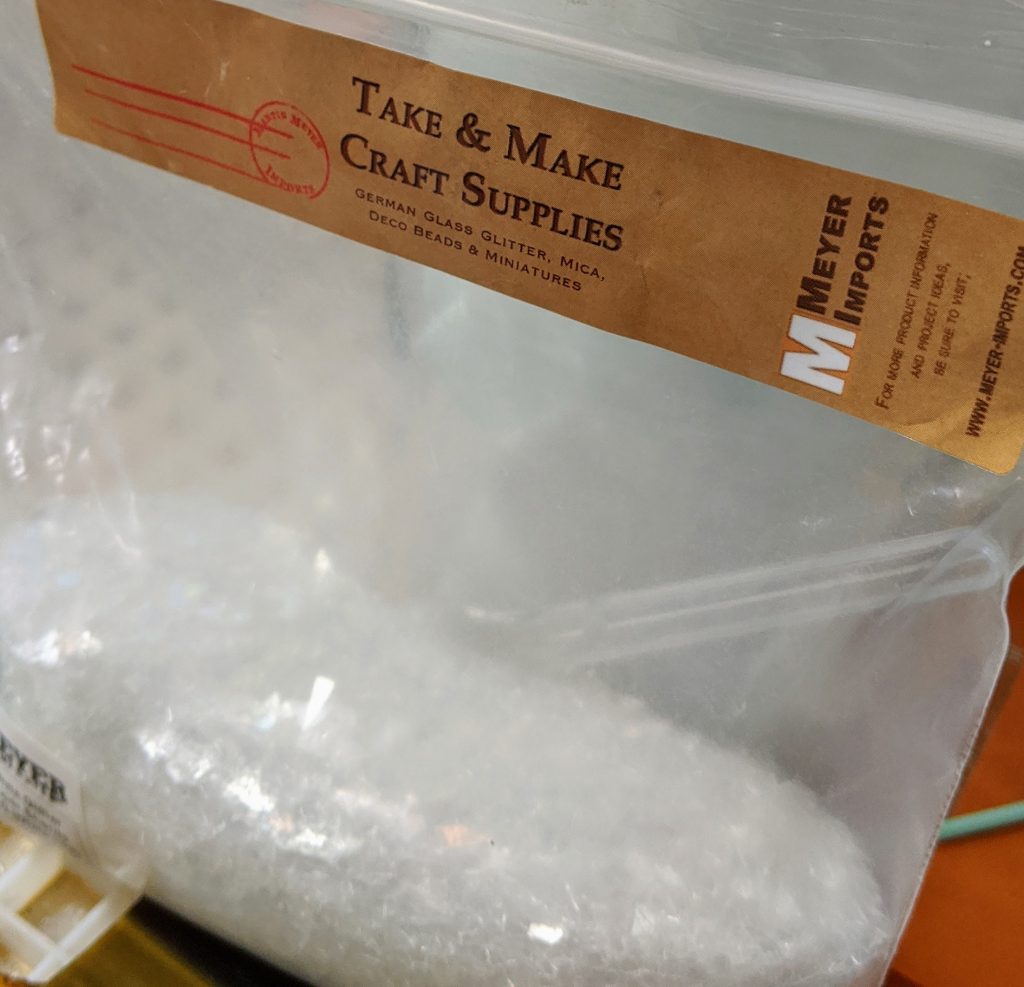
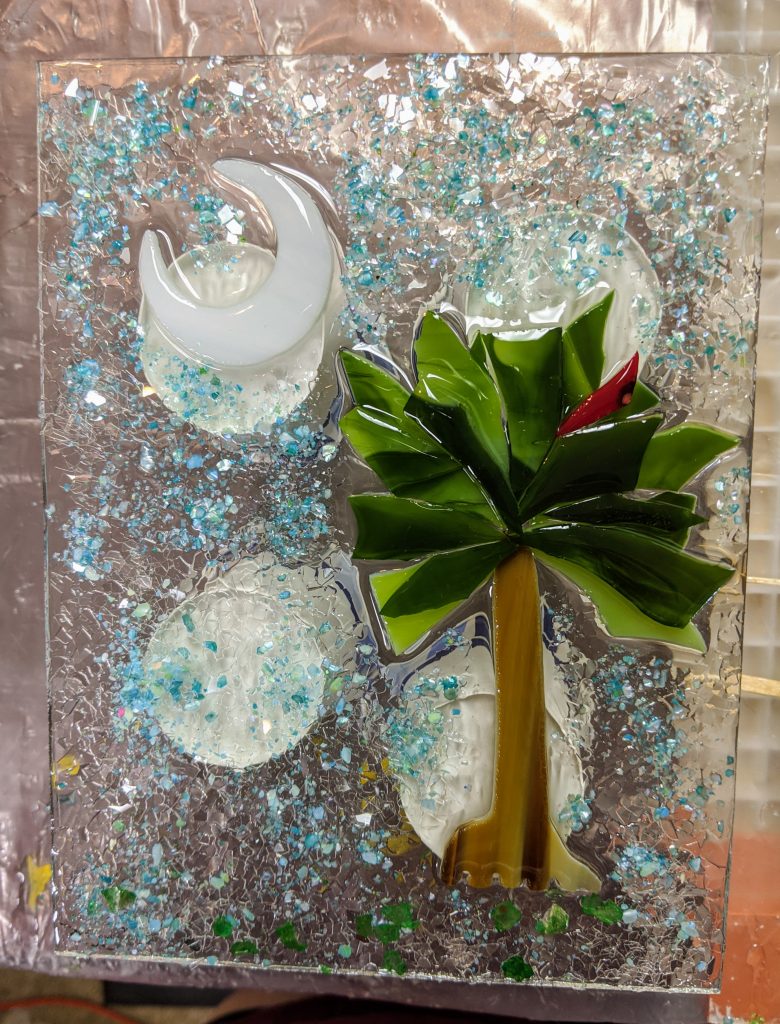
I actually poured the clear resin over the tree panels first, then tended to the bracelets, so my photos are a bit out of order. I decided to add a little red bird to the trees for interest. I also set aside some decorative class chips, mica, etc for decorating the background areas of the Palmetto and Crescent panels. I use a lot of materials from Meyer Imports and I really like their products.
Expensive glam, but I love it for sparkle!Ready to pour / spread the resin
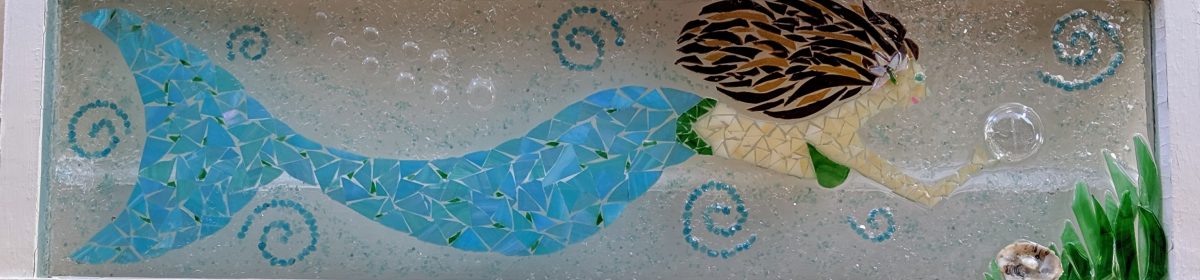
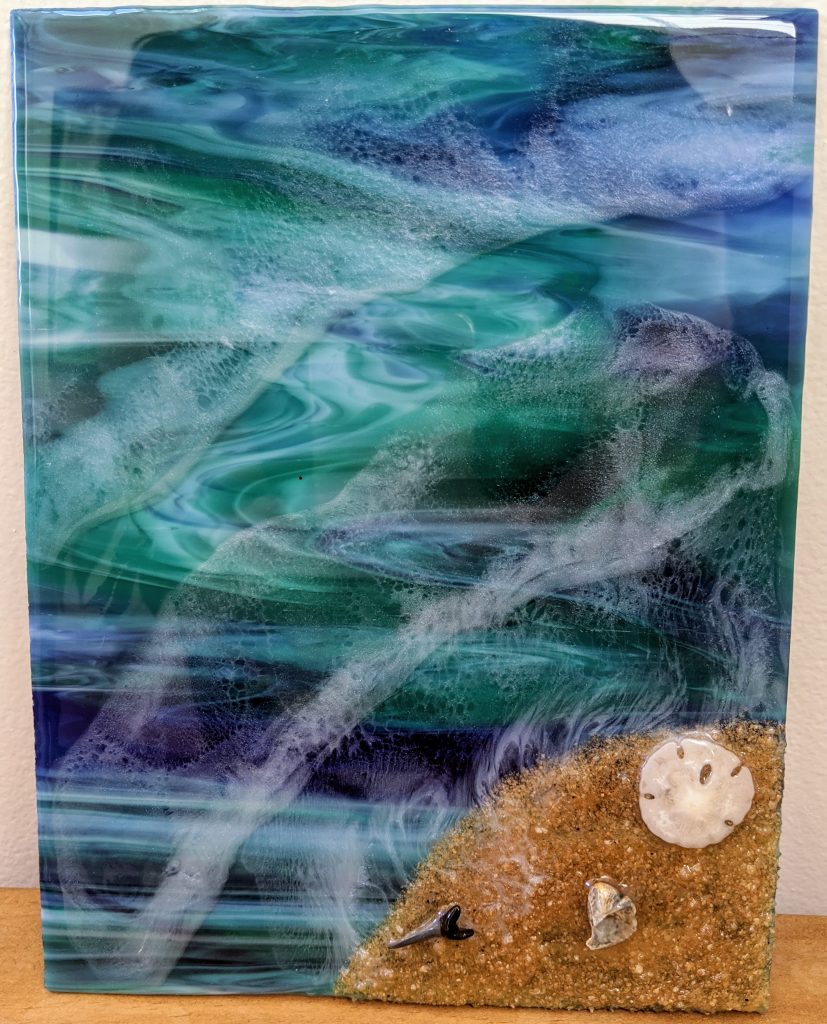
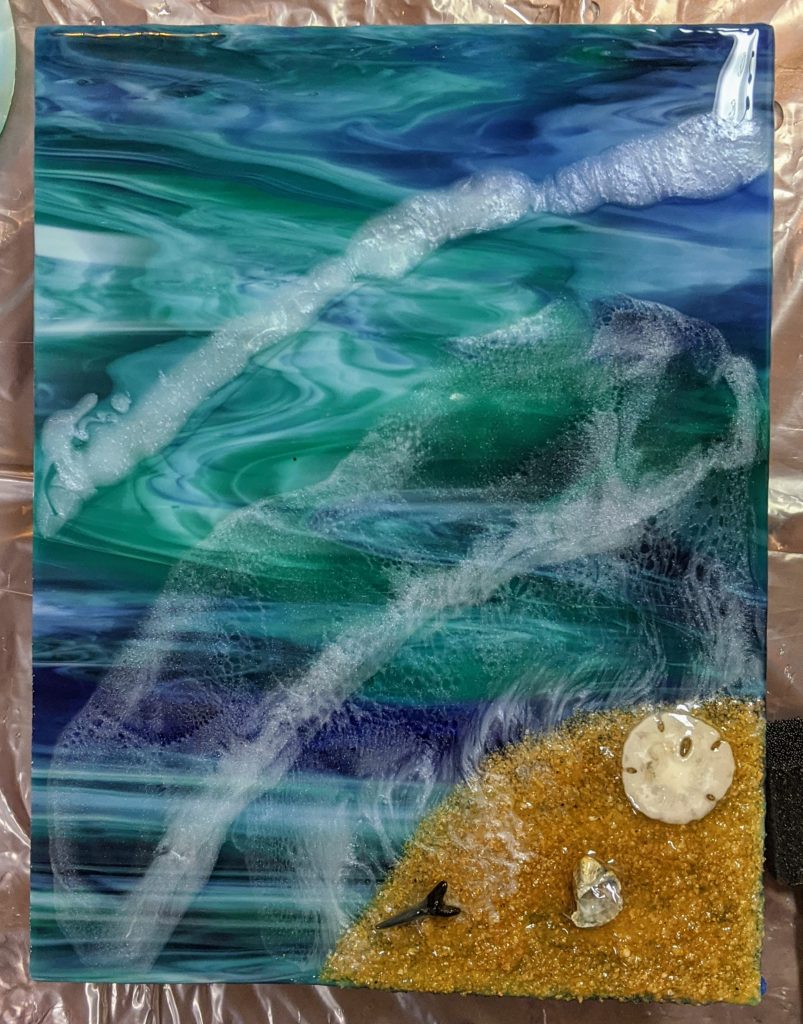
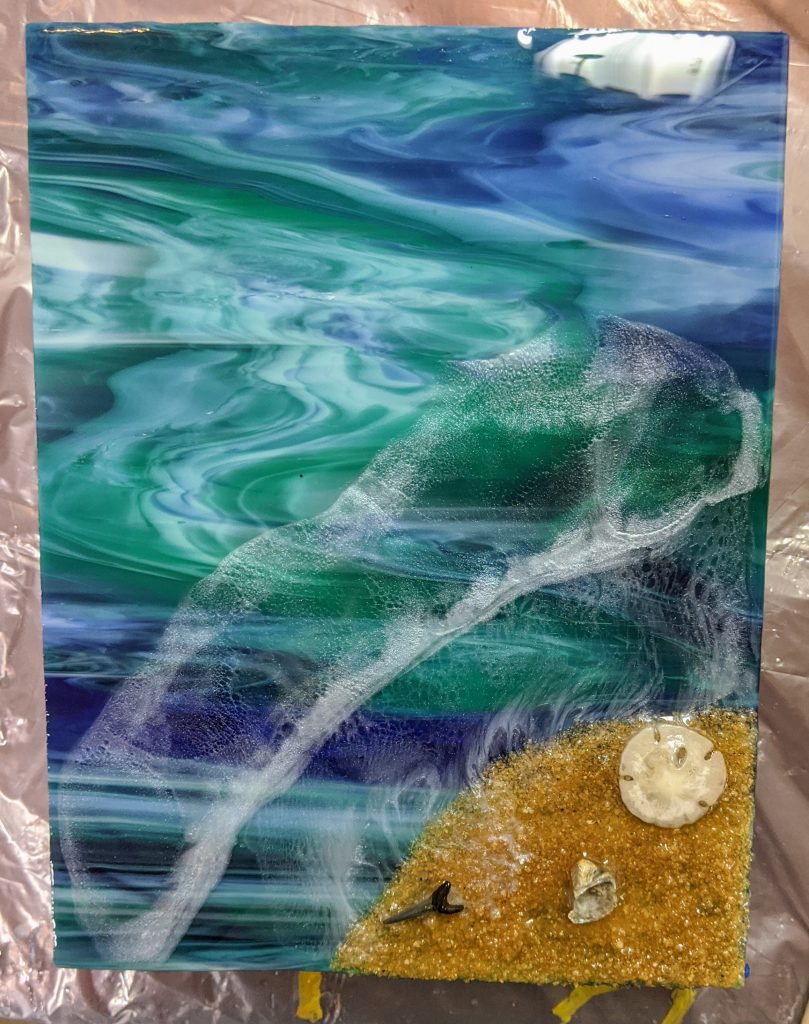
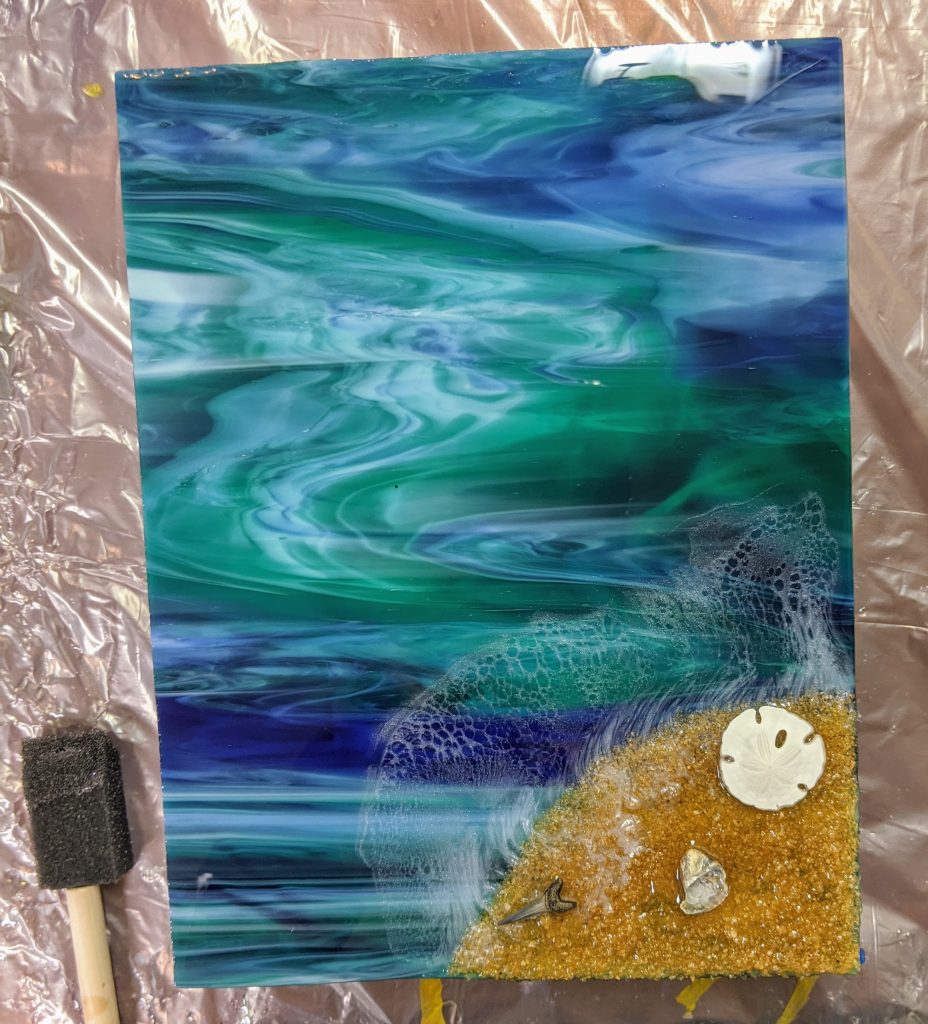
Today I added the last wave to my second beach glass panel, made another Palmetto and Crescent glass panel, finished a second metallic flake coaster and started a brand new cast resin bracelet project.
Cut glass
Cut glass with resin coating
First I mixed up 80 ml of resin and set aside about a tbsp for the white wave for the beach panel. I spread the resin over the desired areas of the panels and mixed the white portion for the bubbles of the waves. I used the heat gun to manipulate the resin coating and also to remove bubbles. Next it was time to add the white bubble detail to the beach waves. I also got a new bangle bracelet mold and decided to use some of the extra resin for that. I should have waited until I had some mold release (this mold is hard plastic, not silicone like I’m used to), but I decided that I could try it out without the release for experience’s sake.
clear resin layered
White resin along the edge of the clear layer
After heat gun and blow torch
I couldn’t resist trying out a new bangle bracelet mold I ordered. I thought it was silicone, but it is hard plastic. I ordered some mold release for it, but this is an experiment to see how much I need the release chemical.
With metal flakes
Metal flakes and some ink
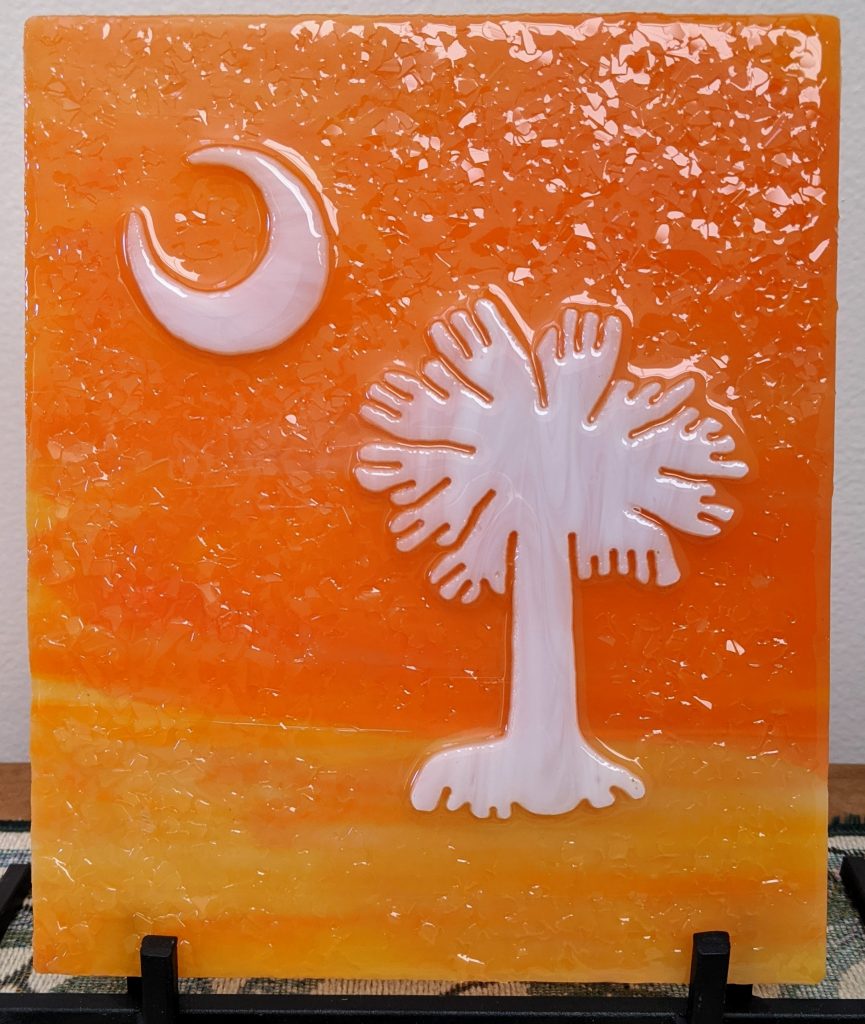
I also added some glass chips to an orange and white Palmetto and Crescent glass panel. The chips add some nice sparkle!
The bangle bracelet still needs a bit more resin, and it will take some practice to figure out how to place the decorations / pigments in that mold, so check back!
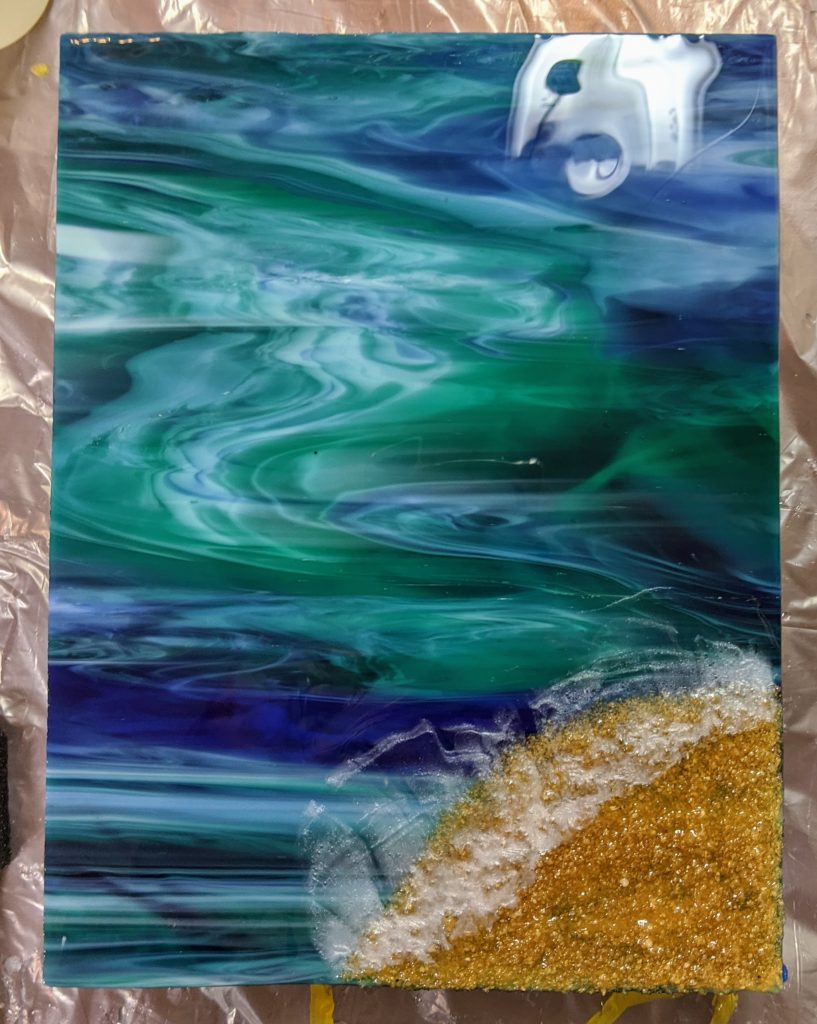
So doing the wave layers just takes a short amount of time (maybe an hour total including setup and cleanup) each day, but here is today’s progress. First I mixed 80 ml of resin, setting aside a very small amount (about 1 TBSP) for the white pigment for the wave bubbles. I then spread the resin over most of the glass, leaving out most of the part where the sand and the first white bubbles are located. I then used the heat gun to remove bubbles and added a line of white resin all along the very edge of the clear resin.
Clear resin poured / smoothed
White along the edge
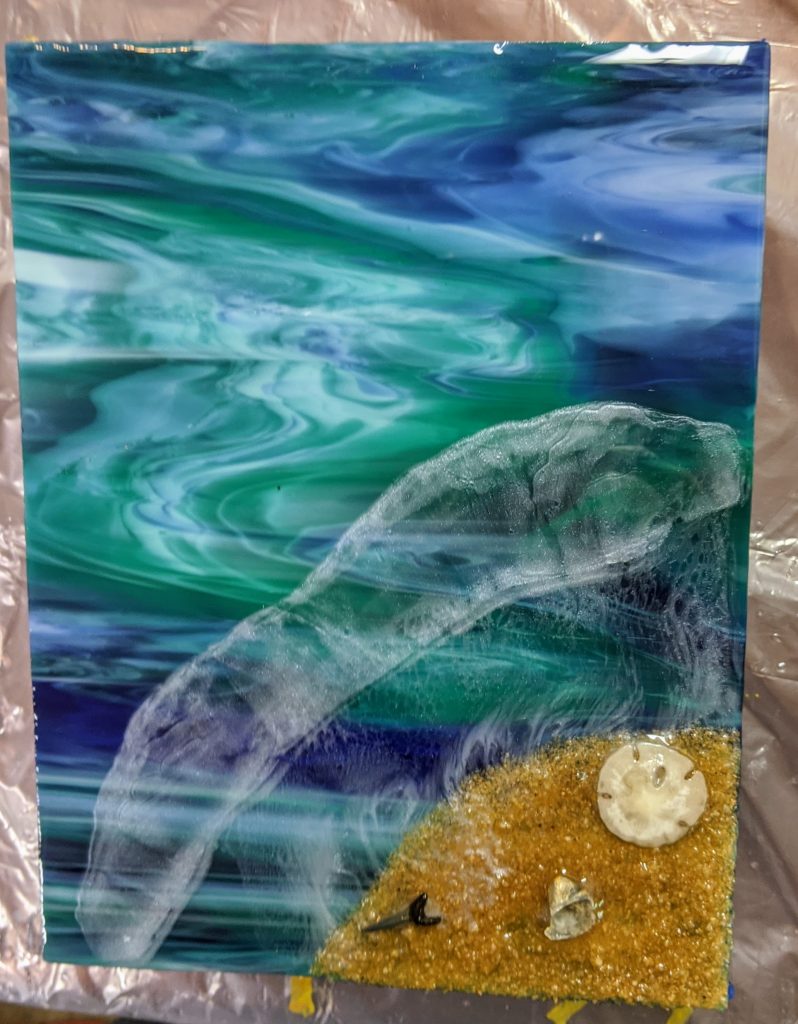
Next I used the heat gun to spread the white pigment and then the torch to add detail to the bubbles.
After heat gun
After torch
I also had some touch up to do on the Palmetto and Crescent panel, as I added glass chips late last night and sprayed over them with resin spray and I wasn’t happy with the look. Soooo I spread another layer of clear resin over the panel and added the chips again. I also used the leftover clear resin to finish up one of the coasters from yesterday, so tomorrow I should be able to see how it looks. 🙂 I will also add at least one more wave to the beach panel (hopefully also tomorrow).
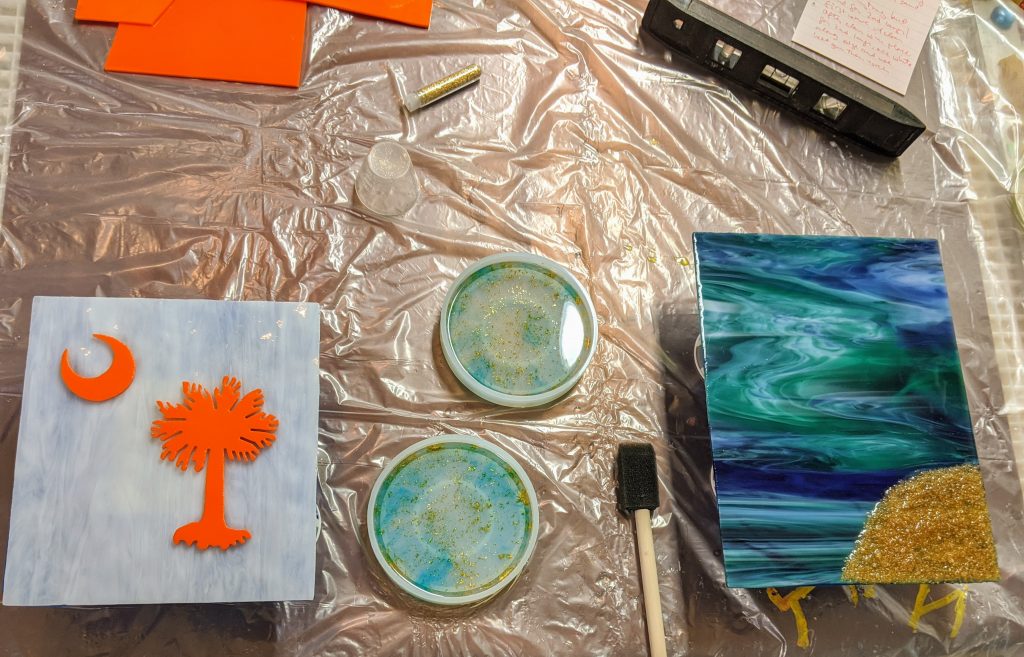
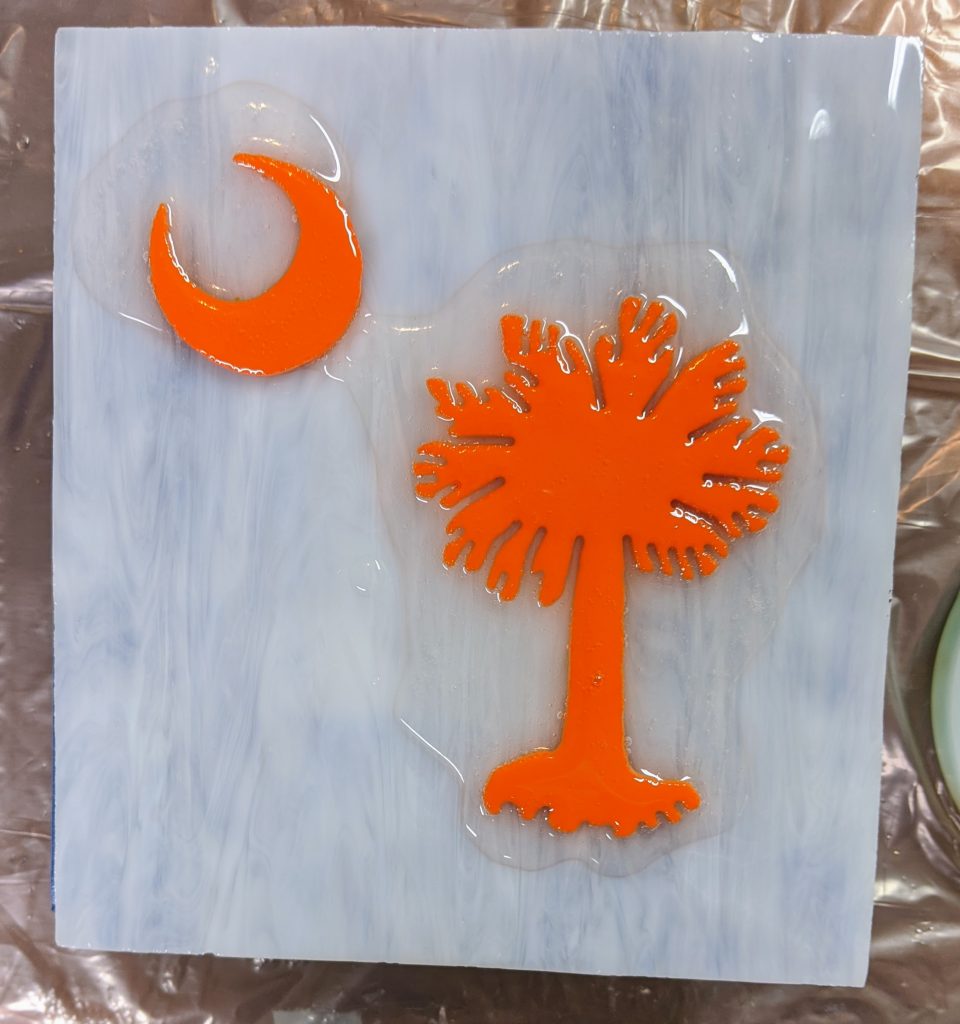
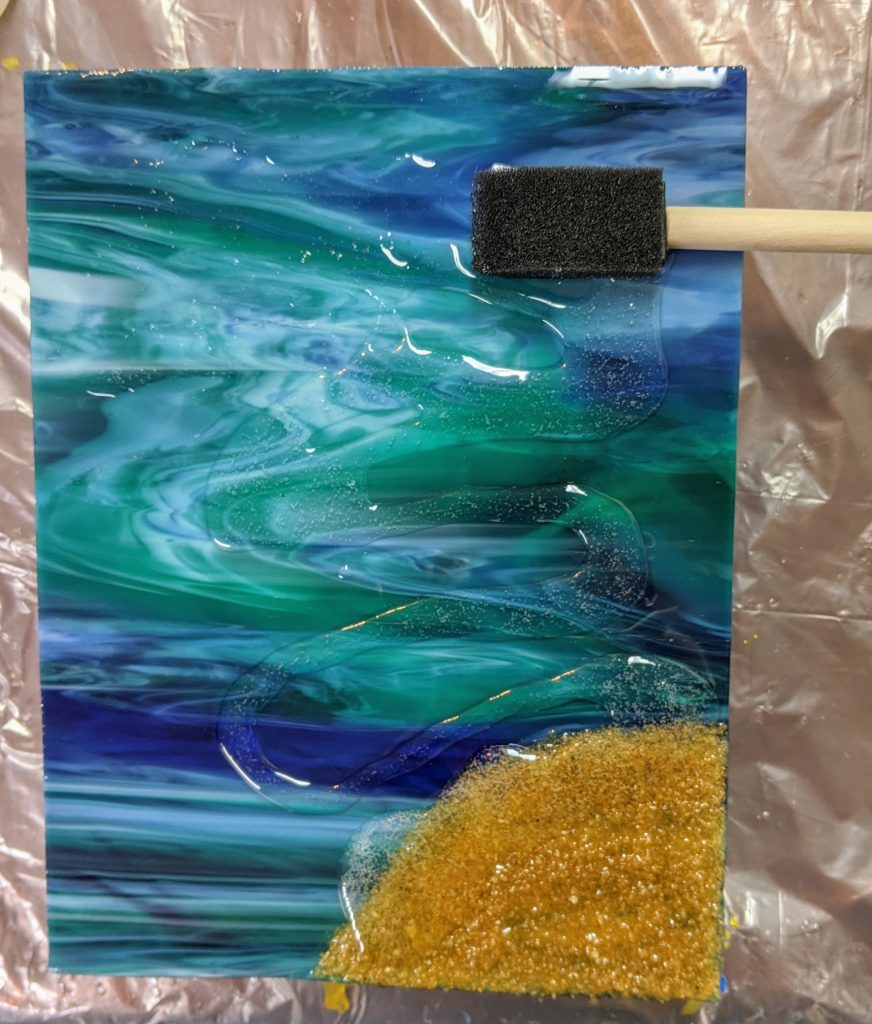
So yesterday I planned to work on these, but my real job was too busy, so today was the day. I added the first wave layer to my second beach / waves over stained glass panel, poured the resin coating on my stained glass “Clemson” colors Palmetto and Crescent panel, and added the second layer to my two alcohol ink / gold flake resin coasters.
Prepping the resin
Projects laid out
I mixed 100 ml of resin, then set a small amount aside for the white part of the waves on my beach panel. Next I poured the clear layer of resin over the glass panels and spread the resin around with a sponge on a stick.
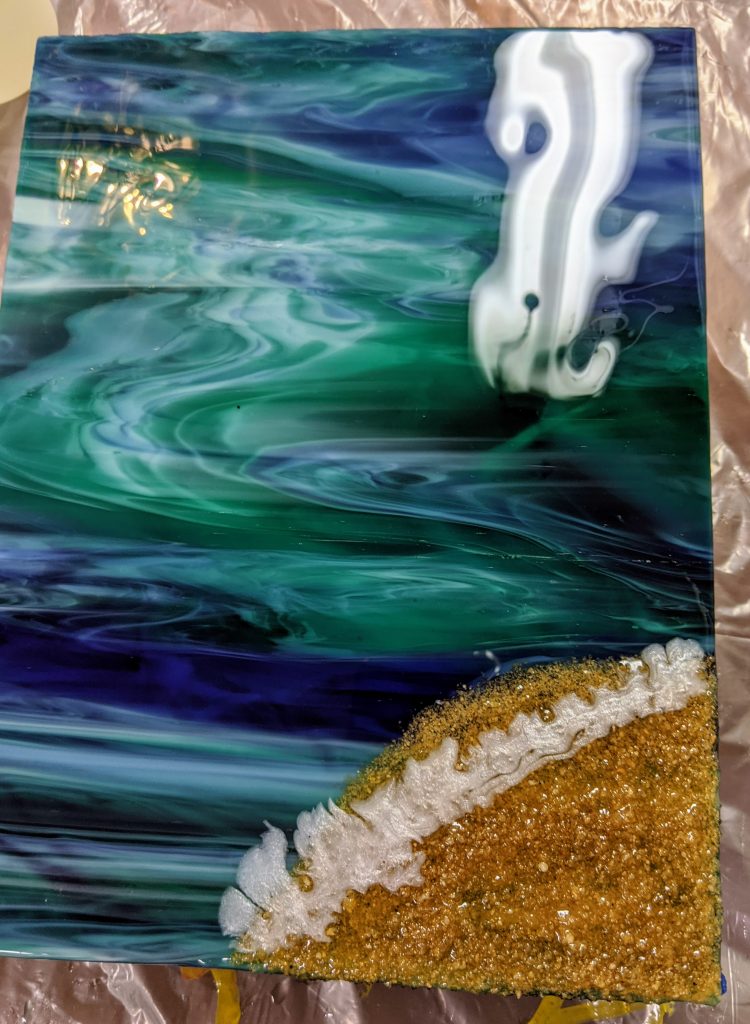
Once the resin was spread all over the base glass, I used my heat gun to remove bubbles and spread the resin a bit more evenly. Next, I added a line of white tinted resin (powdered pigment plus a drop of white alcohol ink) to the sandy beach part of the wave panel.
White resin poured in a line
After heat gun
Next I used my craft torch to spread out the white bubbles of the wave. The alcohol ink drop helps create the feathery effect in the resin when the torch hits it. I really only wave the torch very briefly over the white resin one time. The torch can quickly crack the stained glass if it gets too hot.
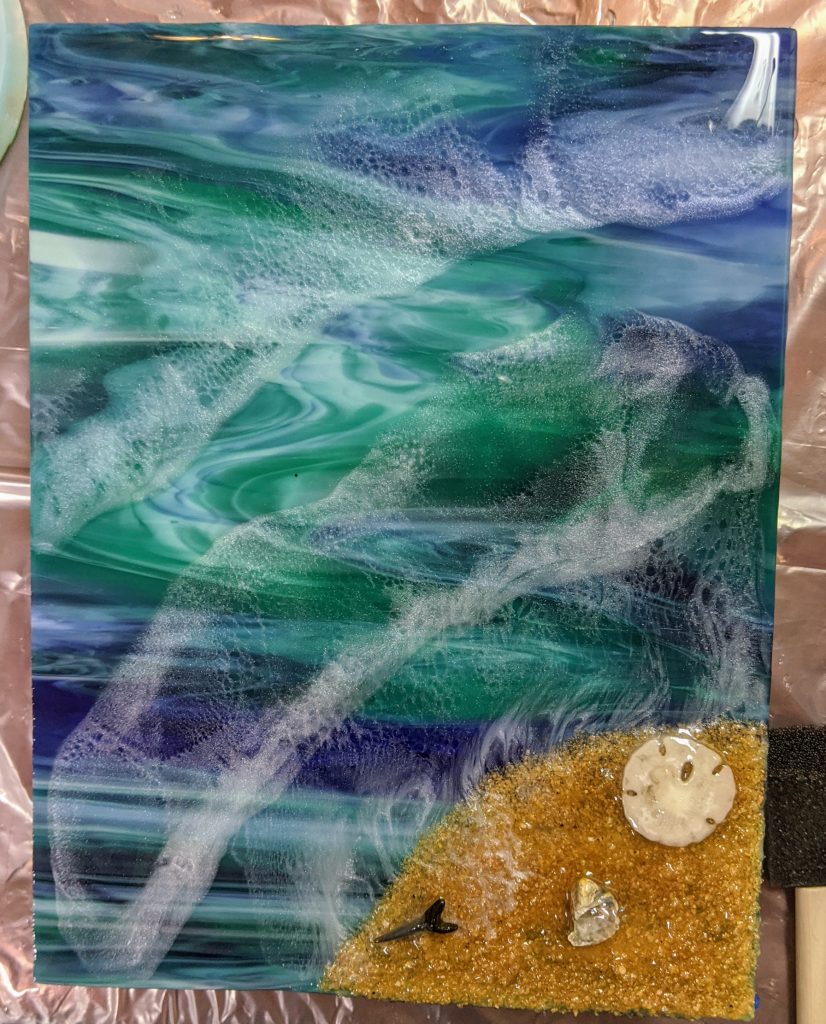
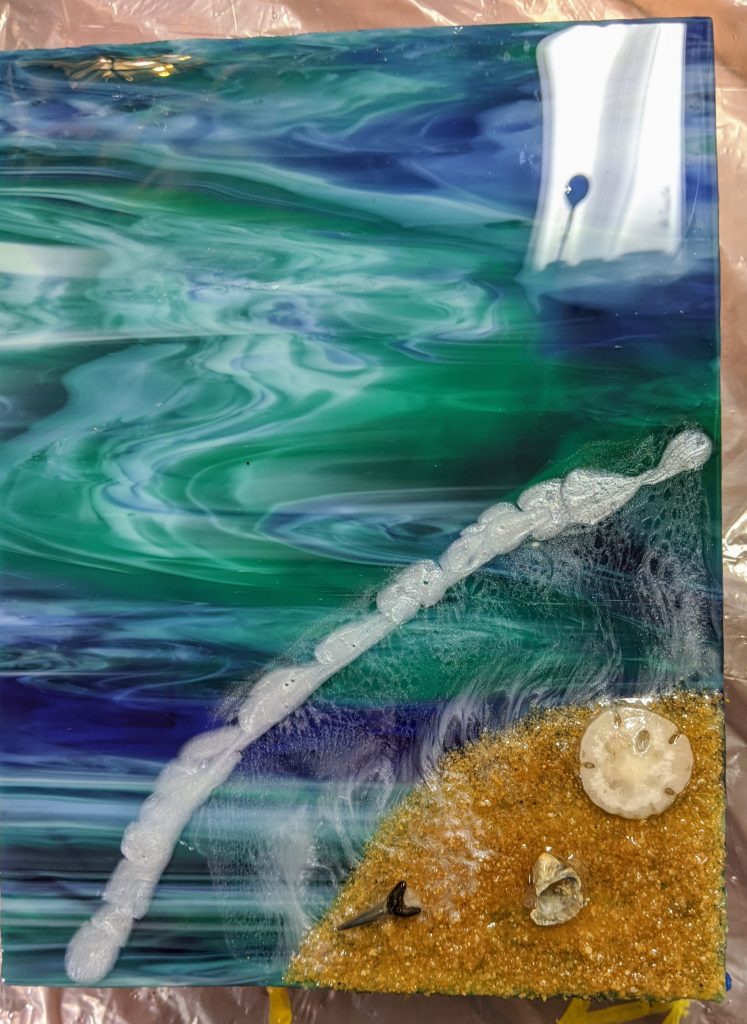
First layer with the “breaking wave” effect.
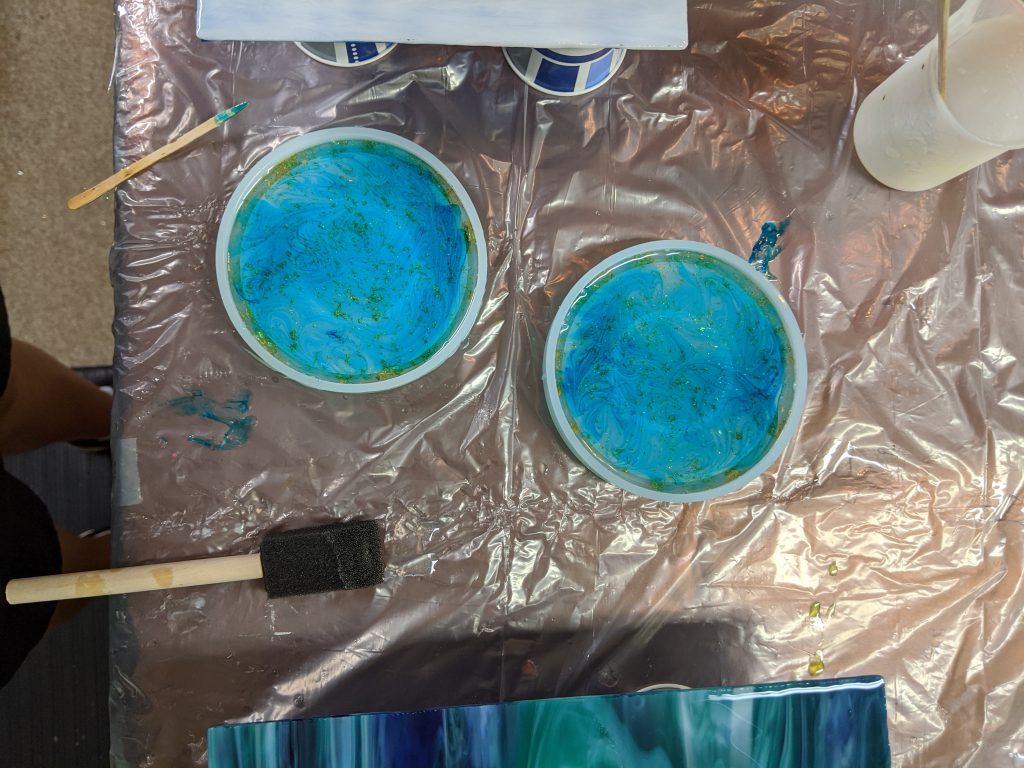
Next I poured the leftover clear resin into the coaster molds I started two days ago. The first layer was clear with some metallic flakes and a drop of blue alcohol ink. This layer was clear with about three drops of blue ink, which I added directly into the clear resin after I poured it into the molds. Afterward, I blew it with my heat gun (obligatory bubble removal) and manipulated a bit with a small craft stick.
The picture is a bit misleading – I was able to see some clear areas / variation in the resin.
Some shells / etc added
Ready to cure
I will likely need to add another layer of clear resin to the coasters and I’m hoping to add two more layers of wave to the beach panel, but the palmetto and crescent panel should be all set tomorrow afternoon. I will probably also brush a very light coat of resin over the sand dollar, shark tooth and shell on the beach panel.
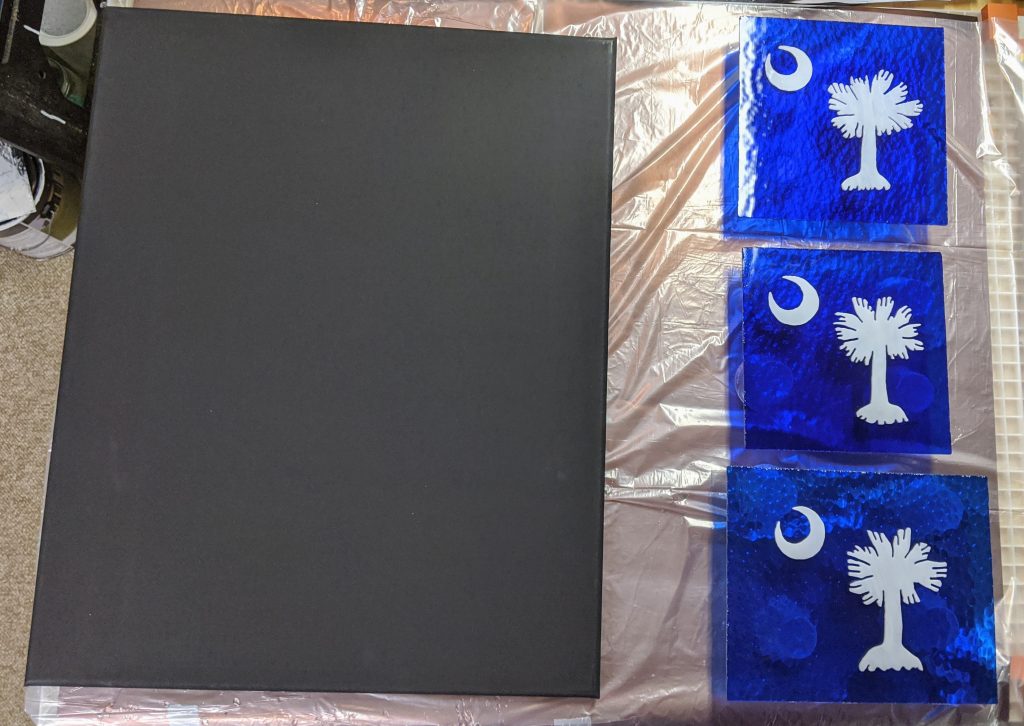
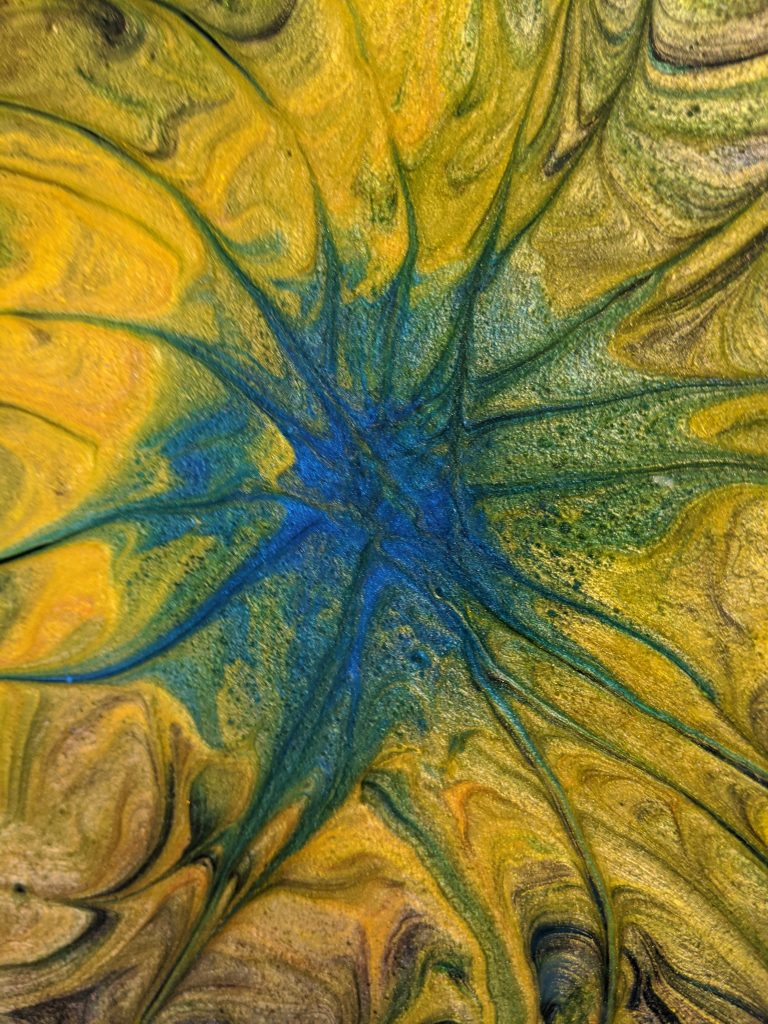
Today I decided to try something new – resin on canvas. I have several project ideas in mind, but I really need to figure out the basics for this, as I’ve never worked on canvas before. I got some black canvas mounted on wood for this – meant to get white, but saw the black and decided on a whim to try it. I probably should have gotten white too, but I had a coupon for a discount on one item and was too cheap to get both… It was definitely a learning adventure. I also had a few Palmetto and Crescent glass panels ready for resin, so I laid everything out on my work surface.
Everything laid out and ready for resin
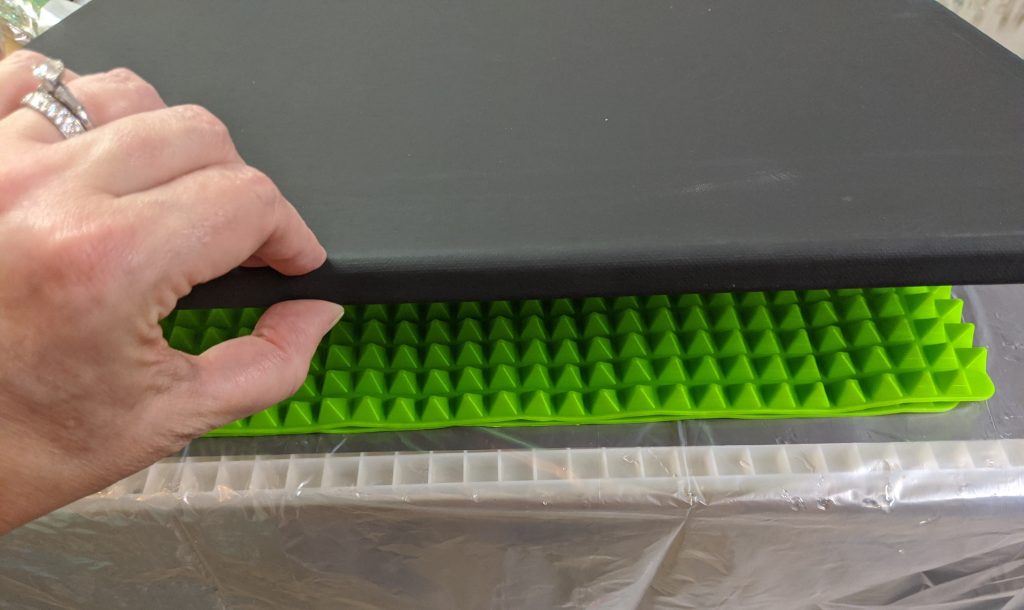
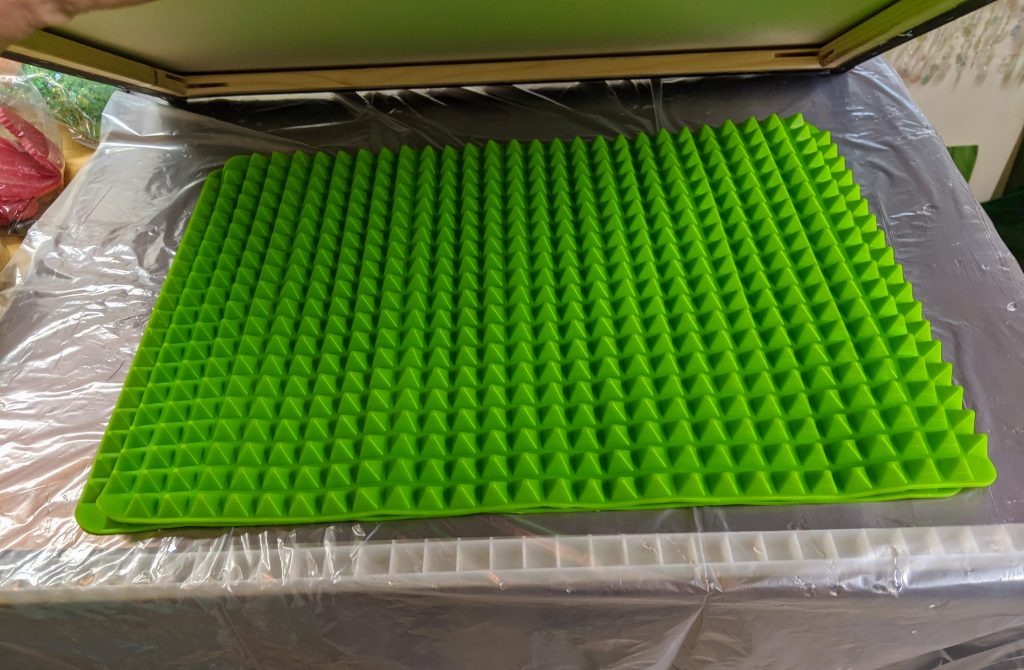
As usual, I elevated my glass panels on some plastic medicine cups. However, the canvas I just placed directly on the plastic. The secret is I added a couple of silicone mats underneath the canvas to keep it from drooping under the weight of the resin.
Silicone baking mats (two) hidden under the black canvas for support.
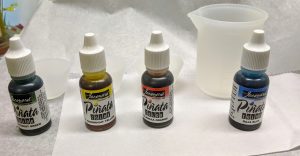
I prepared my containers and pigments for the resin and planned to mix 8 ounces of resin for all four projects. I initially wanted to use alcohol inks for the colors on the canvas and mixed a larger amount of blue for the canvas background, then some green, yellow and orange in smaller silicone containers. This project is very experimental, so I wasn’t sure where it would lead.
Alcohol inks
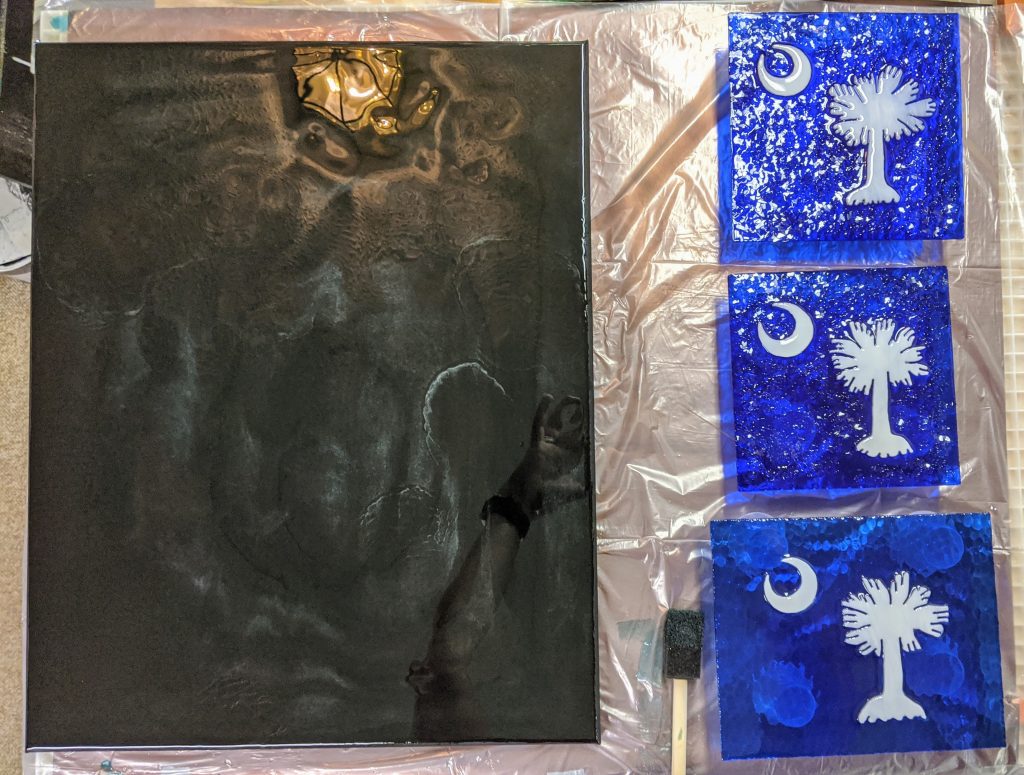
Well, I mixed each color, added a drop of white for opacity to the green, yellow and orange and a drop or two of black to the blue for the same reason. The green turned blue, so I added a couple of drops of yellow, but wasn’t really able to overcome the blue. I then spread the larger amount of blue on the entire canvas (I was going for a dark blue background) and used my heat gun to remove bubbles and even out the resin. I also added some glass chips to two of the Palmetto and Crescent panels (and tended to any drips that appeared under the edges of the glass) while I was working on the canvas.
The canvas with the blue coat of resin and the resin / glass chips on the glass pieces.
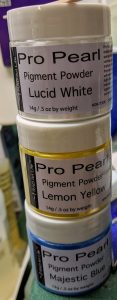
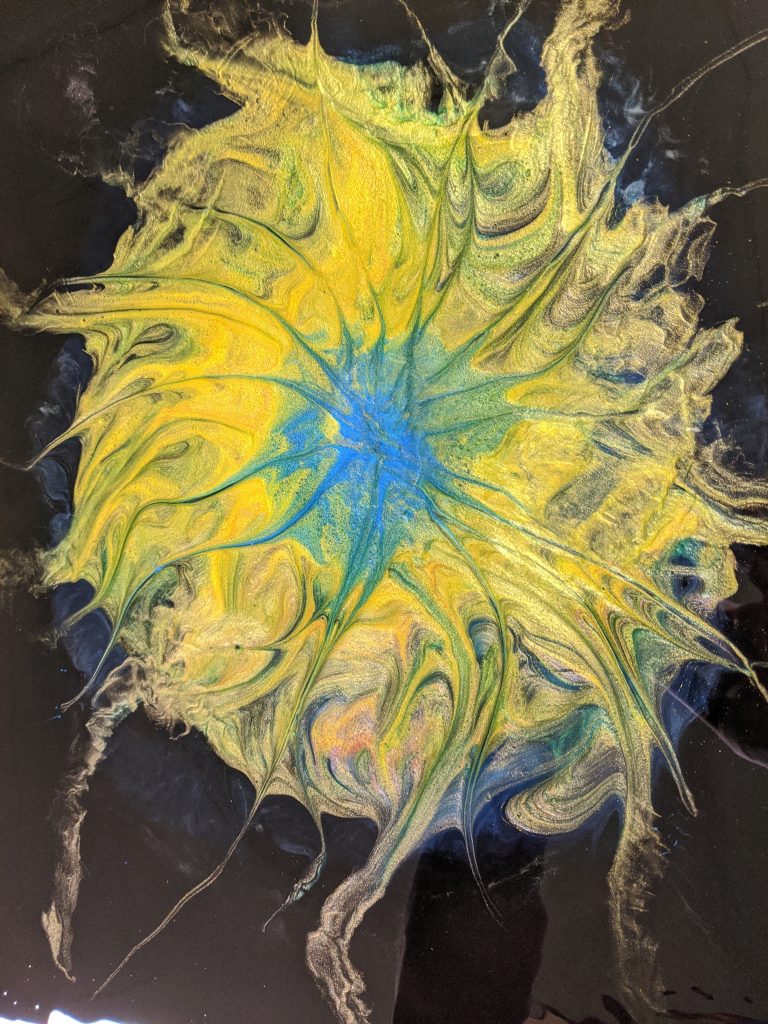
Hmm – the canvas didn’t look blue at all. I then poured some clear resin in the center where I wanted to make my design and poured the green resin on top of that, then some more white and the yellow. Well, I quickly figured out that the alcohol ink pigments don’t show up very well against the black canvas background. Whoops. I made some adjustments and powered on – mixed some white powdered pigment with the orange. That adjustment seemed to help, adding the opacity needed against the black. Next I added some powdered yellow pigment to the little bit of resin I had left and the same with some blue powdered pigment and used those. Each individual layer was hit with the heat gun.
My powdered pigments saved the day!
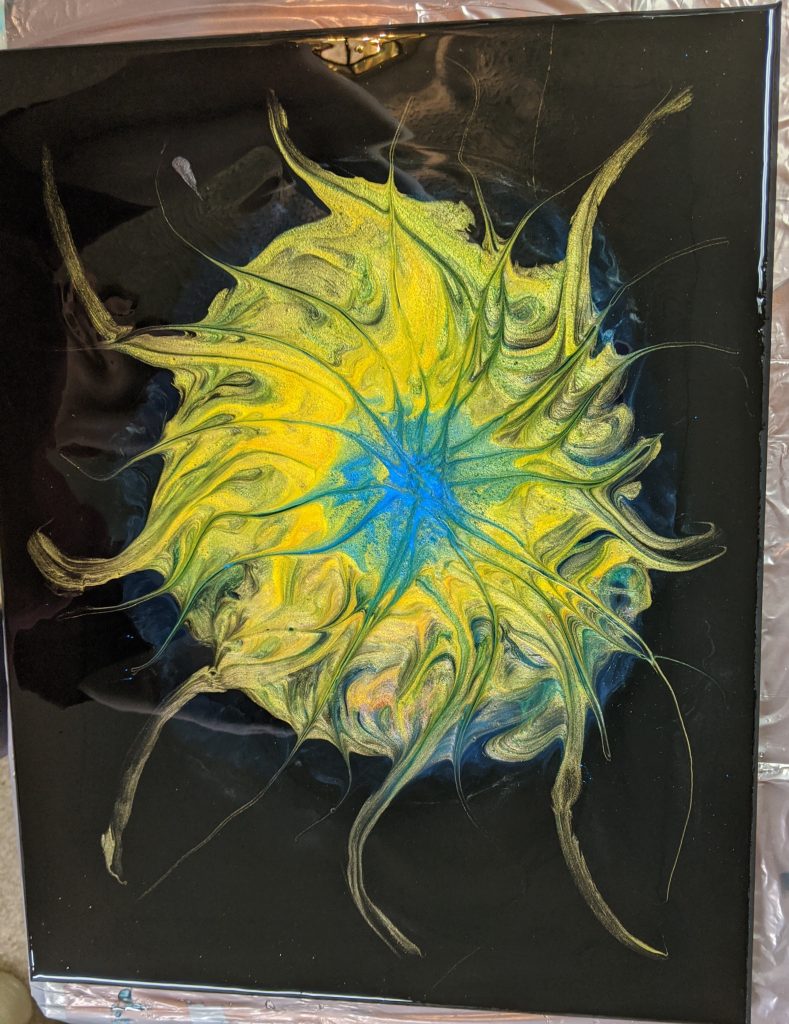
I wish I had used the blue powdered pigment on the background, but overall it turned out better than it could have. I used a craft stick to make a pattern I liked in the resin and used the blow torch to try to create some cells in the resin, but I think my resin had gotten too far in the curing process for that to work properly.
After design, but before the blow torch / last heat gun pass.Close up of the centerAfter spreading the lines a bit with the heat gun one last time.
Overall for a first shot in the dark, I like how it looks. I really like the way the orange pigment adds depth to the yellow in this one. I’m not sure how it will change during the curing process, but I’ll find out tomorrow! Now I know to use the powdered pigment for my next project. It will be interesting to compare my results to this one.
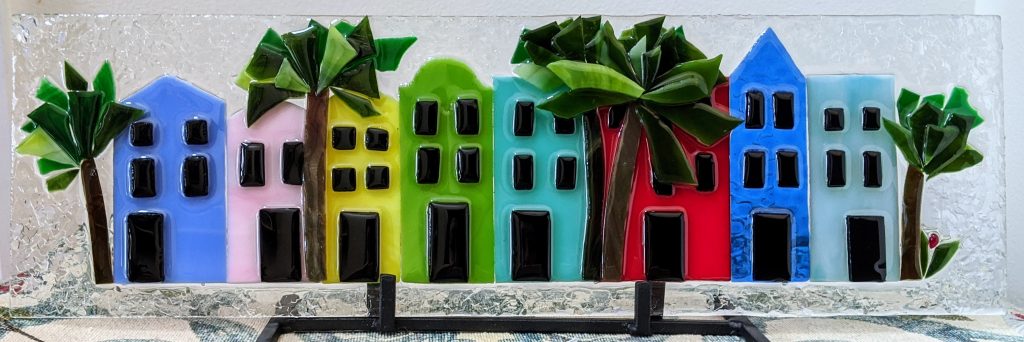
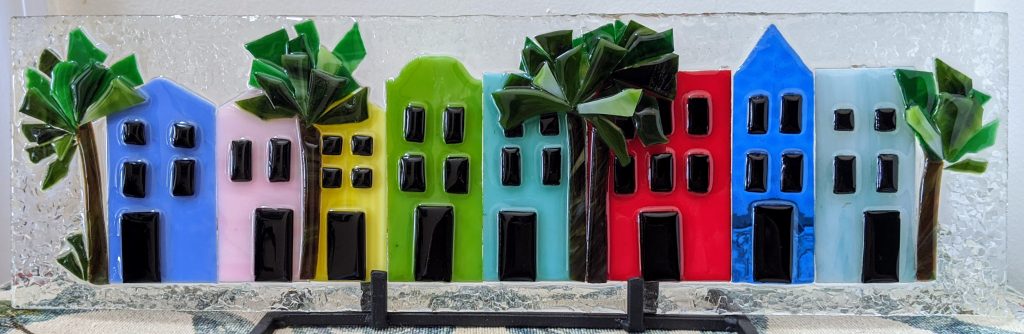
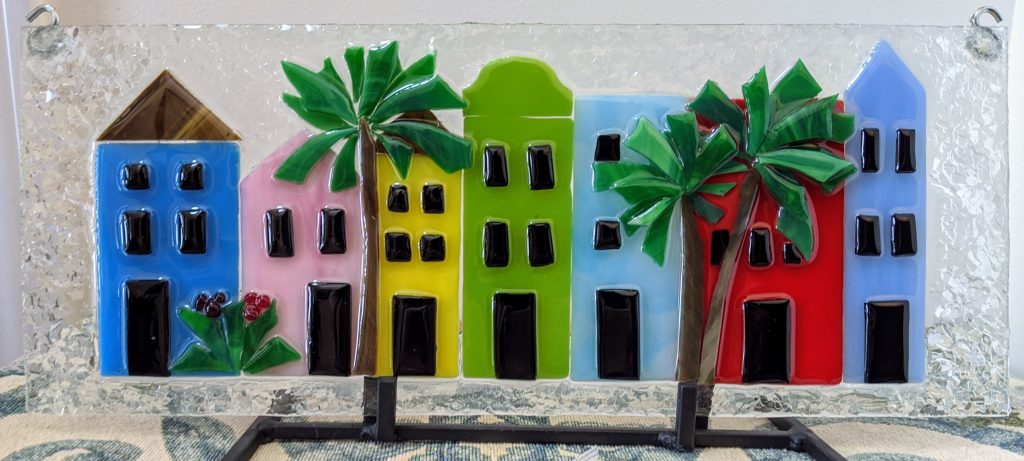
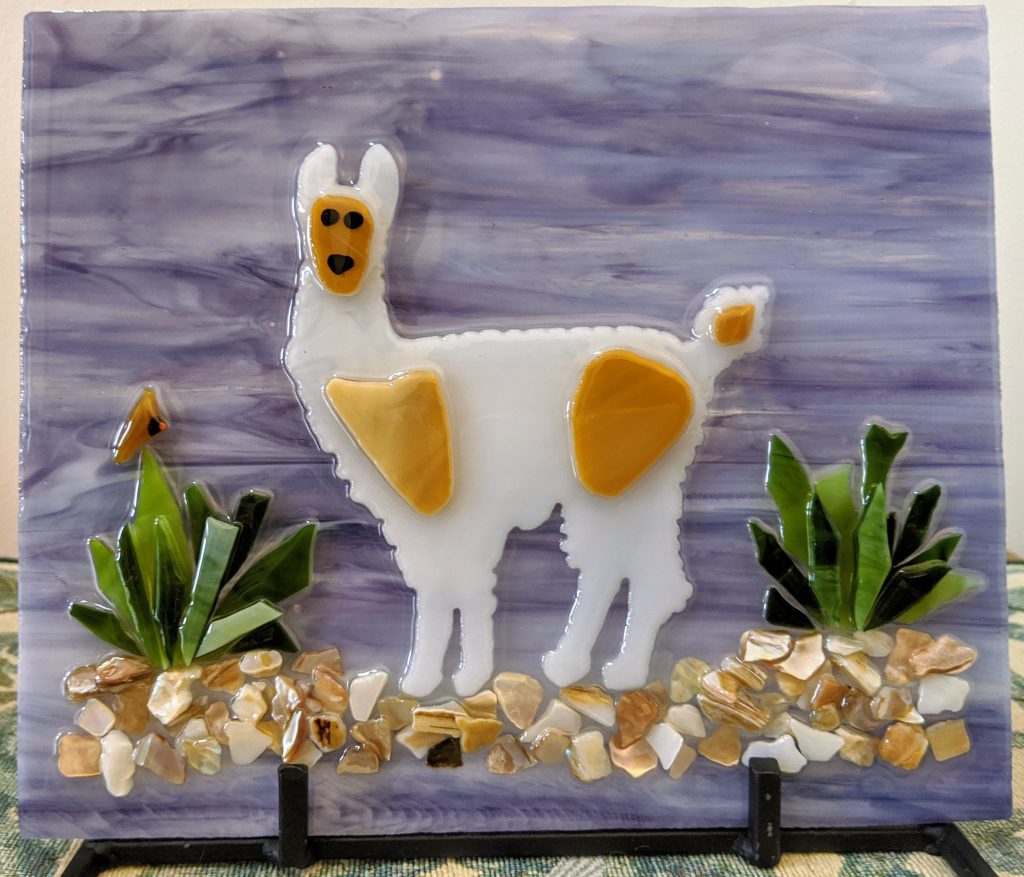
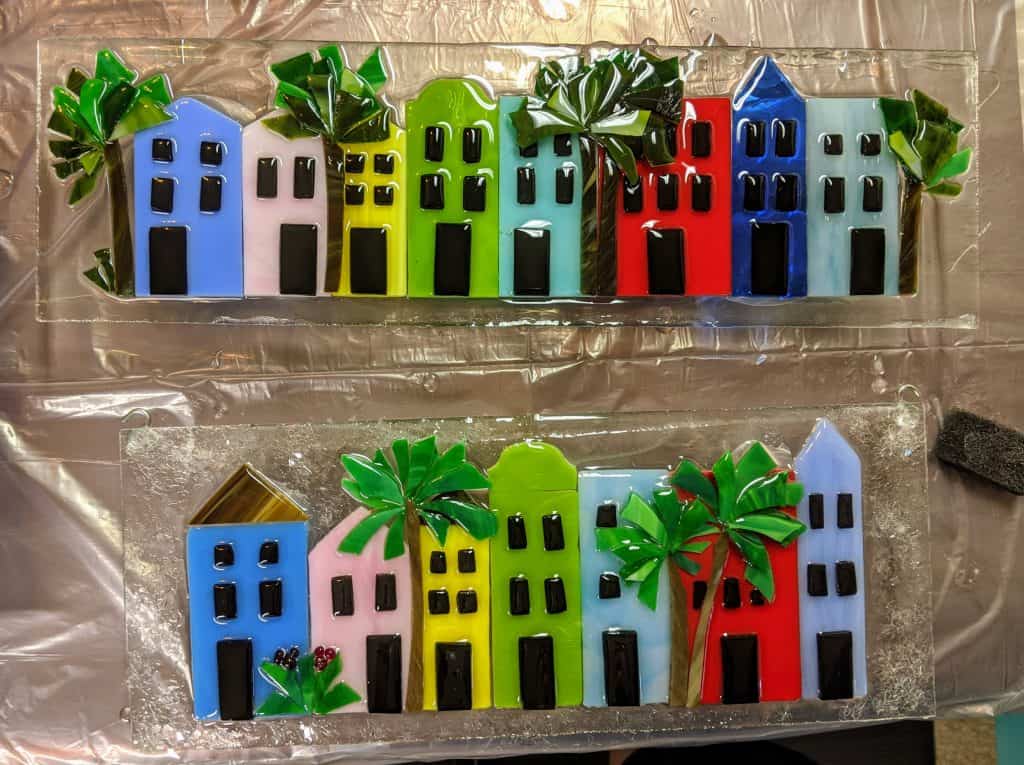
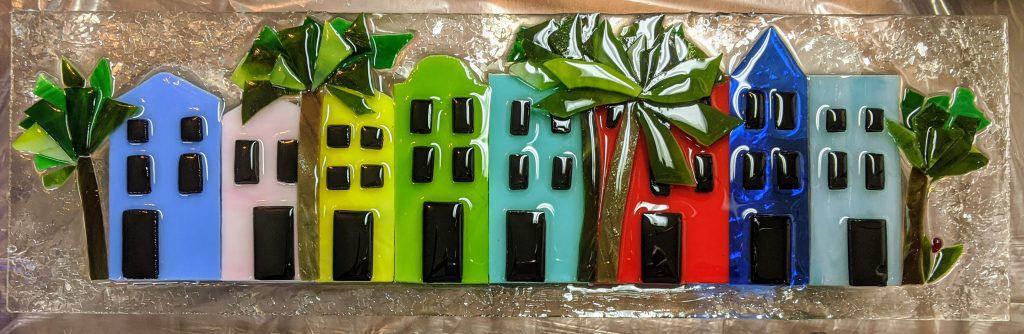
Here are the six small panels I made over the past few weeks and finished yesterday. They are done curing and ready for the runway! For your entertainment while housebound due to COVID-19… 😉
Rainbow Row II – 16″ x 5″Val’s Rainbow Row – 16″ x 5″Short Rainbow Row with hooks for hanging – 13.5″ x 5.5″Palmetto and Crescent (sparkle) – 6.5″ x 6/5″Palmetto and Crescent – 6″ x 6″Do you like the sparkly one (left) or the plain one (right) better?Miranda’s Llama – 9″ x 7.5″
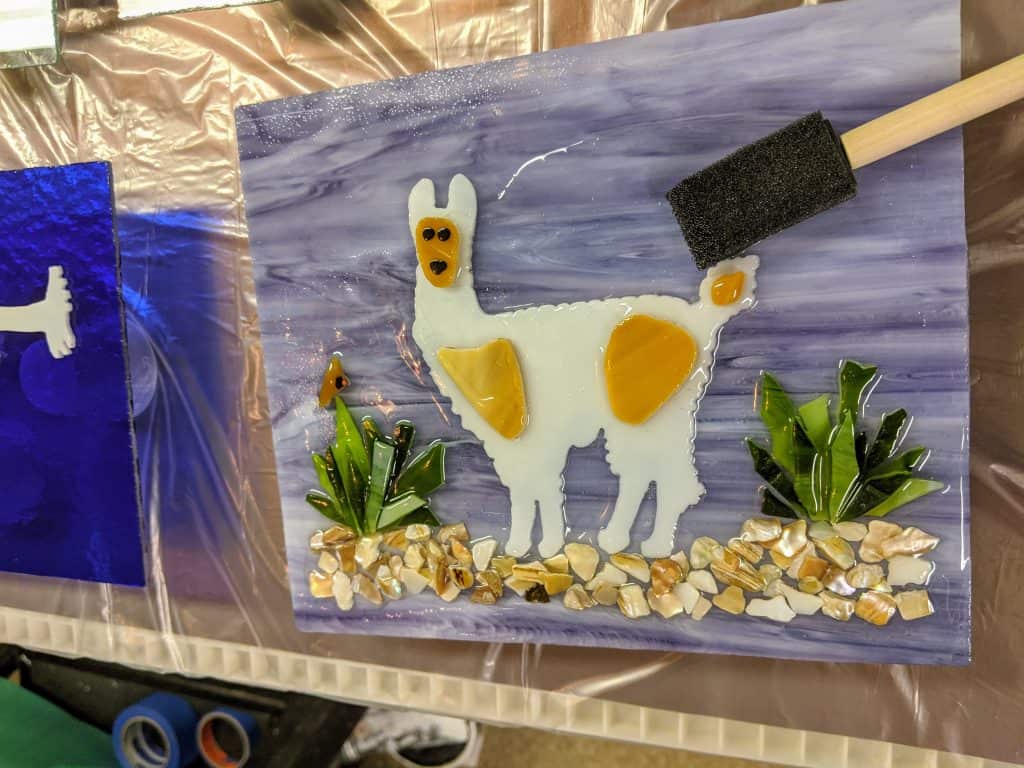
I prepped six small projects over the past few weeks and have them all ready for the resin. I’ve never tried to pour this many at the same time, so we’ll see how it goes. I mixed up 12 ounces of resin and started pouring. The best advice I can give on coating the glass is not to pour too much at once. The fewer drips you have to contend with, the easier it will be to manage. Of course, that’s easier said than done. First, I cover my work surface (I used wrapping paper over my glass cutting board, then a plastic trash bag on top of it). I used little medicine cups (about the size of Dixie cups) to elevate the pieces over the surface.
Spreading the resin I poured over the piece
I generally try to pour the resin directly onto the parts of the piece with the most layering / texture and then spread it across everything else with the sponge on a stick. I can also use my heat gun to do a bit of spreading later.
Resin poured and mostly spread – see the bubbles
After I’ve spread the resin over the entire piece, I use the heat gun to remove the bubbles and help move the resin around to fill in any empty spots.
Resin poured, ready for spreading
I have 6 pieces I’m juggling at once, plus I mixed a bit too much resin, so I poured some of the excess into some coaster molds I have on standby for just such an occasion. I don’t think I’ll try to finish this many pieces at the same time again, as it was a bit stressful. Having them so close together on my work surface made it difficult to tend the resin around the edges of the pieces. I think I pulled it off, though.
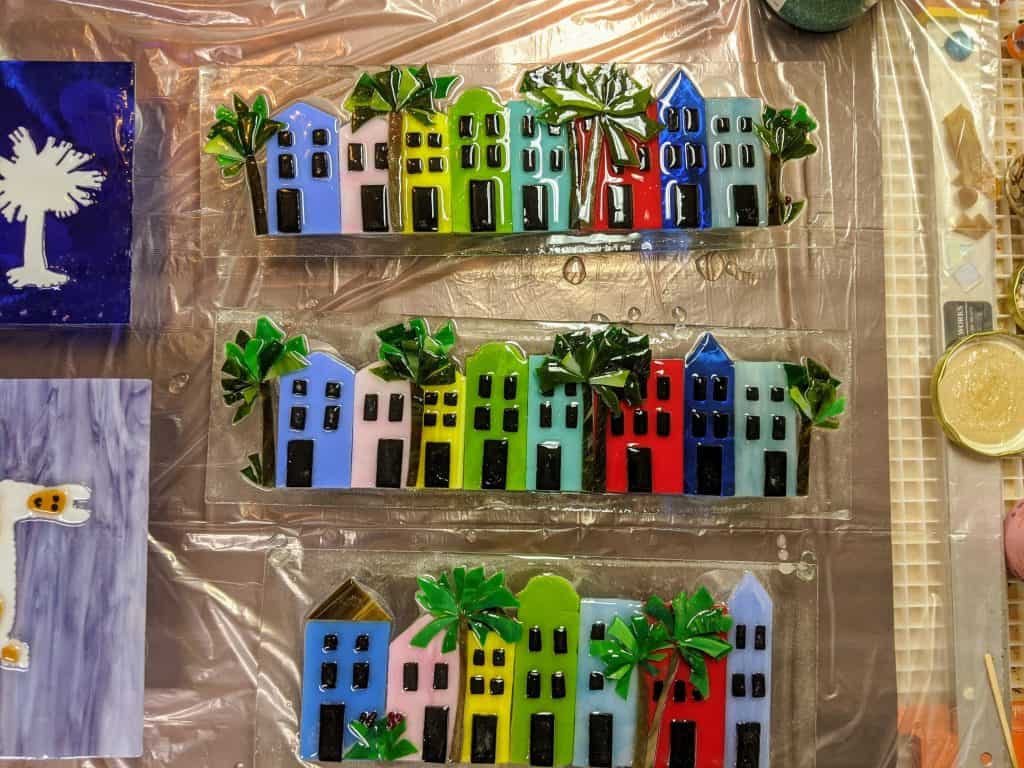
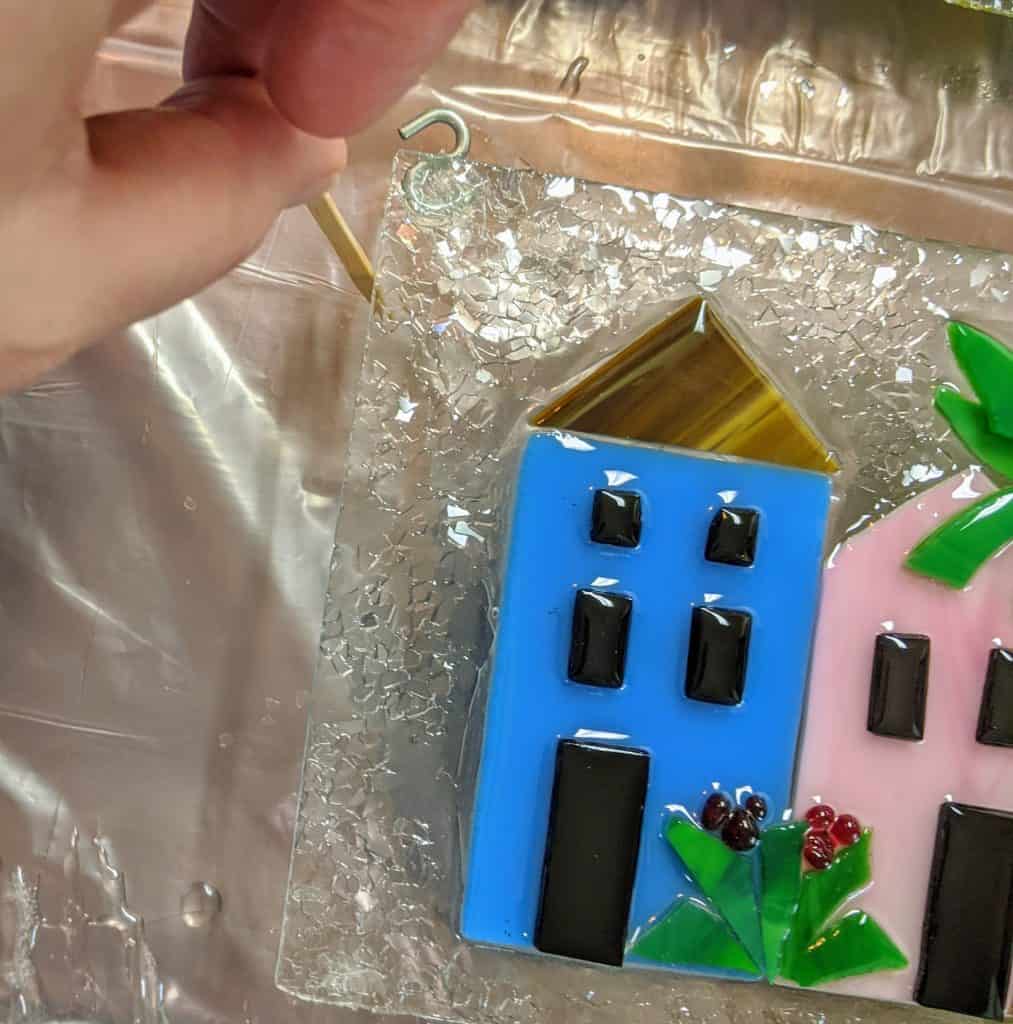
Applying glass chips to the resin on the bottom piece
For some pieces, I like to add glass chips or other decorative items to the resin. Once the resin is poured and I’ve removed the bubbles with the heat gun, I try to remove any drips from the undersides of the pieces with a craft stick and then I can sprinkle the glass chips on top. The resin will move a little, so I use a craft stick to help keep the edges neat.
Running a stick around the edges to remove excess resin
It is possible to tape the undersides of the edges to more easily remove the excess resin after it cures, or to scrape drips off afterward, but I’ve found this method works best for me. I have cracked a few pieces trying to remove drips after they have cured.
Removing the excess resin from the undersides of the edges
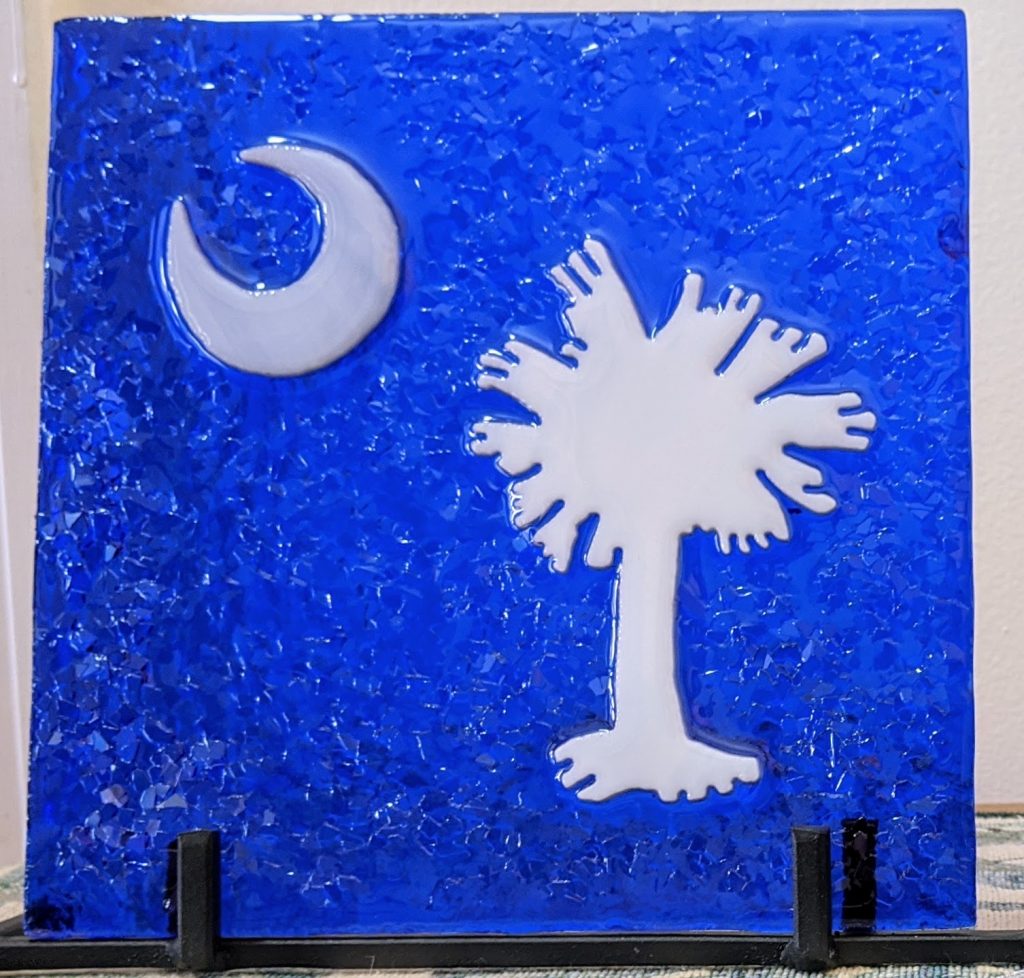
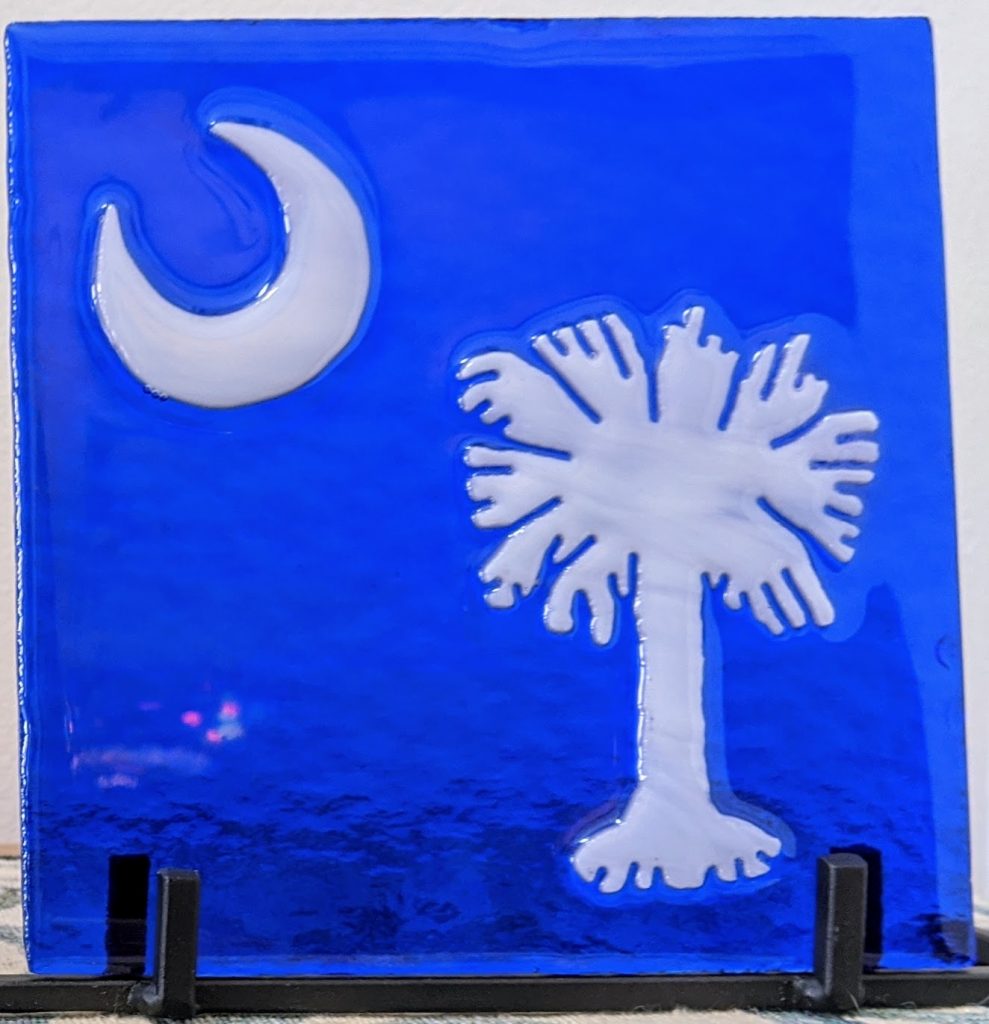
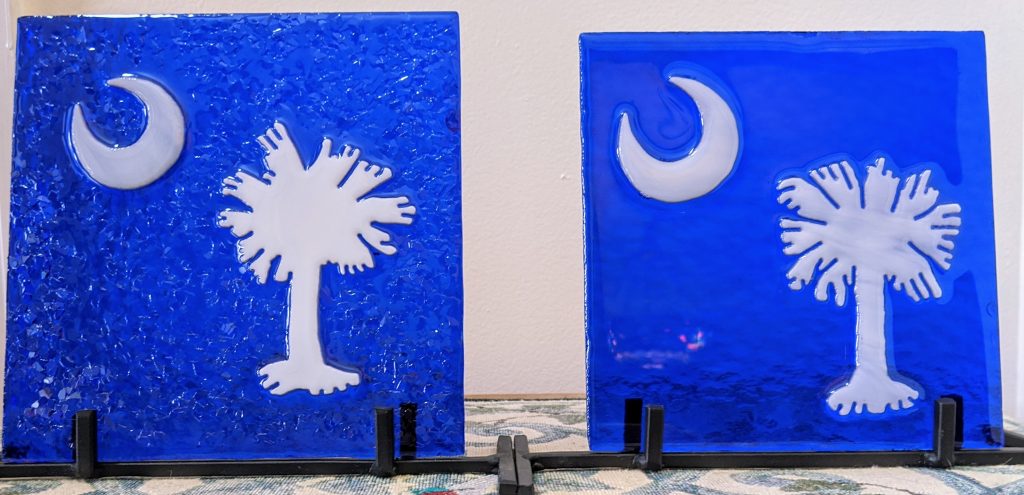
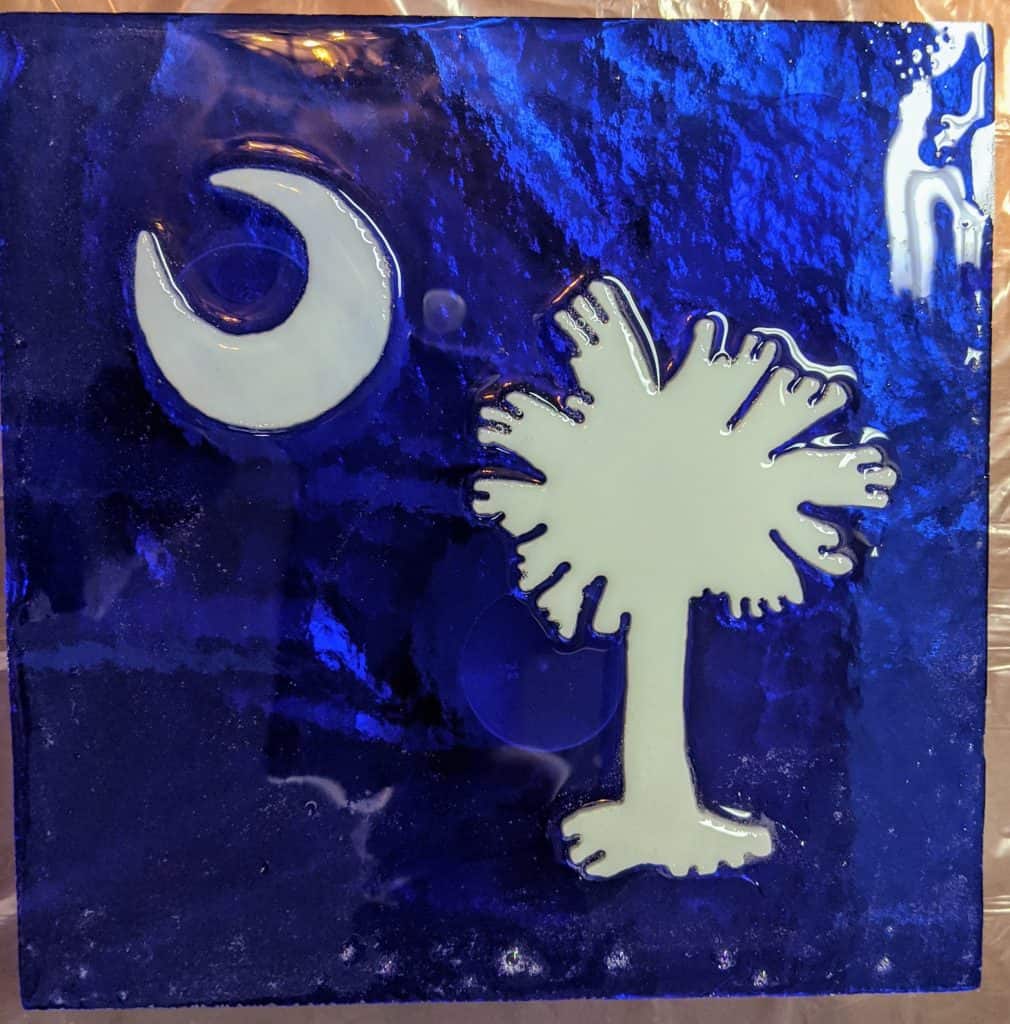
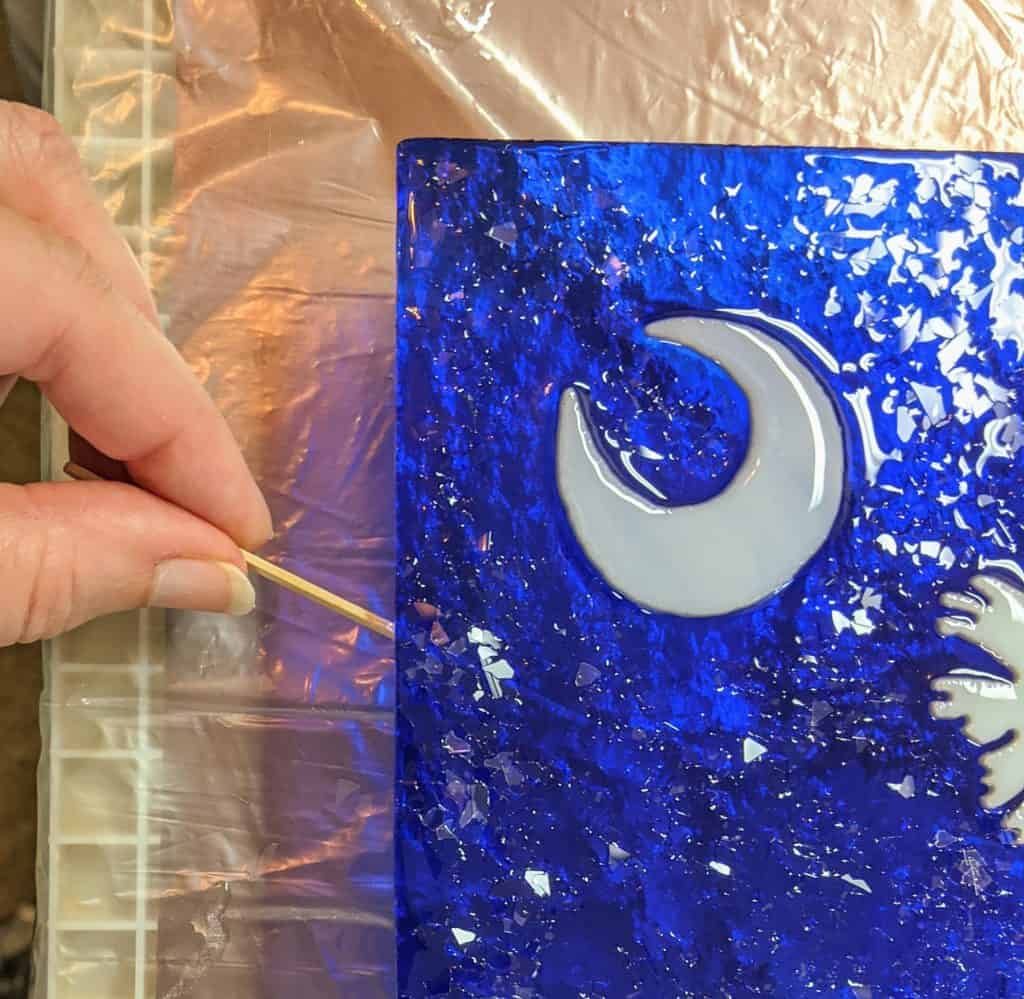
I decided to see how the glass chips would look on a colored piece. Since I made two similar SC Flag pieces in this batch, it will be a good opportunity to compare the two effects (one with and one without glass chips).
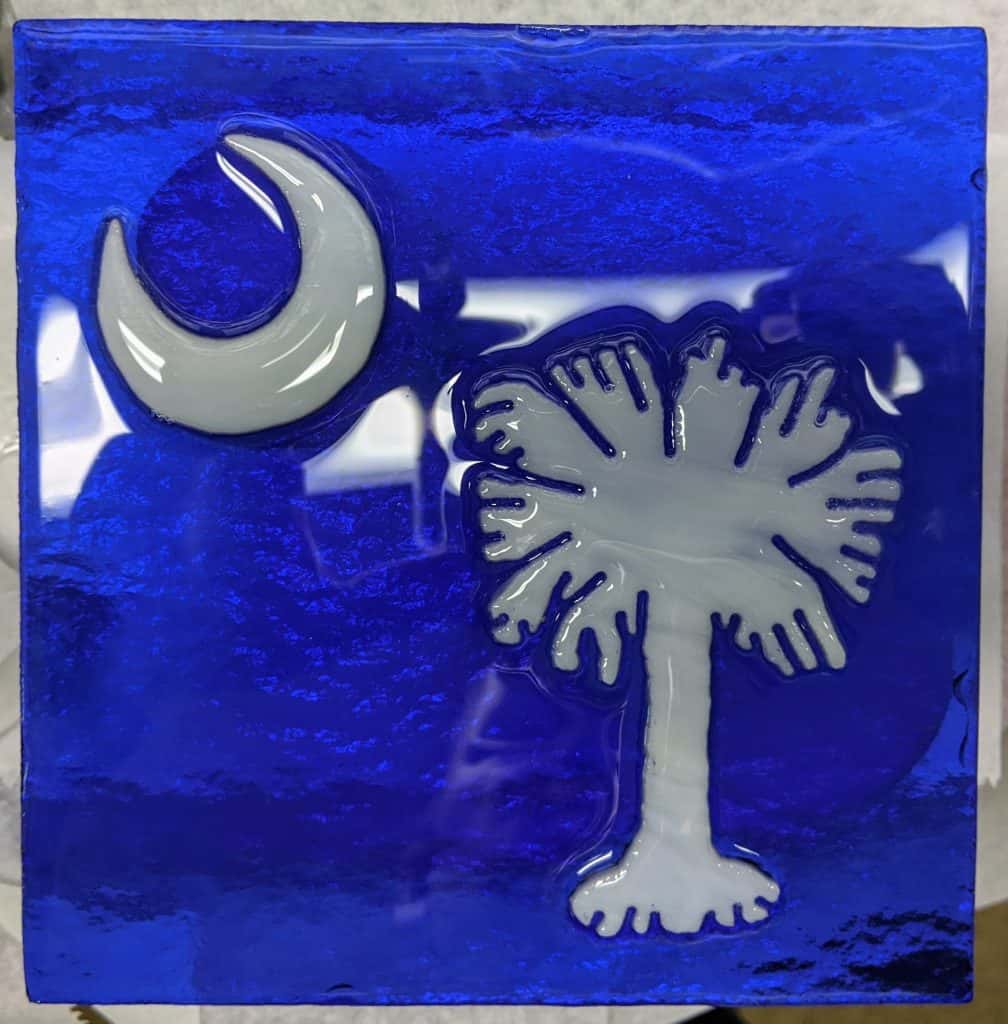
Without glass chips – ready to cureWith glass chips – ready to cureReady to cure
Now I have to wait overnight for the resin to cure. We’ll see how everything turned out tomorrow!