The resin cured on both of these overnight. Even though the wave project didn’t go completely as planned, I am pleased with it. It looks amazing when I hold it up to a sunlit window!
Glass of Sherry
The resin cured on both of these overnight. Even though the wave project didn’t go completely as planned, I am pleased with it. It looks amazing when I hold it up to a sunlit window!
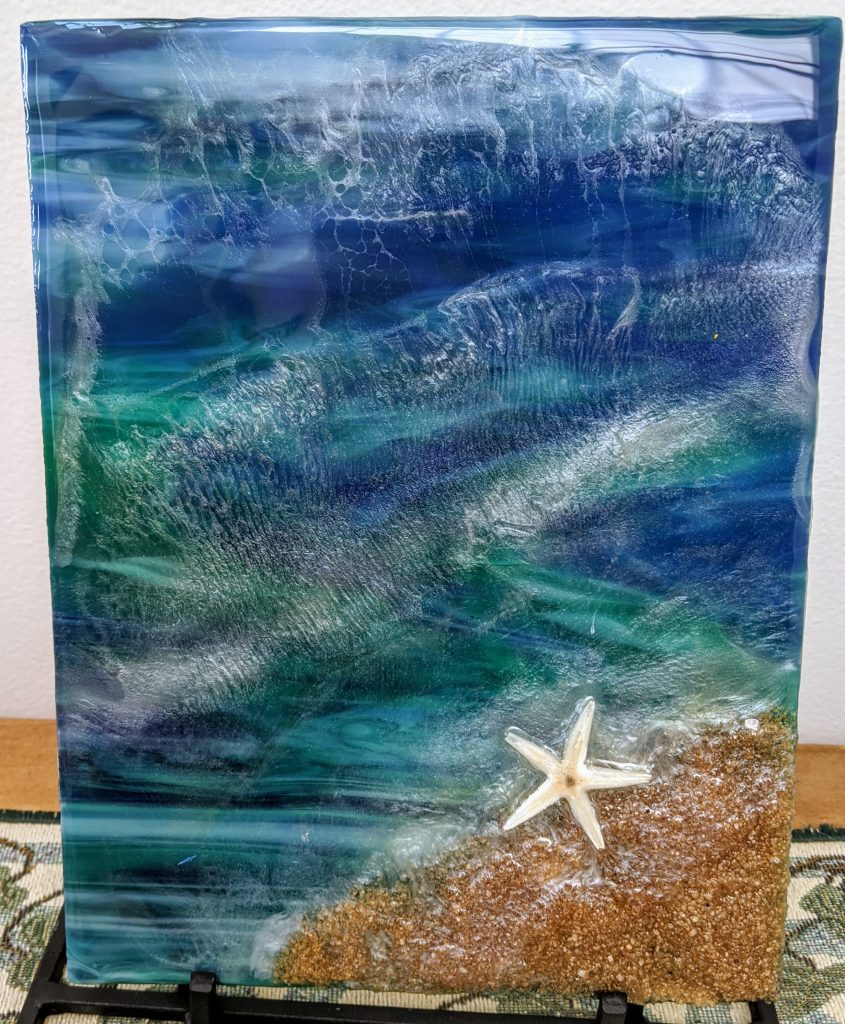
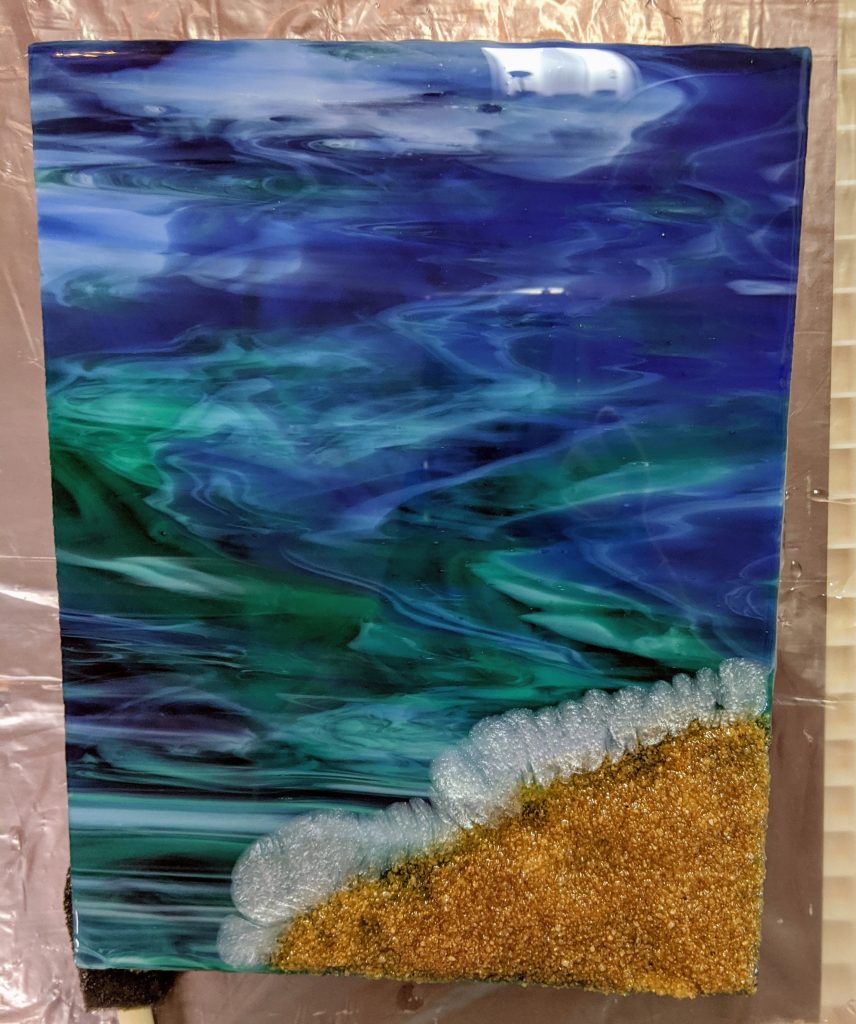
Today I needed to coat the edges of the canvas with resin and add another wave to the beach glass piece. I think I should have started the first wave on the beach up on the sand, so I tried adding one there at the same time as adding a second wave. I mixed 40 ml of resin and held back about 10cc for white for the waves.
Things got a bit out of hand for both of these. I smeared a bit too much resin on the top of the canvas. I should have just used some rubbing alcohol to remove it, but instead I tried coating the whole thing, but I didn’t have enough resin left to fully coat it. I ended up mixing another 40ml to help coat it. Hopefully it will turn out OK, though I’m mad at myself because it was really smooth before I did this. I also think I poured a bit too much of the white pigmented resin on the beach glass. I was hoping for a bit more separation between the waves. However, this is the first piece I’ve tried to make layered waves on so far, so it is a learning process.
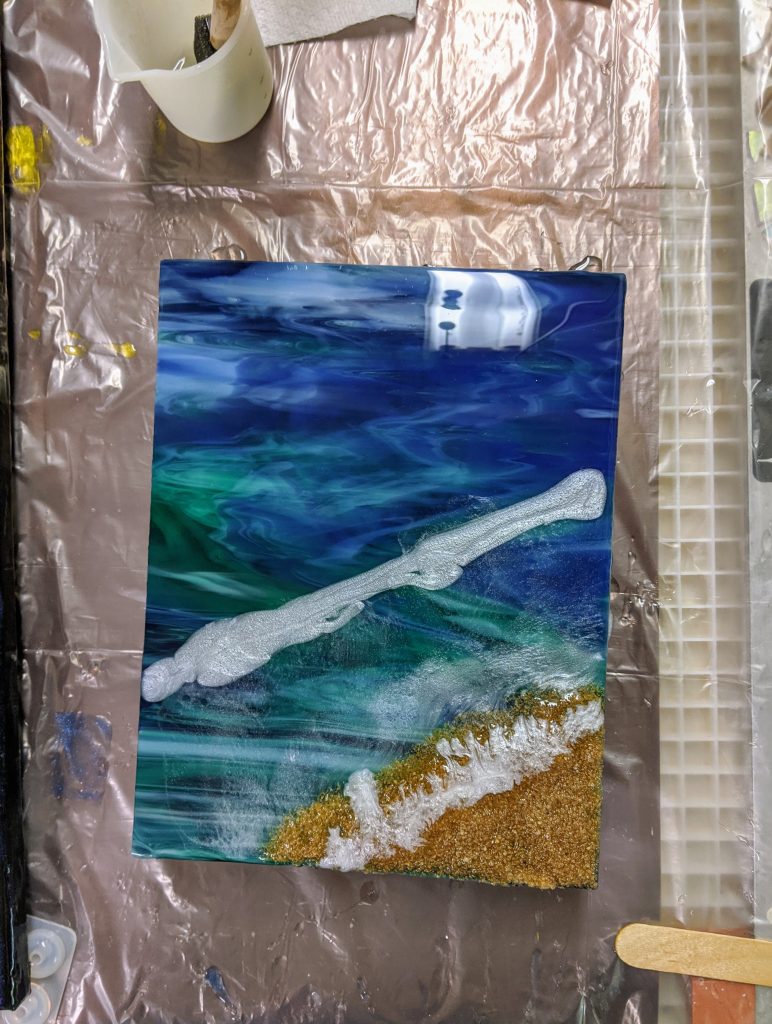
In the end, I think it will be ok, just not exactly what I had planned. I decided to add a starfish while I was at it.
Today I added the first “wave” on top of the initial cured layer of resin over glass and embarked upon my second attempt at a design on canvas with pigmented resin.
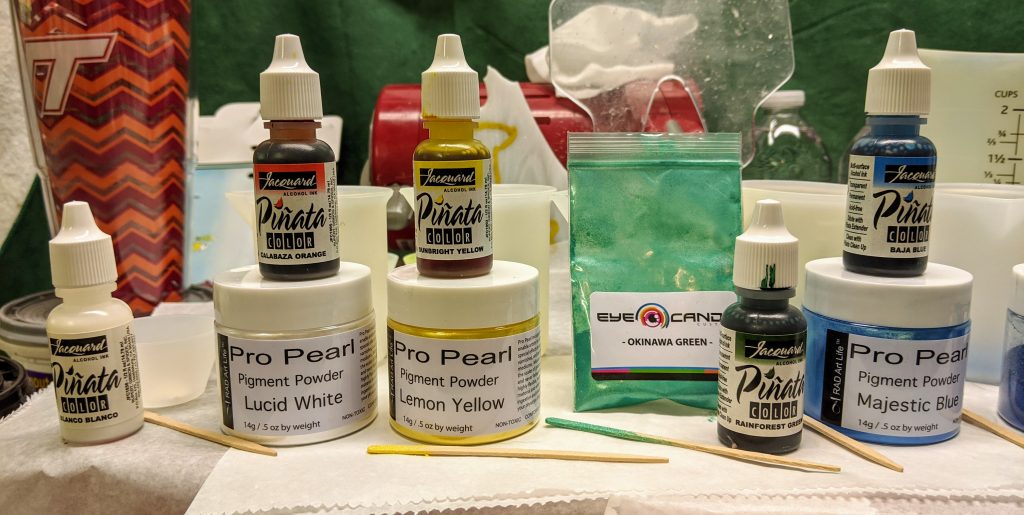
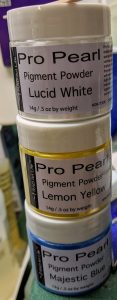
I laid out the vessels and pigments I planned to use for the resin. The pigment I used for the canvas background was the powdered Natural Blue (not pictured below). I added a drop or two of the liquid pigments to some of the powdered mix, as well. The green also got some additional yellow powdered pigment because it just looks too blue without it. All of those pigments were for the canvas, I only used a small amount of powdered white pigment with a drop of liquid white for the glass project.
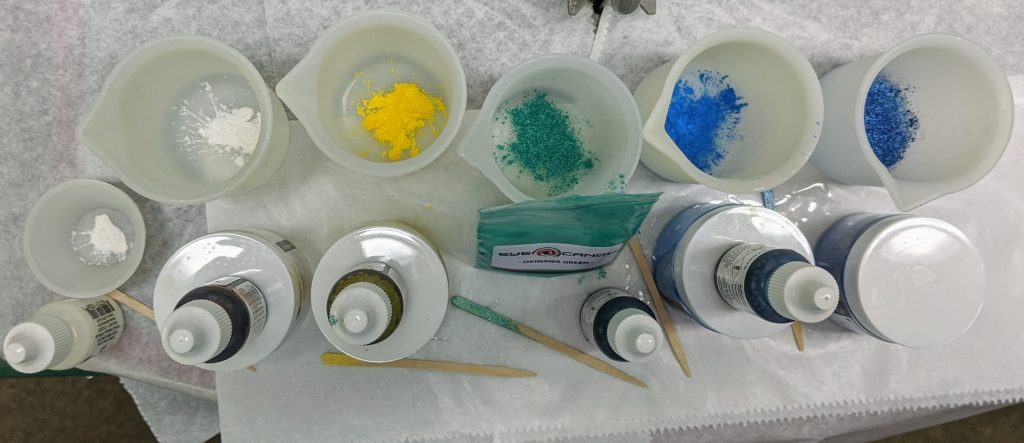
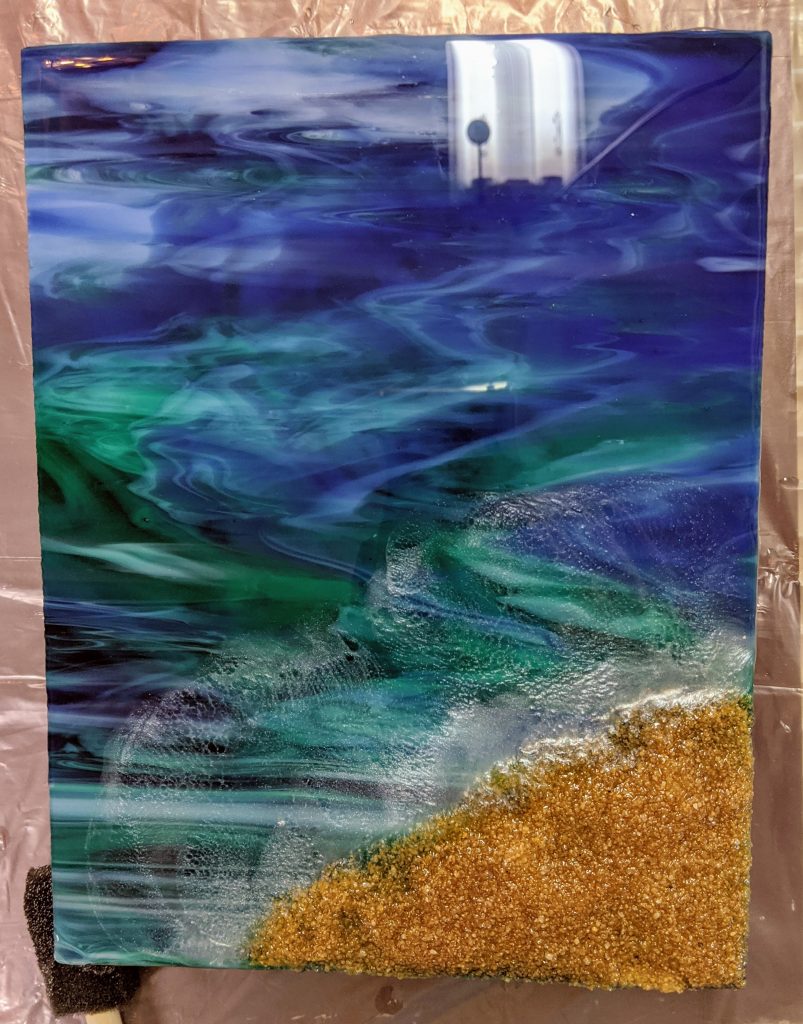
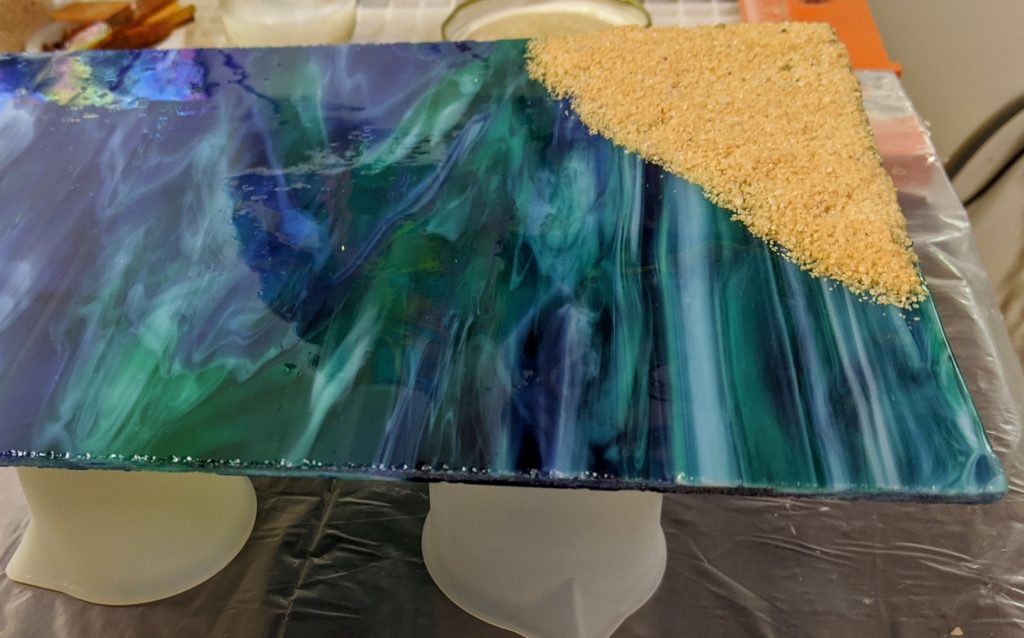
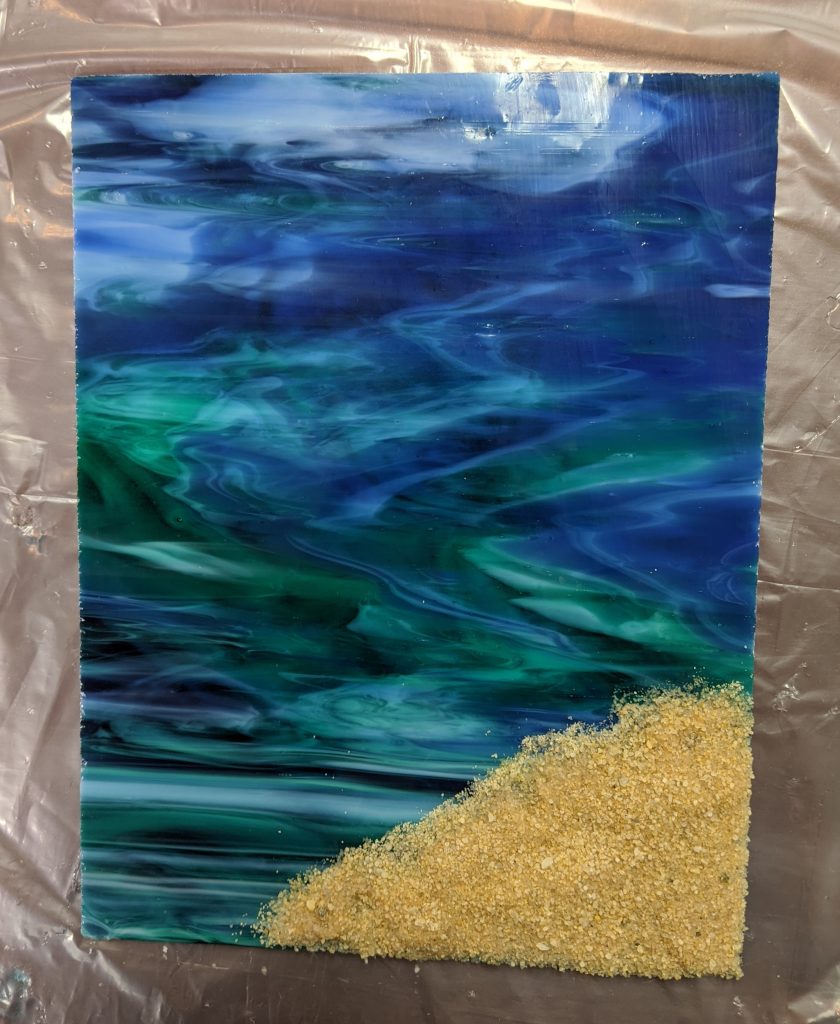
After mixing 400 ml of resin and separating it into cups, I started with the glass panel. I had to spread a thin coat of clear resin over the glass (not the sand, which I think I made too thick…will try a thinner layer next time). After I used the heat gun to remove bubbles, I added a thin line of the white tinted resin to the very edge of the sand on top of the clear layer of resin I had just spread. Once it was in place, I spread it a bit with the heat gun, then quickly hit it with a blast from the butane kitchen torch to spread it like the seafoam that flows when the waves crash against the beach.
Next I turned my attention to the canvas and spread the blue background coating of resin all over it with a sponge on a stick.
I then blew it with the heat gun to smooth / remove bubbles. It really evened out the look. On my first canvas, I didn’t have enough resin for a thick enough coat, but this one had just the right amount, I think. I then added the colors in circles / layers in the middle of the canvas and blew it with the heat gun again. I also really love the way the blue background turned out this time. The powdered pigment looked just how I wanted it to look.
Since I’m just a beginner with this, I am still figuring out how much I want to manipulate the resin with the gun / torch. I think that the canvas projects are too large to do with other projects at the same time, as the resin was getting a bit too thick before I was done manipulating it this time.
I used a craft stick to add the wiggles to the design and combine the colors together, then used the heat gun and torch to move things a bit more. After that, I used a craft stick to reduce the drips around the edges of the canvas. I plan on added in thin coat of clear resin to the edges in a day or two when I go back to add another wave layer to the glass beach project. I also mixed up a small amount of Glint Bronze powdered pigment to add to the center of the design, as I wasn’t satisfied with the look in the center.
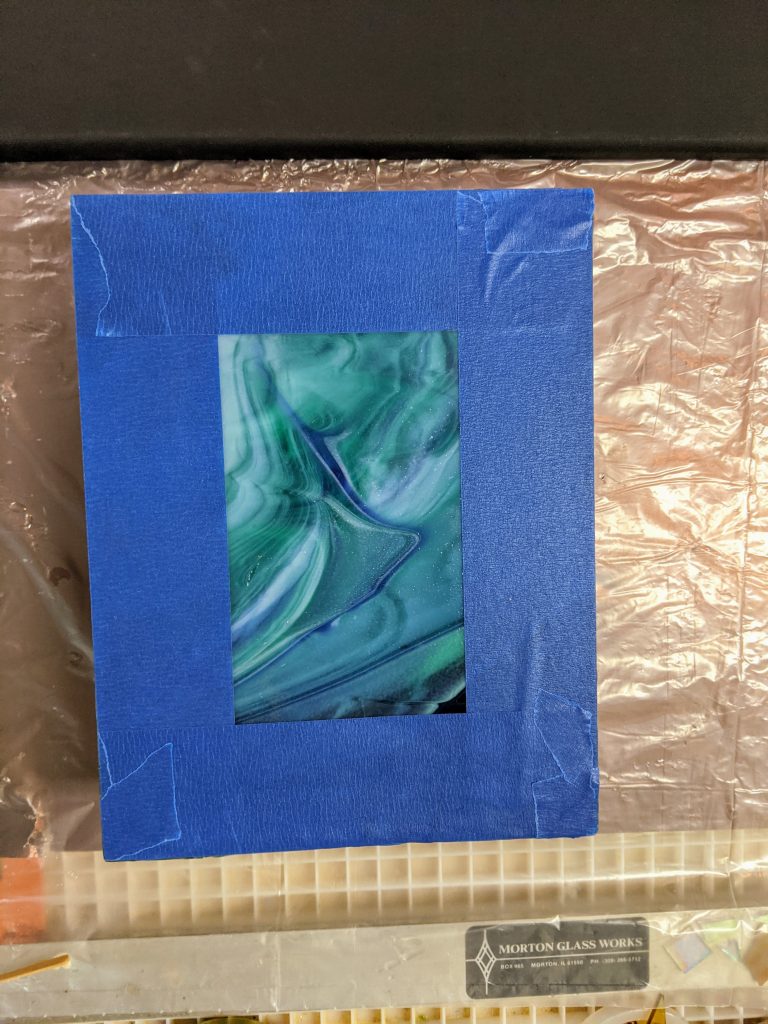
I didn’t pour quite enough resin on the canvas I made the other day, so I wanted to add a thin layer on the top of it and also pour the first layer on my new beach / layered wave project. First I propped up my glass on which I applied the sandy beach yesterday so it would be ready for the resin.
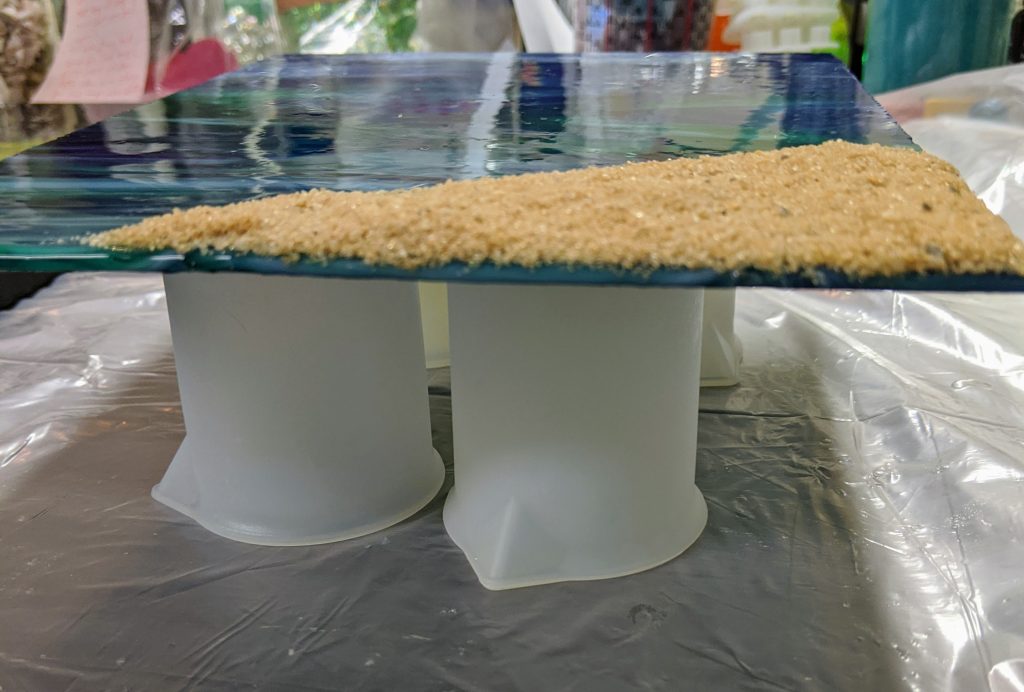
I probably should have taped the underside of the glass, but I didn’t think of it until it was too late, so I had to scrape the drips off before the resin cured.
I’m not sure I will get the desired outcome with the canvas, but it’s my first one so I’m still on the steep learning curve. I might need to make a cardboard or foam support that fits the inside of these frames for better support.
I wasn’t able to remove all the bubbles / irregularities in this coat, so I will see how bad it is tomorrow.
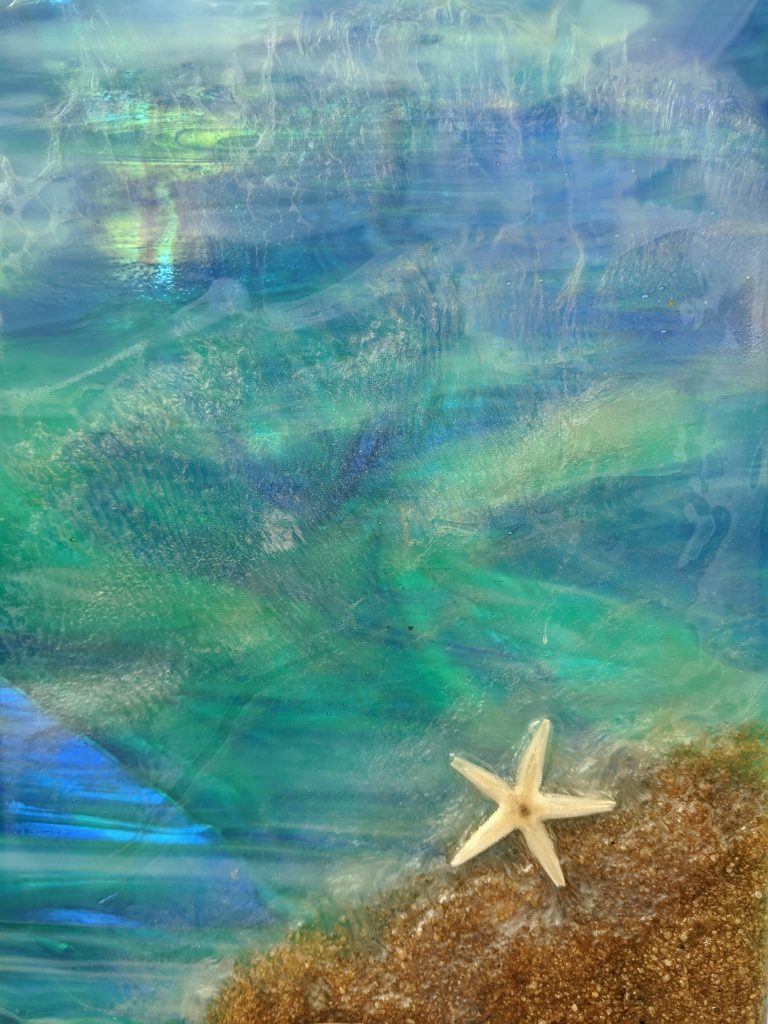
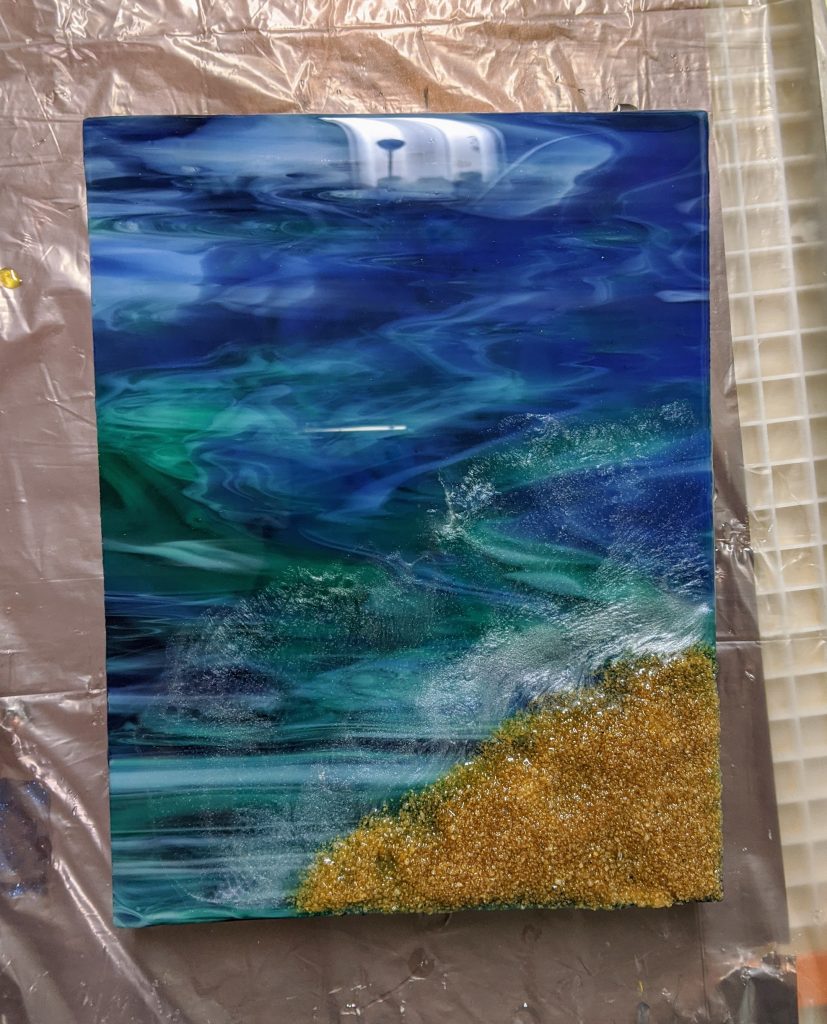
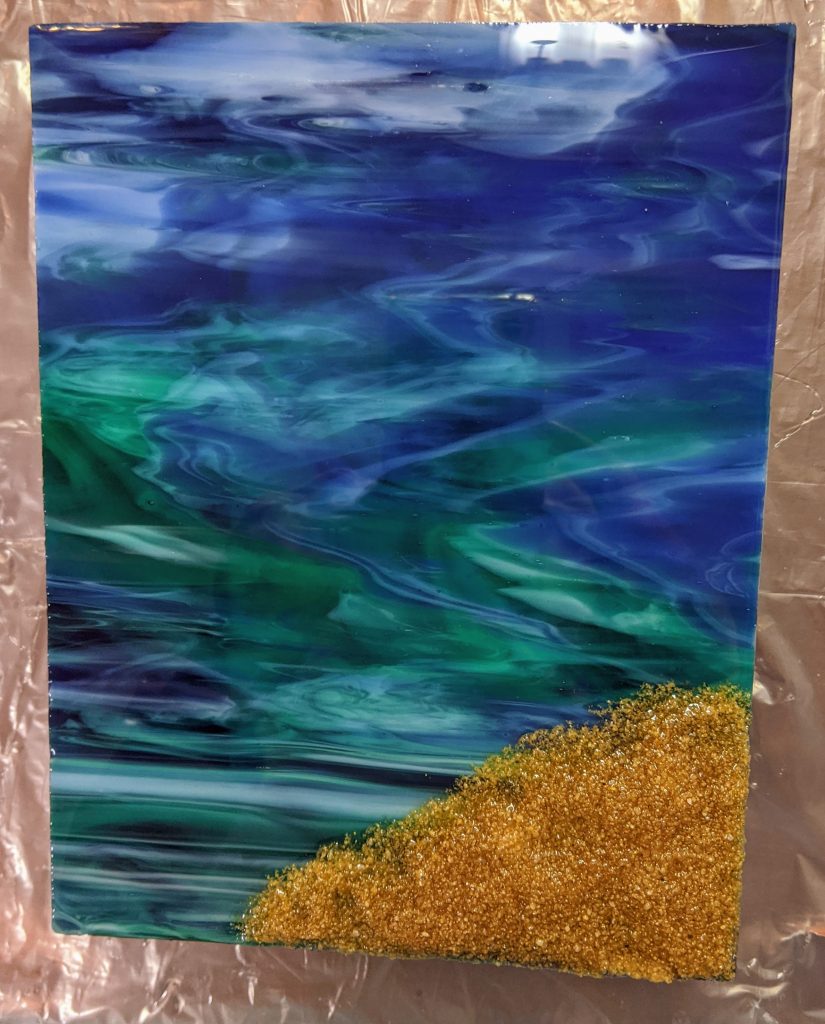
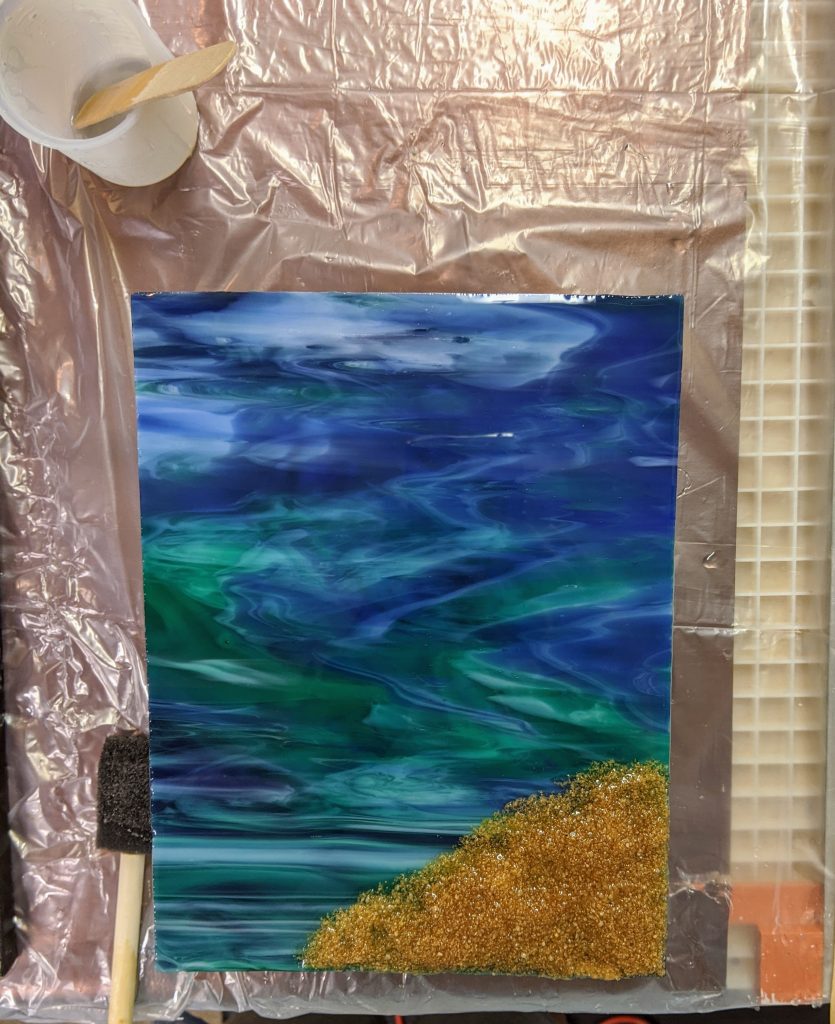
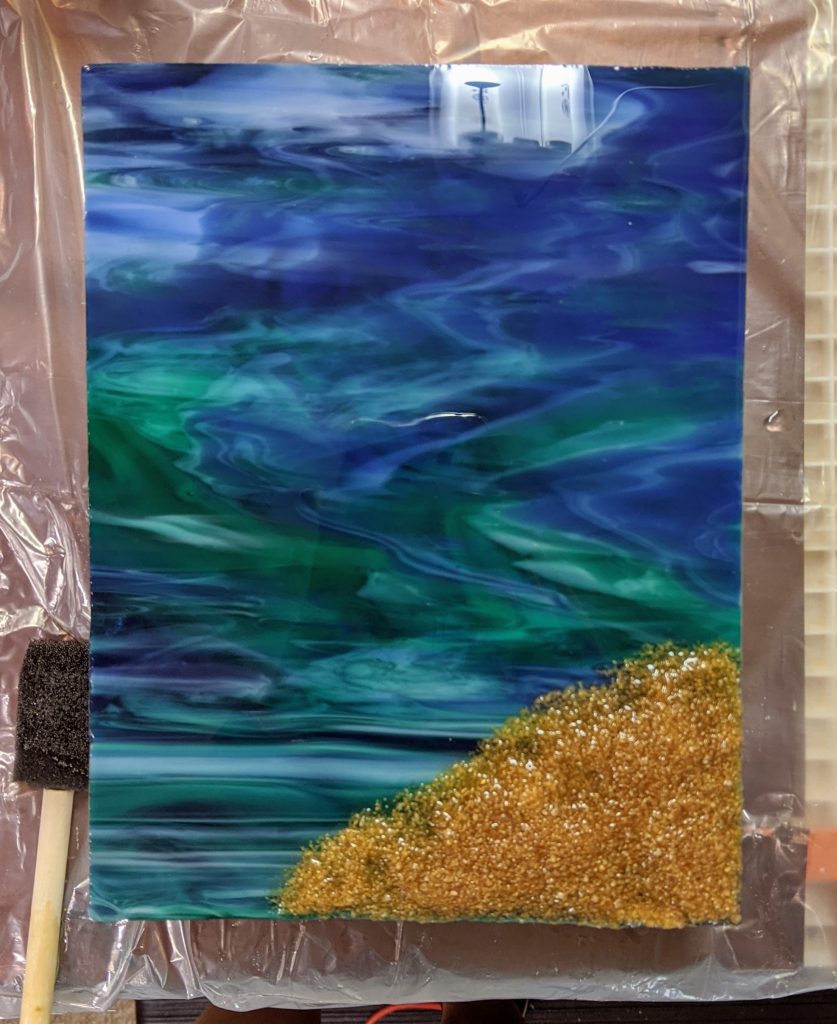
I’ve got so many project ideas I want to try that it seems like I’m doing something new each day. Right now I have the canvas I started the other day that needs a finishing coat of clear resin, and I started a new glass / beachy project. For this panel, I started with a pretty sheet of glass that reminded me of the ocean. After cutting the glass to a manageable size and grinding the edges, the first step was to add some sand for the beach. I used real sand and mosaic adhesive.
The down side of this project is it is going to take several days to complete, as I can’t pour any resin until the adhesive on the sand dries completely. My plan for the waves is to do one wave per day. Sigh. At least I will be able to finish the canvas I started the other day and then start on a new canvas when I’m working on the layers for the waves.
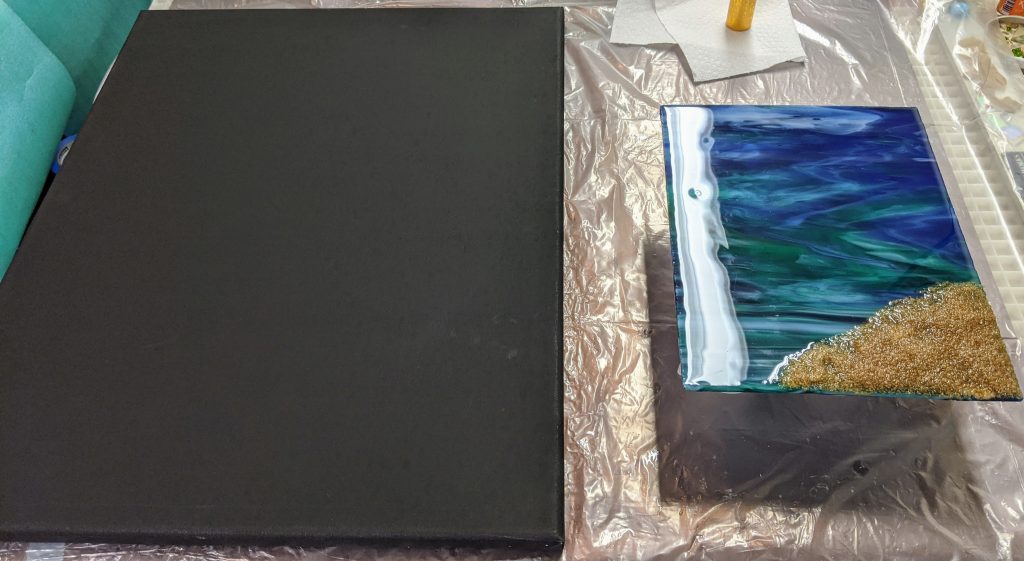
Today I decided to try something new – resin on canvas. I have several project ideas in mind, but I really need to figure out the basics for this, as I’ve never worked on canvas before. I got some black canvas mounted on wood for this – meant to get white, but saw the black and decided on a whim to try it. I probably should have gotten white too, but I had a coupon for a discount on one item and was too cheap to get both… It was definitely a learning adventure. I also had a few Palmetto and Crescent glass panels ready for resin, so I laid everything out on my work surface.
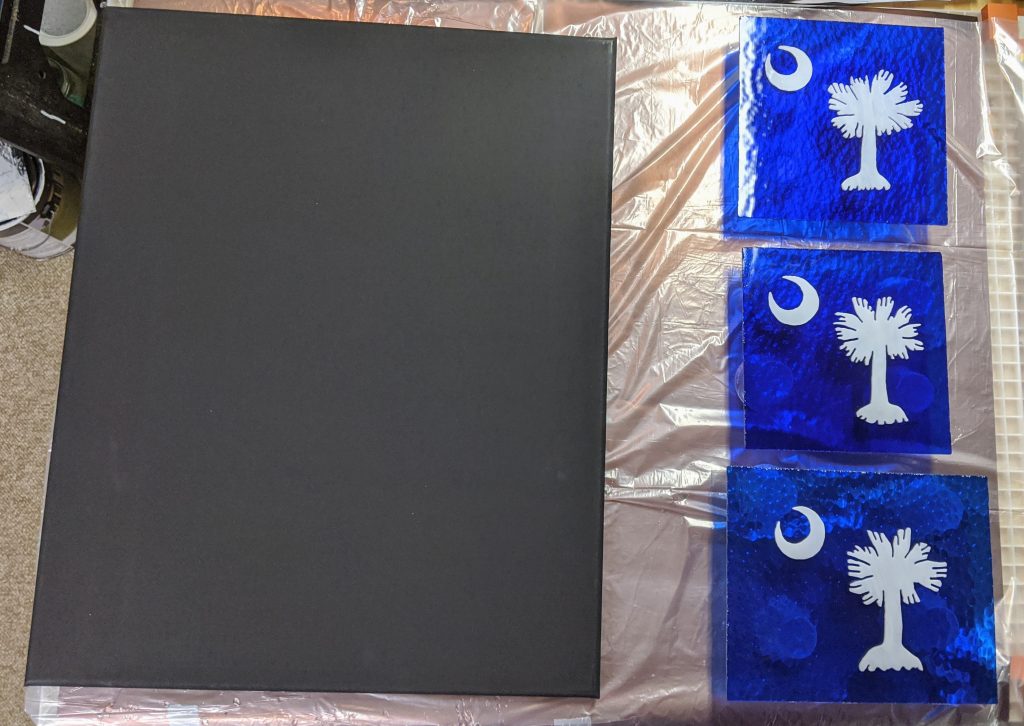
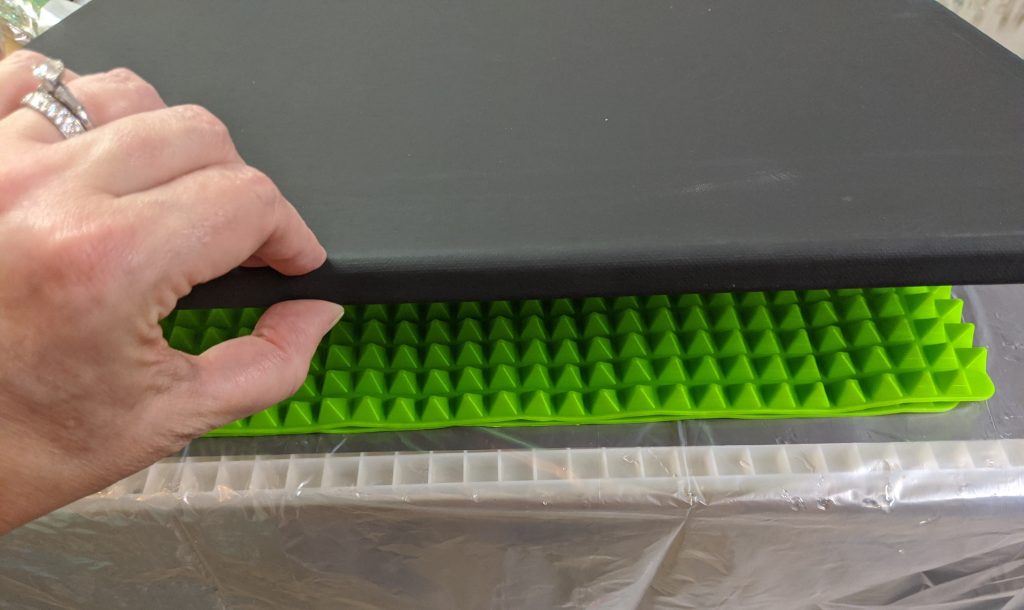
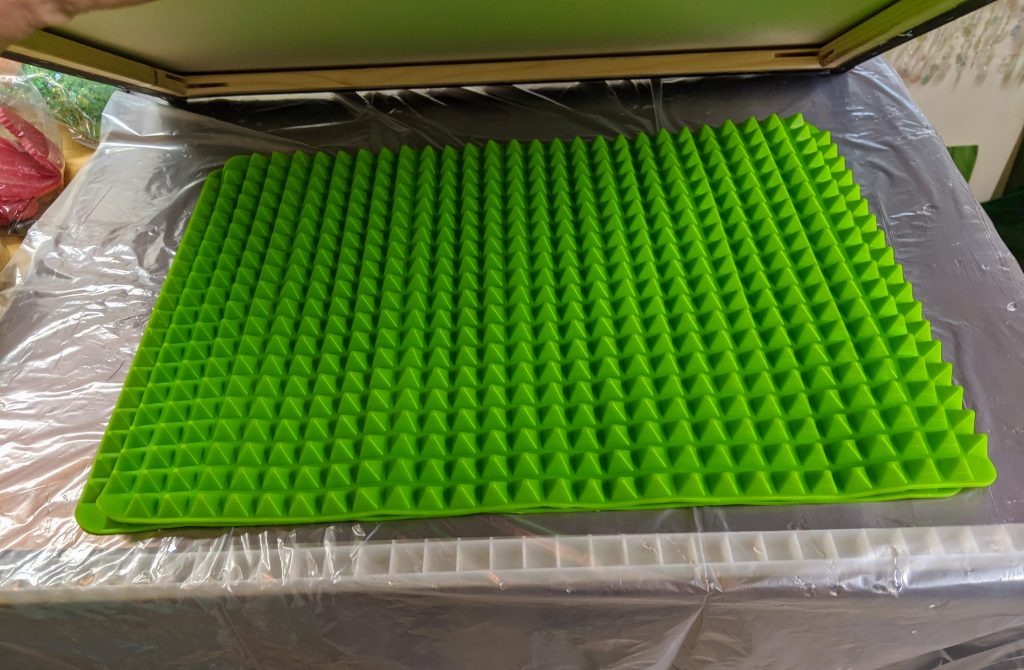
As usual, I elevated my glass panels on some plastic medicine cups. However, the canvas I just placed directly on the plastic. The secret is I added a couple of silicone mats underneath the canvas to keep it from drooping under the weight of the resin.
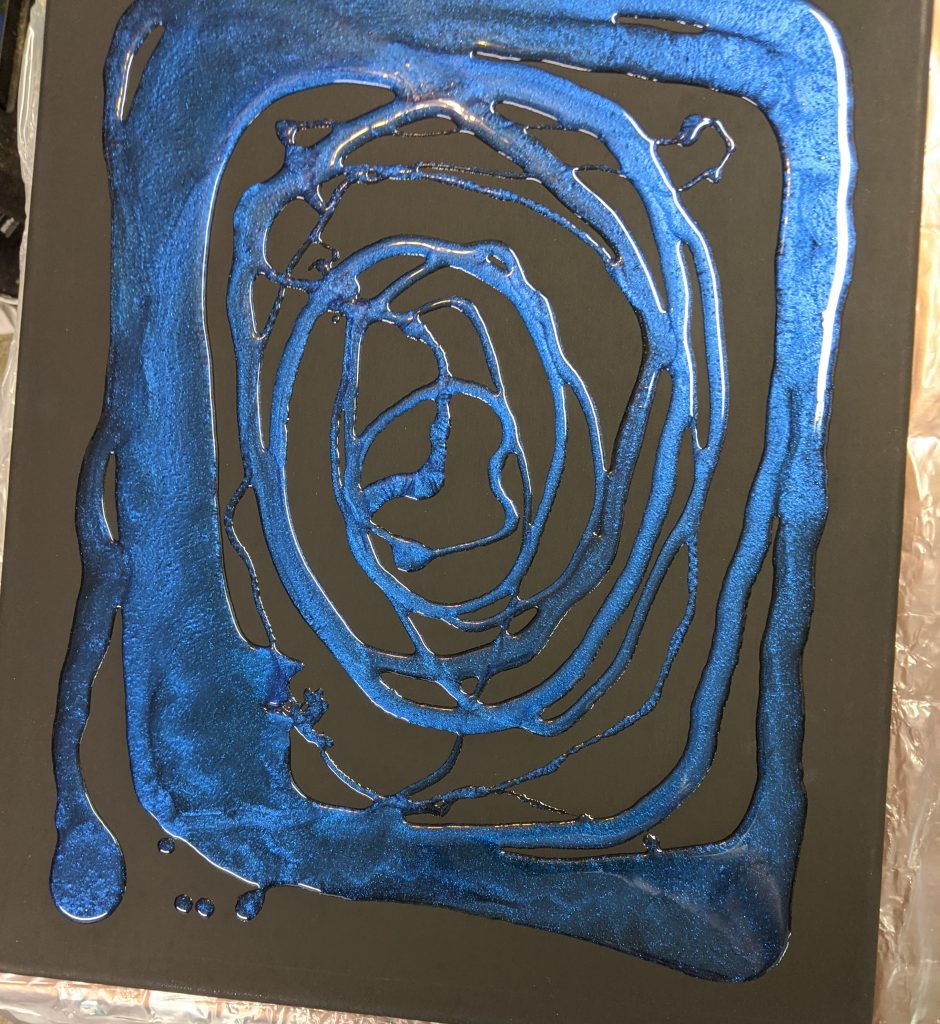
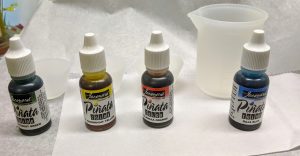
I prepared my containers and pigments for the resin and planned to mix 8 ounces of resin for all four projects. I initially wanted to use alcohol inks for the colors on the canvas and mixed a larger amount of blue for the canvas background, then some green, yellow and orange in smaller silicone containers. This project is very experimental, so I wasn’t sure where it would lead.
Well, I mixed each color, added a drop of white for opacity to the green, yellow and orange and a drop or two of black to the blue for the same reason. The green turned blue, so I added a couple of drops of yellow, but wasn’t really able to overcome the blue. I then spread the larger amount of blue on the entire canvas (I was going for a dark blue background) and used my heat gun to remove bubbles and even out the resin. I also added some glass chips to two of the Palmetto and Crescent panels (and tended to any drips that appeared under the edges of the glass) while I was working on the canvas.
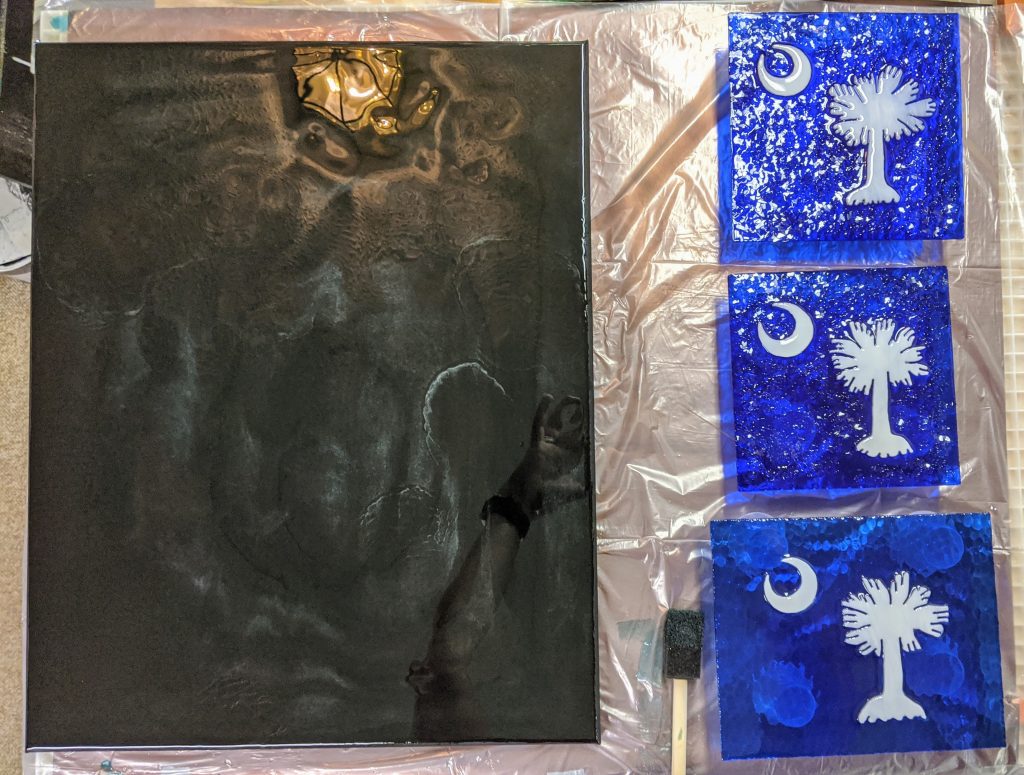
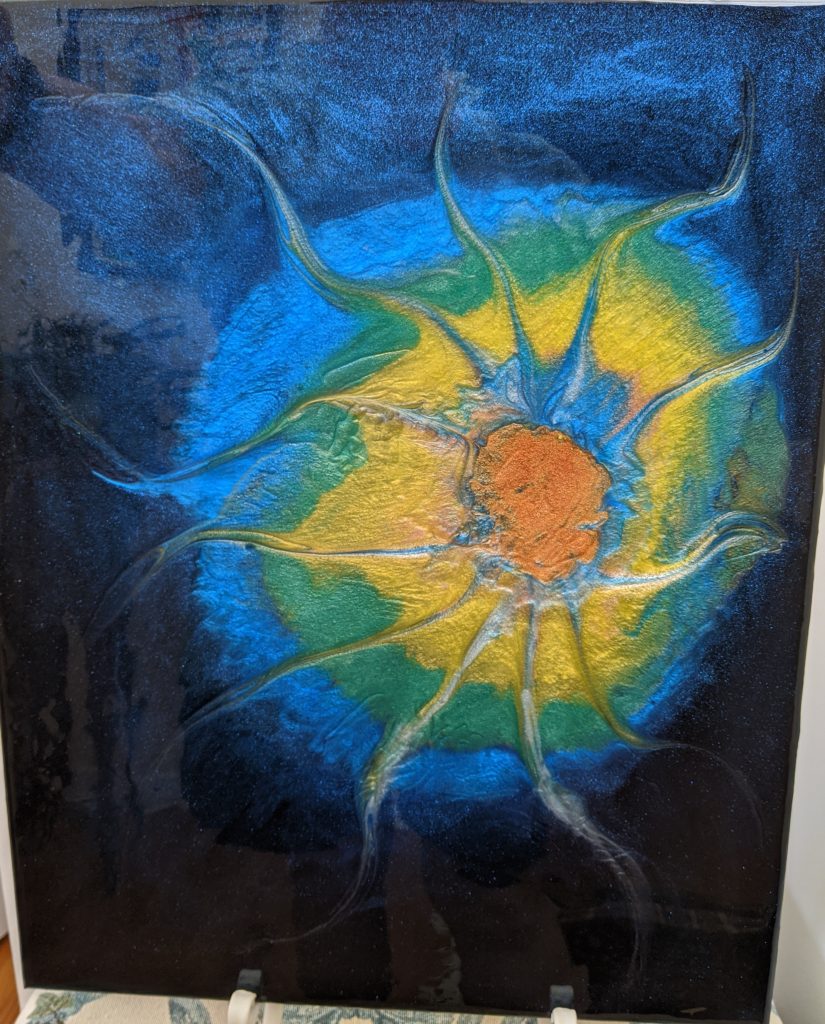
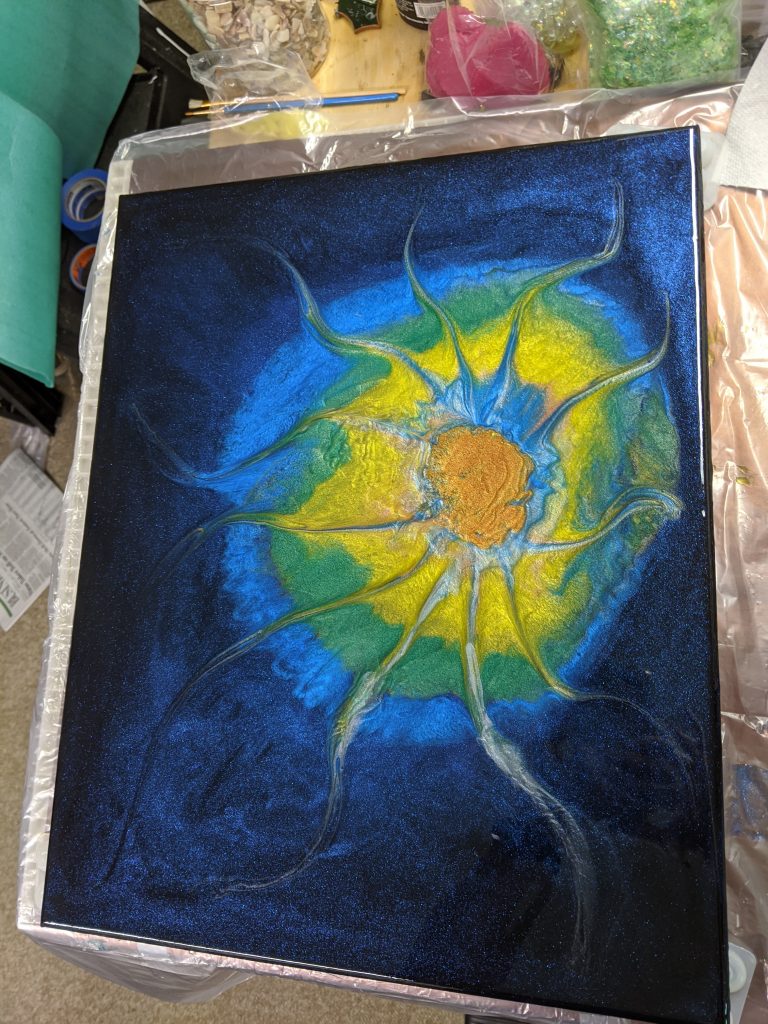
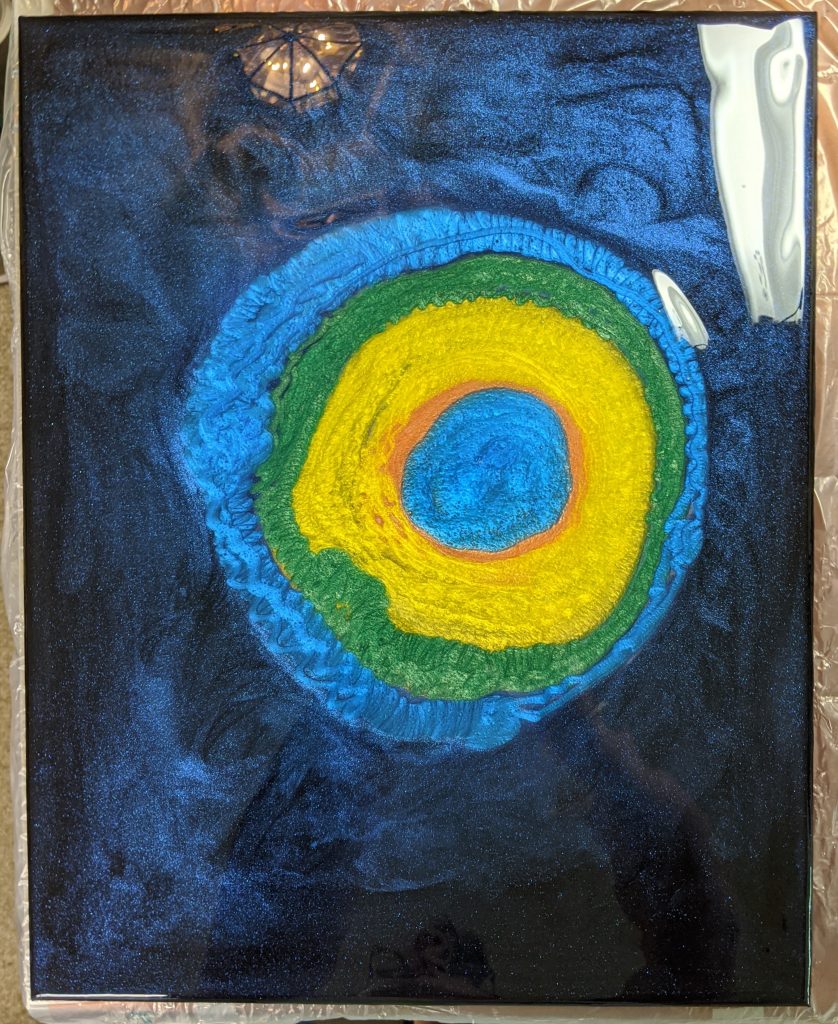
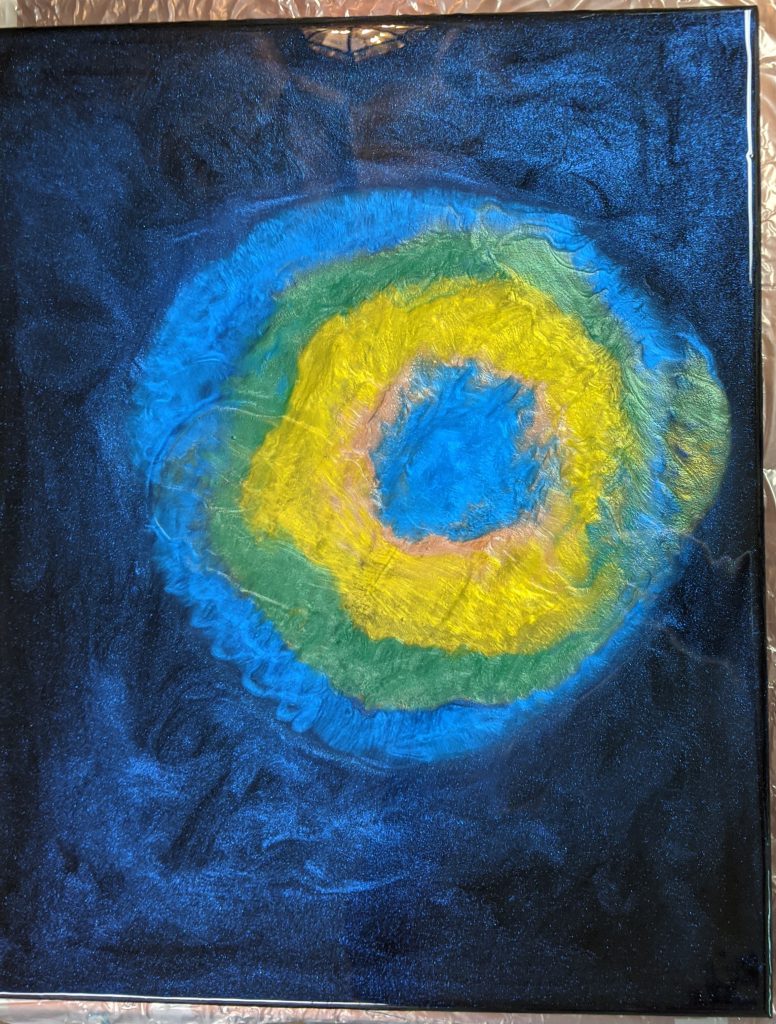
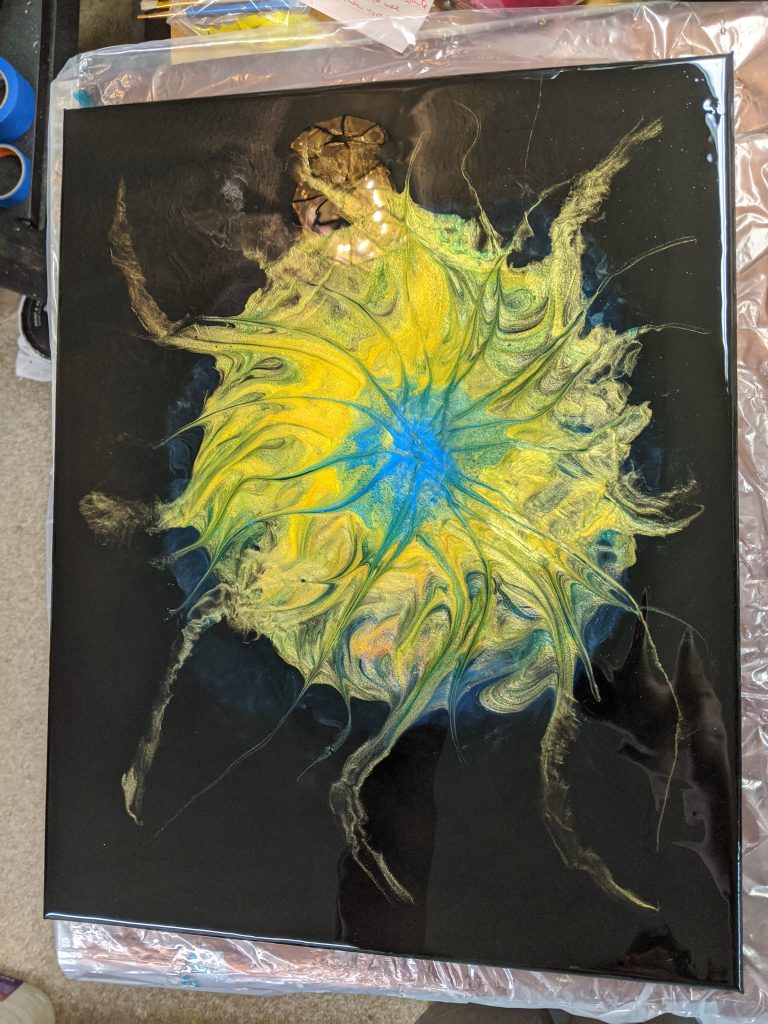
Hmm – the canvas didn’t look blue at all. I then poured some clear resin in the center where I wanted to make my design and poured the green resin on top of that, then some more white and the yellow. Well, I quickly figured out that the alcohol ink pigments don’t show up very well against the black canvas background. Whoops. I made some adjustments and powered on – mixed some white powdered pigment with the orange. That adjustment seemed to help, adding the opacity needed against the black. Next I added some powdered yellow pigment to the little bit of resin I had left and the same with some blue powdered pigment and used those. Each individual layer was hit with the heat gun.
I wish I had used the blue powdered pigment on the background, but overall it turned out better than it could have. I used a craft stick to make a pattern I liked in the resin and used the blow torch to try to create some cells in the resin, but I think my resin had gotten too far in the curing process for that to work properly.
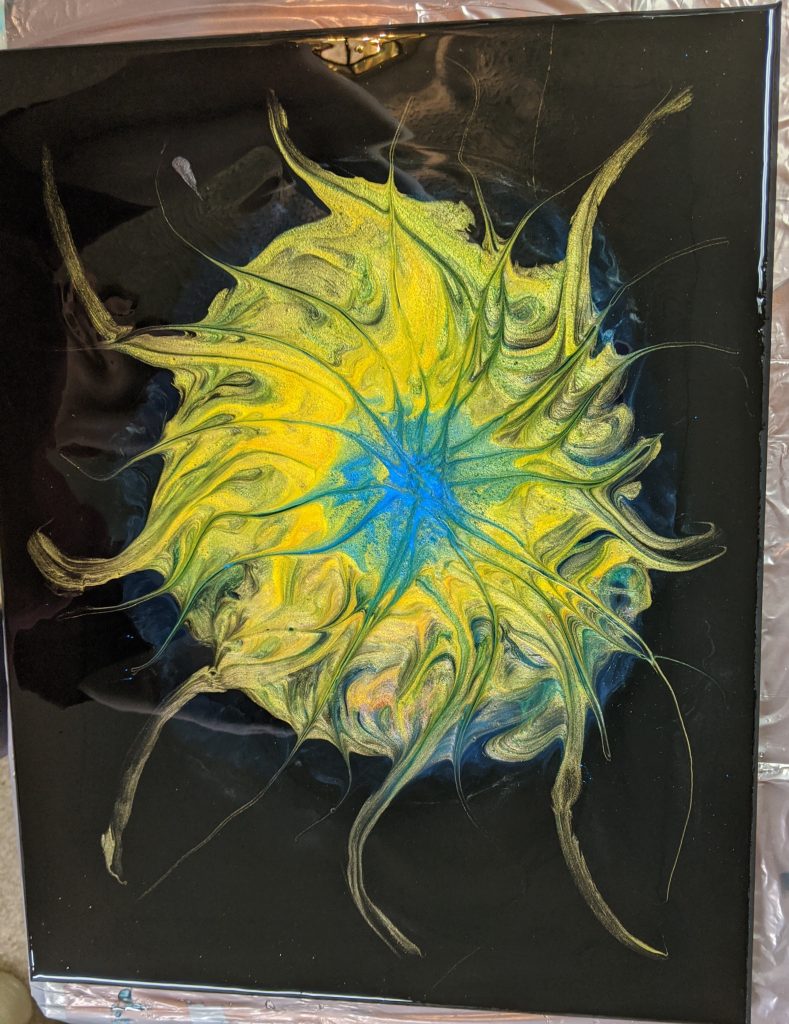
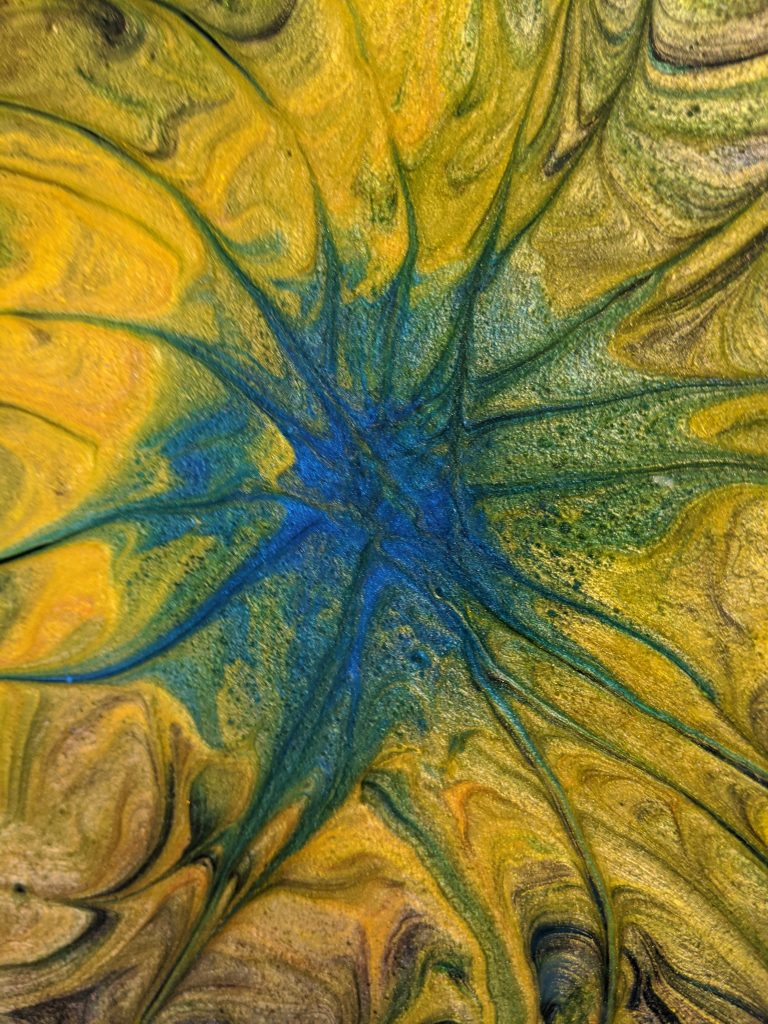
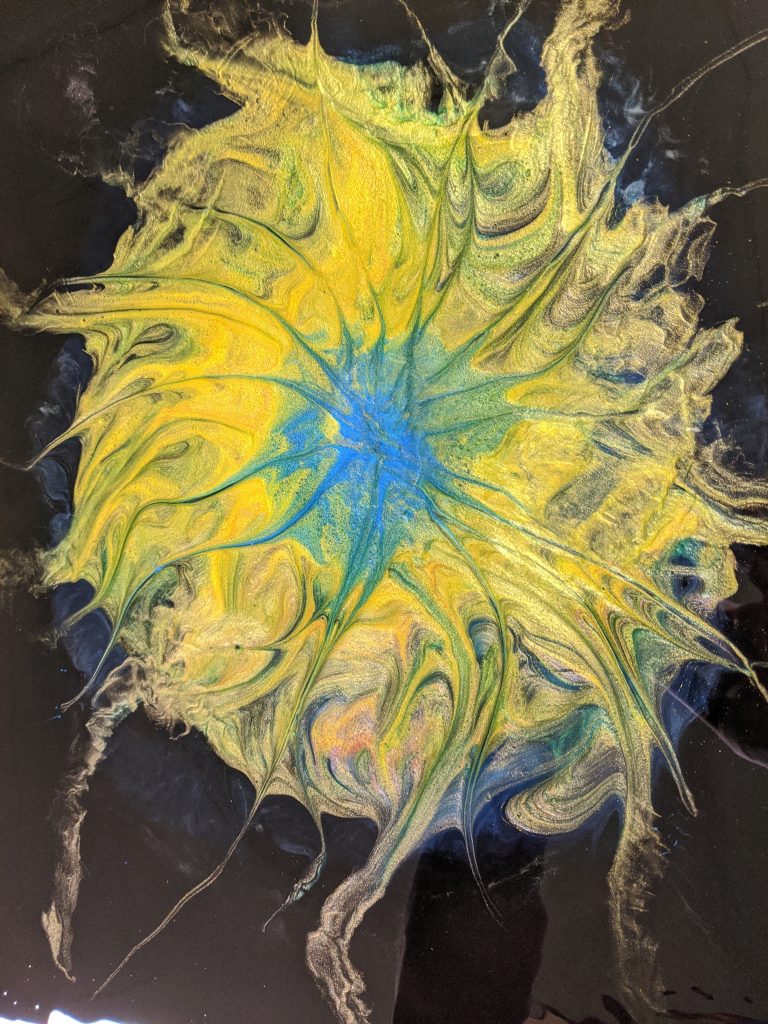
Overall for a first shot in the dark, I like how it looks. I really like the way the orange pigment adds depth to the yellow in this one. I’m not sure how it will change during the curing process, but I’ll find out tomorrow! Now I know to use the powdered pigment for my next project. It will be interesting to compare my results to this one.