Today I added the first “wave” on top of the initial cured layer of resin over glass and embarked upon my second attempt at a design on canvas with pigmented resin.
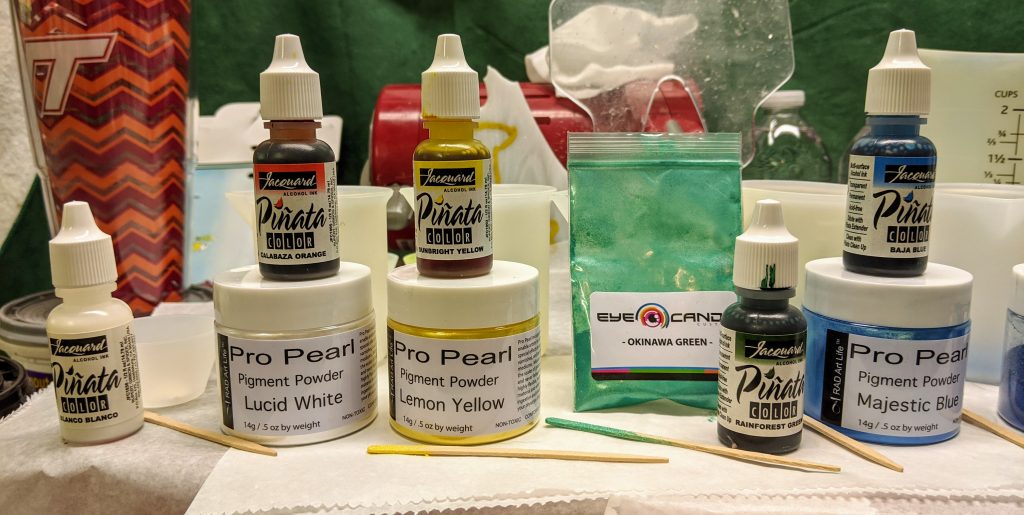
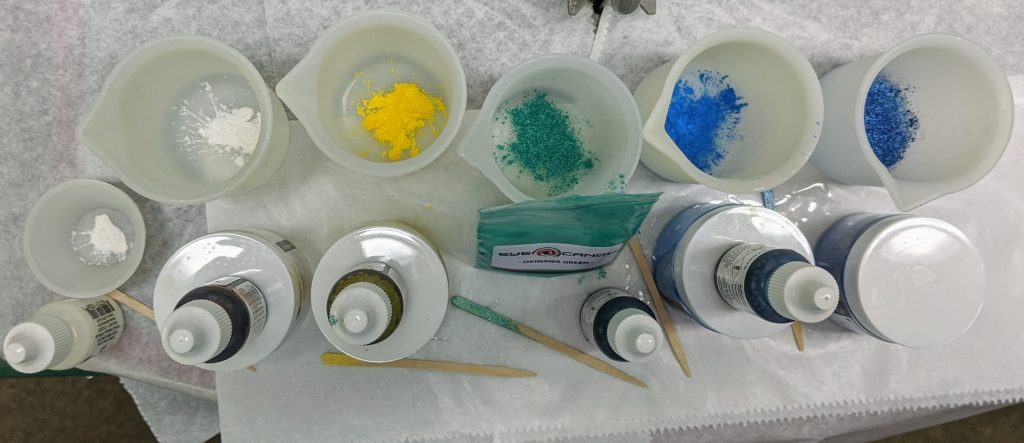
I laid out the vessels and pigments I planned to use for the resin. The pigment I used for the canvas background was the powdered Natural Blue (not pictured below). I added a drop or two of the liquid pigments to some of the powdered mix, as well. The green also got some additional yellow powdered pigment because it just looks too blue without it. All of those pigments were for the canvas, I only used a small amount of powdered white pigment with a drop of liquid white for the glass project.
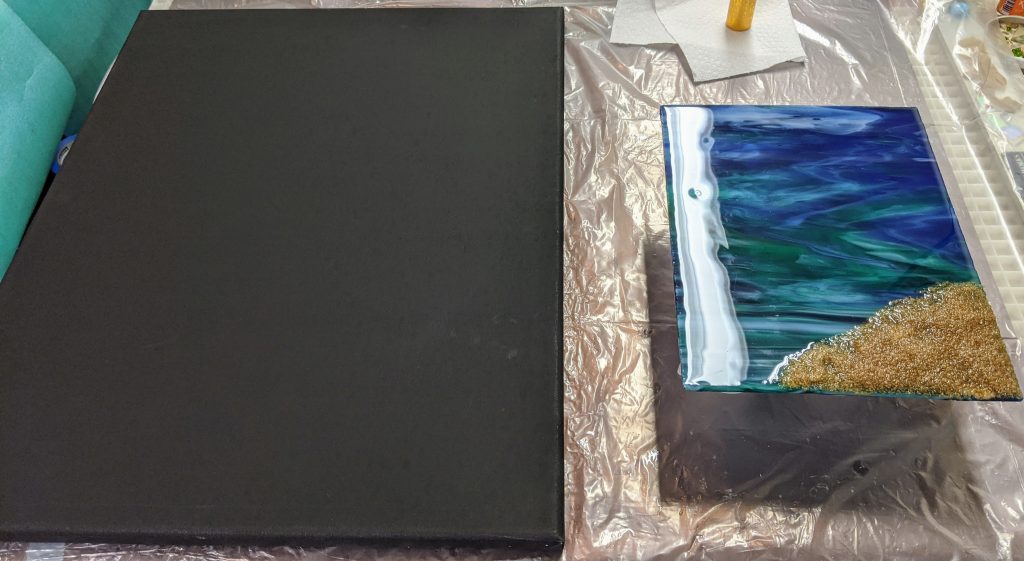
After mixing 400 ml of resin and separating it into cups, I started with the glass panel. I had to spread a thin coat of clear resin over the glass (not the sand, which I think I made too thick…will try a thinner layer next time). After I used the heat gun to remove bubbles, I added a thin line of the white tinted resin to the very edge of the sand on top of the clear layer of resin I had just spread. Once it was in place, I spread it a bit with the heat gun, then quickly hit it with a blast from the butane kitchen torch to spread it like the seafoam that flows when the waves crash against the beach.
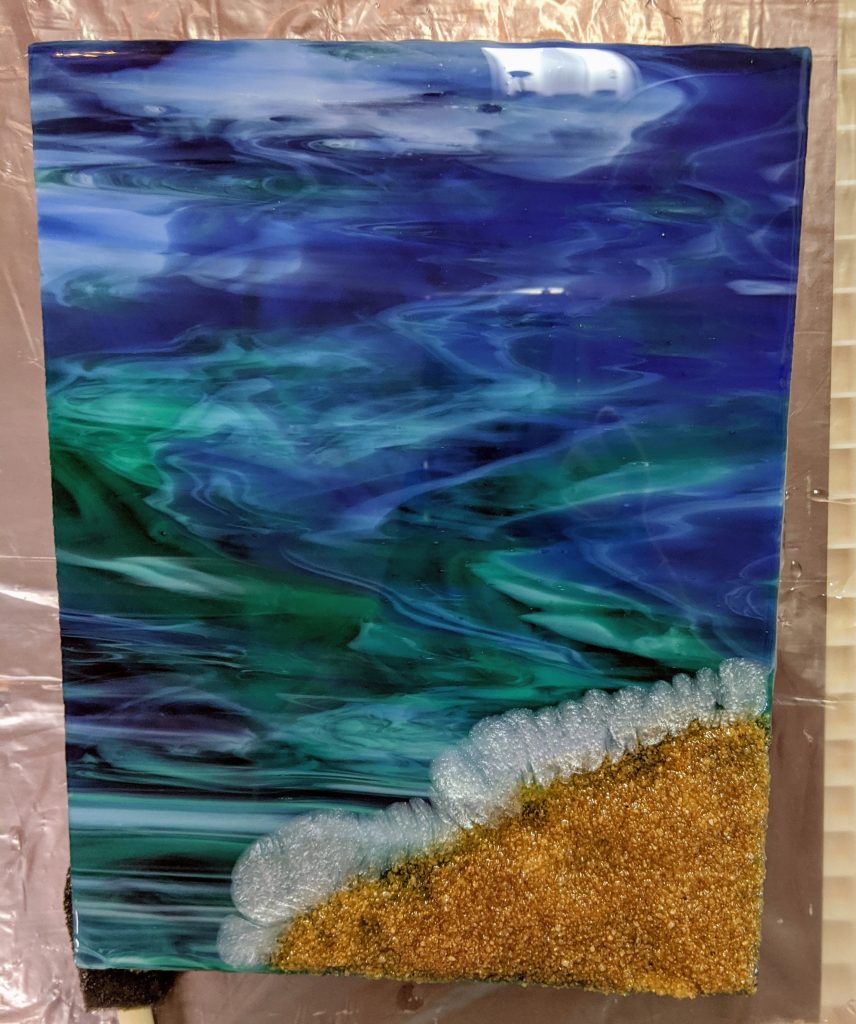
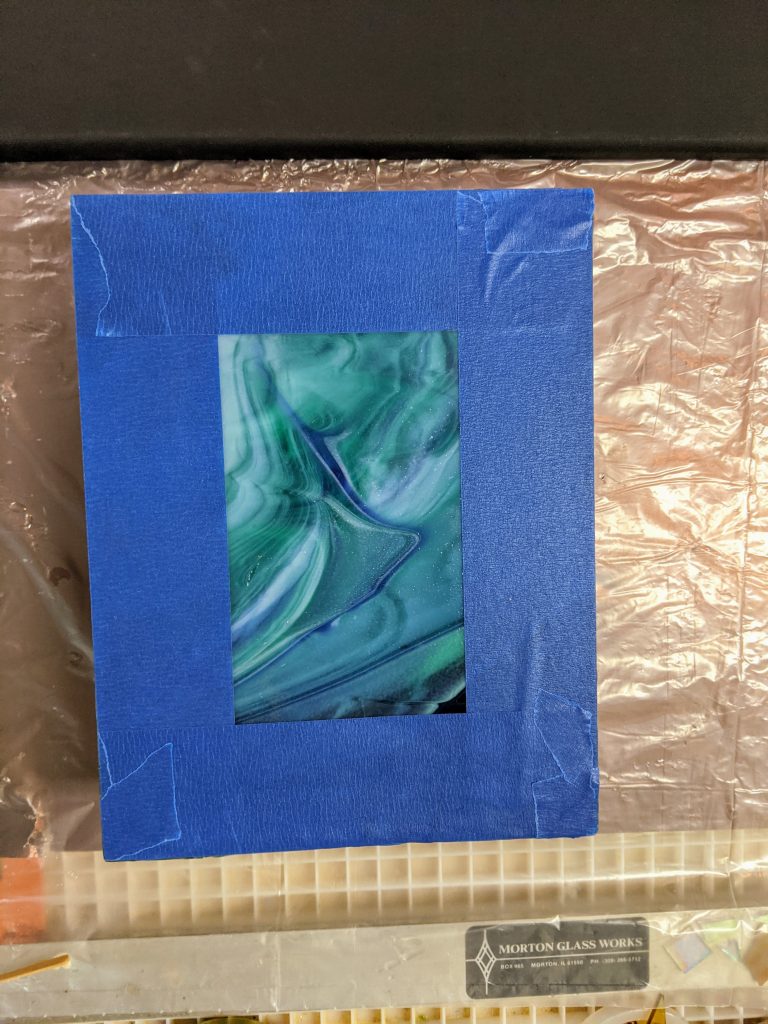
After heat gun 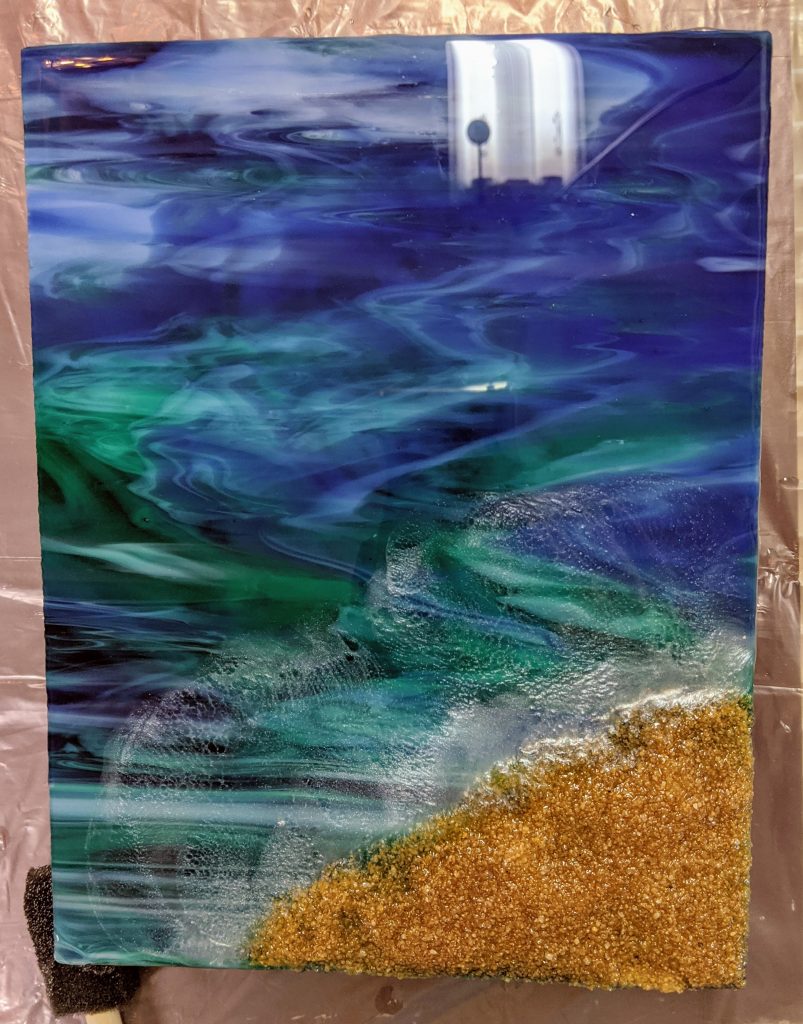
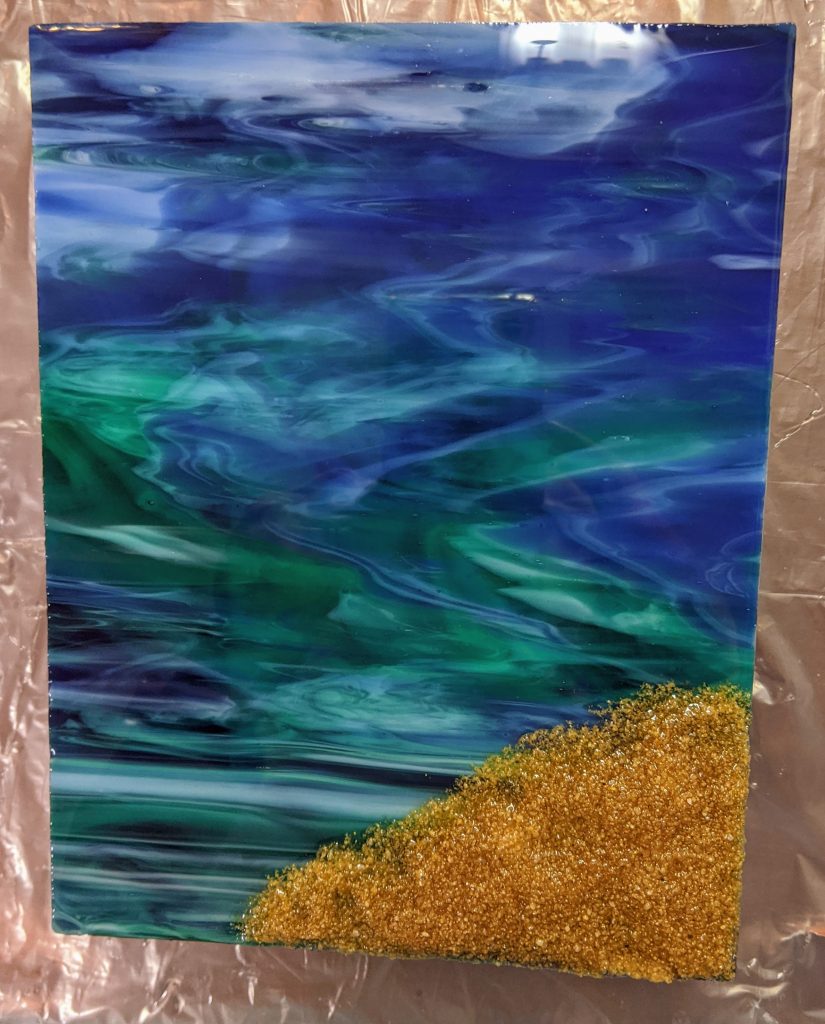
After blow torch
Next I turned my attention to the canvas and spread the blue background coating of resin all over it with a sponge on a stick.
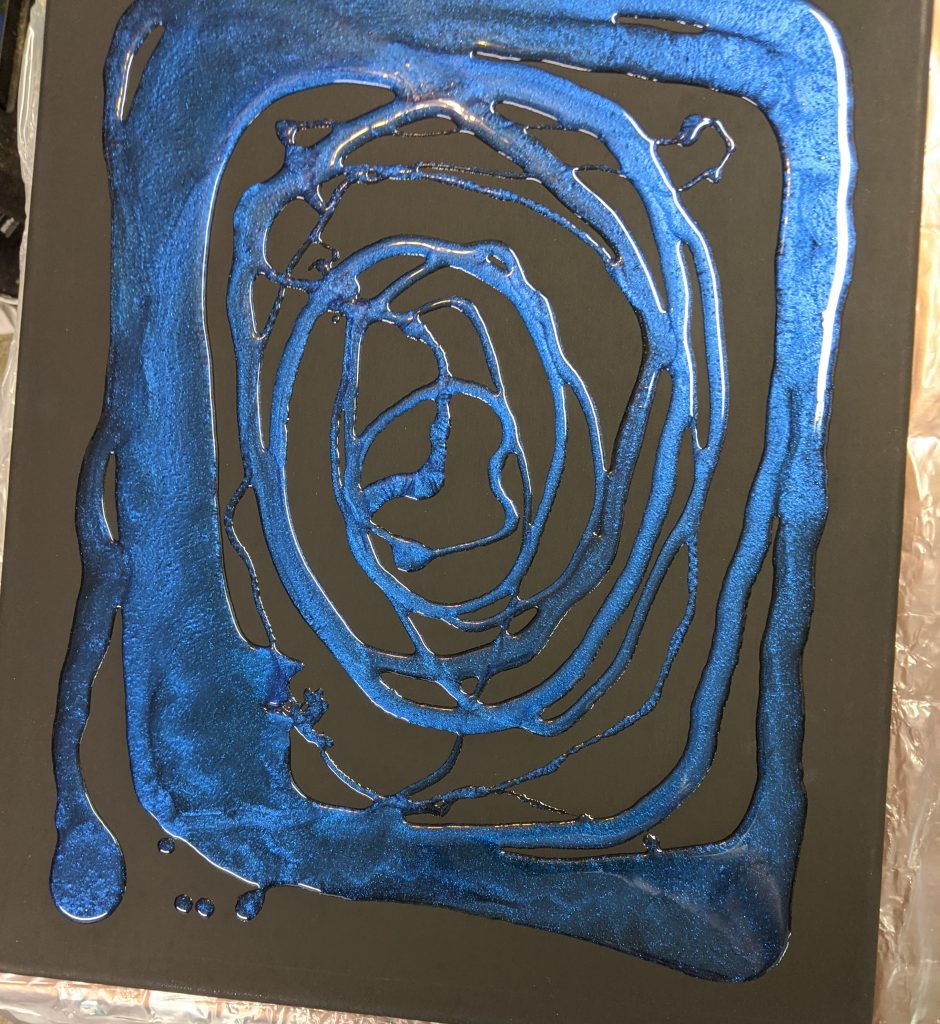
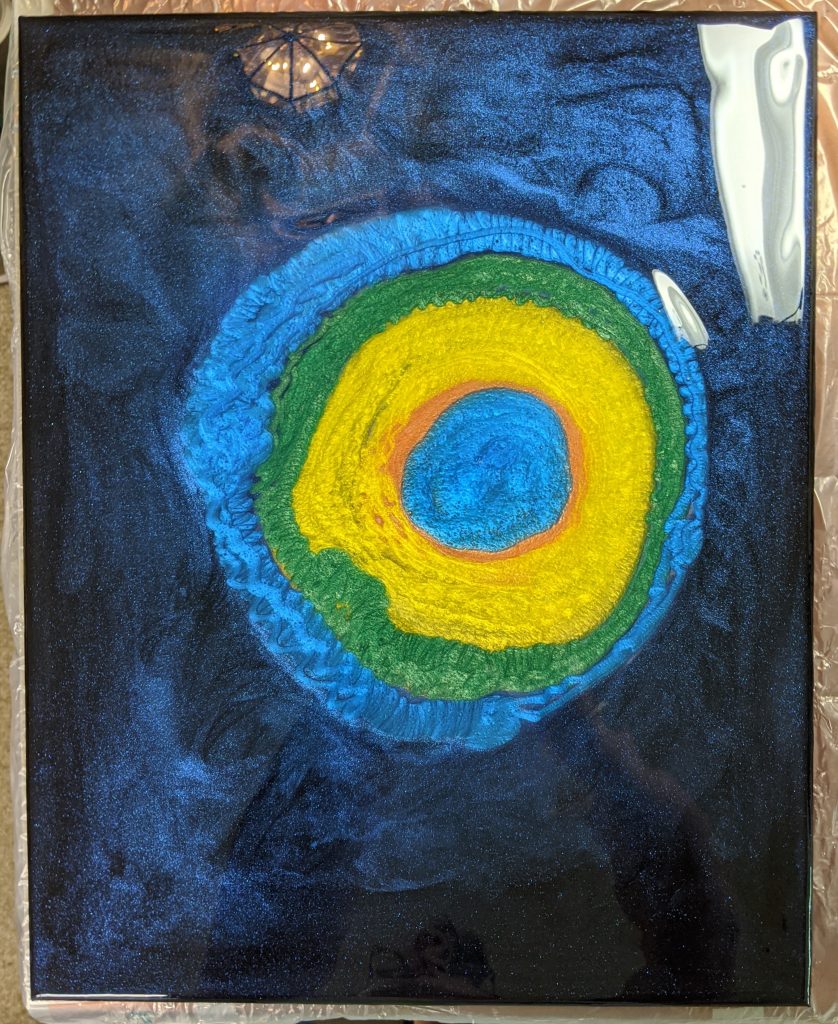
I then blew it with the heat gun to smooth / remove bubbles. It really evened out the look. On my first canvas, I didn’t have enough resin for a thick enough coat, but this one had just the right amount, I think. I then added the colors in circles / layers in the middle of the canvas and blew it with the heat gun again. I also really love the way the blue background turned out this time. The powdered pigment looked just how I wanted it to look.
Poured 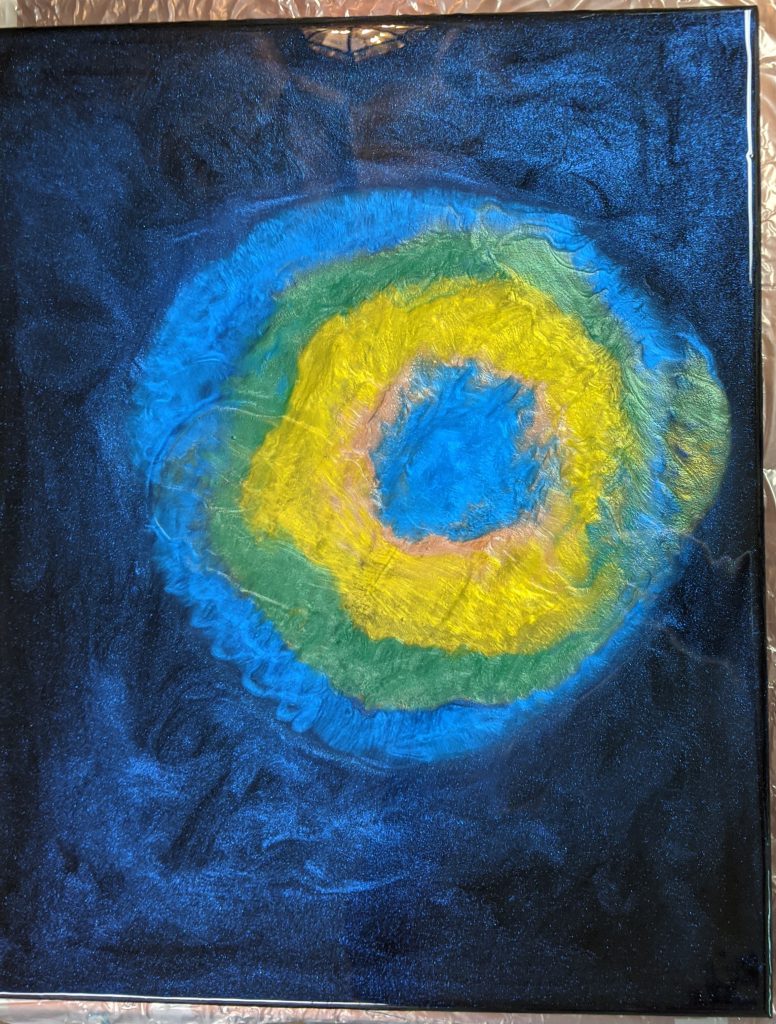
After heat gun
Since I’m just a beginner with this, I am still figuring out how much I want to manipulate the resin with the gun / torch. I think that the canvas projects are too large to do with other projects at the same time, as the resin was getting a bit too thick before I was done manipulating it this time.
I used a craft stick to add the wiggles to the design and combine the colors together, then used the heat gun and torch to move things a bit more. After that, I used a craft stick to reduce the drips around the edges of the canvas. I plan on added in thin coat of clear resin to the edges in a day or two when I go back to add another wave layer to the glass beach project. I also mixed up a small amount of Glint Bronze powdered pigment to add to the center of the design, as I wasn’t satisfied with the look in the center.