Today I decided to try something new – resin on canvas. I have several project ideas in mind, but I really need to figure out the basics for this, as I’ve never worked on canvas before. I got some black canvas mounted on wood for this – meant to get white, but saw the black and decided on a whim to try it. I probably should have gotten white too, but I had a coupon for a discount on one item and was too cheap to get both… It was definitely a learning adventure. I also had a few Palmetto and Crescent glass panels ready for resin, so I laid everything out on my work surface.
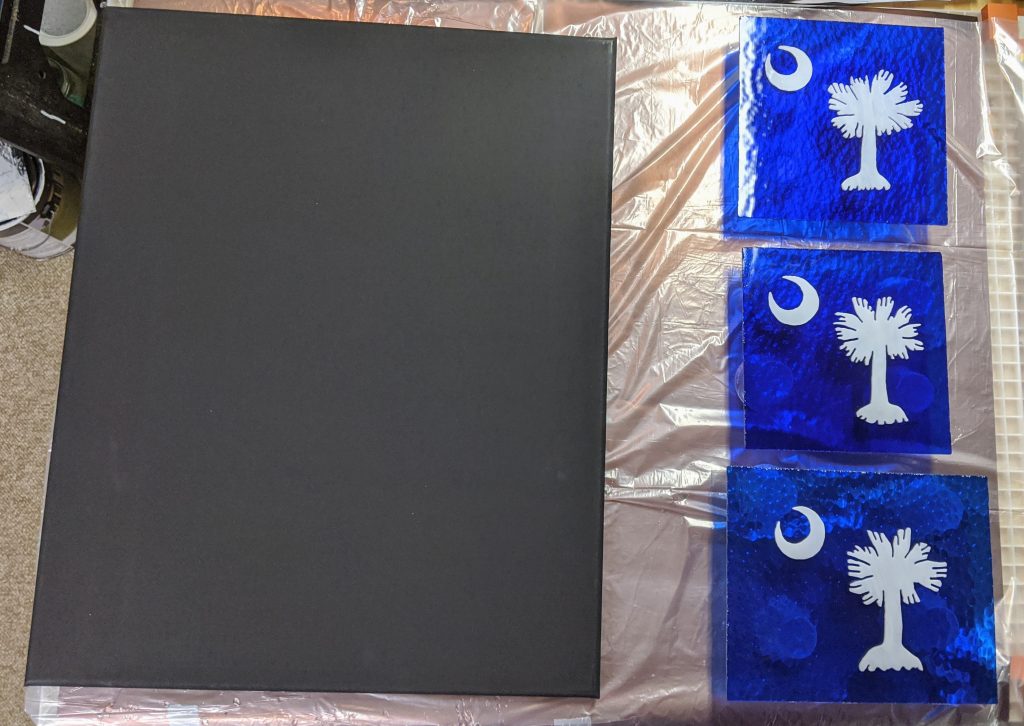
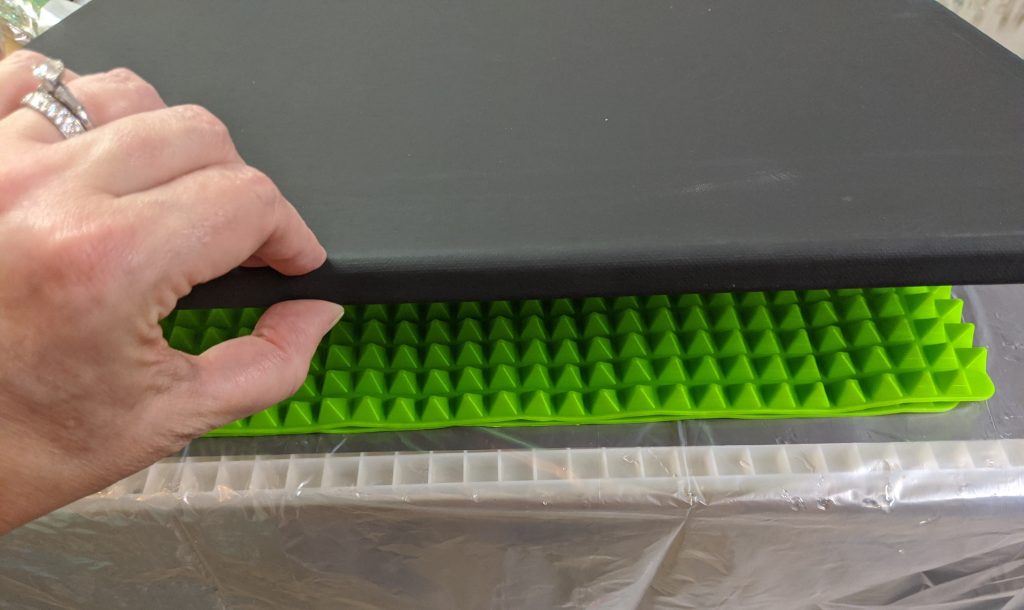
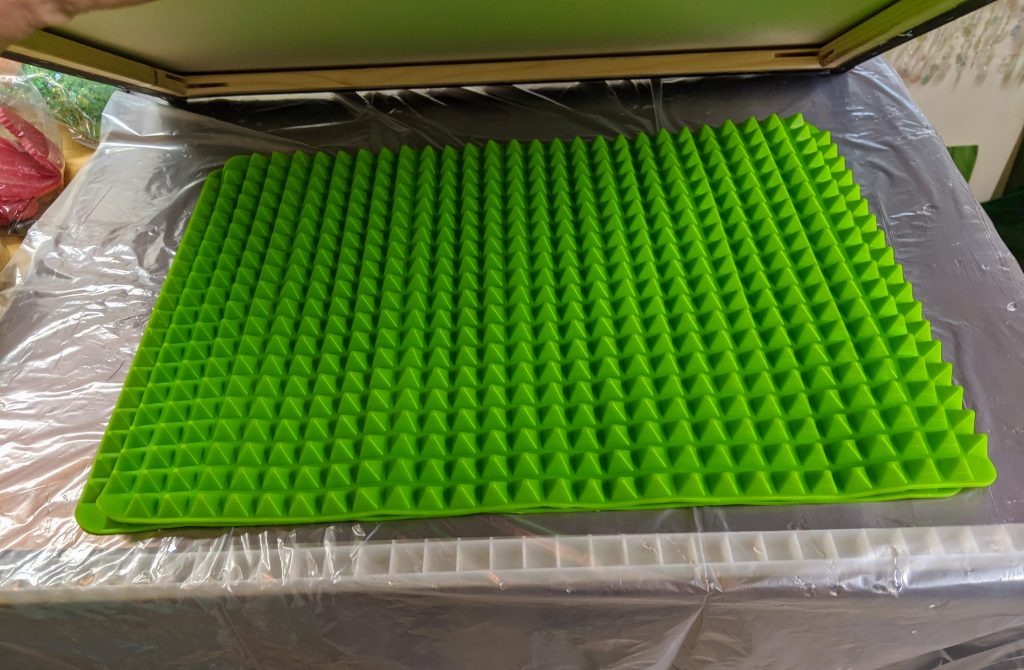
As usual, I elevated my glass panels on some plastic medicine cups. However, the canvas I just placed directly on the plastic. The secret is I added a couple of silicone mats underneath the canvas to keep it from drooping under the weight of the resin.
I prepared my containers and pigments for the resin and planned to mix 8 ounces of resin for all four projects. I initially wanted to use alcohol inks for the colors on the canvas and mixed a larger amount of blue for the canvas background, then some green, yellow and orange in smaller silicone containers. This project is very experimental, so I wasn’t sure where it would lead.
Well, I mixed each color, added a drop of white for opacity to the green, yellow and orange and a drop or two of black to the blue for the same reason. The green turned blue, so I added a couple of drops of yellow, but wasn’t really able to overcome the blue. I then spread the larger amount of blue on the entire canvas (I was going for a dark blue background) and used my heat gun to remove bubbles and even out the resin. I also added some glass chips to two of the Palmetto and Crescent panels (and tended to any drips that appeared under the edges of the glass) while I was working on the canvas.
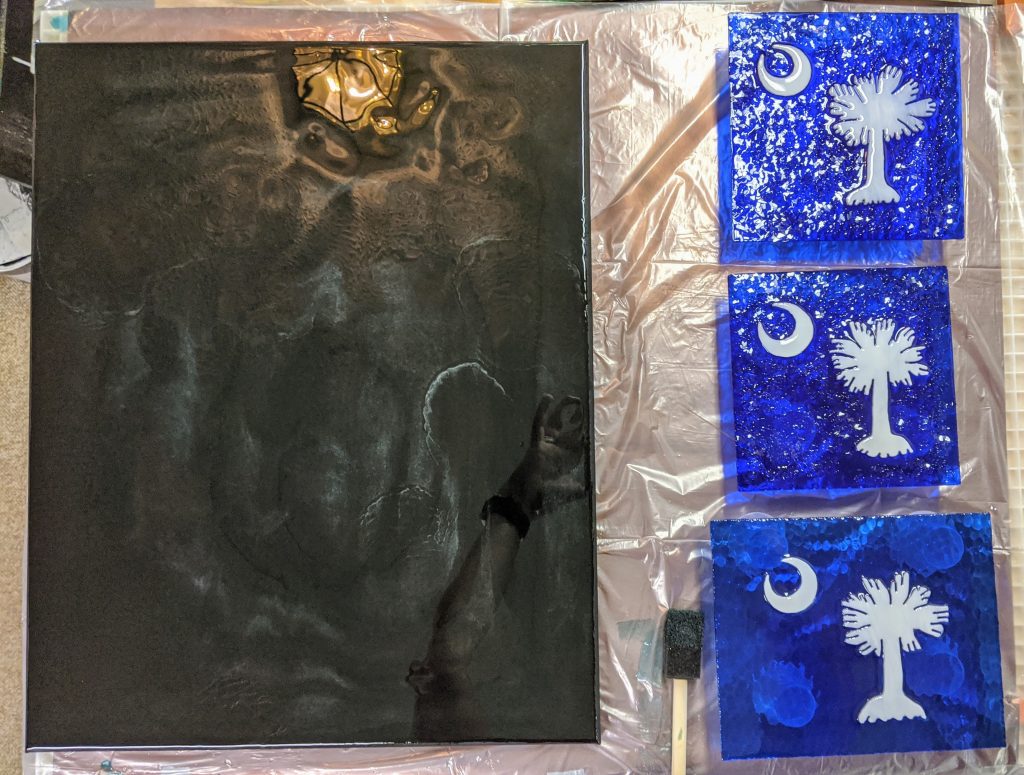
Hmm – the canvas didn’t look blue at all. I then poured some clear resin in the center where I wanted to make my design and poured the green resin on top of that, then some more white and the yellow. Well, I quickly figured out that the alcohol ink pigments don’t show up very well against the black canvas background. Whoops. I made some adjustments and powered on – mixed some white powdered pigment with the orange. That adjustment seemed to help, adding the opacity needed against the black. Next I added some powdered yellow pigment to the little bit of resin I had left and the same with some blue powdered pigment and used those. Each individual layer was hit with the heat gun.
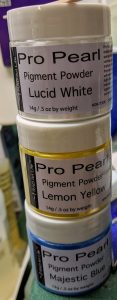
I wish I had used the blue powdered pigment on the background, but overall it turned out better than it could have. I used a craft stick to make a pattern I liked in the resin and used the blow torch to try to create some cells in the resin, but I think my resin had gotten too far in the curing process for that to work properly.
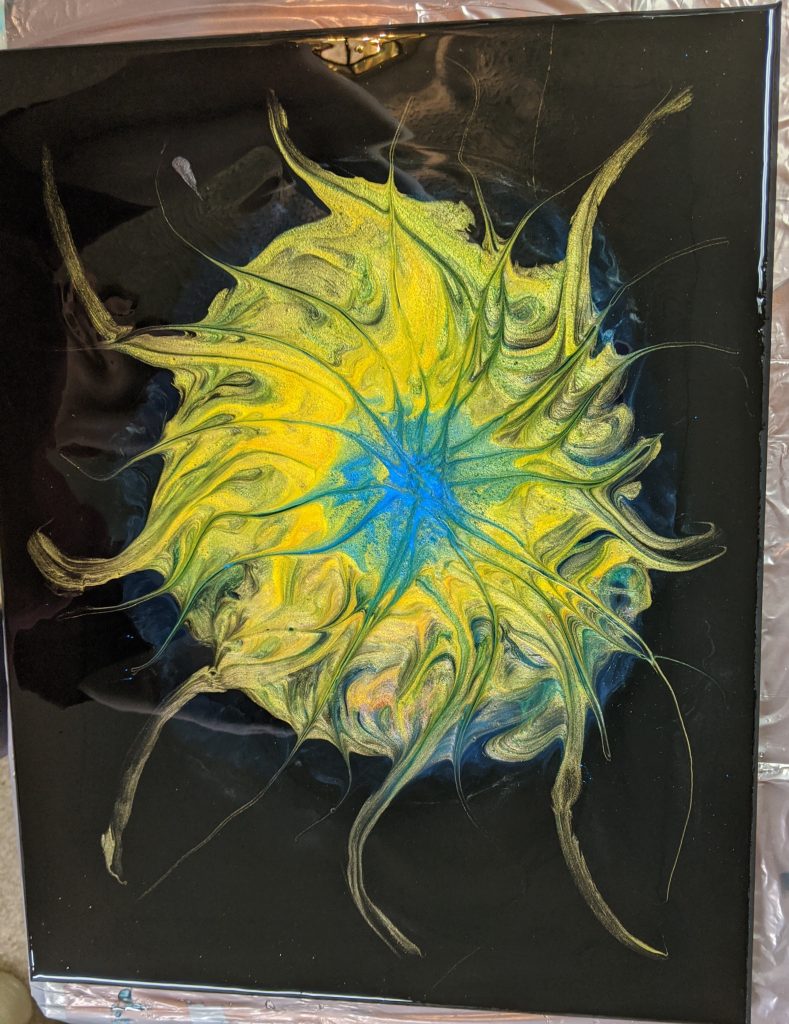
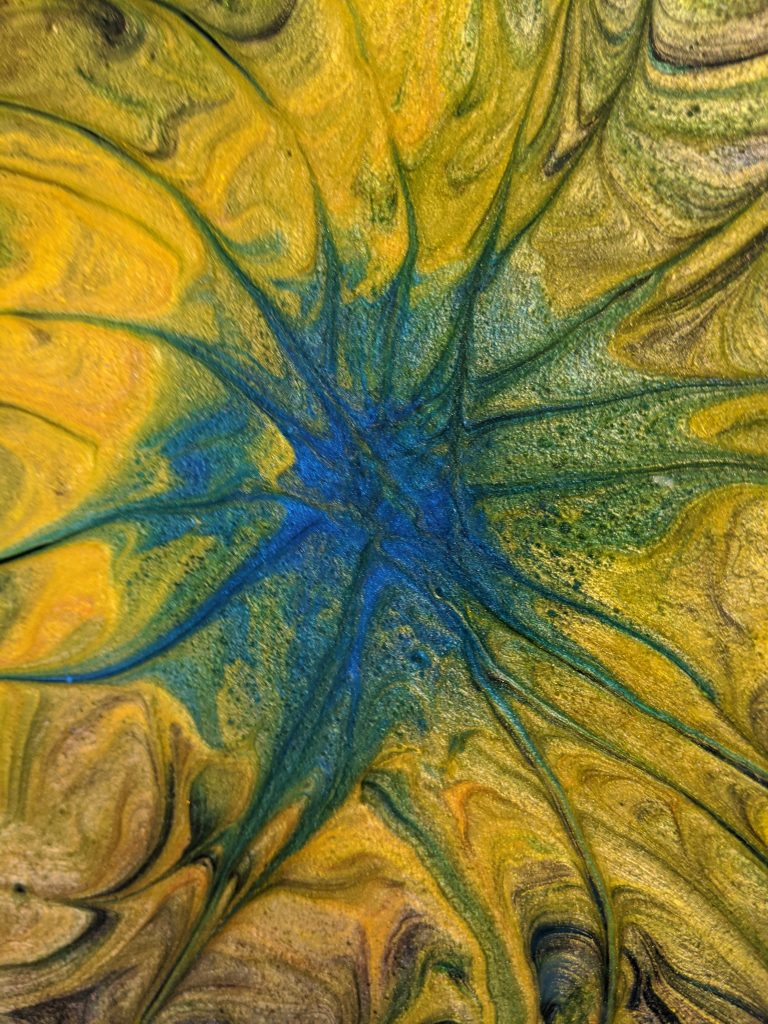
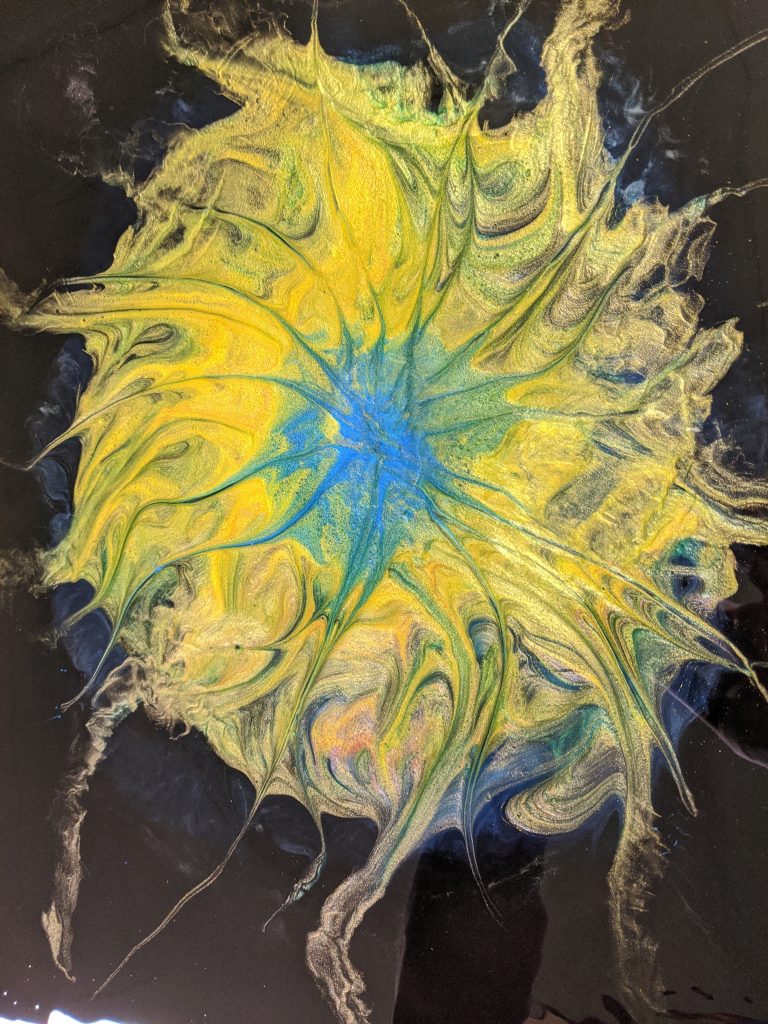
Overall for a first shot in the dark, I like how it looks. I really like the way the orange pigment adds depth to the yellow in this one. I’m not sure how it will change during the curing process, but I’ll find out tomorrow! Now I know to use the powdered pigment for my next project. It will be interesting to compare my results to this one.

