So today is a results day – didn’t start anything new, just got to see the results of previous hours of work.
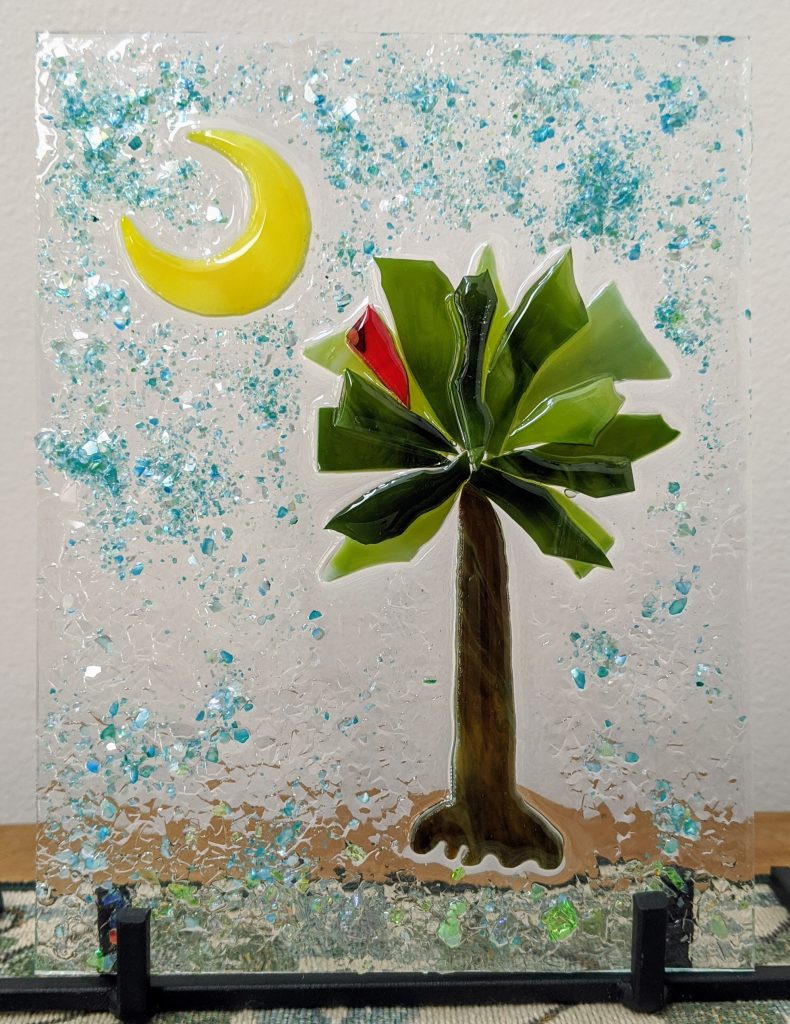
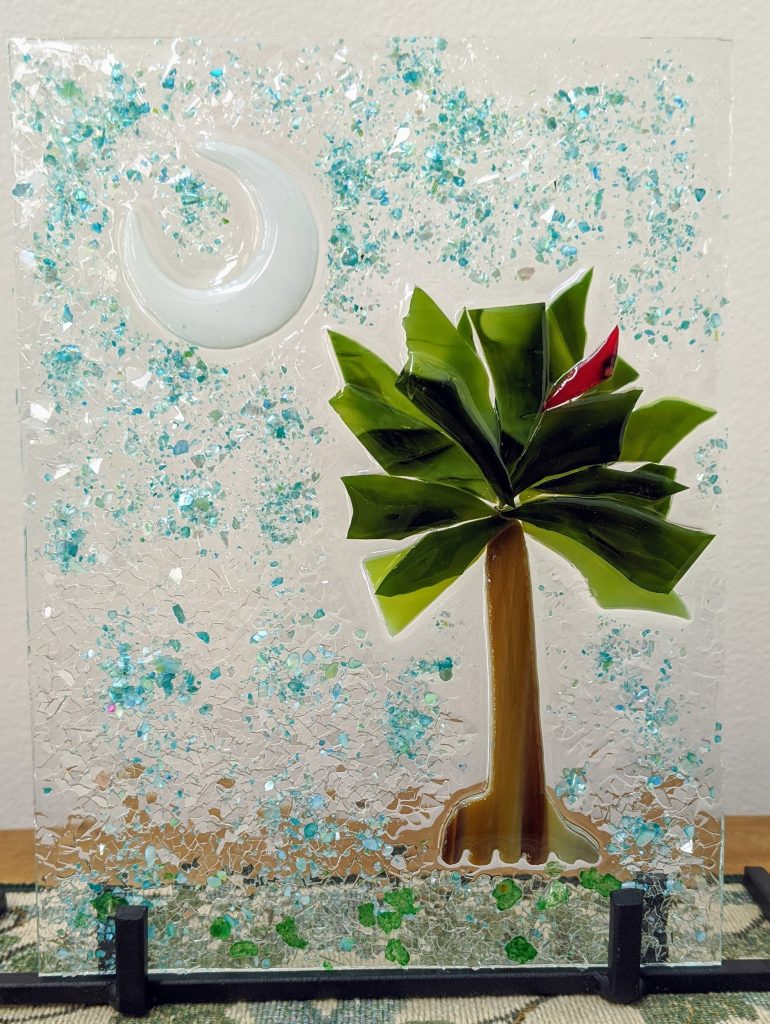
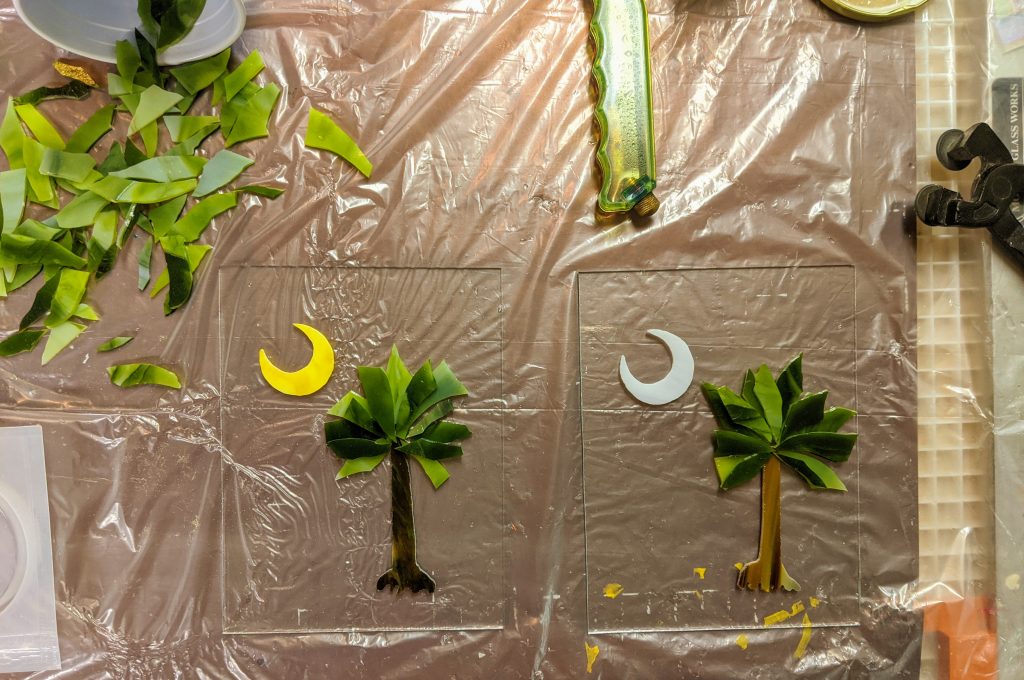
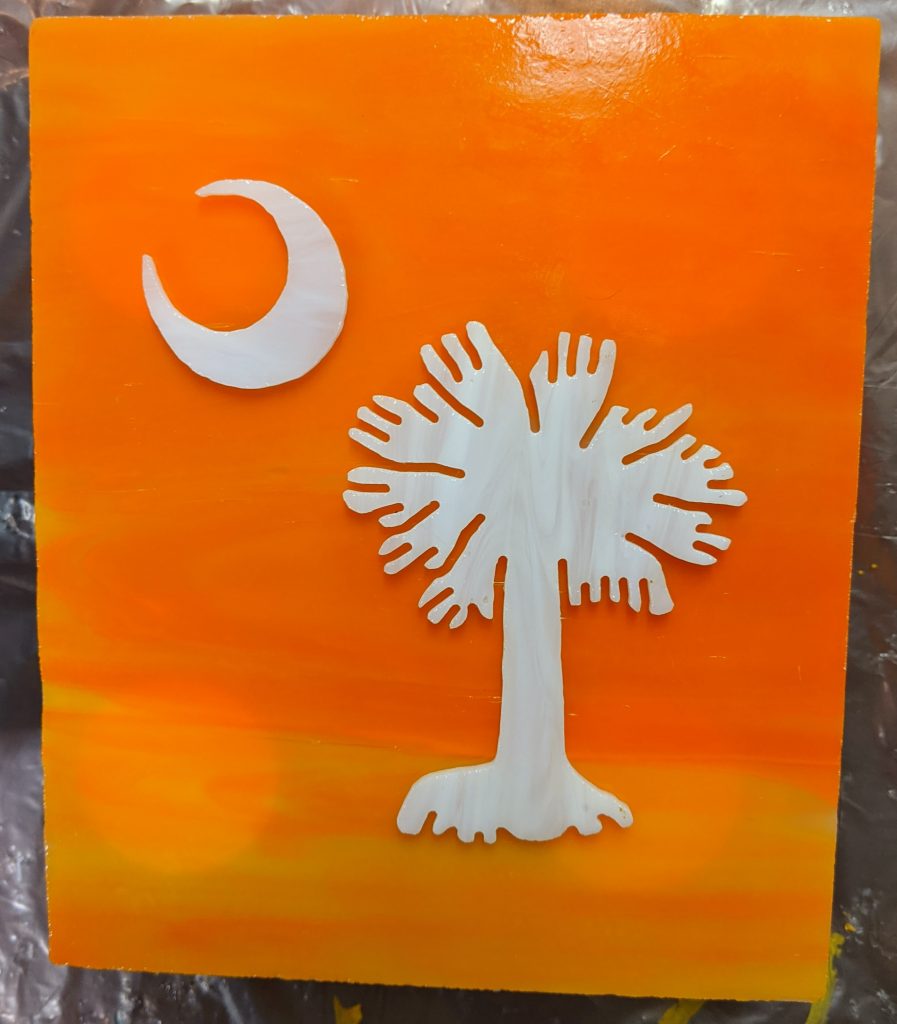
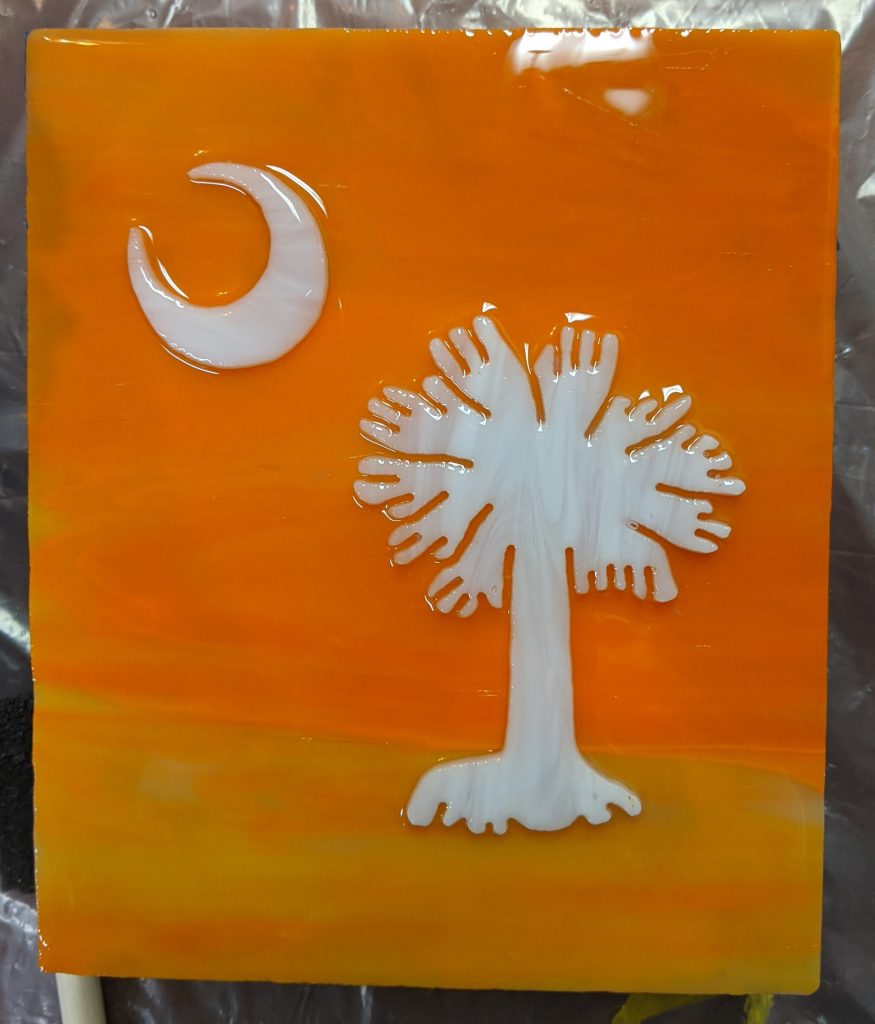
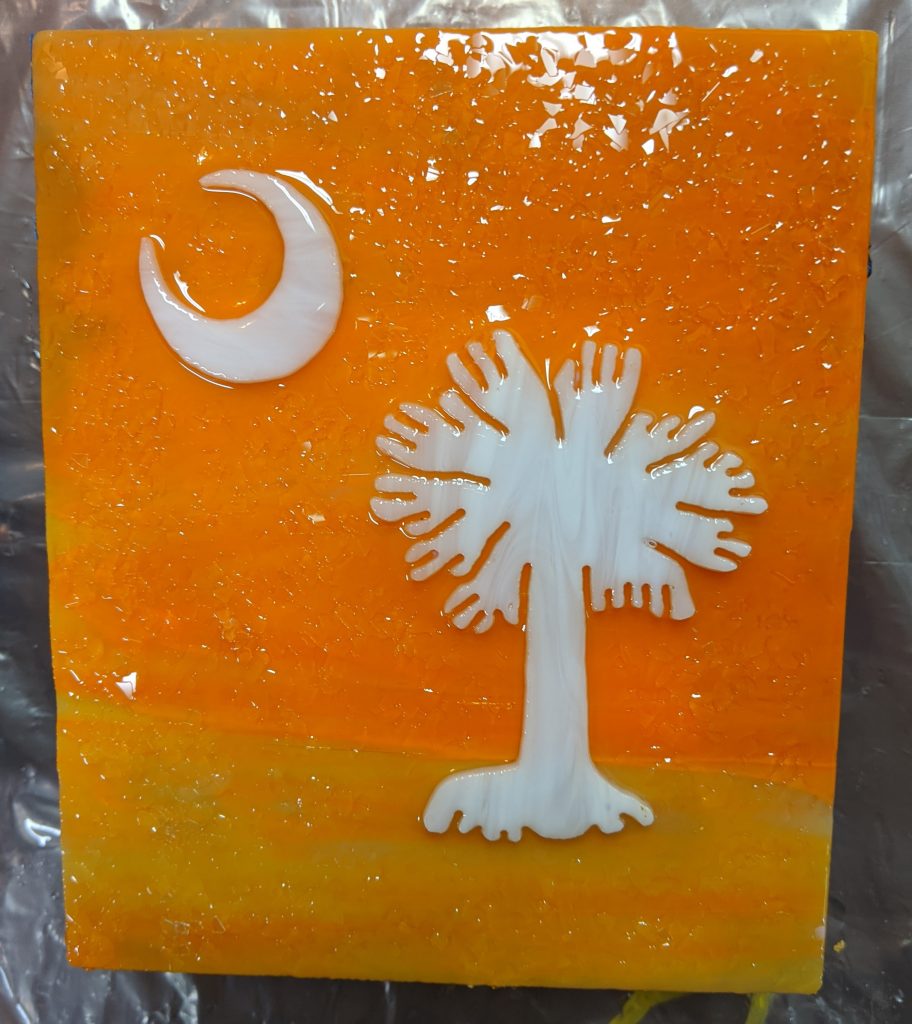
Palmetto & Crescent, yellow – approx. 6″ x 7.5″Palmetto & Crescent, white – approx. 6″ x 7.5″
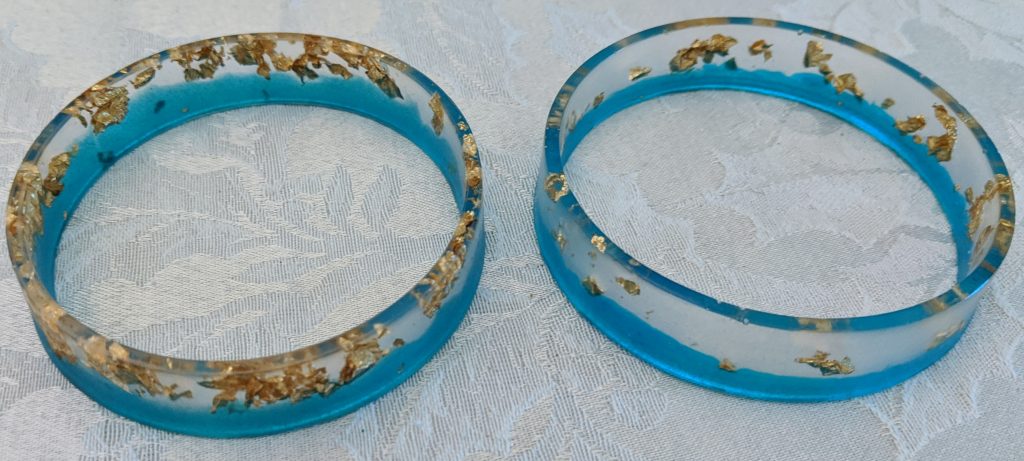
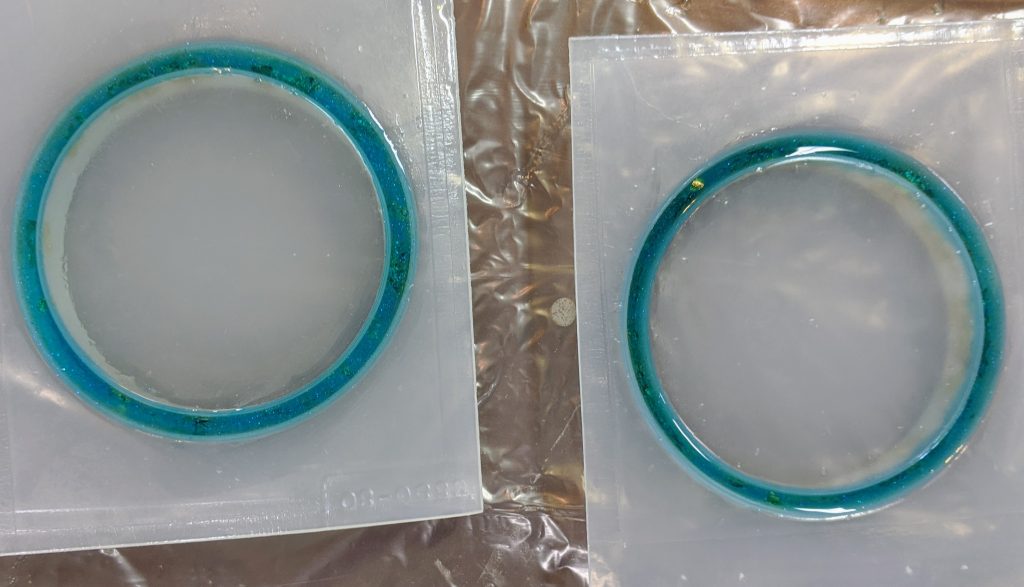
My first shot at the bracelets was interesting. I had a pretty rough time getting them out of the molds. Ironically, the one without the mold release was harder than the other one. I’m not really that excited about them. I think I need to pour a little less resin into the mold so the resin doesn’t get to the top. I’ve got a lot of sanding to do on the top edge.
Second attempt (all one pour) at left, first attempt at right (two stage pour)
The next project on my list will be a 13.5″ x 30″ window. I have no idea what I’m going to do. A sun? Maybe some spring flowers? A beachy scene?
I finally got around to making some Palmetto and Crescents with variety today.
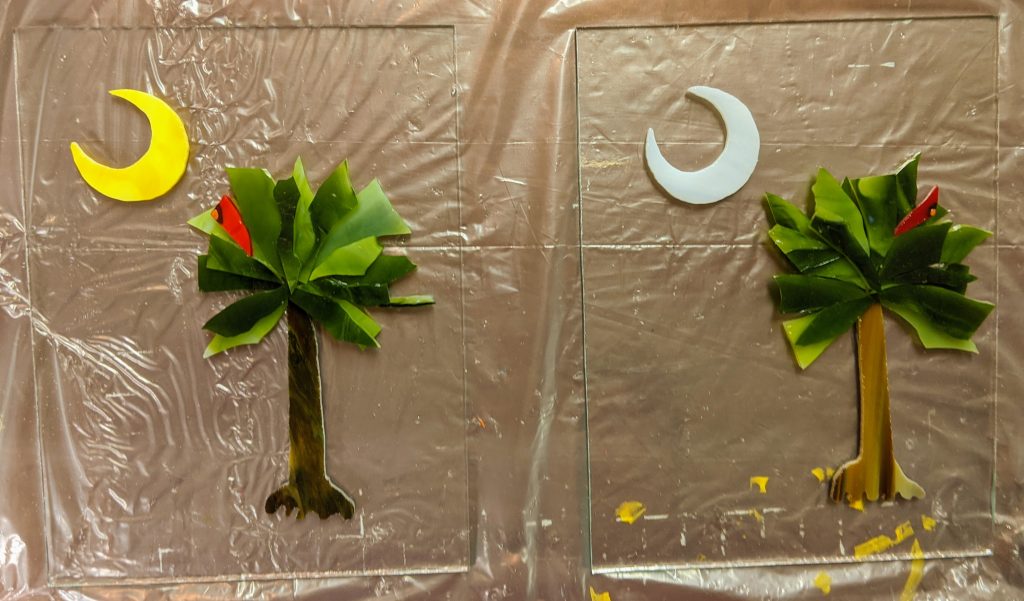
Laying out the pieces of glass for the Palmetto and Crescent panels
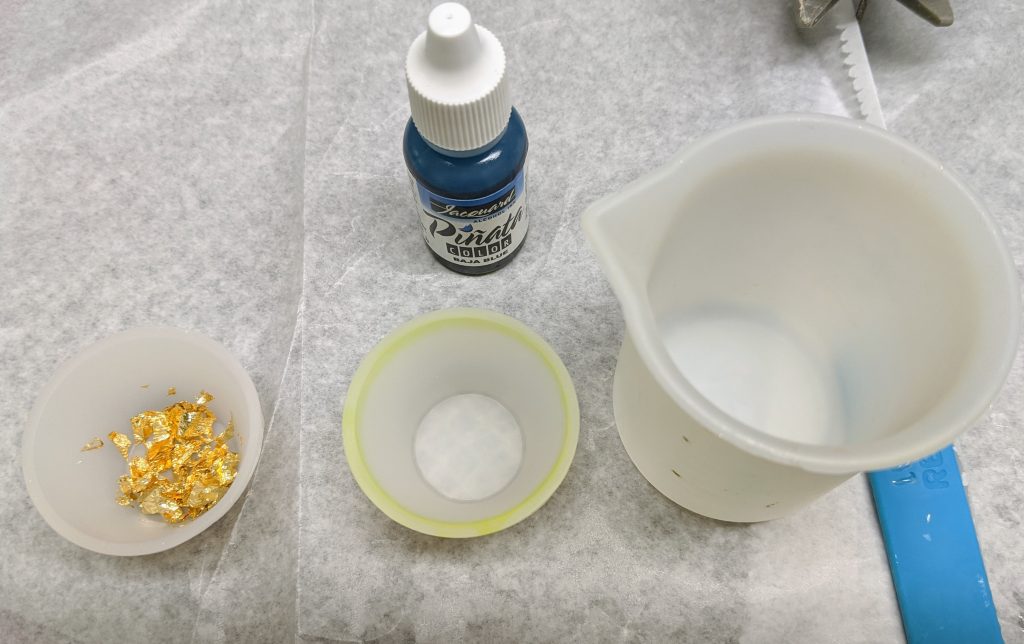
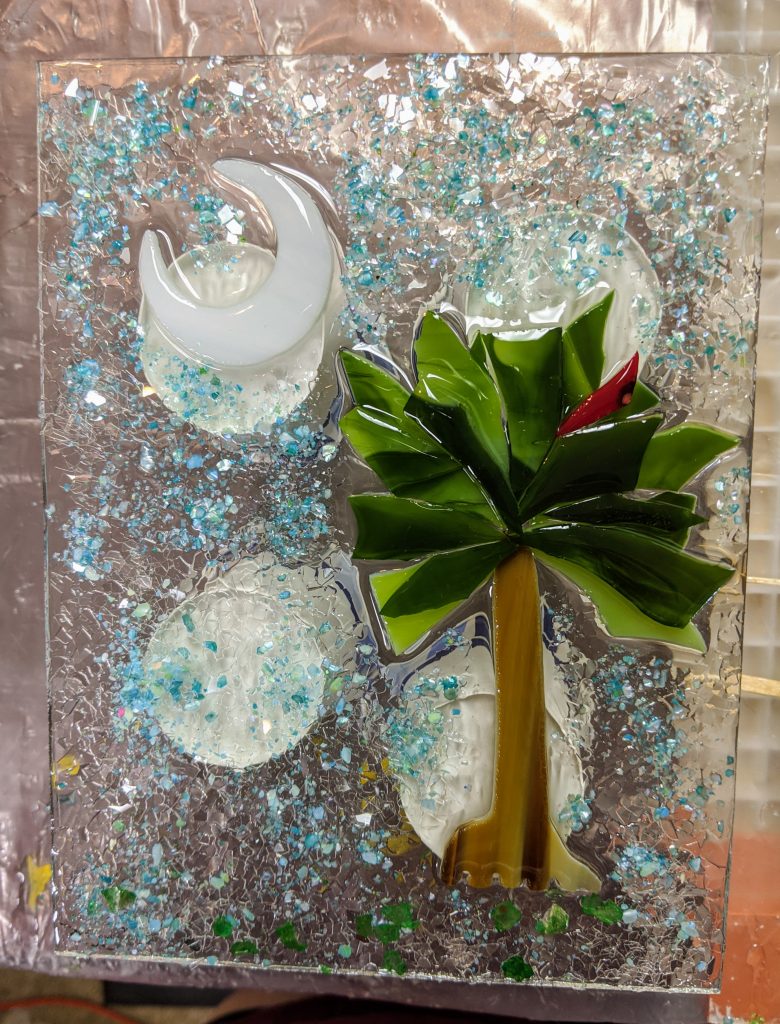
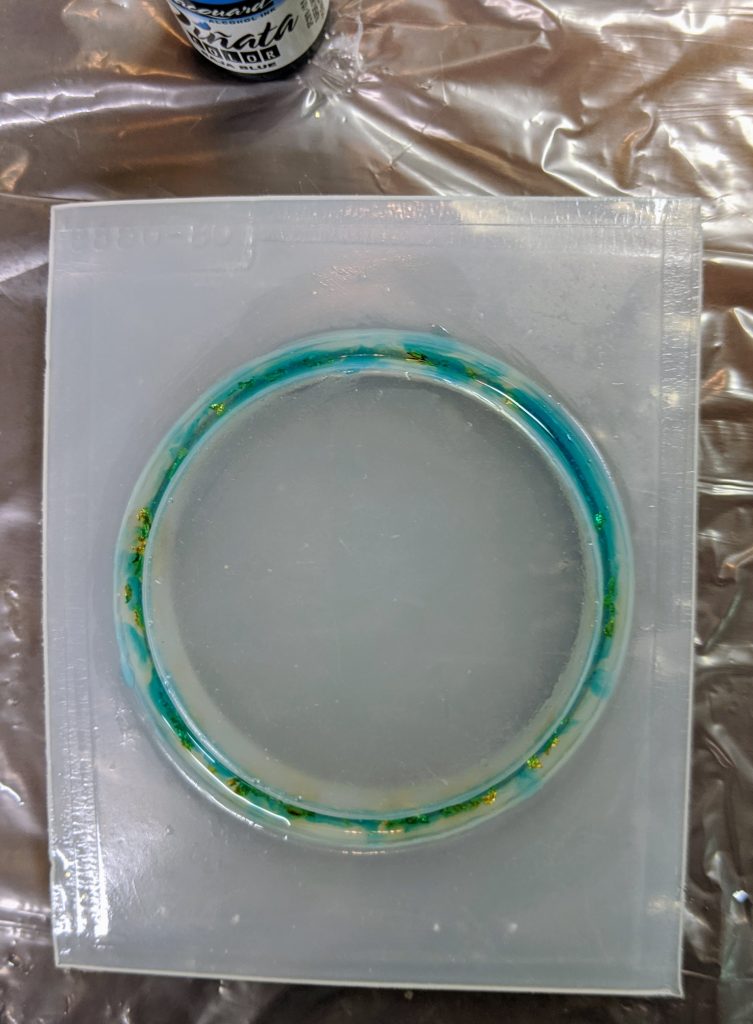
First, I mixed 80 ml of resin and then separated it into clear, a small container of clear with metallic flakes and one that would end up blue tinted.
I used a drop of blue alcohol ink and also a tiny bit of natural blue powdered pigment in the blue resin
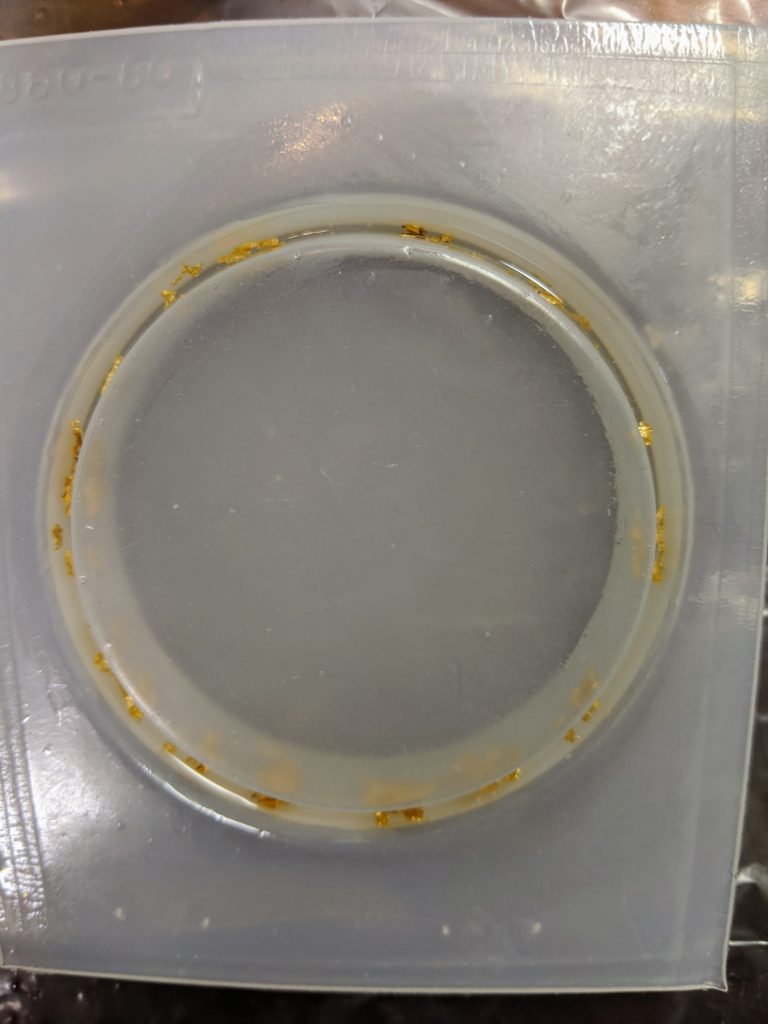
I also finished pouring the resin for my new bracelet molds. I’m not too sure how to get my desired look yet, but it’s just the first attempt. I think they might make a nice addition to my PetMemoryBeads.com offerings once I figure it out. I started pouring the one on the left a few days ago, with a clear layer then adding metallic flakes, then a little blue over that. I think mixing the flakes directly into the resin before pouring into the mold will make the flakes distribute better in the mold. I also needed to add more blue to the first mold today to fill in the space. For the one on the right, I mixed the flakes directly with the clear resin before pouring into the mold. The mold on the right also has been coated with Castin’ Craft Mold Release. I ordered the molds not realizing that they are stiff plastic, not silicone, which all of my other molds are made of. I never need mold release for my silicone molds, so I didn’t have it on hand when I poured the first one.
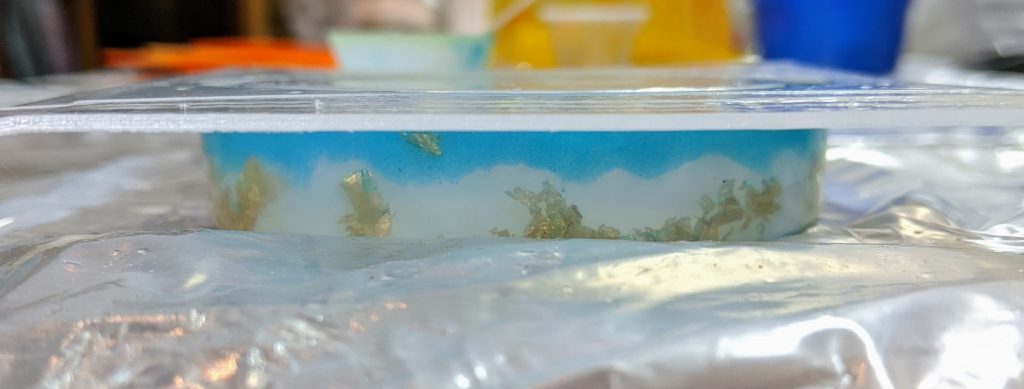
Side view of second / right hand bracelet mold
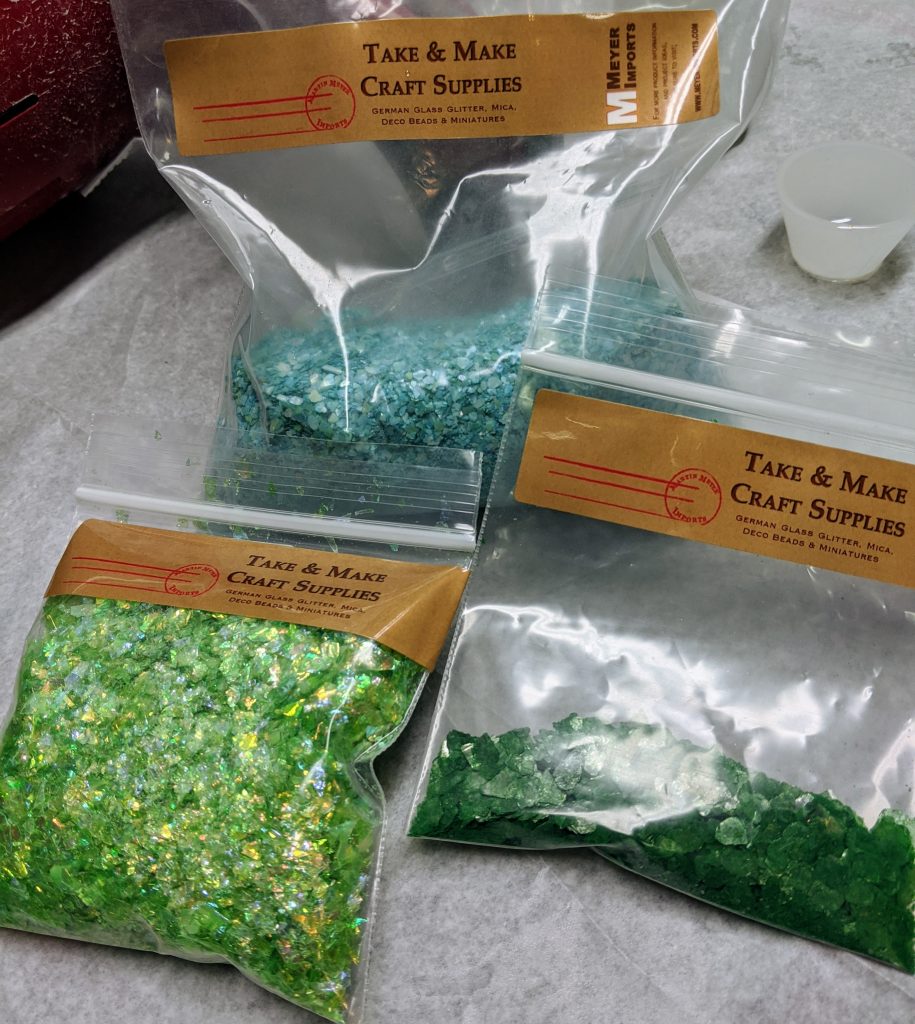
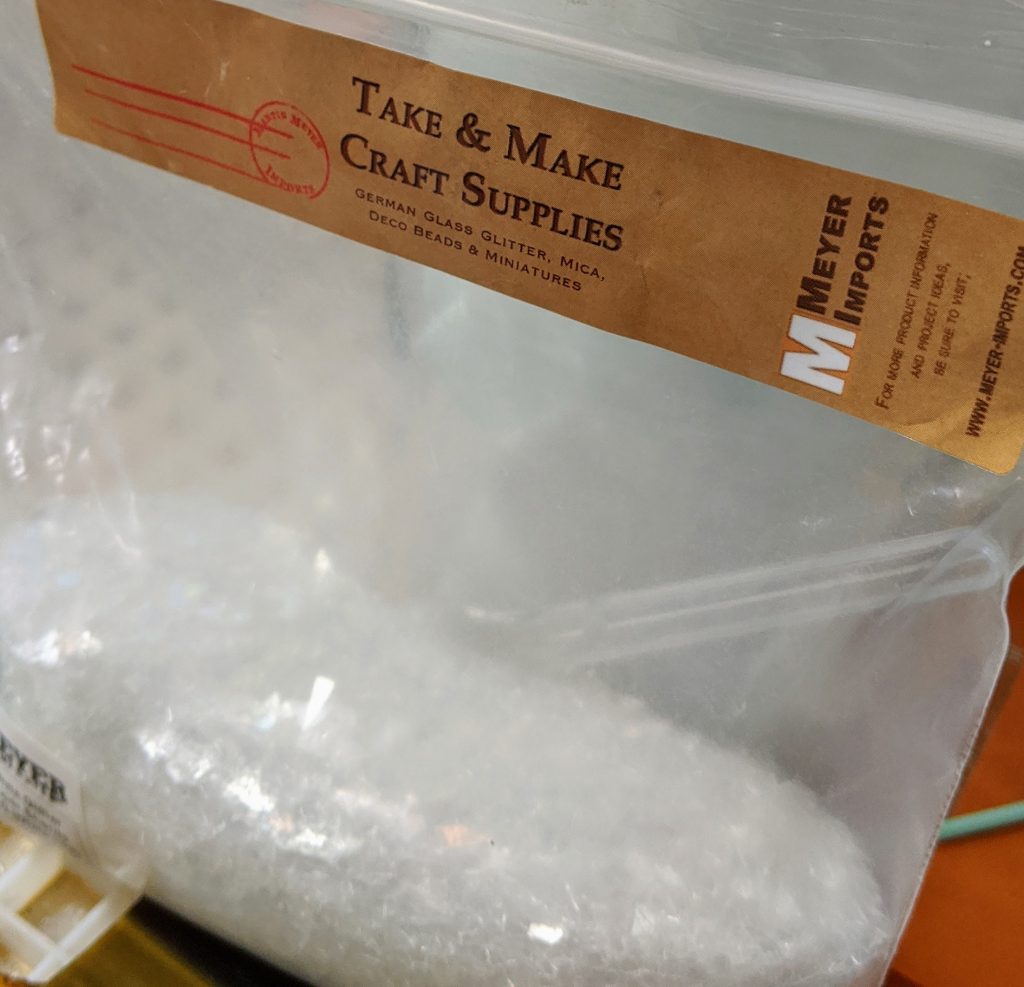
I actually poured the clear resin over the tree panels first, then tended to the bracelets, so my photos are a bit out of order. I decided to add a little red bird to the trees for interest. I also set aside some decorative class chips, mica, etc for decorating the background areas of the Palmetto and Crescent panels. I use a lot of materials from Meyer Imports and I really like their products.
Expensive glam, but I love it for sparkle!Ready to pour / spread the resin
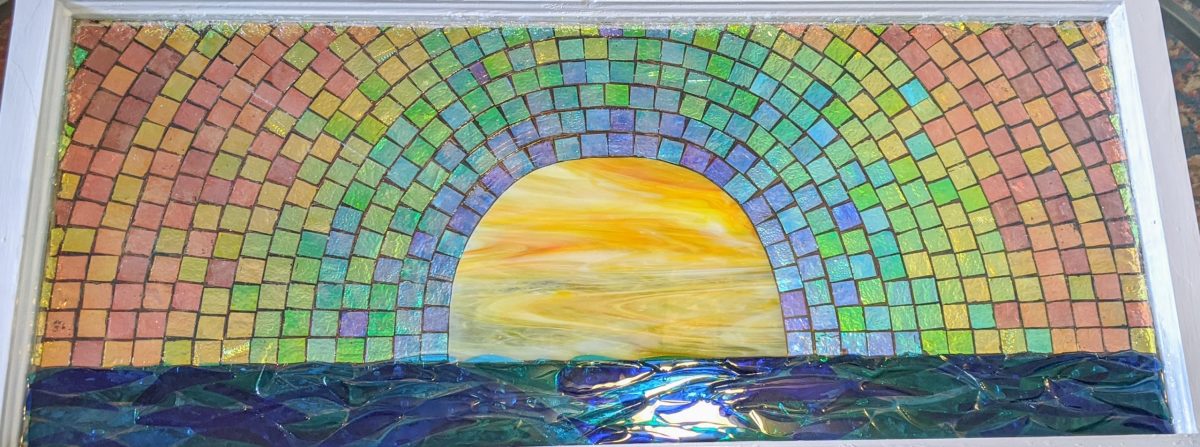
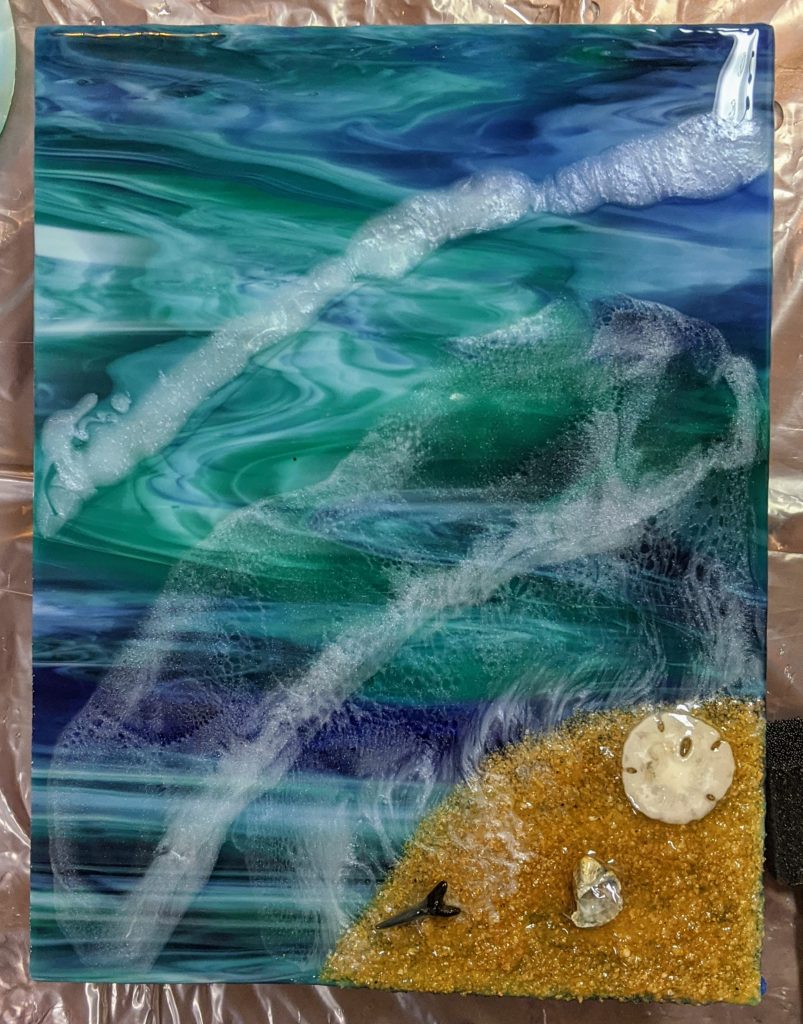
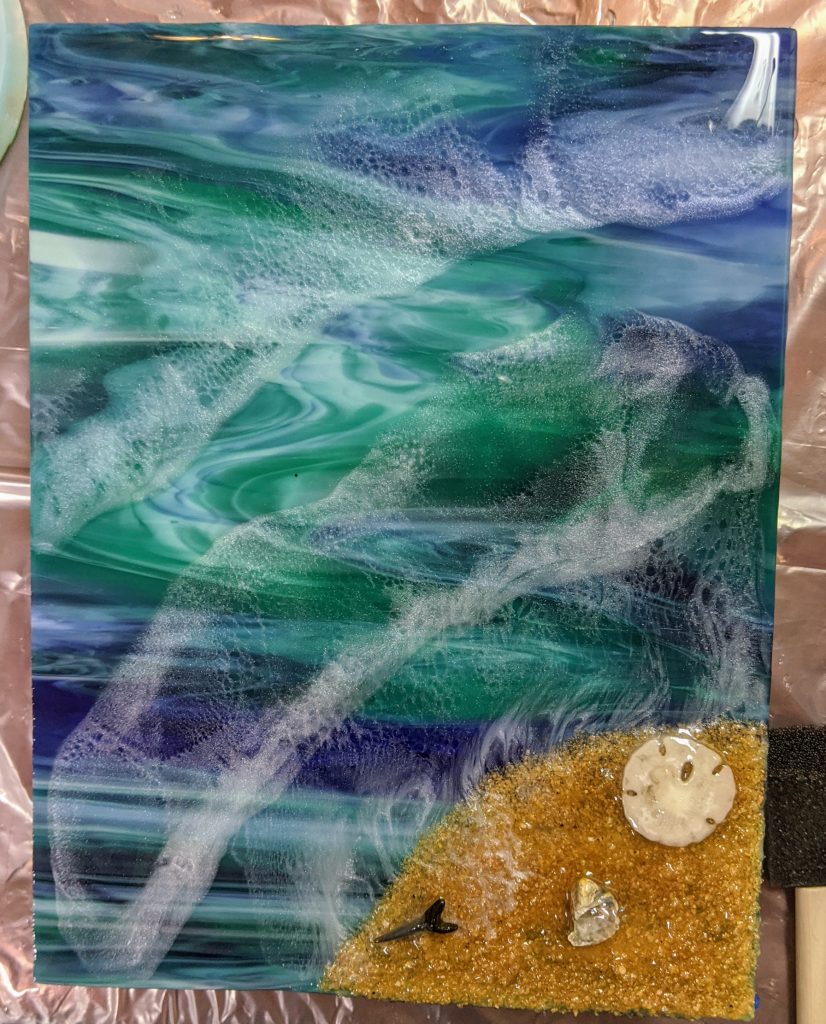
Today I added the last wave to my second beach glass panel, made another Palmetto and Crescent glass panel, finished a second metallic flake coaster and started a brand new cast resin bracelet project.
Cut glass
Cut glass with resin coating
First I mixed up 80 ml of resin and set aside about a tbsp for the white wave for the beach panel. I spread the resin over the desired areas of the panels and mixed the white portion for the bubbles of the waves. I used the heat gun to manipulate the resin coating and also to remove bubbles. Next it was time to add the white bubble detail to the beach waves. I also got a new bangle bracelet mold and decided to use some of the extra resin for that. I should have waited until I had some mold release (this mold is hard plastic, not silicone like I’m used to), but I decided that I could try it out without the release for experience’s sake.
clear resin layered
White resin along the edge of the clear layer
After heat gun and blow torch
I couldn’t resist trying out a new bangle bracelet mold I ordered. I thought it was silicone, but it is hard plastic. I ordered some mold release for it, but this is an experiment to see how much I need the release chemical.
With metal flakes
Metal flakes and some ink
I also added some glass chips to an orange and white Palmetto and Crescent glass panel. The chips add some nice sparkle!
The bangle bracelet still needs a bit more resin, and it will take some practice to figure out how to place the decorations / pigments in that mold, so check back!