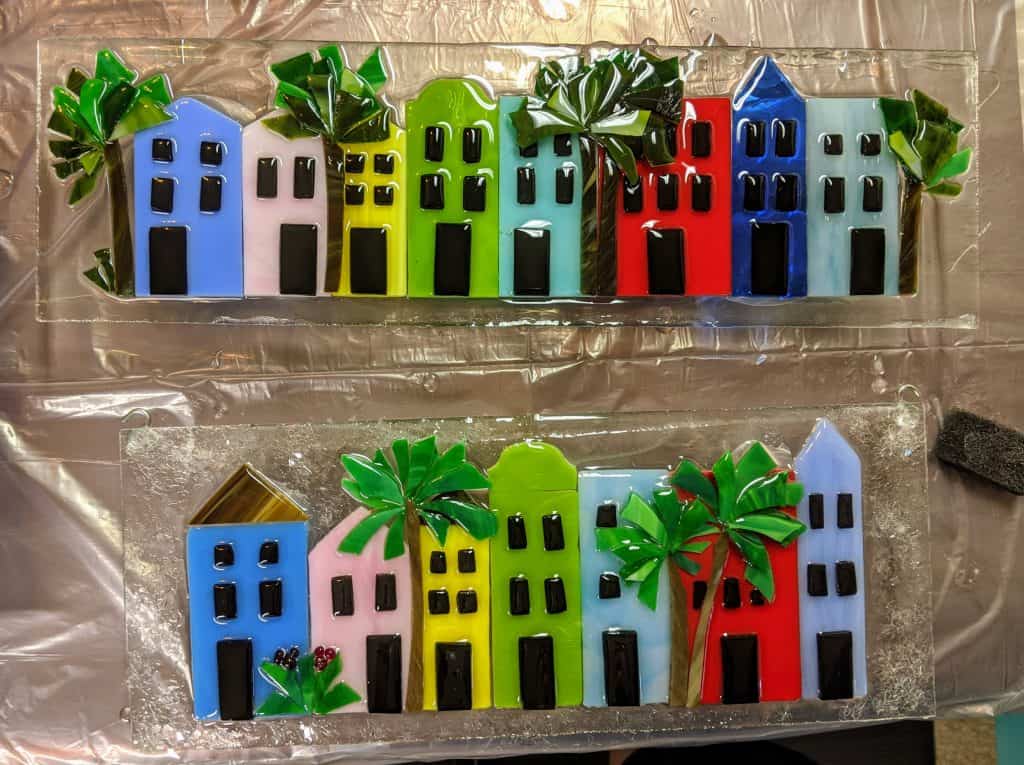
I prepped six small projects over the past few weeks and have them all ready for the resin. I’ve never tried to pour this many at the same time, so we’ll see how it goes. I mixed up 12 ounces of resin and started pouring. The best advice I can give on coating the glass is not to pour too much at once. The fewer drips you have to contend with, the easier it will be to manage. Of course, that’s easier said than done.
First, I cover my work surface (I used wrapping paper over my glass cutting board, then a plastic trash bag on top of it). I used little medicine cups (about the size of Dixie cups) to elevate the pieces over the surface.
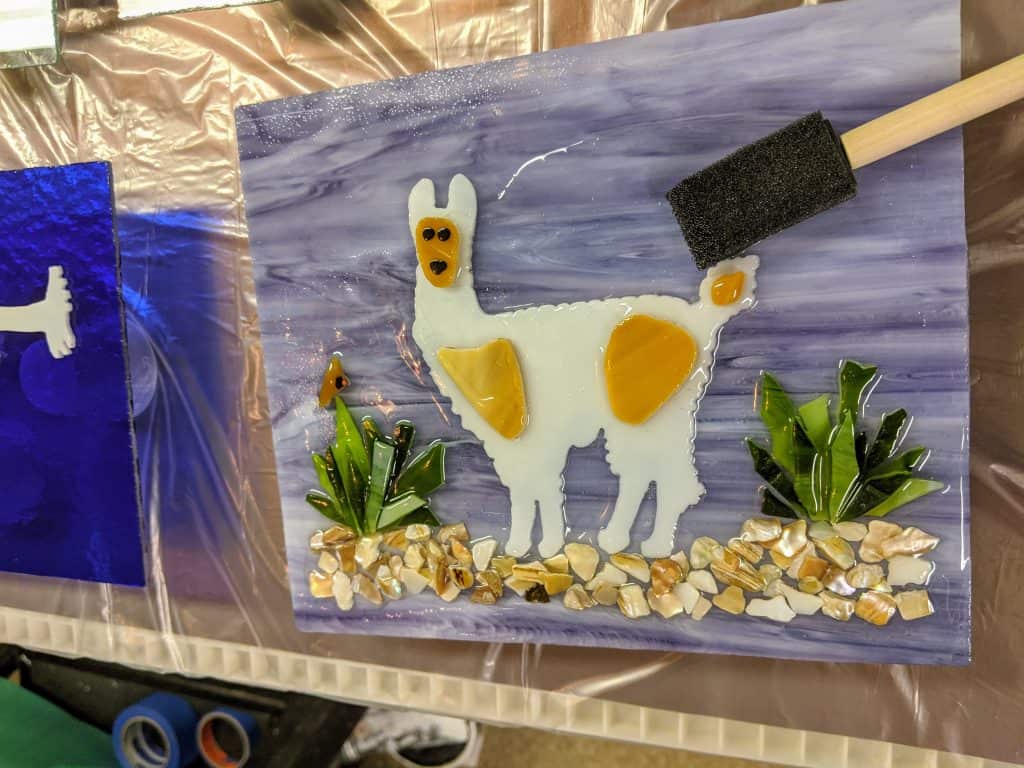
I generally try to pour the resin directly onto the parts of the piece with the most layering / texture and then spread it across everything else with the sponge on a stick. I can also use my heat gun to do a bit of spreading later.
After I’ve spread the resin over the entire piece, I use the heat gun to remove the bubbles and help move the resin around to fill in any empty spots.
I have 6 pieces I’m juggling at once, plus I mixed a bit too much resin, so I poured some of the excess into some coaster molds I have on standby for just such an occasion. I don’t think I’ll try to finish this many pieces at the same time again, as it was a bit stressful. Having them so close together on my work surface made it difficult to tend the resin around the edges of the pieces. I think I pulled it off, though.
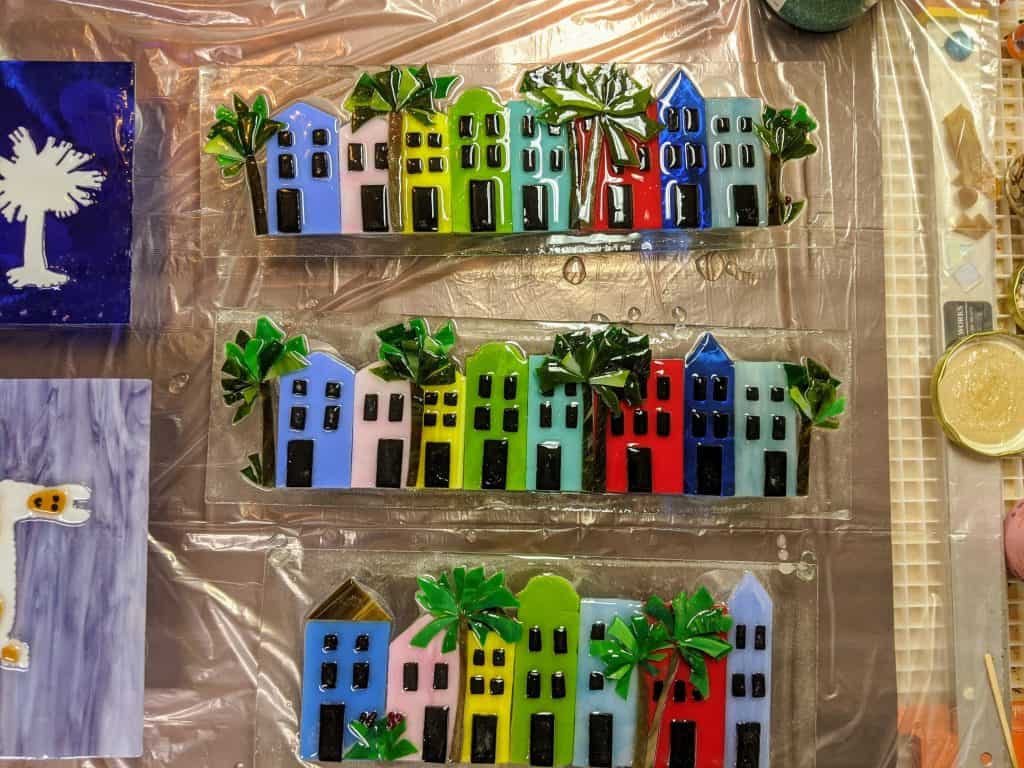
For some pieces, I like to add glass chips or other decorative items to the resin. Once the resin is poured and I’ve removed the bubbles with the heat gun, I try to remove any drips from the undersides of the pieces with a craft stick and then I can sprinkle the glass chips on top. The resin will move a little, so I use a craft stick to help keep the edges neat.
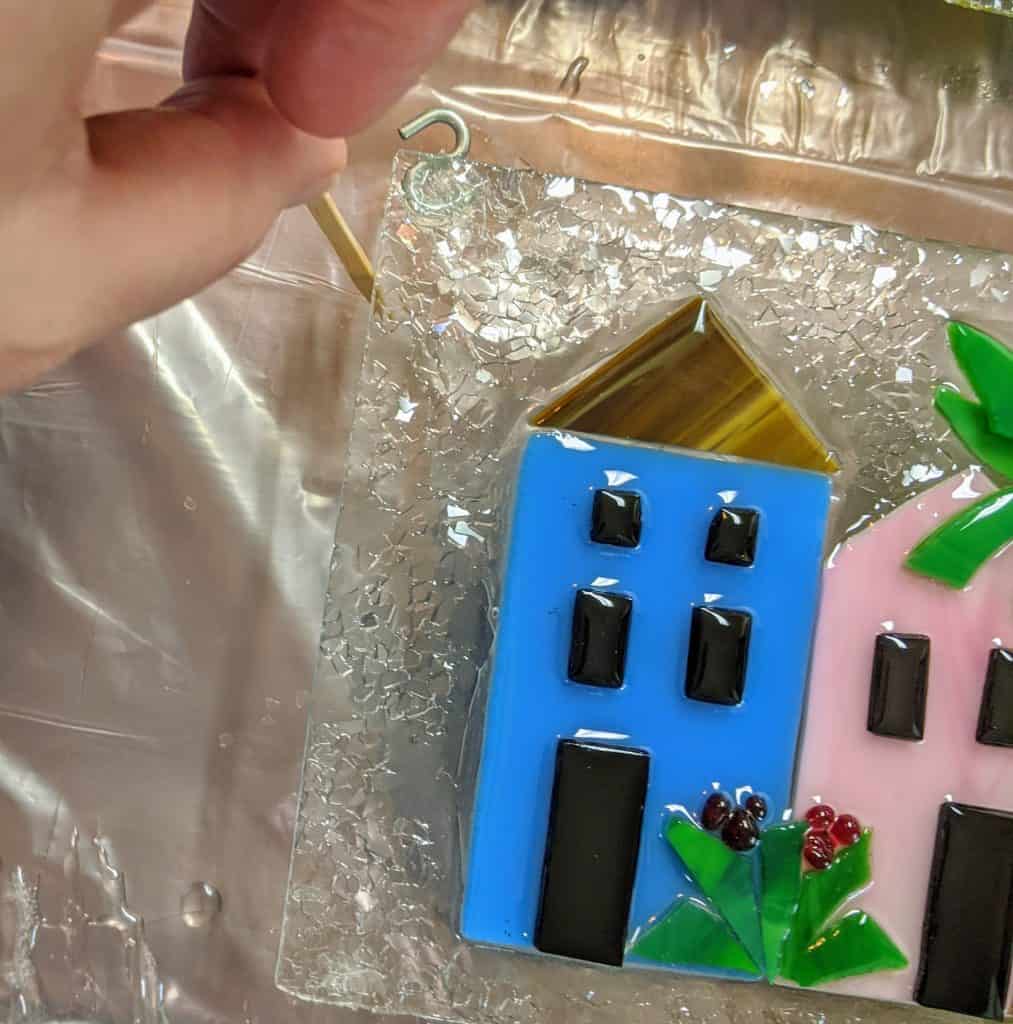
It is possible to tape the undersides of the edges to more easily remove the excess resin after it cures, or to scrape drips off afterward, but I’ve found this method works best for me. I have cracked a few pieces trying to remove drips after they have cured.
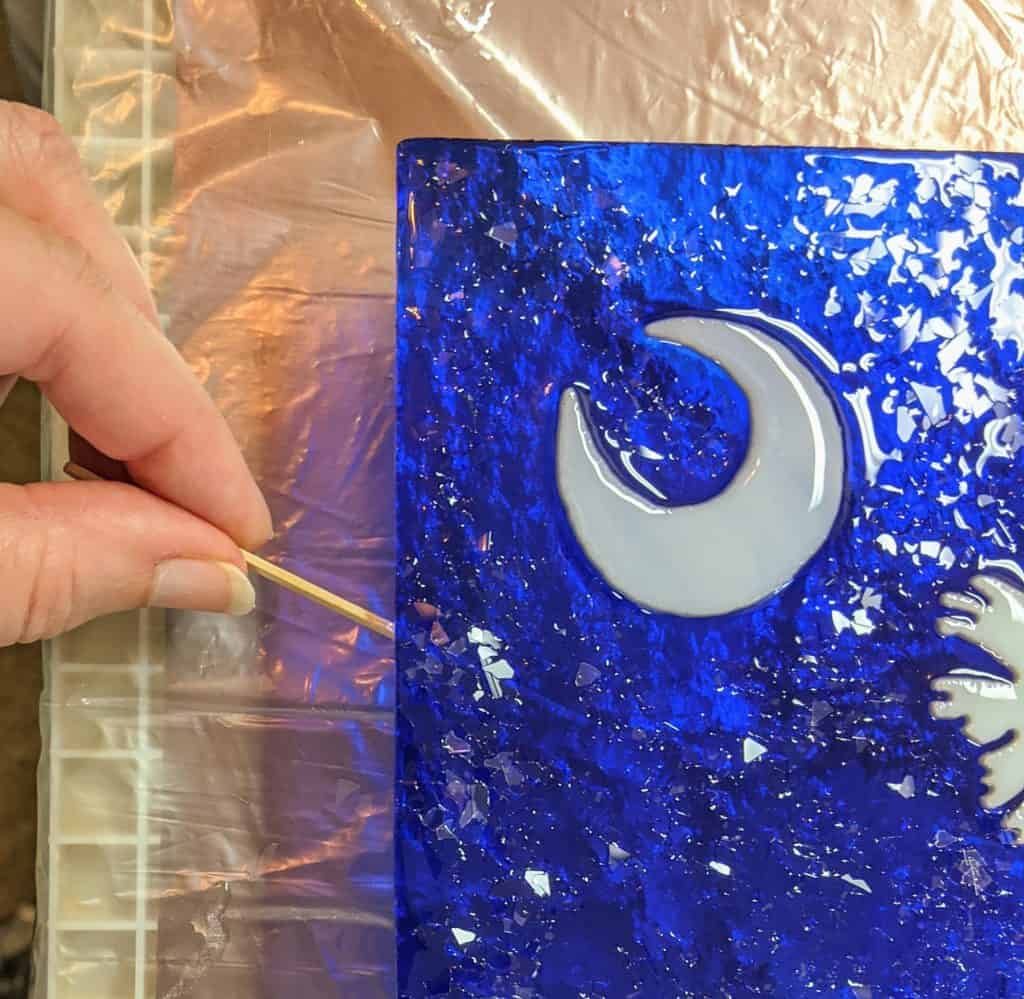
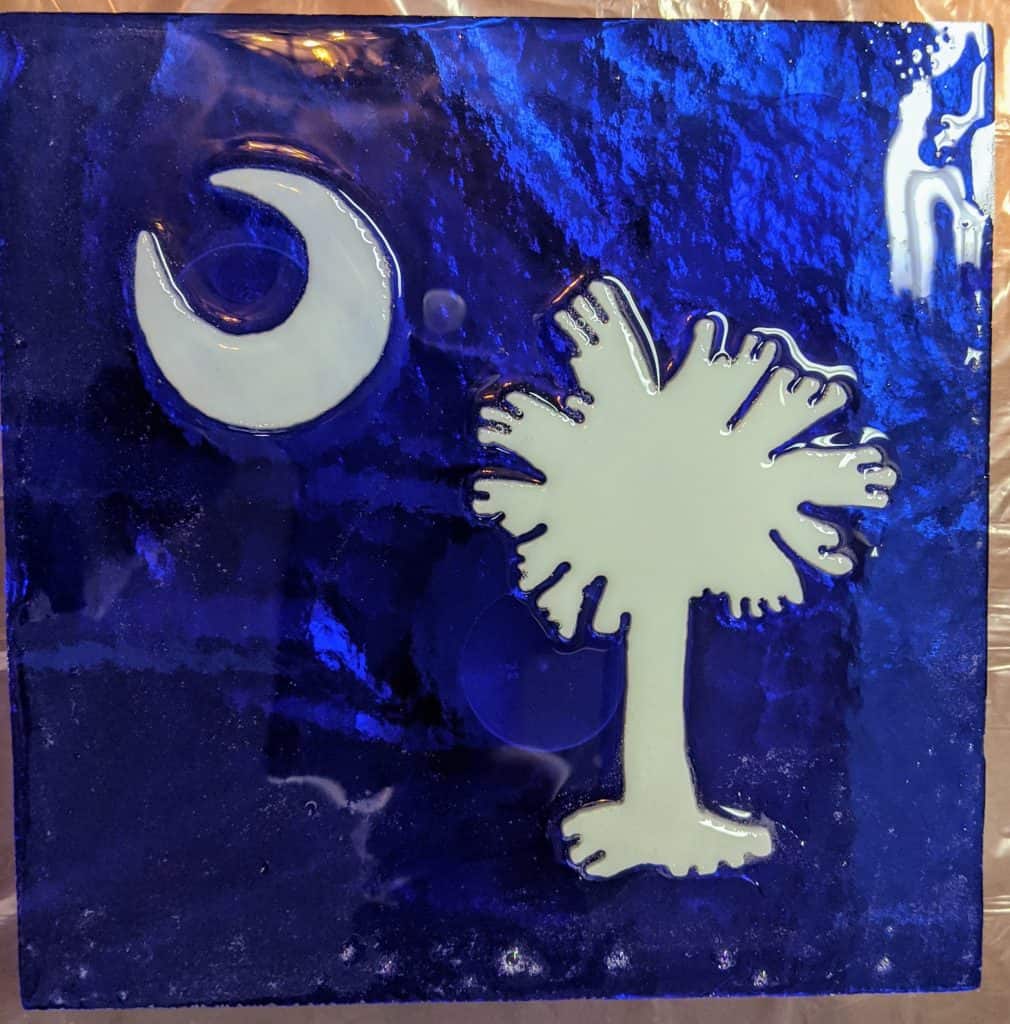
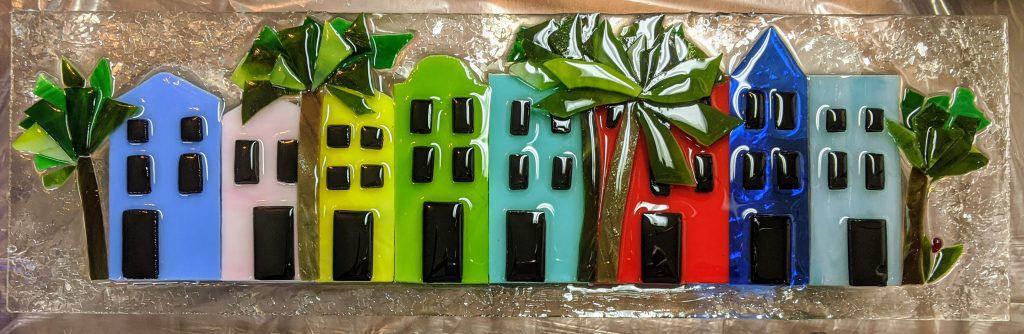
I decided to see how the glass chips would look on a colored piece. Since I made two similar SC Flag pieces in this batch, it will be a good opportunity to compare the two effects (one with and one without glass chips).

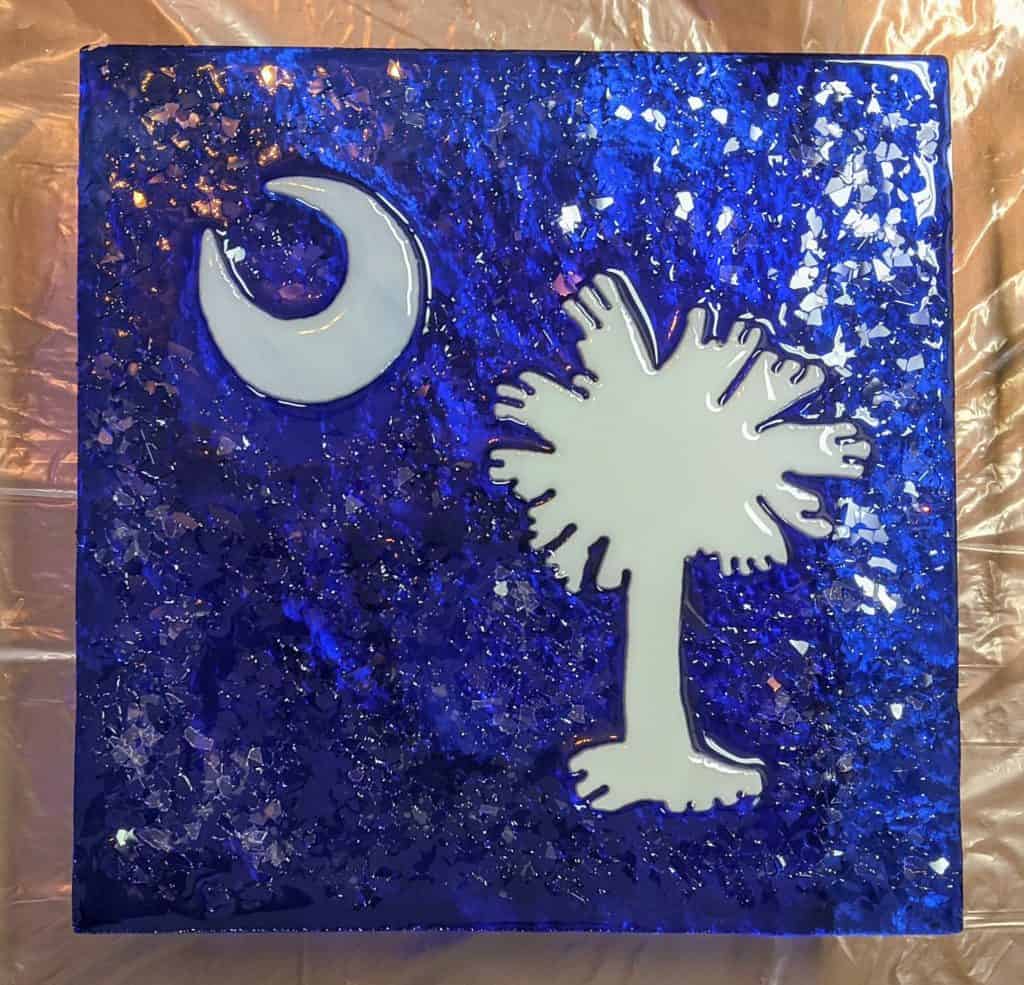
Now I have to wait overnight for the resin to cure. We’ll see how everything turned out tomorrow!