Beachy Batch

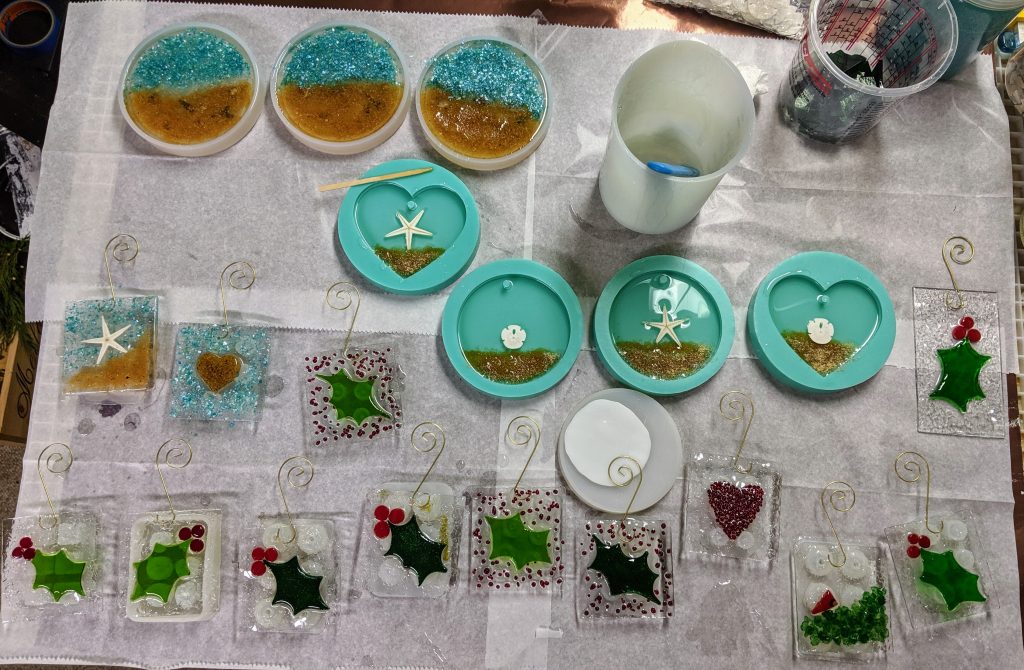
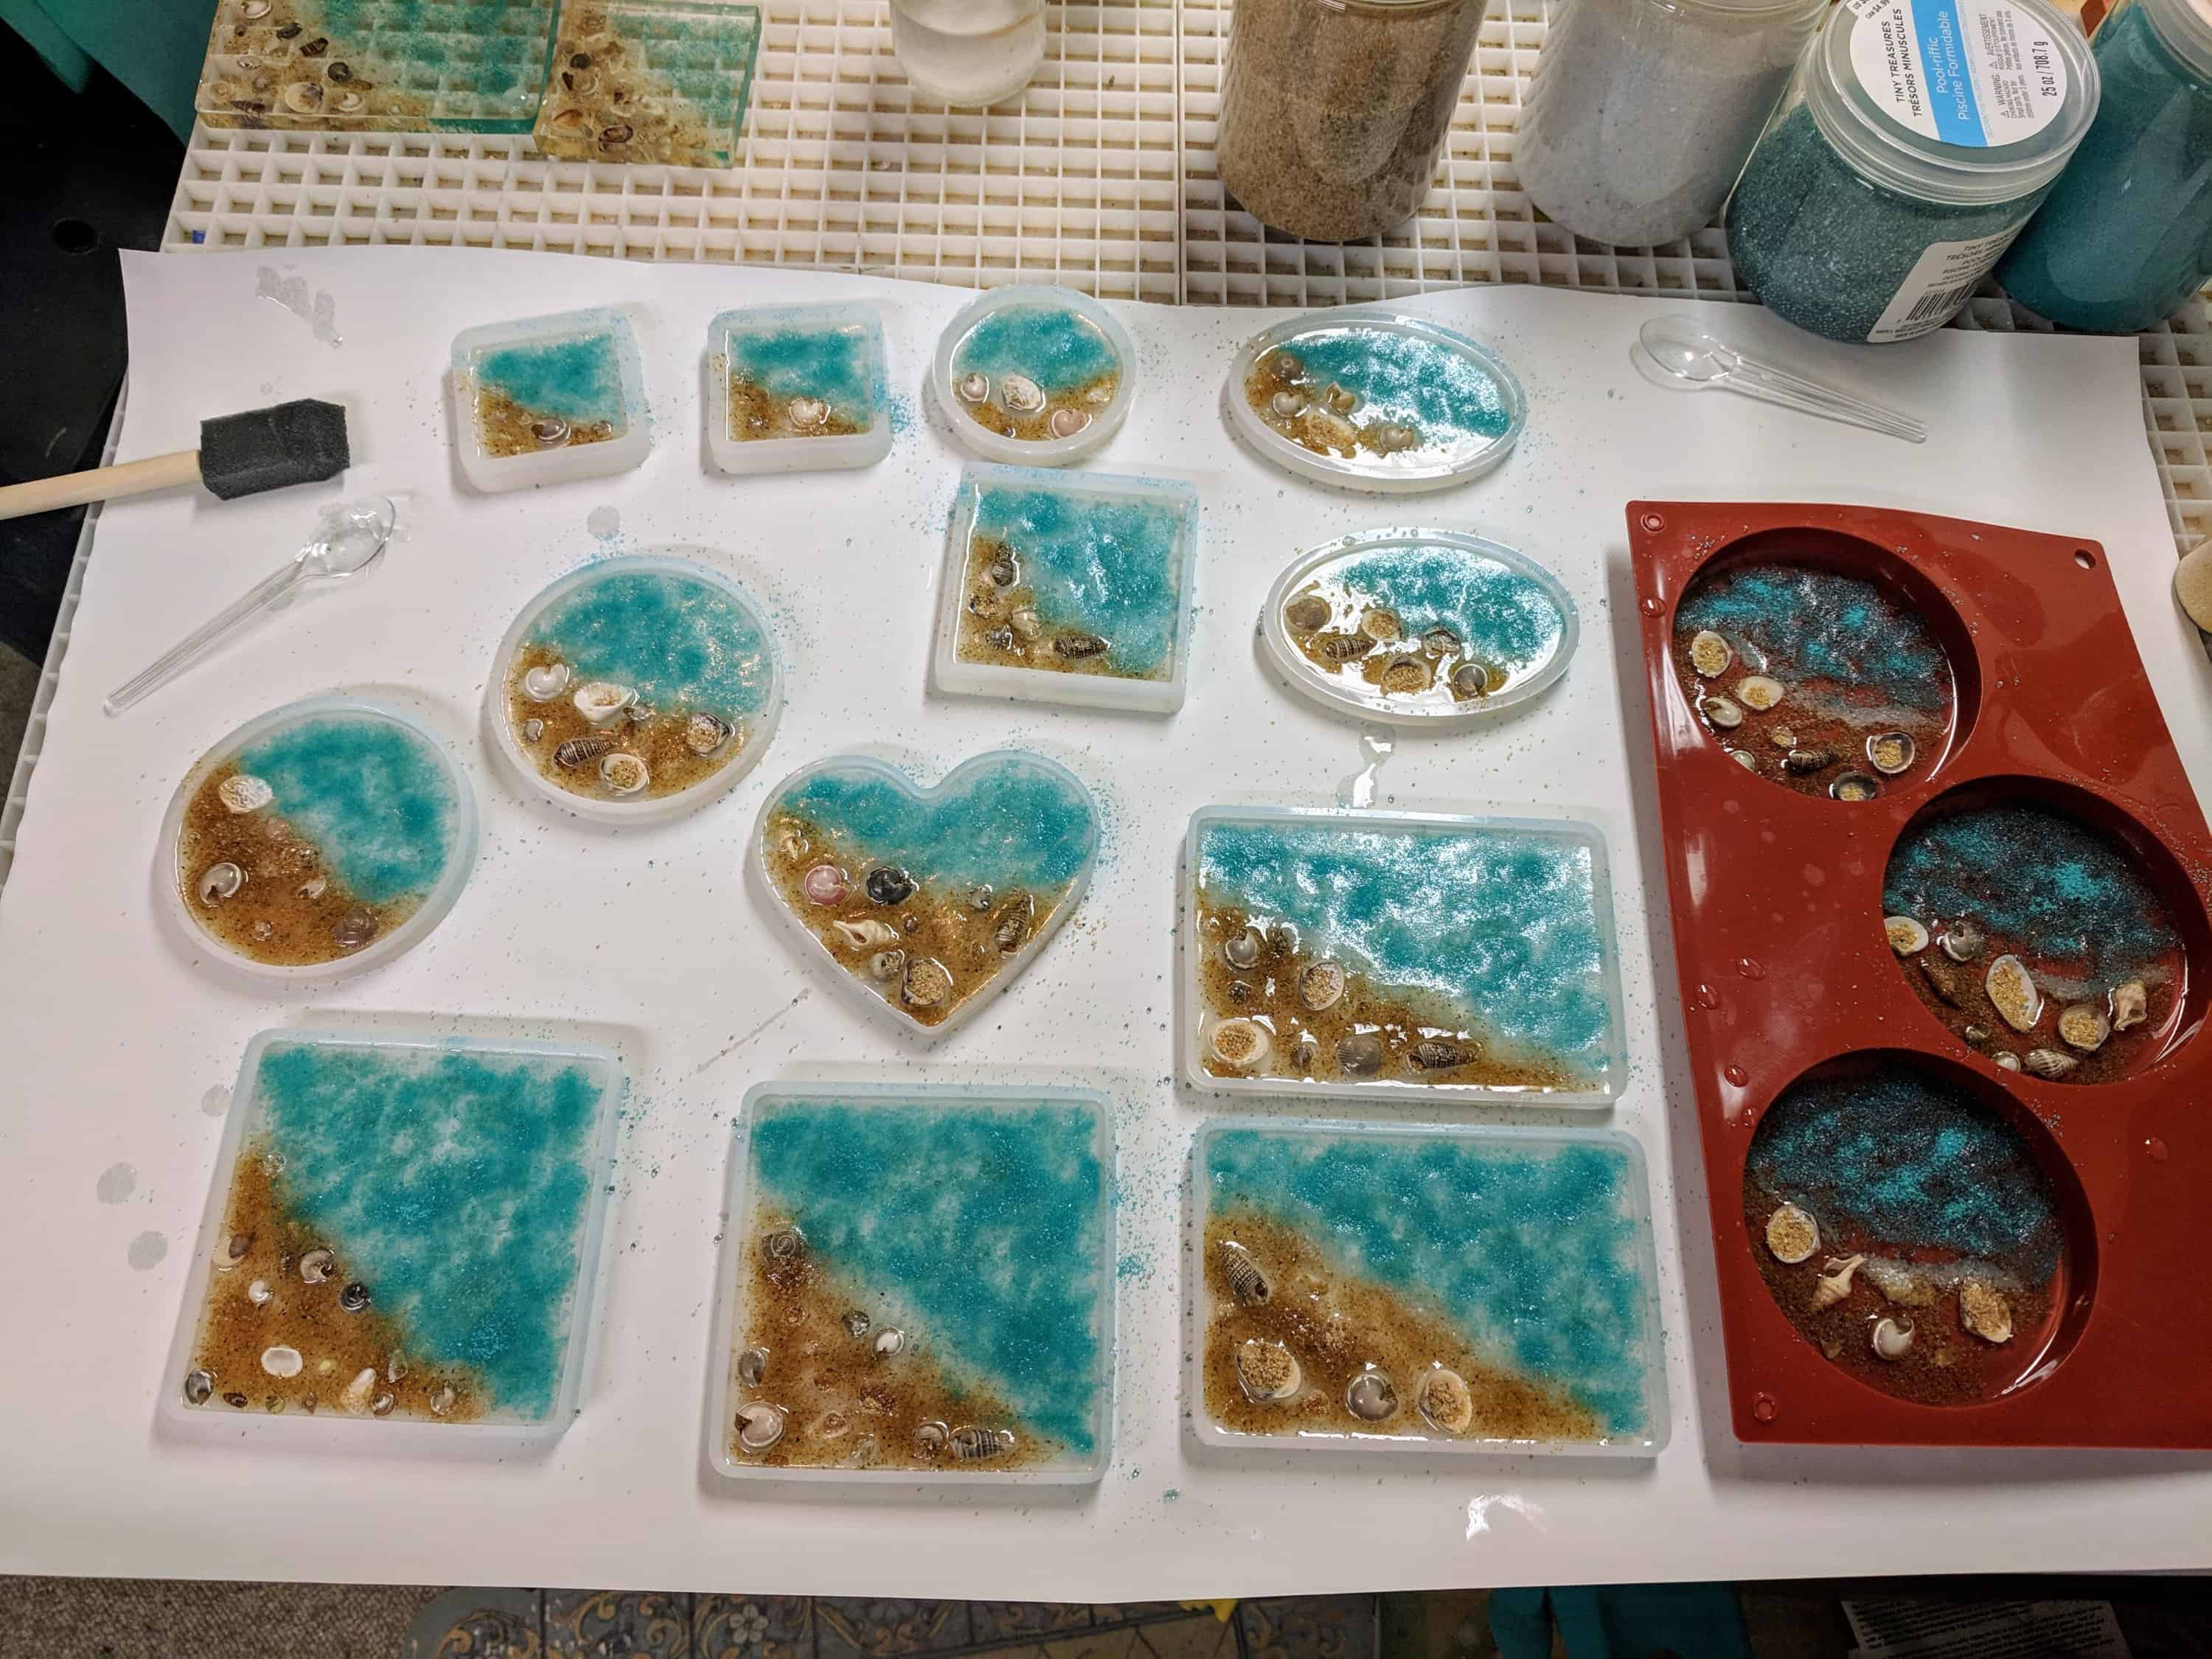
I started these a few weeks ago, but had to wait for the ornament hangers, then had to glue them in place and let it dry. This weekend was my first opportunity to finish them by taping the backs with painter’s tape, pouring the resin and decorating. The molded suncatchers / ornaments only have the first layer of resin poured (today) and will require at least a second layer.
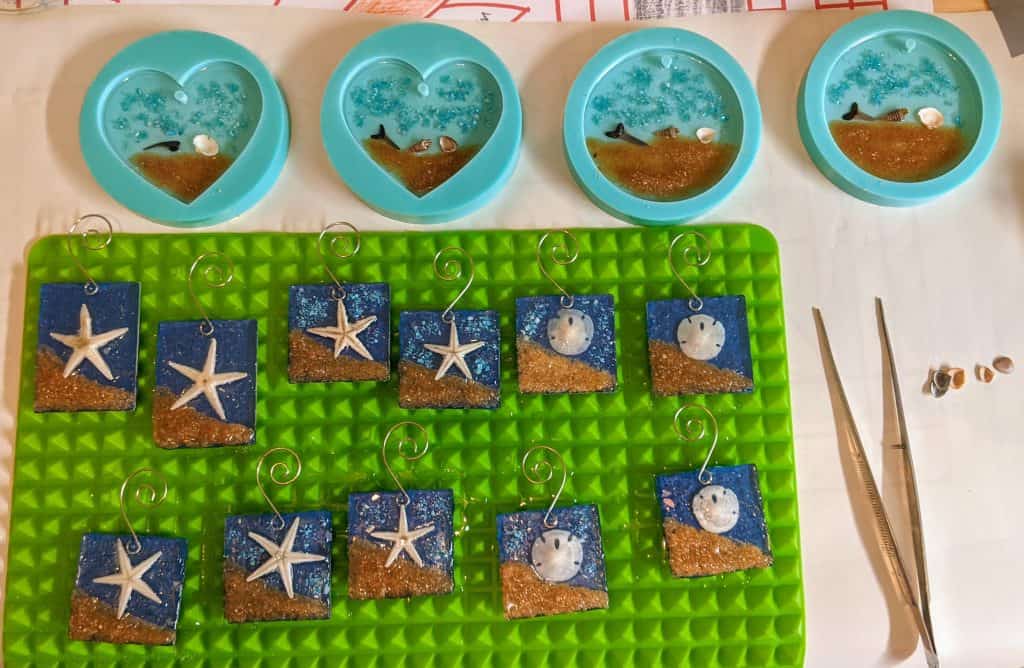
Beachy batch – the blue painters tape will be removed from the glass ornaments / suncatchers after the resin cures.

The last time I made these smaller starfish / sand dollar ornaments / suncatchers, I believe I glued the sand for the beach in place before pouring the resin, so I did that again this time. I still ended up adding some sand here and there after I poured the resin this time. I’m not sure the extra step of gluing the sand in place in advance is needed at all. I likely will skip it the next time I make some of these.

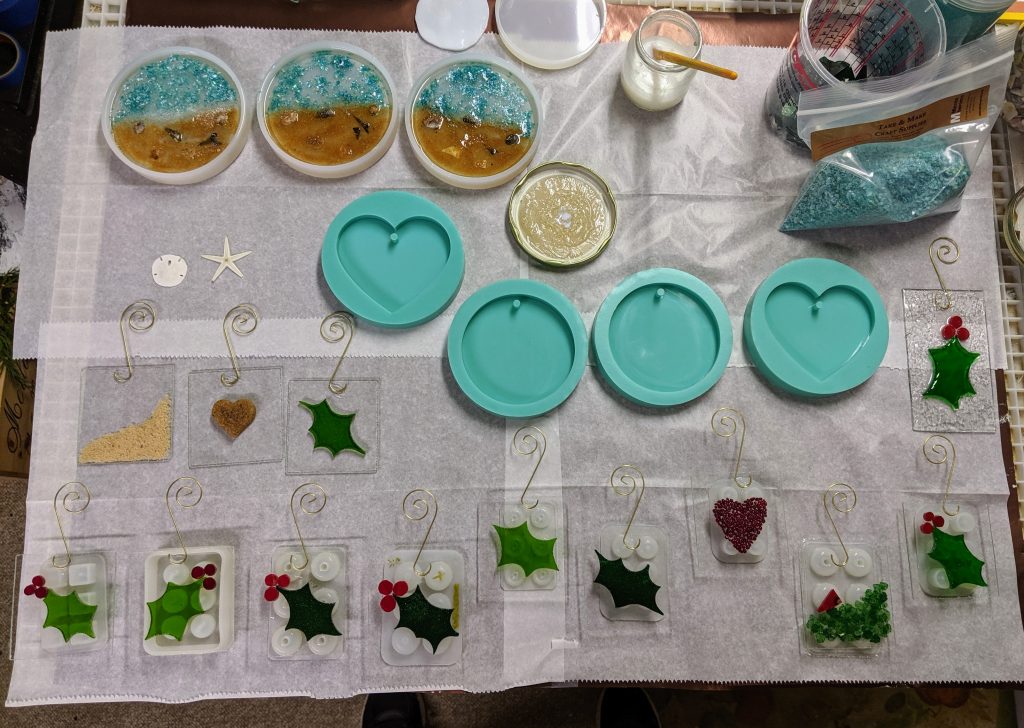
Still prepping

In preparation for this week’s Charleston Holiday Market, I’m really pushing the limits on how many individual items I can pour and decorate at the same time. If it goes well, at least I will have all year to prepare for the next one! I finished shaping the stained glass items for this batch of ornaments and was able to pour / decorate the resin this evening.

Glued and ready for resin.

Many thanks to my husband for taking care of dinner while I tended these – I really need a solid two hours after pouring the resin to work with them, which can be hard to find between my regular work and carting my teenagers around to their various obligations. I had a few issues during the pouring (pouring too much resin, a couple of the ornament hooks came loose, etc). I think they will turn out OK, though. I’m pretty sure I will be spending a chunk of time tomorrow cleaning up cured resin drips from the back sides of these ornaments, though.

Poured, decorated and ready to cure.

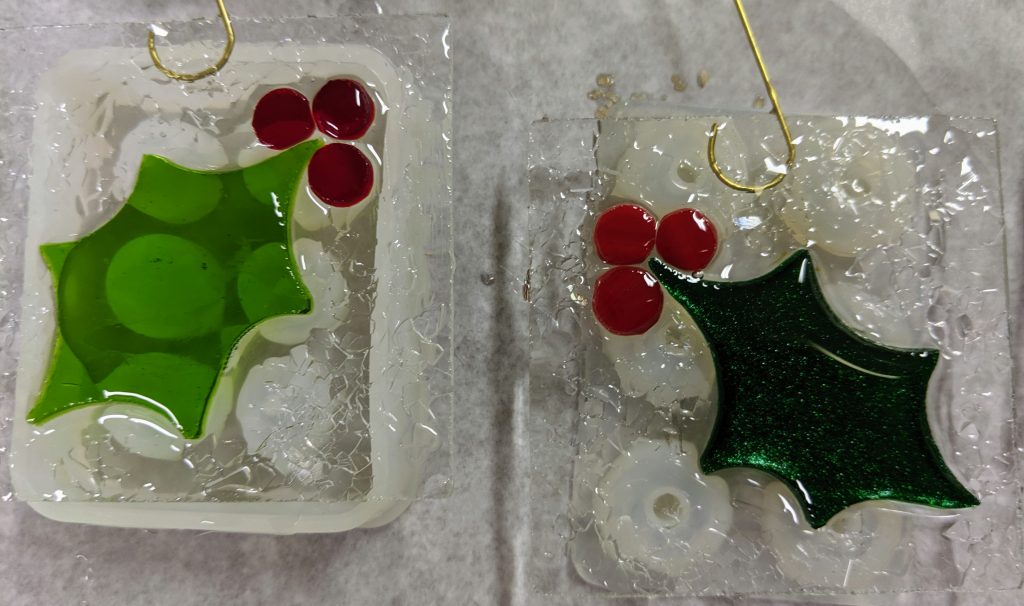
Neat Holly designs.

I used some different glass for the holly ornaments I made today (on the left). The glass on the right is the sparkly green I love for so many different projects. I’ve made several tree / wreath ornaments with it. It’s really great for hummingbirds, too!

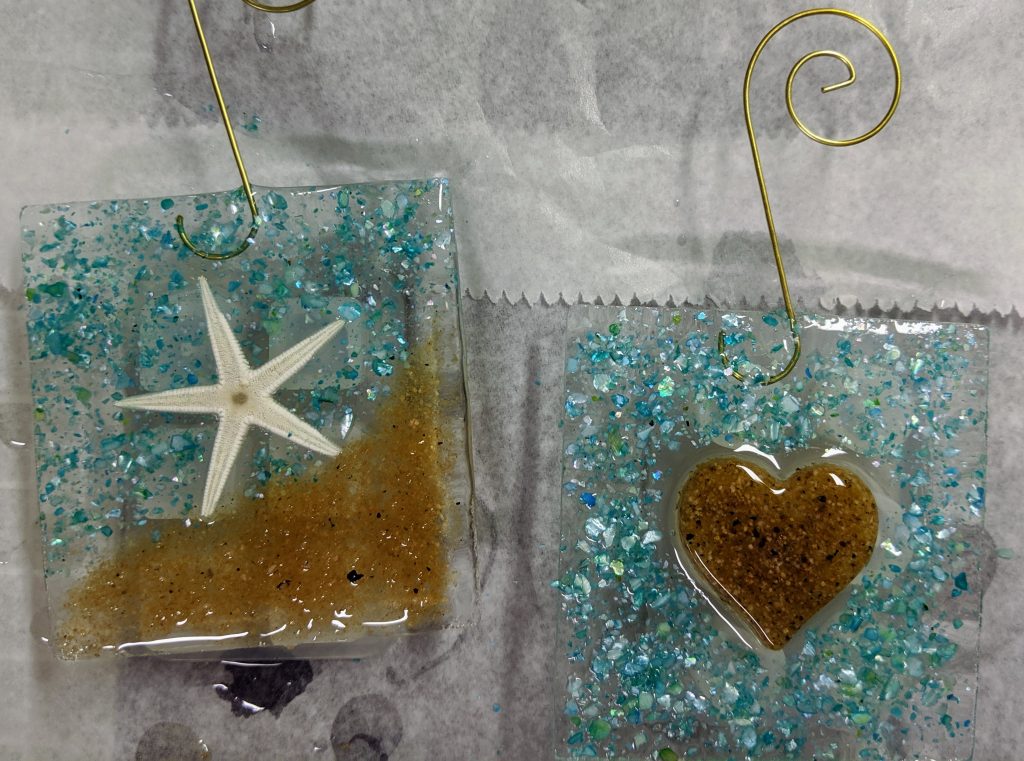
I decided to try some beach themed ornaments.

I went out of my usual habit and made some new designs for beach themed ornaments – the heart is made of resin and sand that I molded a few months ago. They both have recycled clear glass bases (the squares), sand, and blue shell chips for the water effect. Great for anyone who loves the beach!

Park Circle Farmers Market

I’ll be at the N. Charleston Farmers Market every Thursday in September and October (weather permitting). Come check out my booth!

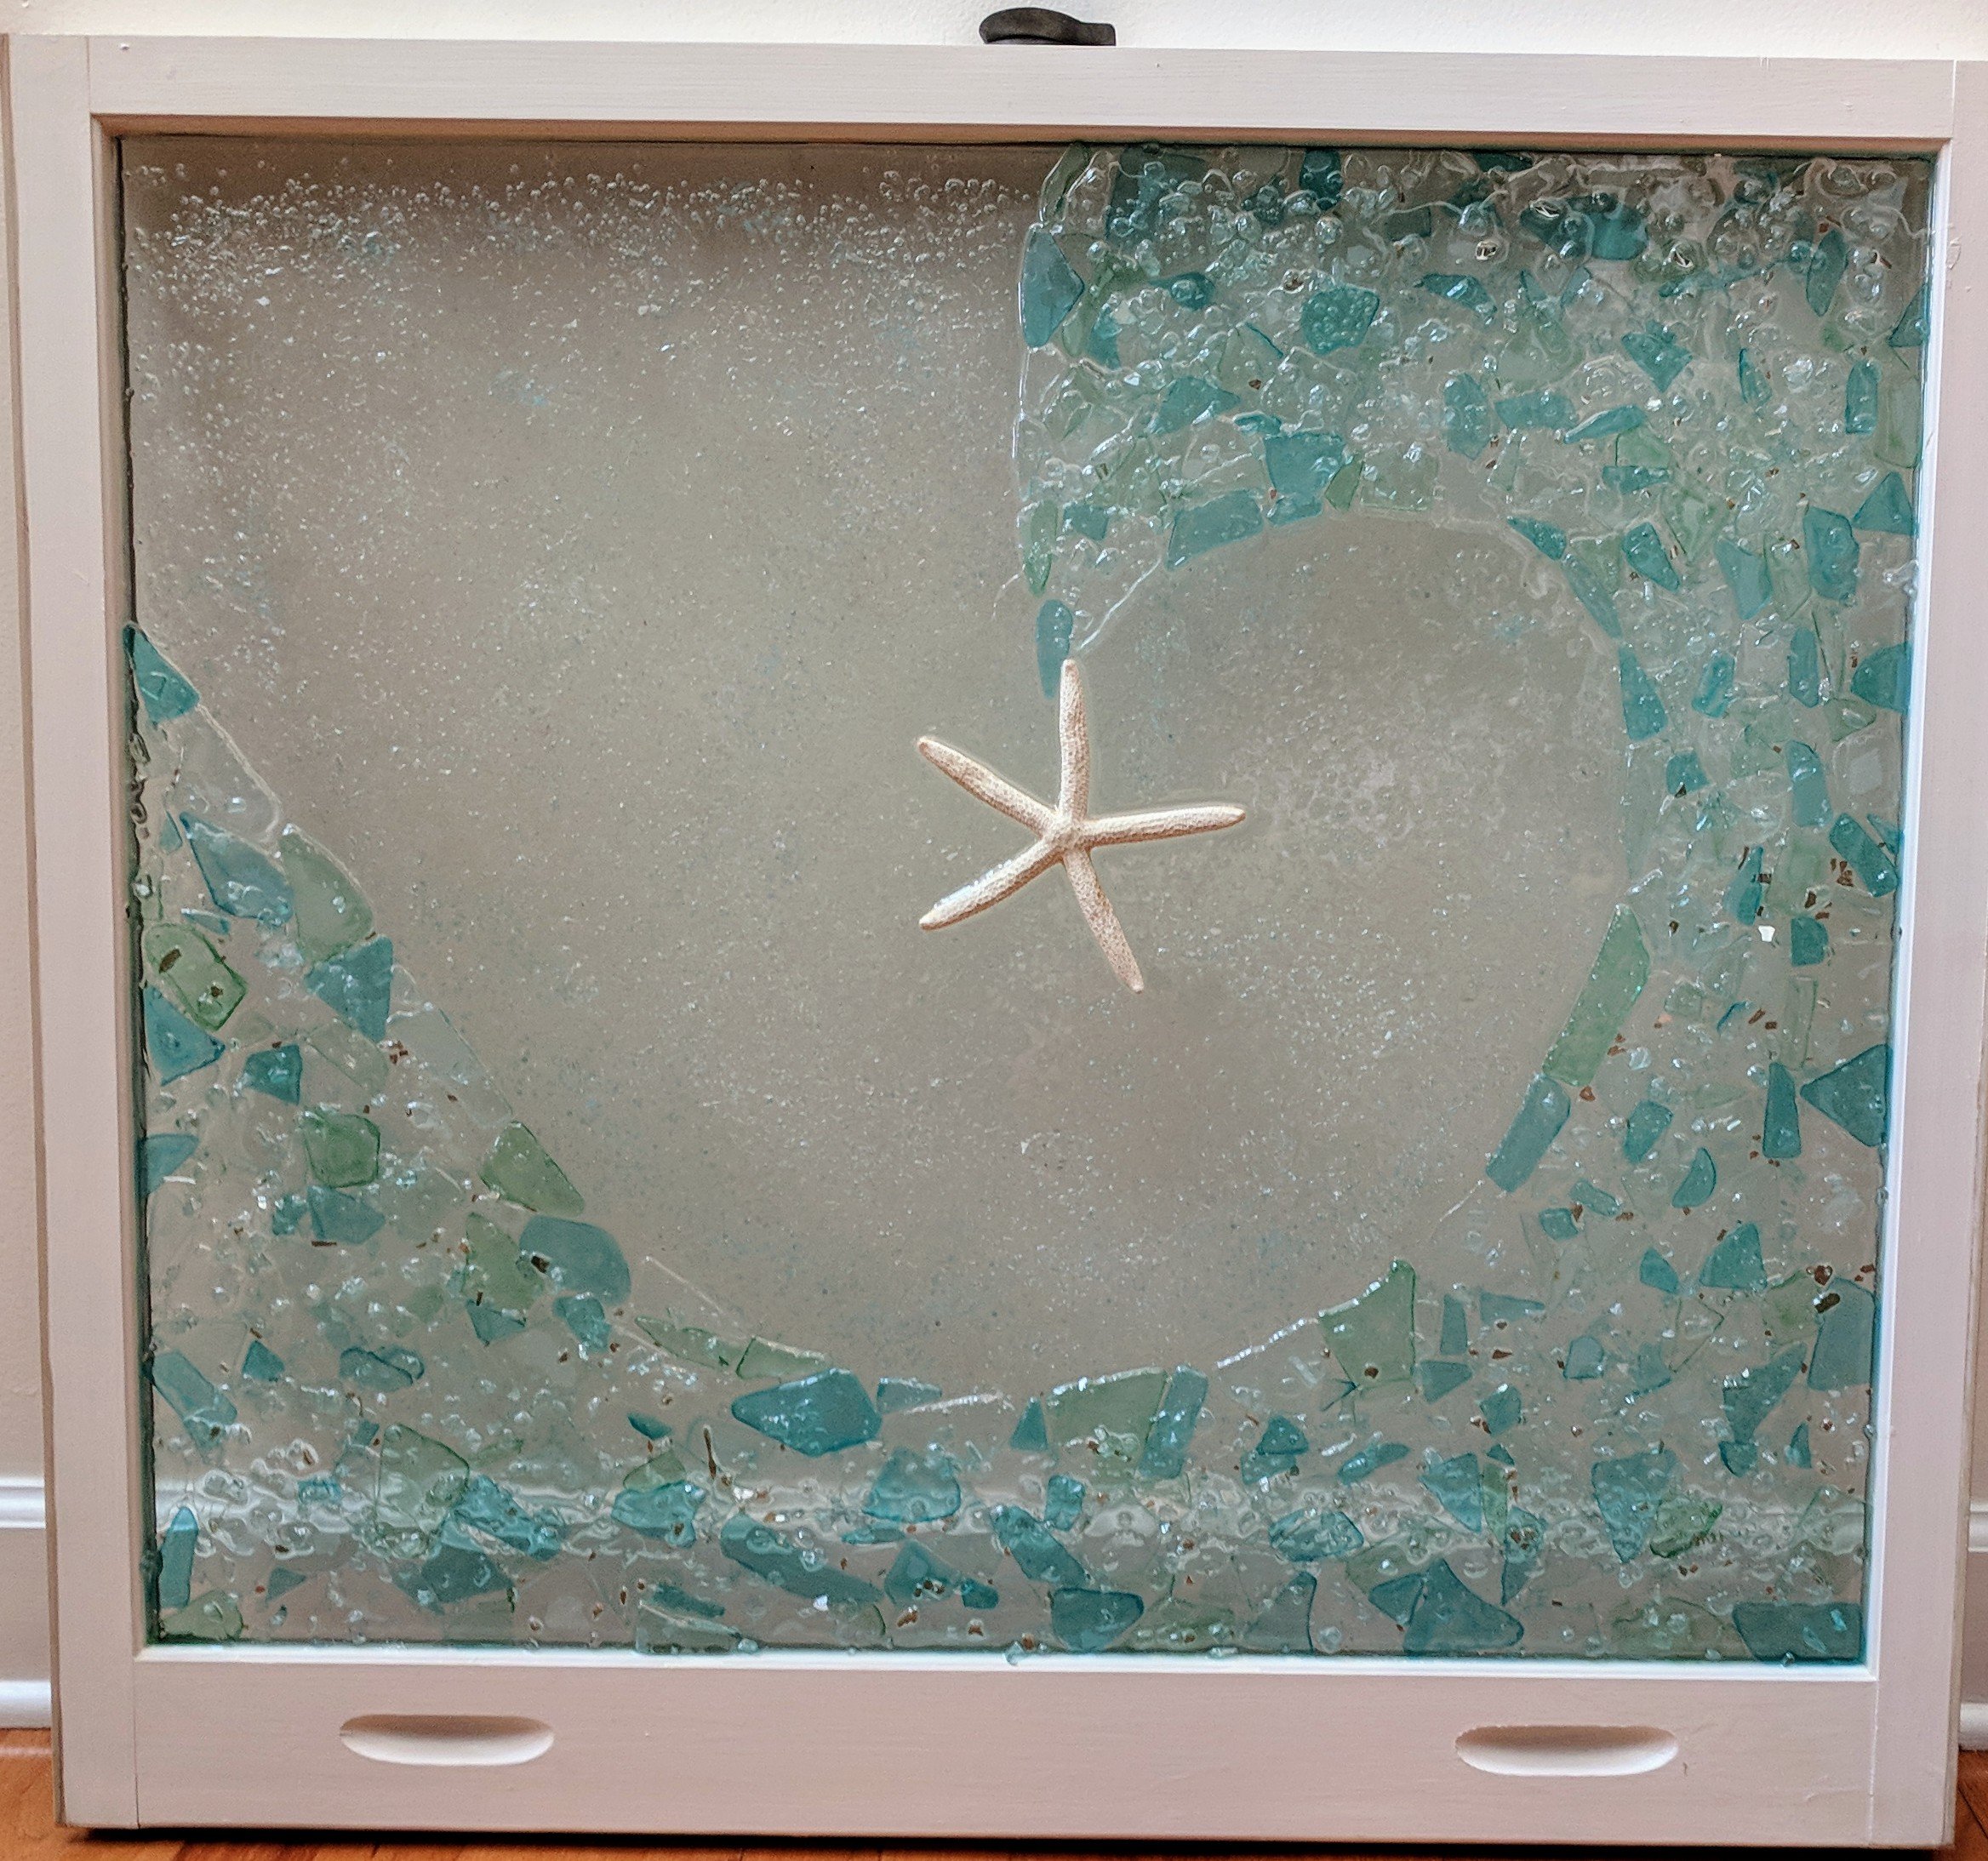
A word about displaying an old window like these

Once you have one of these windows of your own, how do you display them? My favorite way is to just display them over the inside of an existing window. Most of them fit the space (being old windows themselves). The down side is you have to go through some hassle if you want to open the covered window. However, there are many situations where this is just fine or even desirable. For example, in my bathroom, I have two windows that both happen to be on the front of my house, so if you are standing on my front porch, you could peer right into the bathroom. Not much privacy. So I mounted this Clematis flower in the window over the tub. We can still open the top half of the window if we want, but we usually just open the other window that is in the same room if we want some fresh air. It couldn’t be easier, either – just get a couple (four is really probably best) of inexpensive mirror mounts at the hardware store and screw them into the window trim. The window sill provides support, as well. See below.

There are other ways to do it, but this is my favorite way – easy and very sturdy / secure. Another way is to use eye screws and put them into the wood frame. This method is better if you need to open the window behind the mosaic, but can be tricky with old windows that might not have the best frame.

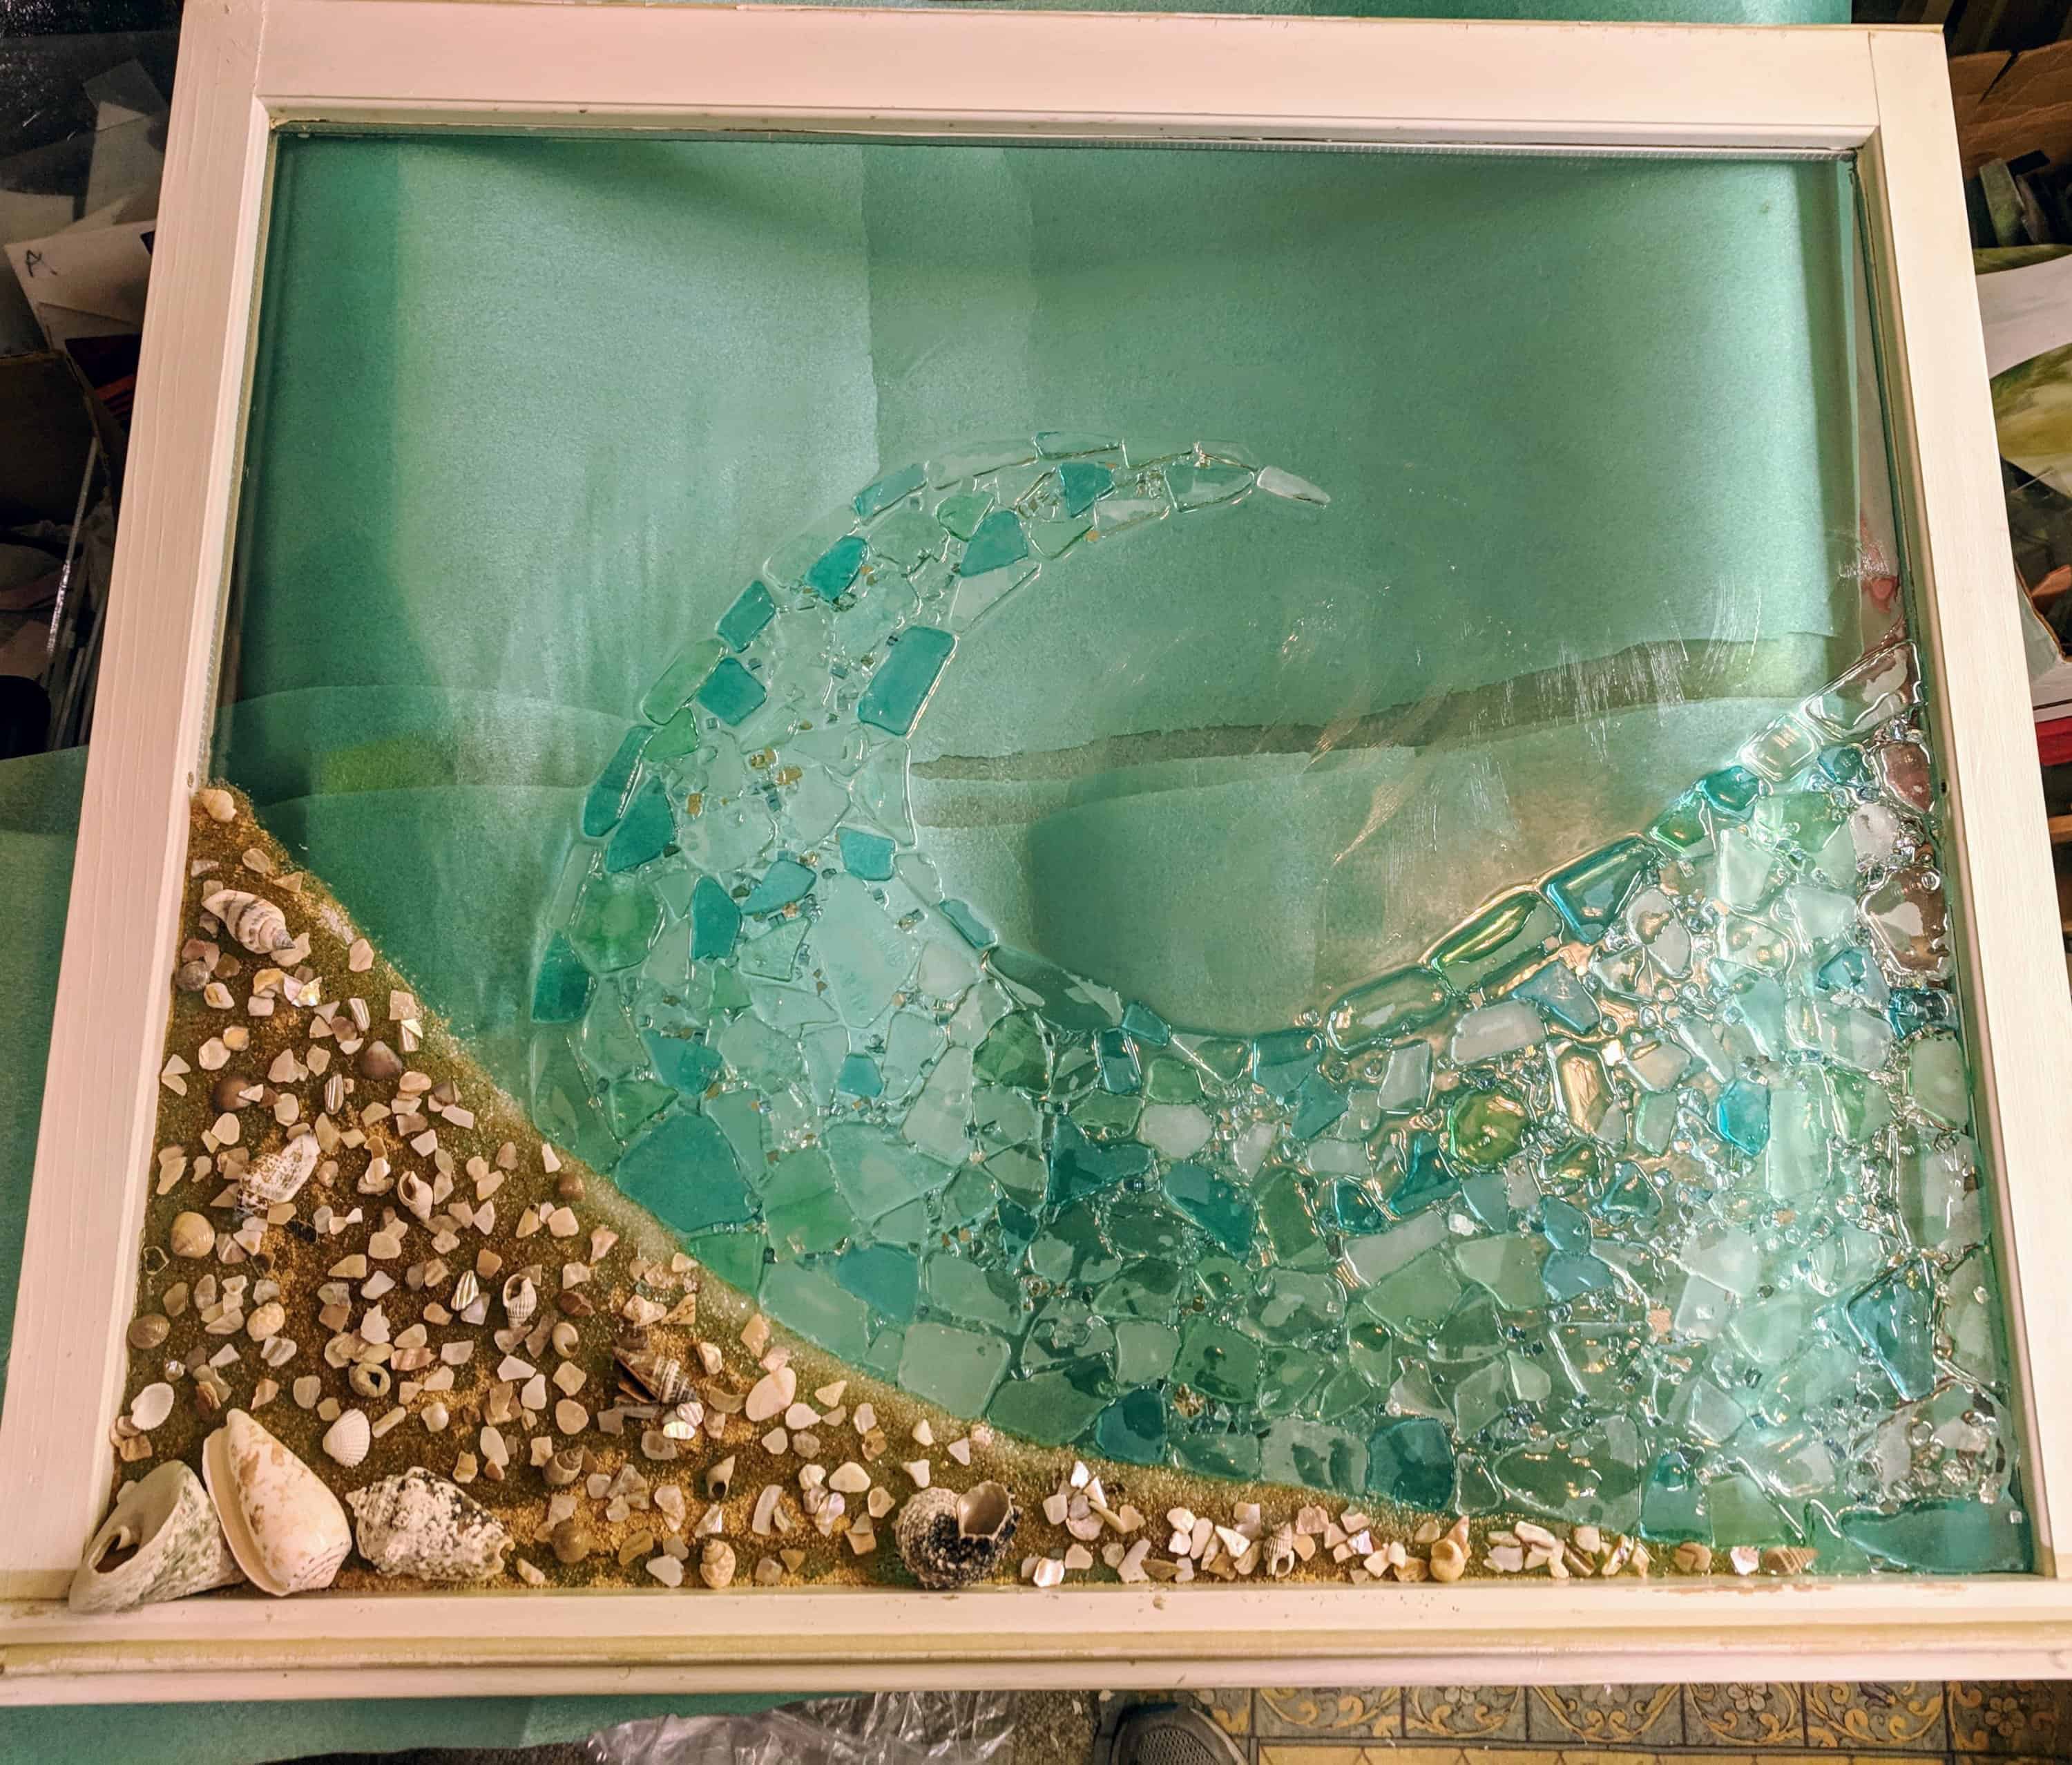
Starting another beach inspired window

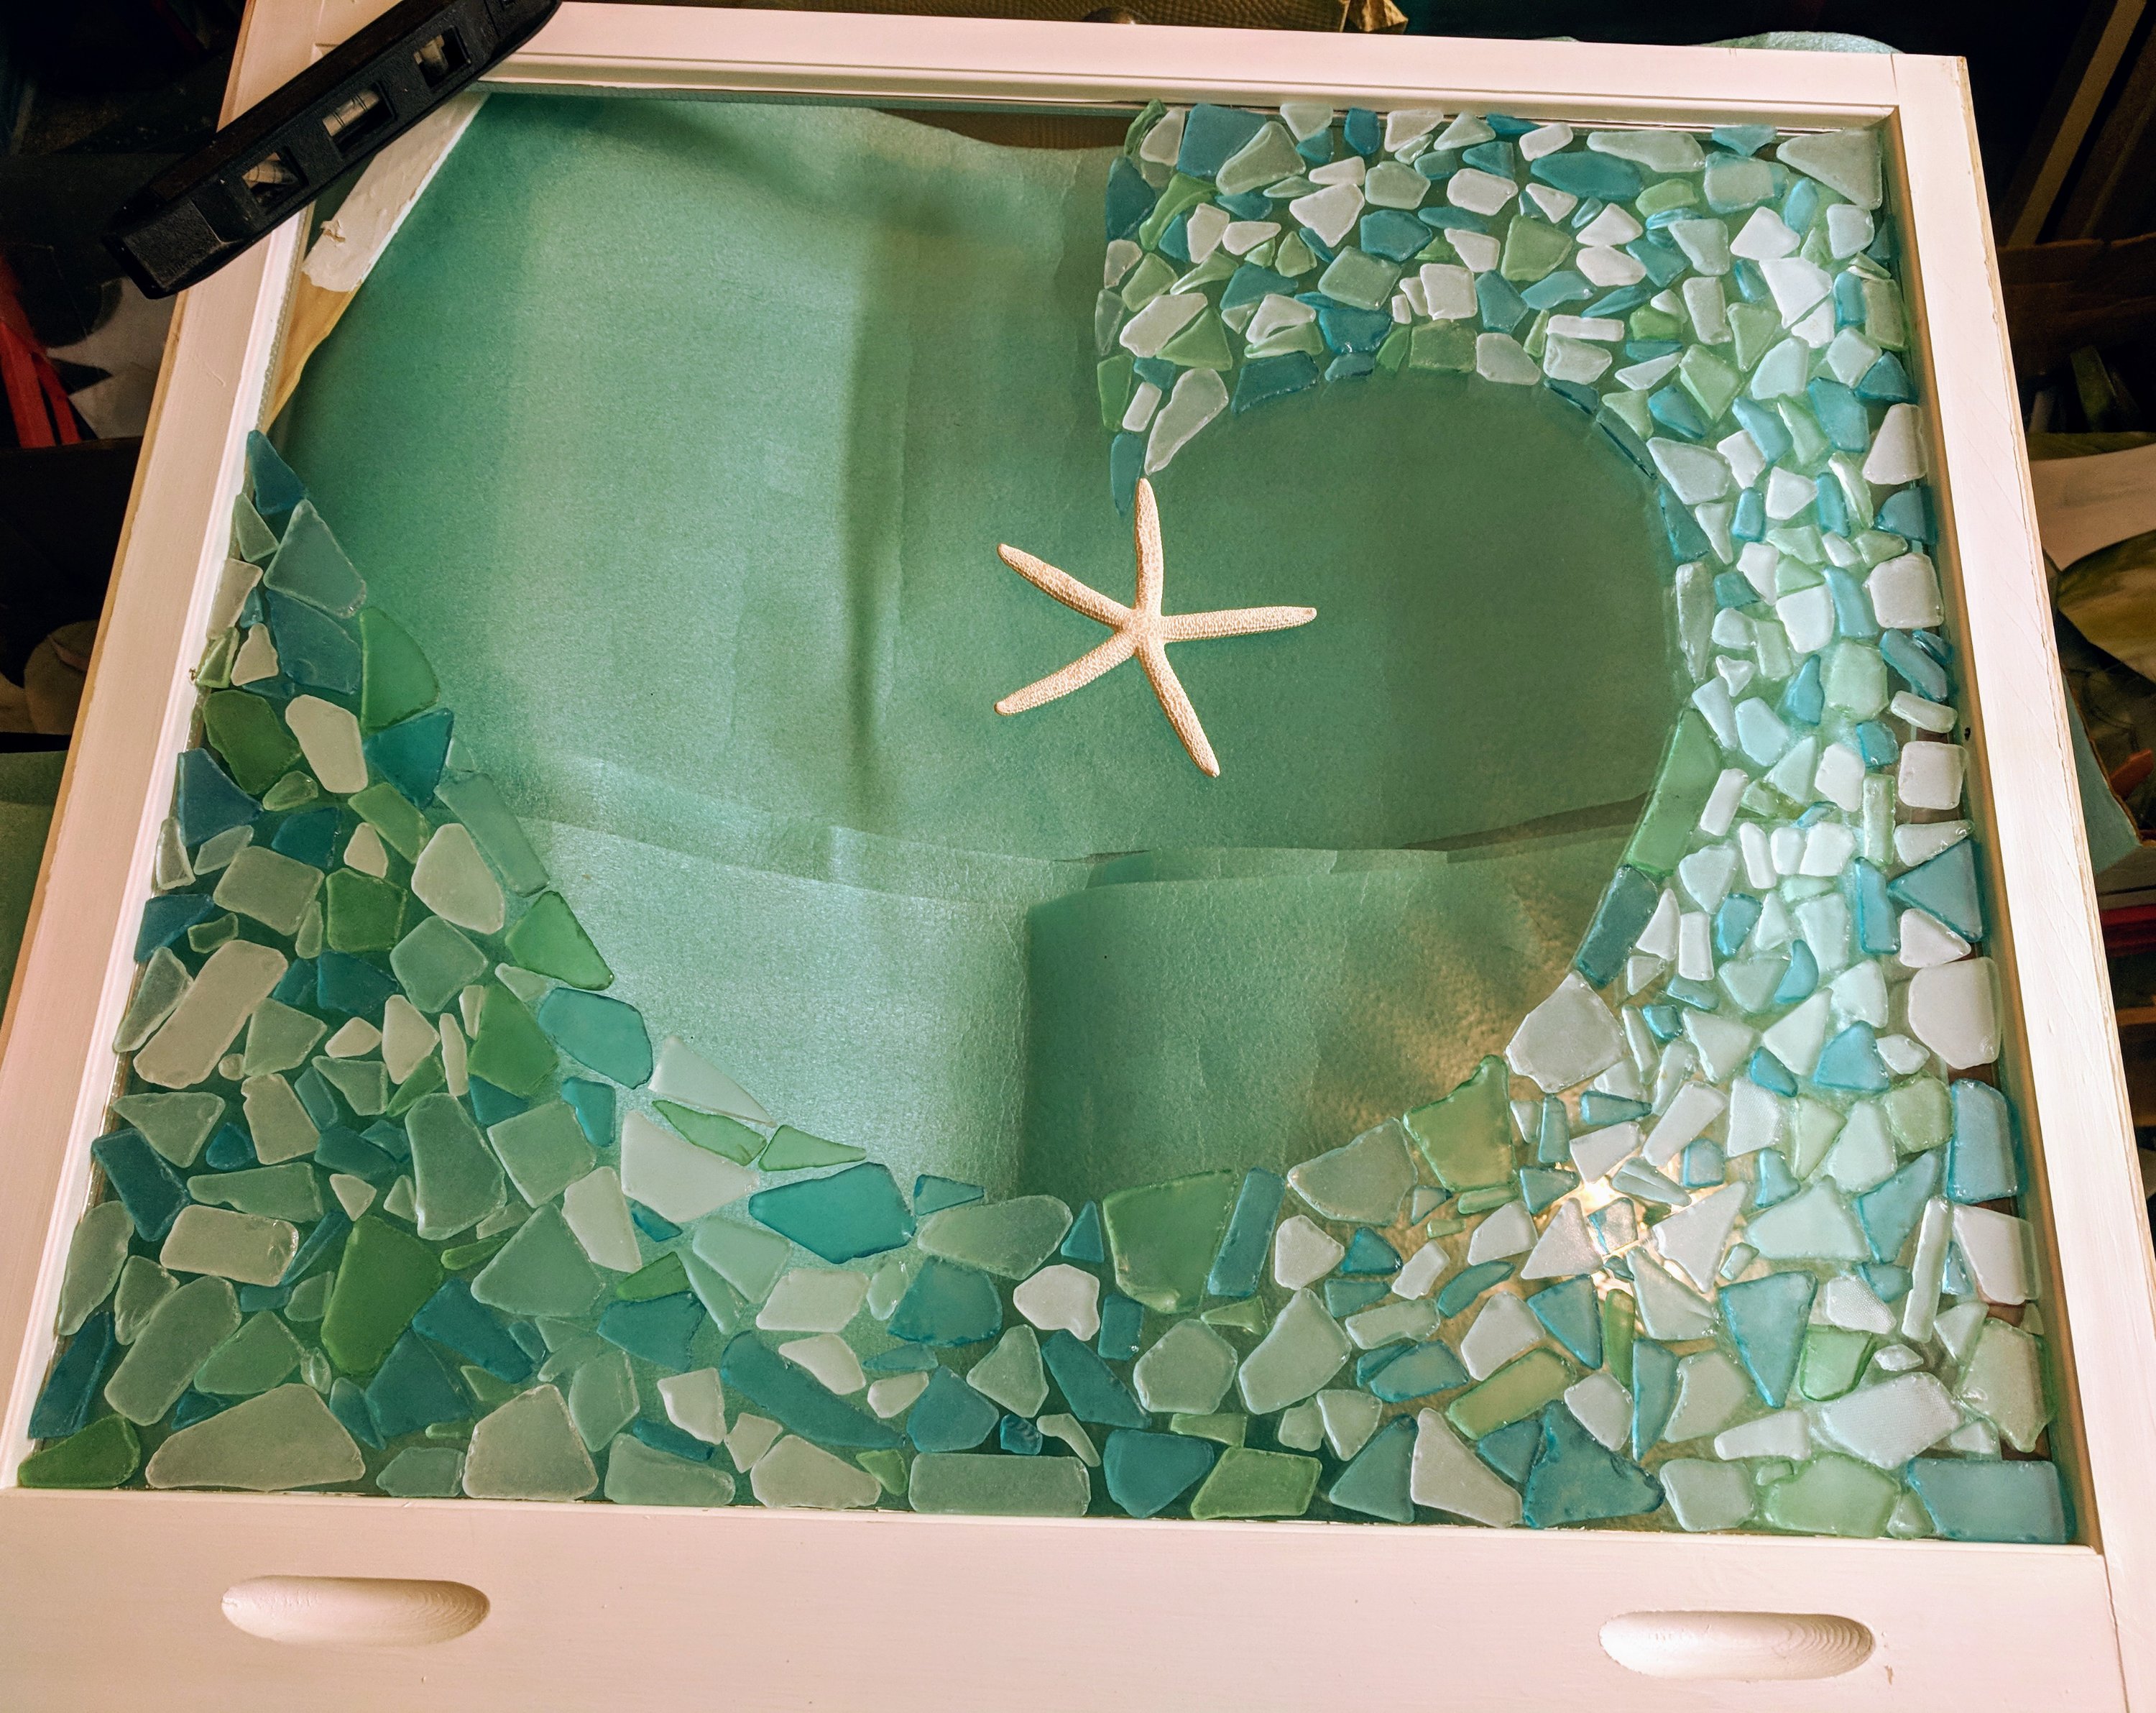
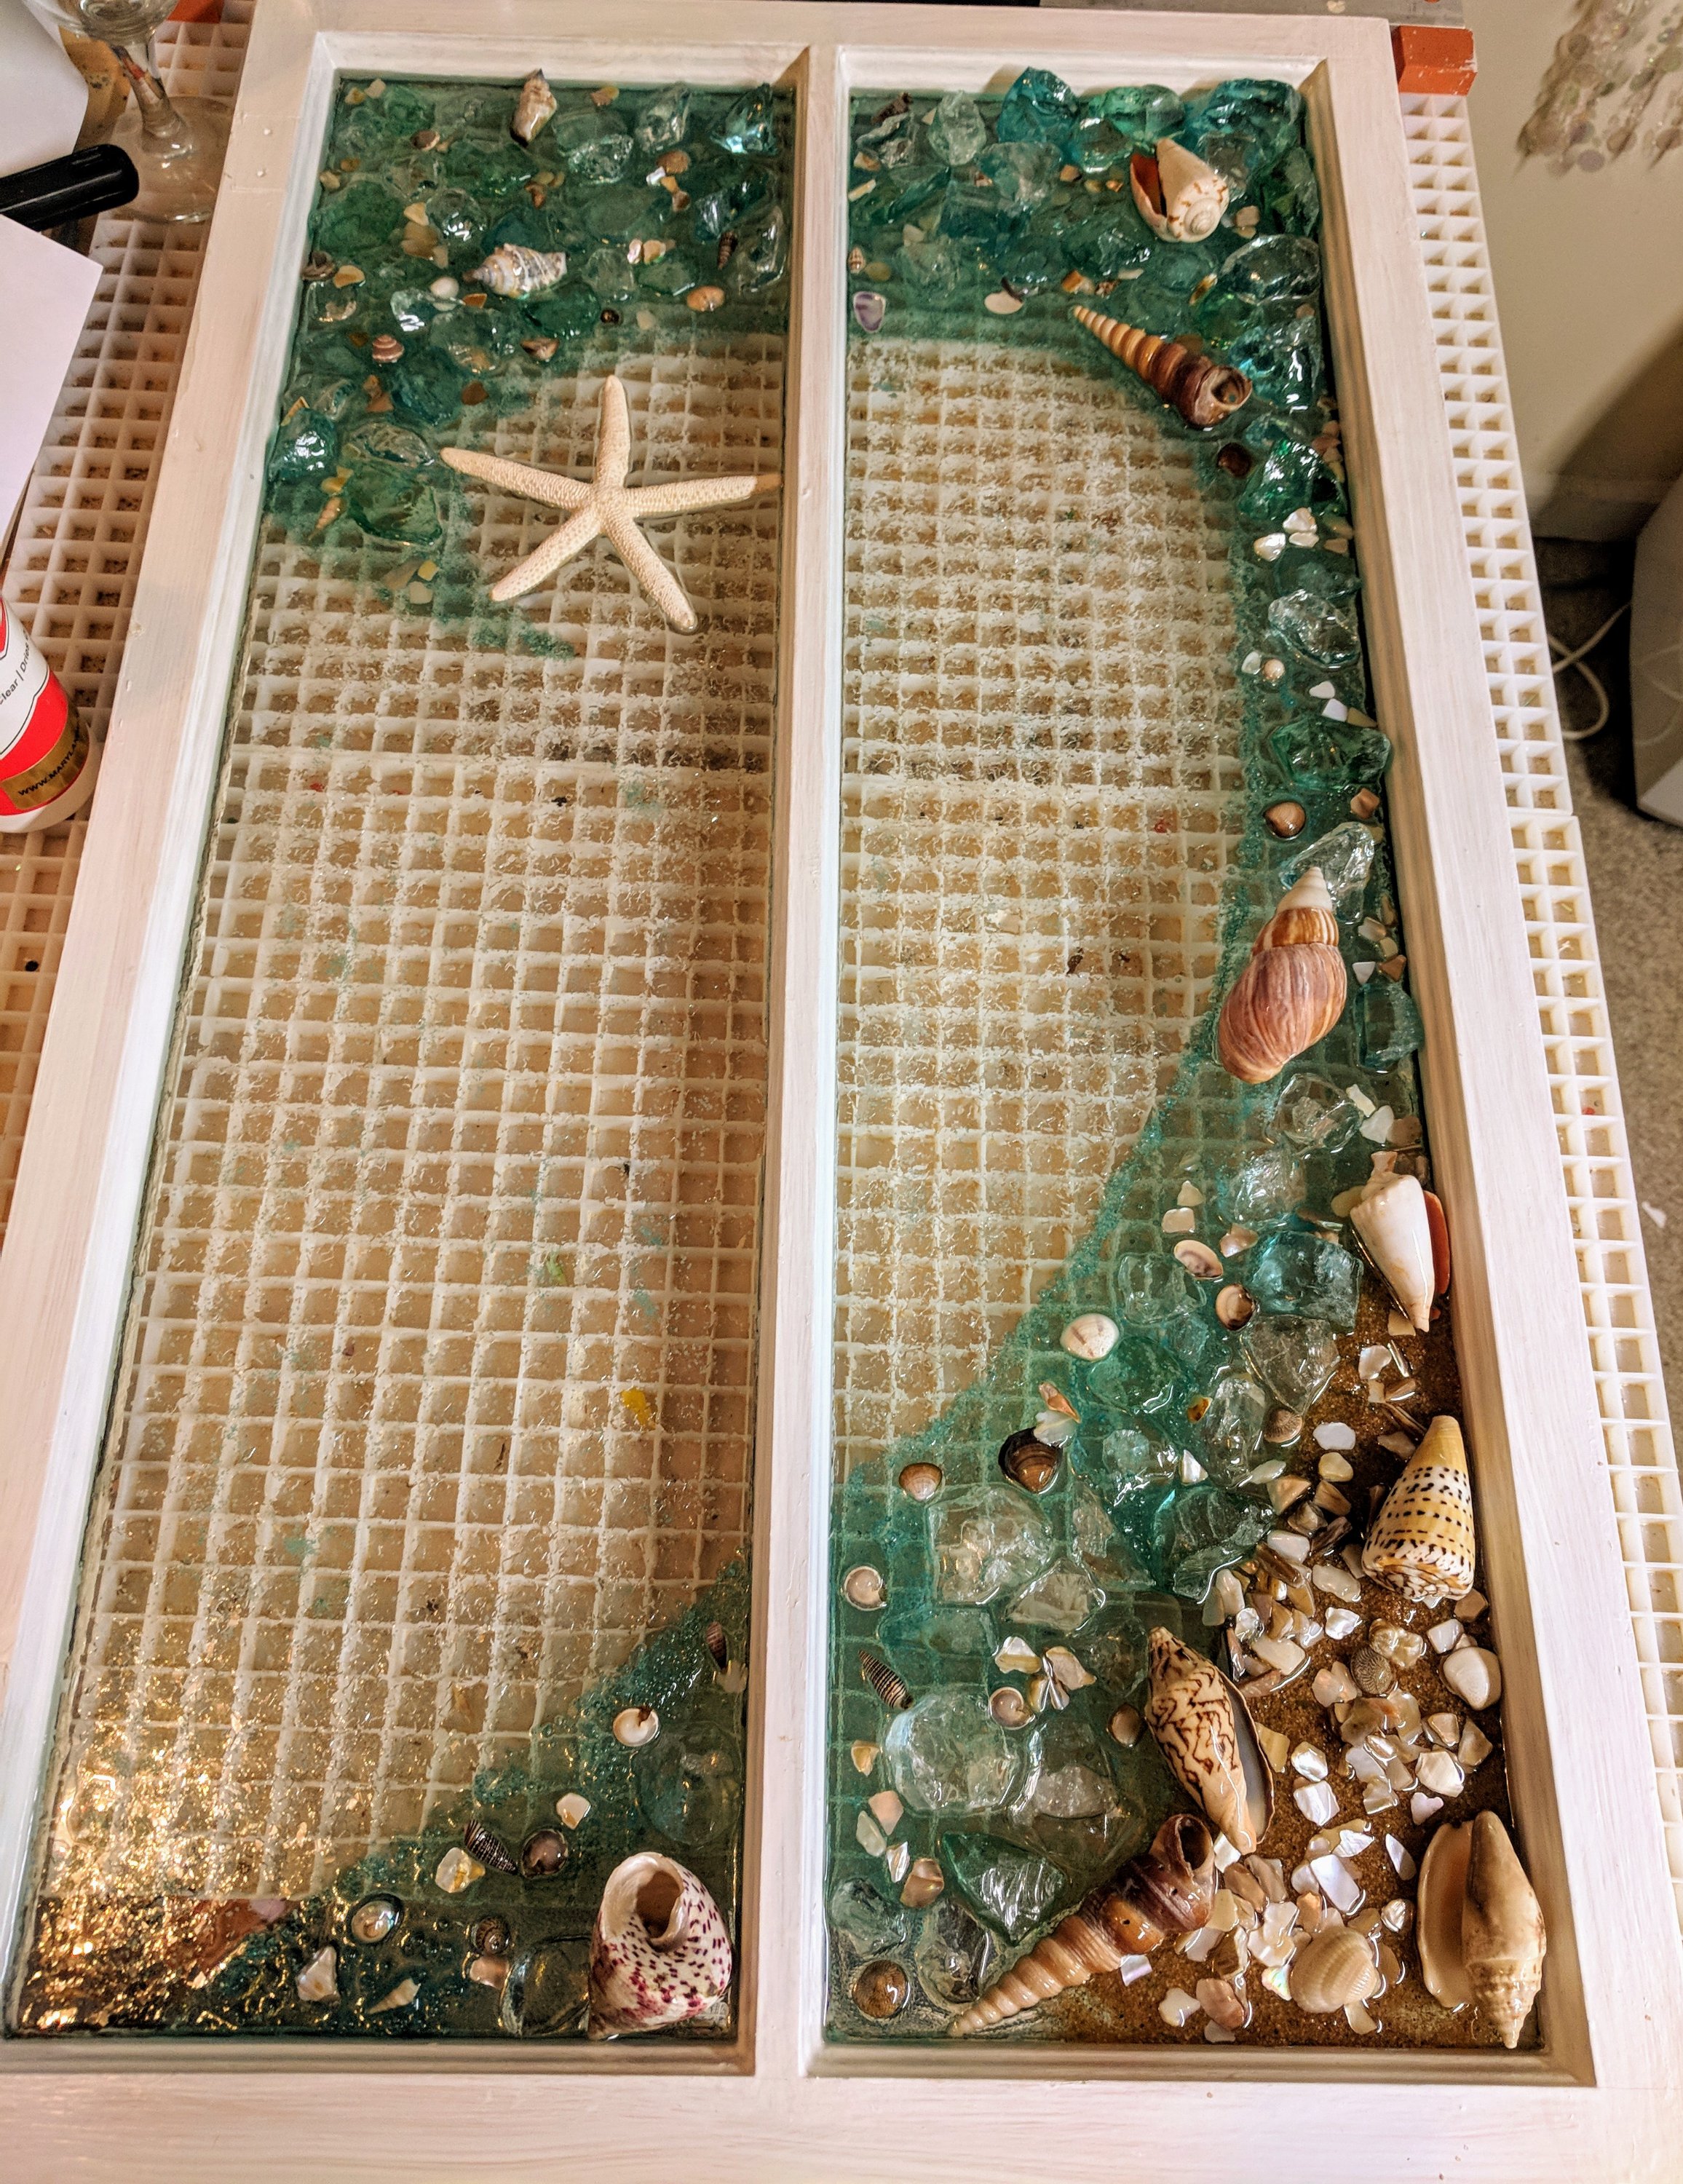
I found some sea glass I like a lot better (at Bed, Bath and Beyond, of all places!) and couldn’t wait to start the next project. This is all I’ll get done on this one today, though, as I 1) need to wait for the glue to dry 2) don’t have enough resin on hand to pour this and 3) I haven’t figured out what I want to do in the background – or if I want to add shells or not!

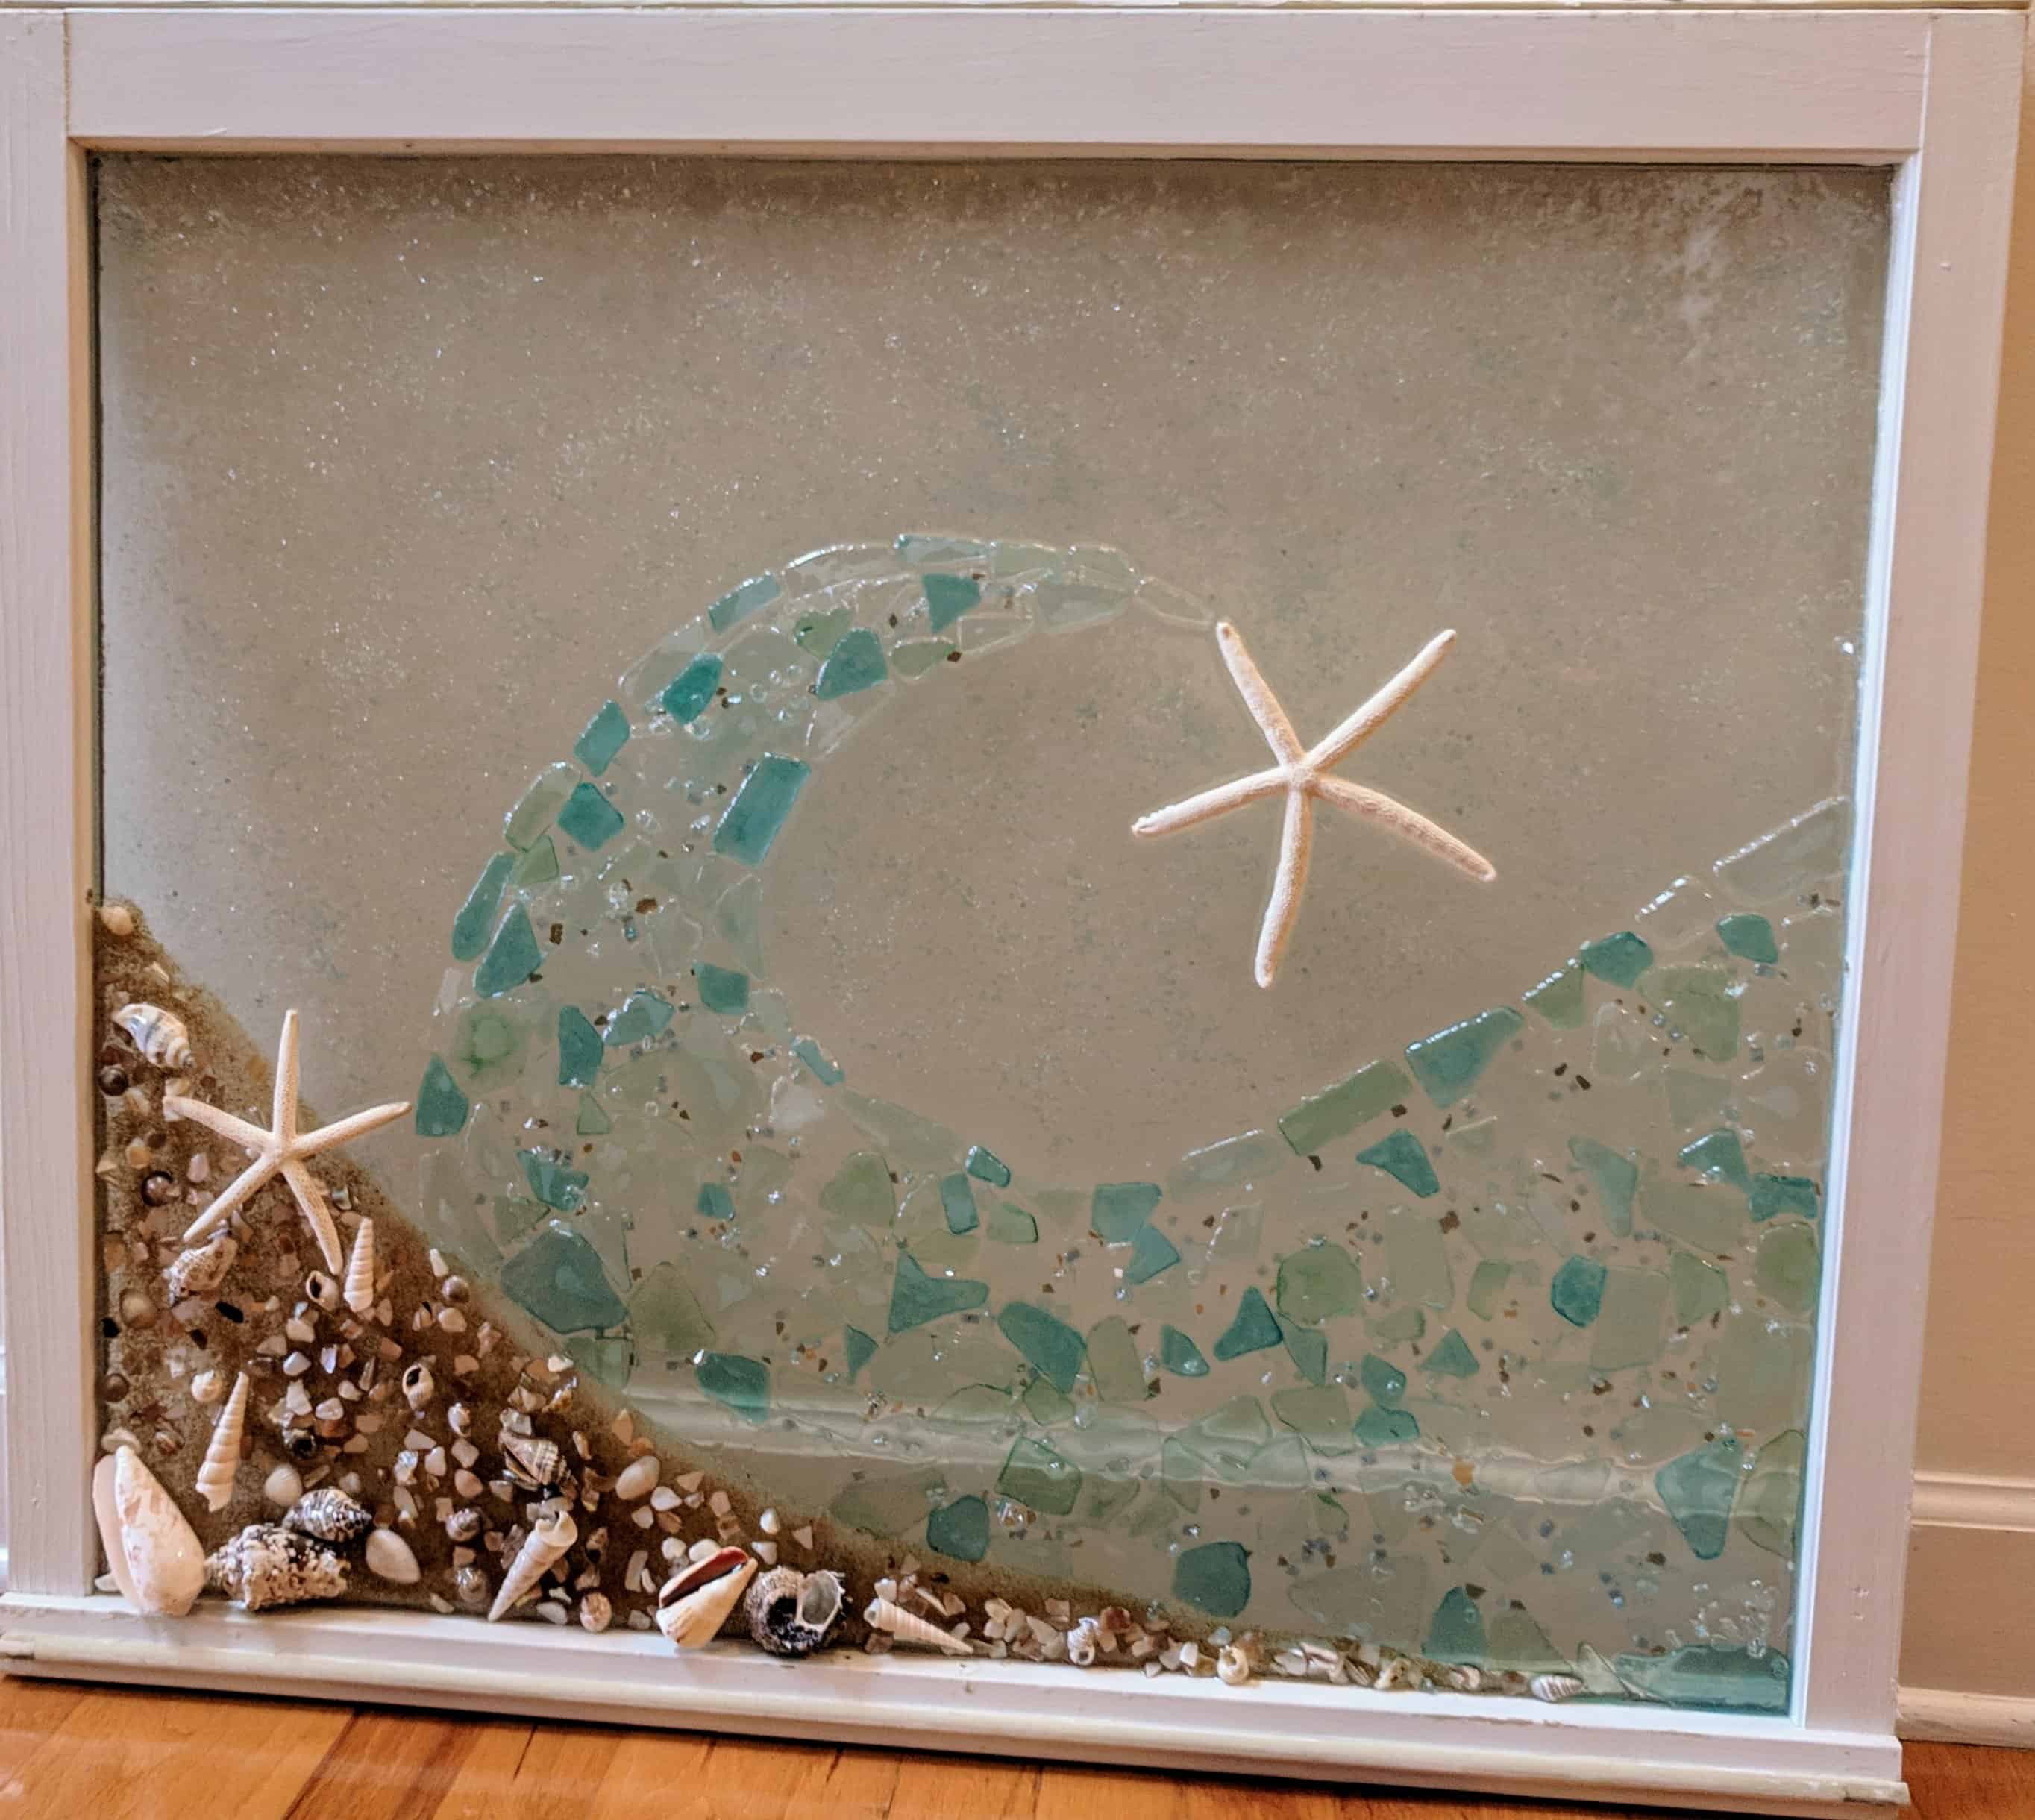
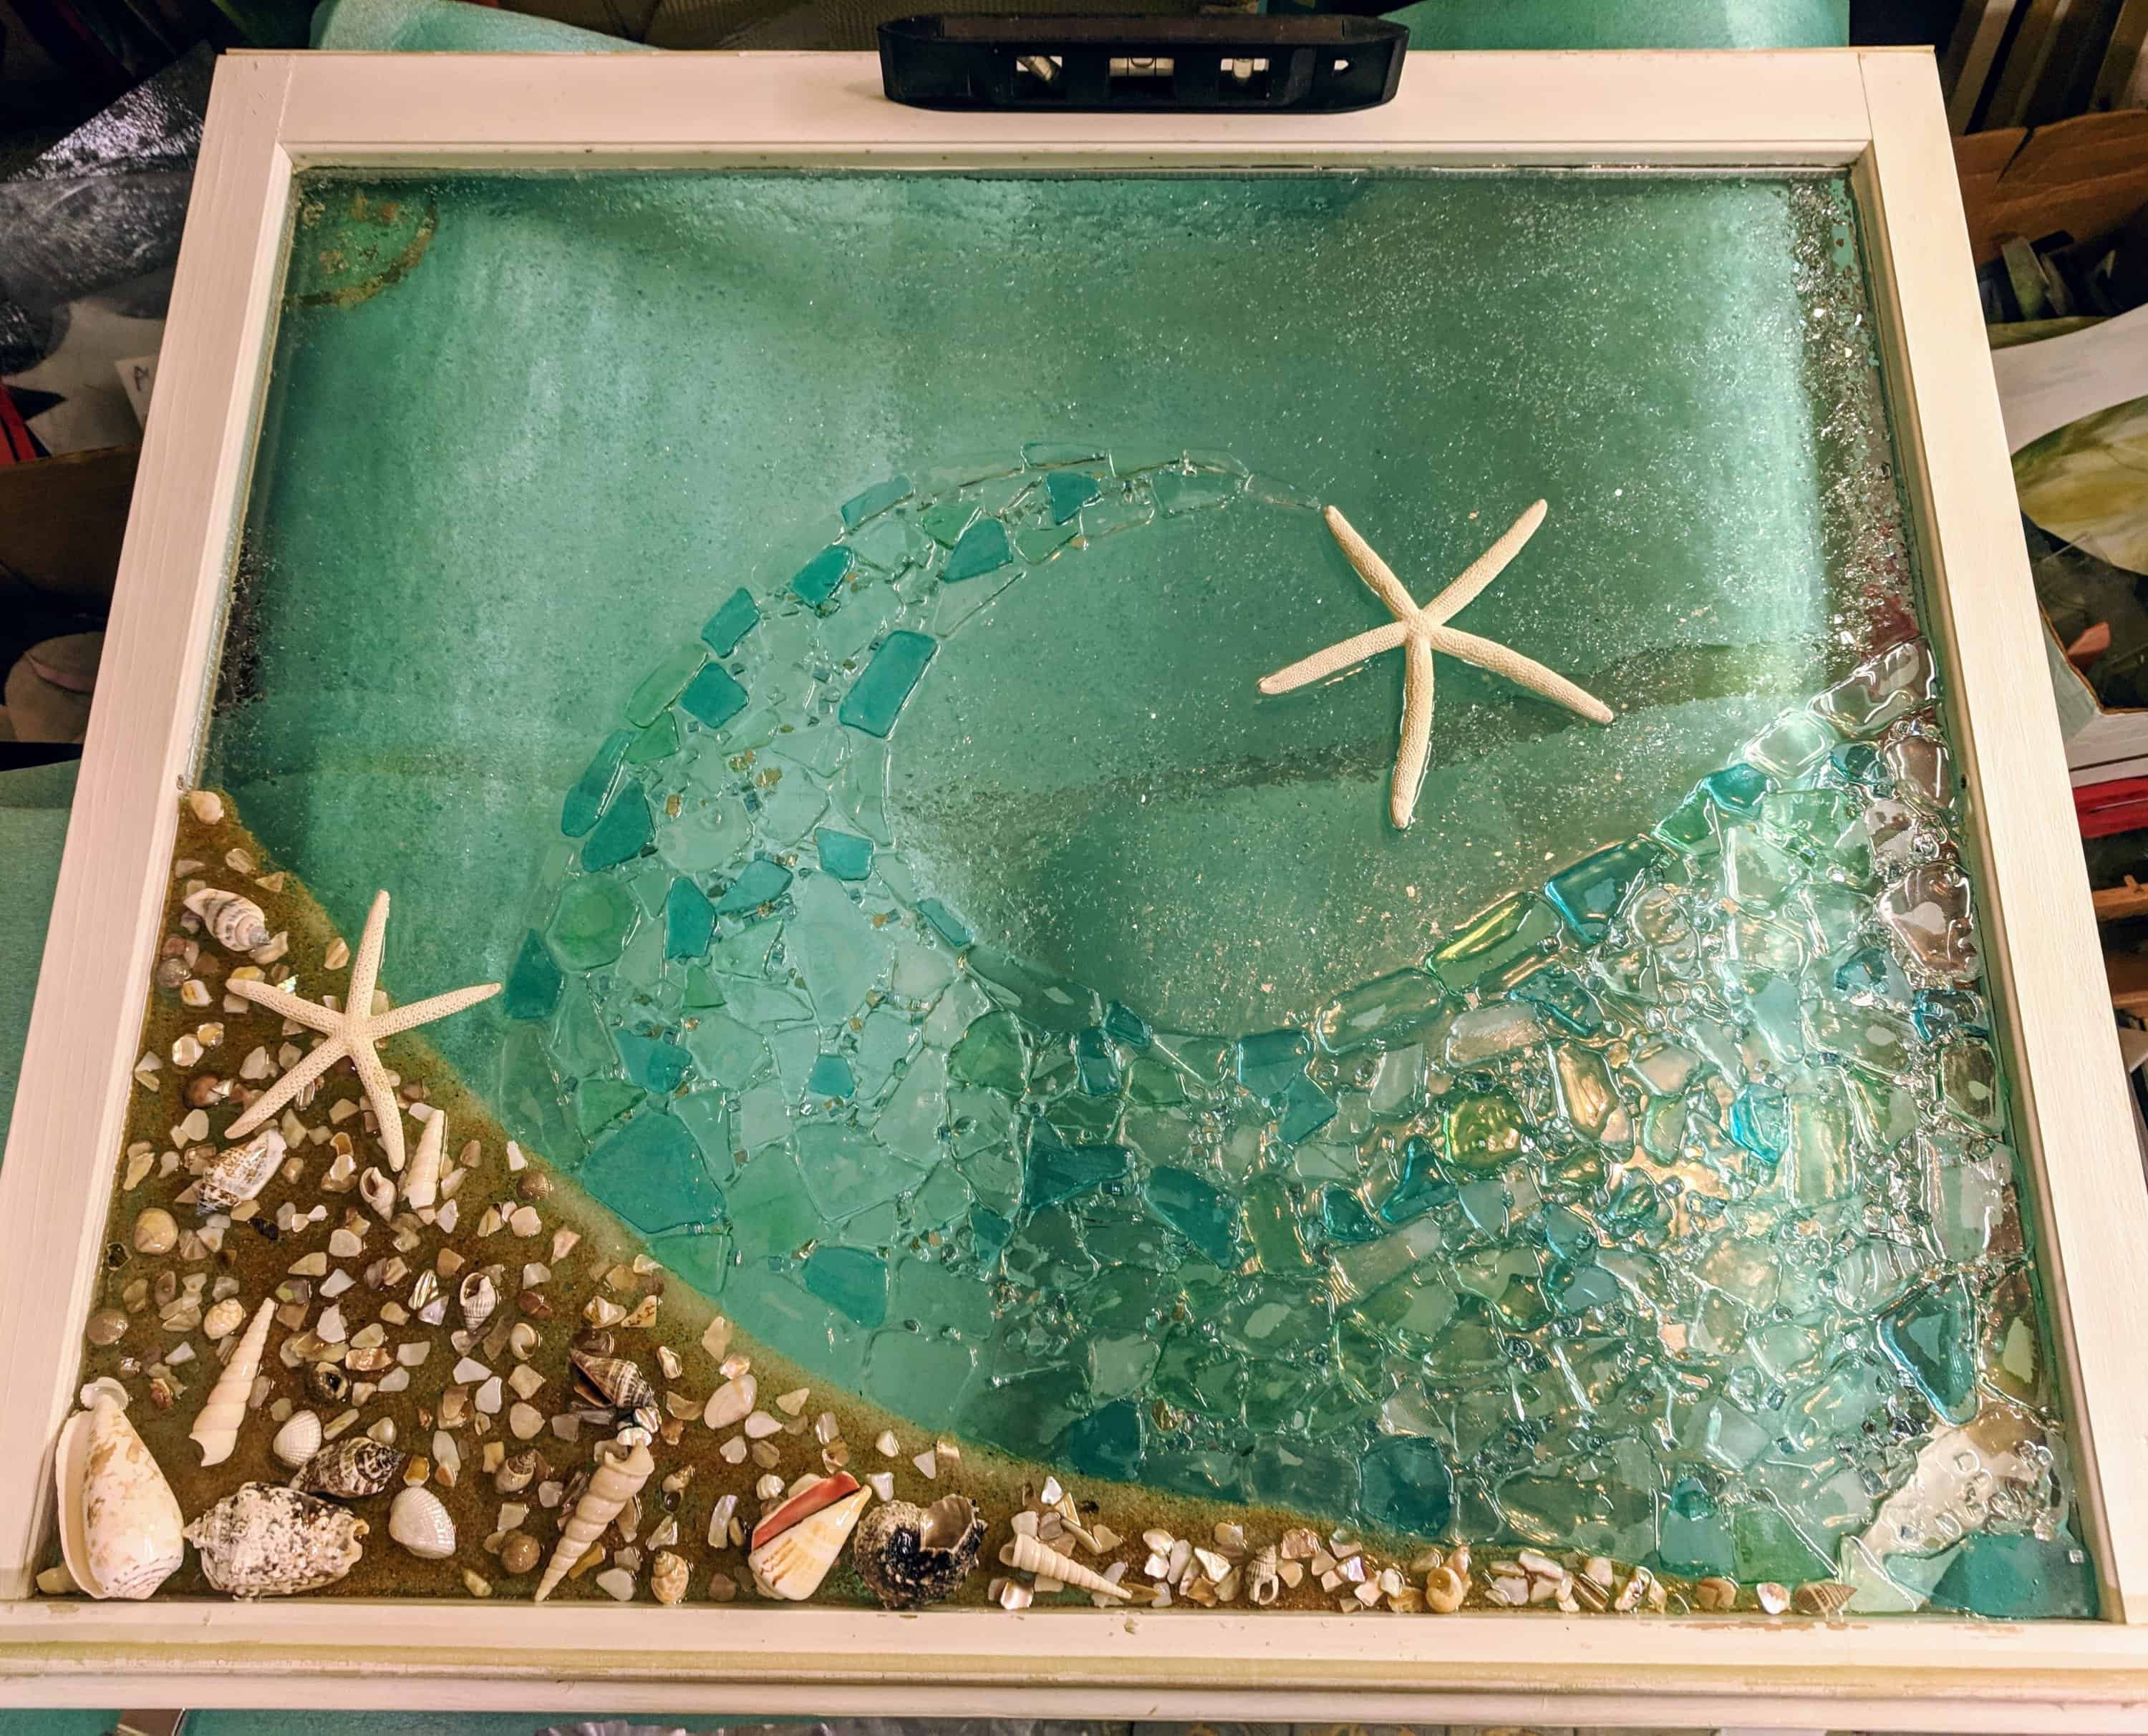
A break for a beach inspired window

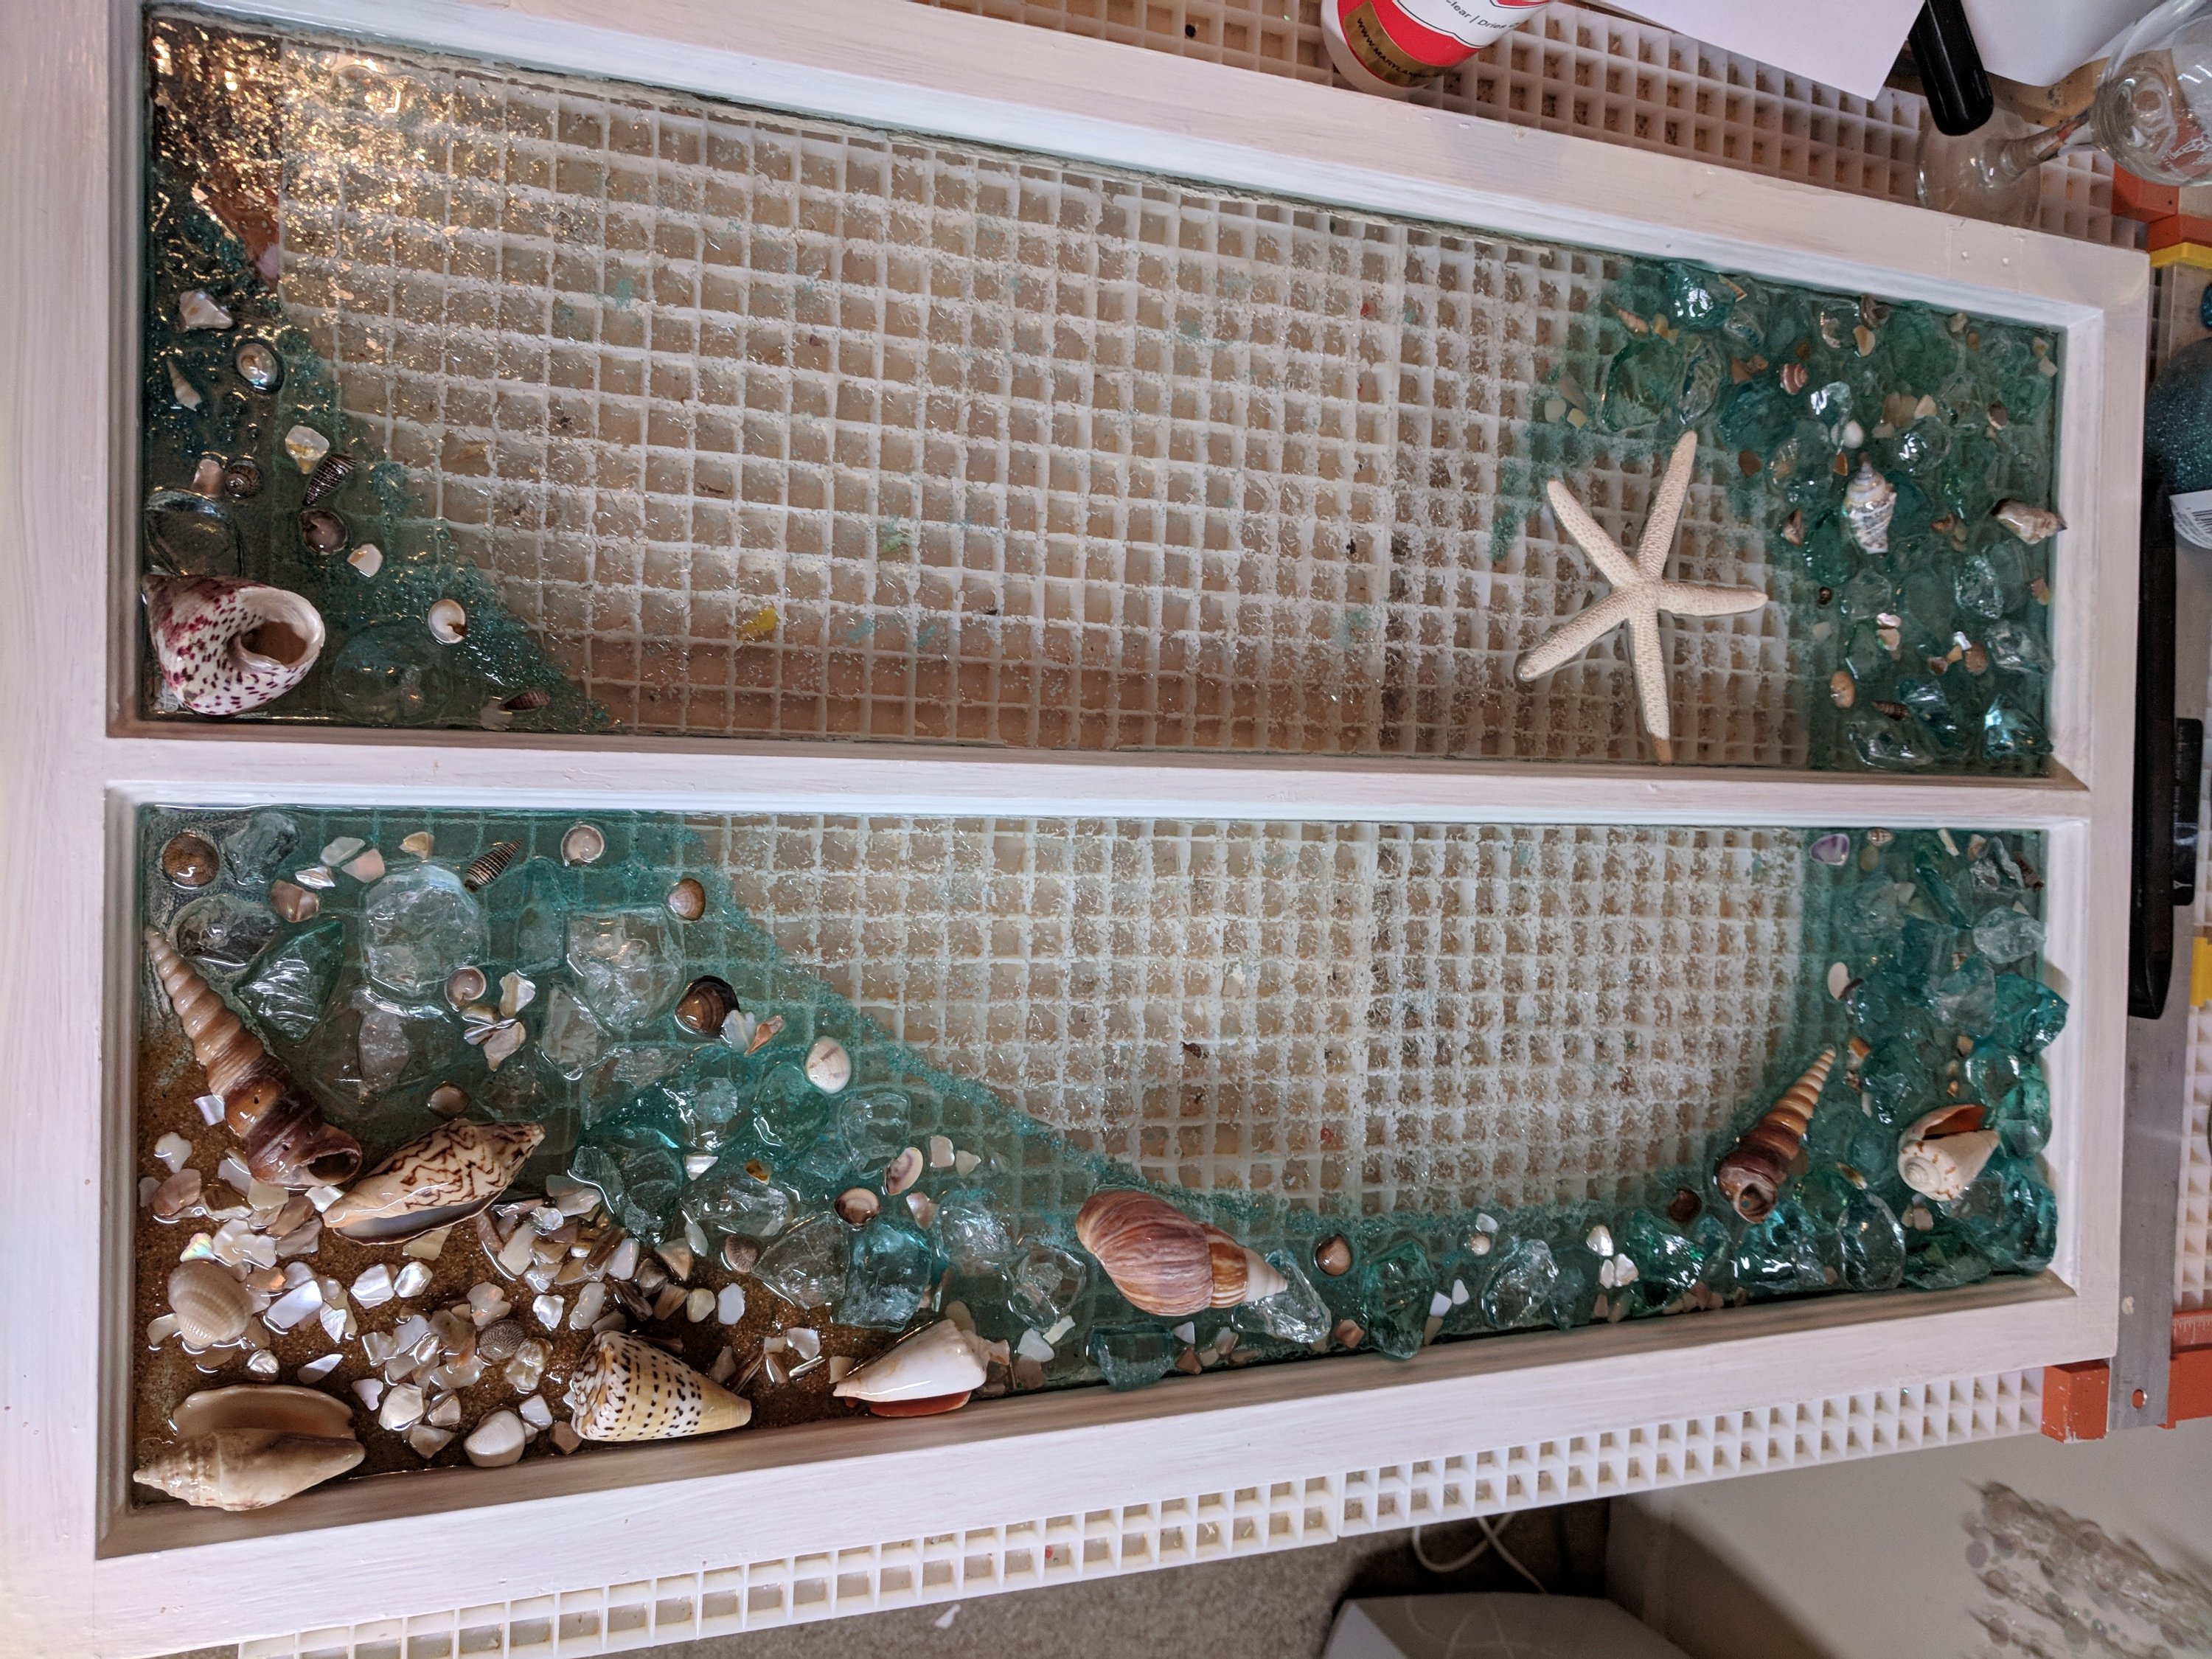
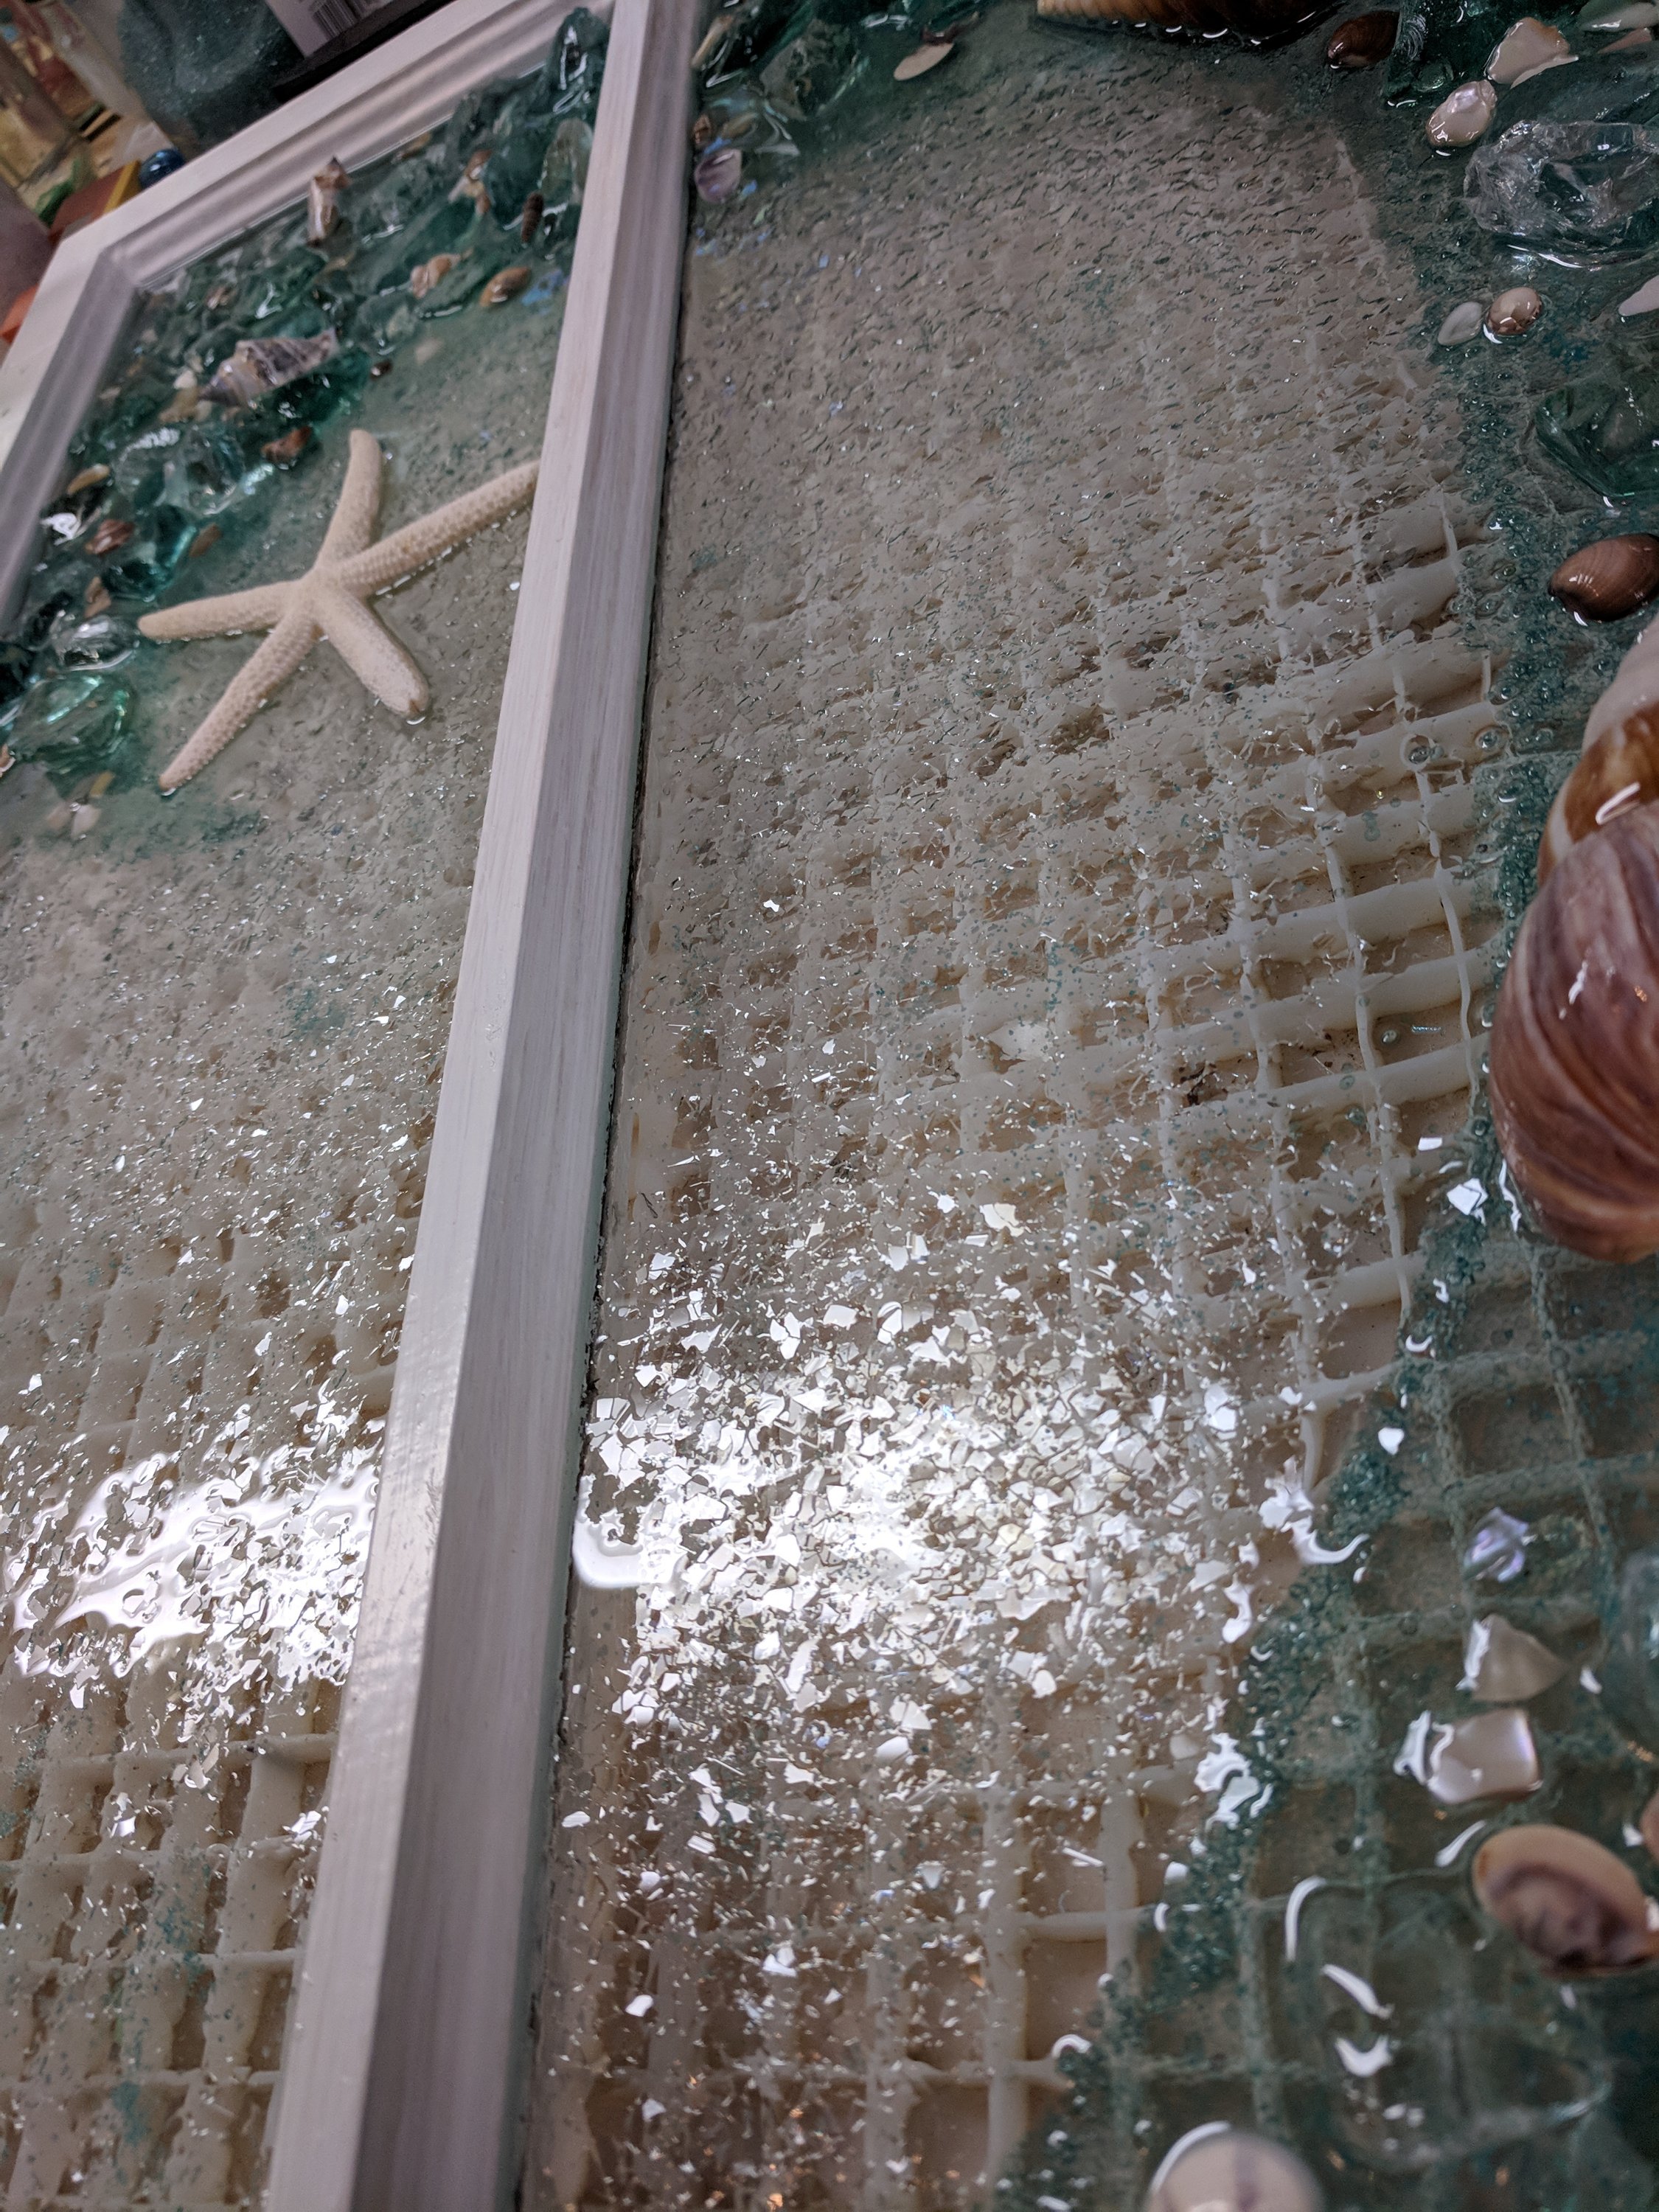
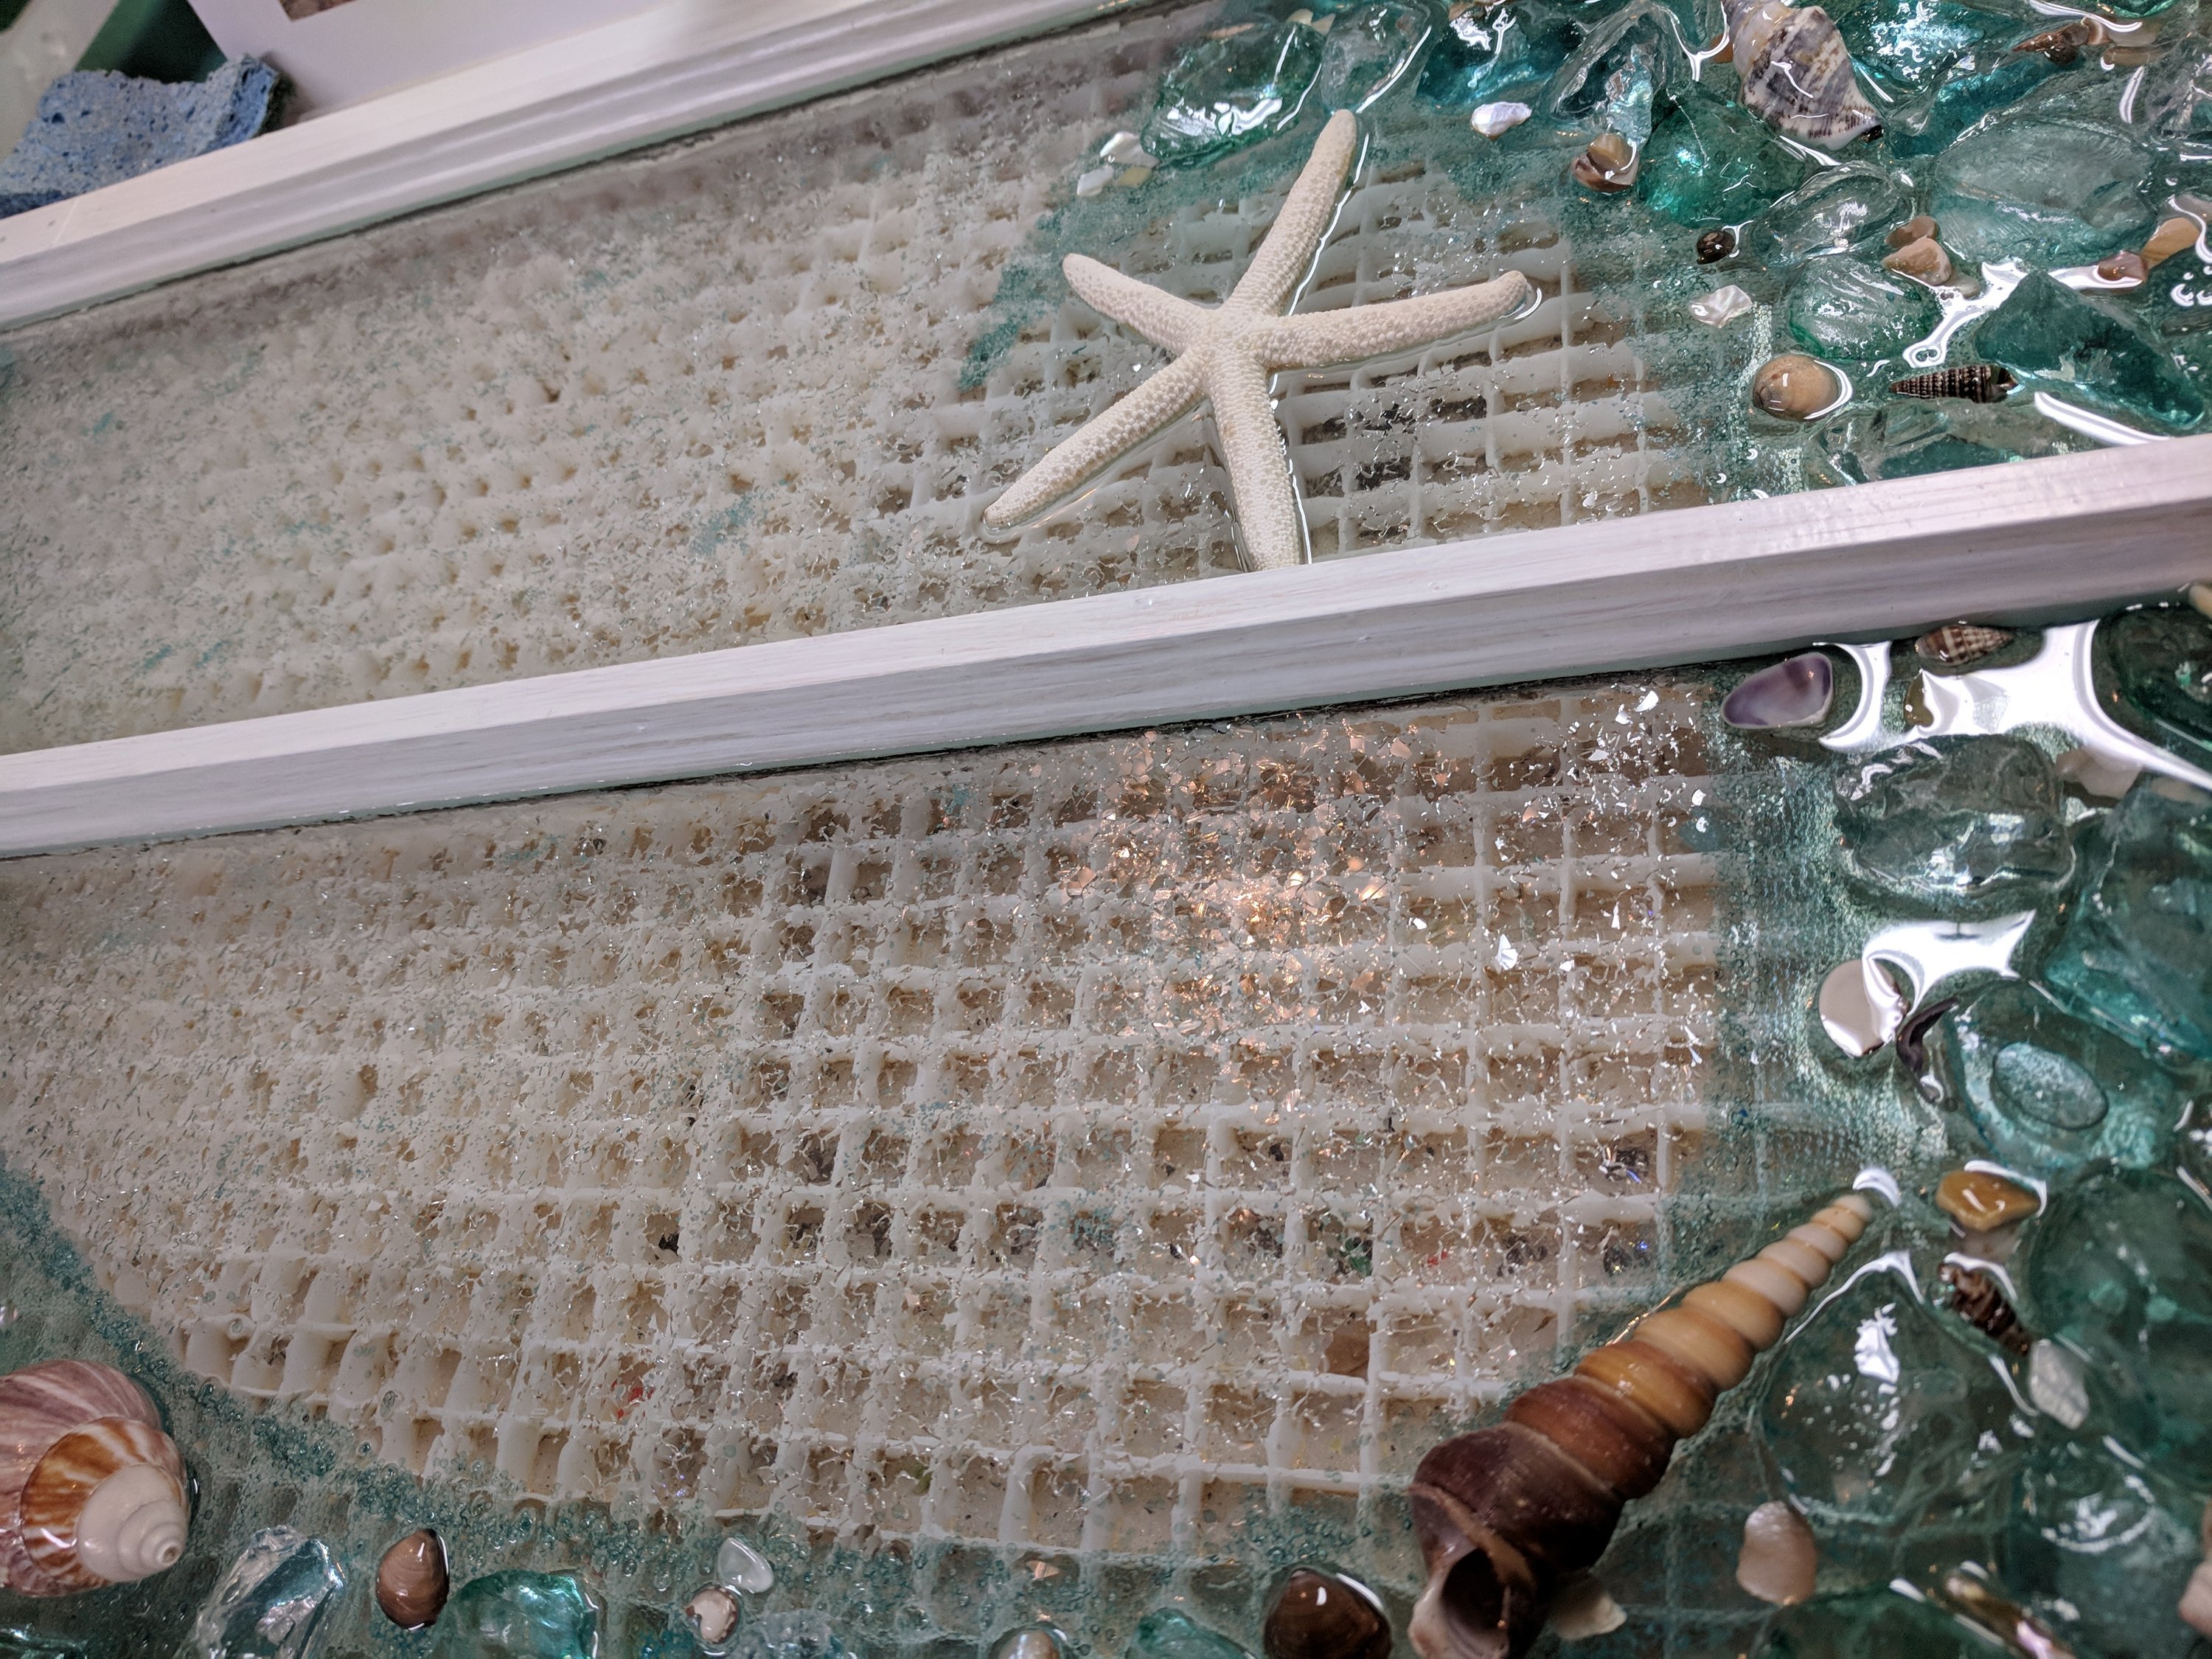
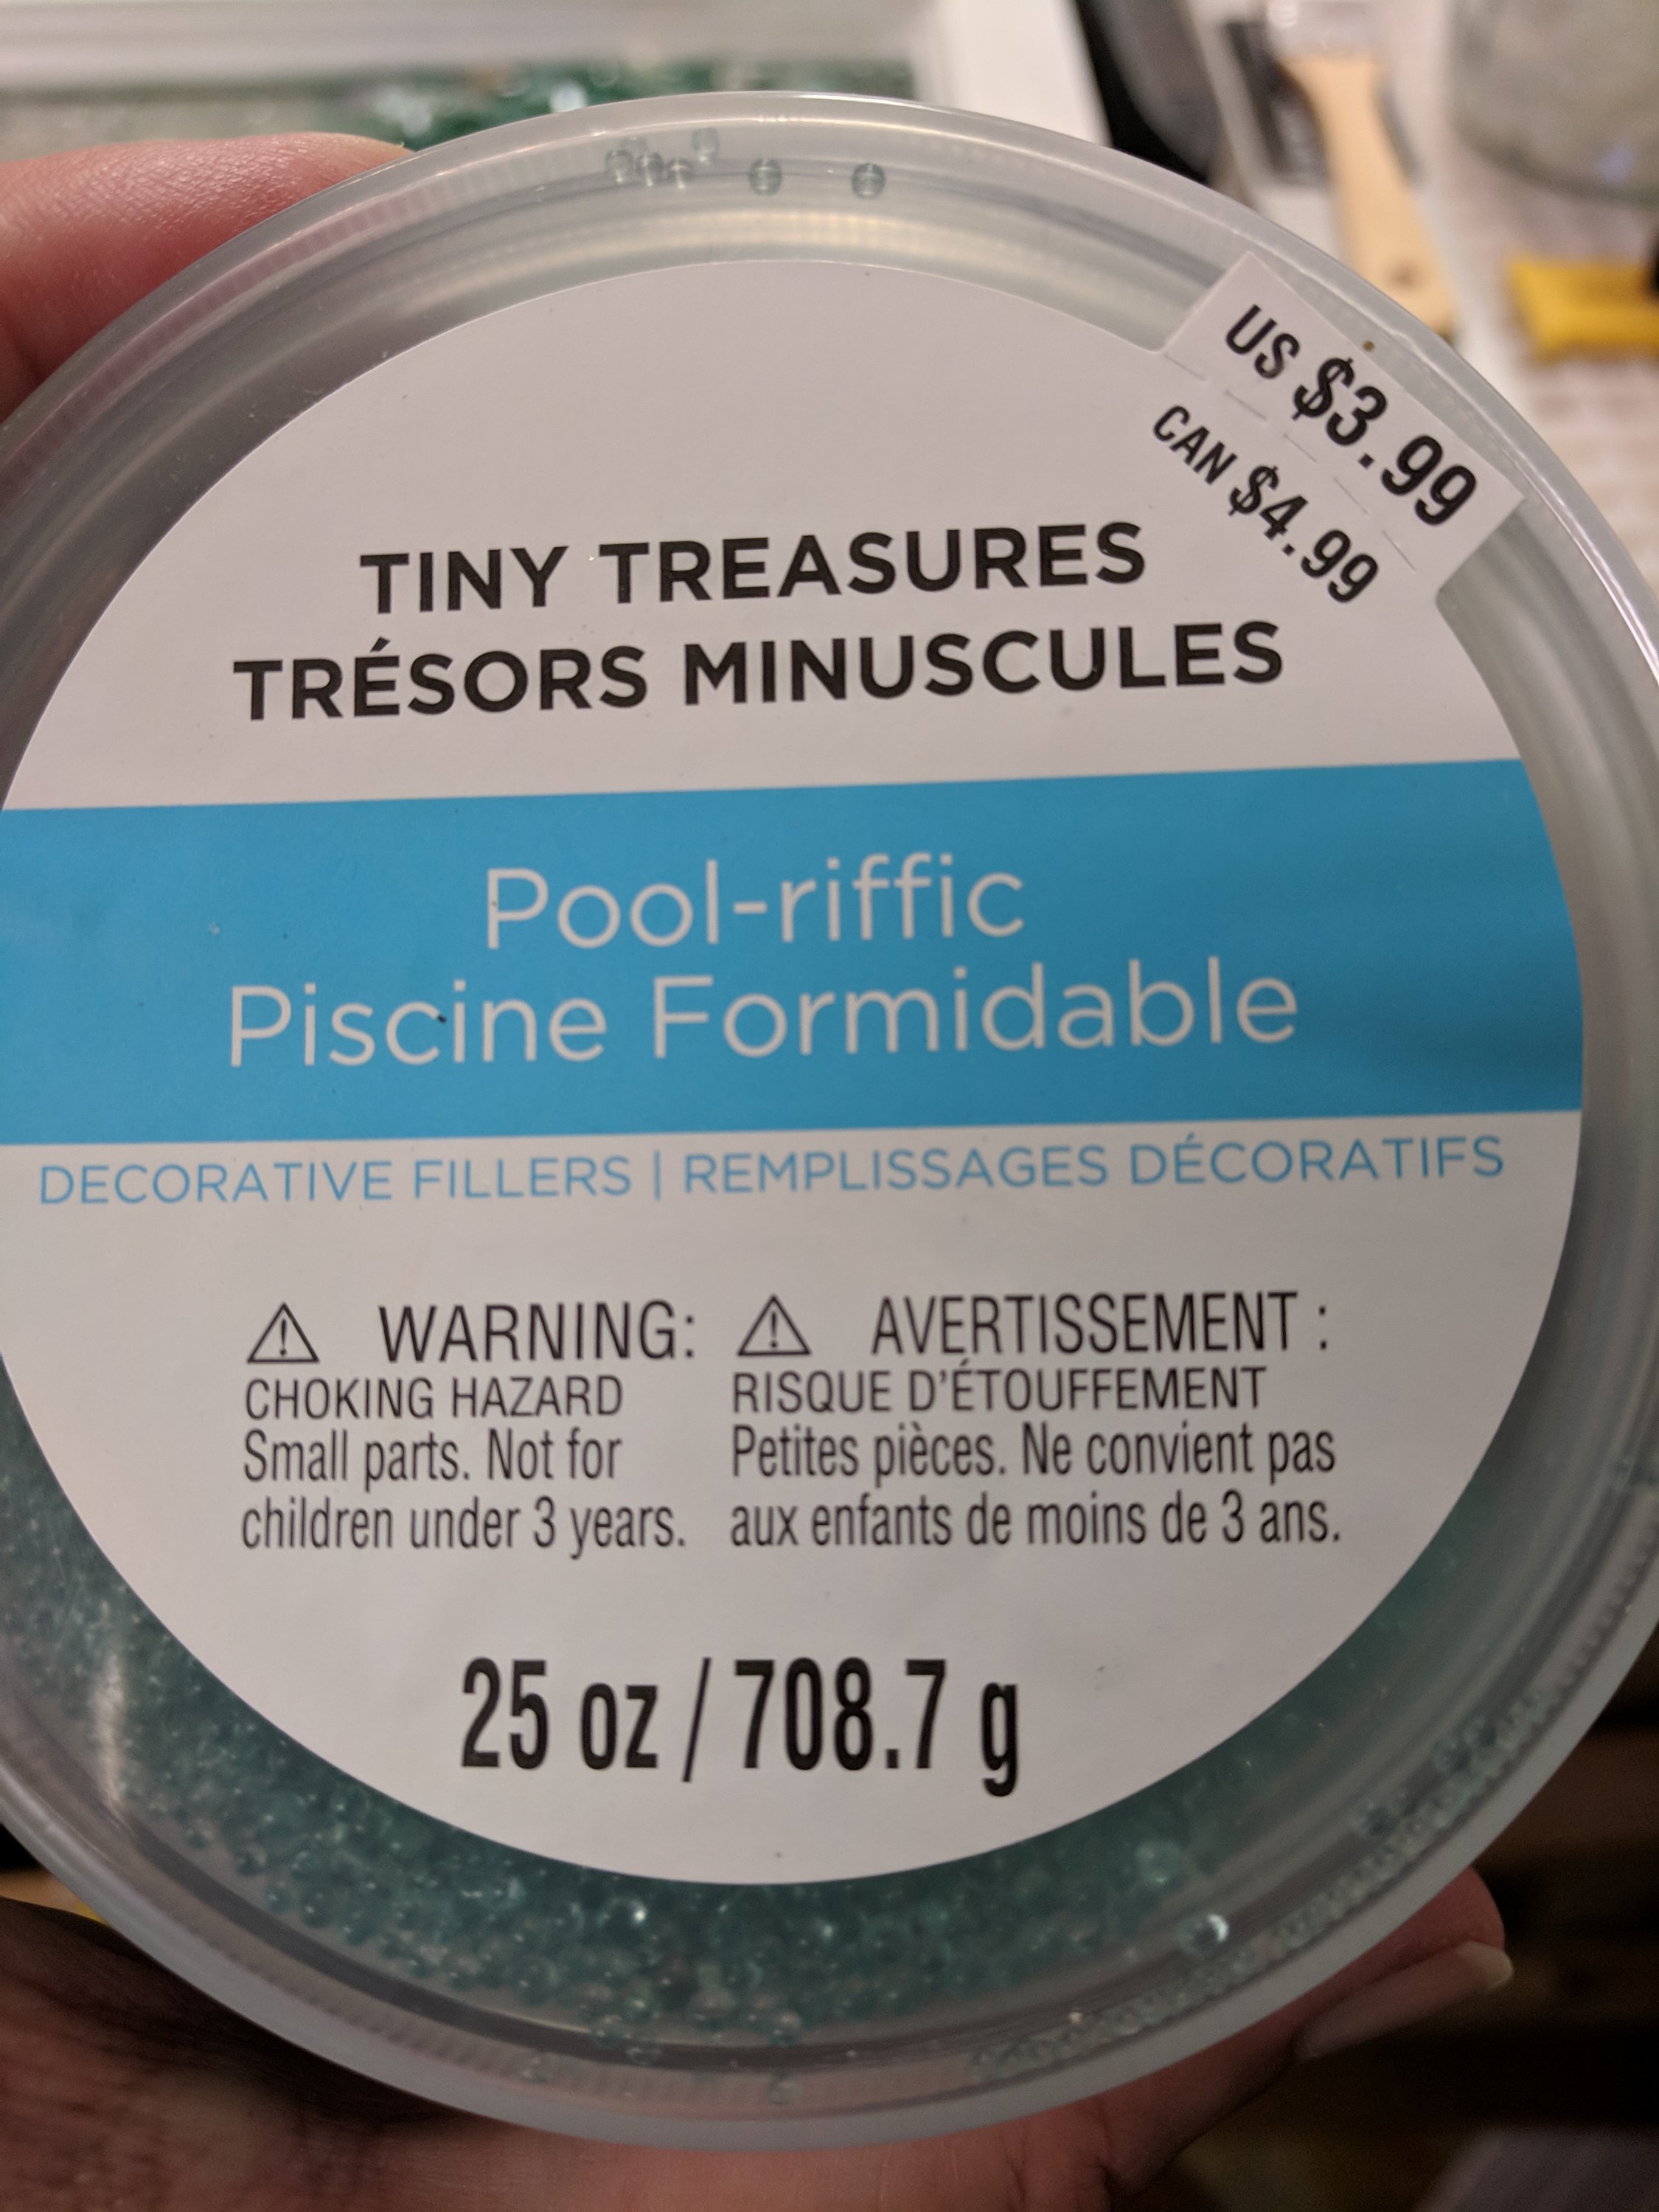
I see these online and decided to try one myself. I used seaglass, shells, sand and “pool-riffic” fillers, along with glass chips for the background. Love this filler for water. I just poured the resin in these photos – now it’s time to keep the bubbles at bay while it dries.