I’ll be at the N. Charleston Farmers Market every Thursday in September and October (weather permitting). Come check out my booth!

Glass of Sherry
I’ll be at the N. Charleston Farmers Market every Thursday in September and October (weather permitting). Come check out my booth!
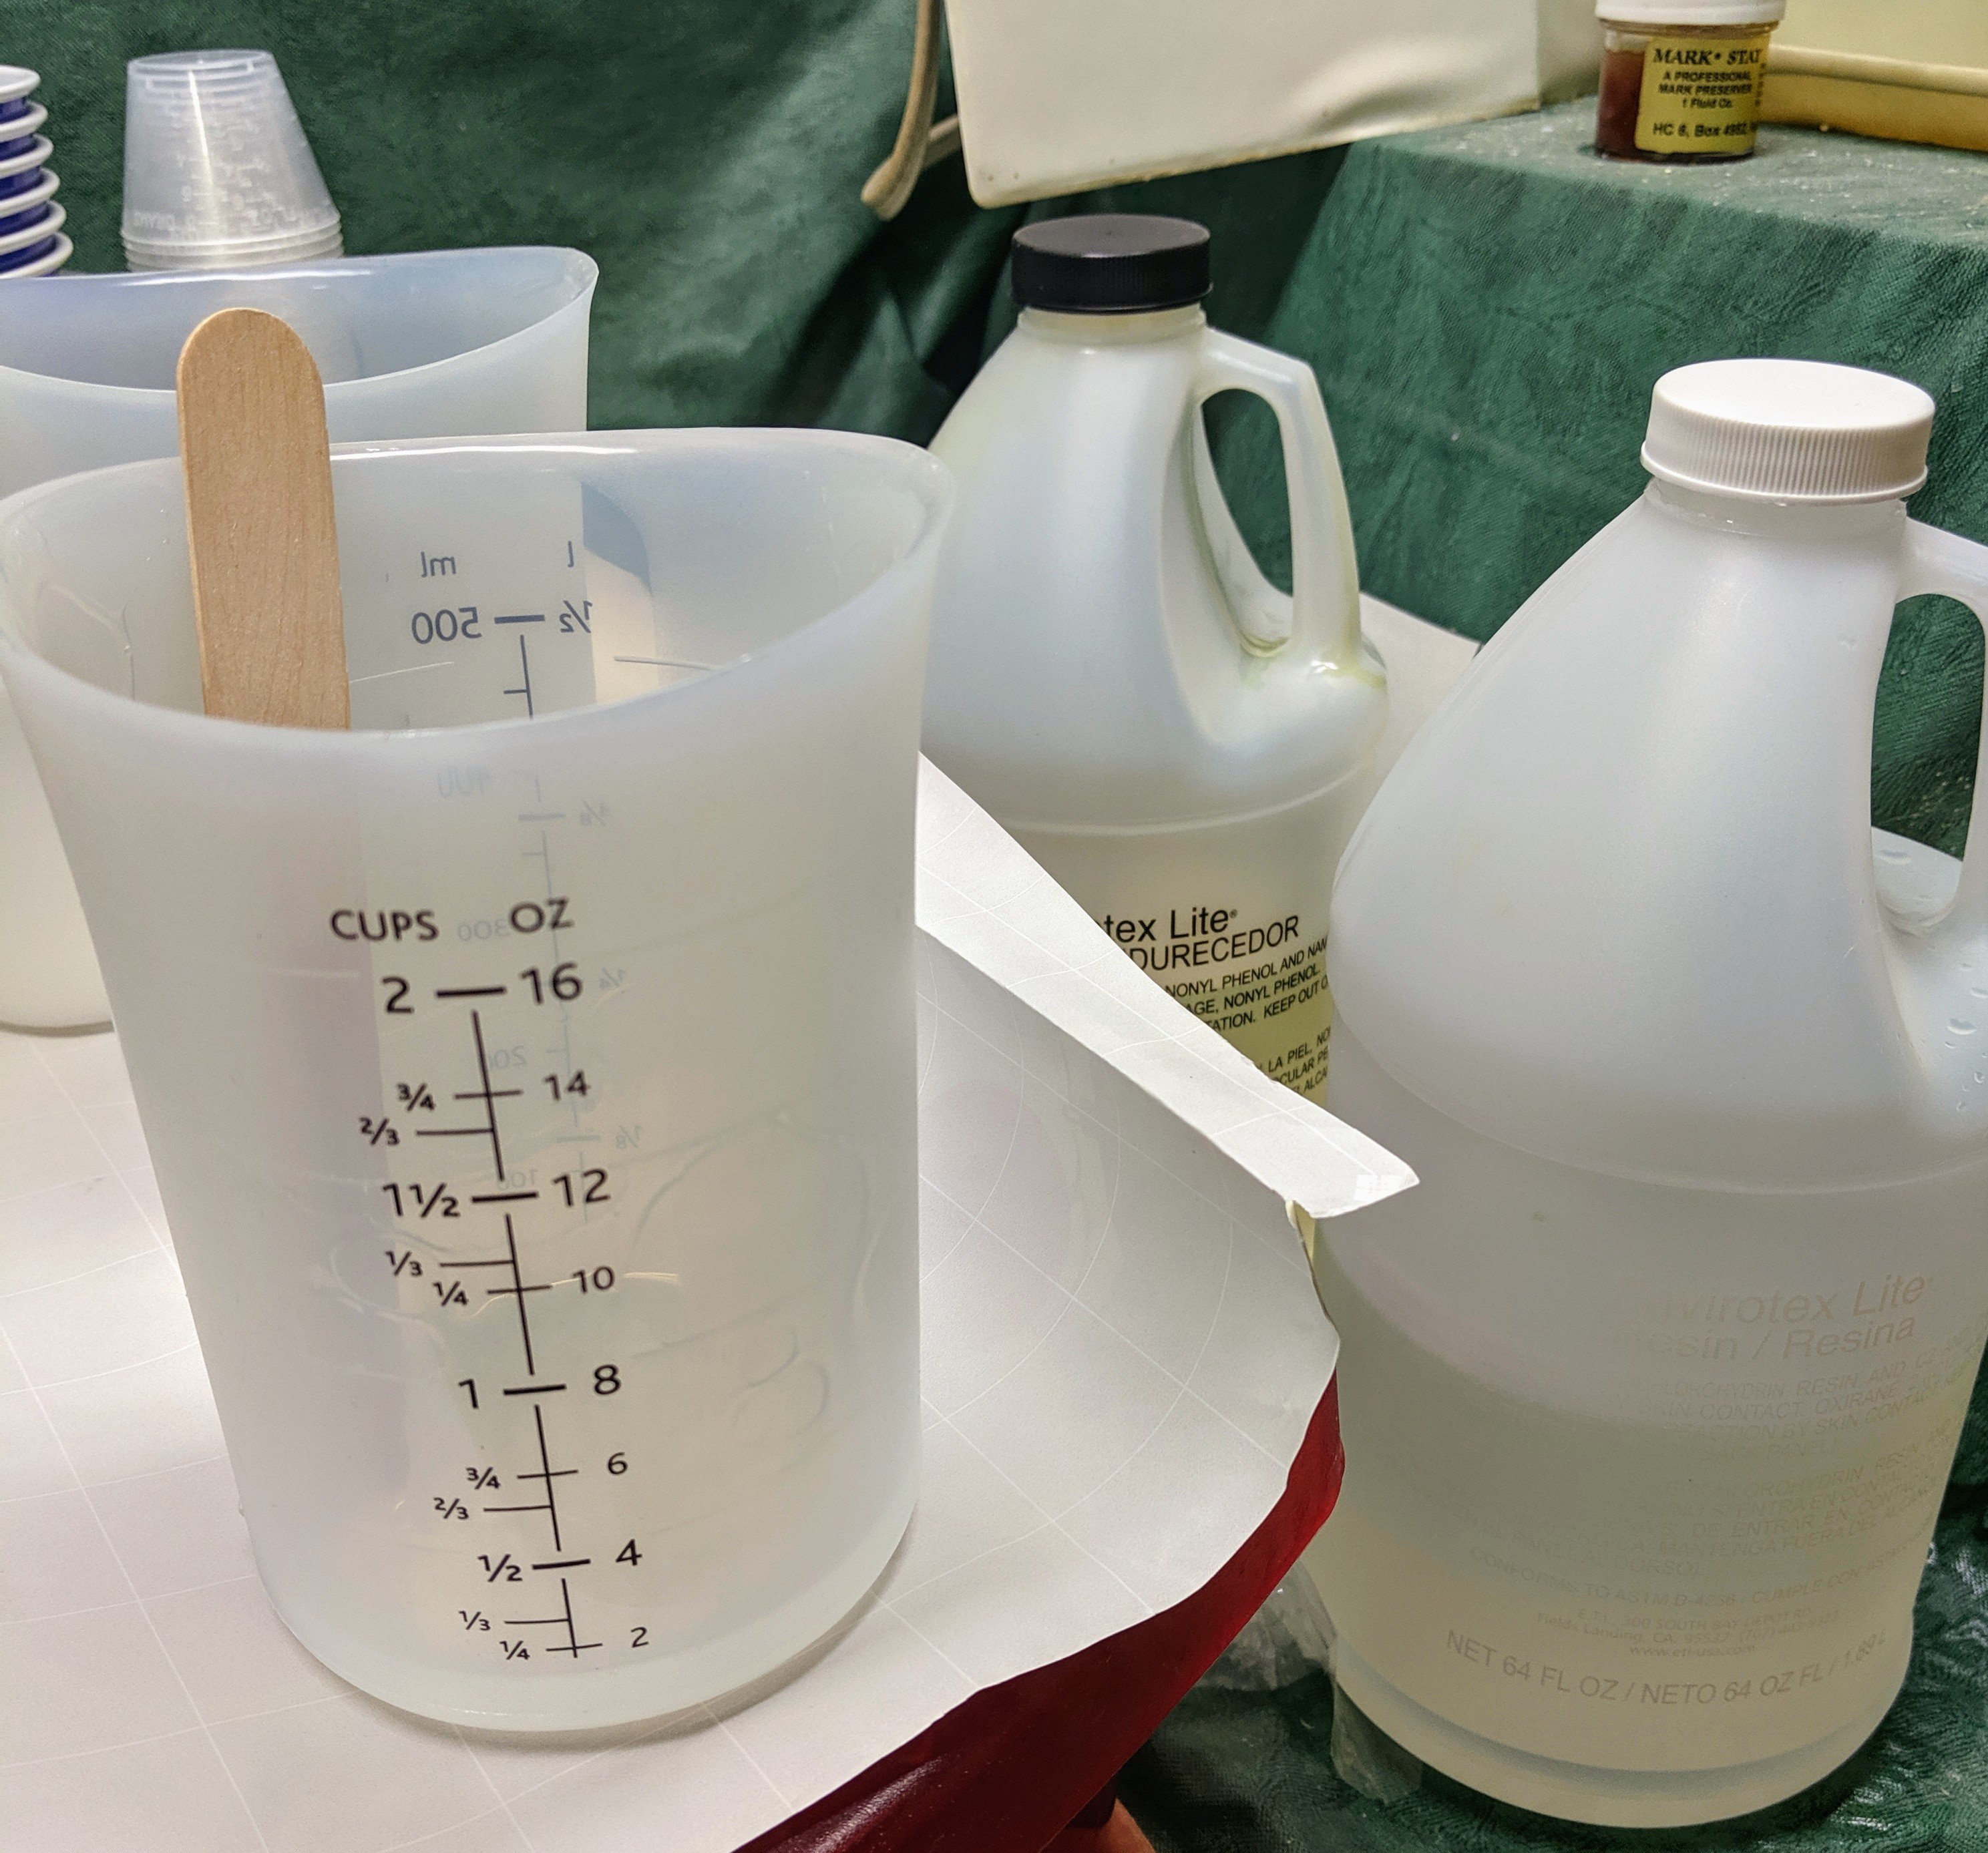
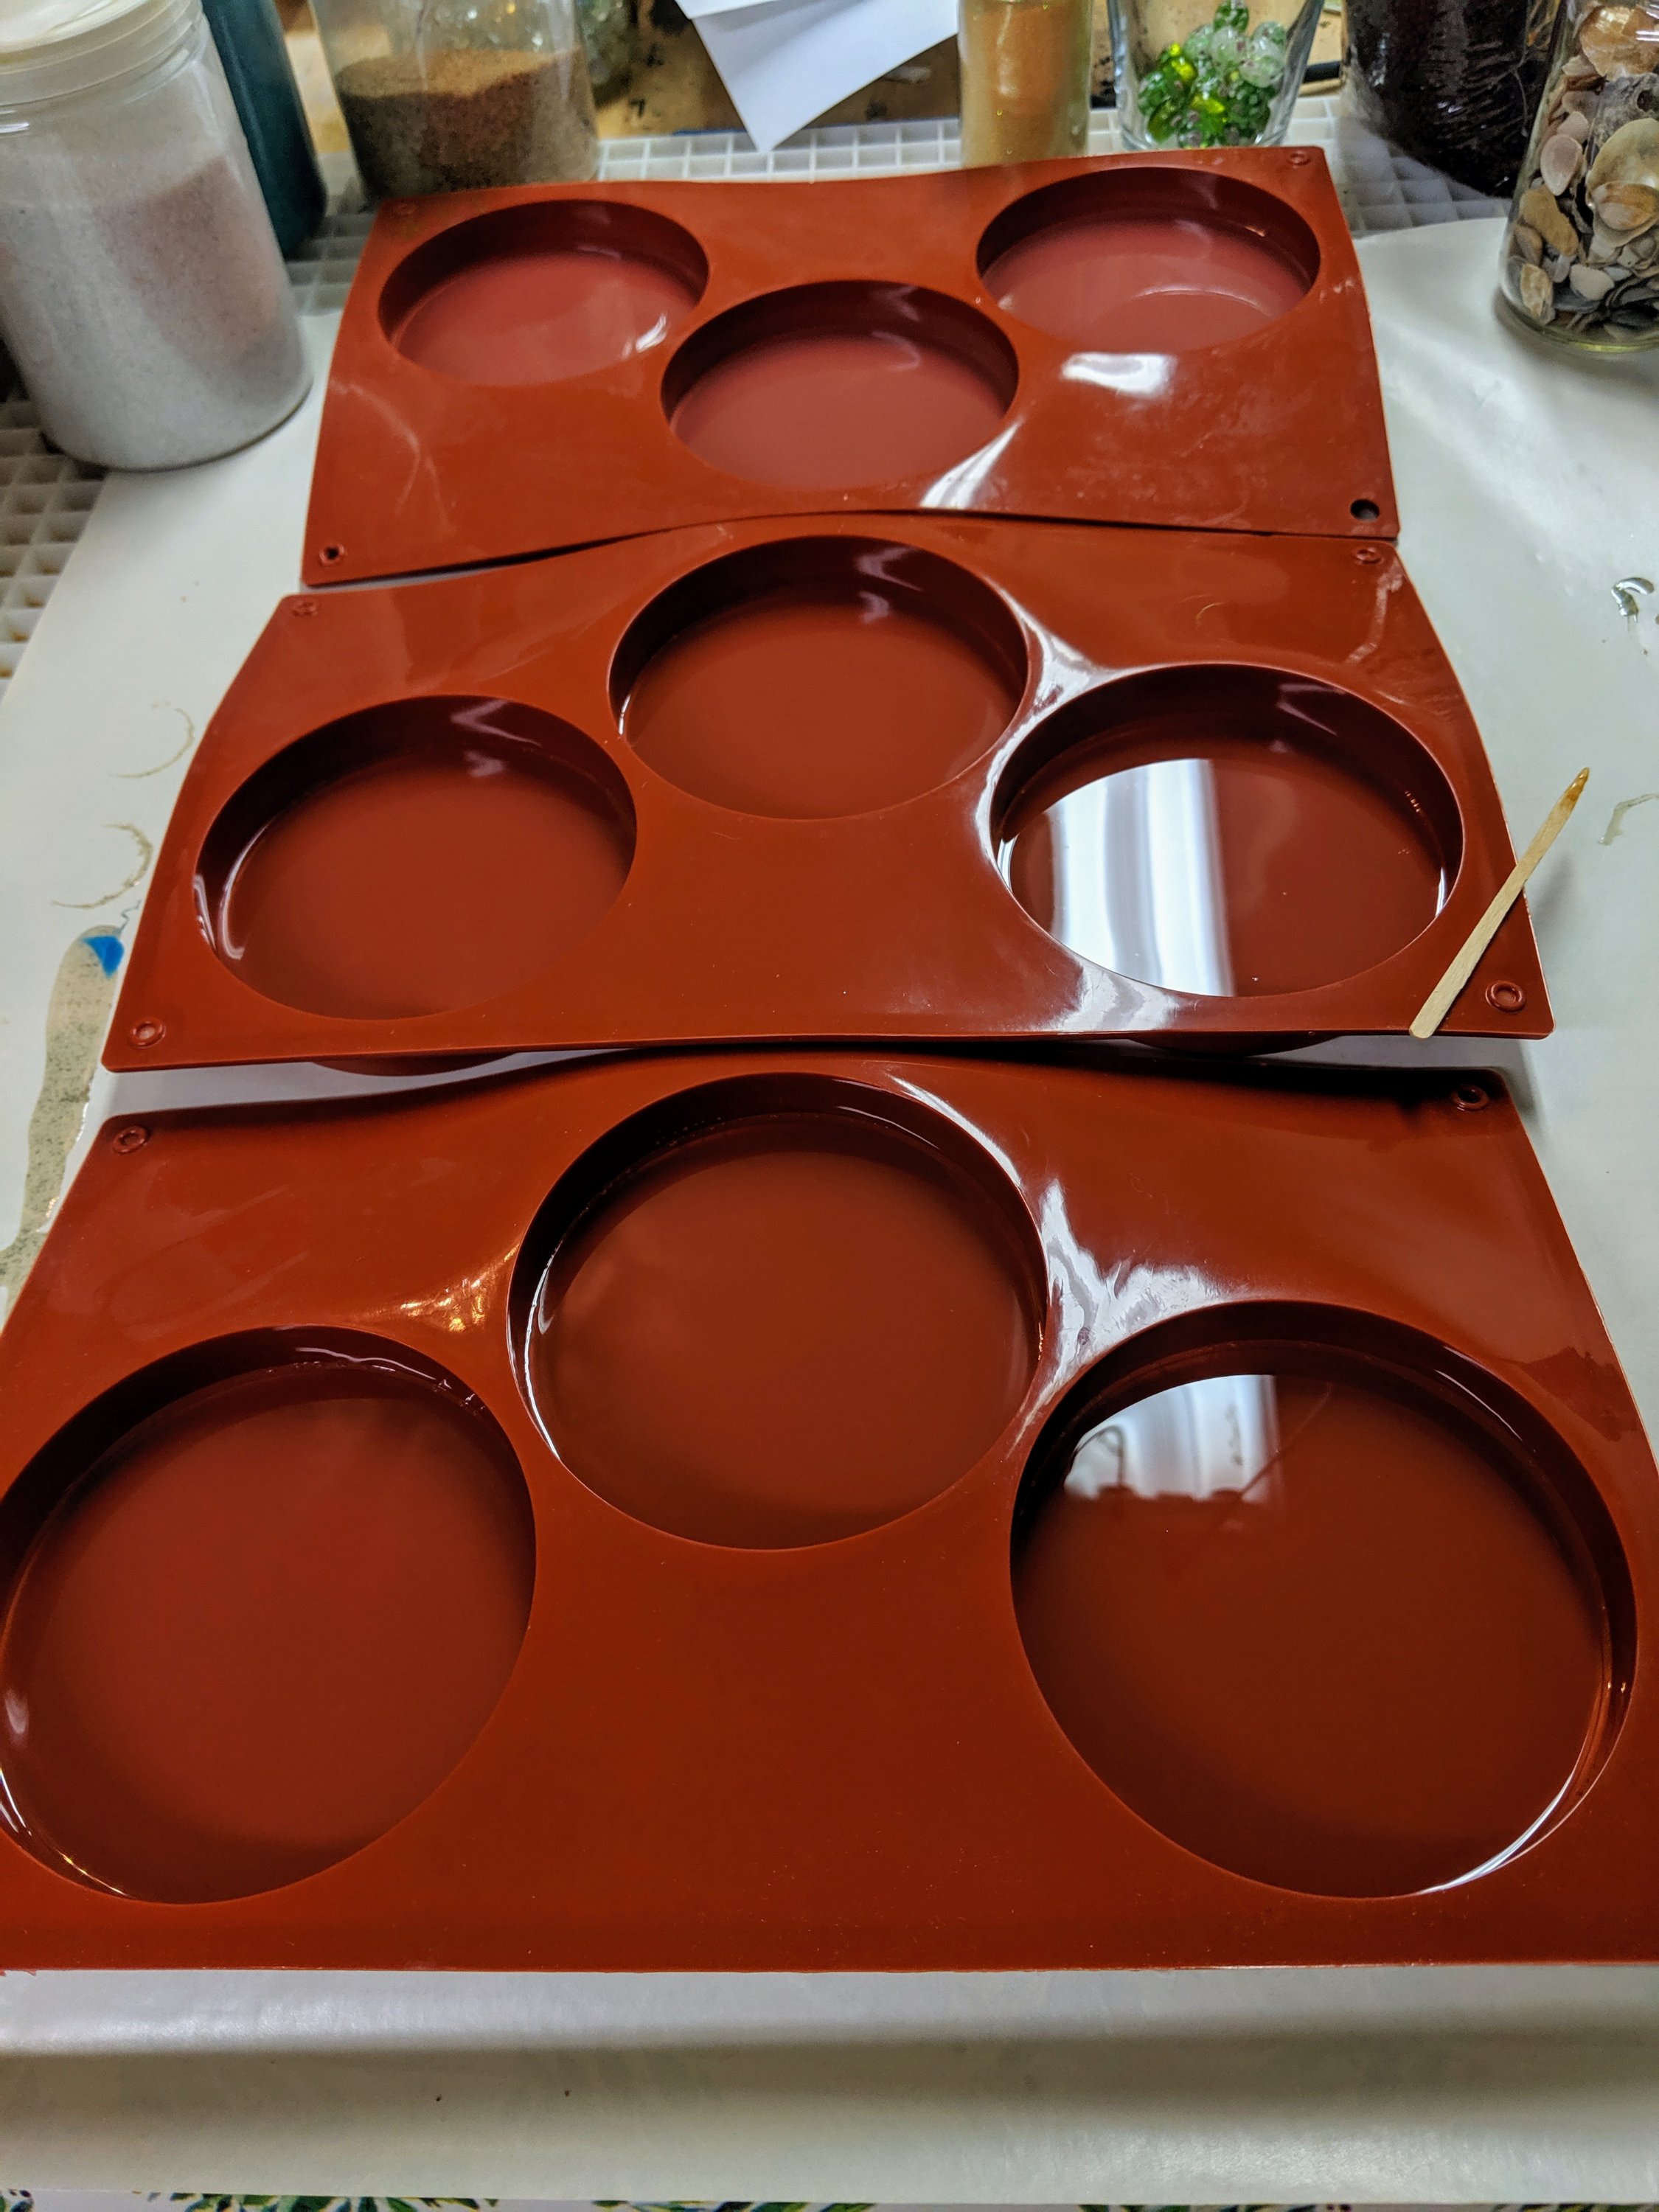
Today is a prep day. I have to do a little cleanup / painting on this window frame, clean up my resin measuring cups and pour a base layer of resin in my next batch of coasters before I can do the fun, creative part.

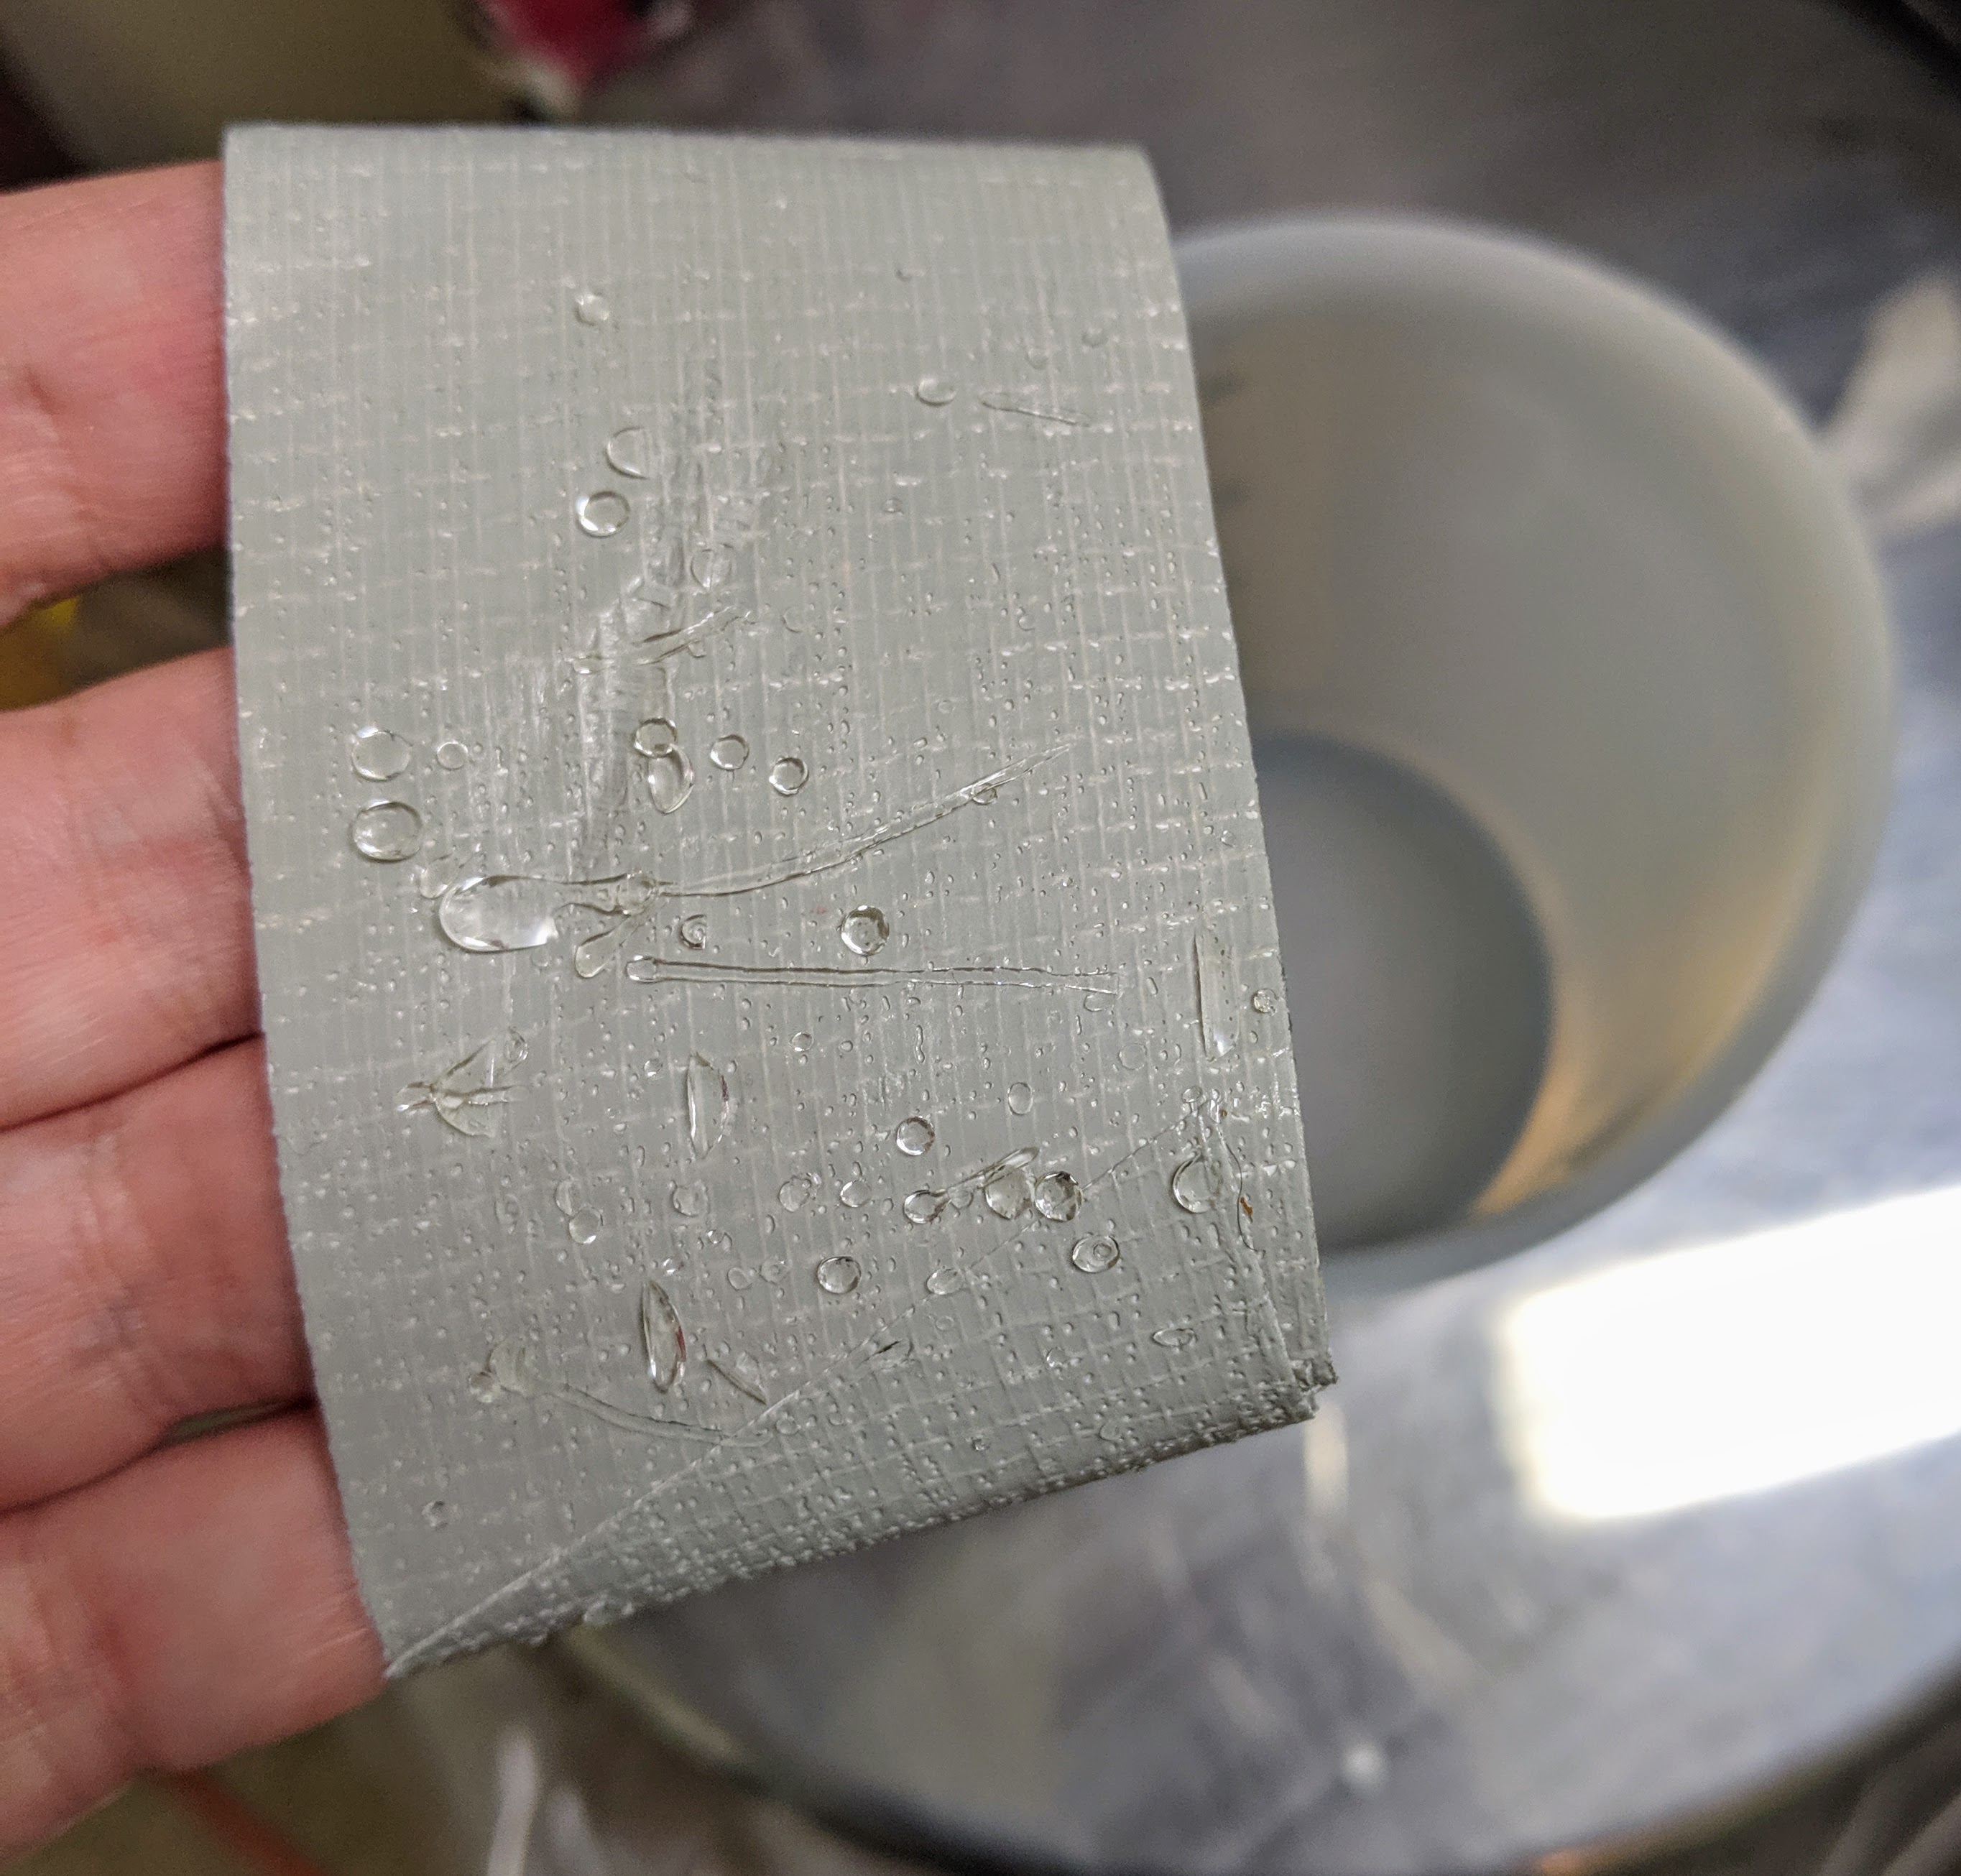
When I started using resin, I used disposable cups for measuring. That seemed wasteful, so I switched over to these silicone cups that I can clean and reuse indefinitely.
When I’m done pouring the resin, I just leave the stir stick in place to dry for a day or two. Once the resin cures, it is easy to just pull the stick out of the cup, bringing with it any leftover resin in the bottom.
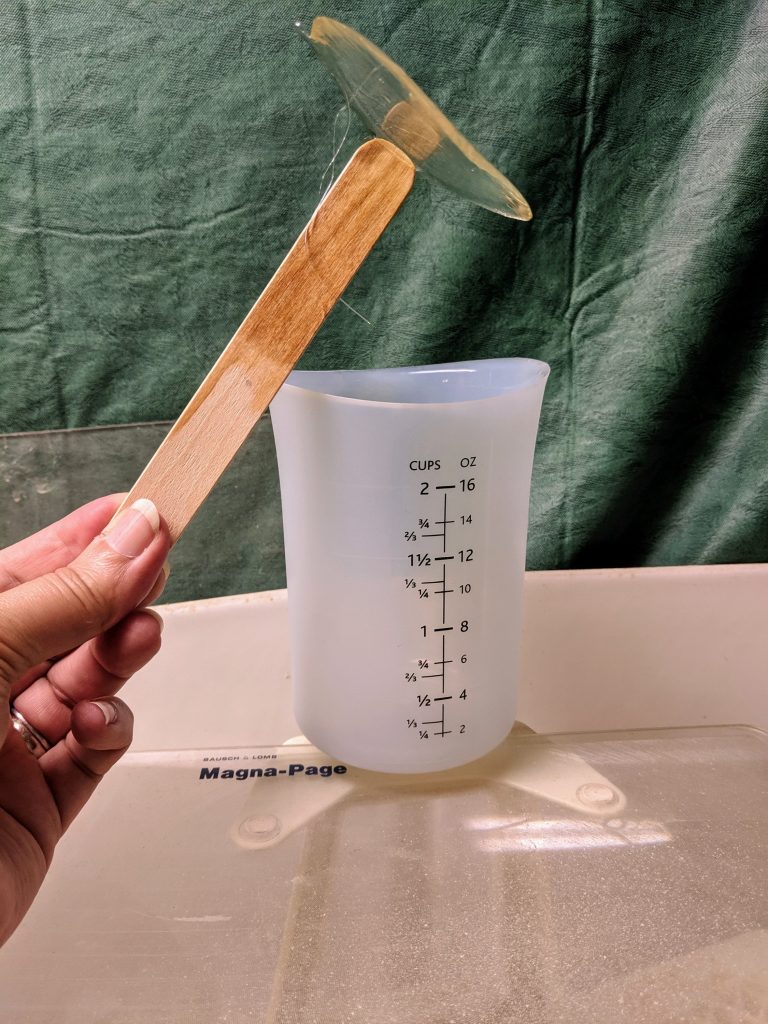
I then cut off enough duct tape to fit two fingers in and use it to pick up the rest of the cured resin from the inside of the measuring cup. It comes right off and leaves a nice, clean, ready to use surface.

In the above photo, you can see the little drops of cured resin stuck to the sides of the silicone measuring cup. Below is how it looks when I use the duct tape to remove the drops from the cup.
I decided to pour another base layer of coasters while I was at it. Now I just have to wait for the paint to dry and the resin to cure before I can continue.
![]() Stained glass mounted on plain clear glass, set in resin with clear glass chips in the background. It required a lot of “tending” when I poured the resin because it had no frame to keep the resin from dripping over the sides. Basically I had to hang around while the resin set and periodically sponge the drips off of the bottom. I watched some videos on YouTube where some people put tape on the underside and others just used a razor blade to shave the drips off after it set, but I found this to be effective, as well. Now it is installed in a transom window.
Stained glass mounted on plain clear glass, set in resin with clear glass chips in the background. It required a lot of “tending” when I poured the resin because it had no frame to keep the resin from dripping over the sides. Basically I had to hang around while the resin set and periodically sponge the drips off of the bottom. I watched some videos on YouTube where some people put tape on the underside and others just used a razor blade to shave the drips off after it set, but I found this to be effective, as well. Now it is installed in a transom window.
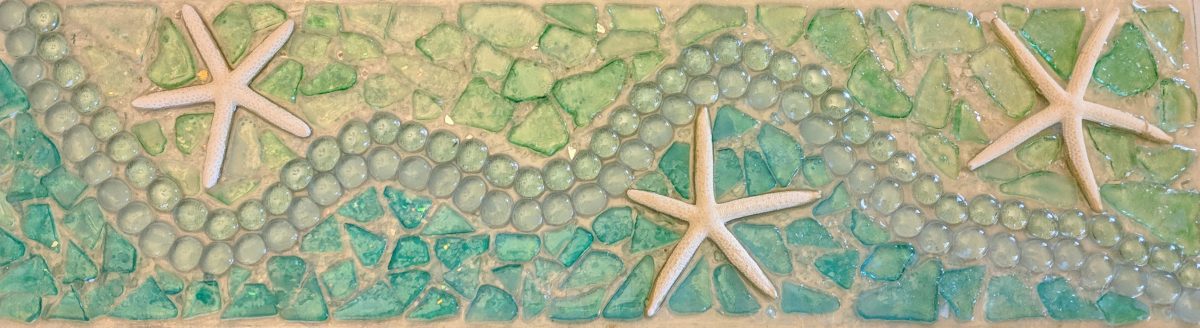
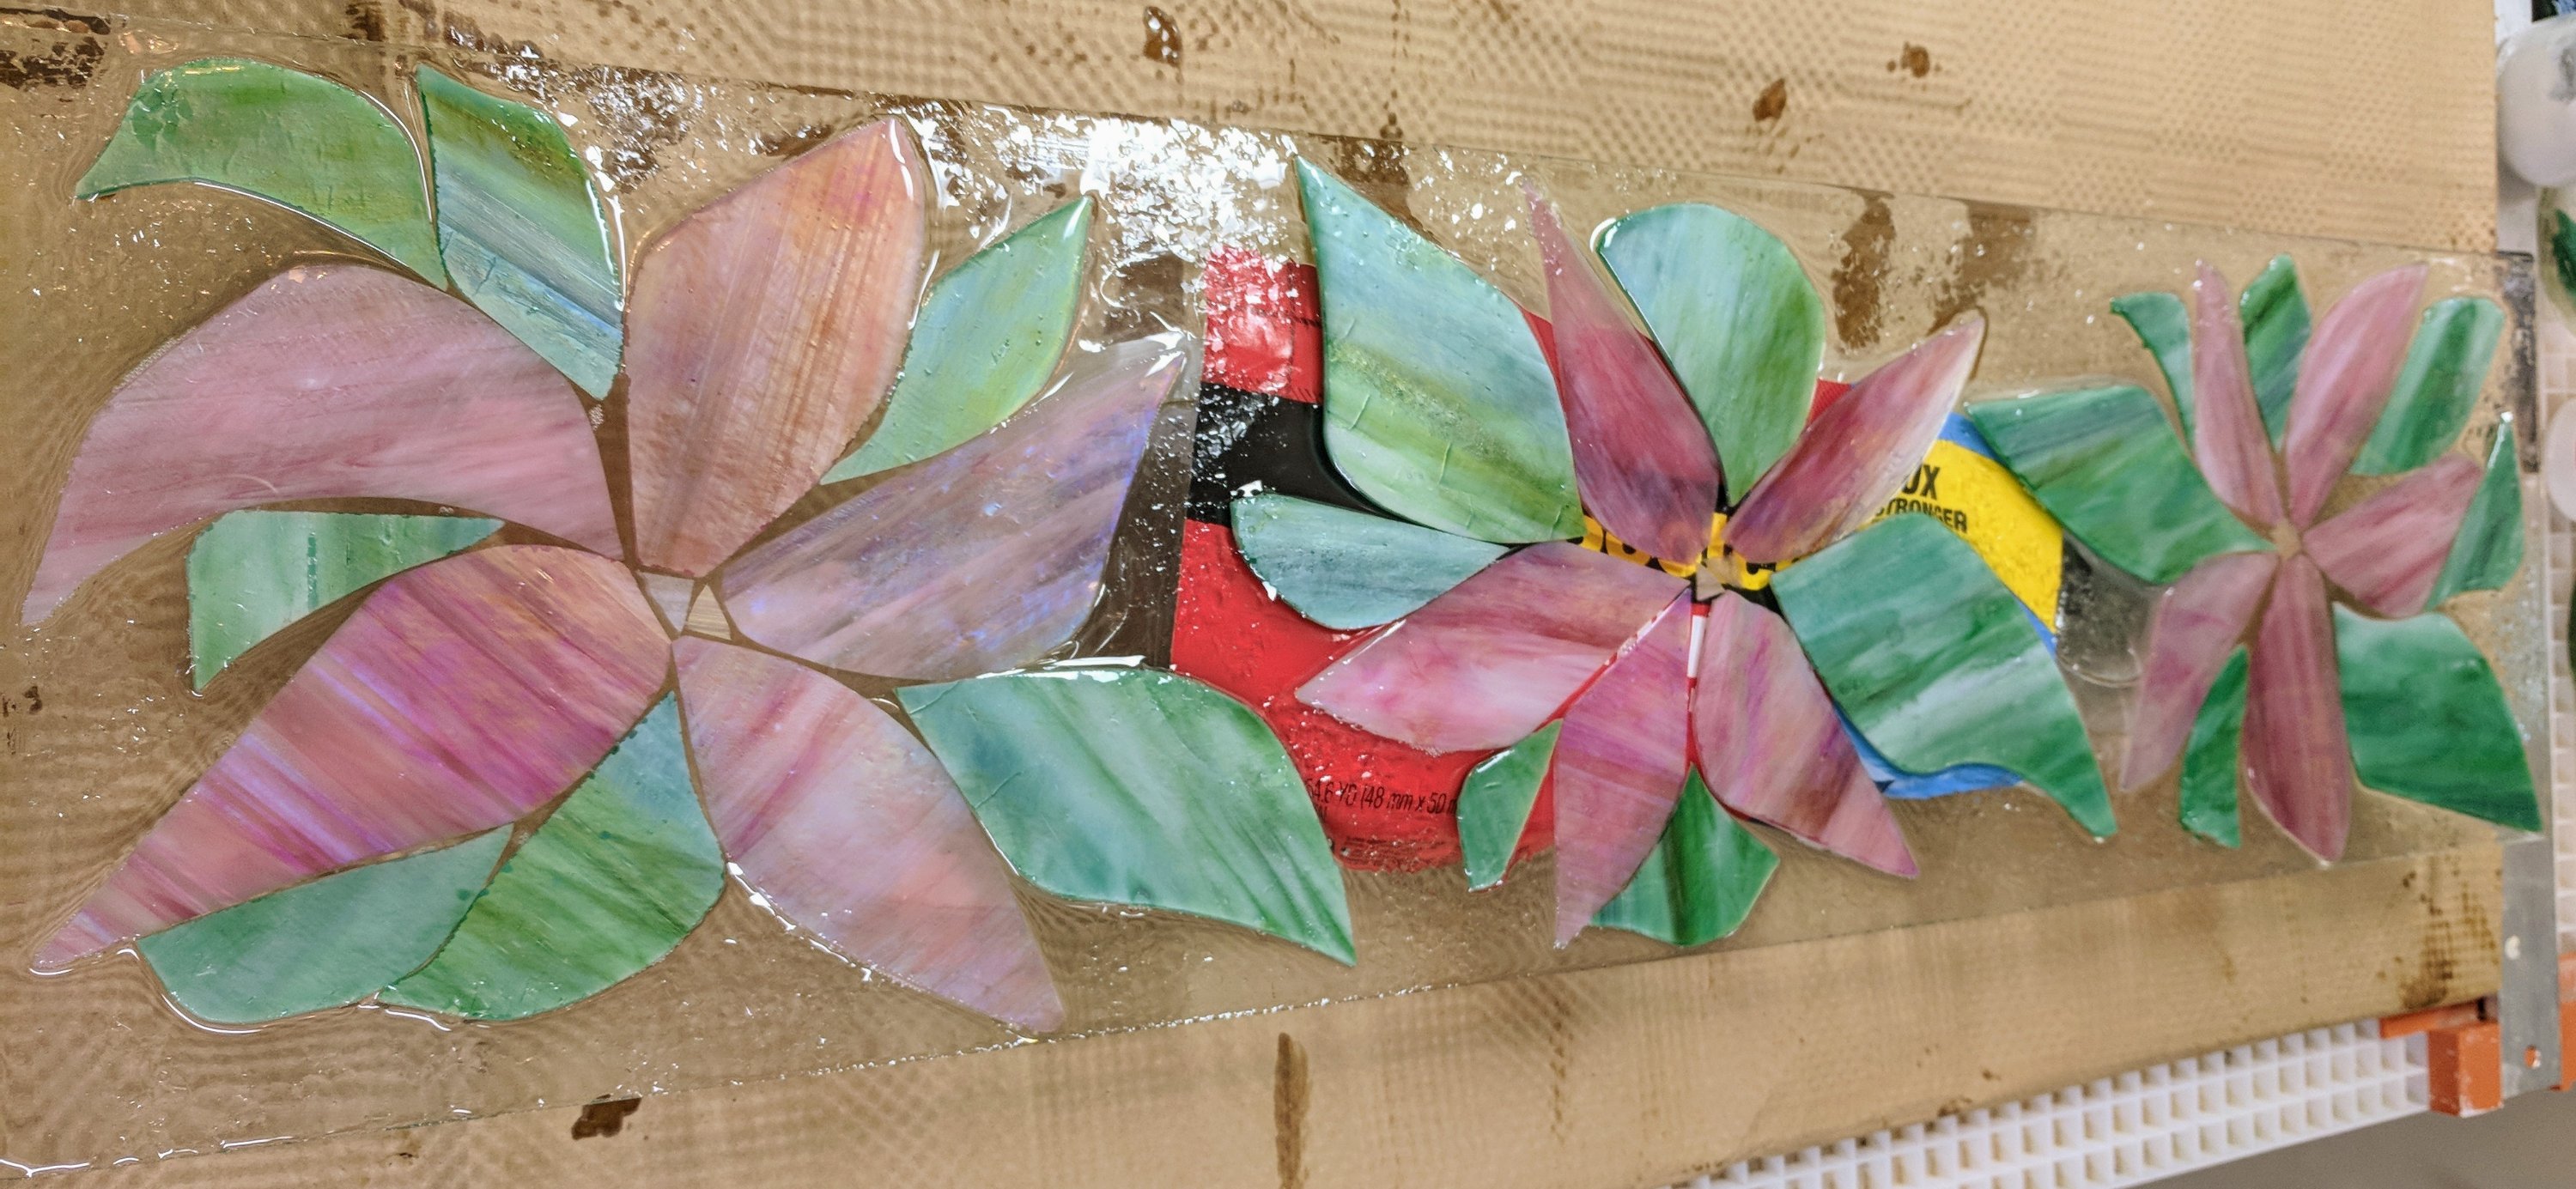
 I want to revisit a “quilt of glass” piece I did with grout for some friends several years ago, but using resin instead of the grout. I like how the resin lets light through. It requires lots of squares……… This is using some Spectrum iridized blue stained glass in one of my favorite shades and some dichroic glass I have.
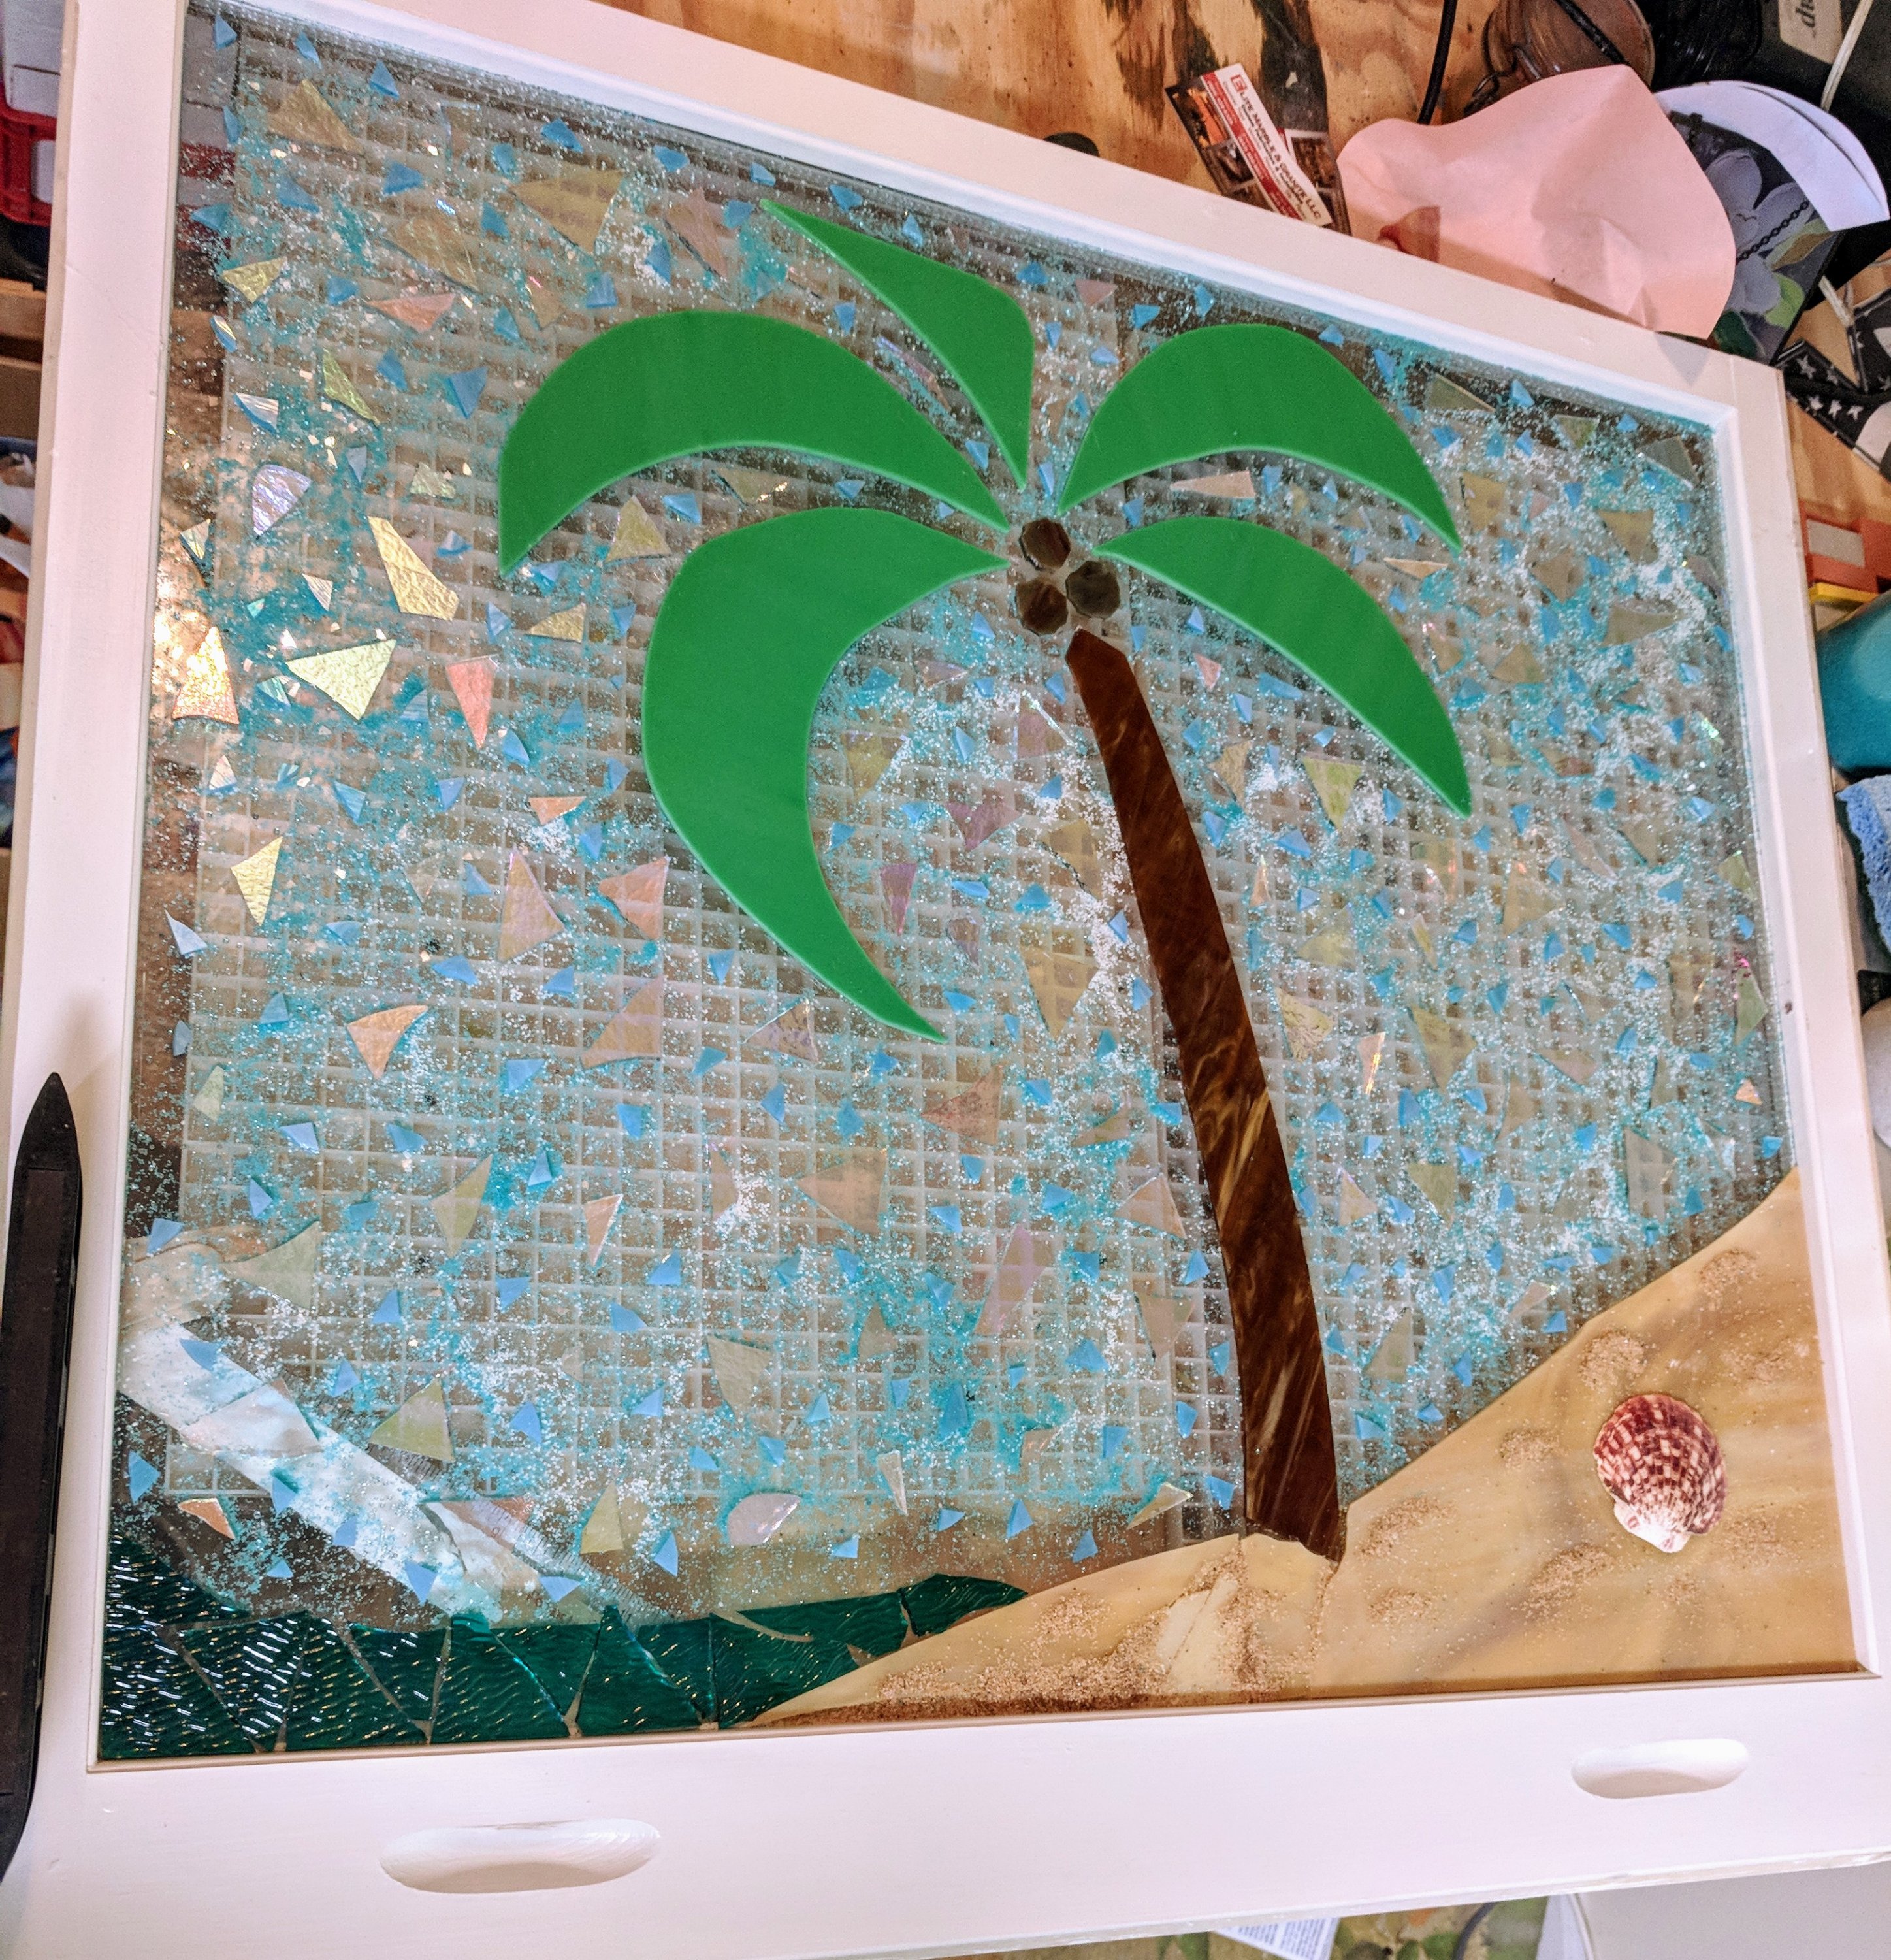
I filled in with blue iridized glass and colored frit for interest in the background. I used crushed rocks on the sandy beach to fill in and provide texture, then poured / spread four cups of resin over it all. After I spread the resin, I sprinkled some clear glass chips and some additional blue filler around the background. I likely could have used a bit more resin, though this is the most I’ve ever needed for a window. I’m still learning about working with the resin, as this is only my fourth window using it. Approx. 30 5/8″ W x 28″ H.
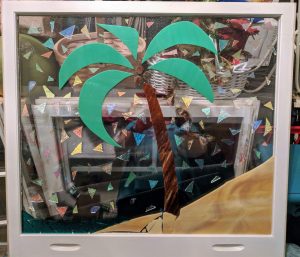
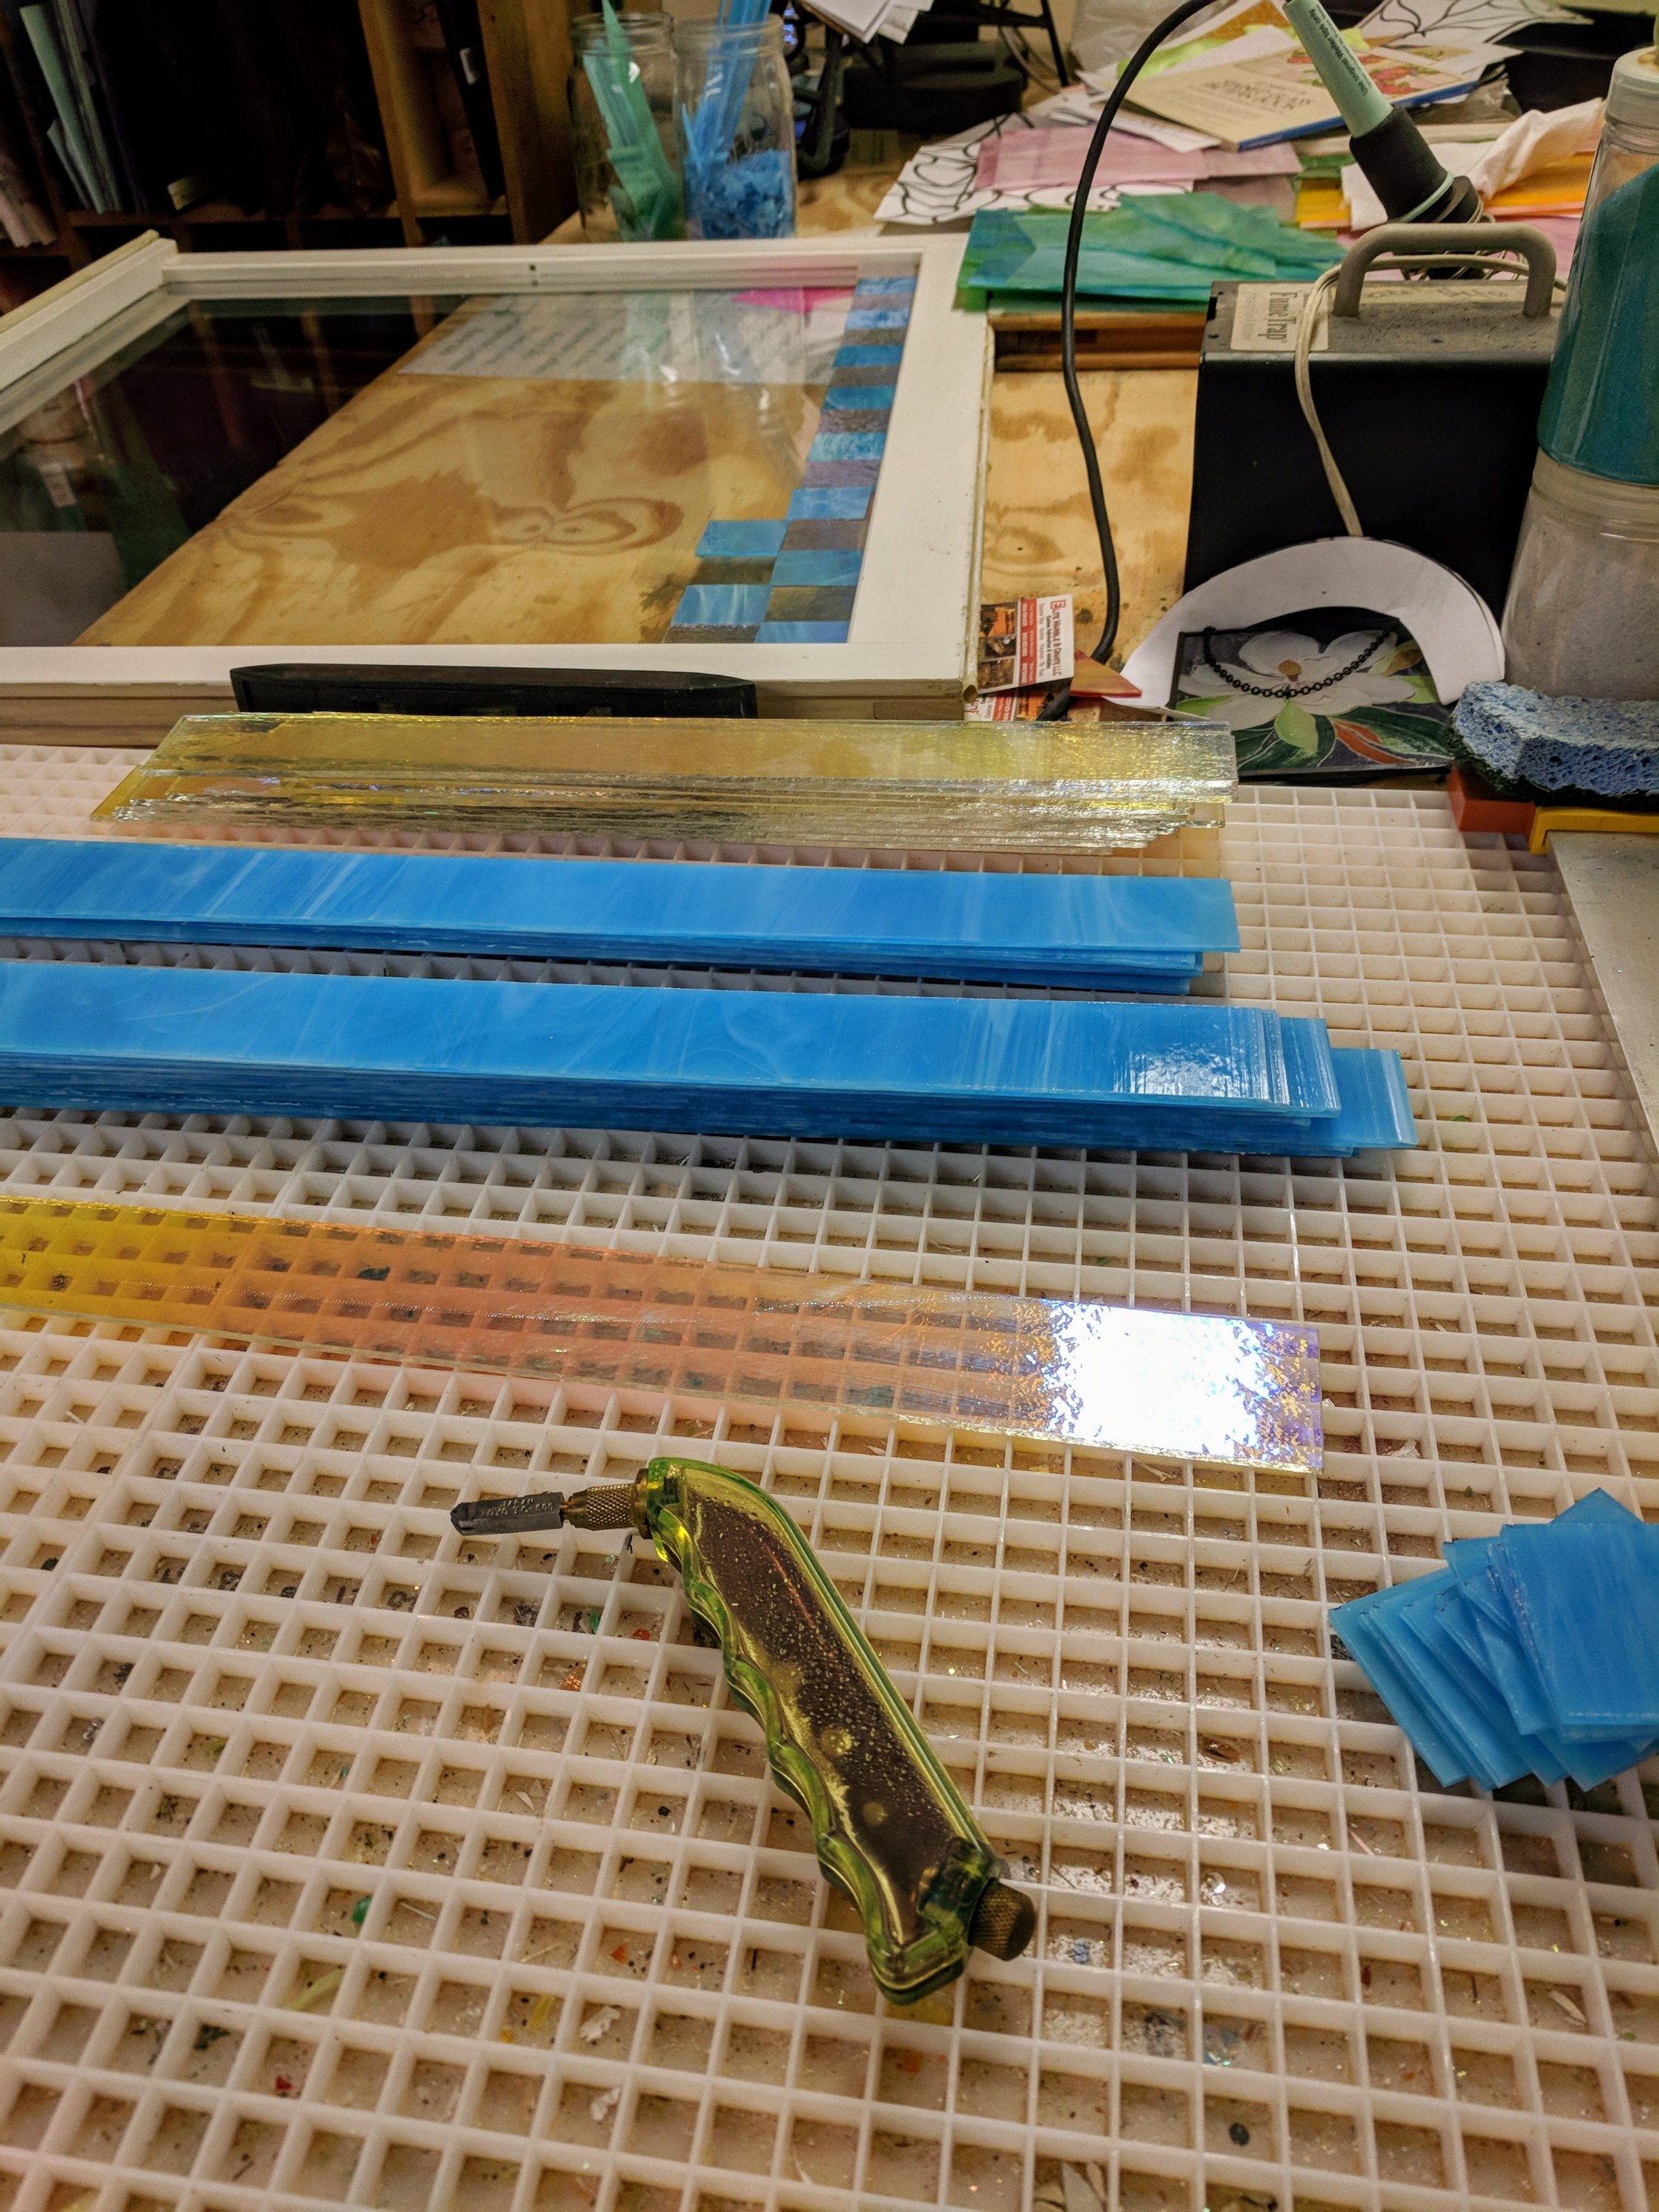
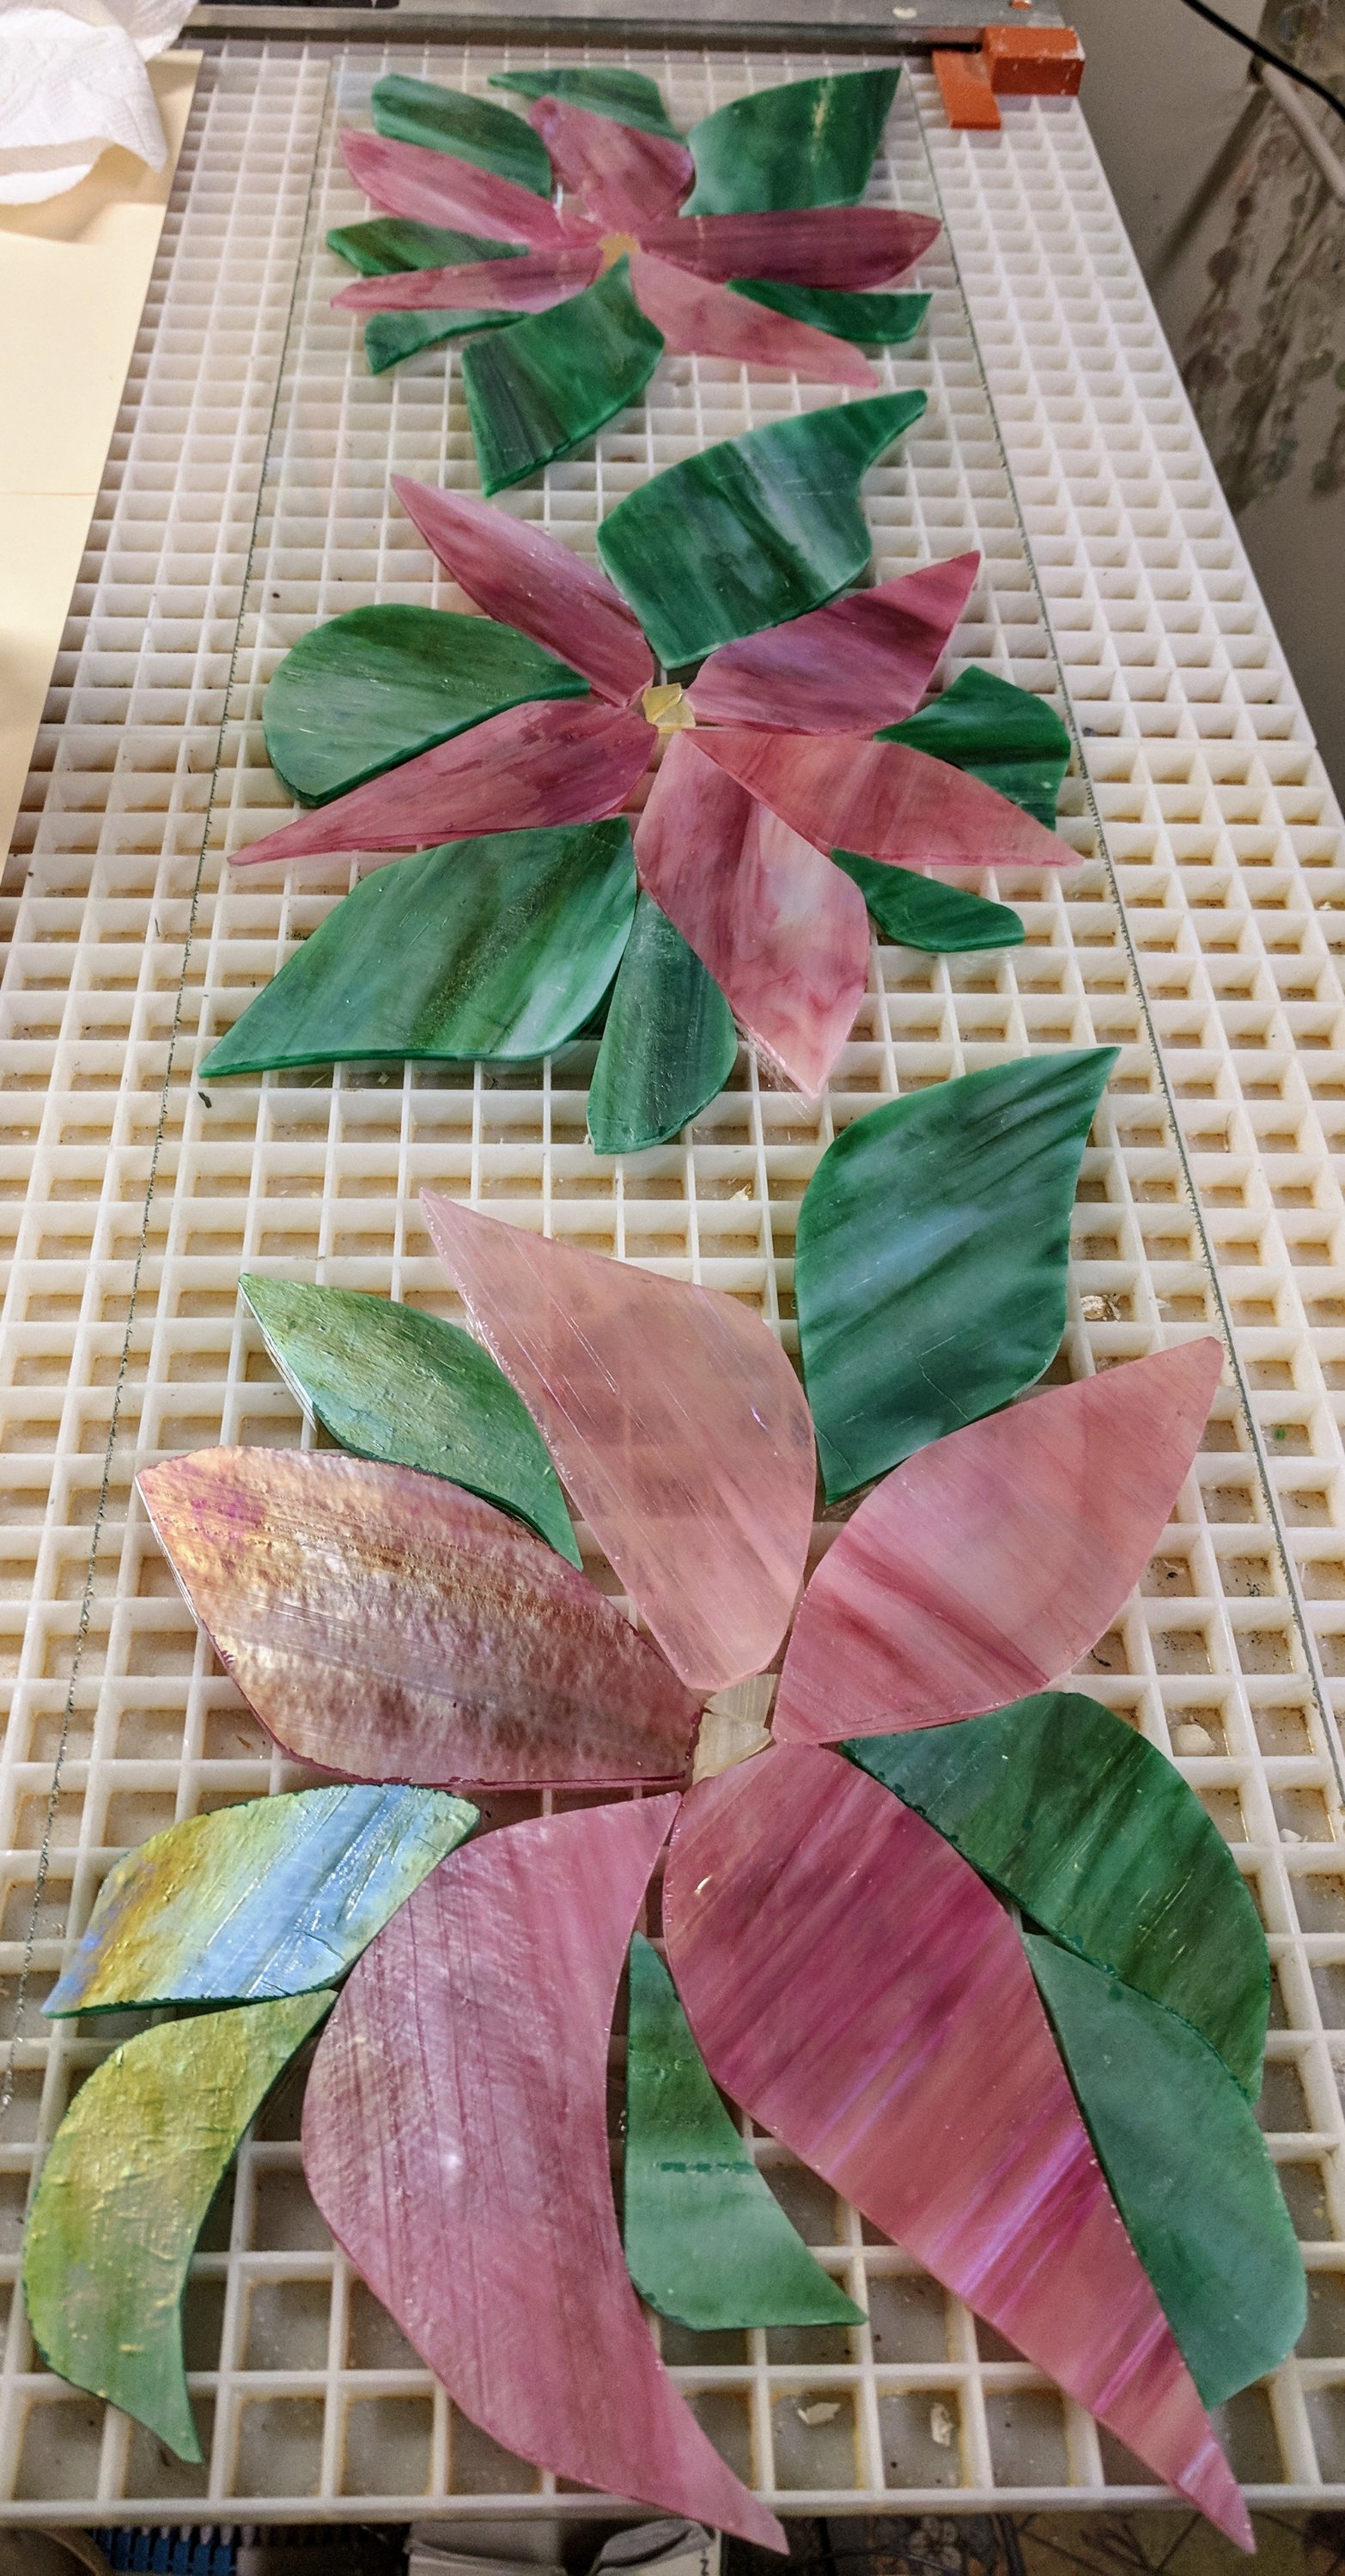
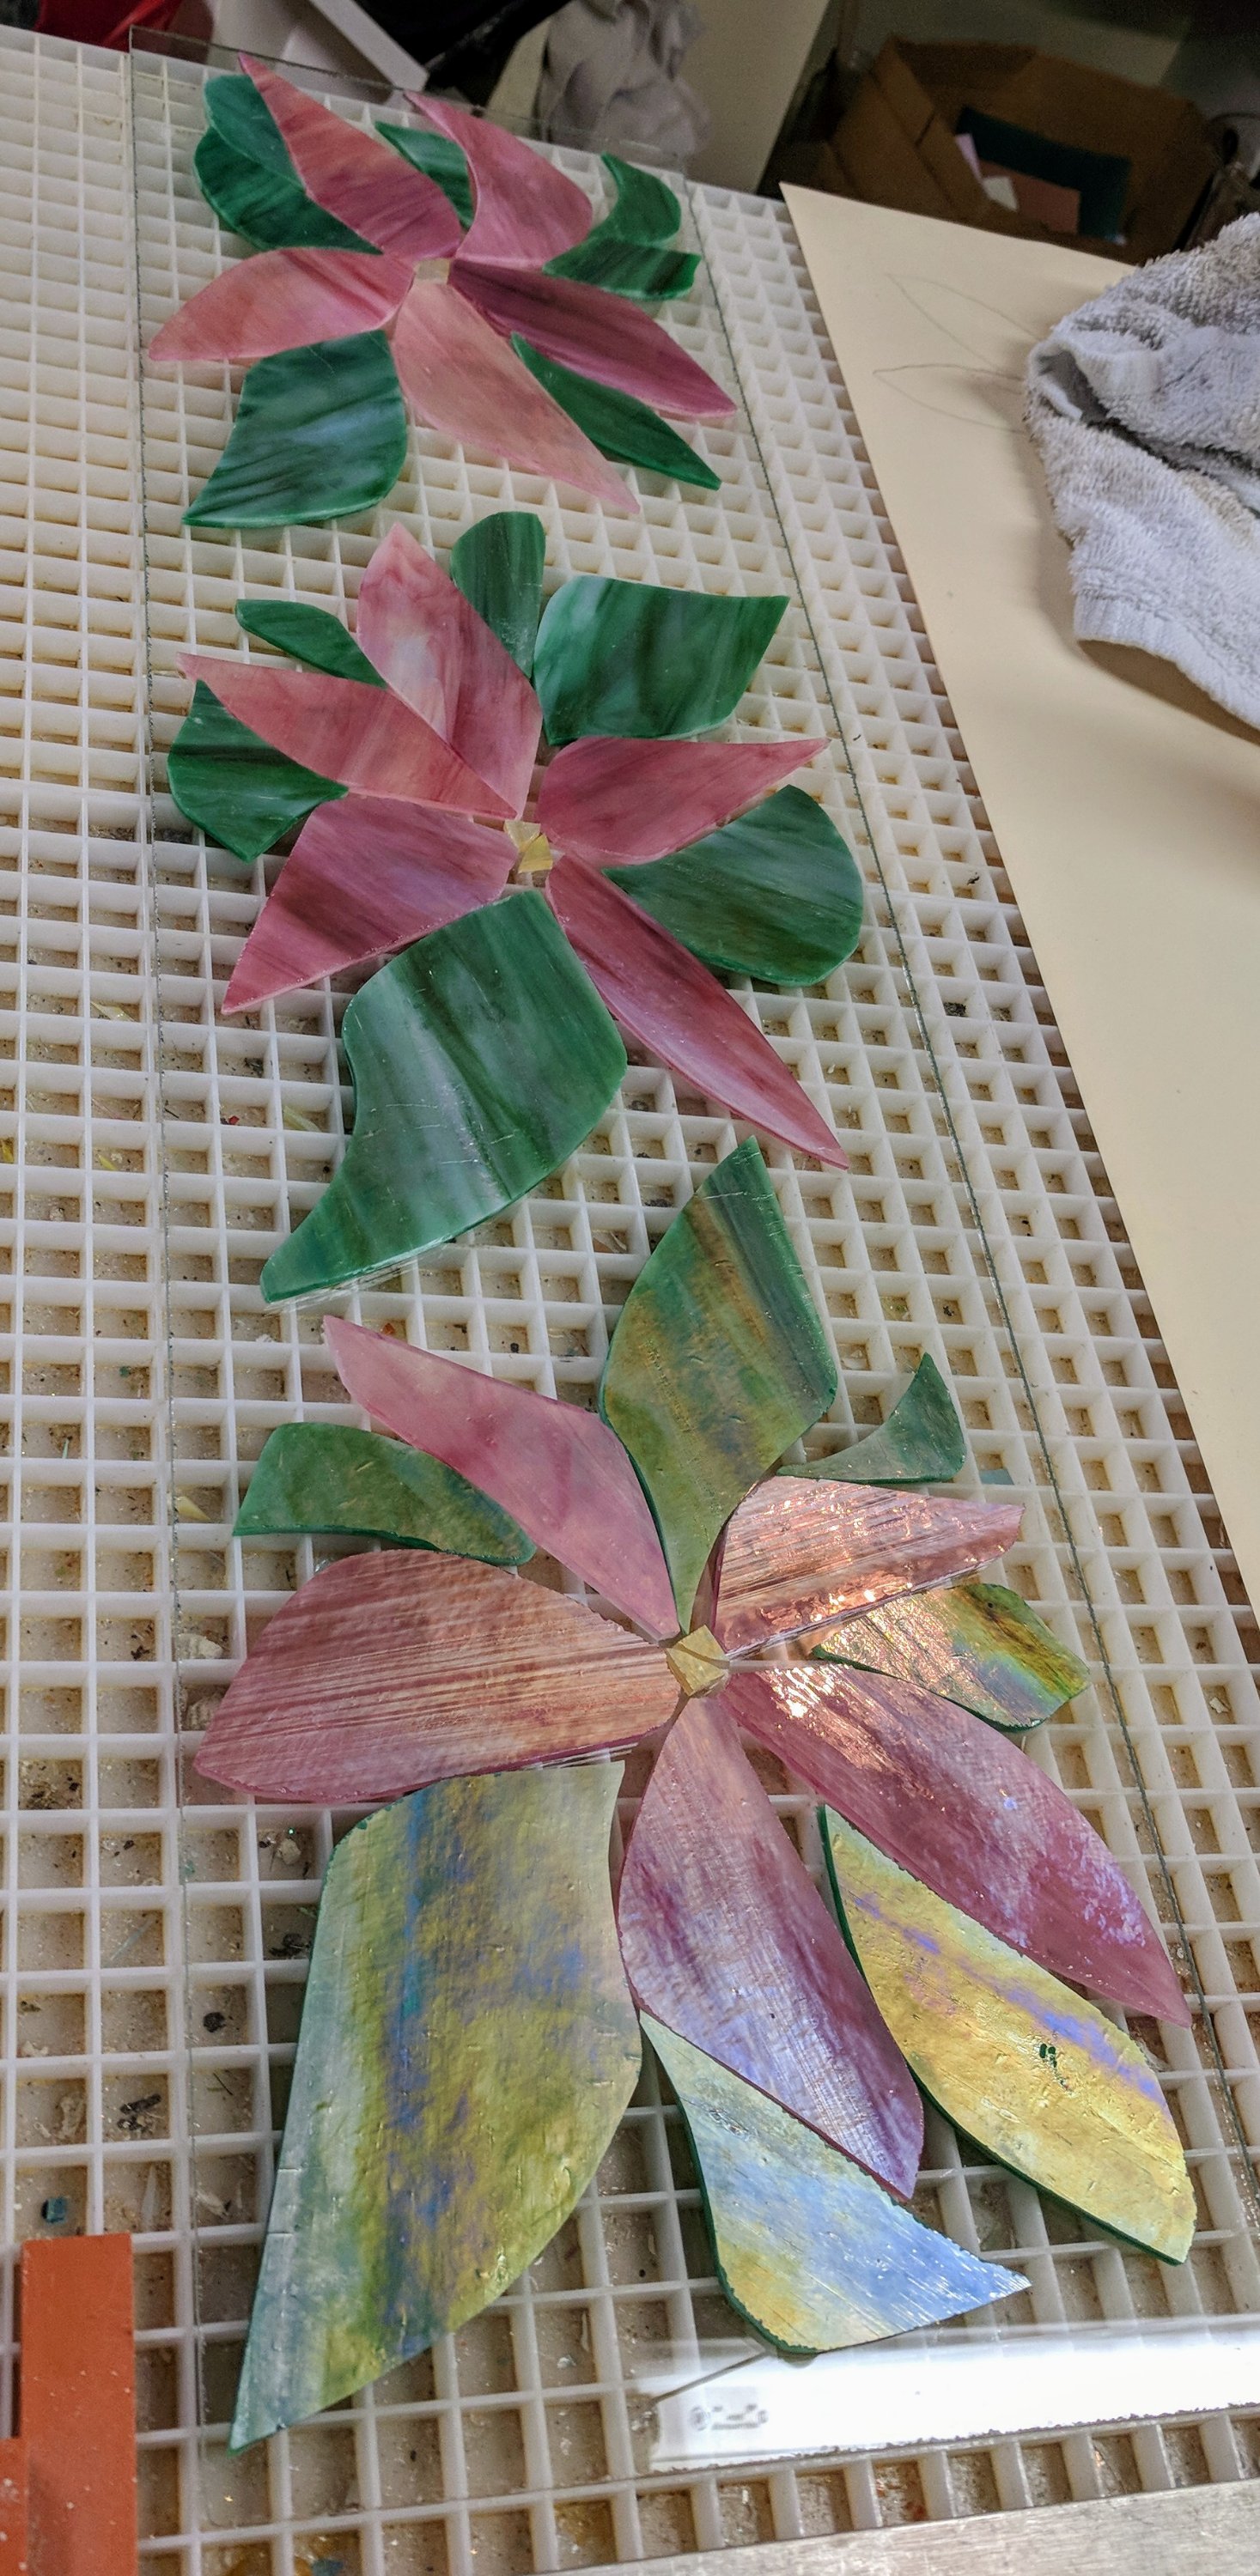
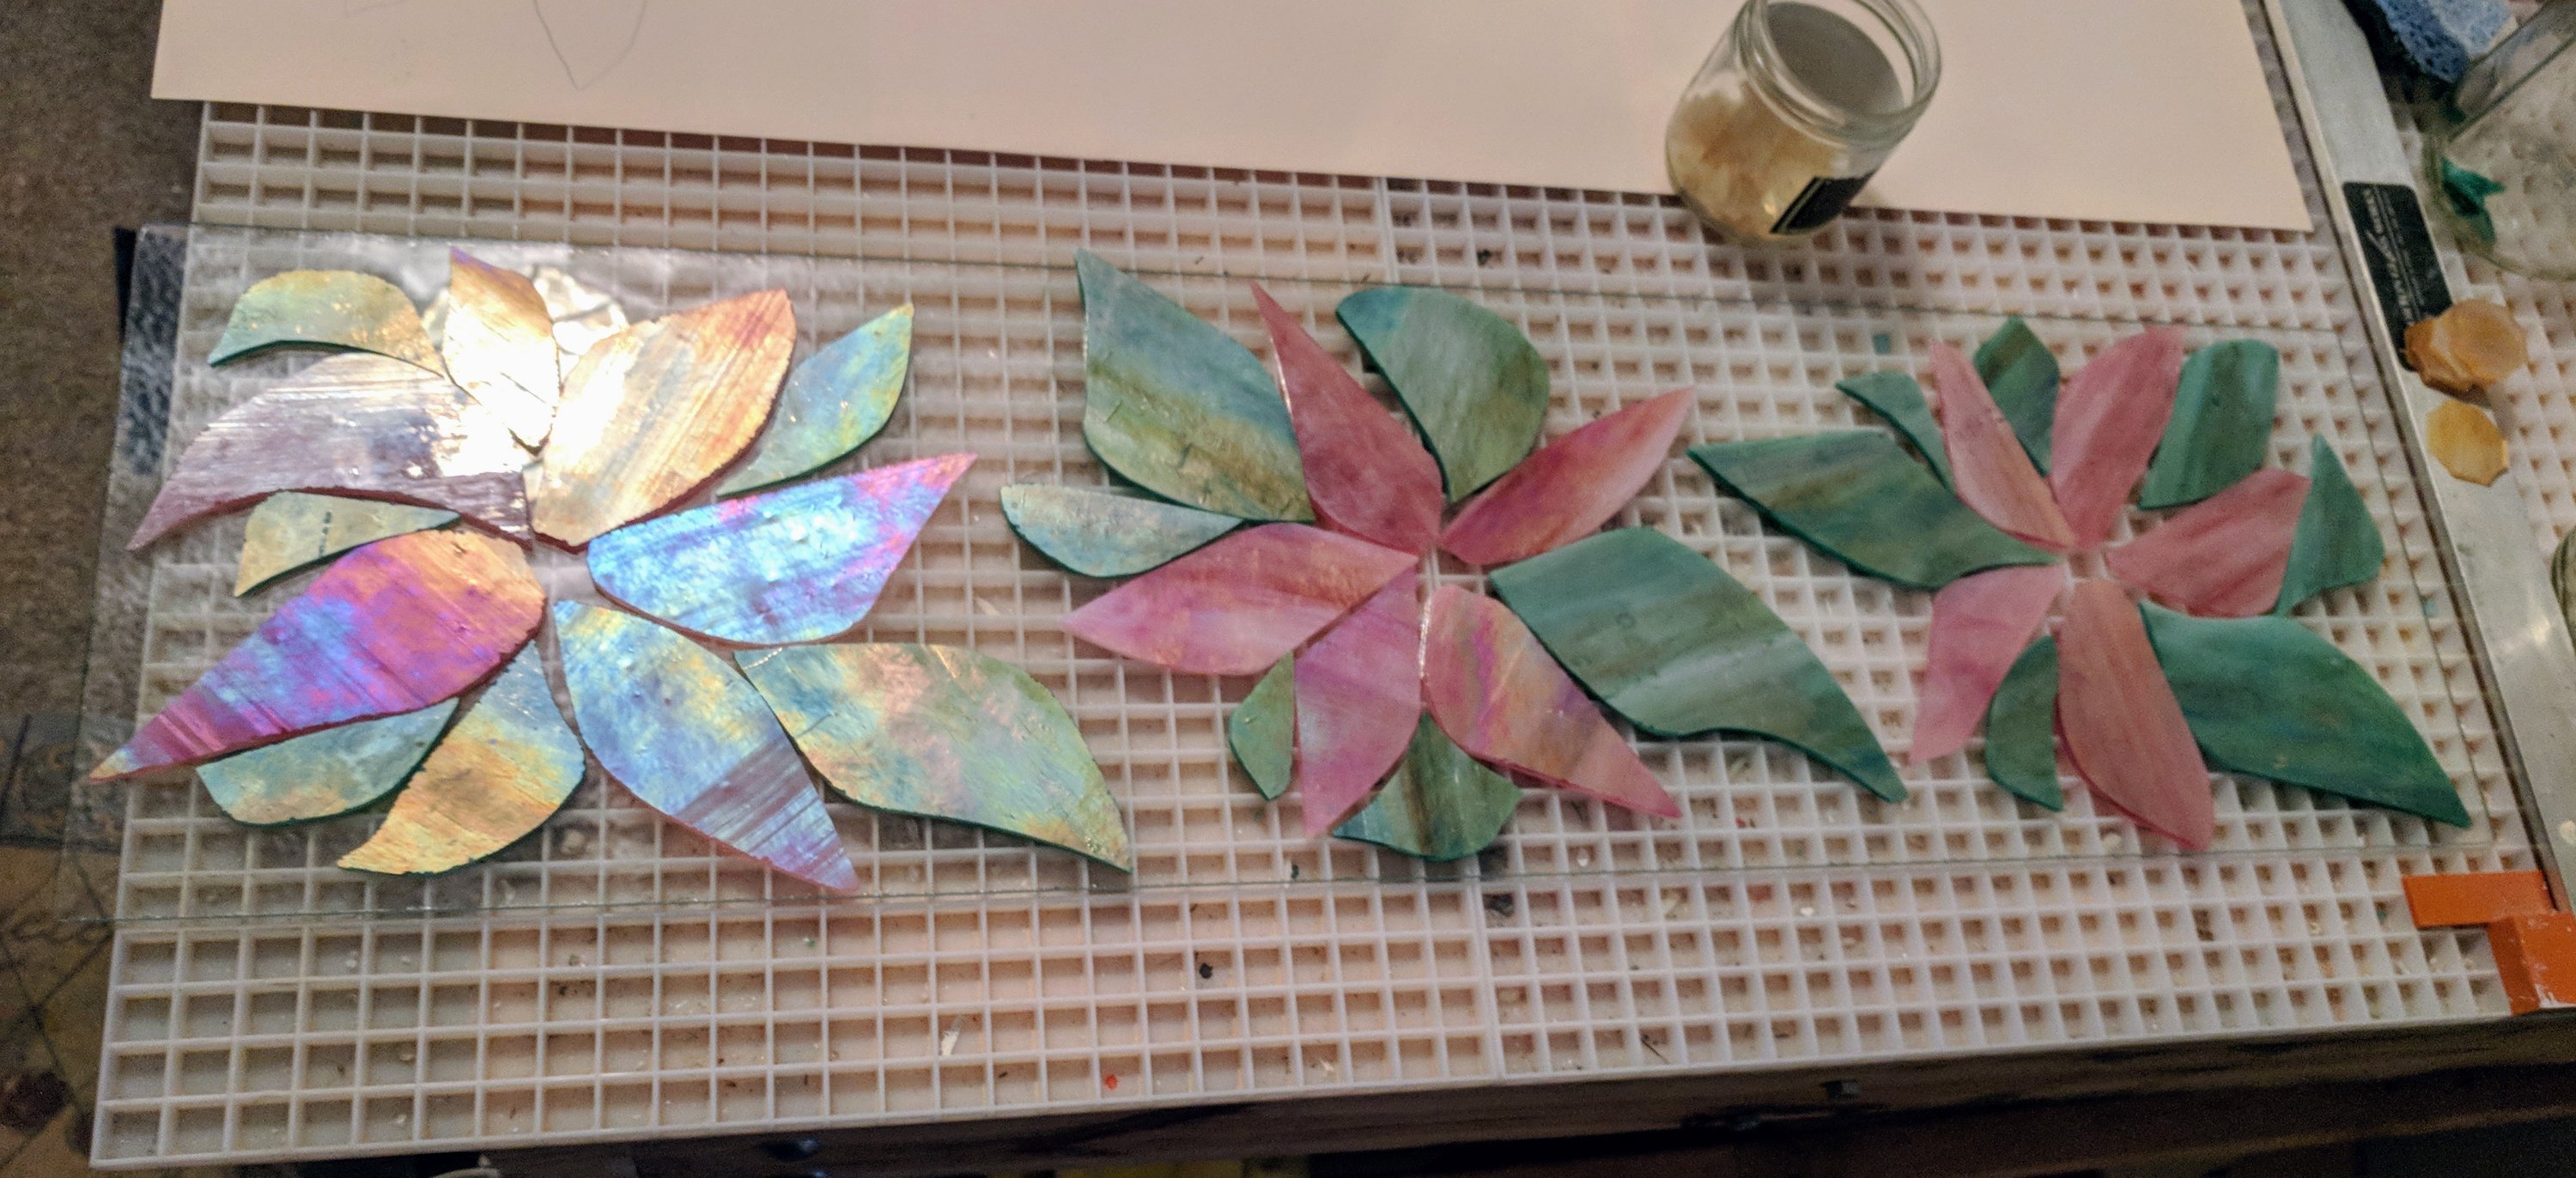
Working on the background and detail for this now. The triangular pieces in the background so far are dichroic glass. Later I will add in some blue iridized Spectrum pieces, glass frit, and clear chips for sparkle.