I’ll be at the N. Charleston Farmers Market every Thursday in September and October (weather permitting). Come check out my booth!

Glass of Sherry
I’ll be at the N. Charleston Farmers Market every Thursday in September and October (weather permitting). Come check out my booth!
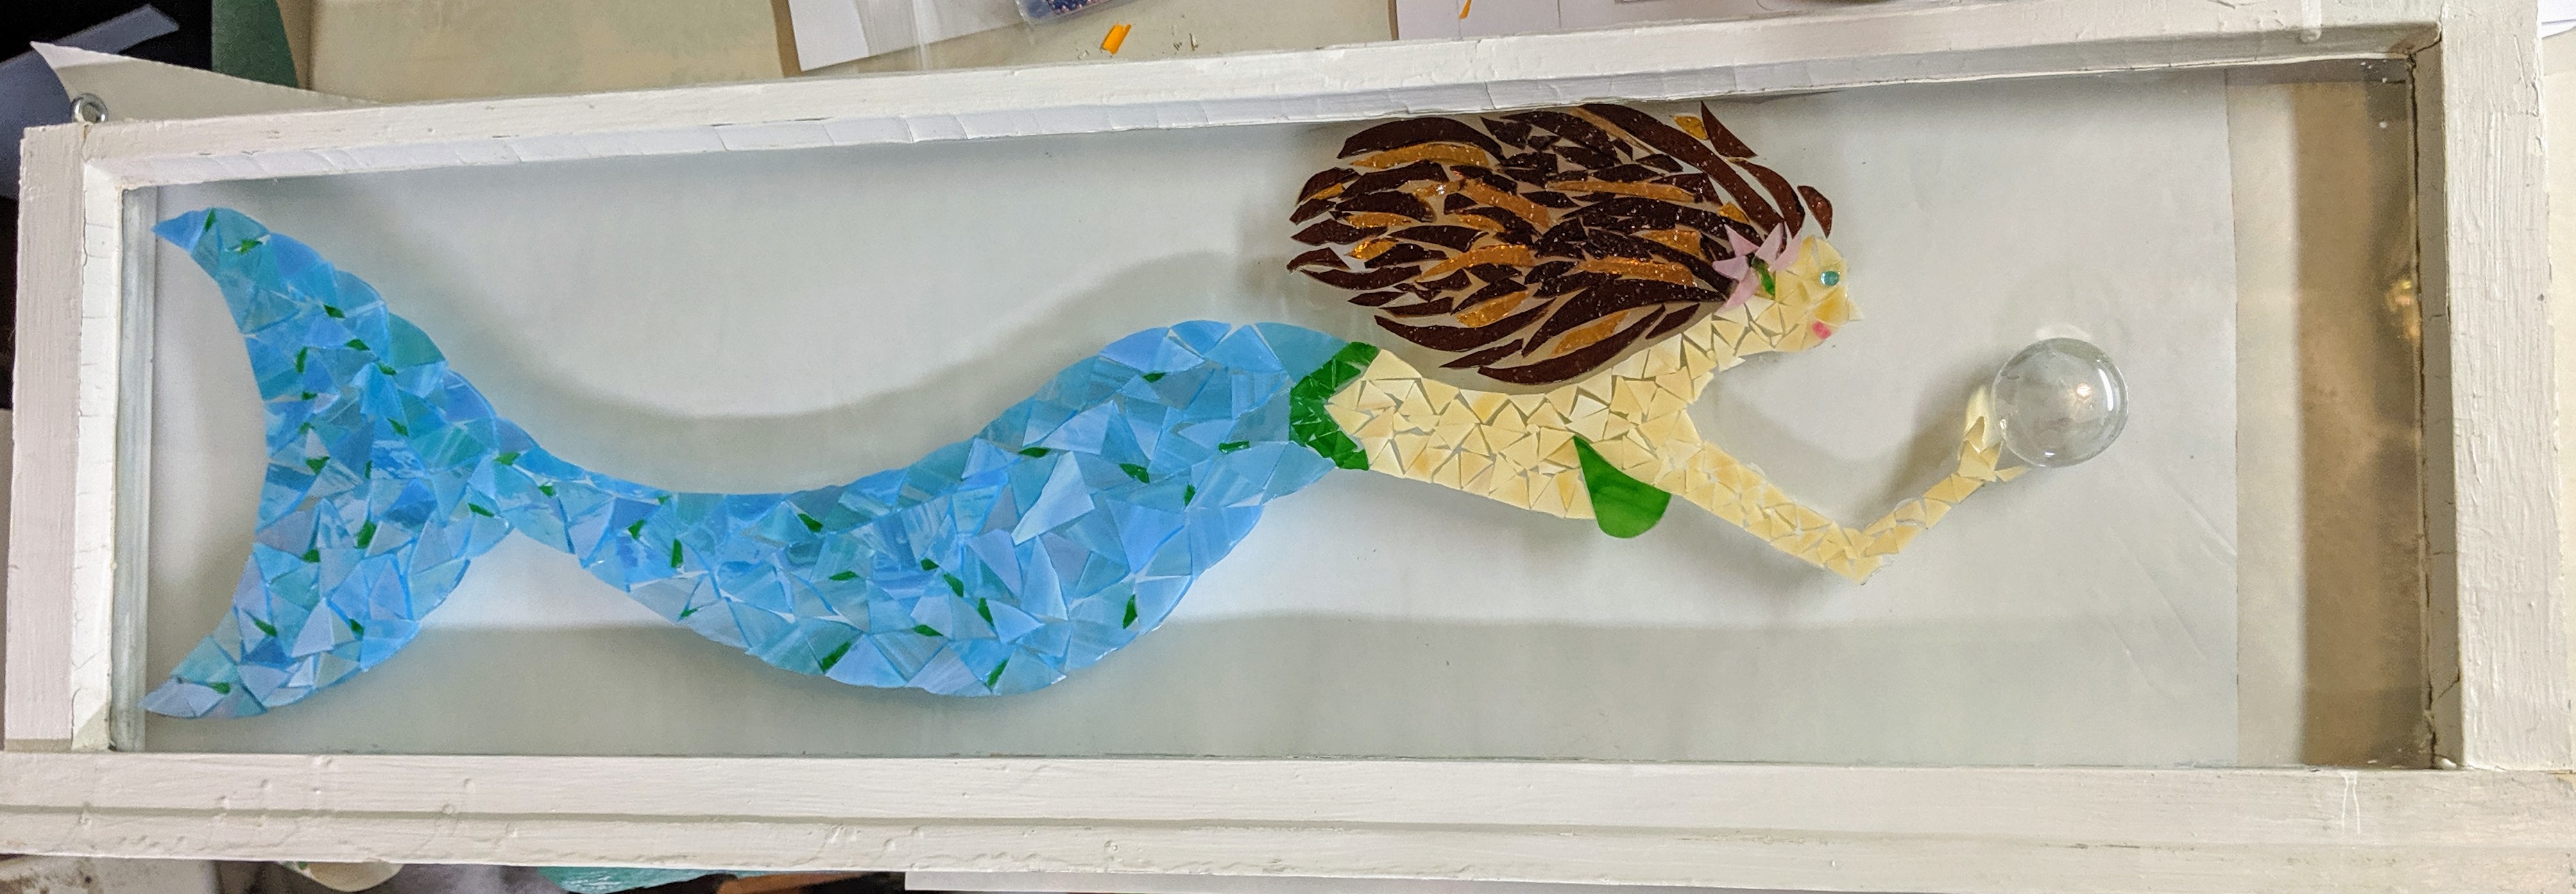
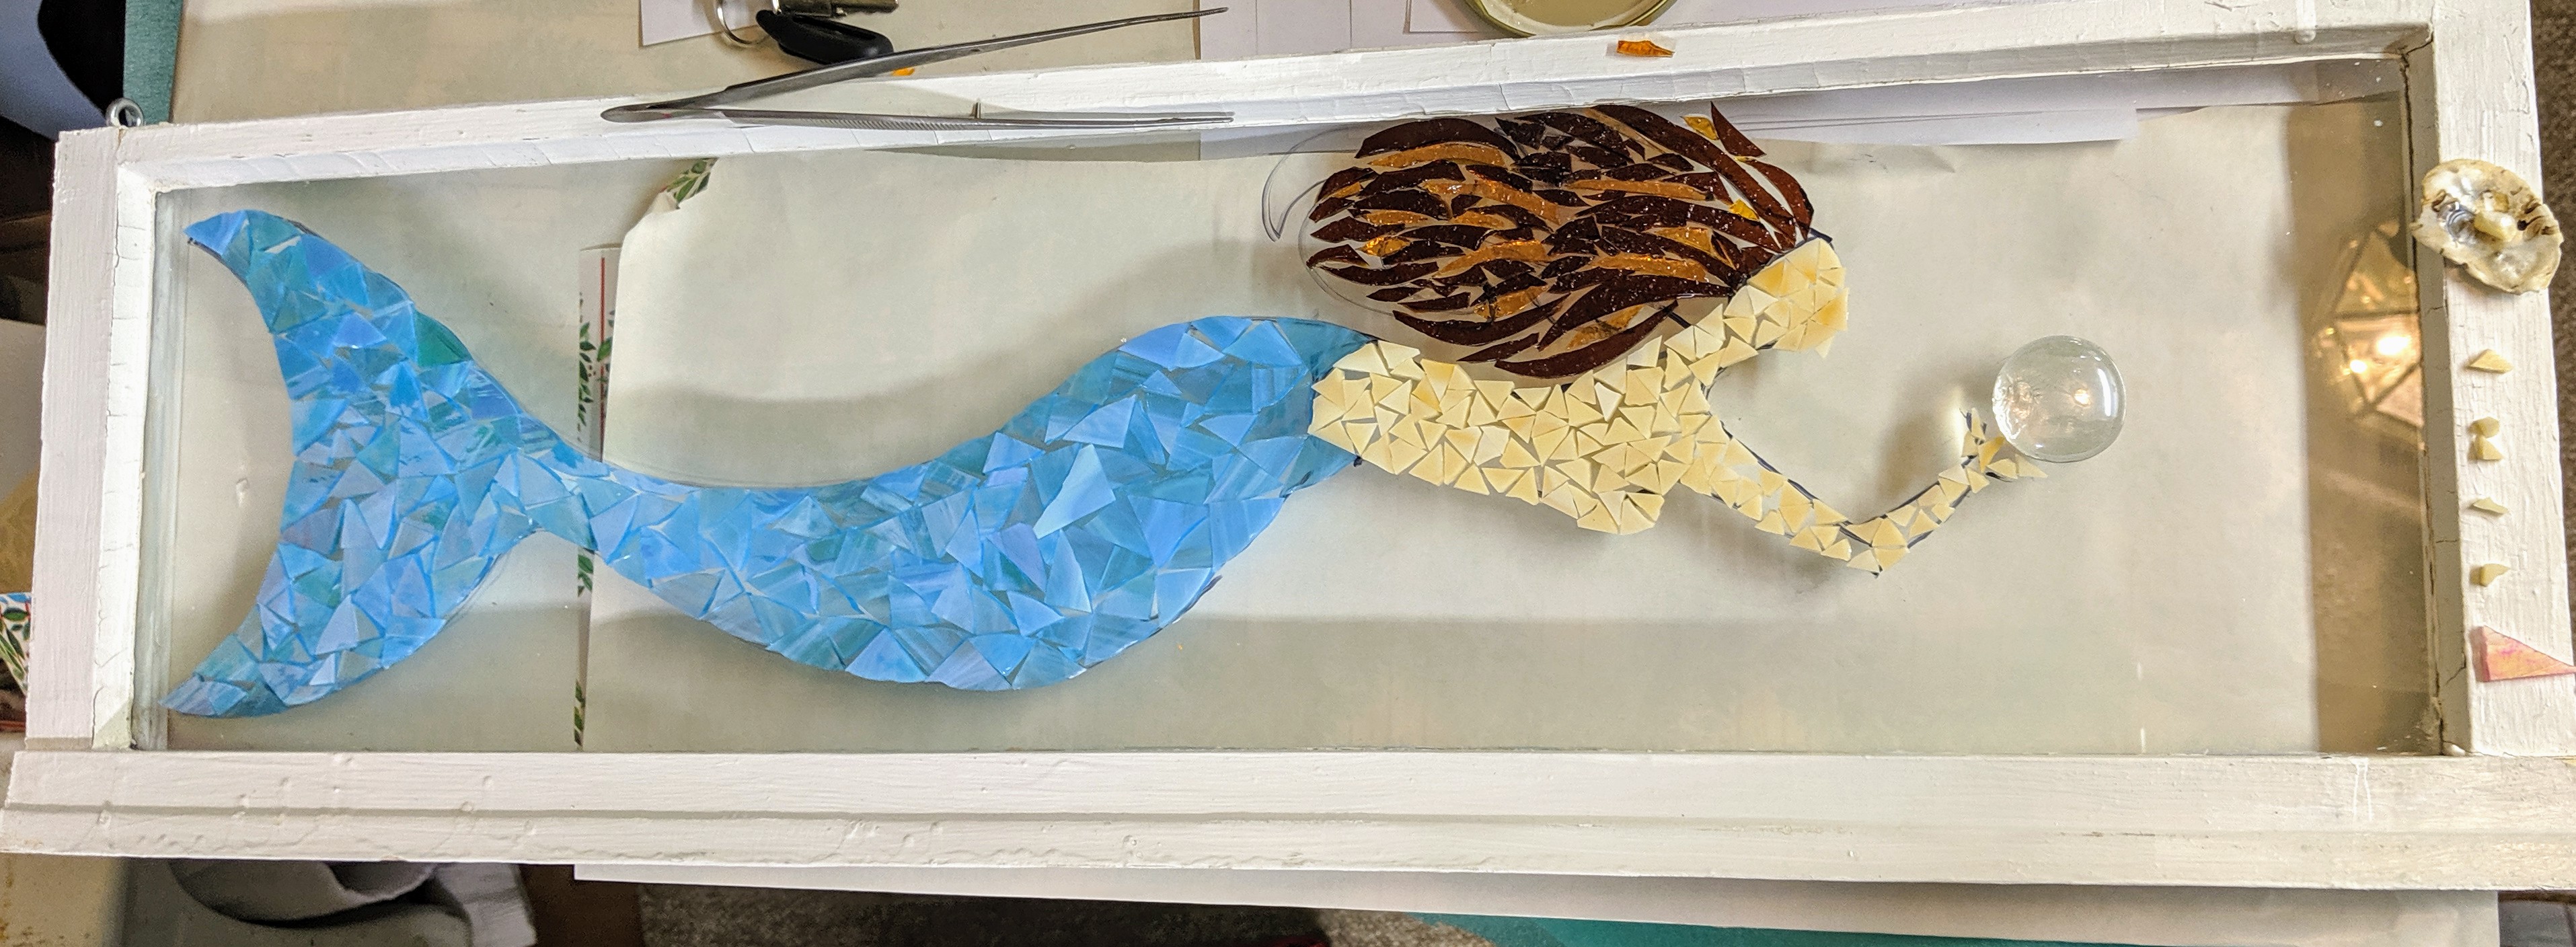
The mermaid mosaic cured enough overnight that I could bring her upstairs to snap a photo in better light. I’m pretty happy with how she turned out.

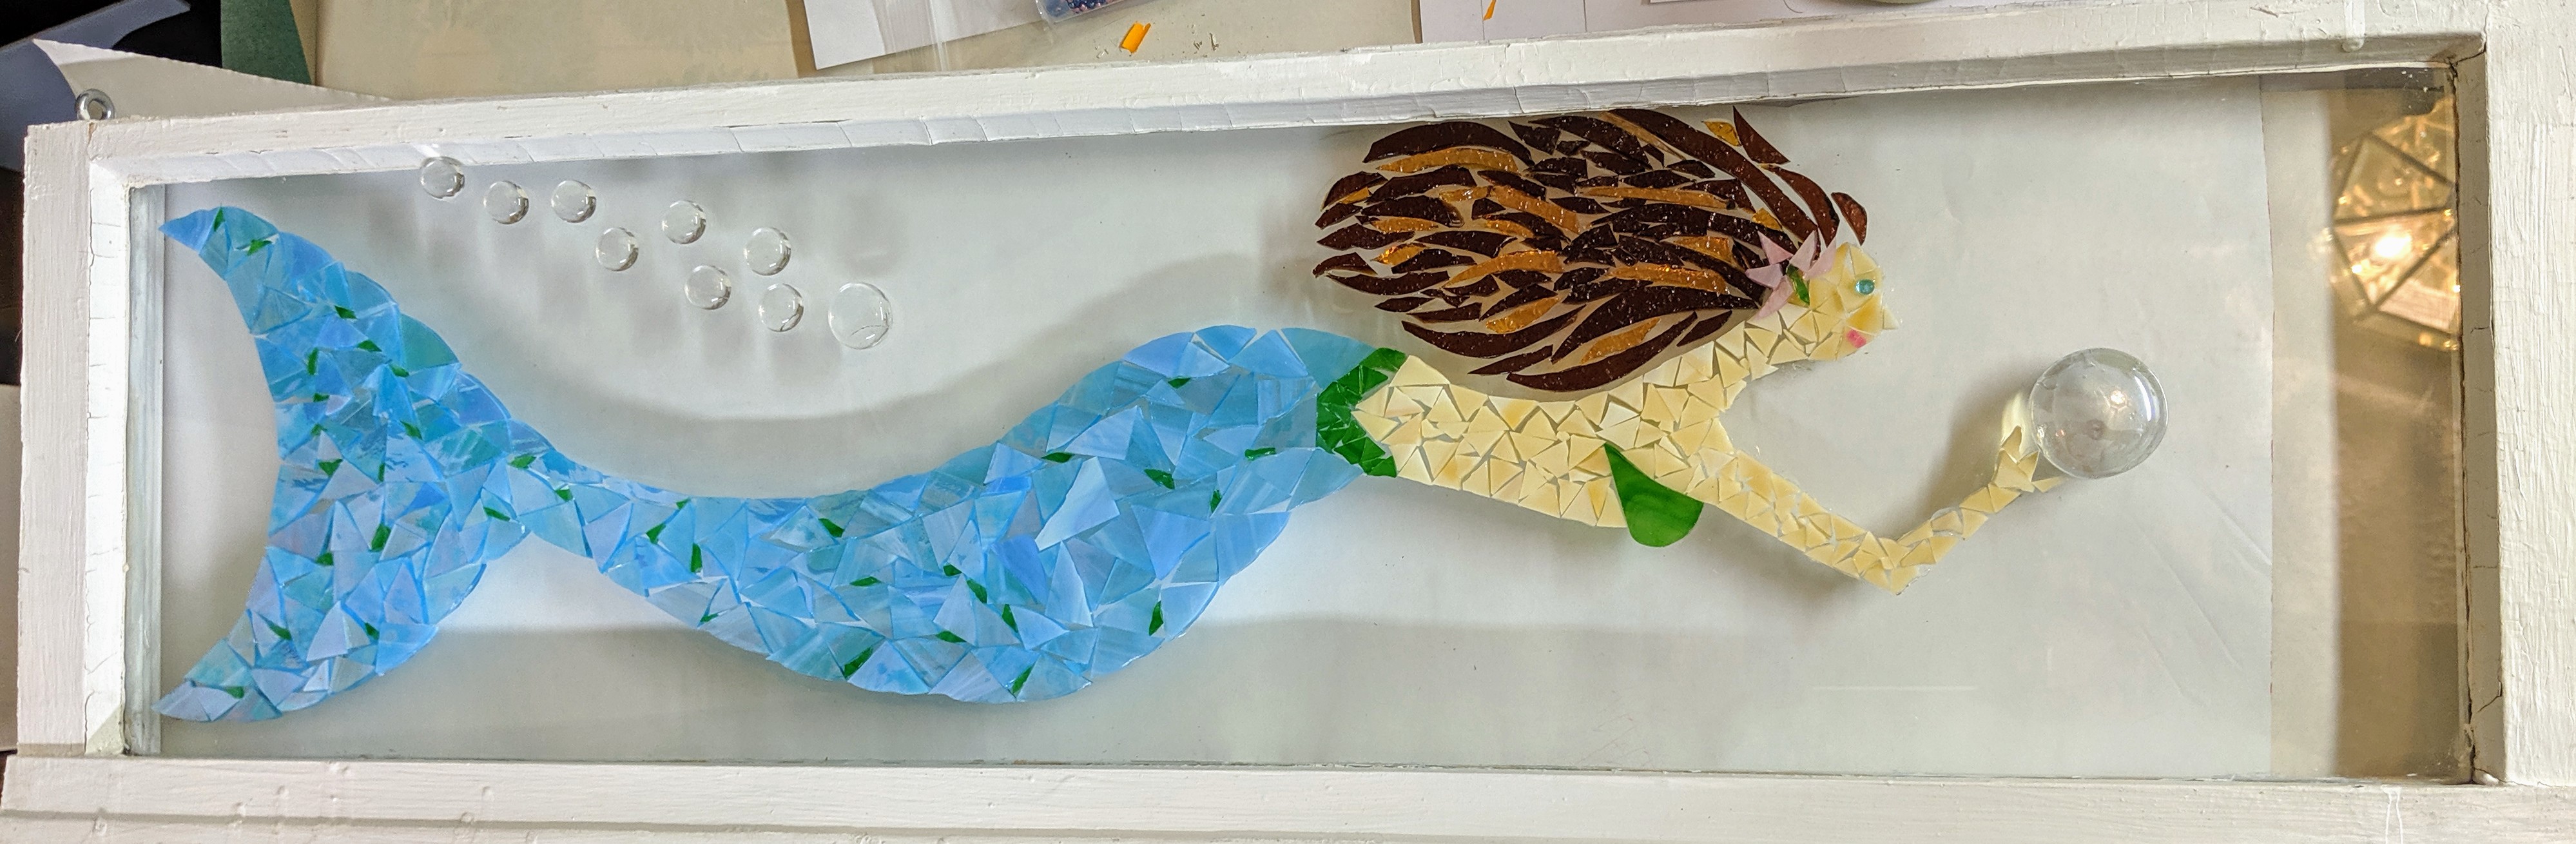
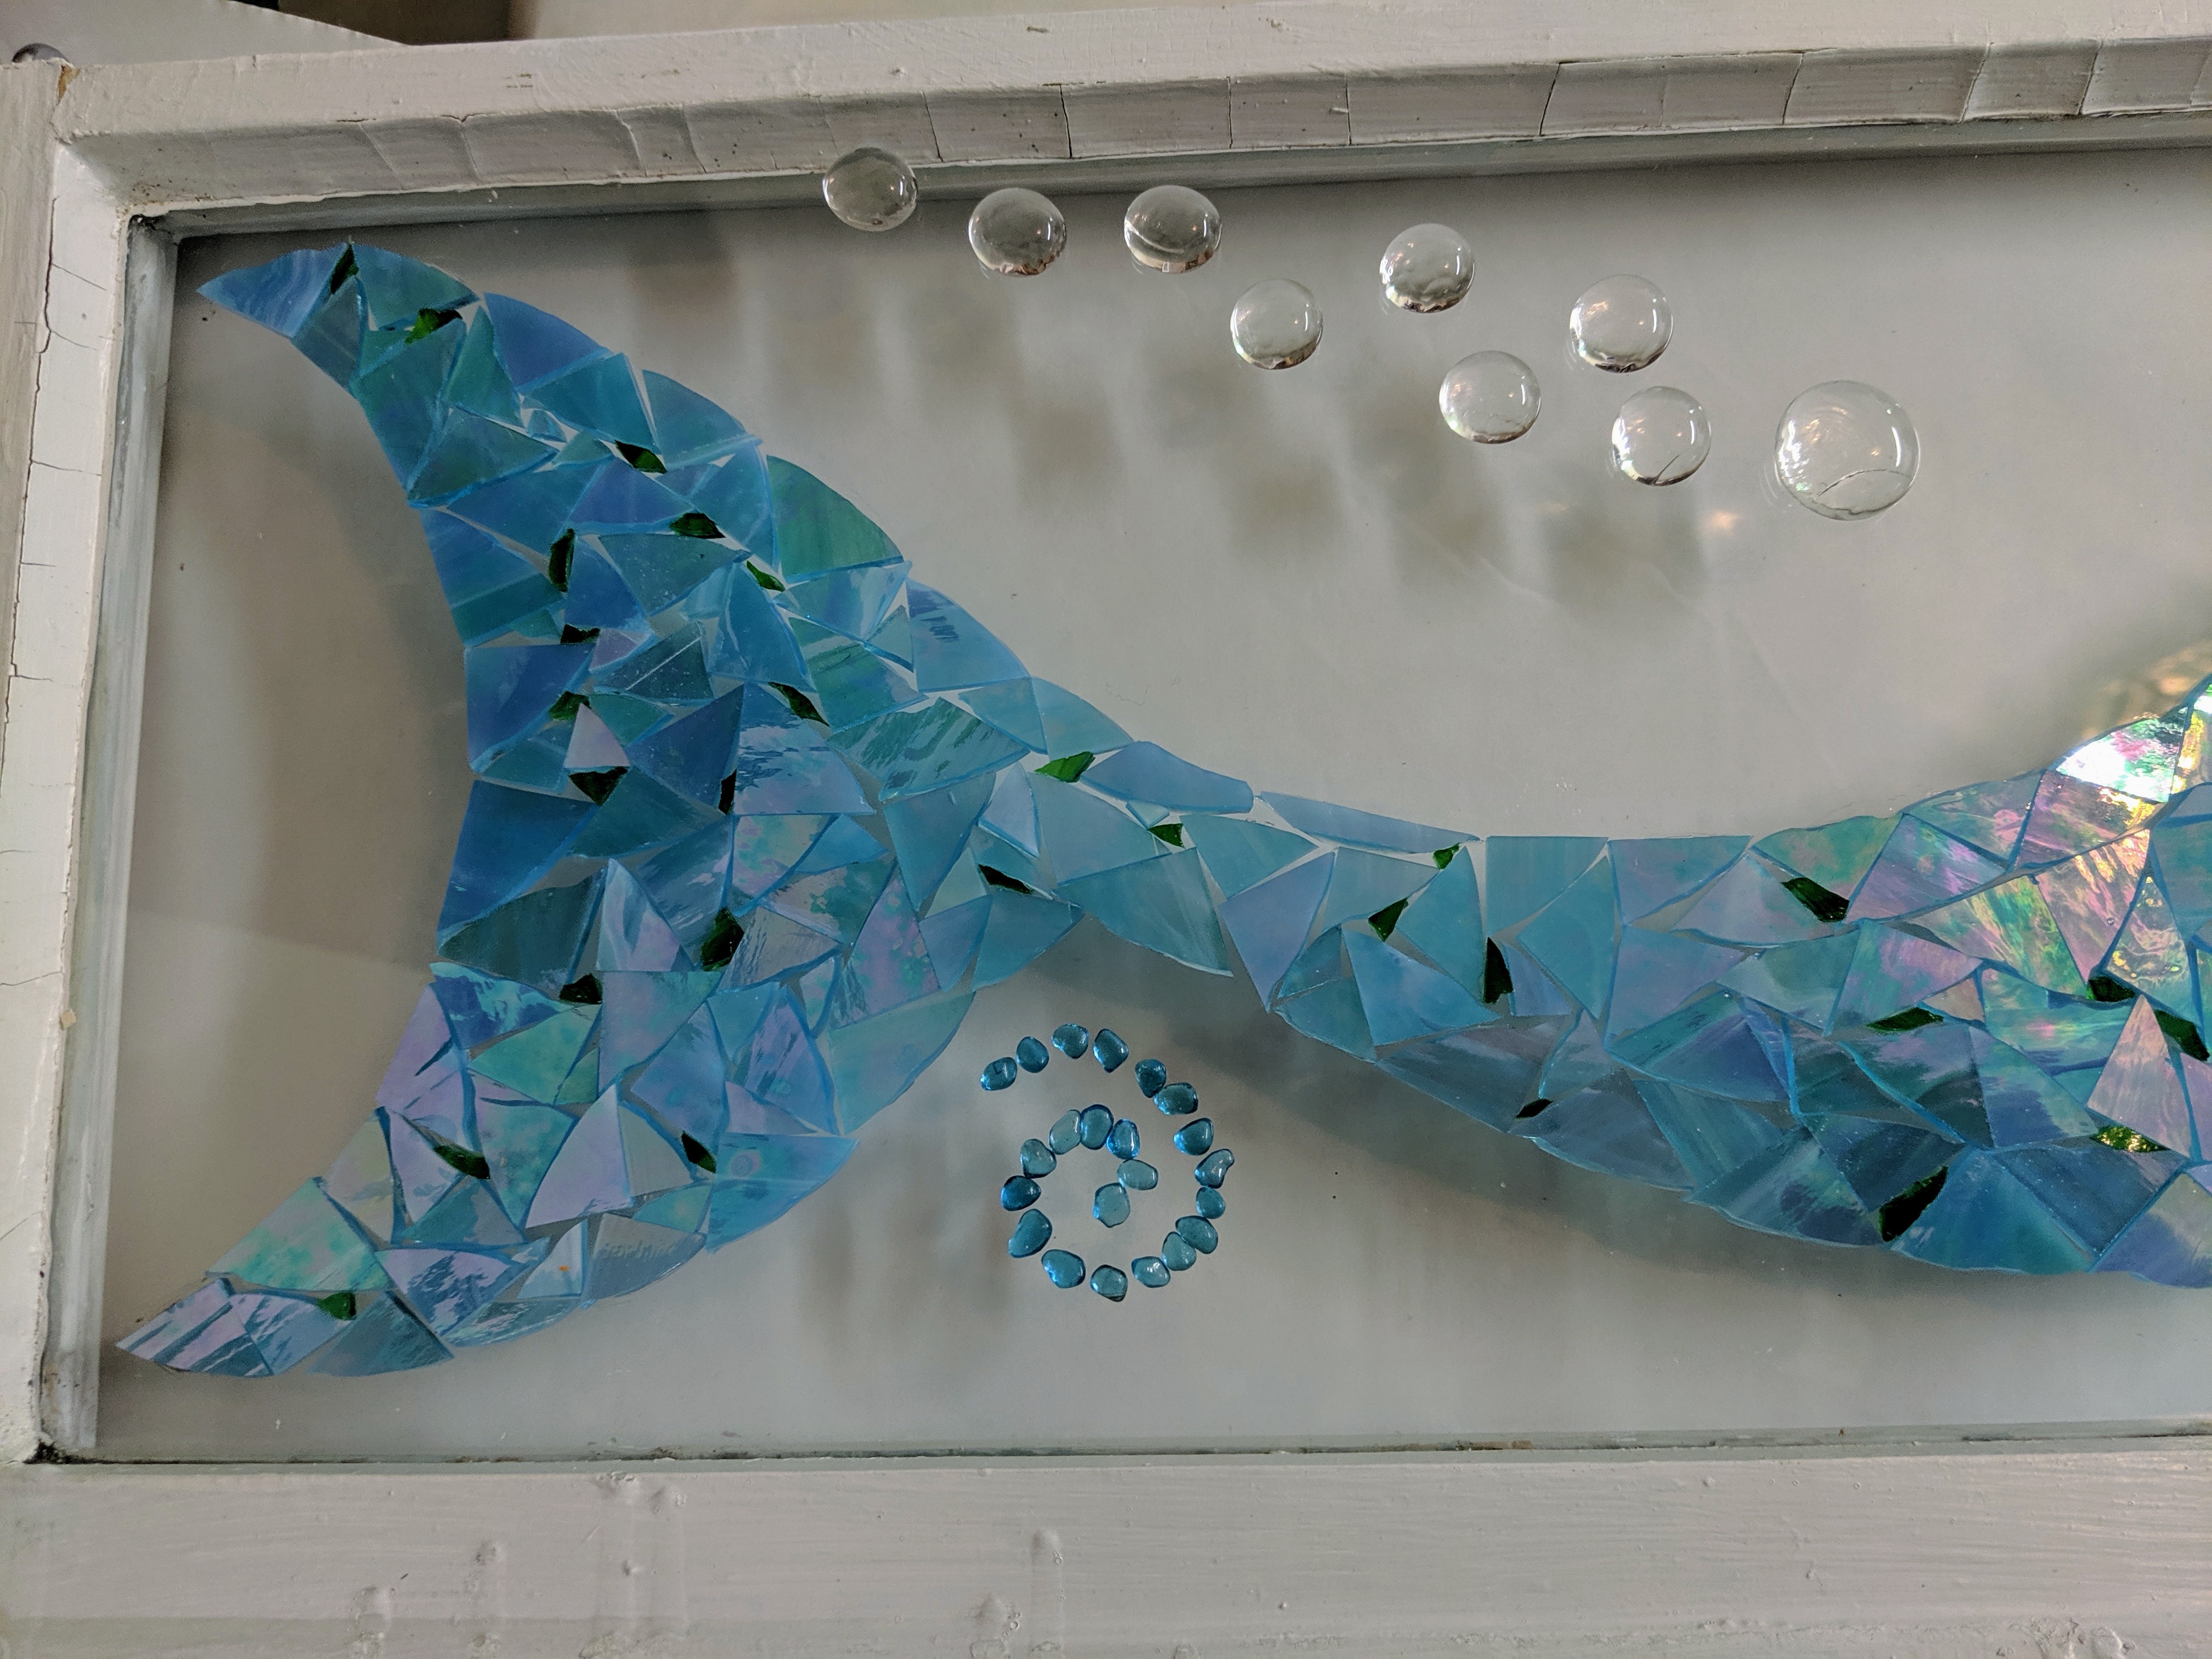
Today I went back and forth on, but finally committed to (read that, glued in place) some background decoration features for the mermaid. I glued them in place because they are small and the resin might push them out of place when I am pouring it. I don’t want to be trying to make the swirls look perfect when the resin is applied, so I used some Mac glue to secure them. I might add just *one* more little blue swirl. The next step is to let the glue dry overnight. Hopefully tomorrow everything will look great and I can pour and decorate the resin background to bring it all together!
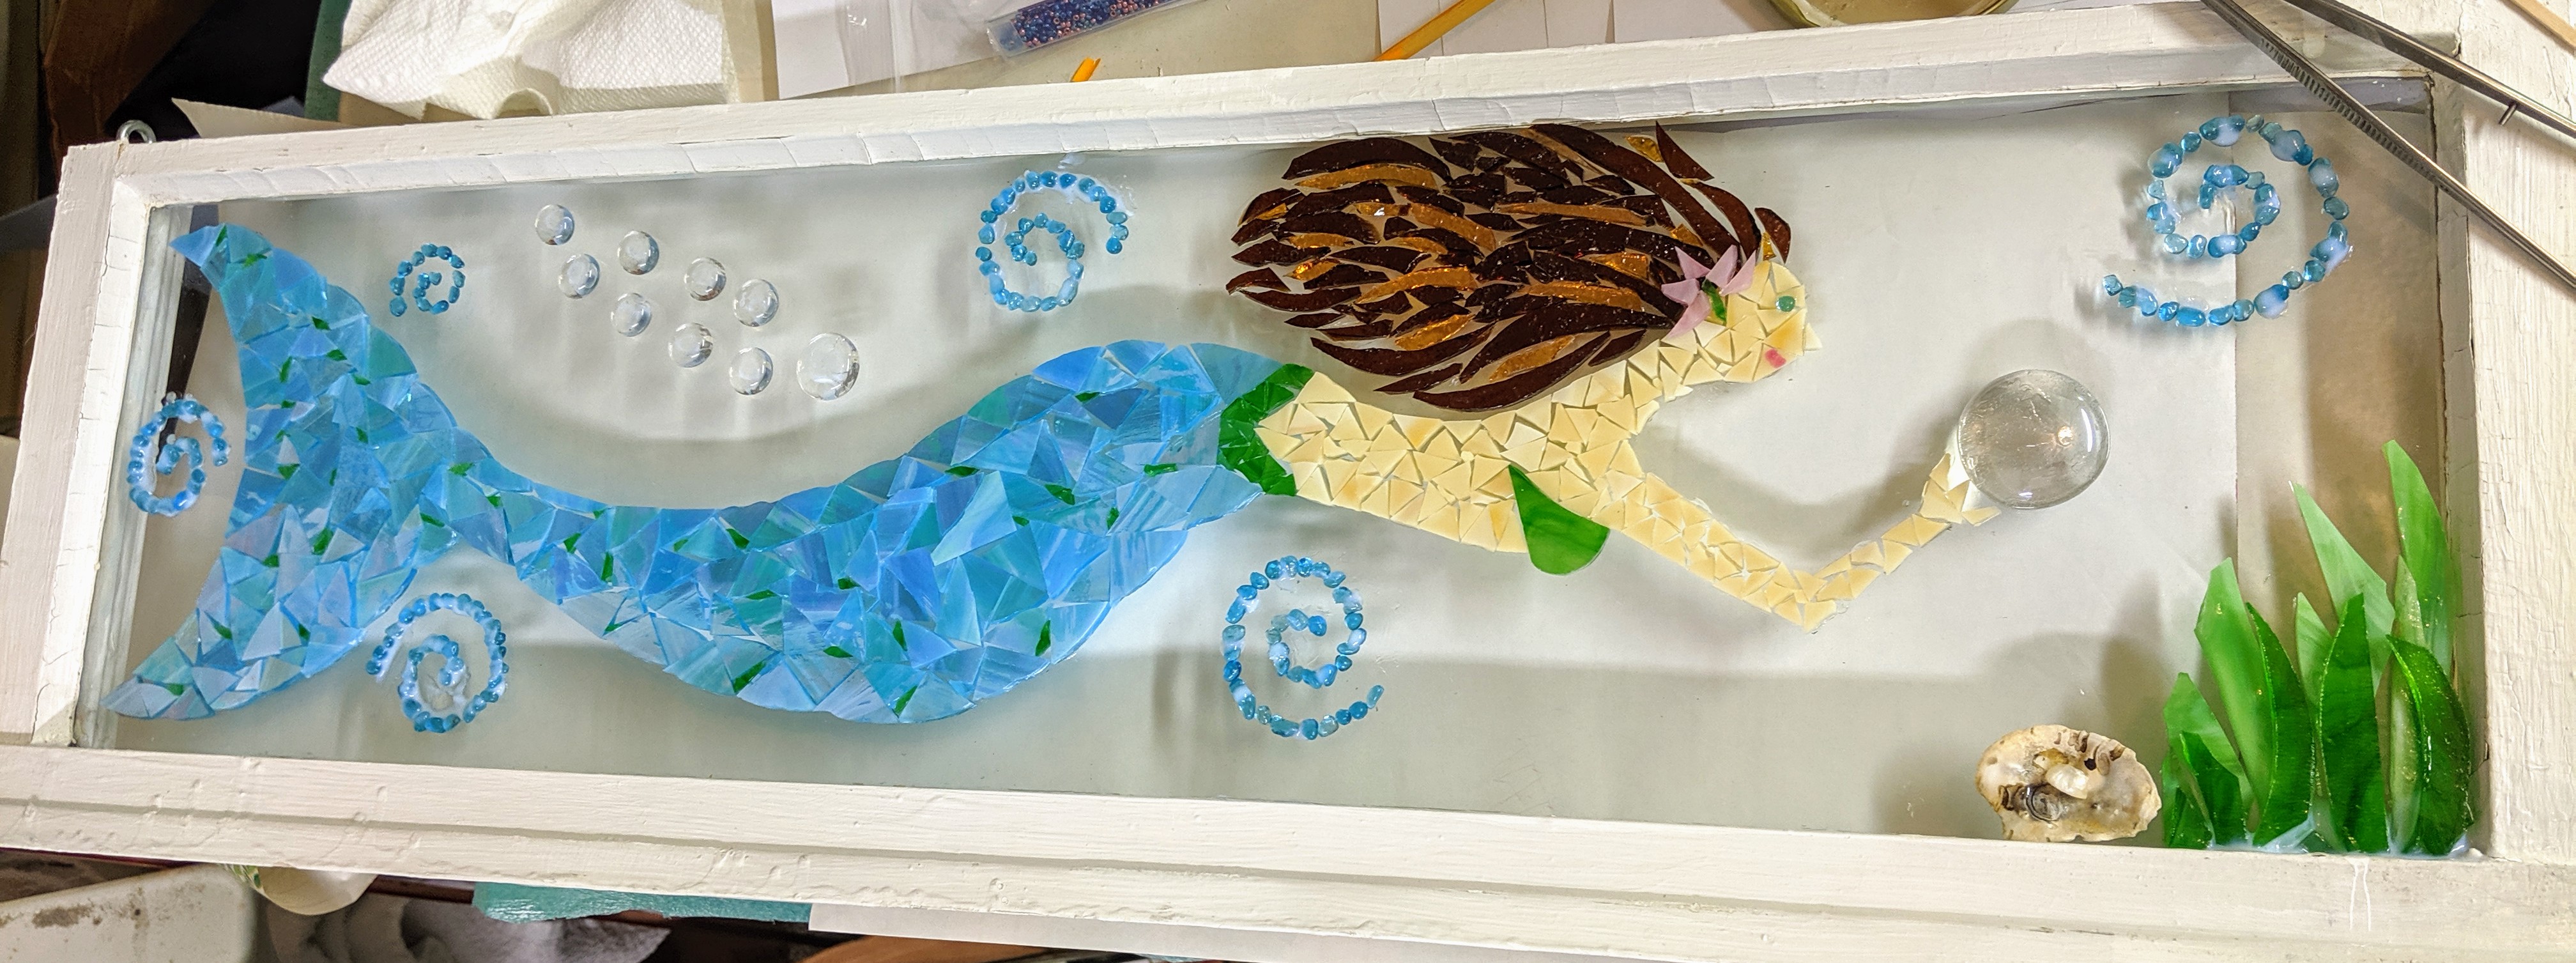
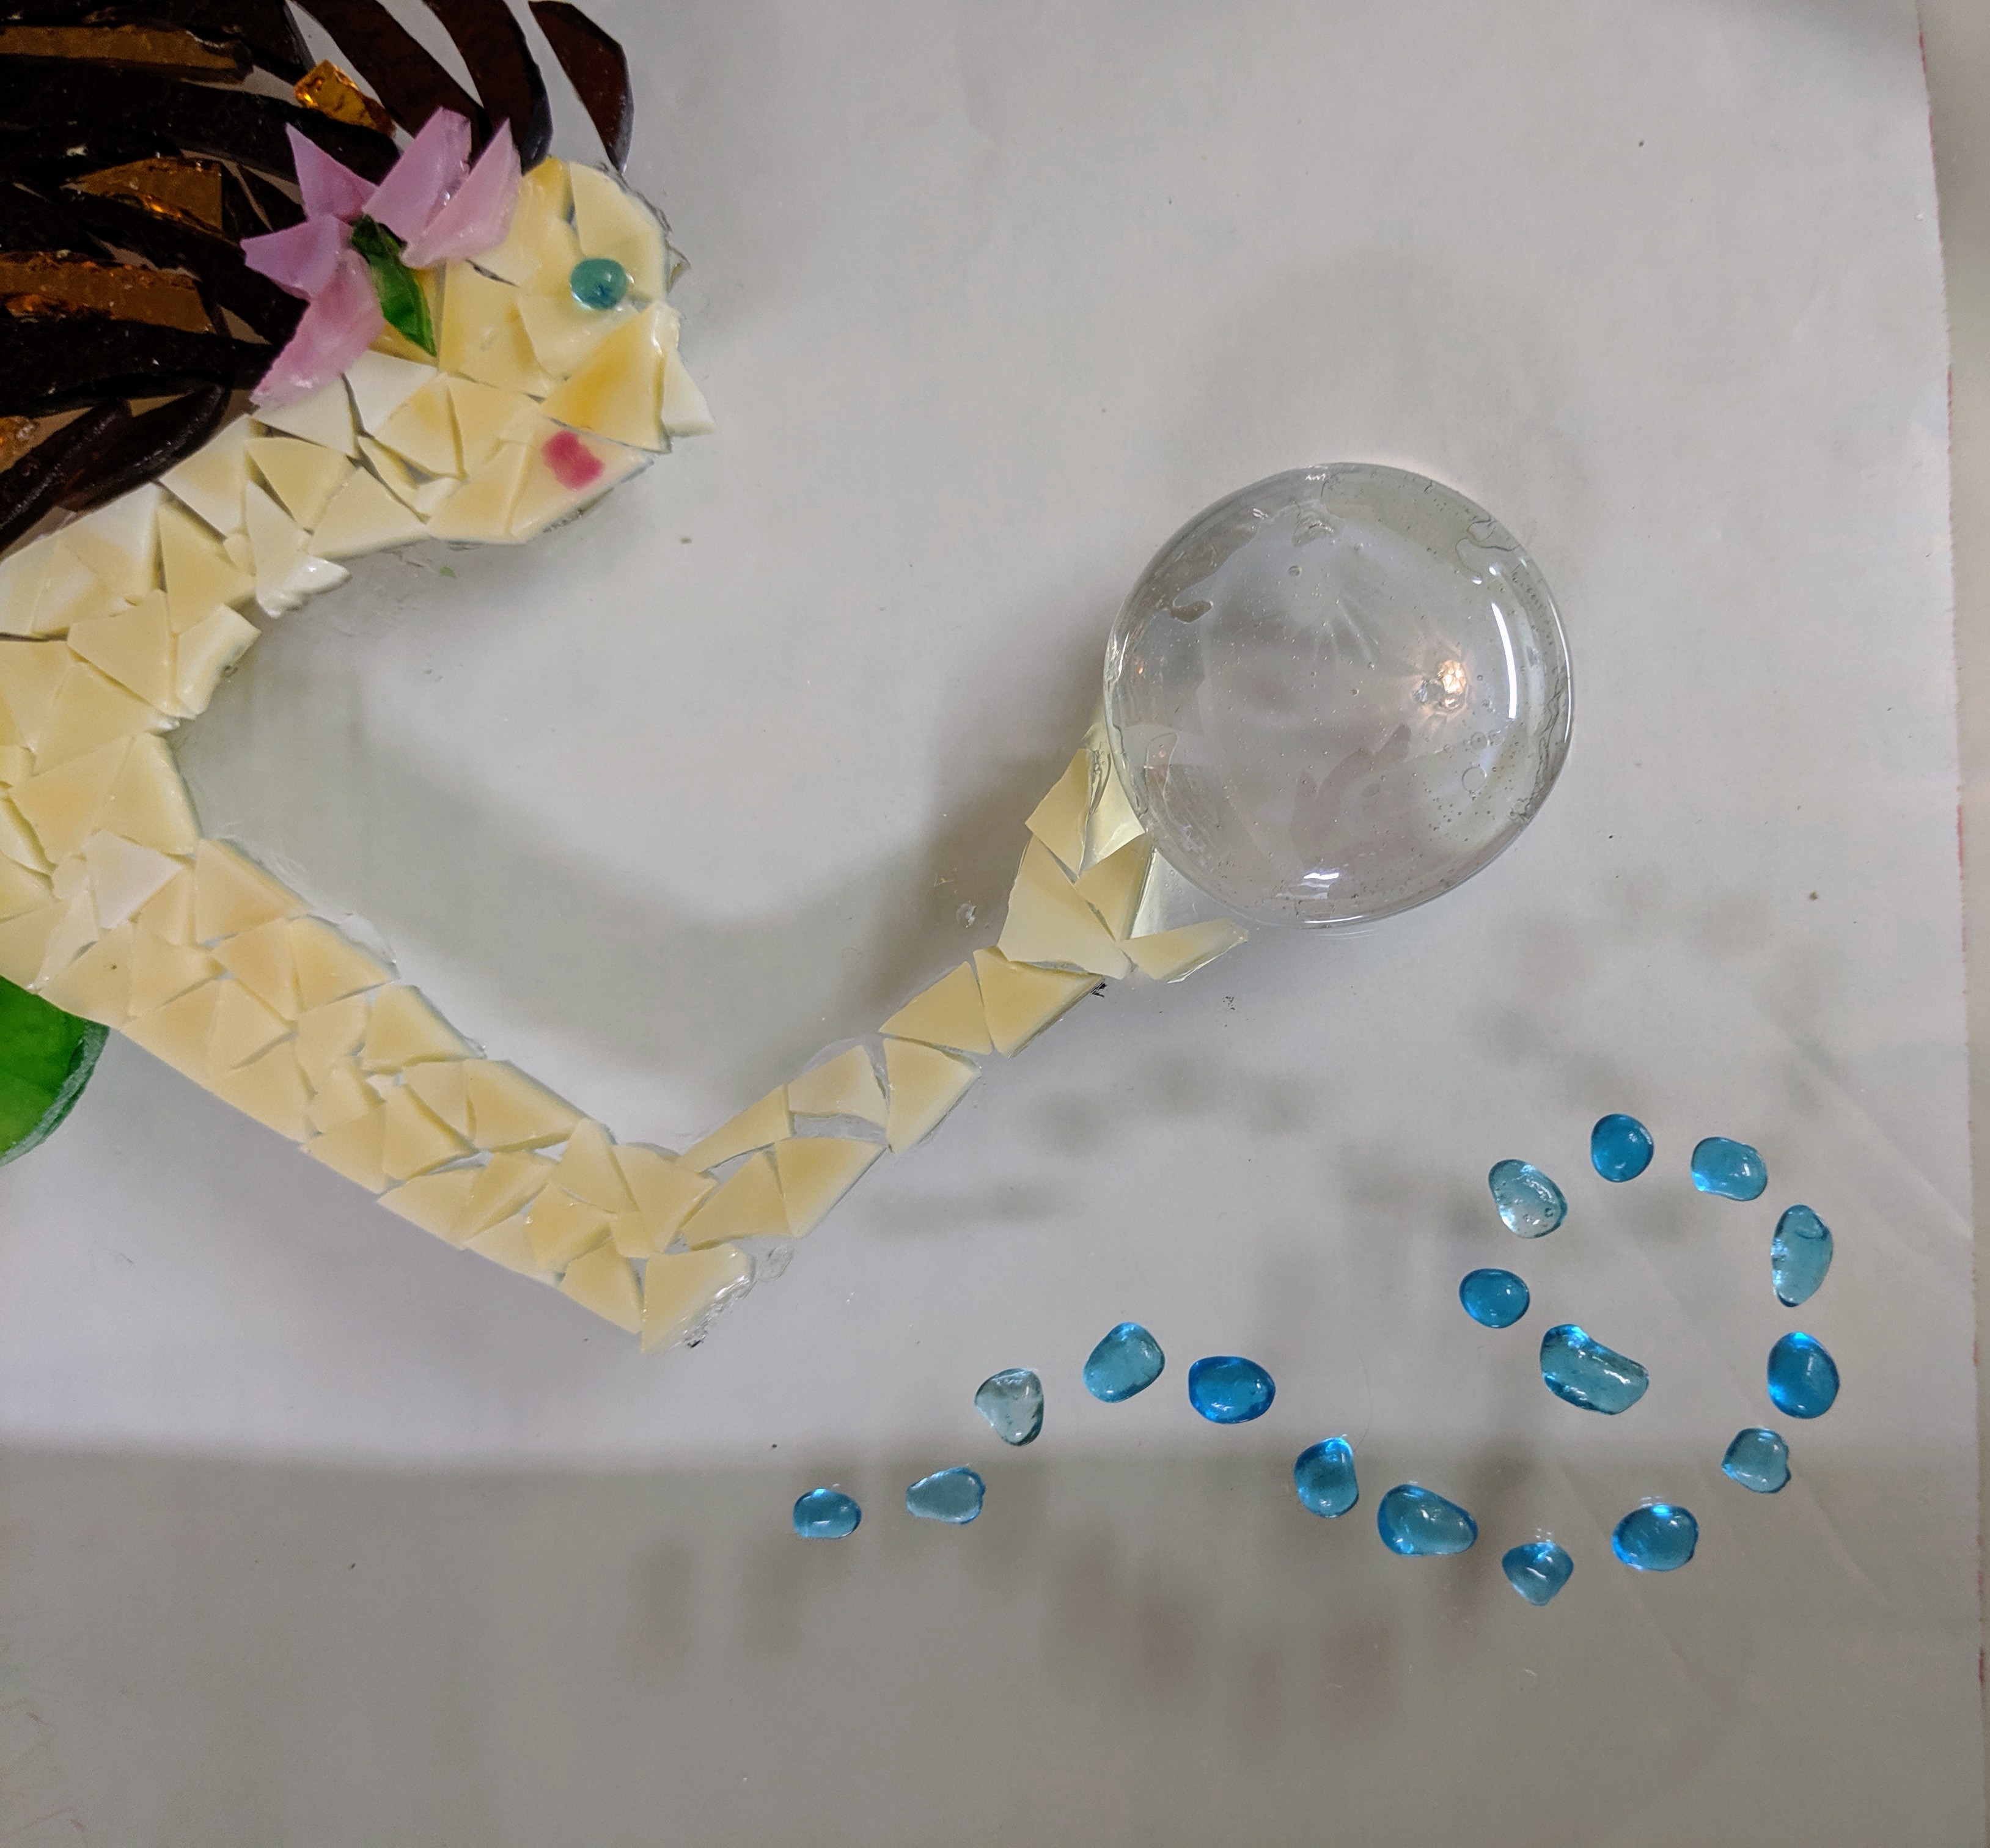
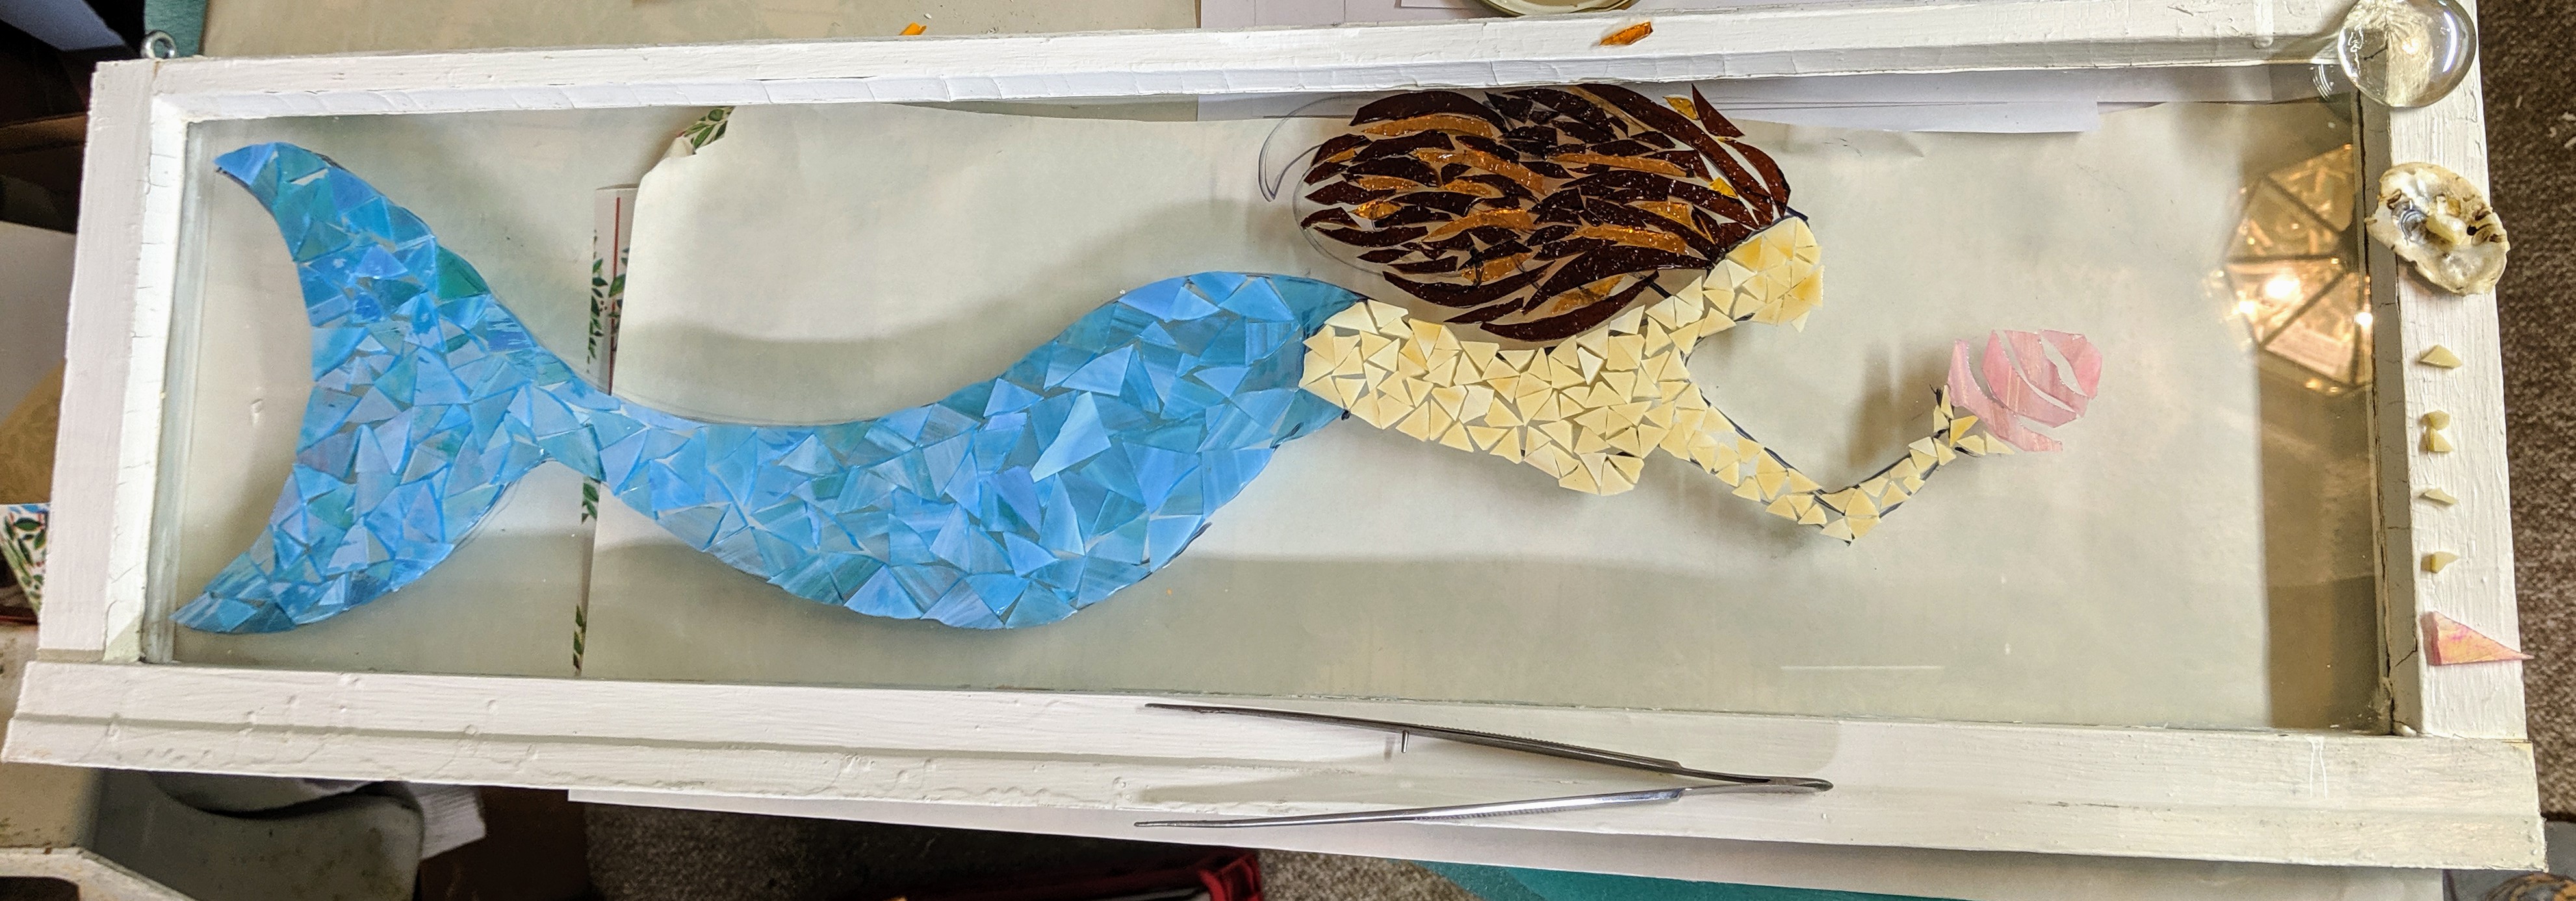
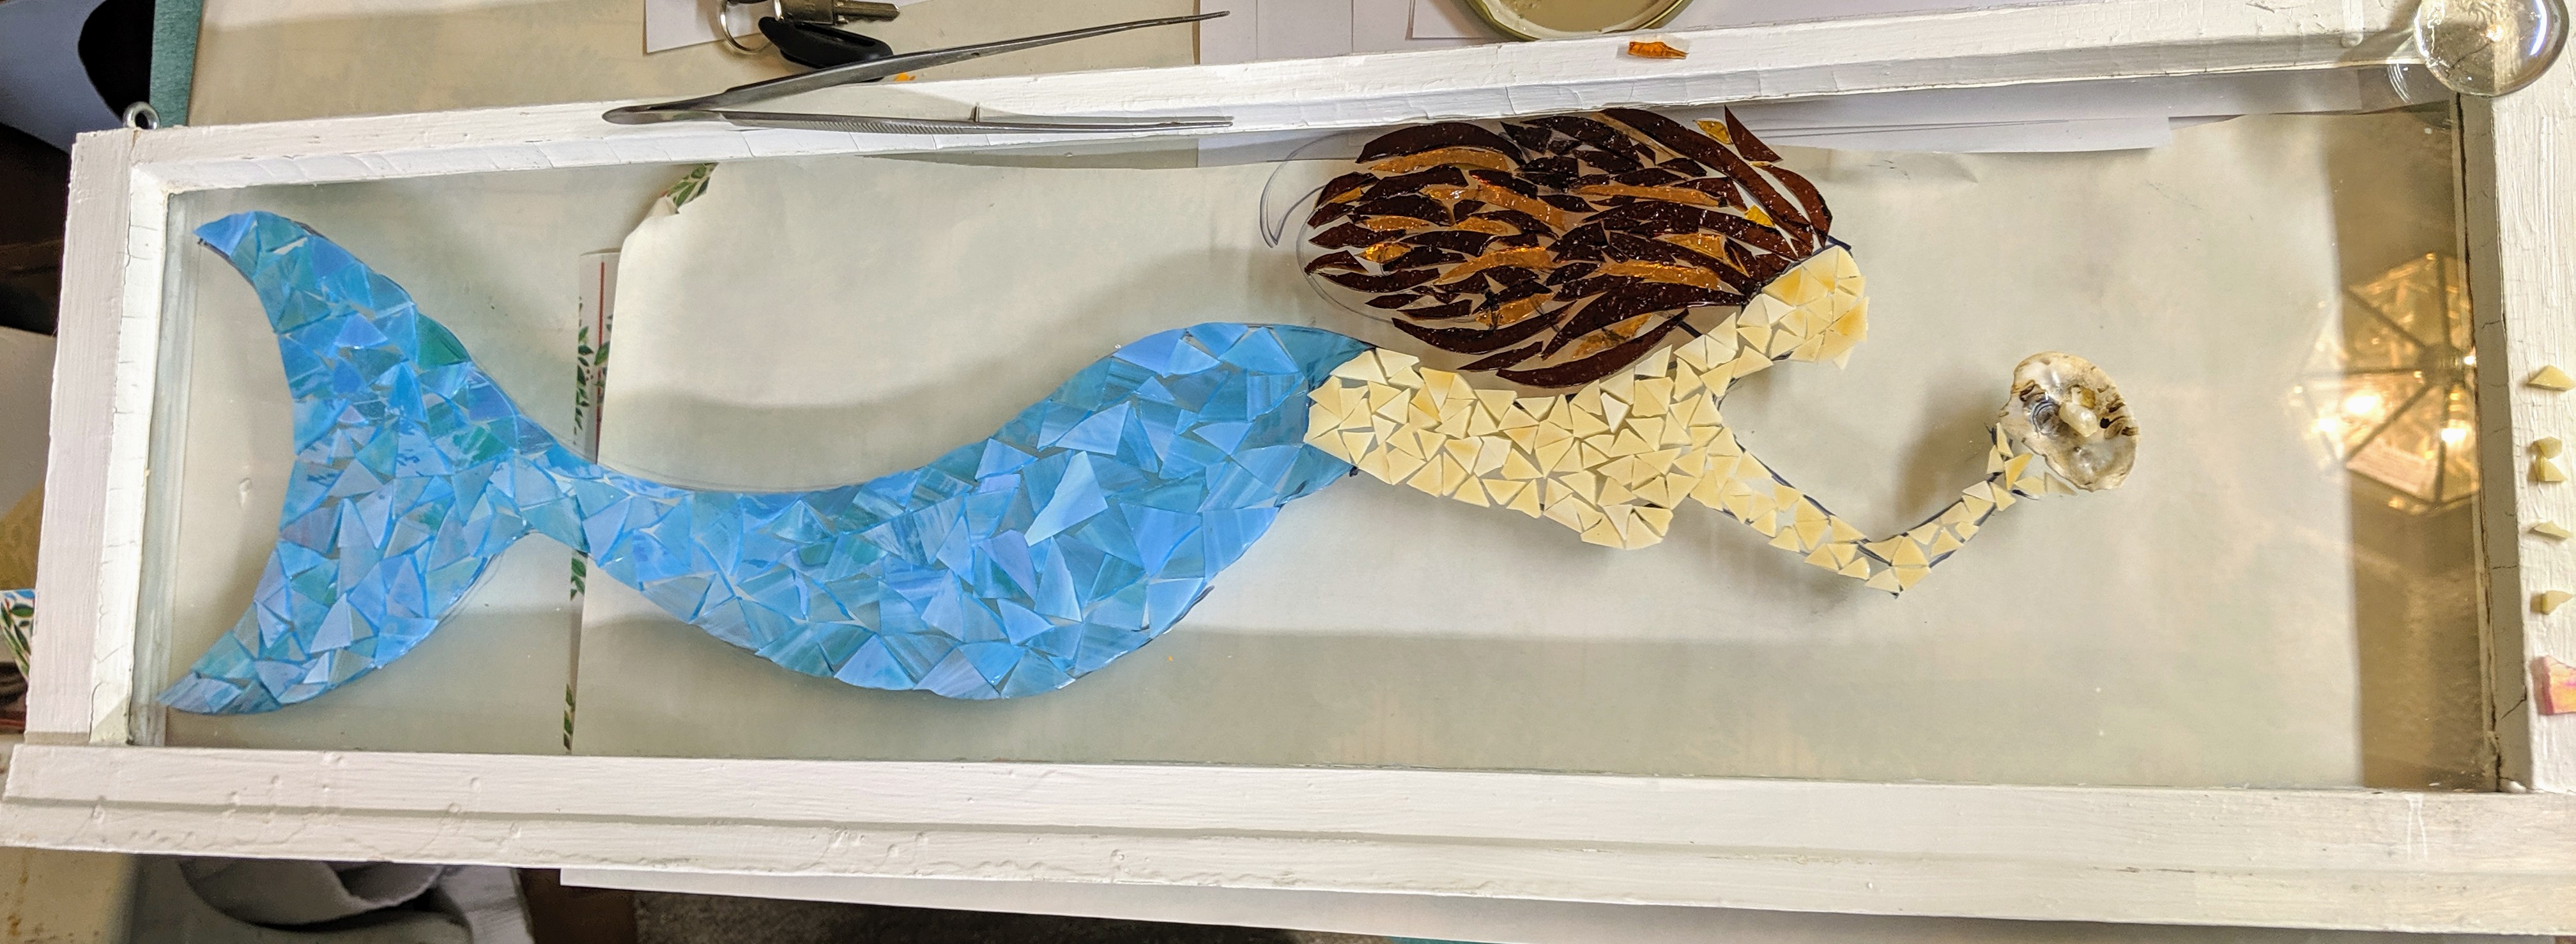
After comparing a few alternatives, I decided to give the mermaid a bubble to hold. I really liked the flower, though, so I added it to her hair. I also started embellishing her tail with some green accents and gluing down her upper body. I was able to pretty much finish her today, now I have to plan how I will decorate the background around her when I pour the resin.
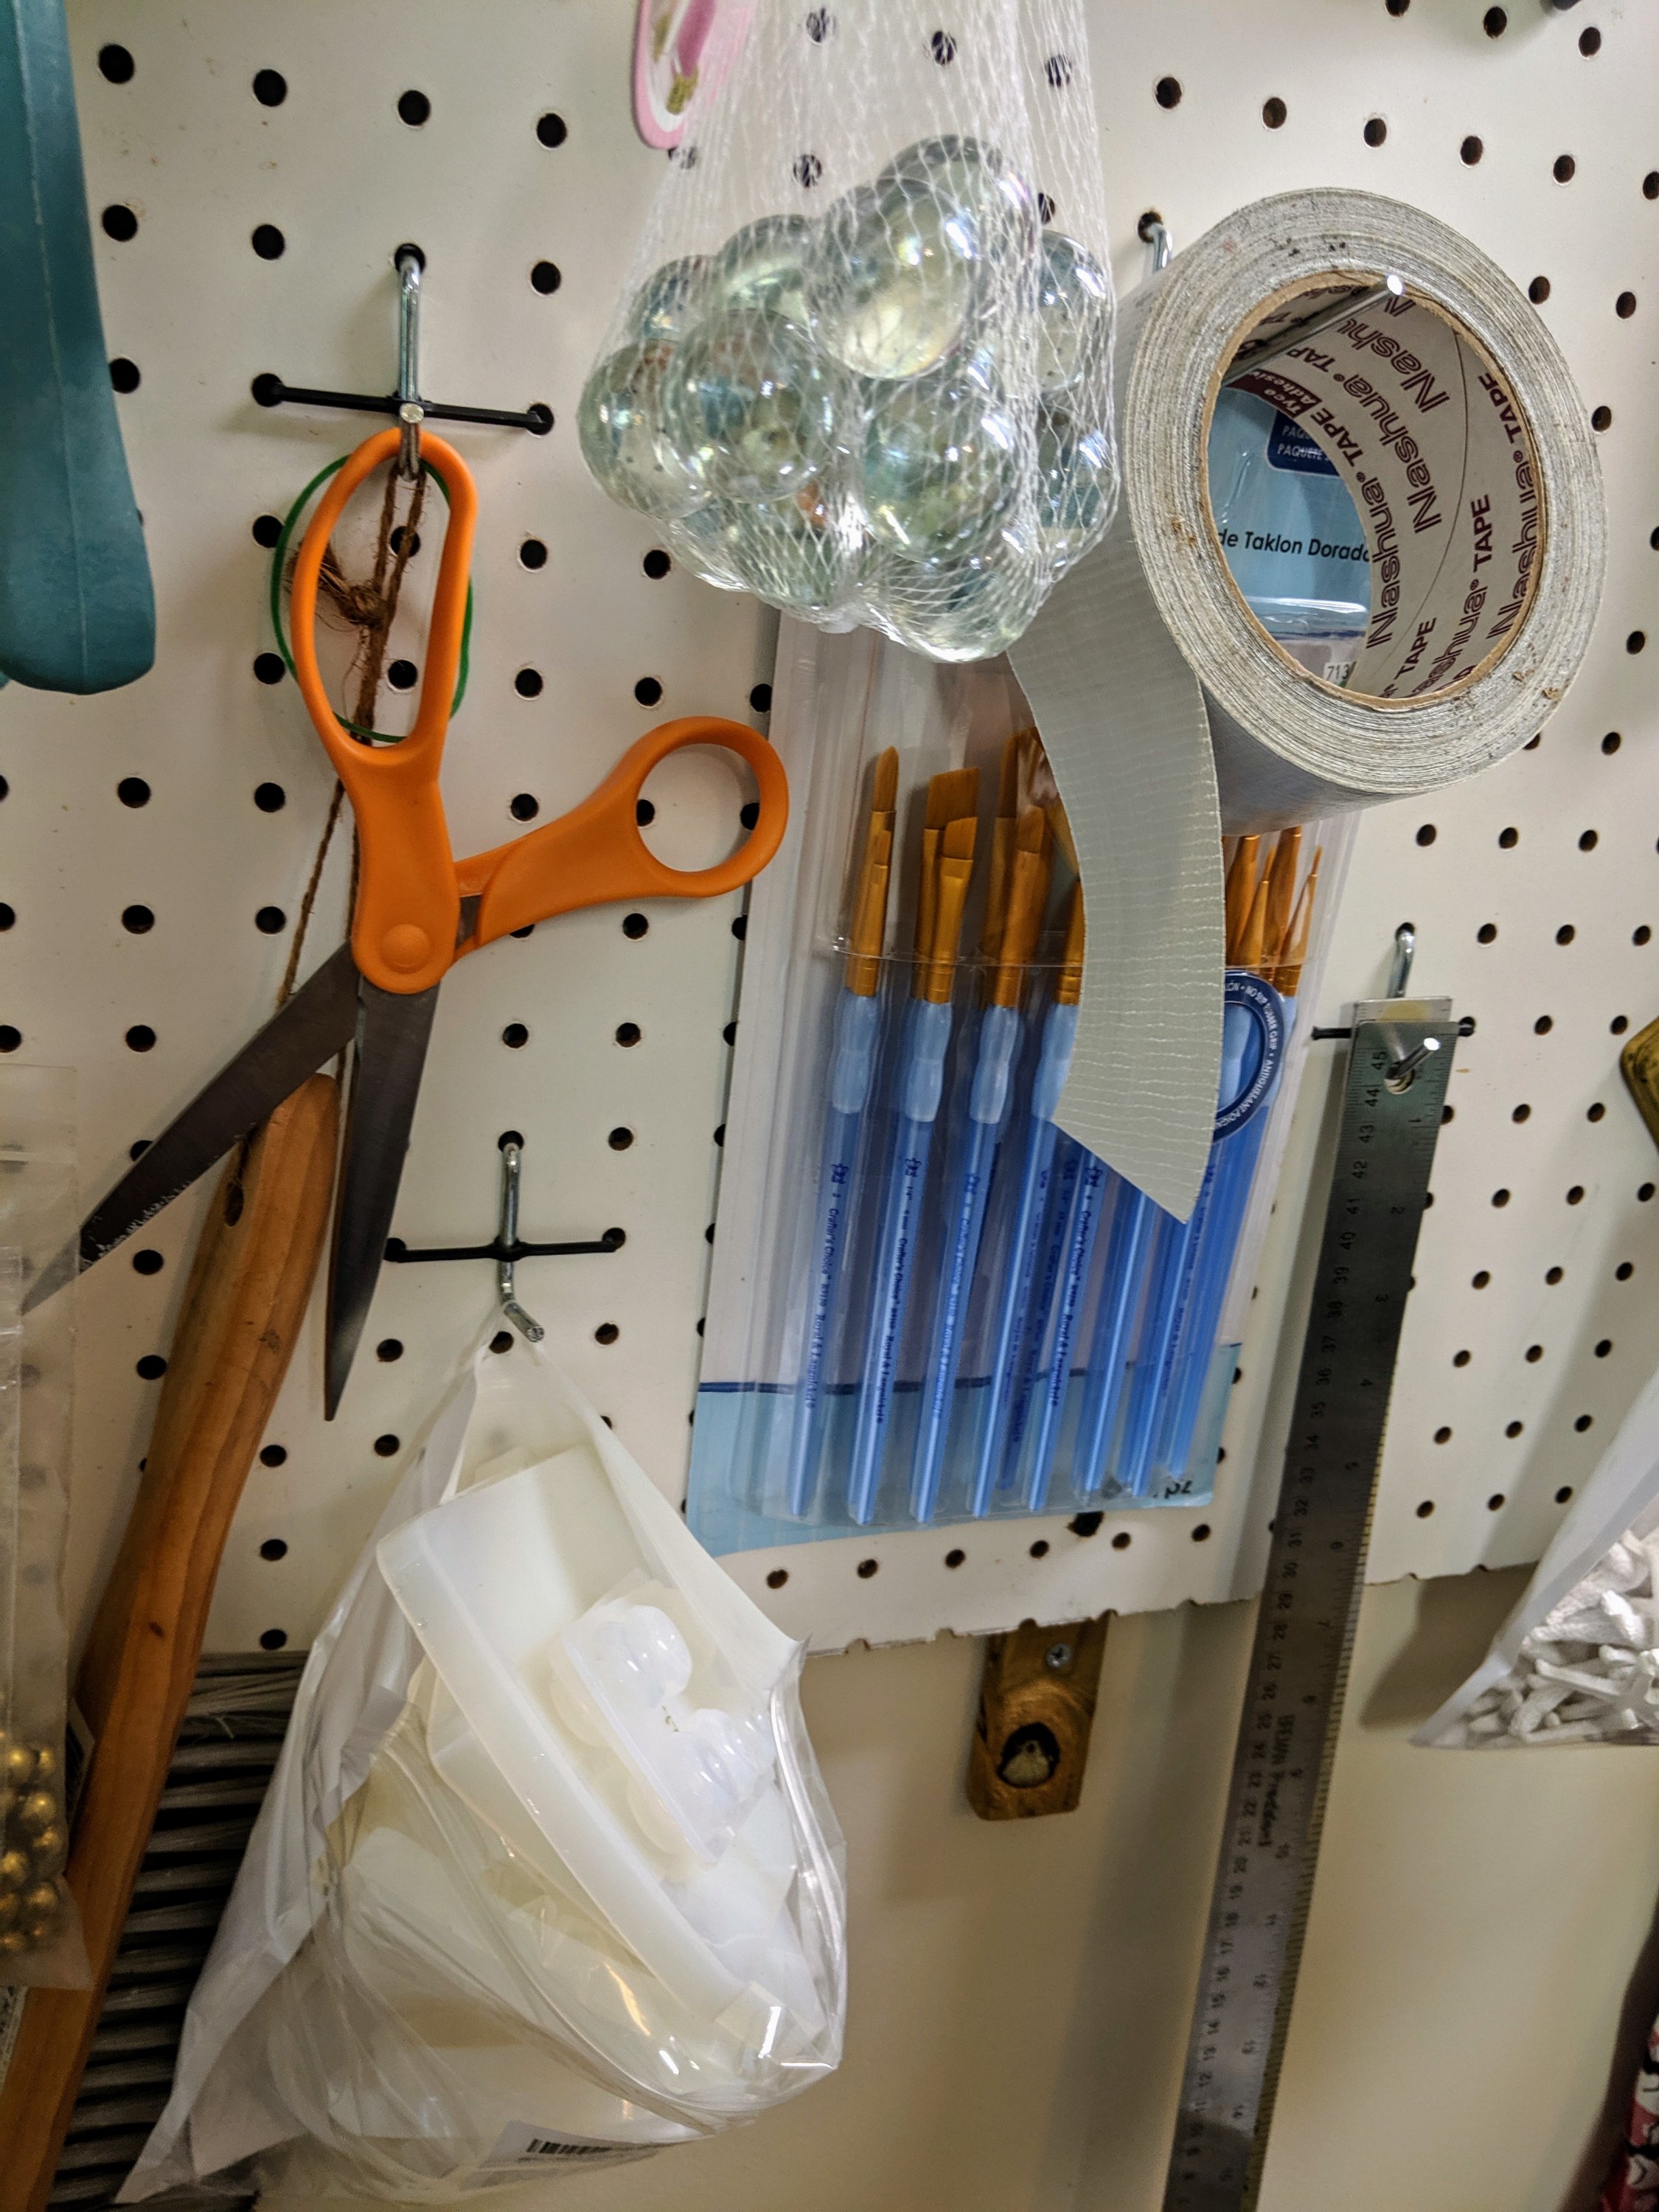
I have all sorts of options for embellishing the background.
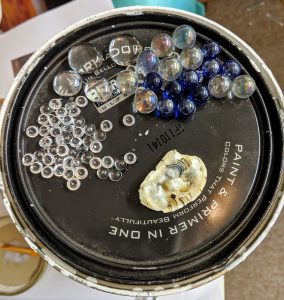
I’d like to add some swirls and bubbles, but the placement of everything can be hard for me to figure out, so I generally lay out several samples and move them around to help me decide.
Today I was able to glue down the mermaid’s tresses and start thinking about her upper body. I spent almost all day working on her.
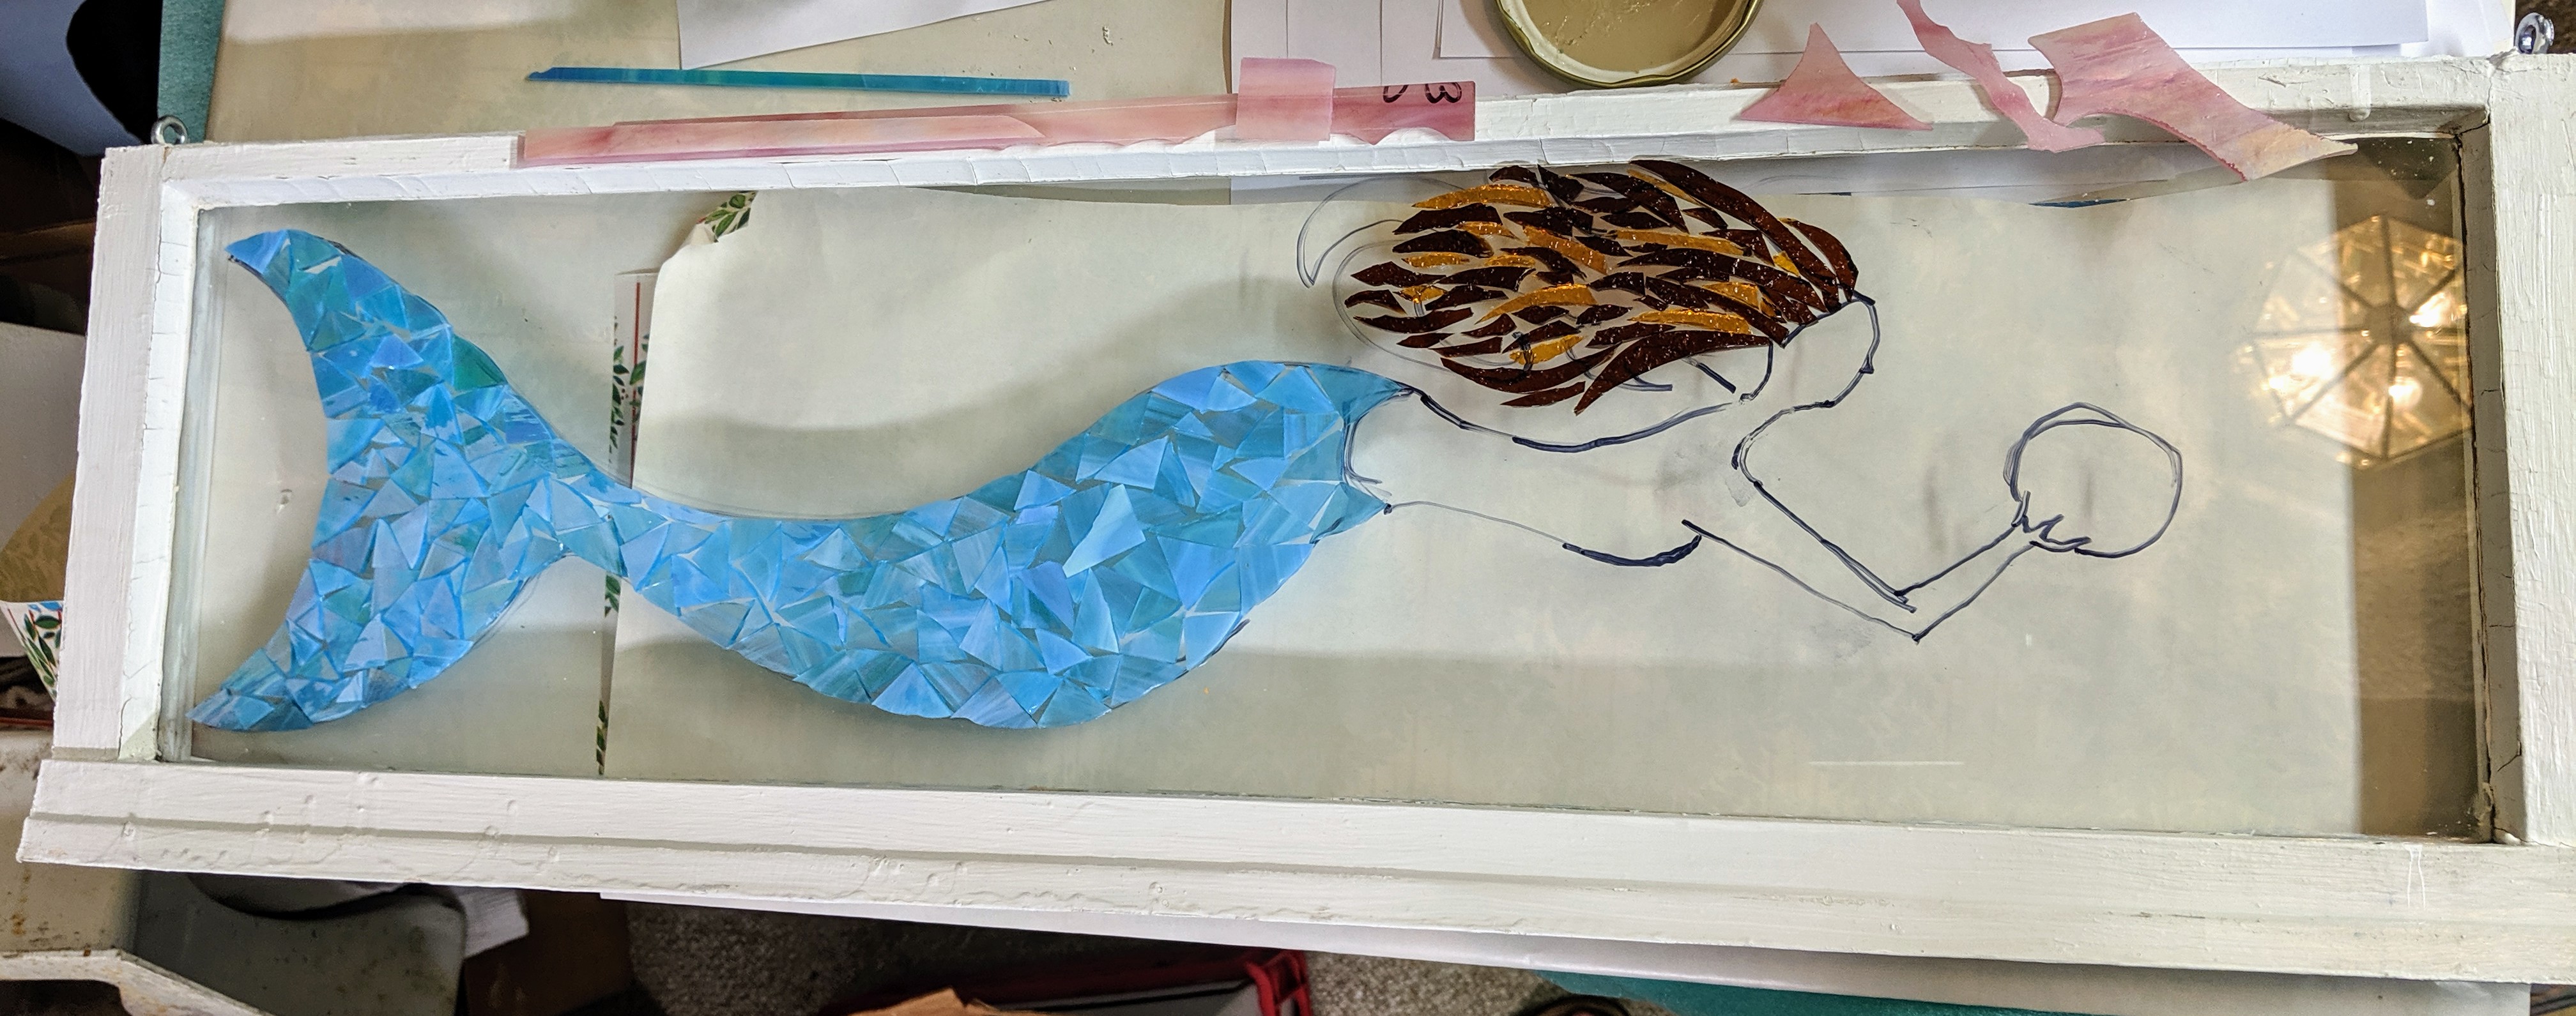
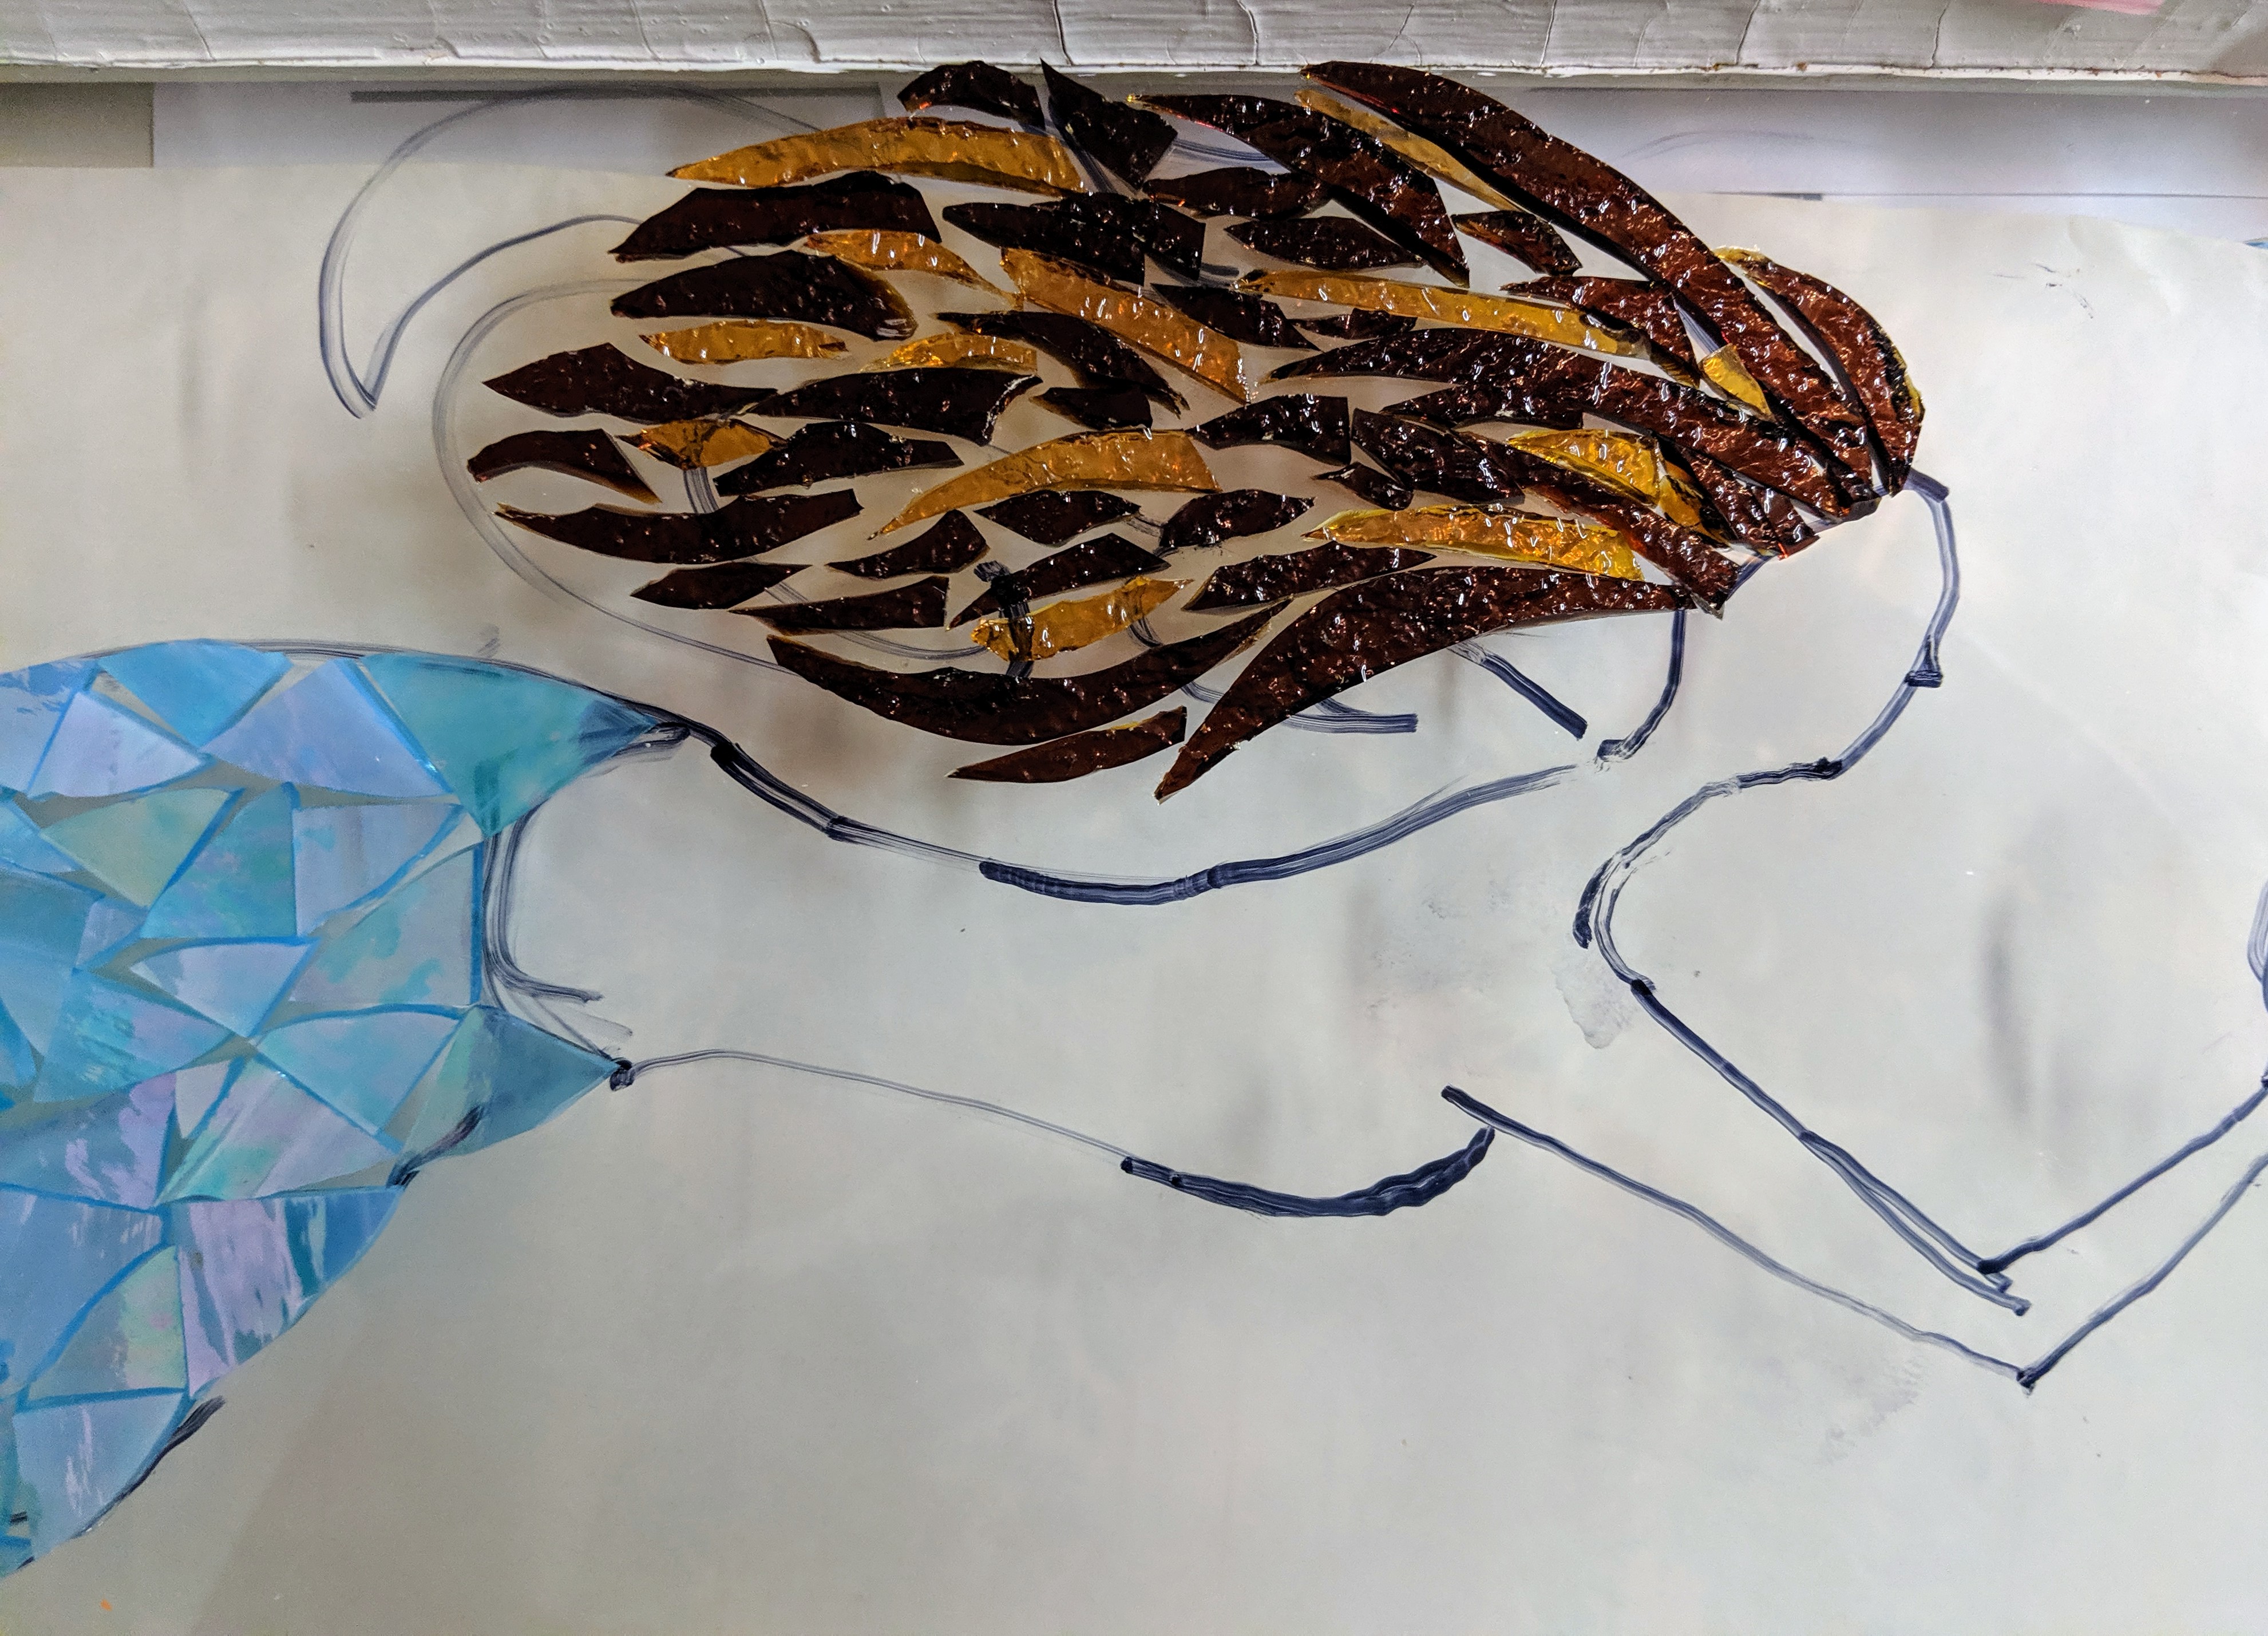
I used two colors of the same type of stained glass for her hair – a rich brown and an amber hue. My son says it looks like her hair is on fire. I arranged the pieces of glass and added a few details here and there as I glued it in place.
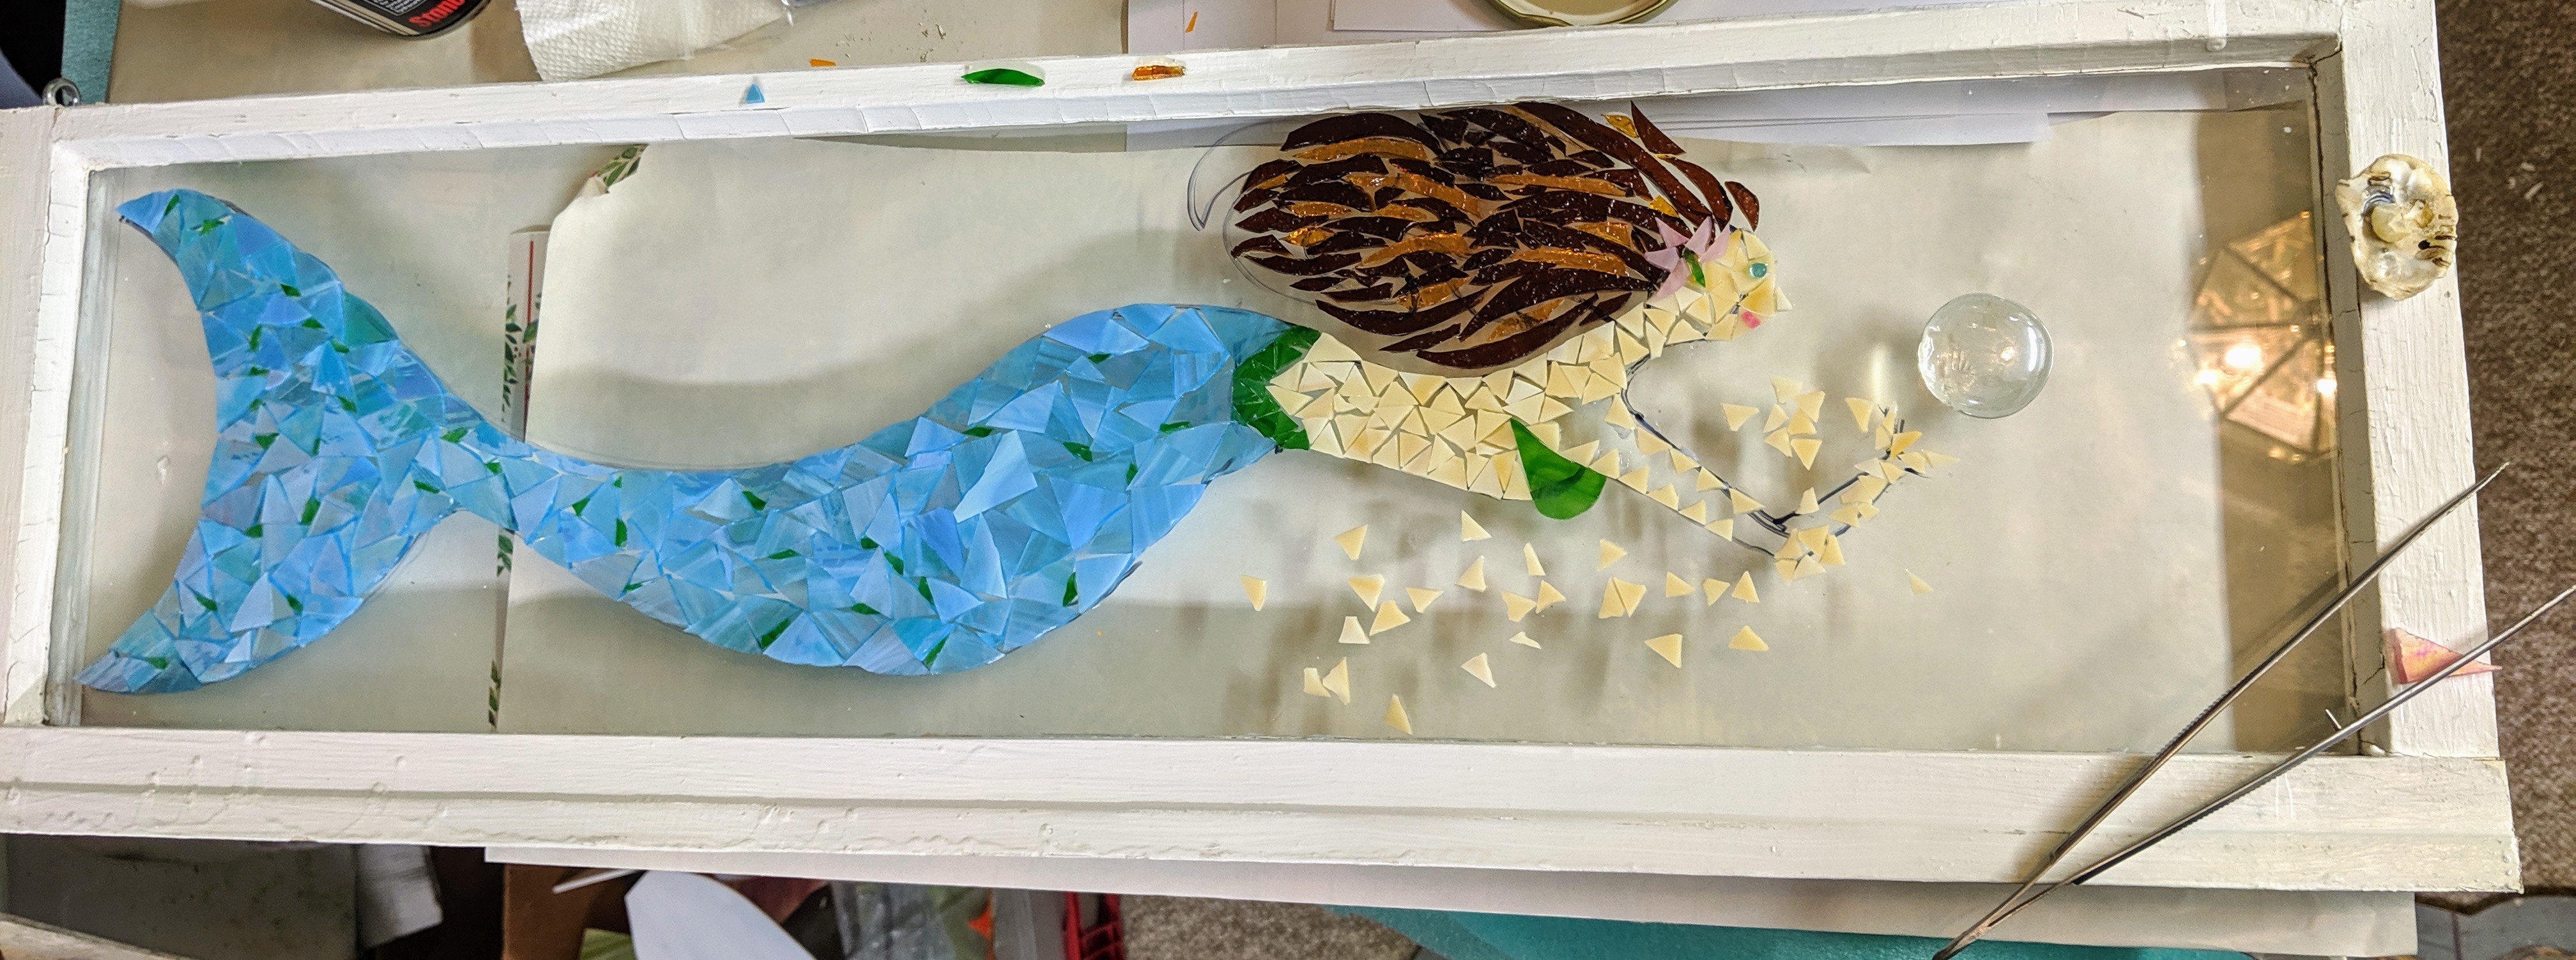
Once I had her hair done, I started trying out various colors for her upper body. This is my first round. None of her upper body / arms is glued (or really properly arranged) yet. I started with the sandy / tan glass and so far I think I like it. I would like to give her more depth, though, so I might need to incorporate some other shades, or just let her be sort of flat. I also can’t decide what she will be holding in her hands. Originally I planned for her to be holding a large marble (bubble), but the marble I have is not the right size (seems too small). I tried a large glass glob, and that seemed to be the right size, but it doesn’t add much in the way of interest to the overall piece. Then I thought I might use some of the pink glass I was thinking about using for her body and make a lotus flower out of it. I haven’t cut the glass for that yet, but it’s a possibility. I like the way the pink brings some interest to the mosaic, but I will also be decorating the background and will have the opportunity to add some interest then.
Today I was able to pretty much finish the mermaid’s tail. I used Mac glue to secure the pieces of glass around the edge of her tail, then arranged the rest inside the ones that are glued down. This way the glass pieces at the outer edges of the design will hold the rest of the glass pieces in place. I can do this because the resin will hold everything in place when I pour it in the last step of making the window.
I’ve been planning this mermaid in my head, little by little, but sometimes the decisions about layout and color are more difficult than others. While I was filling in her tail, I was thinking about what color to use for her upper body, but I am having trouble making up my mind. This is partially because I have a bunch of glass on hand and I want to use some of it, rather than buying more (so I am limited in my options), and partially because I can’t easily envision how she will look in the end with one shade of pink, cream, brown or tan vs. another. I even considered using something unusual like green. There are so many options!
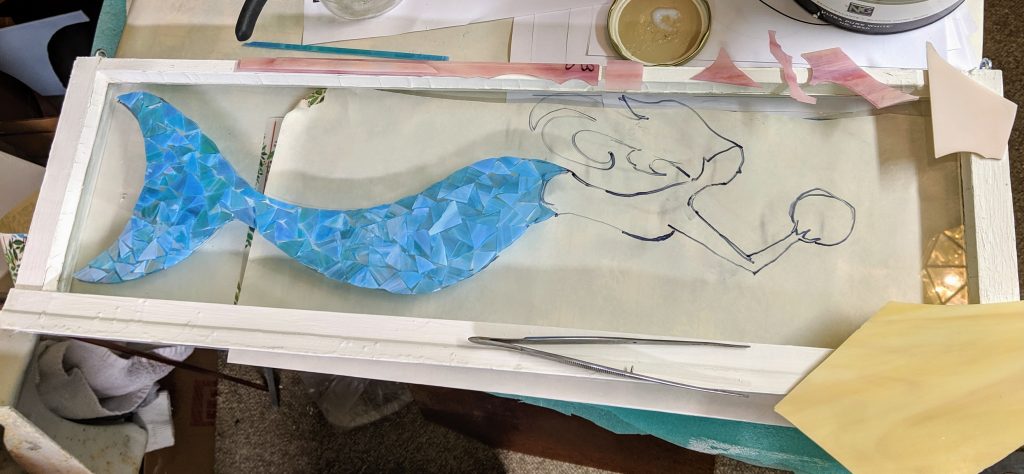
I have a feeling I will end up trying a few different options rather than jumping in with the “right” one from the start. I did have some luck choosing the glass colors for her hair, however, as I ran across two shades of amber/brown that seem to complement each other (see below). I guess for now I will start working on her tresses and then revisit her upper body to see which shade looks best with her blue tail and new head of hair.
It’s interesting because when I started thinking about the mermaid, I thought her hair would be the most difficult part to do. It’s turning out that her upper body is the hardest part of the project for me to plan.
After I finished pouring the last layer on yesterday’s batch of coasters, I decided to stay close and spend some time on the mermaid mosaic.
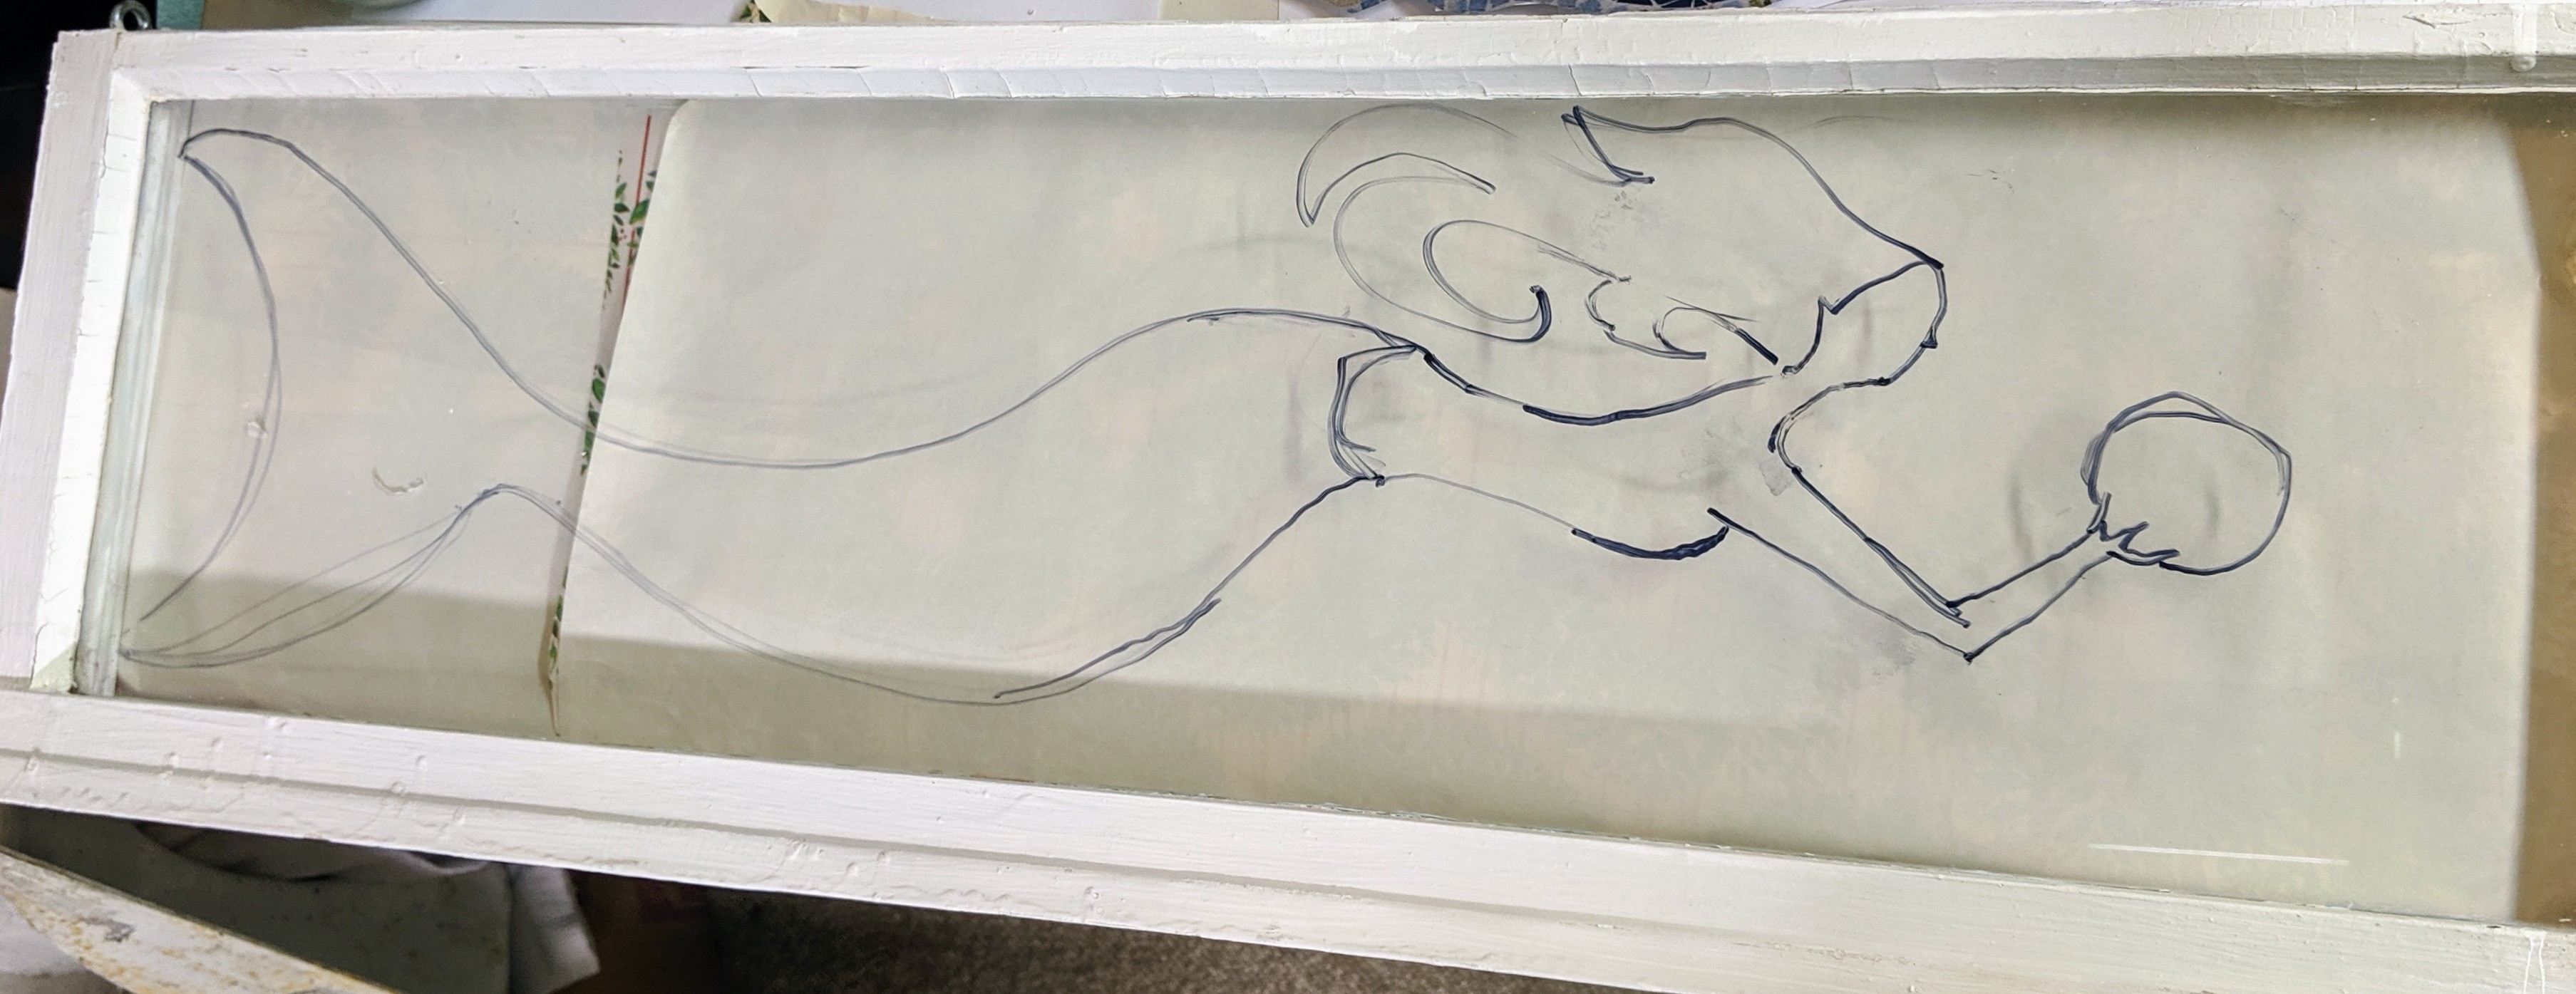
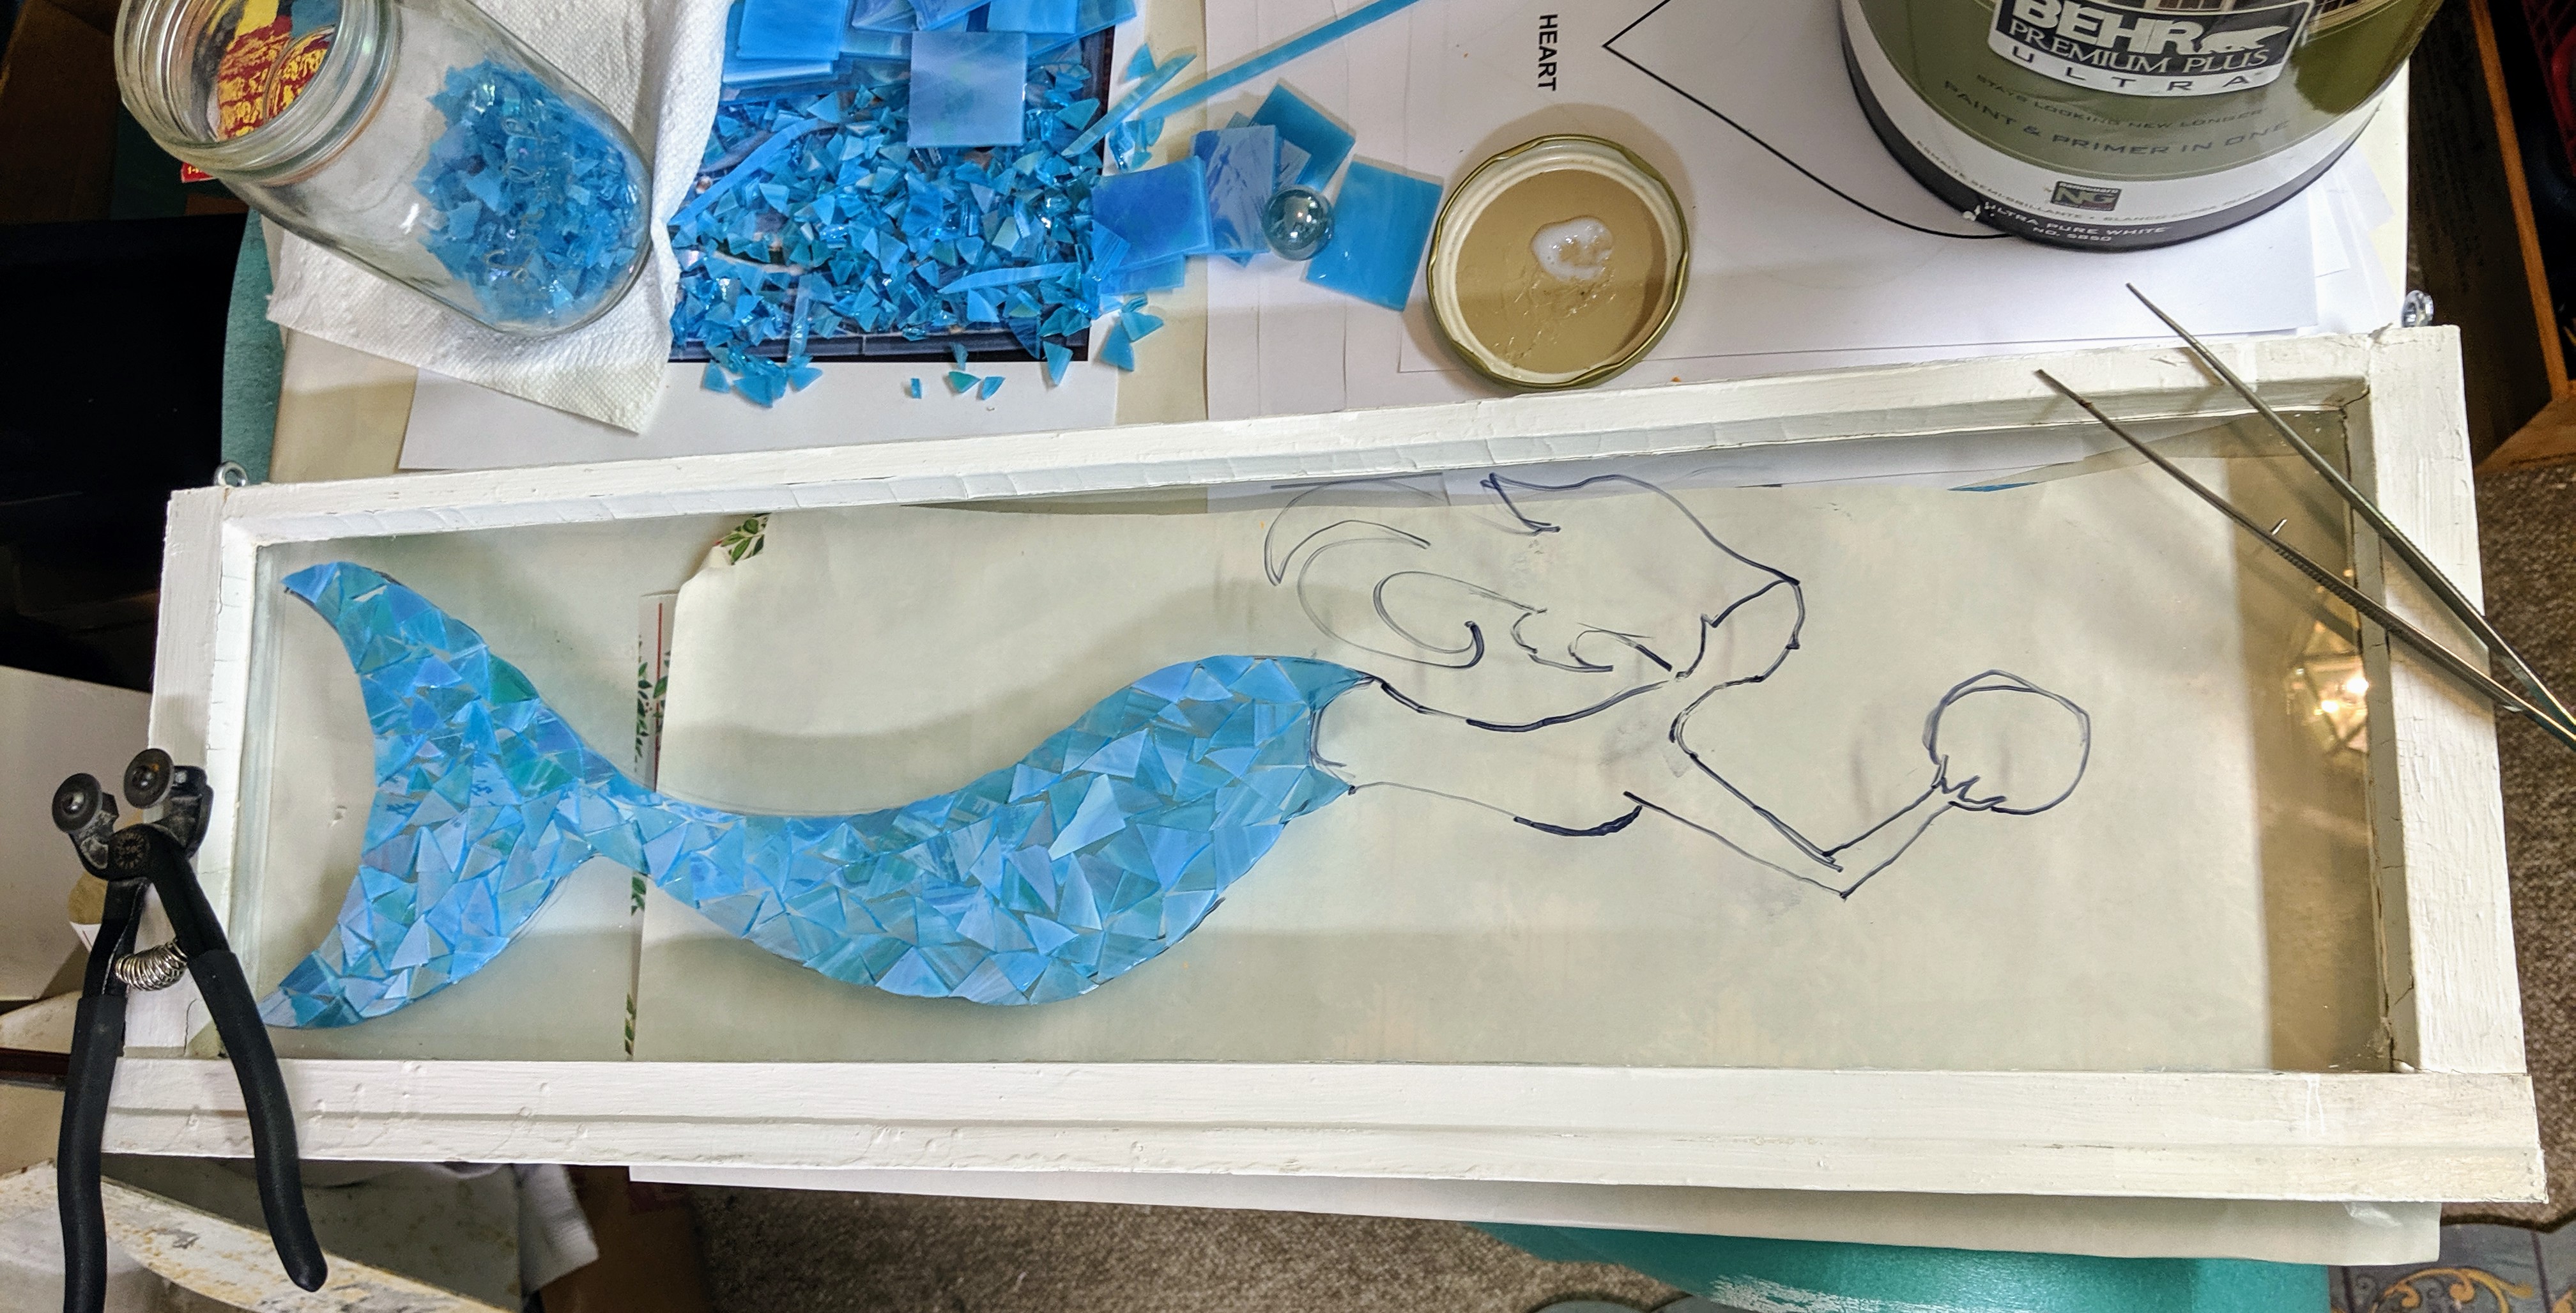
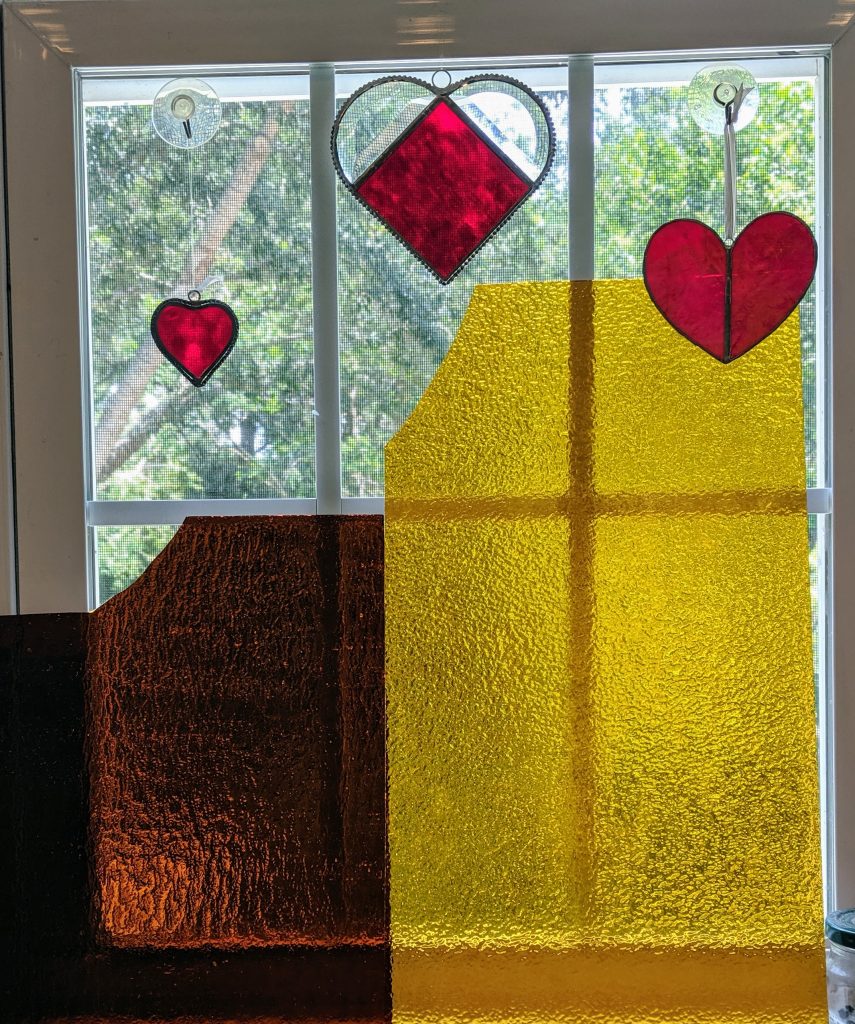
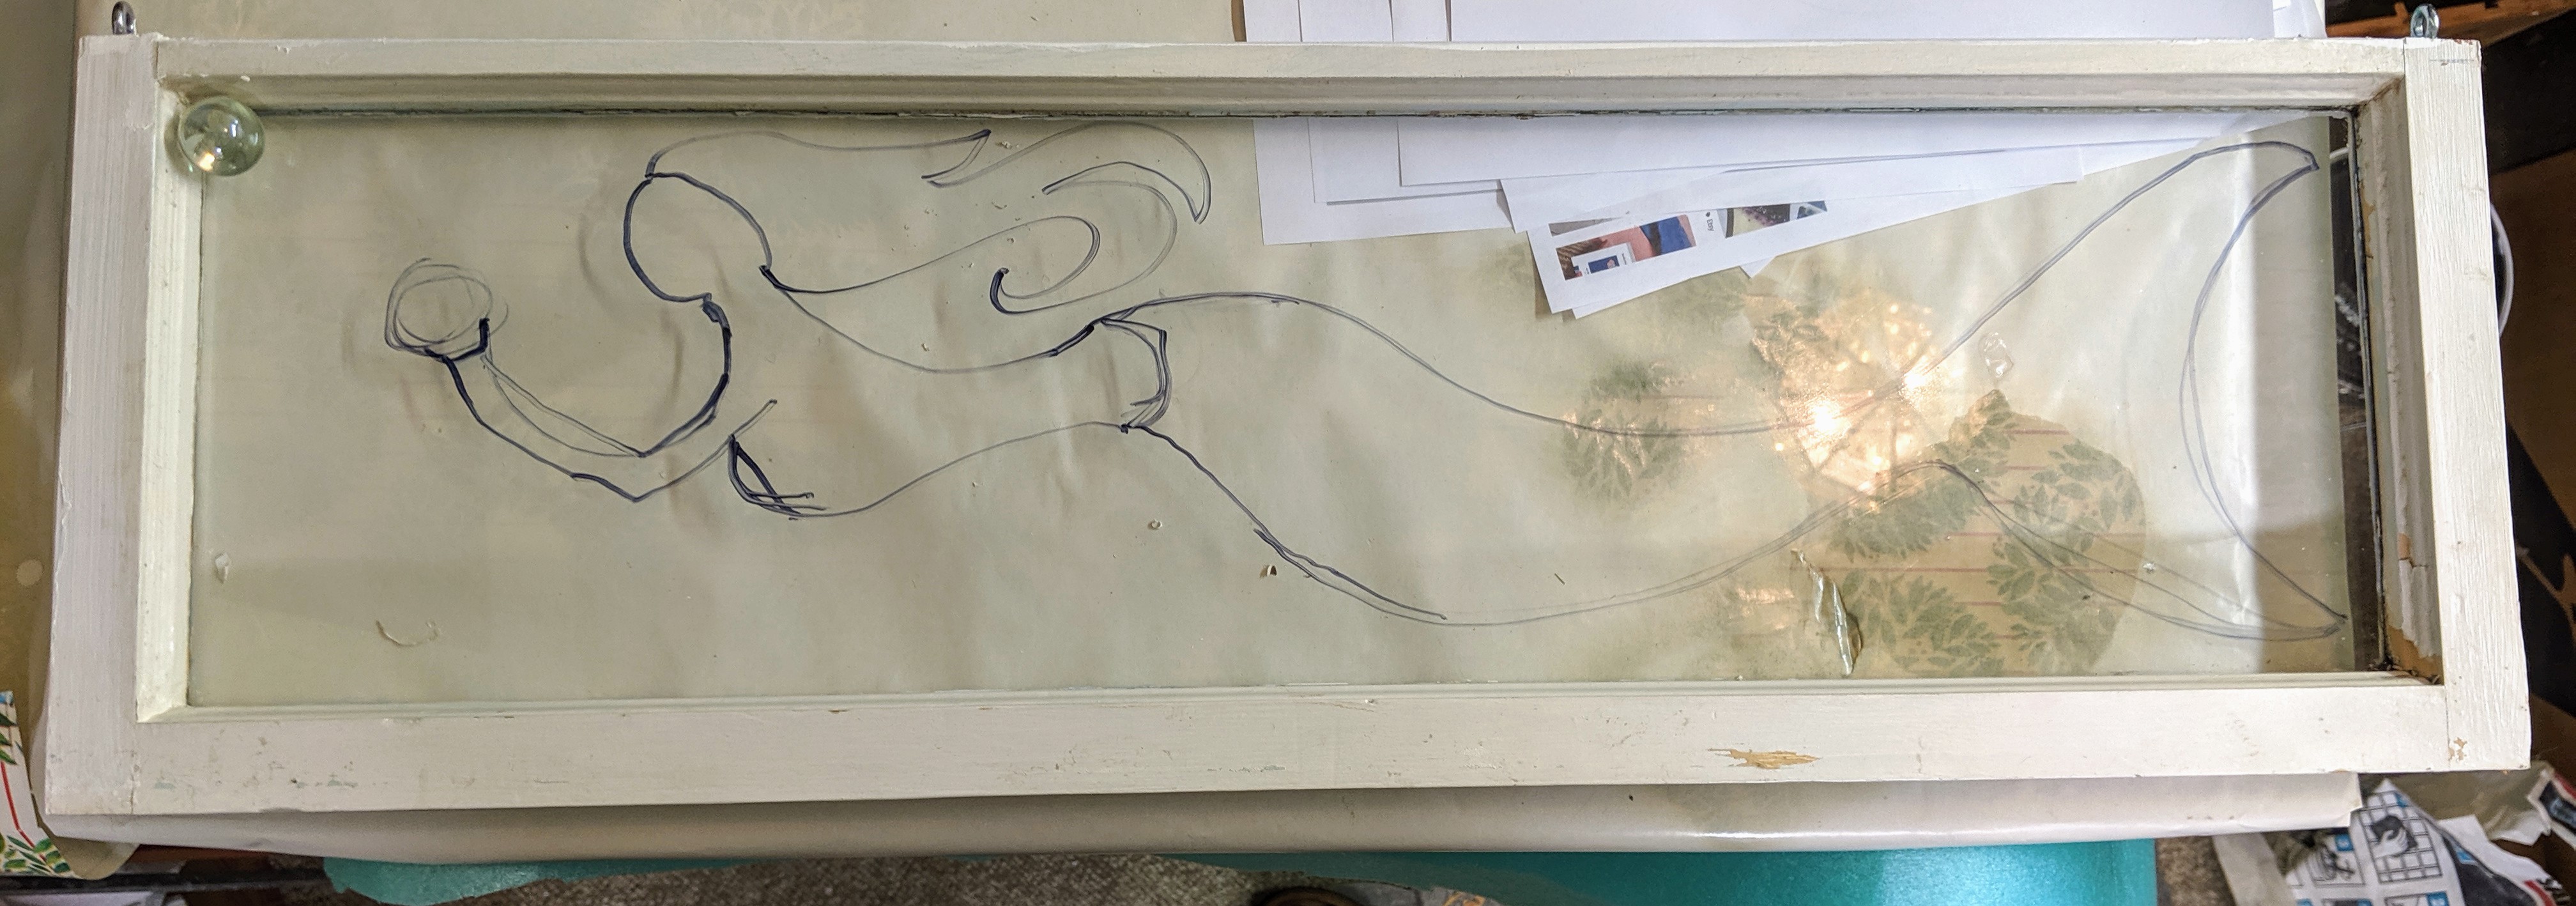
I made some tweaks to the sketch to move the mermaid’s head down away from the frame a bit, though I think I need to do a bit more adjusting to even out her body. The sketch is just a rough guideline, though, so no worries about making it perfect. I chose a light blue iridized Spectrum stained glass to use for the mermaid’s tail, though the iridized coating doesn’t really seem to show through very well once the resin coat is poured (in a later step). I still love the blue color of this glass even if the iridized look won’t be as prominent. I use it in a lot of my mosaics.
I started selecting the pieces of glass and arranging them from the tips of her tail and working up toward her head. This took about an hour before I was tired / worn out and needed a break. Now I’m starting to worry about what to do about her hair. 😉 There’s always tomorrow.
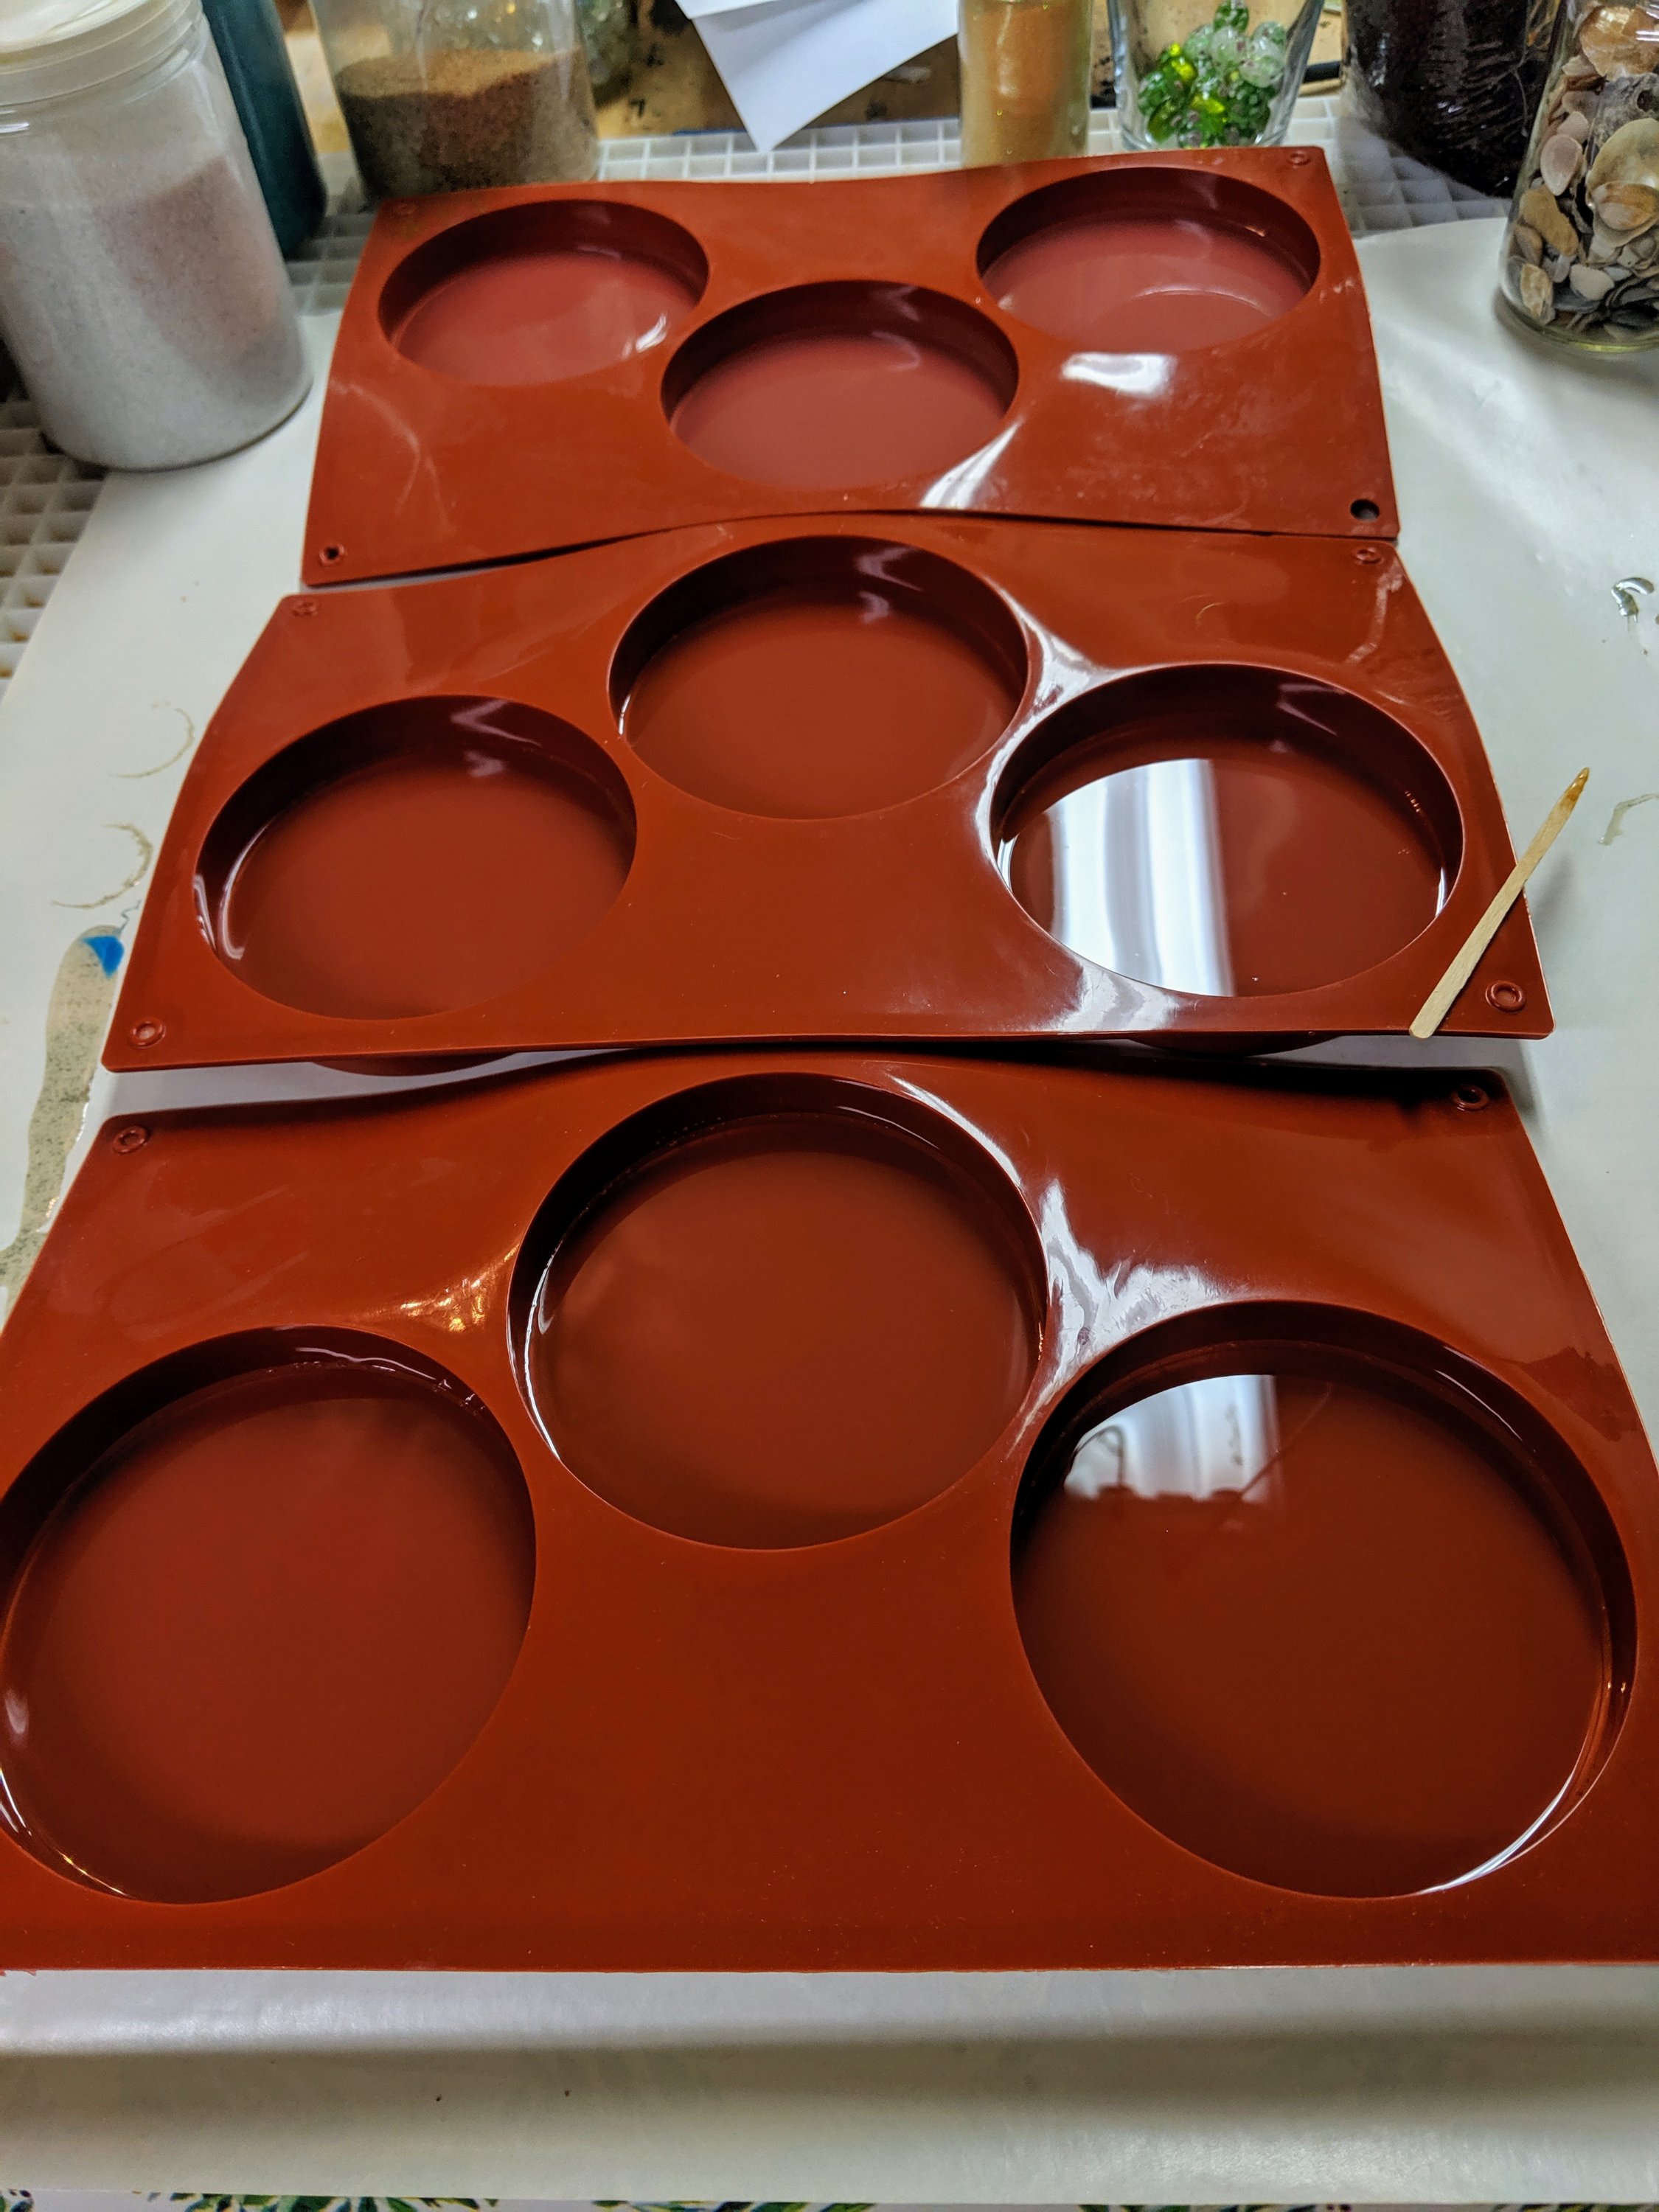
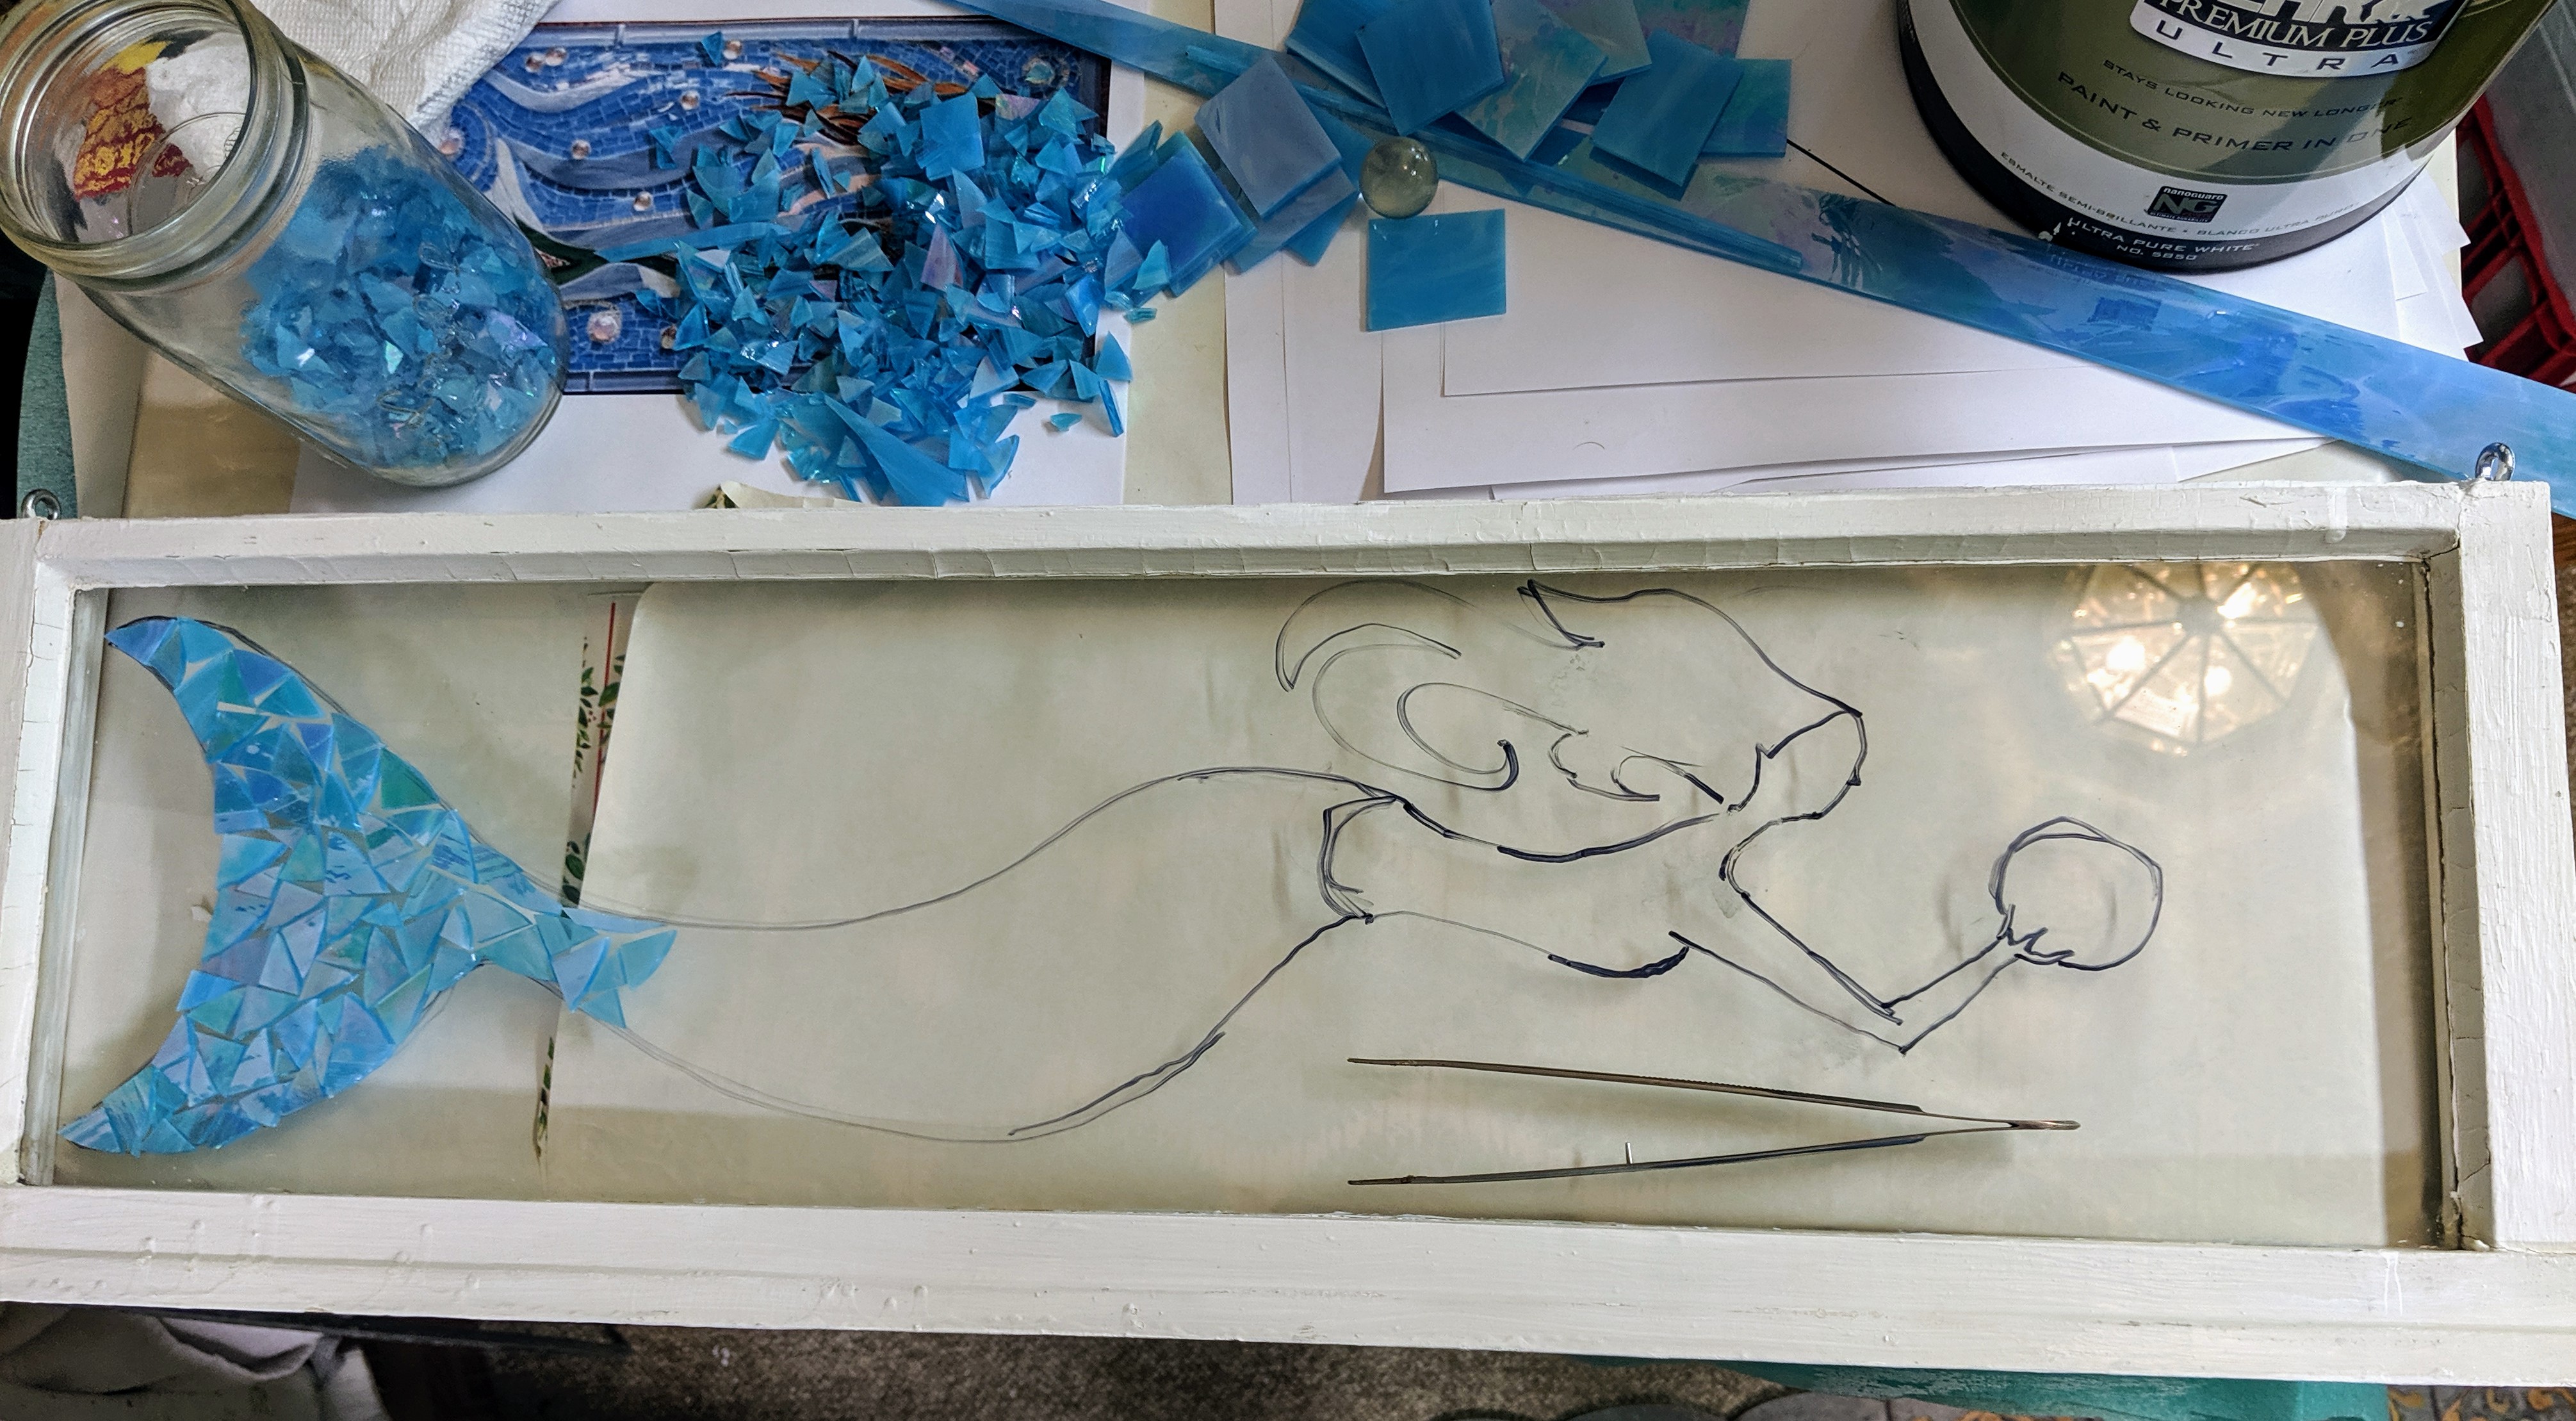
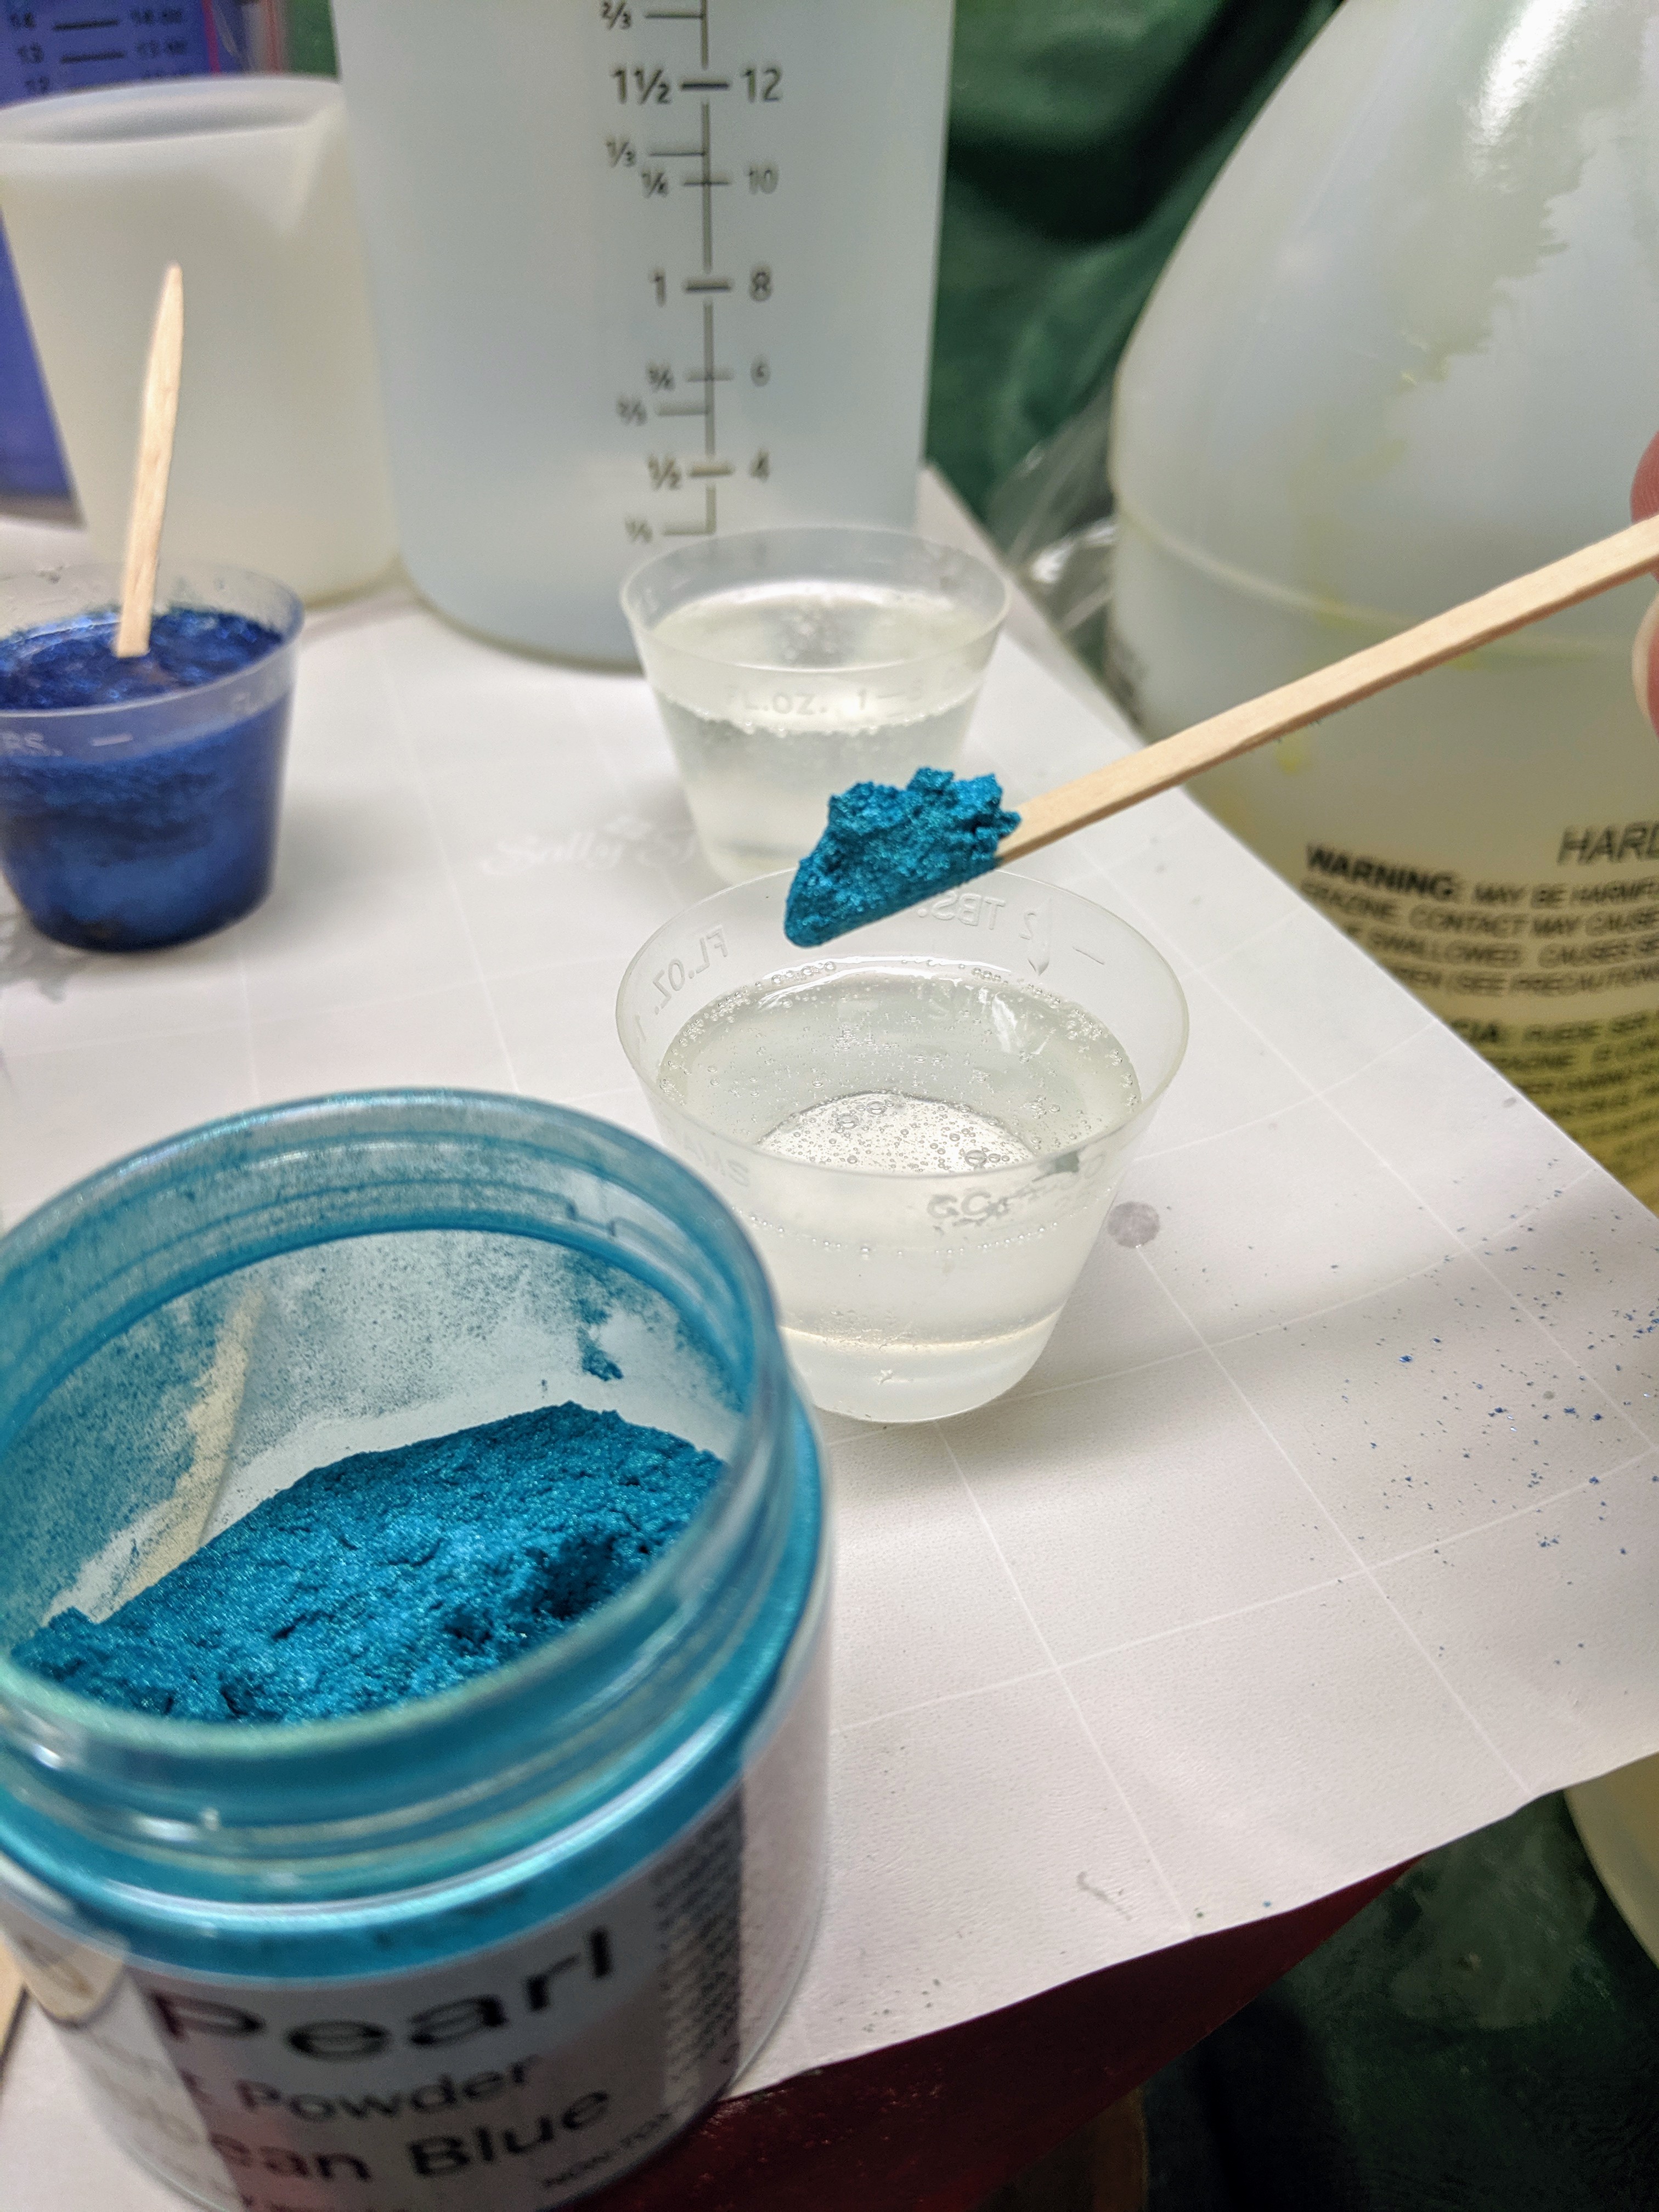
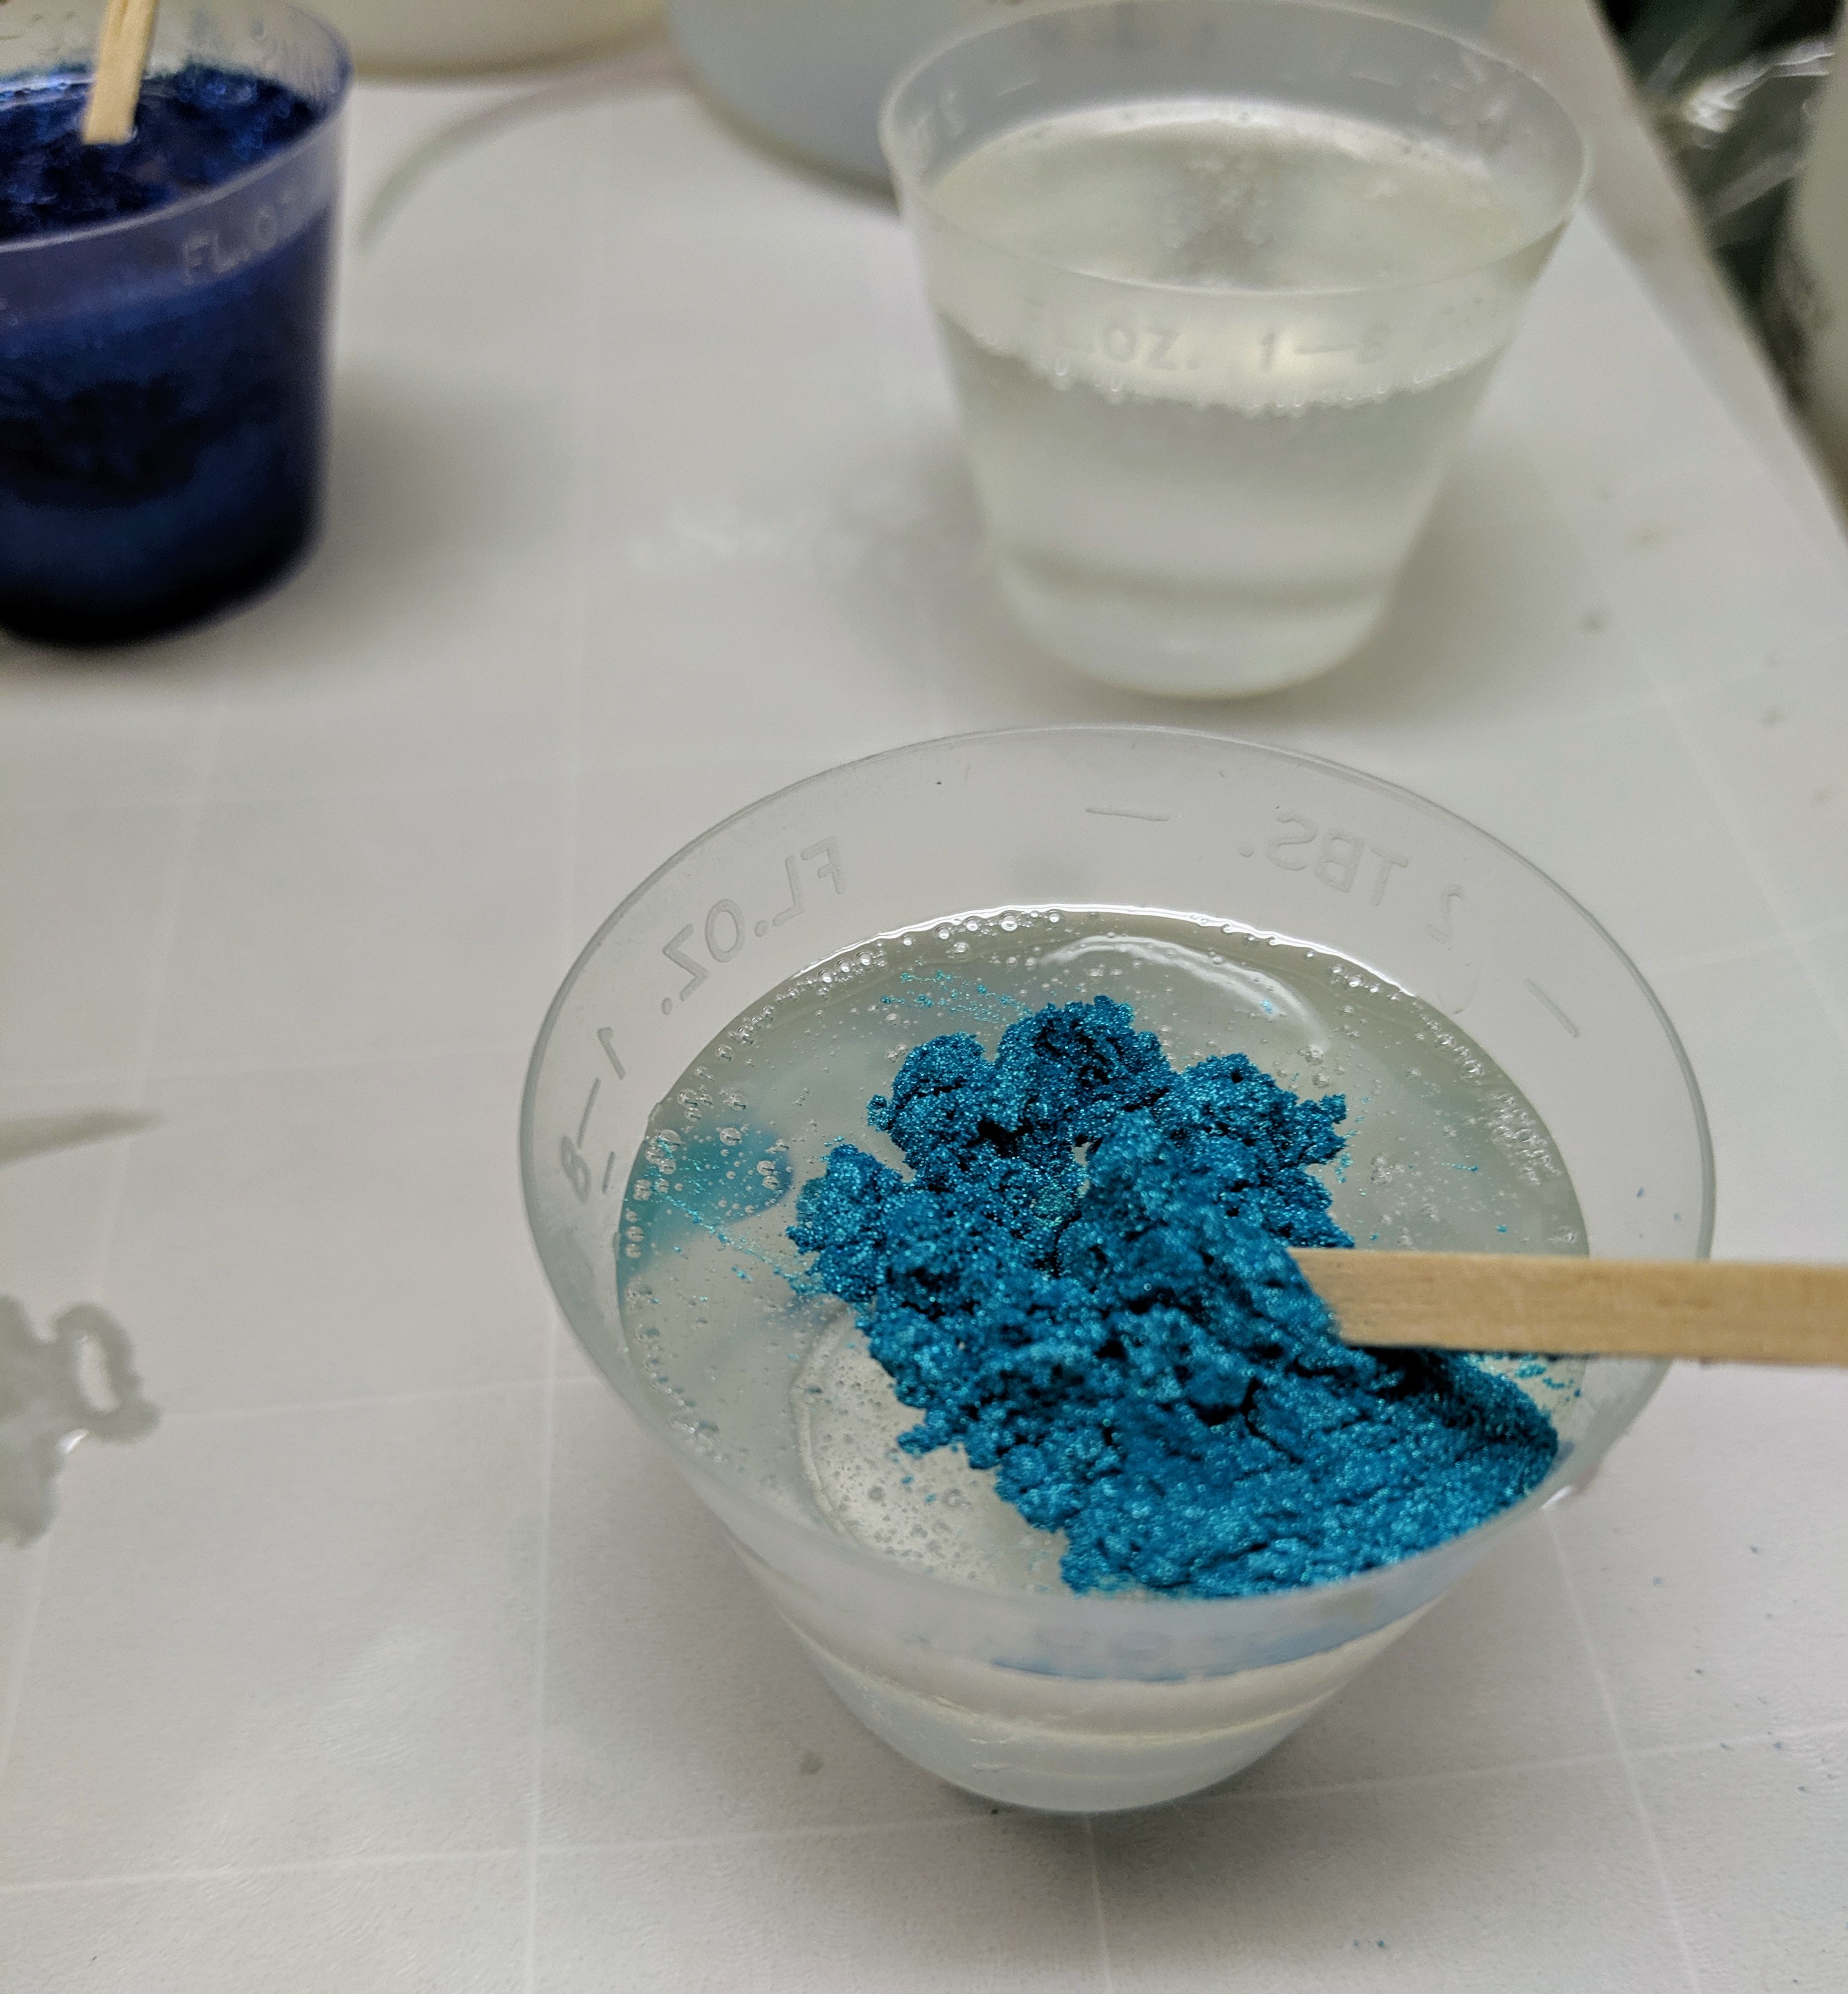
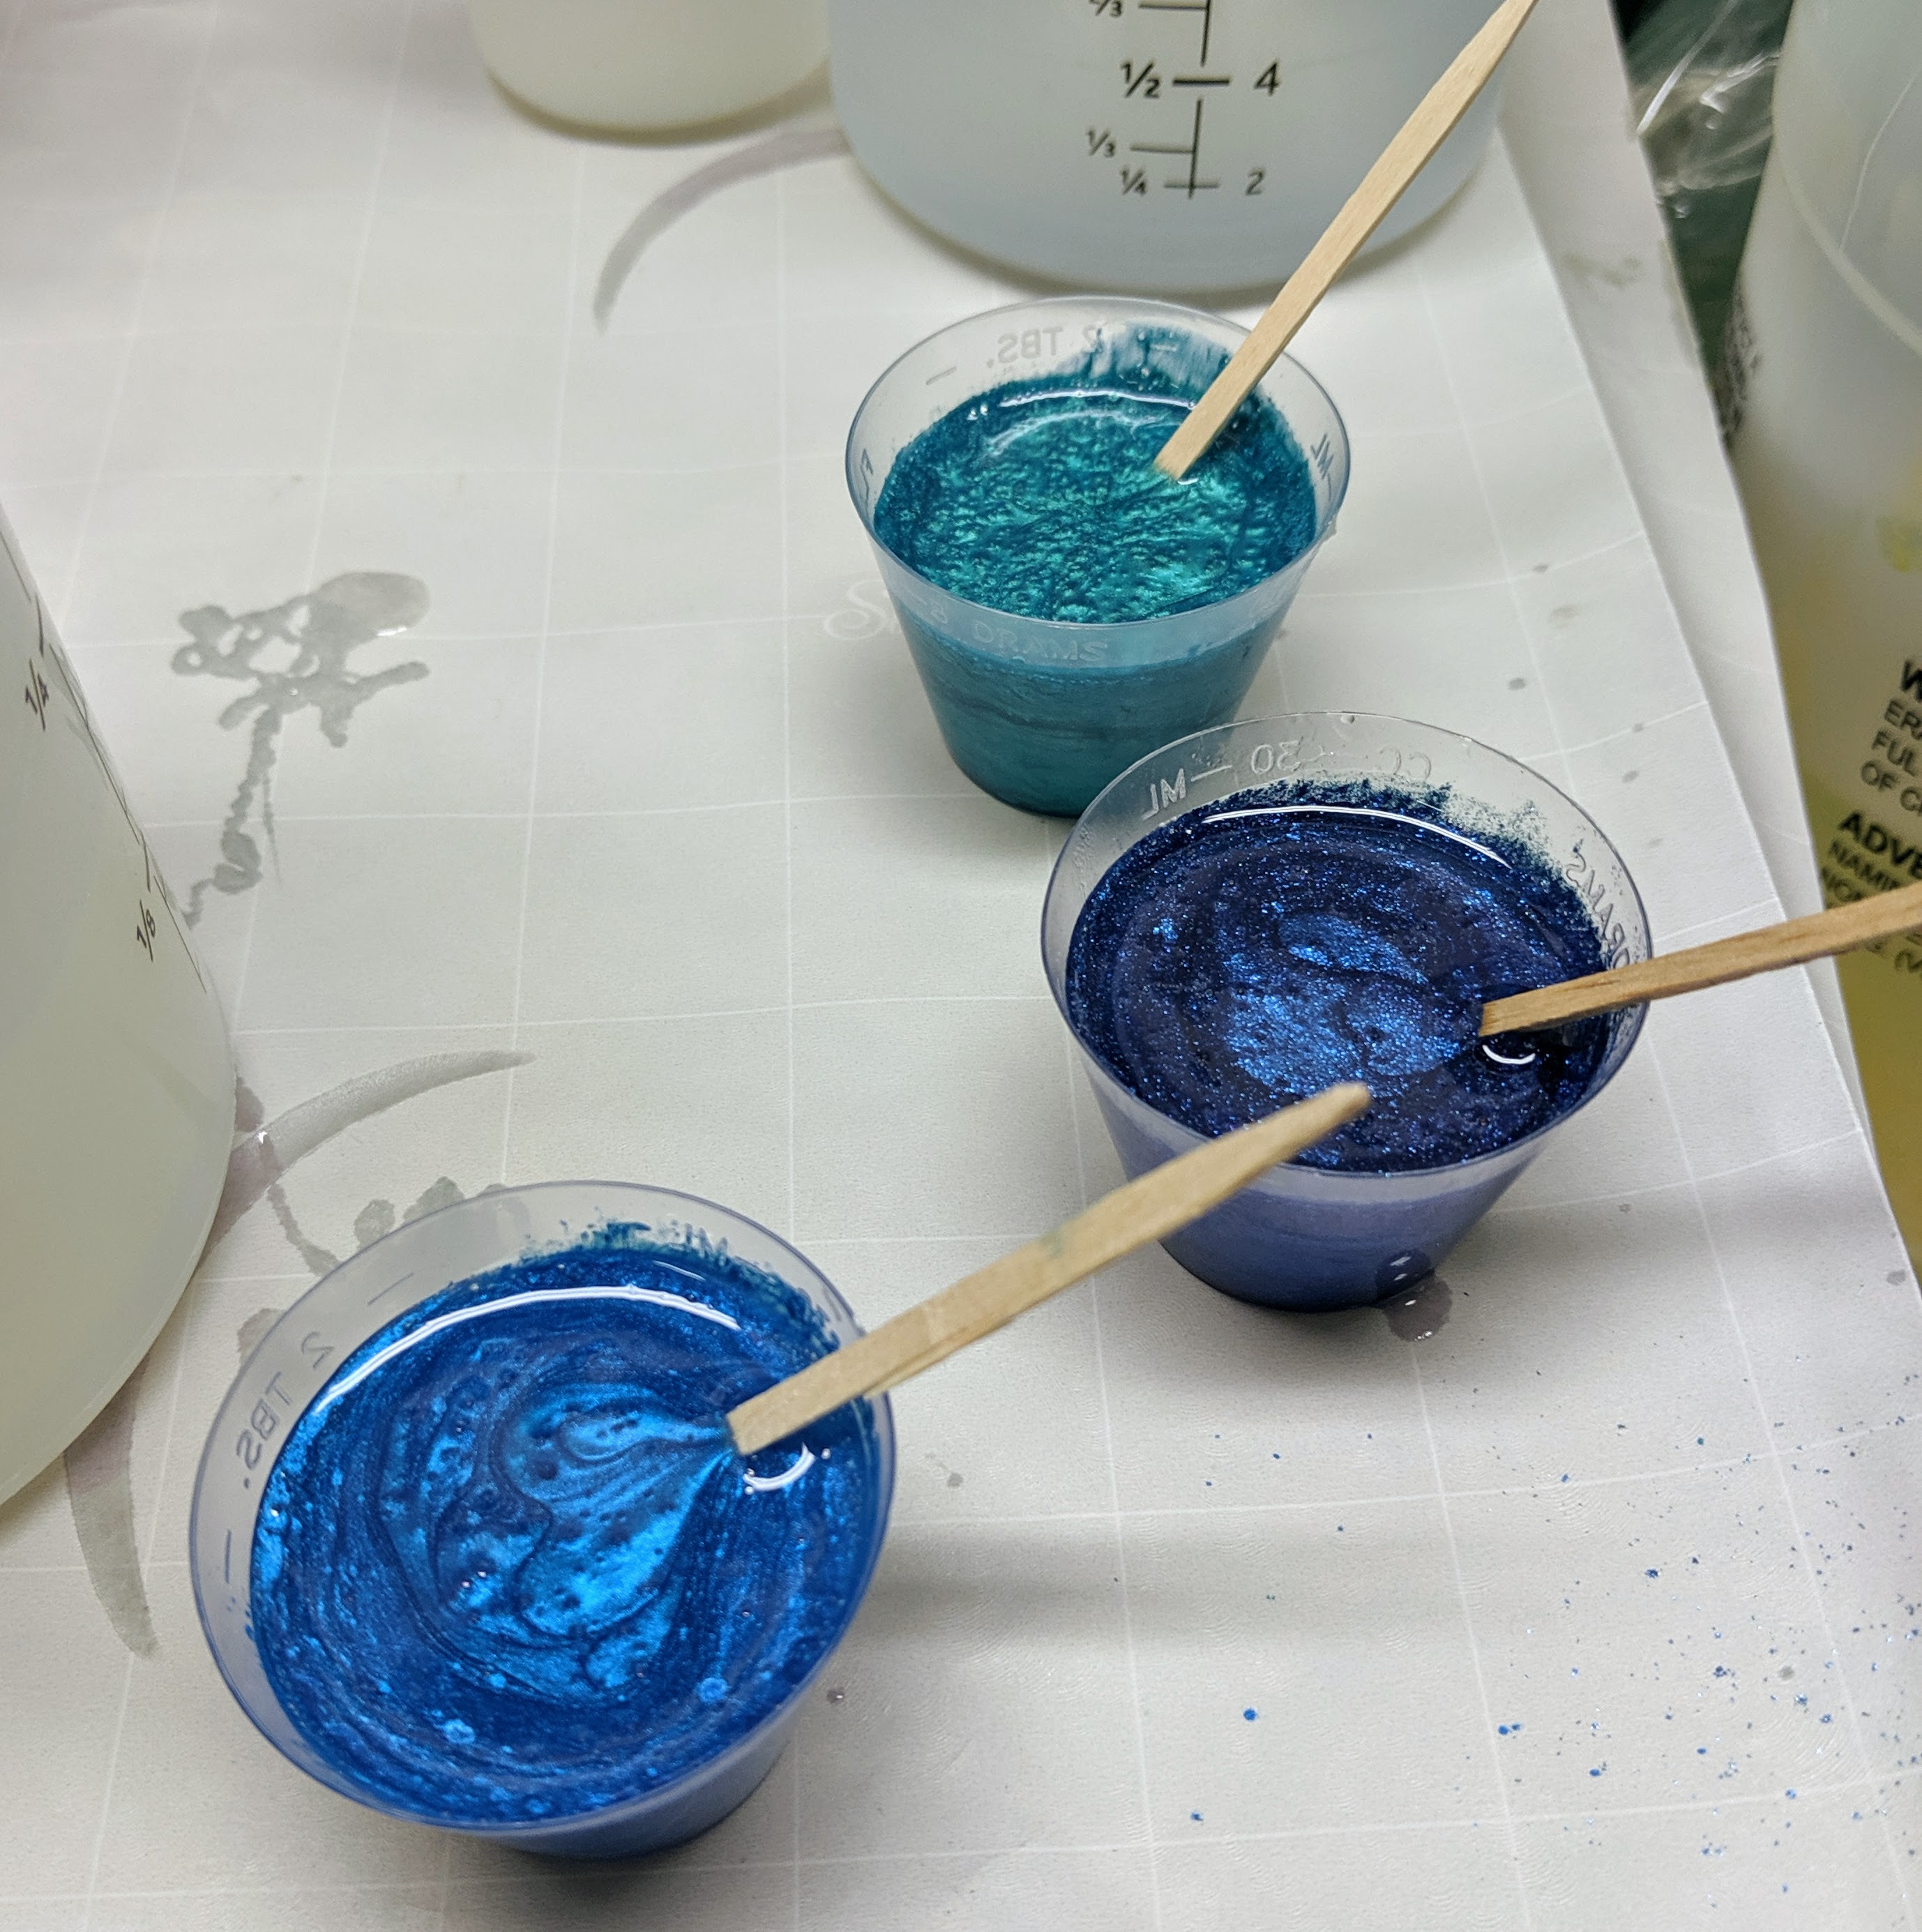
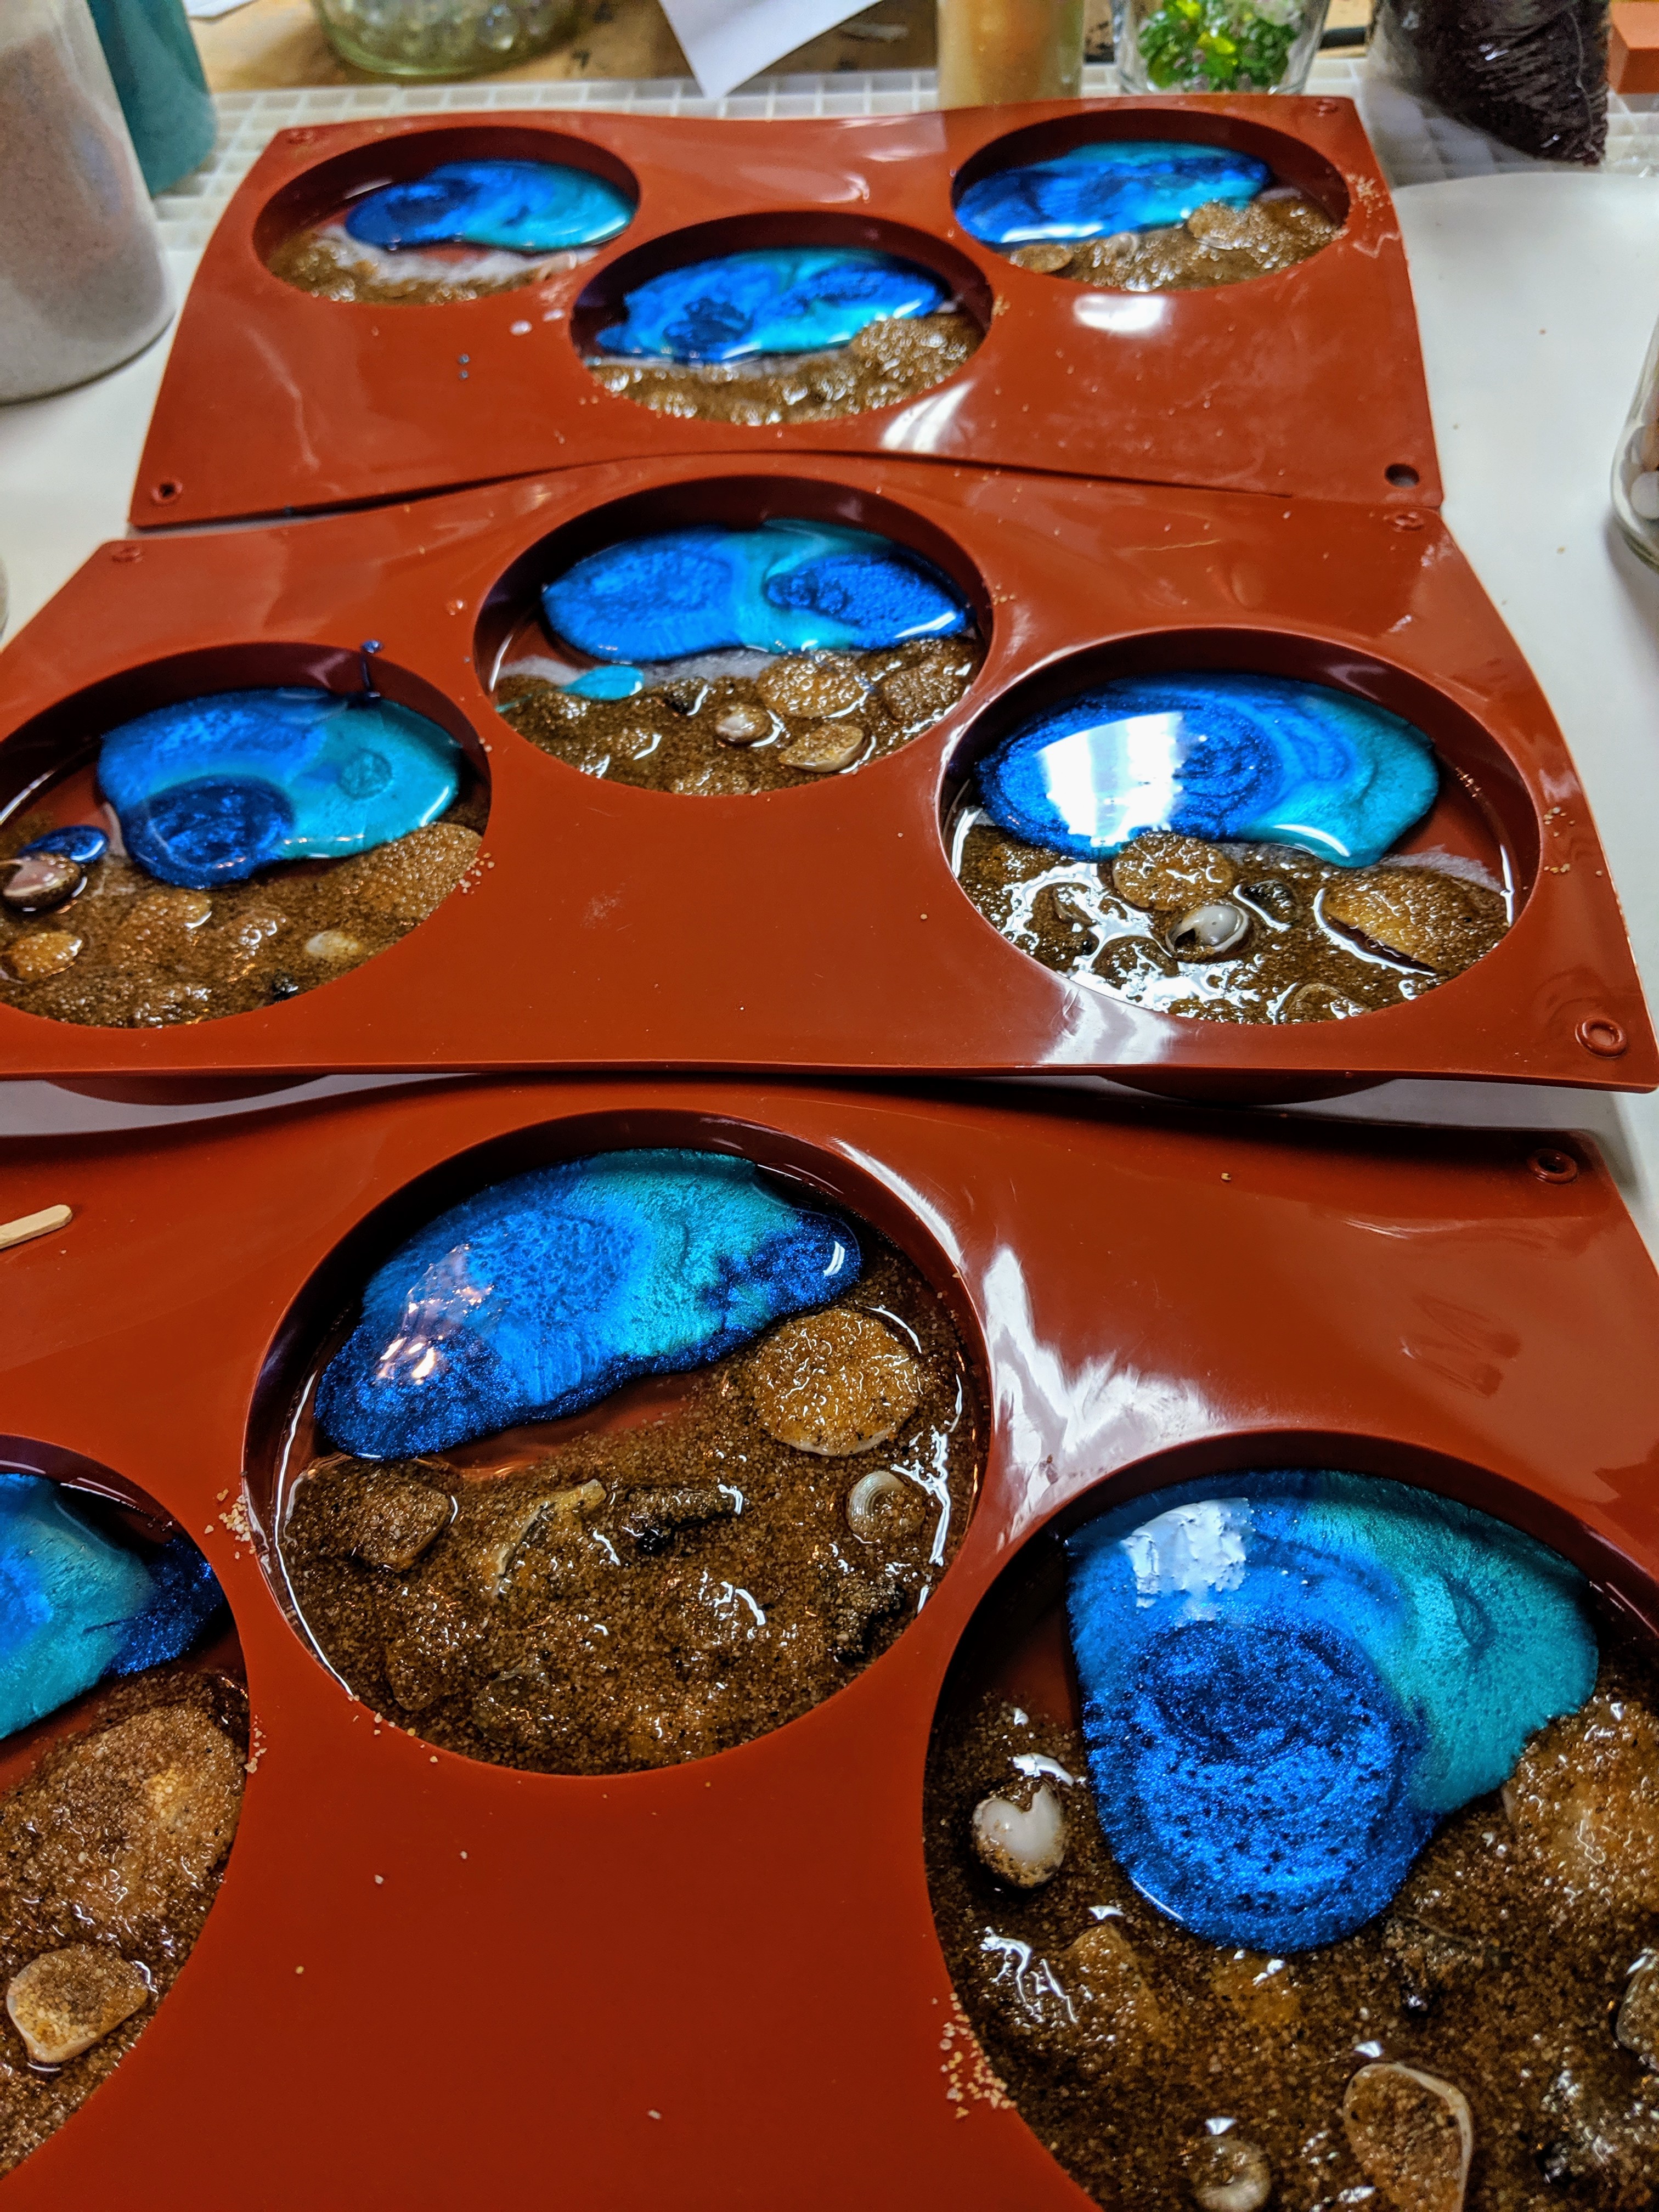
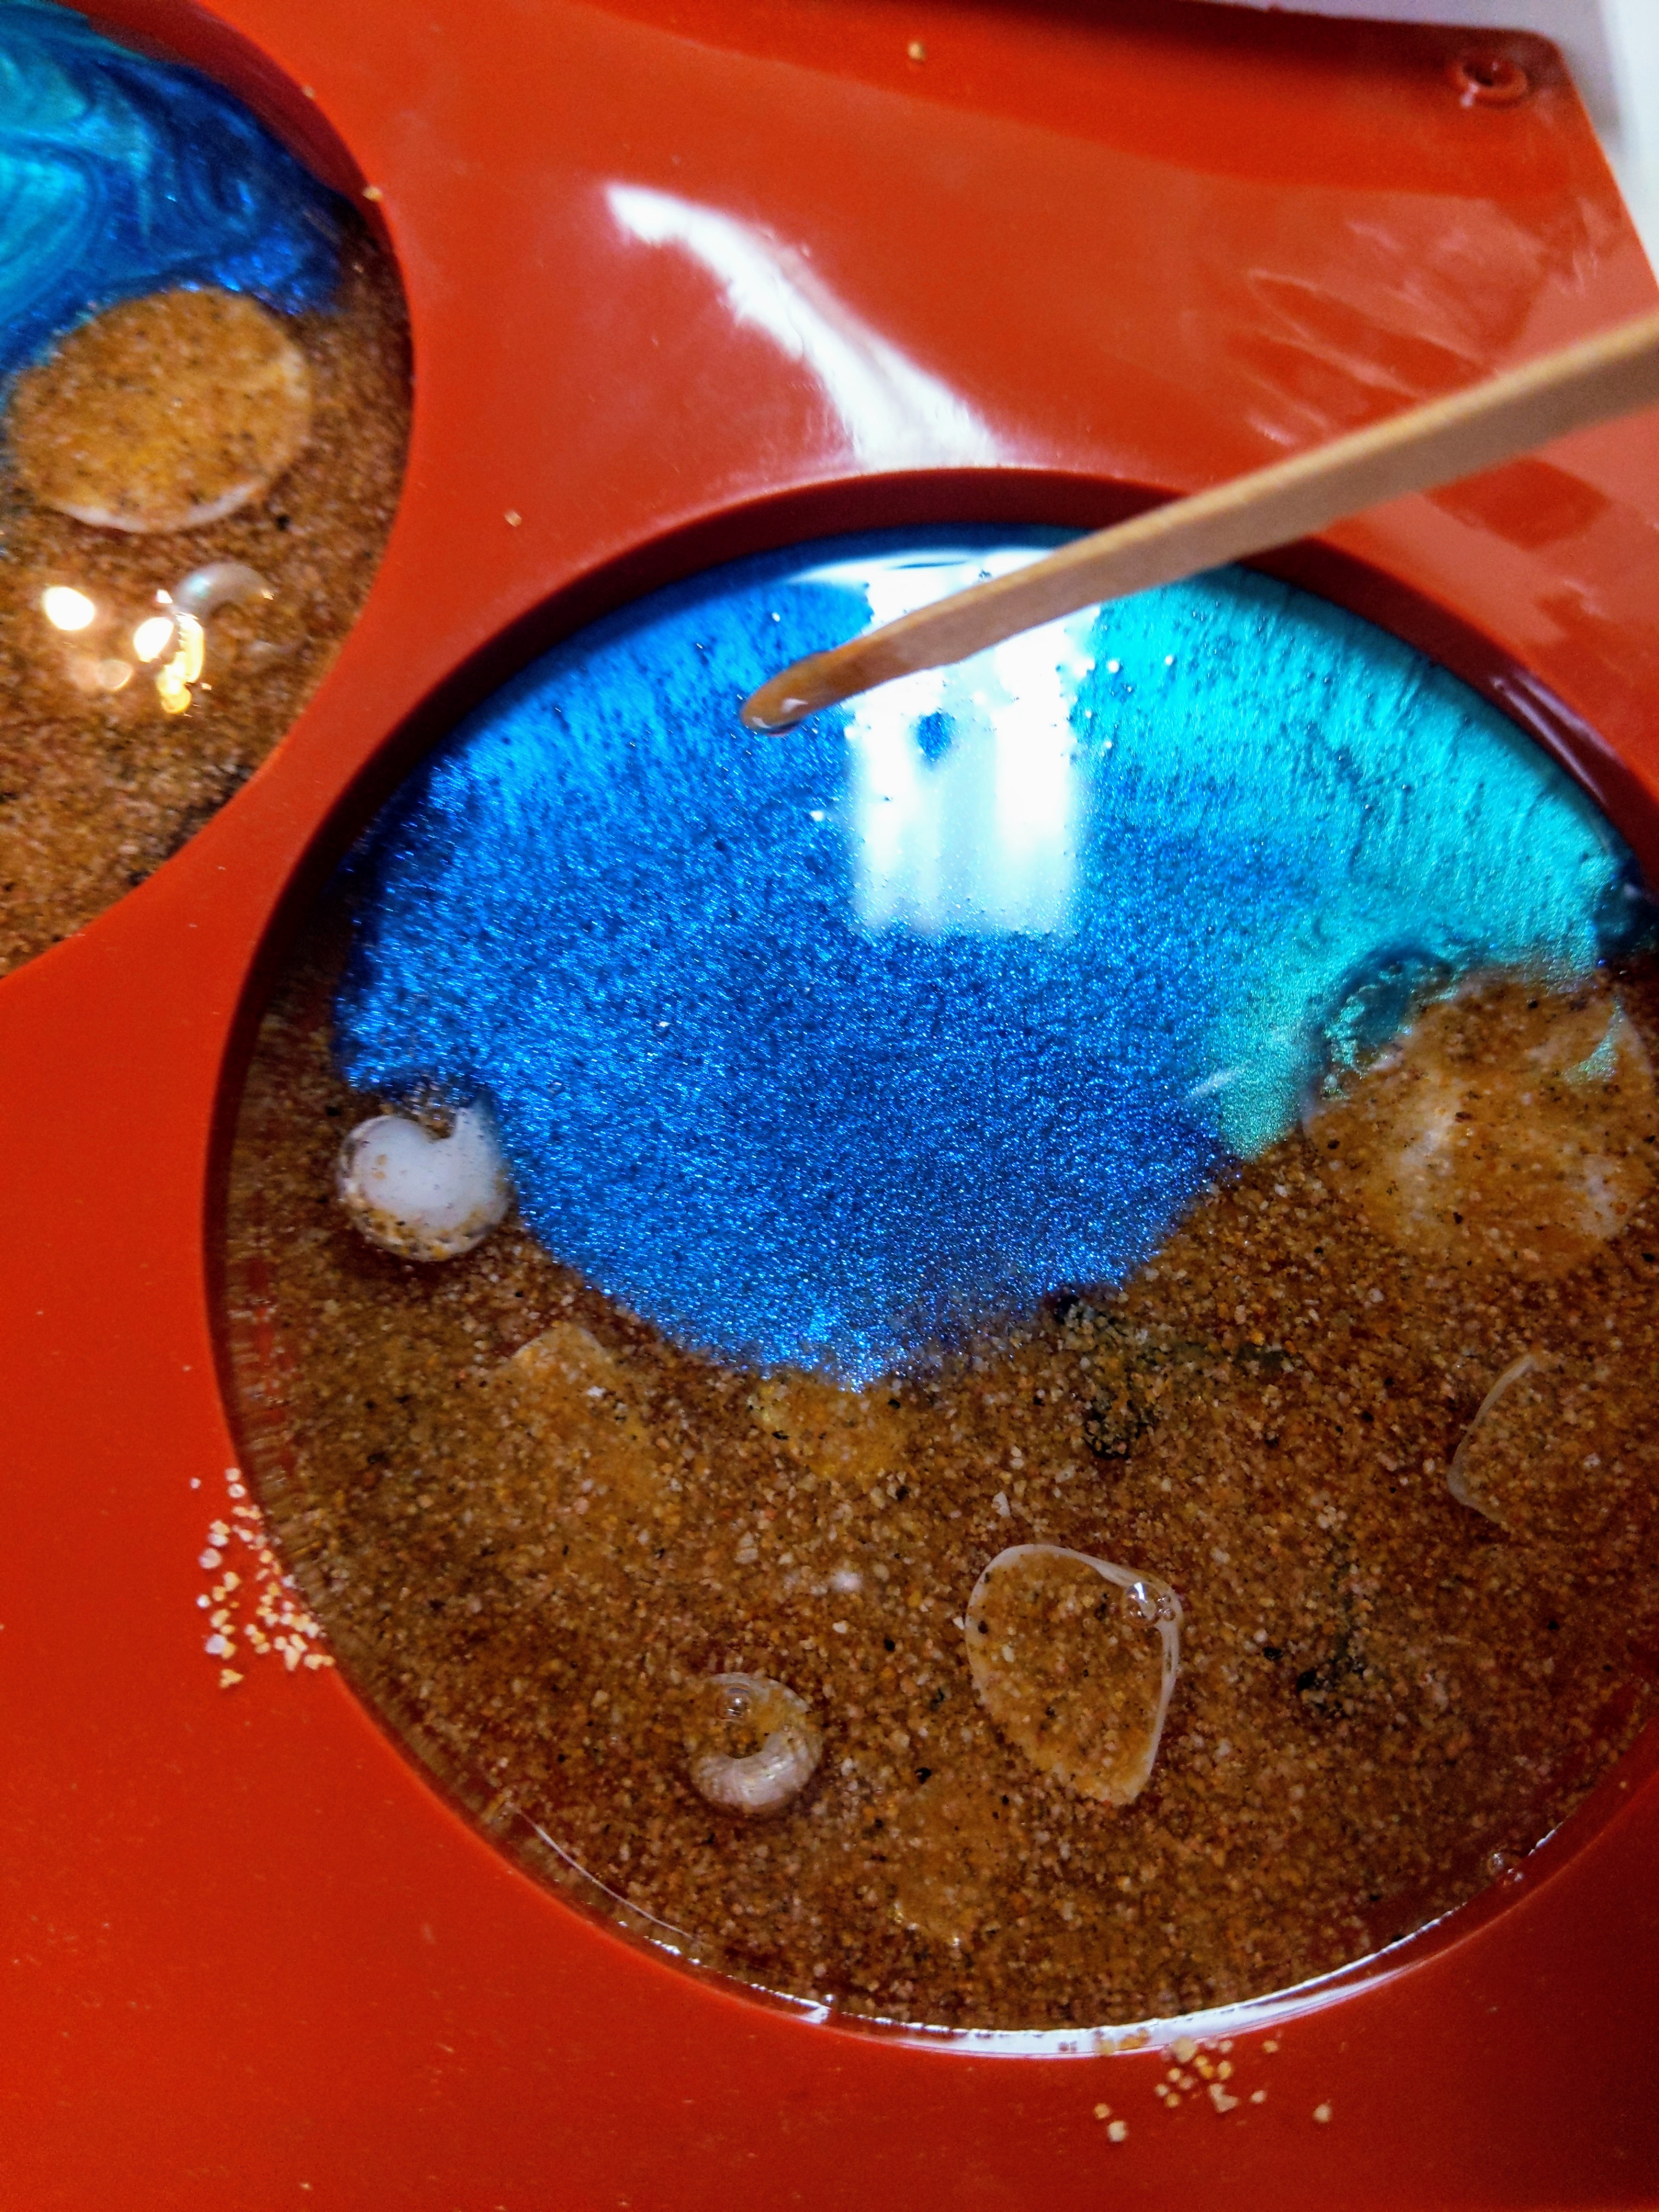
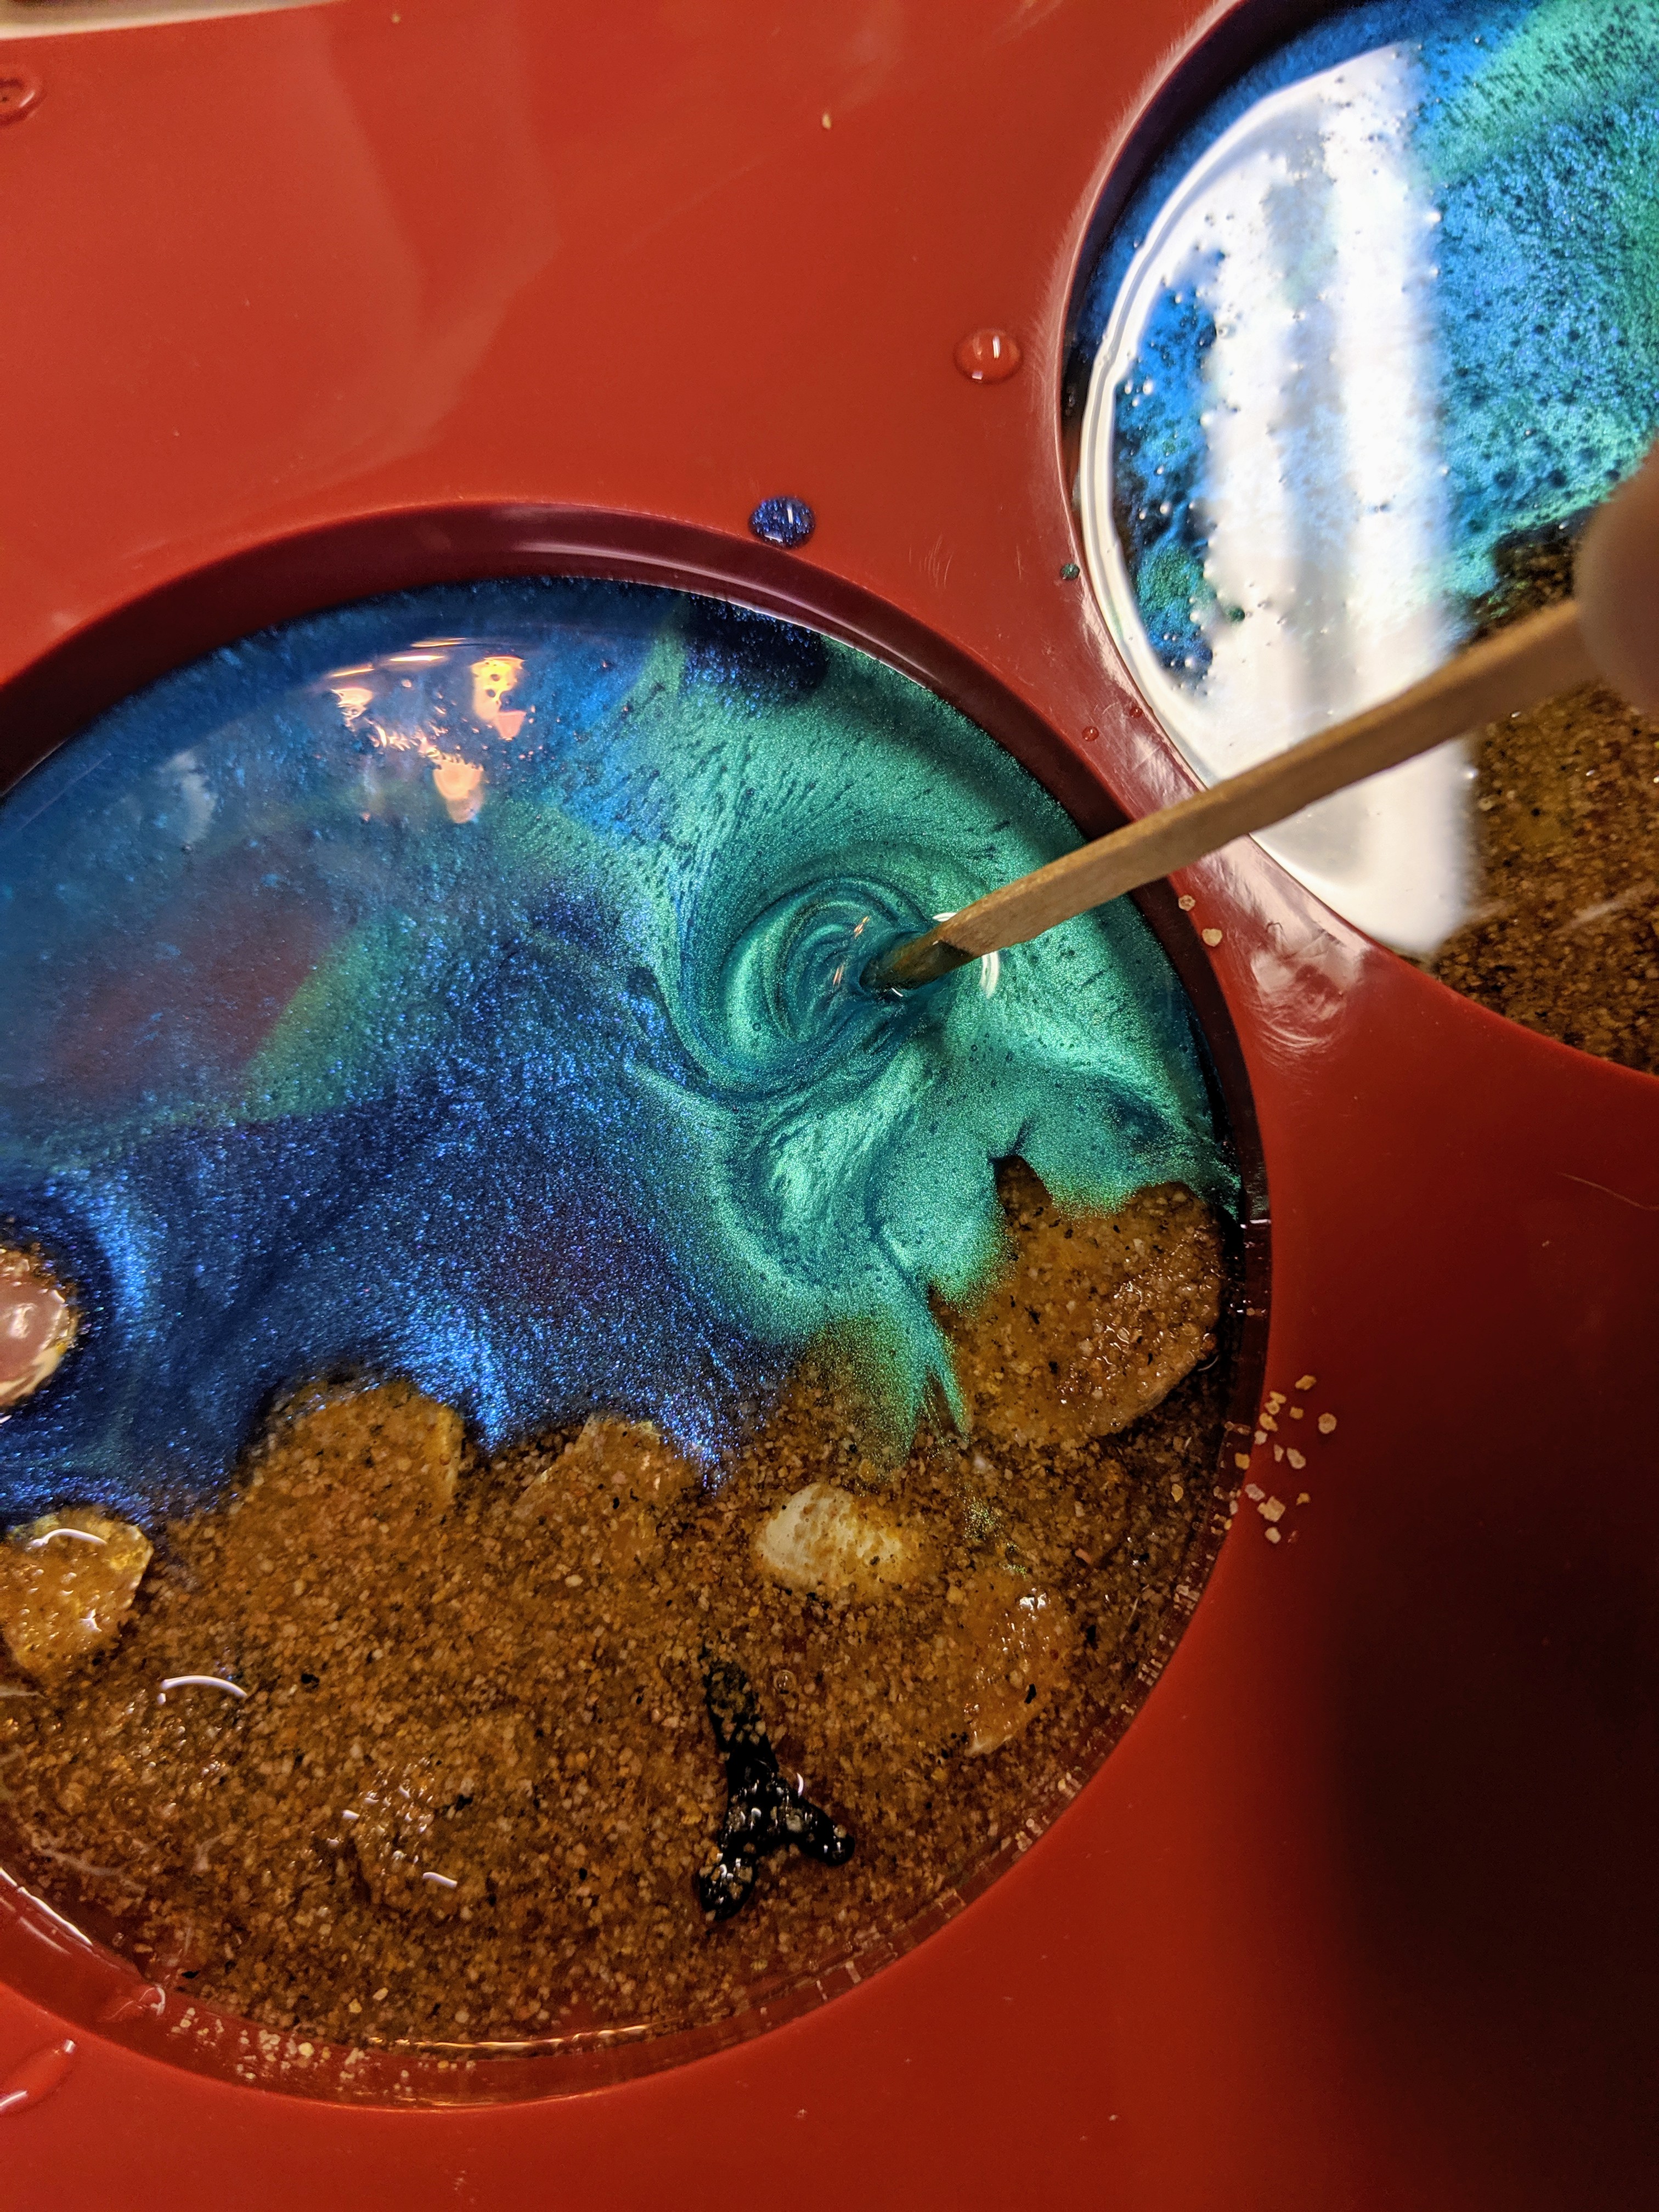
Today I added the third and final layer on my most recent batch of coasters – the water layer. Usually I do the water layer second, but I wanted to see how it would look if I applied it last. Hopefully we will see good results (in the next day or two, after it cures). For now, these are the basic steps I took in pigmenting the water and layering it in the coasters.
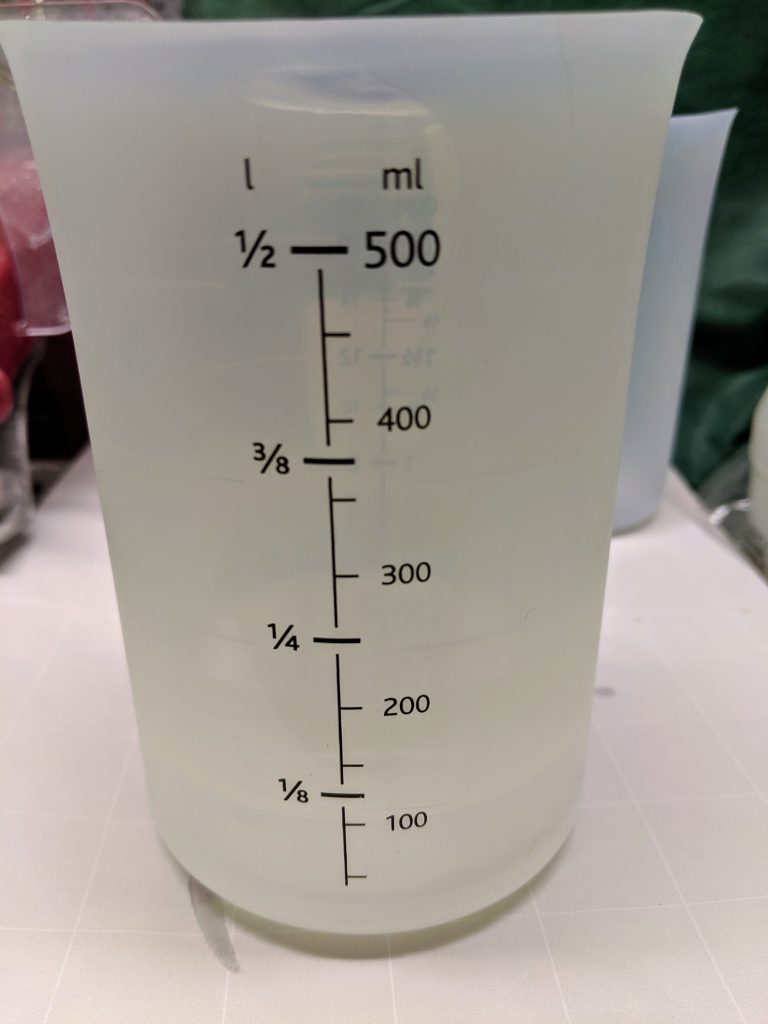
I mixed up about 8 ounces of resin, then poured about 2-3 tsp in three cups for the three different colors of resin. This turned out not to be anywhere near enough resin and I ended up mixing another batch of 200 ml later.
After pouring the clear layer, I gently blow the resin with a heat gun in order to remove any air bubbles that form. A few are OK, but I think too many bubbles detract from the final look of the piece.
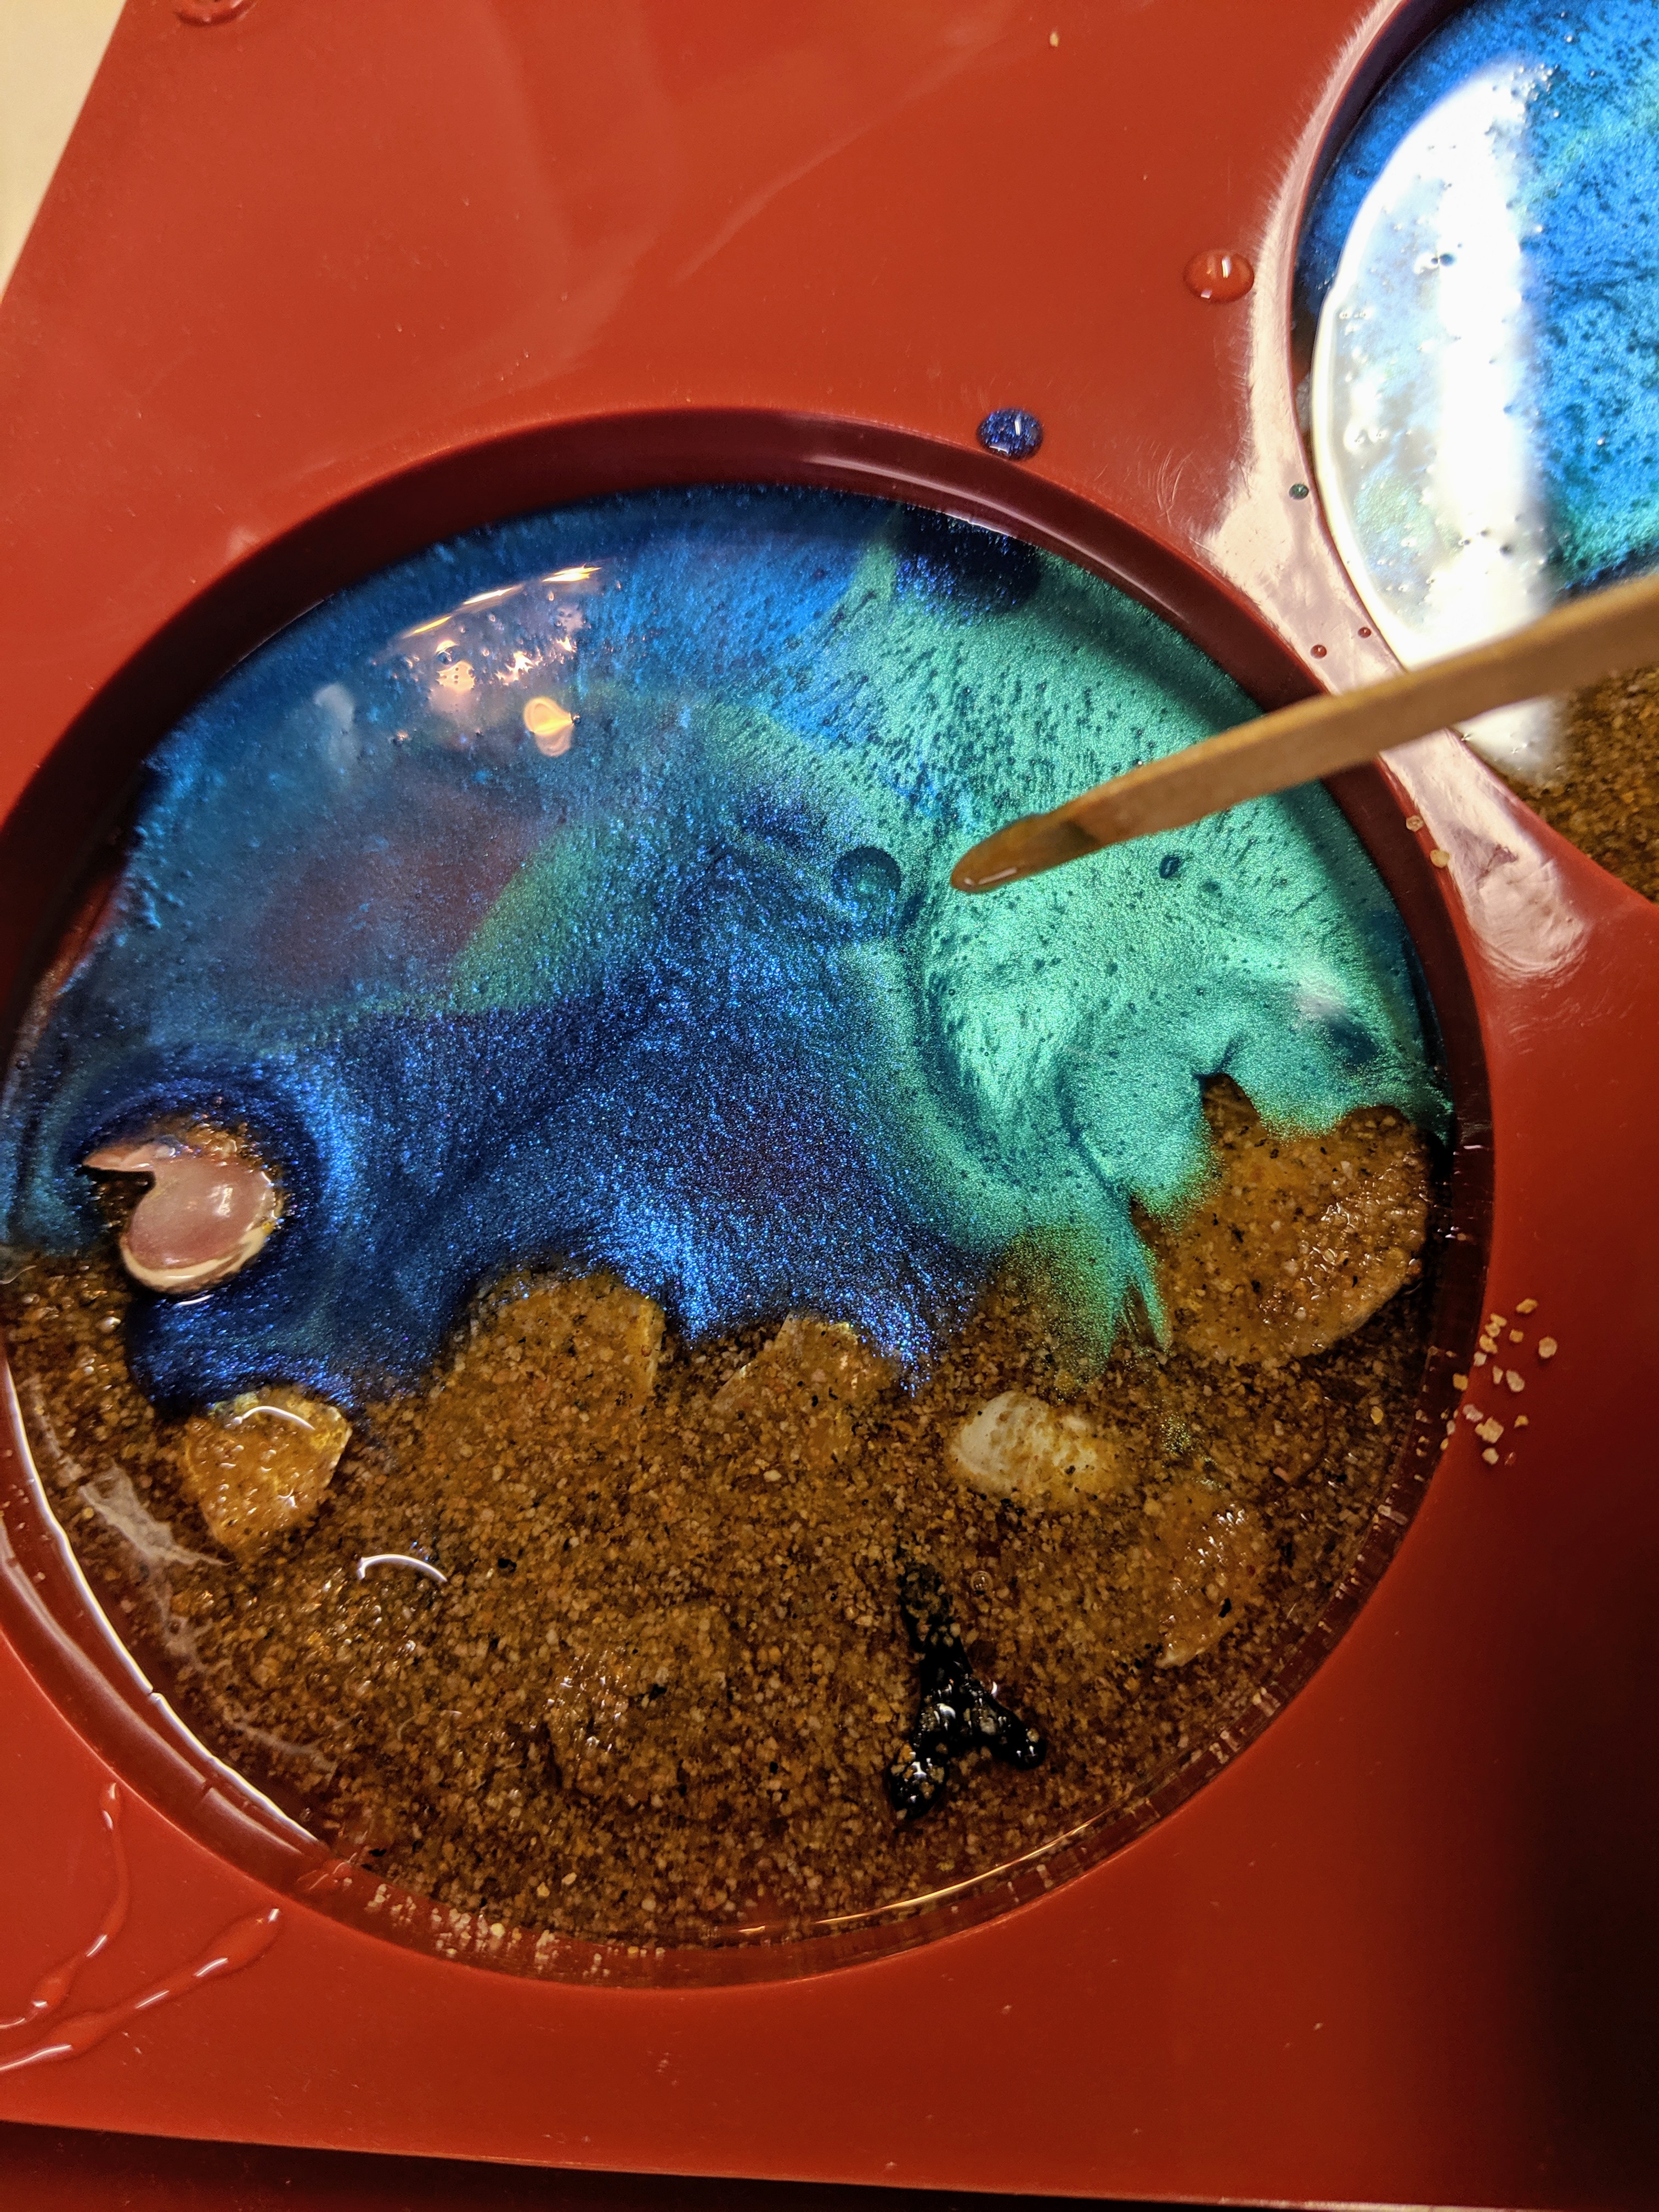
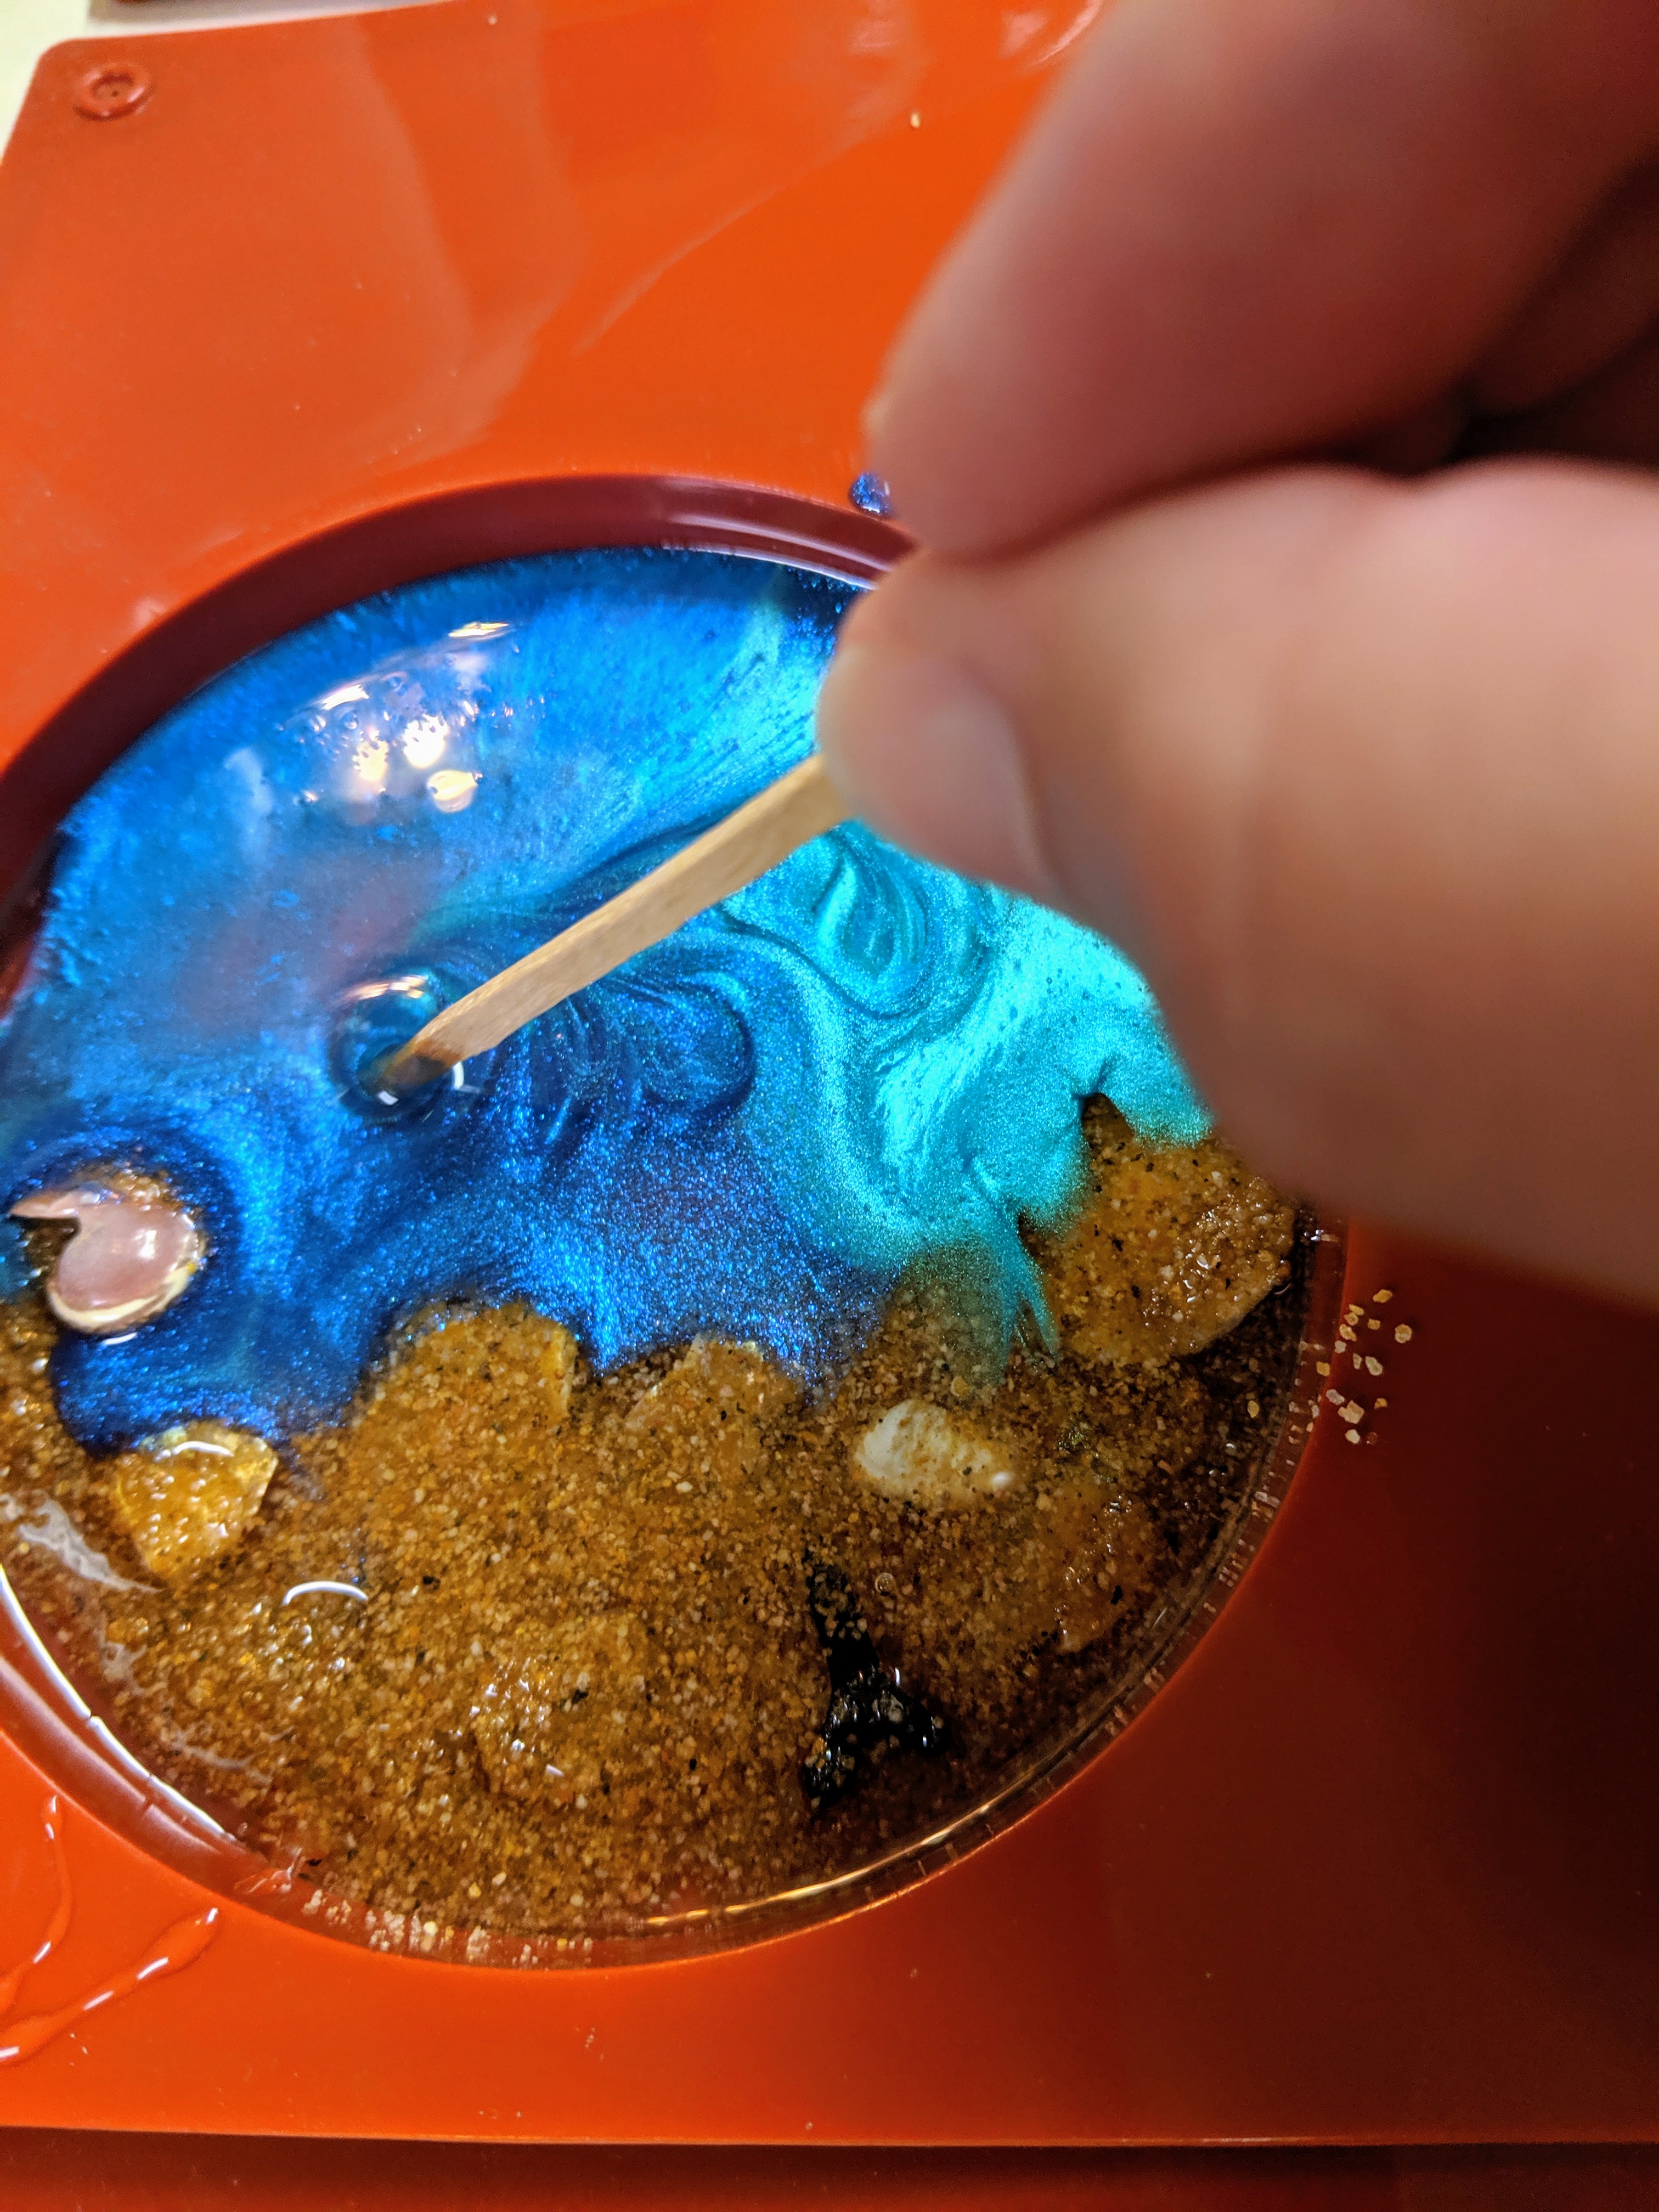

I need to stay close to the coasters I poured for the first hour or so after I pour them in case some bubbles emerge that need to be removed. For this, I use a heat gun, though many people prefer a craft blow torch. Hopefully everything will cure / harden nicely overnight and we can see how they turned out tomorrow evening.
Today was more cleanup on the window frame (I have to paint one side at a time), a bit of planning for the mermaid, and another layer in the next set of coasters. Below is actually the back side of the window. I sketched a rough outline of a mermaid I’m hoping to make before I put a coat of paint on the frame. When I’m done using the sketch as a guideline for the mosaic, the Sharpie ink will wipe right off with a wet paper towel. I also chose the glass (a blue Spectrum iridized) I want to use for the mermaid’s tail. I had to think upside down to do all of this today – the mermaid will end up facing the other direction and the coasters are built in backwards layers.
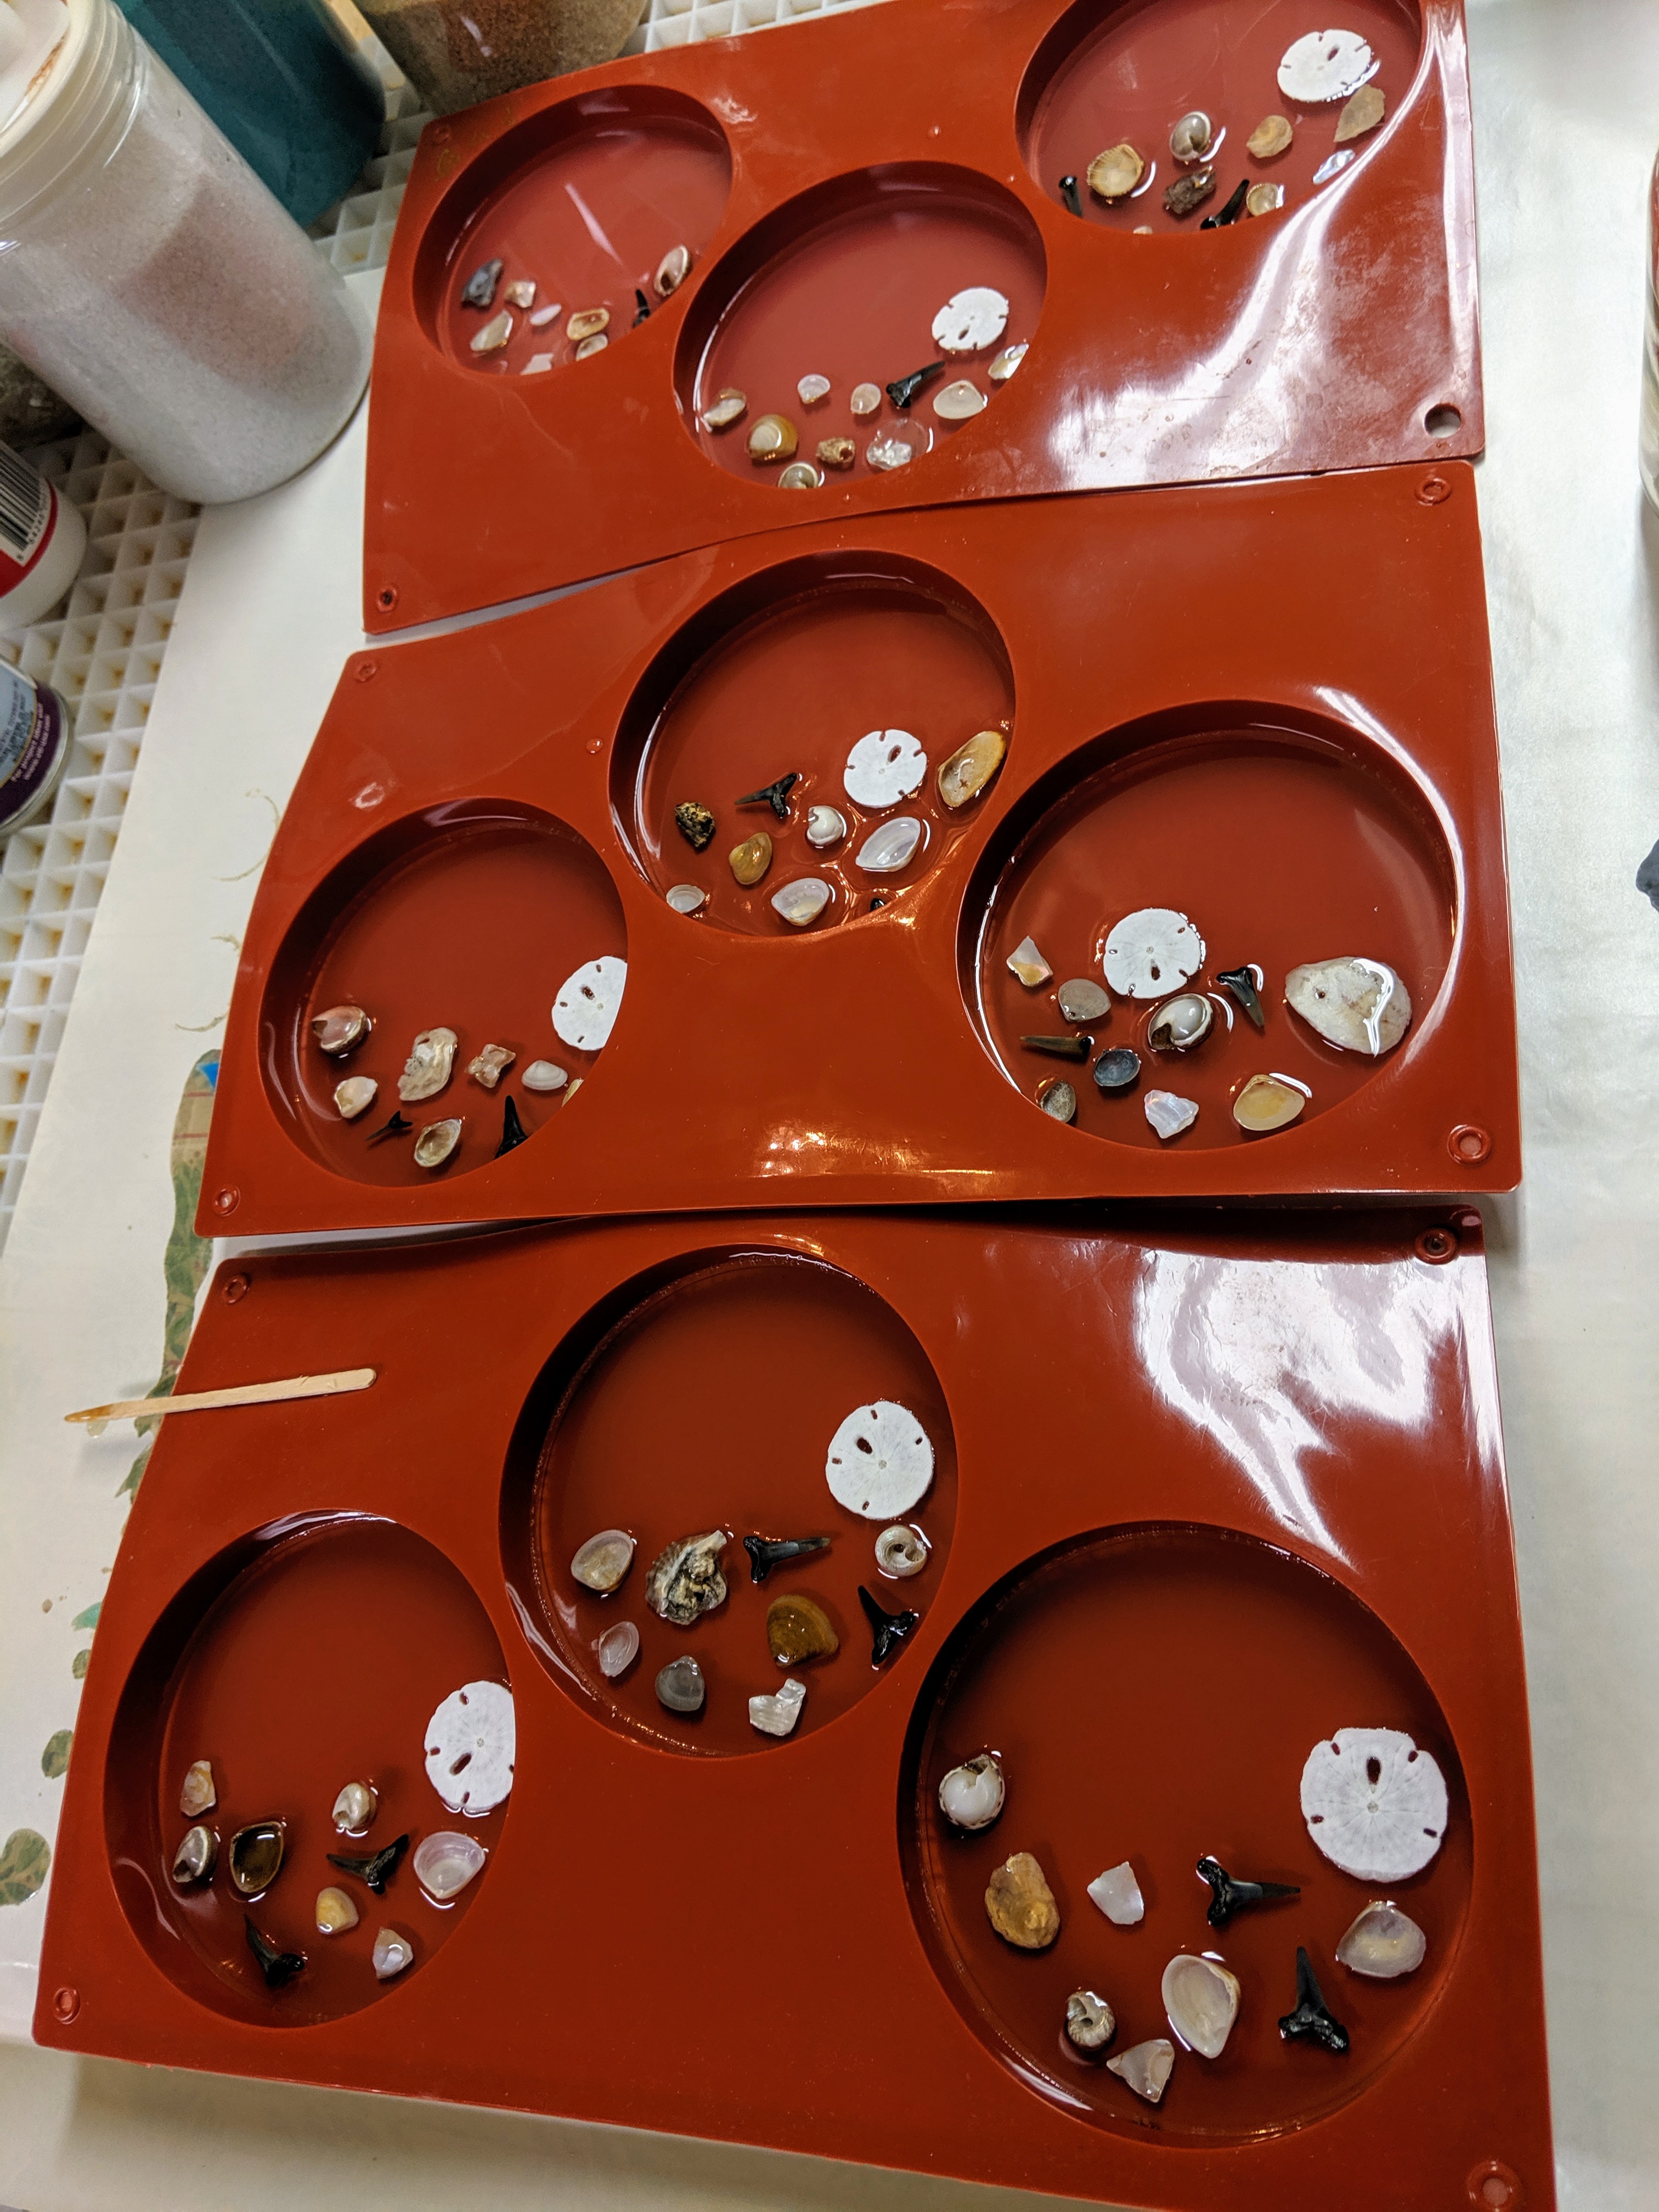
While the paint was drying on the frame, I mixed up 200 ml of resin for the next layer of decorations in the coasters. I poured a thin base layer for the coasters yesterday, so this is for layer #2. I had a little extra left over after pouring layers in 9 coasters.
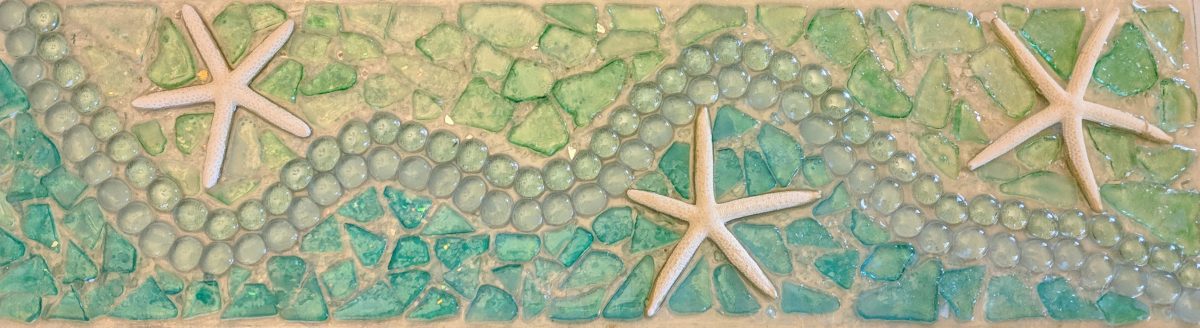
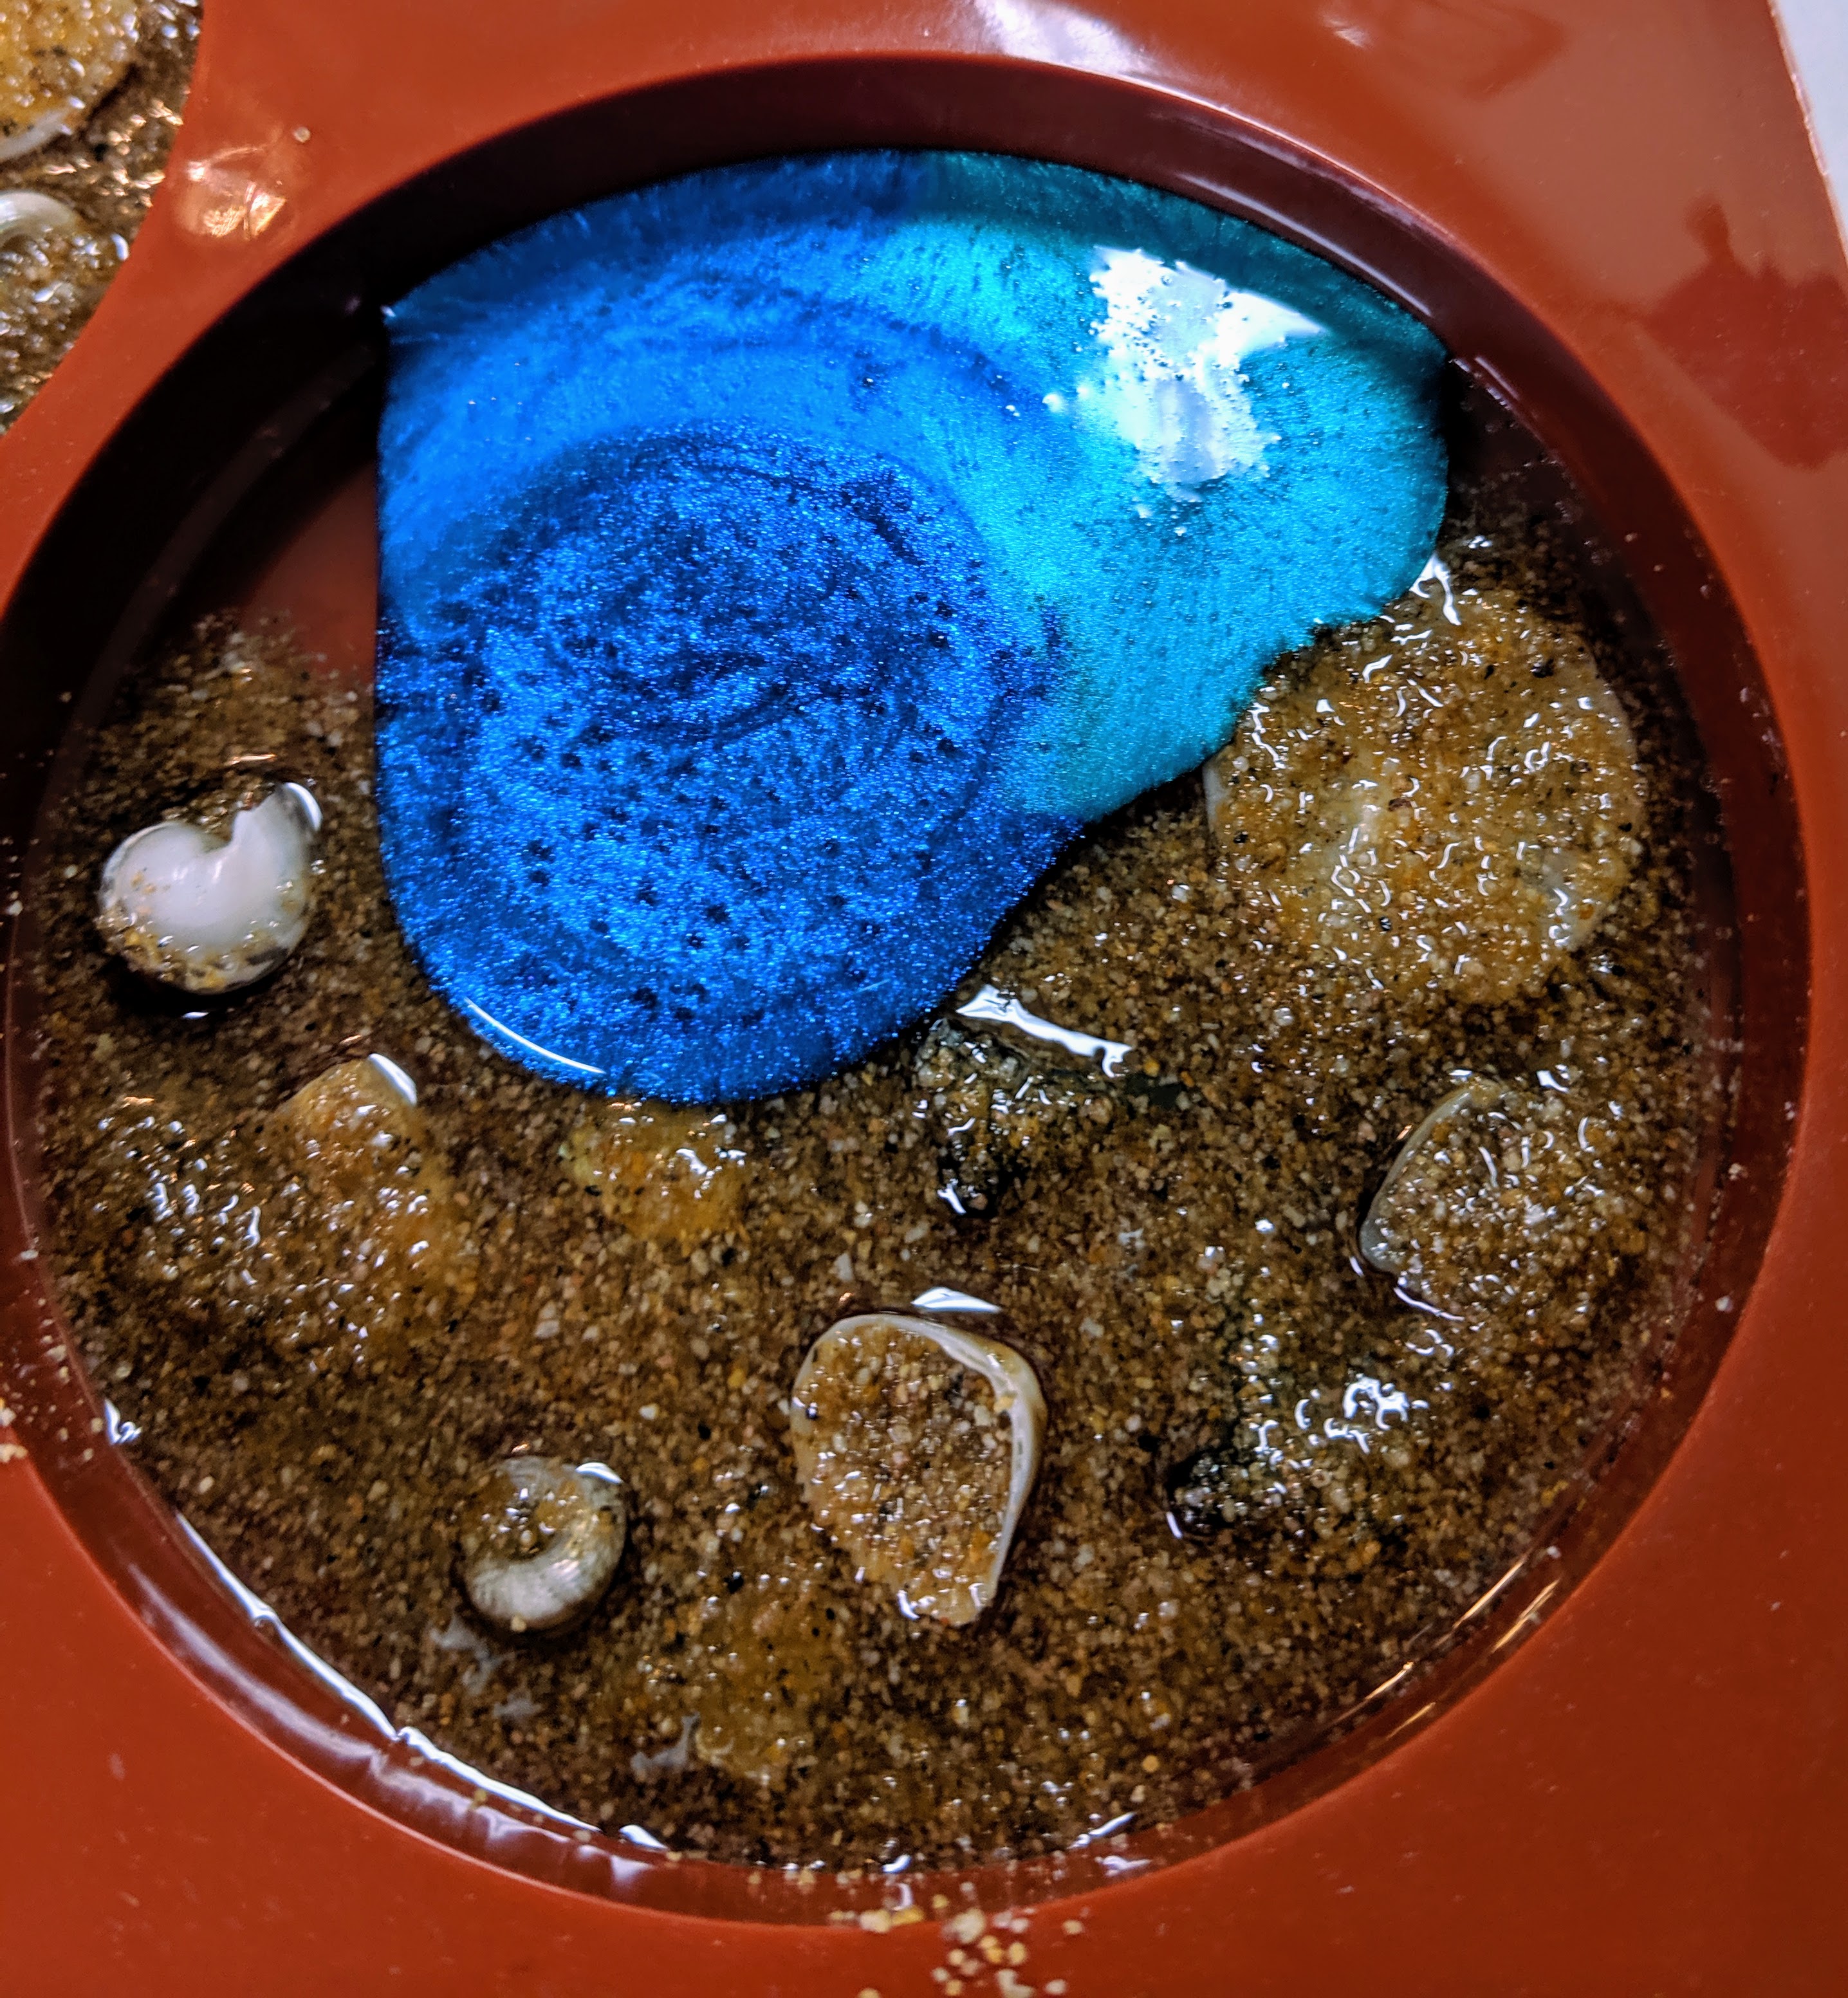
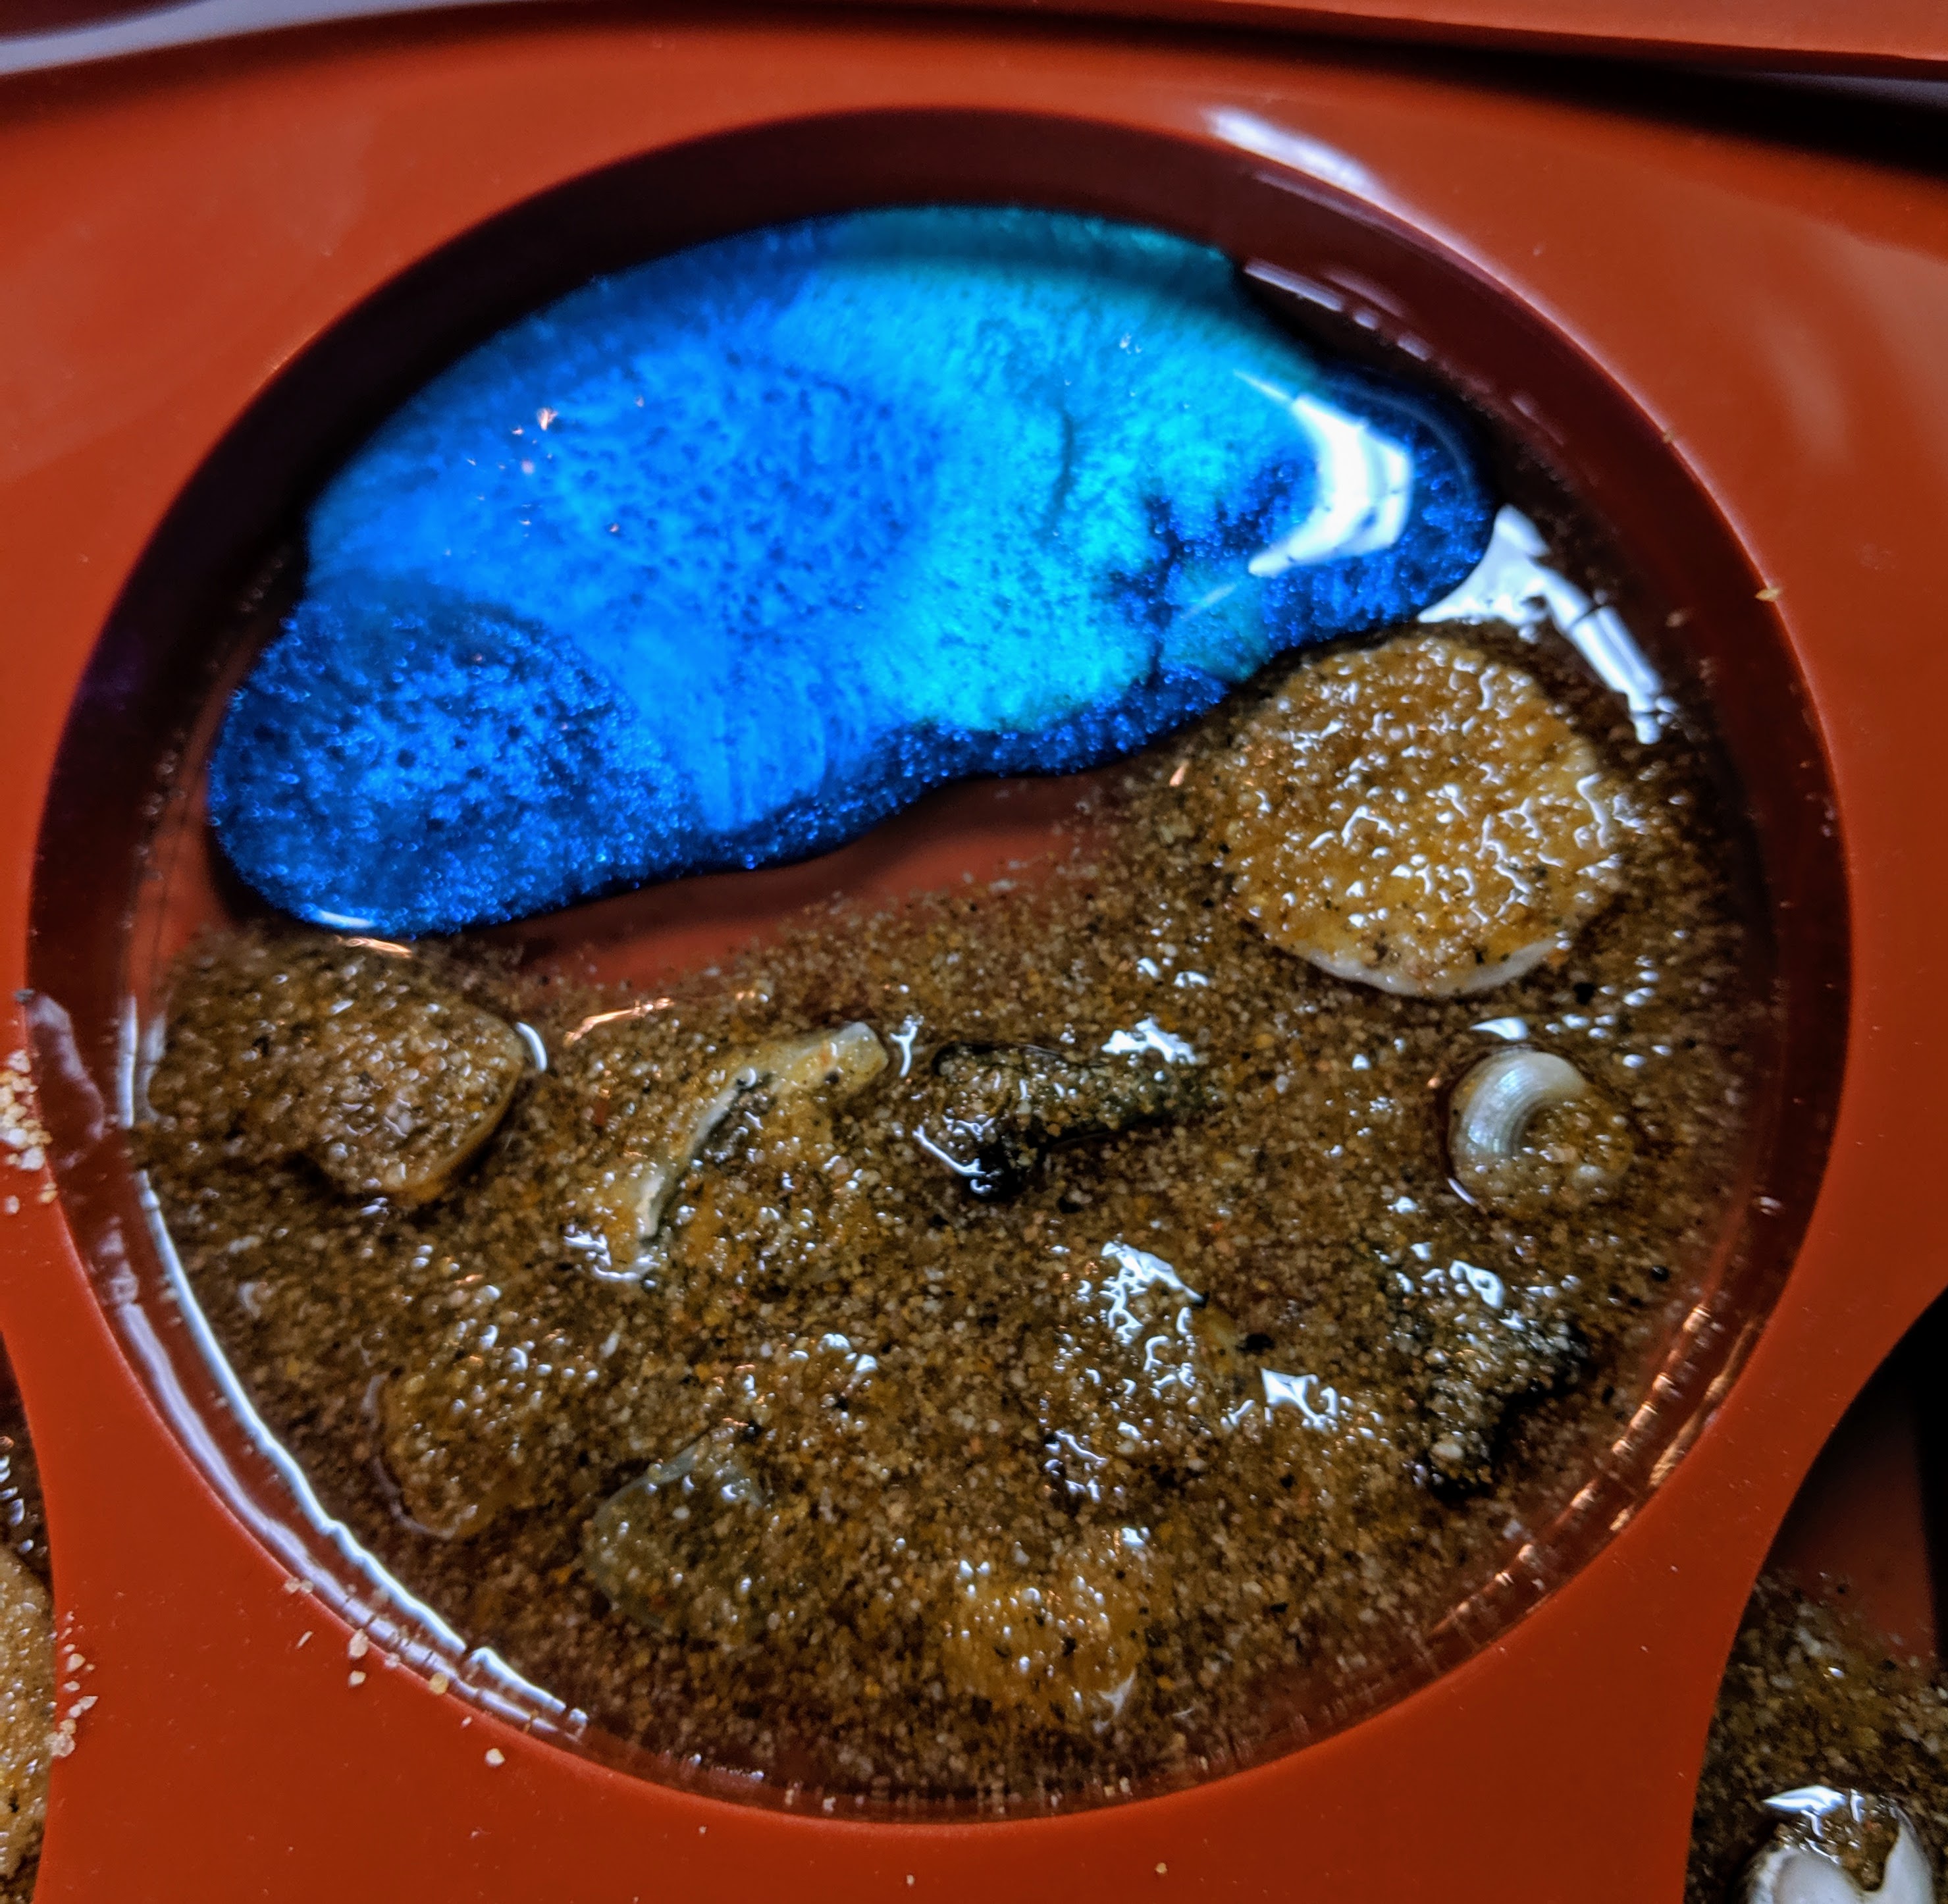
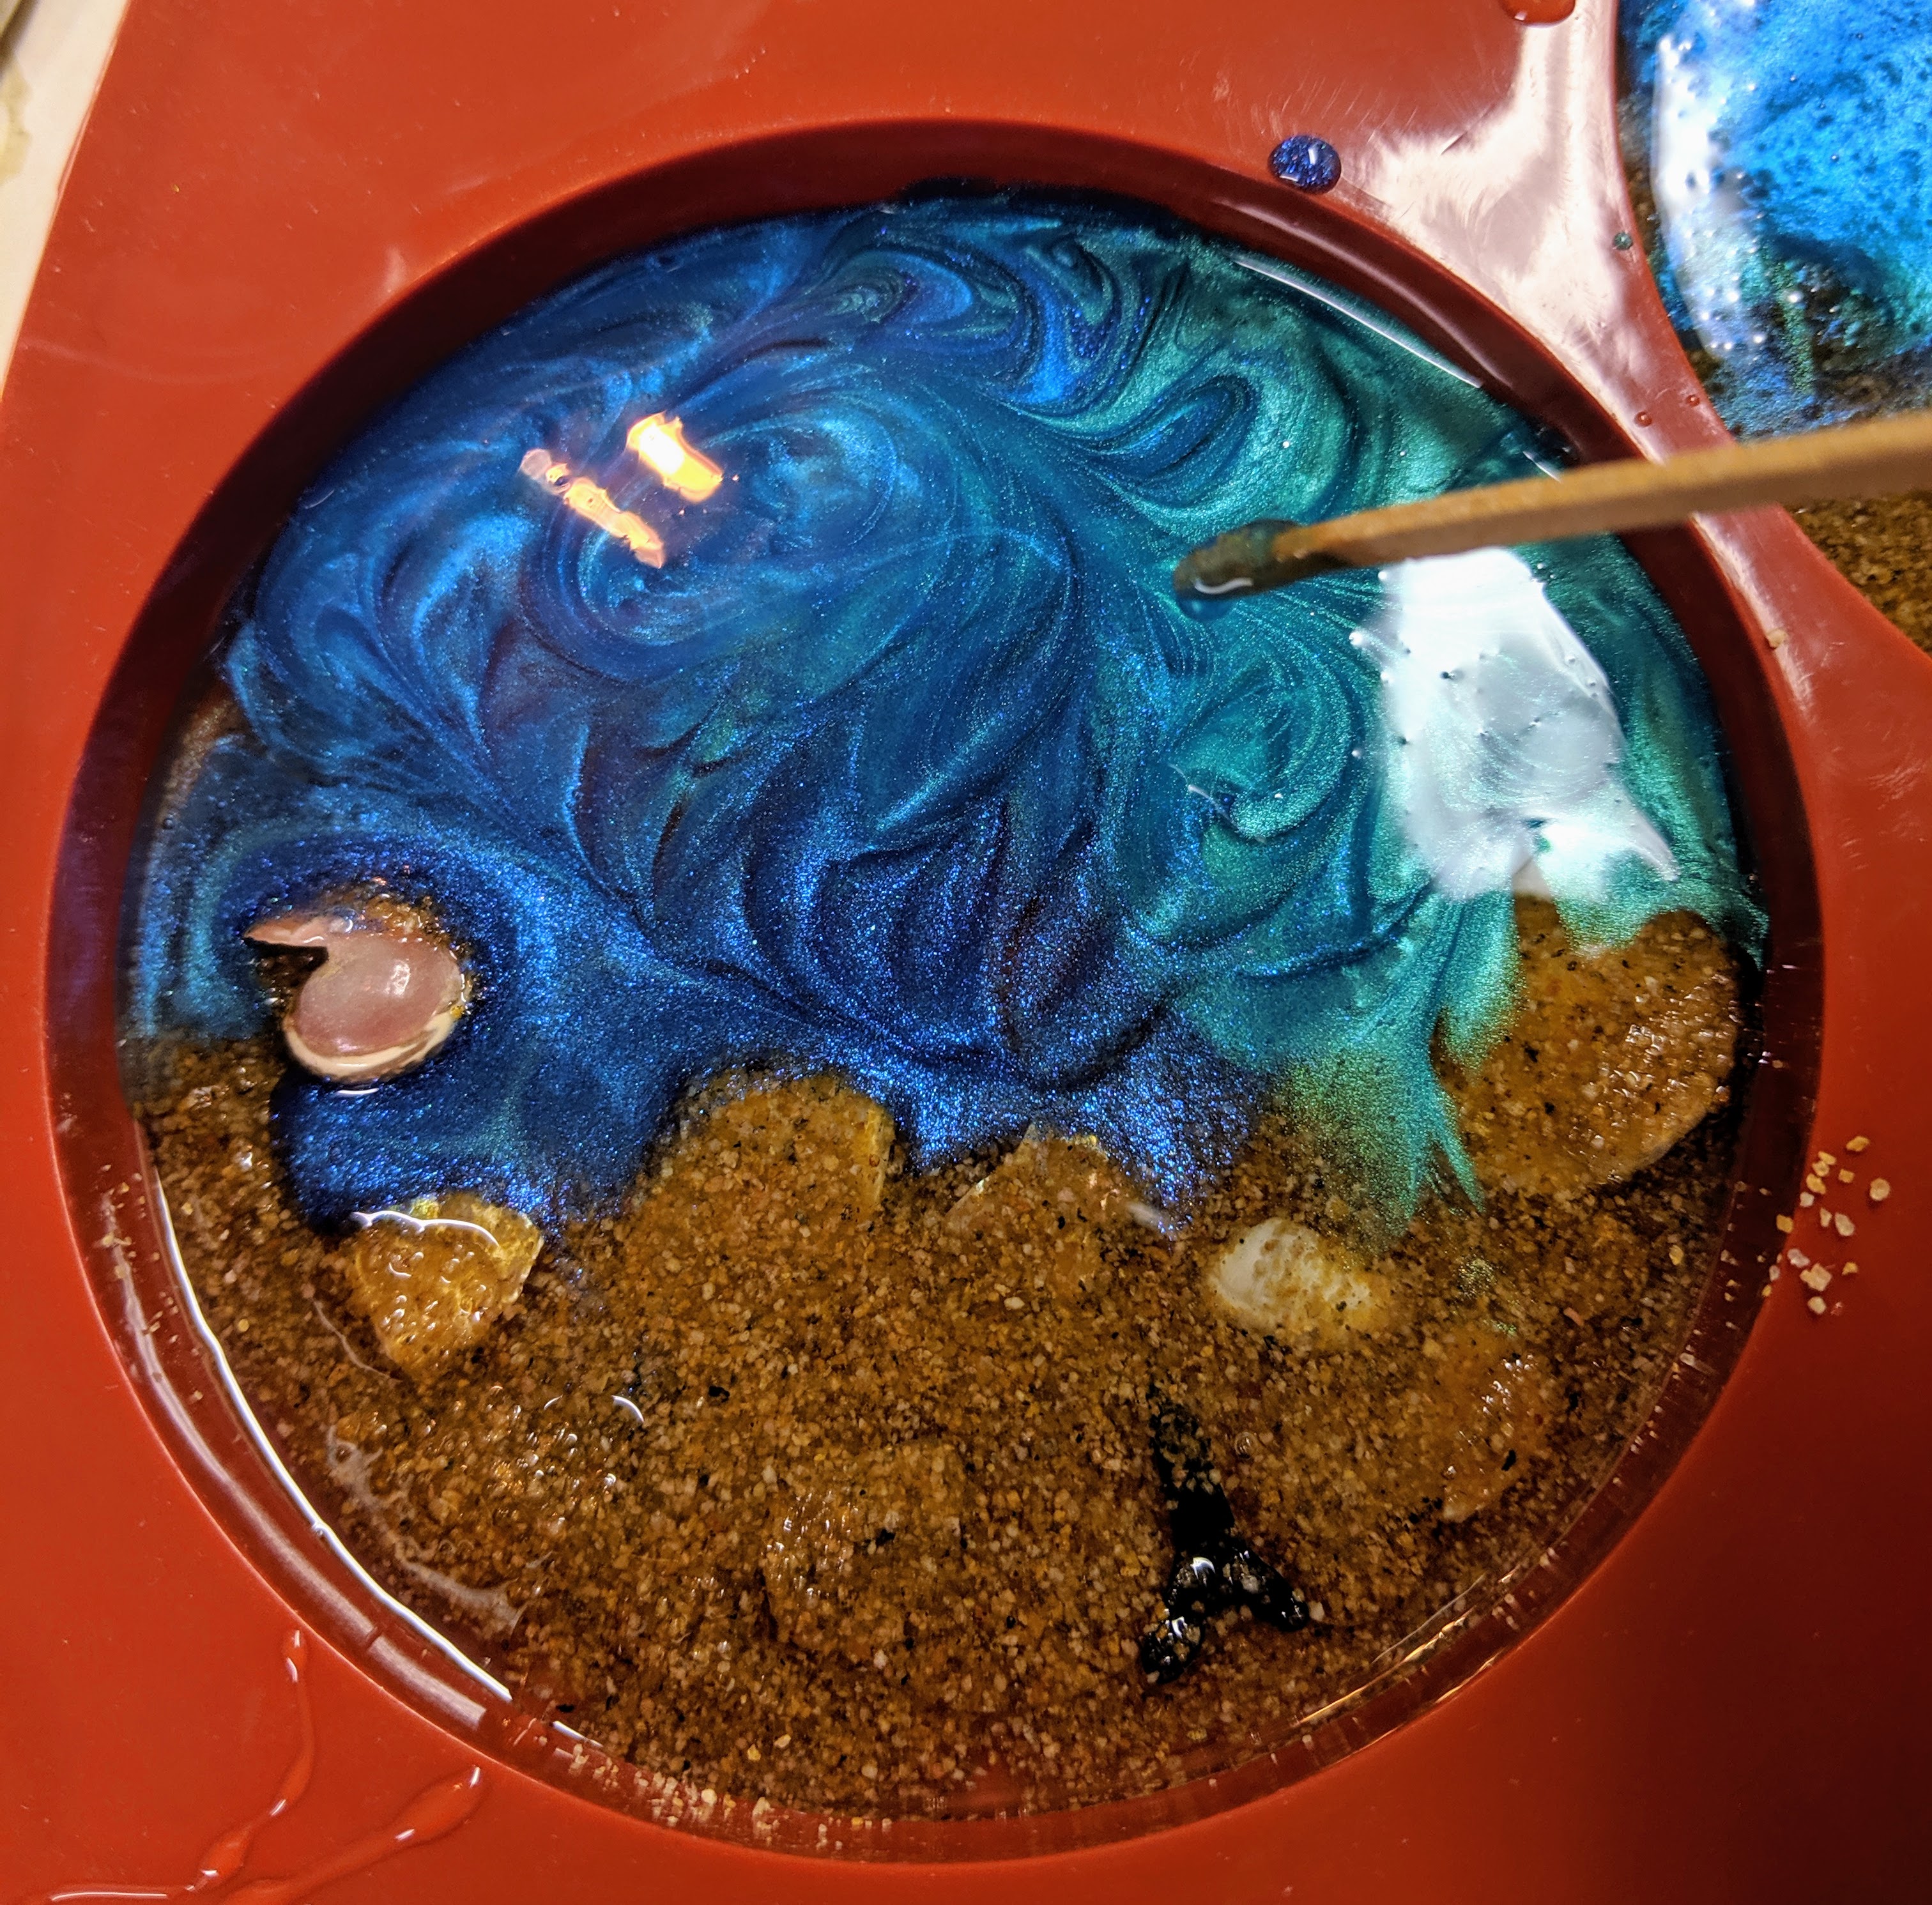
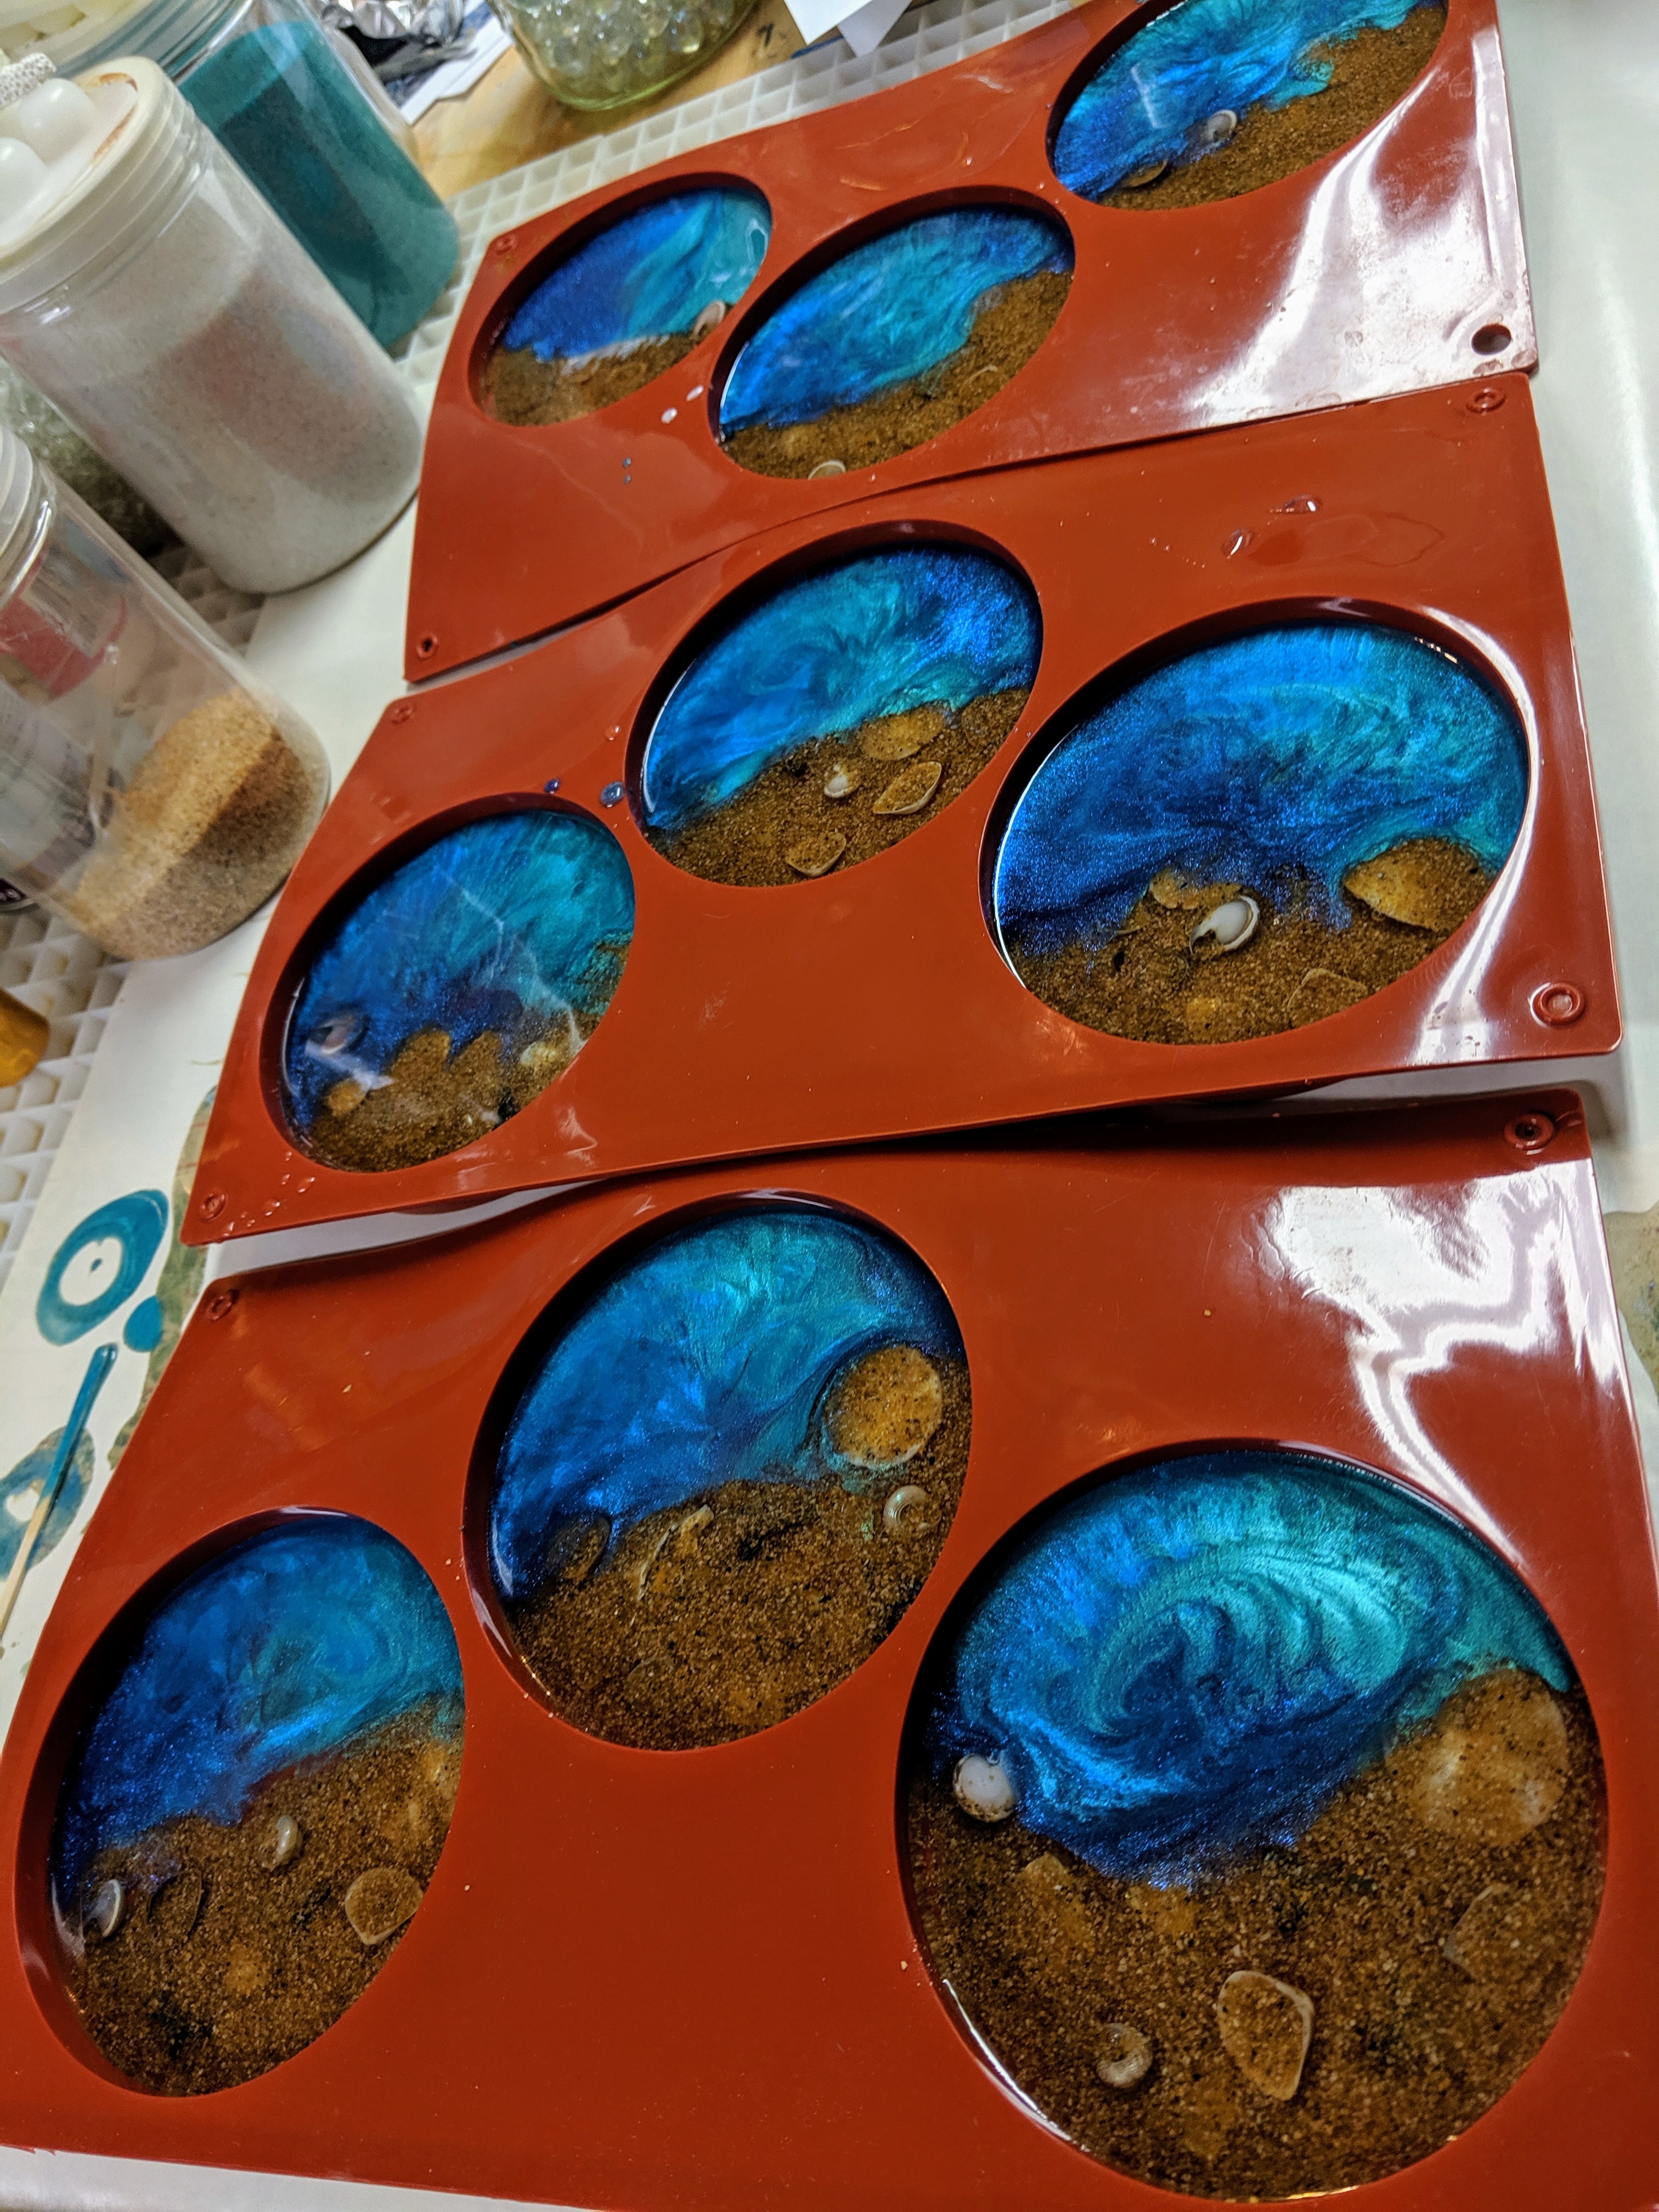
For my last set of coasters, I poured the water before I added the sand background. I decided I wanted to try reversing the order and add the shells and sandy beach background first this time around.
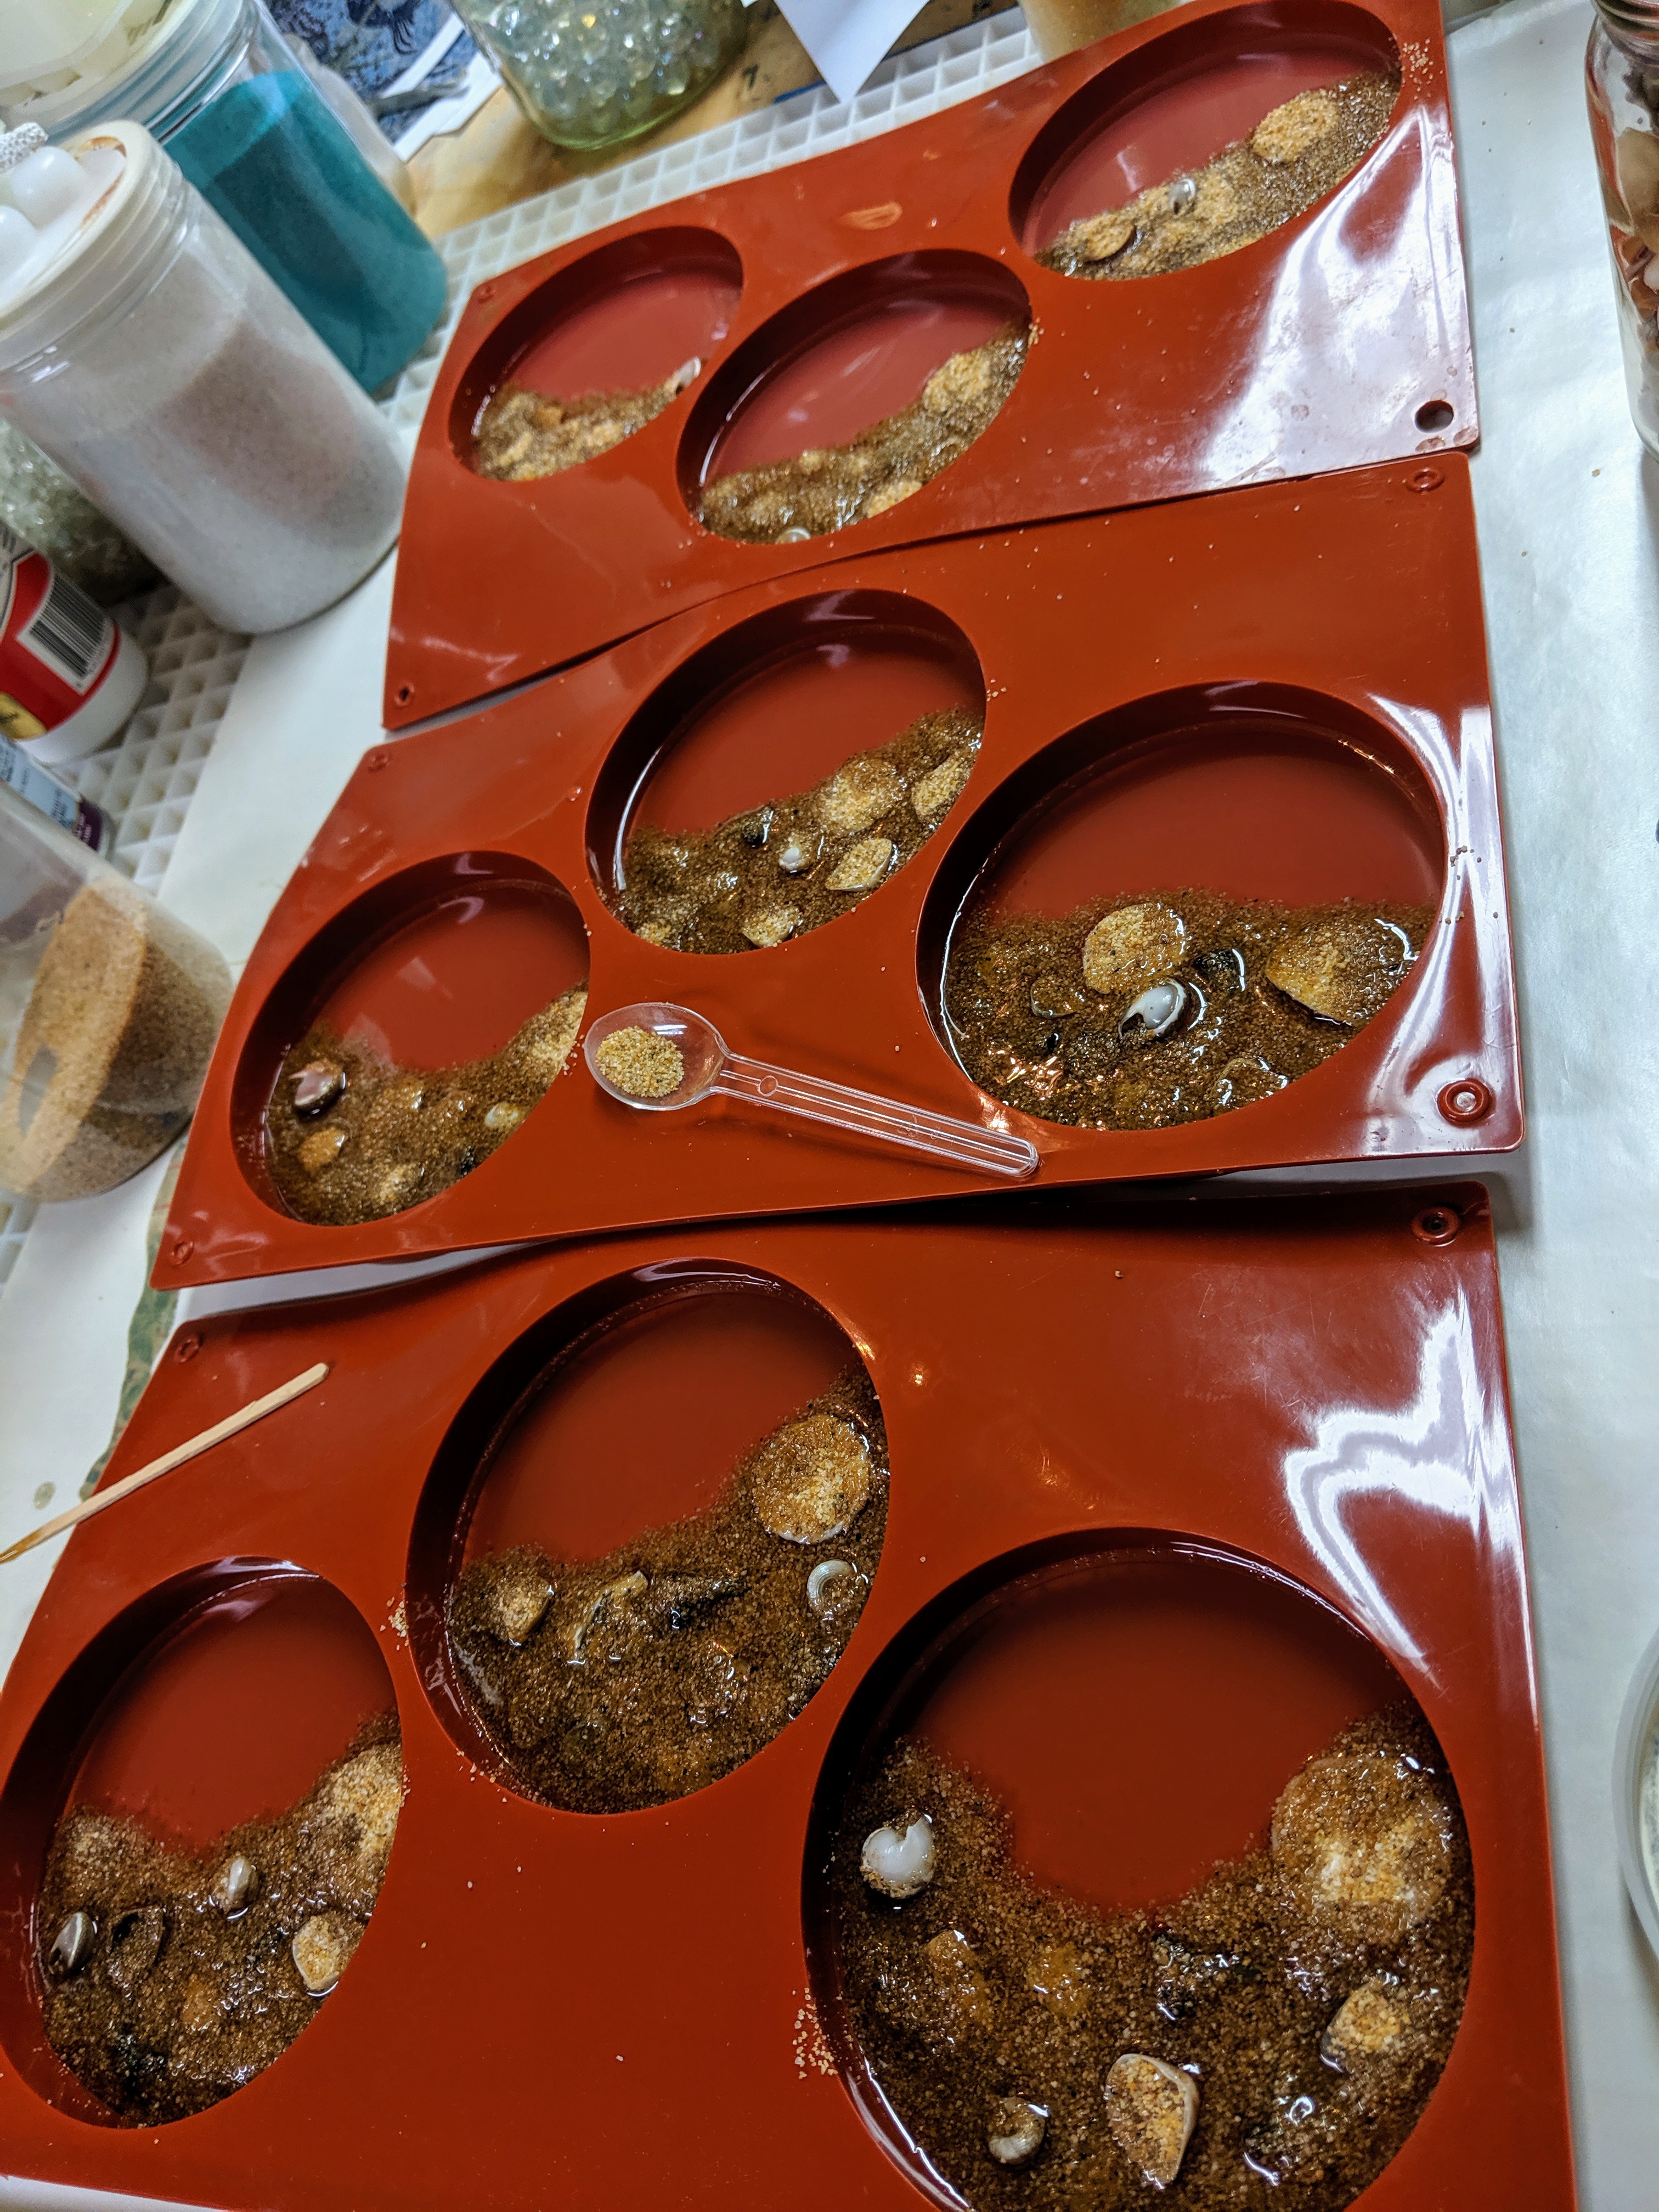
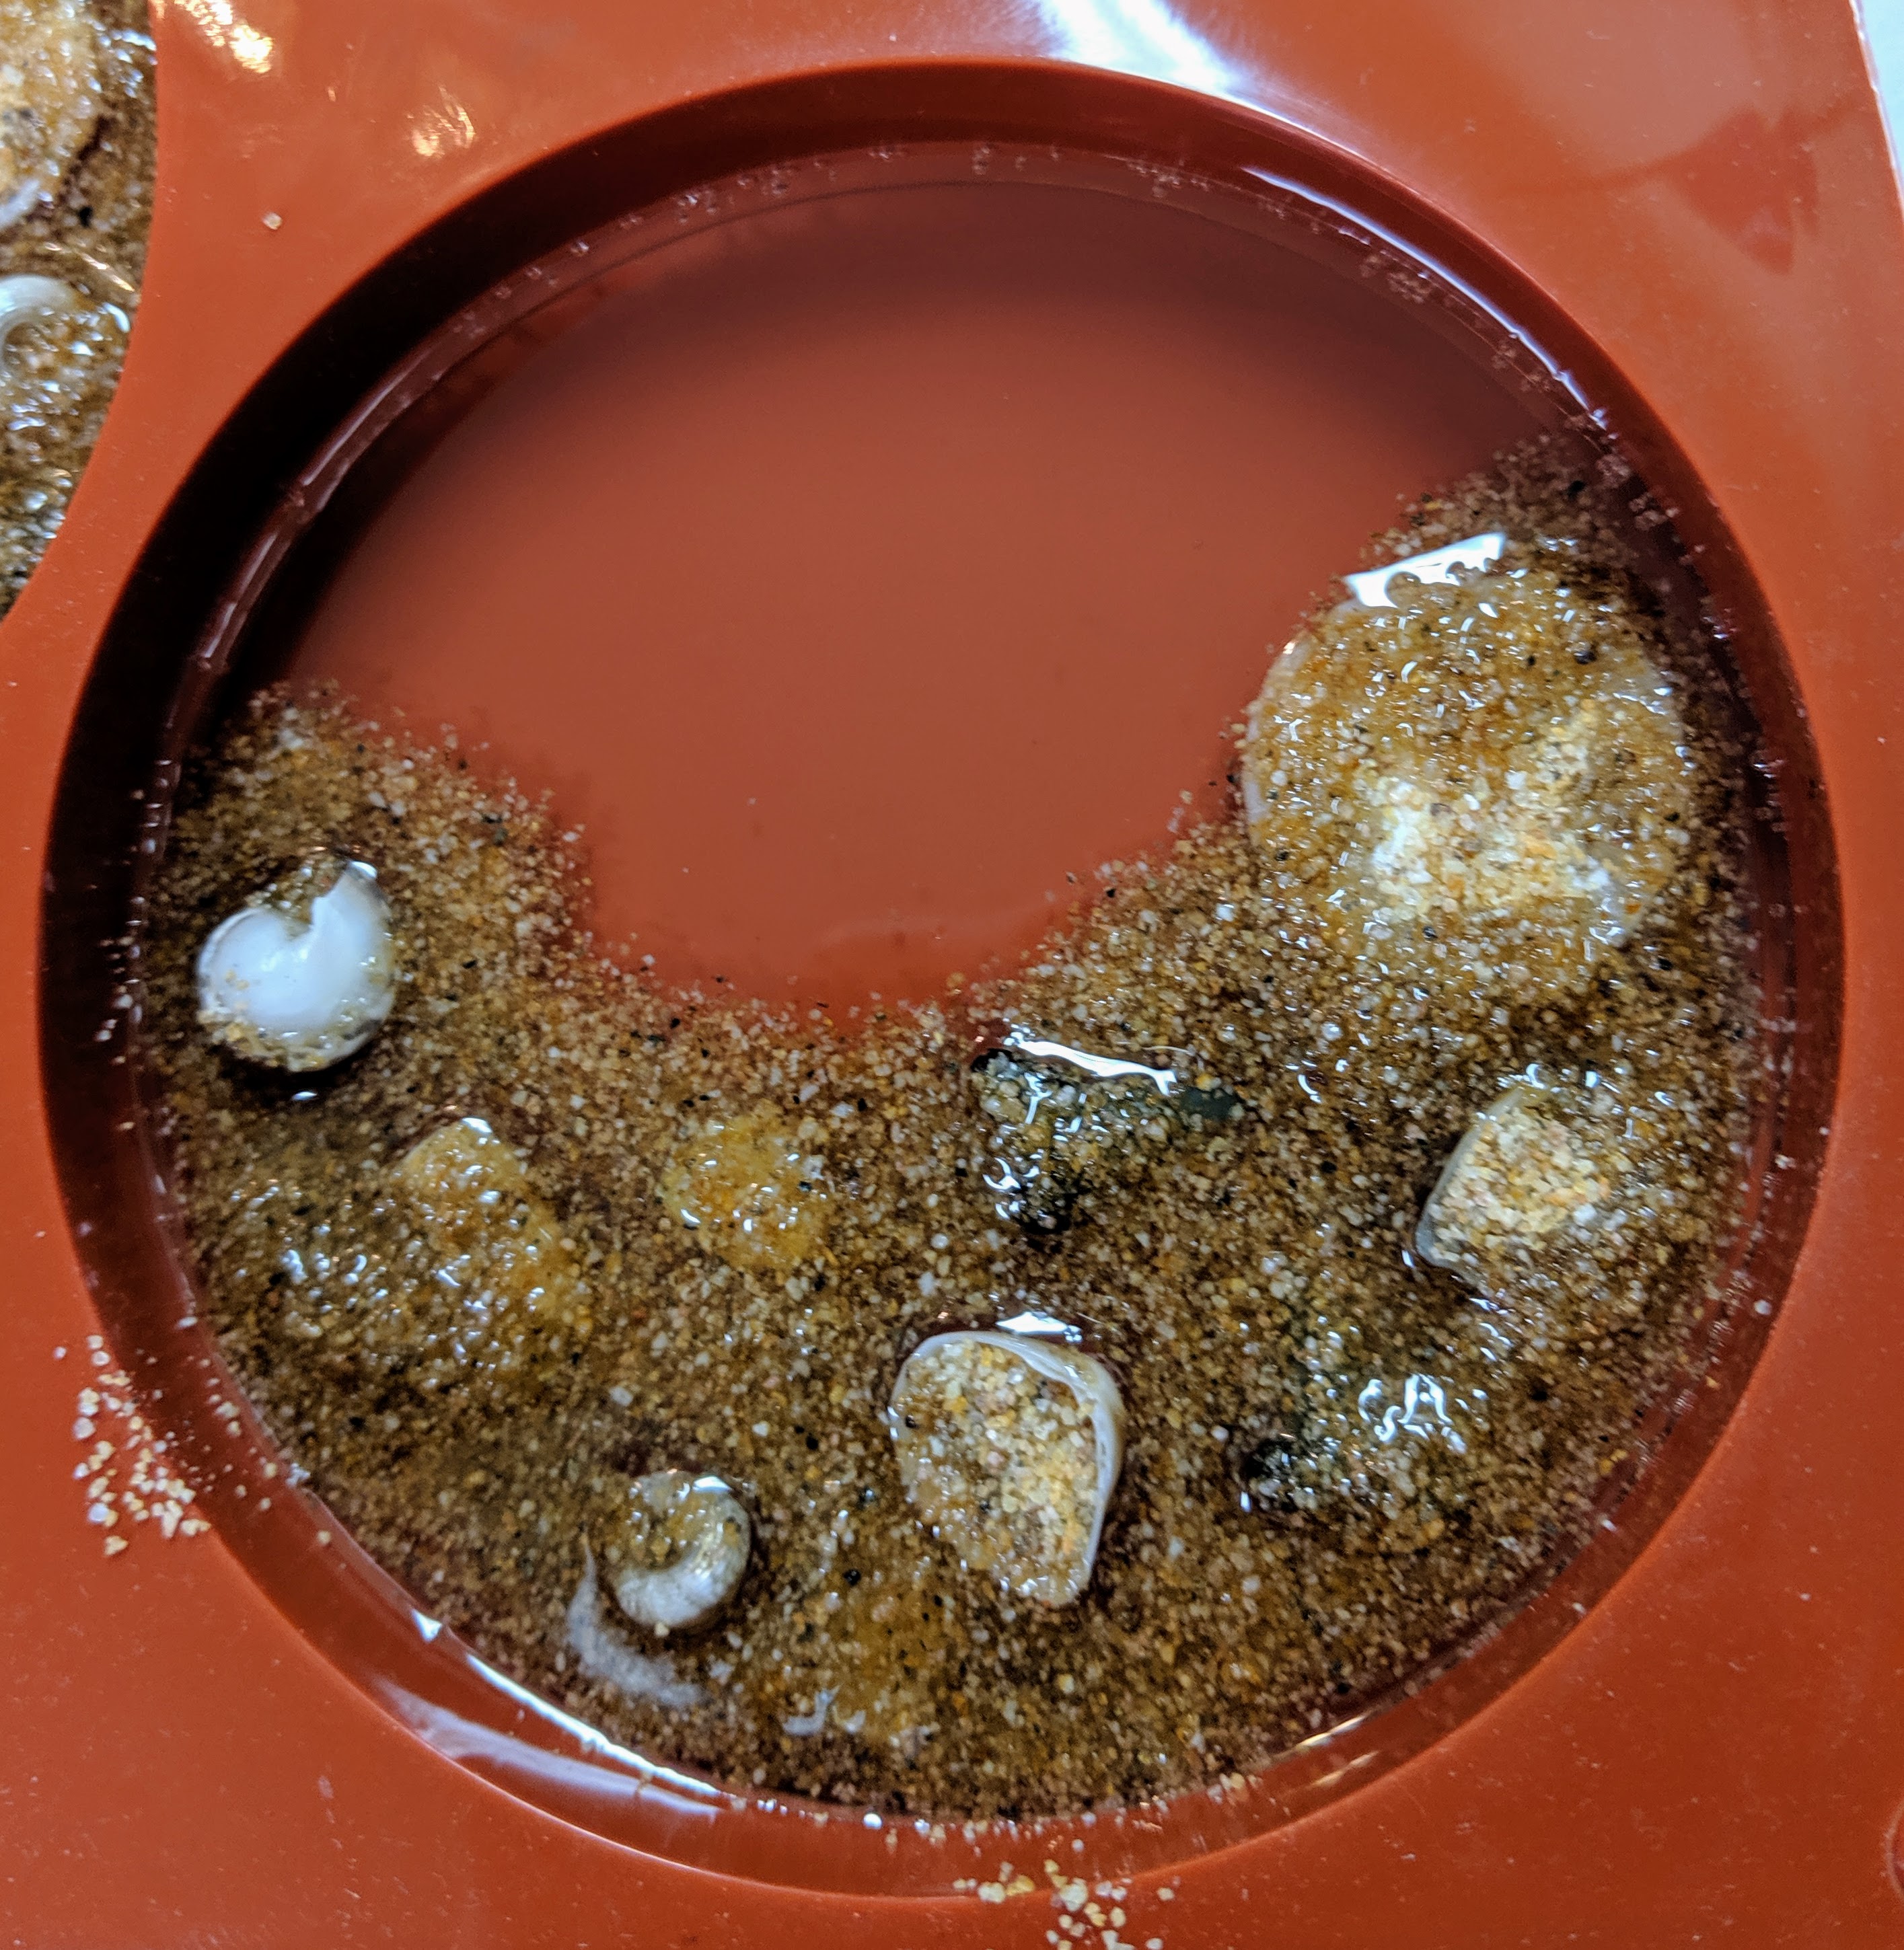
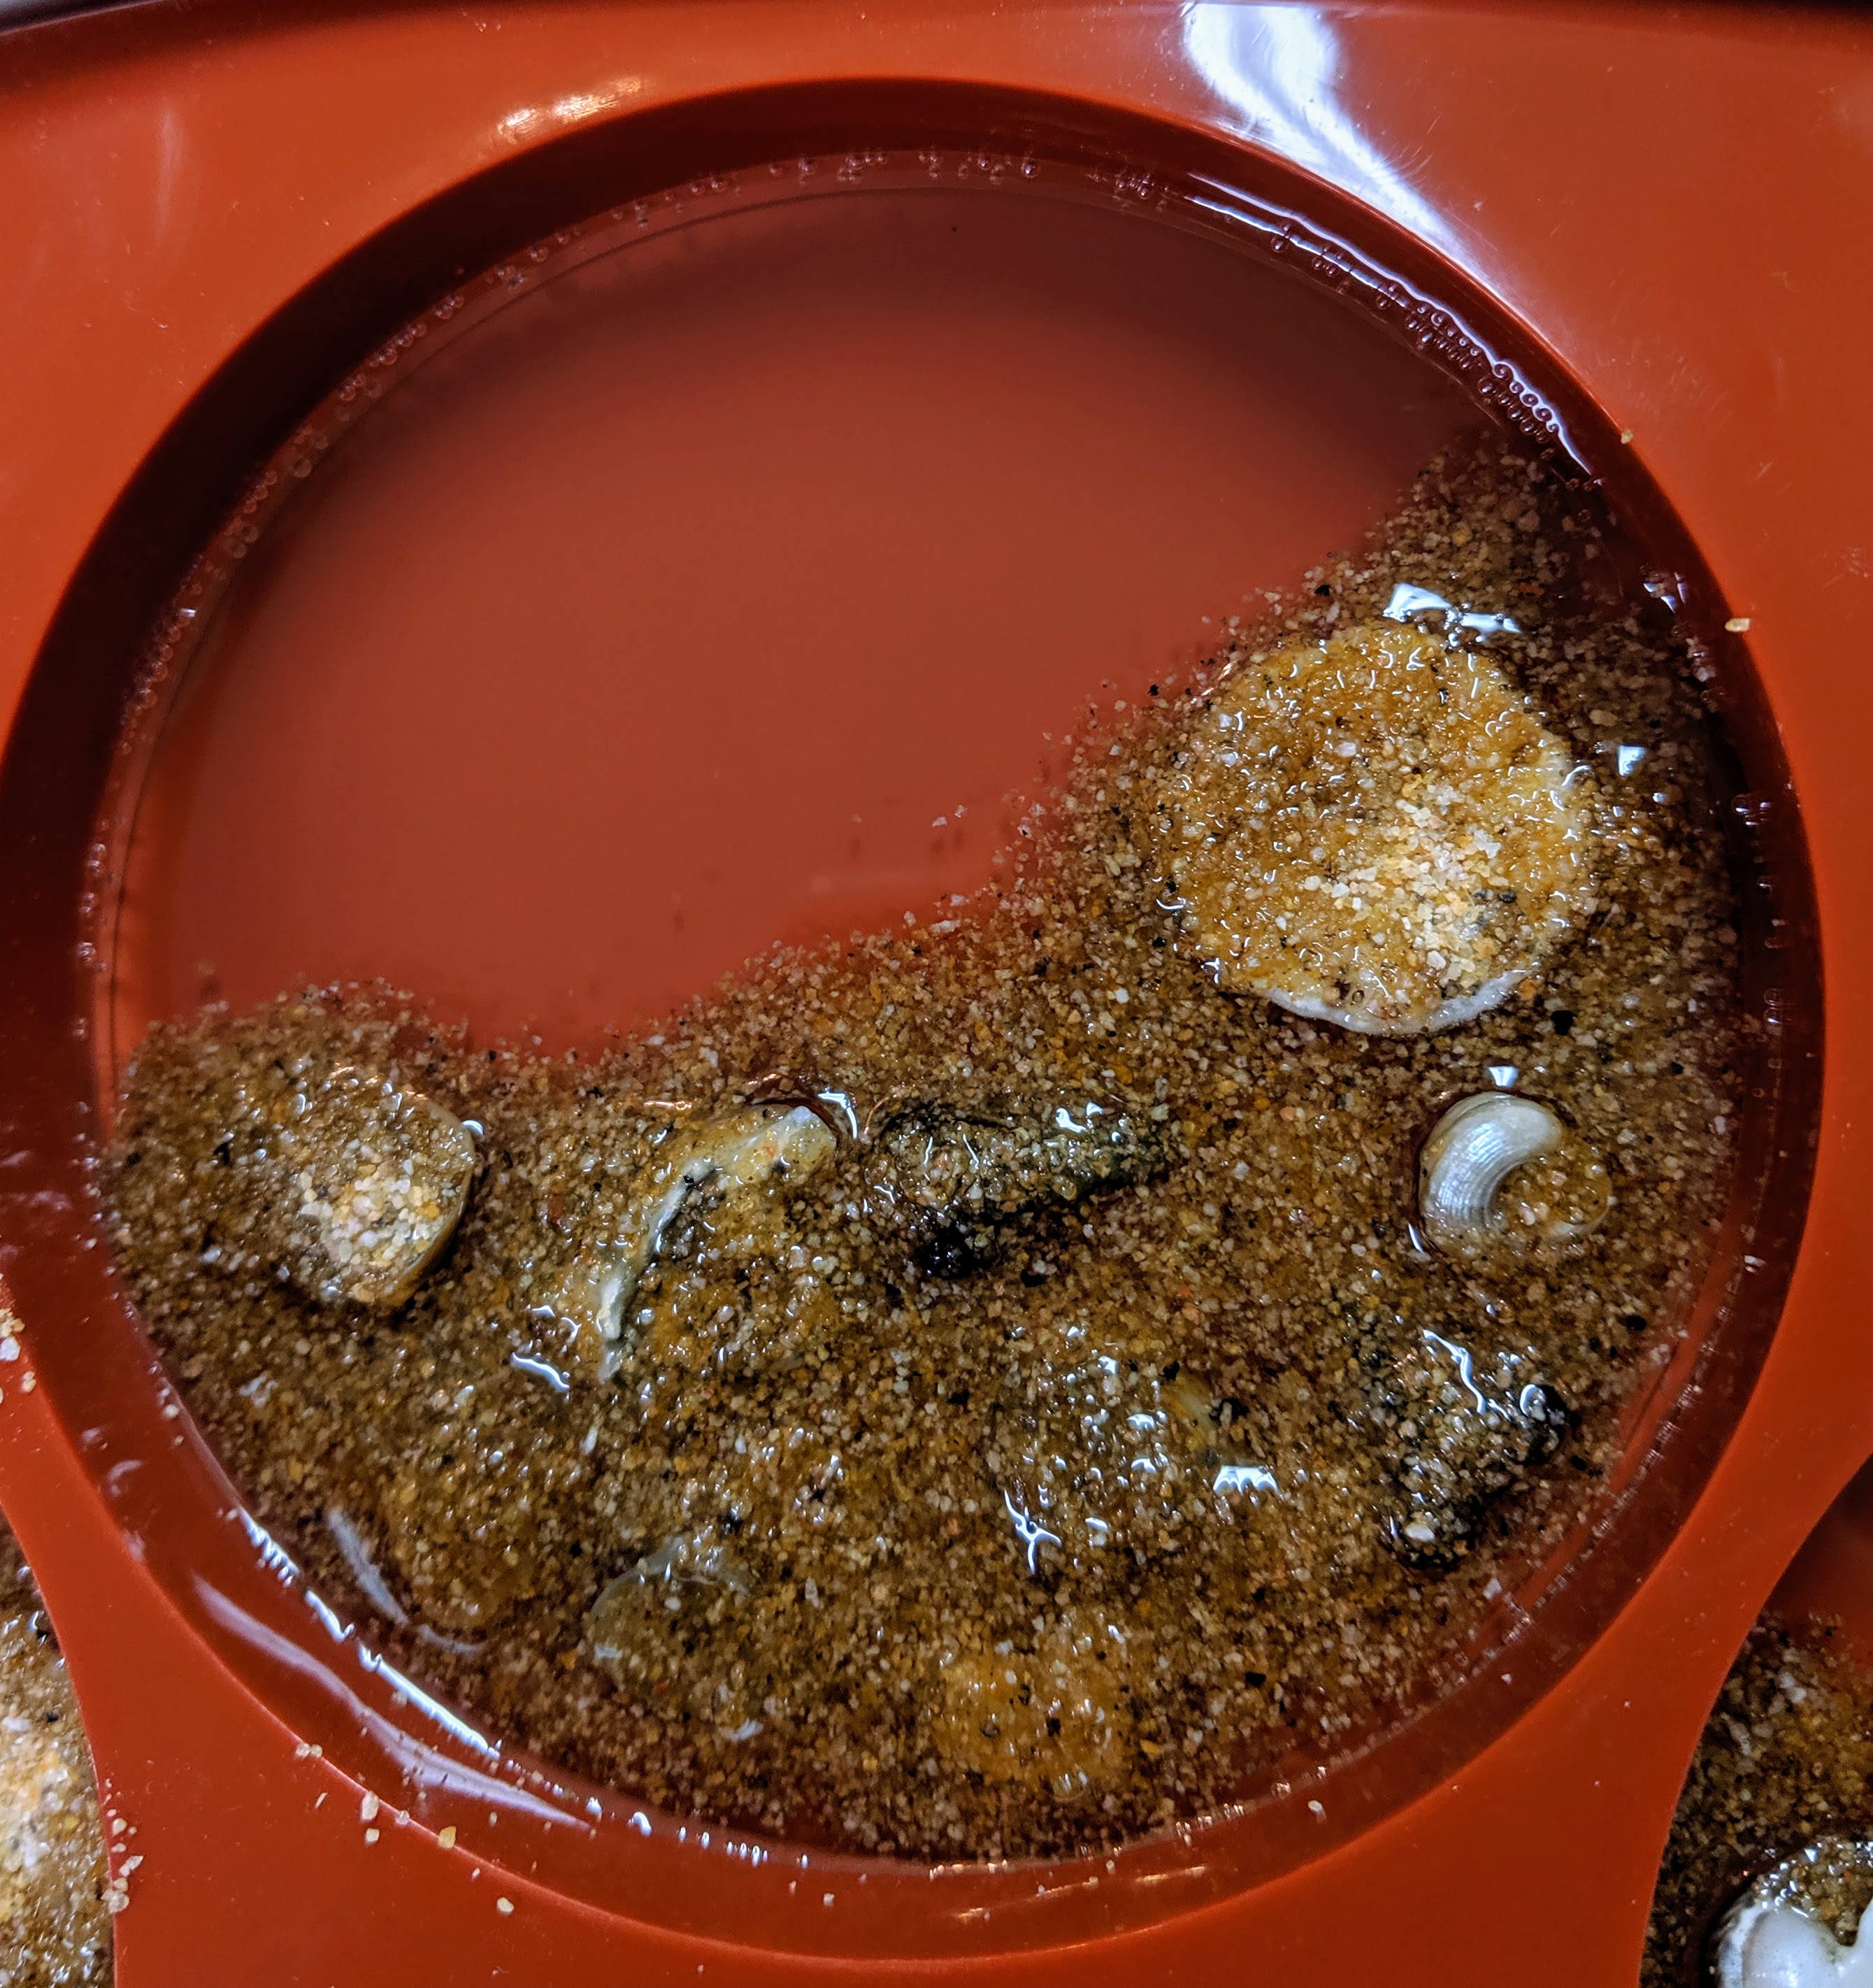
I also wanted to try adding the white pigment at the edge of the sand where the water meets the beach, so to speak, to make it look more like the bubbles you would see when the water washes up in waves. I mixed some white pigment and drizzled it along the edge of the sand in 5 of the coasters, so I will have four without the bubbles to compare.
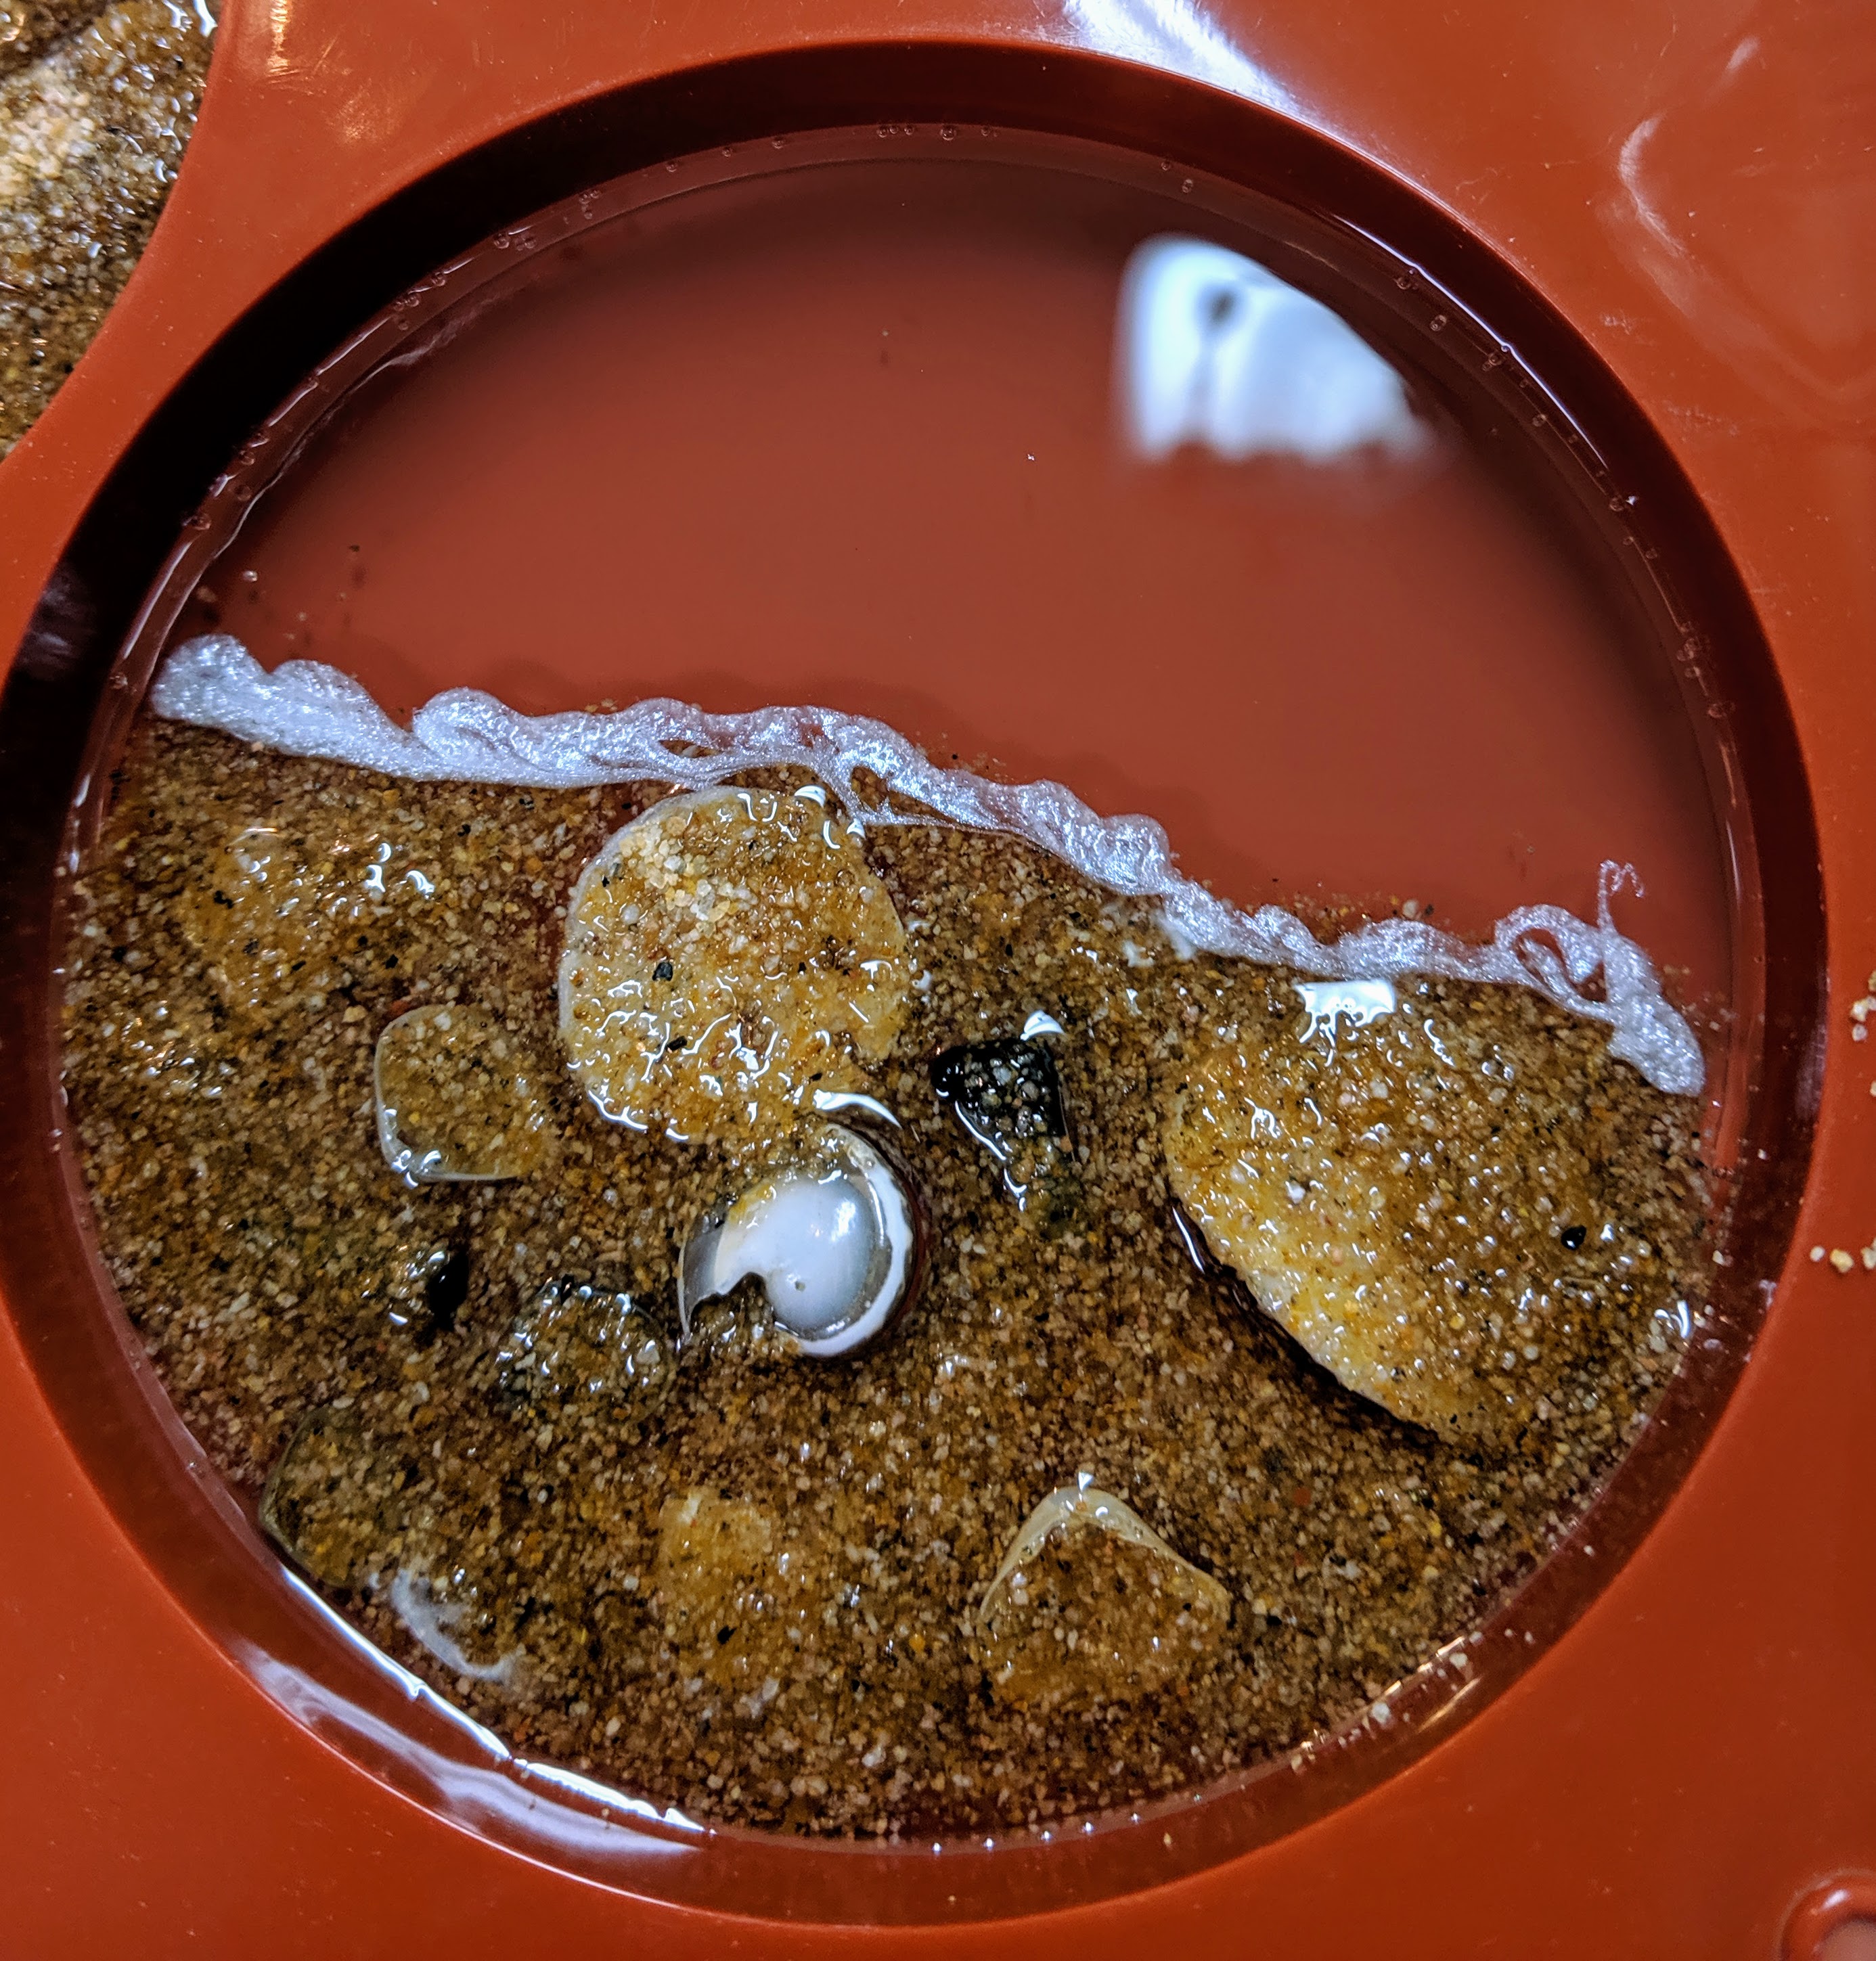
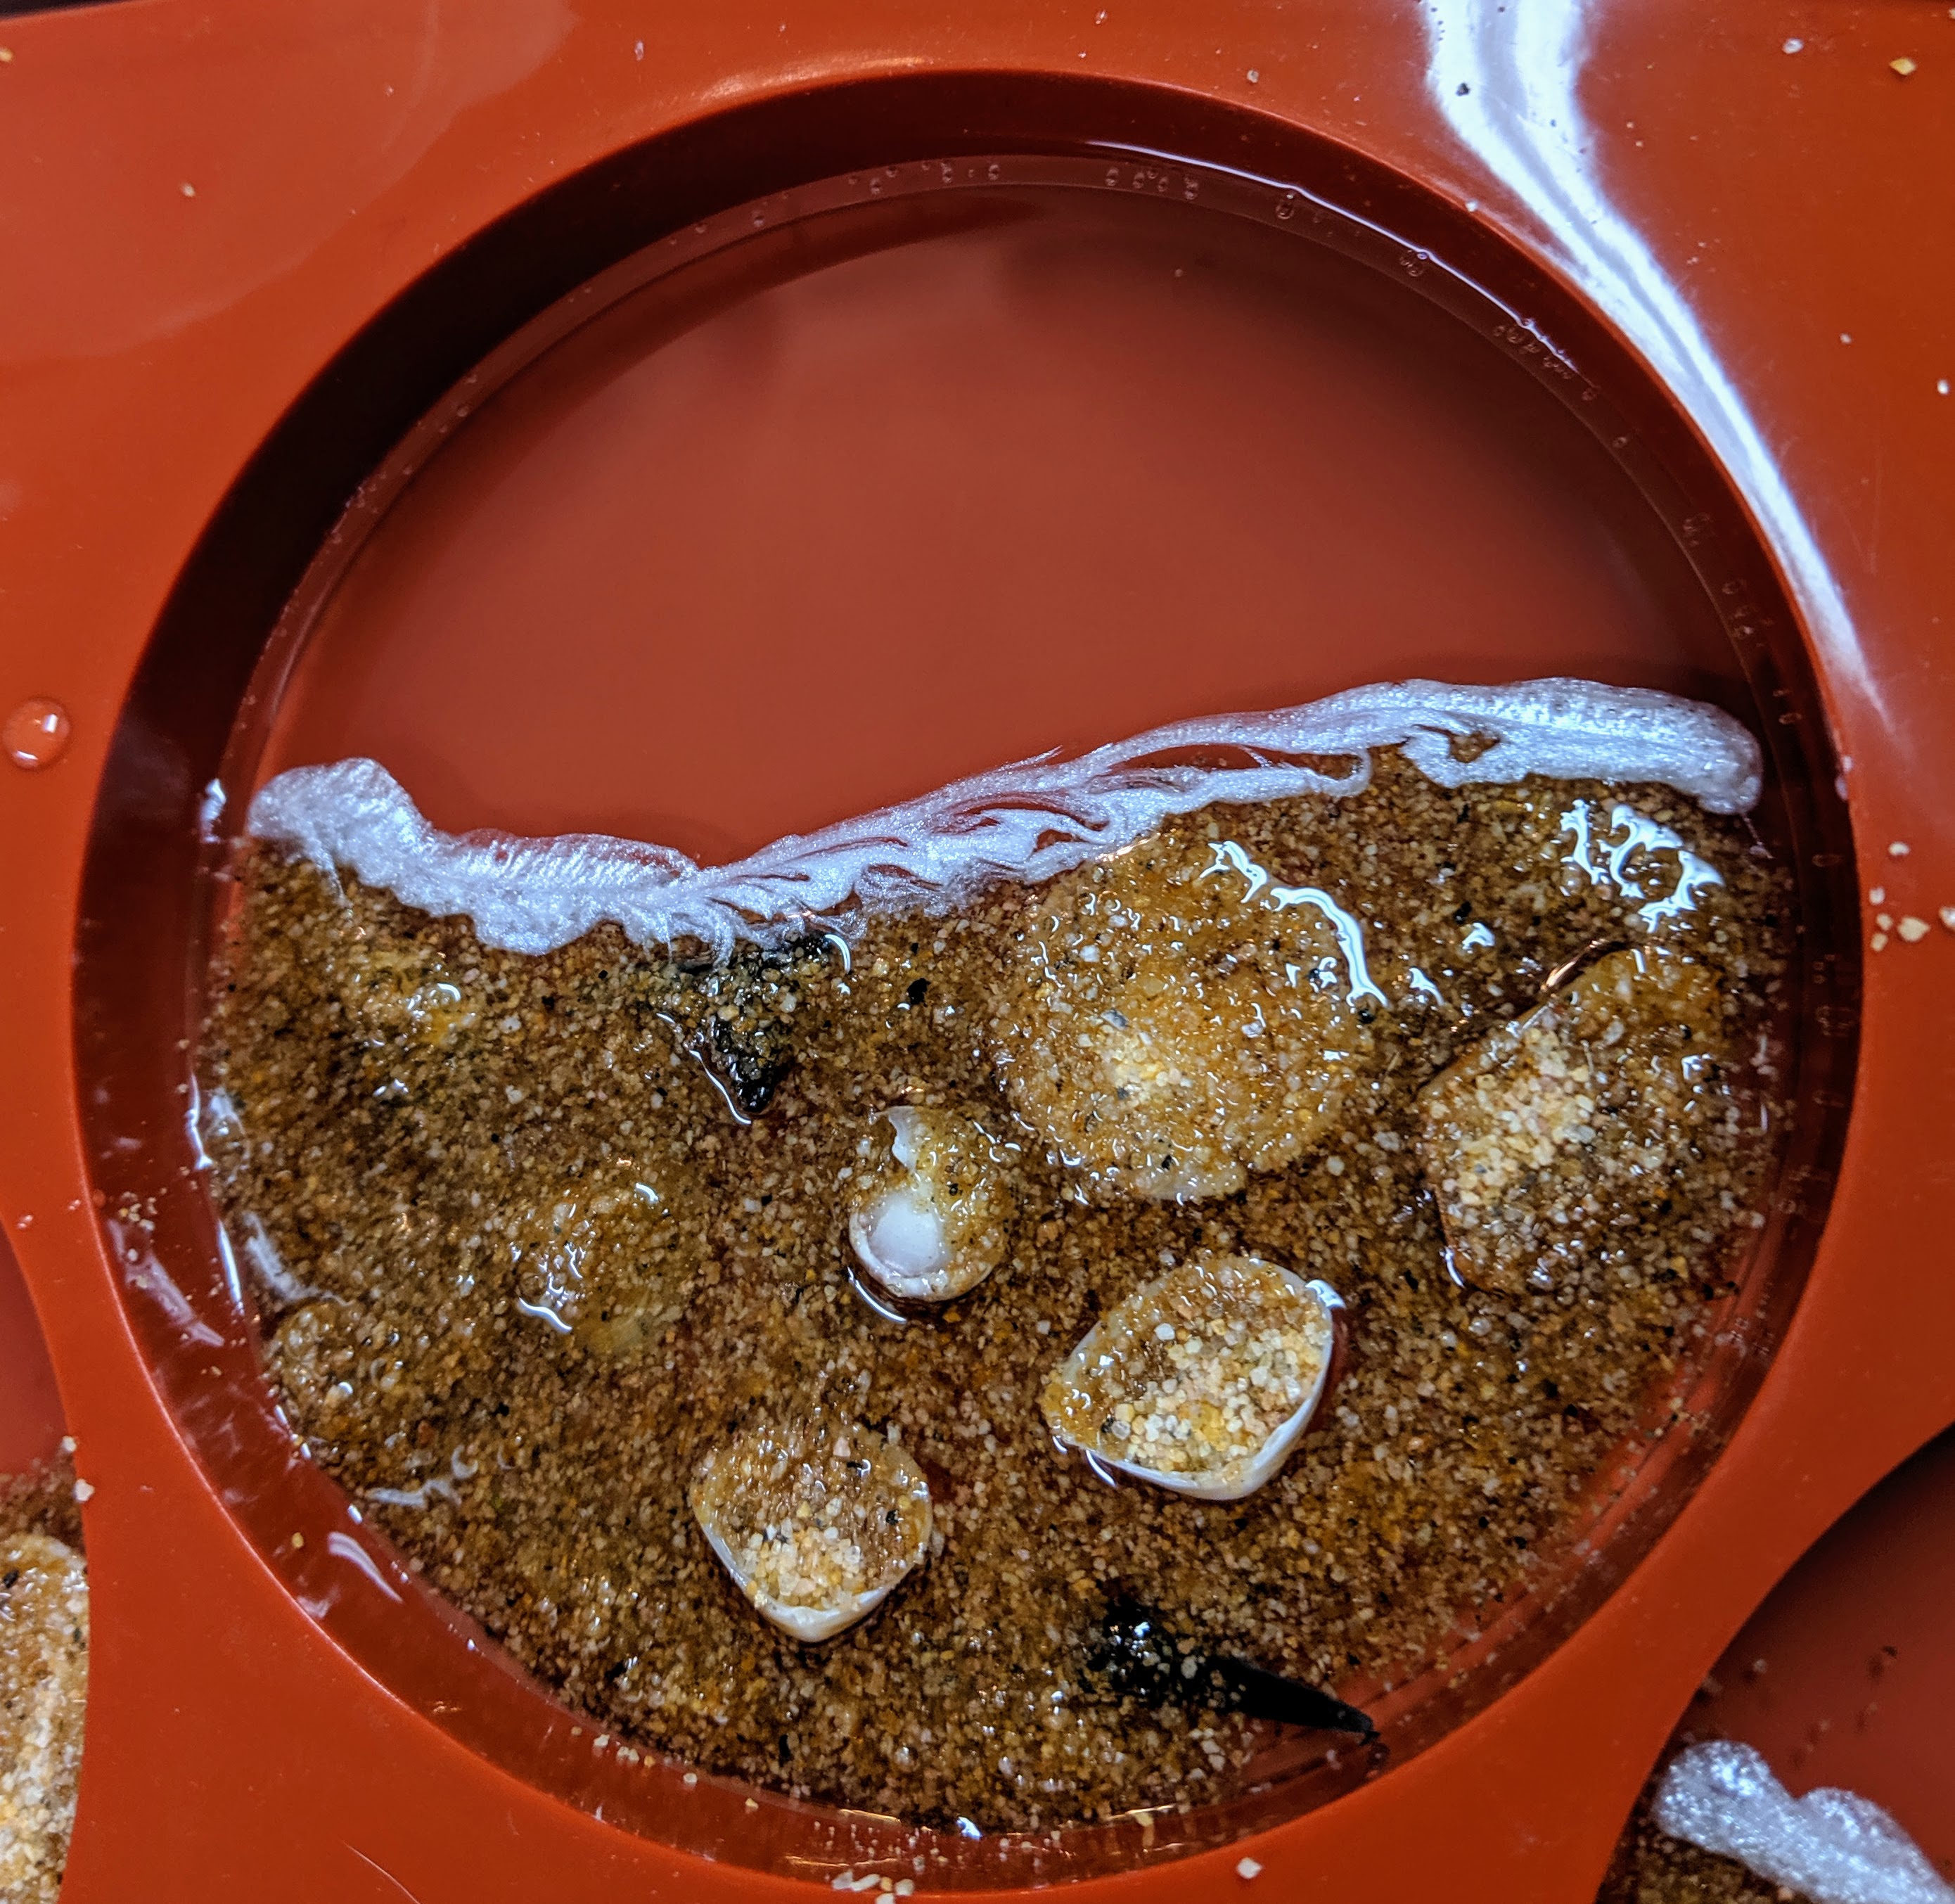
These will need to cure at least overnight before I can add the blue green pigmented water layer.
Today is a prep day. I have to do a little cleanup / painting on this window frame, clean up my resin measuring cups and pour a base layer of resin in my next batch of coasters before I can do the fun, creative part.

When I started using resin, I used disposable cups for measuring. That seemed wasteful, so I switched over to these silicone cups that I can clean and reuse indefinitely.
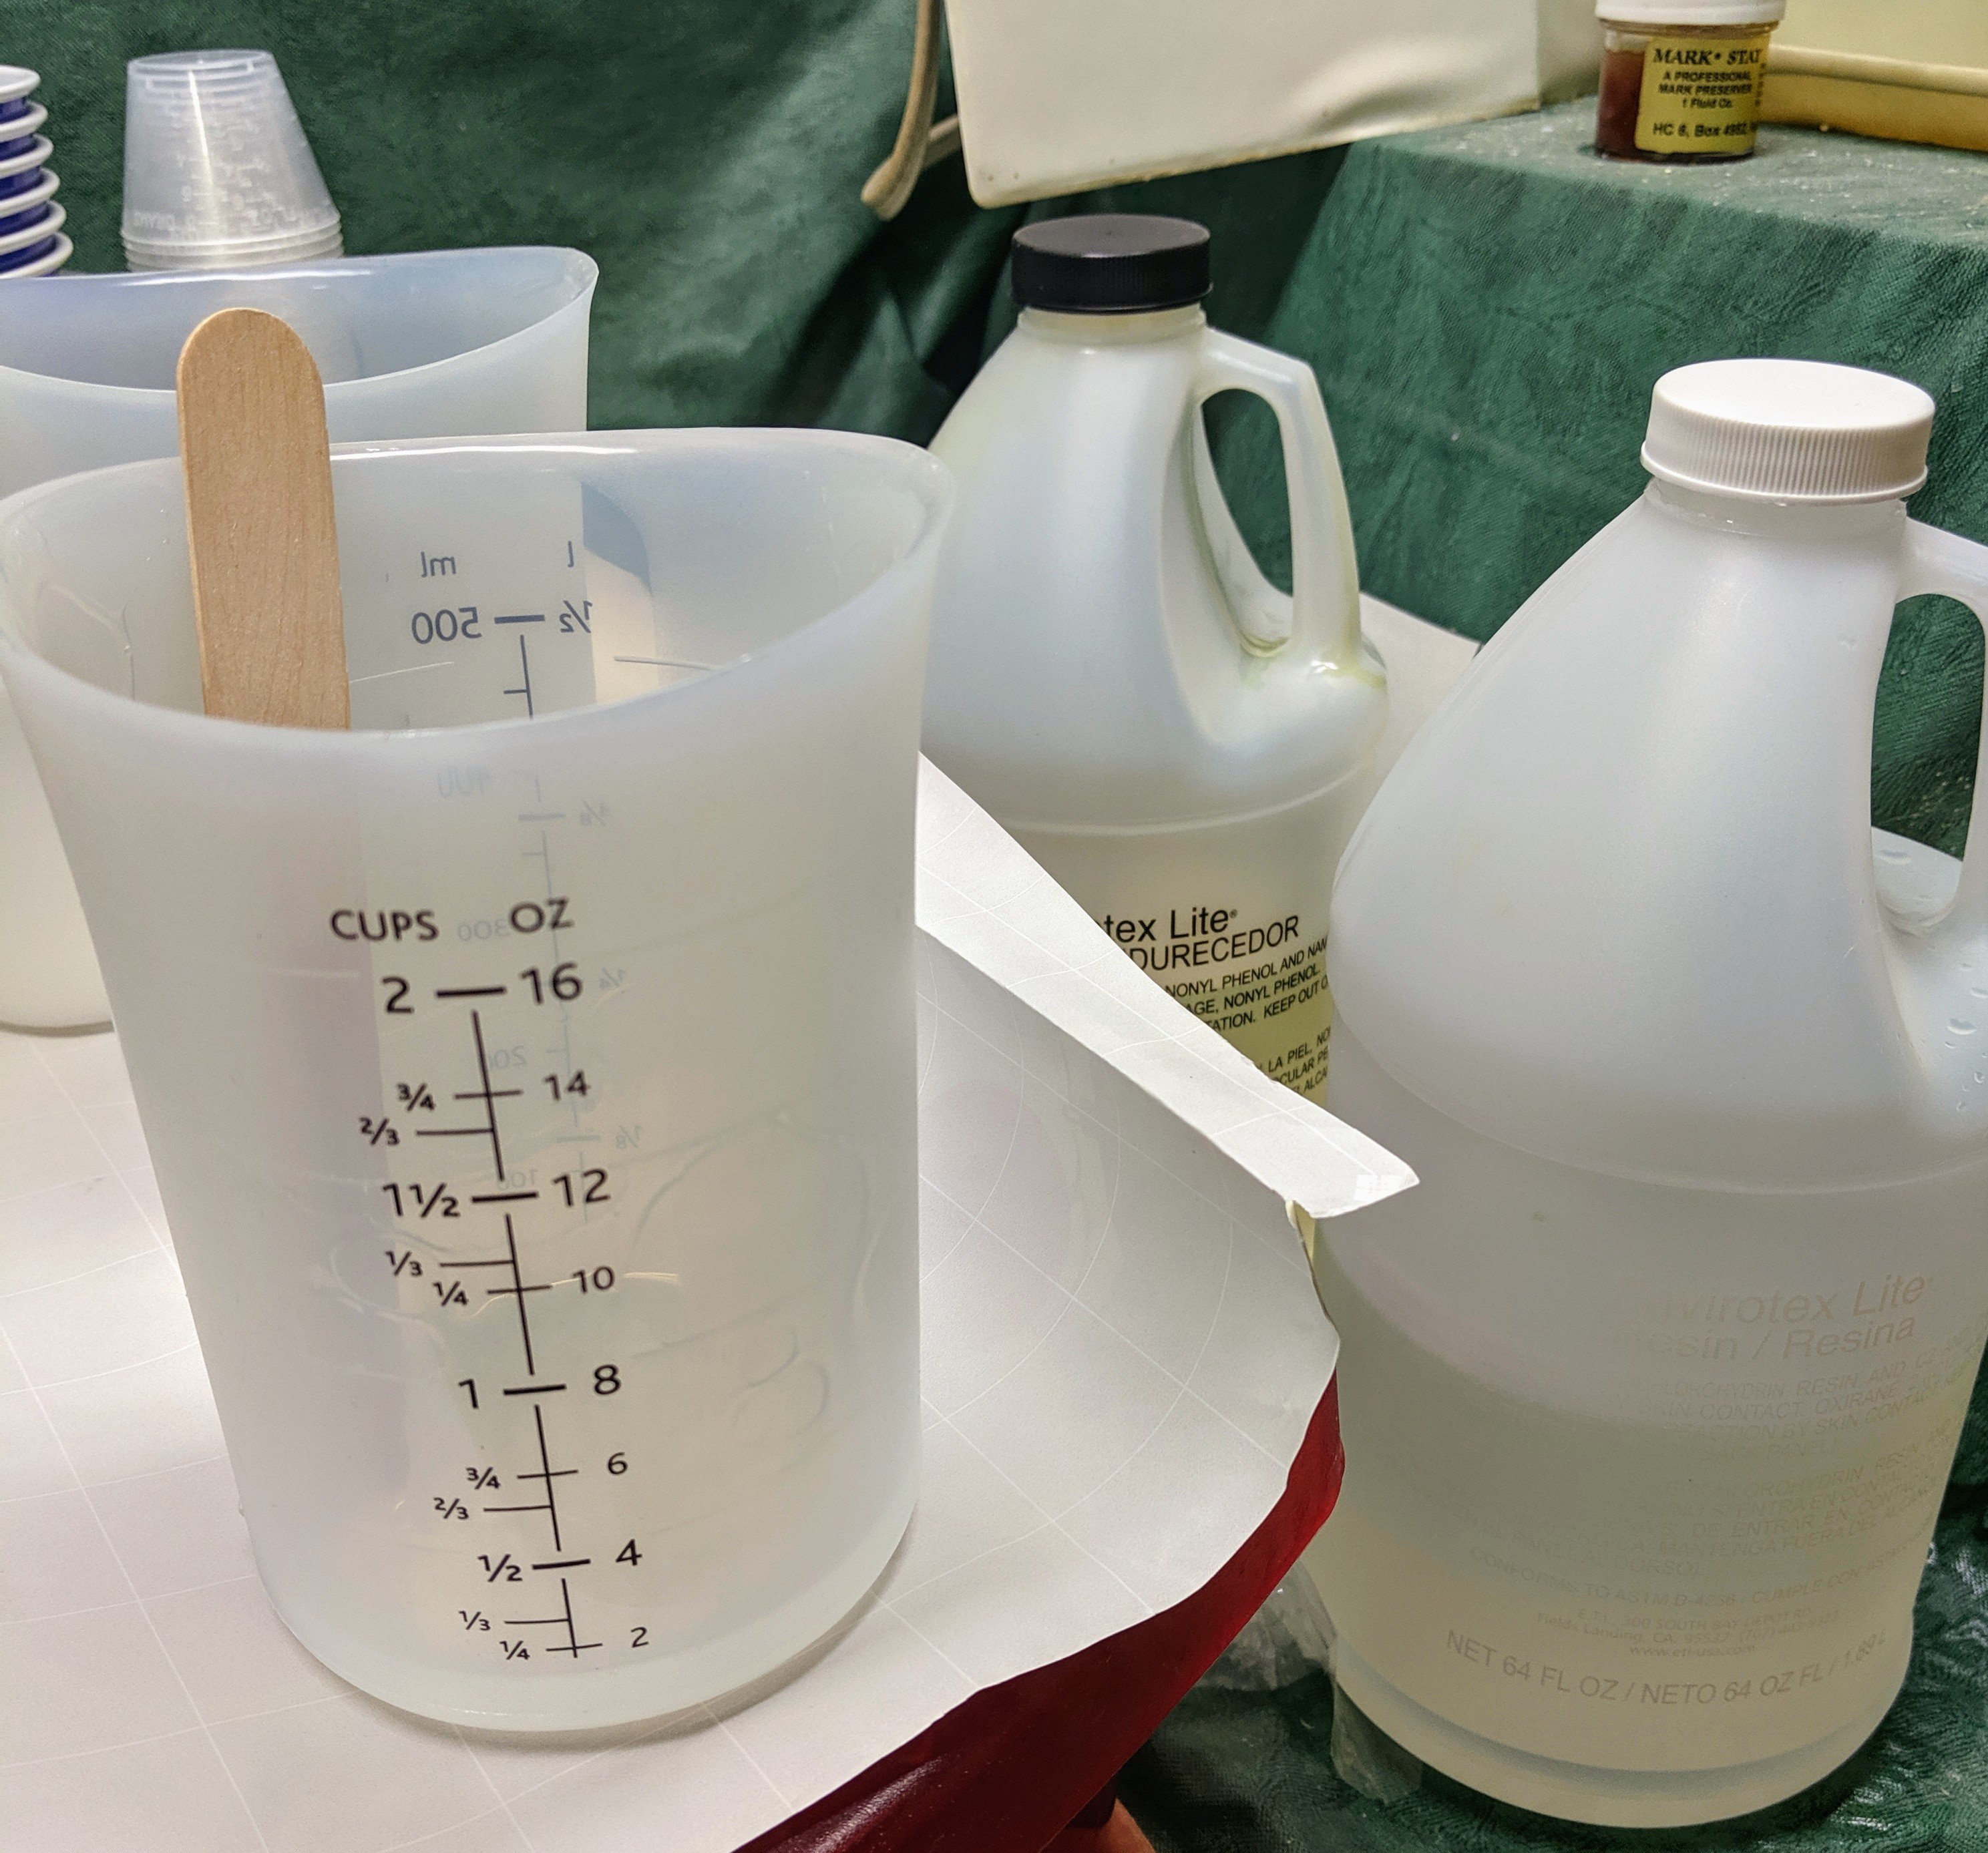
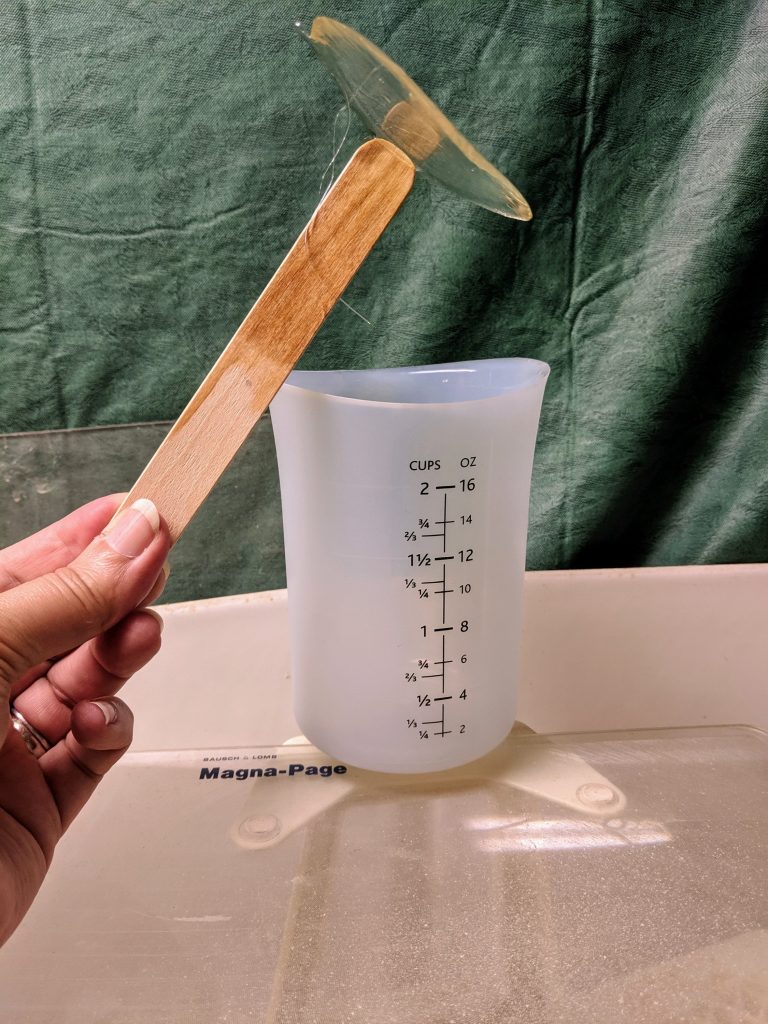
When I’m done pouring the resin, I just leave the stir stick in place to dry for a day or two. Once the resin cures, it is easy to just pull the stick out of the cup, bringing with it any leftover resin in the bottom.
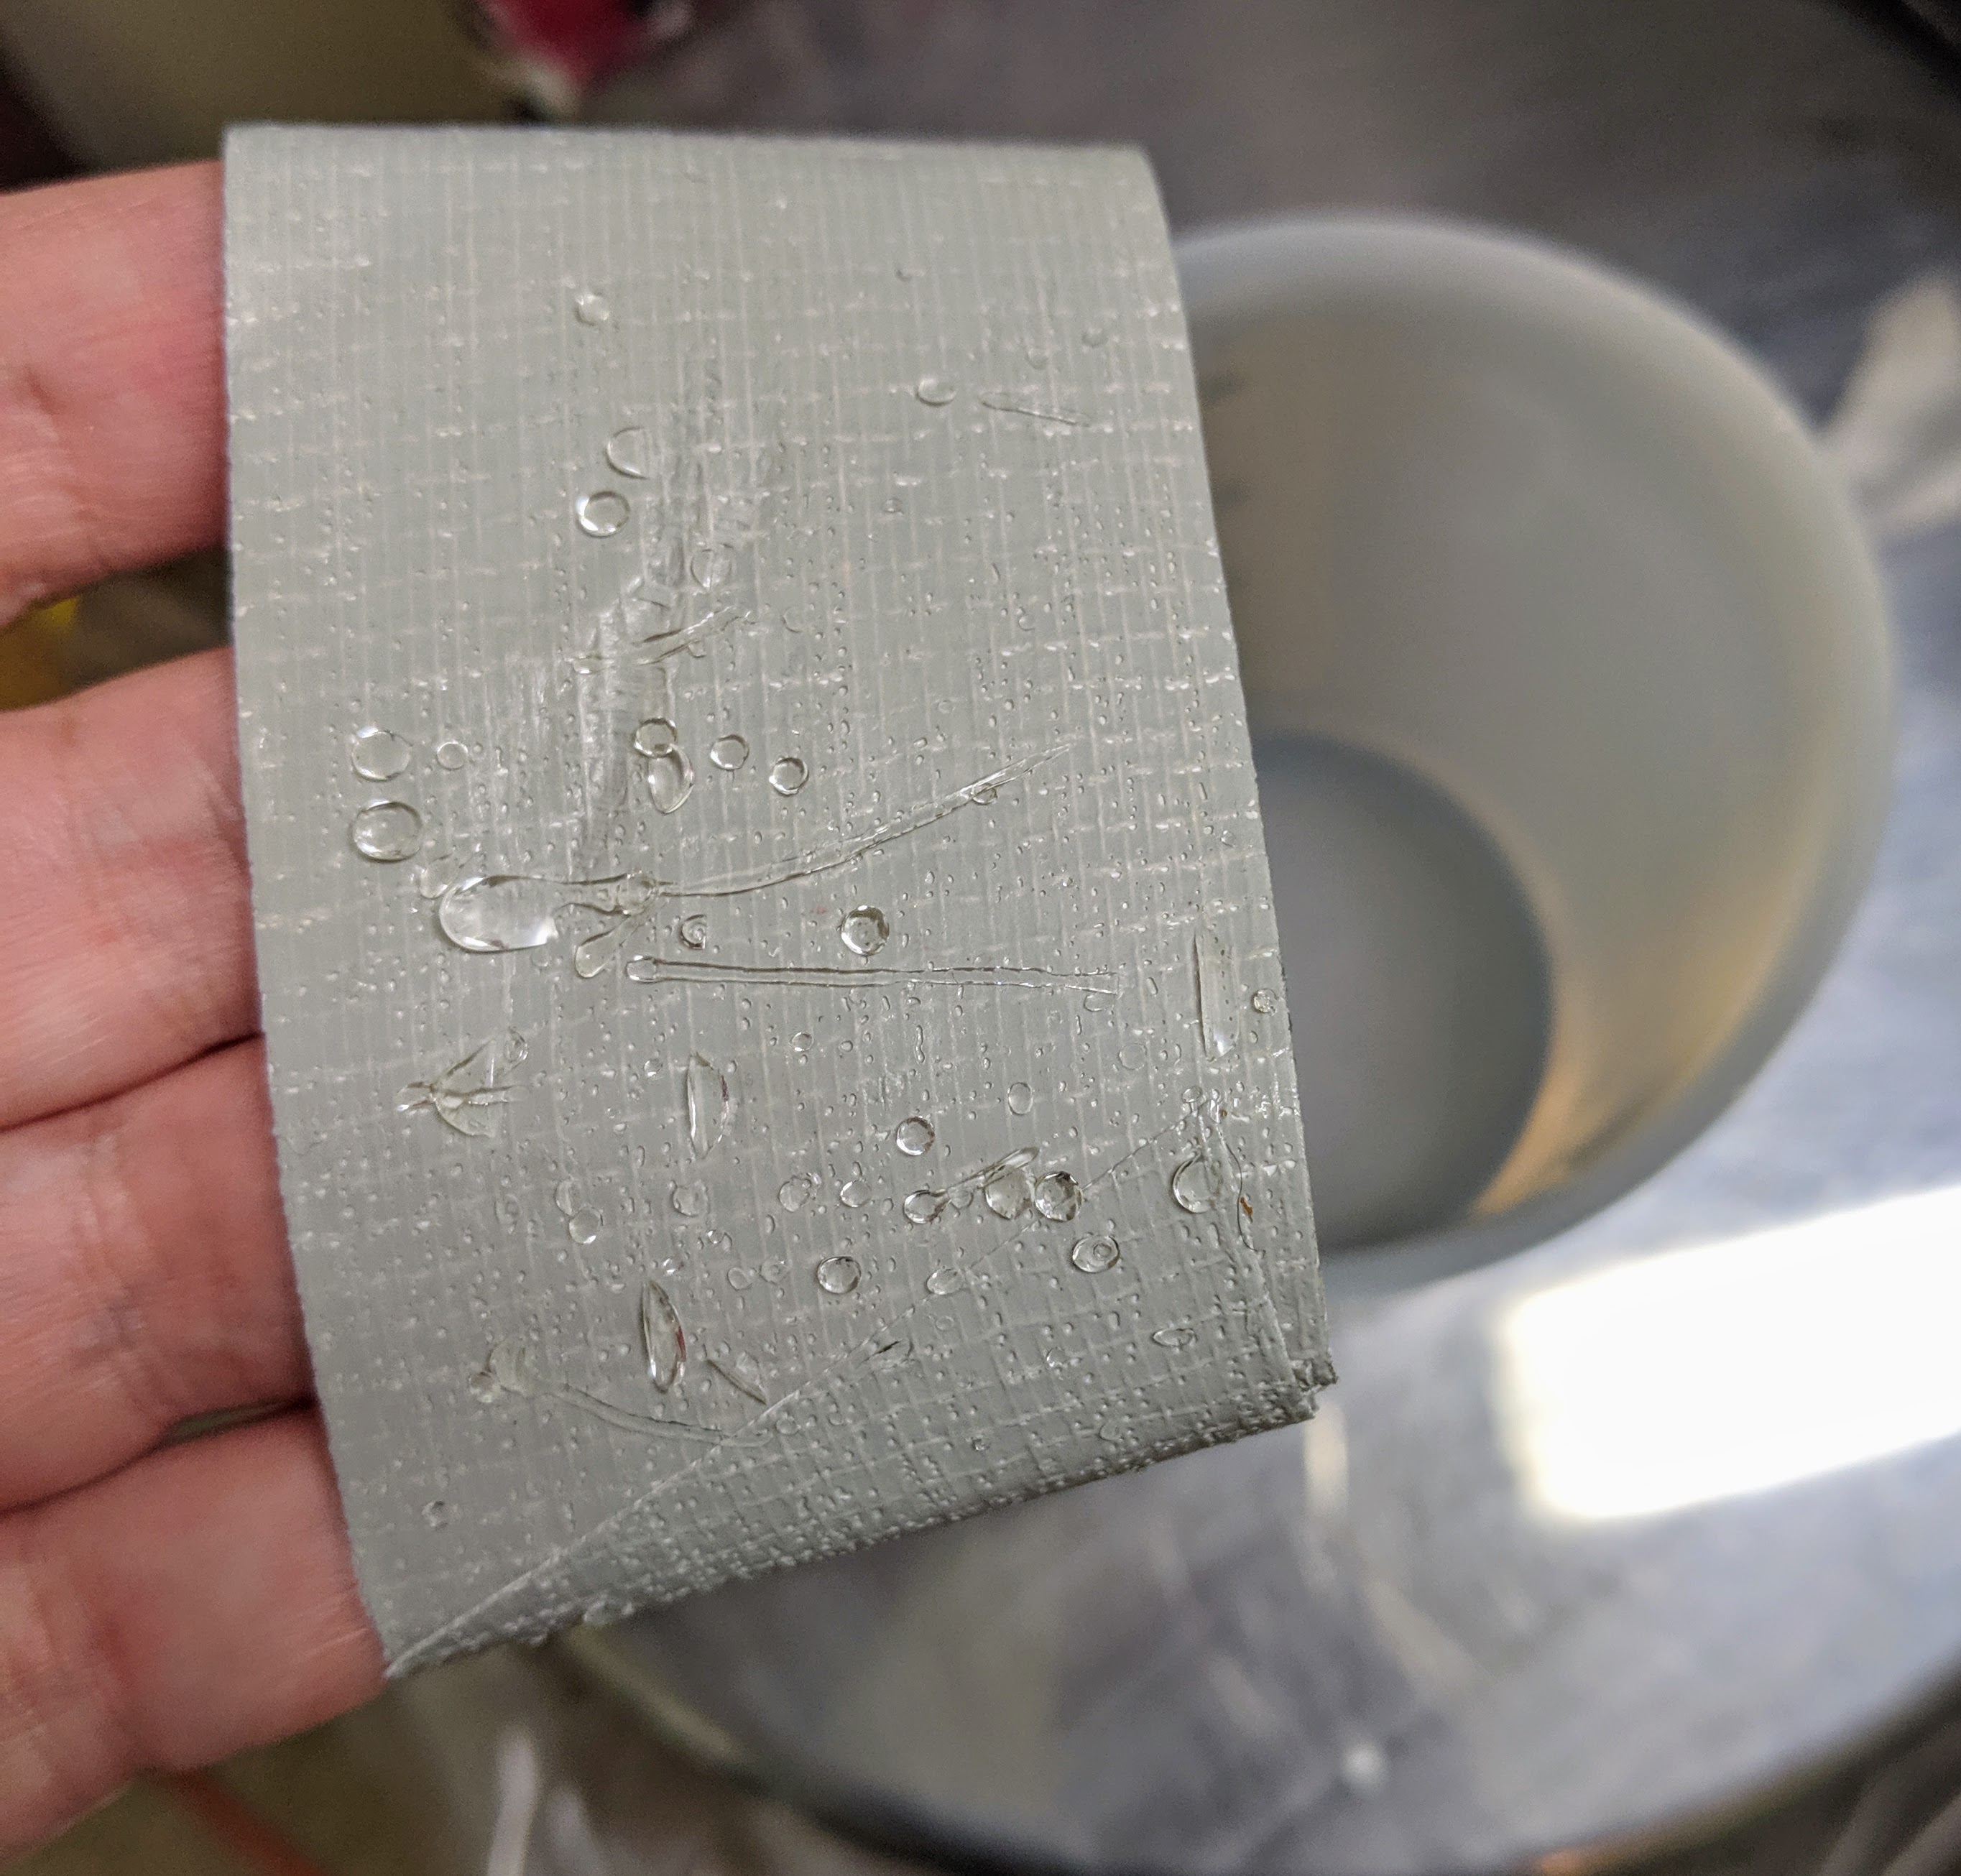
I then cut off enough duct tape to fit two fingers in and use it to pick up the rest of the cured resin from the inside of the measuring cup. It comes right off and leaves a nice, clean, ready to use surface.

In the above photo, you can see the little drops of cured resin stuck to the sides of the silicone measuring cup. Below is how it looks when I use the duct tape to remove the drops from the cup.
I decided to pour another base layer of coasters while I was at it. Now I just have to wait for the paint to dry and the resin to cure before I can continue.