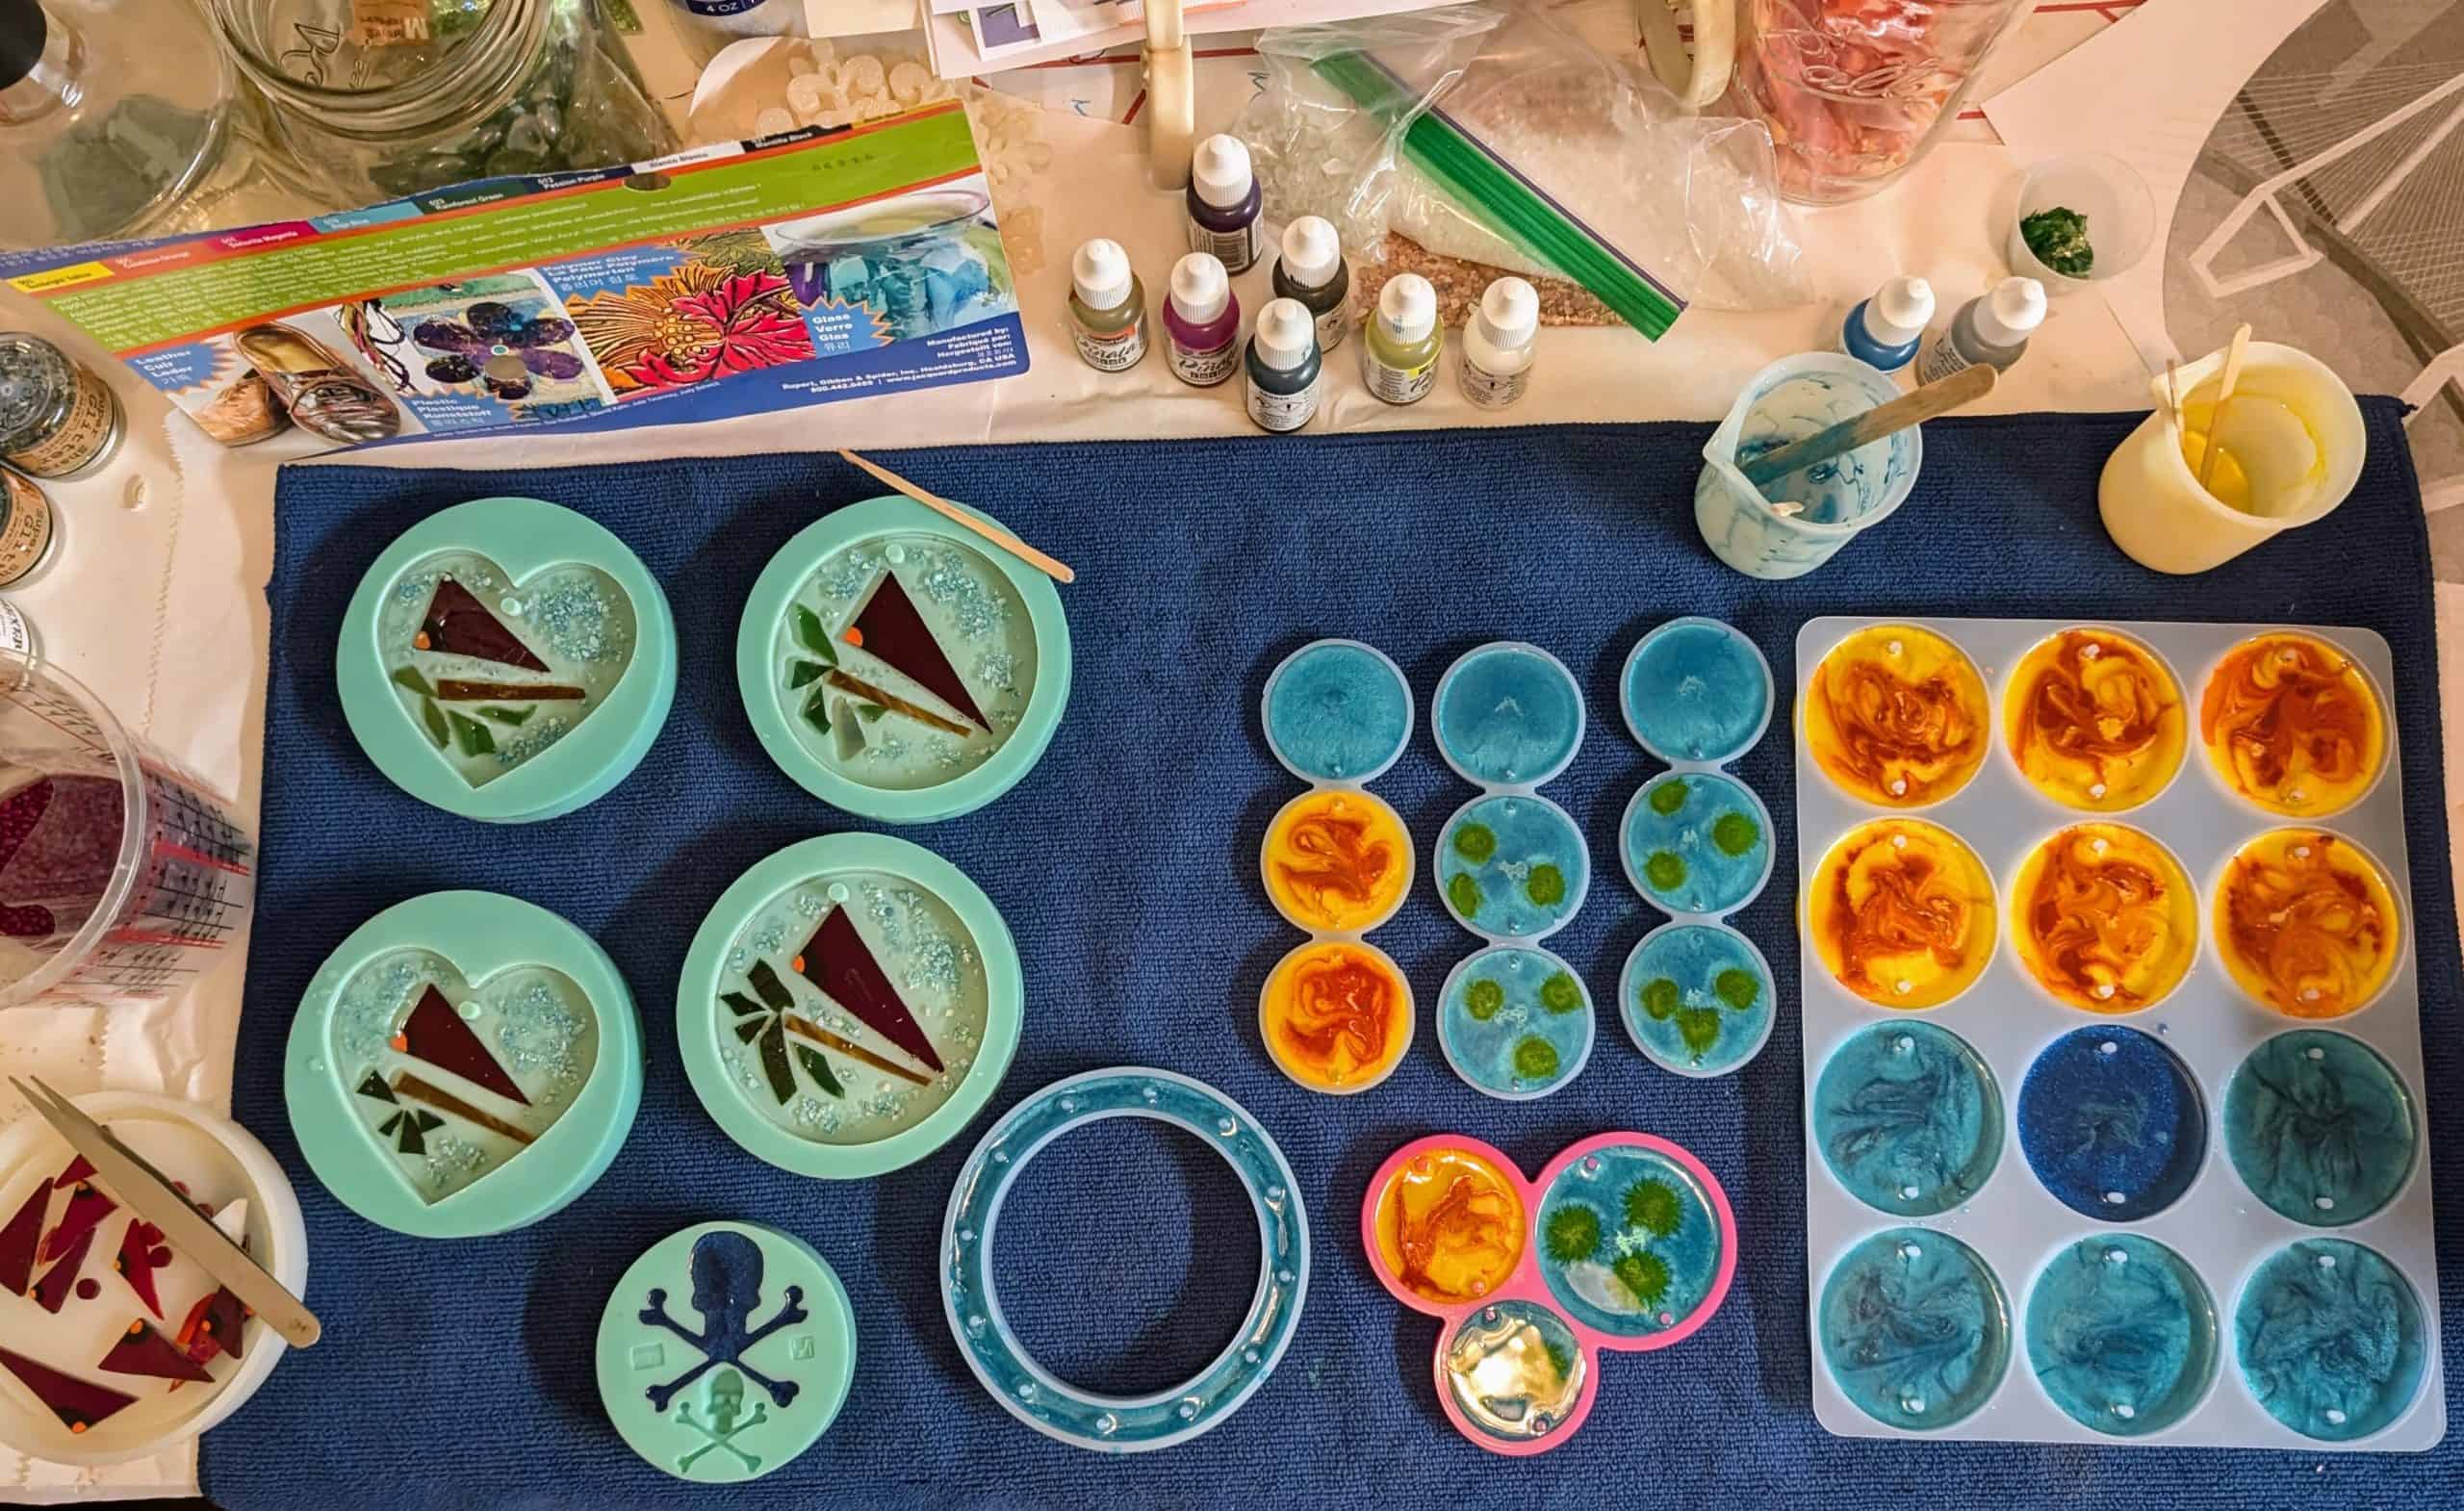
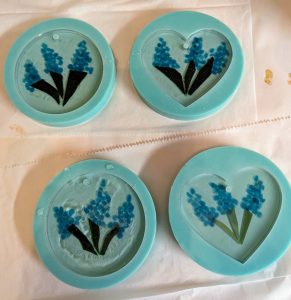
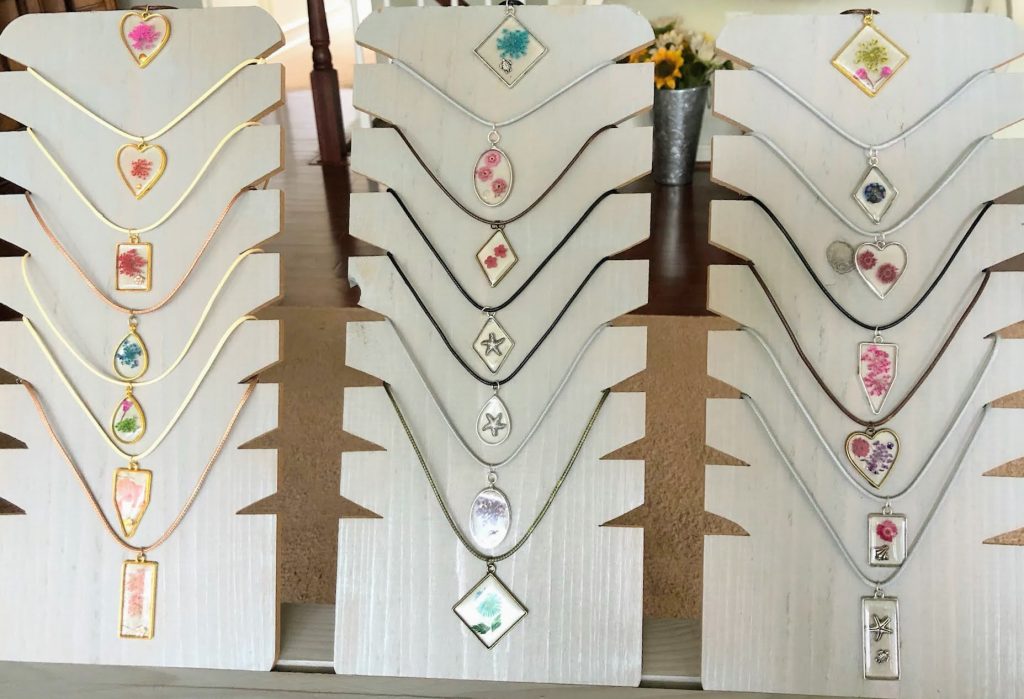
I had a request to “re-create” someone’s necklace using resin, so I bought some new molds and am trying out some different color combinations. Unfortunately I think these molds won’t work for the originally intended project, but I think they will make some cute windchime / suncatchers.
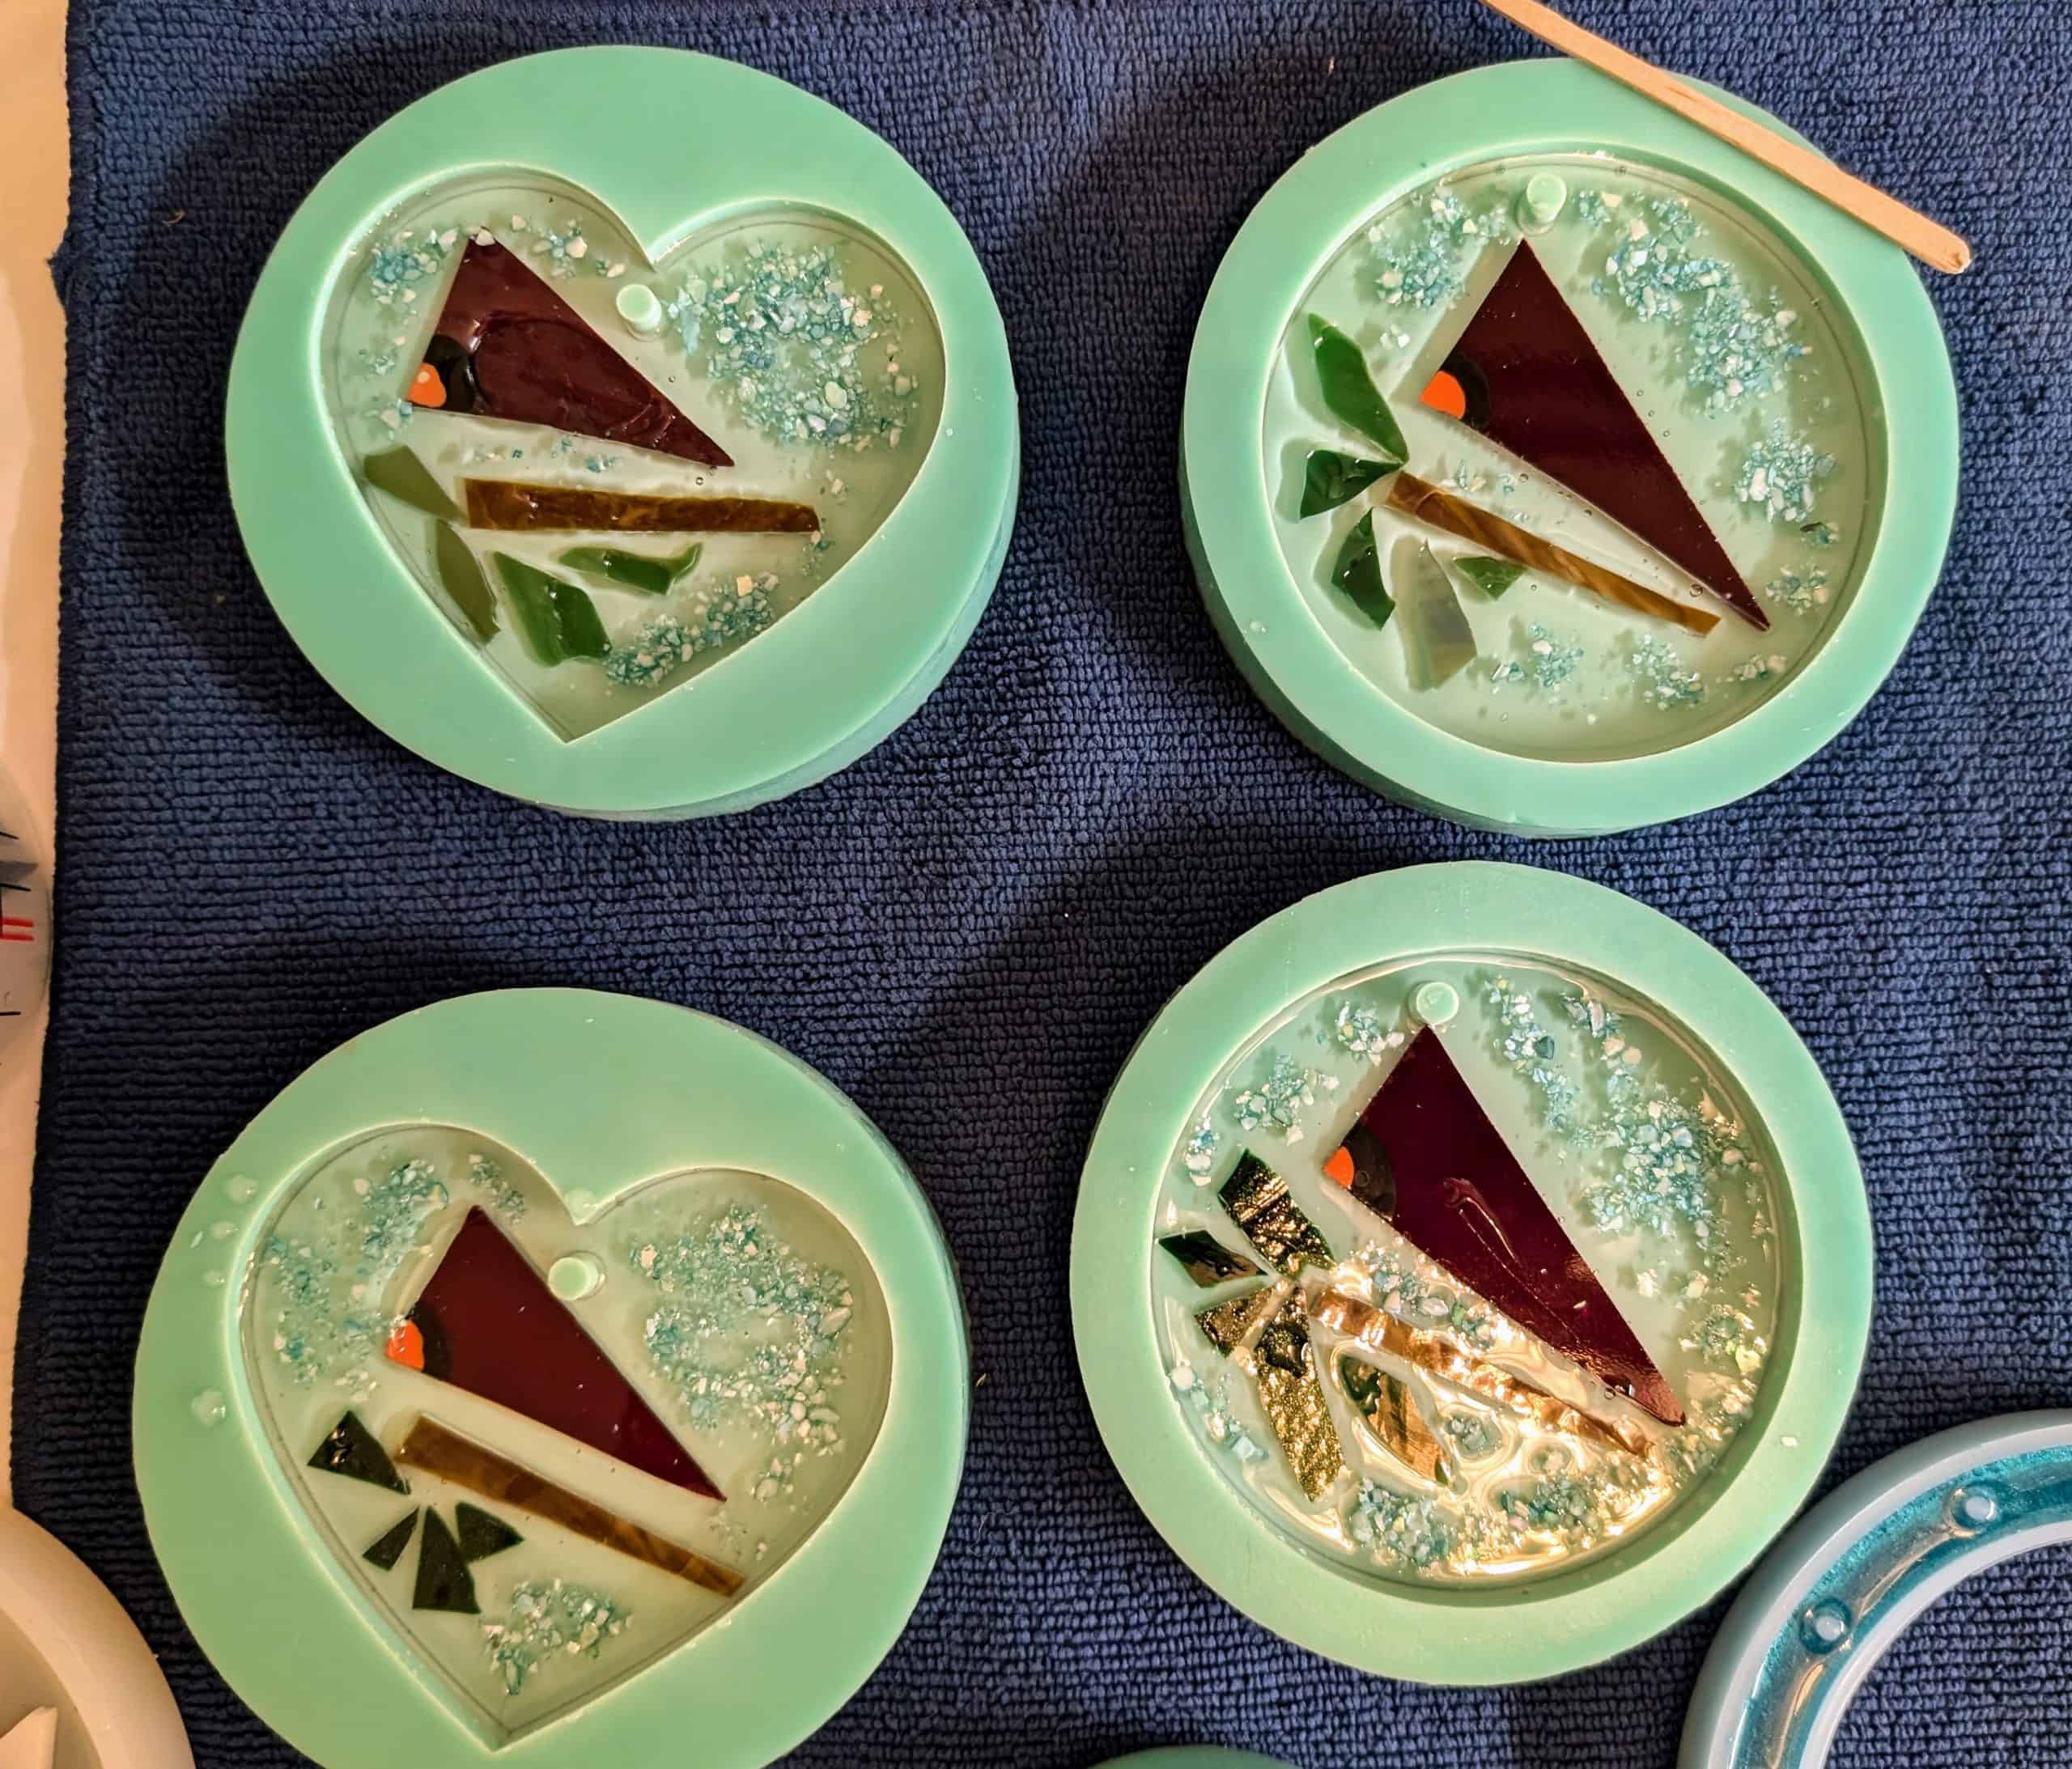
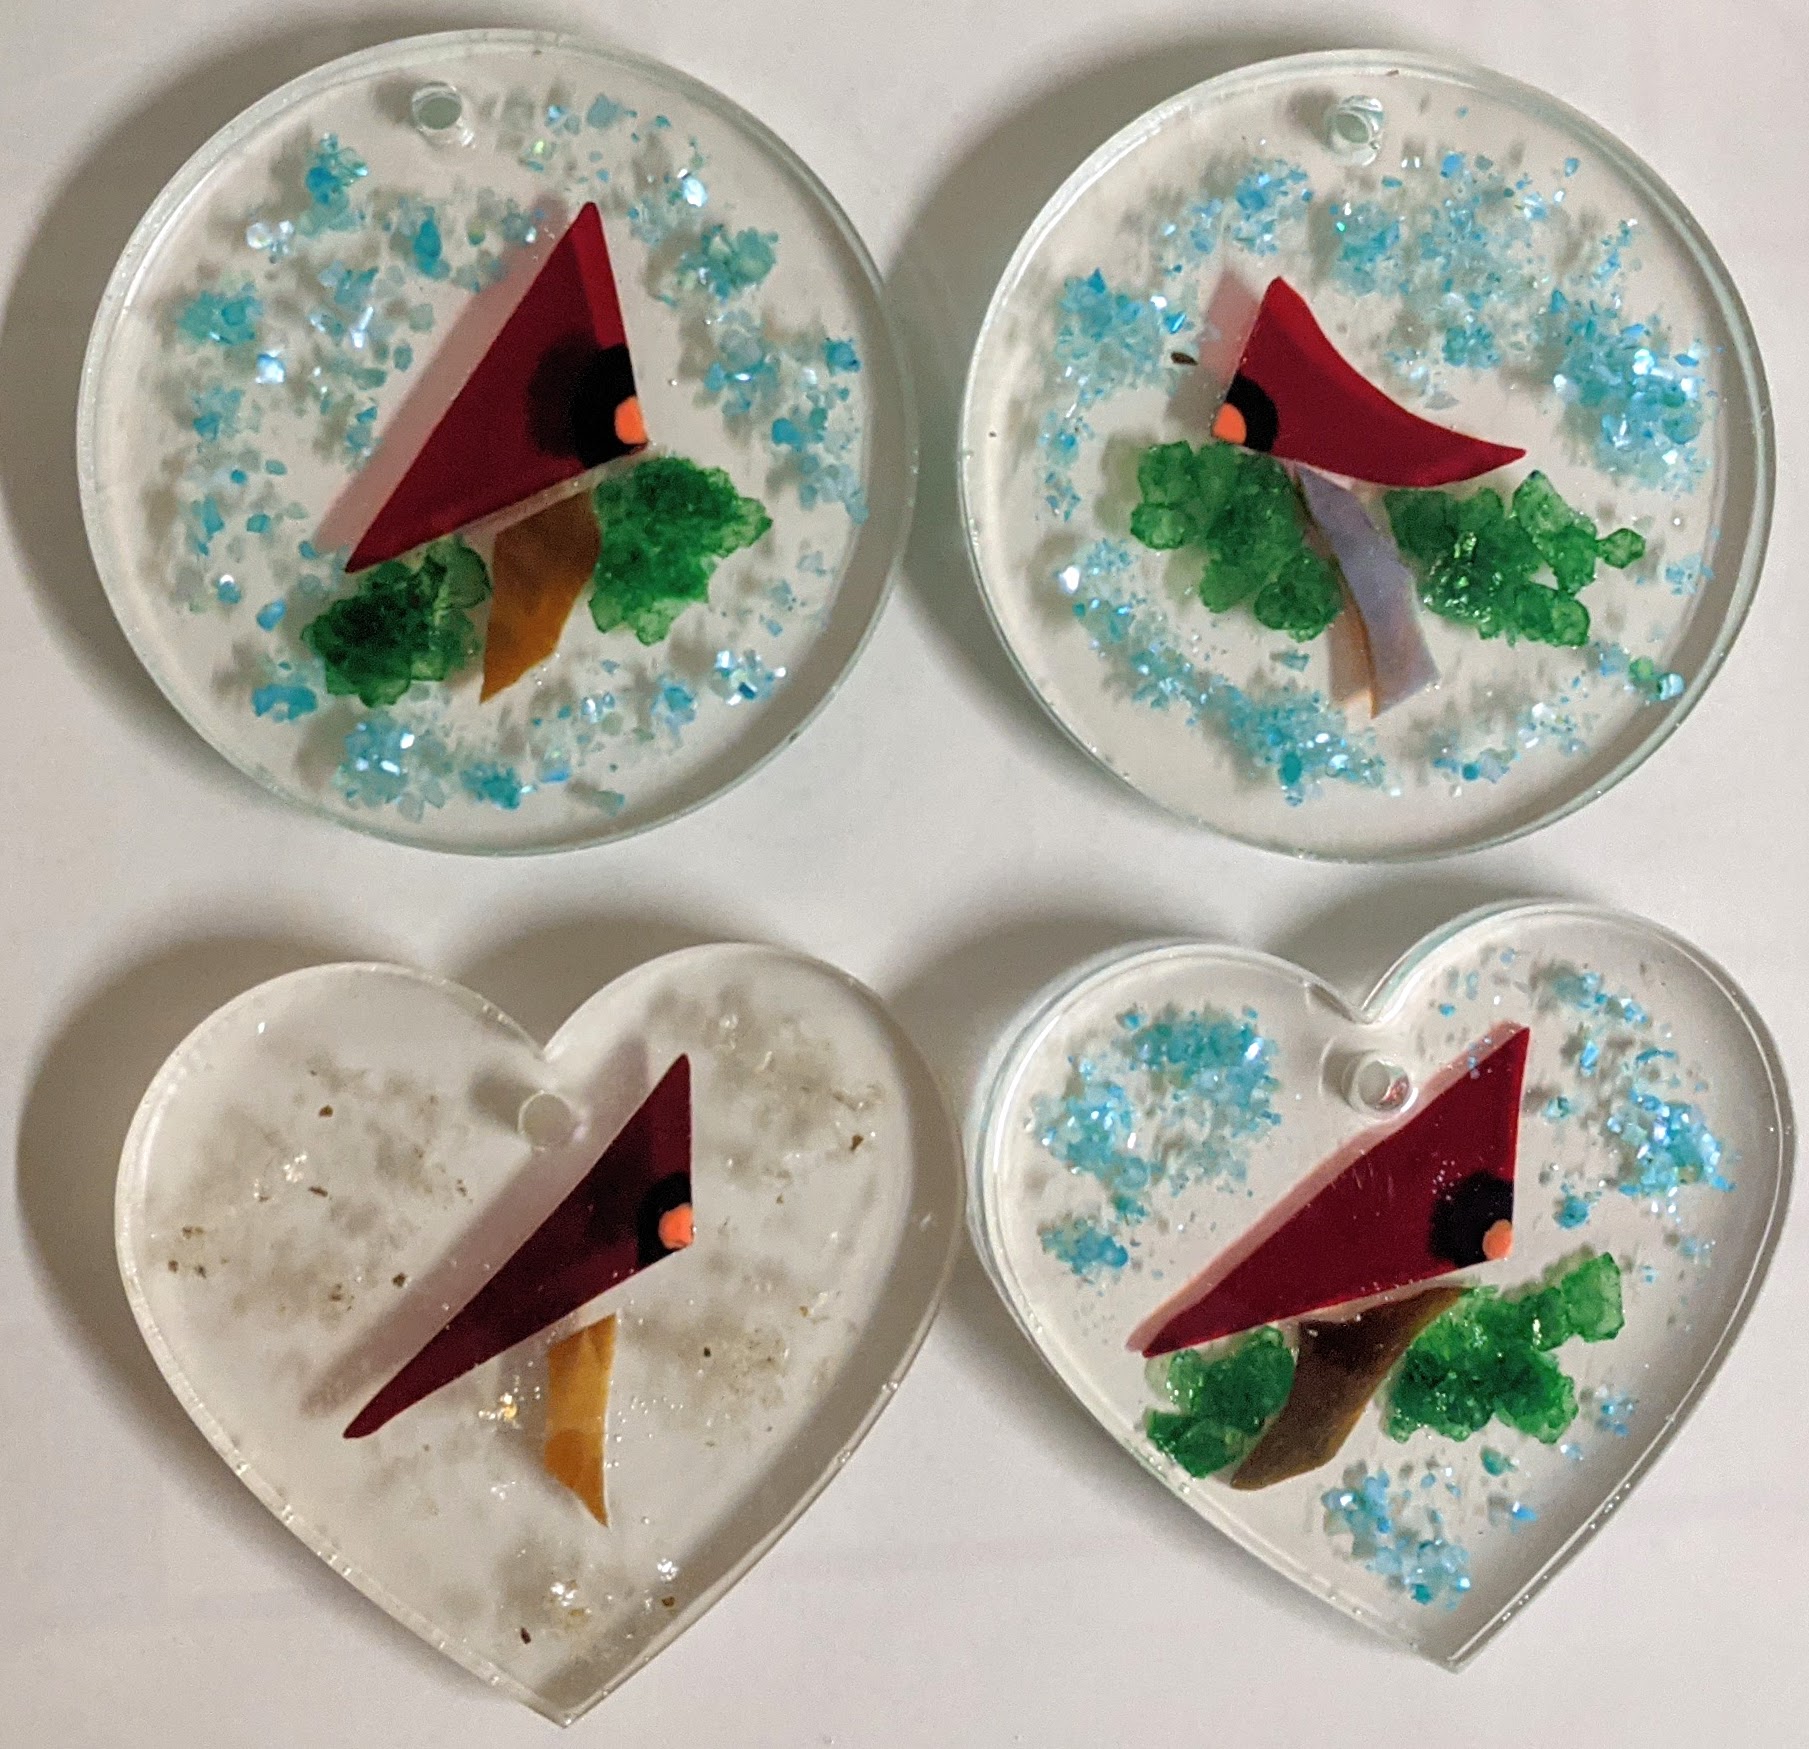
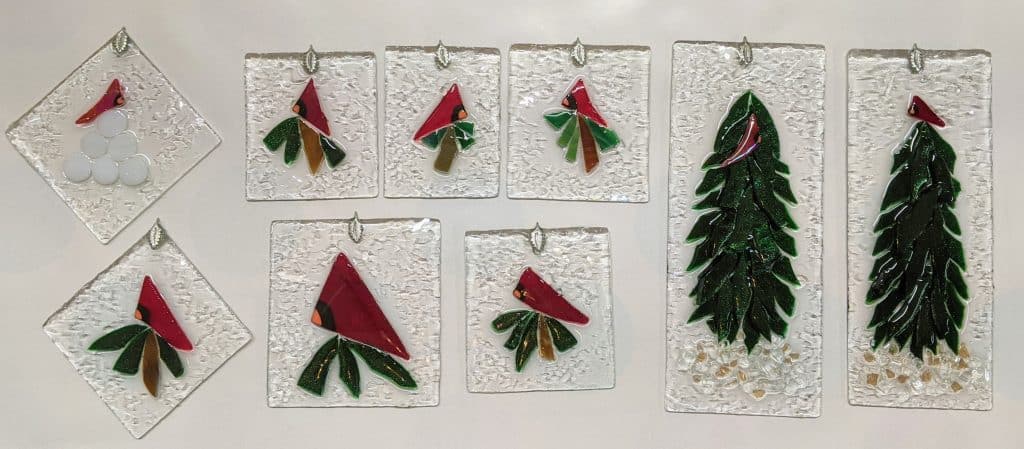
I also made a few new cardinal suncatchers & coasters while I was at it.
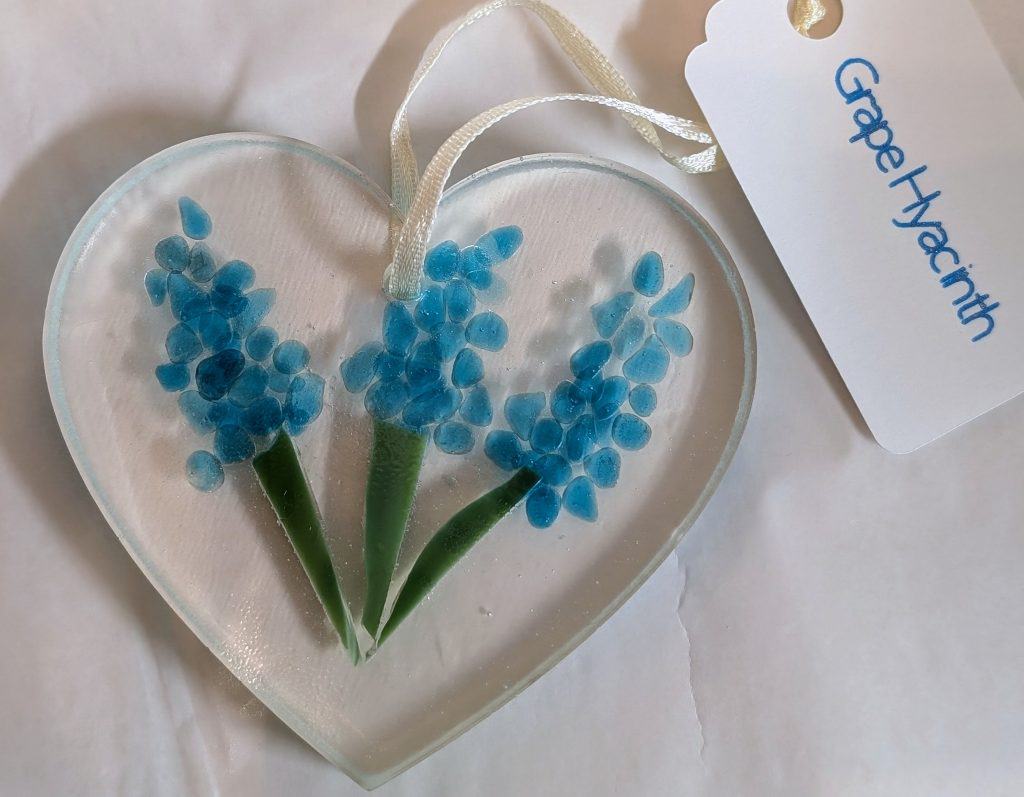
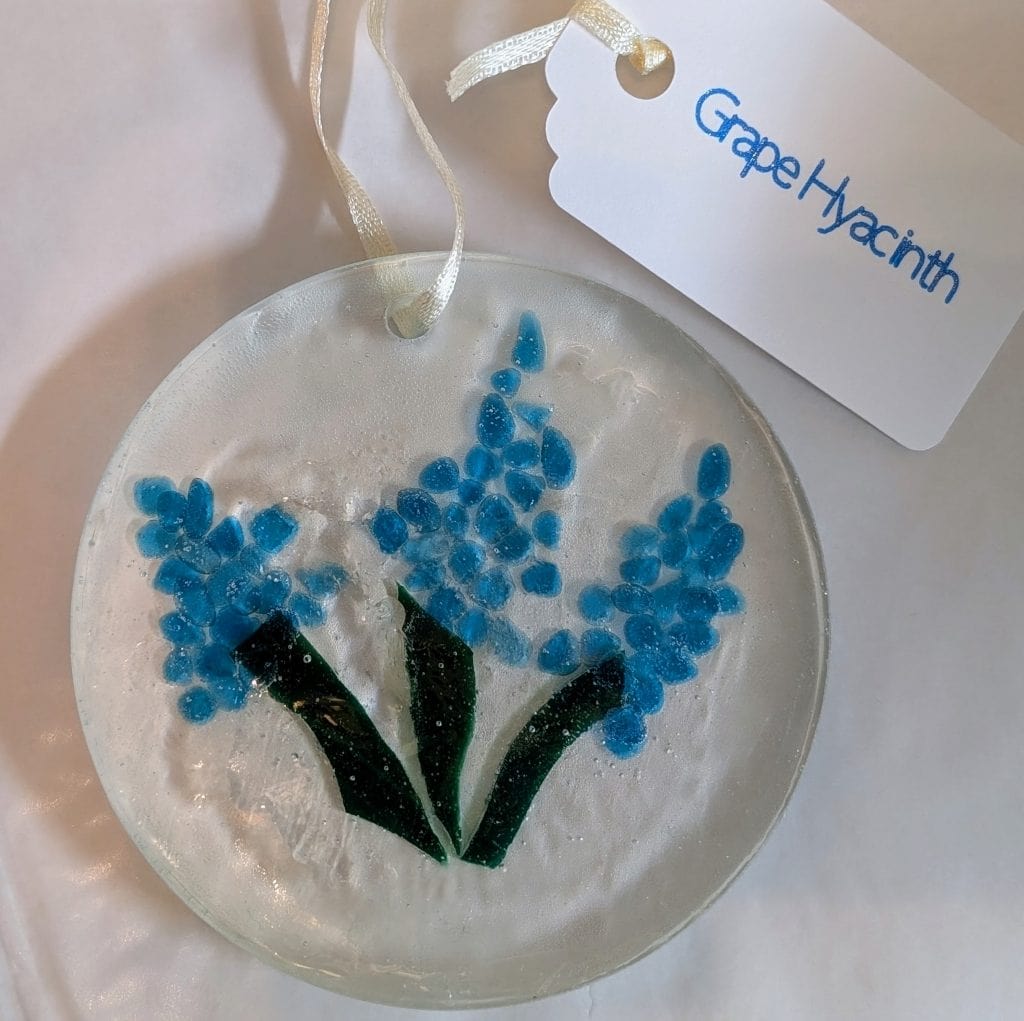
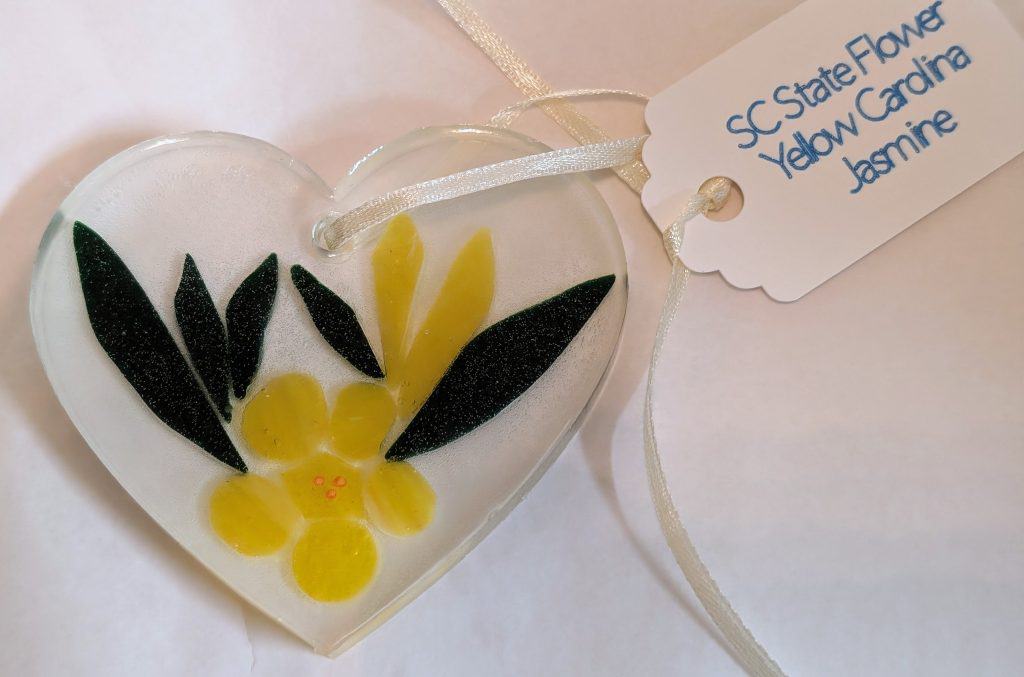
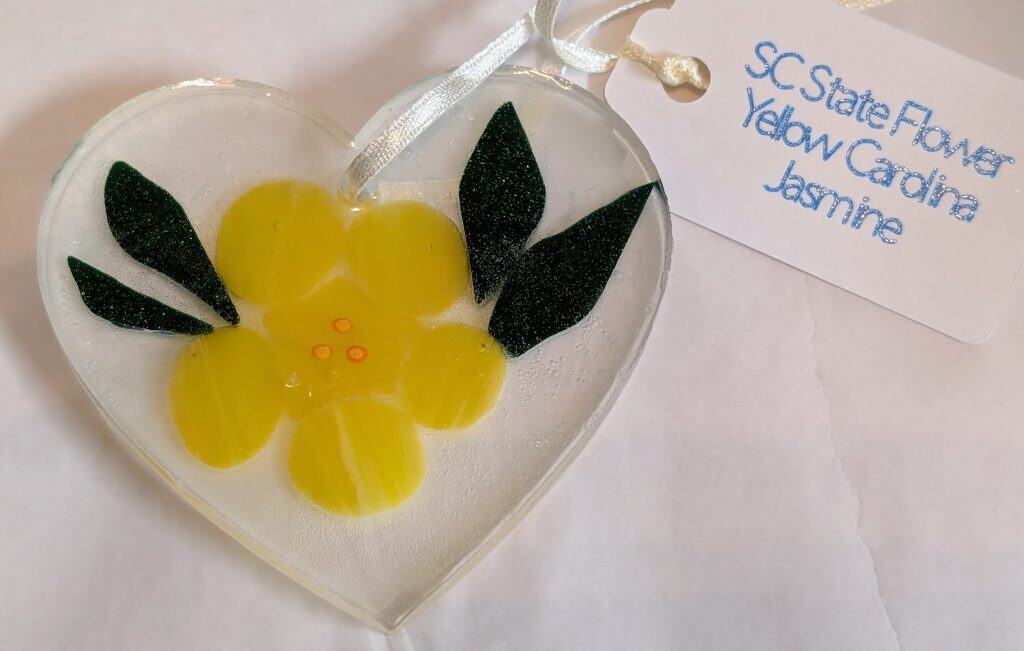
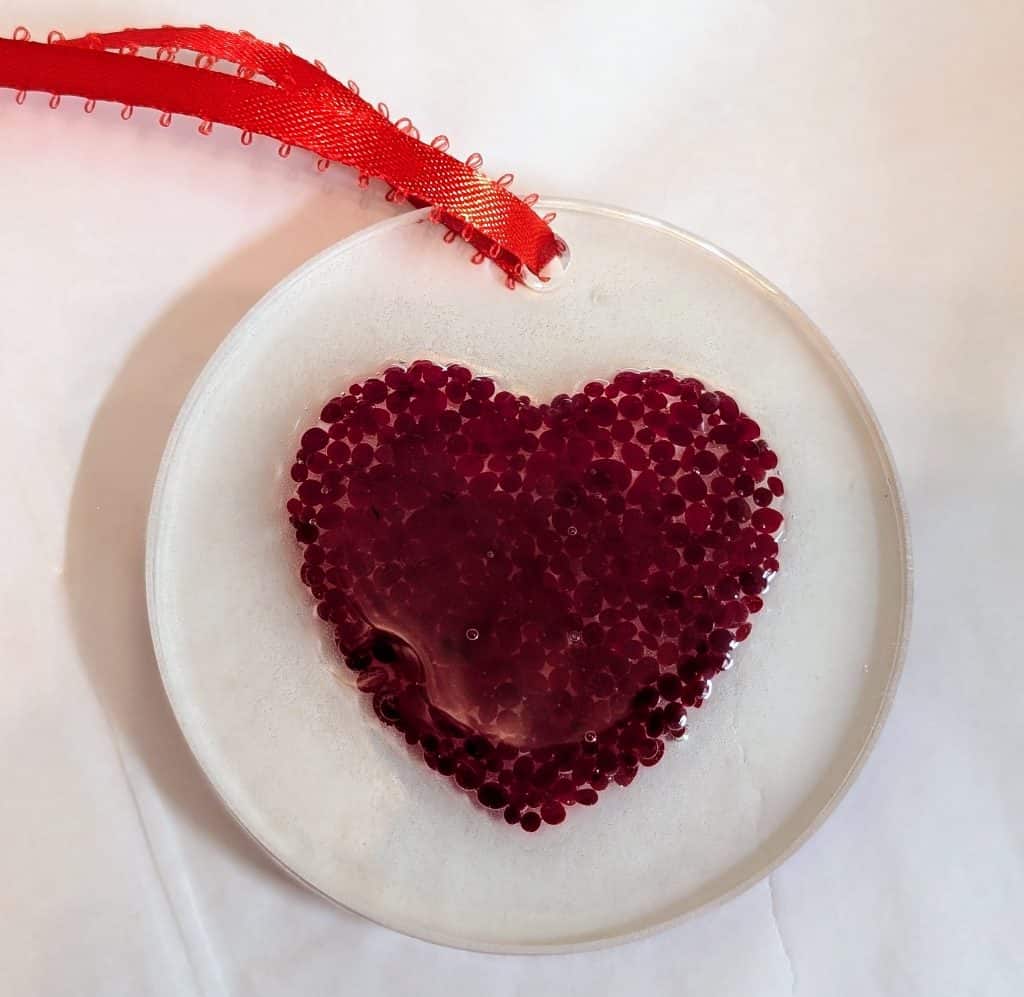
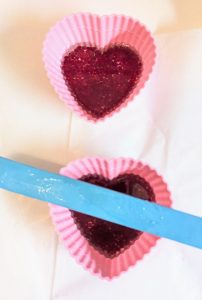
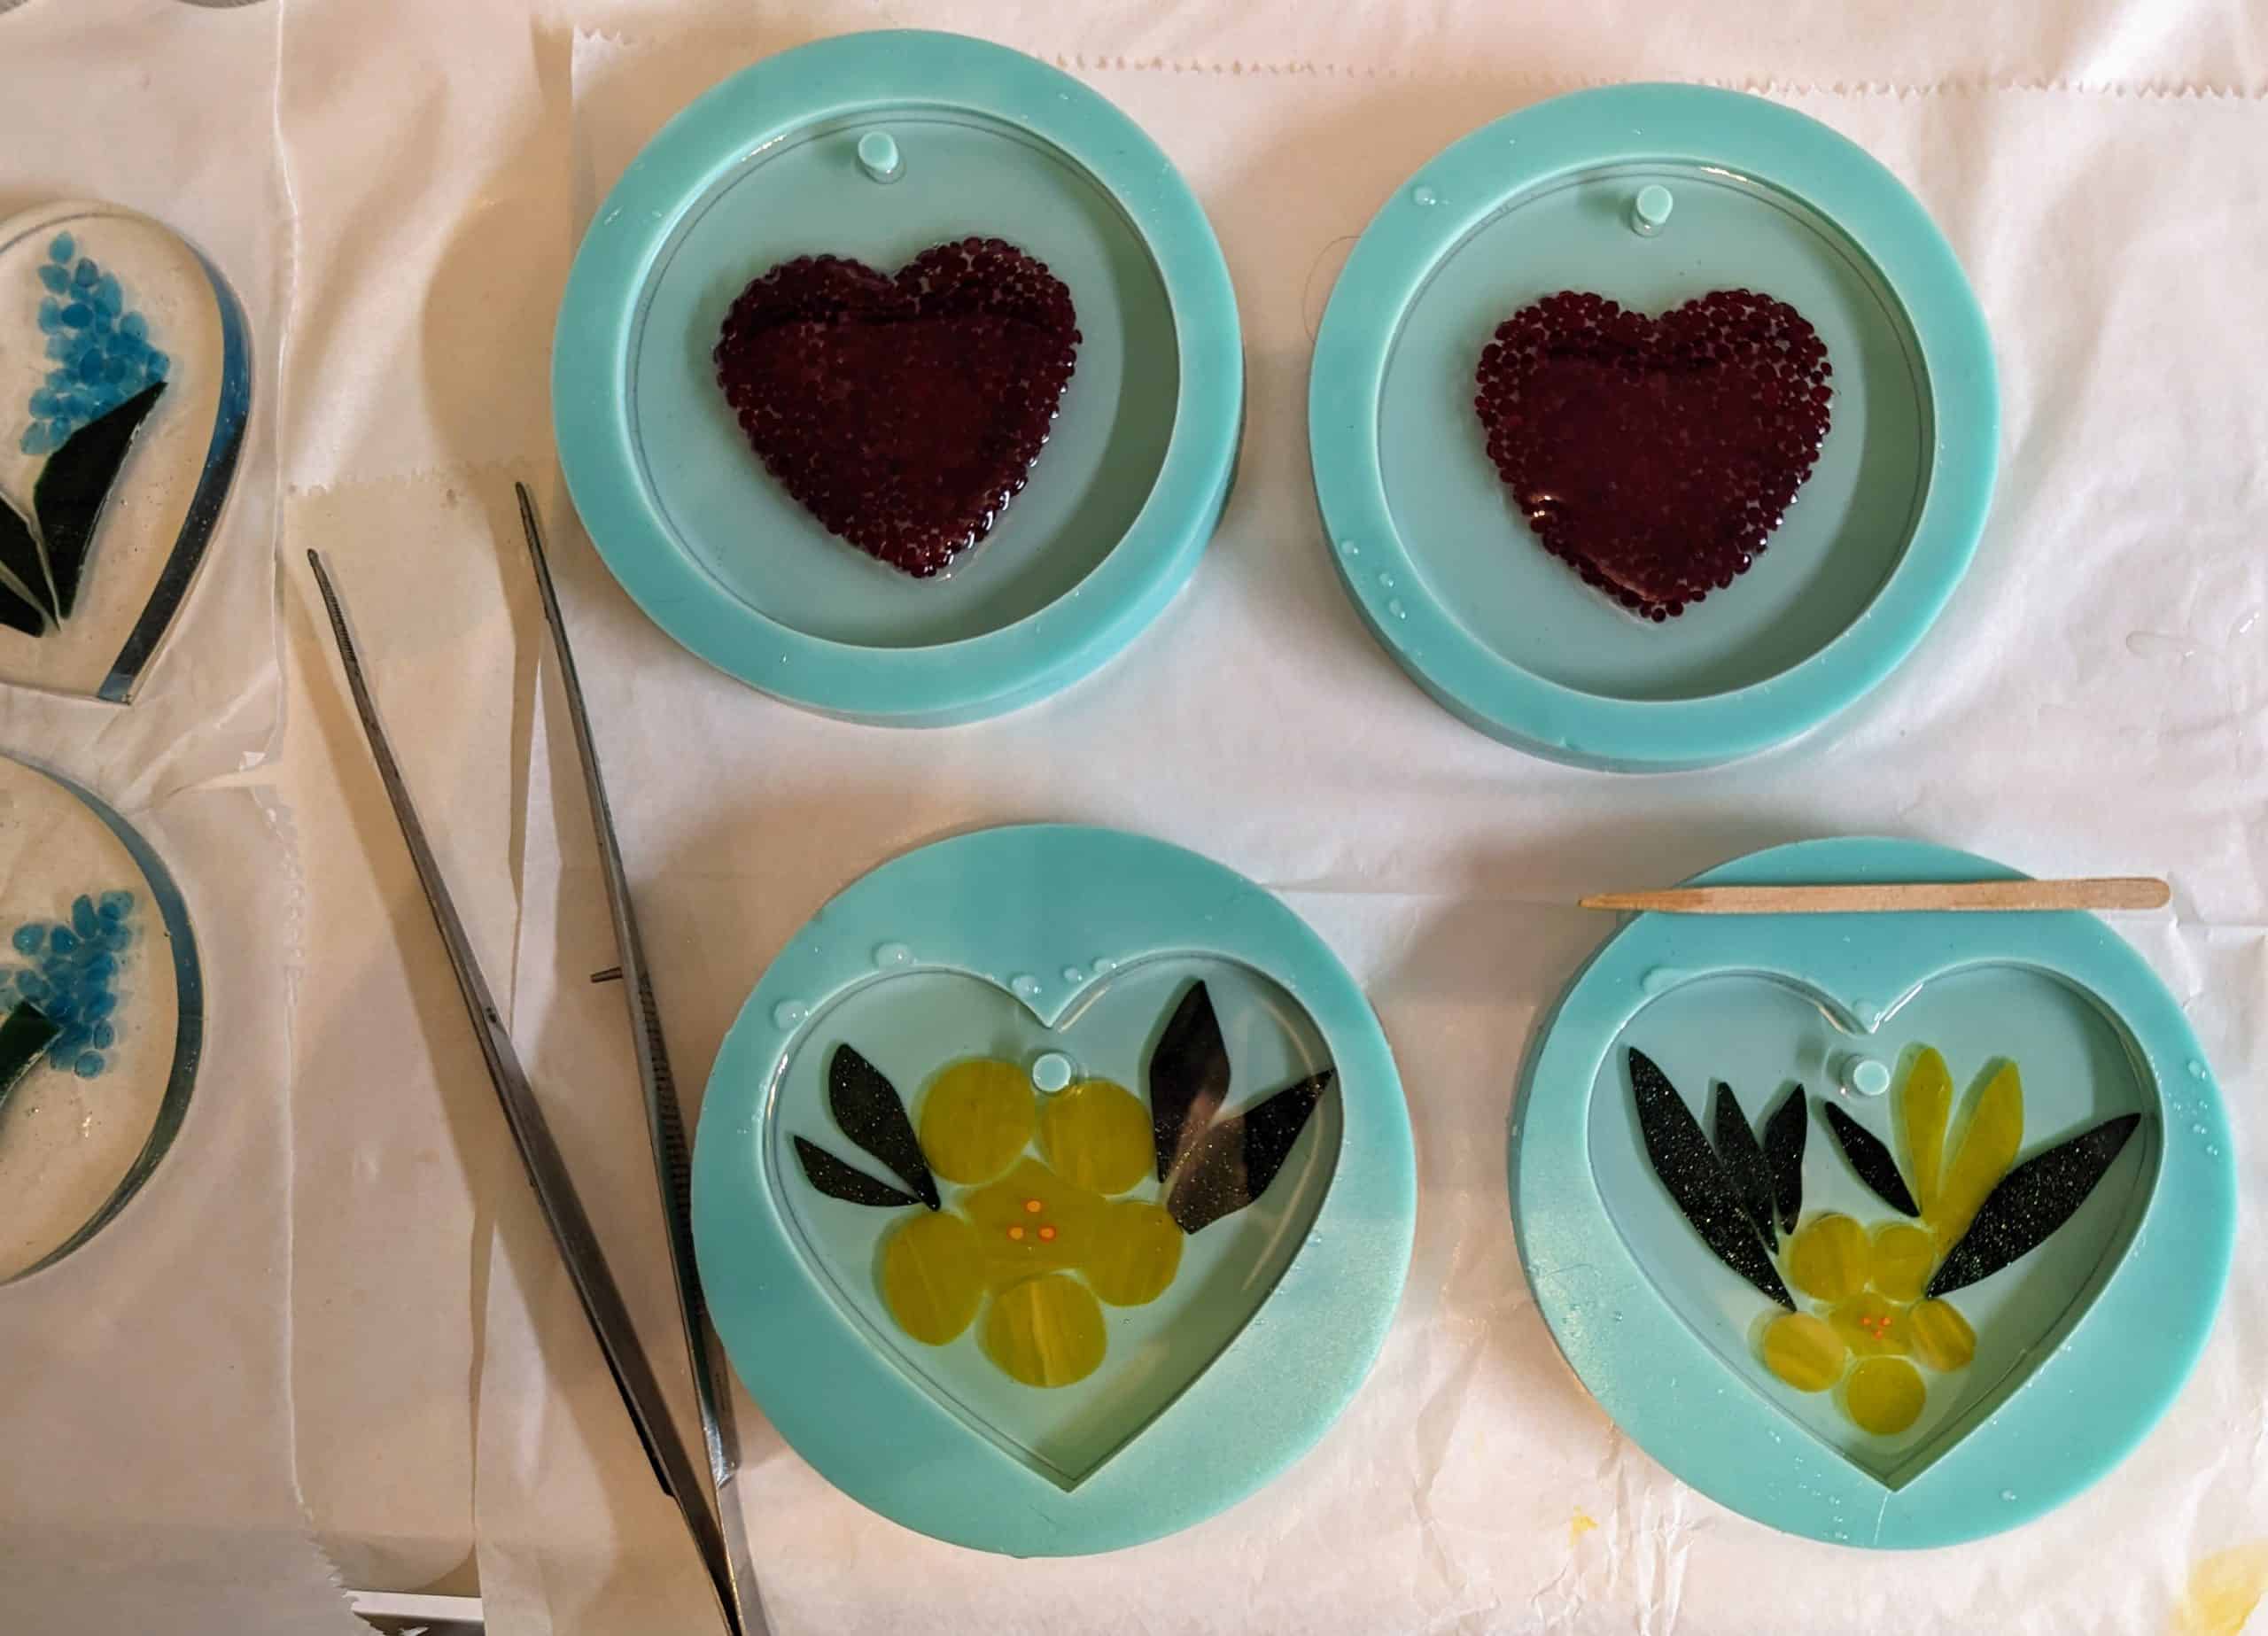
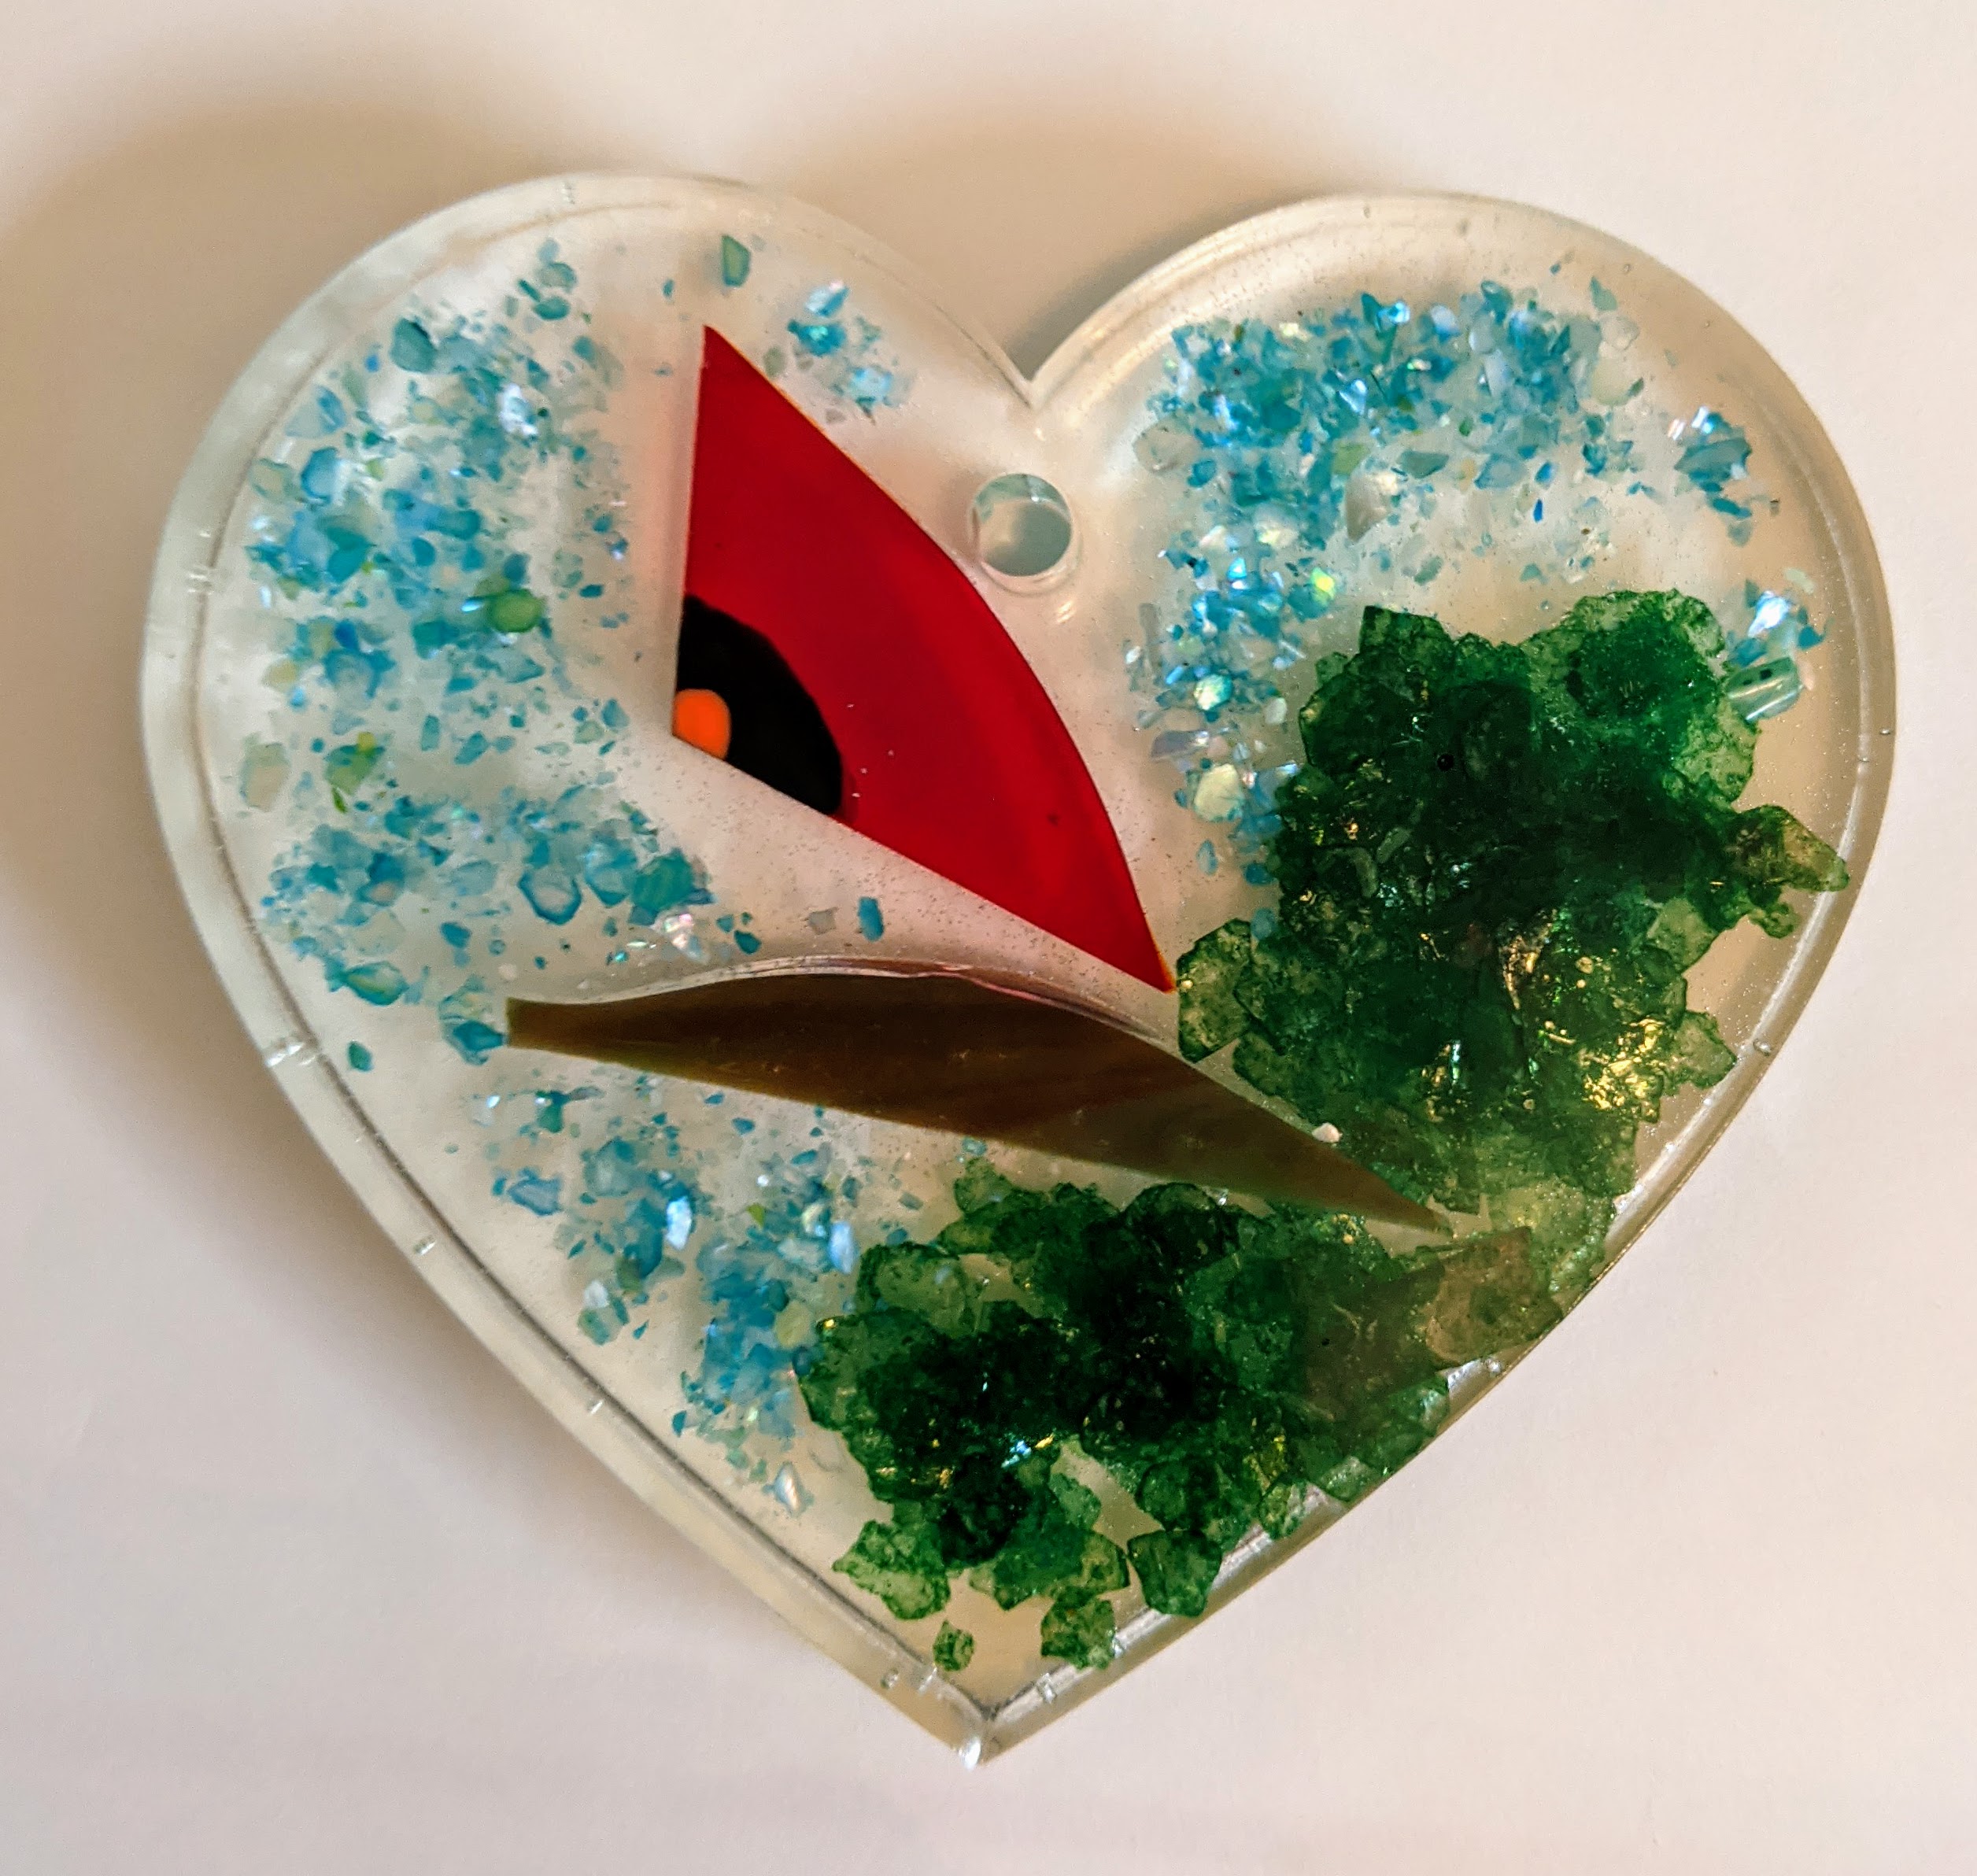
Some flowery suncatchers – it is hard to tell in the photos, but some of these have a frosted / ripple / wrinkle effect. Plus one heart made of many tiny red glass dots.
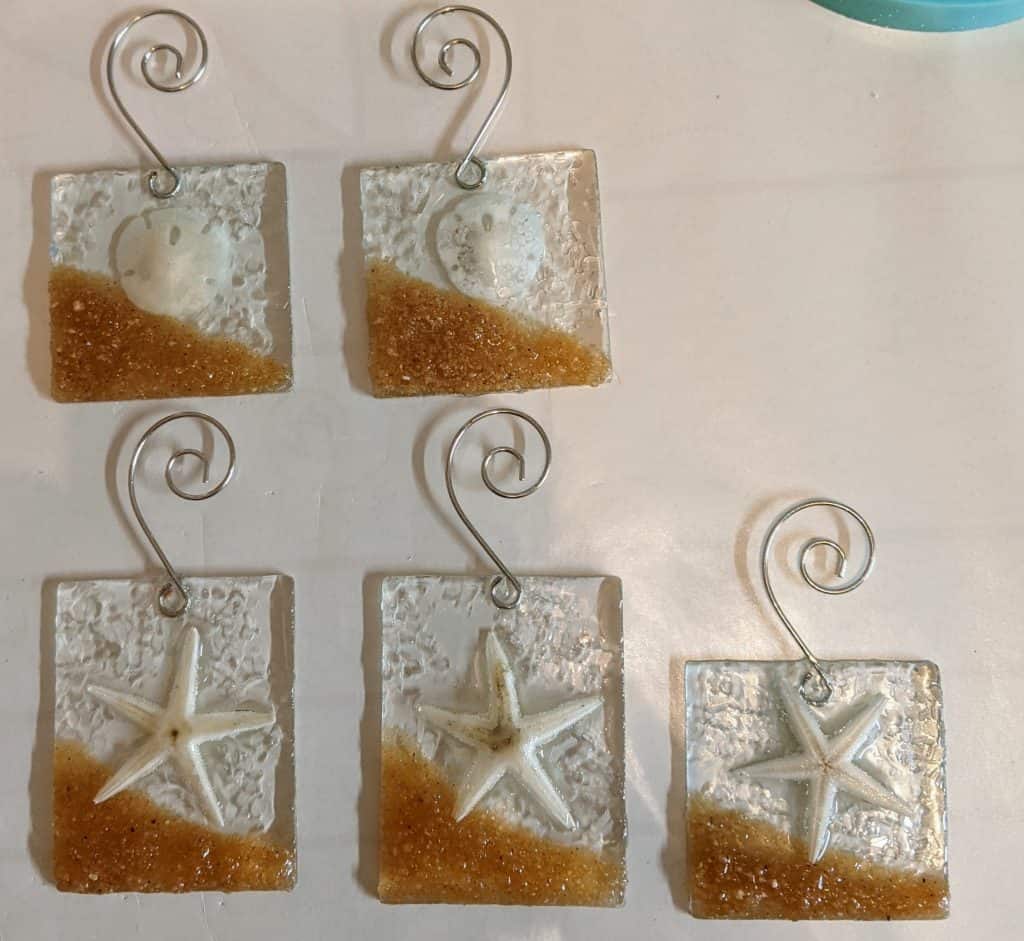
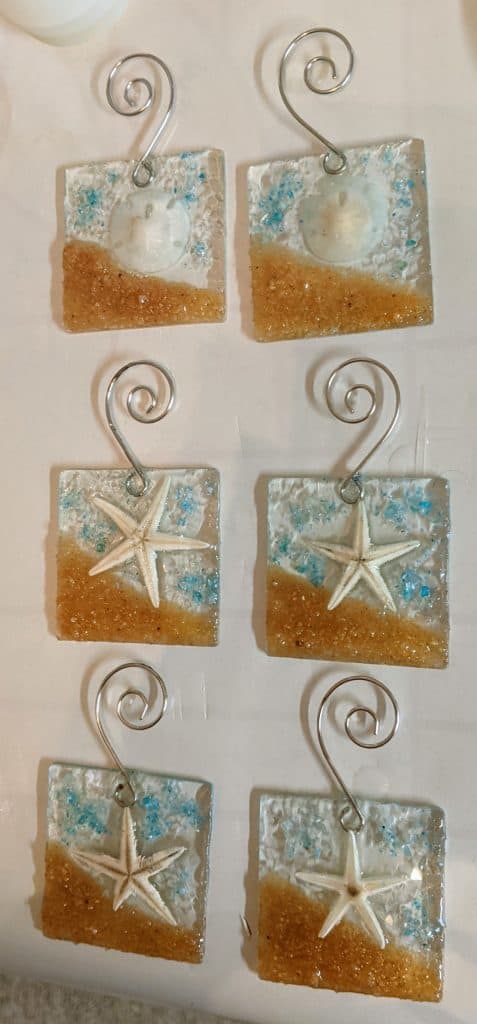
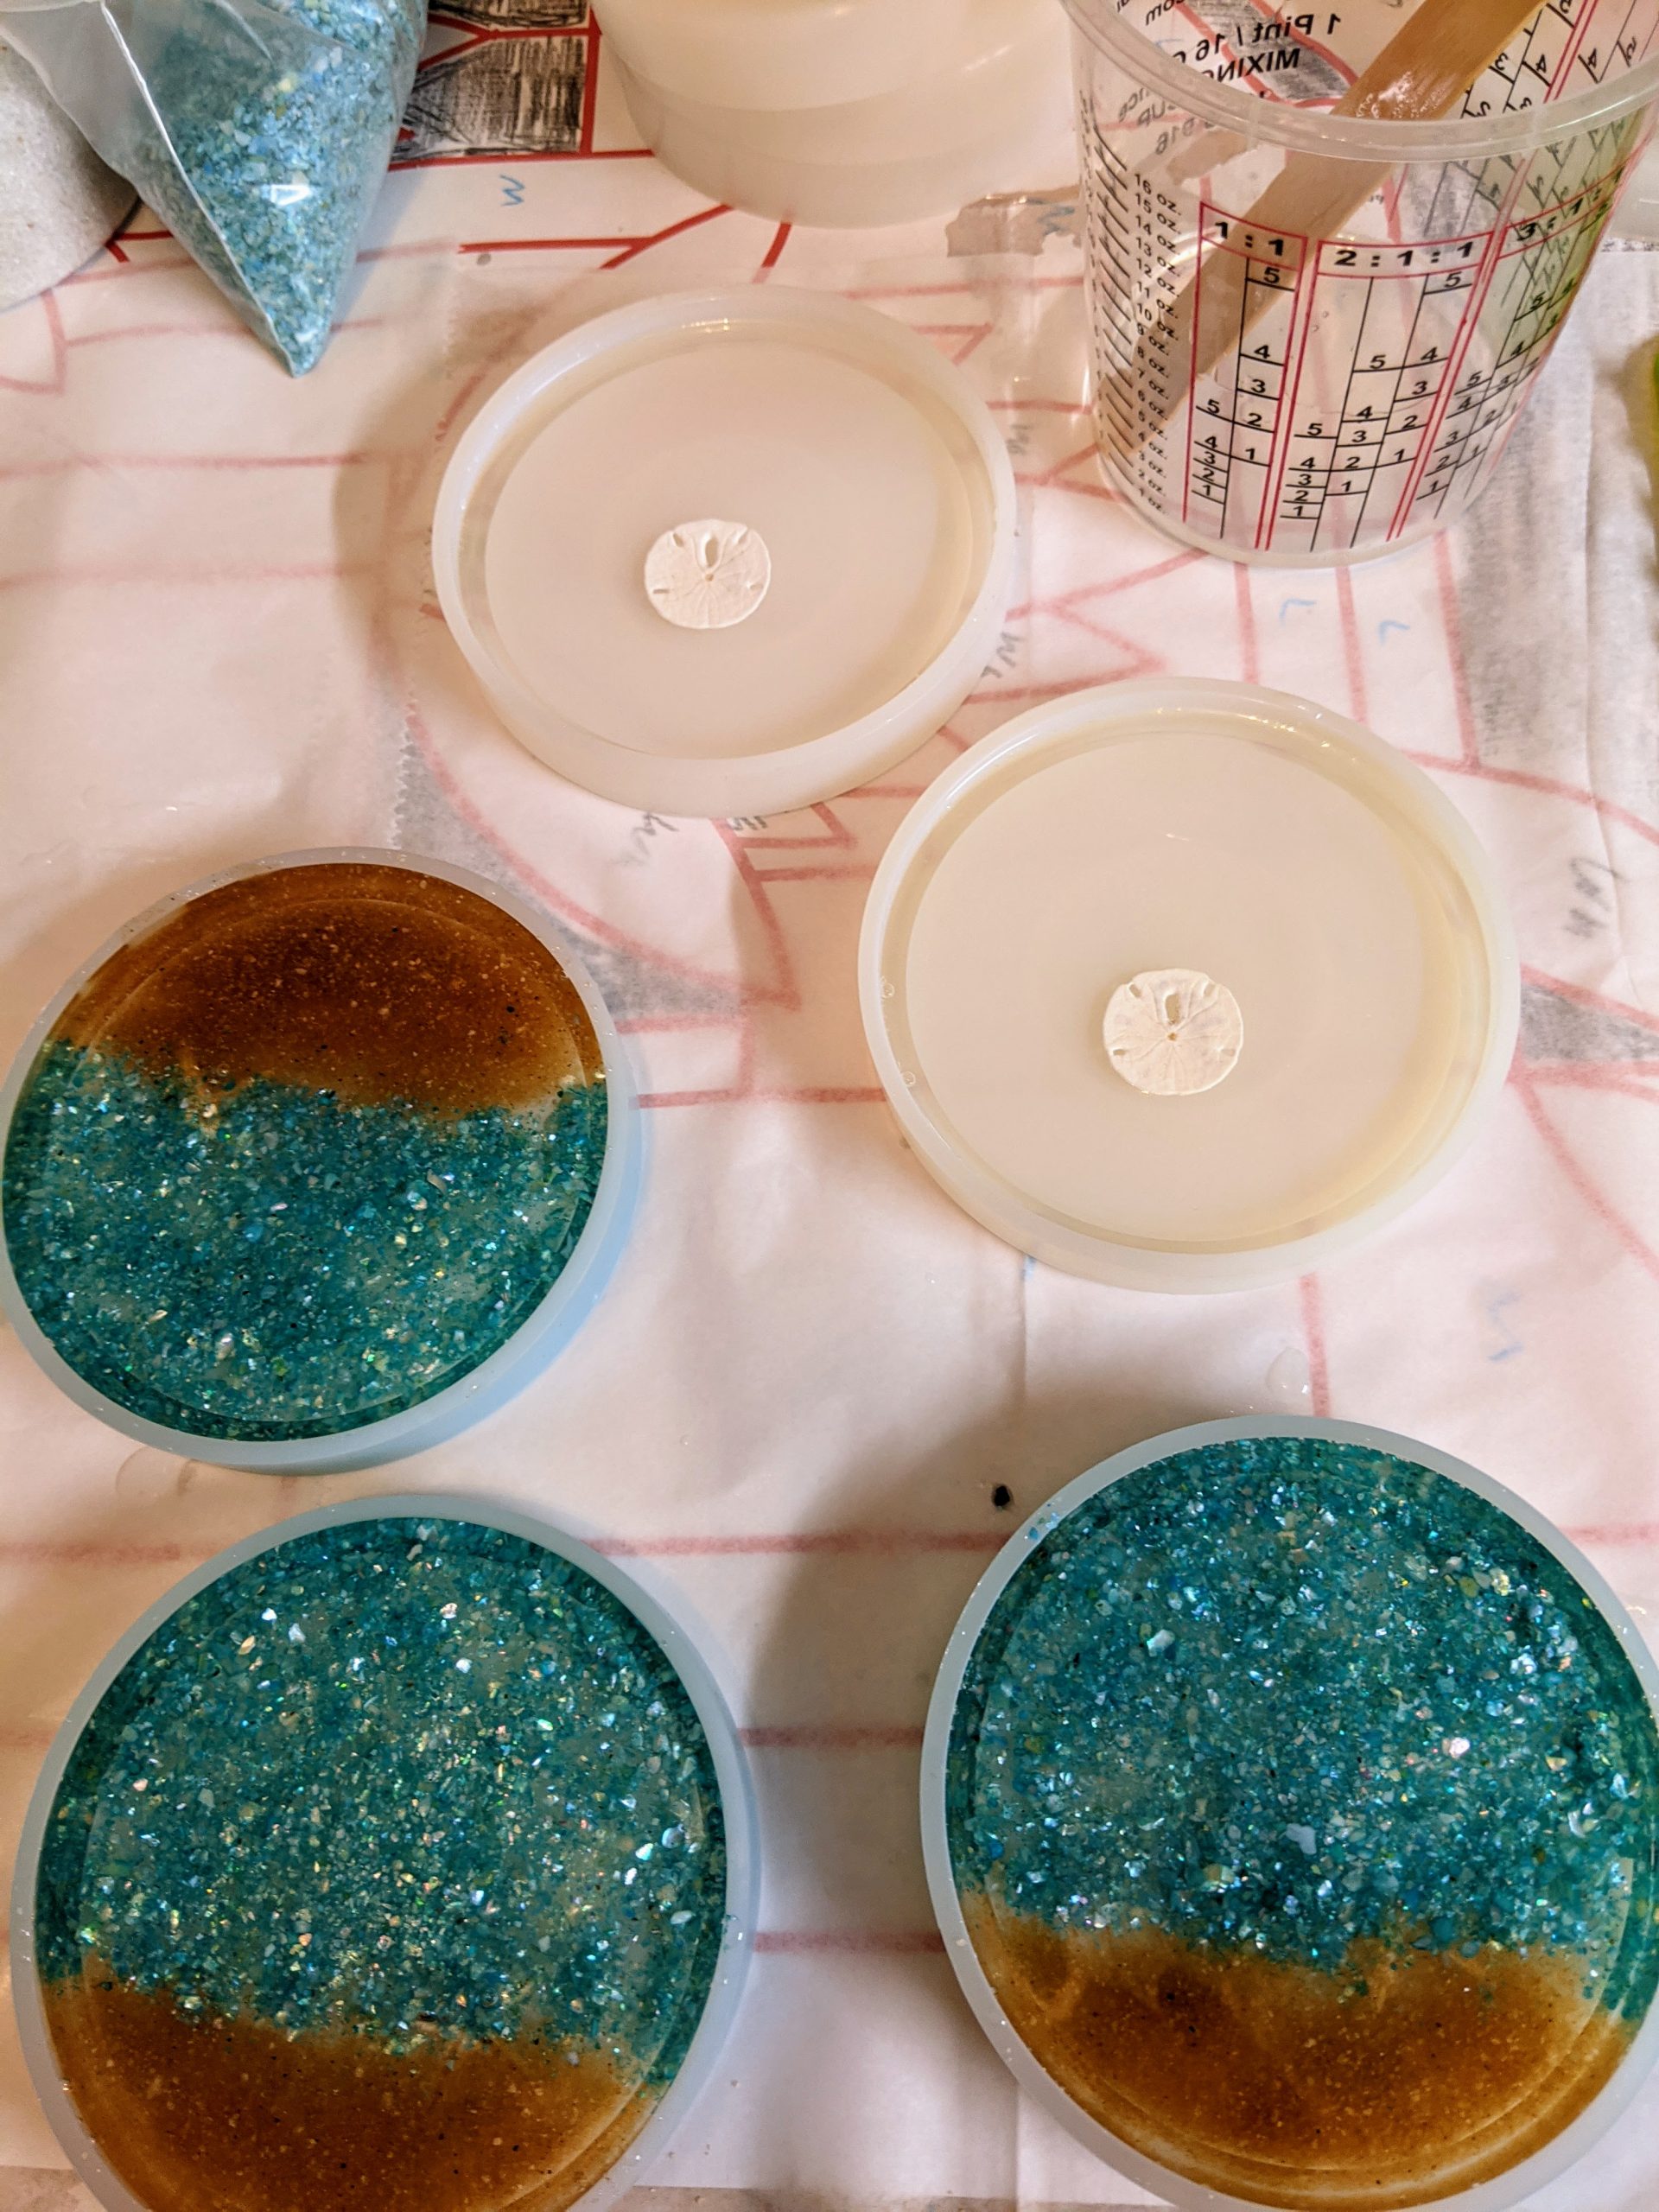
Here are a couple of snapshots of the Starfish and Sand Dollar suncatcher/ornaments, ready for display. I still have to pour one or two more layers on the molded ones from the other day to finish those.
Clear
With blue shell accents
Small beach themed ornaments with dried craft sand dollars and starfish
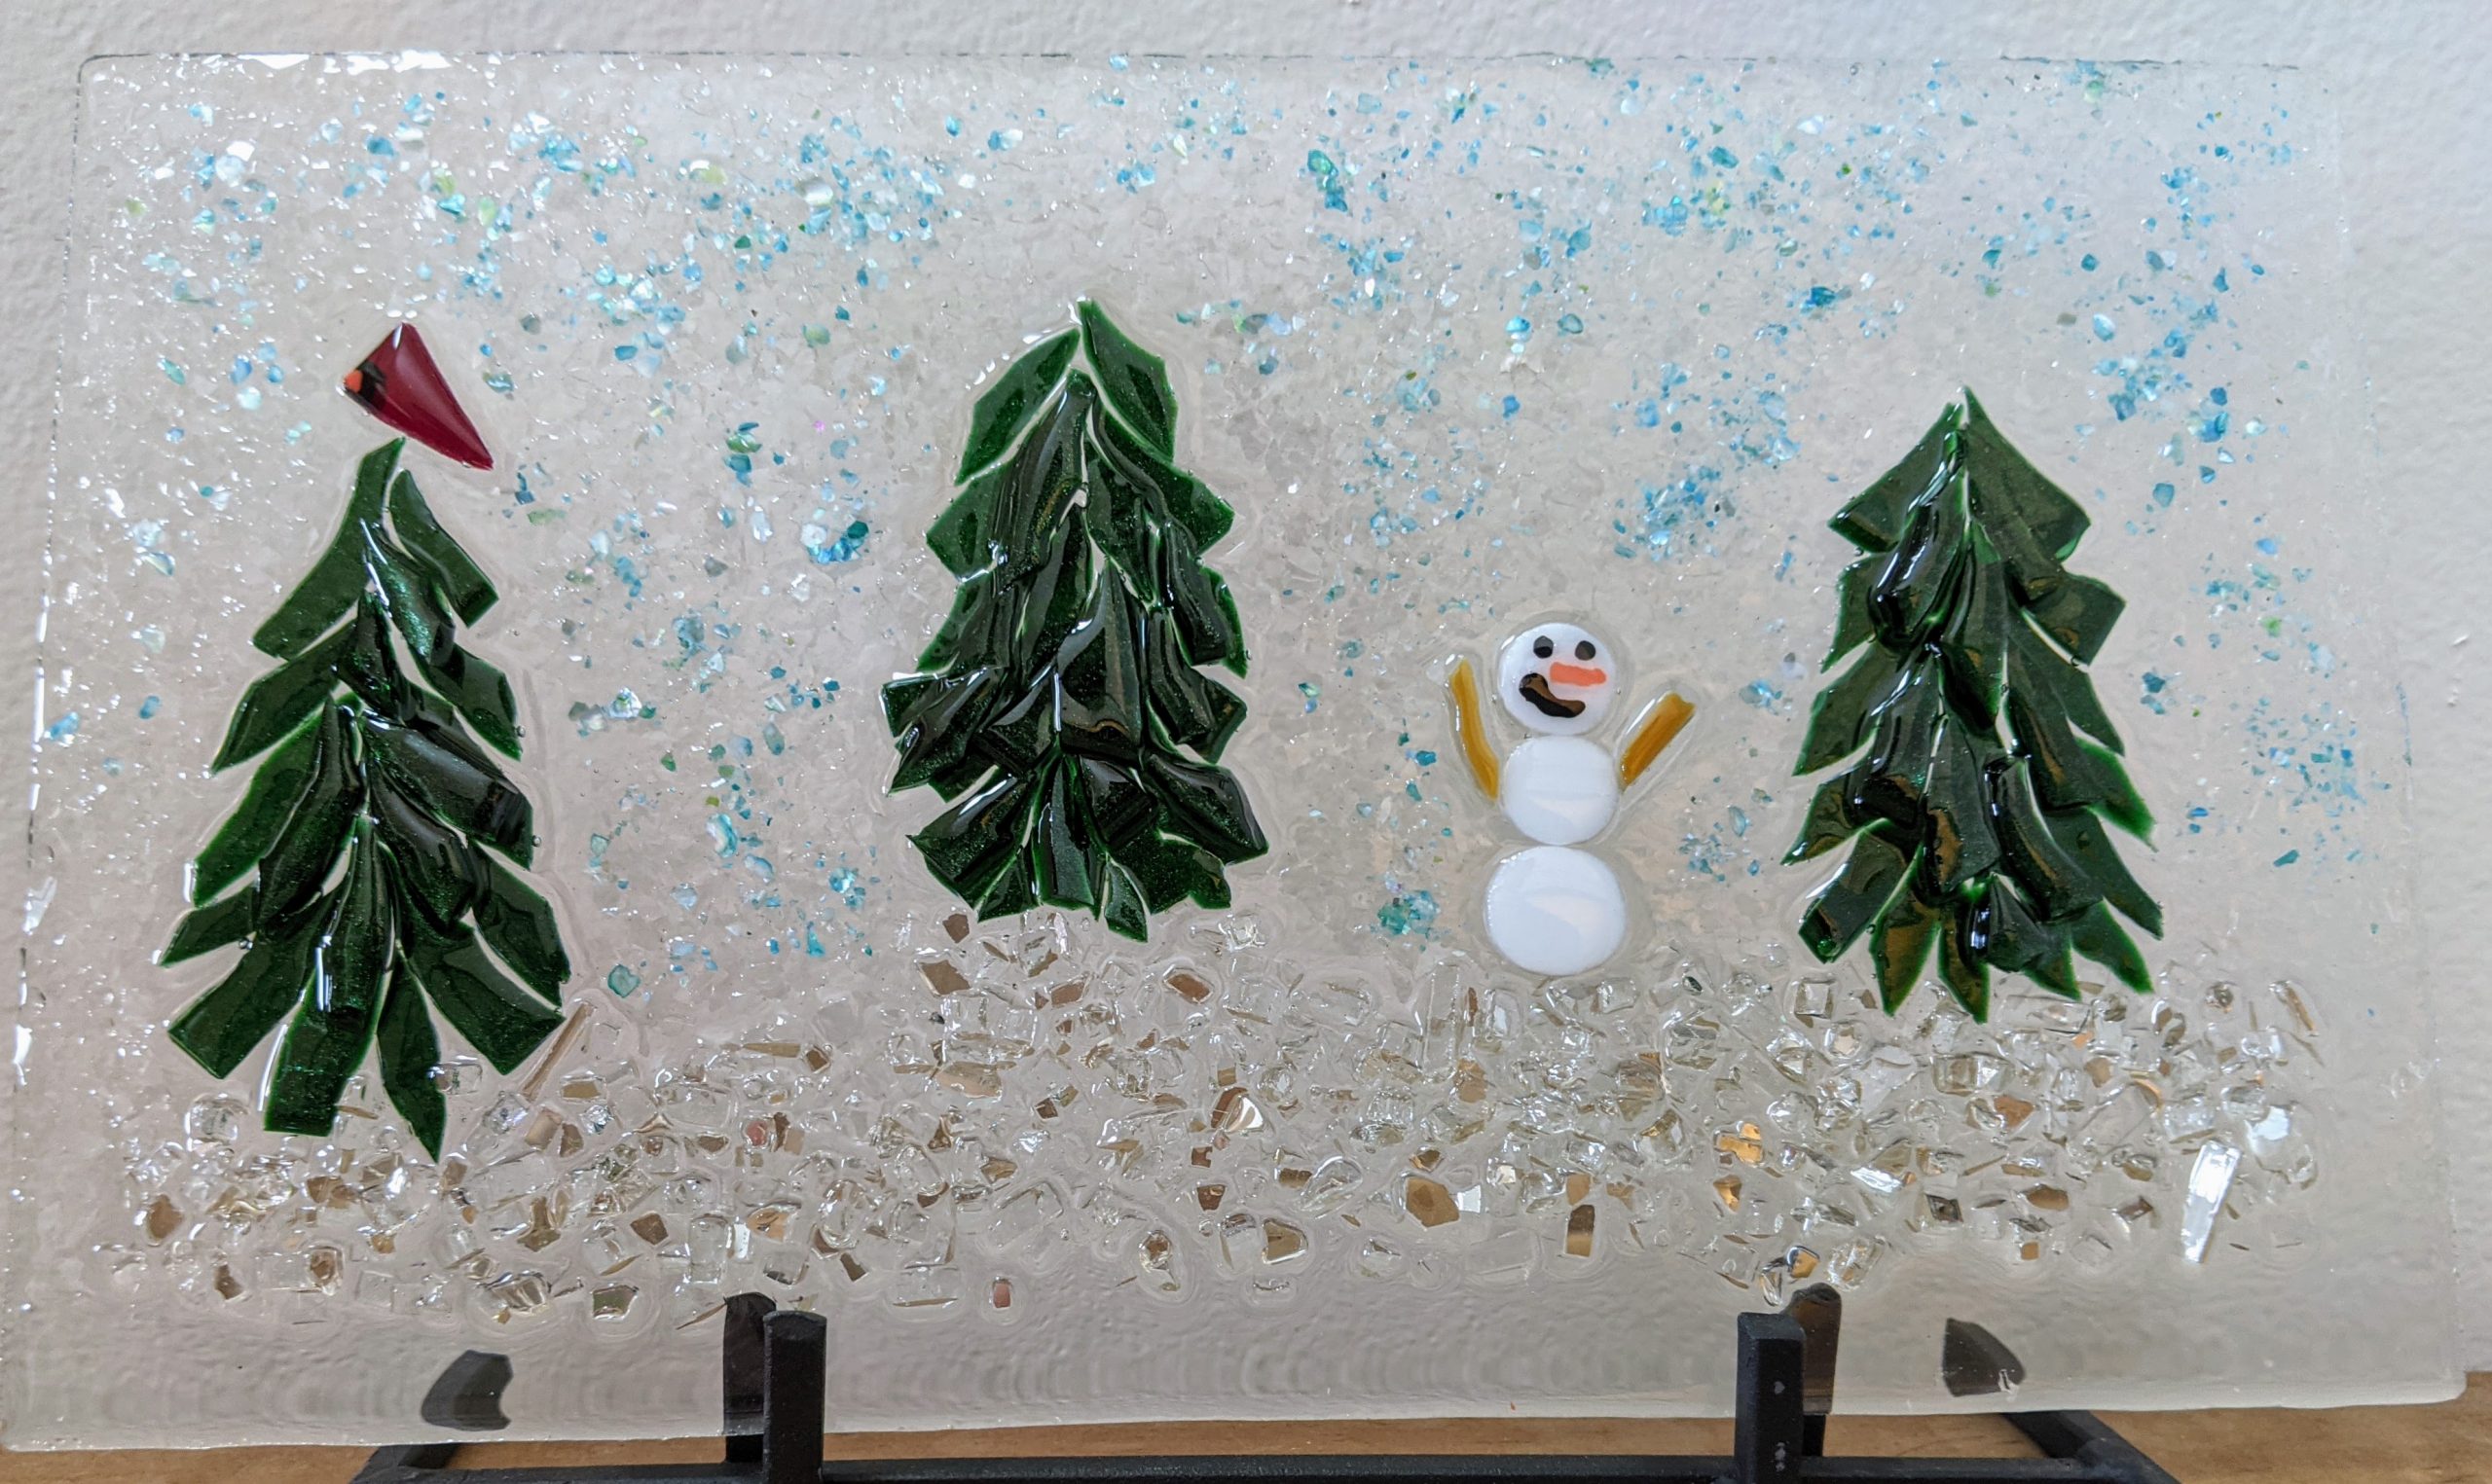
Here are some snapshots of my latest batch of winter themed pieces / suncatchers / ornaments. This week’s beach-themed ornaments are still a work in progress; hopefully I will be able to finish them over the weekend.
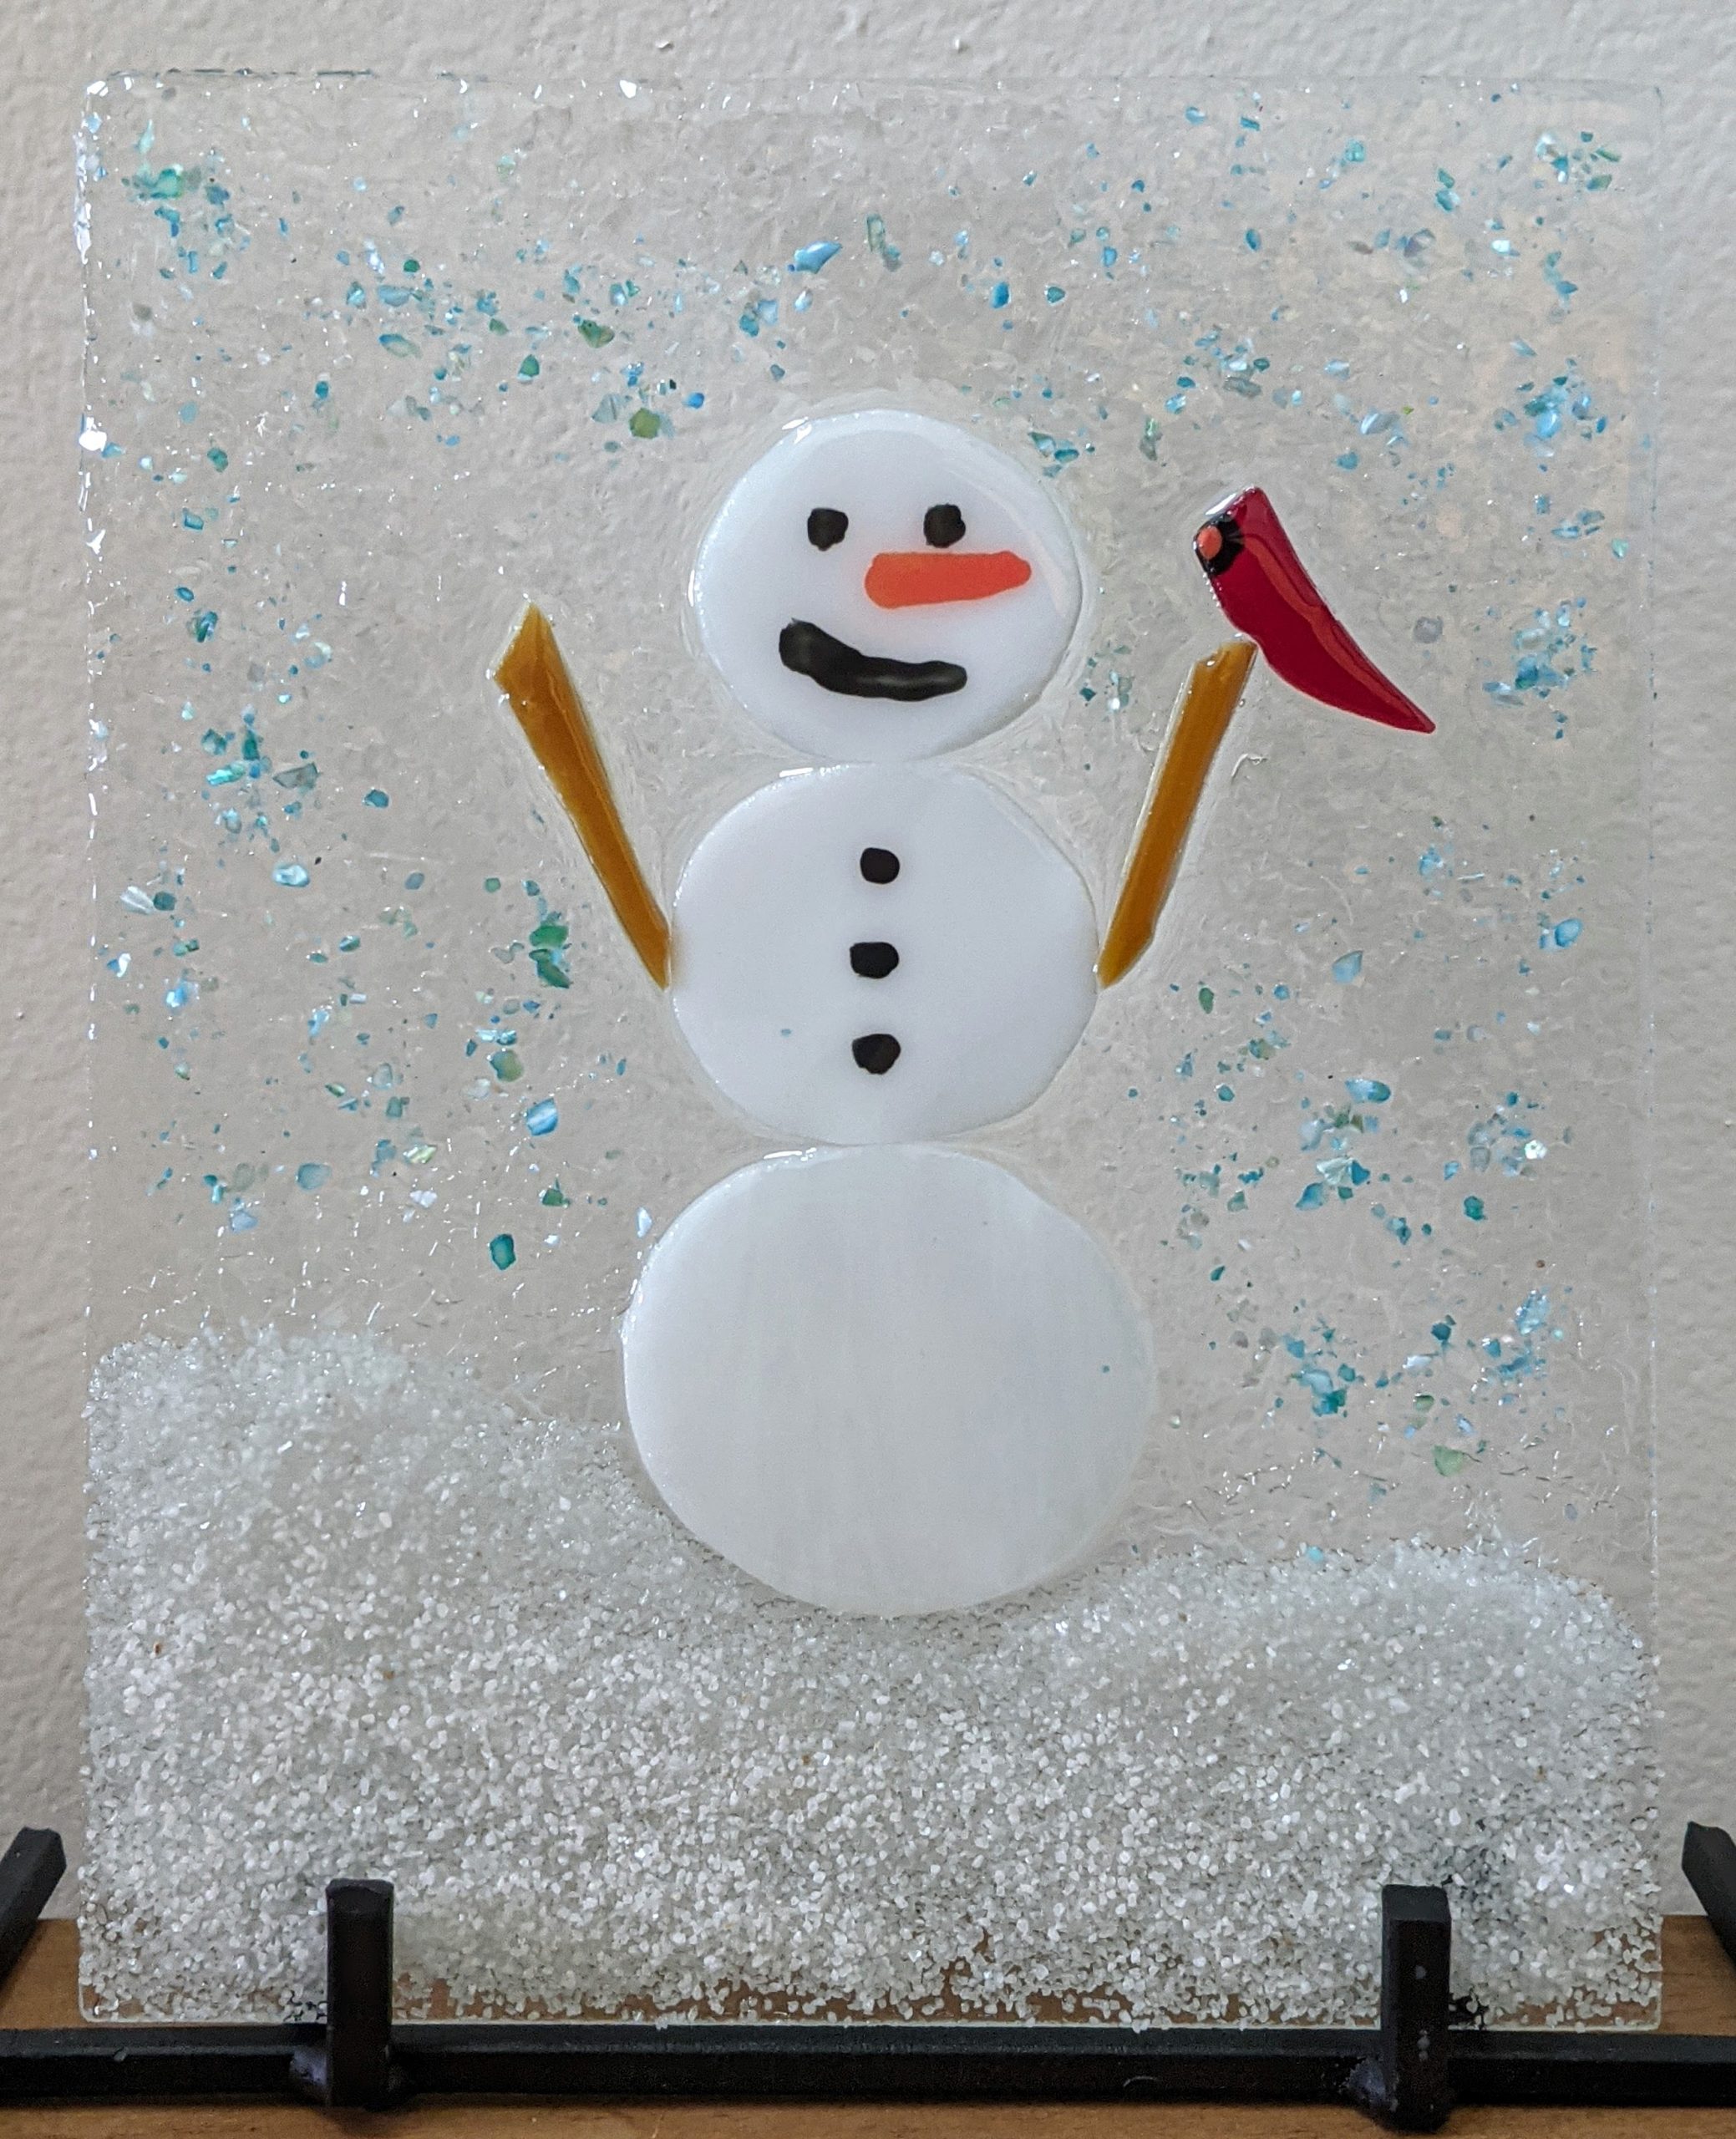
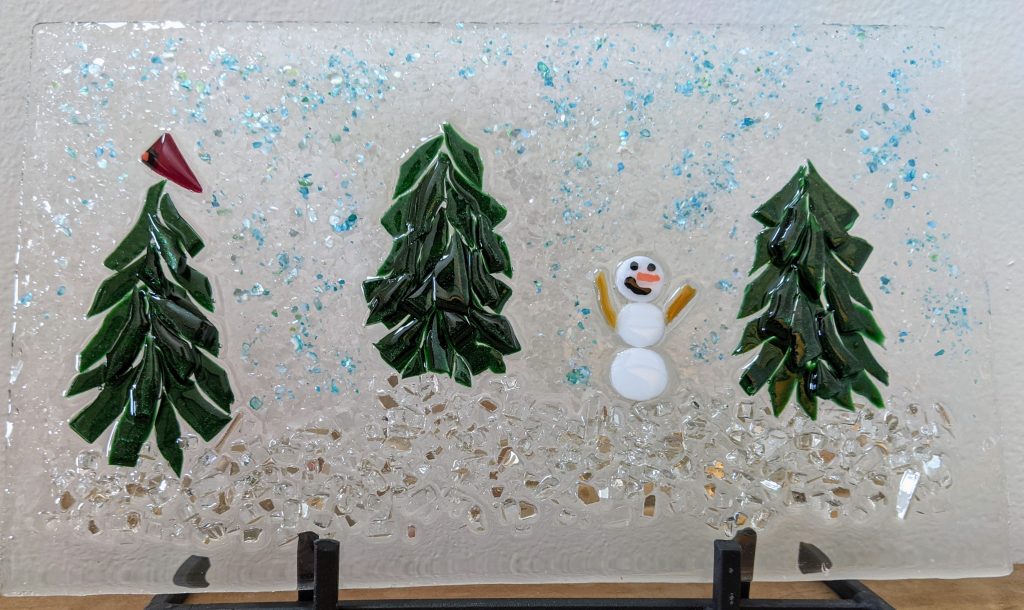
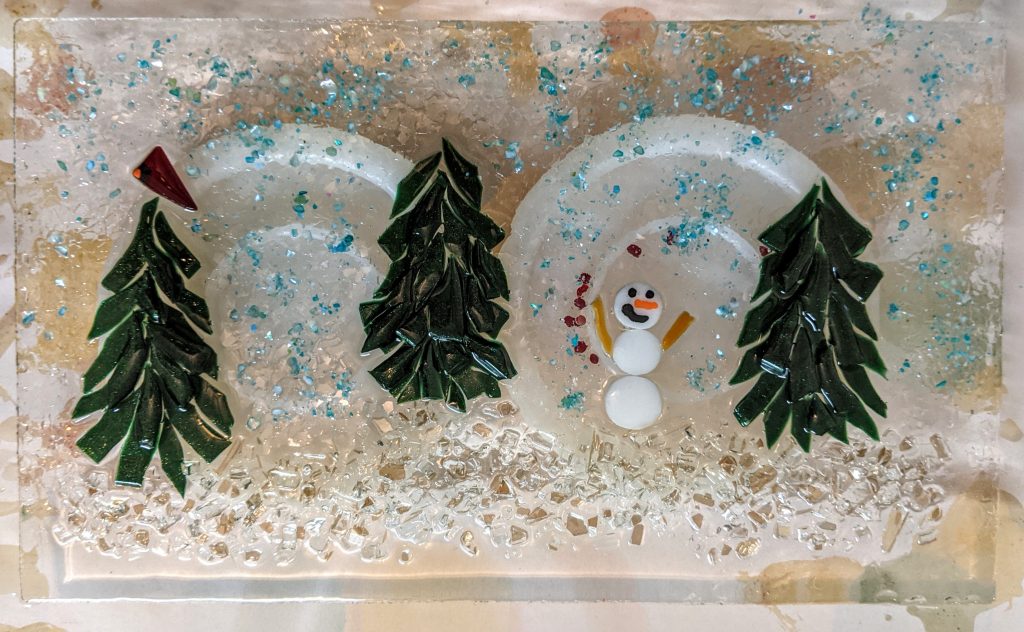
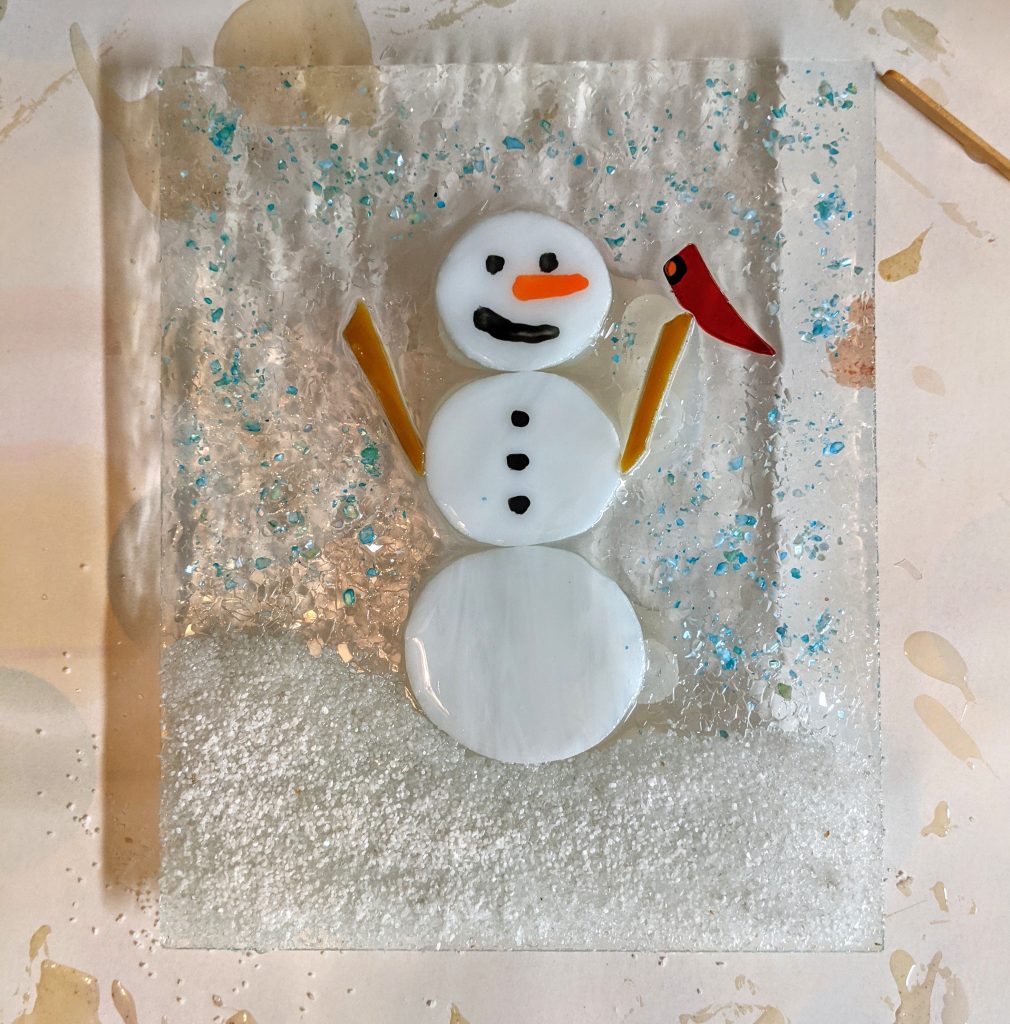
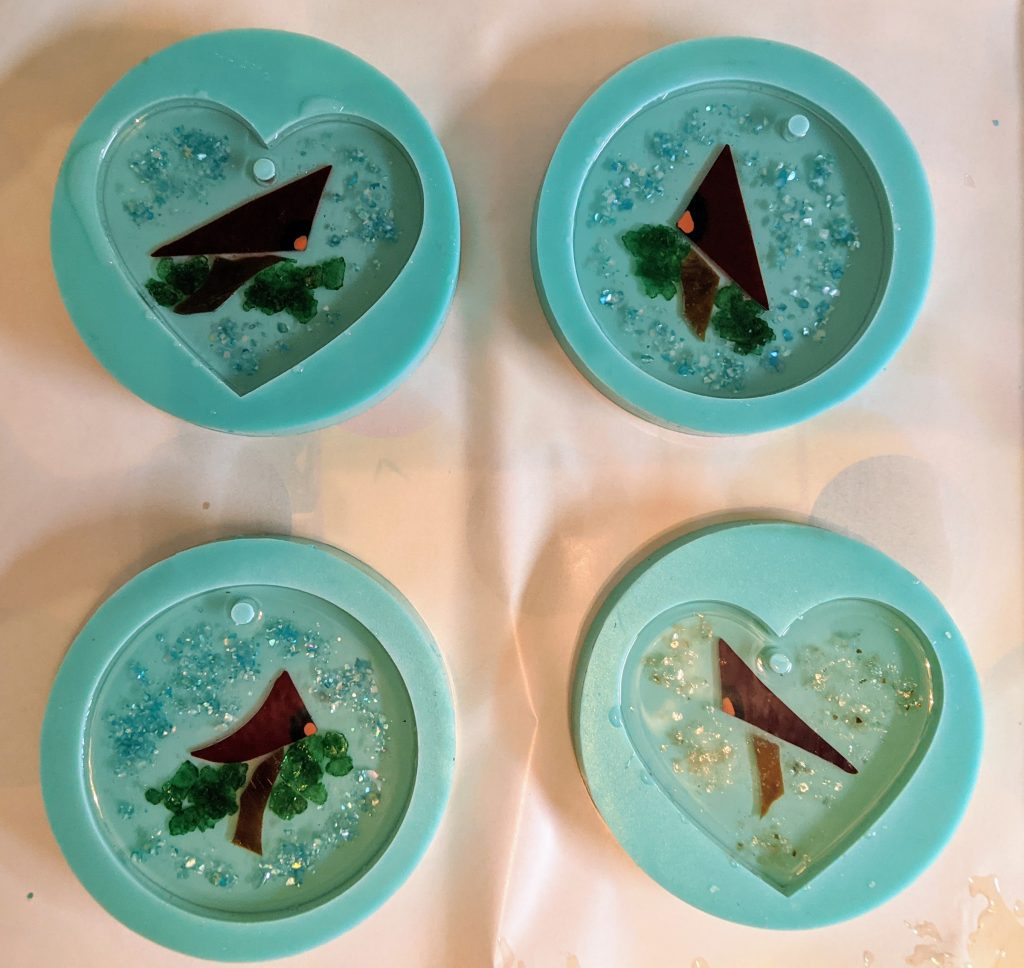
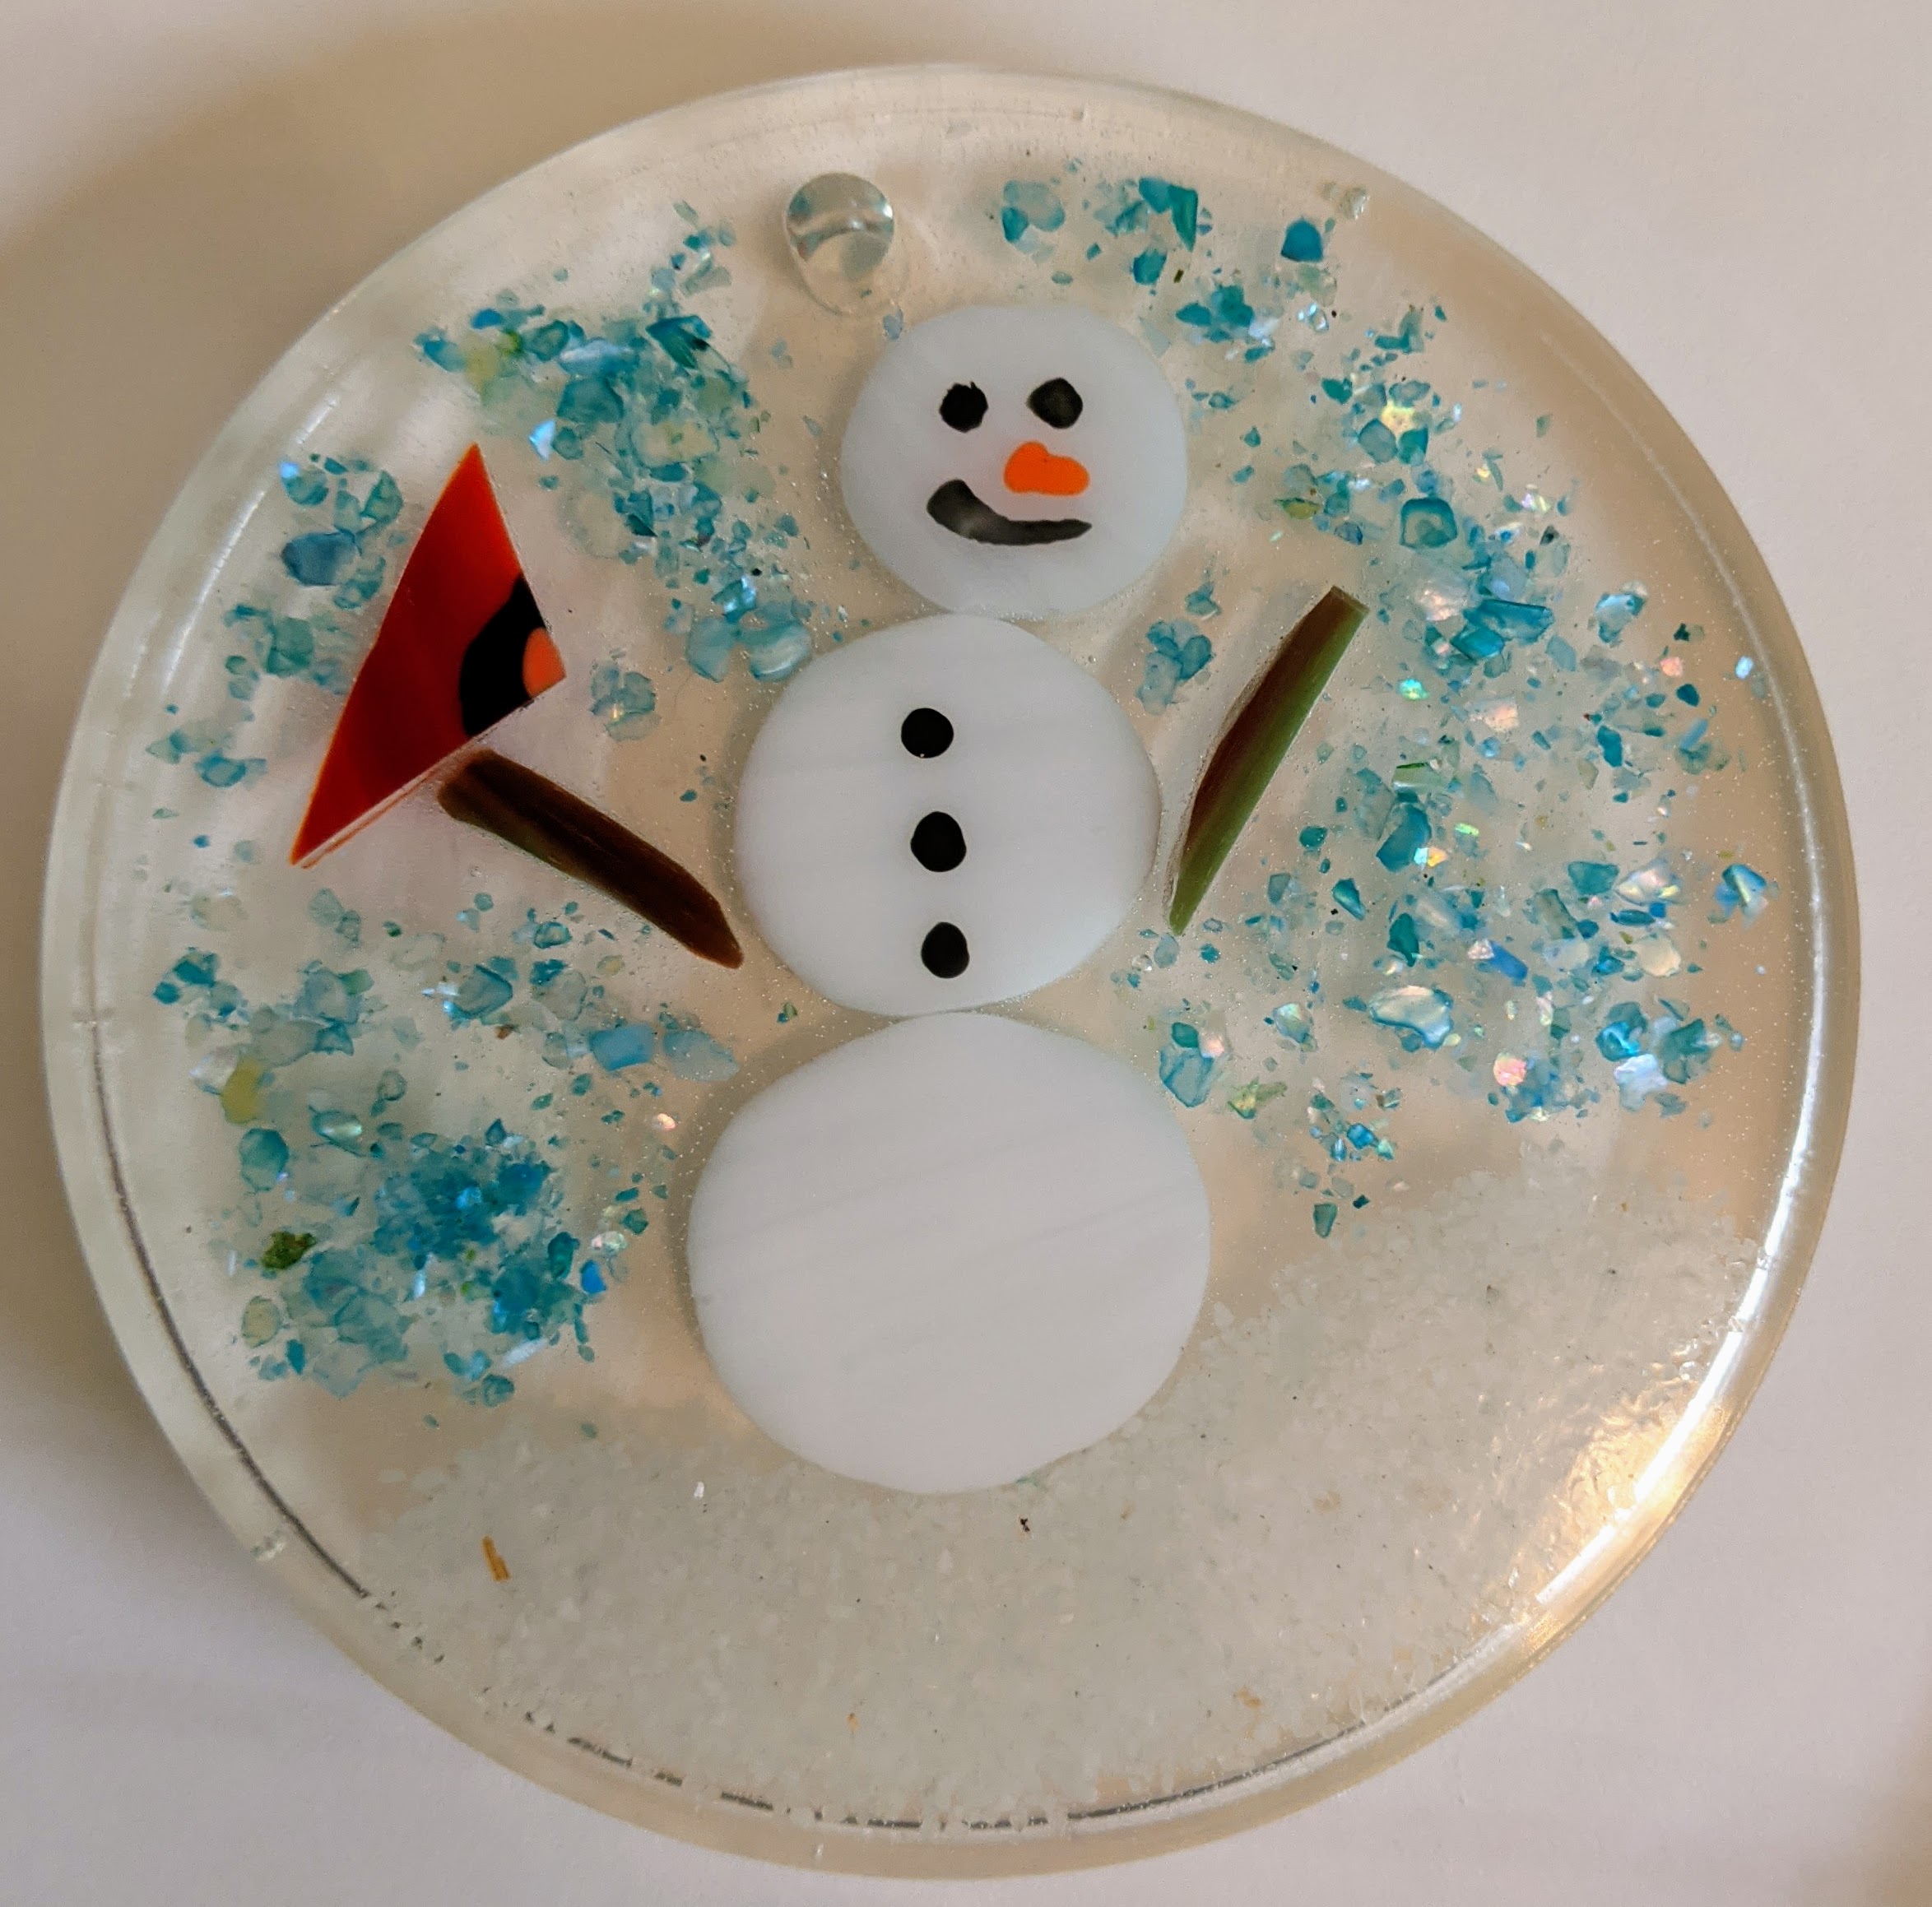
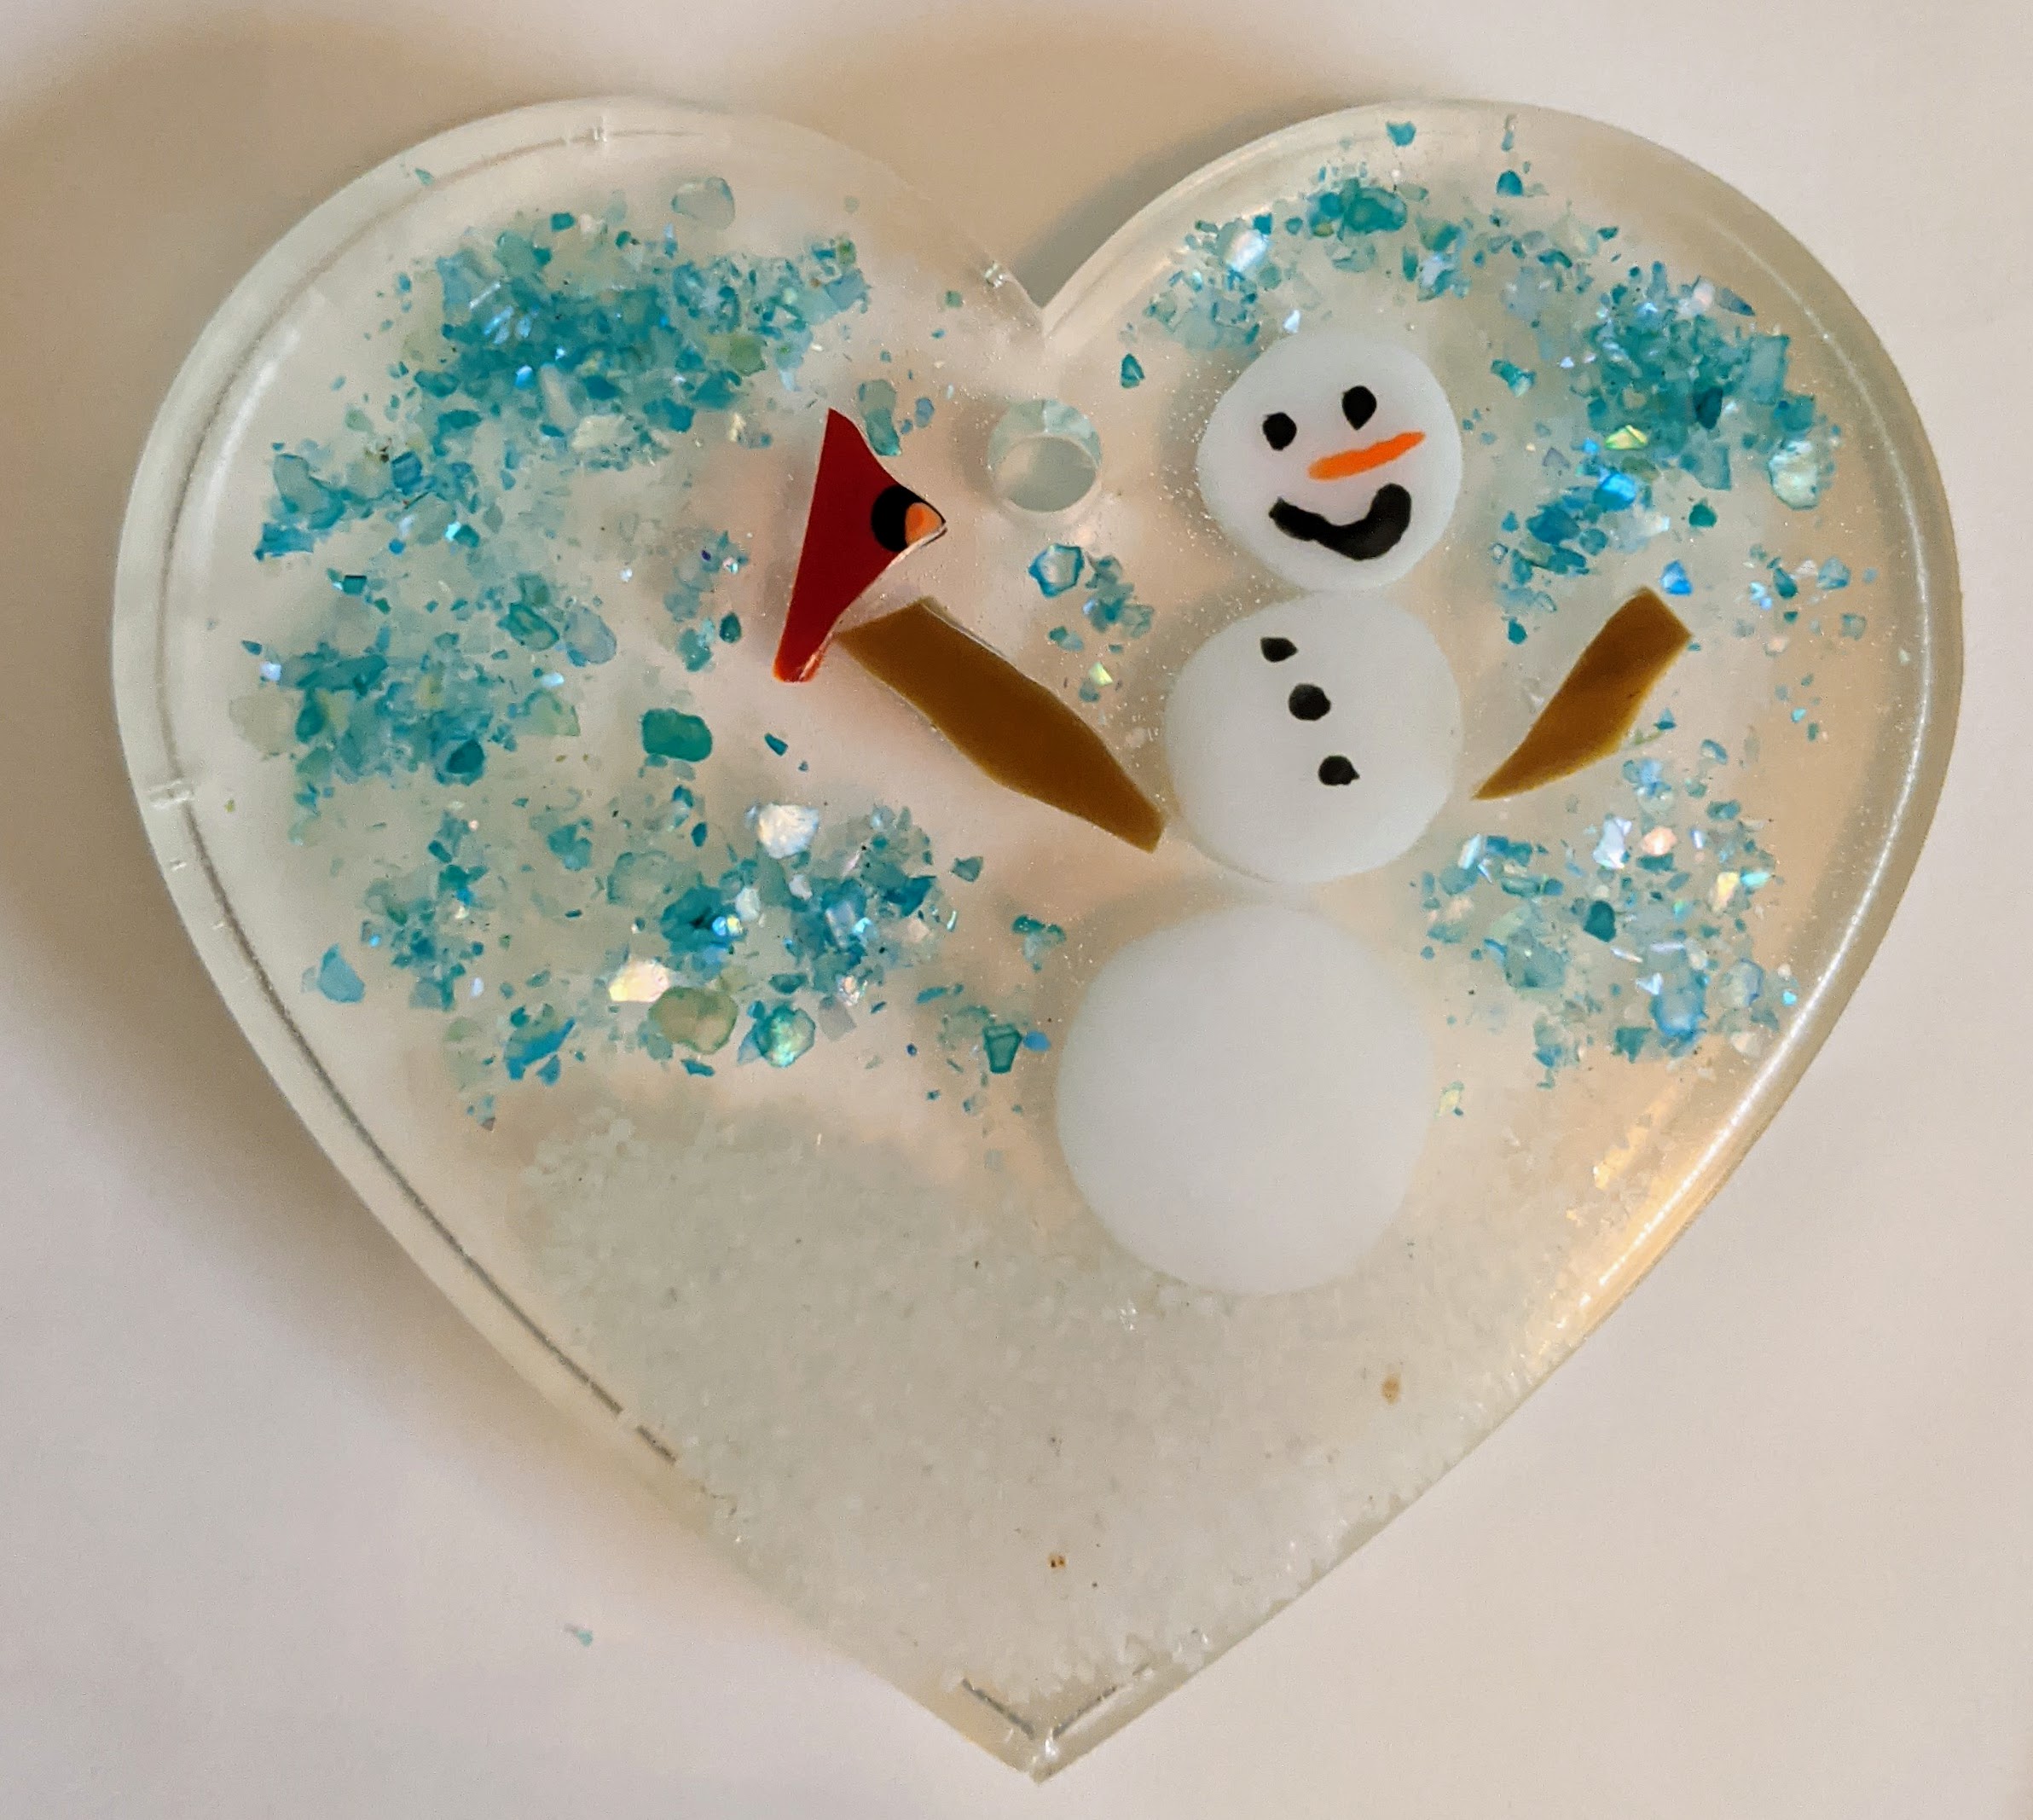
Winter Scene with evergreen trees, snowman, cardinal. Approx 10.5″ x 6.5″.Happy Snowman with cardinal panel, approx. 6.25″ x 8″Stained glass cardinal (embedded in resin) suncatchers / ornaments with mica flakes.
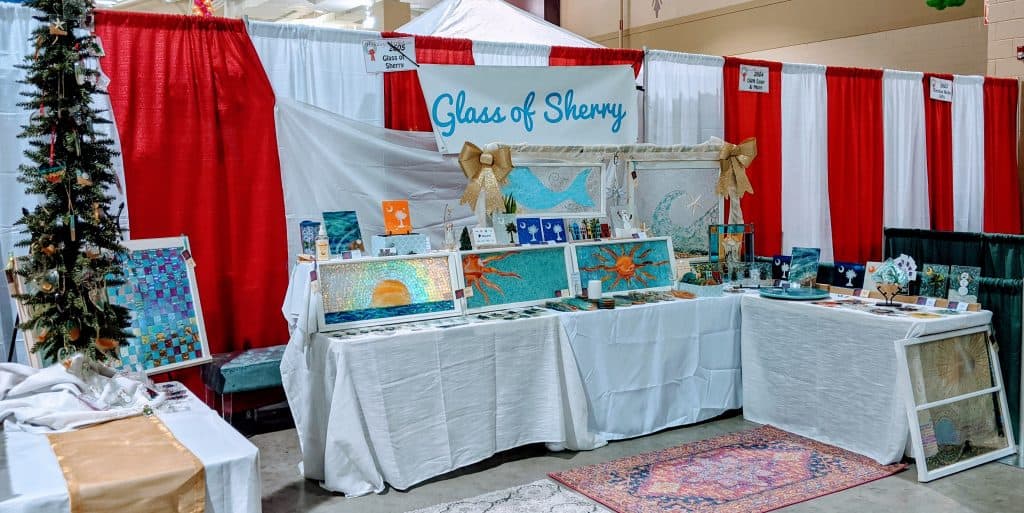
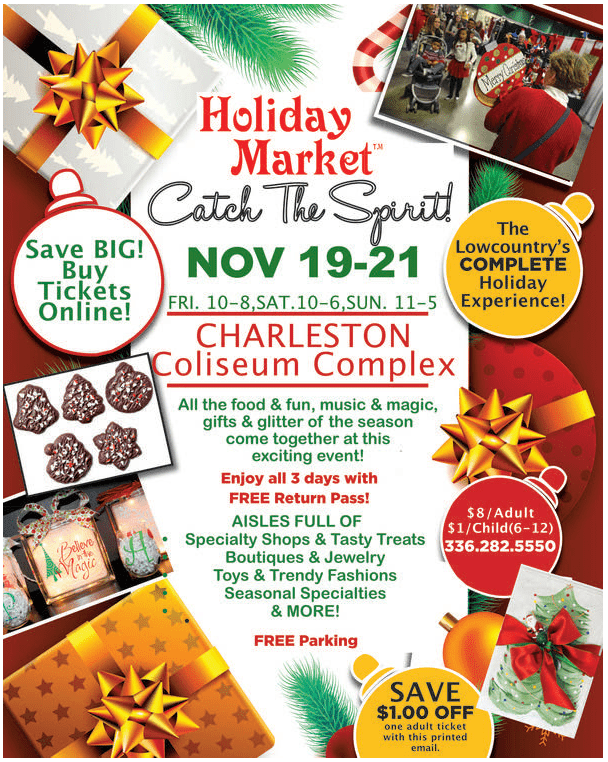
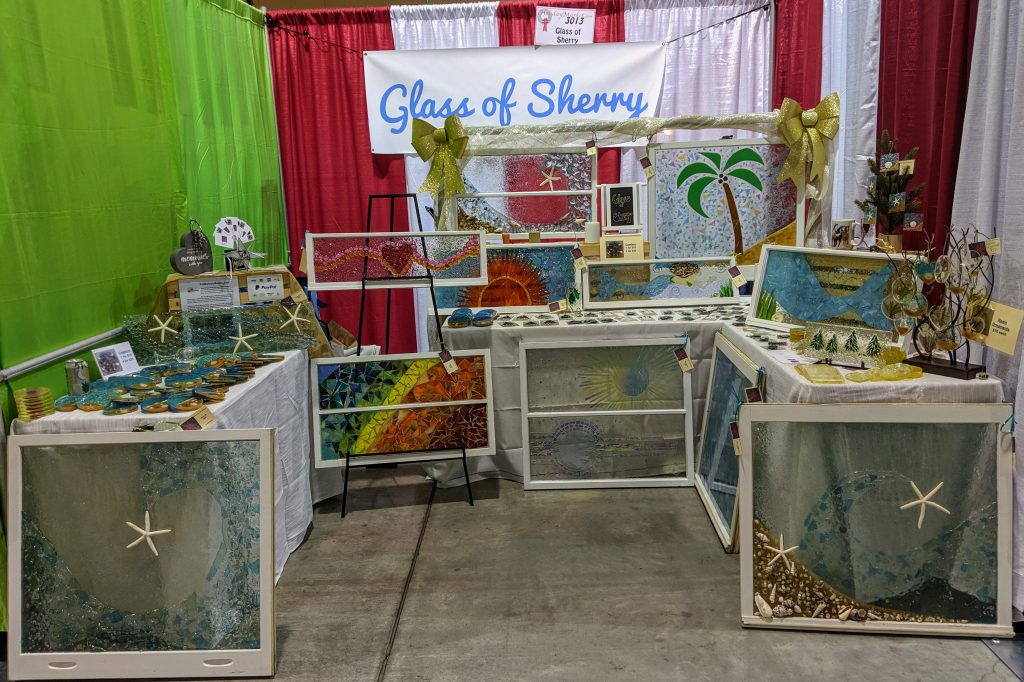
I will have a booth at the Holiday Market at the North Charleston Convention Center. This event was cancelled last year due to COVID-19. The hours are: November 19, 2021 – Fri. (10am – 8pm) November 20, 2021 – Sat. (10am – 6pm) November 21, 2021 – Sun. (11am – 5pm)
I haven’t seen the admission price for this year on the event website yet, but in the past, tickets were around $5 for access to all three days of the event, and you can usually get a coupon for a discount at the above link a couple of weeks before the event. The new parking garage should make getting in and out a breeze!
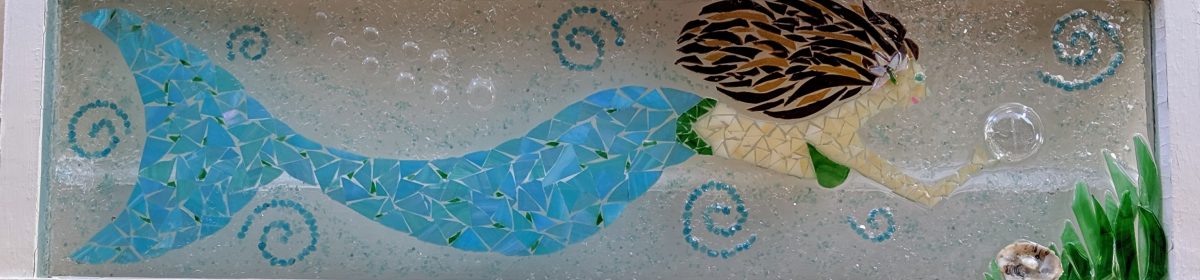
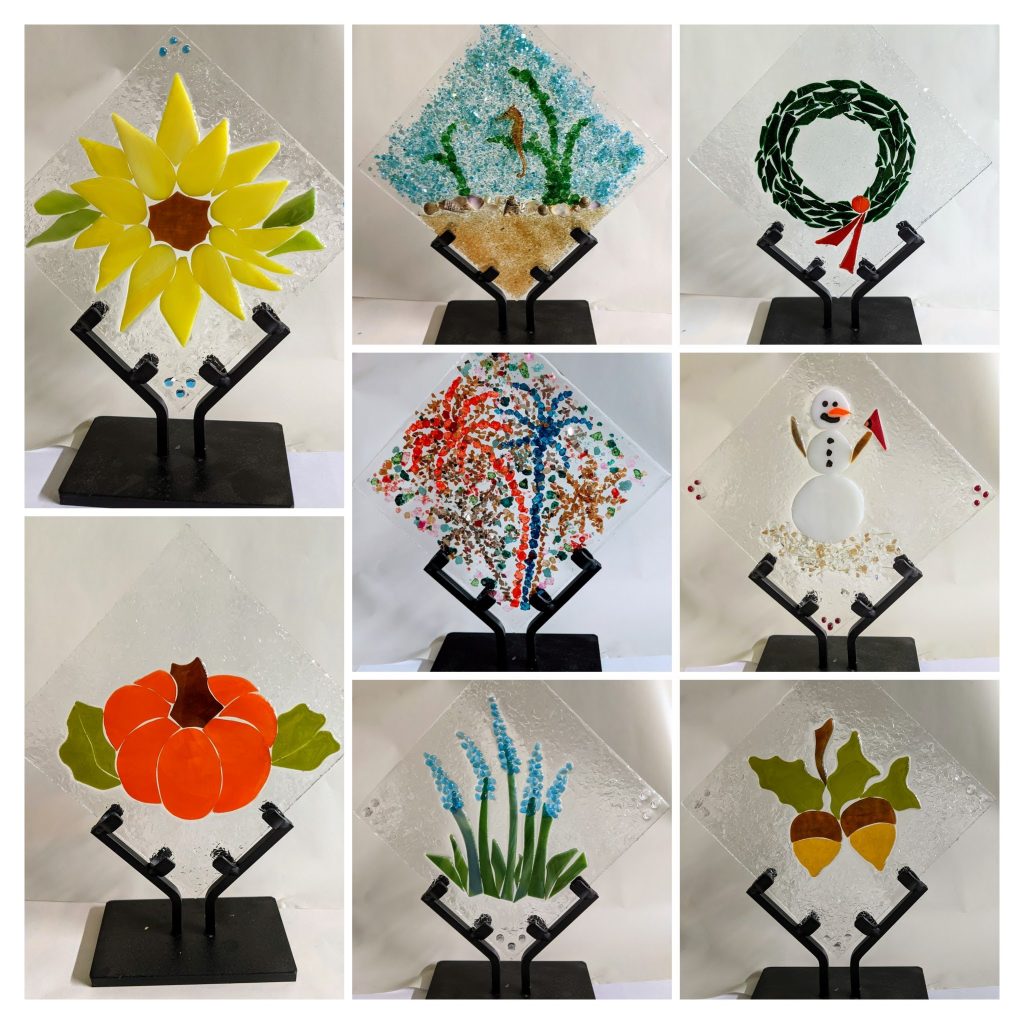
I will have hand made items from suncatchers and ornaments up to large mosaic windows, and a special $400 “Seasons” gift set that includes a display stand. Get all of your holiday shopping done before Thanksgiving and be able to really relax for the holidays! Check out some of the items that I will have in my booth at this link. There will even be some hand made pendants / necklaces. I hope to see you there!
Winter Scene
Happy Snowman
Suncatchers / Ornaments
Ornaments / Suncatchers
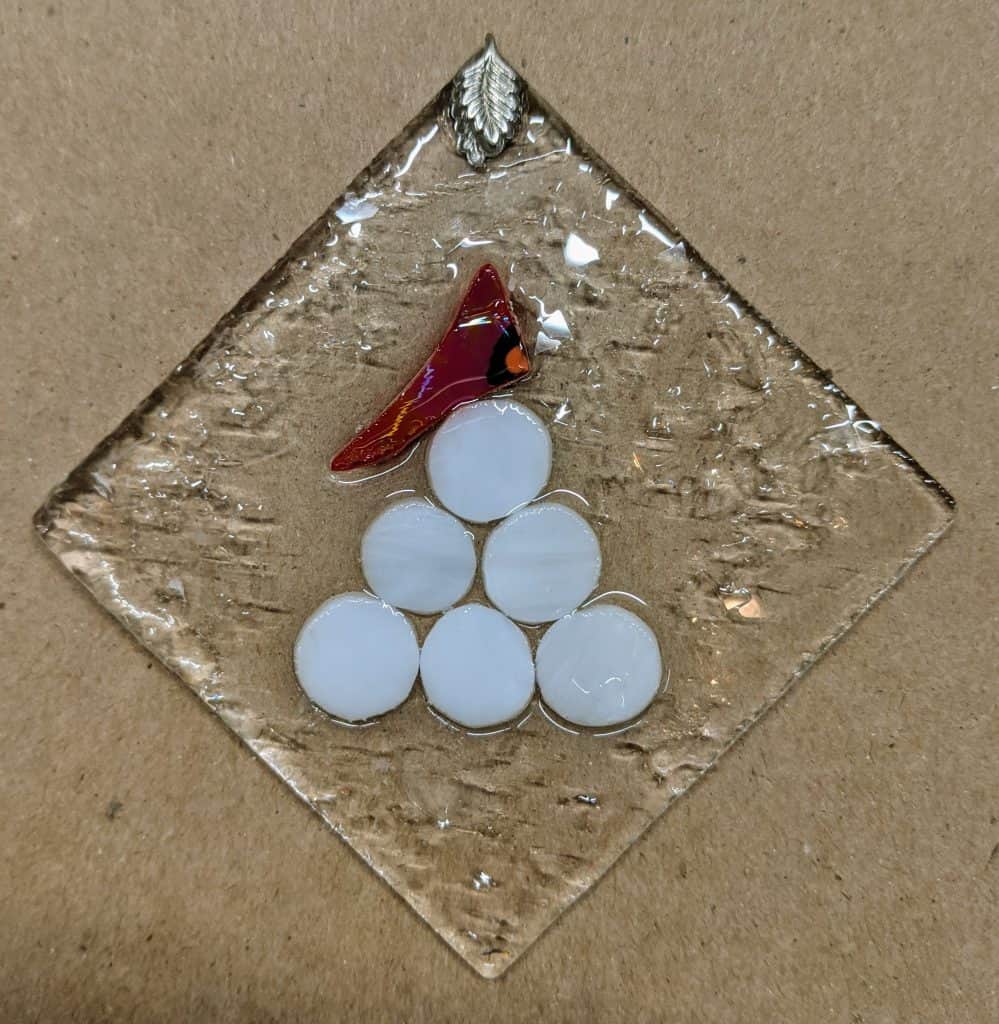
Red bird w/snowballs
Seasons Set
Pendants, made by a friend of mine in a similar fashion as my glass pieces.
Yesterday I poured / decorated the resin for the winter scene and snowman, as well as added a second resin layer to four molded ornaments. Hopefully I will be able to get finished pictures of them this evening!
Resin curing on Winter SceneResin curing on SnowmanSecond resin layer poured / curing
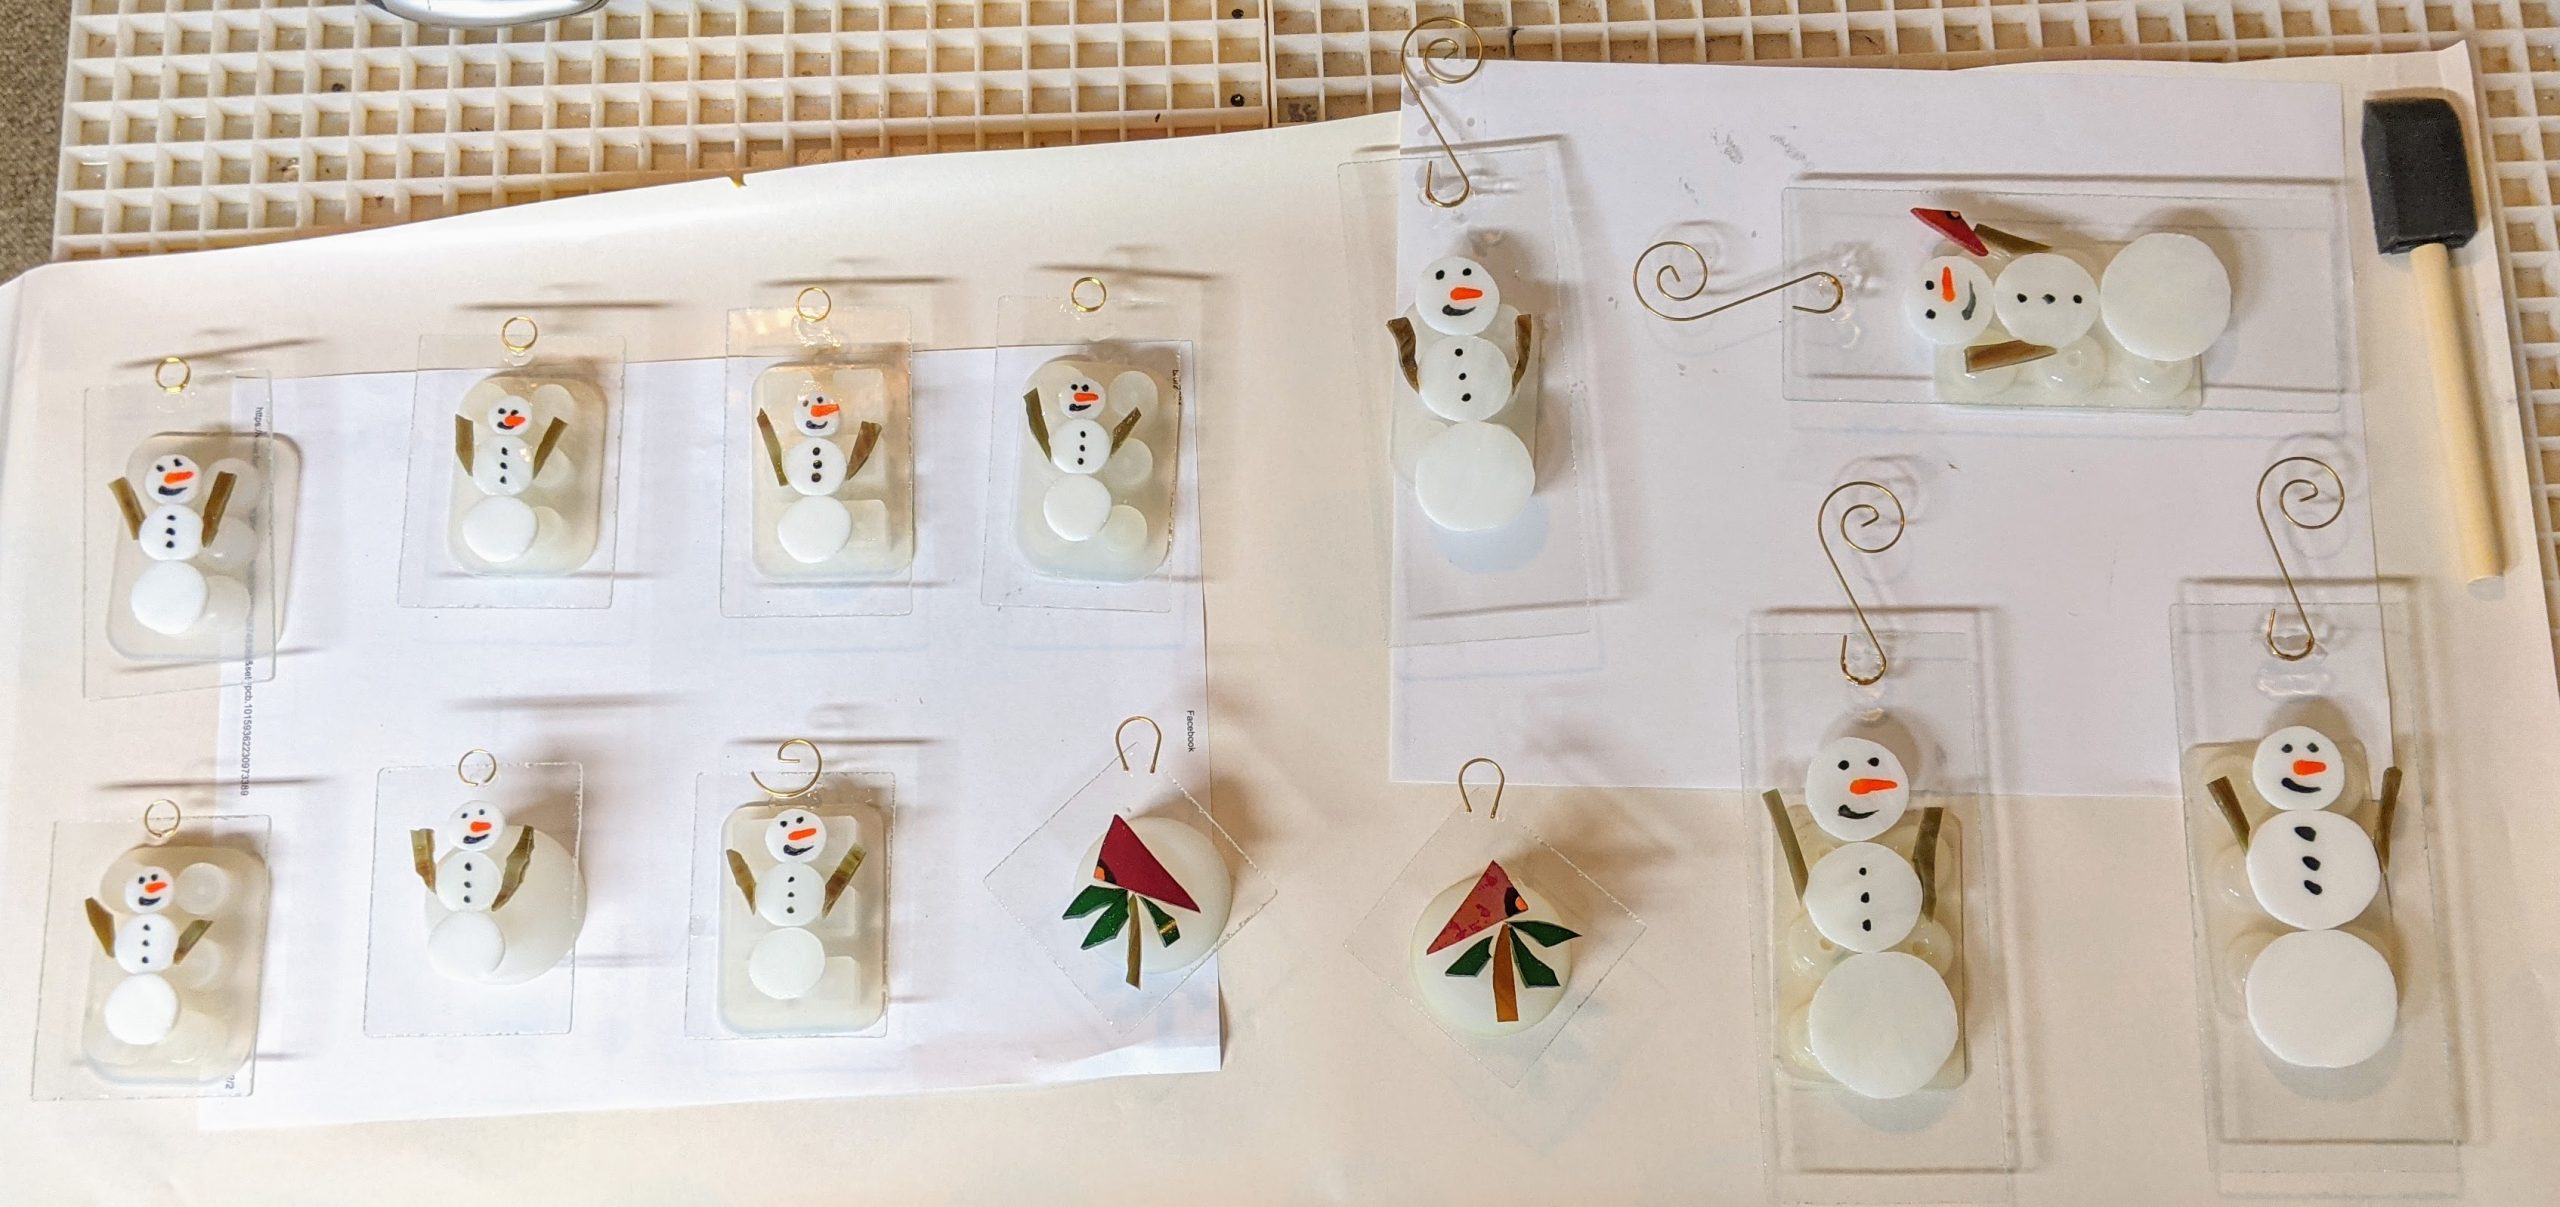
The other morning I glued the metal hooks / receivers that will be used to hang the ornaments with MAC glue. I like to glue them even though the resin coating will hold them in place. The next step will be coating them with resin and decorating the resin with glass chips and mica.
Glue drying on ornaments
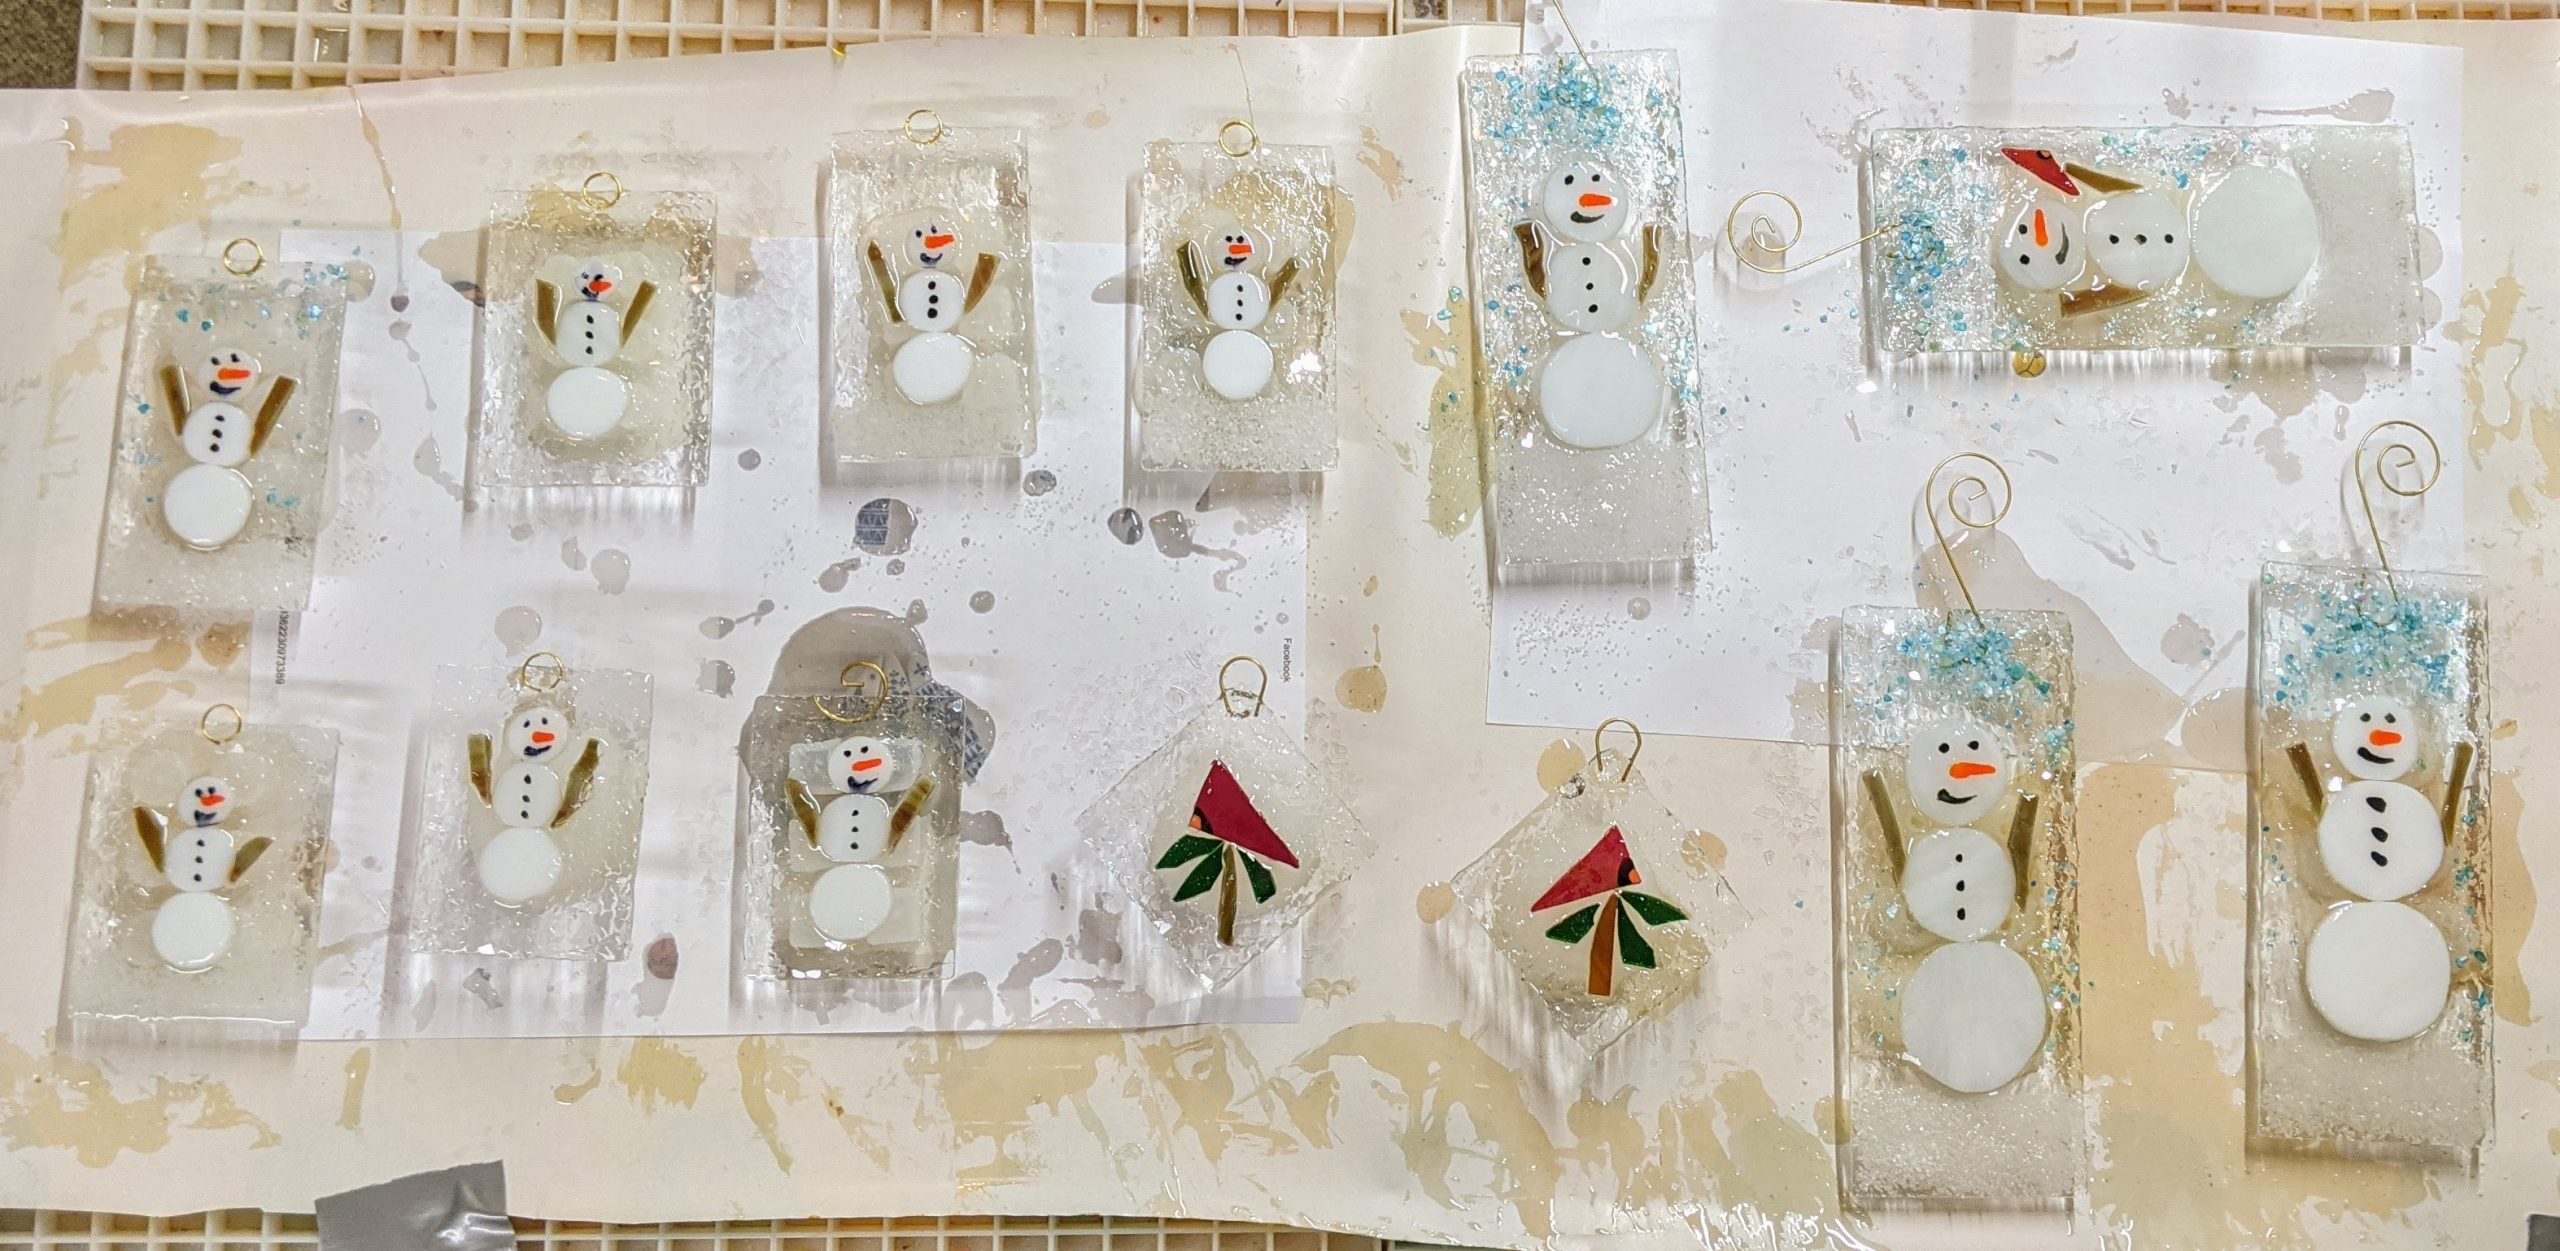
Before I can pour the resin, I have to elevate each ornament on something that the resin won’t adhere to. I usually use silicone cups or molds. They all need to have a bit of space between them so I can scrape drips off with a wooden craft stick while the resin settles. First I pour the resin and spread it around with a sponge on a stick to make sure everything is coated. Then I use a heat gun to remove bubbles in the resin. Once that is done, I can sprinkle glass chips and other decorations in the resin. Unfortunately, once I mix the resin I’m in a big sticky mess that doesn’t lend itself well to taking photos / video. I need to get my husband to help with that one of these days.
Ornaments elevated and spaced out.Resin poured and decorated, curing.
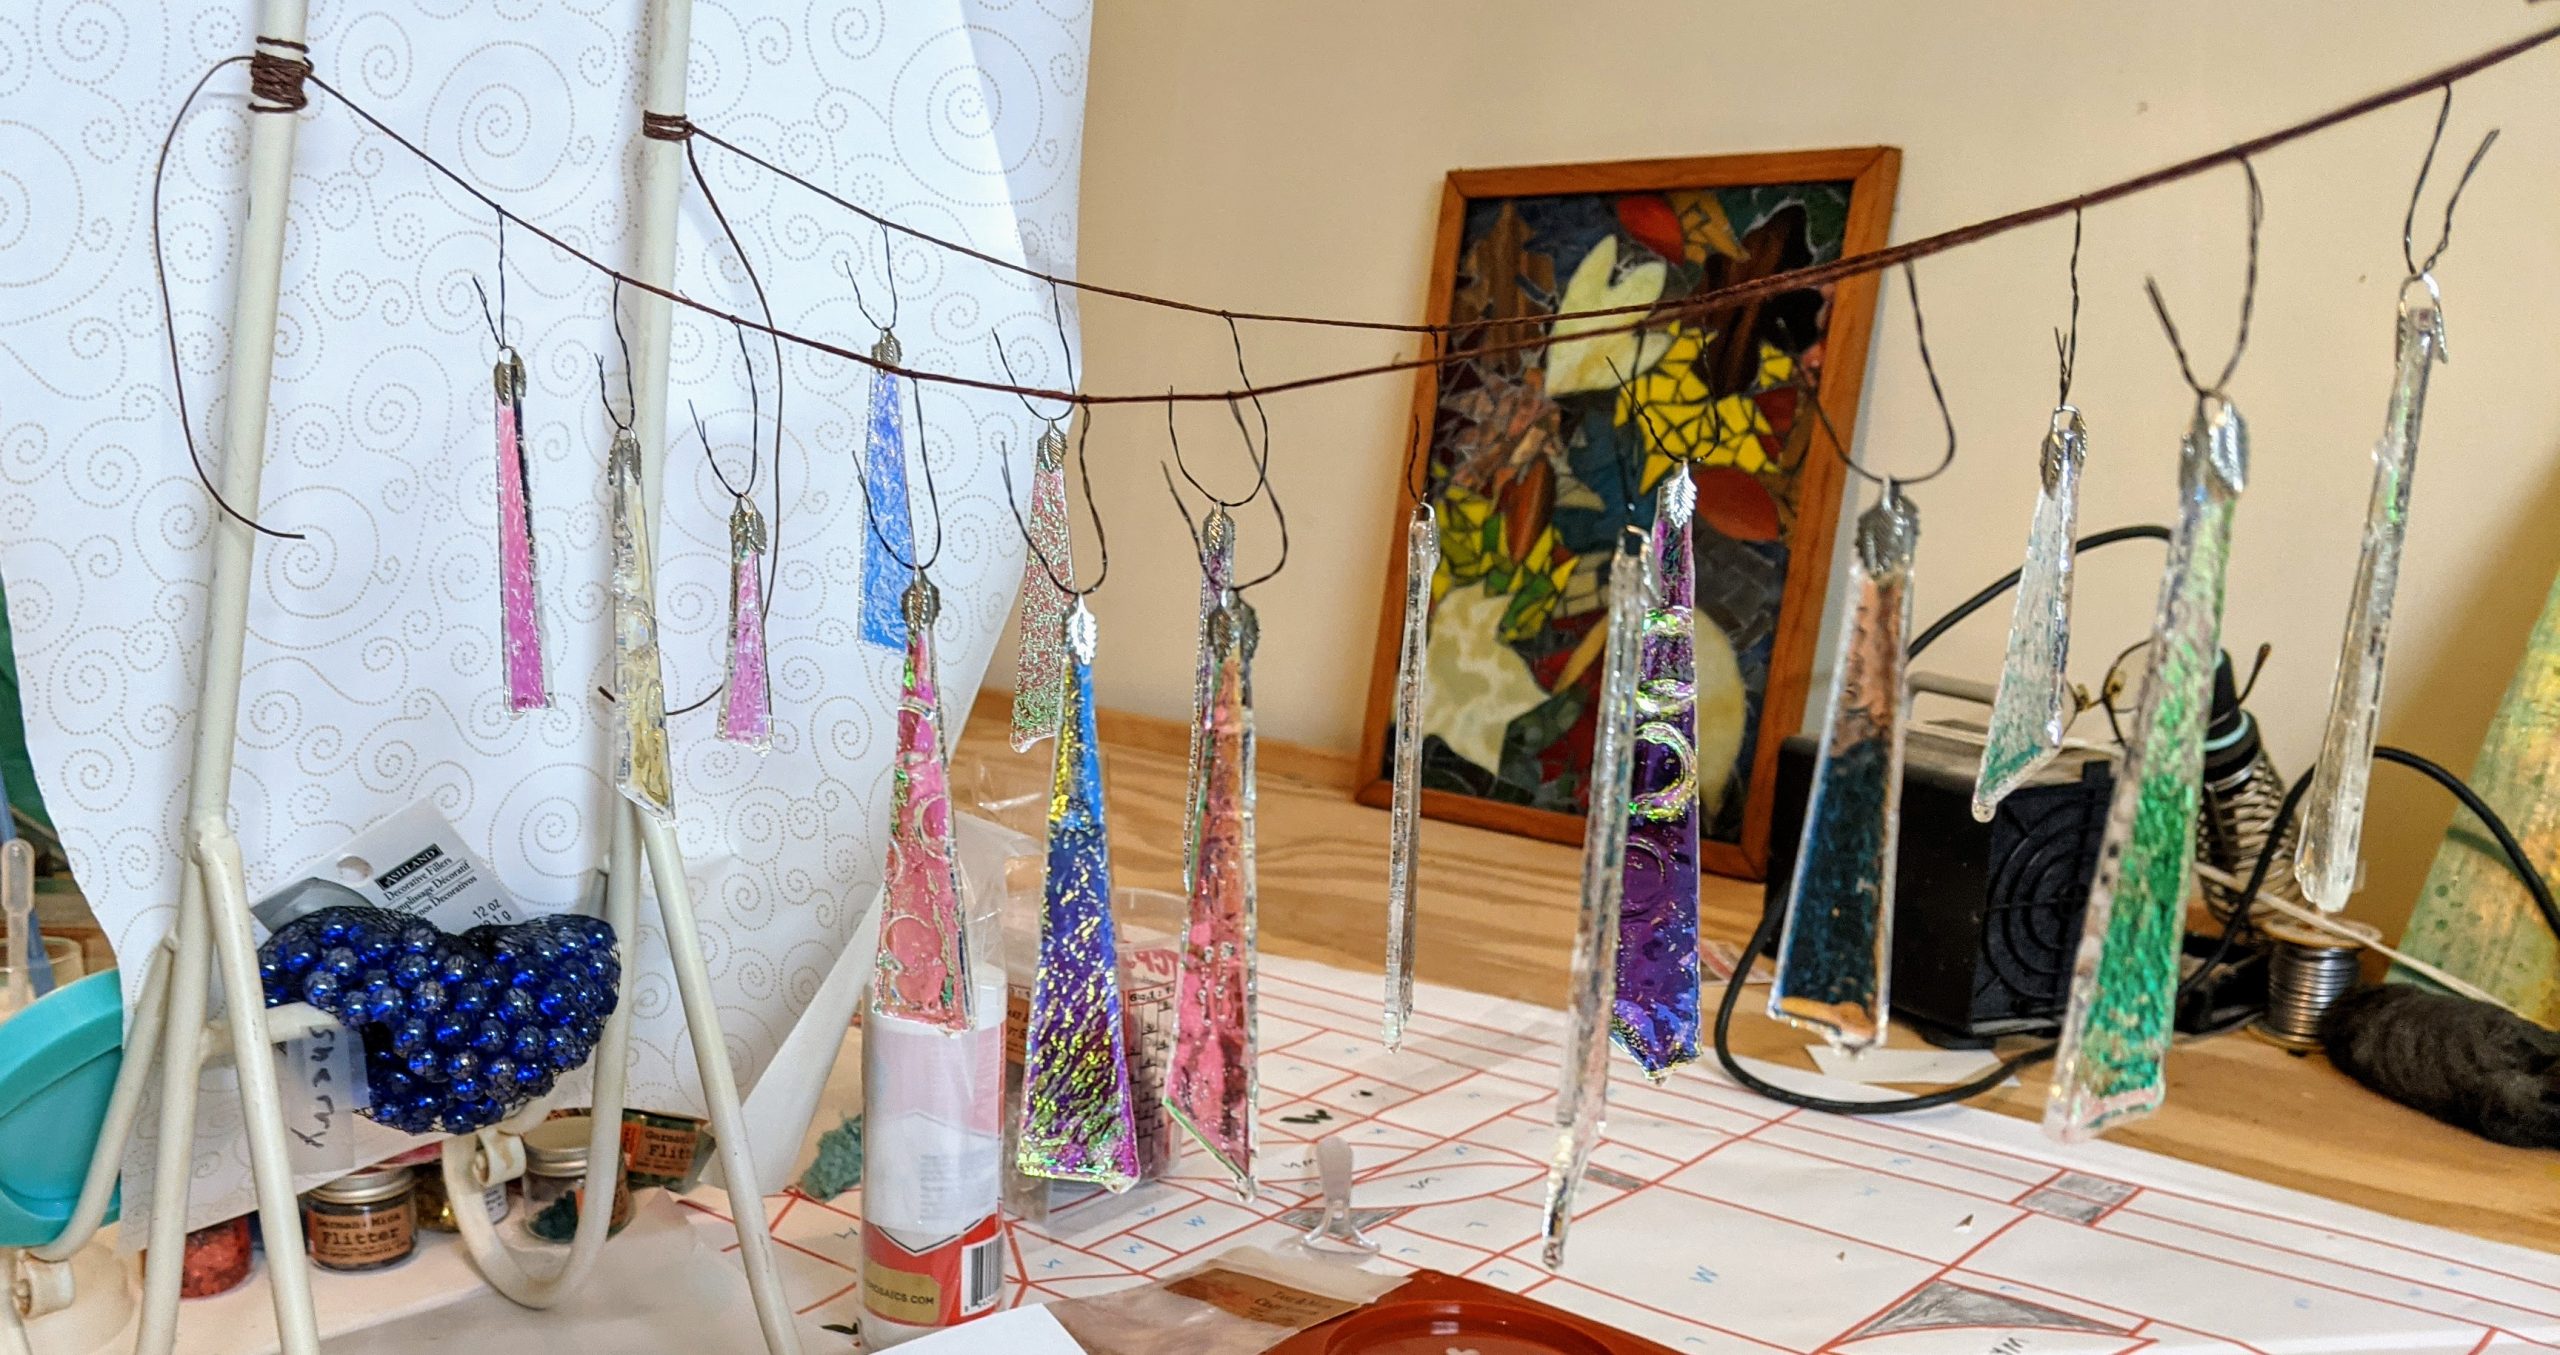
Some of the smaller snowmen’s mouths drifted a bit after covered with resin. It’s always a new challenge, sigh. I also dipped the “Dichro-cicles” and hung them on my little laundry line. We’ll see how they come out.
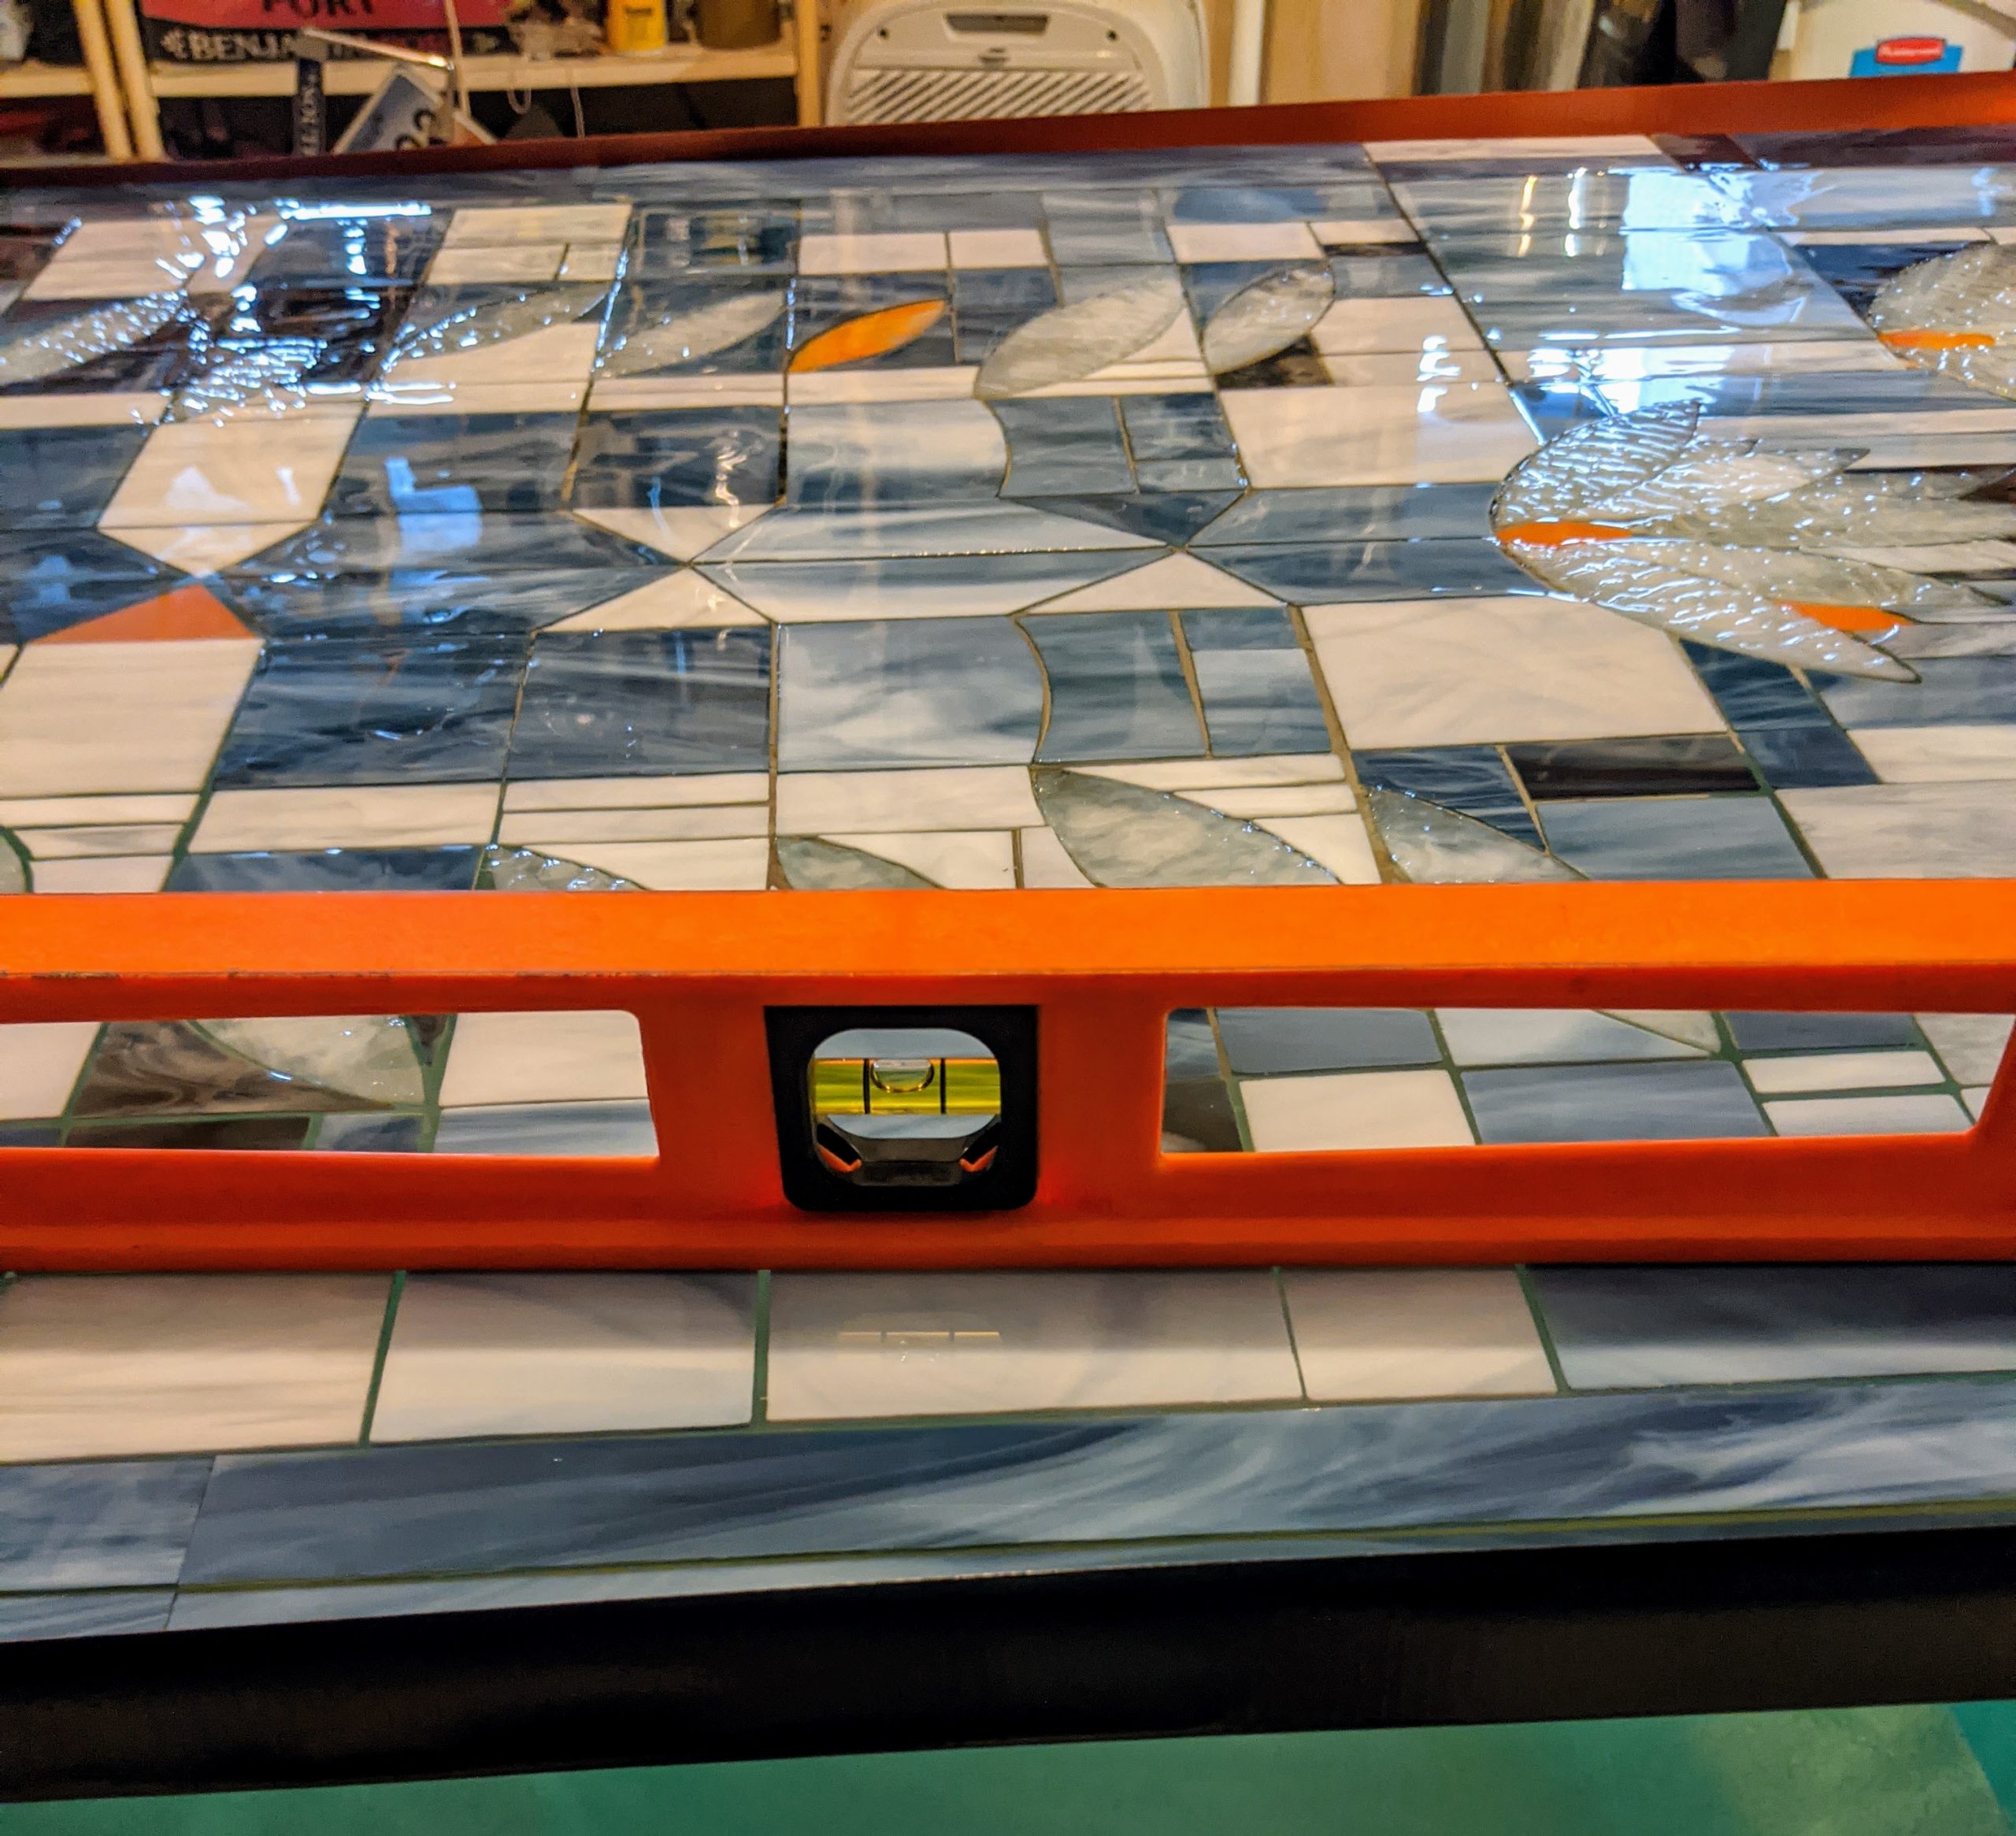
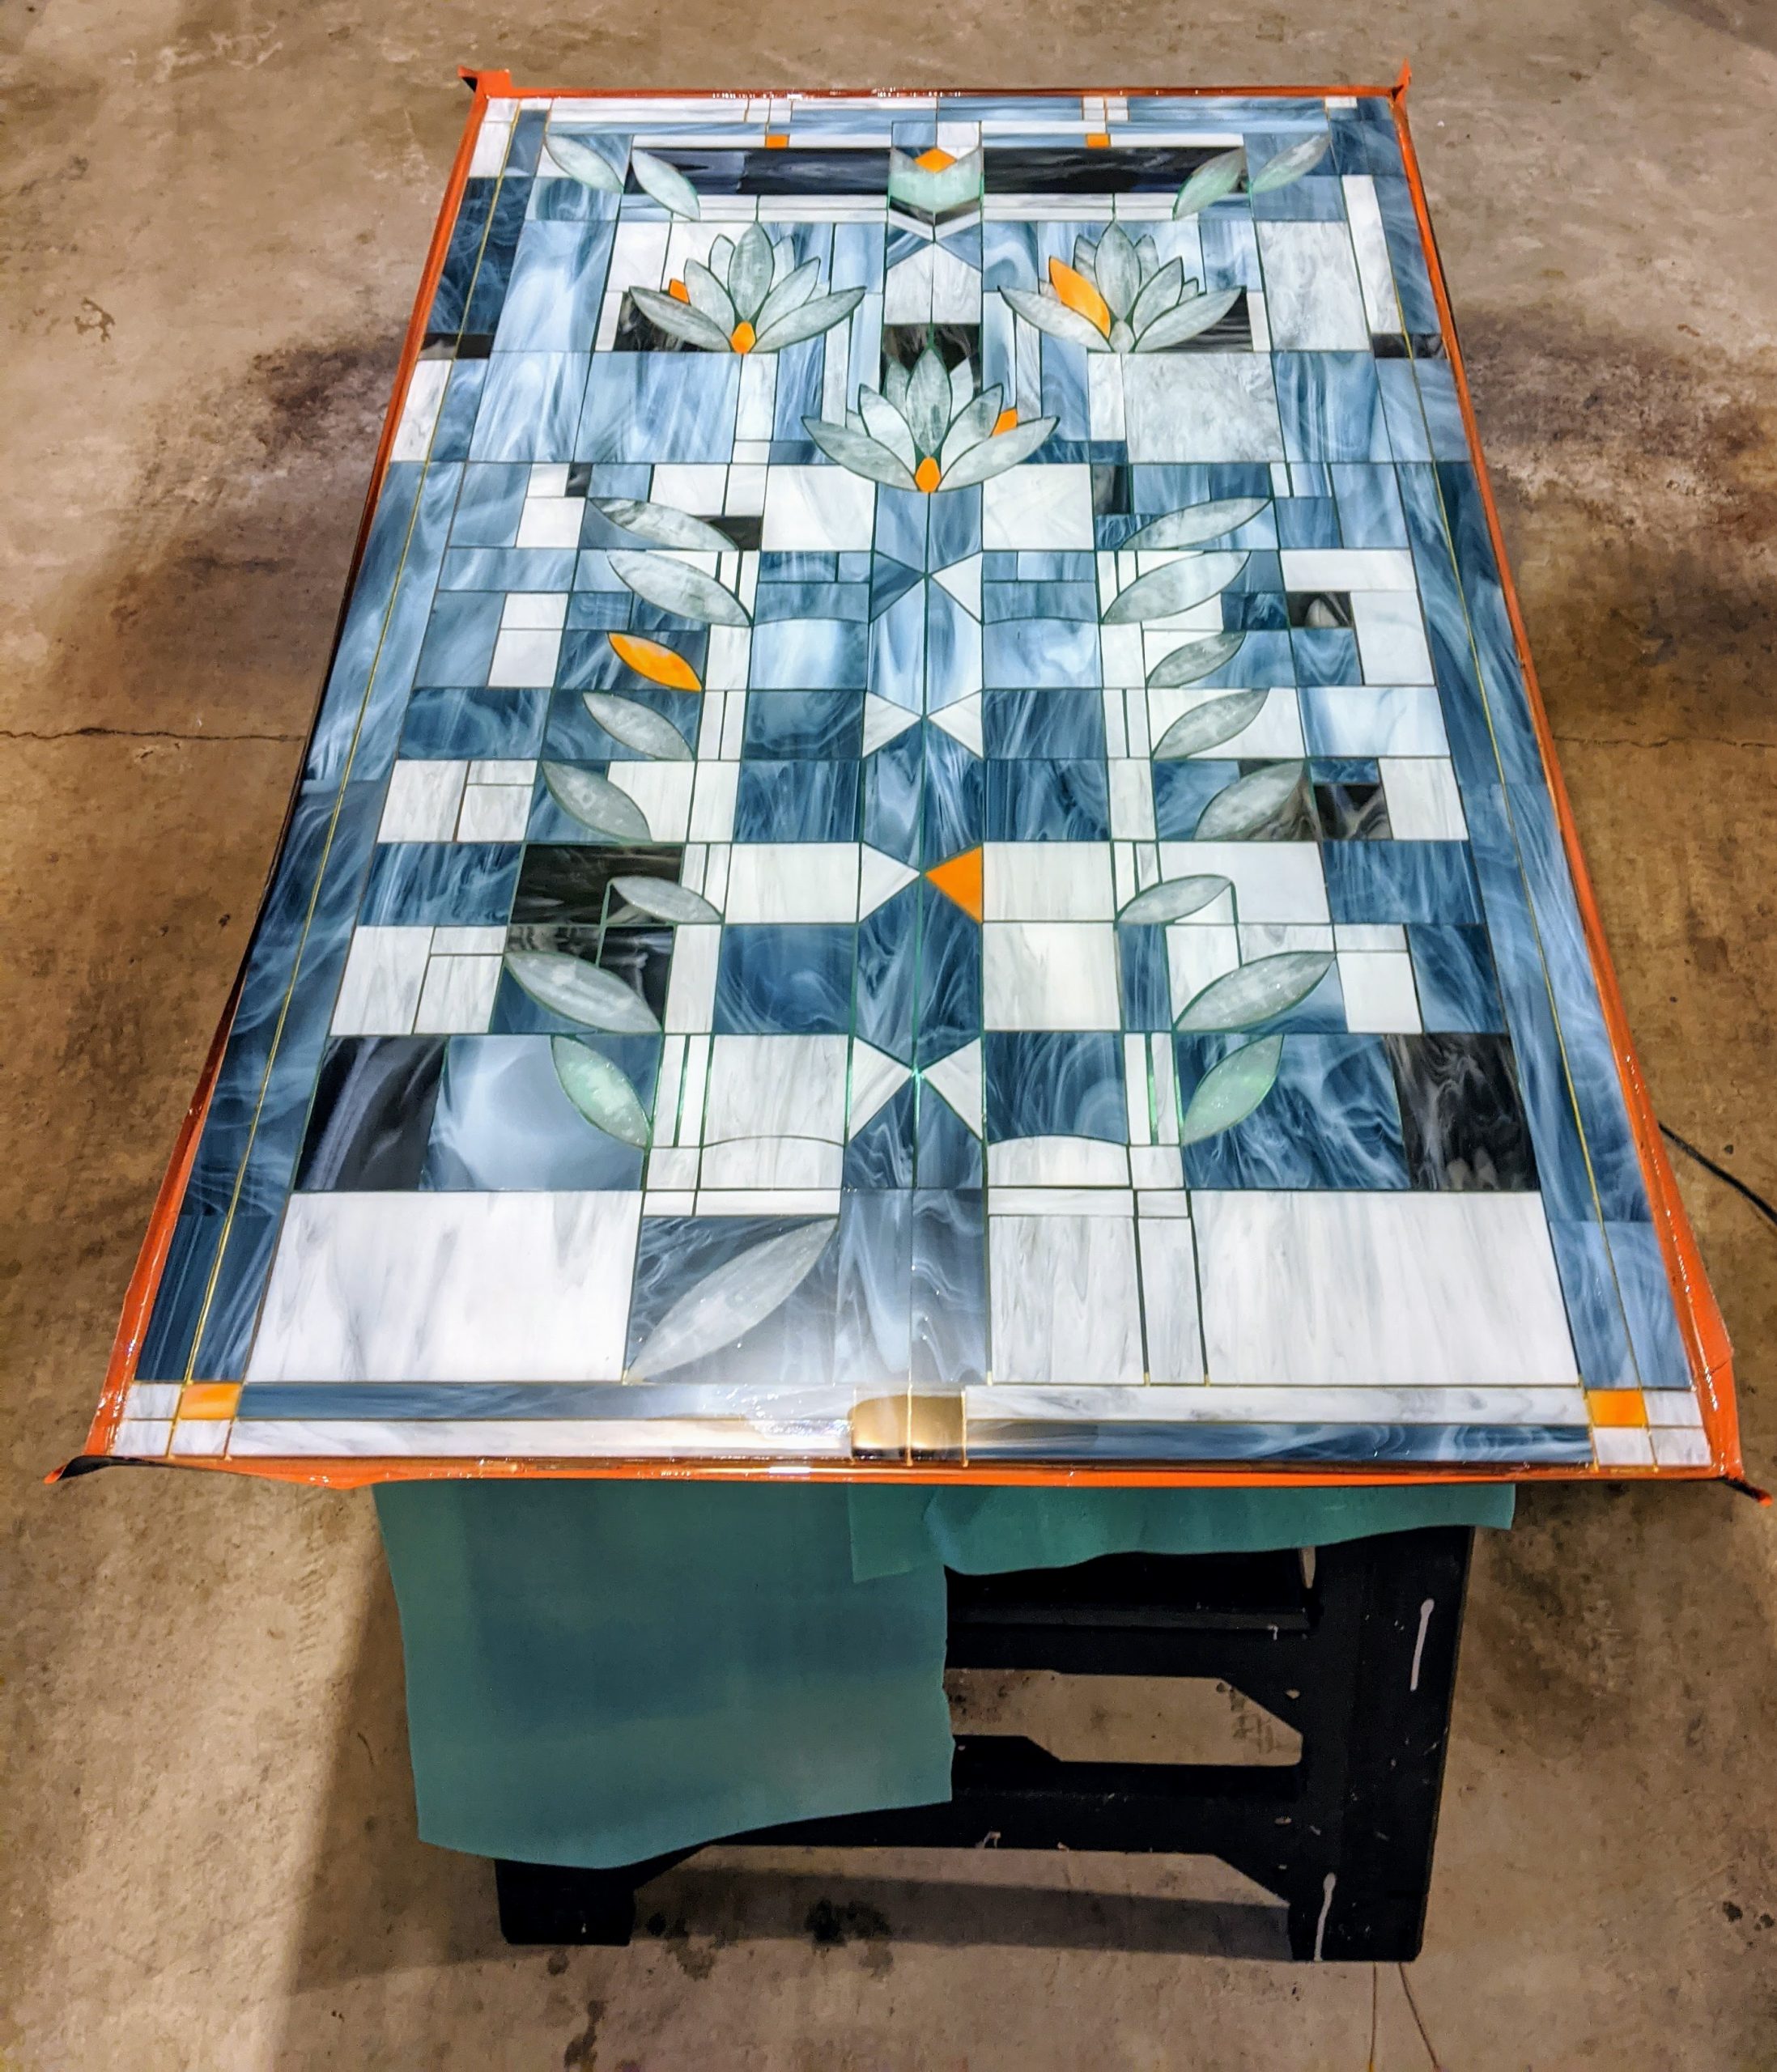
Yesterday the friends who will be the recipients of the big Frank Lloyd Wright window came over and we decided to do another layer of resin. I decided that I really needed to move it to the garage for the final layer so I could access all sides of the window, despite the space being more prone to dust / humidity. Luckily it is an unseasonably warm day and the temperature in the garage was 75, which is perfect for my resin (Envirotex Lite).
Making sure it is level
Layer 4 in the process of curing
Adding a final layer of resin.
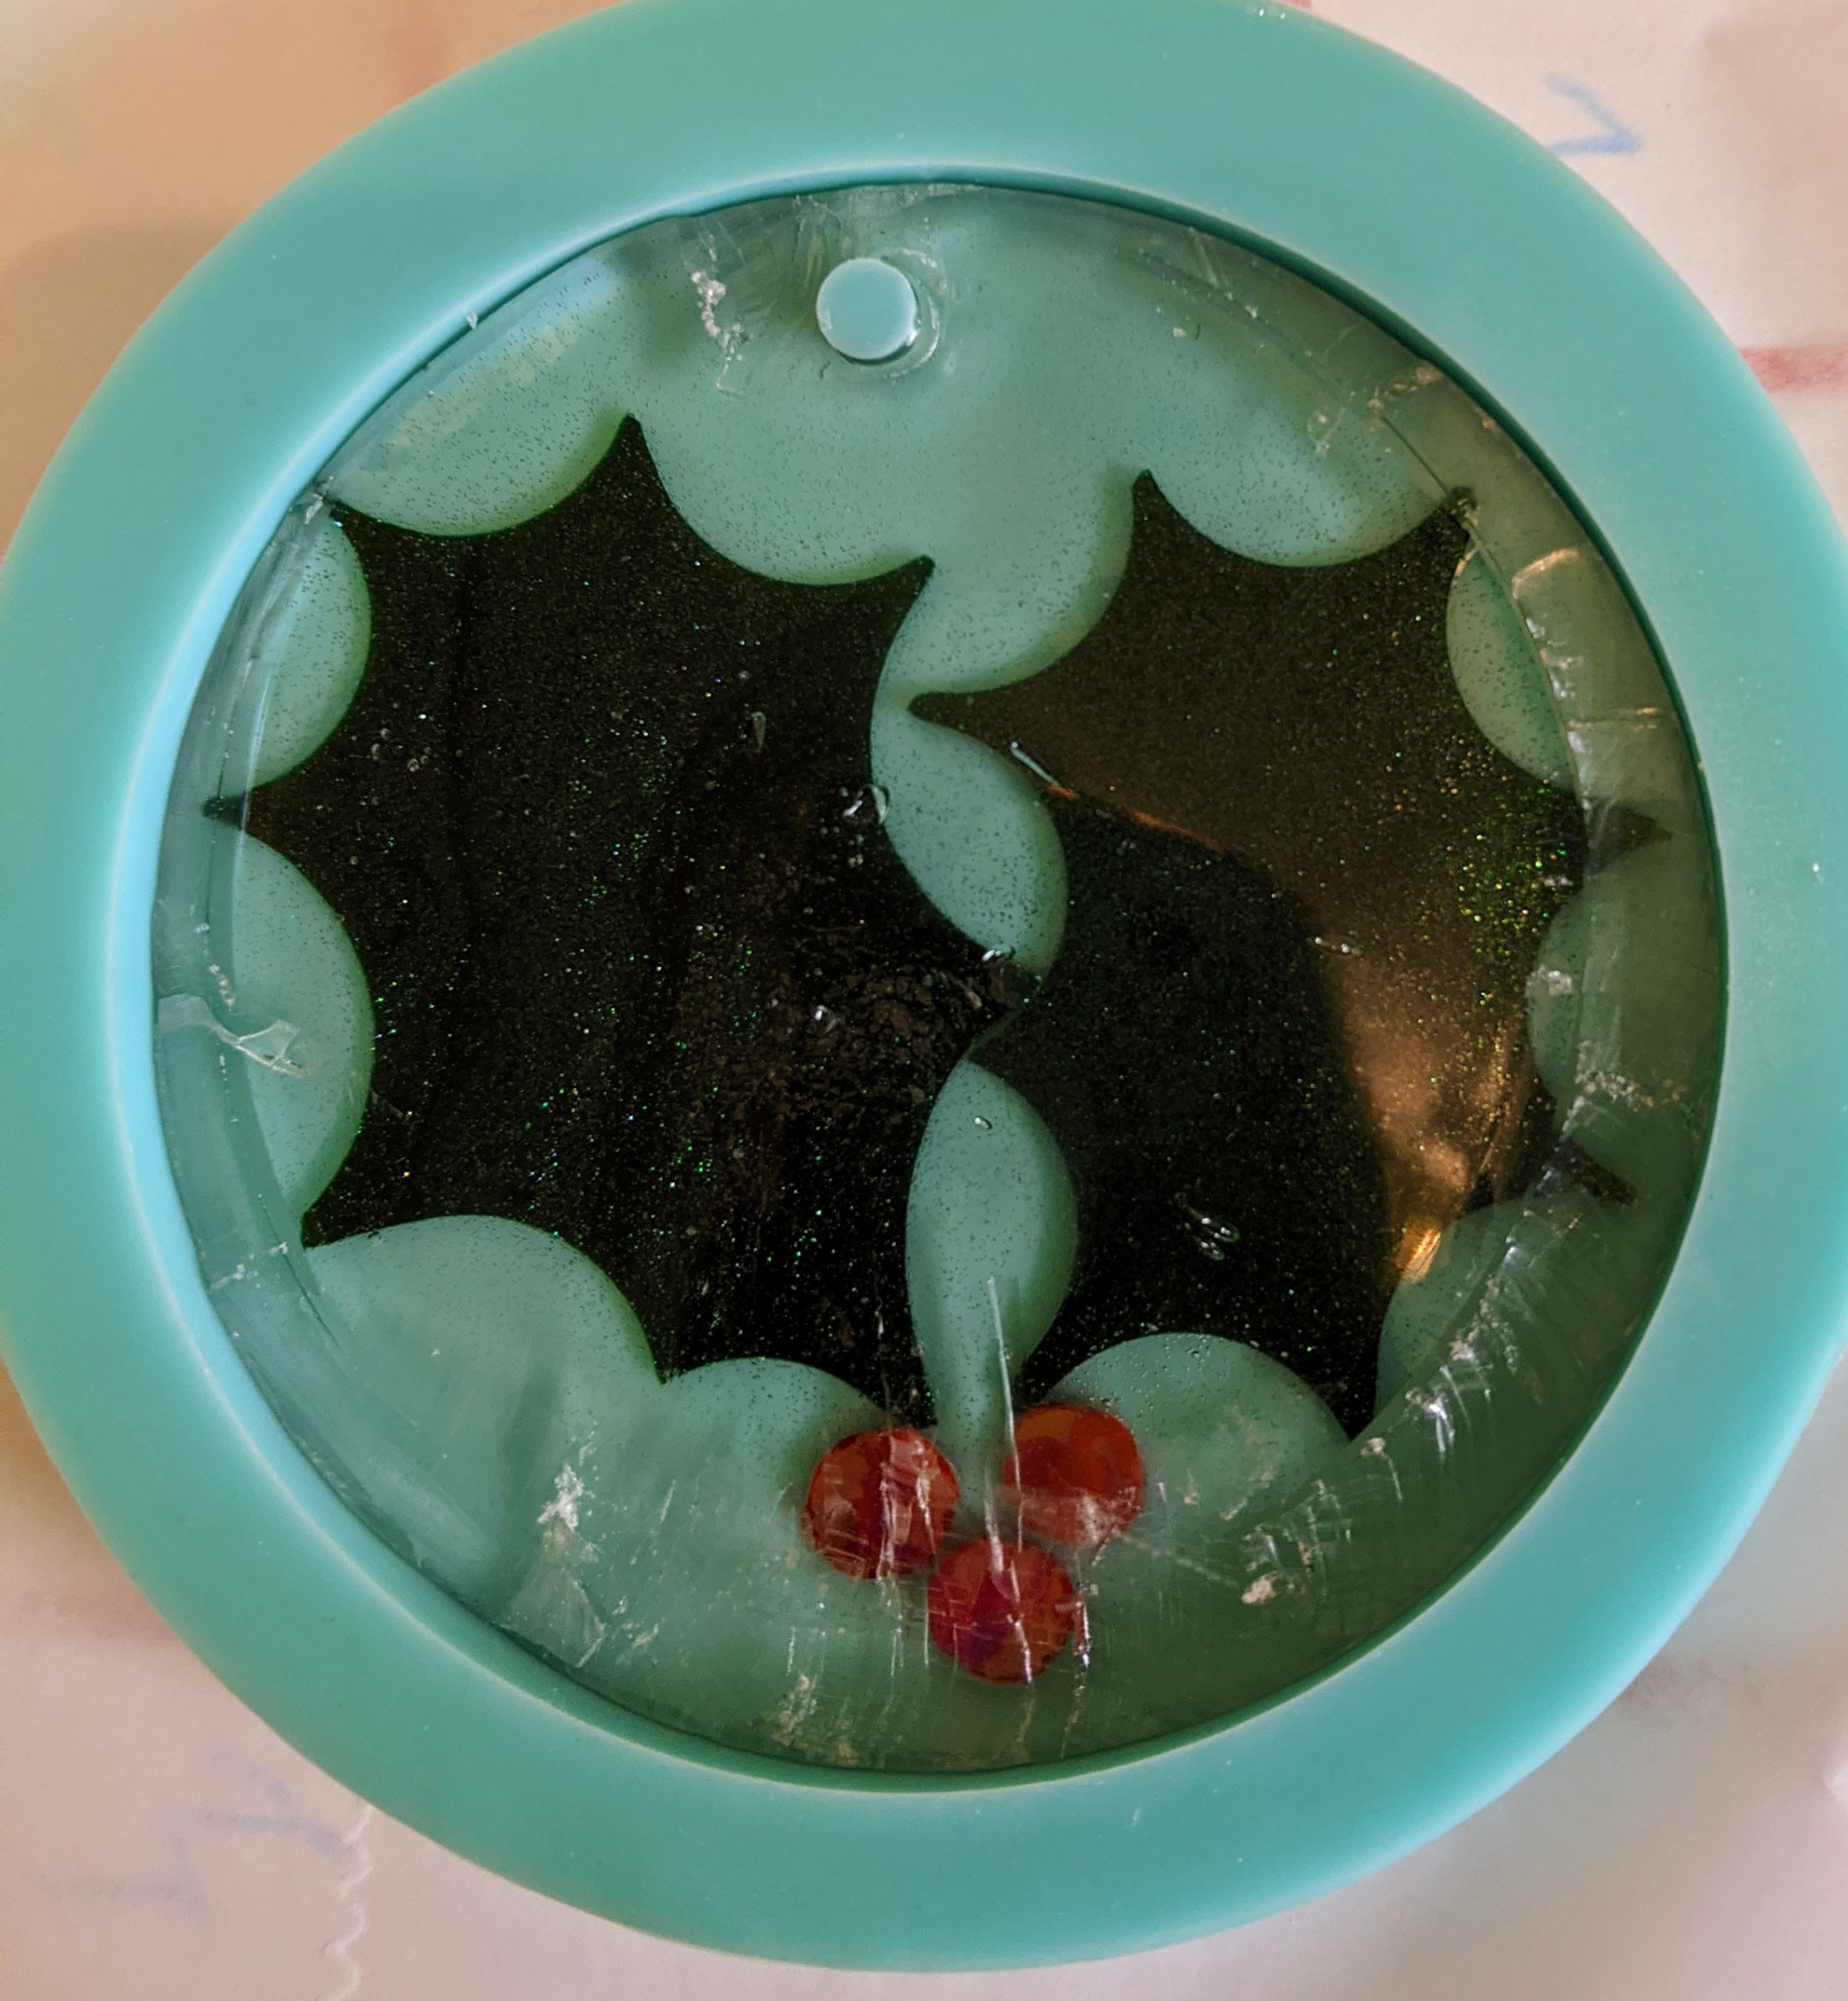
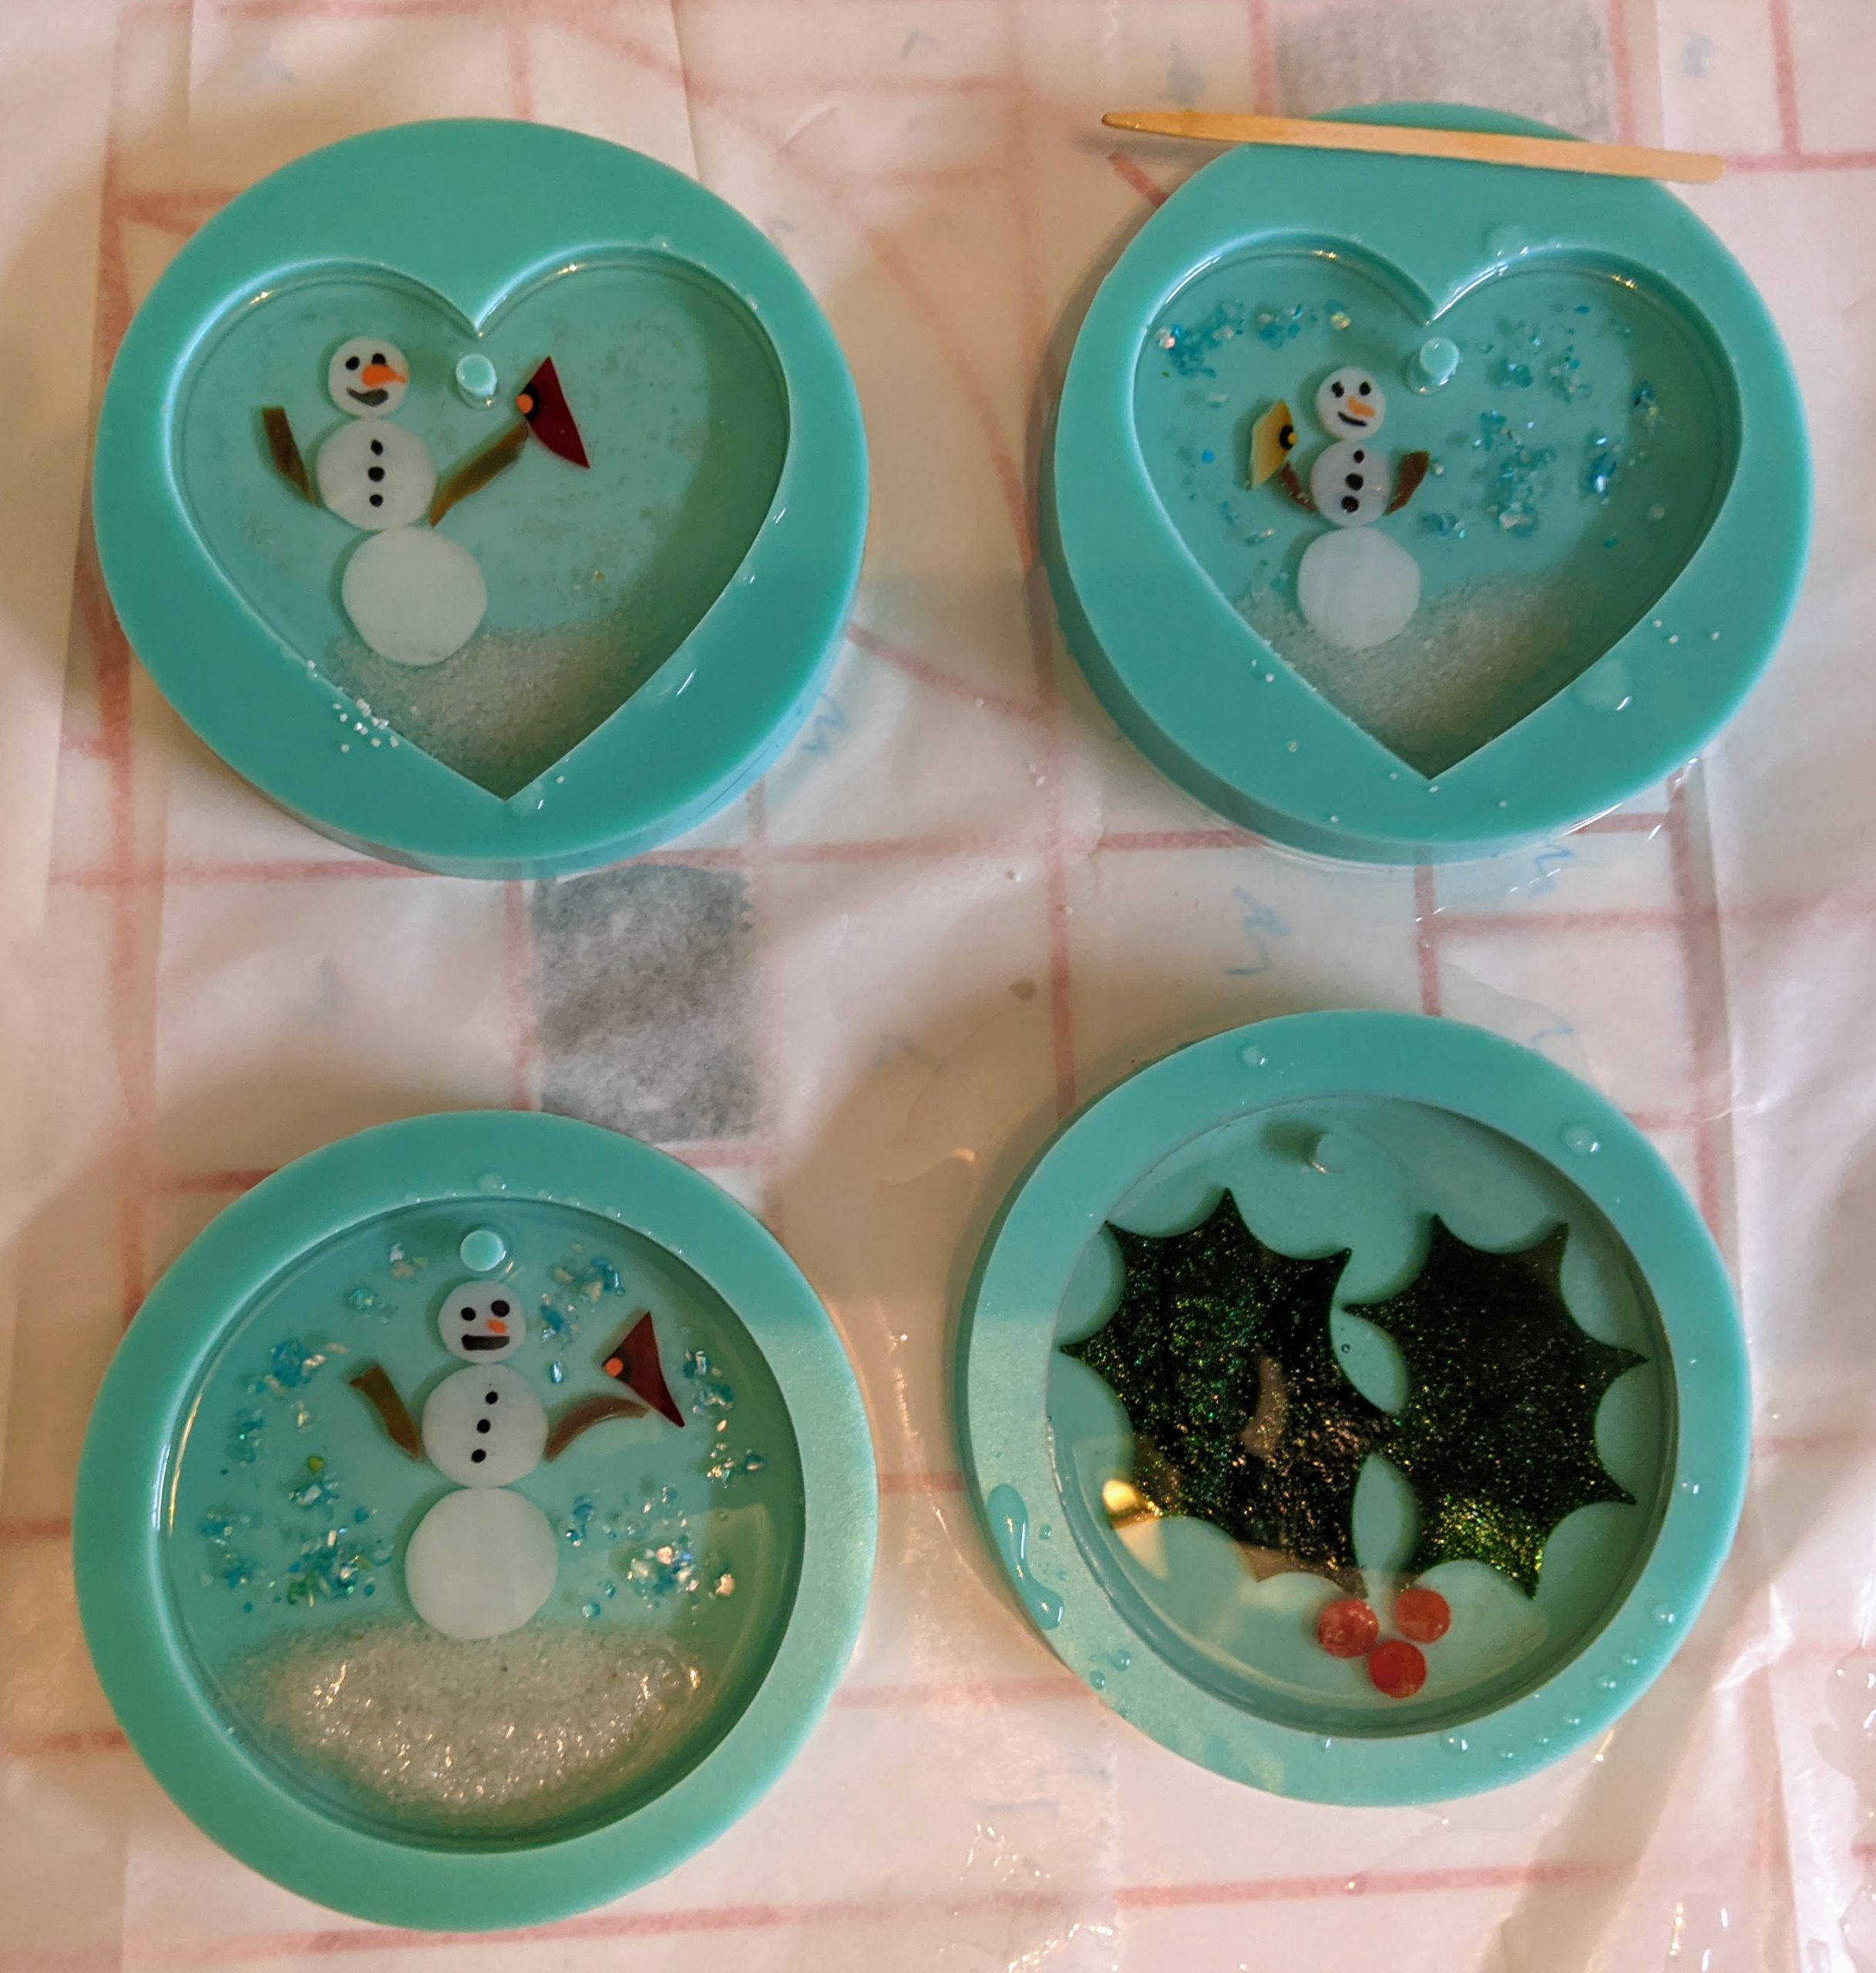
This took a bit of planning as I had to mix up a lot more resin than usual and keep my family out of the garage (next to impossible today for some reason). However, after pouring, spreading and using my heat gun to clear the resin, everything looks good so far. Hopefully we can move it into the mud room later in the evening so the temperature remains a bit more consistent while it continues to cure overnight. In the meantime, I had a few smaller projects in the works I wanted to continue / start. Unfortunately this included repairs on a holly suncatcher I made yesterday. I had covered it with some wax paper to keep dust out while it cured and the paper made contact with the resin and made a giant mess. I had to carve some lumps off of the suncatcher today when it was cured enough, reinsert it into the mold and sort of “top it off” with another layer of resin. We’ll see how good it looks tomorrow (hopefully). I don’t think it will look as good as it would have had it not needed the repair, but I can likely keep it to use at home.
After chipping off the bumps and reinserting in the mold, prior to repair layer of resin
Coasters of the day
Suncatchers / Ornaments
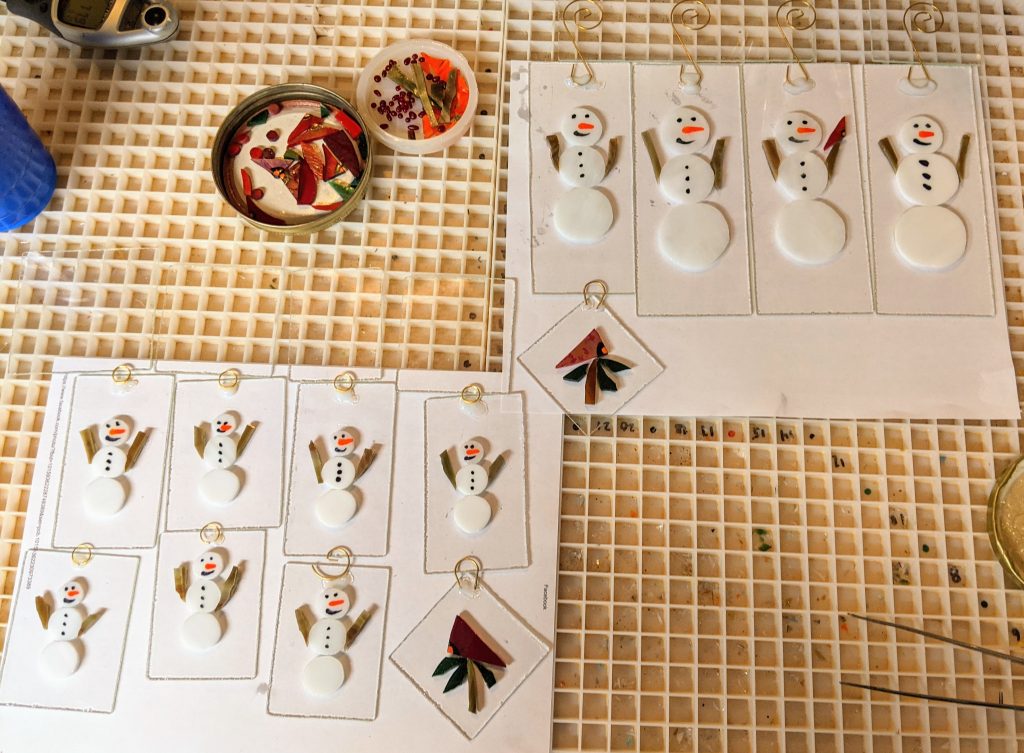
Today’s small projects
So all in all, I poured a second layer on three beachy coasters, first layer on two more beachy coasters, repair layer on the holly suncatcher / ornament and the first layers on three snowman ornaments.