Birds and Holly

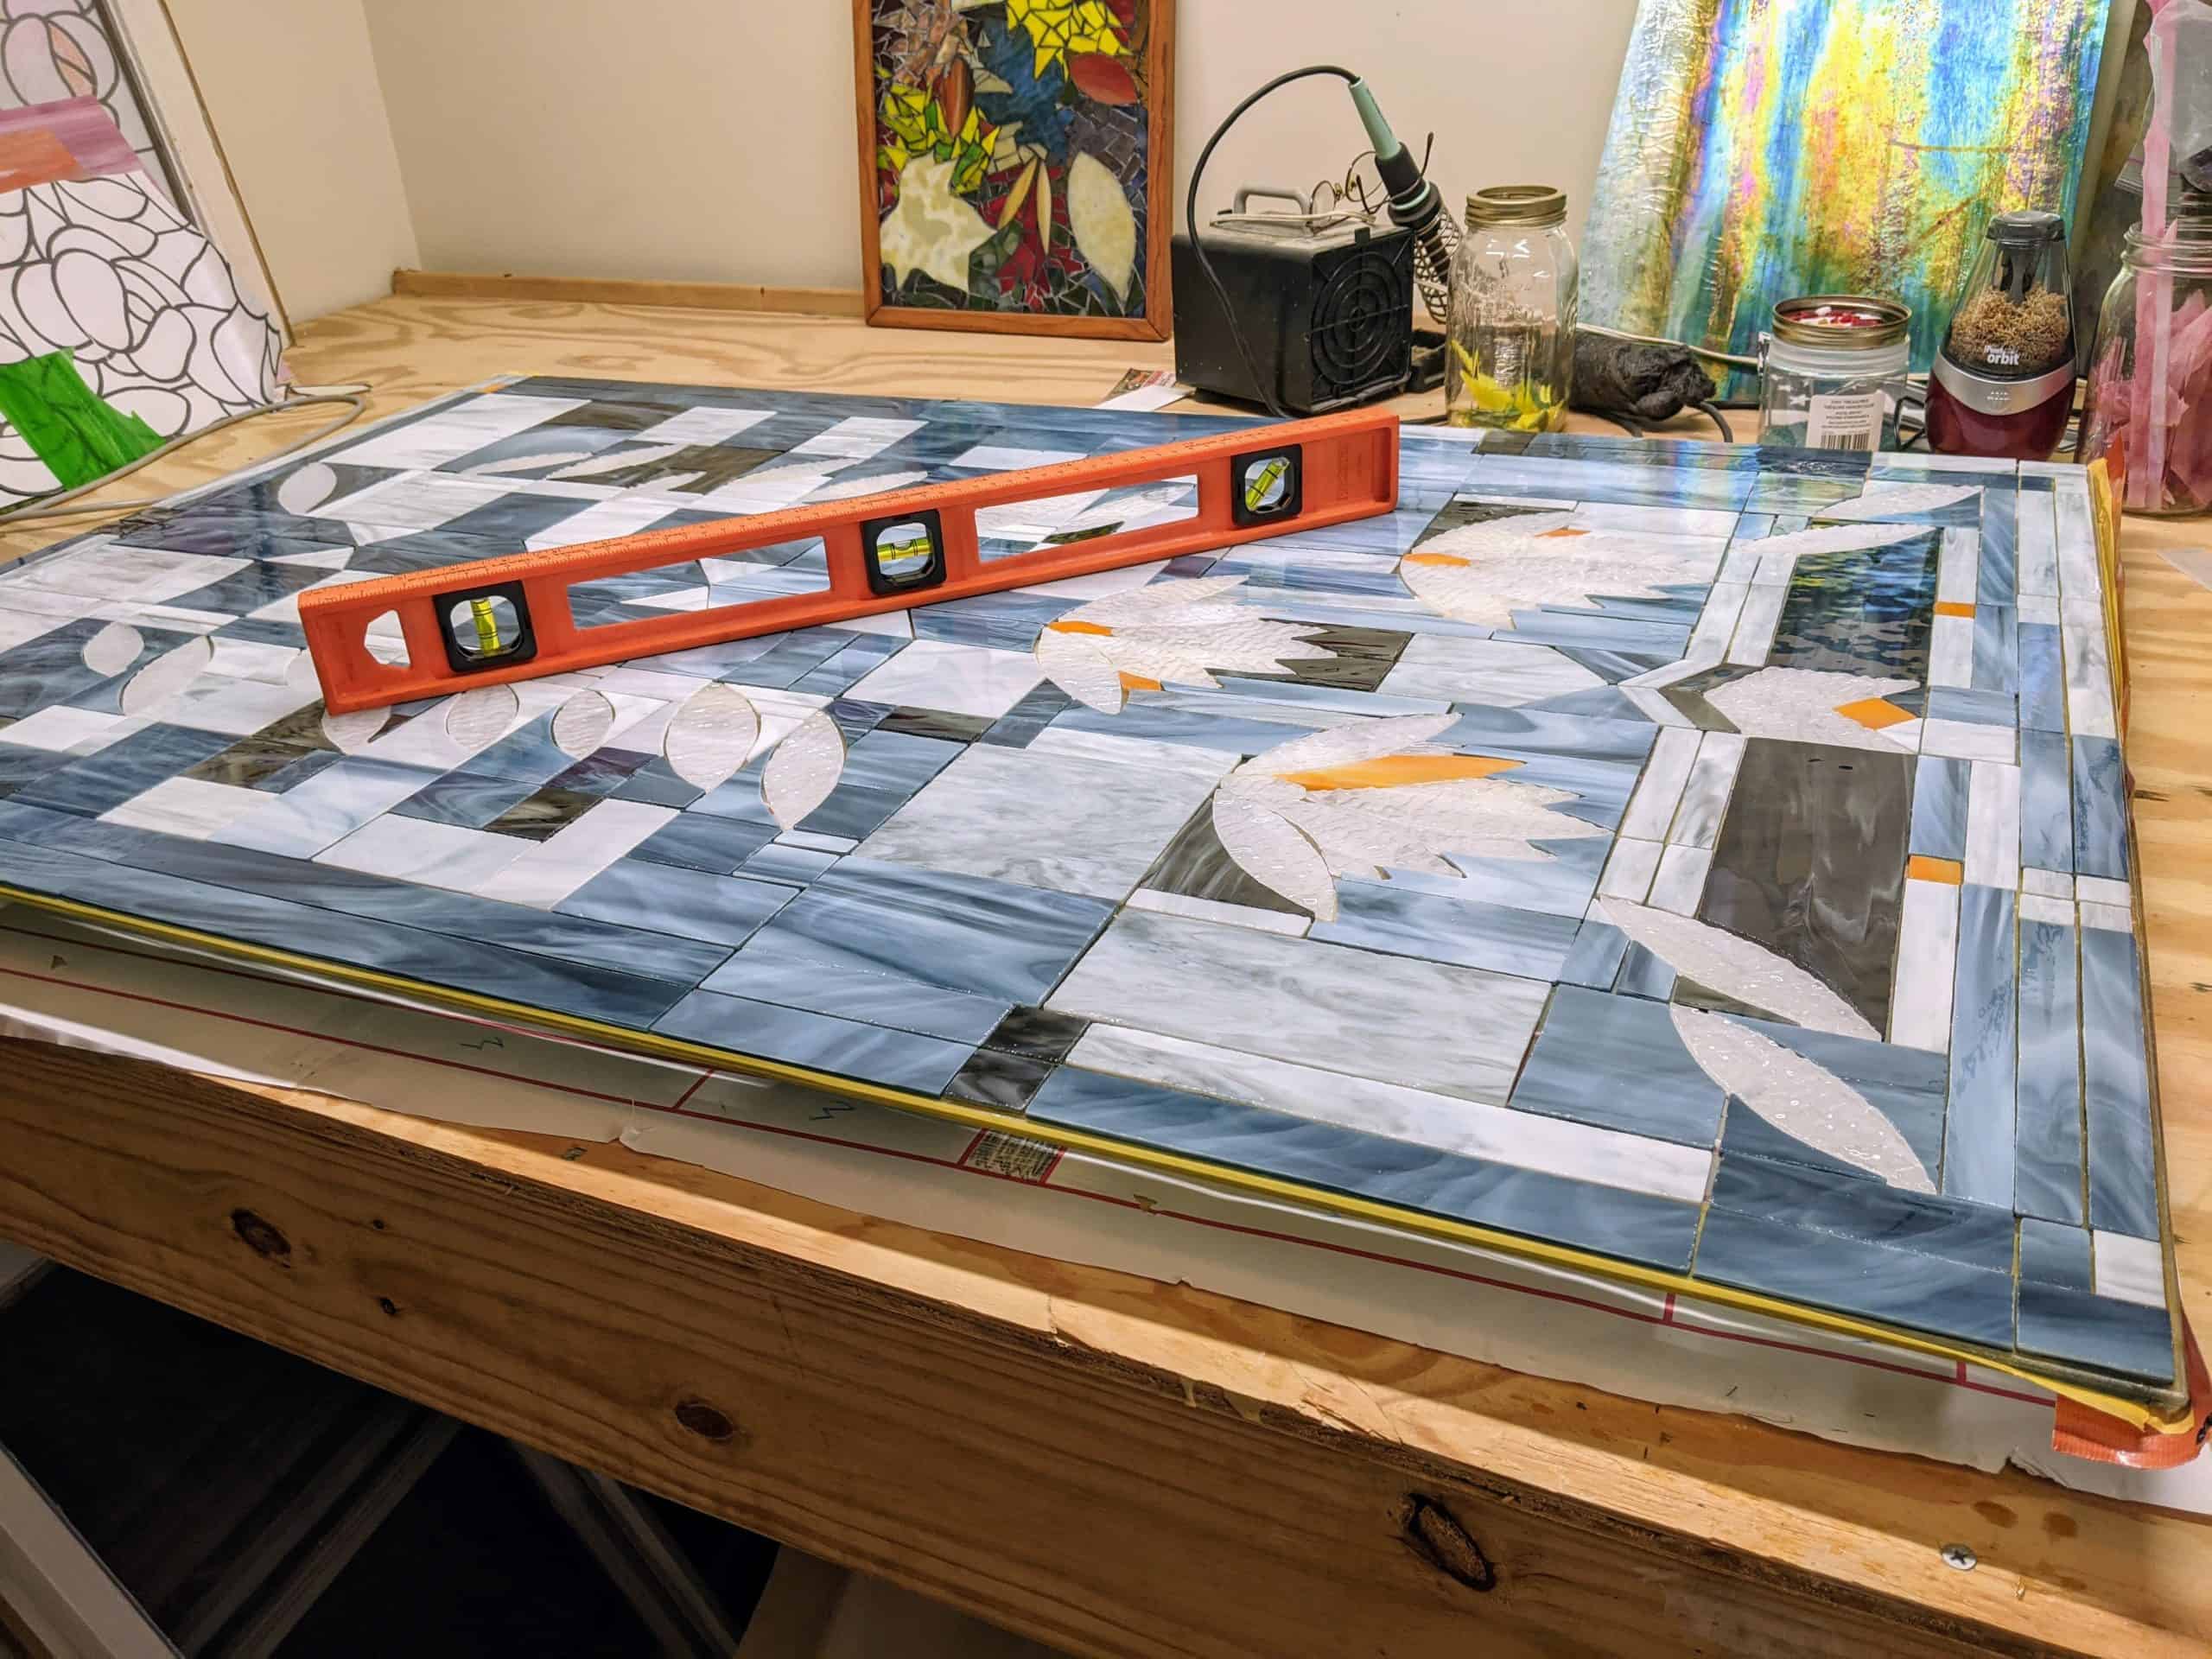
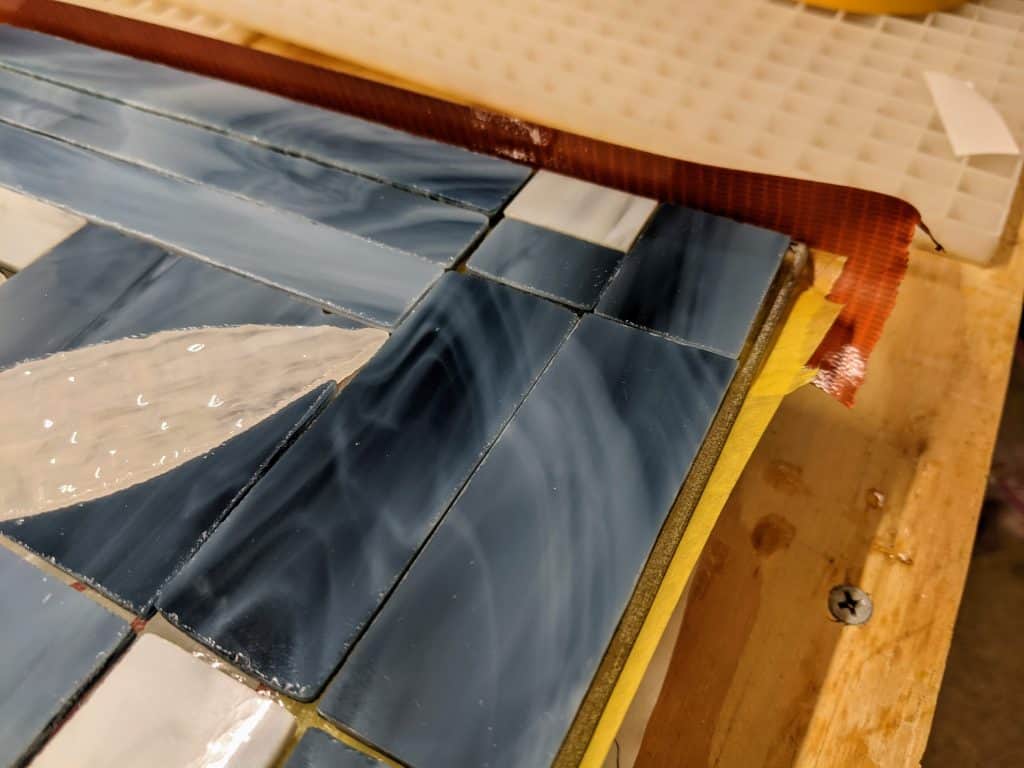
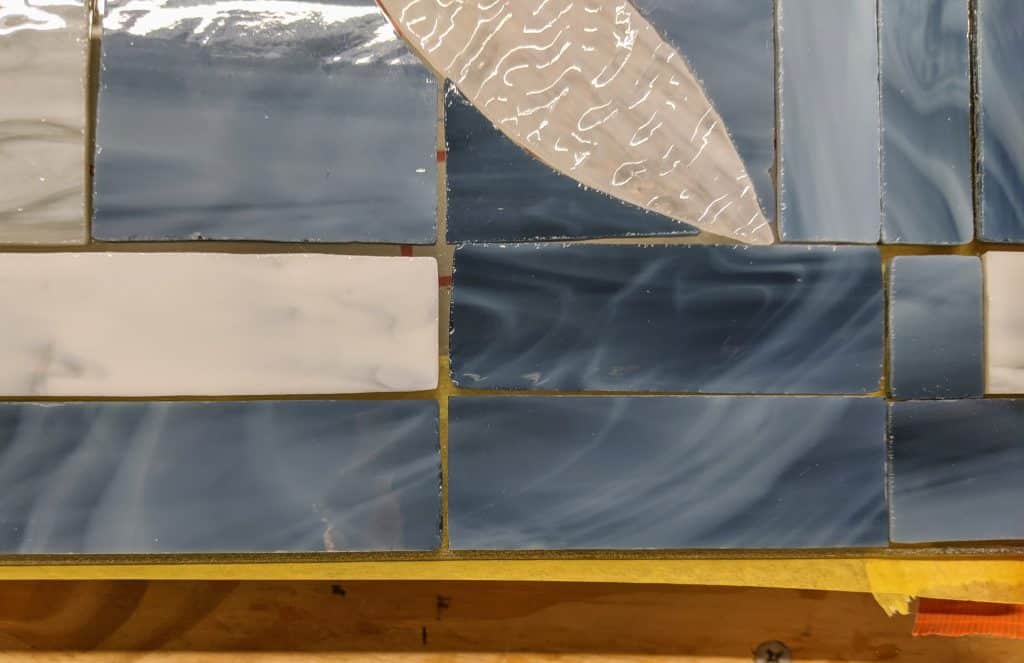
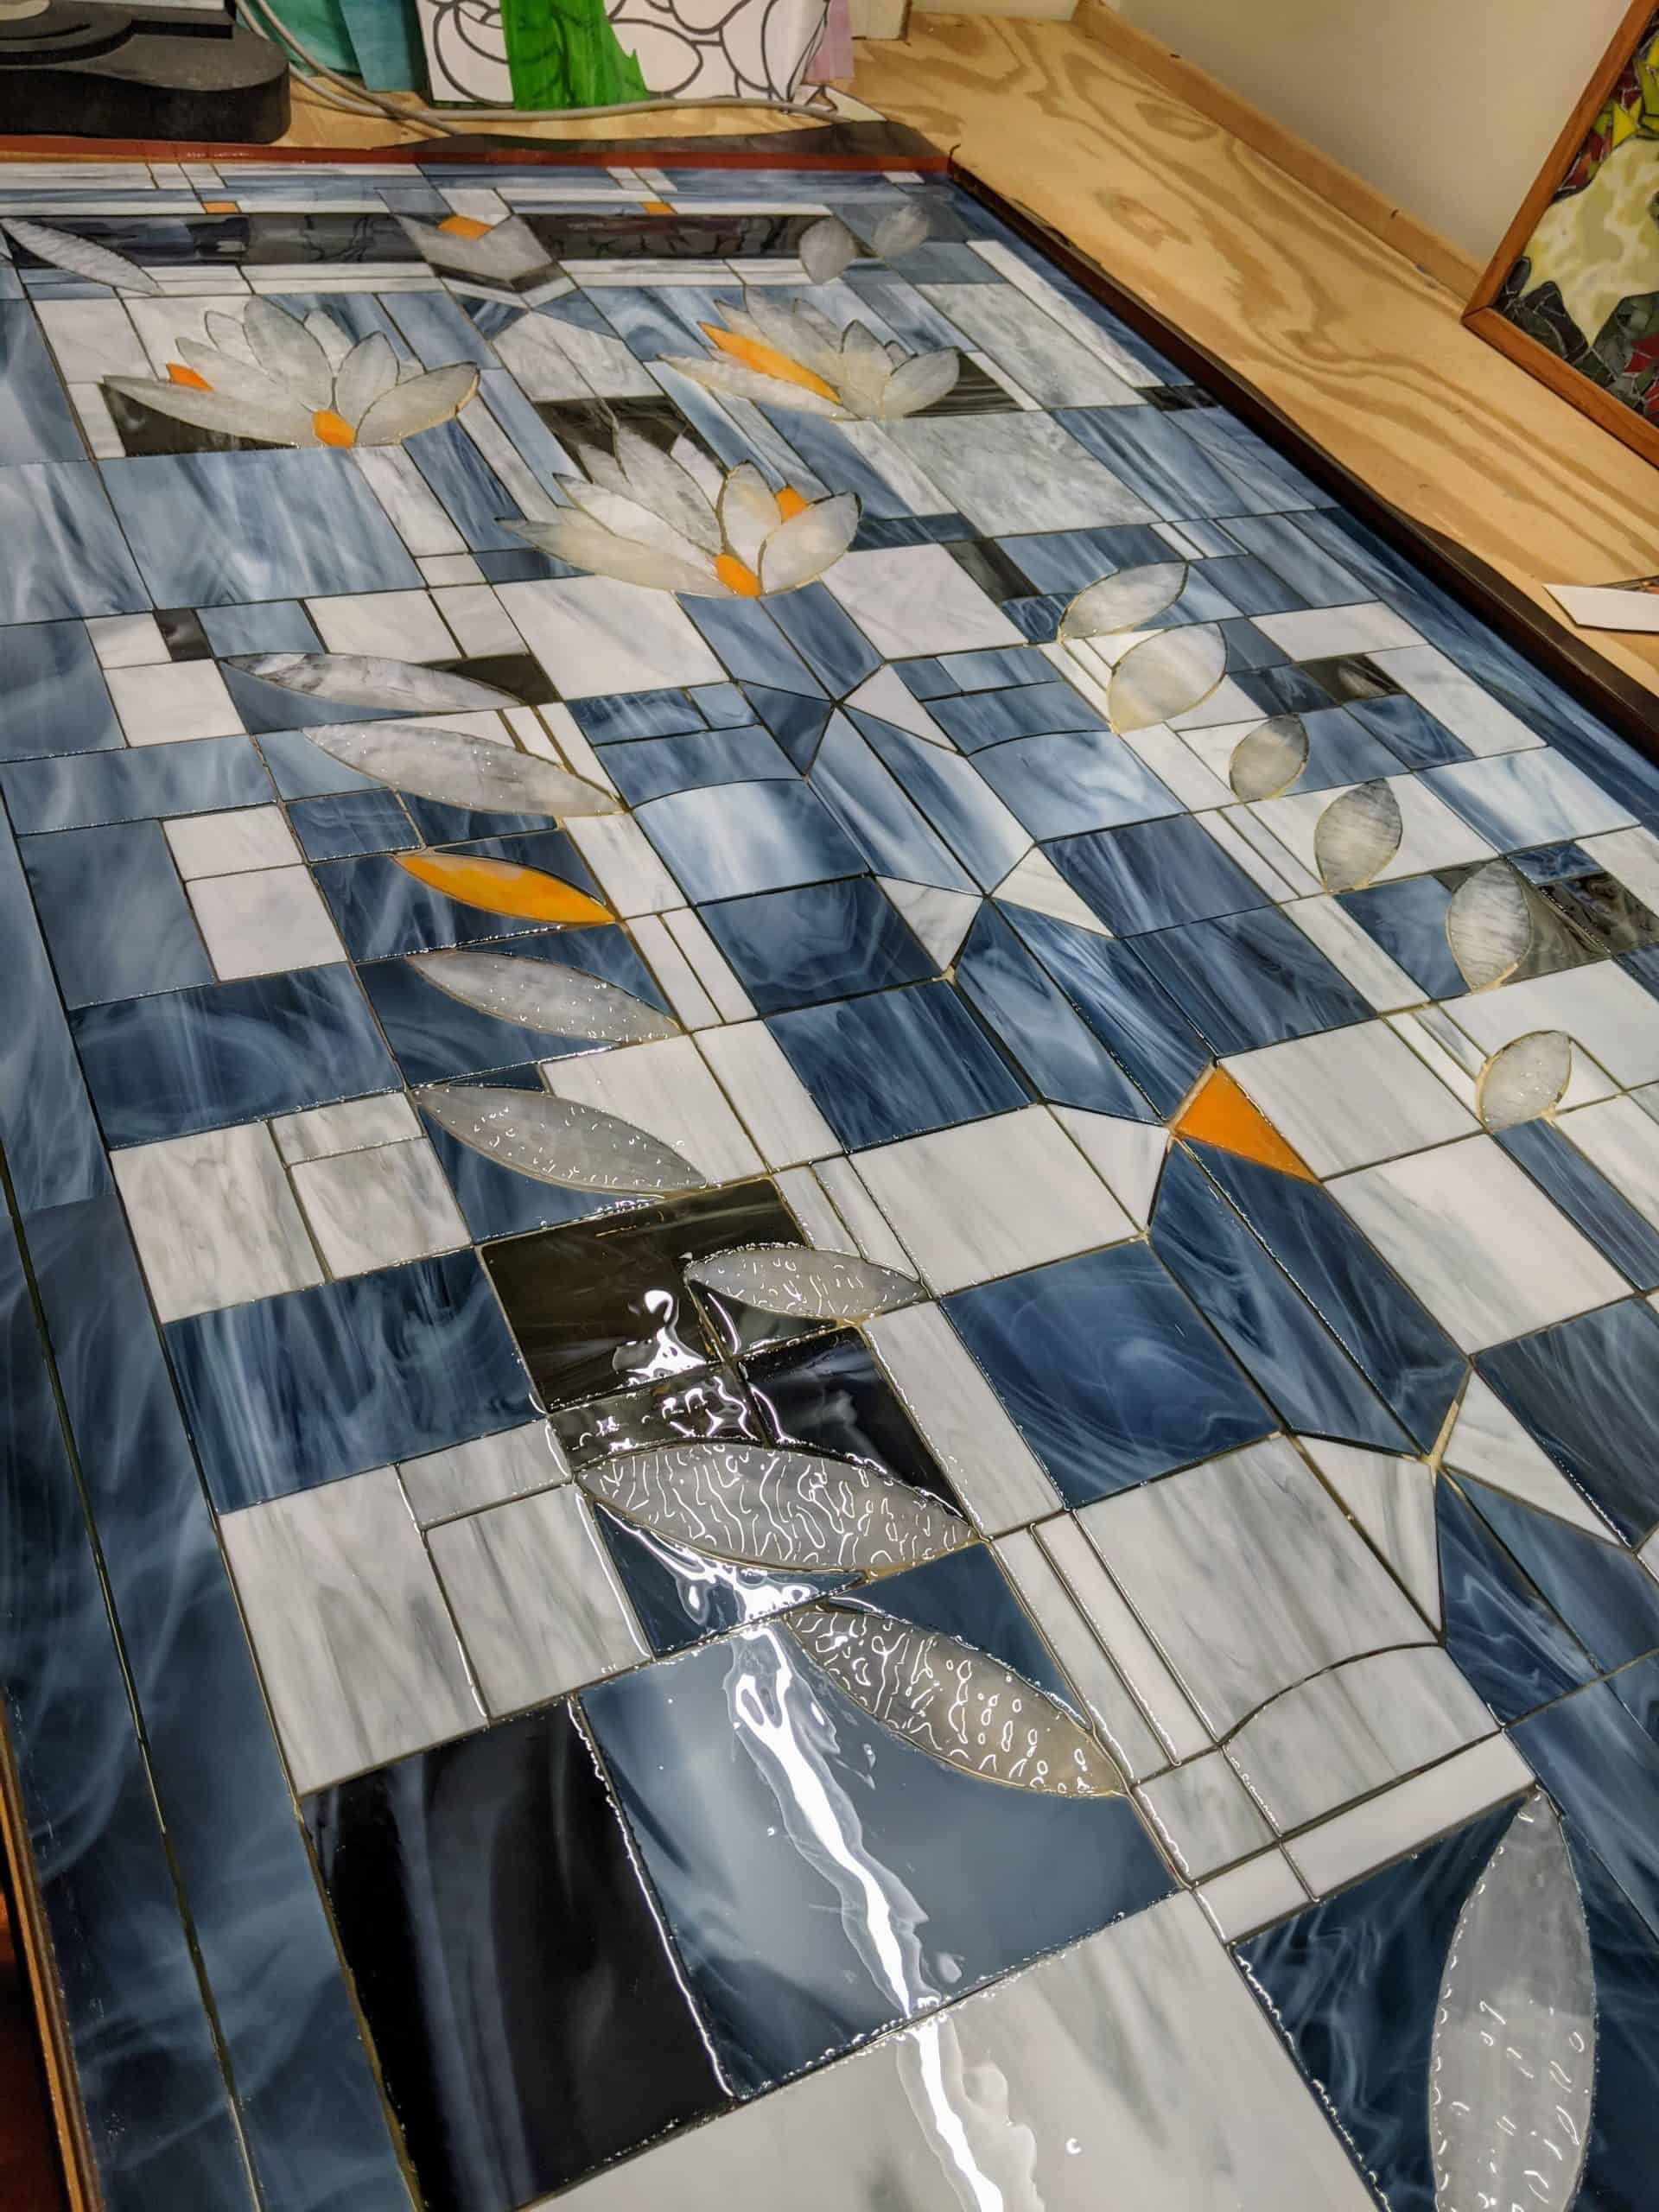
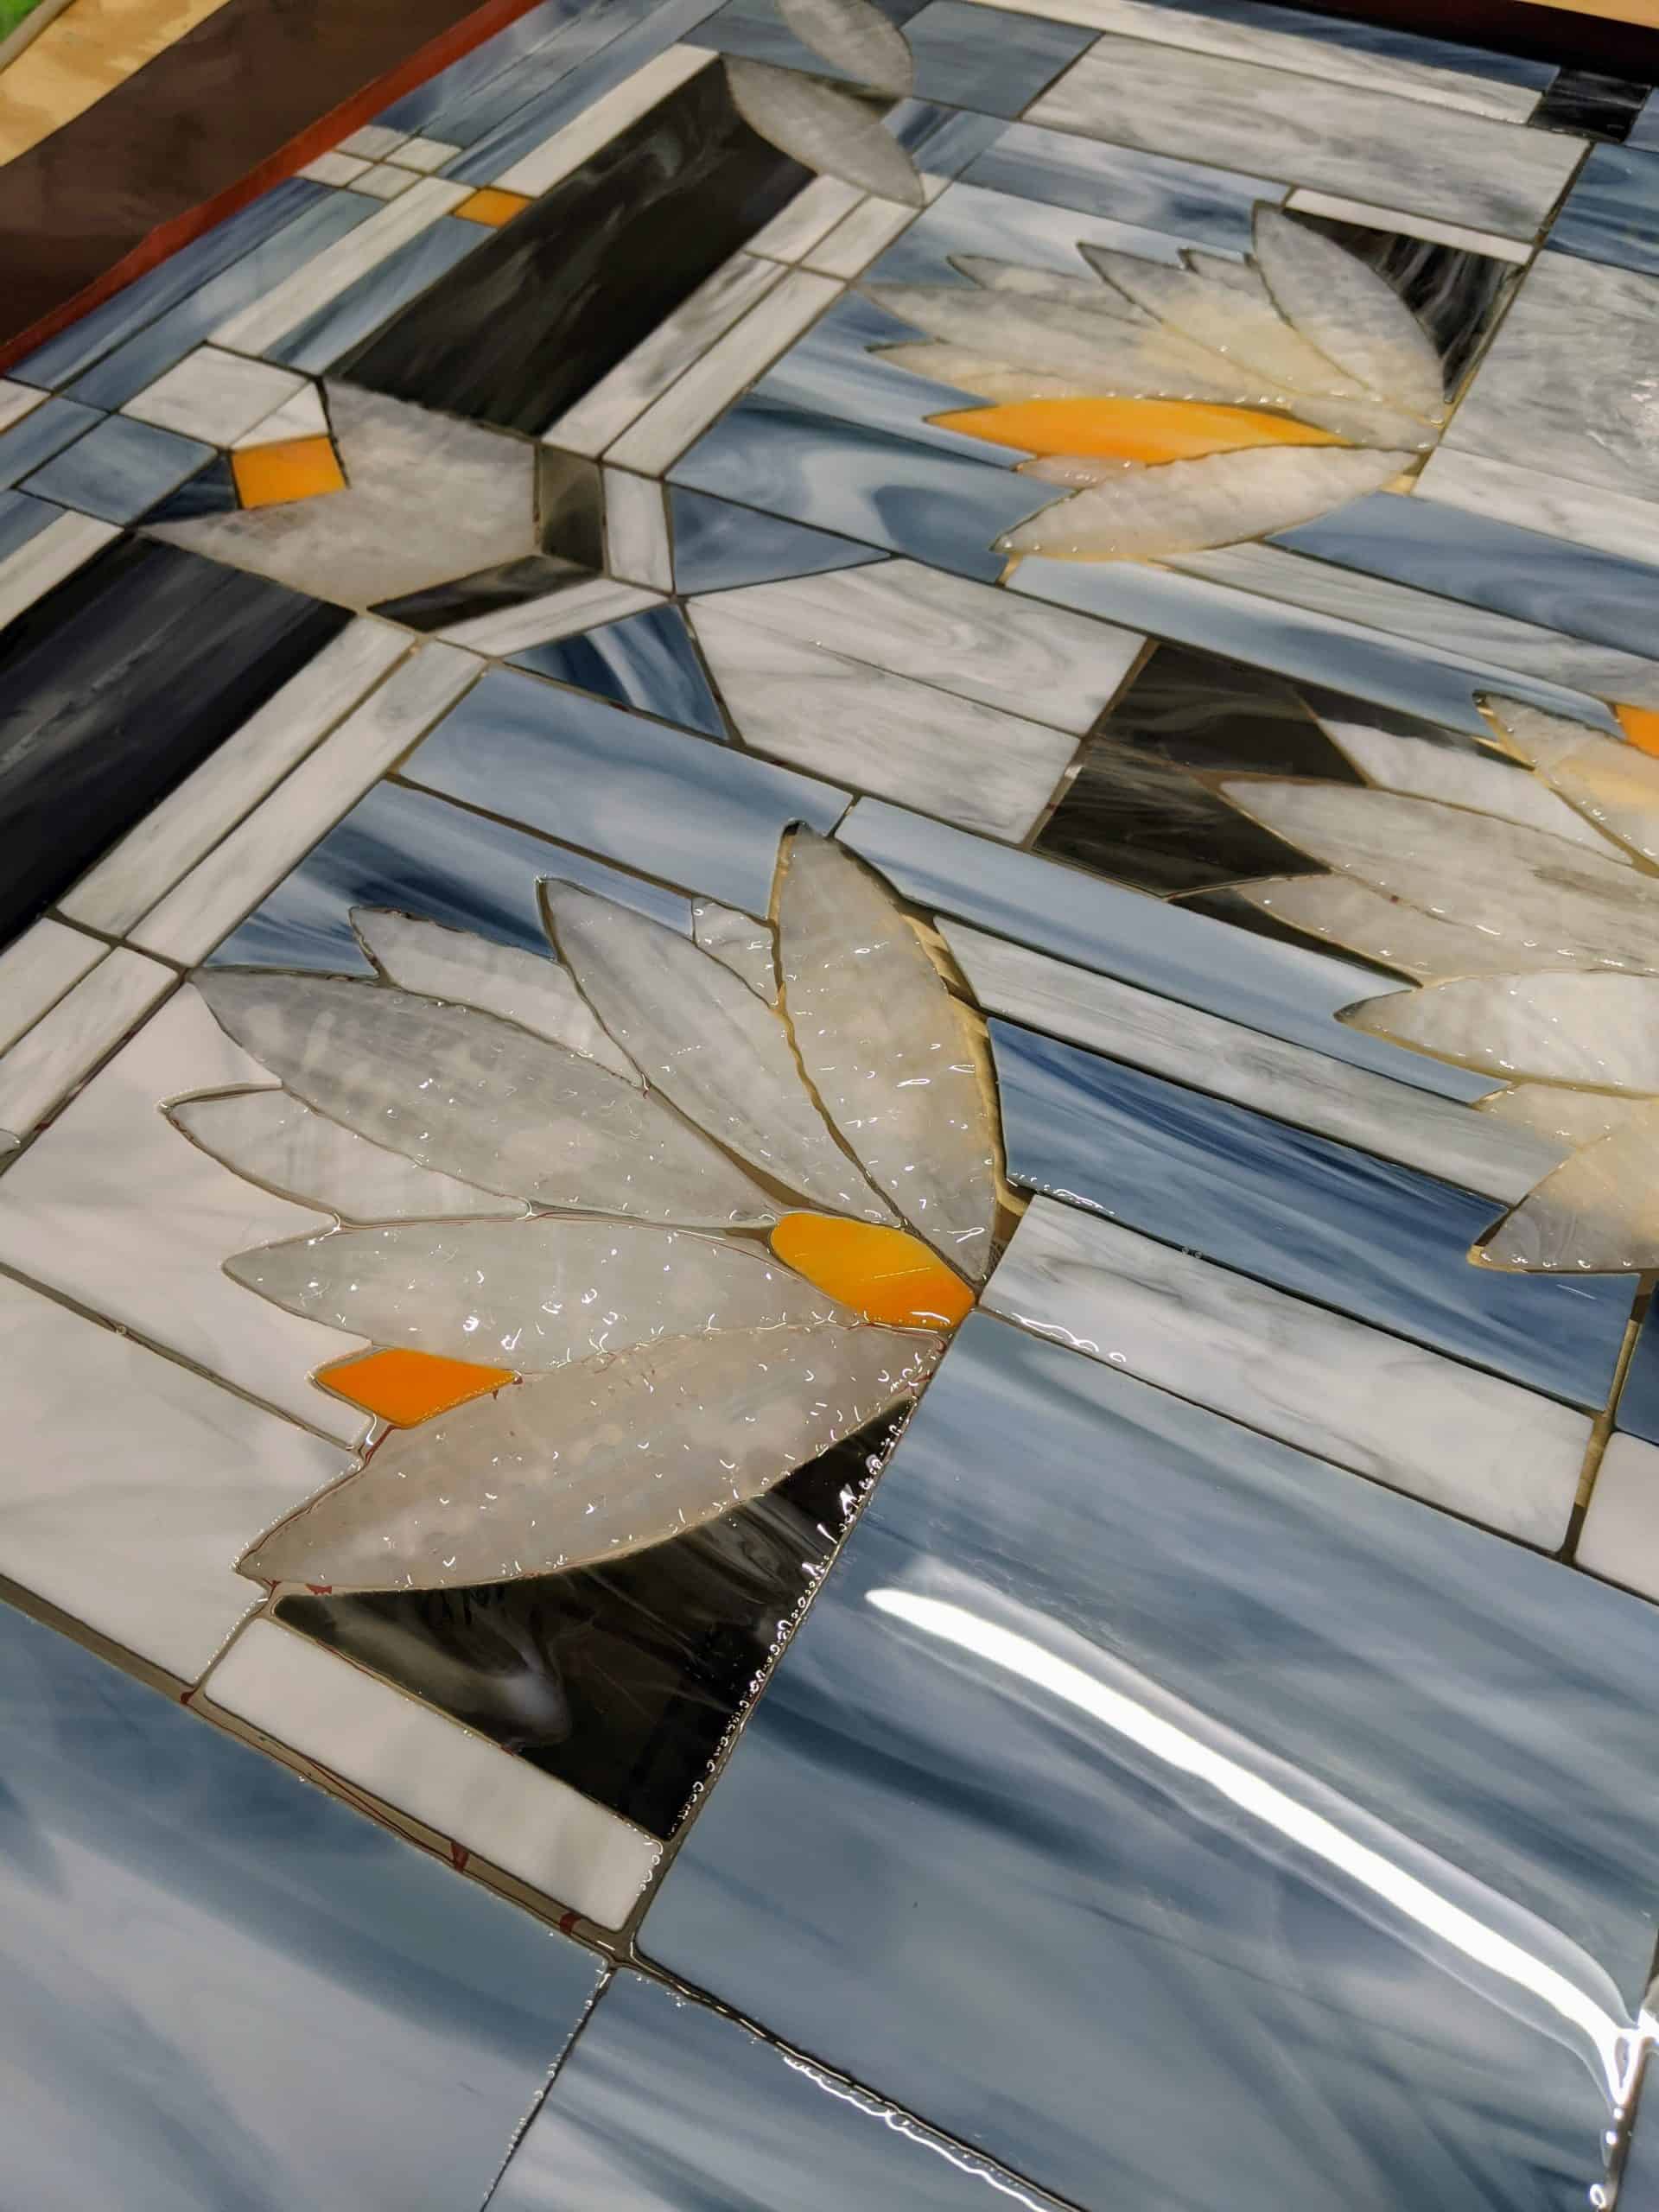
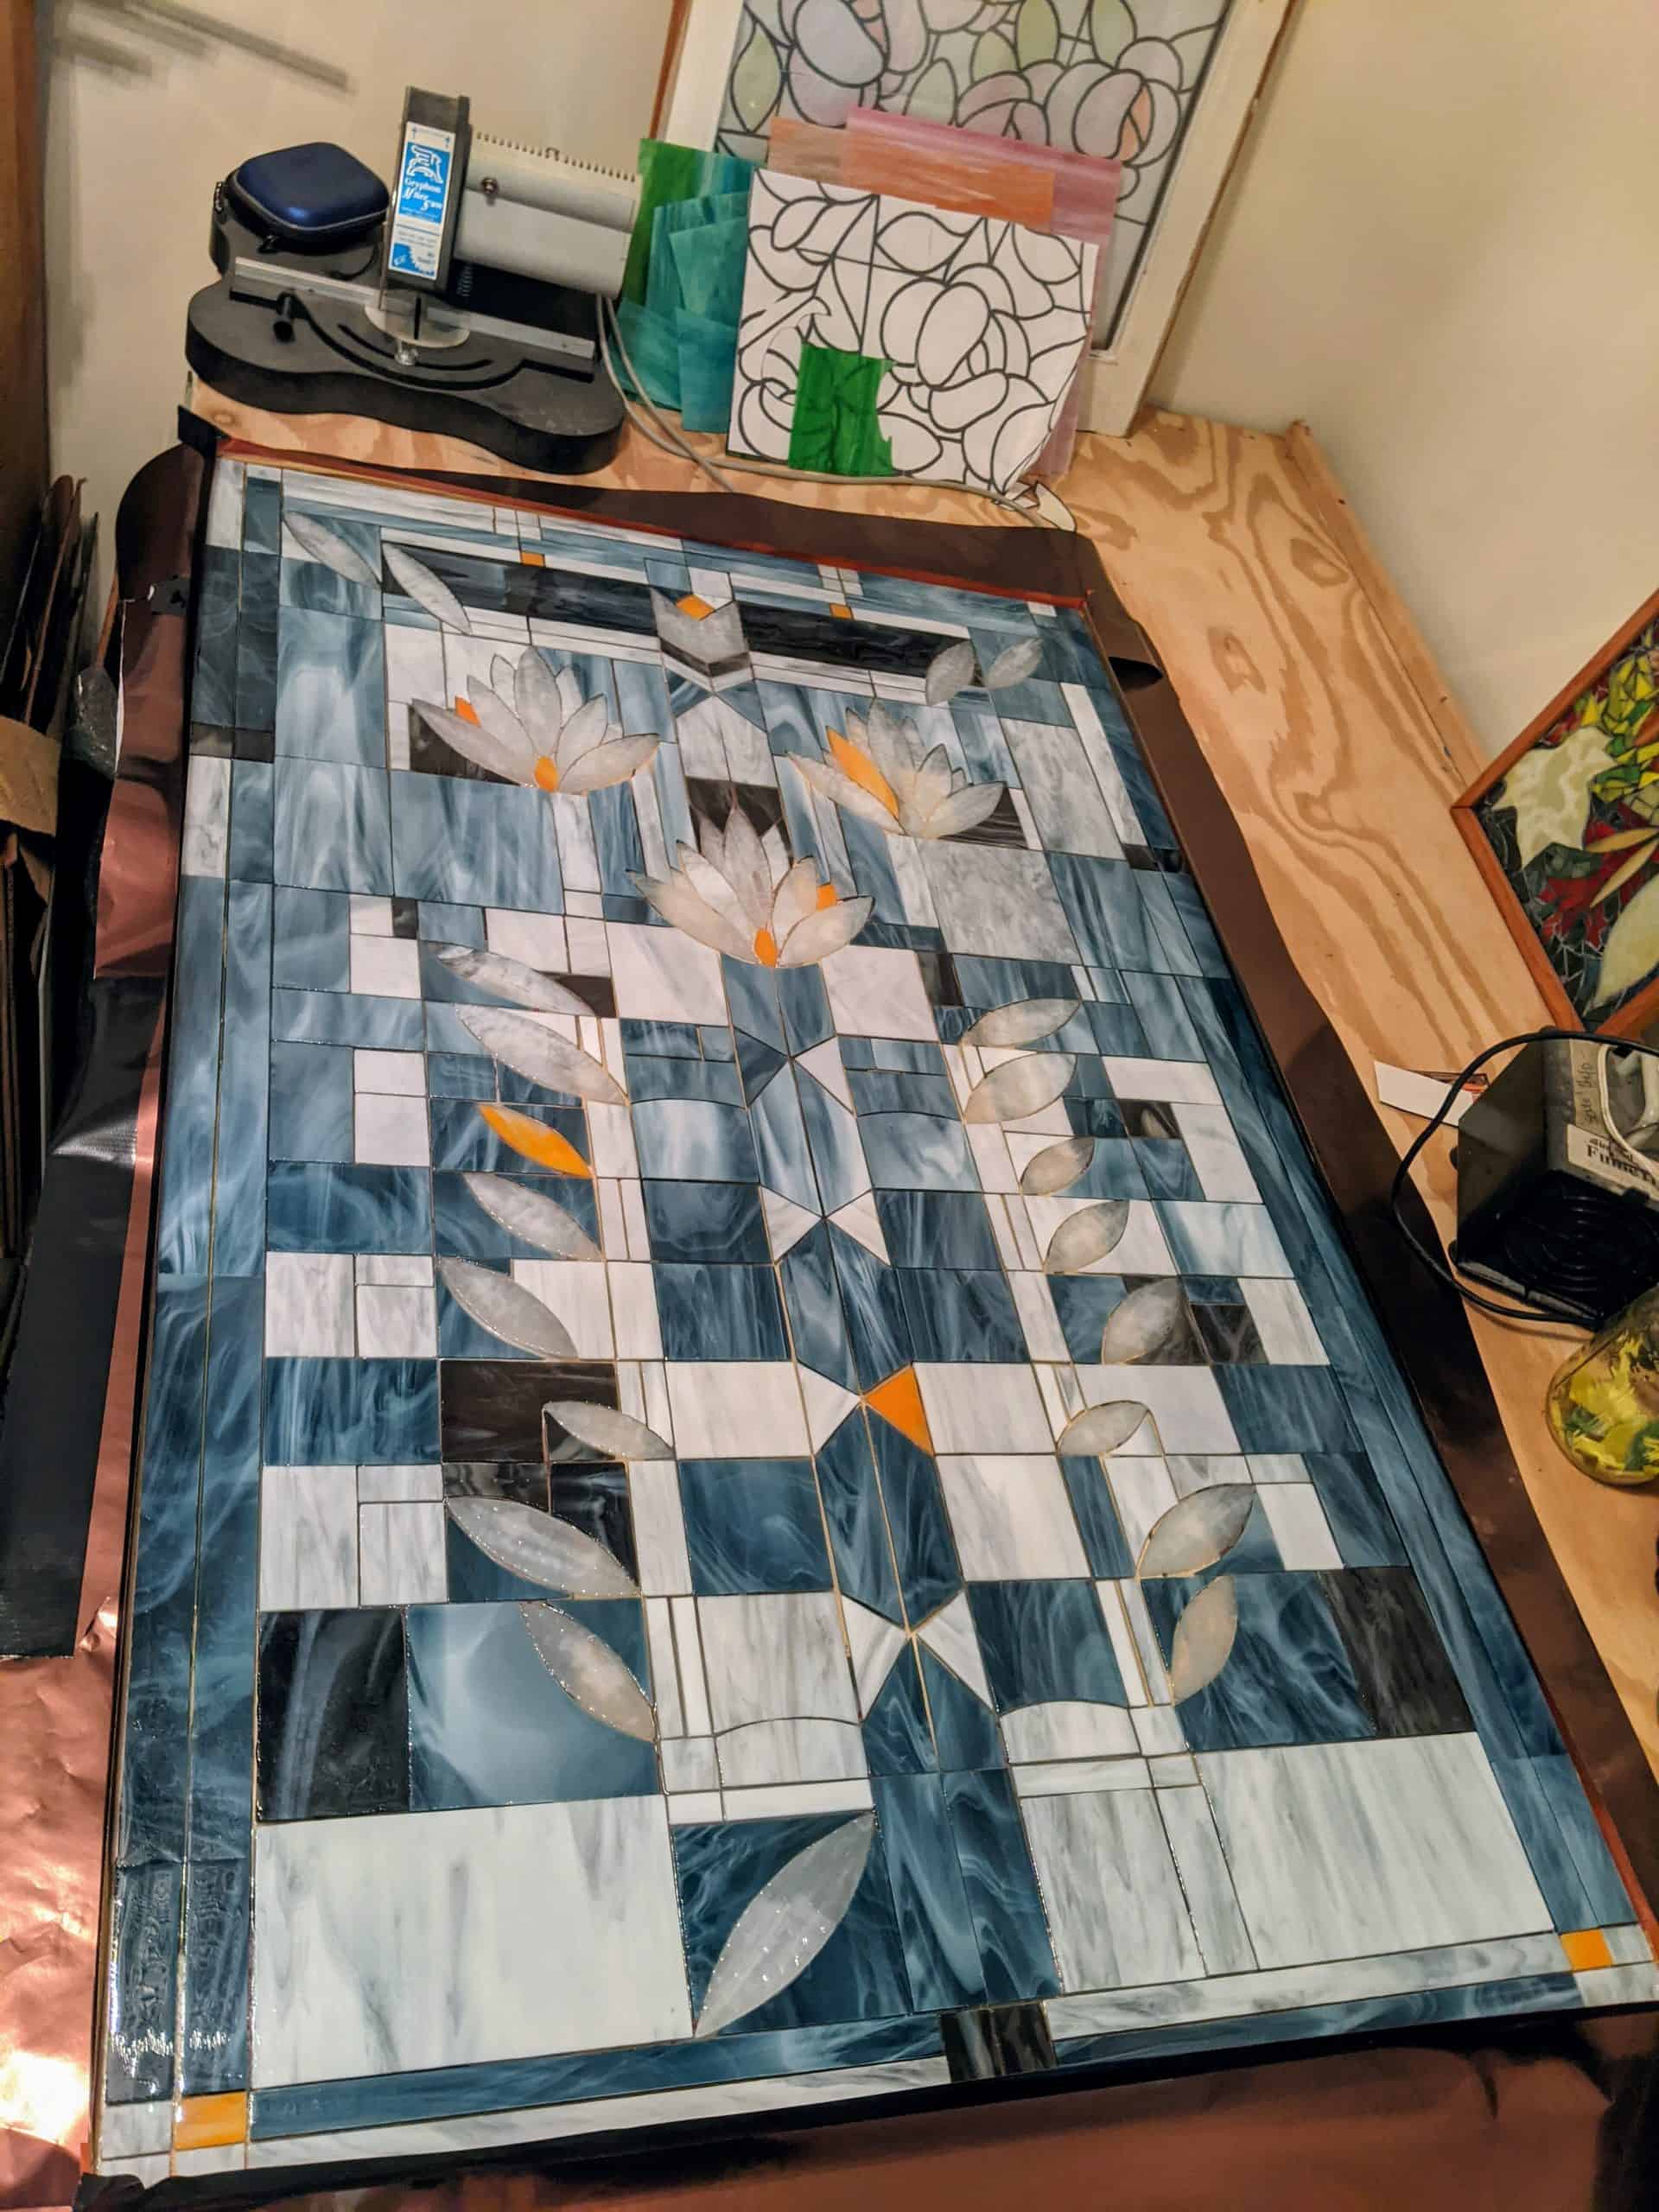
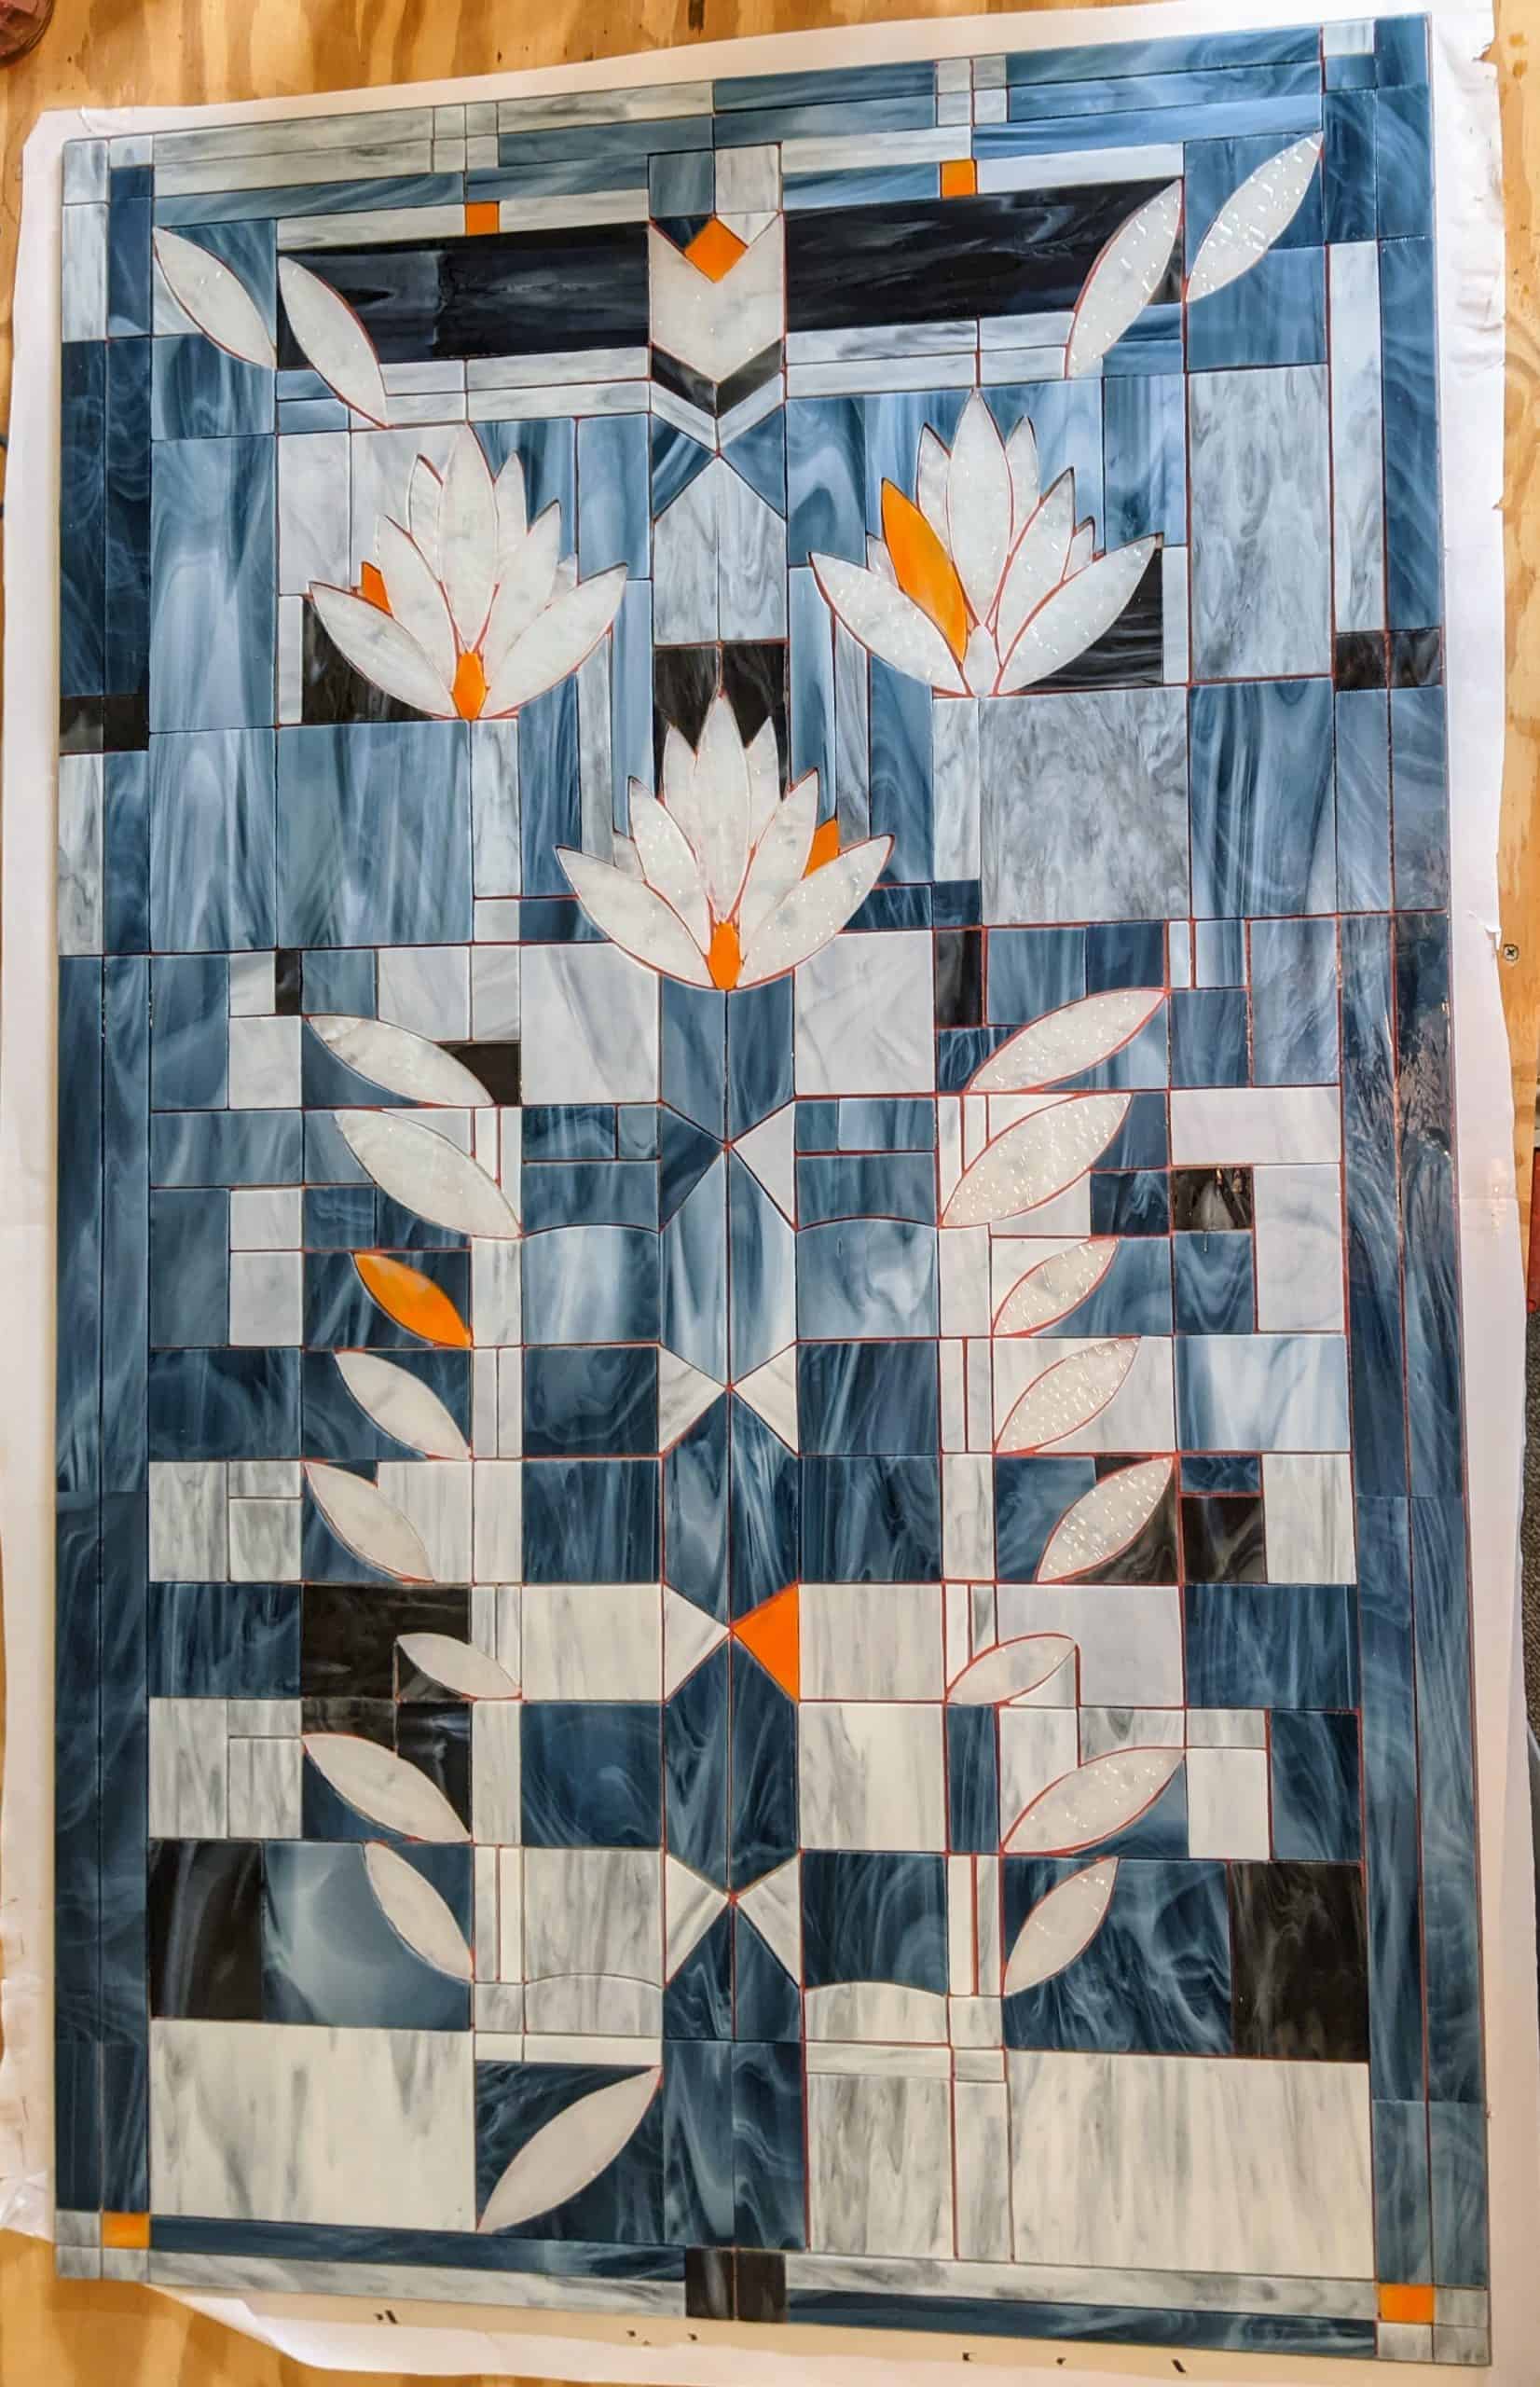
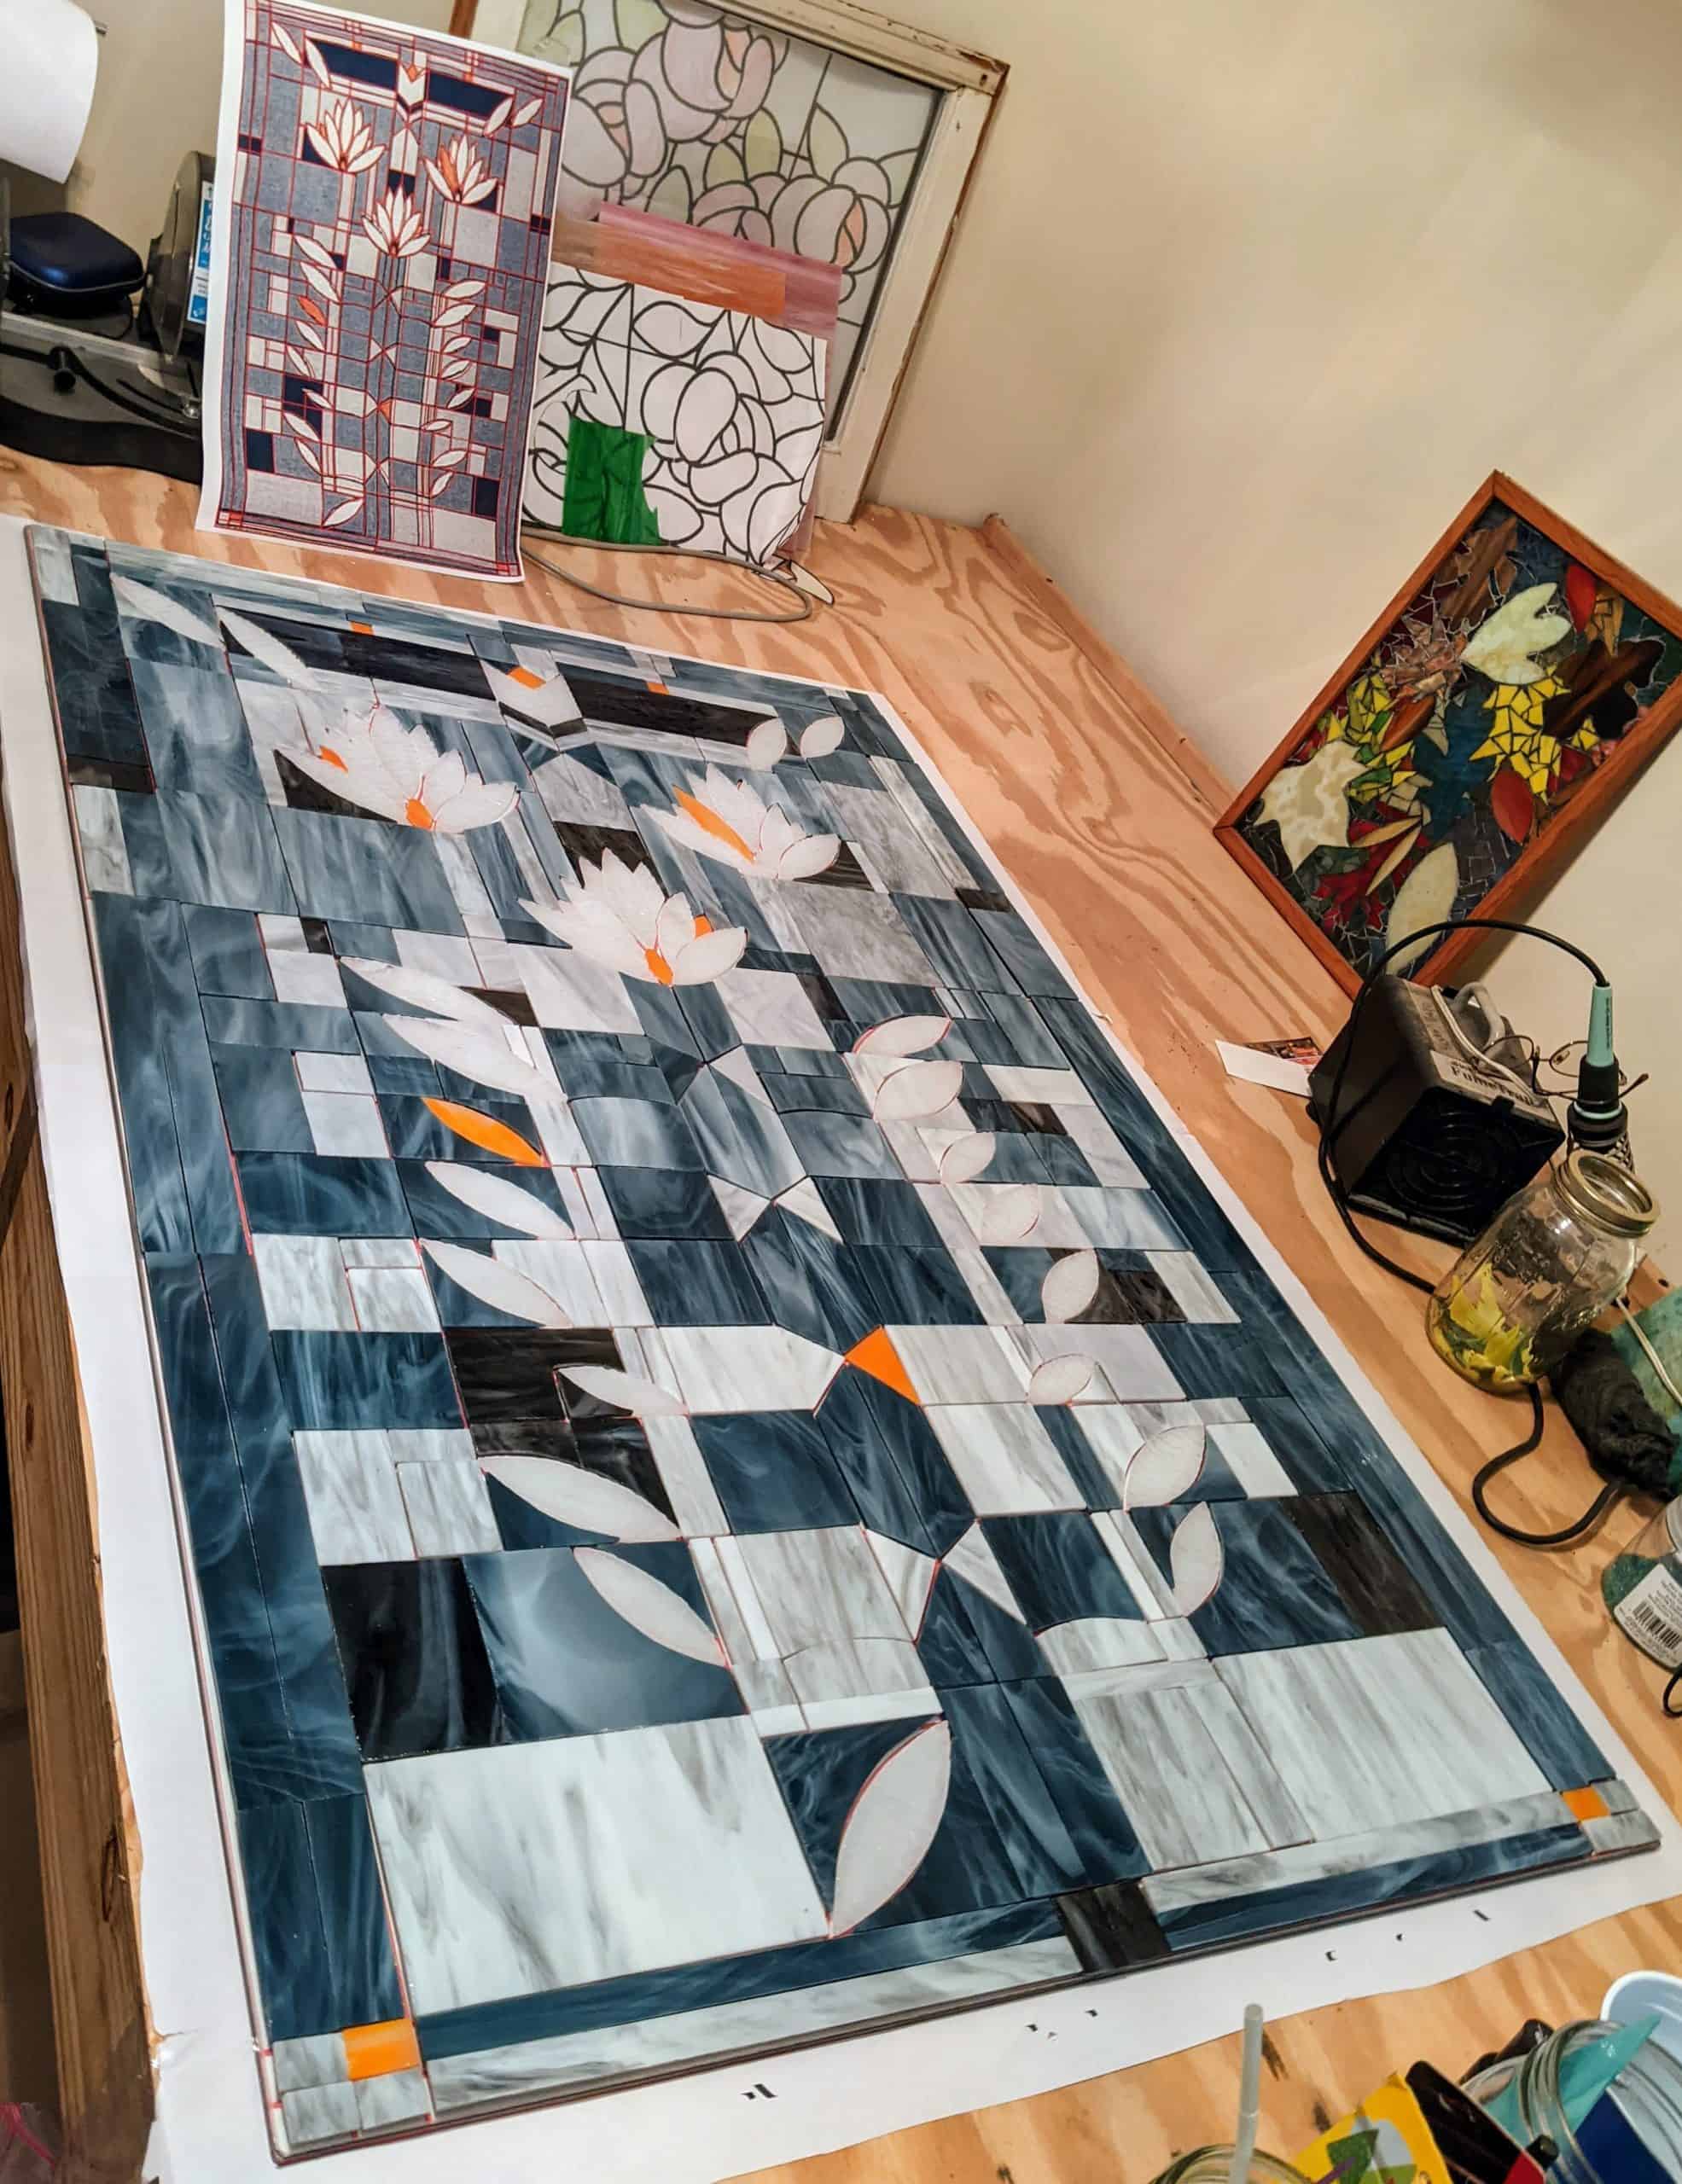
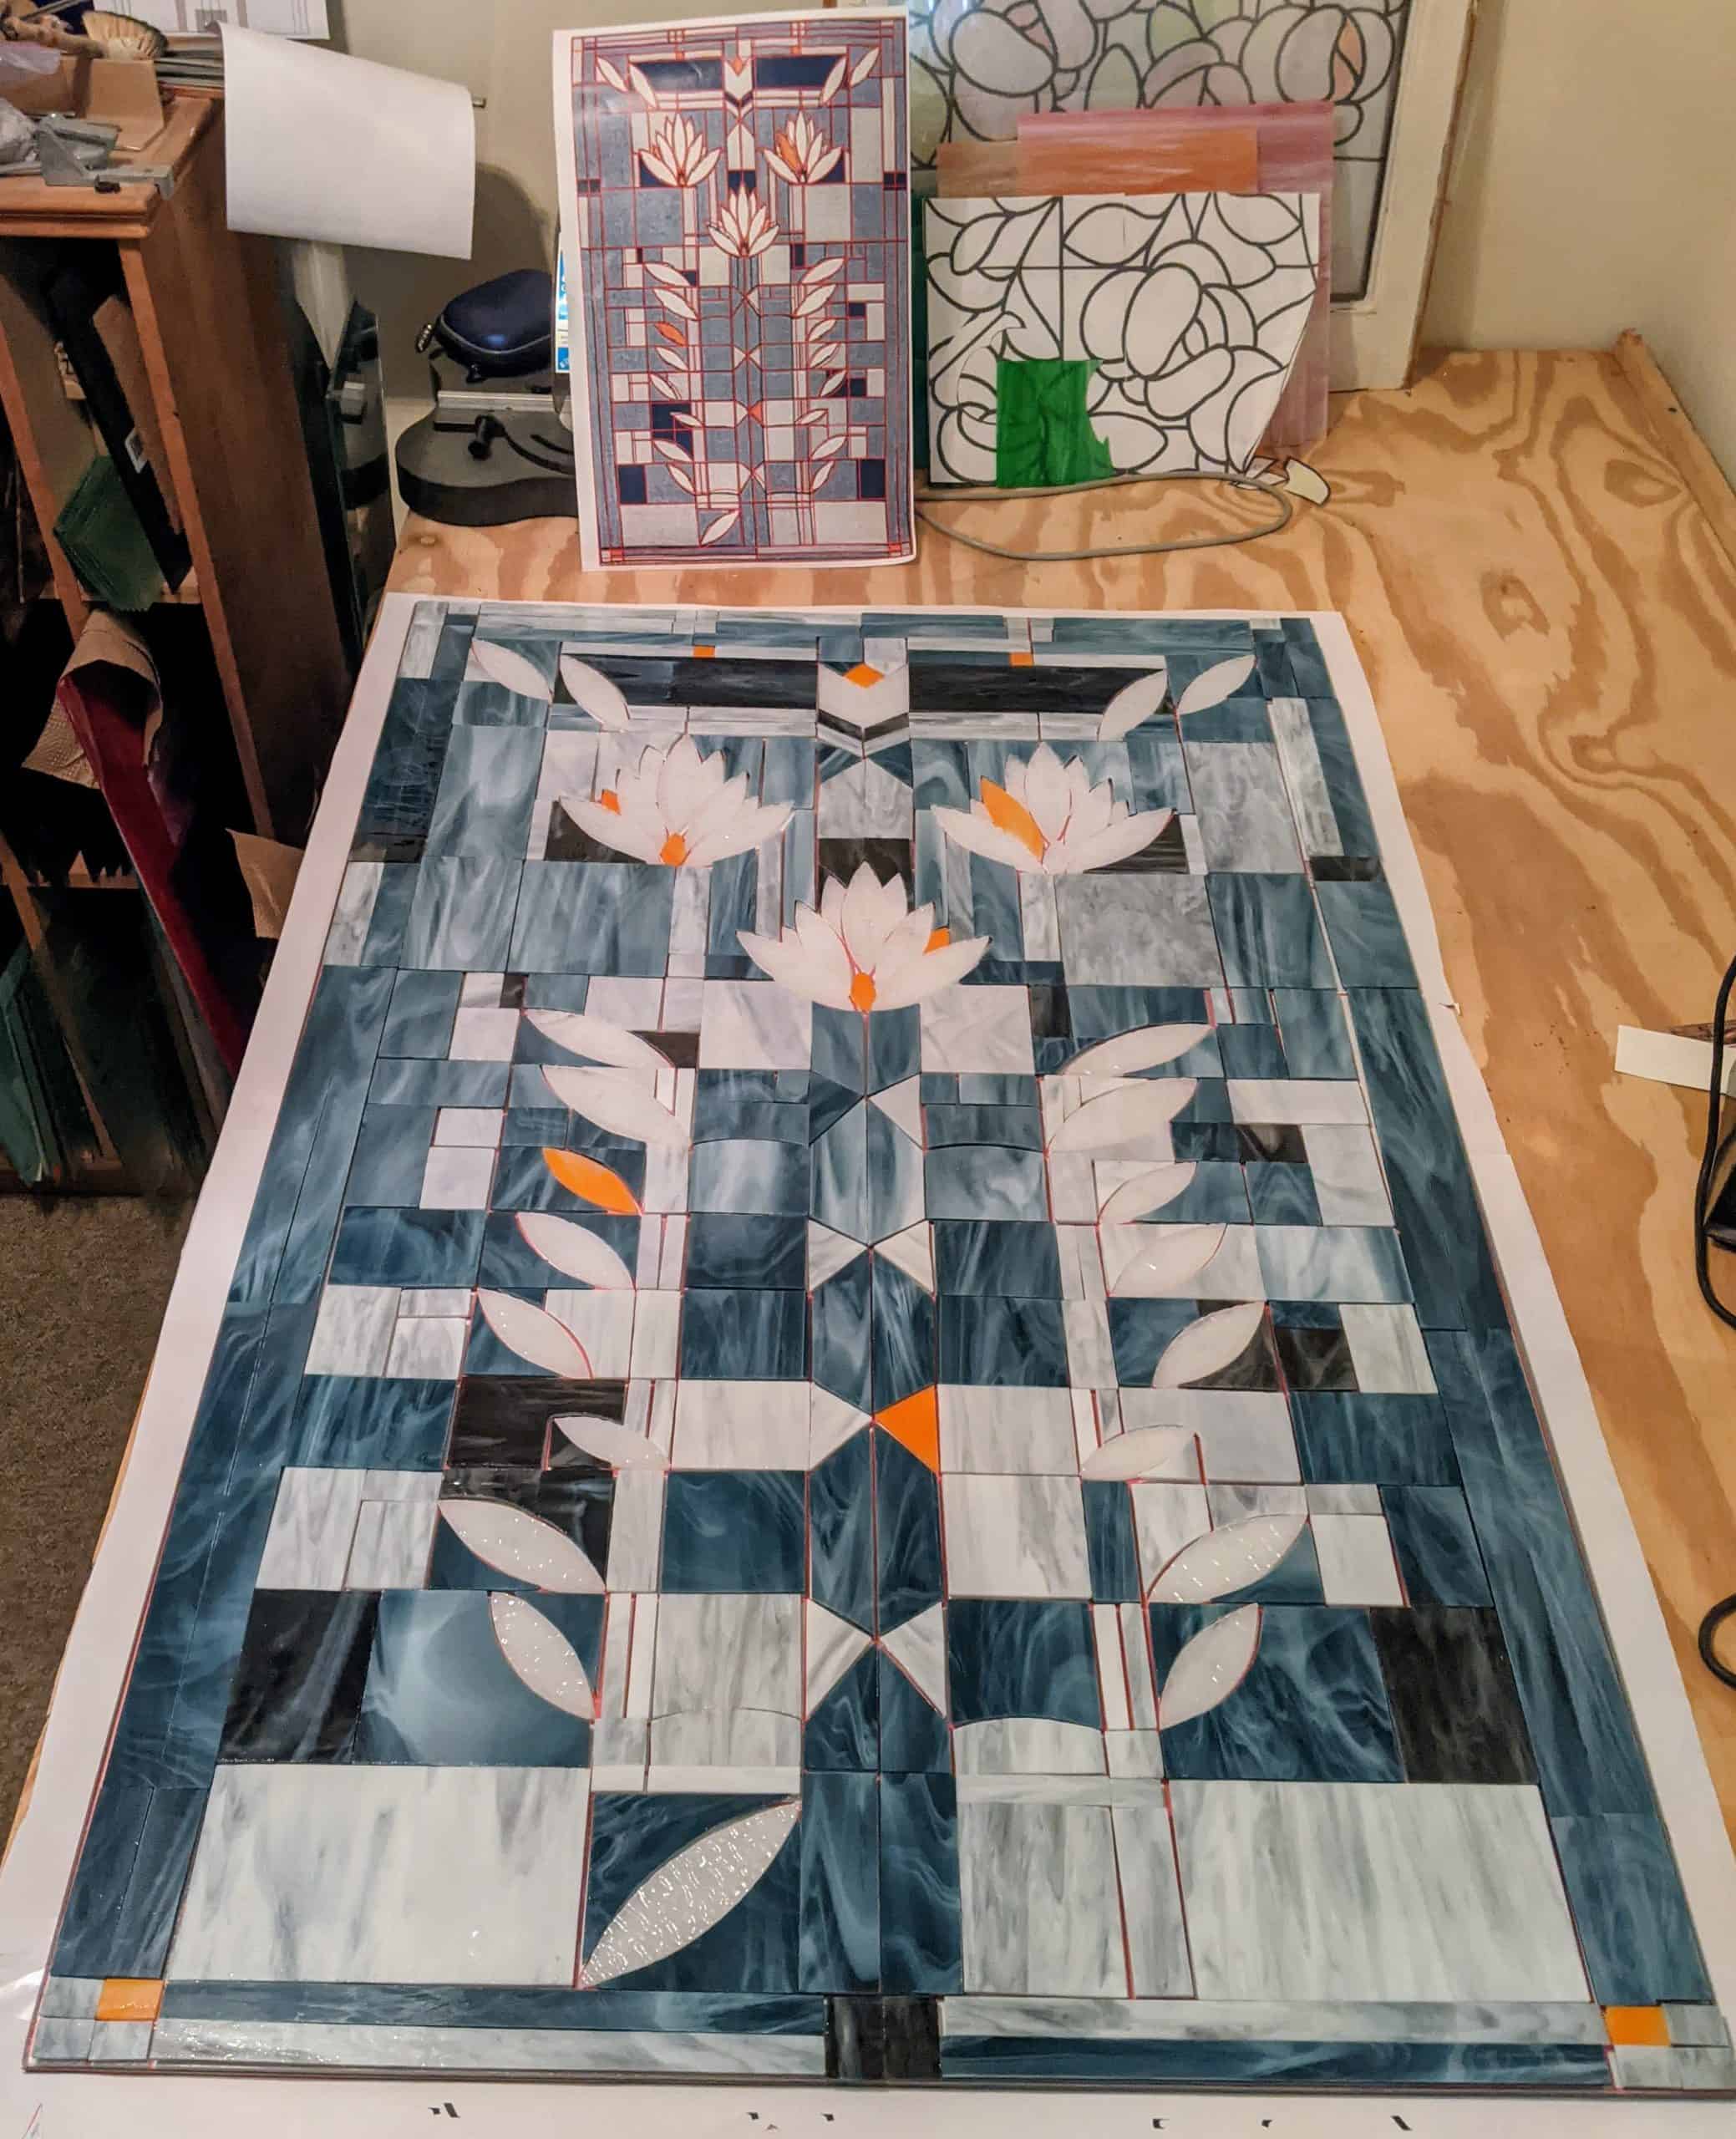
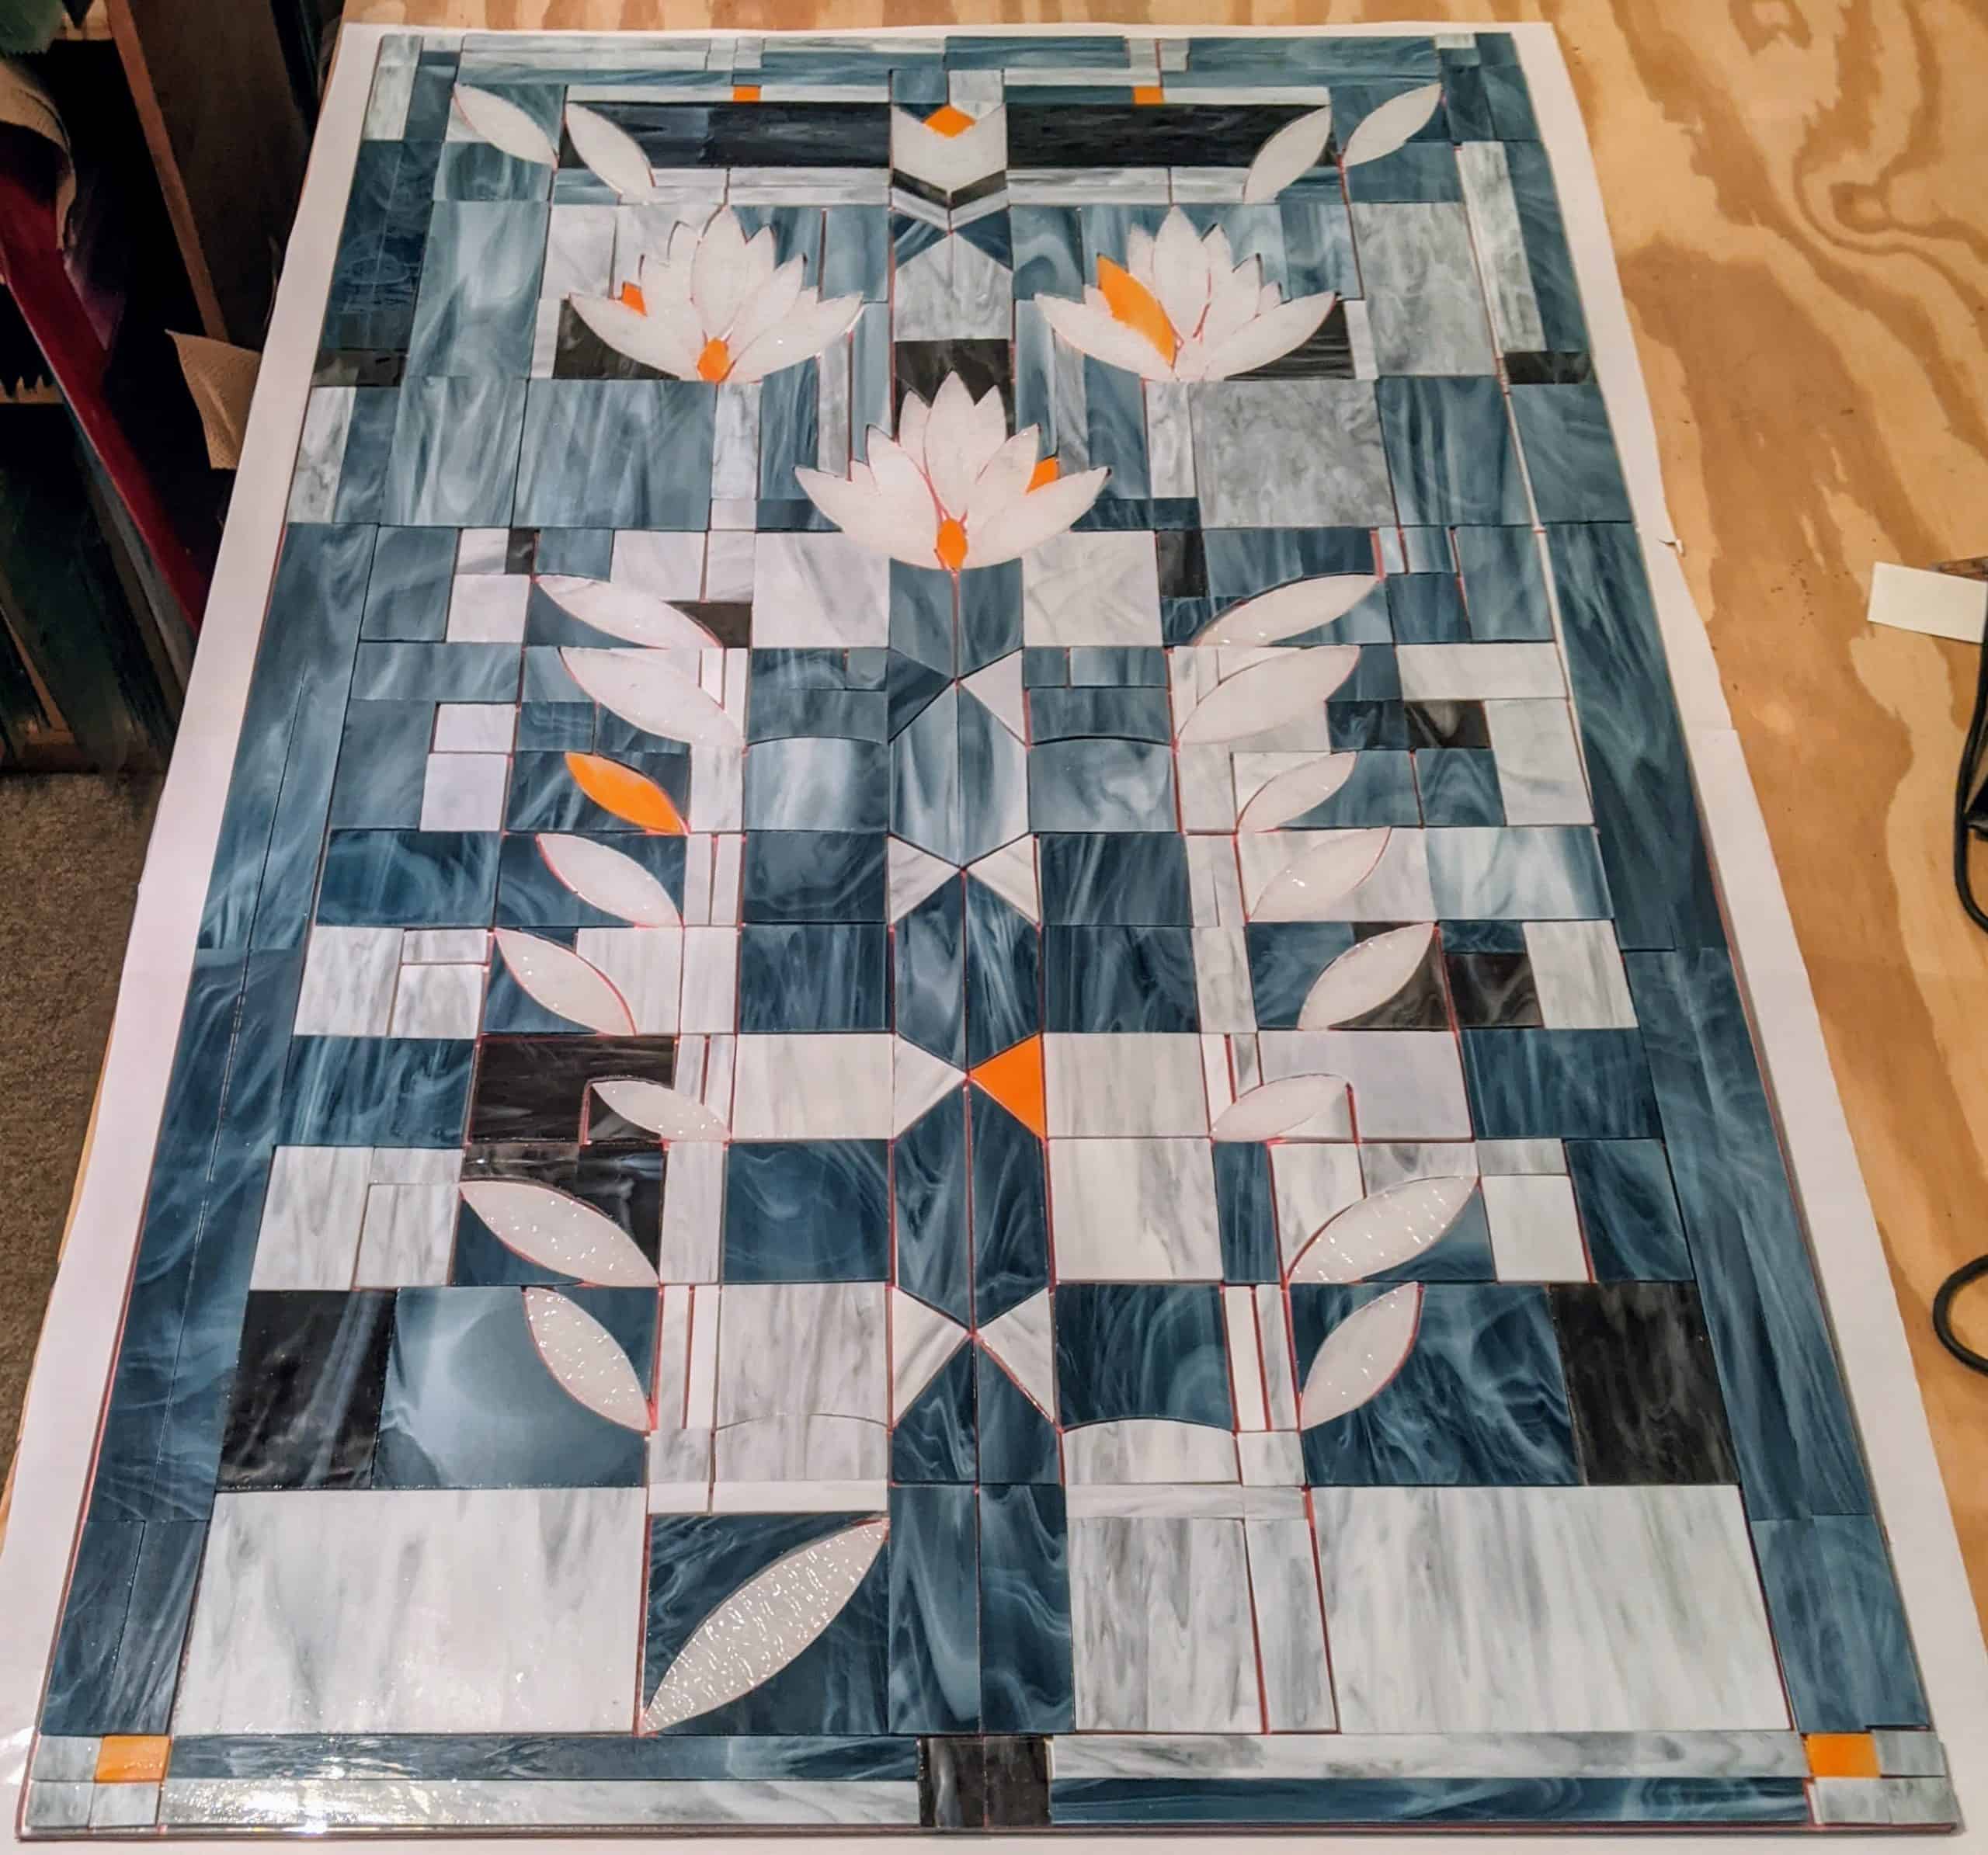
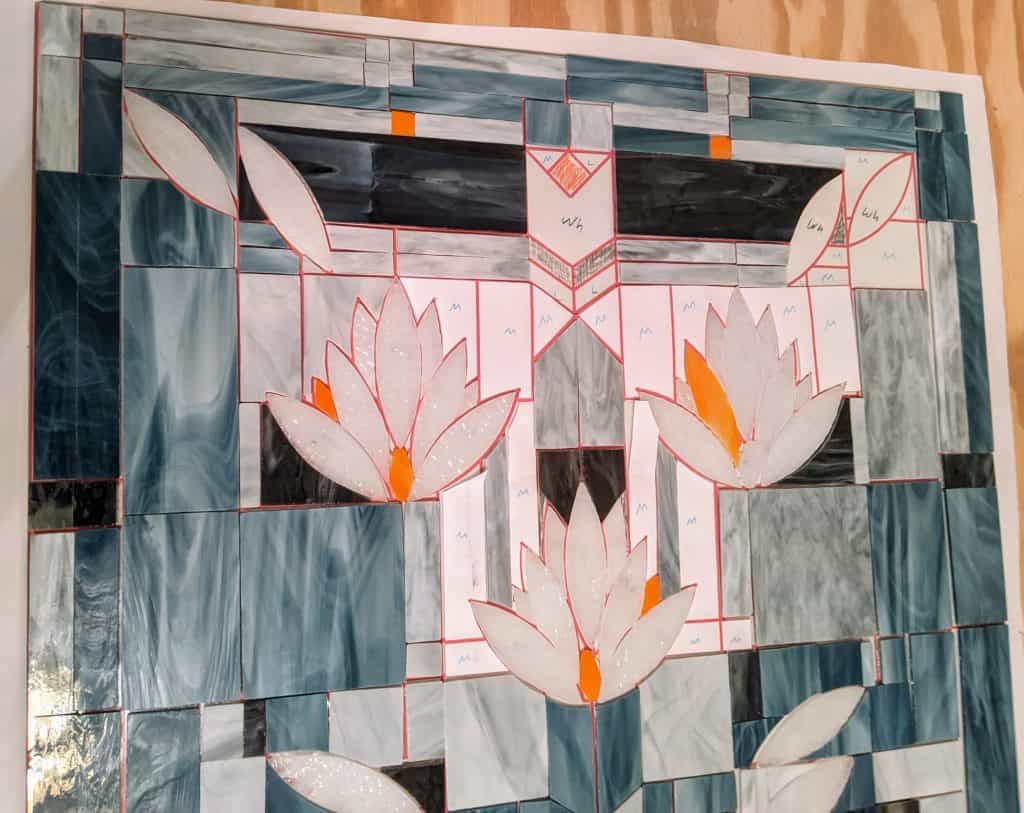
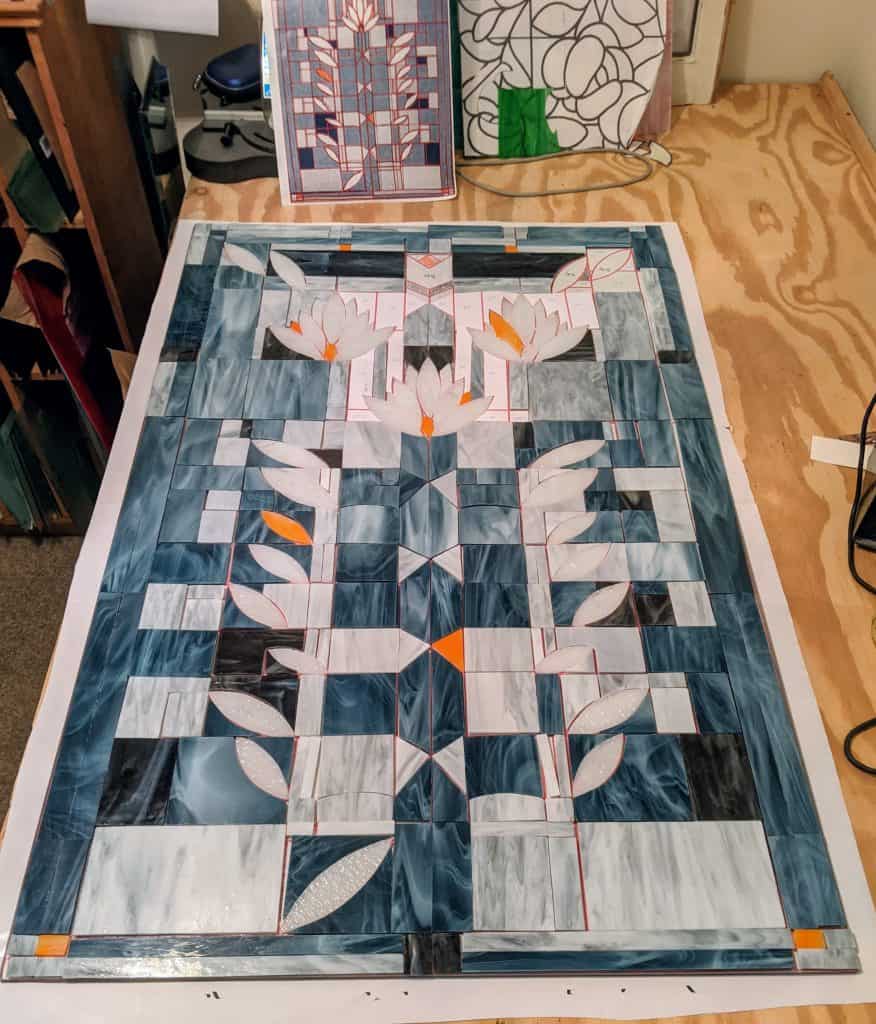
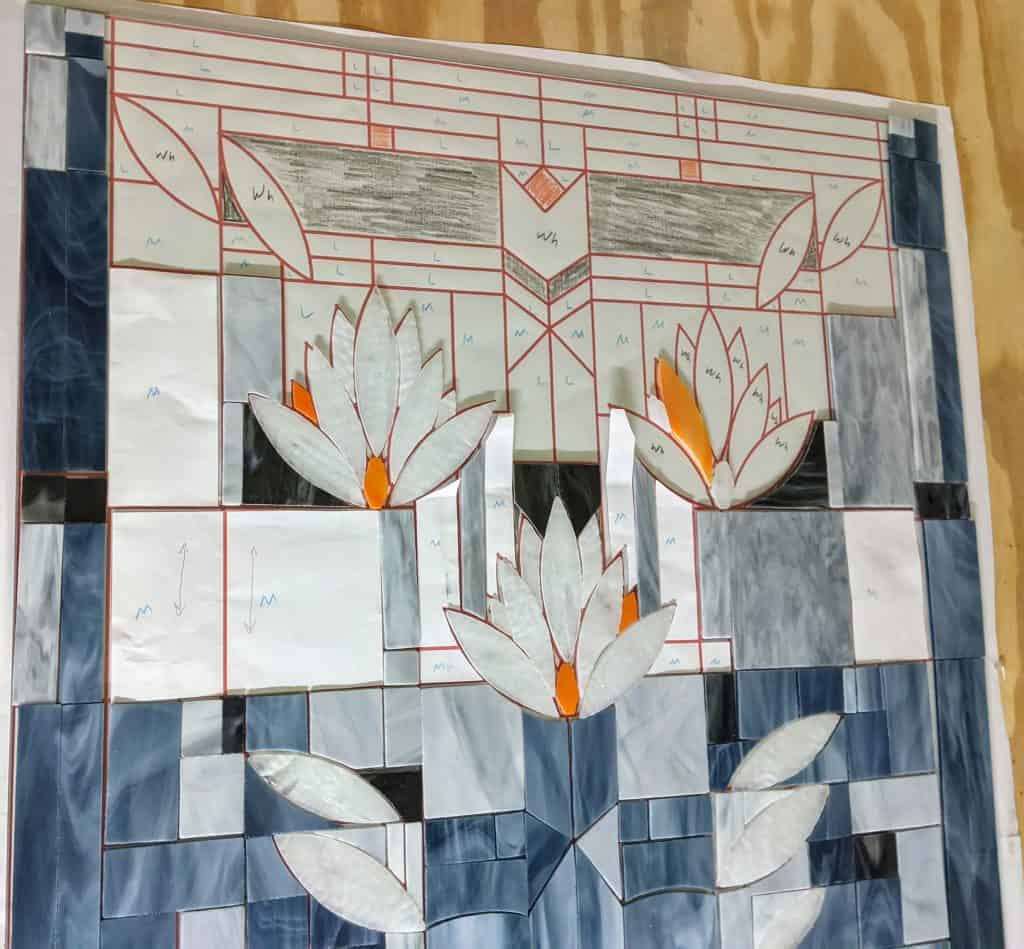
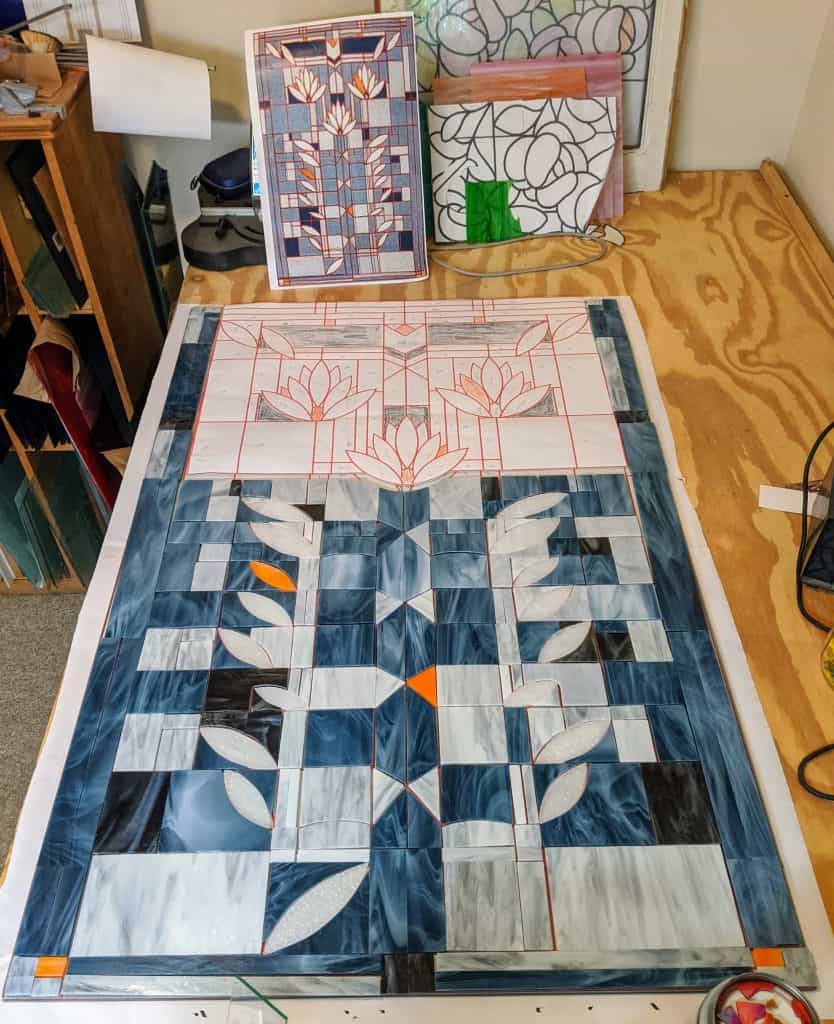
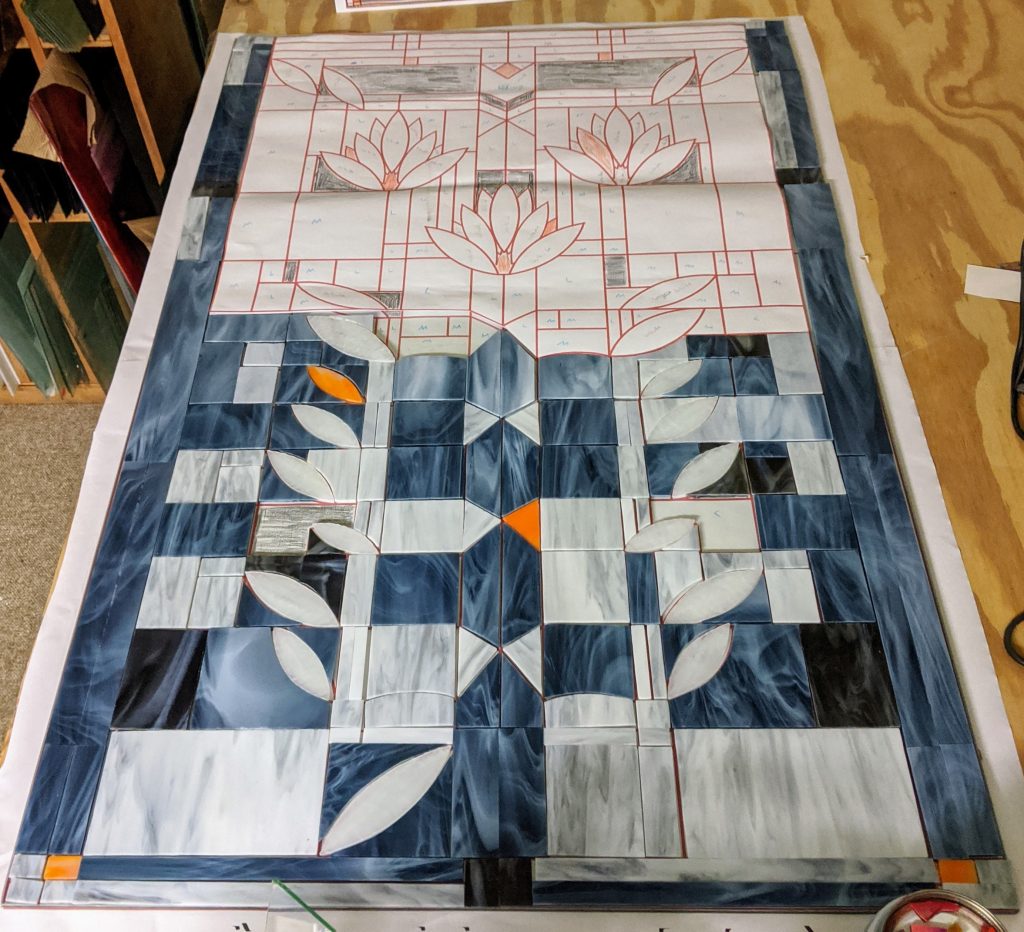
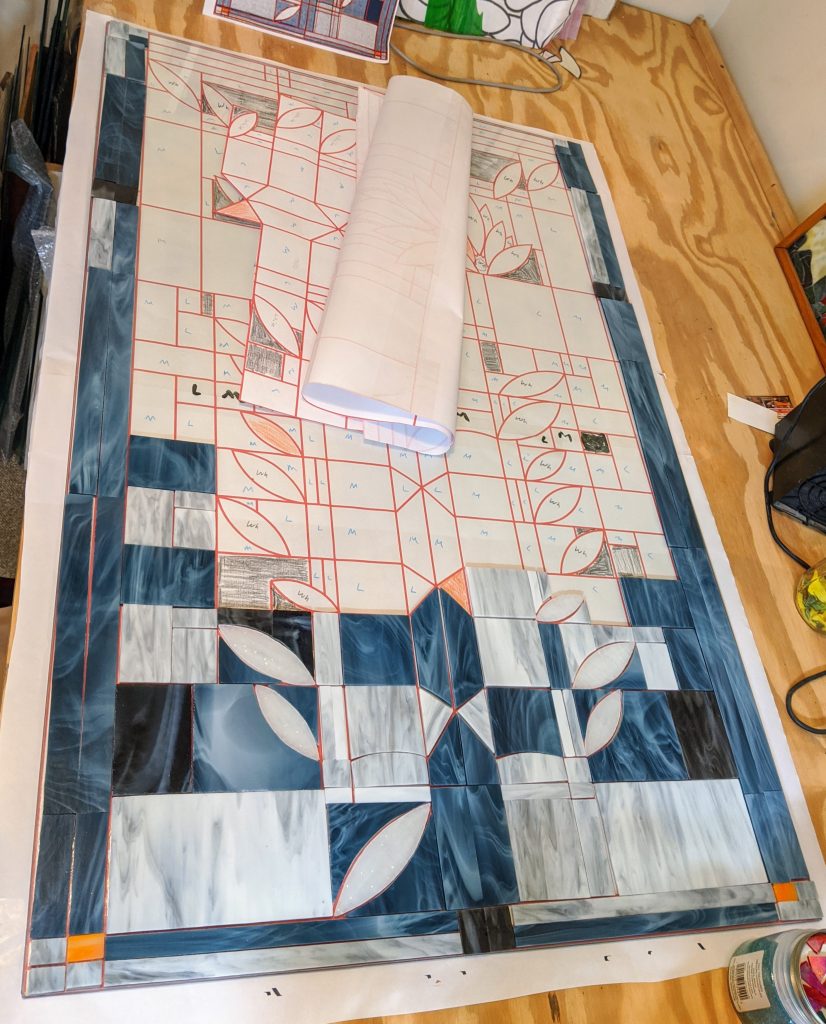
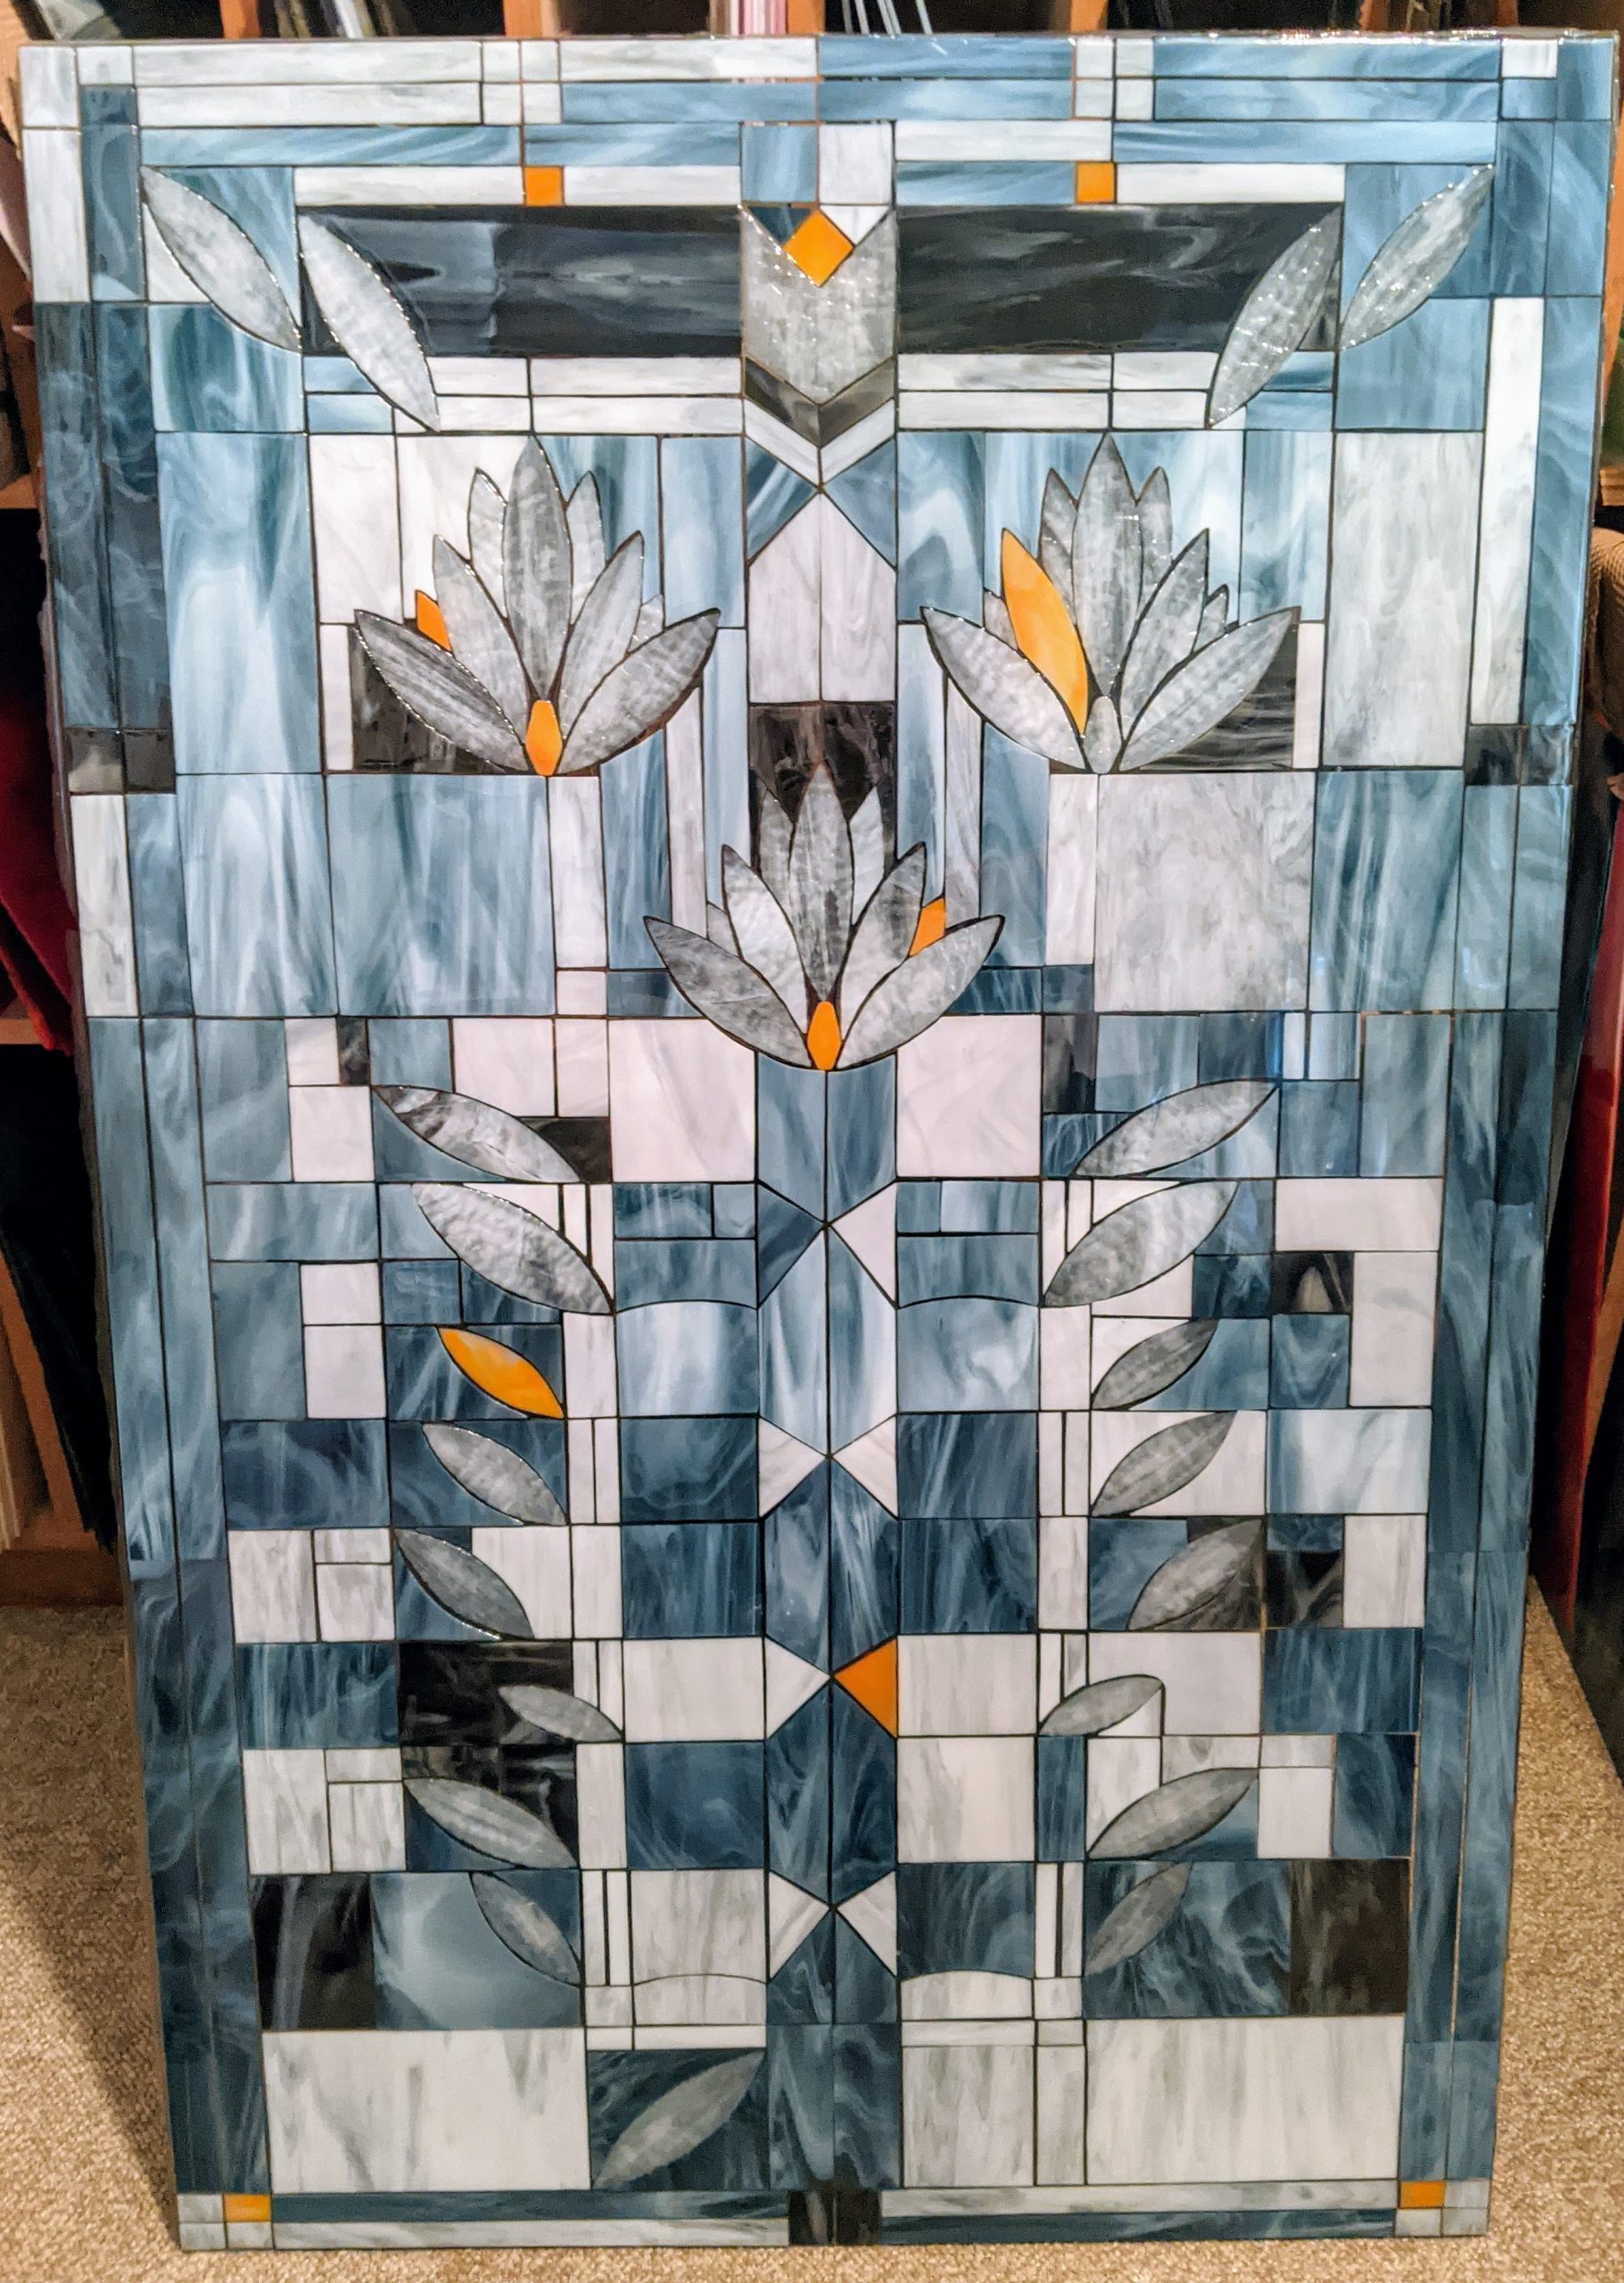
Shifting gears into holiday mode with some small projects now that the Frank Lloyd Wright Waterlilies 31″ x 48.25″ window is done (at least, I think I’m done with it). I’ve poured three layers of resin and each time there is some imperfection I’m tempted to address with another layer. There are still some imperfections; the third layer cleared up the worst, but contributed a few more. For example, I was trying to keep the texture of the flower petals visible, but the third layer covered a couple of the petals a bit more than I wanted it to. I can also see some edges of the third layer where it didn’t blend / flatten well. However, if I pour a fourth layer, I might mess something else up. Best to set it aside and get a second opinion.

Waterlilies – should I add a fourth layer of resin?

In the meantime, I am moving into holiday mode and working on some small projects. I made a flock of cardinals and some holly leaves / berries. My fingers are torn up from grinding all the tiny pieces of glass.

I love Cardinals and Holly!

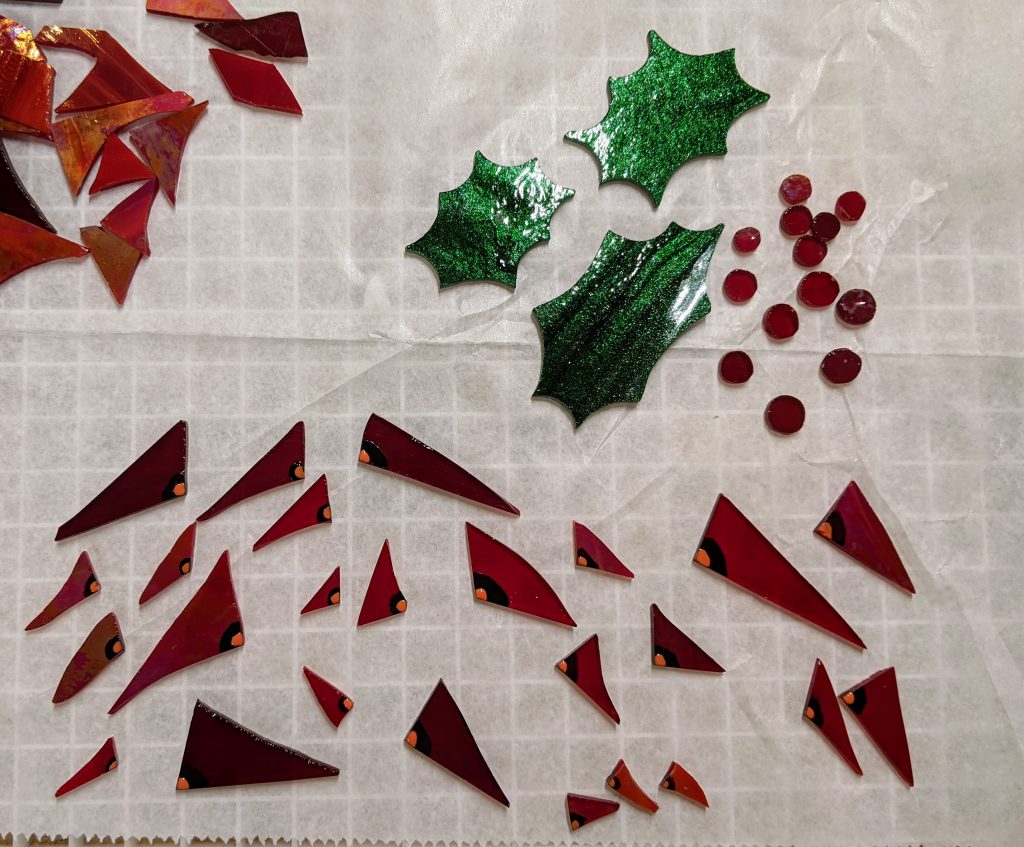
I will likely use these in some resin ornaments and coasters.

Resin layer #1

Now that I have verified that my resin is OK, I prepared to pour the first layer of resin on the large Frank Lloyd Wright stained glass window project I’ve been working on since early August. I used some boards to elevate the window off of the table, then taped around the edge using a layer of painter’s tape and a second outer layer of duct tape.

Making sure it’s level
Yellow painters tape and black super strong duct tape
Layers of tape

My hope is that the painters tape will come off easily, while the duct tape will create a strong edge for the resin.

Tape layers
Pouring the resin

Once all the tape was in place and secure, I mixed 16 ounces of resin and poured it over the panel. I then used a sponge on a stick to distribute the resin as much as I could over the panel. I will have to repeat this with another layer later, as more resin will be needed to fill in all the gaps.

Poured resin

I then used my heat gun to further distribute the resin and remove bubbles that popped up while the resin settled. I spent about an hour and a half doing this.

Overall view

Now I just need to wait overnight for the first layer to cure. After that, I will repeat with a second and hopefully final layer to fill in the remaining crevices.

No turning back now

Finished securing all the pieces in place with mosaic adhesive. A couple got bumped and aren’t exactly where I’d like them to be, but hopefully not too noticeable. I had to redo a few pieces for various reasons (one piece of glass was just not flat enough, dropped one piece and it broke, etc). Thanks to the hubs for turning the piece around on my work table so I could reach the far side! Now to let the adhesive cure for a week or so. That gives me time to figure out how to elevate the whole piece off of the table surface when I pour the resin.

Pieces secured in place

Moving along

Our websites have been repeatedly hacked over the past couple of weeks, so it seems like every time I go to post some pictures we have to fix the website first. Such an annoying waste of time. In any case, here are a few snapshots of my current progress on this project. First I cut the red lines out of each paper piece of the pattern, then I draw the “direction” of the glass that I’m seeking for each piece on the paper. This is helpful when selecting the glass for each piece, since once it’s cut apart from the overall pattern it is hard to tell what directional flow the glass should have. I had to go back and fix the direction I marked on the triangle on the far right below photo as I’ve been tilting those pieces.

Cutting the next pattern piece(s)

The glass I’m using for the white lily petals is highly textured and I tend to cut myself on it a lot, but basically I hand cut each piece as close to the paper pattern piece as I can. I then mark the parts that I need to grind the rest of the way with a sharpie before grinding.

Lily petal prior to grinding
Compare the rough glass to the pattern piece

It’s usually easy to grind it down to the desired shape, though today I did manage to cut myself twice. The second cut was on my right thumb and was ouchy enough that I decided to take a break for the day. This happens all the time – I keep a good supply of band-aids on hand. It’s just part of the territory. A few years ago, the owner of the shop where I buy my glass supplies (Mike from Blue Heron Glass) even handed out little packages of band-aids with his store name on them to customers.

Progress as of 9/13/2020

I’m running really low on the medium gray (steel blue) glass, so hopefully Mike has placed another order by now. Otherwise I will just have to work around those pieces for awhile.

Today’s update

Just a quick update – not much excitement here, but I have been thinking about the edges when I eventually pour the resin. I’ve planned to pour the resin with a duct tape edge to hold it in place, but I believe the family who will be taking this home will add a wooden frame around the edge. I might see if they want to add it before I pour the resin to adhere it to the piece. I’m not sure why I didn’t think of this earlier as I often use recycled windows with the frame intact for similar projects. When I get closer to resin pouring time we can revisit that.

Closeup of recent progress
Overview