Now that I have verified that my resin is OK, I prepared to pour the first layer of resin on the large Frank Lloyd Wright stained glass window project I’ve been working on since early August. I used some boards to elevate the window off of the table, then taped around the edge using a layer of painter’s tape and a second outer layer of duct tape.
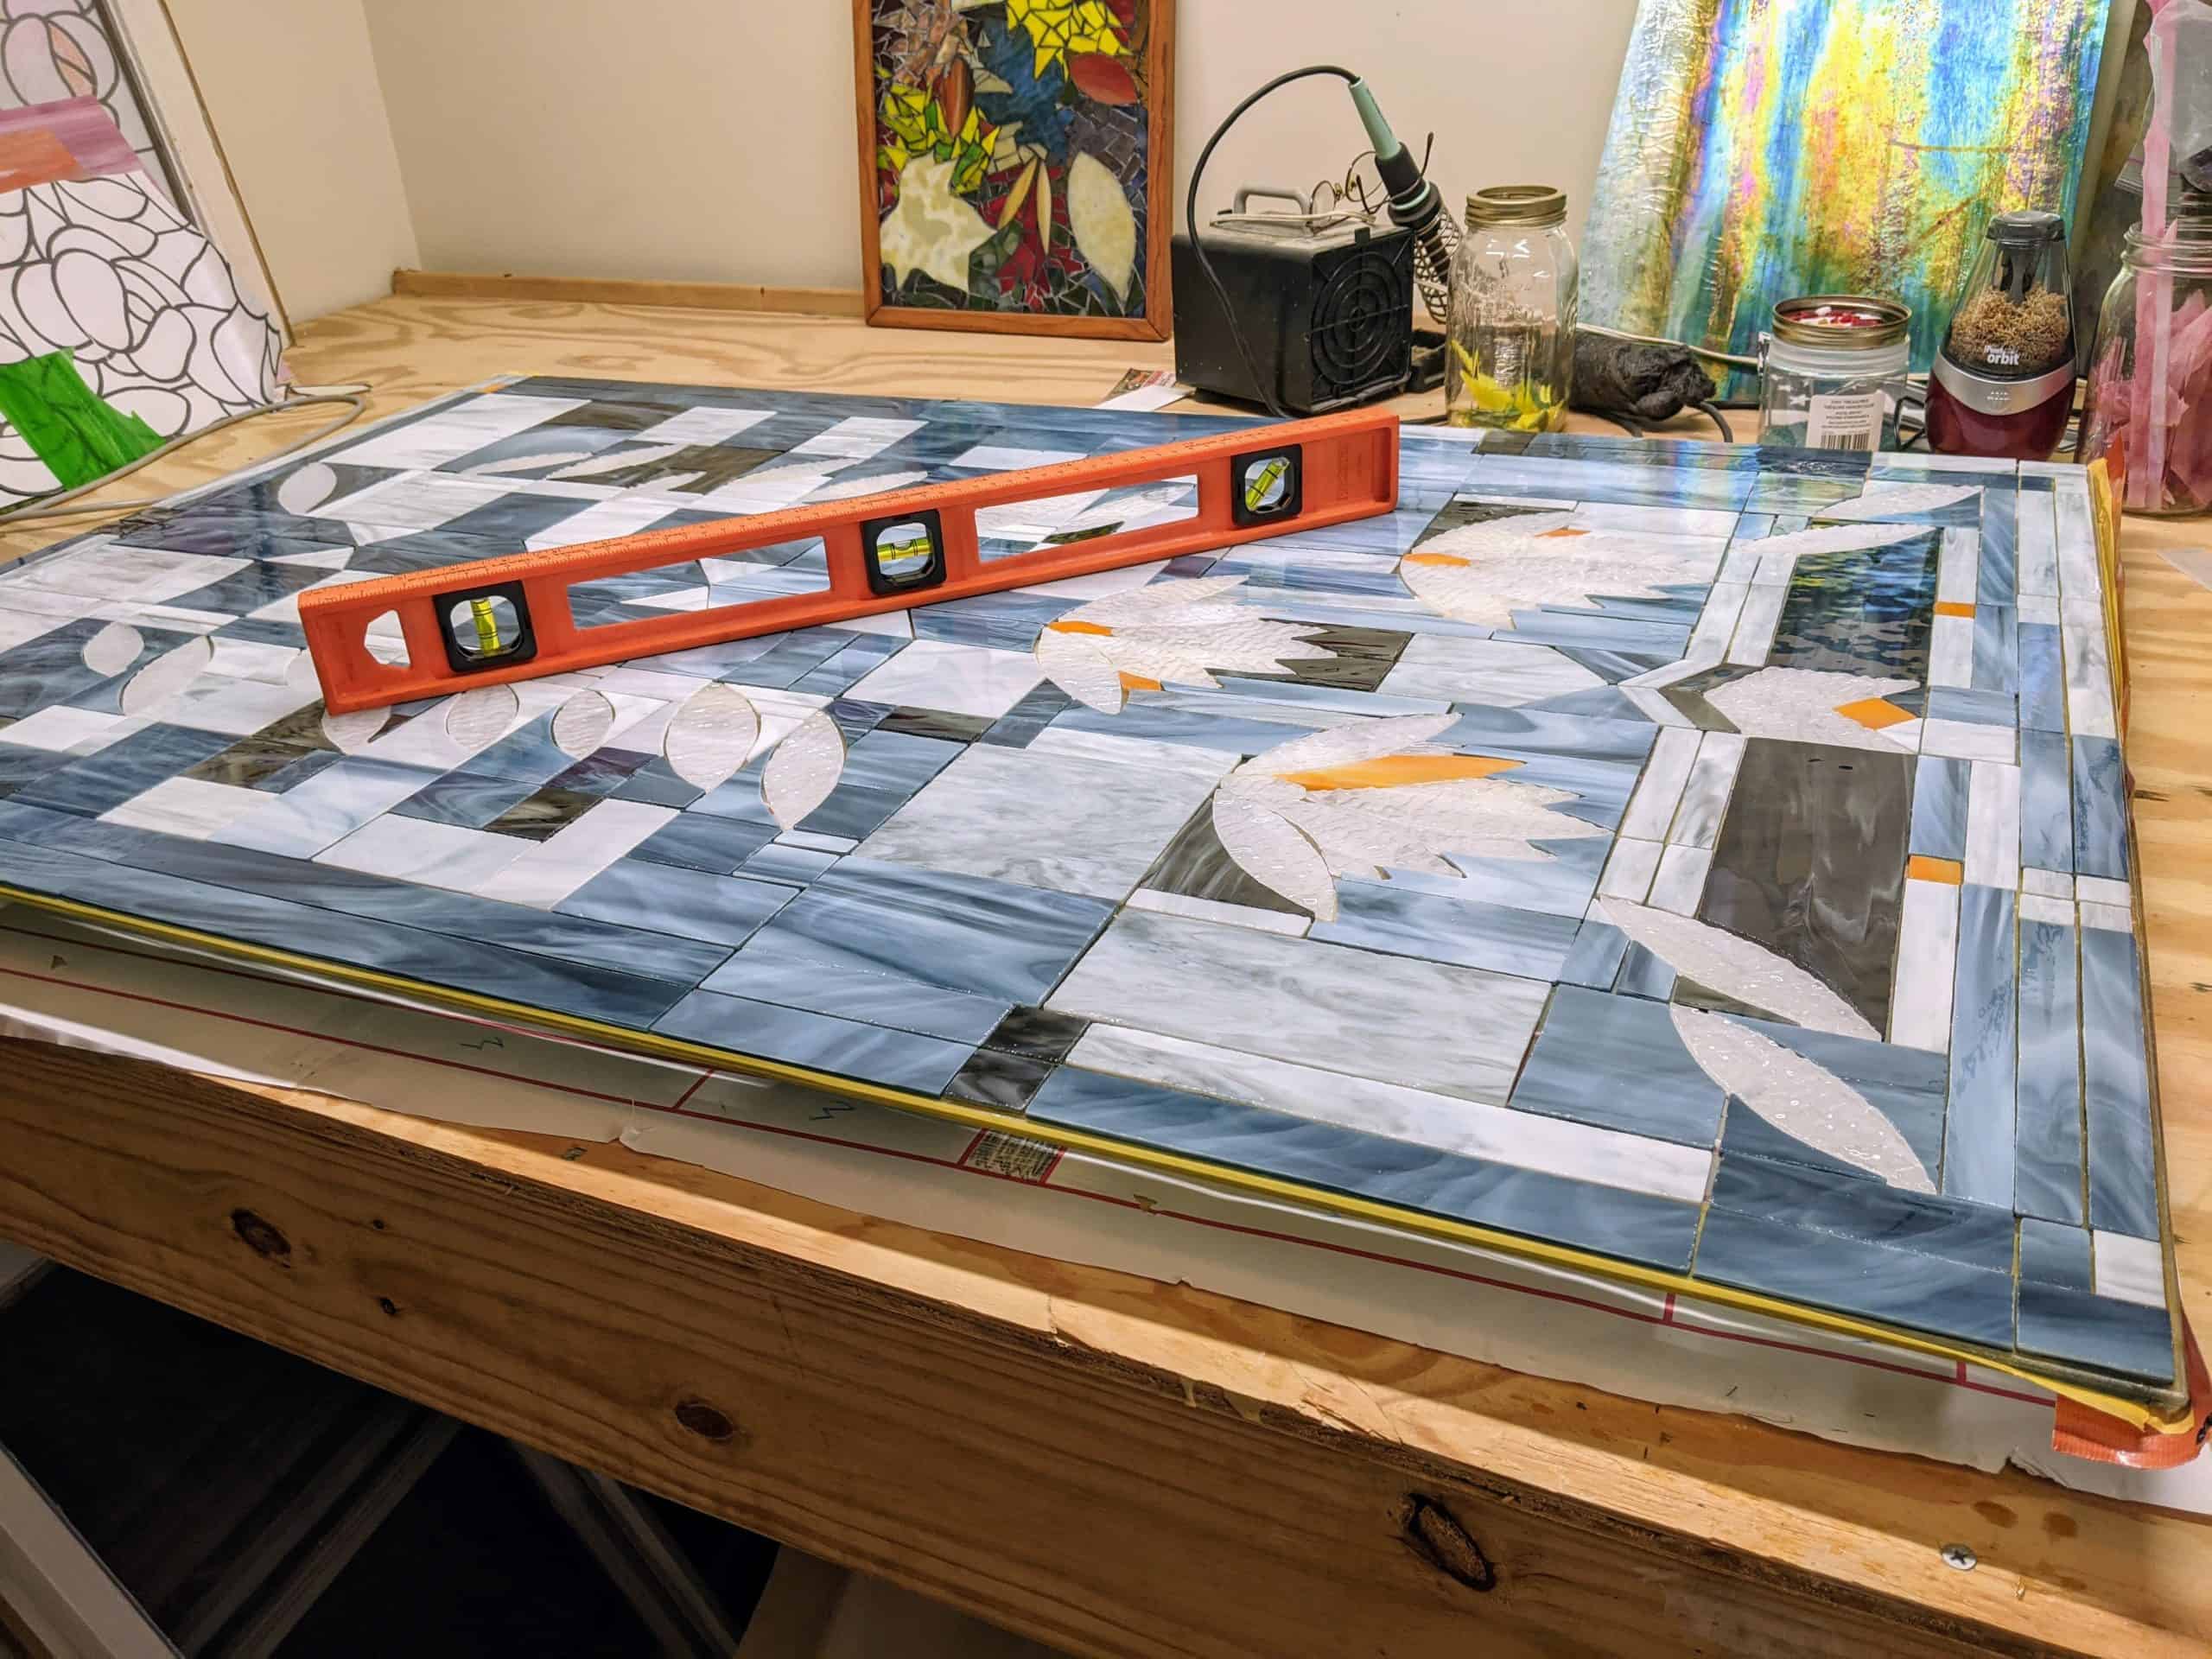
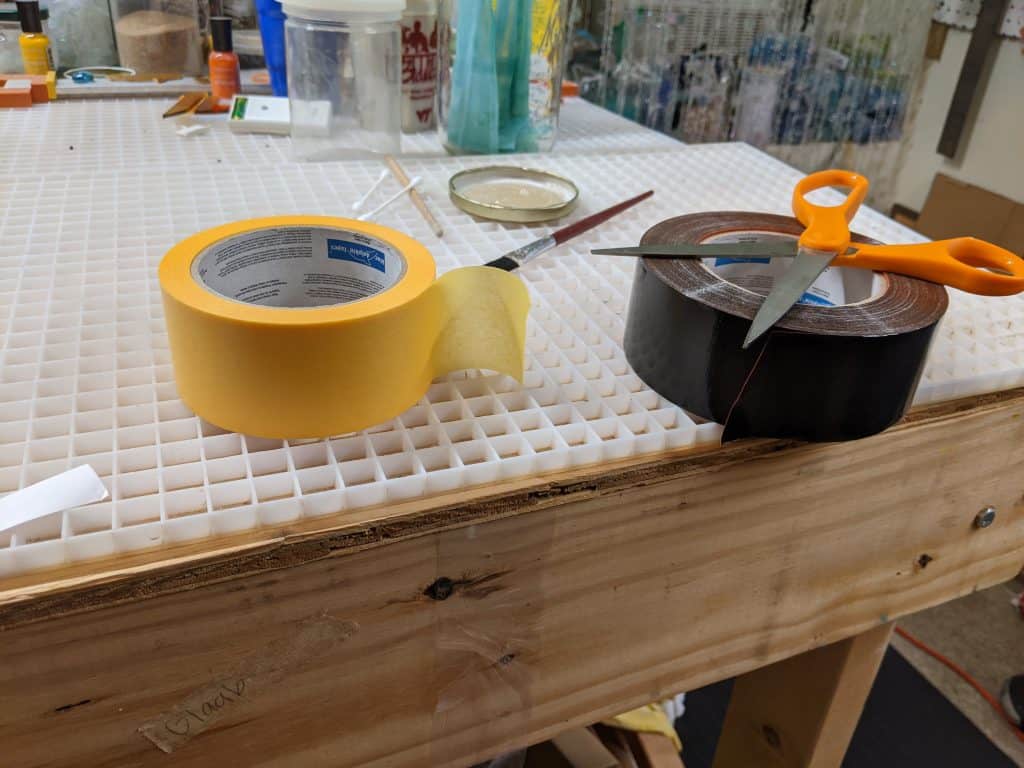
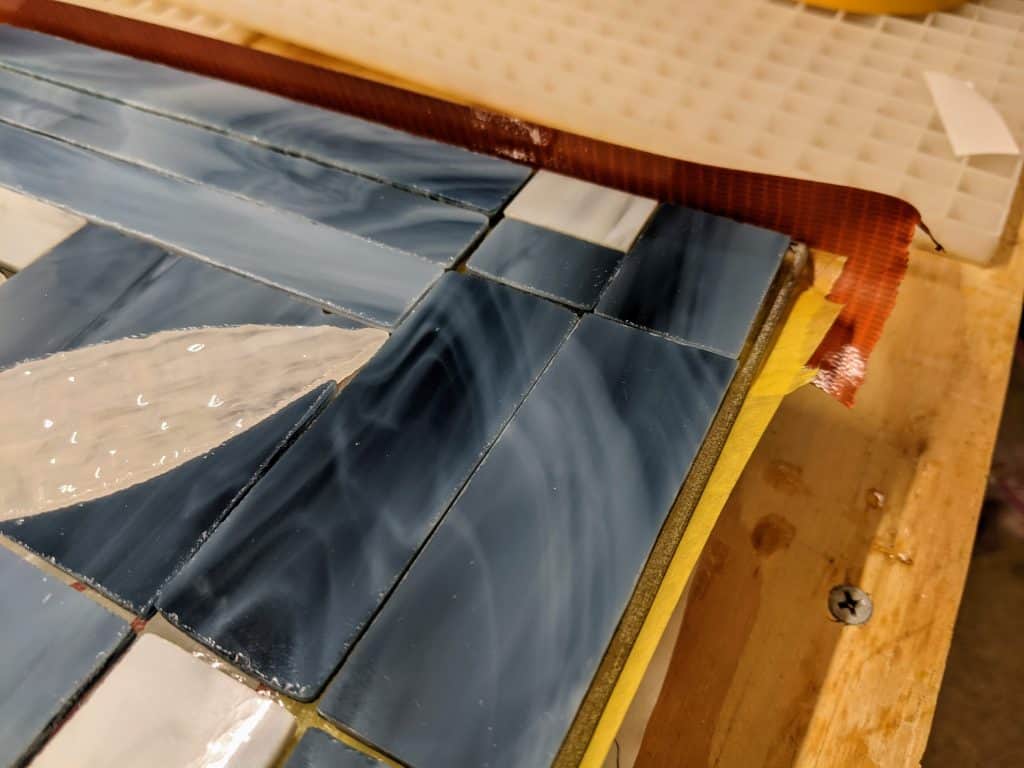
My hope is that the painters tape will come off easily, while the duct tape will create a strong edge for the resin.
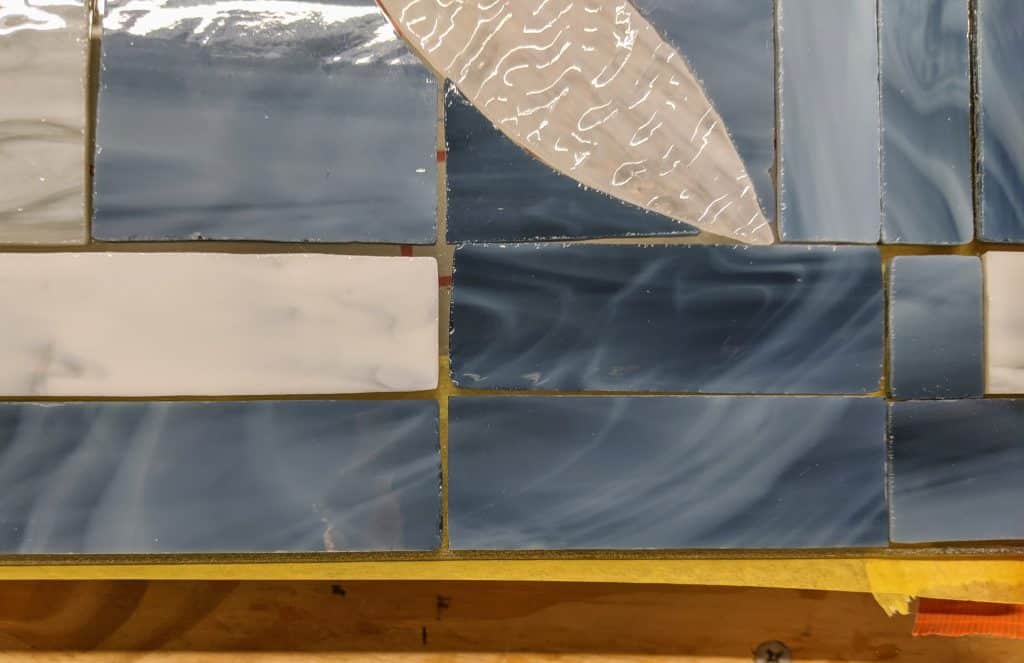
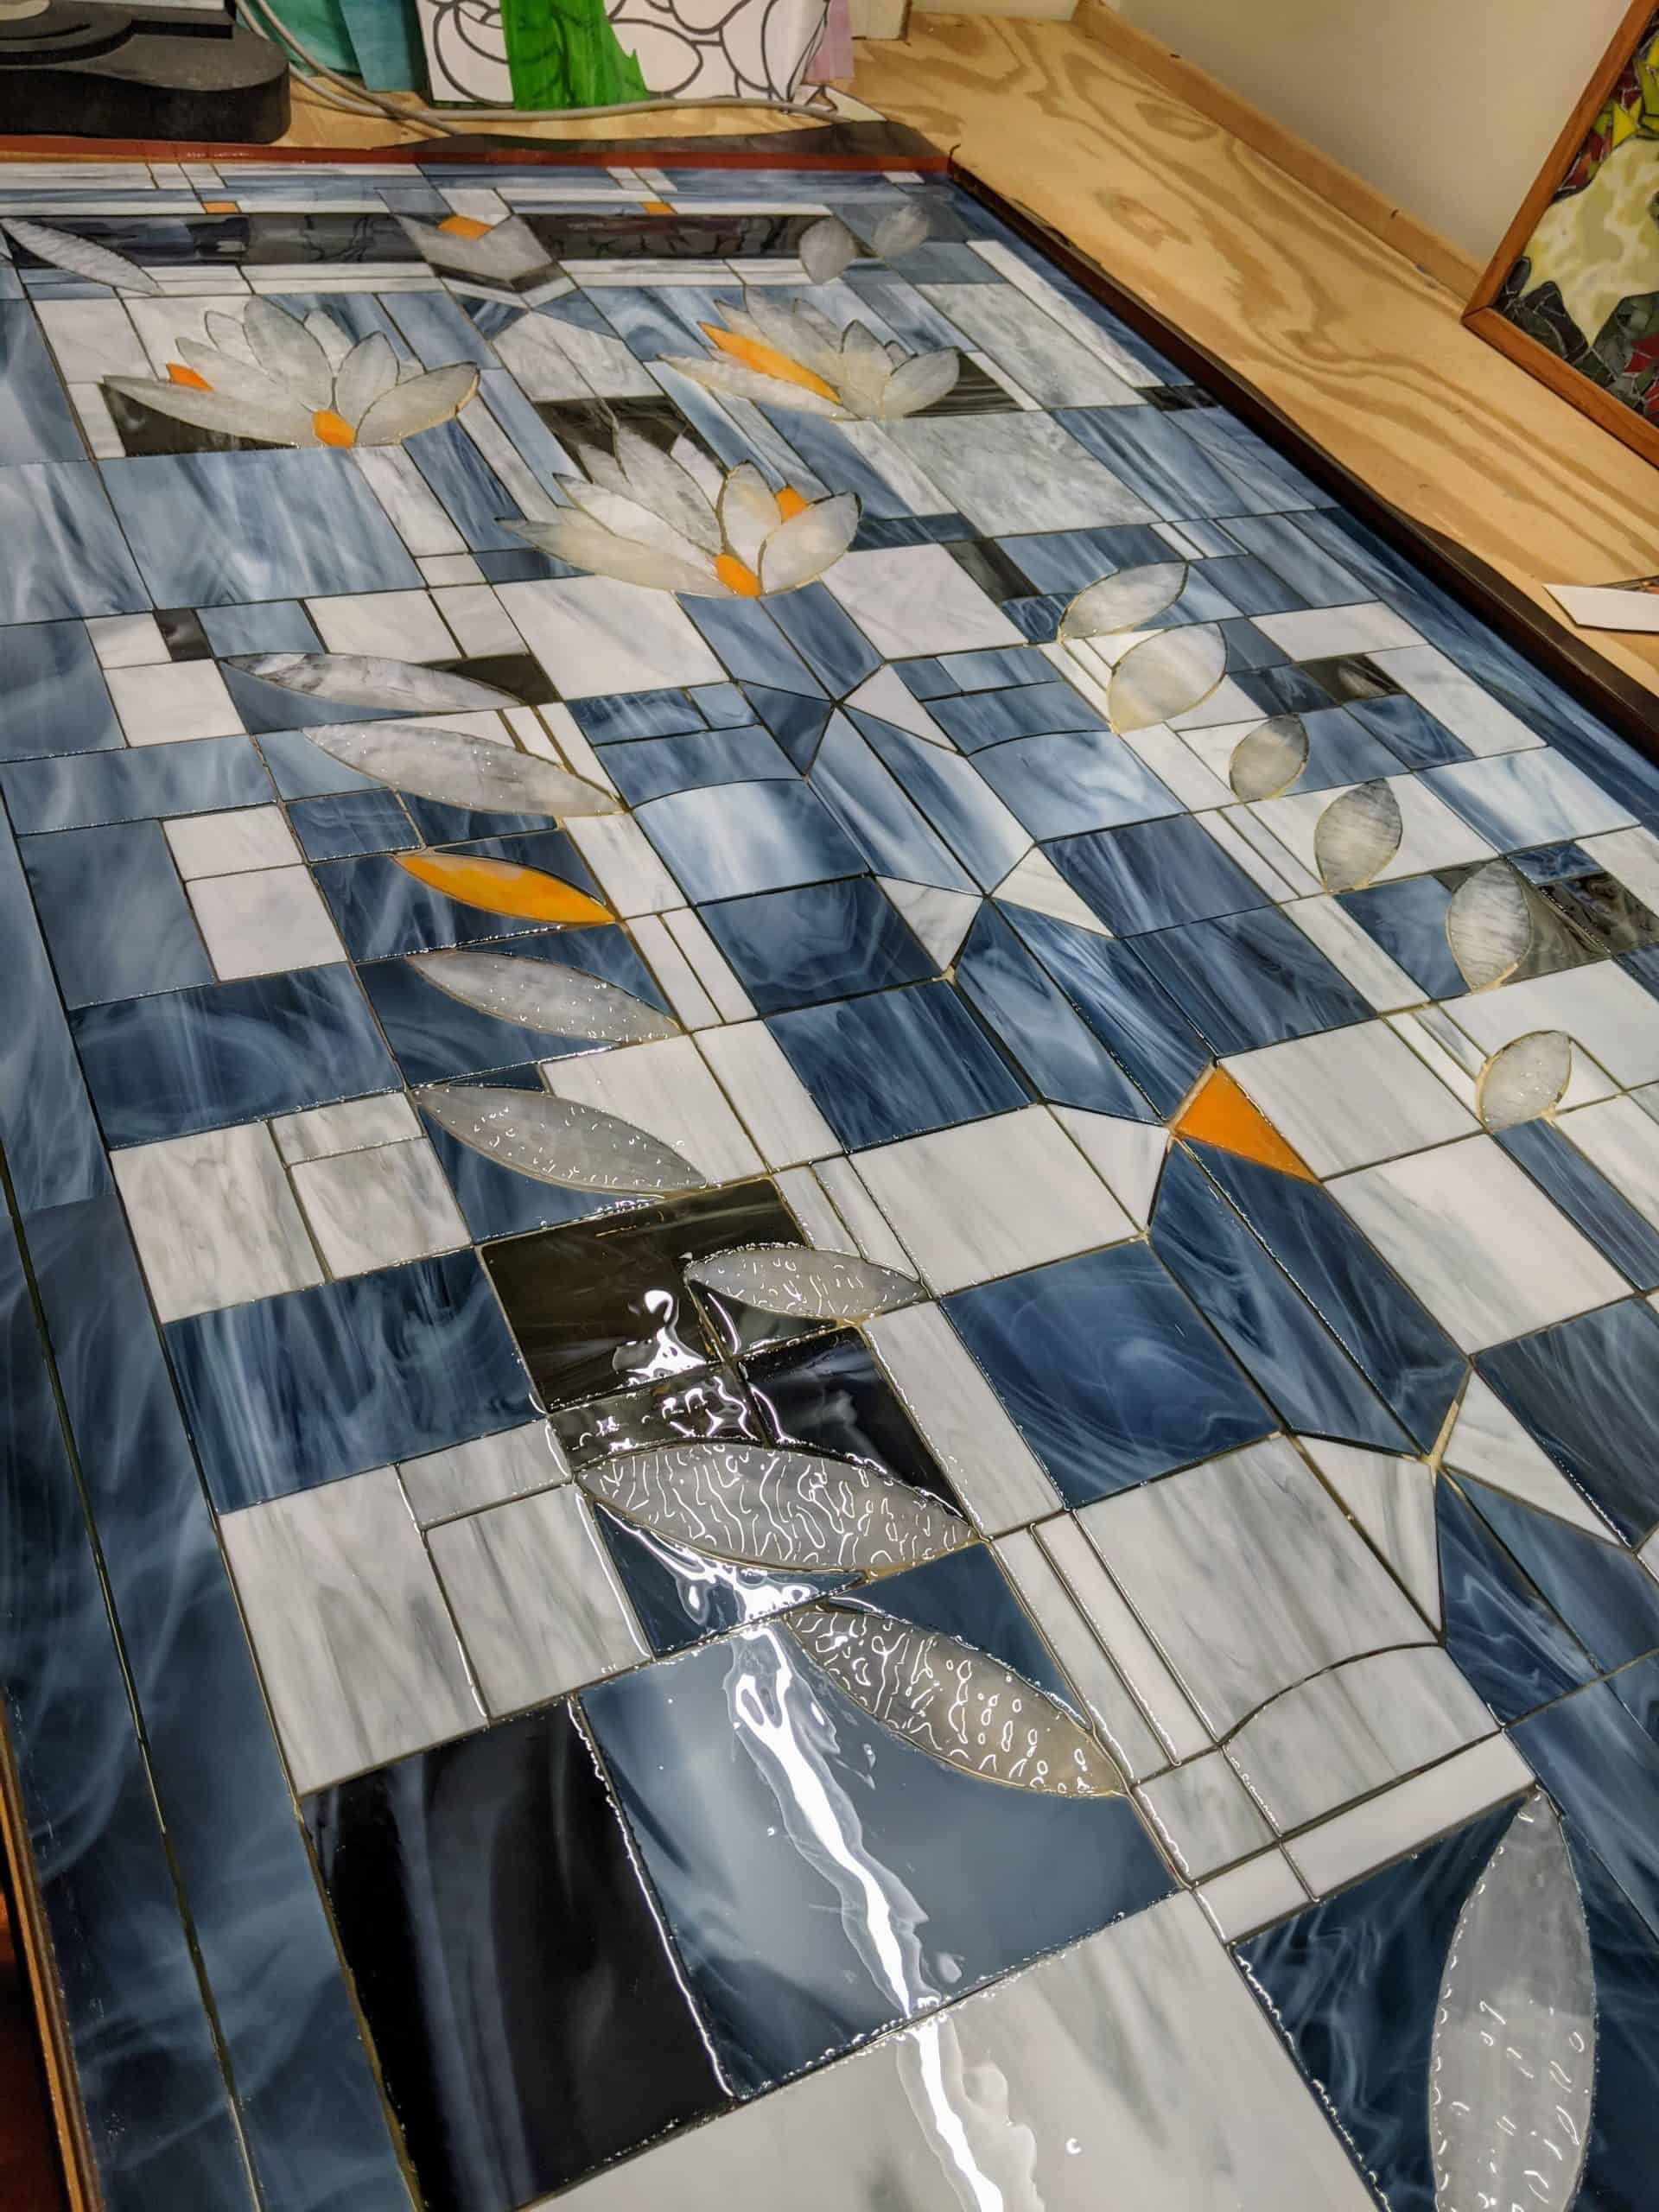
Once all the tape was in place and secure, I mixed 16 ounces of resin and poured it over the panel. I then used a sponge on a stick to distribute the resin as much as I could over the panel. I will have to repeat this with another layer later, as more resin will be needed to fill in all the gaps.
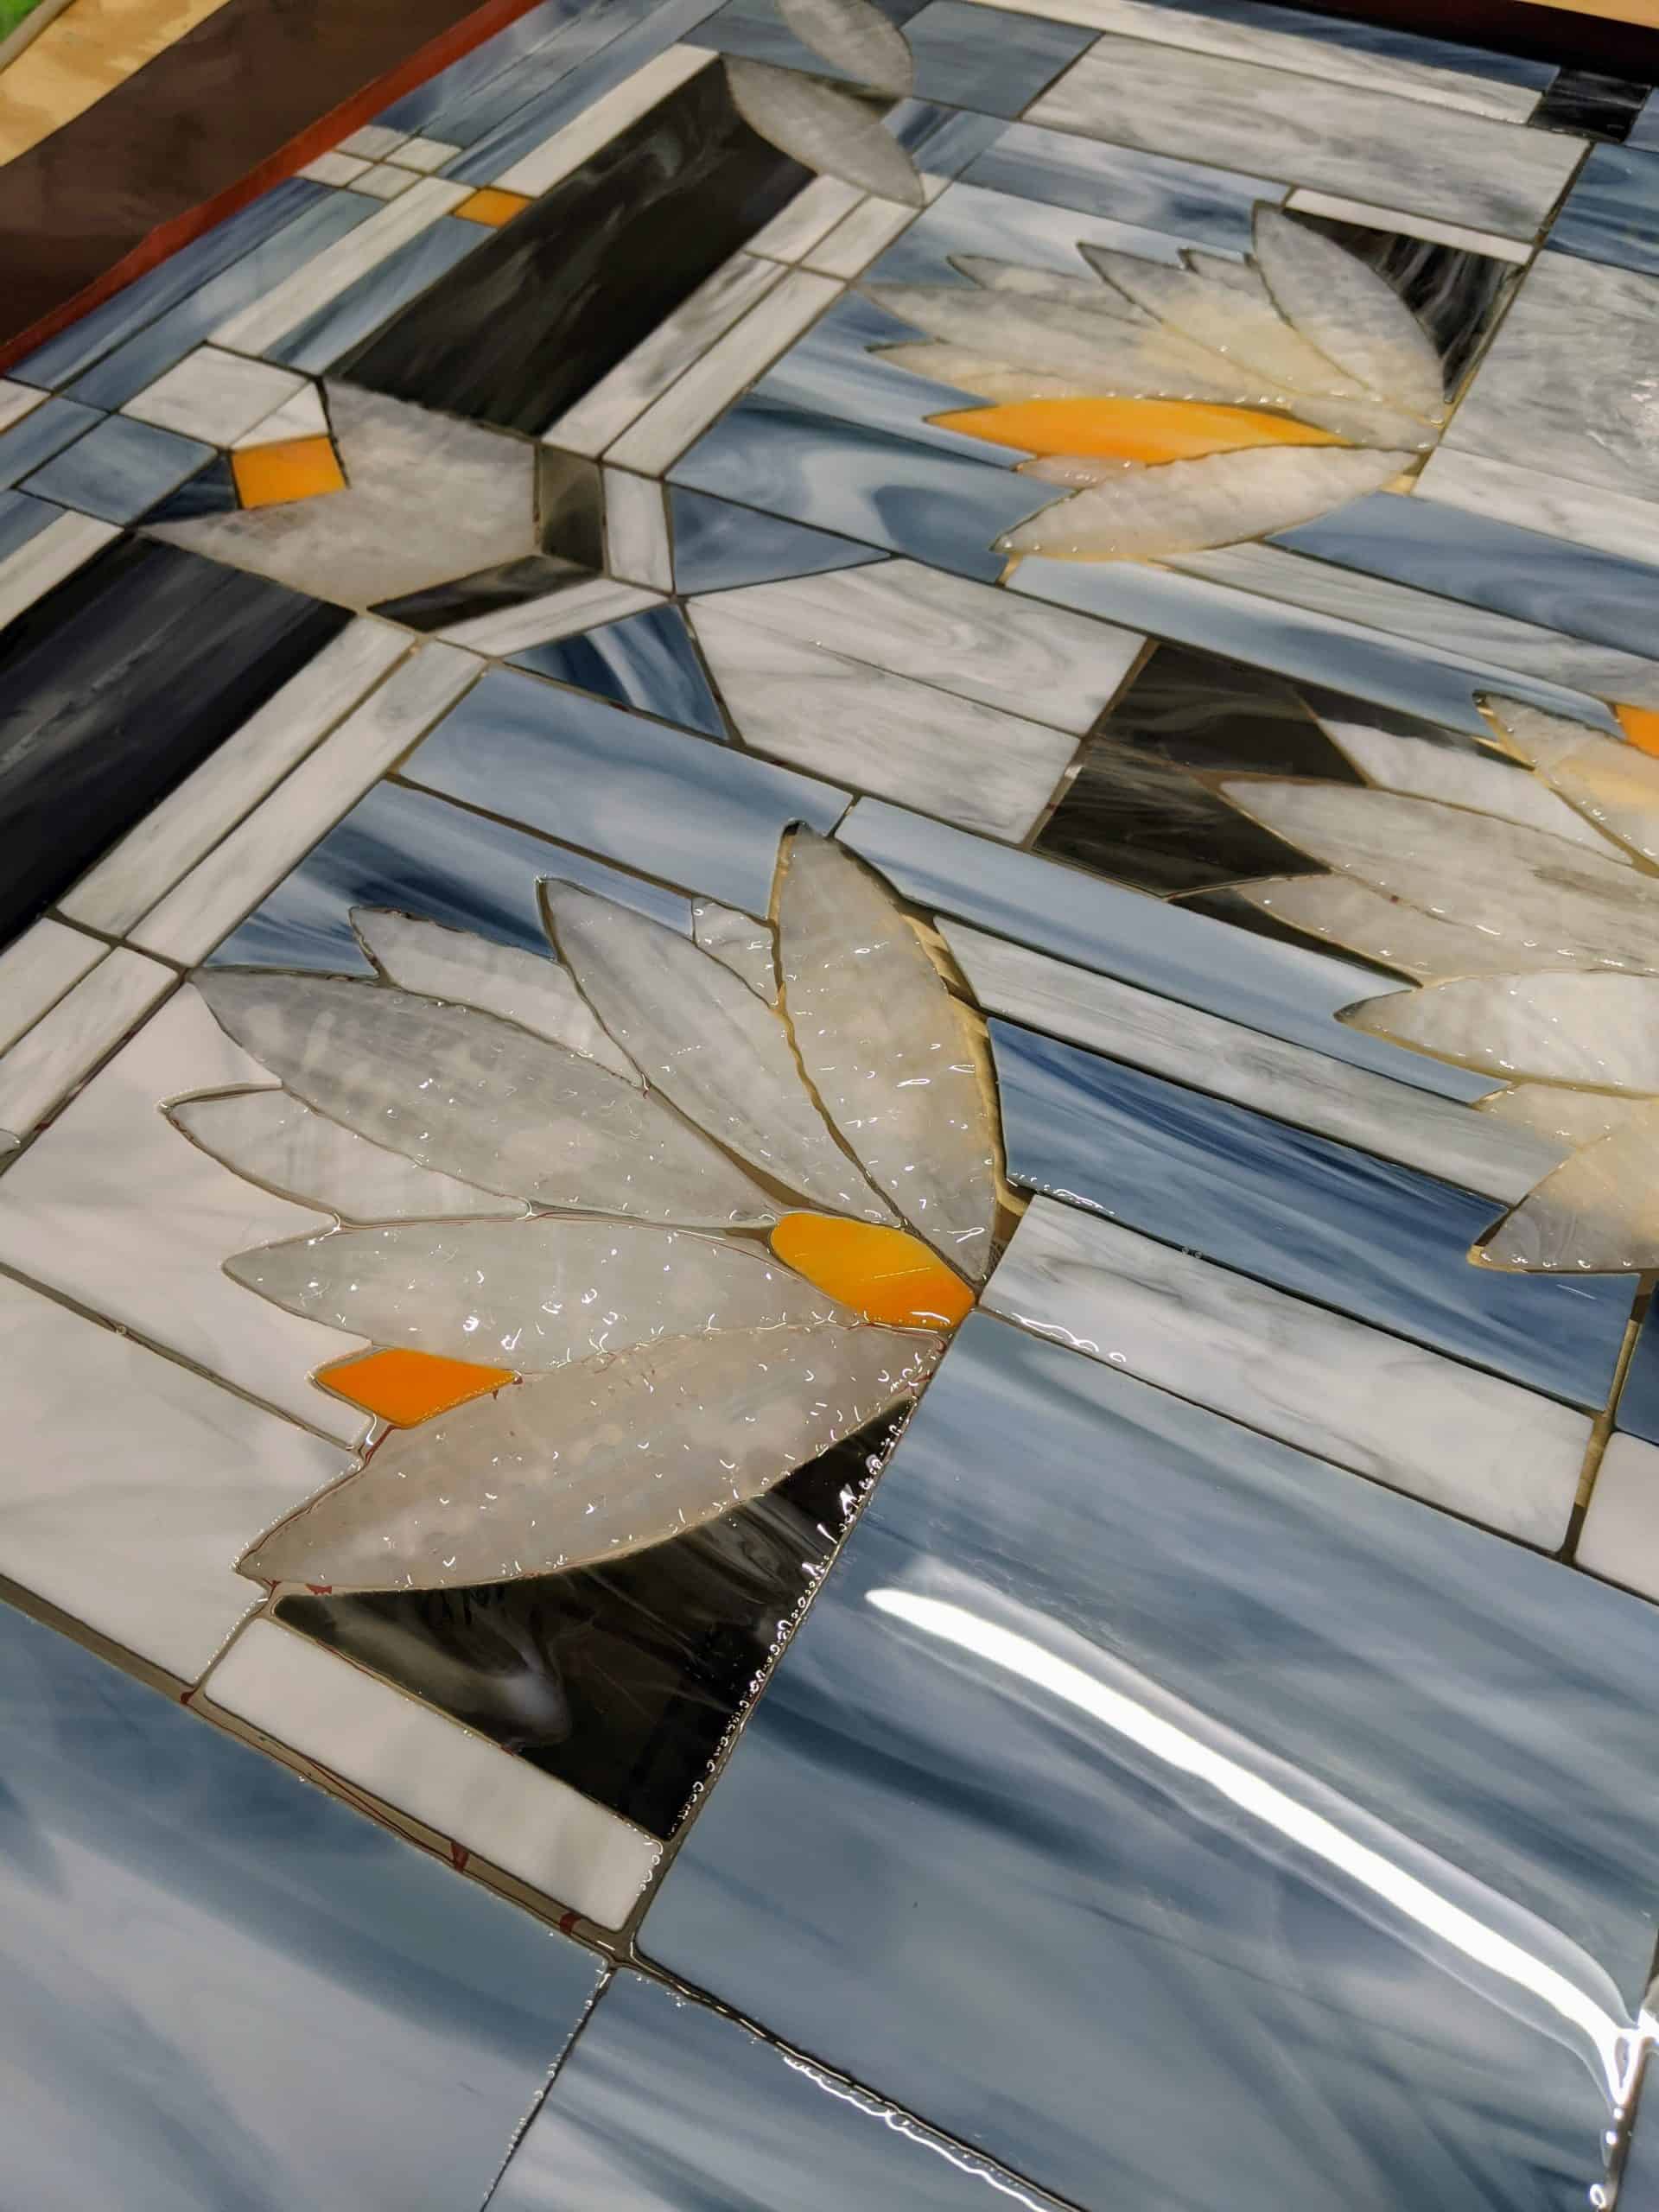
I then used my heat gun to further distribute the resin and remove bubbles that popped up while the resin settled. I spent about an hour and a half doing this.
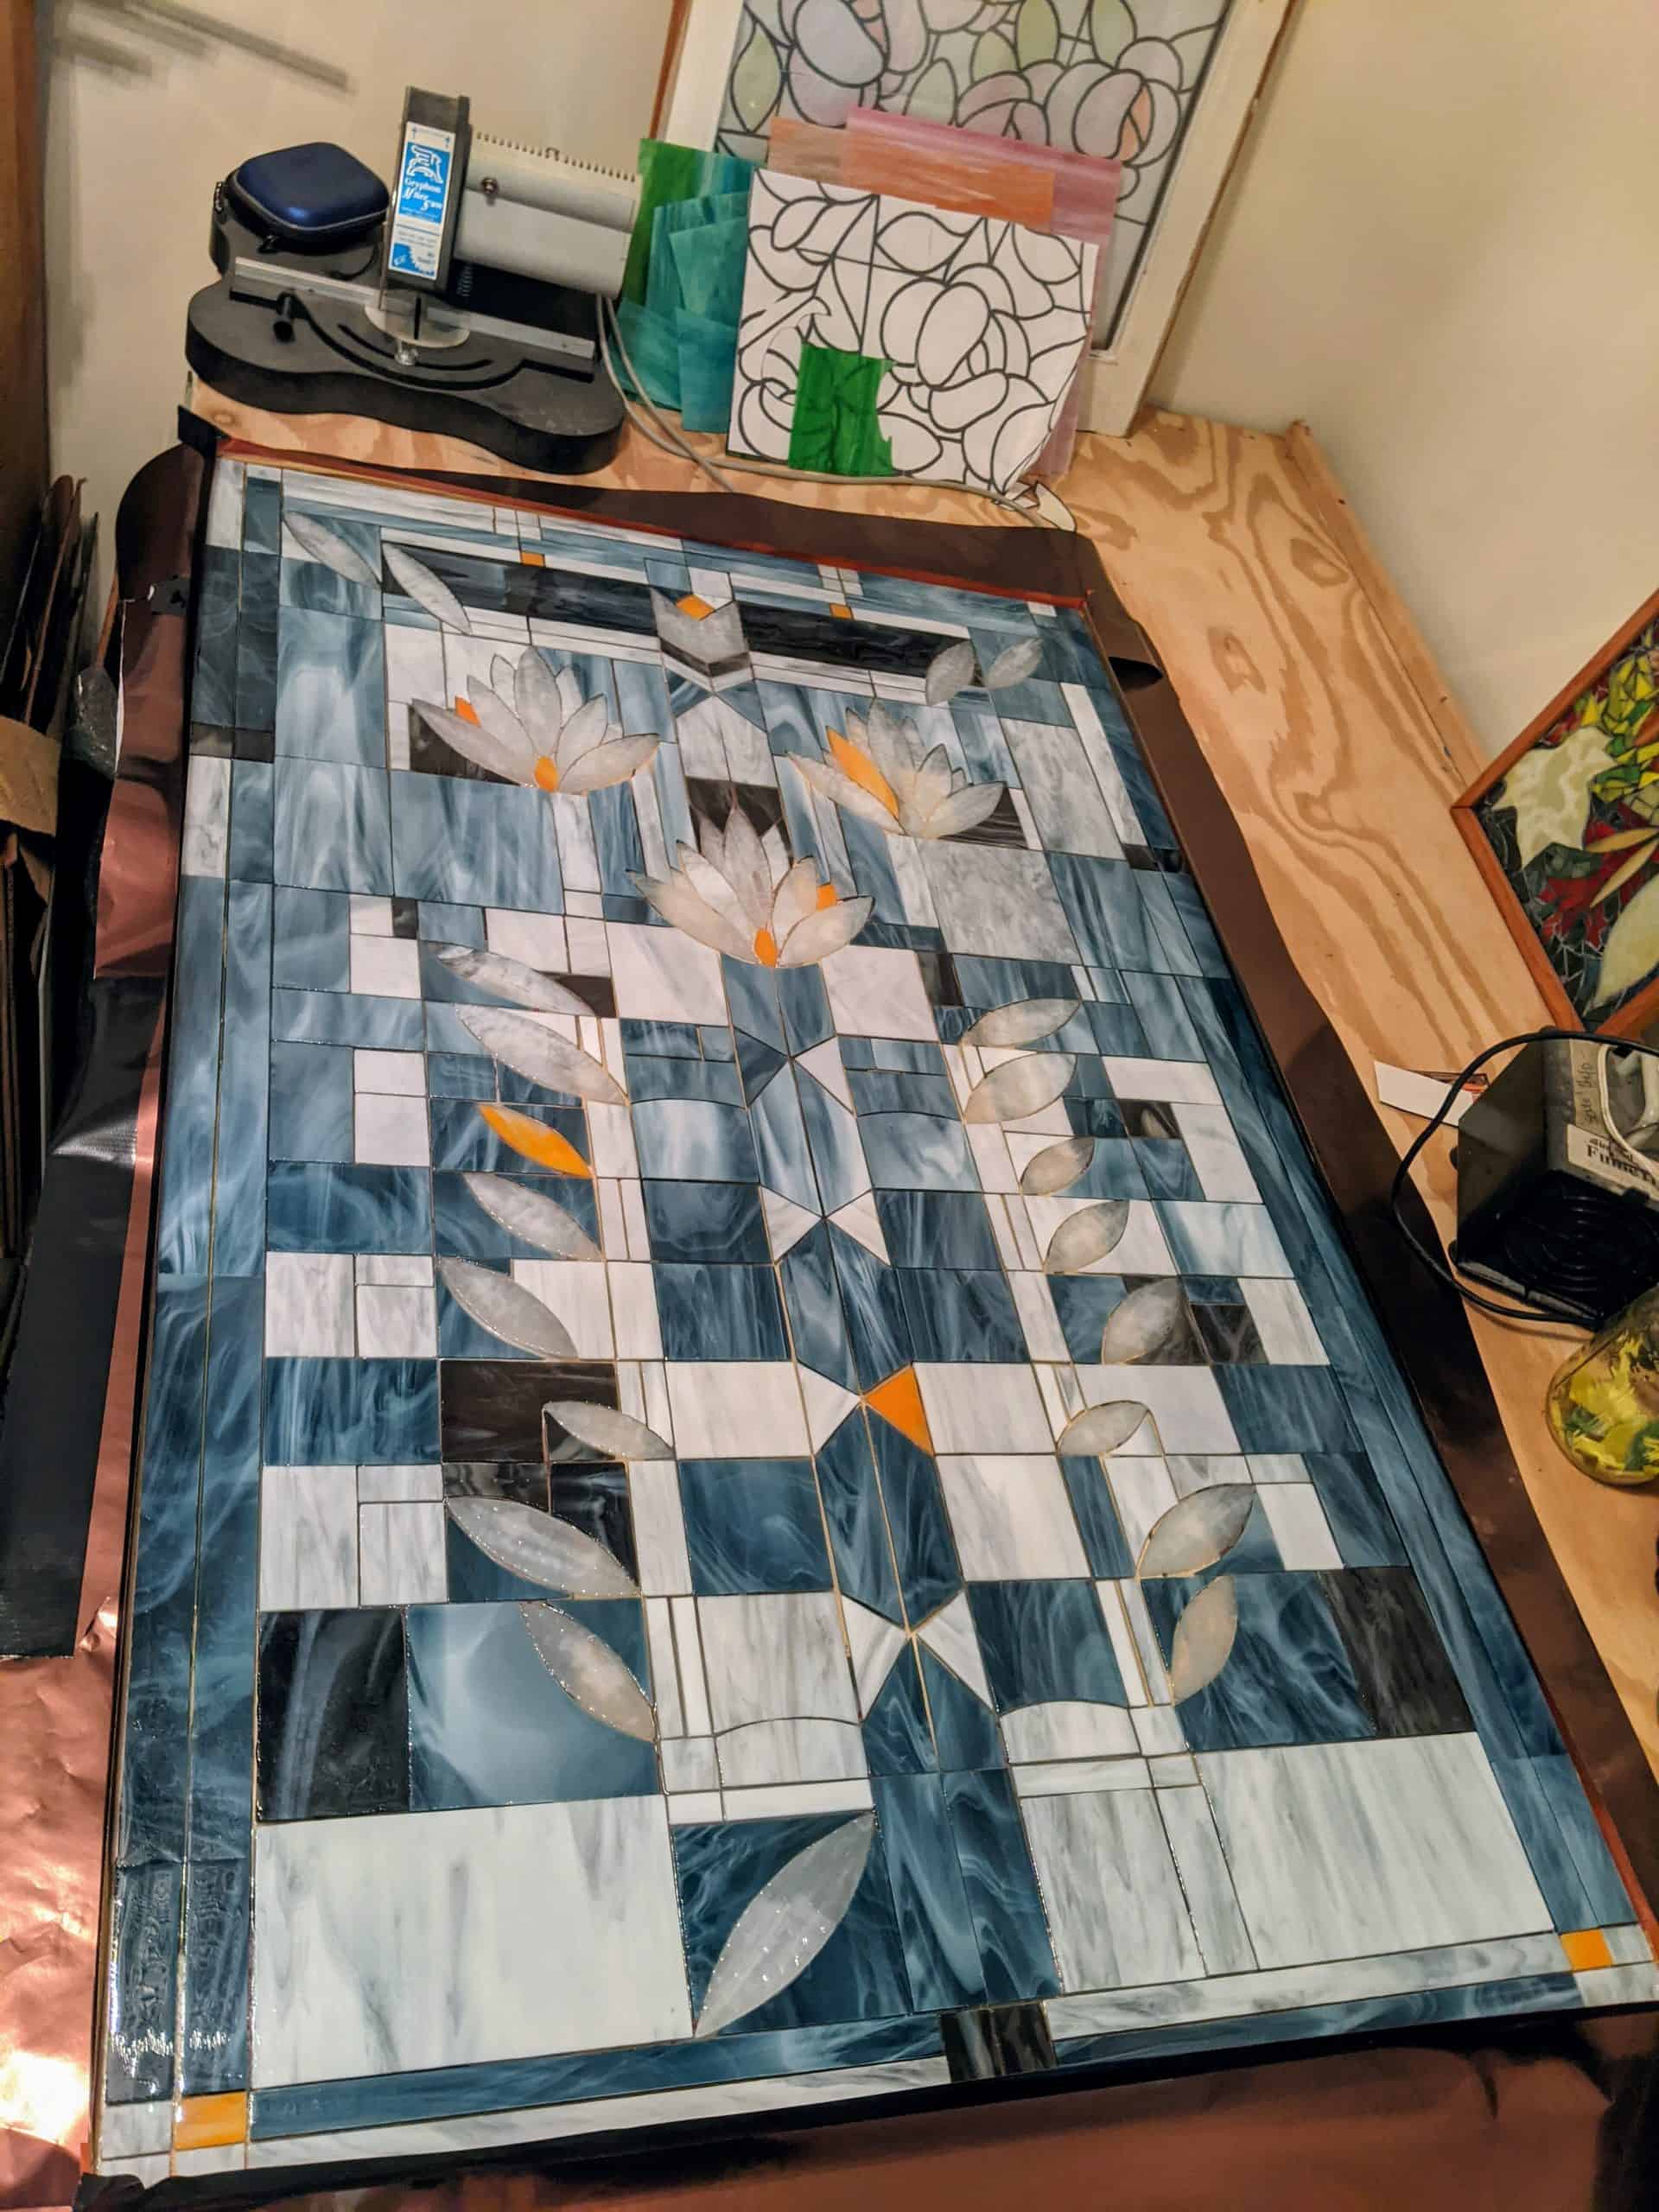
Now I just need to wait overnight for the first layer to cure. After that, I will repeat with a second and hopefully final layer to fill in the remaining crevices.