Today I was able to complete what I think is the last step in the 3D tree experiment. For the standalone tree, that was to add and decorate a base. For the two rectangular trees, it was to decorate the unfinished half. I also was able to pop the memory beads and kitty shaped mementos I made with our cat Neo’s ashes out of their molds.
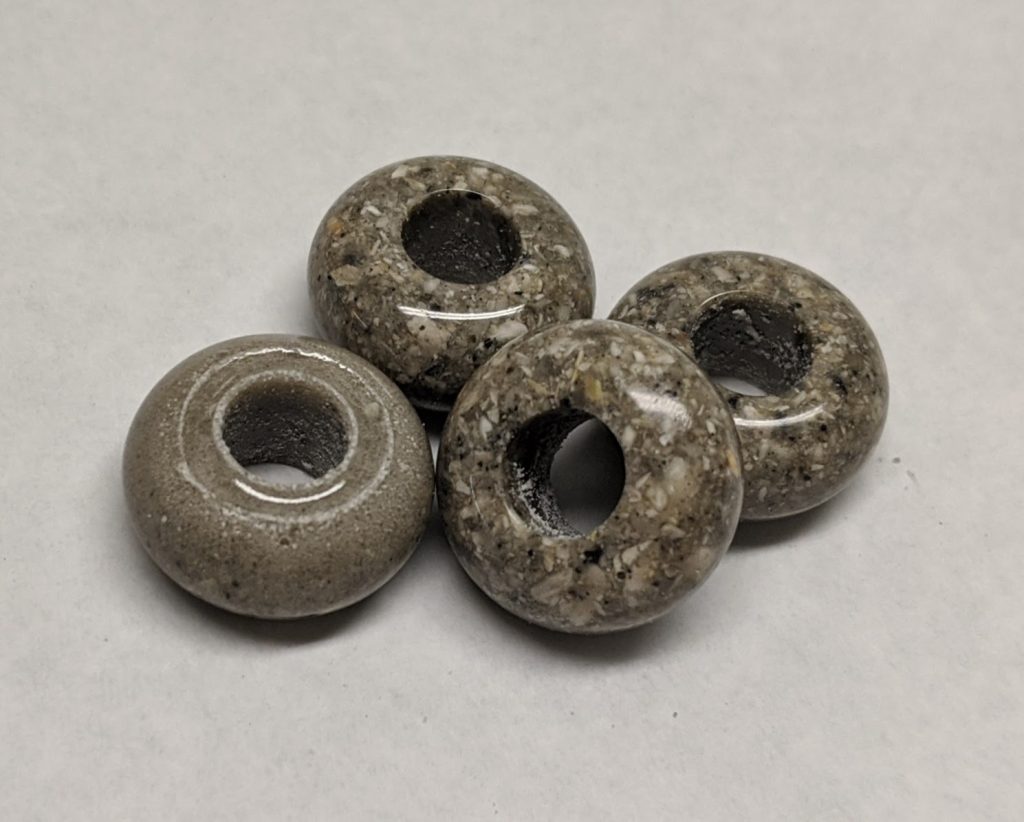
Memory beads (ash) 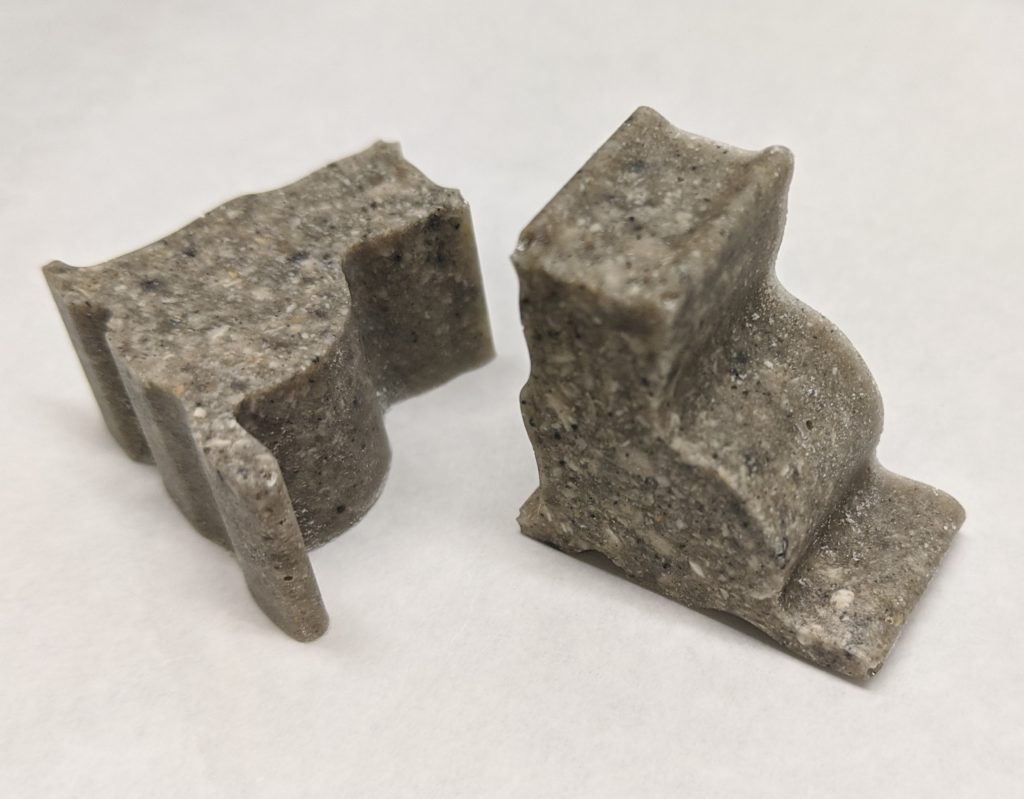
Cat shaped mementos in ash
The rectangular trees had quite a bit of drips on the unfinished edge, despite my efforts to prevent them. I was able to remove them with a razor blade.
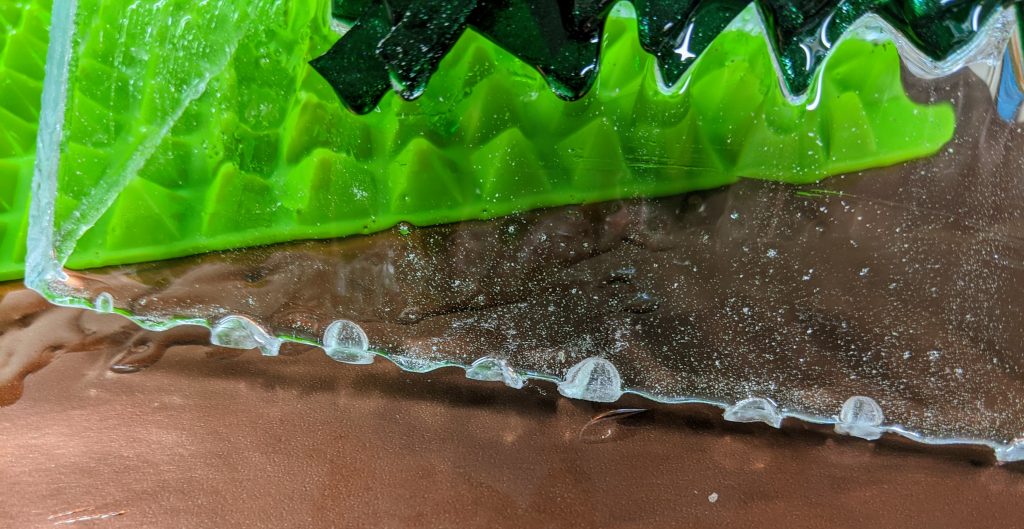
Once I cleaned up the edges a bit, I laid them out on the work surface, ready to coat with a thin covering of resin.
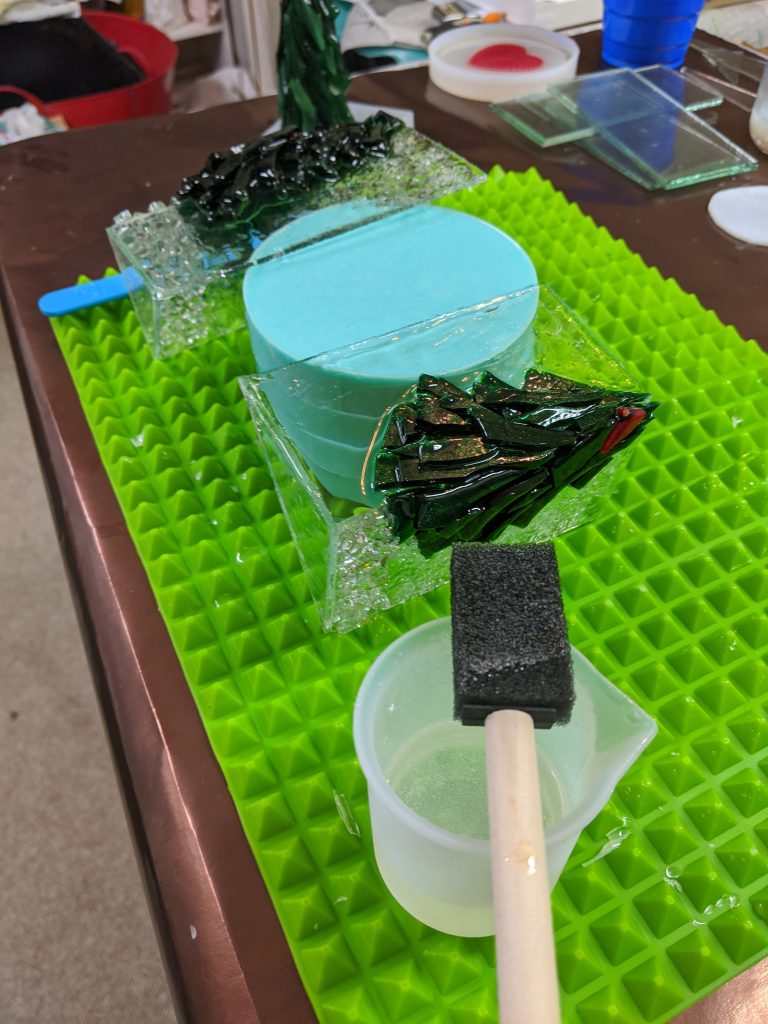
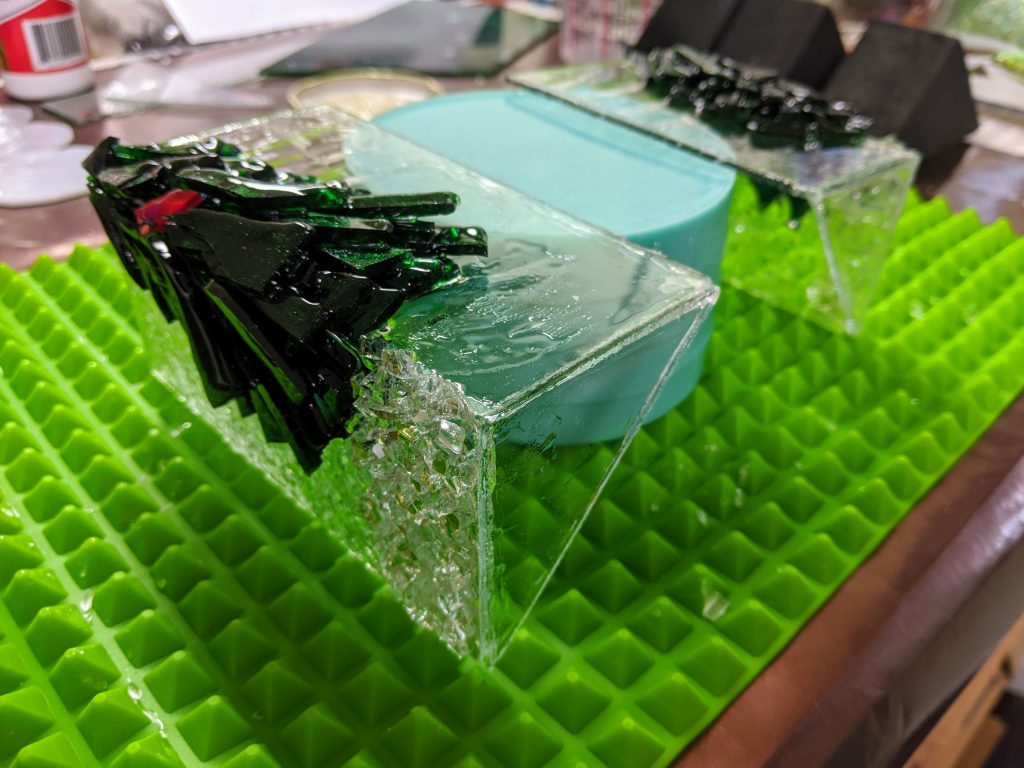
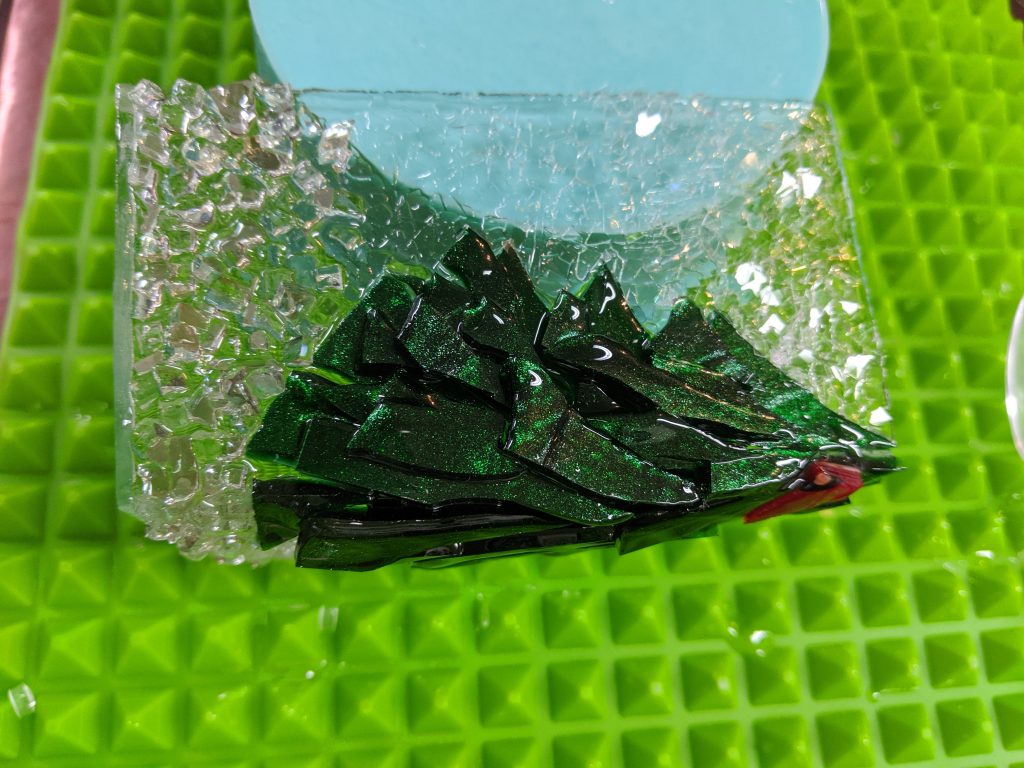
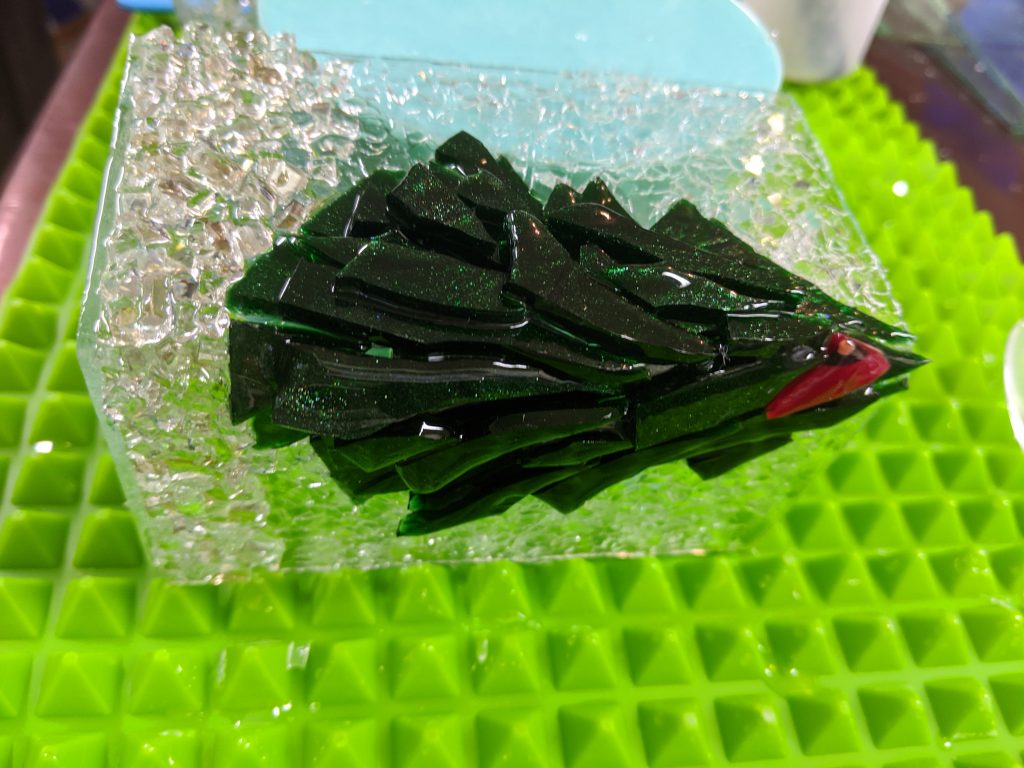
Once the resin was in place, I sprinkled the glass chips / chunks onto it.
Next I turned my attention to the standalone tree, which needed a base of resin poured and decorated.
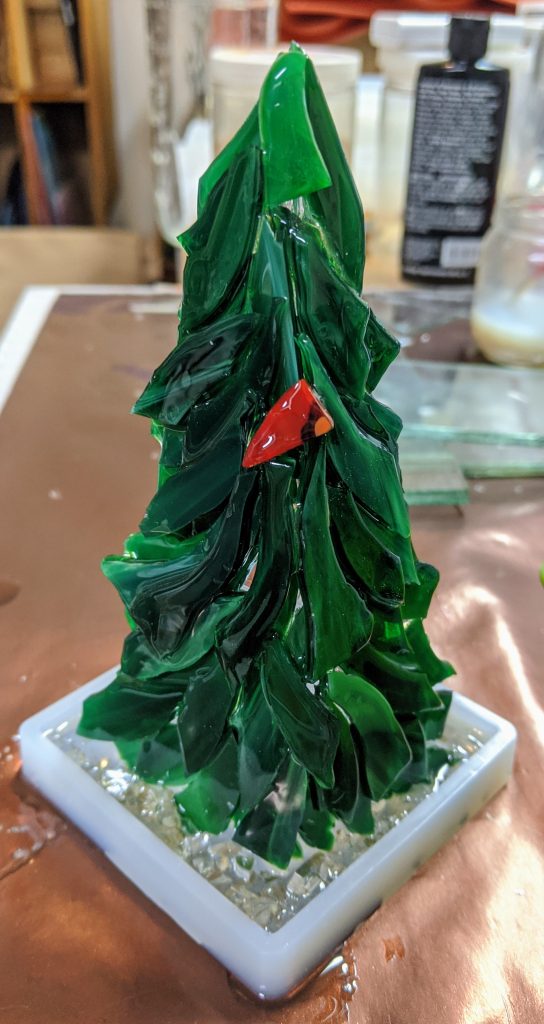
Tomorrow we’ll see how they look! I think if I do more of these I will use colored glass for the backer that matches the tree glass instead of the clear, at least behind the tree itself. It’s hard to cover all of the possible gaps between the branches otherwise. So far I like the look of the standalone tree best, but it also has sharper edges.

They are going to be a gorgeous seasonal center of attention when completed!
Thanks so much! I hope so!