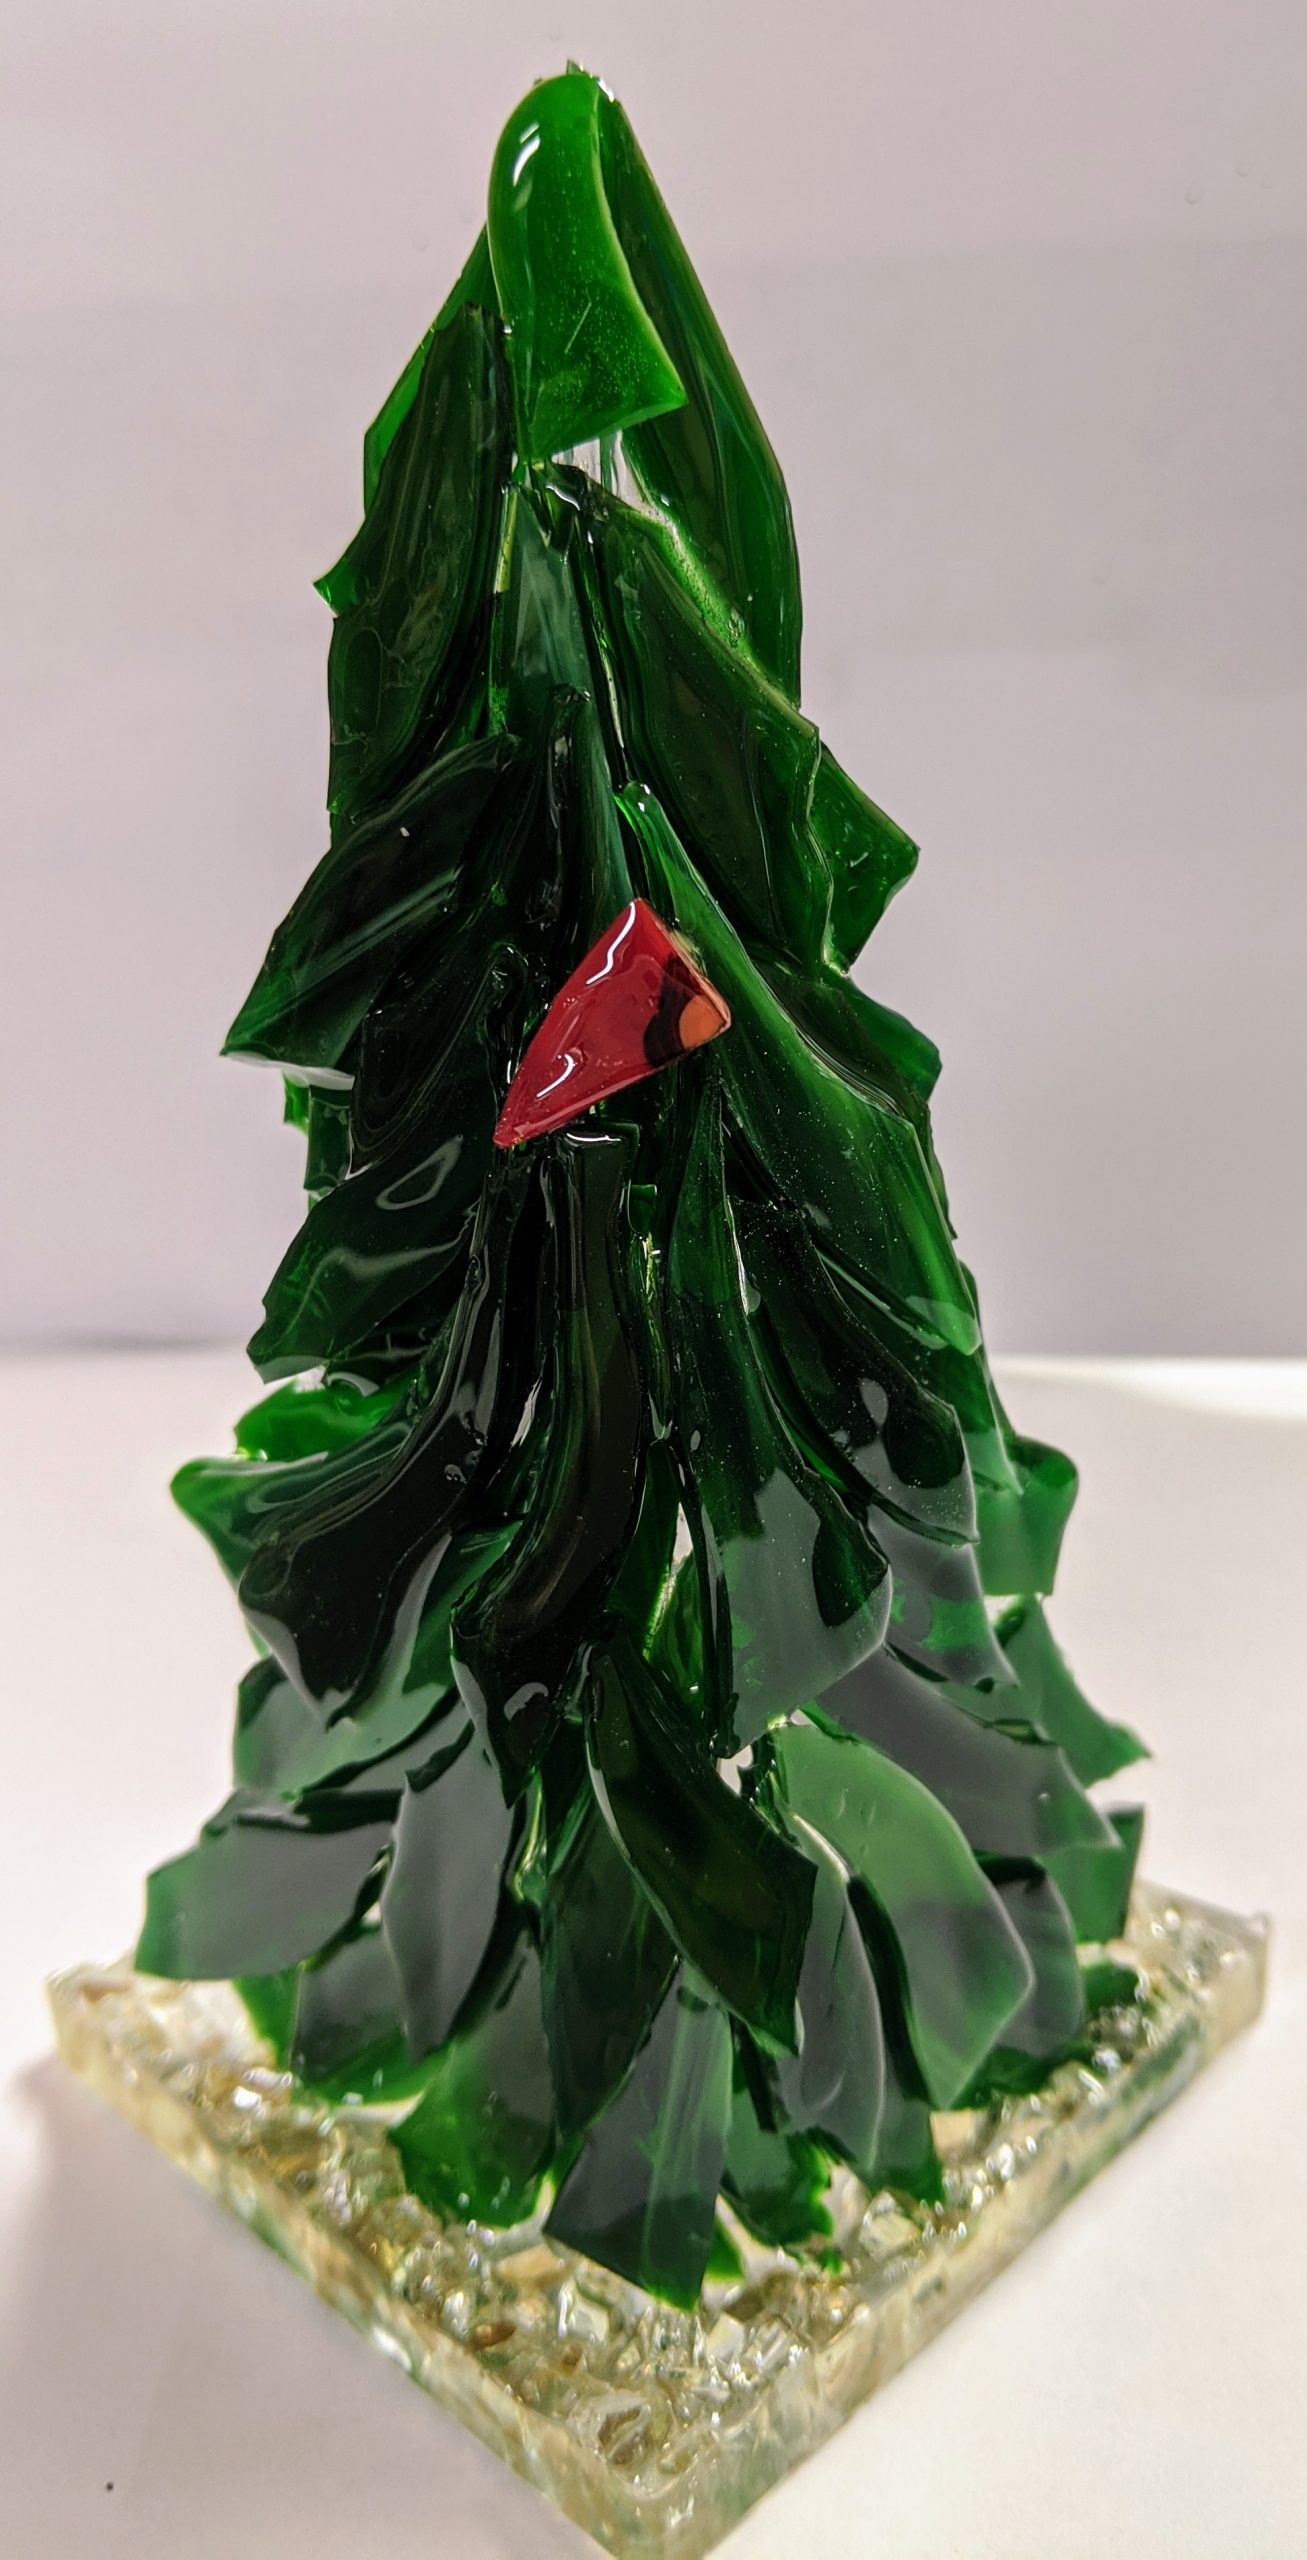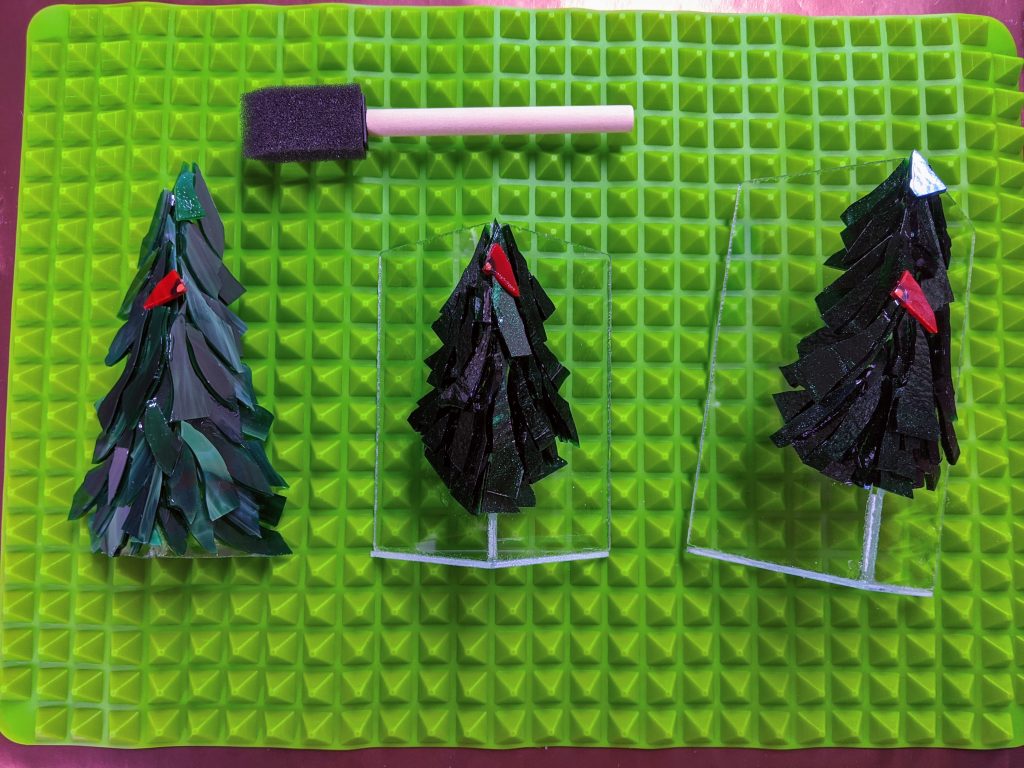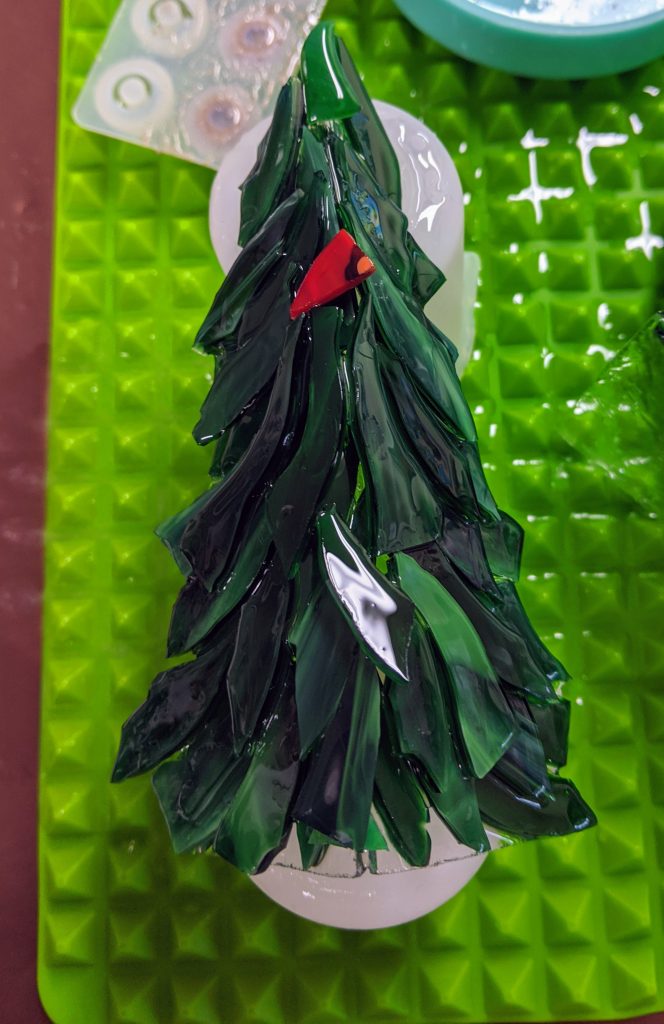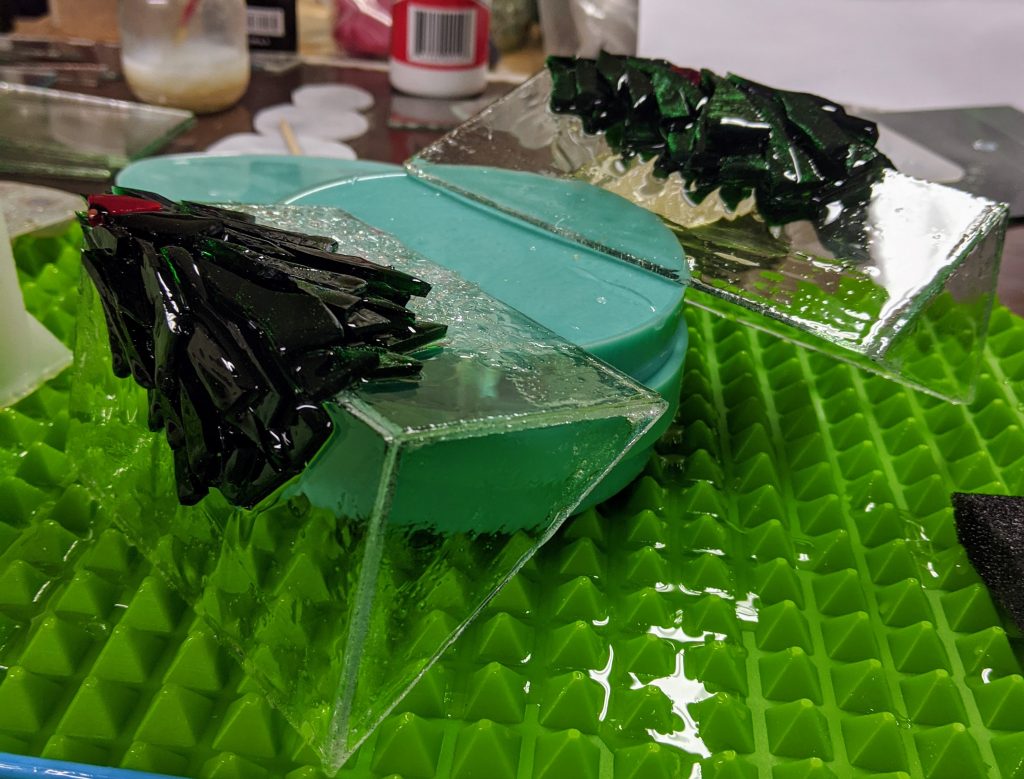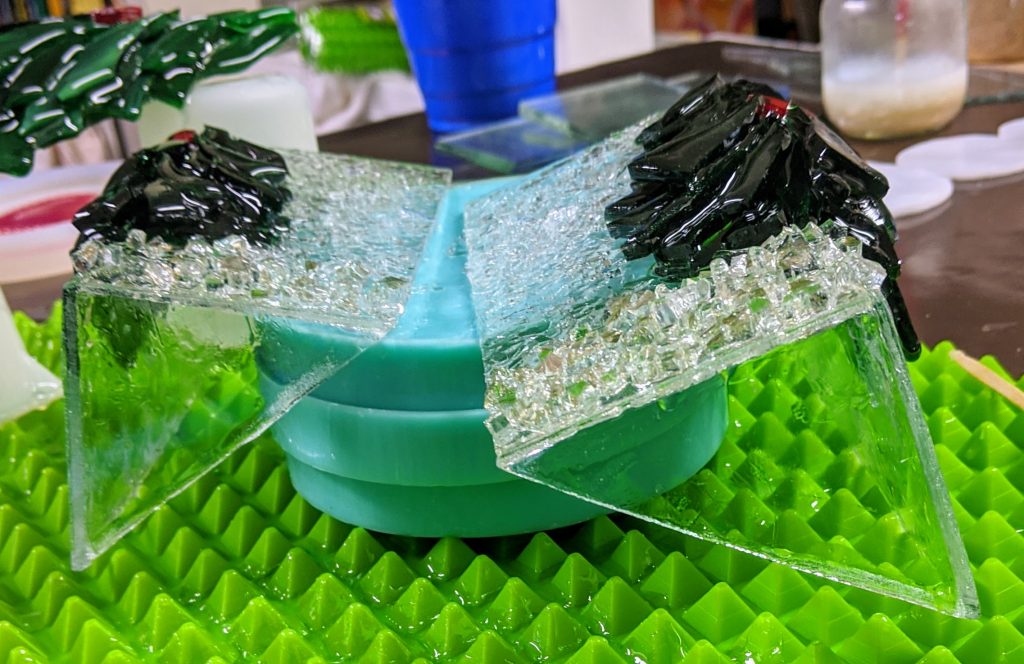
I finished all three tree candle holders today – here are snapshots of the finished products. Overall, I like the tree that’s standalone (not on a rectangular base) the best. I had a hard time keeping the resin tidy looking on the rectangular glass pieces with multiple stages of pouring.
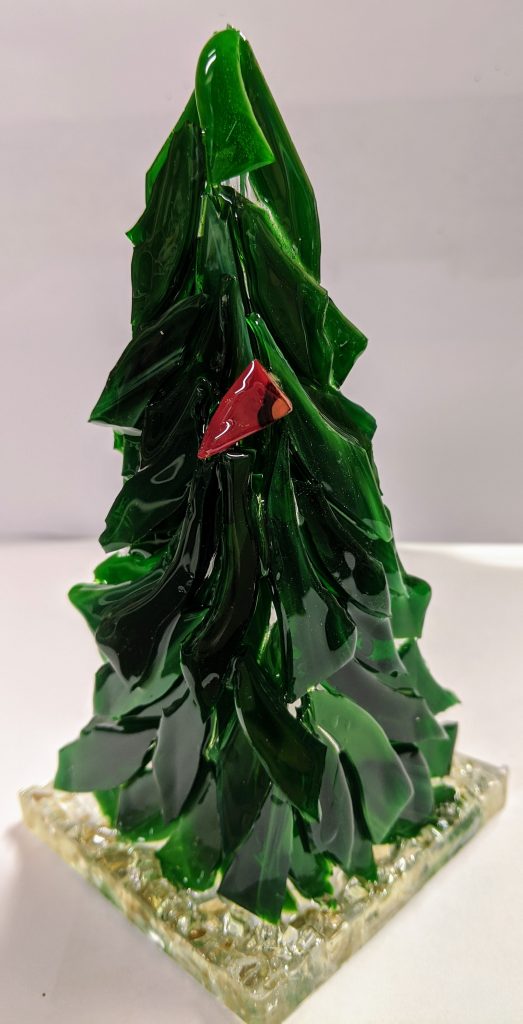
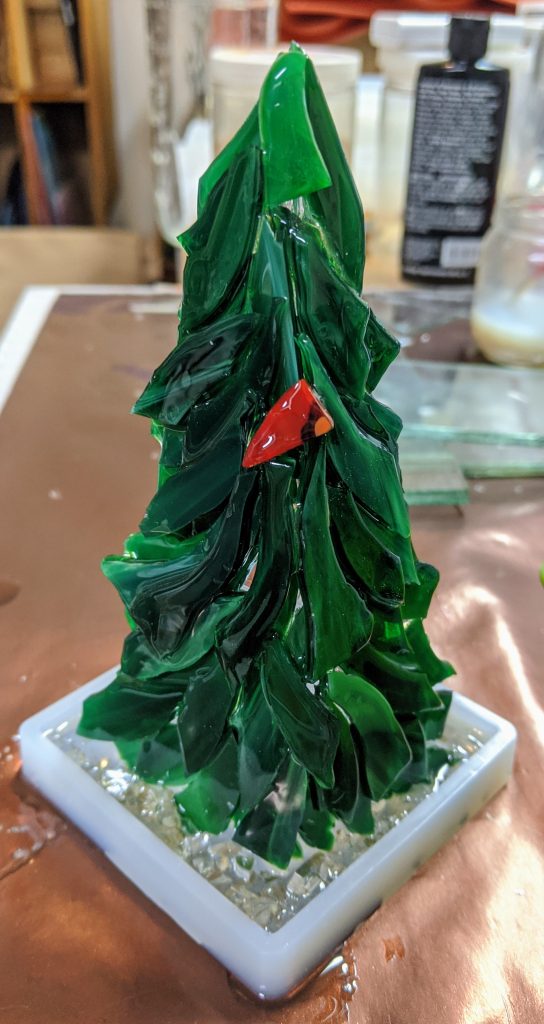
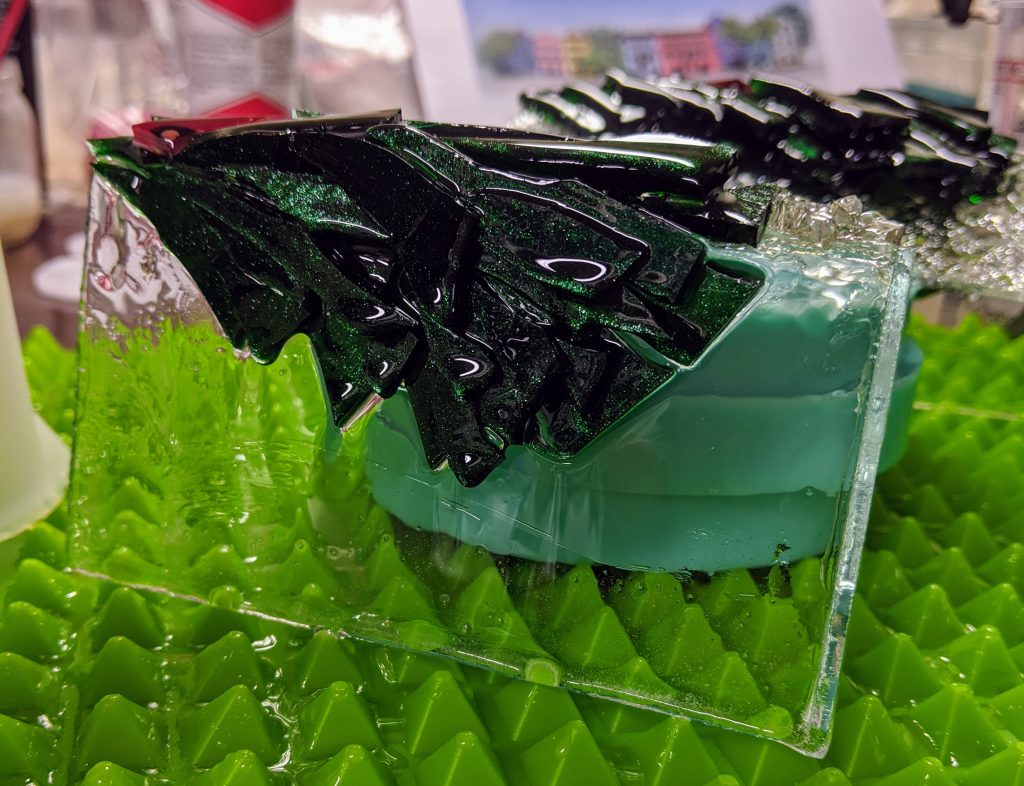
Tree candle holder with resin base. 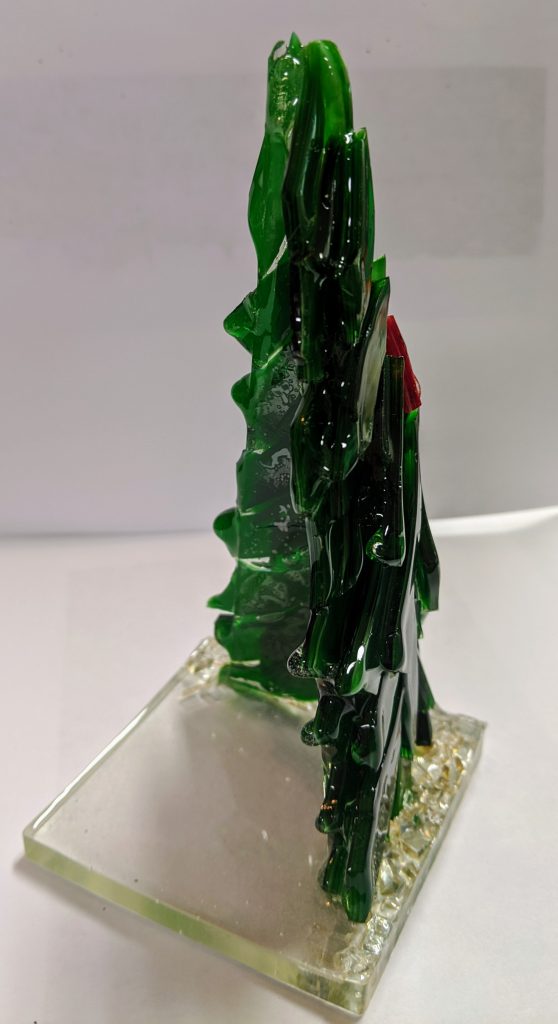
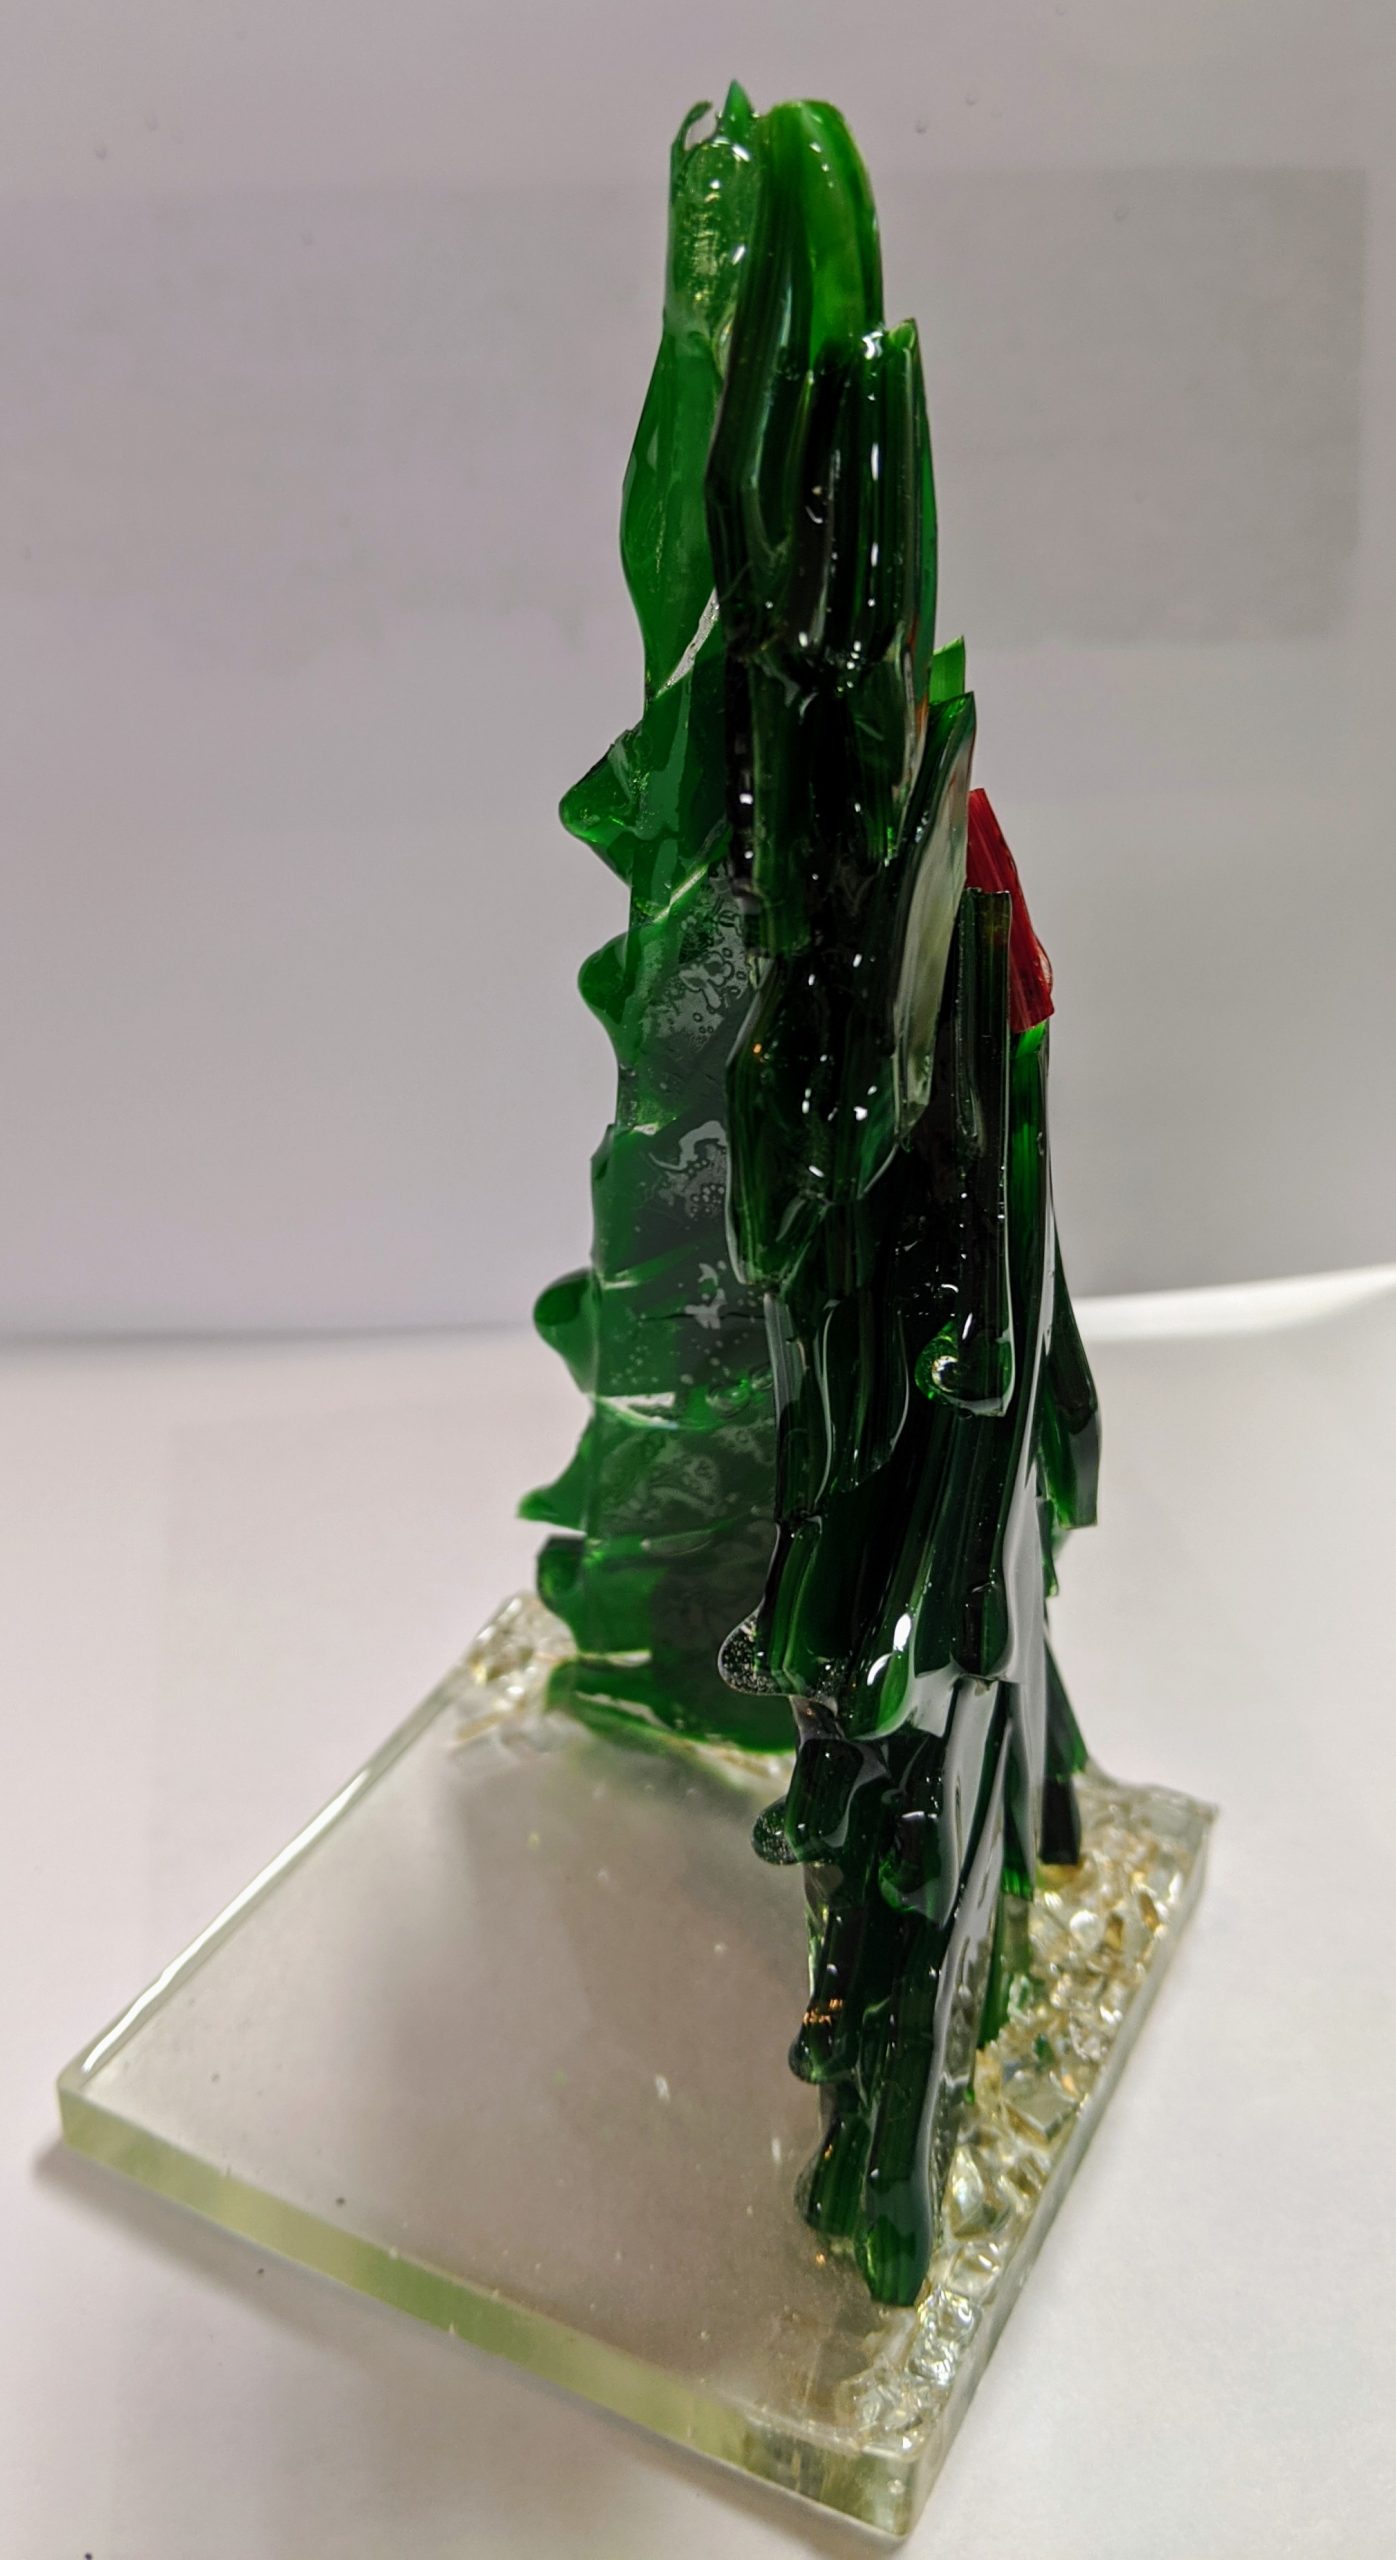
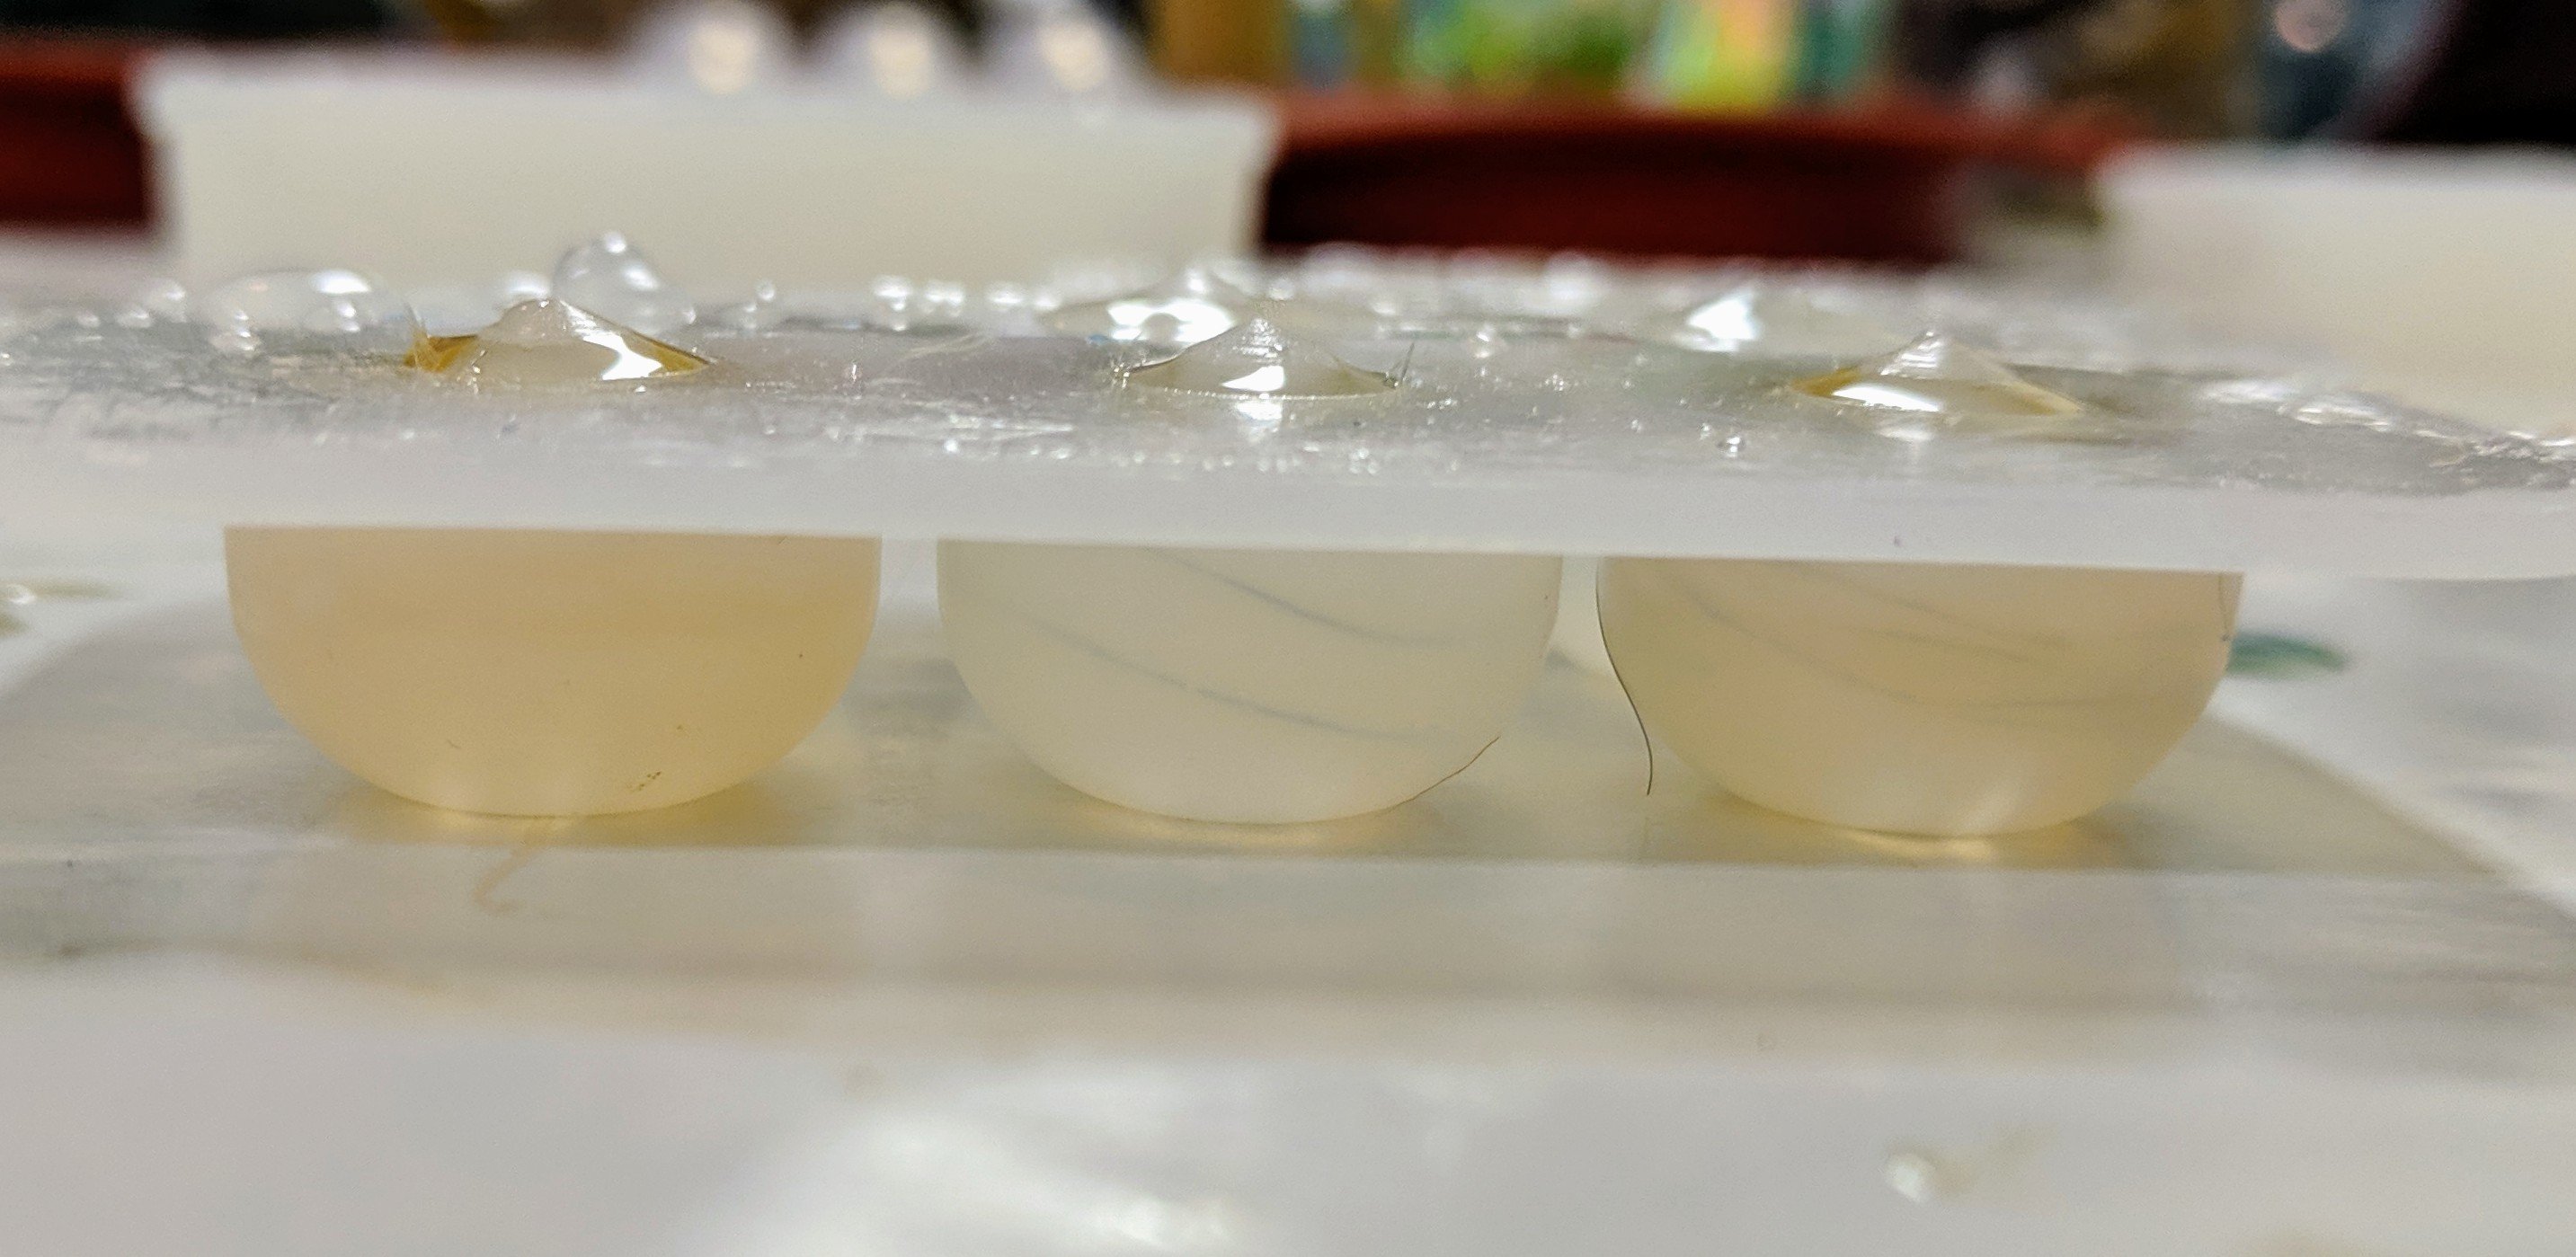
Side view. 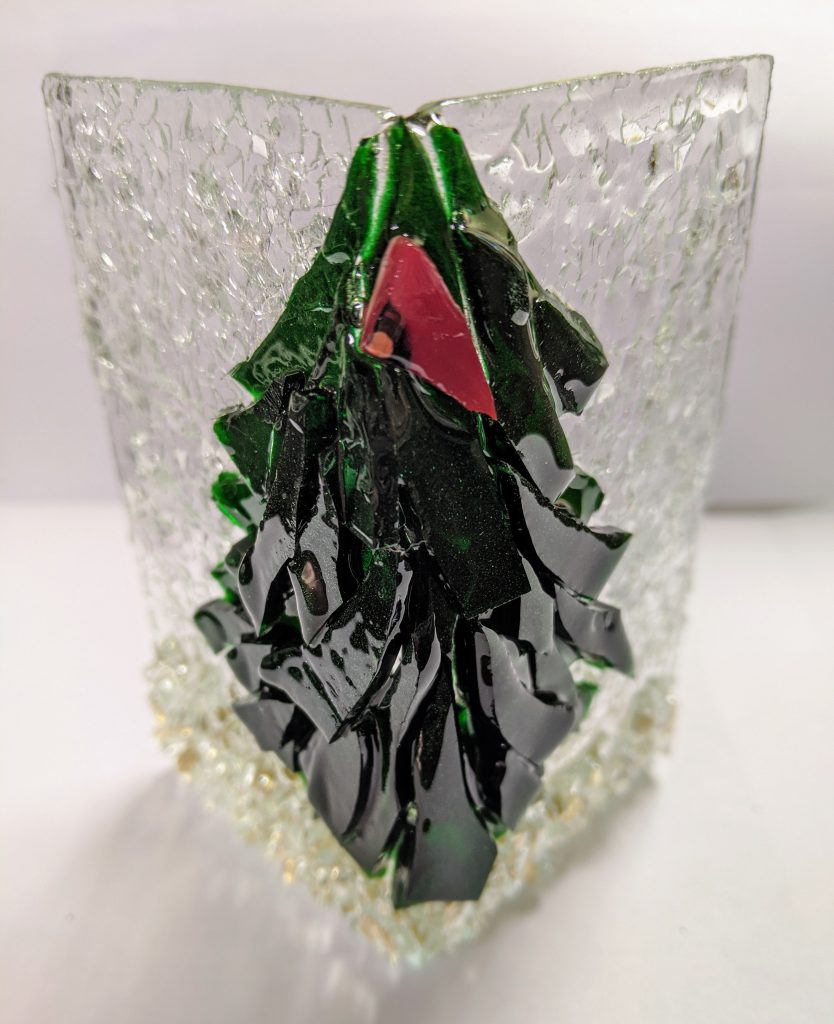
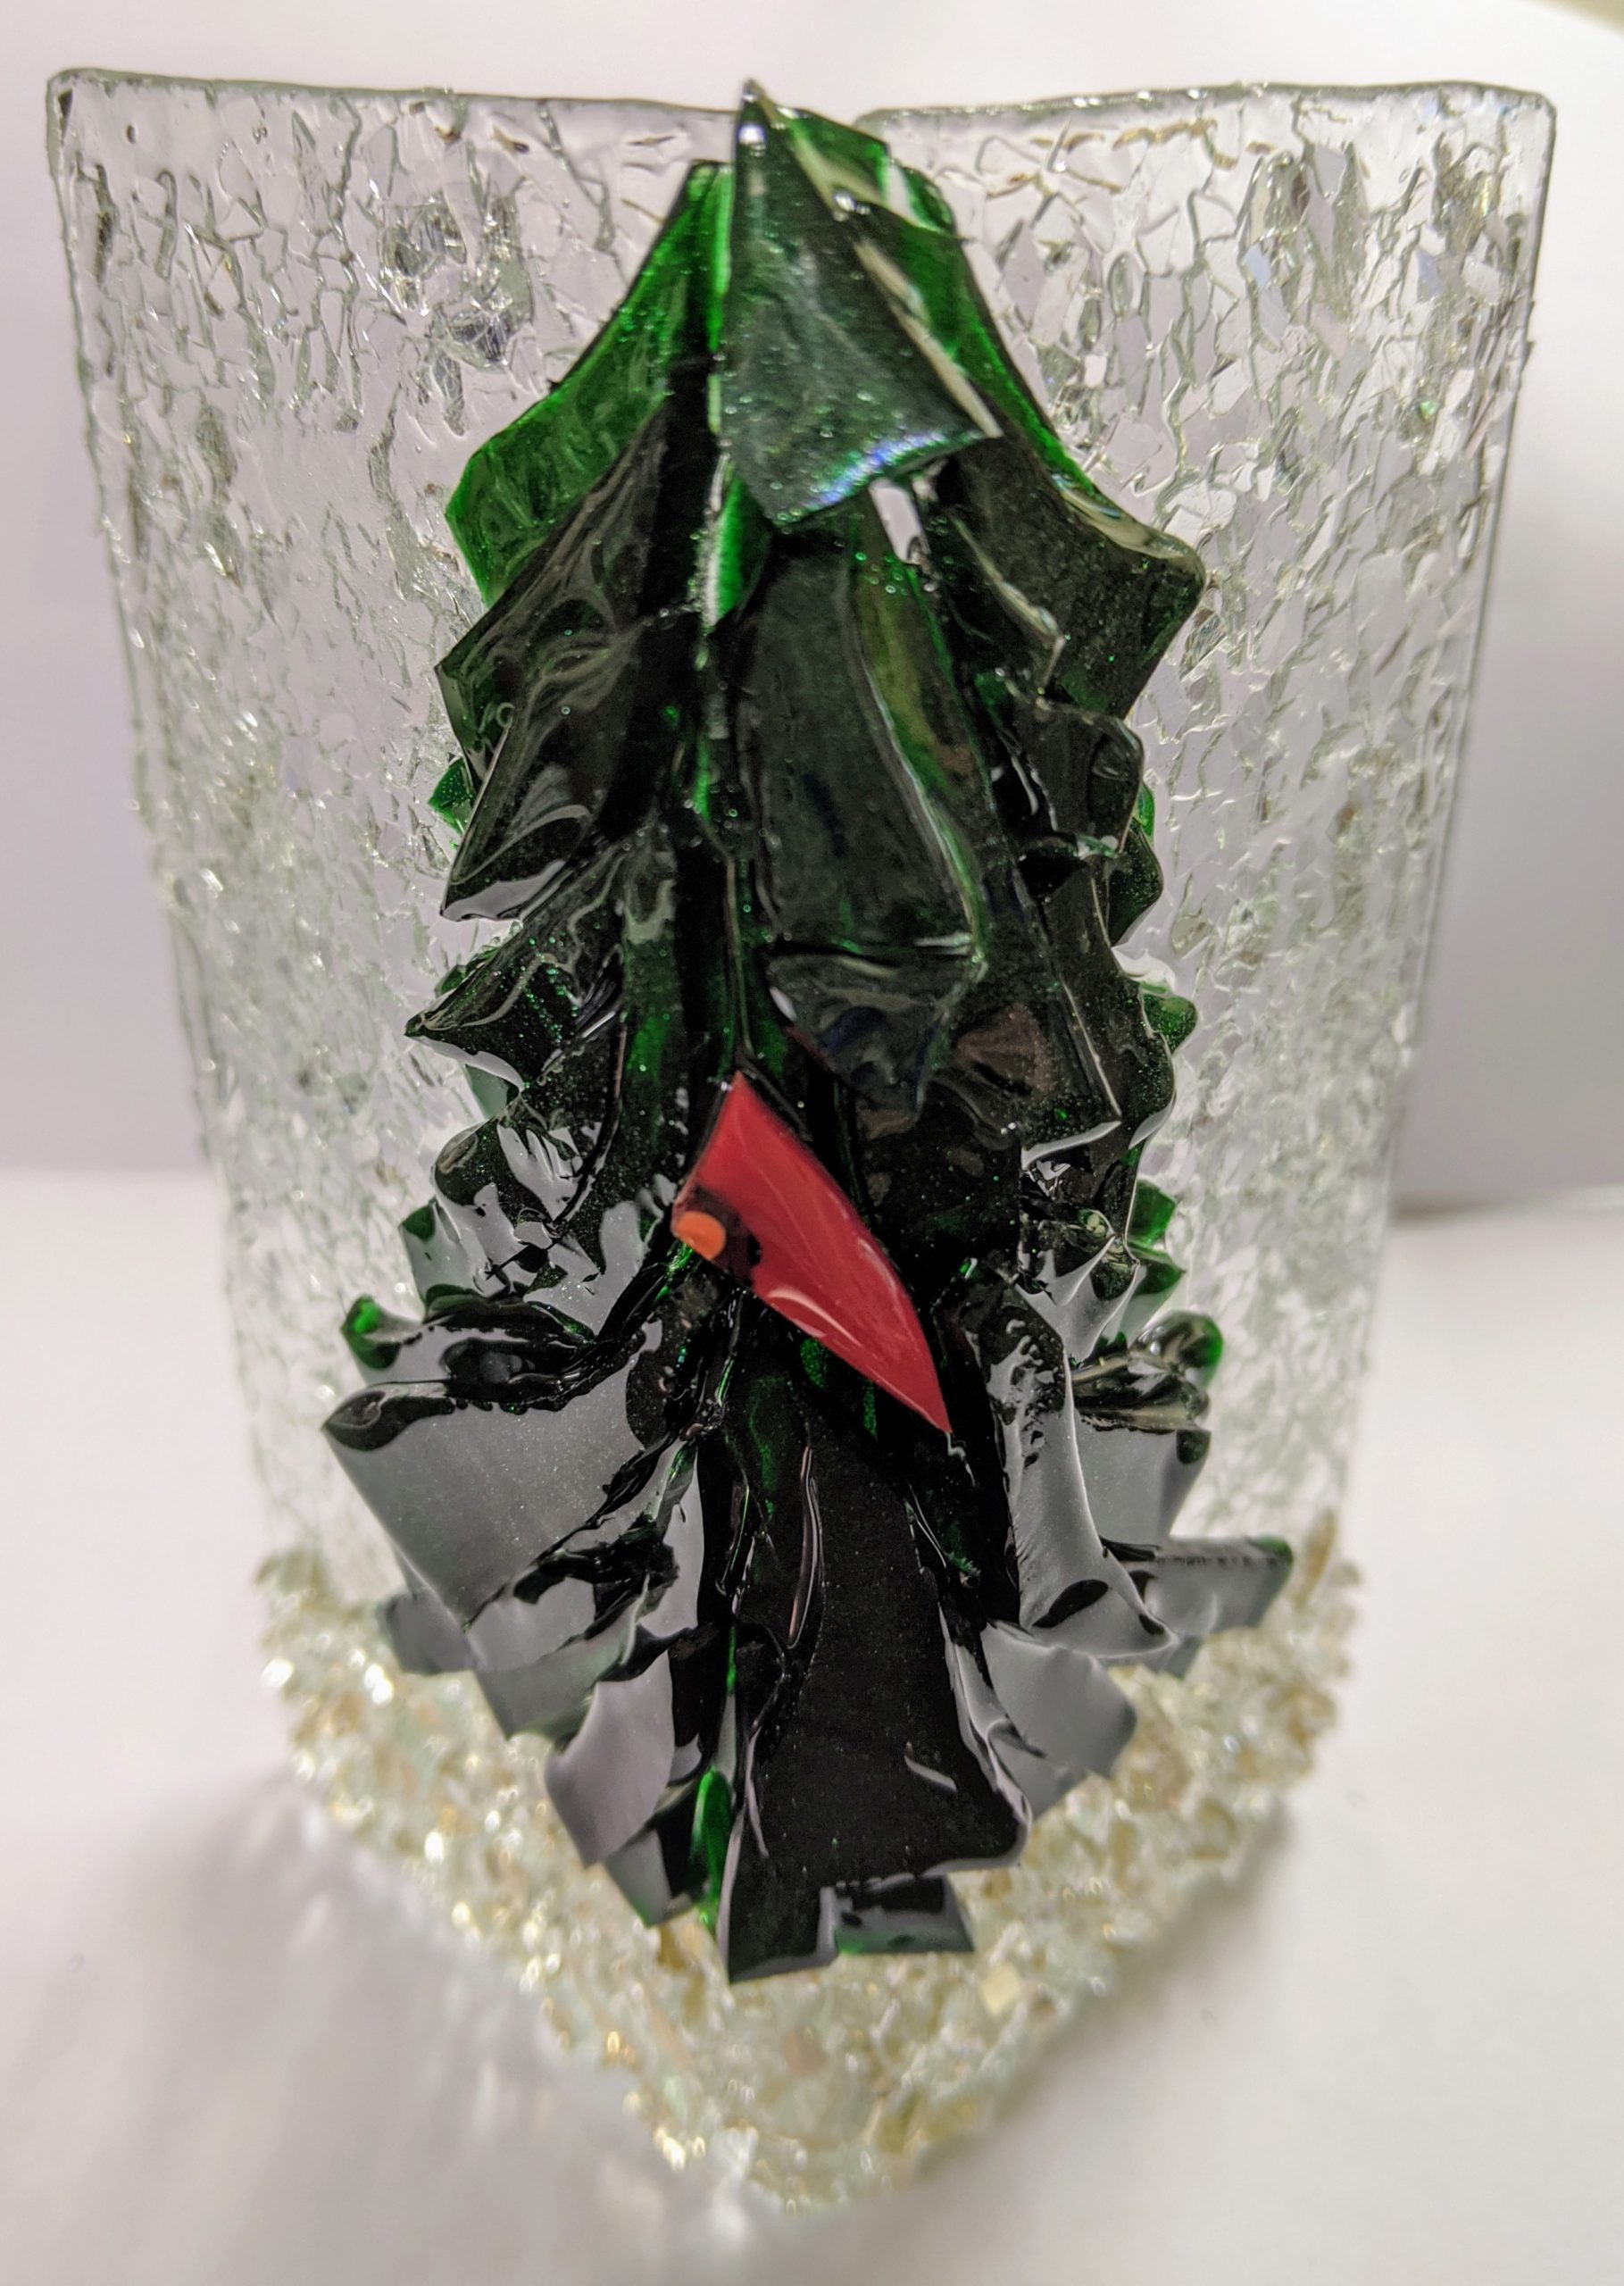
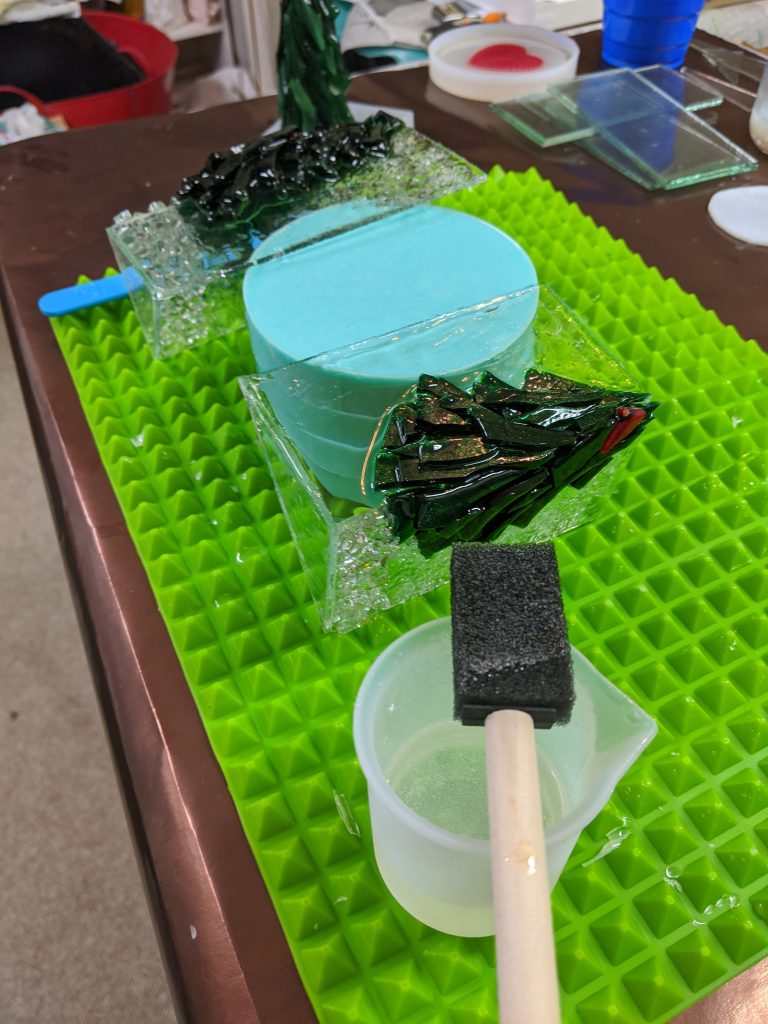
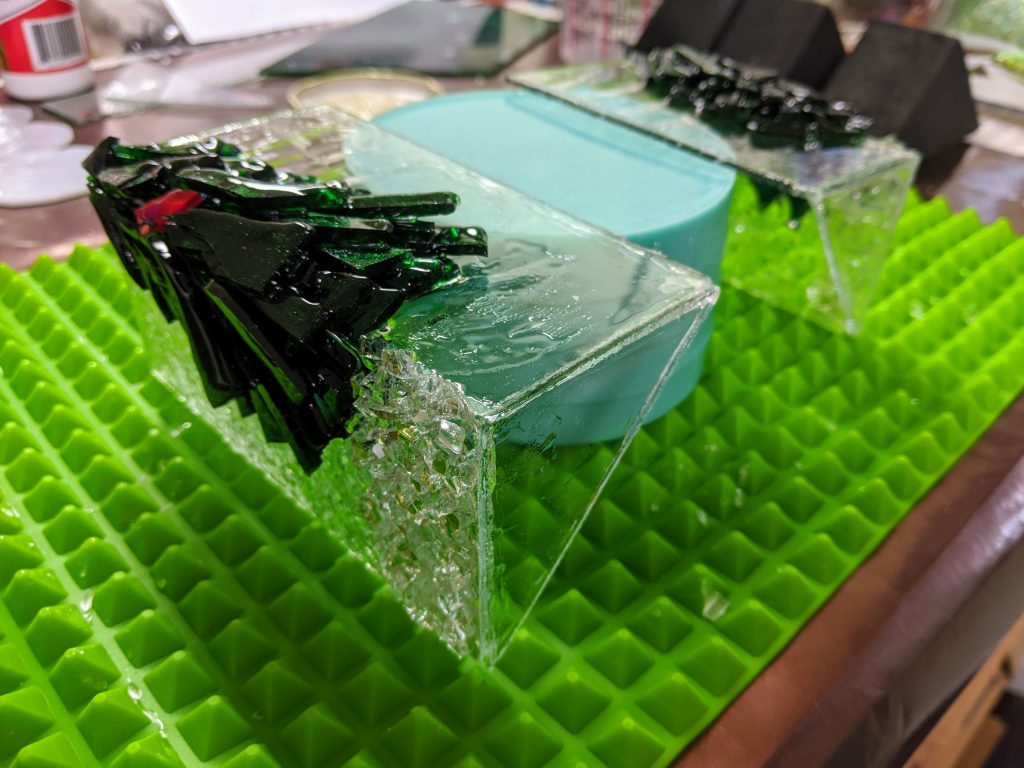
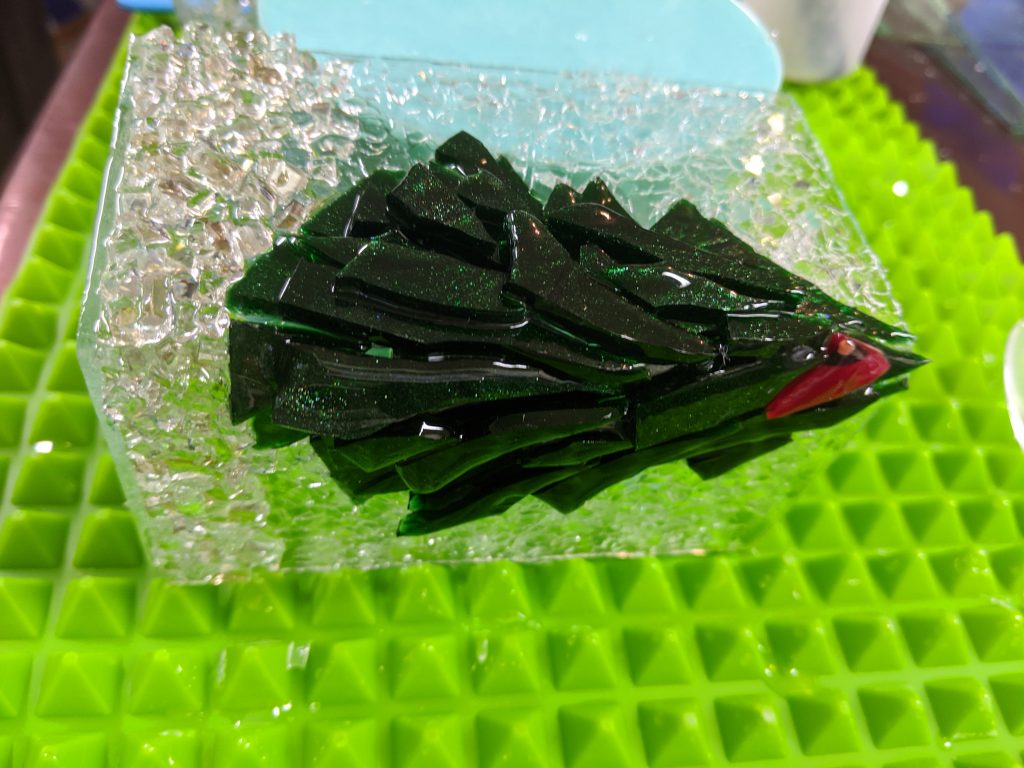
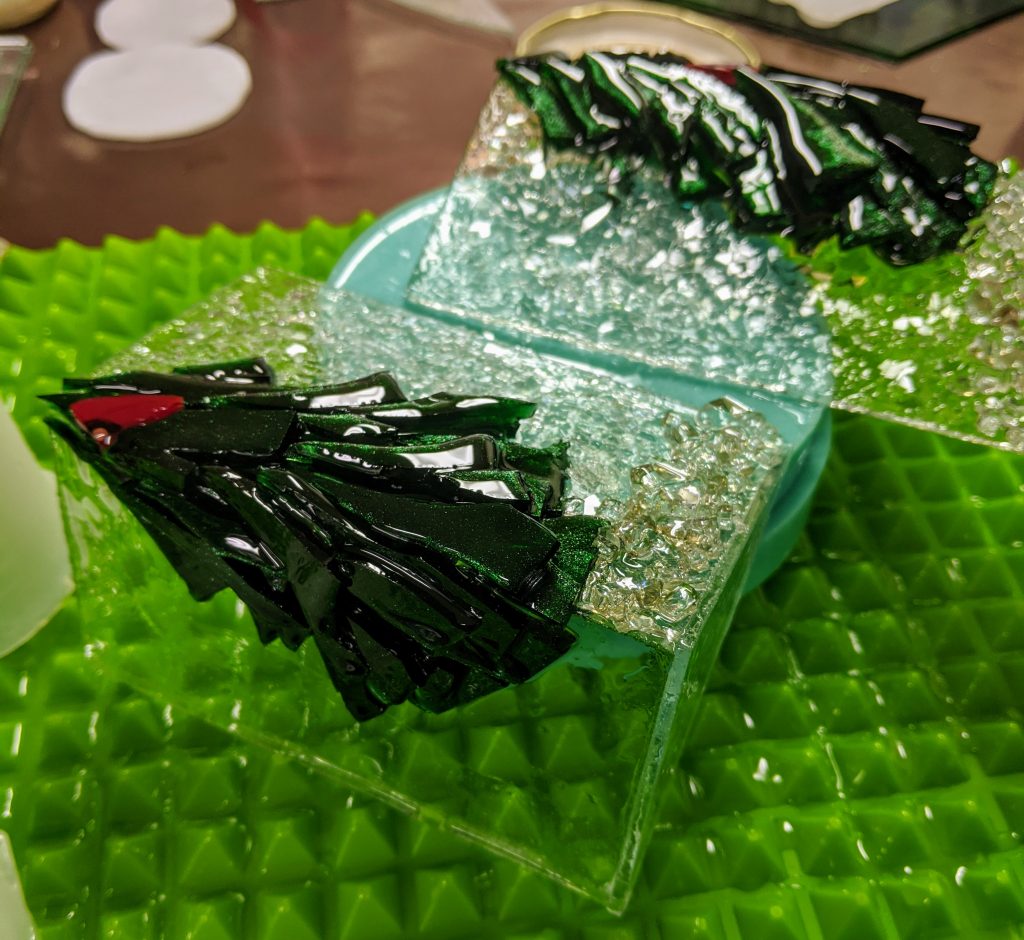
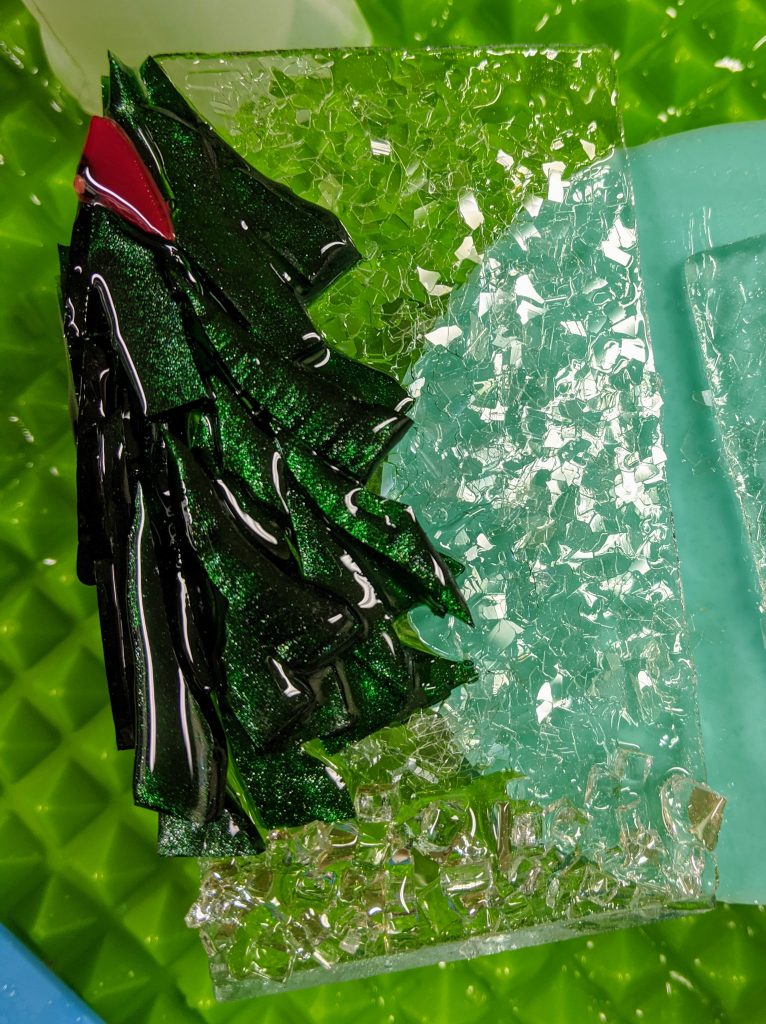
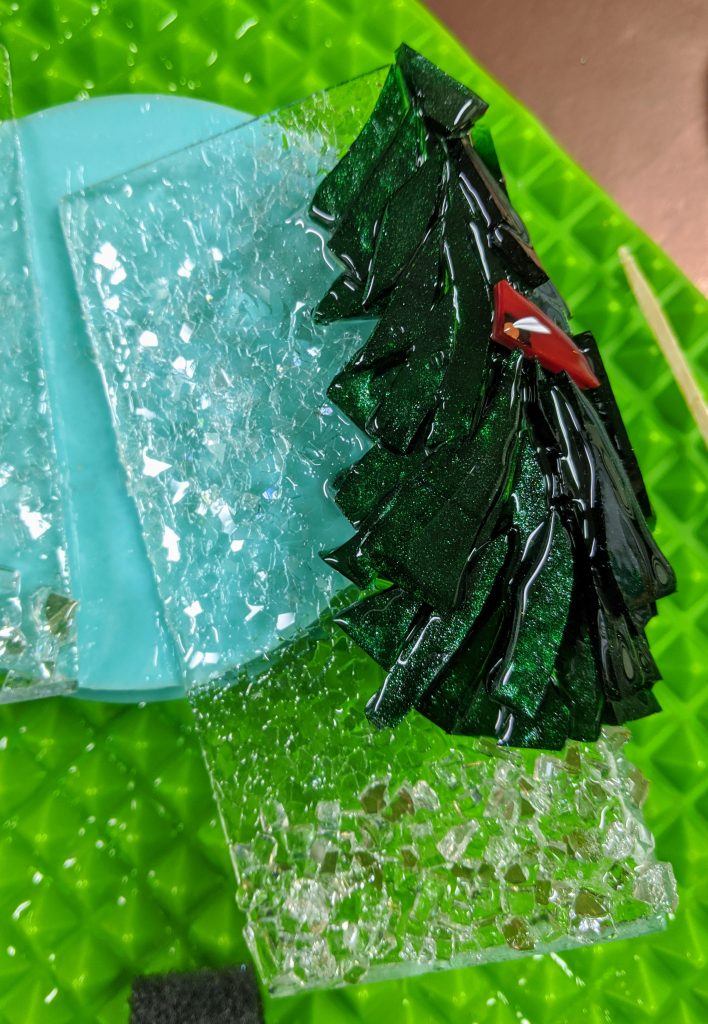
Rectangular tree candle holder. 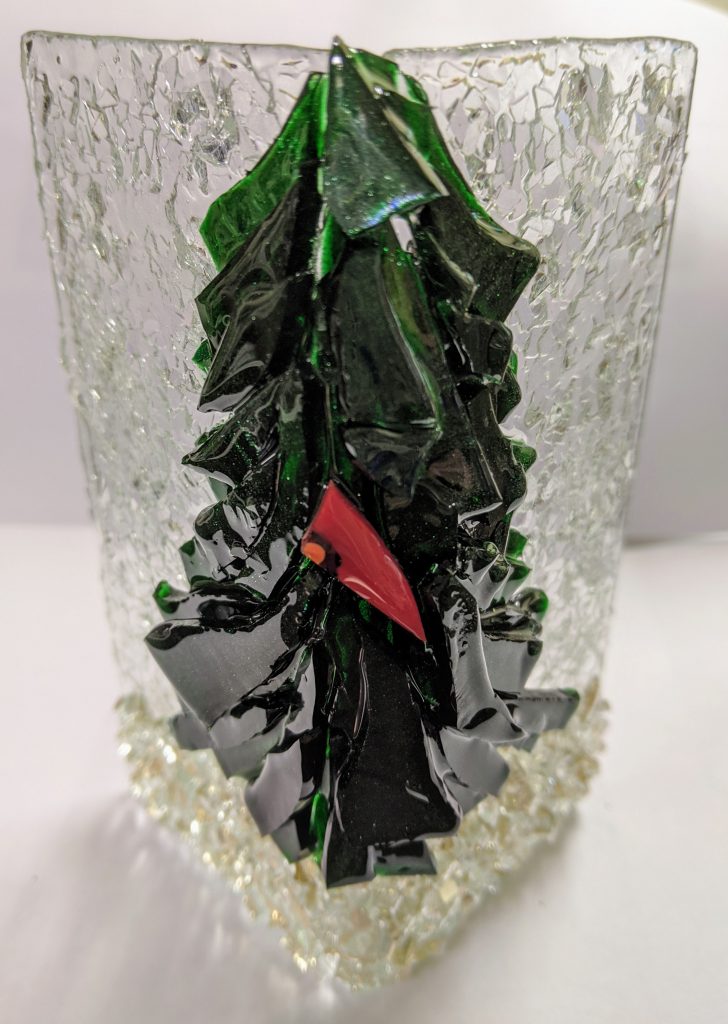
Rectangular tree candle holder.