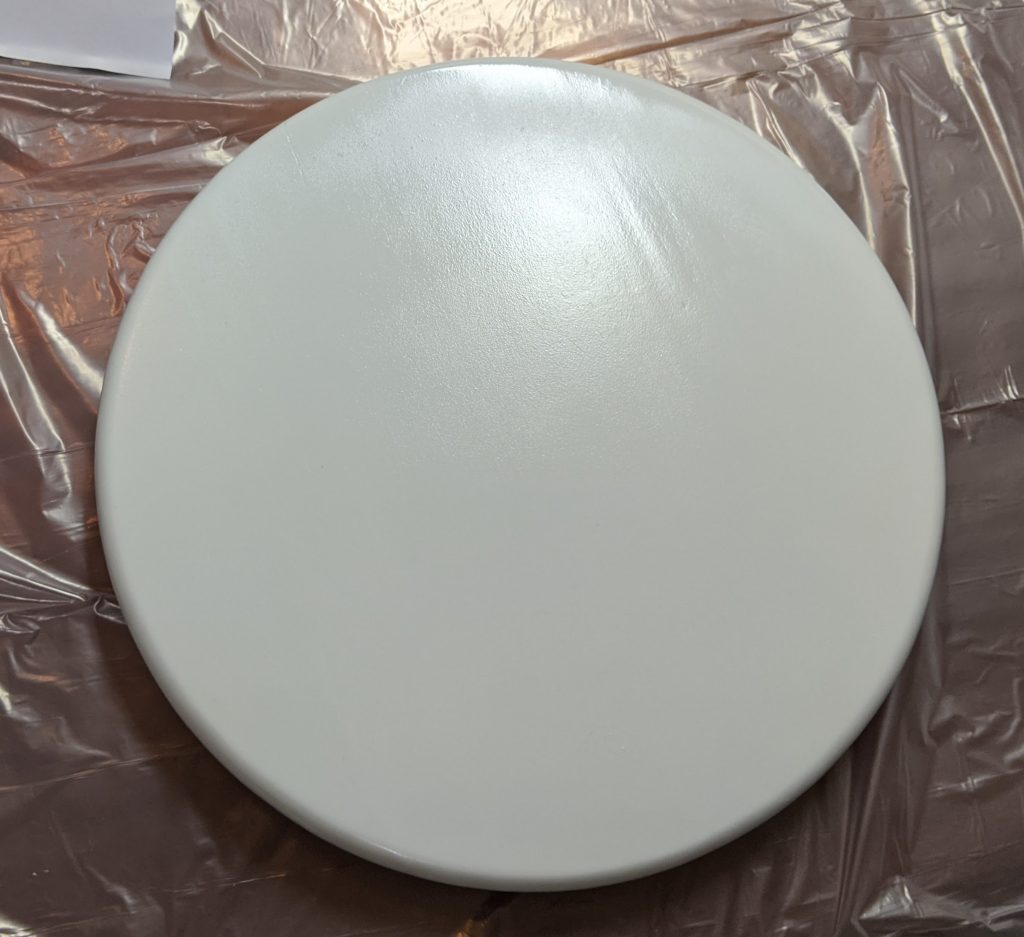
Ok, this is not a glass project whatsoever, but it’s something I have been wanting to try for a while. I have been doing some minor decluttering around the house and in the process ran across a couple of old wooden lazy susans that have just been sitting around for the last 15 or so years. This one measures 14″ across. I decided to try out decorating them with resin. I was hoping for a “beachy” look, but, well, you can judge for yourself. And remember this was my first try.
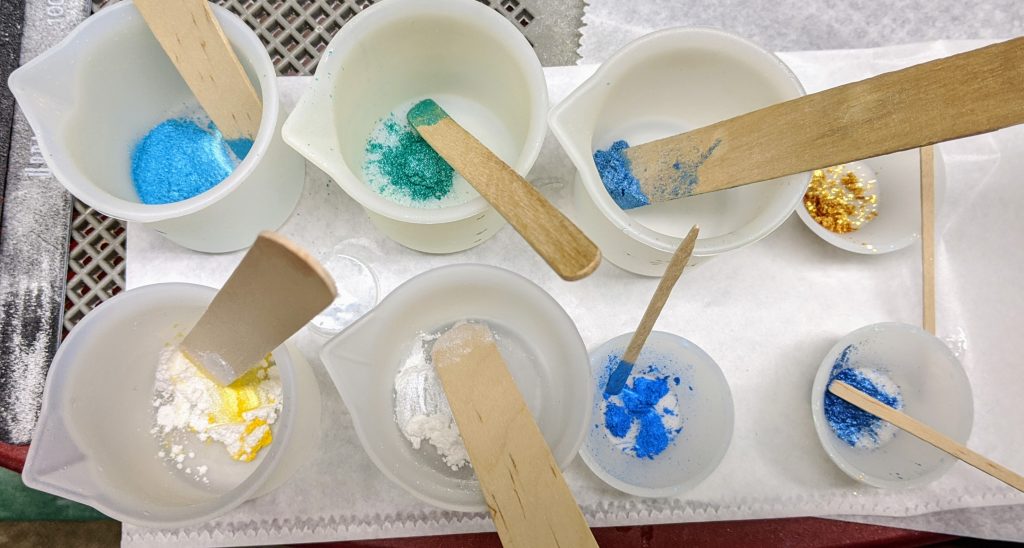
I used a lot of powdered pigment colors for this. Probably overkill, but it’s my first try. I mixed some yellow with white and later actually added a tiny touch of brown to it because I was going for a sandy look with this color.
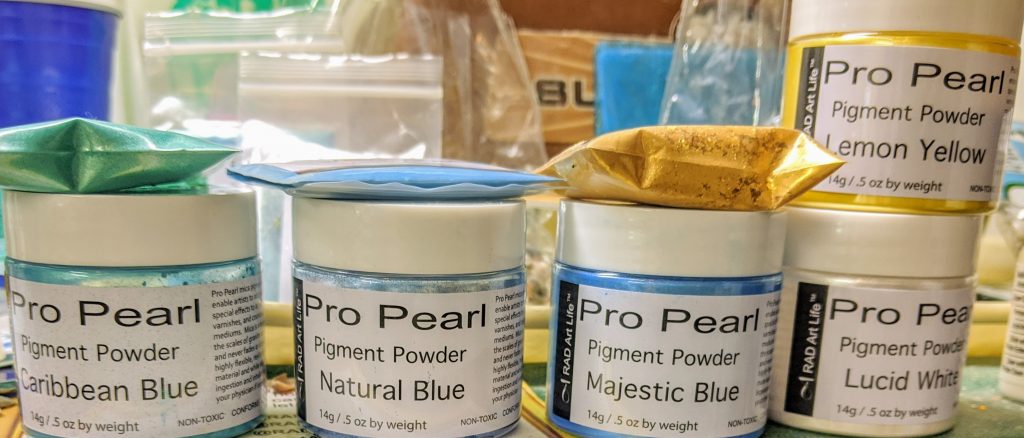
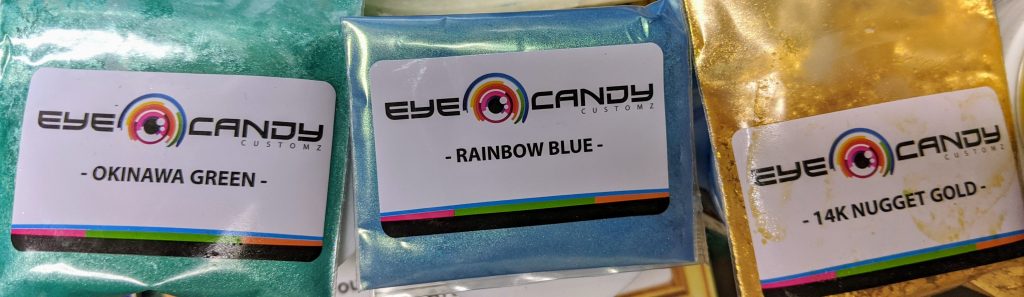
I mixed the clear resin (about 200 ml), then poured it into the individual containers with the powdered pigments and stirred some more.
Now comes the leap of faith, as once I started working with the resin, I was making a mess and didn’t want to touch my phone to take photos. However, the process was basically to add a circle of the yellow/white/brown (sand) mixture to the center of the board, then add concentric rings of different colors, trying to alternate with white frequently (I mixed about twice as much white as any other color). I also held back a small amount of the clear to use as accents. I filled in any bare spots within the rings with the gold colored resin. Once the lazy susan was about 3/4 covered, I used my heat gun to move the resin around and completely cover the lazy susan.
I used my (gloved) fingers, a sponge brush and stir sticks to try to clean up the drips from the underside of the lazy susan. Ultimately my fingers seemed to work best for this. I kept messing around with it a bit until the resin started to firm up, and there was one spot that wanted to bubble even though I sealed the wood beforehand.
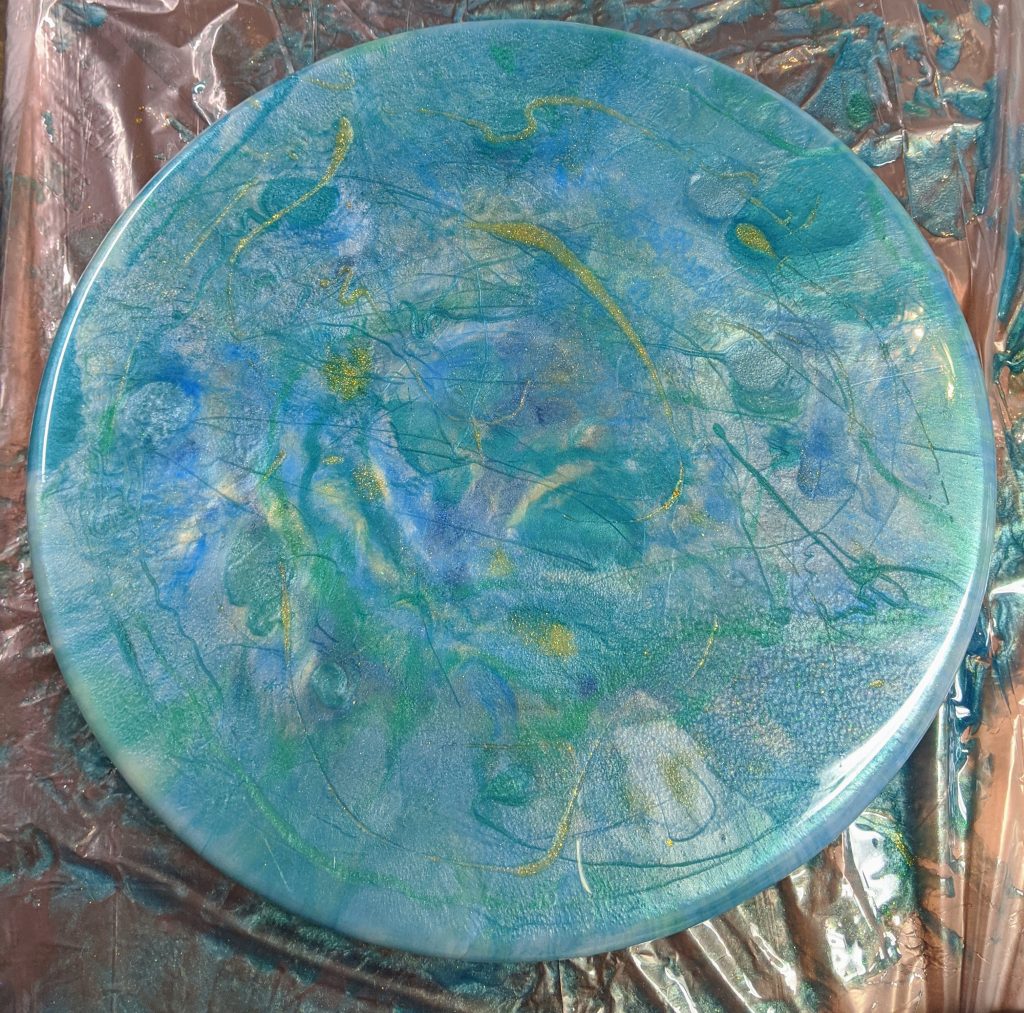
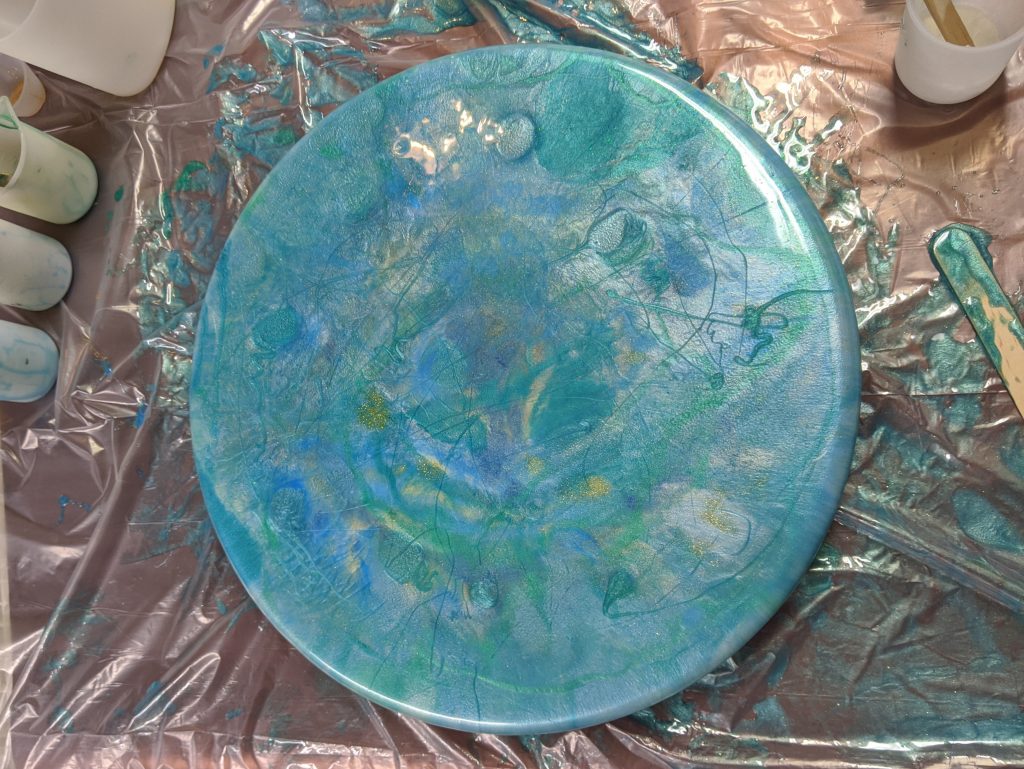
This is how it turned out by the time I was done pouring and blowing it with the heat gun. Overall, it wasn’t really the look I was going for (beach), but I still think it is pretty. For a first try, it is OK. I think I should not have used so many similar colors – I need to stick with fewer, more contrasty shades. I’ll see how it looks after it cures tomorrow. I also want to try this with alcohol inks, but one step at a time. I had a small amount of resin left over, so I poured one coaster (half a layer – it will need more resin to finish it).