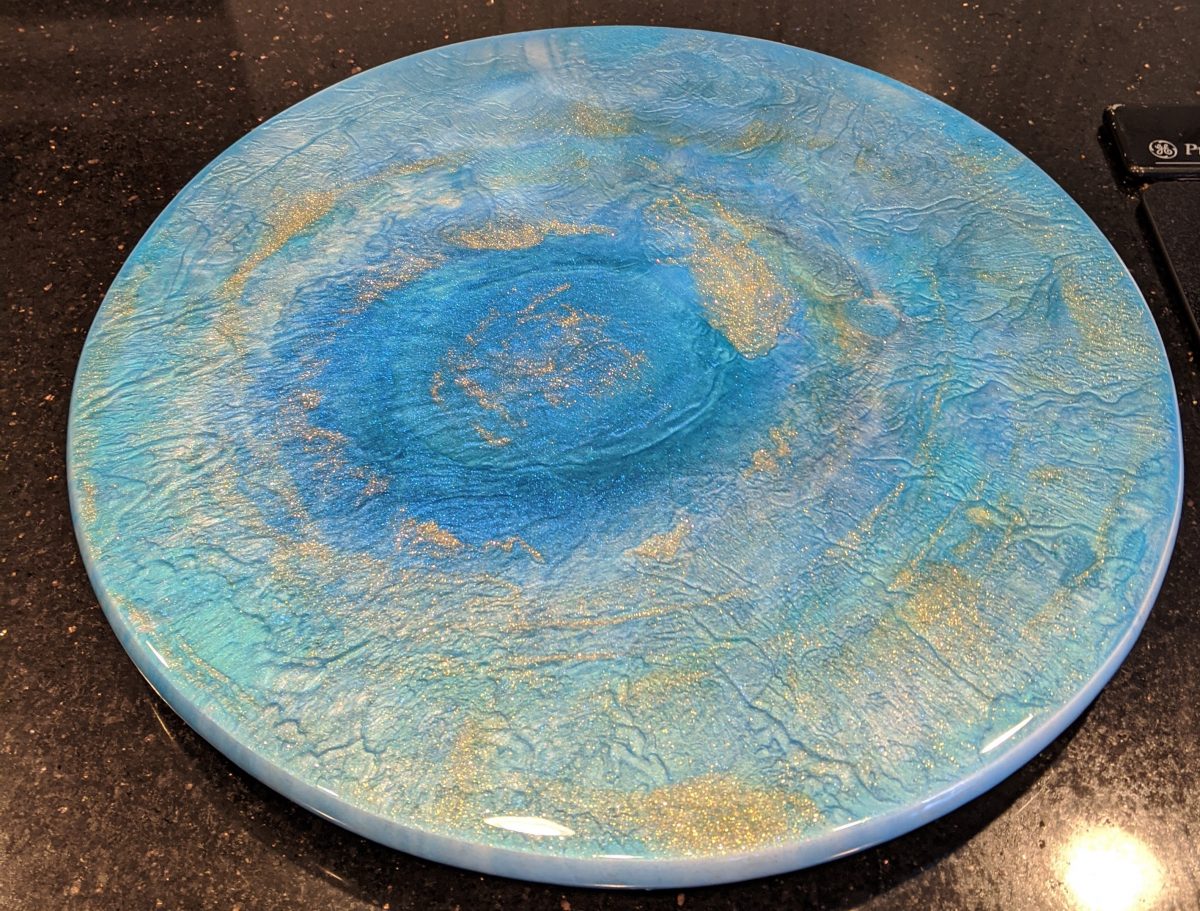
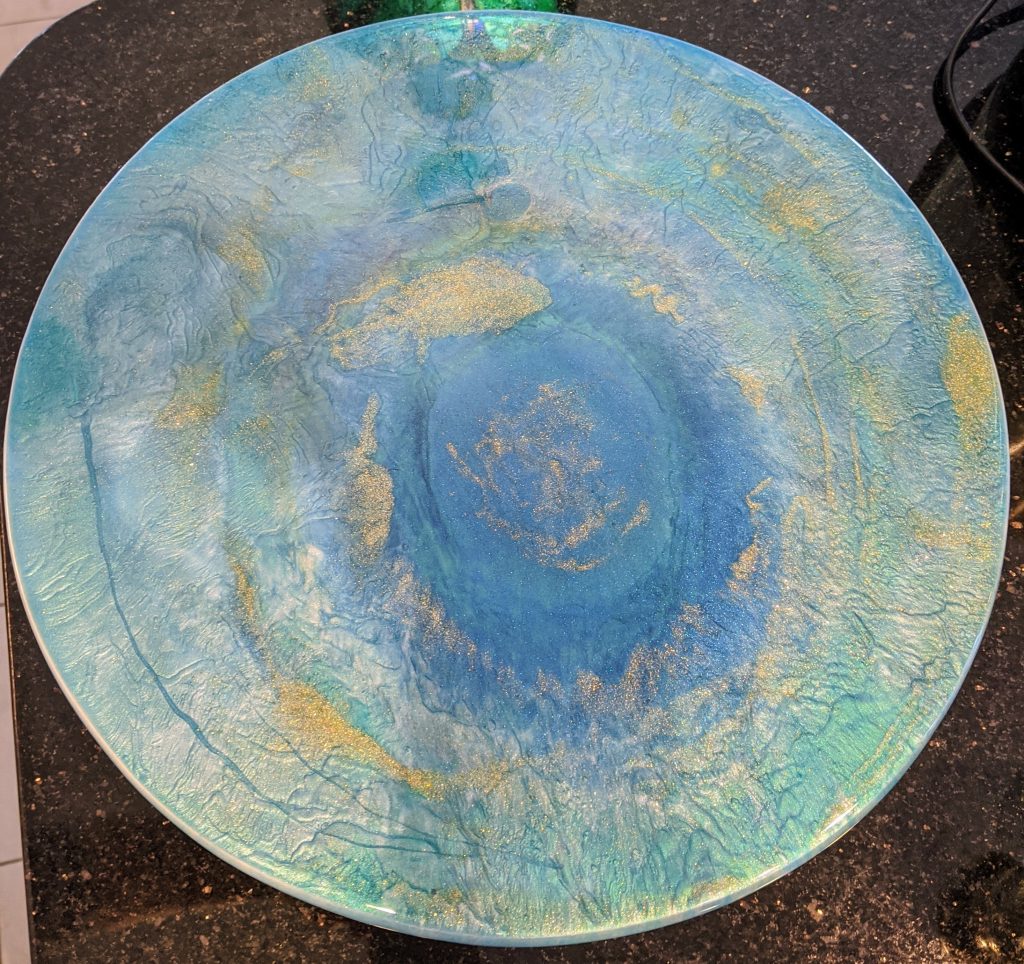
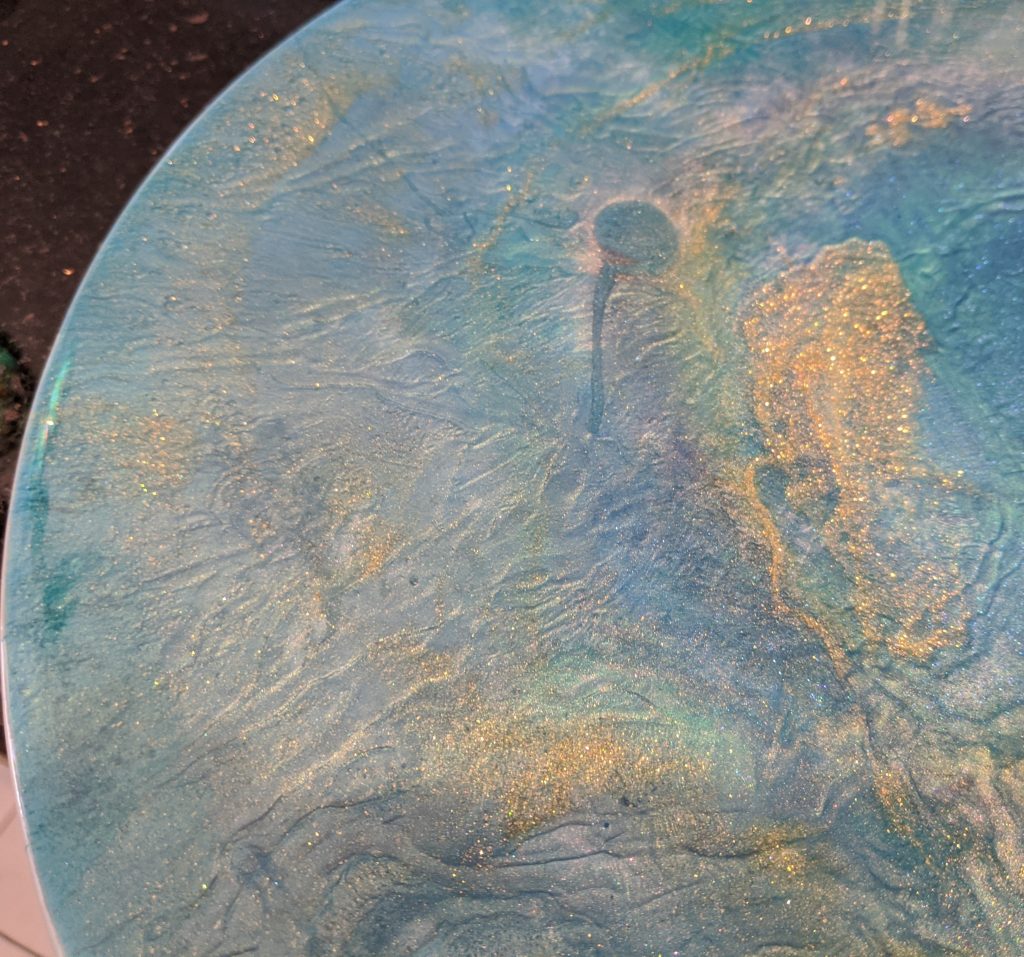
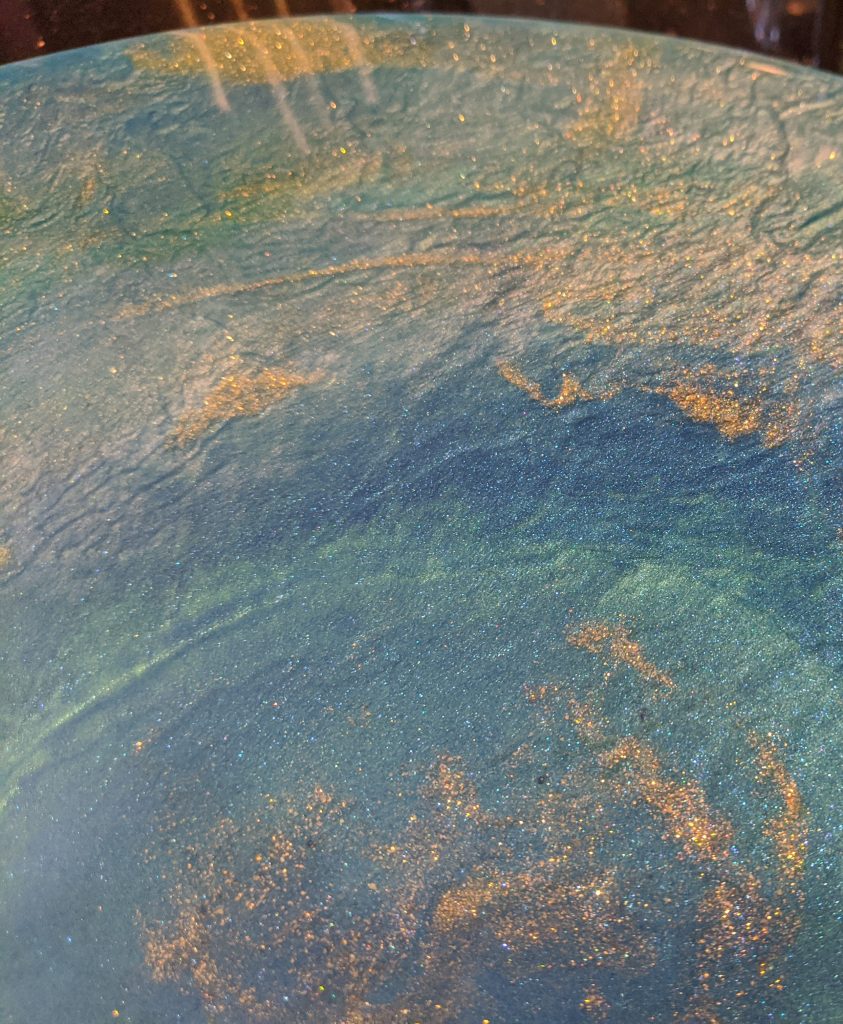
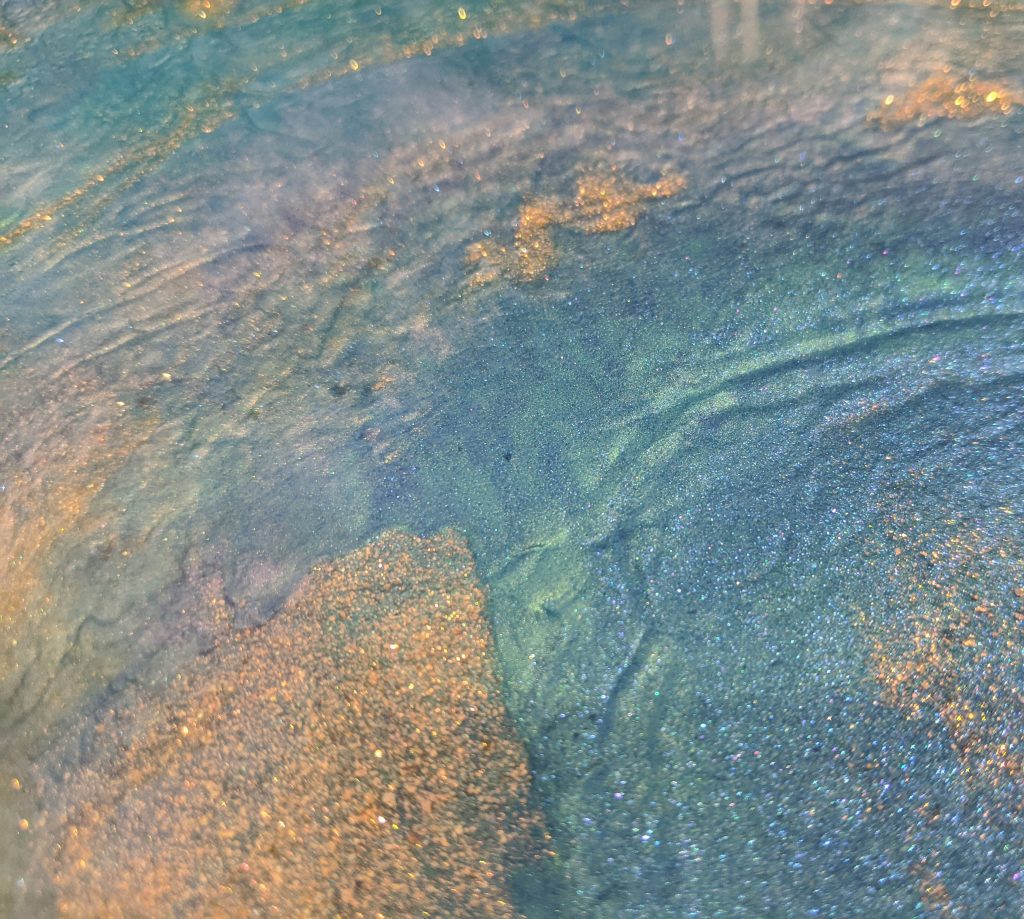
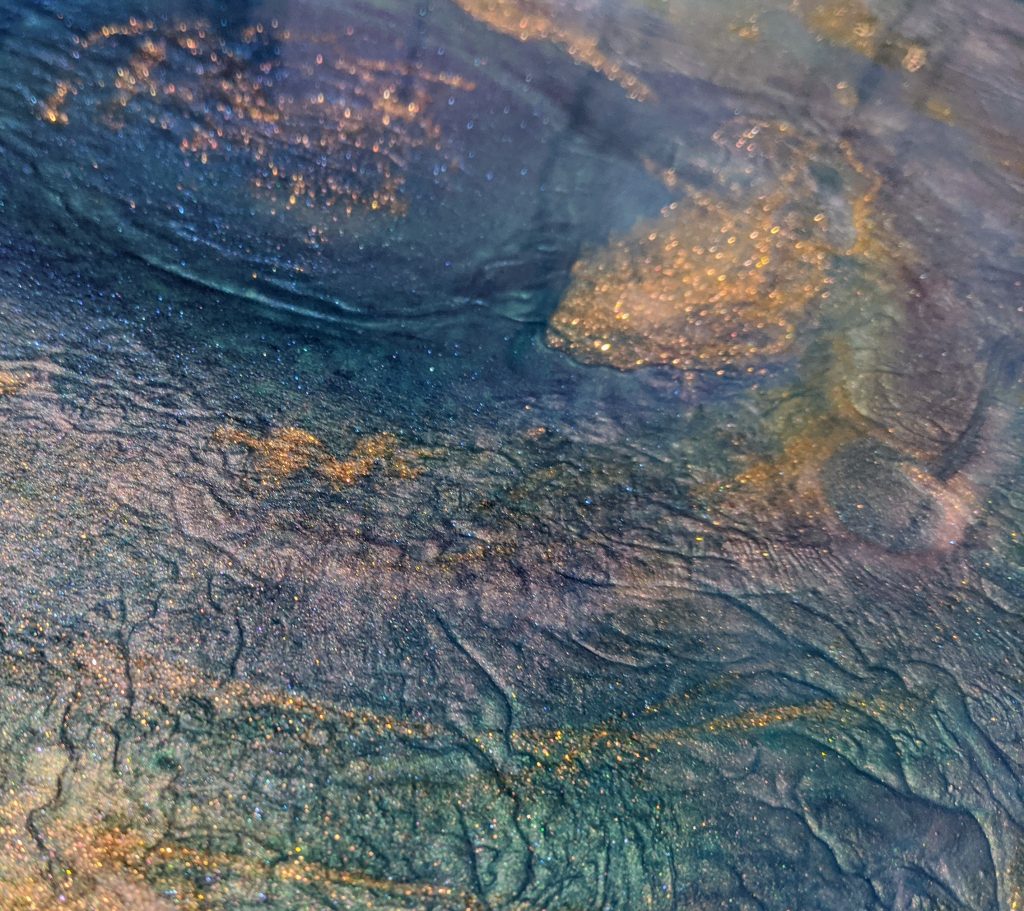
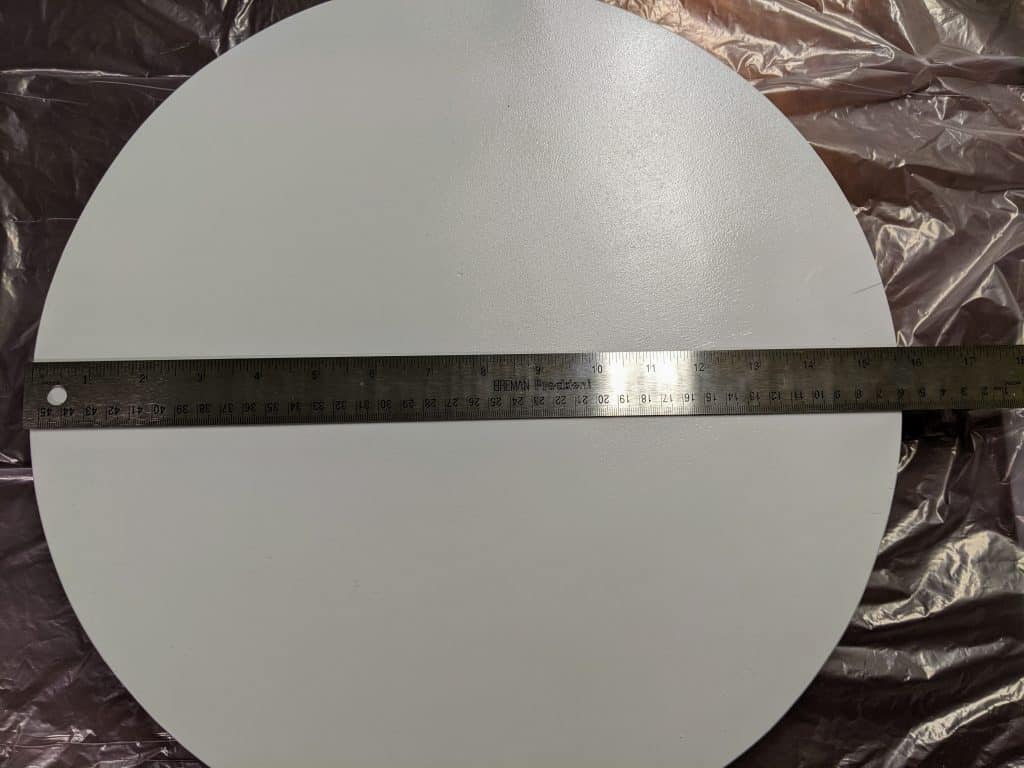
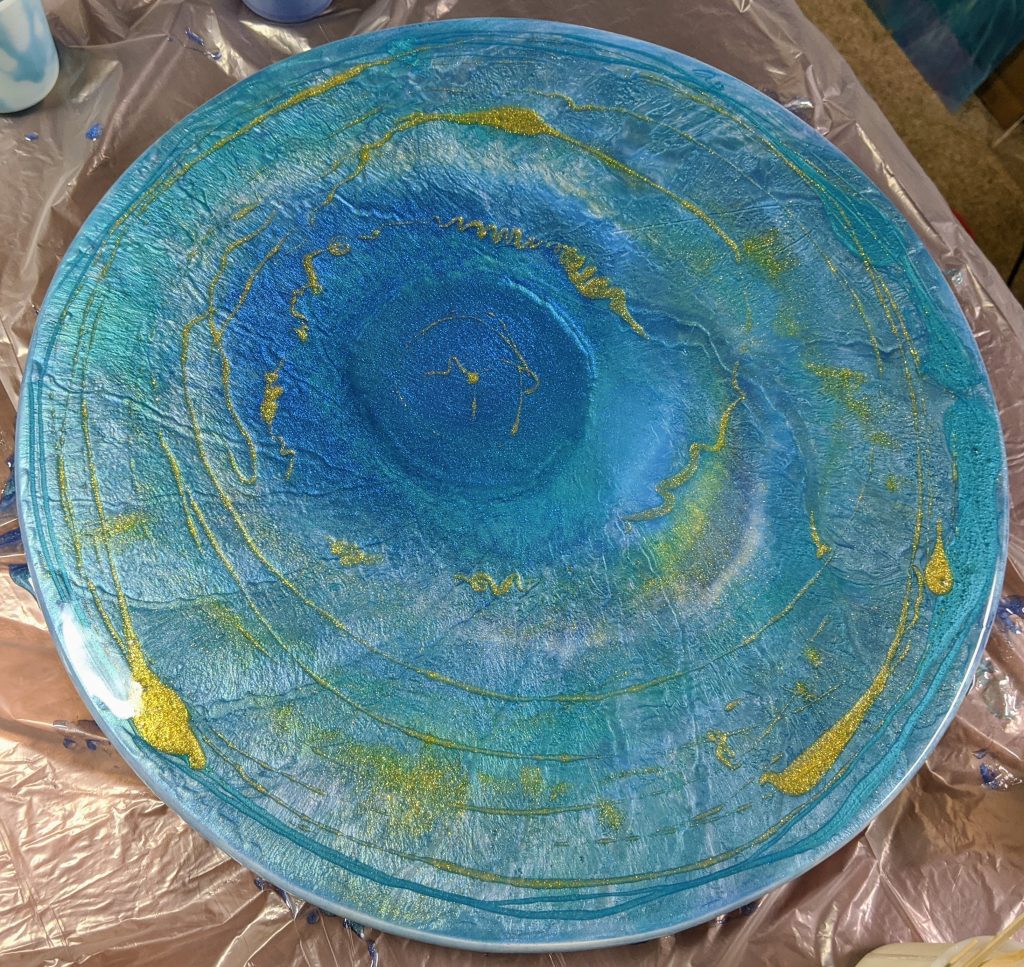
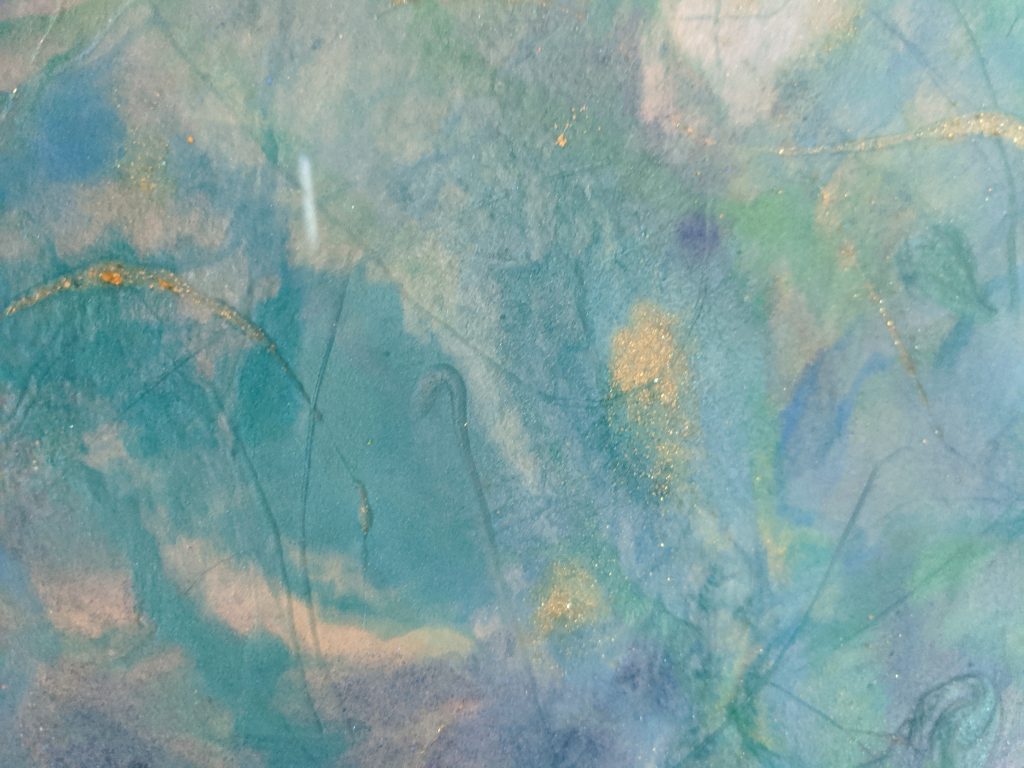
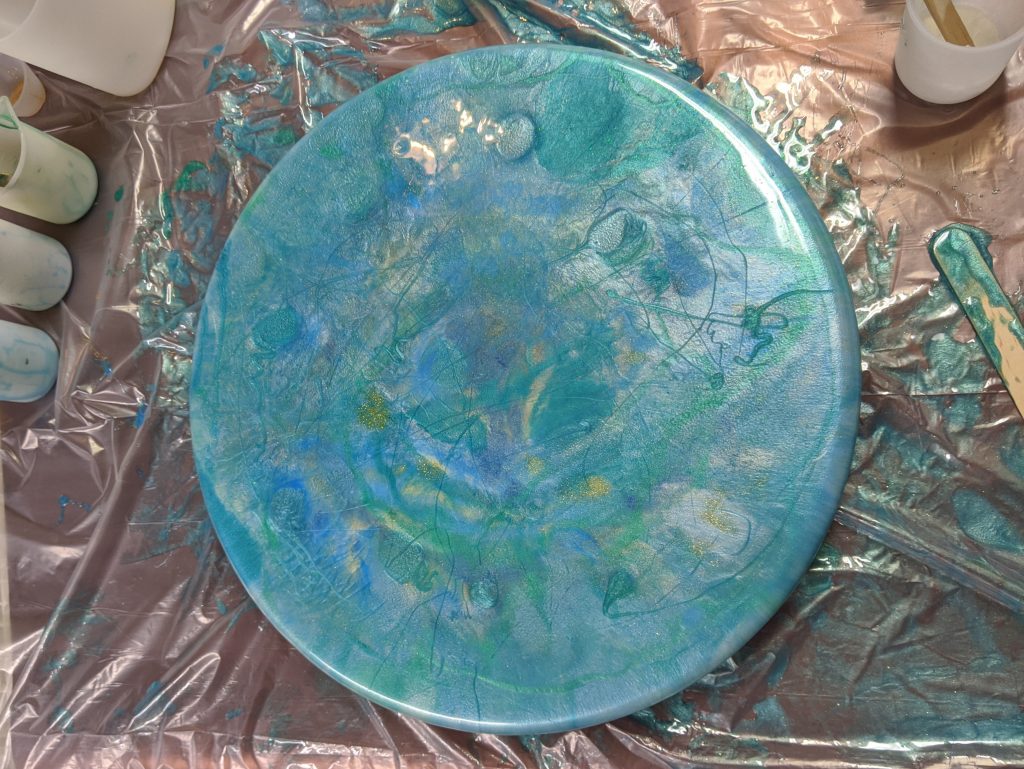
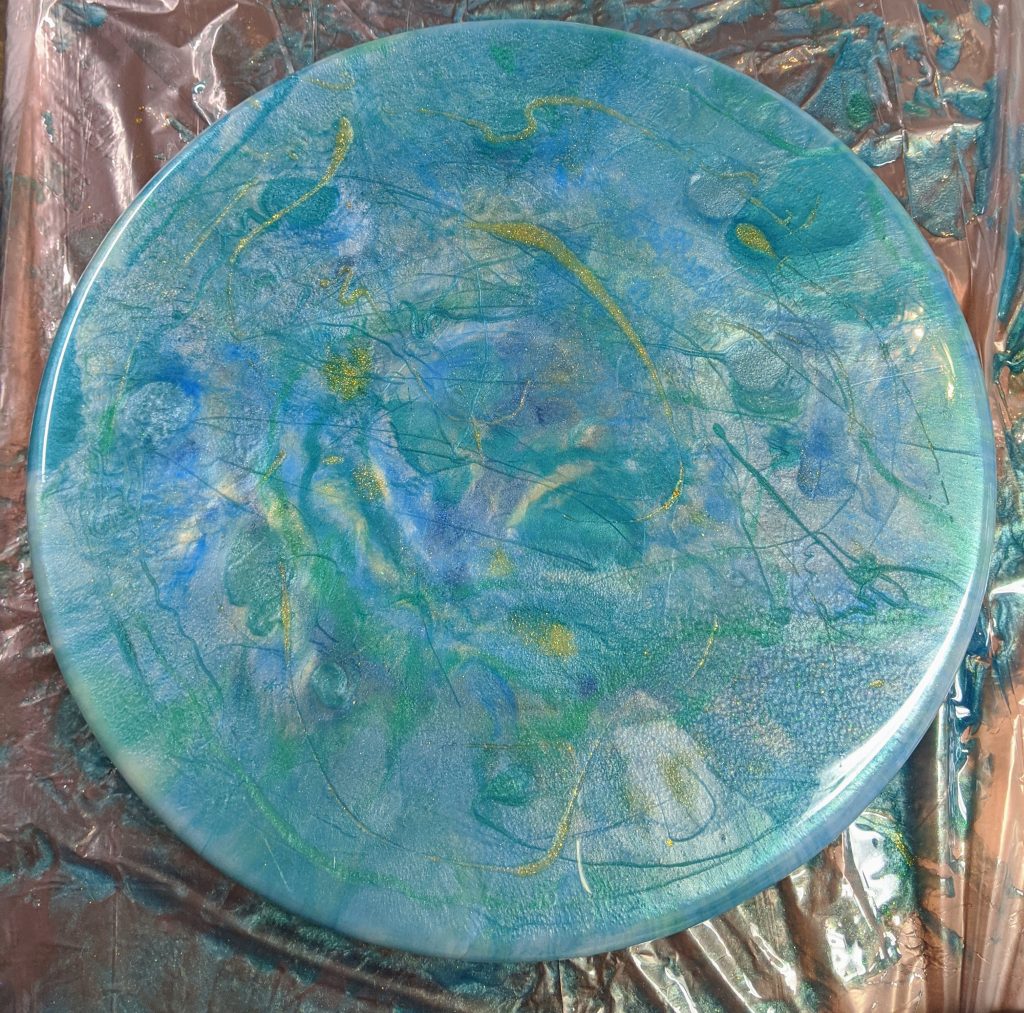
The resin cured overnight on this 16″ project and I was able to take a few snapshots of the final product. I’m much happier with the way this one turned out than the first one. Not that the first one looks bad – it just doesn’t look quite the way that I meant for it to look (the colors were lighter than I intended on the first one).
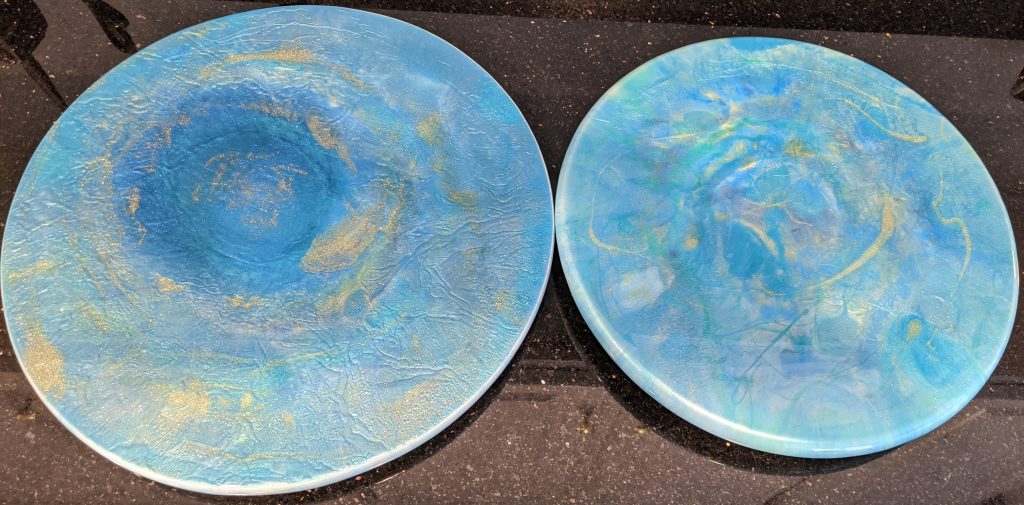
Morning Glory Pool inspired embellished lazy susan is on the left, first try is on the right.
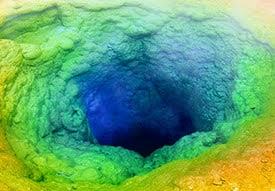
About four years ago we had the best family vacation ever at Yellowstone National Park. If you have been there, chances are you have seen Morning Glory Pool.
Morning Glory Pool when we visited in 2015.
Yellowstone was amazing to me – I saw so many things that were beautiful and / or that I had just never seen nor imagined! Morning Glory Pool is what was on my mind when I started working on my second lazy susan resin project. I didn’t use any glass in this project; it was just a spur of the moment creation after I decided to embellish two wooden lazy susans we had that have been in storage. This one is 16″ across.
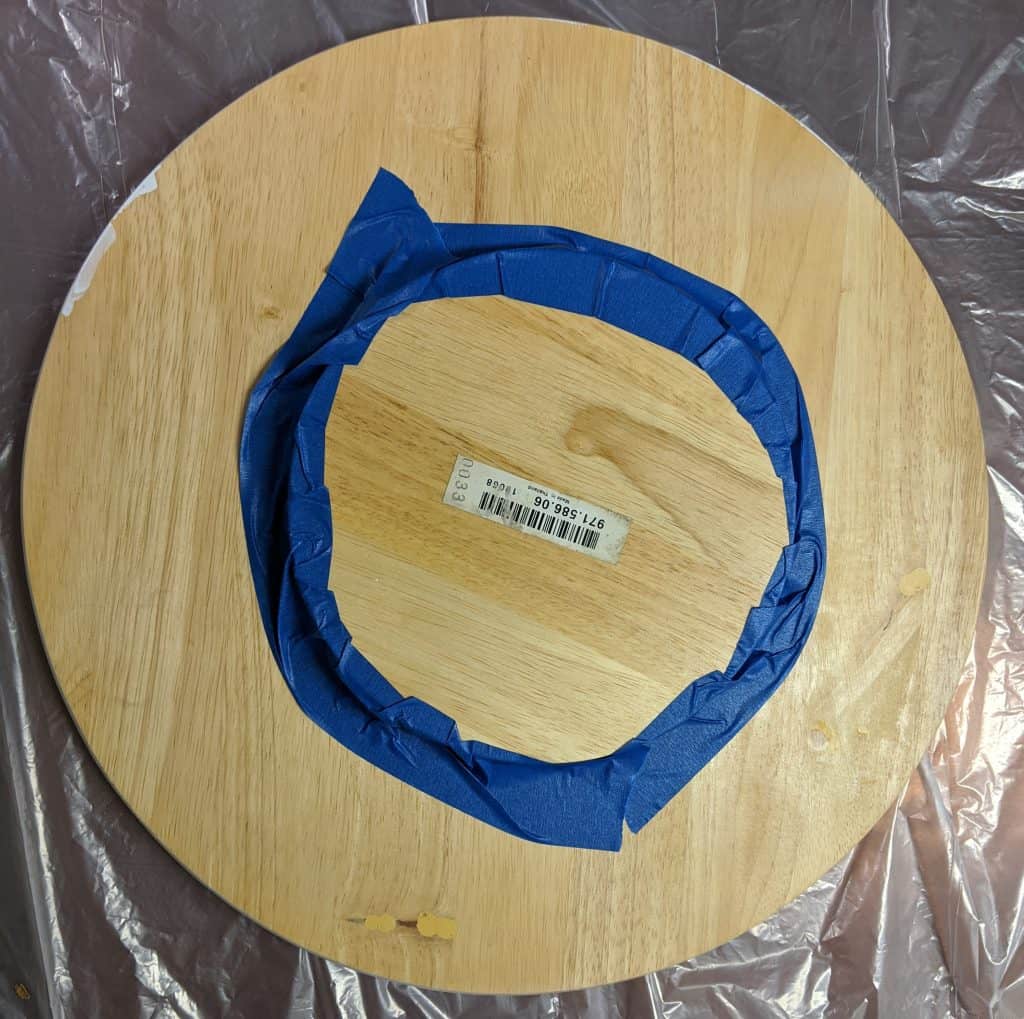
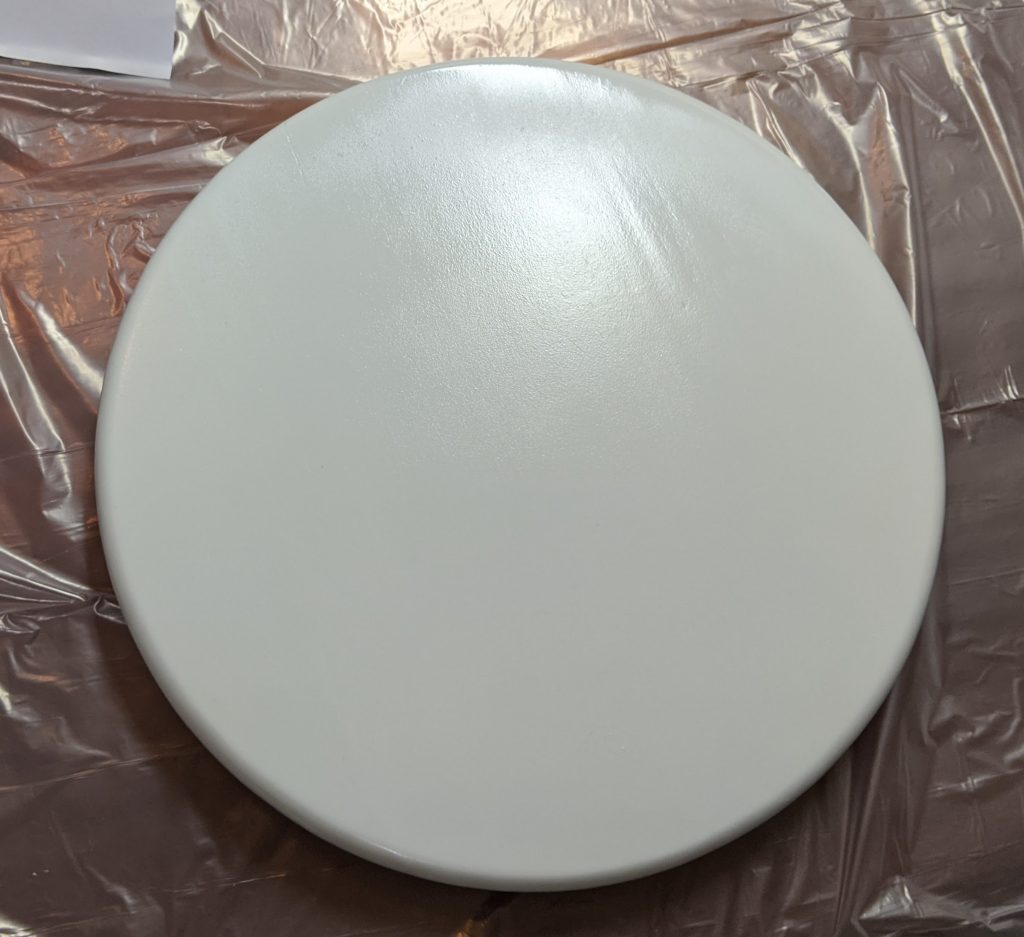
I sealed the wood surface with paint a few days before.This one is a bit larger, but not as thick as the first lazy susan.I used painters tape to cover the underside of the rotating foot in case things got messy.
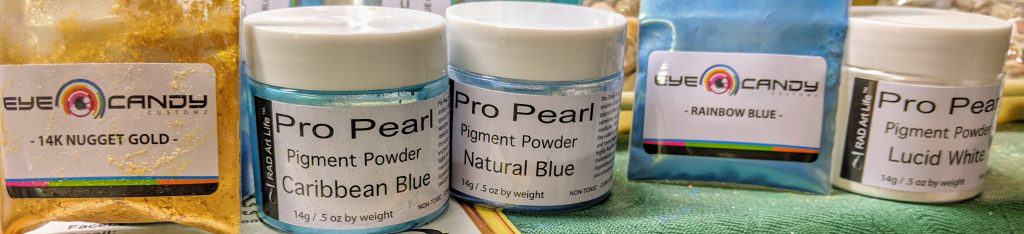
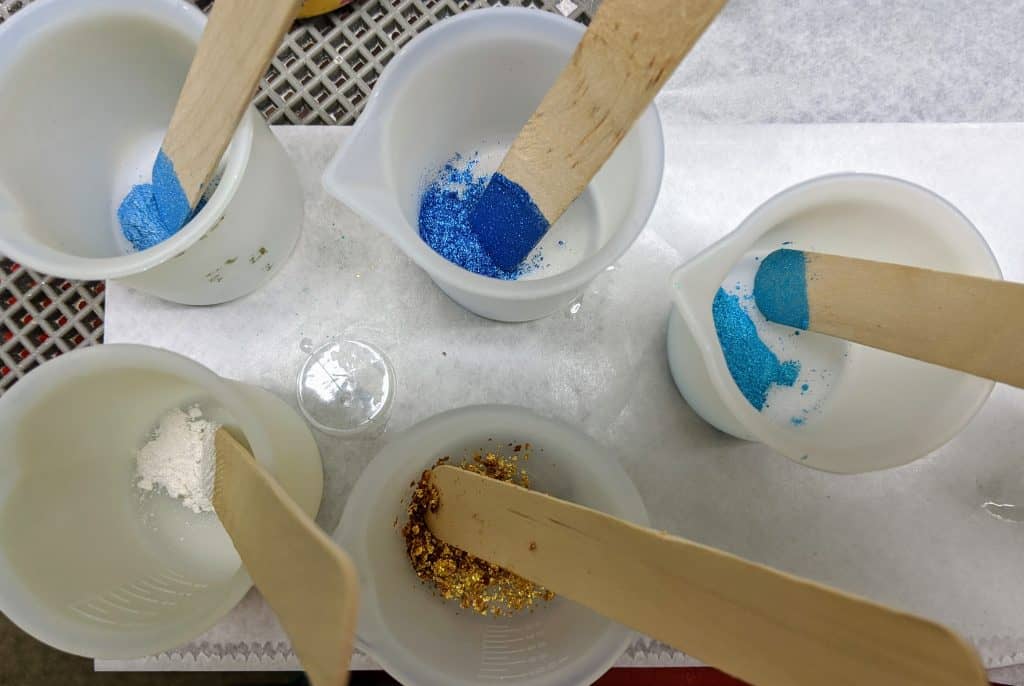
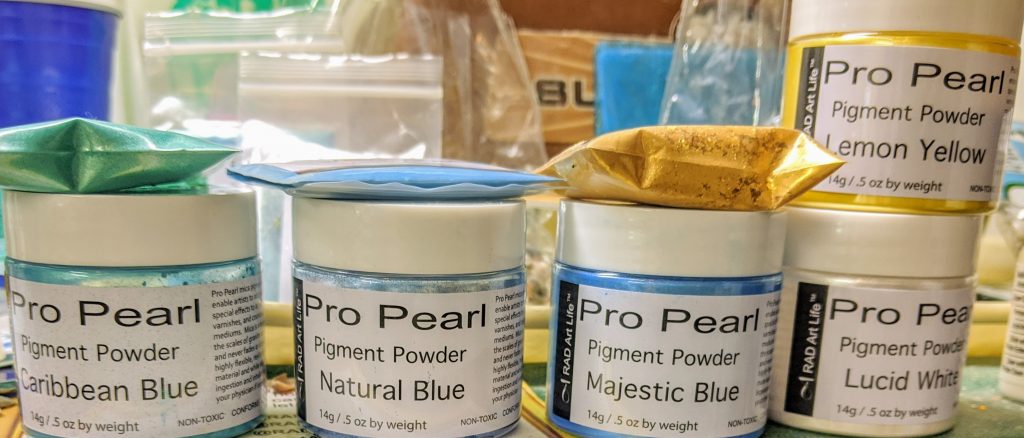
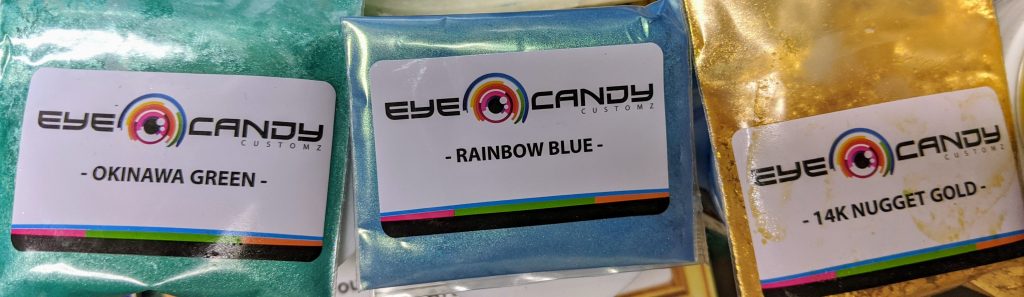
I gathered the colors I wanted to use. I tried to use fewer than on my first lazy susan. I considered adding some alcohol ink, but ended up not using it for this project. I haven’t experimented with that yet.
Powdered pigments used for this project.You only need a tiny amount of each powdered pigment color.
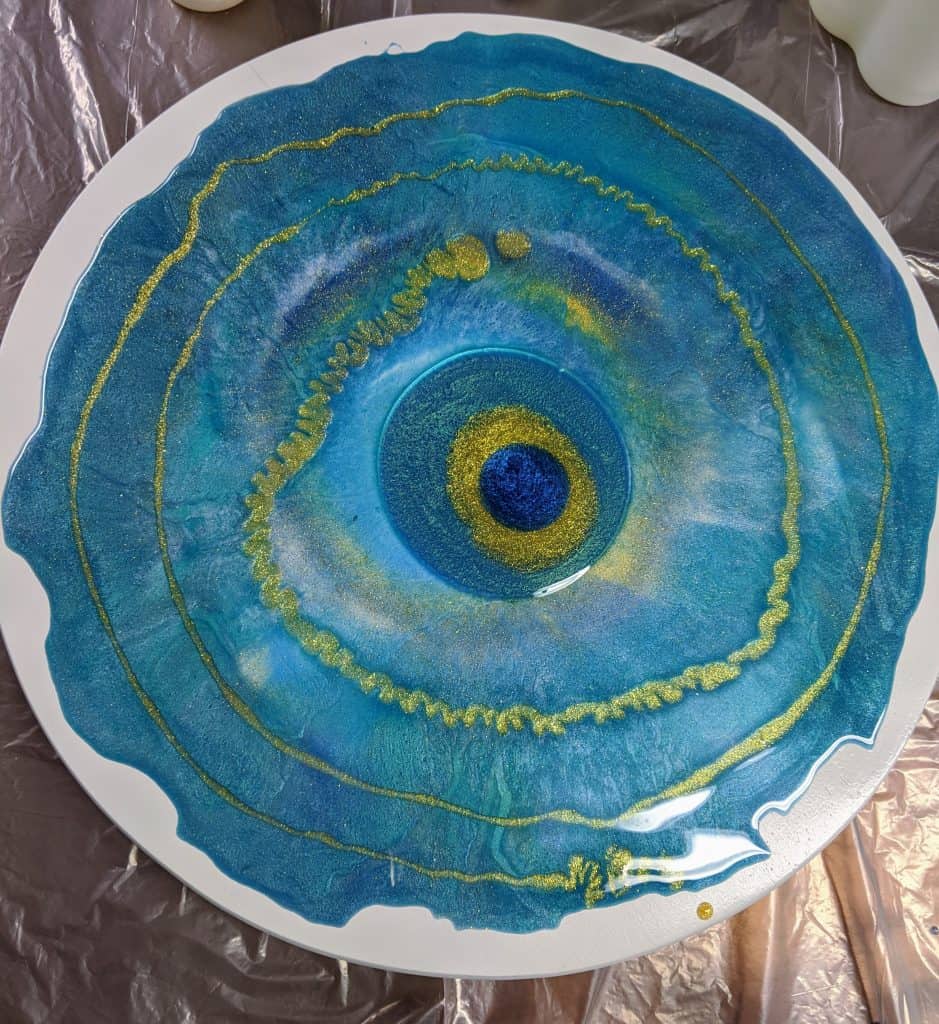
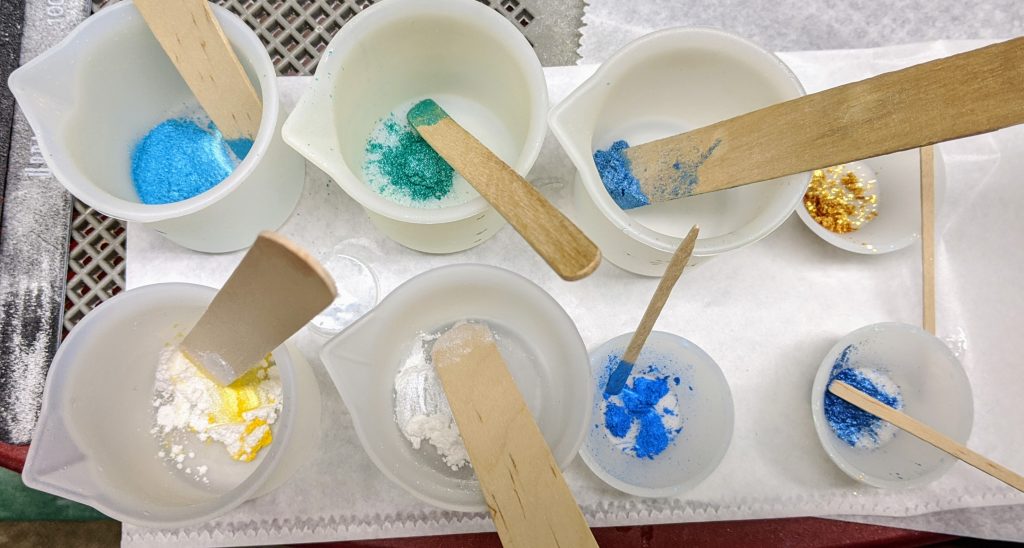
I mixed the resin and started pouring it in concentric circles from the center of the lazy susan. I tried to use higher contrasting colors between each ring. I forgot to take a photo of this before I started moving the resin with the heat gun, but here it is with the first layer poured and blown with the heat gun.
First layer poured and blown.
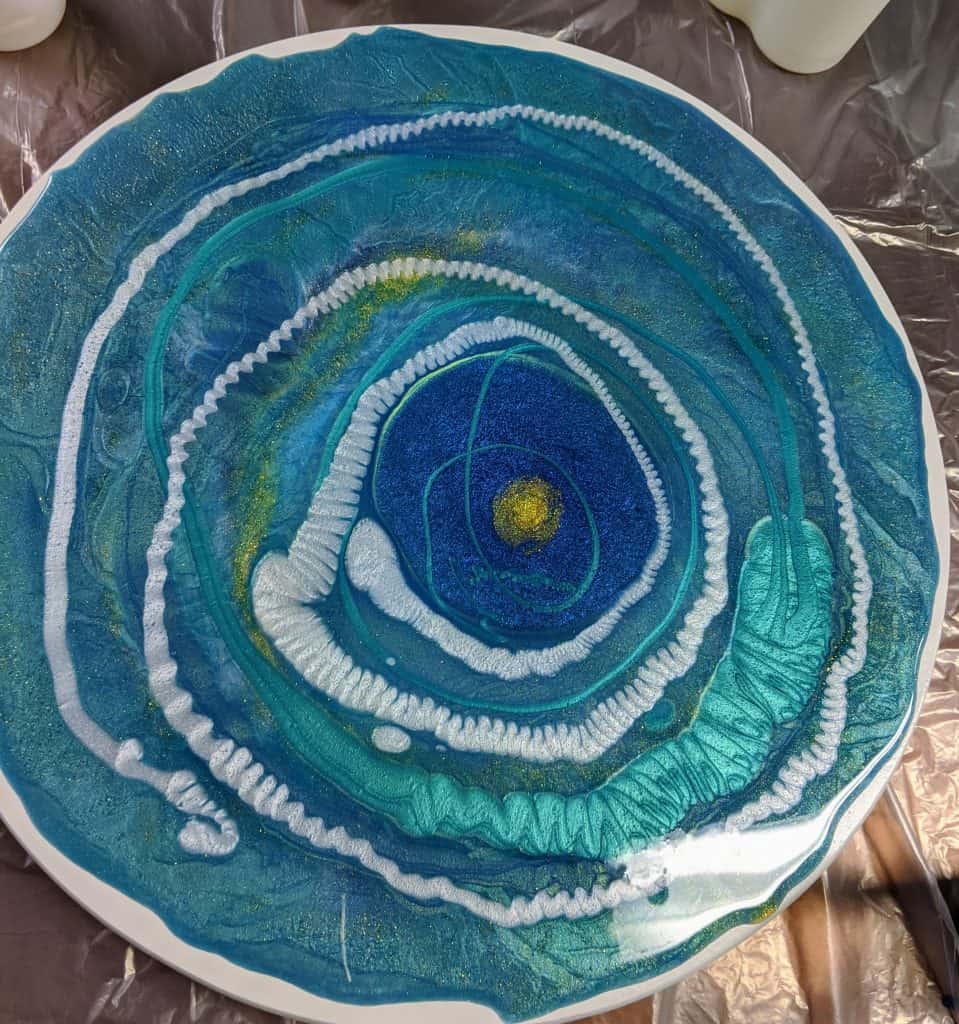
From there, it’s just a matter of more pouring, then more moving the resin around with the heat gun – repeating the cycle until I was happy with the look.
Pouring more colors on top of the first layer.Another layer to move around.
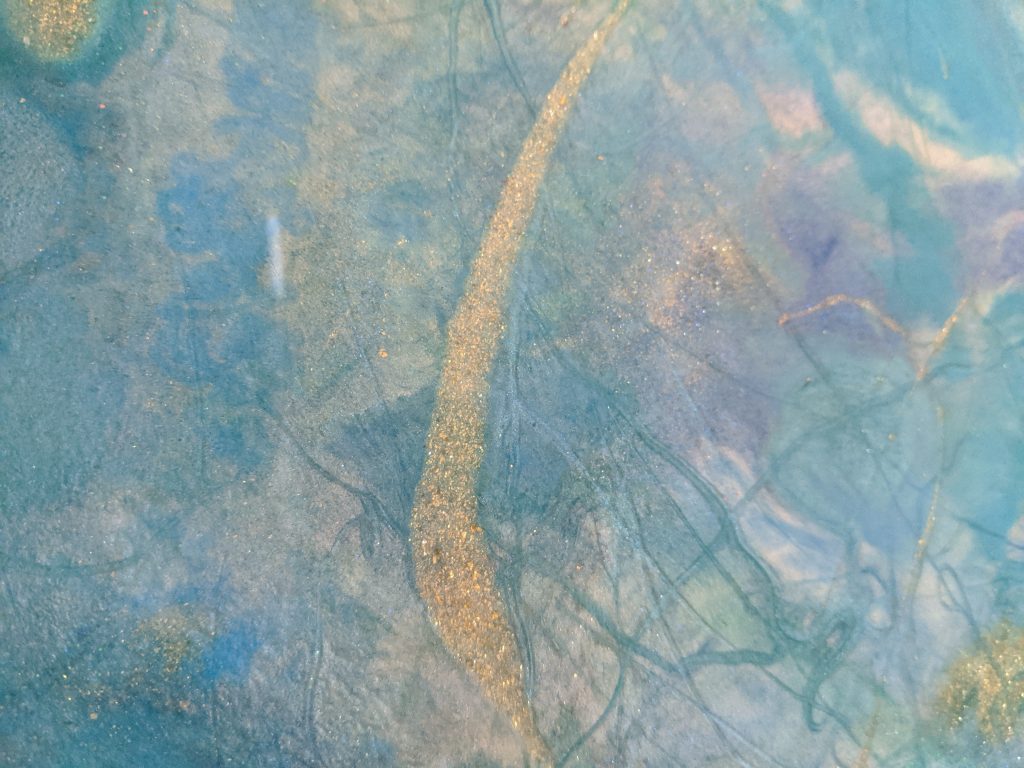
I tried to be a bit neater with this one, and the sharper edges on this lazy susan made it easier to do so. I used a sponge on a stick to put a layer of resin all around the edges of the piece, but also let some of the resin just flow over the edge.
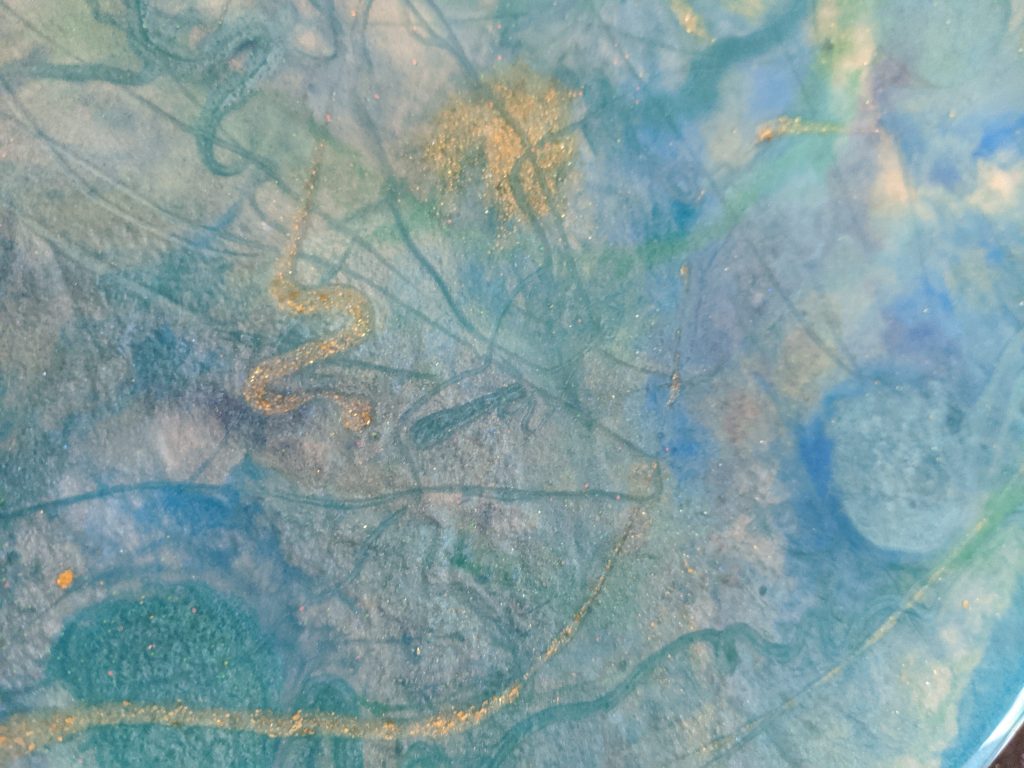
After using the heat gun.I mixed up some more of the darkest blue to add to the center, plus some additional gold for accent.After moving with the heat gun and adding a bit more gold.
I used the heat gun to make the textured appearance in the pigments by moving the resin back and forth across itself repeatedly.
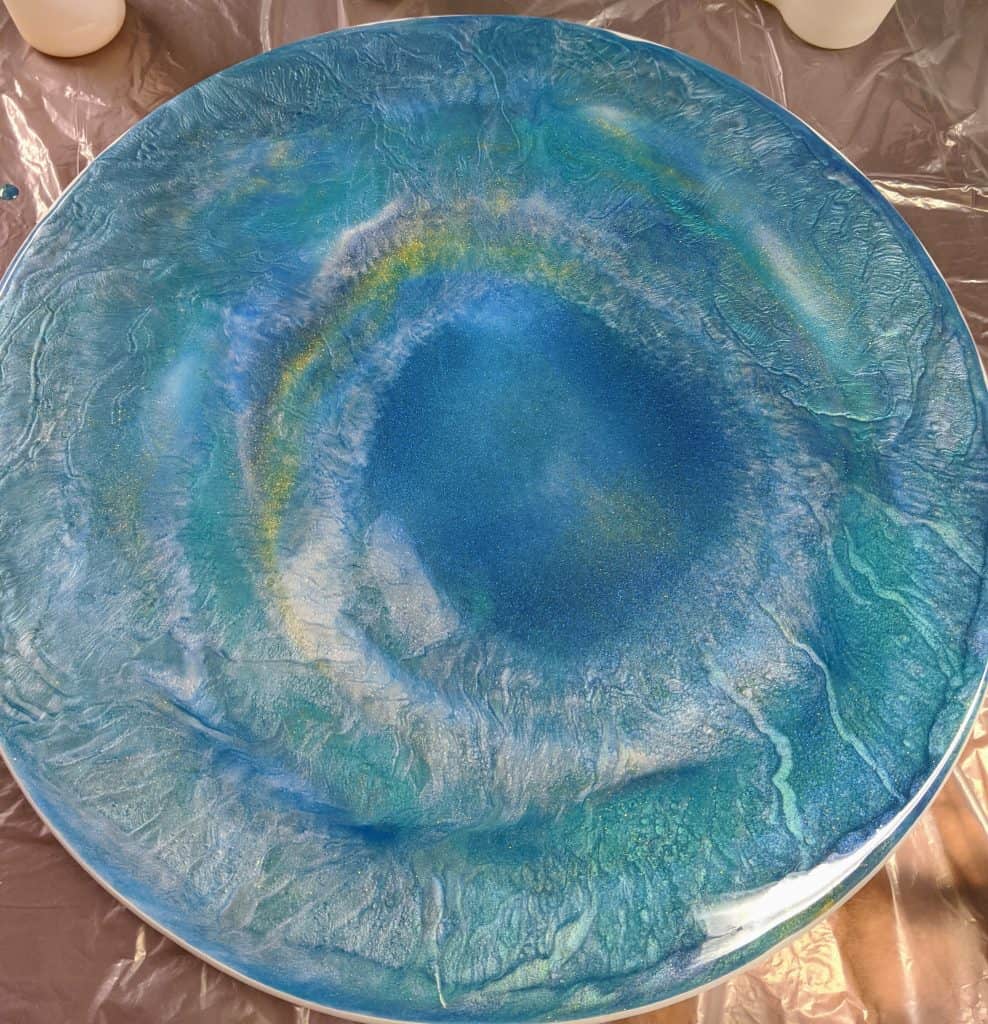
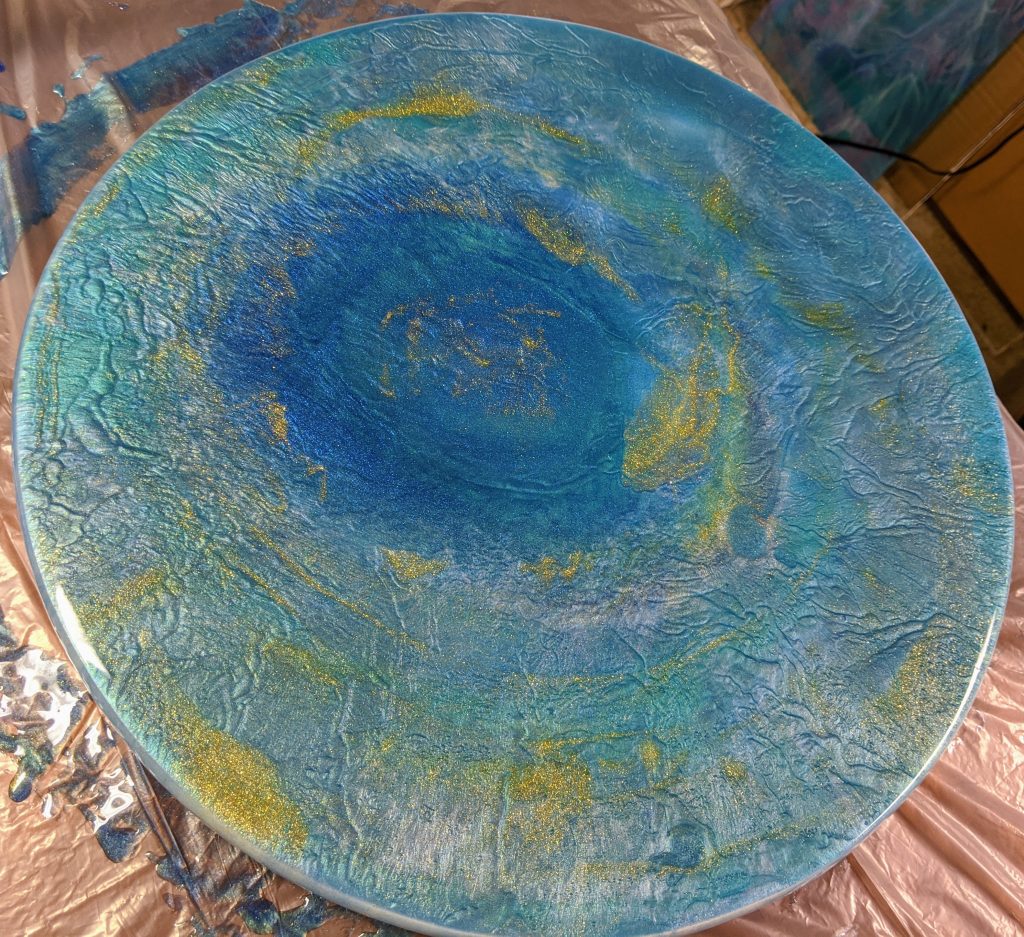
Finished for the moment.
After this, I used my gloved fingers to clean up any drips from the underside of the lazy susan. I still had a lot of drips even after doing that on my first one, but I think I had less waste on this project to drip over the edge. Still I will check on it a few more times to see if any appear, as it’s much easier to deal with them before it cures. Now I just wait overnight to see how it turned out.
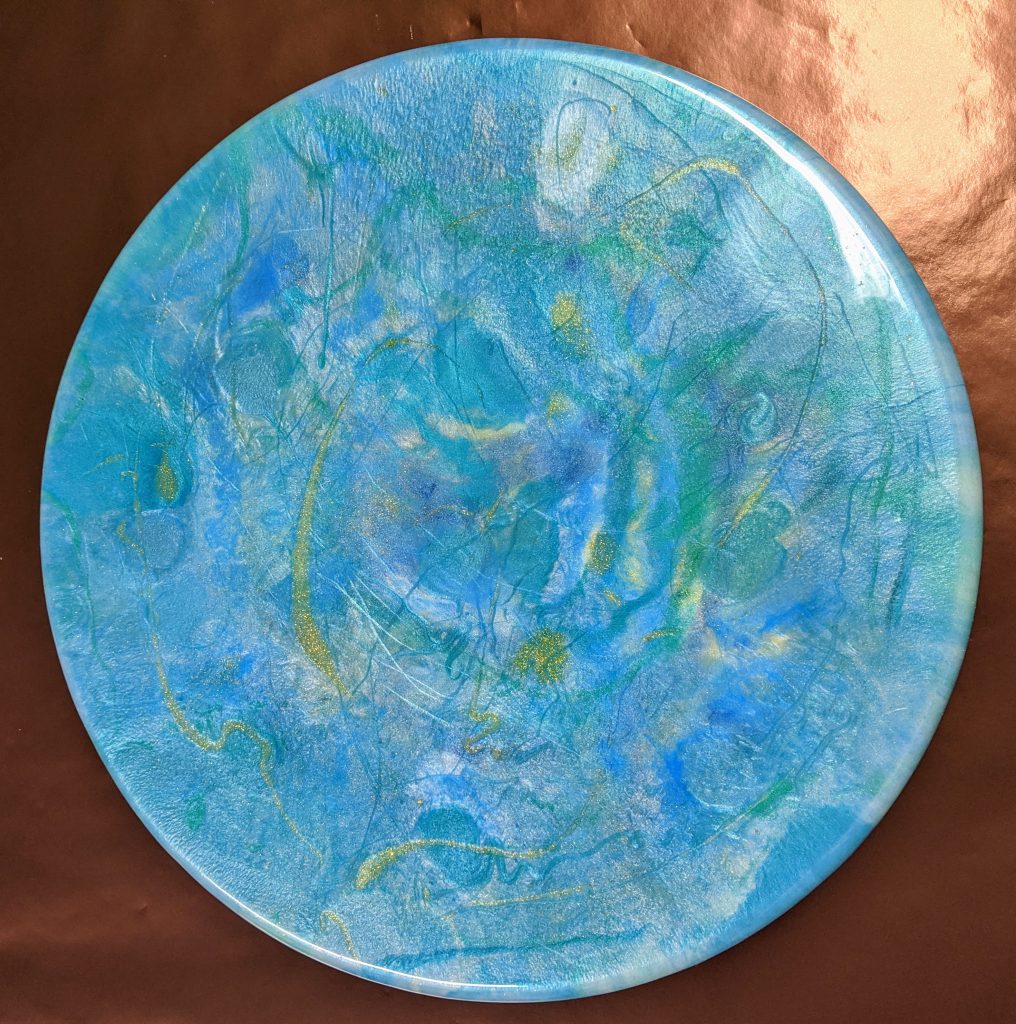
Ok, this is not a glass project whatsoever, but it’s something I have been wanting to try for a while. I have been doing some minor decluttering around the house and in the process ran across a couple of old wooden lazy susans that have just been sitting around for the last 15 or so years. This one measures 14″ across. I decided to try out decorating them with resin. I was hoping for a “beachy” look, but, well, you can judge for yourself. And remember this was my first try.
I sealed the wood with some Krylon spray paint a few days before, and covered the round “foot” of the lazy susan with painters tape before I began pouring the resin.
I used a lot of powdered pigment colors for this. Probably overkill, but it’s my first try. I mixed some yellow with white and later actually added a tiny touch of brown to it because I was going for a sandy look with this color.
Pigments used (except the brown, which was just a tiny amount).More pigments used – next time I will likely try to keep it to four or five max different colors.
I mixed the clear resin (about 200 ml), then poured it into the individual containers with the powdered pigments and stirred some more.
Pigments before adding the resin.
Now comes the leap of faith, as once I started working with the resin, I was making a mess and didn’t want to touch my phone to take photos. However, the process was basically to add a circle of the yellow/white/brown (sand) mixture to the center of the board, then add concentric rings of different colors, trying to alternate with white frequently (I mixed about twice as much white as any other color). I also held back a small amount of the clear to use as accents. I filled in any bare spots within the rings with the gold colored resin. Once the lazy susan was about 3/4 covered, I used my heat gun to move the resin around and completely cover the lazy susan.
Poured and blown around with the heat gun.
I used my (gloved) fingers, a sponge brush and stir sticks to try to clean up the drips from the underside of the lazy susan. Ultimately my fingers seemed to work best for this. I kept messing around with it a bit until the resin started to firm up, and there was one spot that wanted to bubble even though I sealed the wood beforehand.
Waiting for it to cure.
This is how it turned out by the time I was done pouring and blowing it with the heat gun. Overall, it wasn’t really the look I was going for (beach), but I still think it is pretty. For a first try, it is OK. I think I should not have used so many similar colors – I need to stick with fewer, more contrasty shades. I’ll see how it looks after it cures tomorrow. I also want to try this with alcohol inks, but one step at a time. I had a small amount of resin left over, so I poured one coaster (half a layer – it will need more resin to finish it).