I see a lot of people posting photos of the jigsaw puzzles they’re doing during the pandemic. I guess this is my version! Just a quick post with current progress.
Glass of Sherry
I see a lot of people posting photos of the jigsaw puzzles they’re doing during the pandemic. I guess this is my version! Just a quick post with current progress.
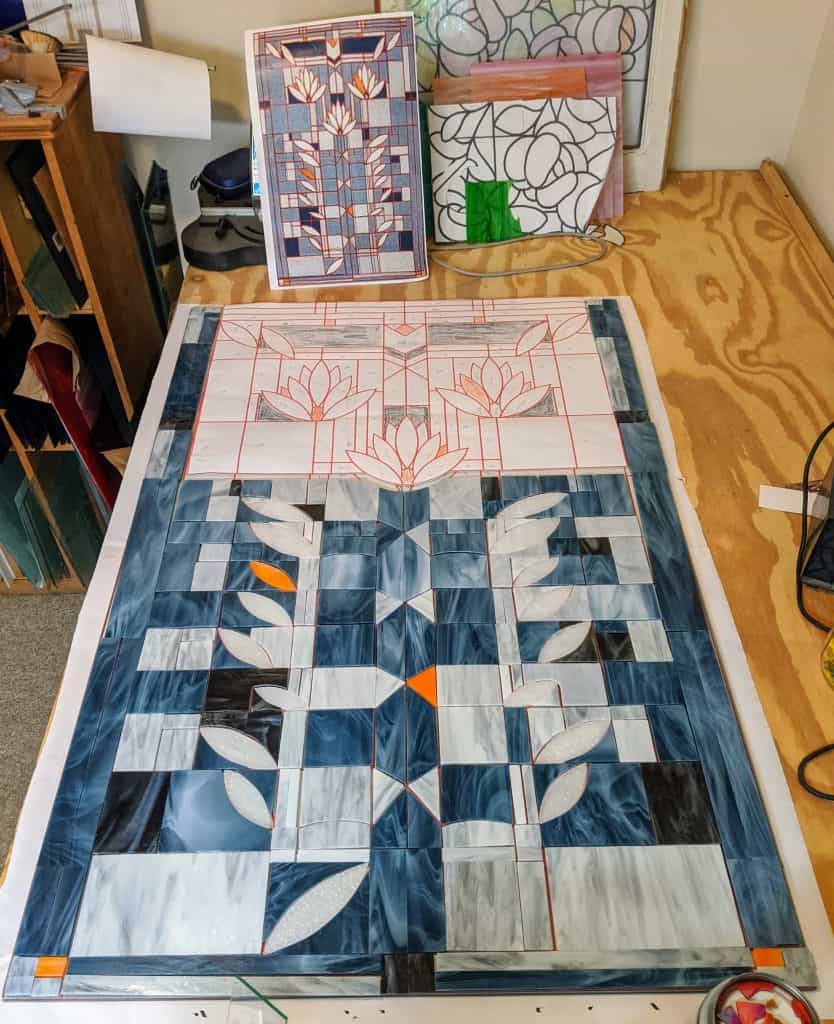
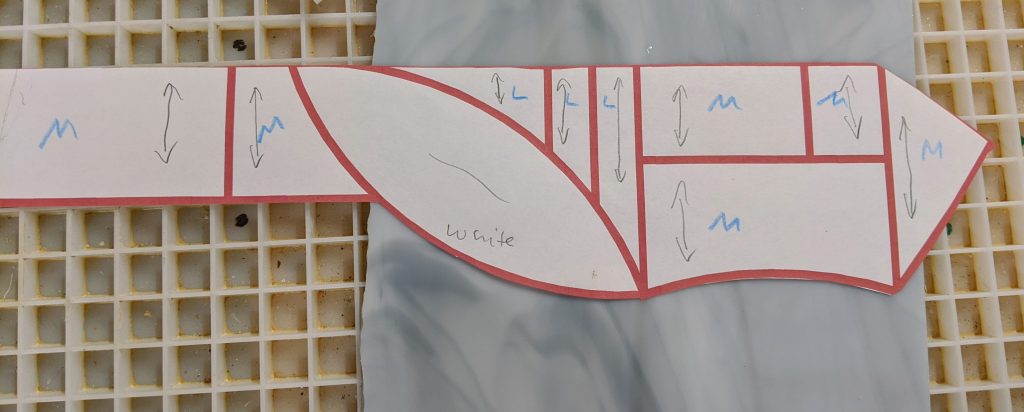
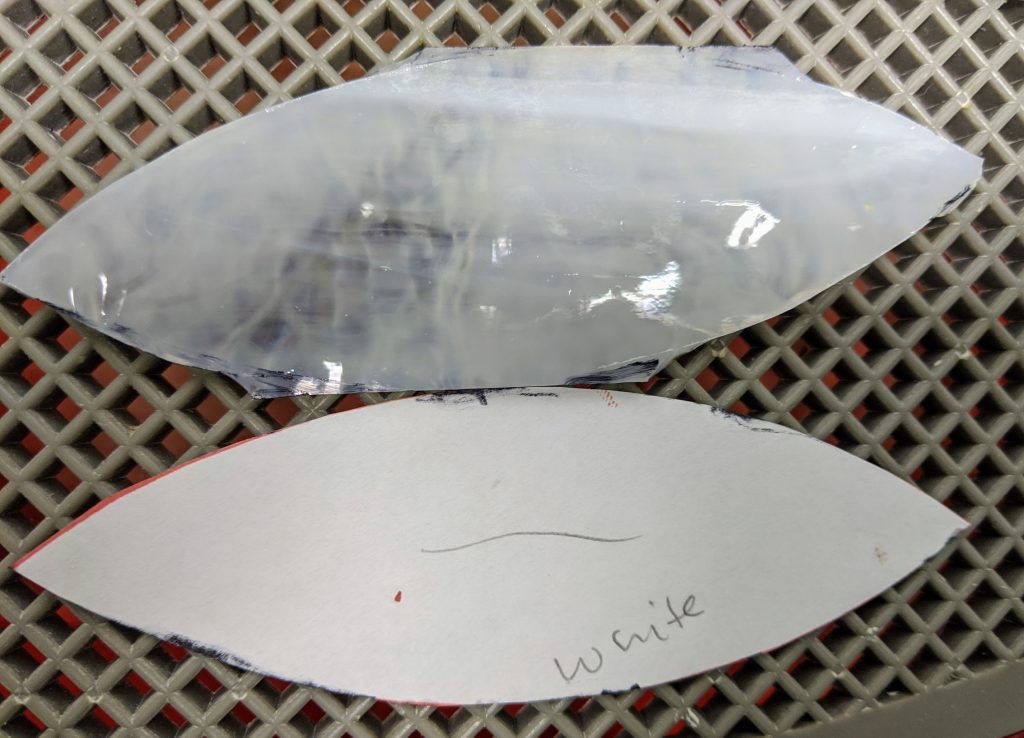
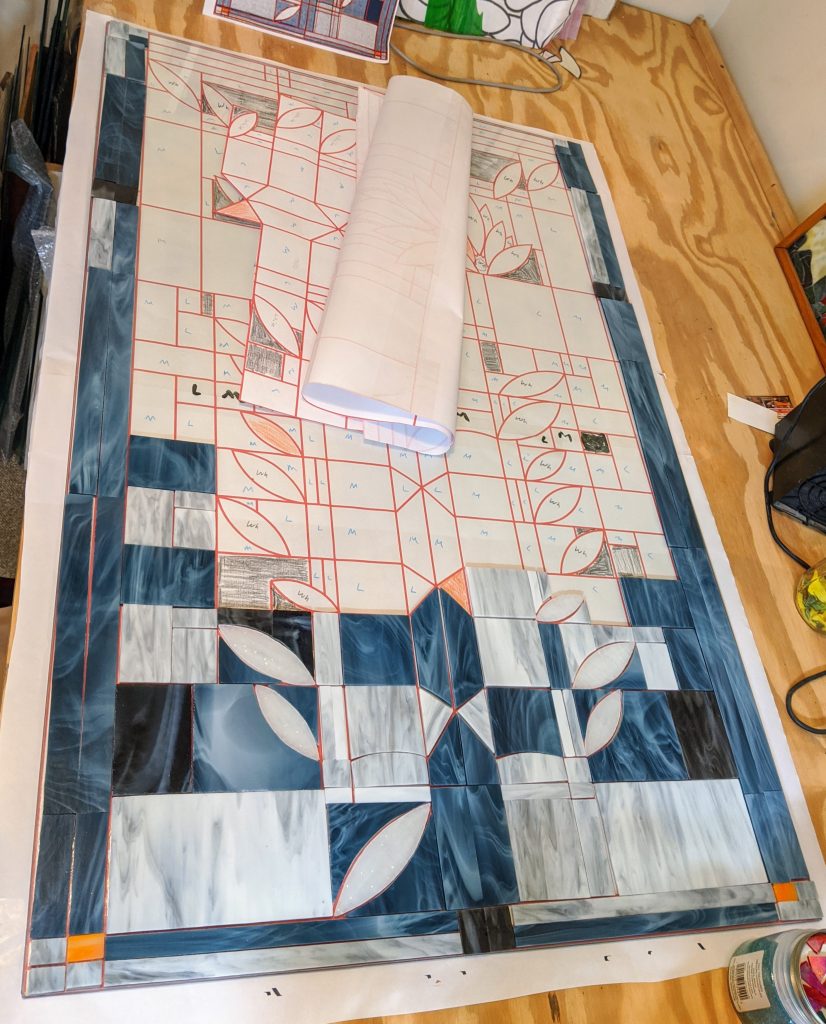
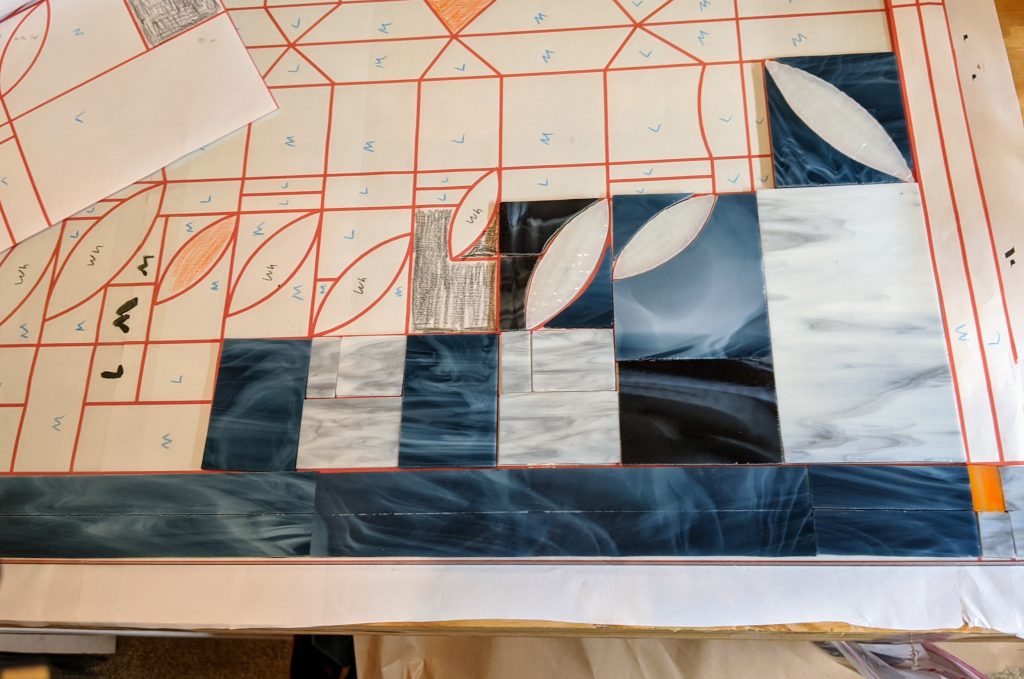
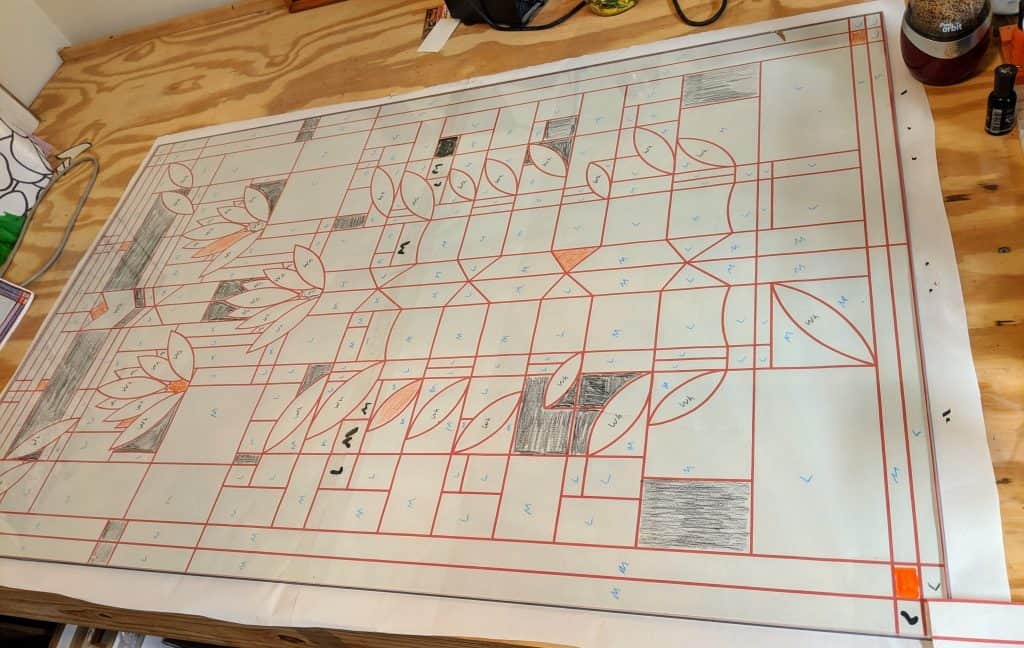
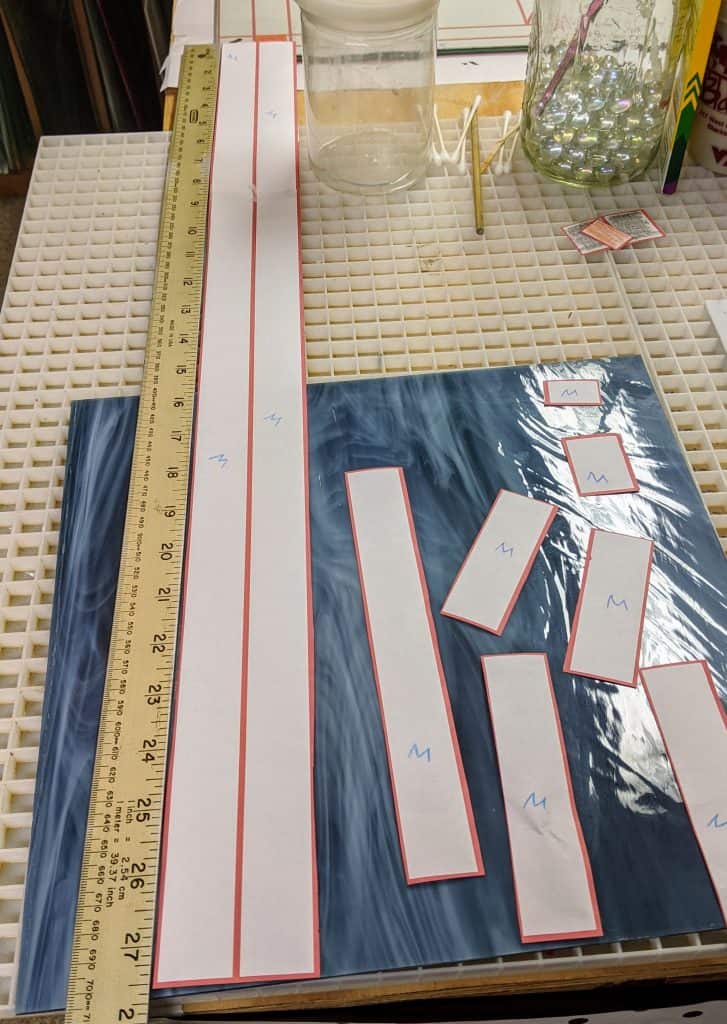
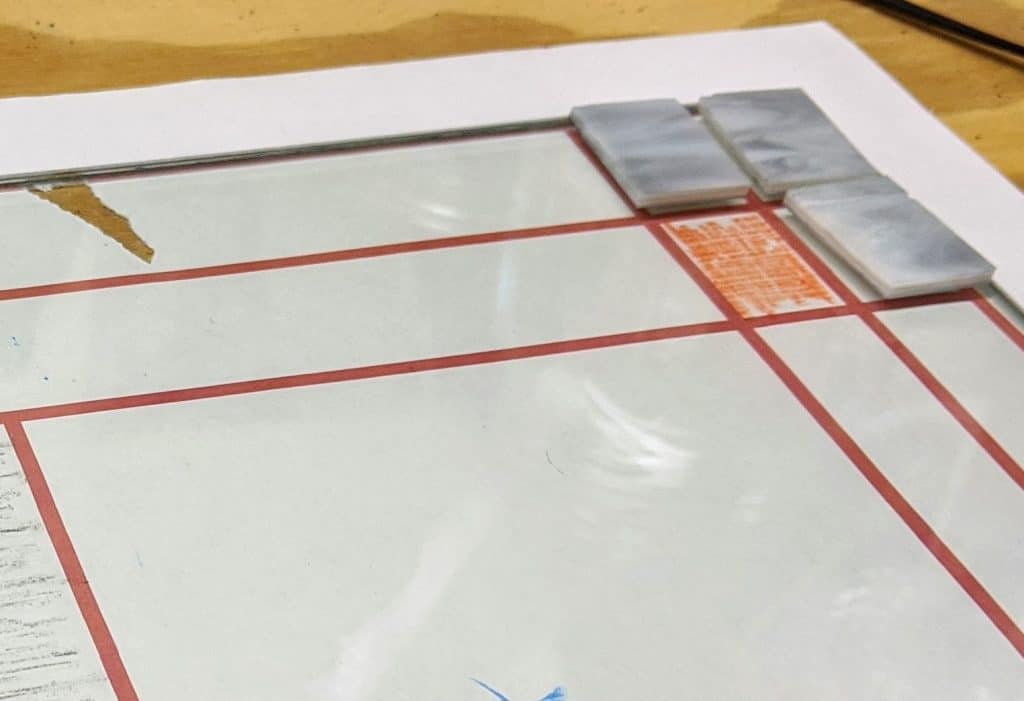
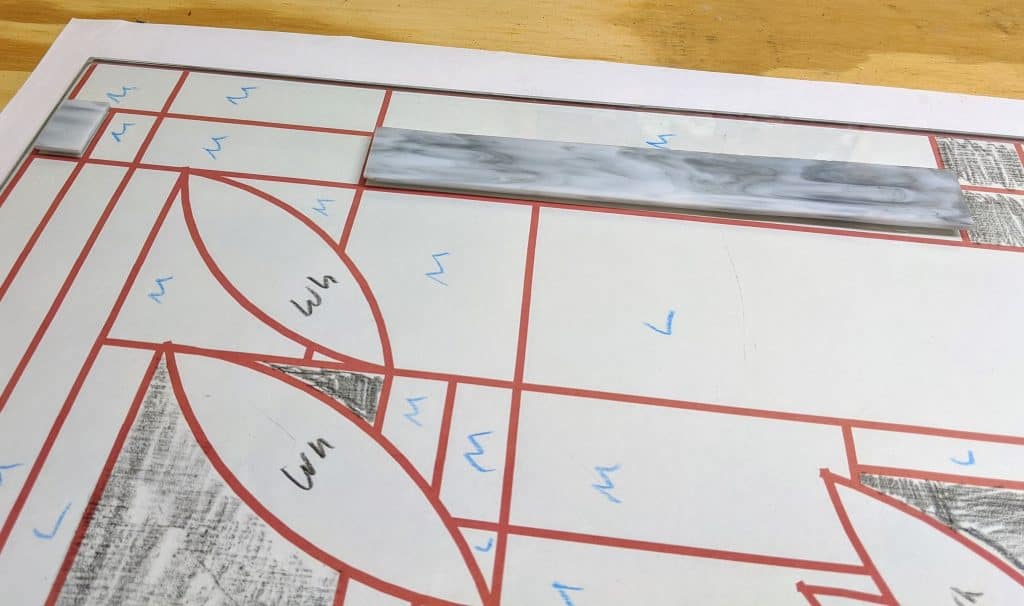
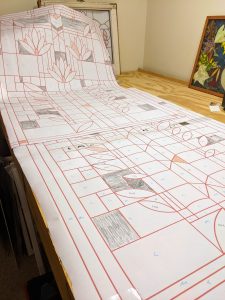
Our websites have been repeatedly hacked over the past couple of weeks, so it seems like every time I go to post some pictures we have to fix the website first. Such an annoying waste of time. In any case, here are a few snapshots of my current progress on this project. First I cut the red lines out of each paper piece of the pattern, then I draw the “direction” of the glass that I’m seeking for each piece on the paper. This is helpful when selecting the glass for each piece, since once it’s cut apart from the overall pattern it is hard to tell what directional flow the glass should have. I had to go back and fix the direction I marked on the triangle on the far right below photo as I’ve been tilting those pieces.
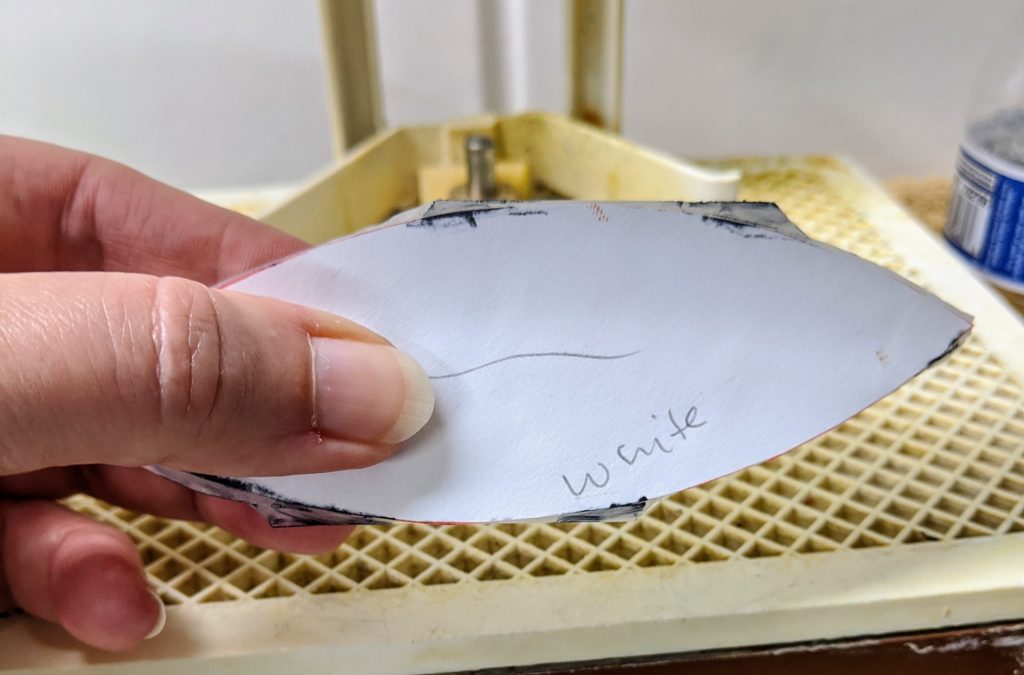
The glass I’m using for the white lily petals is highly textured and I tend to cut myself on it a lot, but basically I hand cut each piece as close to the paper pattern piece as I can. I then mark the parts that I need to grind the rest of the way with a sharpie before grinding.
It’s usually easy to grind it down to the desired shape, though today I did manage to cut myself twice. The second cut was on my right thumb and was ouchy enough that I decided to take a break for the day. This happens all the time – I keep a good supply of band-aids on hand. It’s just part of the territory. A few years ago, the owner of the shop where I buy my glass supplies (Mike from Blue Heron Glass) even handed out little packages of band-aids with his store name on them to customers.
I’m running really low on the medium gray (steel blue) glass, so hopefully Mike has placed another order by now. Otherwise I will just have to work around those pieces for awhile.
Just a quick update – not much excitement here, but I have been thinking about the edges when I eventually pour the resin. I’ve planned to pour the resin with a duct tape edge to hold it in place, but I believe the family who will be taking this home will add a wooden frame around the edge. I might see if they want to add it before I pour the resin to adhere it to the piece. I’m not sure why I didn’t think of this earlier as I often use recycled windows with the frame intact for similar projects. When I get closer to resin pouring time we can revisit that.
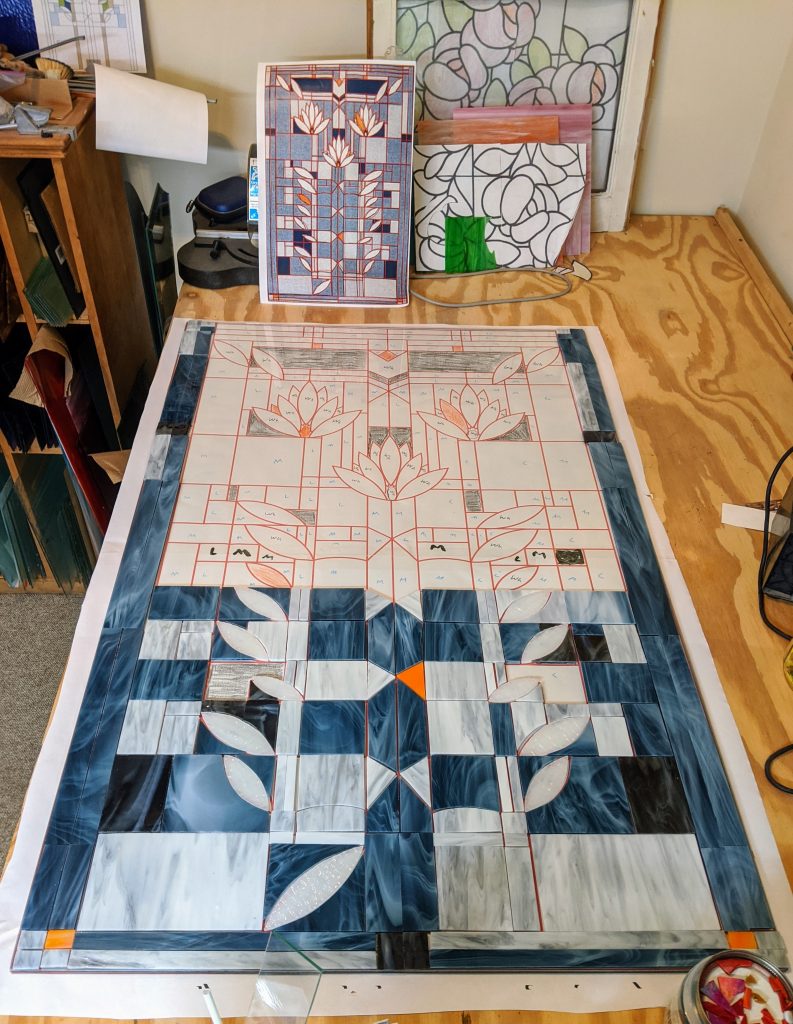
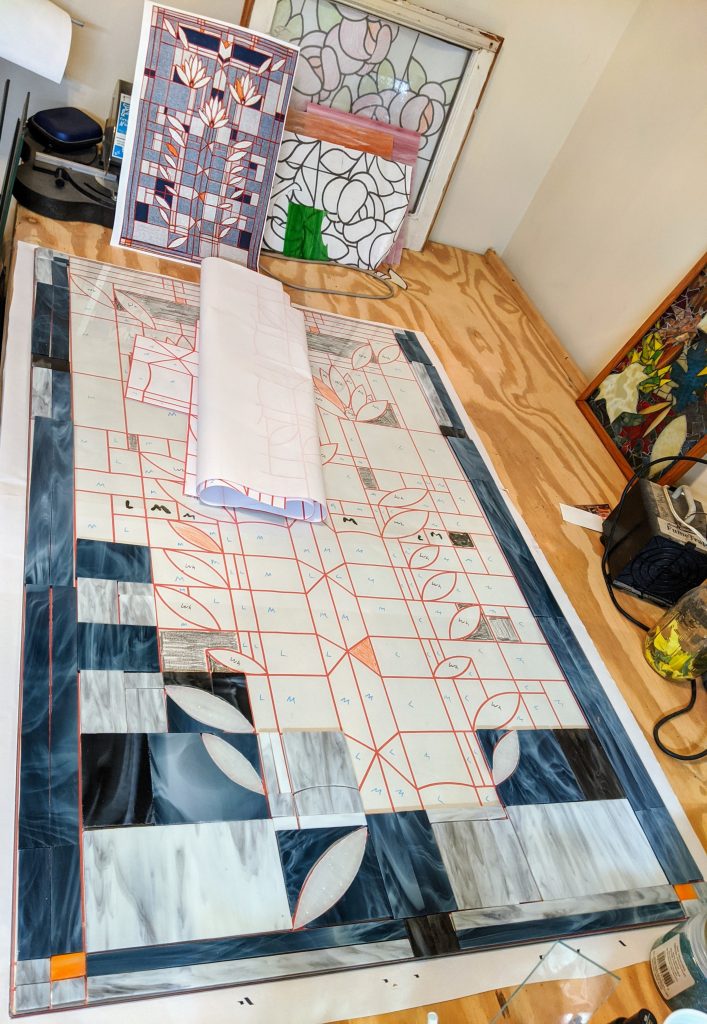
My friends for whom I’m making this window agreed to the minor change to the bottom center border edge, so today I implemented that, plus made a bit more progress overall. I had to spend some time cleaning out my grinder (it had been waaaay too long) and changing out the grinder bit, as well.
I’m actually starting to run low on the medium gray glass. I went by Blue Heron this week and talked with the owner a bit and he thinks it is Steel Blue / White from Spectrum glass. He promised to order some for me when he places his next glass order.
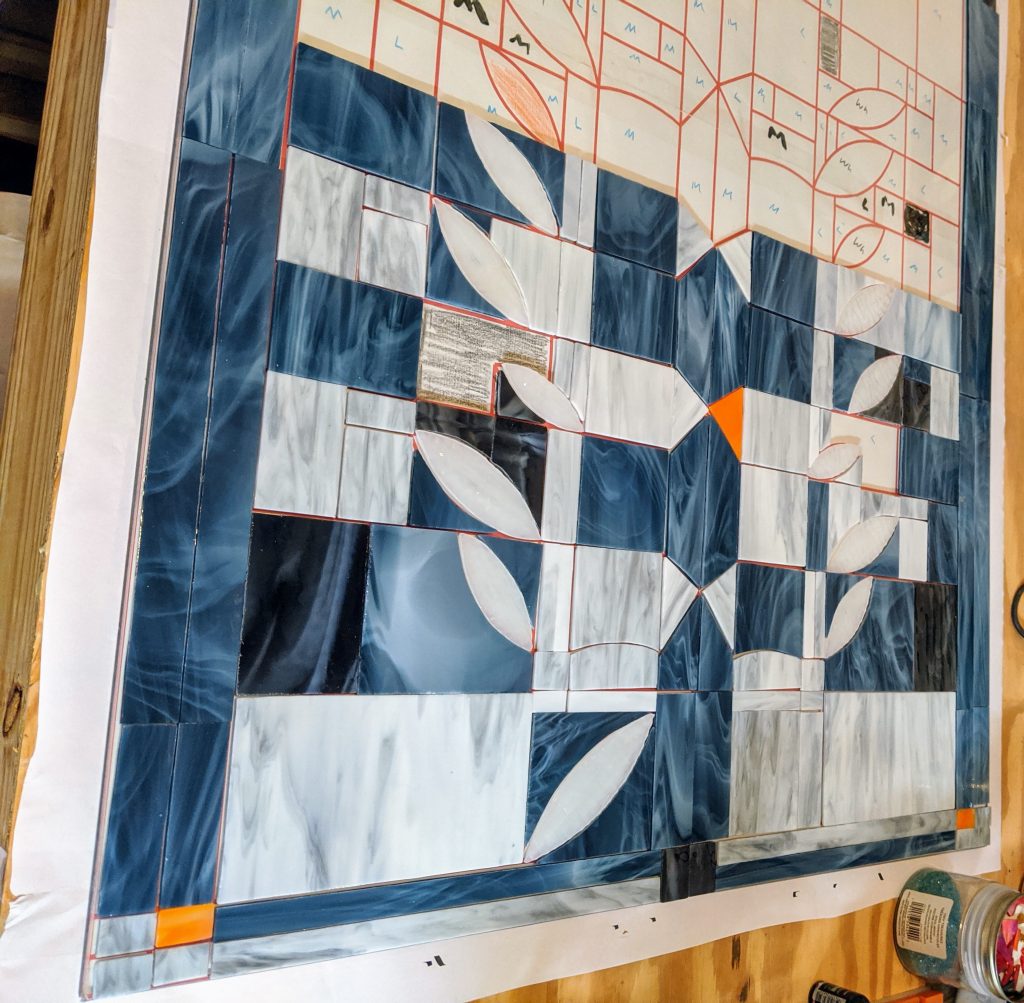
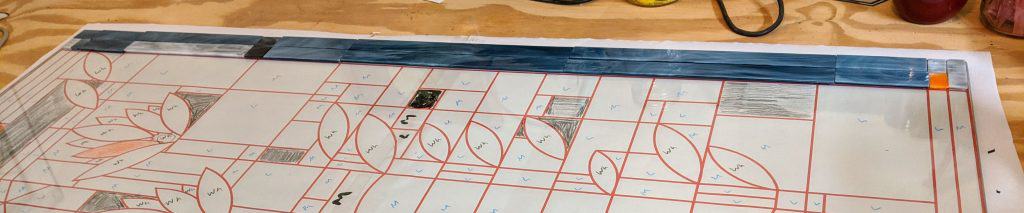
I’ve been looking at the bottom two pieces of the pattern and thinking of a way that I might handle them a bit differently than I did the long pieces on each far side. The situation is the pattern calls for a piece of glass that is longer than my glass sheets. For the sides, I am just abutting the cut pieces to make them appear longer, but for the bottom two edge pieces, I might do something else.
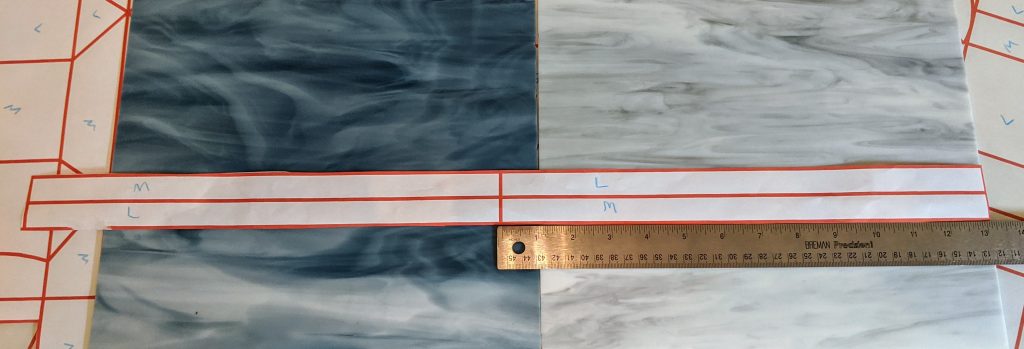
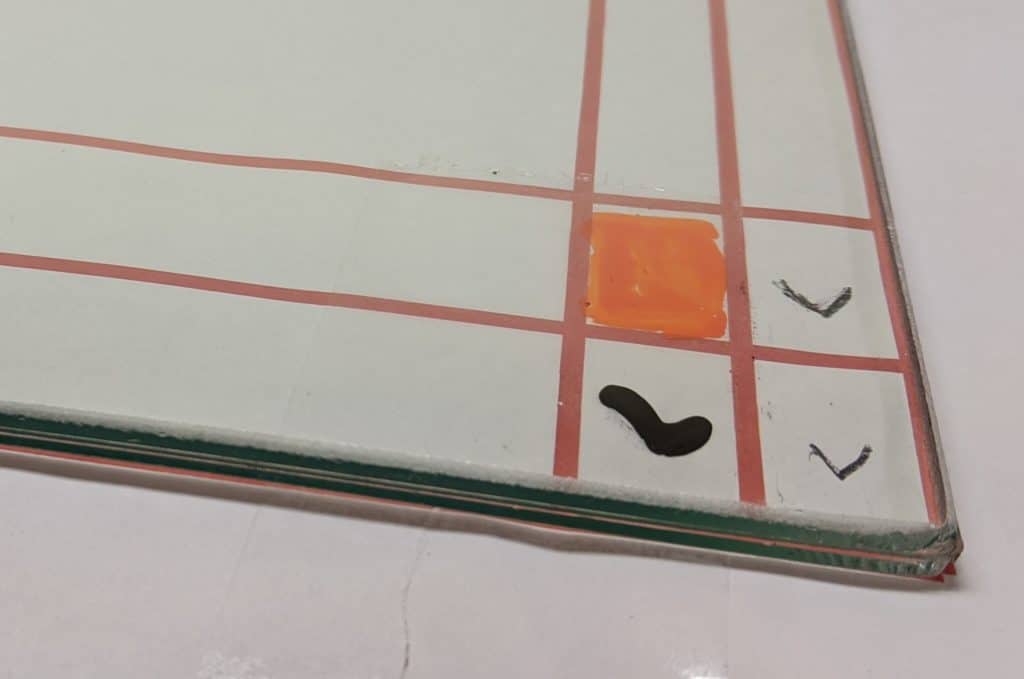
I think it might be nice to make two square pieces, either orange or the darkest gray, to fill the gap between the two light / medium gray strips. The squares would be inserted into the middle for symmetry.
So far I’ve been able to cut everything by hand and then make adjustments using my glass grinder.
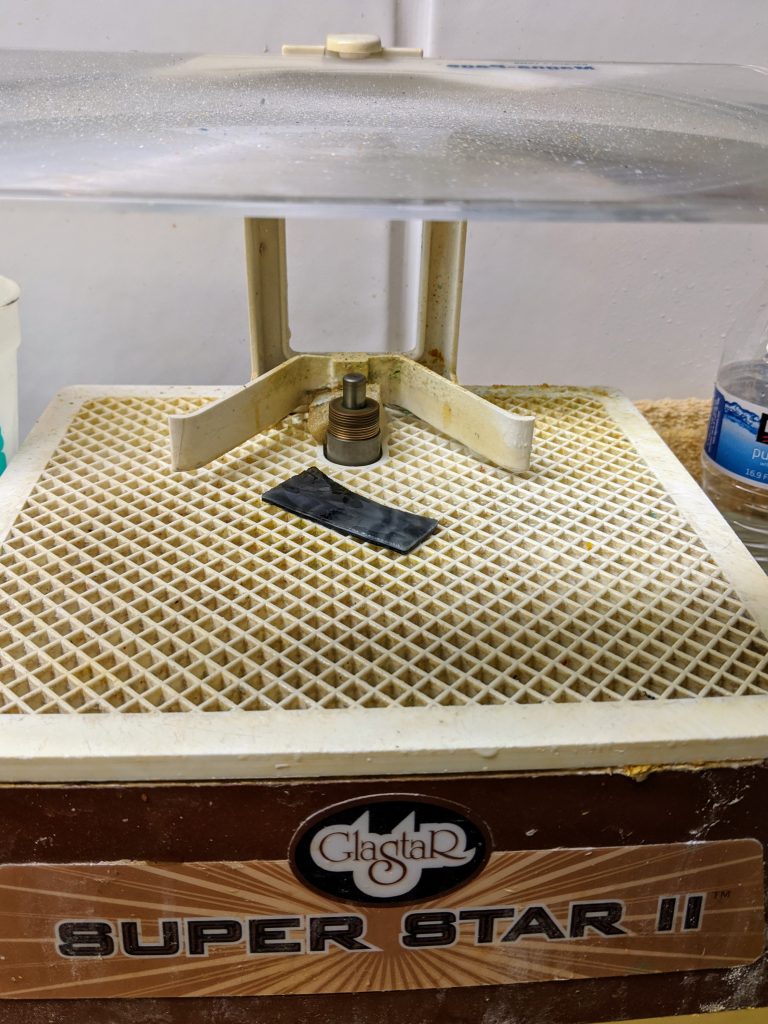
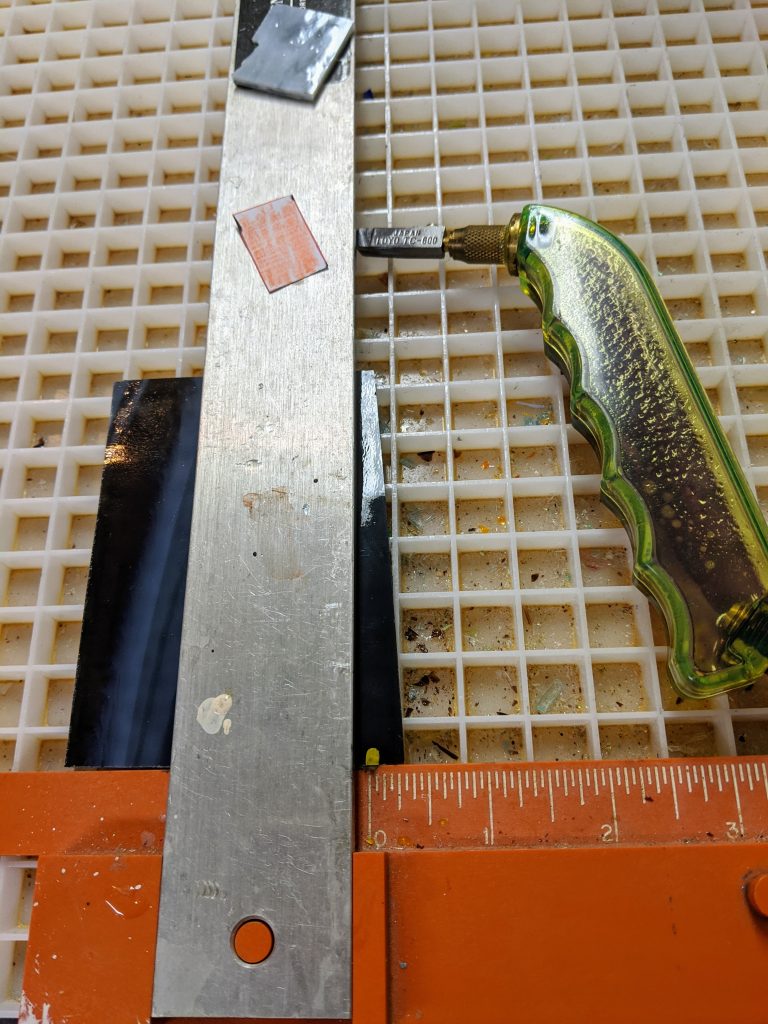
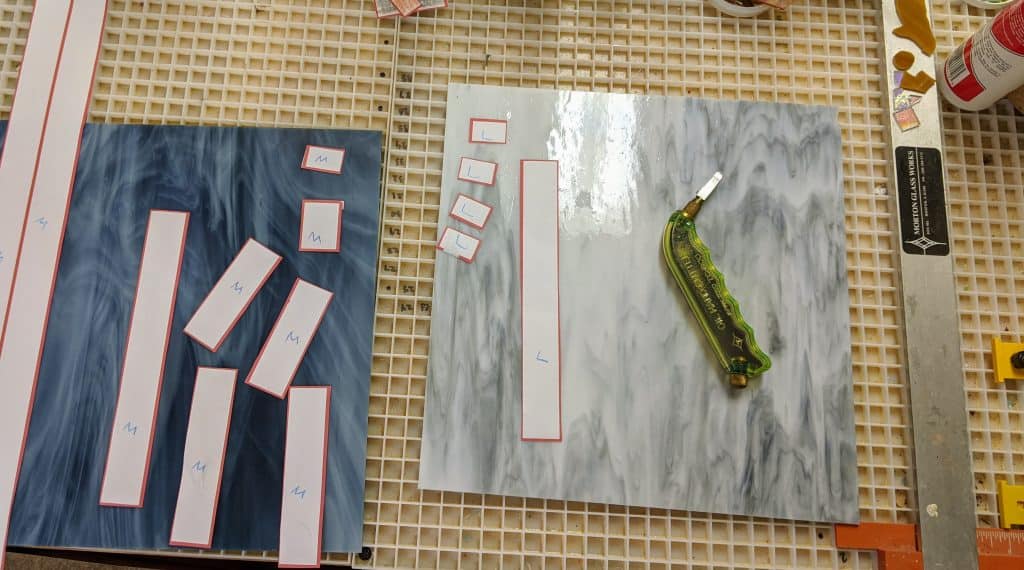
However, some pieces really require a glass saw. There is a tool I could use to try to cut this by hand, but I’m not that great with it. I’ll have to fill the saw with water over the weekend to cut this piece.
Things move a little faster when you’re working with larger pieces of glass. Still, after the second band-aid, I decided to take a break. I also need to buy a new grinder bit. Nothing is glued down yet – need to do a lot more adjusting and be able to see both sides of the project at the same time when I start gluing. So far all of this has been done with my hand cutter and glass grinder, though I’ve been tempted to get my saw ready for action a few times.
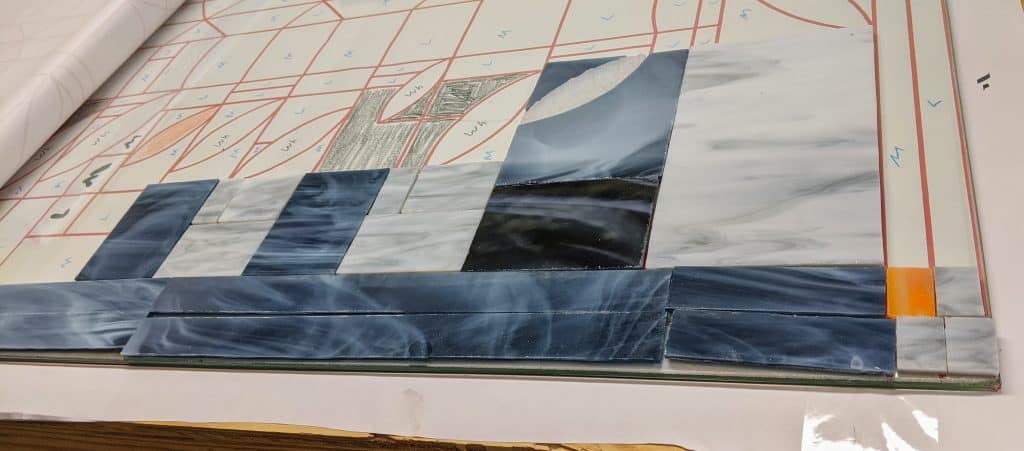
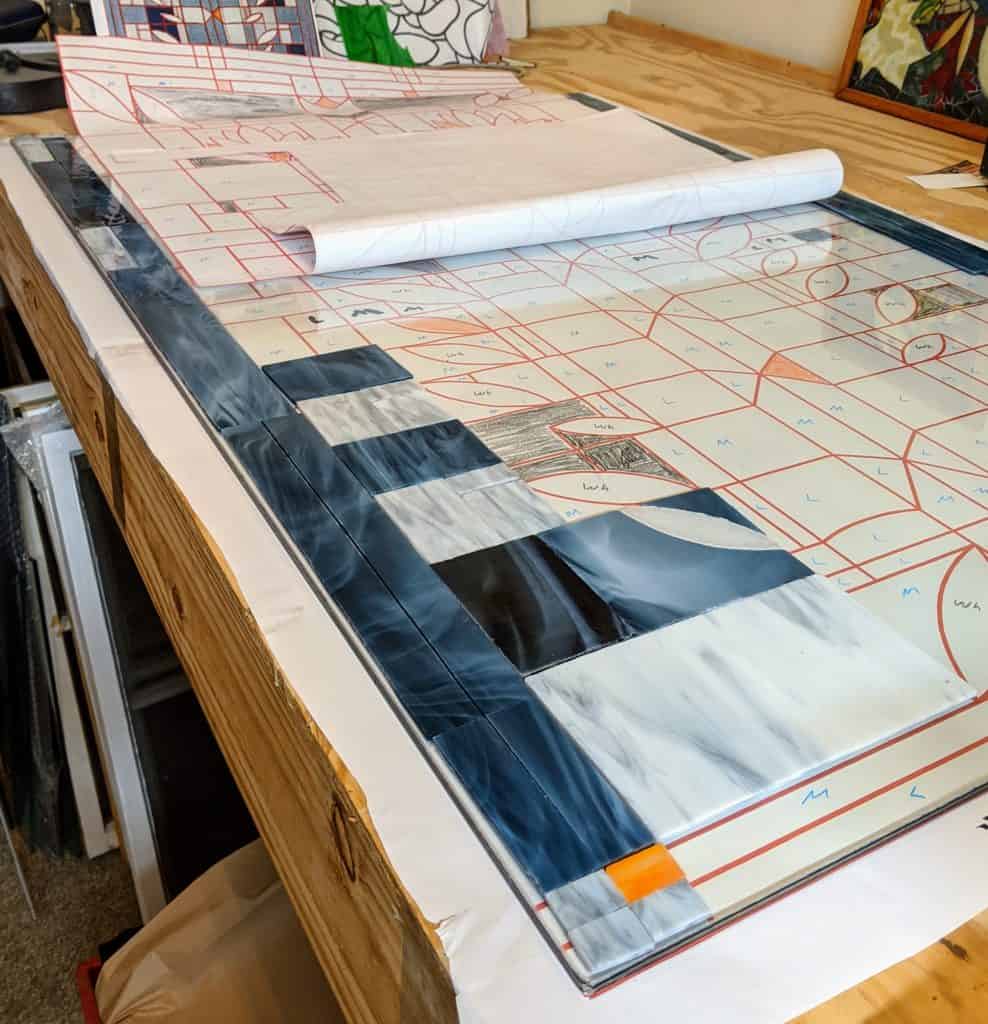
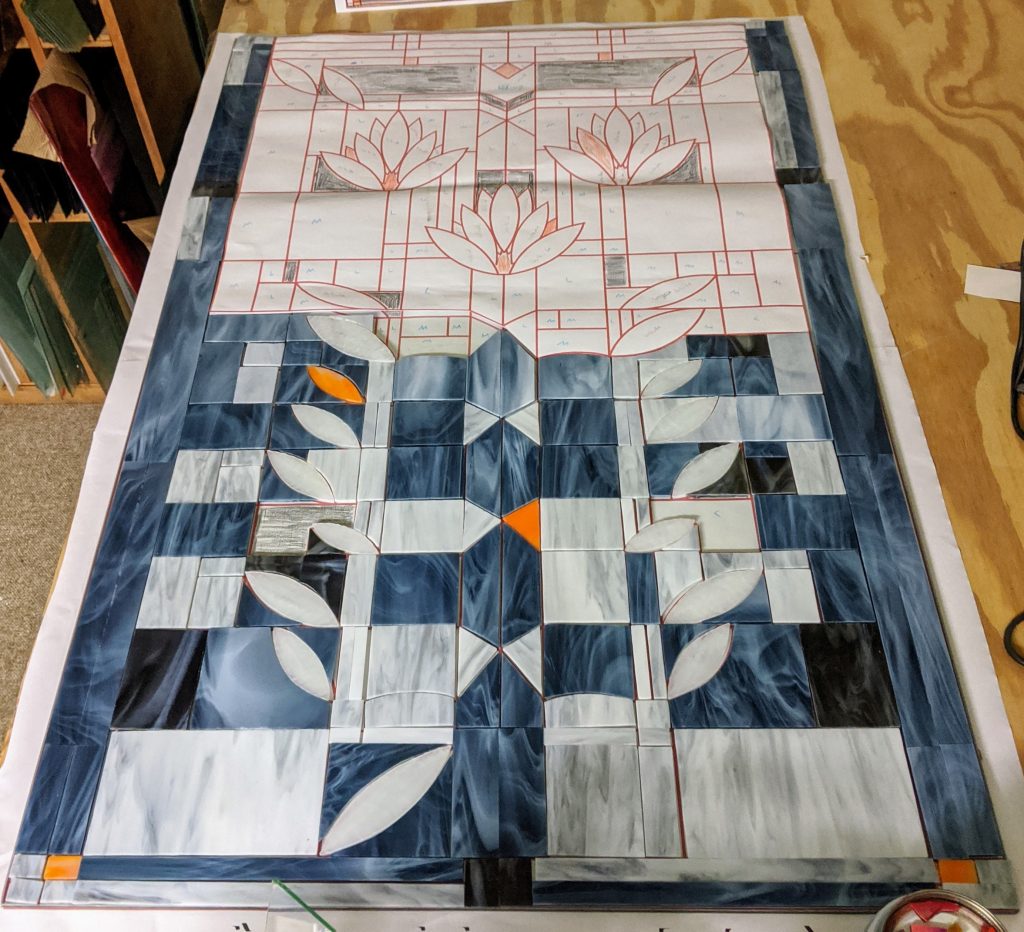
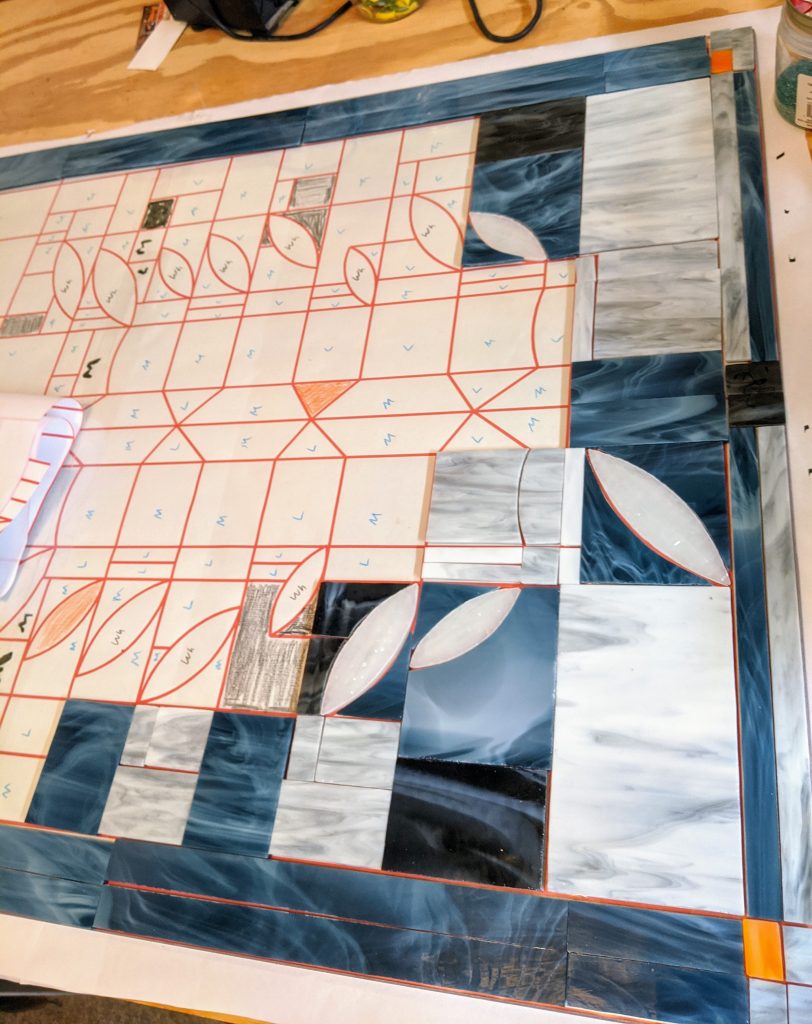
I finished cutting the glass for the first two stripes at the far edge of the piece. What I am learning is that my plan to work from the far edge back to the closer edge isn’t going to work. At some point I’m going to have to pivot the entire piece so I can see well enough to position each individual piece of glass when I am applying the mosaic adhesive. A few quick snapshots:


Today I unwrapped the backer glass, put it in place over the pattern on my work table, and started cutting pieces of glass from the far right side of the pattern.
I don’t have a piece of medium gray glass that is long enough to make some of the pieces of the pattern. I will likely deal with that by abutting two pieces of the glass as closely as possible.
I will be cutting the glass from only the white parts of the pattern (the orange cutting lines will be removed) so there will be a slight space between the pieces.
Something I didn’t anticipate and have yet to encounter before today is that some of my art glass really is not flat. That will likely cause bubbles in the resin underneath the pieces even if I glue them in place. A thicker layer of glue really isn’t good (to fill in the gap) because it can be visible from the back side of the piece, so I will have to think about this issue.
This week I finished marking all the pieces of the pattern with their intended color codes and ordered the 31″ x 48.25″ backer glass from Charleston Glass and Mirror. They recommended laminate which is apparently stronger than tempered. Hopefully I will have it early this week. In the meantime, I can start cutting out the pieces of the paper pattern I will use to guide myself on each piece of glass as I cut it. I think I will also visit Mike at Blue Heron Glass because I don’t think I have enough of the darkest glass. Hopefully he will have something on hand that is similar enough to fit the bill.
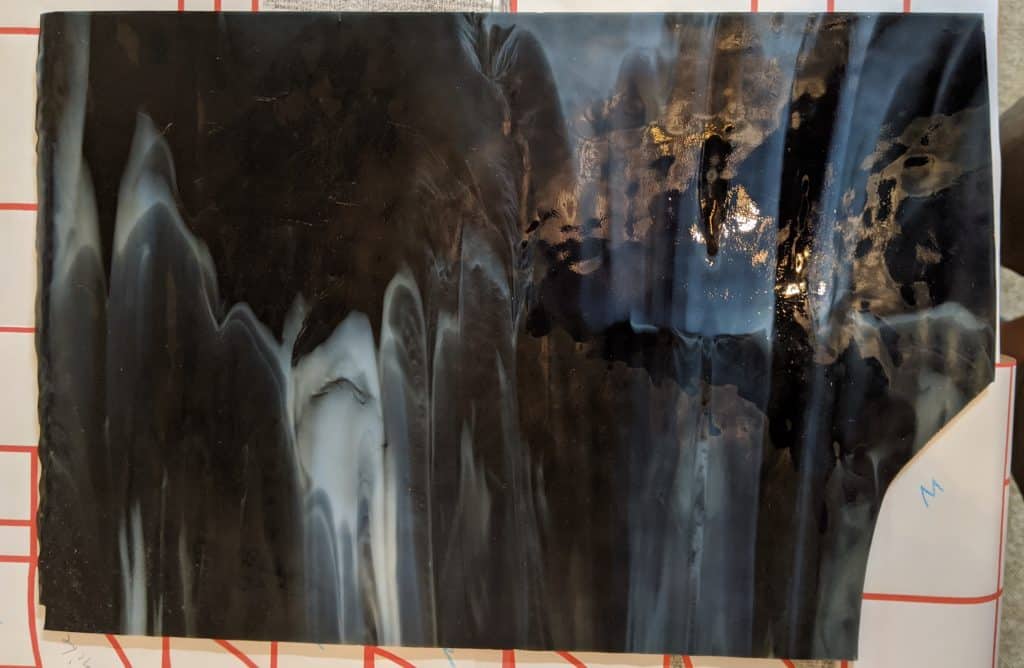
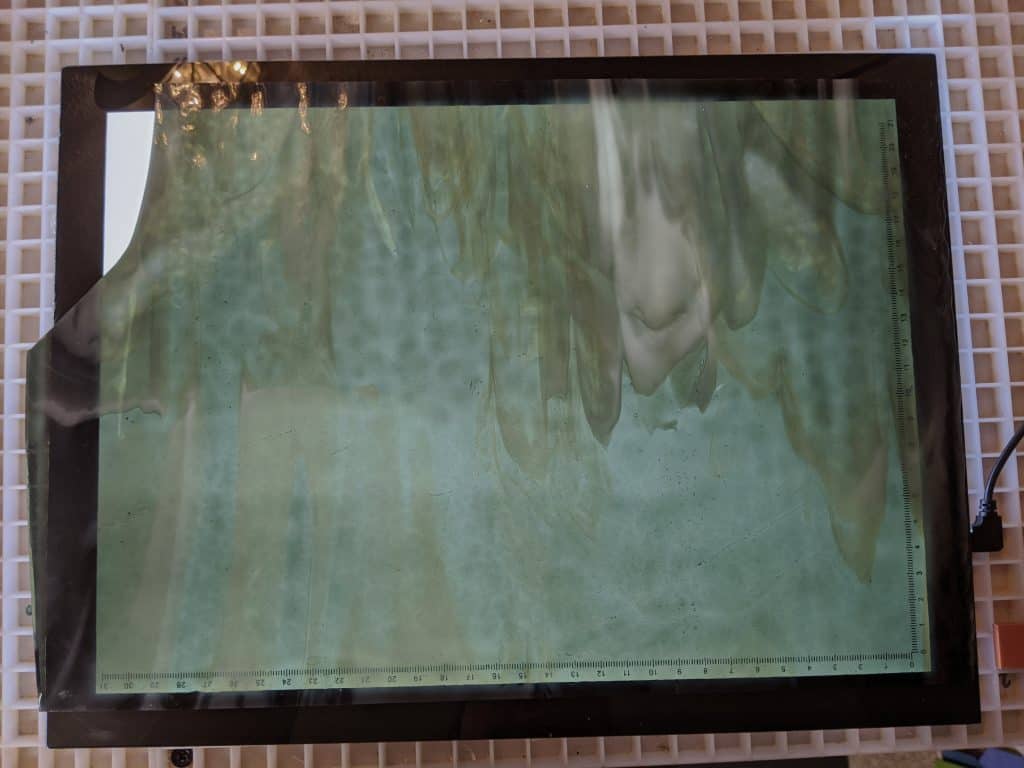
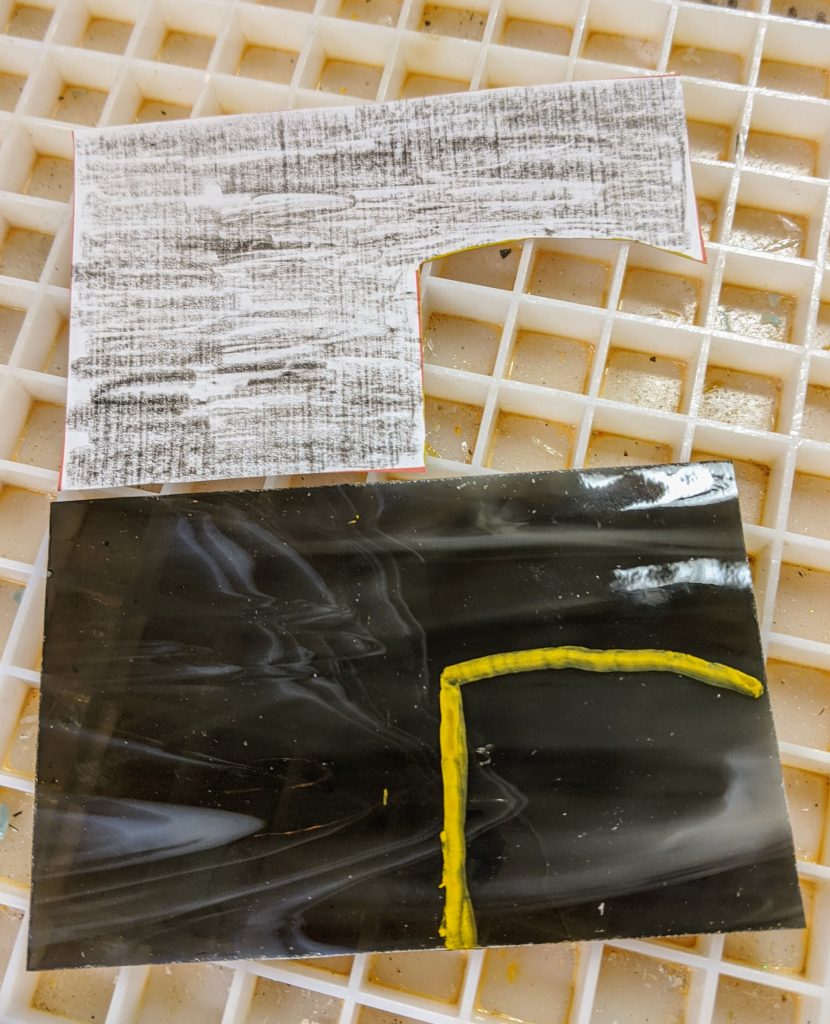
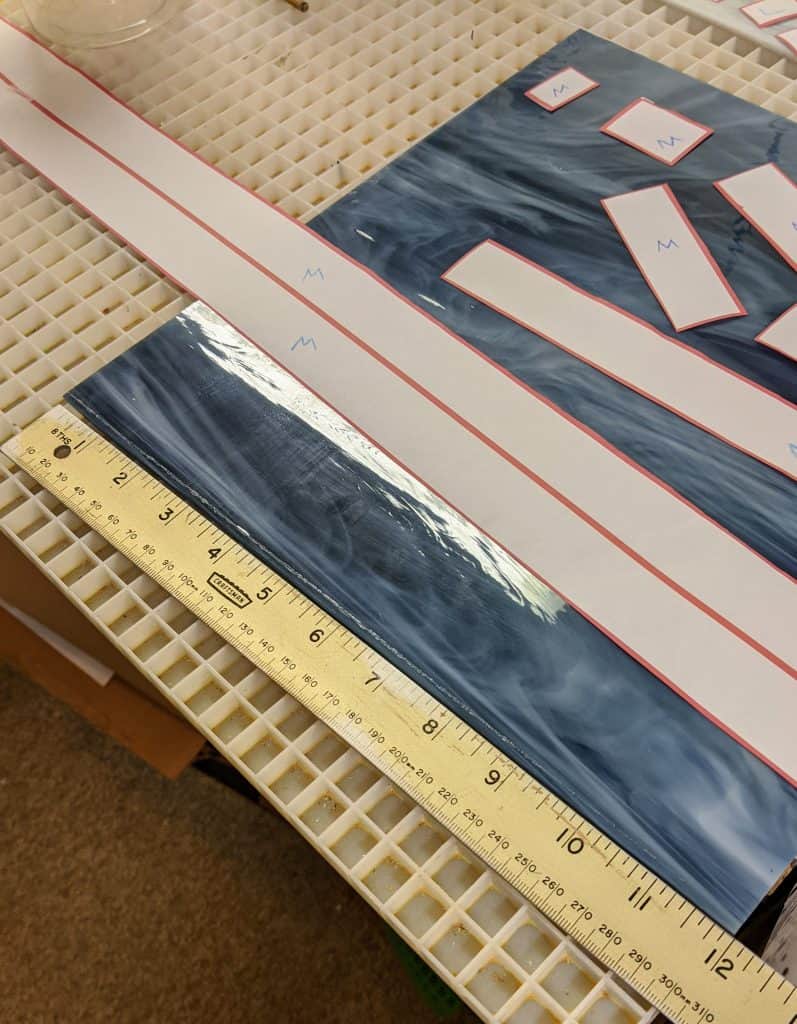
On the left is the darkest glass I’m using in the project. It looks like it is black with white swirls when viewed in ambient light. However, when the light is shining through it (as on the light tray on the photo on the right, above), it is a beautiful shade of gray.
I think I will work from the right side of the pattern over to the left, since it is the furthest from where I can reach on my work table. That means I will cut the pattern pieces on the right side first, then work my way to the other edge.