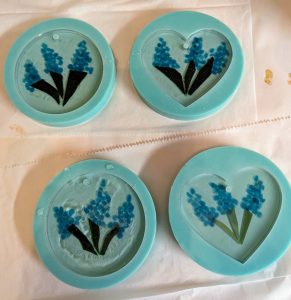
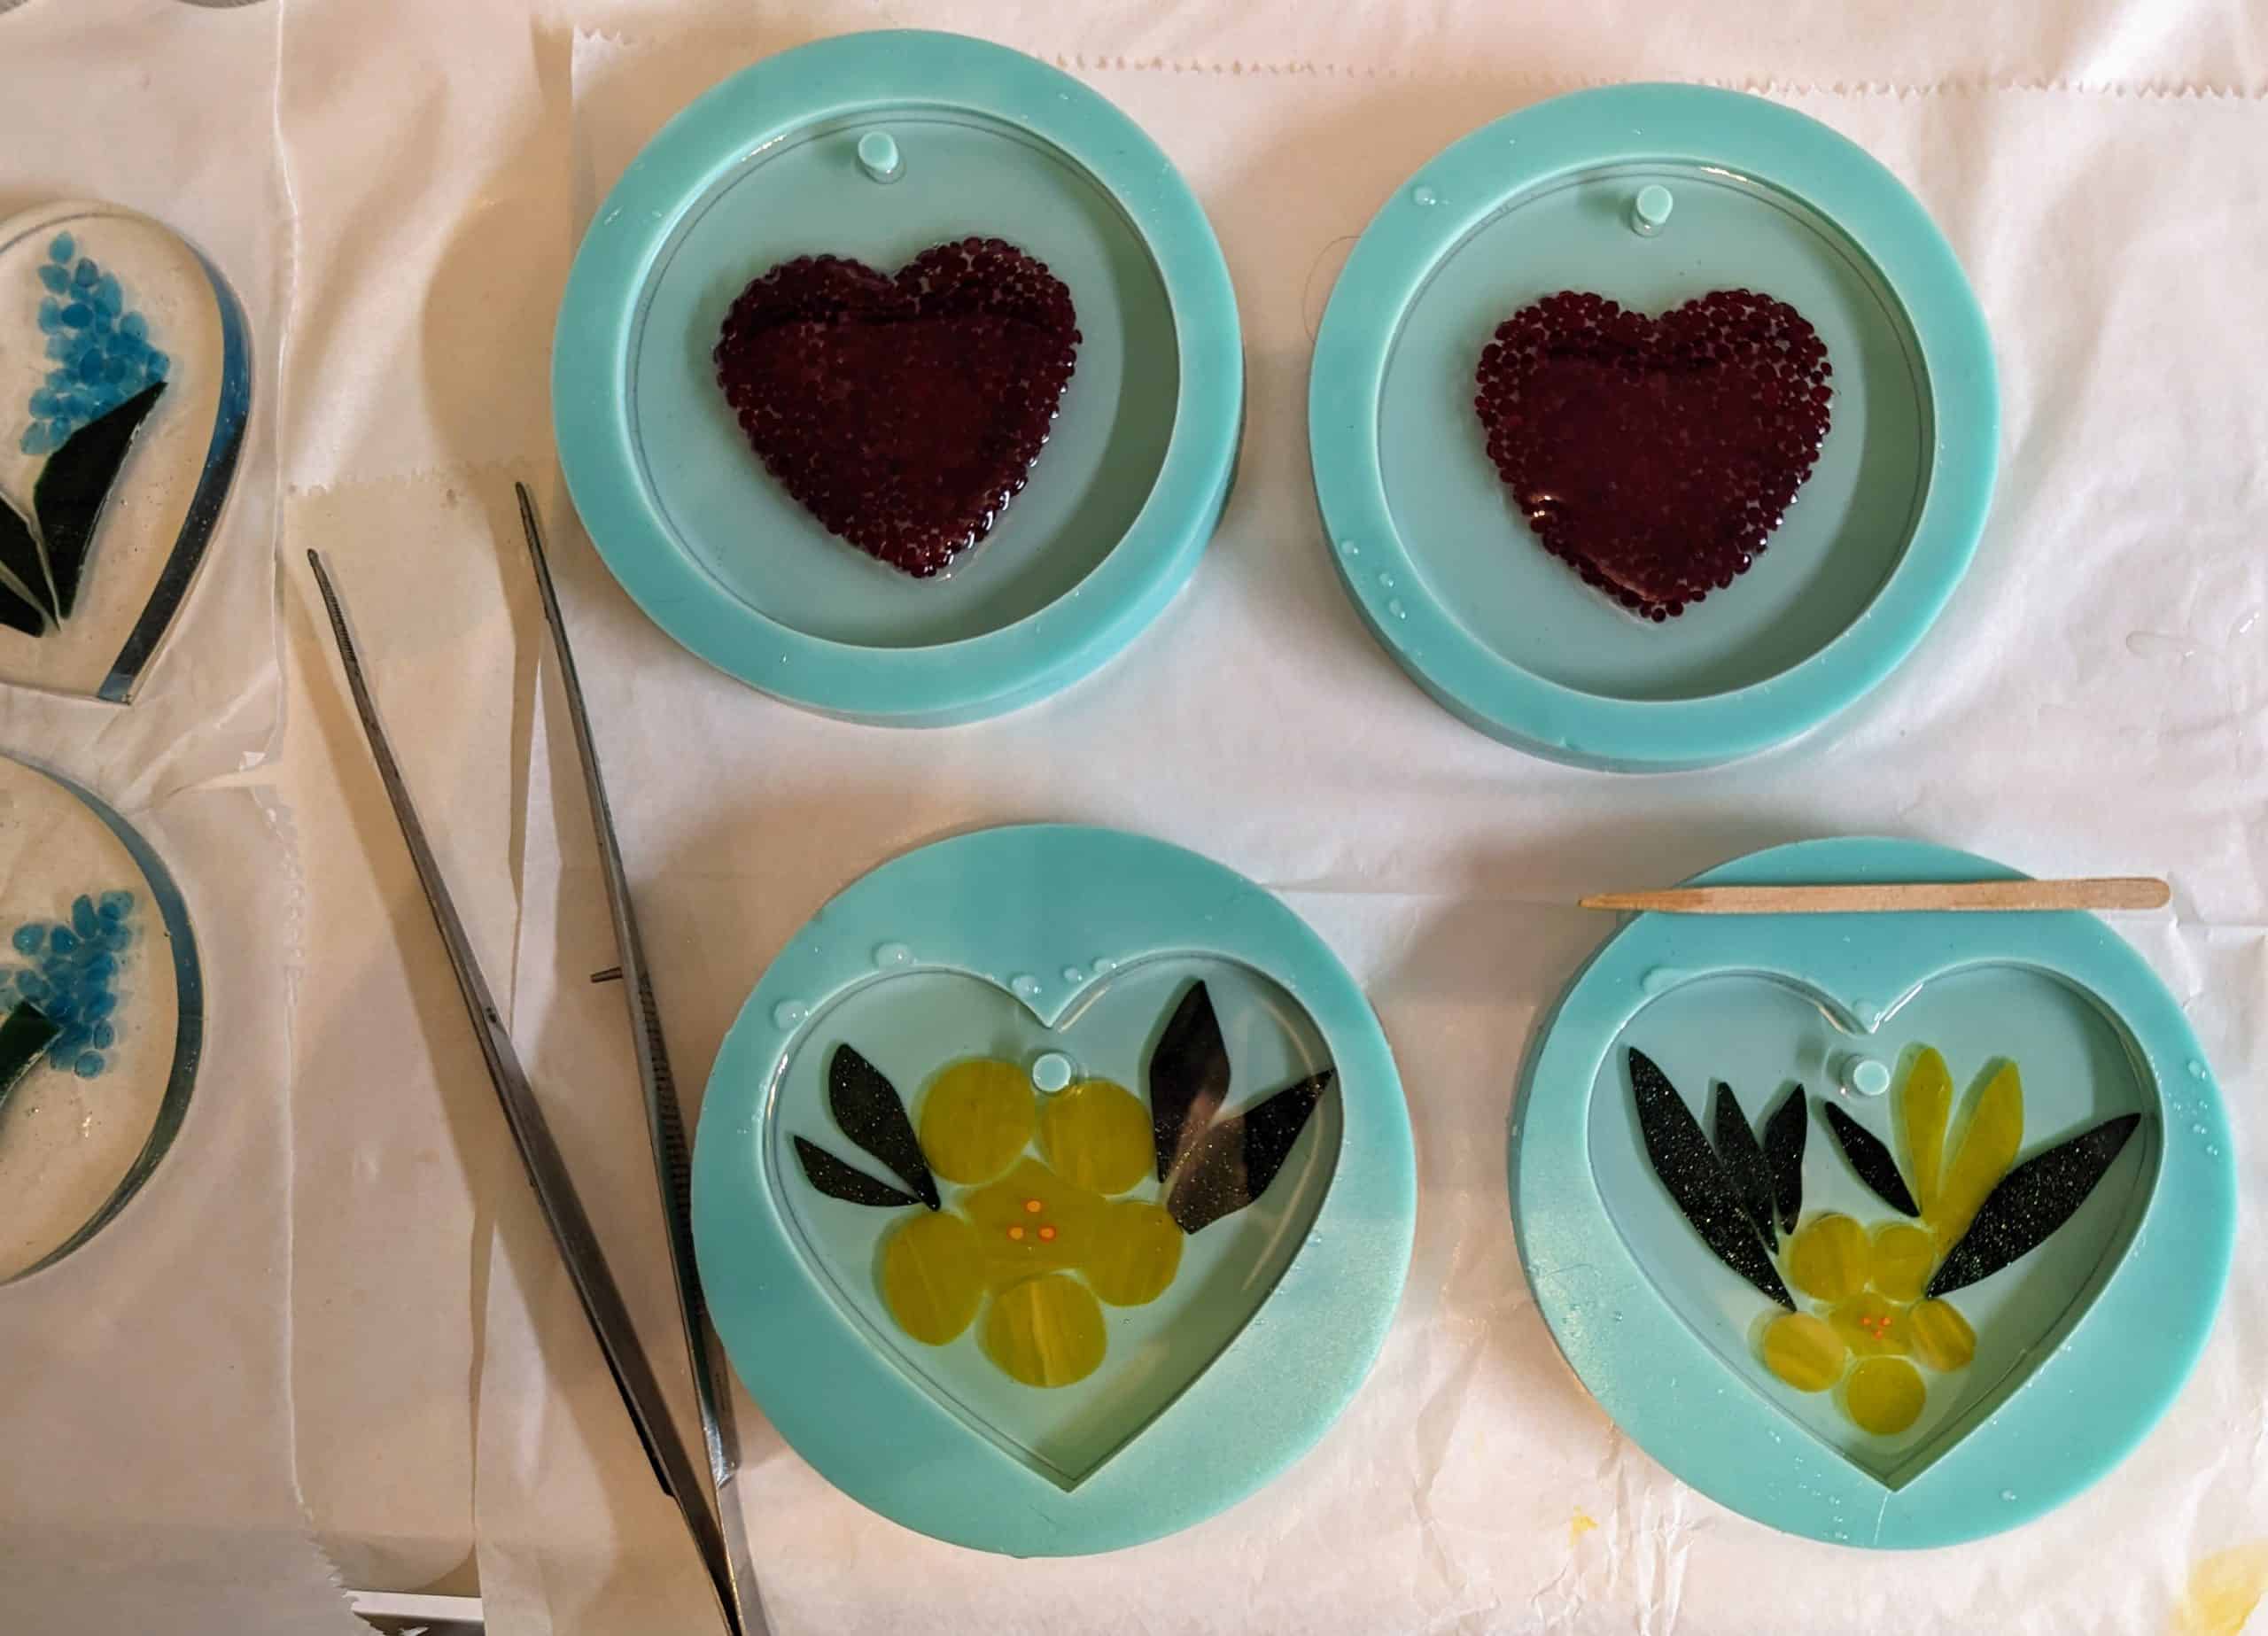
I’ve been quietly working on some small stuff – working out a few different types of flowers and some glass ball hearts on the side.

Glass of Sherry
I’ve been quietly working on some small stuff – working out a few different types of flowers and some glass ball hearts on the side.
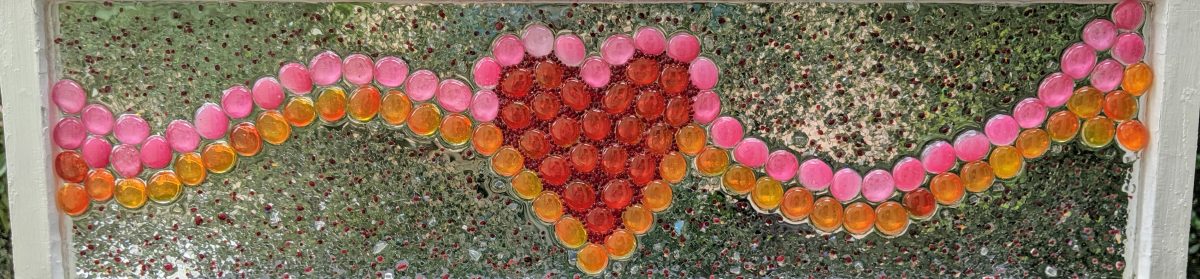
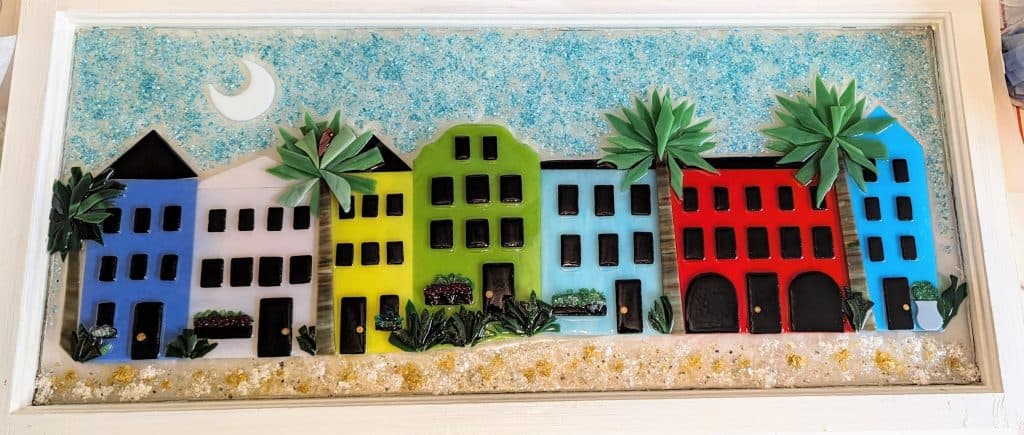
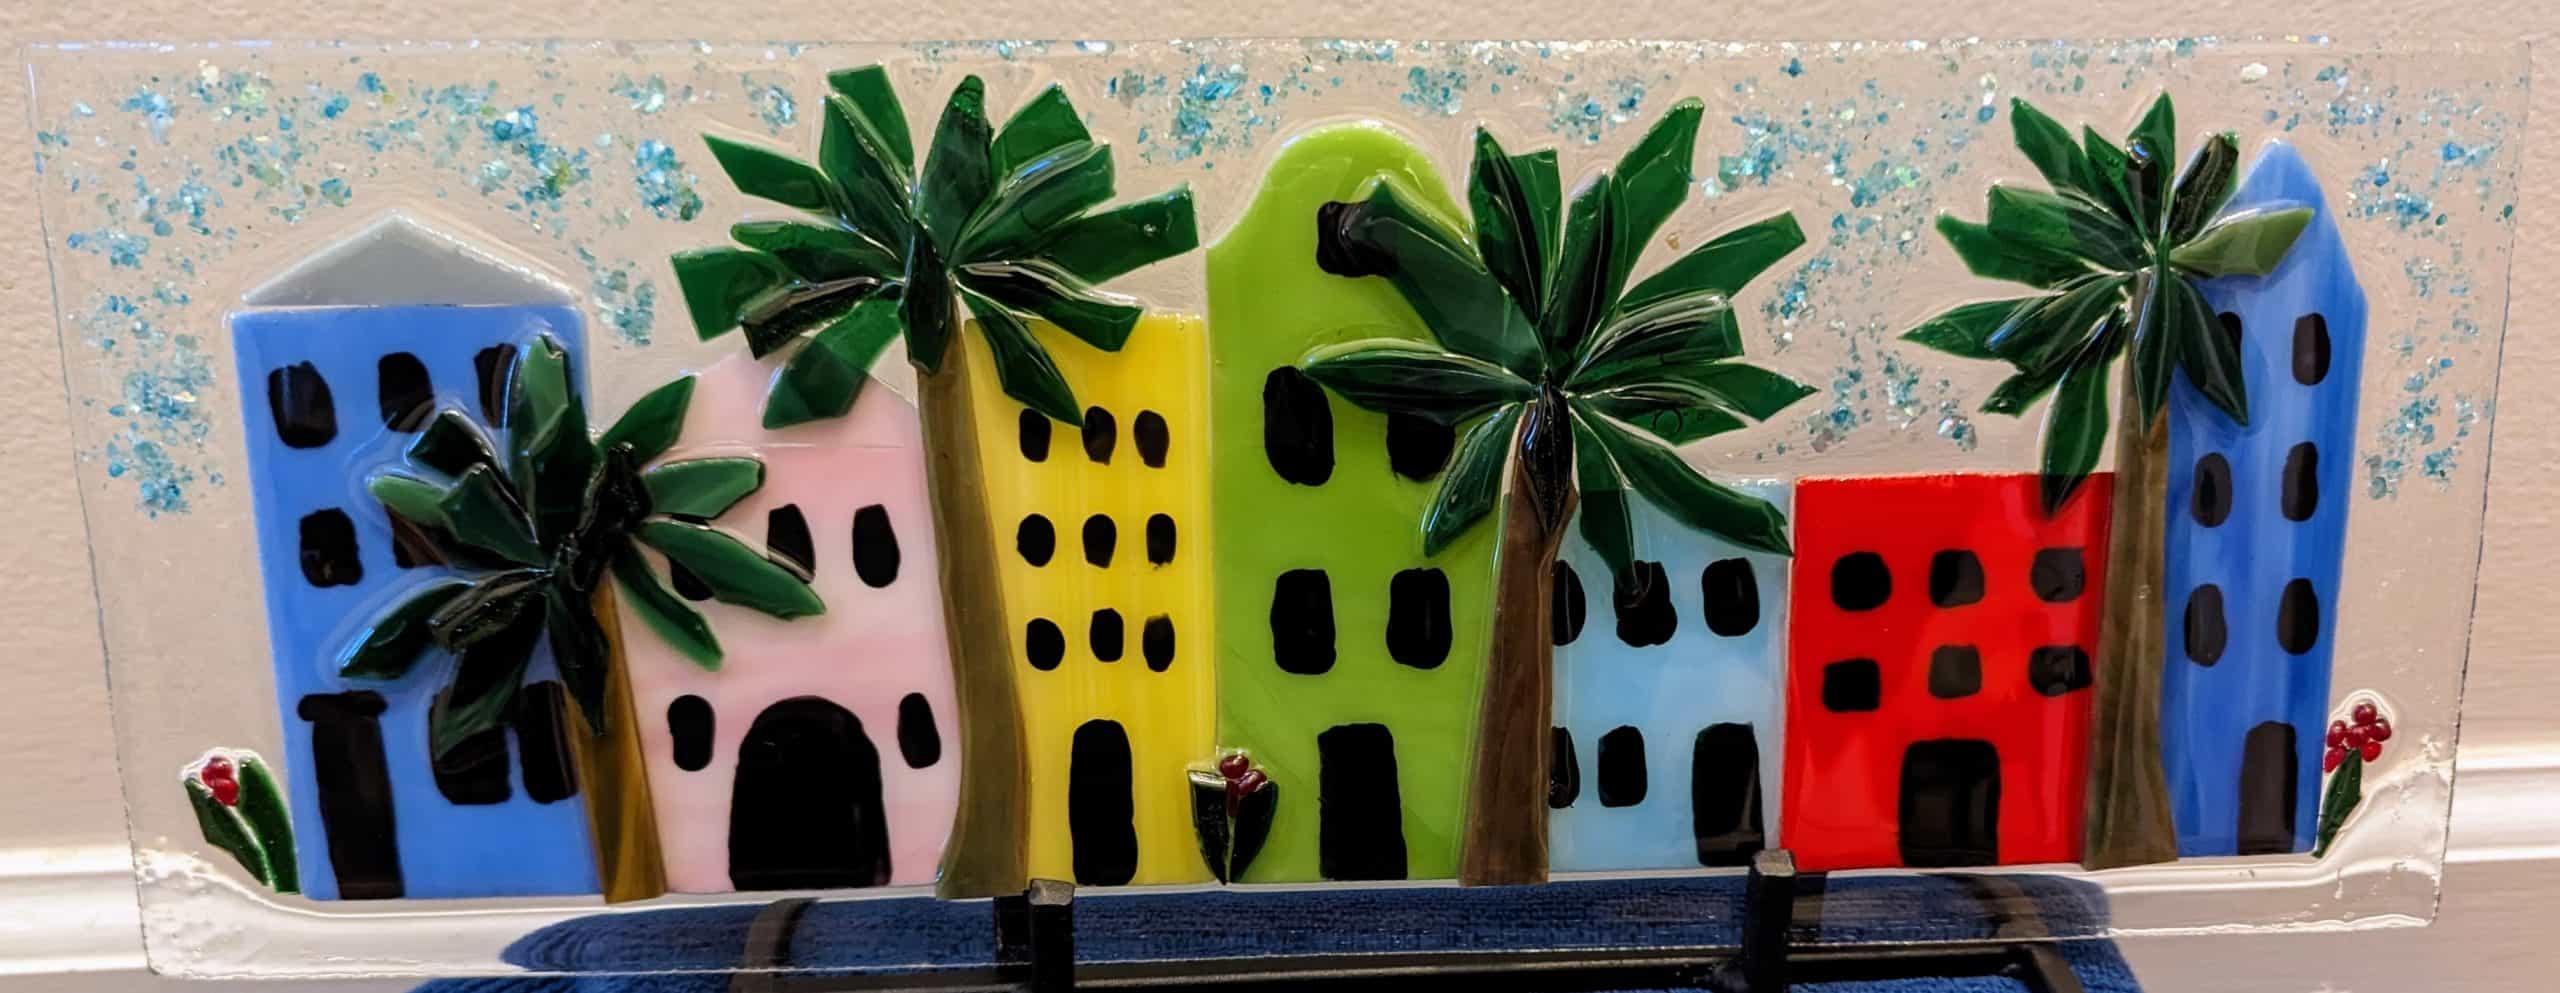
This window needed an extra coat of resin (likely could use a little more, but sometimes I go overboard). Now it’s ready to go to the SC Artisan Center, where it will be available for sale.
This is the largest Rainbow Row piece I’ve made to date at 30″ wide by 13.5″ tall.


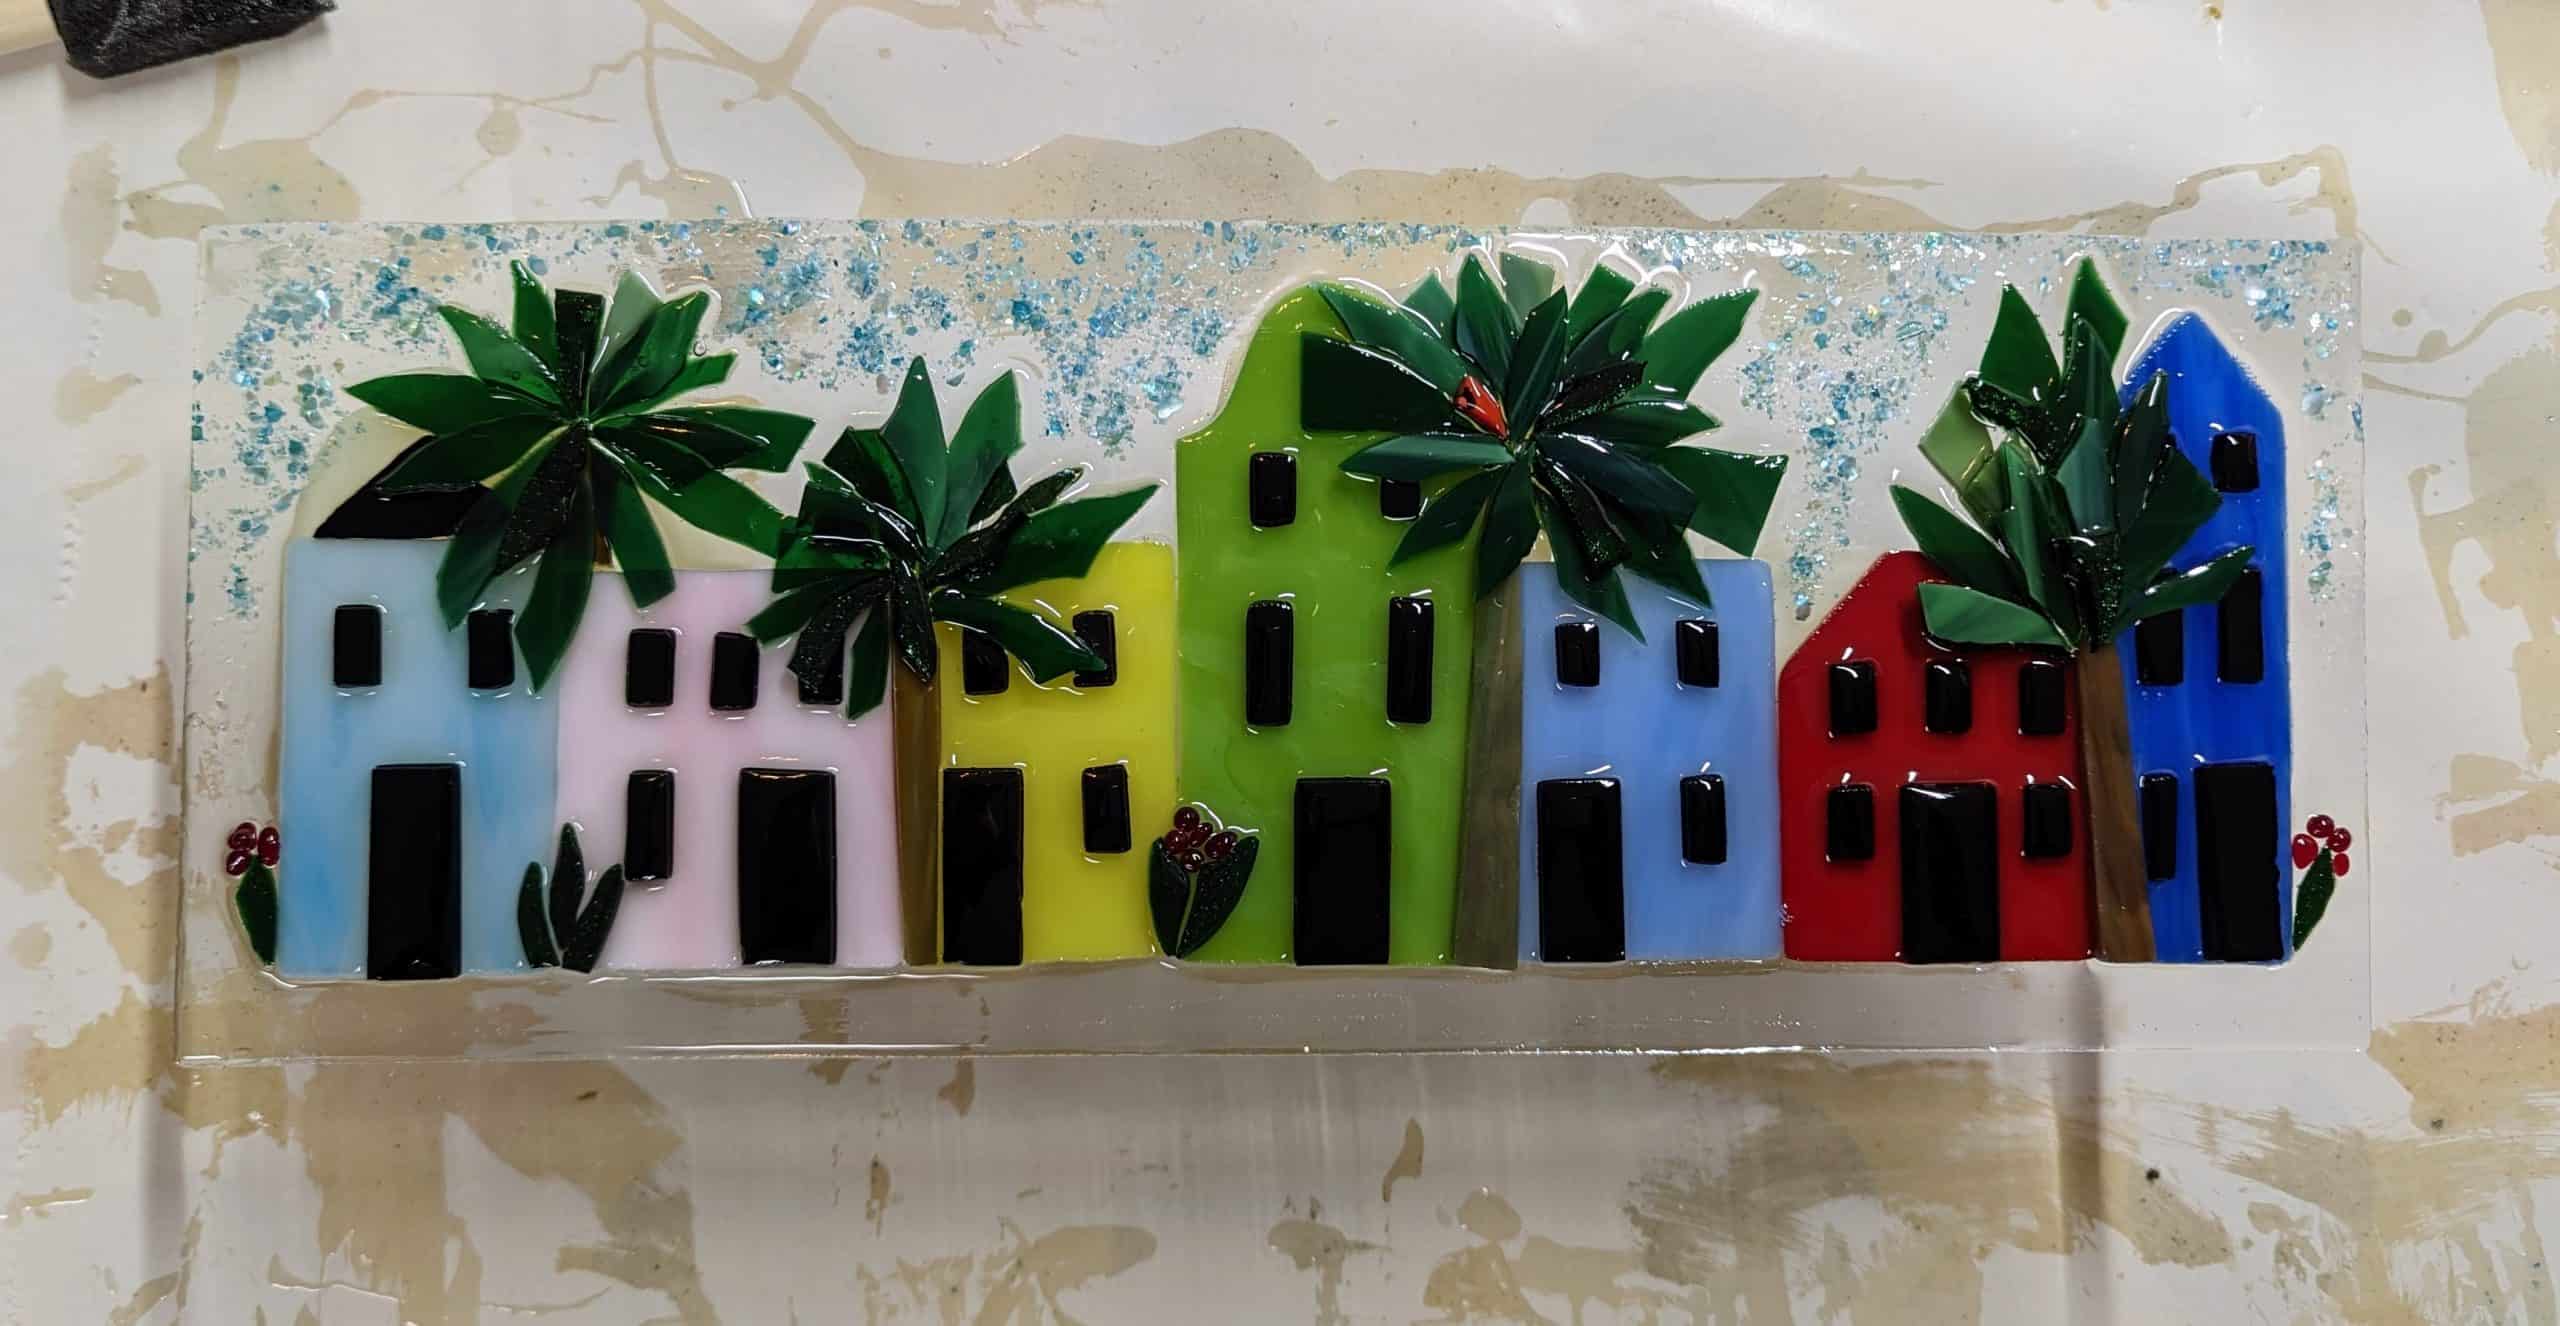
Today I poured and embellished the first resin layer on the Rainbow Row window. I used 8 ounces of resin and might need to make a second layer as this piece has a lot of depth to the details such as trees / bushes.
Slowly working on adding layers of detail, plants, window boxes, decorations.
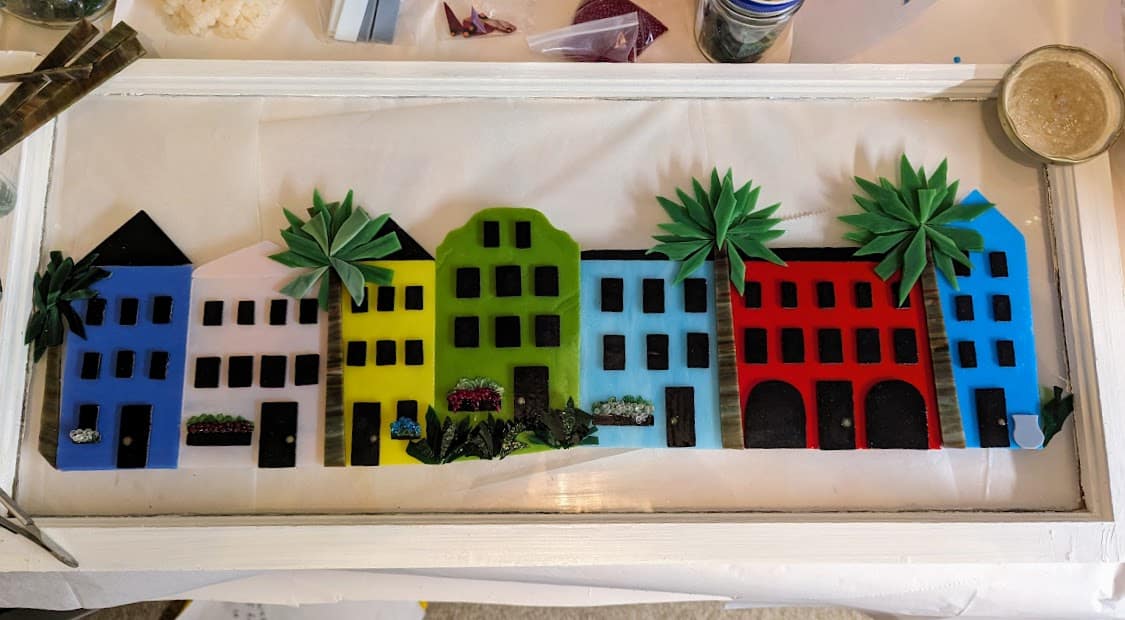
Today I added some detail to the window boxes, which have to be done in layers (layer, wait for mosaic adhesive to dry, another layer, etc).


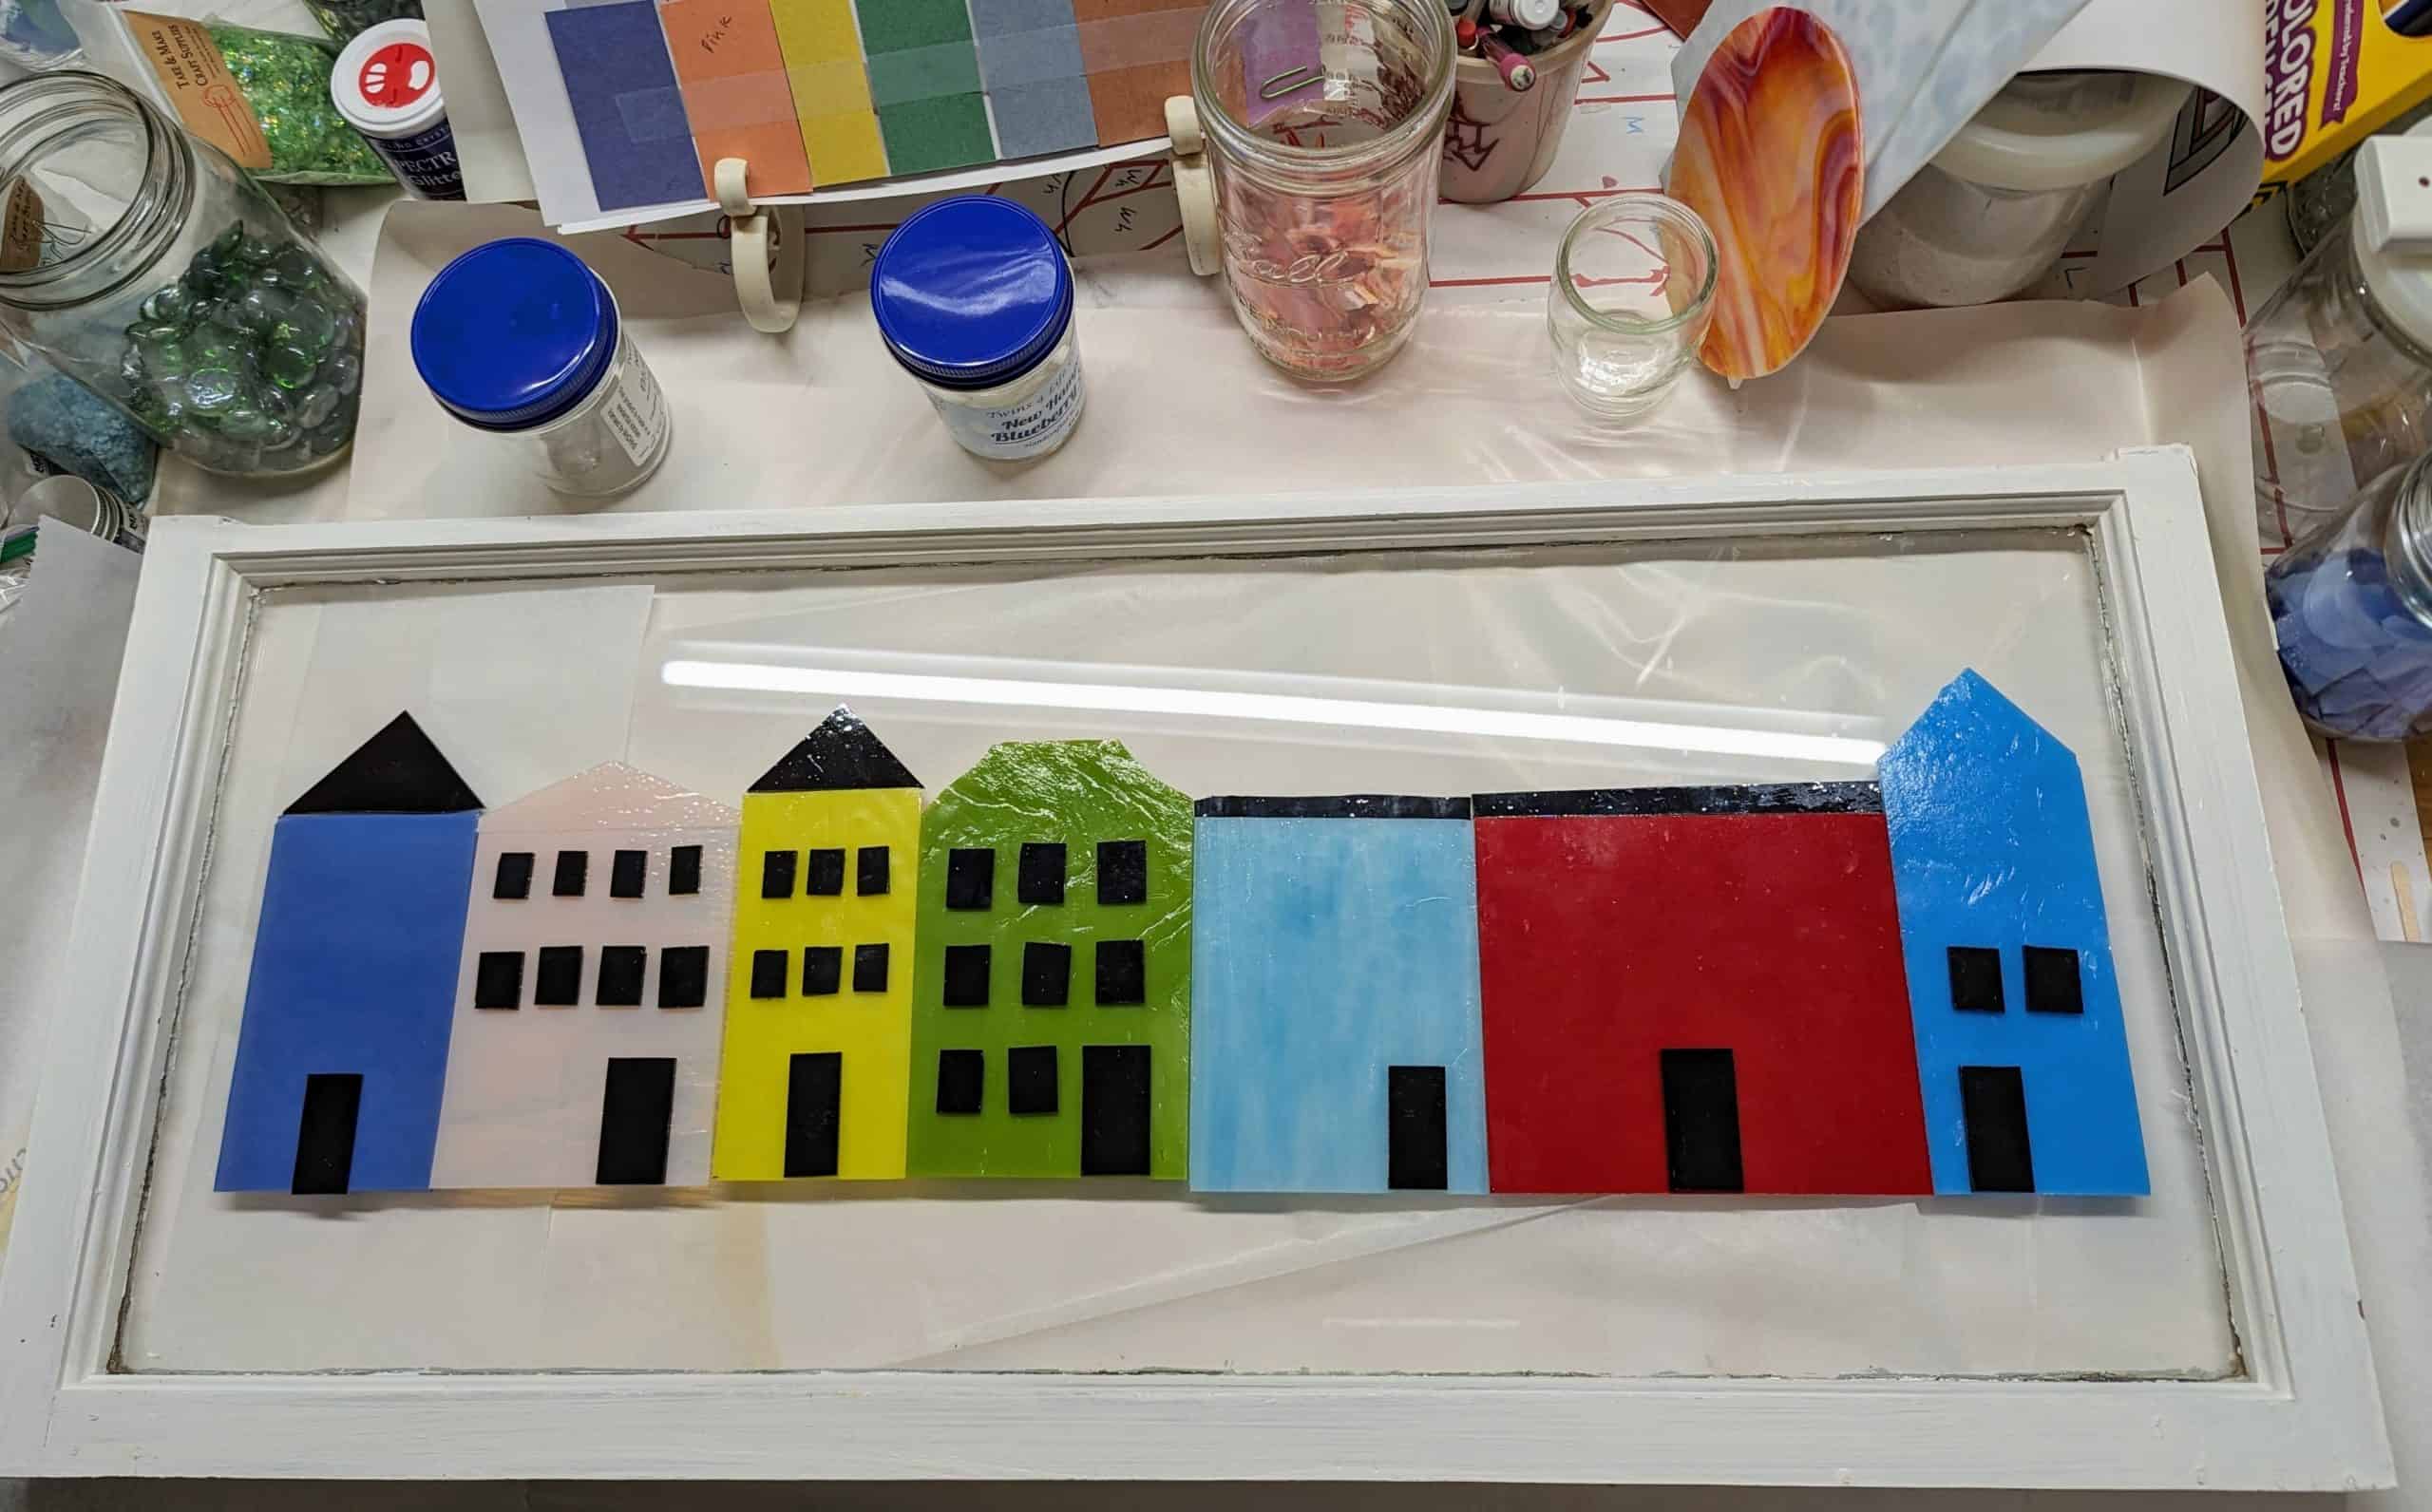
I have been procrastinating on my next window project for several months. Initially I had planned on doing a larger version of Charleston’s Rainbow Row, but I wasn’t sure if it would look as good in a larger format than the other panels I’ve made with it in the past. I bought the glass I needed and then started thinking that maybe I should make another sun, or maybe a moon because I have great moon glass and great spooky sky glass.
But this morning I was asked to donate a window to an upcoming charity event and I decided to just go for it with the Rainbow Row. I won’t know how it will look until I do it, so I might as well do it and stop wondering about it. Hopefully having more room will allow me to do more decorating – trees, birds, flowers, bushes, etc. What I have so far is just rough cuts – I still need to finish the first cuts and then use the grinder to smooth / shape everything before I start with the mosaic adhesive on the first layer. I’m not sure if this will end up in the charity event auction or if another window will, but at least my procrastination is over for the time being!
Here is how the two small Rainbow Row panels turned out after the resin cured. These panels measure in the 5.25″ – 13.5″ range.
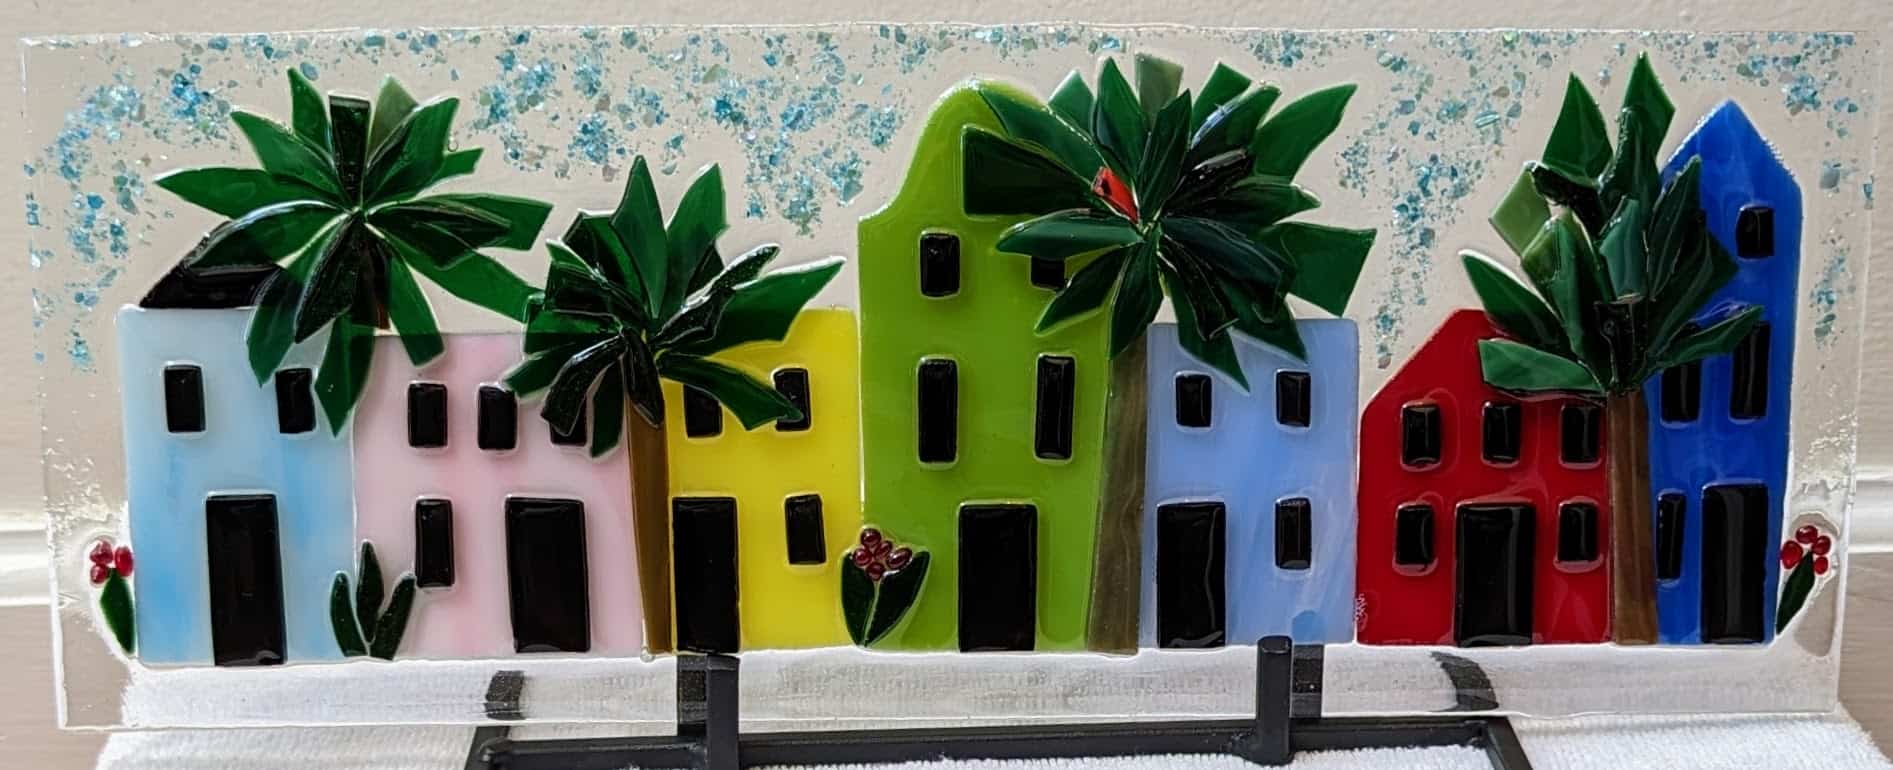
Rainbow Row with the resin poured and decorated. Just need to wait for it to cure now.

I had to re-adhere a couple of pieces on the other panel so I poured the resin on it another day. The “sky” is decorated with blue shell flakes and small, clear glass glitter.
Every day I spend a bit of time adding some detail to these two little Rainbow Rows. I like to add trees, birds and flowers for decoration. I should go for a field trip downtown and get some inspiration for other things to add. After the mosaic adhesive dries, it will be time to add the resin coating.
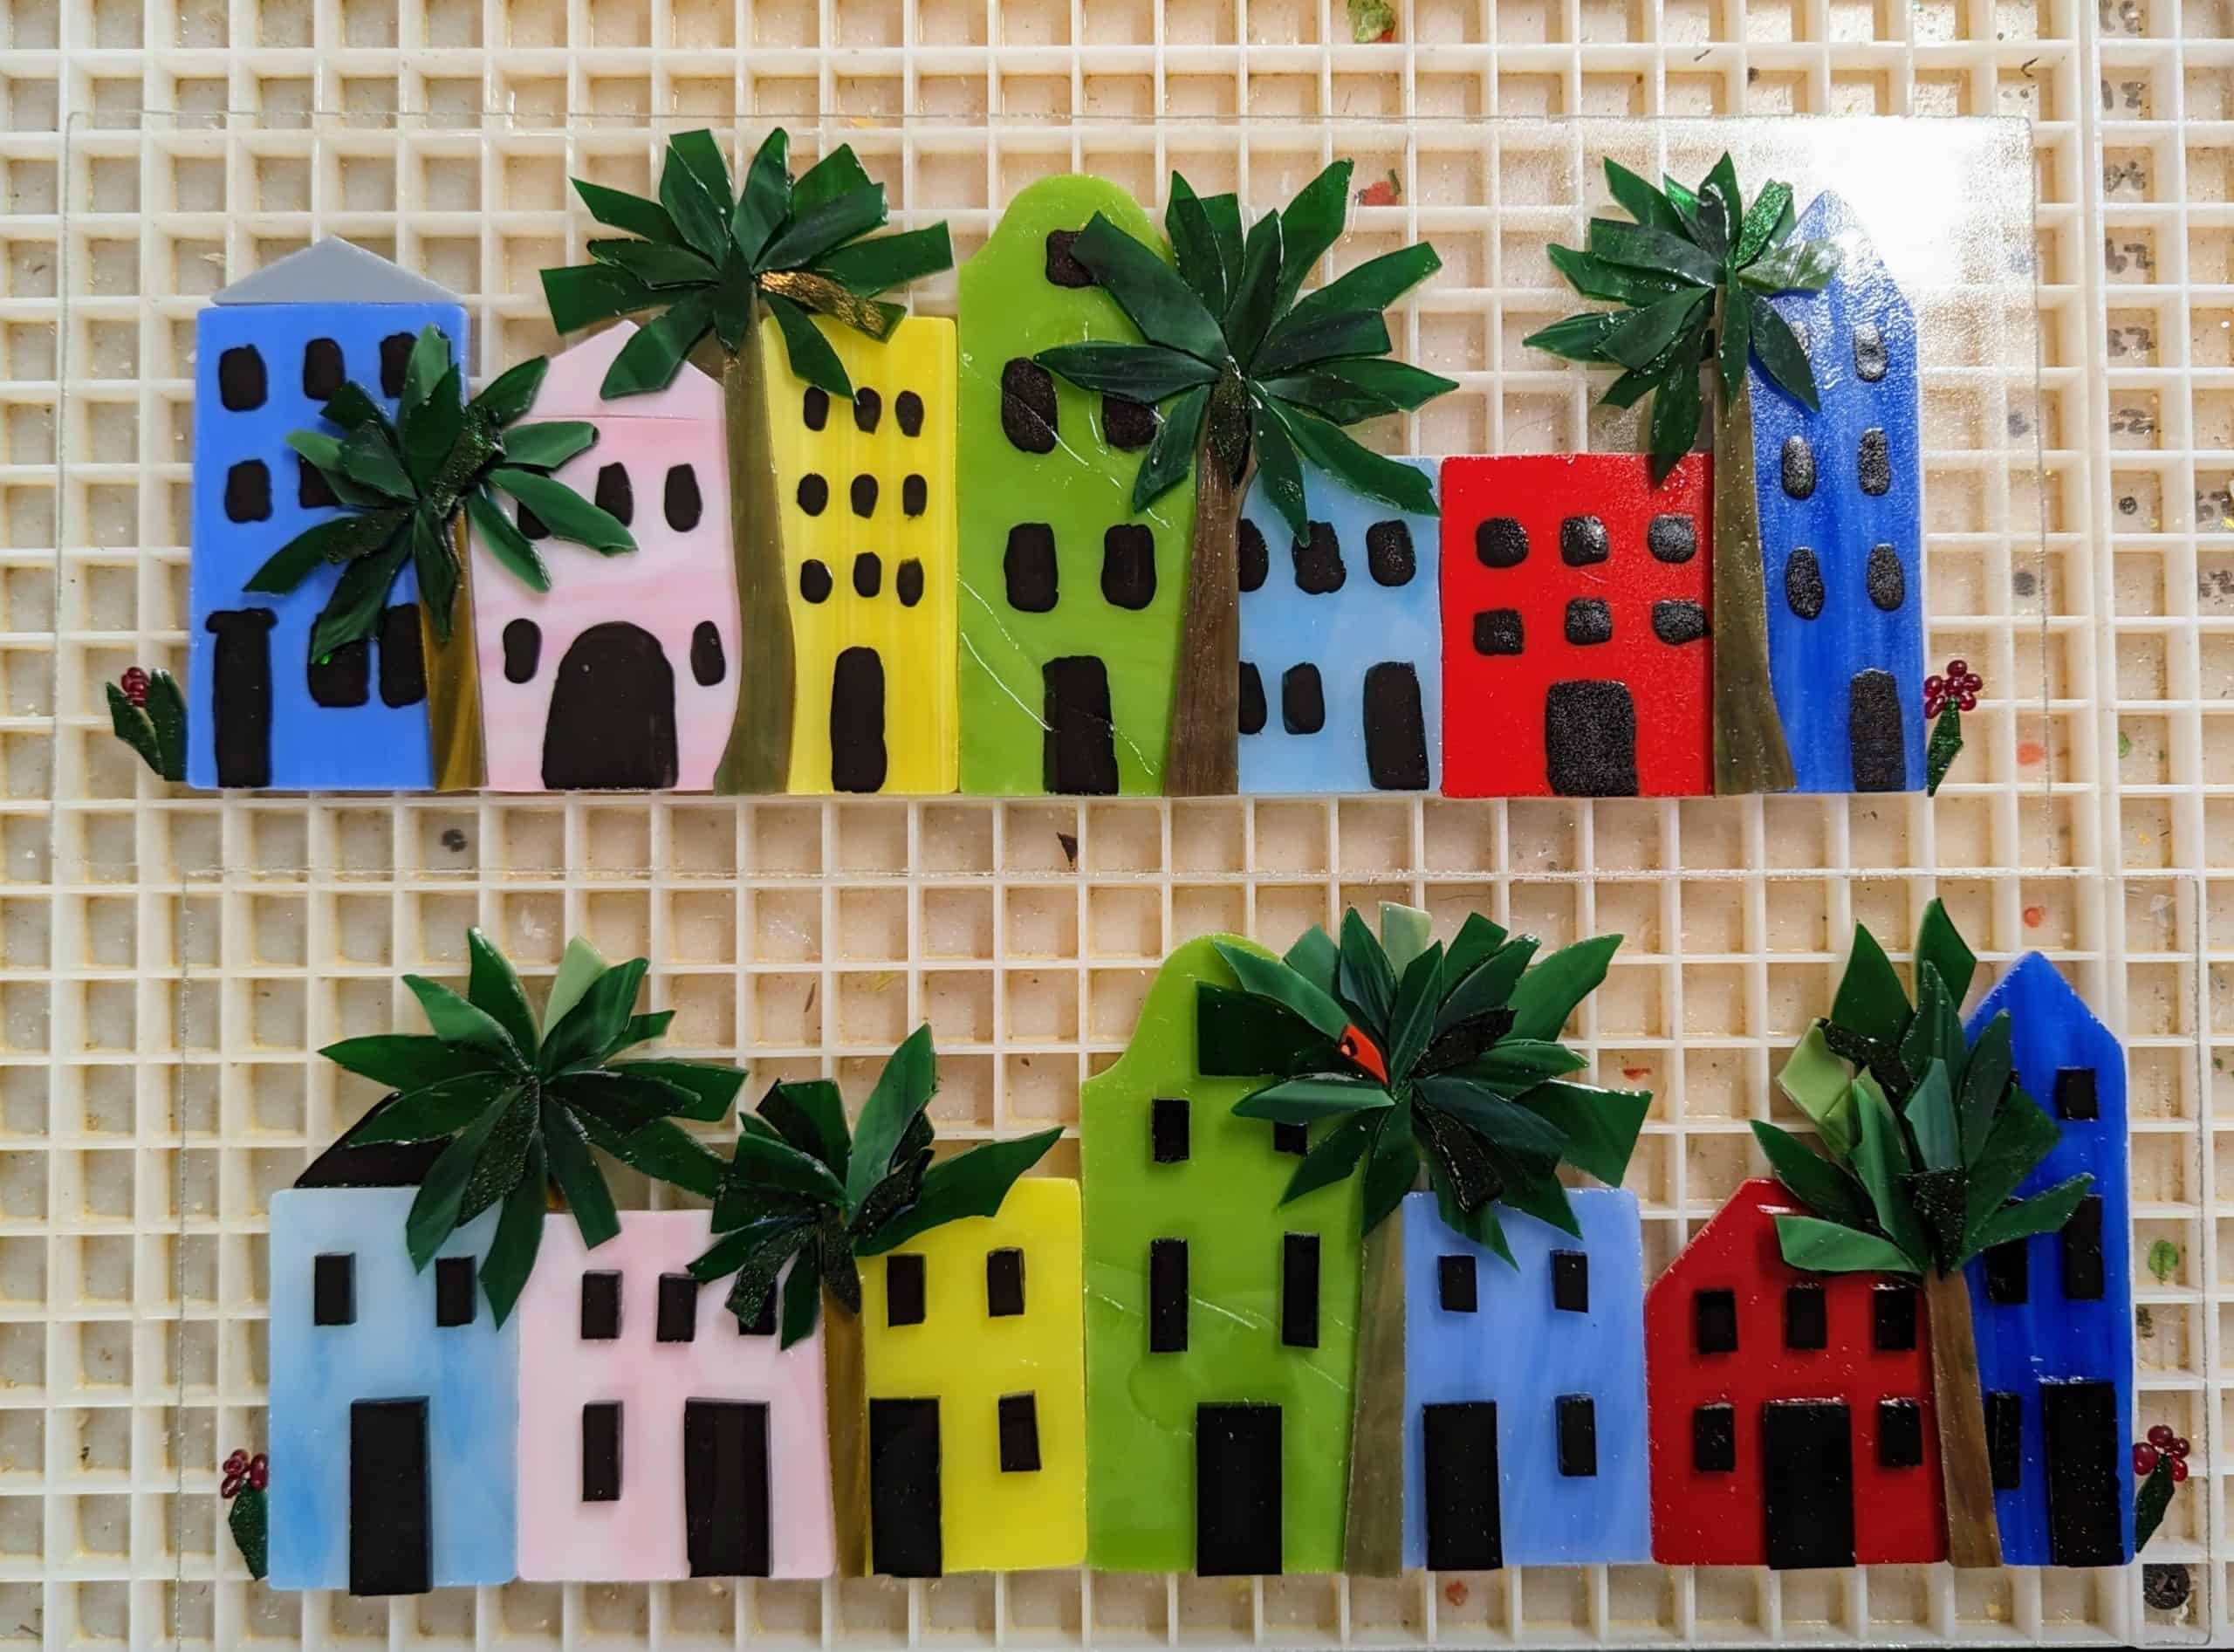
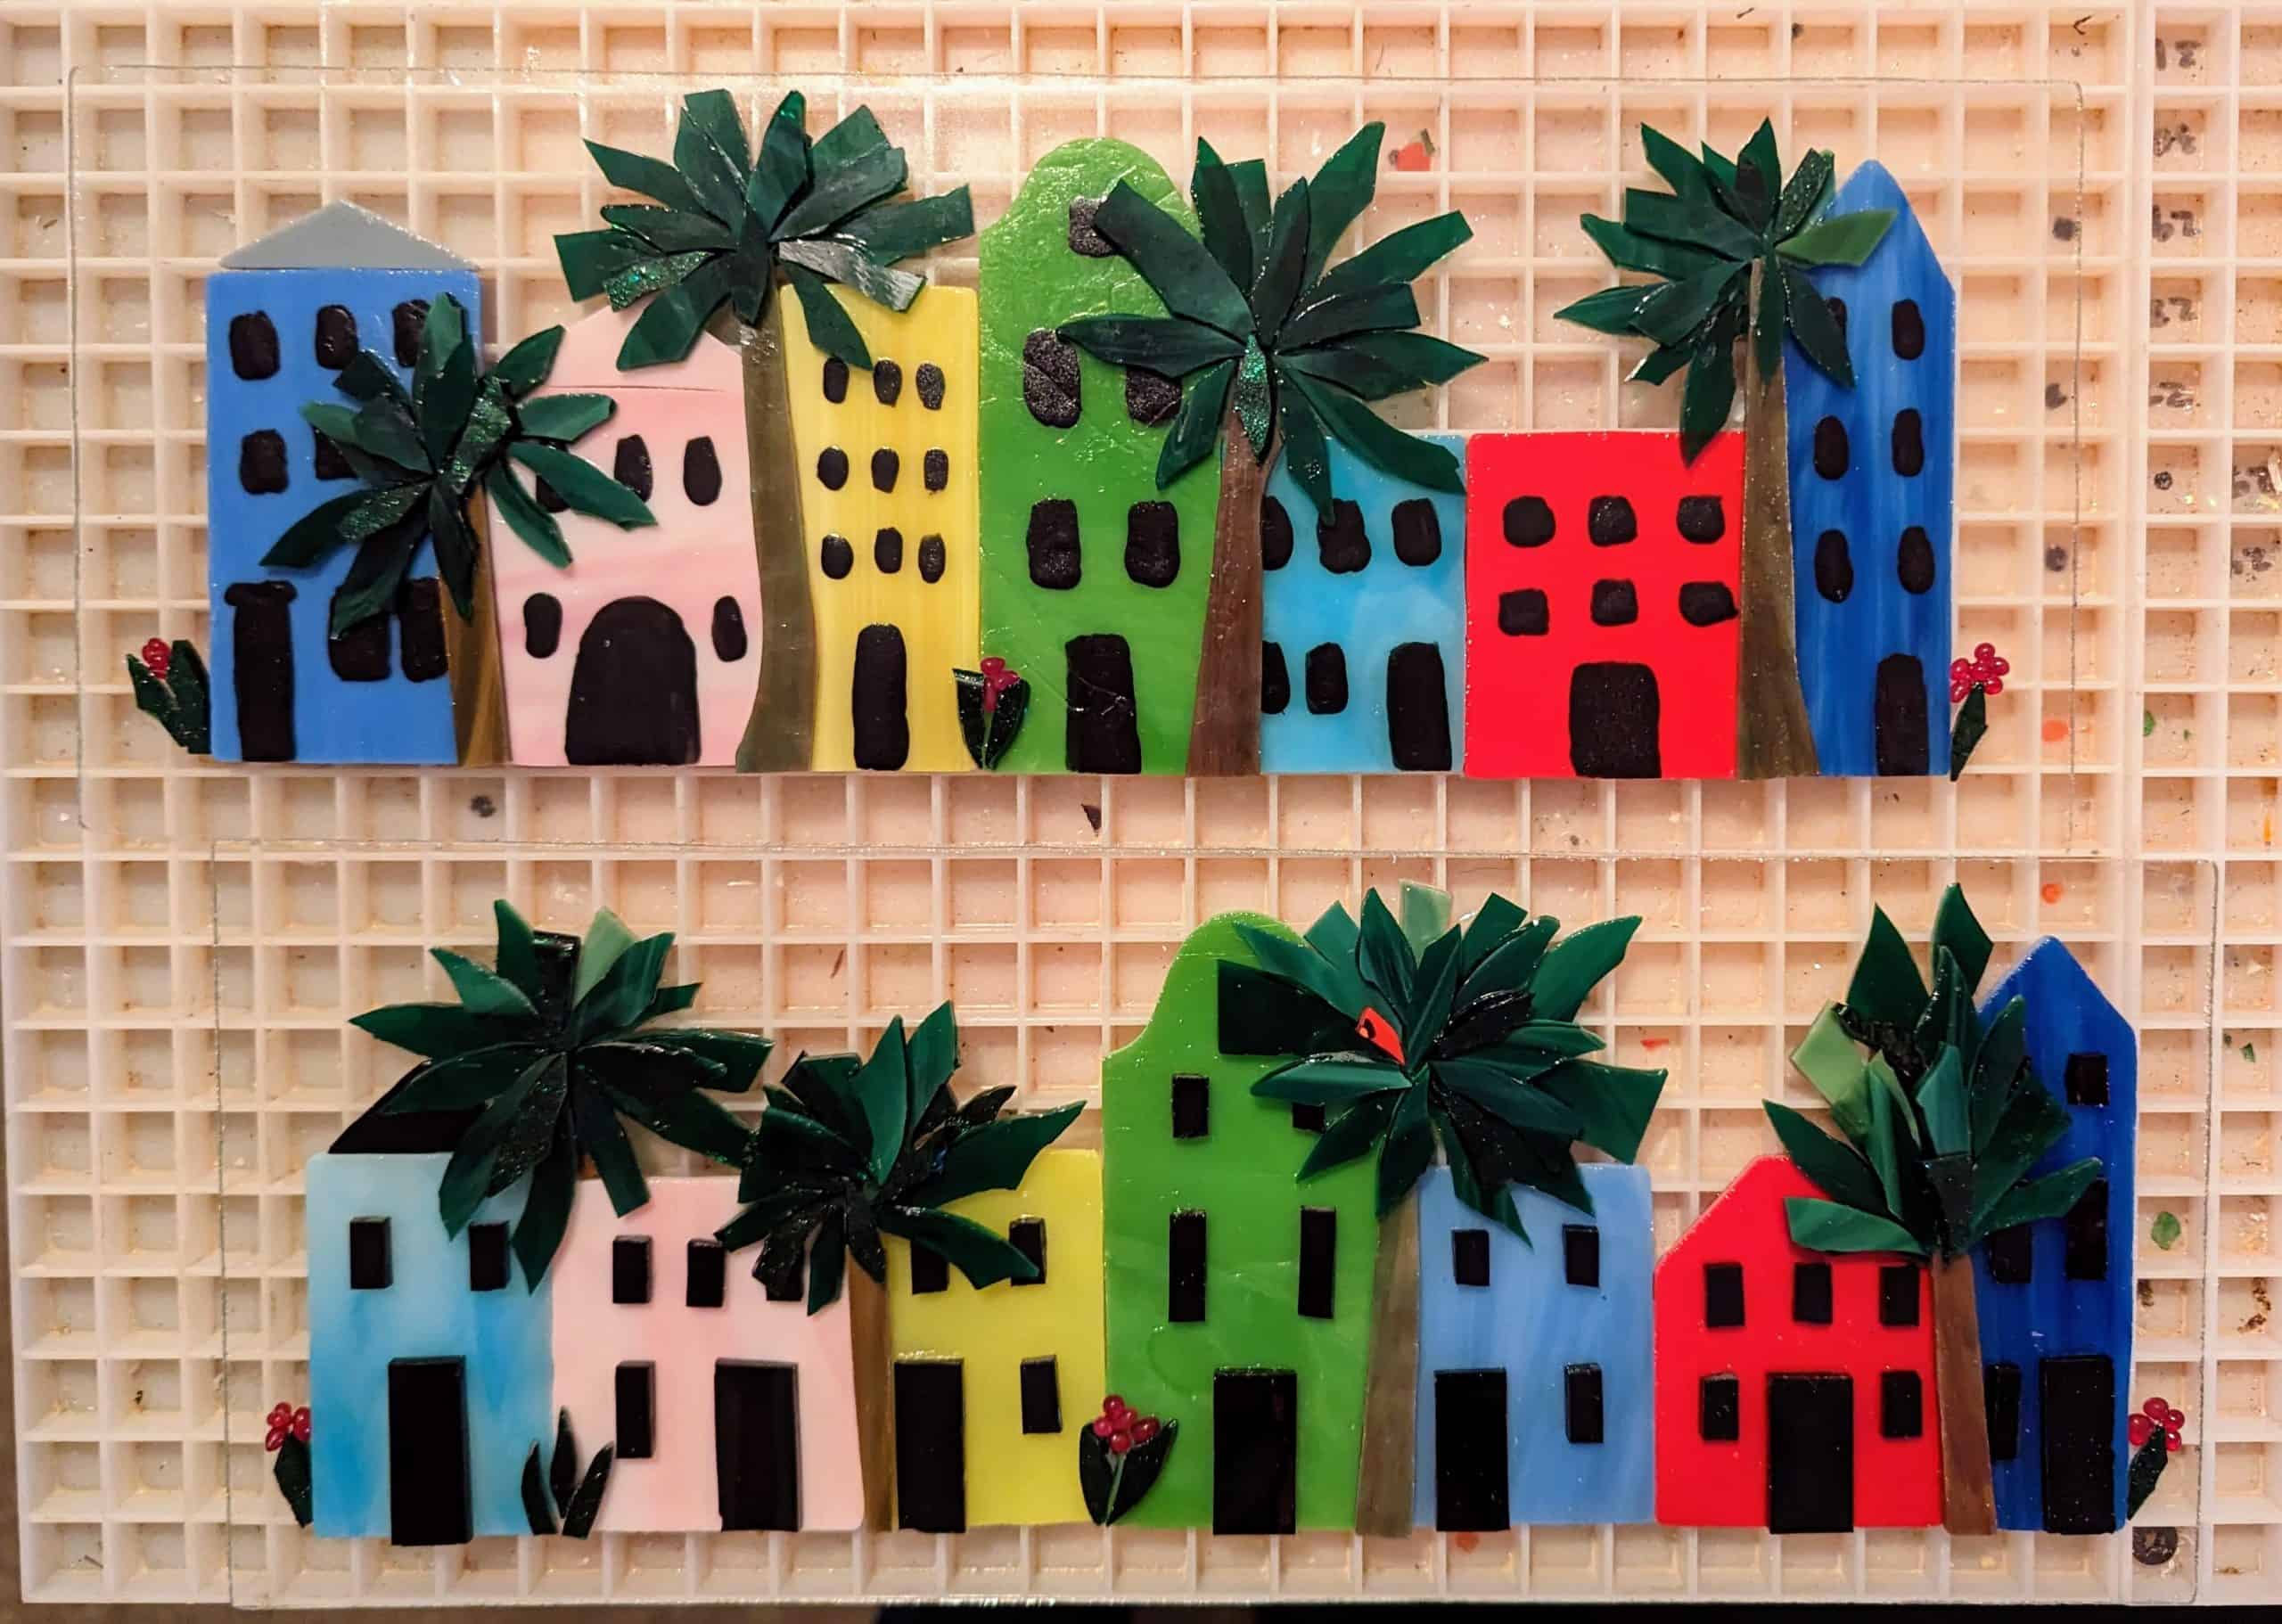
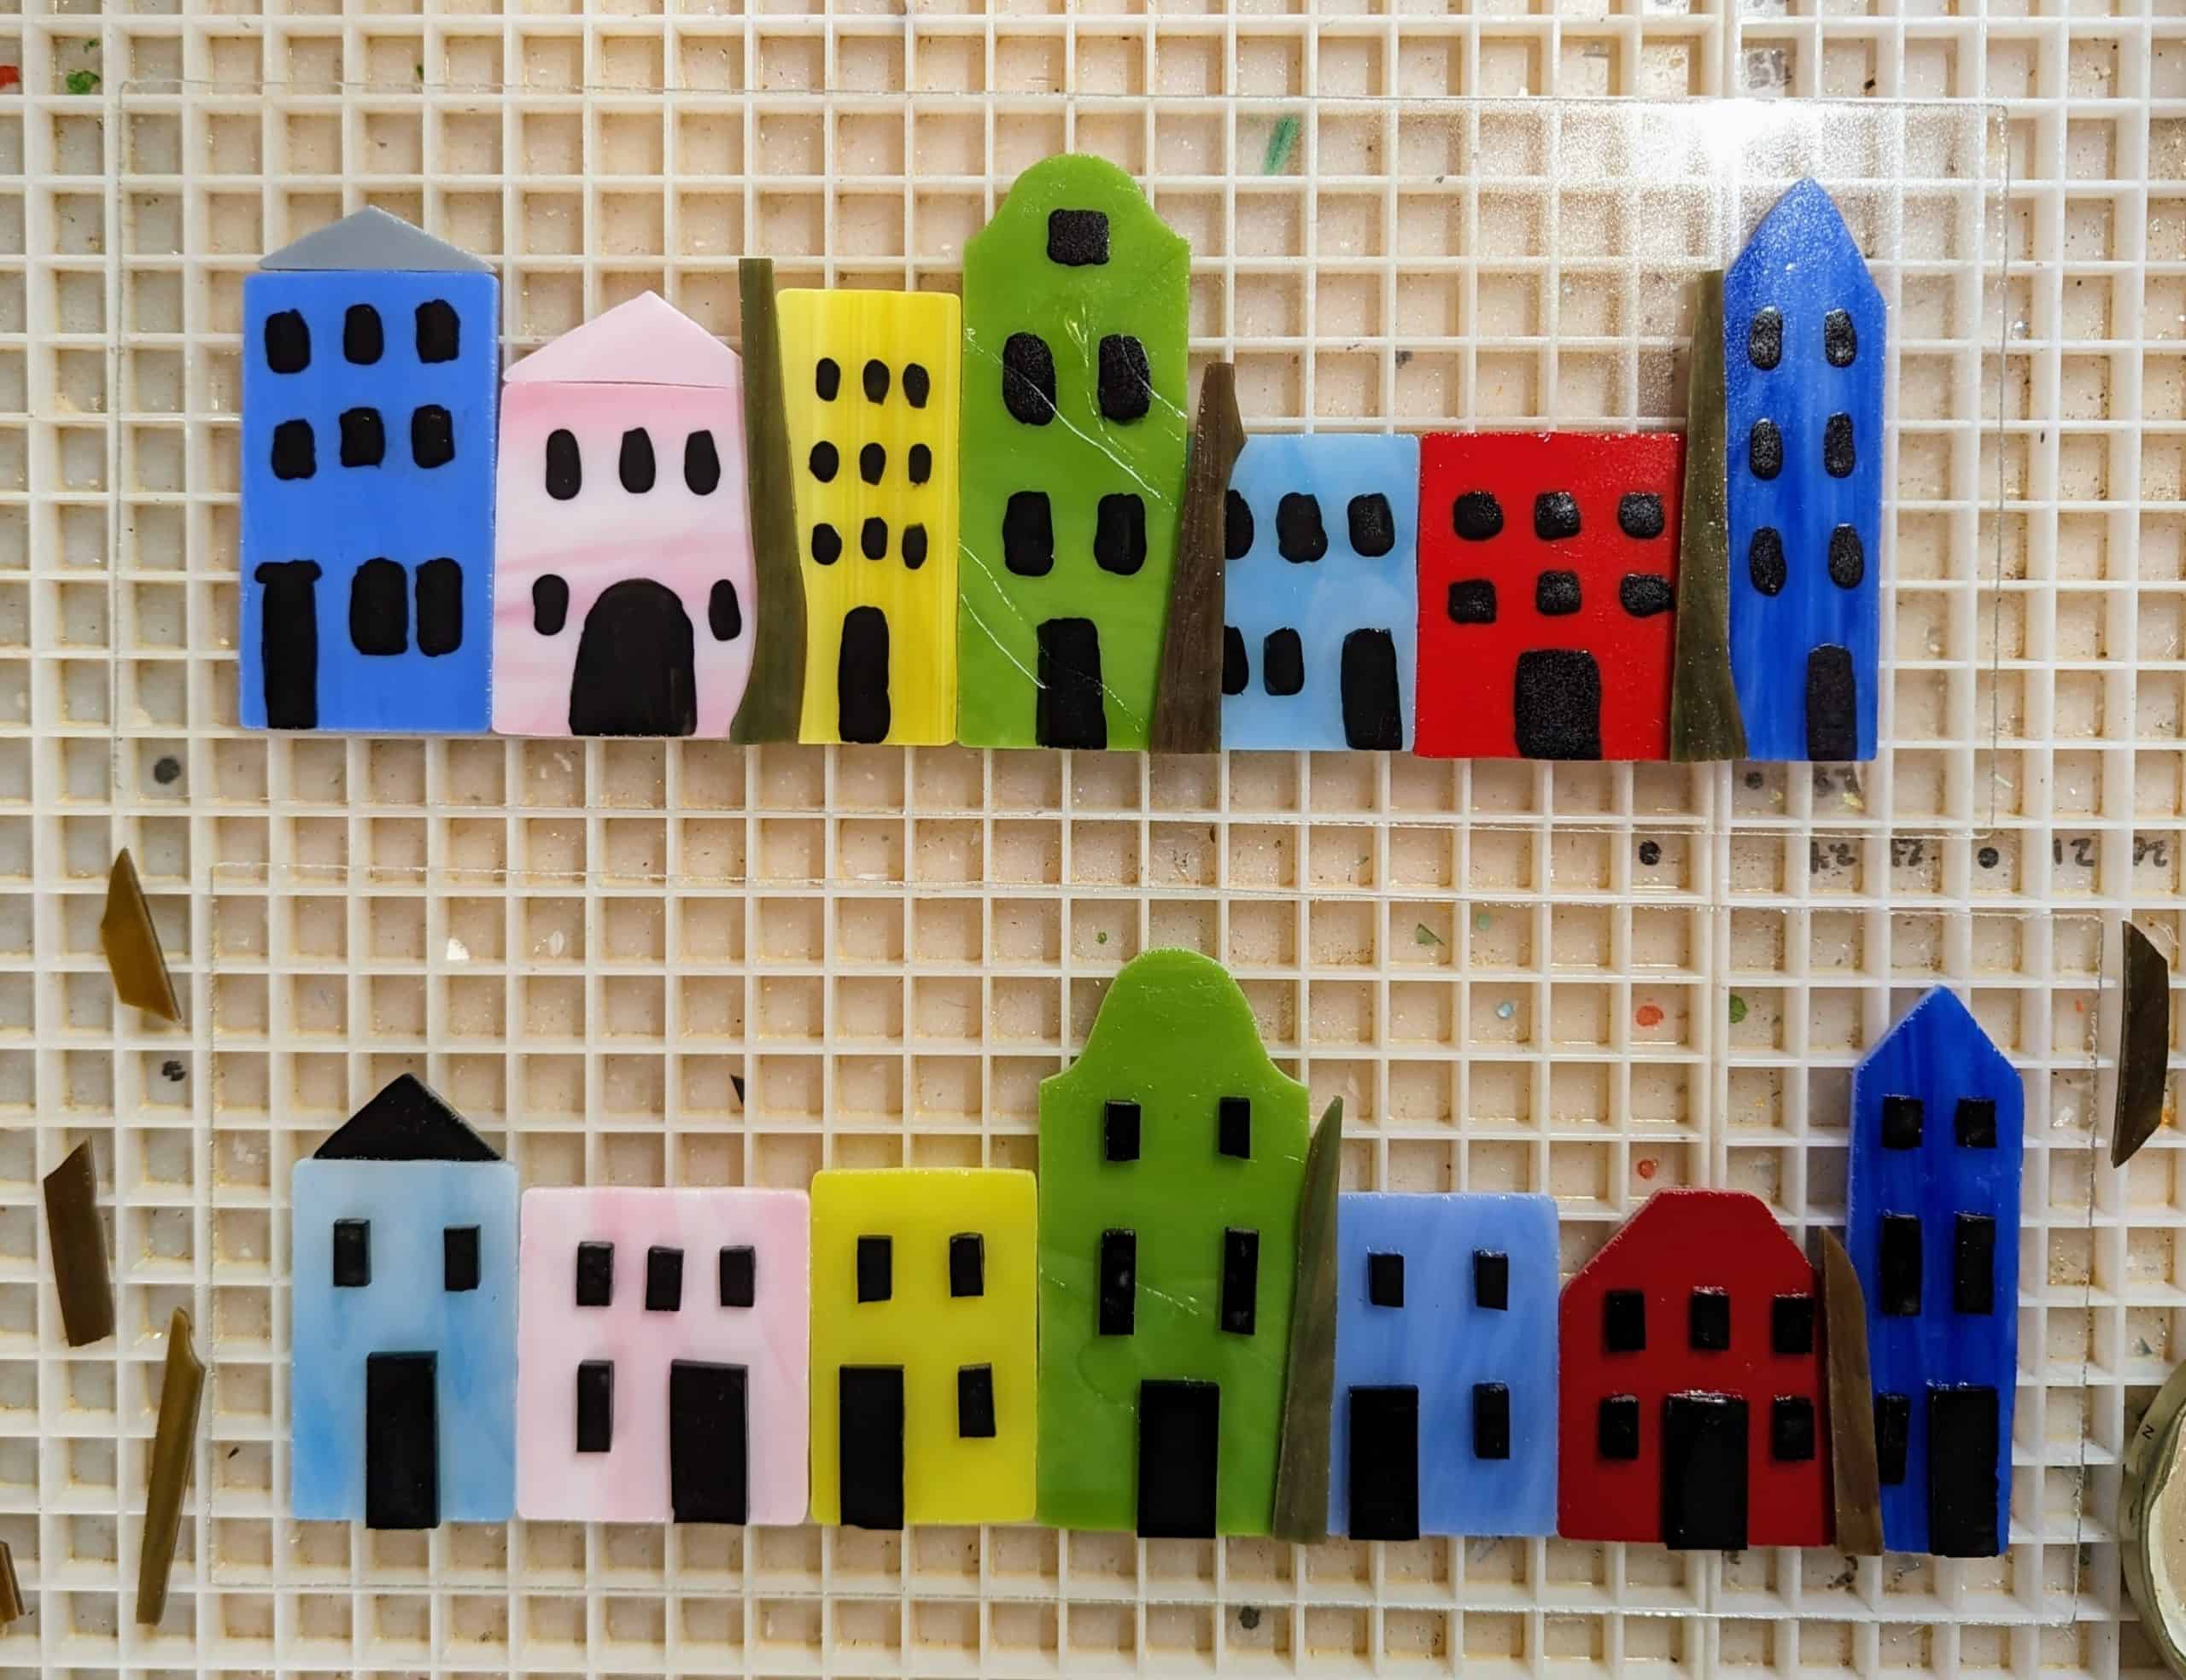
While I was wrapping up the placement of the smaller transom window, I took a bit of time on the side to start working on a couple of variations of small row house panels. Since I’m in Charleston, I try to make them resemble the famed Rainbow Row. I’m comparing painting on the doors and windows to using glass for those features. So far I have the larger pieces, doors and windows in place (plus a few tree trunks), and just have the fun details (trees, plants, etc.) to add before I pour the resin. I used resin spray to seal the black paint I used for the windows and doors on the top panel, as occasionally I have run into issues with it smearing when I pour the resin.