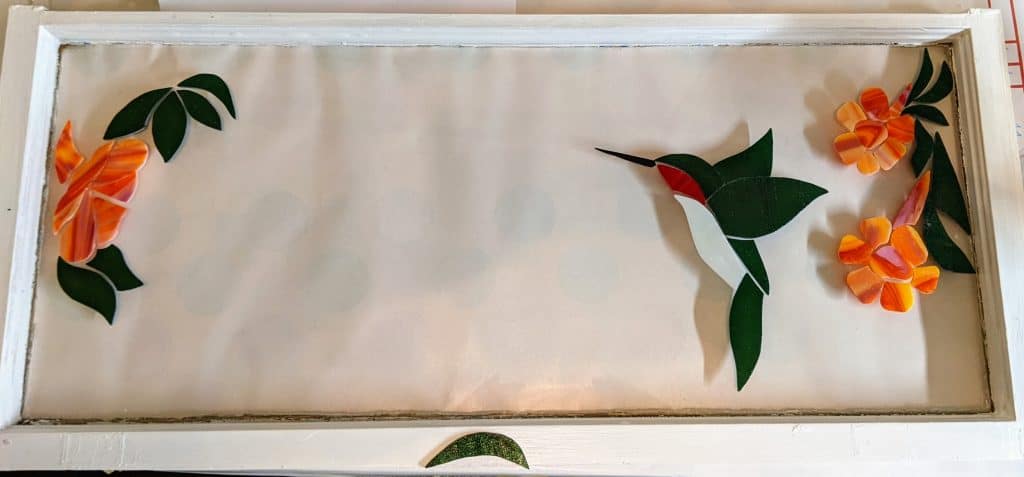
Little by little I am making progress on filling in the flowers / vines that will decorate around this hummingbird.
Glass of Sherry
So I am taking this project in baby steps, but over the long weekend I added a flower to the hummingbird window I’m making. I plan on adding several more flowers and a vine in stained glass before I pour the resin and add the sapphire blue mica “sky” background. I will likely move this particular flower to a corner of the window, but for now it’s hanging out near the middle.
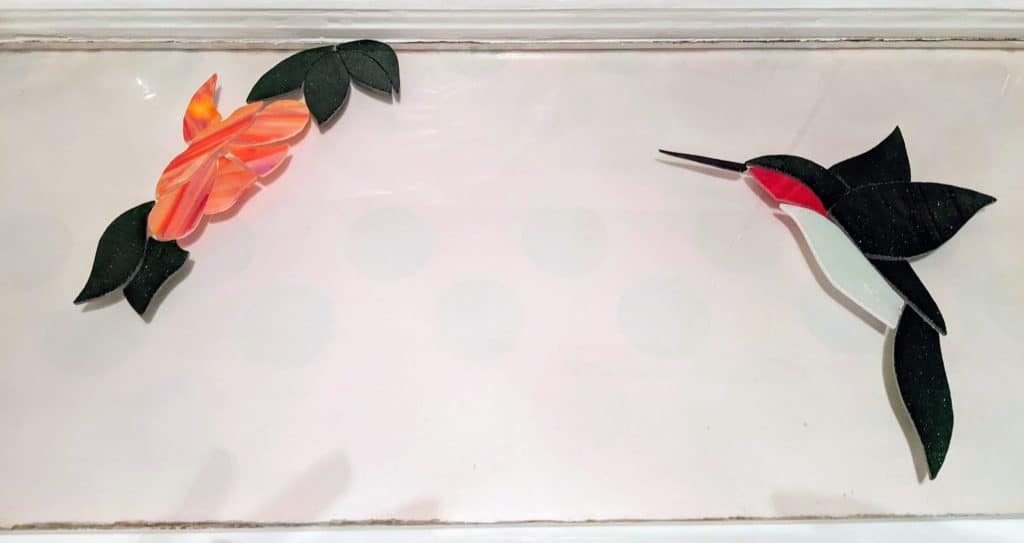
I realized I haven’t posted anything in several weeks, so here is an update on what I’ve been doing. I’ve been making a little progress on a new hummingbird window. So far, the hummingbird is ready and I’m working on the leaves for the first flower. I have been having trouble deciding on the color of glass for the flowers. The mica I’m planning to use for the background in this window is a deep blue, so I’m leaning toward orange flowers, but I really like pink flowers. We’ll see which color wins out.
I also made the first leaves for the flower out of the green glass I usually use for the hummingbird body. It doesn’t have striations, which I generally prefer for leaves, but we’ll see if I decide to switch to another type of glass or stick with this.
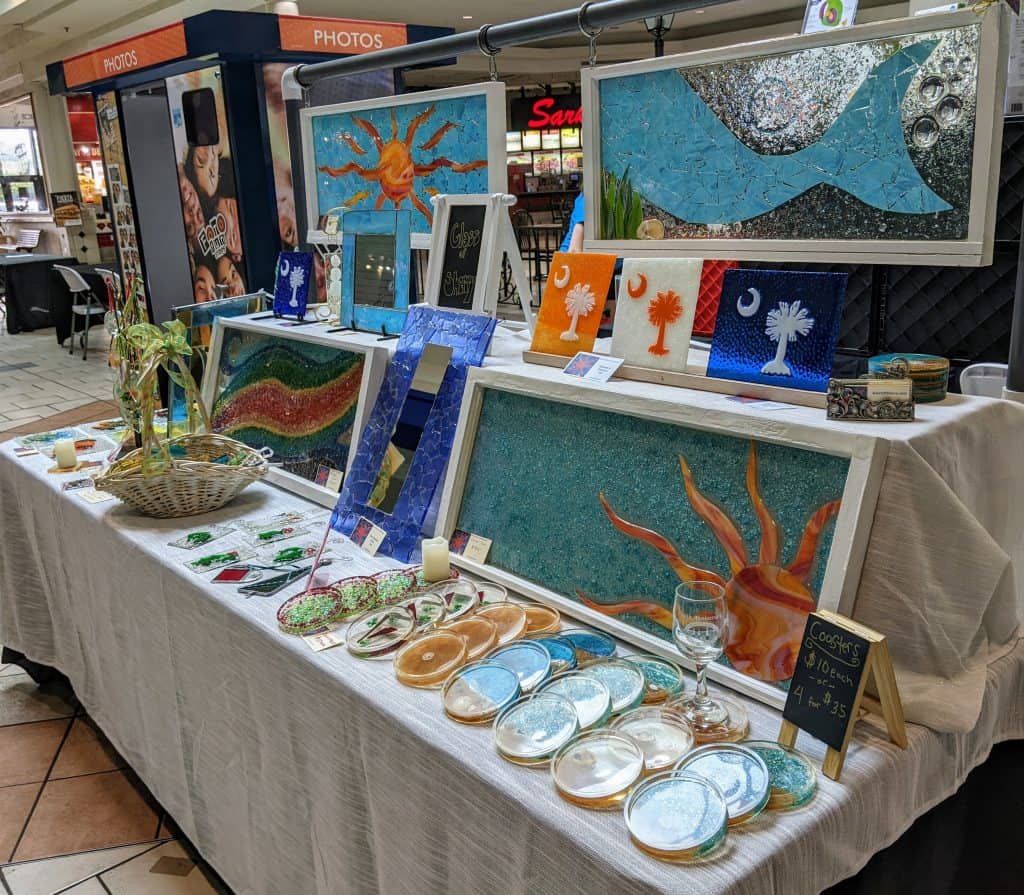
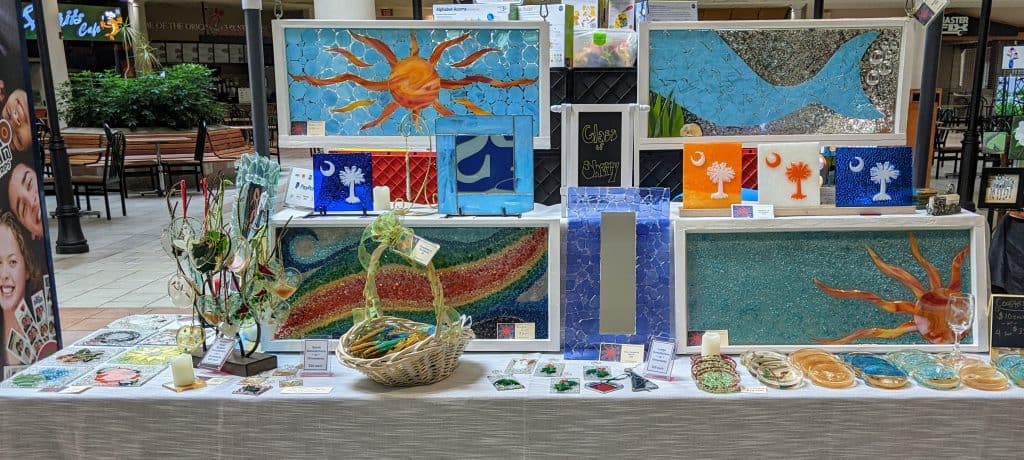
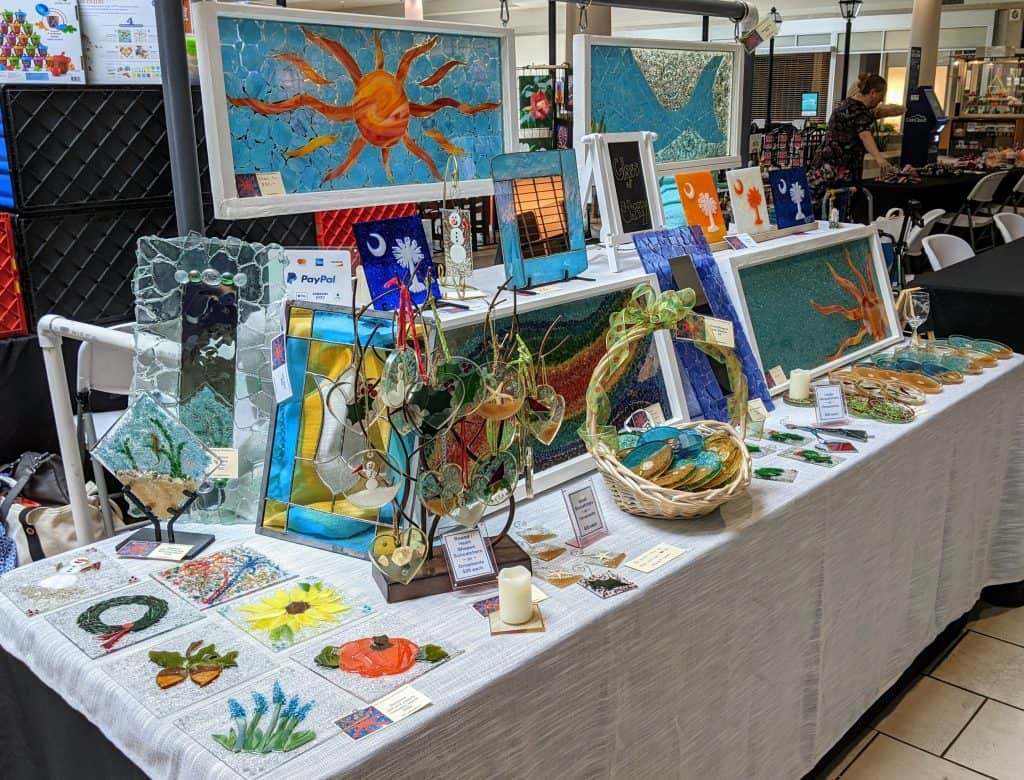
I had a great time at yesterday’s West Ashley Artisans & Crafters Fair! These events are held near the Food Court entrance of Citadel Mall and are held the second Saturday of the month from 10am to 4pm. I’m planning on taking the next couple of months off from selling to focus on creating, so I won’t be at the July or August Fairs. I plan on being at the October, November and December ones for sure, and will decide on September when it is closer to the date. Until then, feel free to message me if you’d like something!
I keep forgetting to take incremental photos, but below is a snapshot of the blue seaglass mirror with the resin poured and spread. I used painters tape around the edges to contain the resin, though I will likely end up trimming some of it off anyhow.
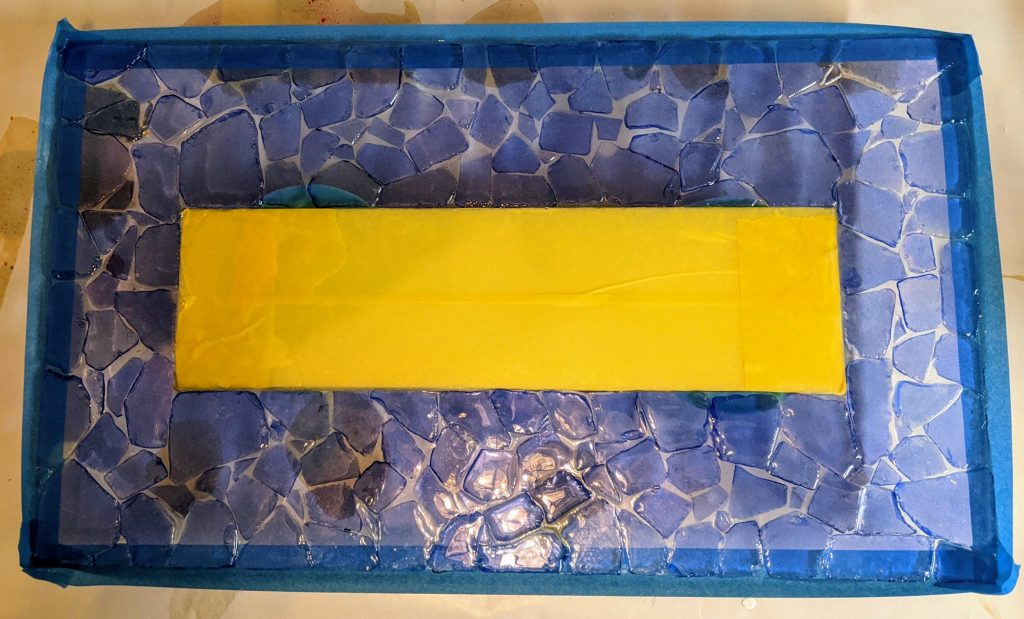
I had already prepped a second mirror with backer glass, so I was ready to try my sea glass experiment with improvements incorporated. First I taped off the mirror glass, then I set about arranging / adhering the sea glass (this time deep blue) in place with mosaic adhesive. Now to wait a day or two for the mosaic adhesive to cure and we can try the resin coating.
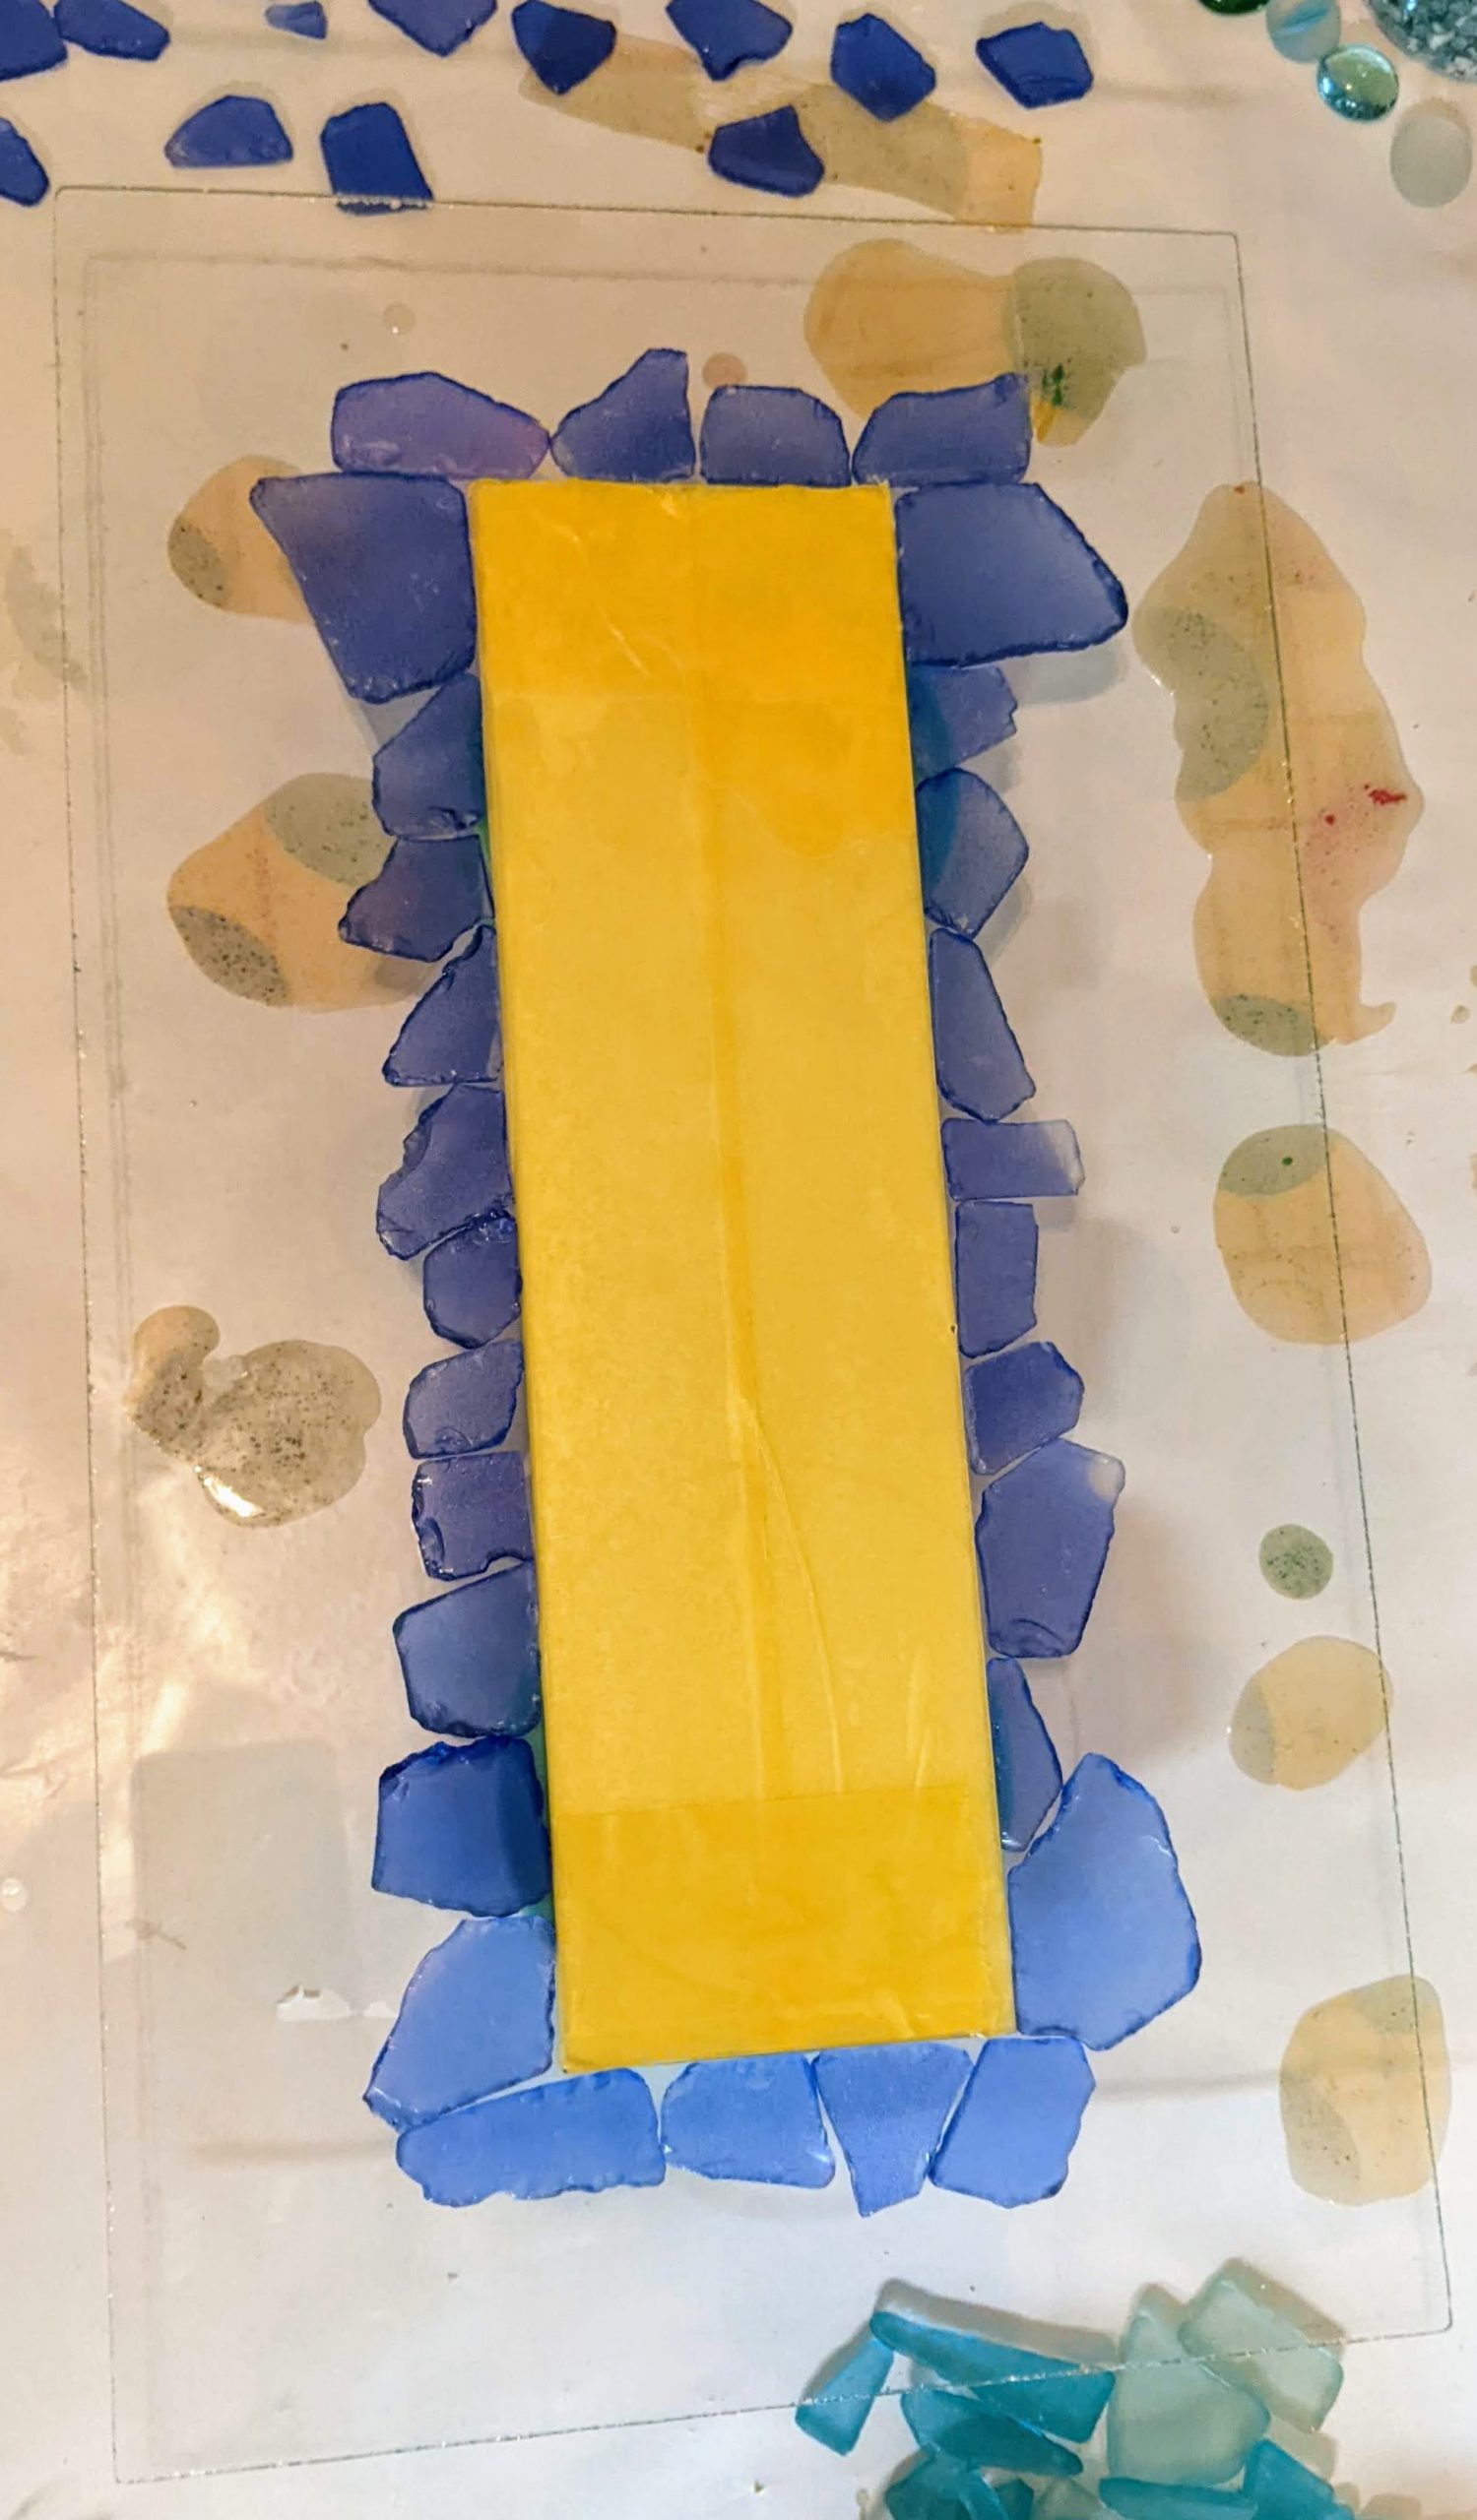
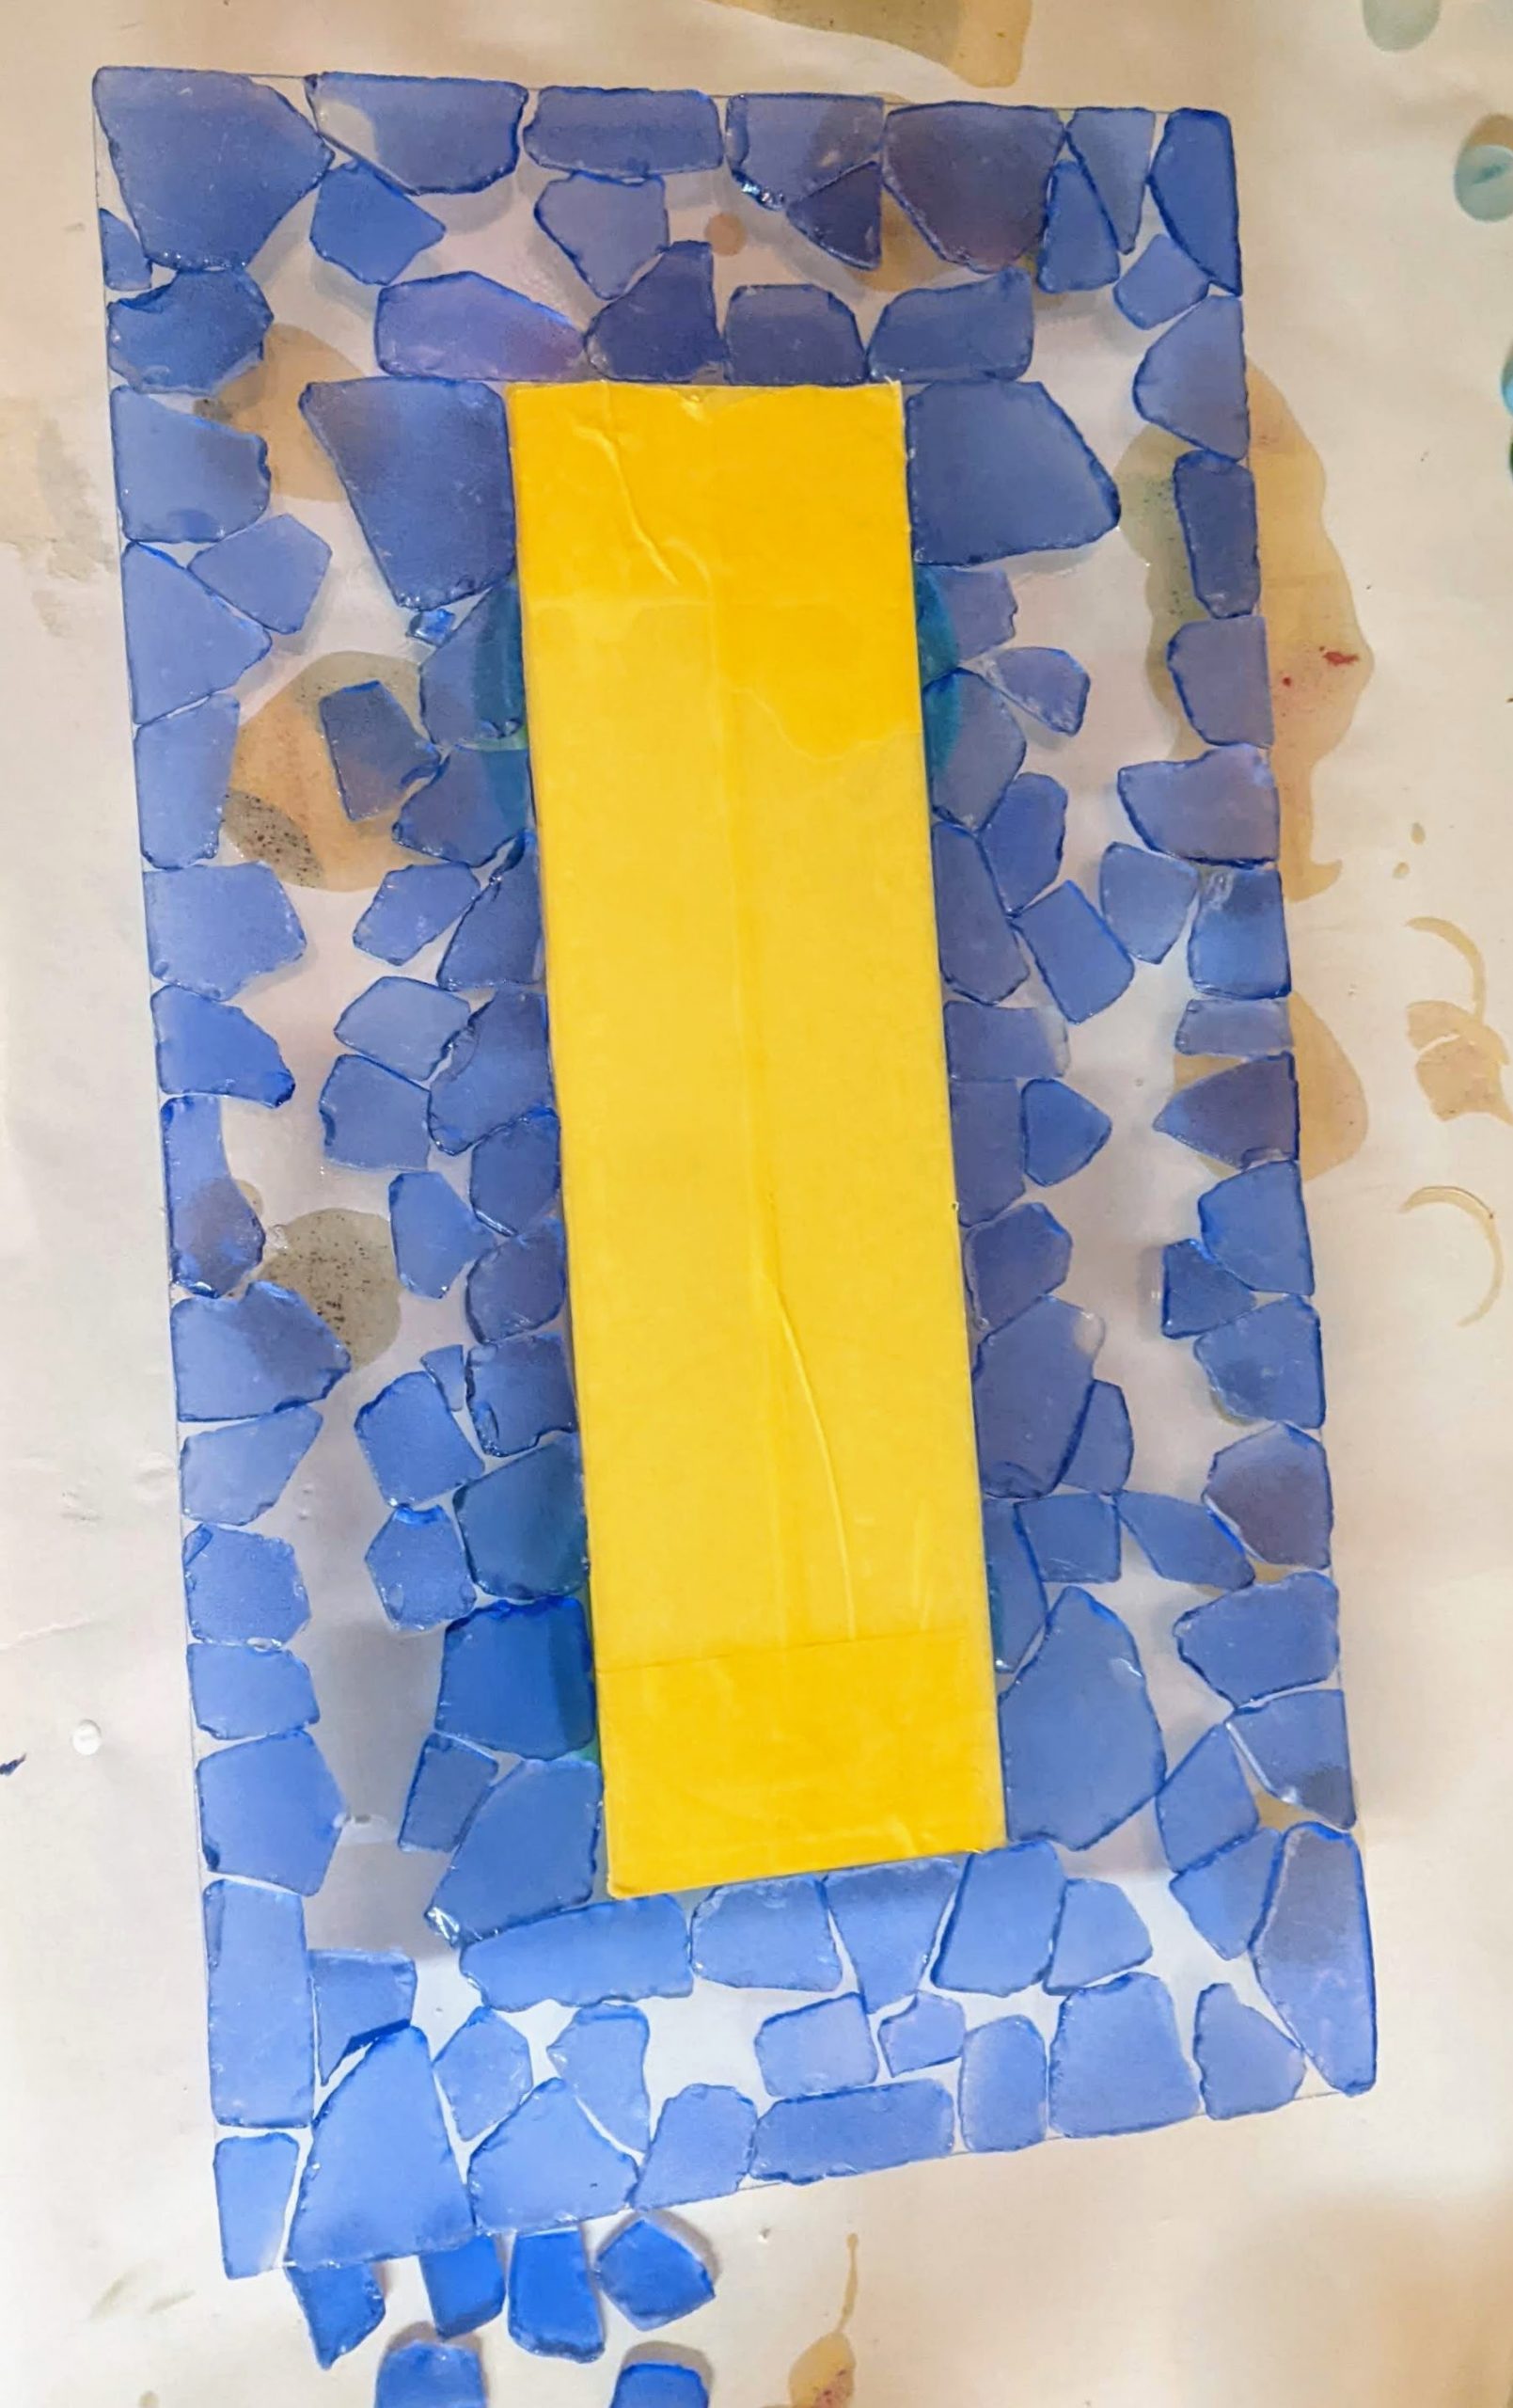
So the resin was cured enough 24 hours later to take a look at how this experiment turned out. Conclusion: changes need to be made. First, I think I should have kept the sea glass within the edges of the clear backer glass. I can fill in empty spaces with glass chips / frit, or leave them plain resin. I think it is better to tape off the edges so that no resin spills over the edge. Keeping the sea glass inside the backer glass area will allow me to do that. Second, I think I should try to tape off the mirror glass. The resin did not smooth out well over this mirror, so it ends up with a “fun house” look when you are using it. The overall piece is pretty to look at, but not functional.
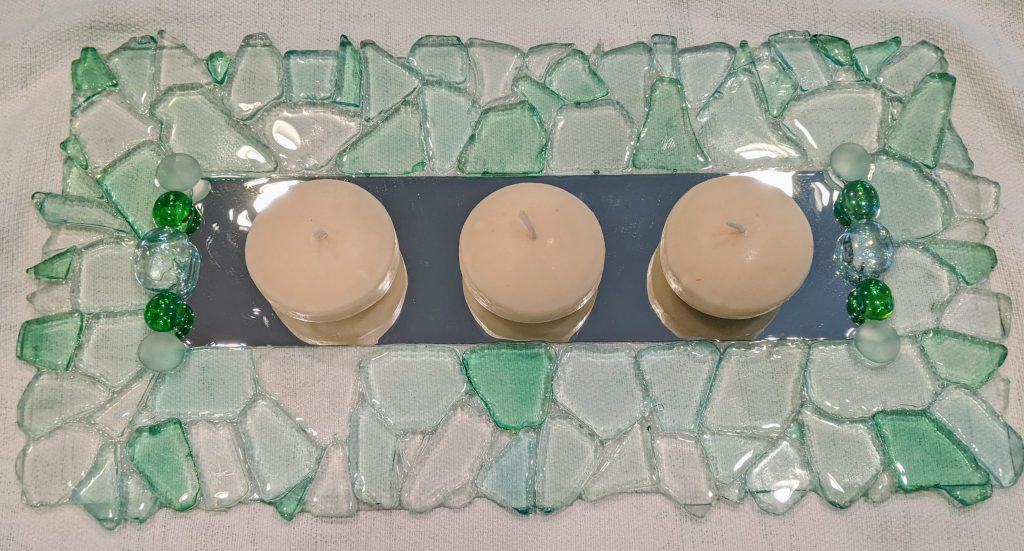
I’m not sure how best to tape off the mirror for my second try at this, but I have a few ideas.
The resin was poured on this new experiment with a mirror and sea glass this morning. Hopefully the resin will settle down nicely!
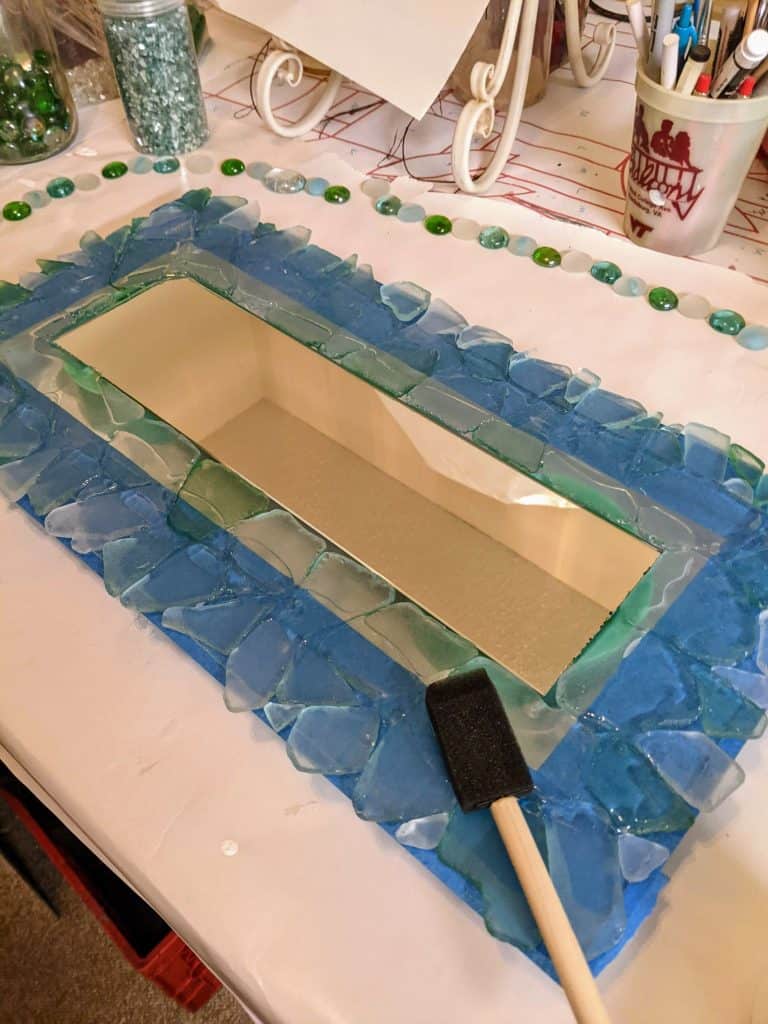
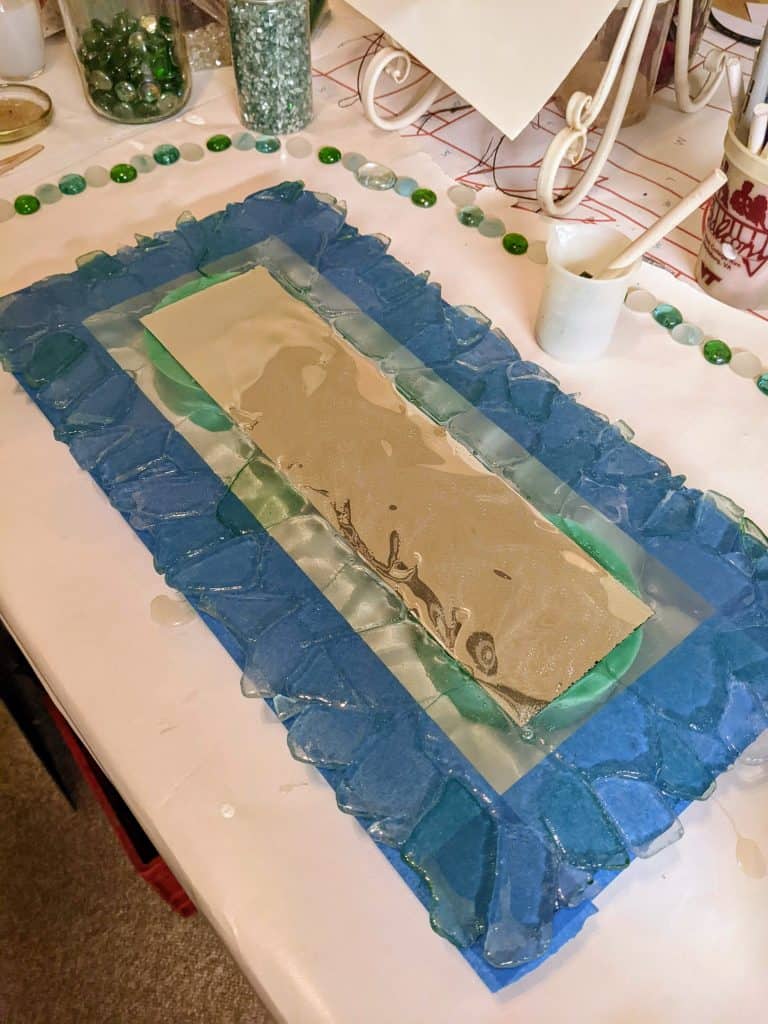
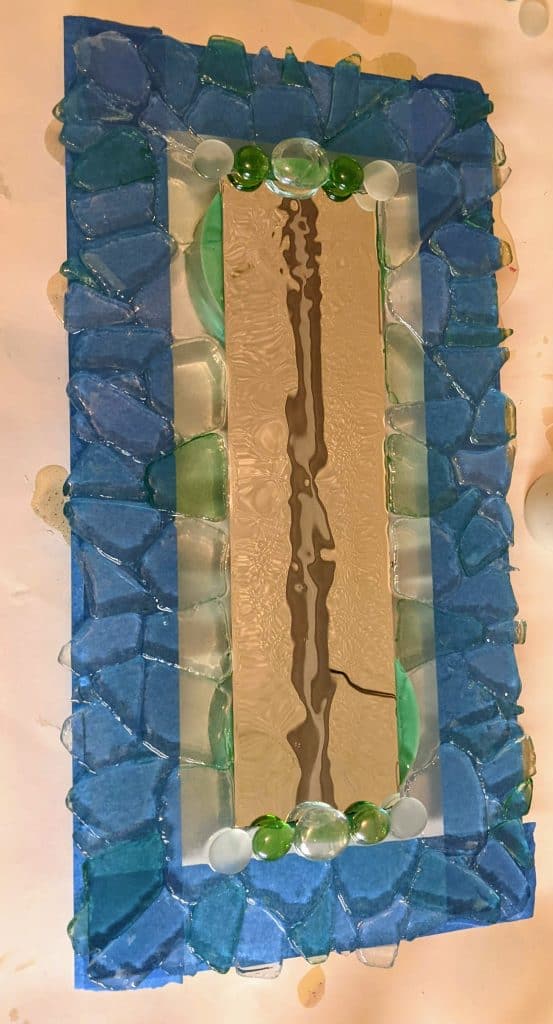
I decided to embellish the top and bottom with some glass nuggets. We’ll see how it comes out tomorrow.
I keep forgetting to take pictures / post, but I have been working on a couple of projects using some mirror and sea glass I have had for awhile. First I cut the mirror to size, then I cut some glass from some recycled windows to serve as backer glass for the mirror. That actually took me a couple of weeks as I’ve been busy with other things.
I left the mirror and backer glass overnight for the mosaic adhesive to dry, then arranged some sea glass around the mirror. I’m still deciding where to go with it – whether to add layers of sea glass, shells, other decorative items and resin – or not.