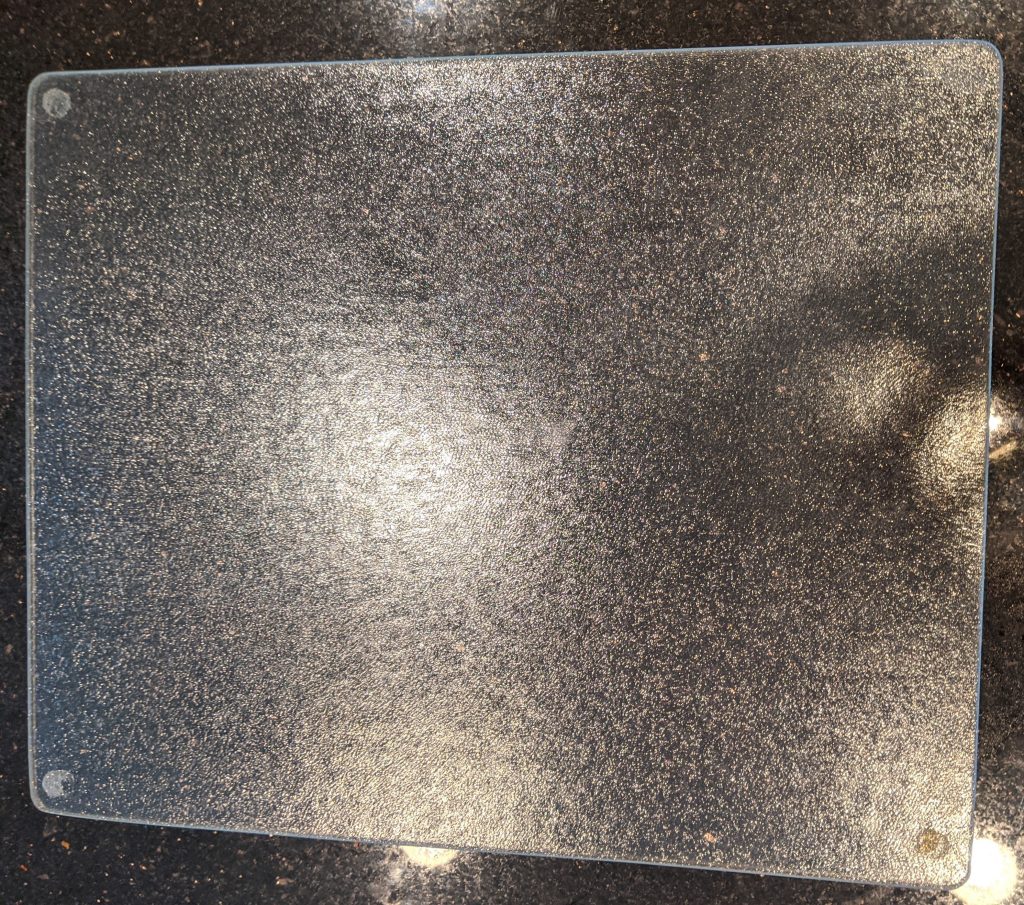
I found this large (approximately 15 7/8″ x 19 7/8″) glass trivet / cutting board stashed away in our laundry room. I haven’t used it since we had our laminate countertops replaced with granite. I decided to try decorating the underside of the piece. Although resin is often used for coating countertops and tables, it’s not suited for the 400℉ casserole dish that just came out of the oven, nor for use as a cutting board, so decorating the underside should be safe and allow the piece to retain its usefulness. I’m not sure how the decoration will look through the texture of the glass, but that is part of the fun of experimenting with new materials. If I don’t like the look, I don’t have to do it again, and the piece can be used for other purposes, or just to look at!
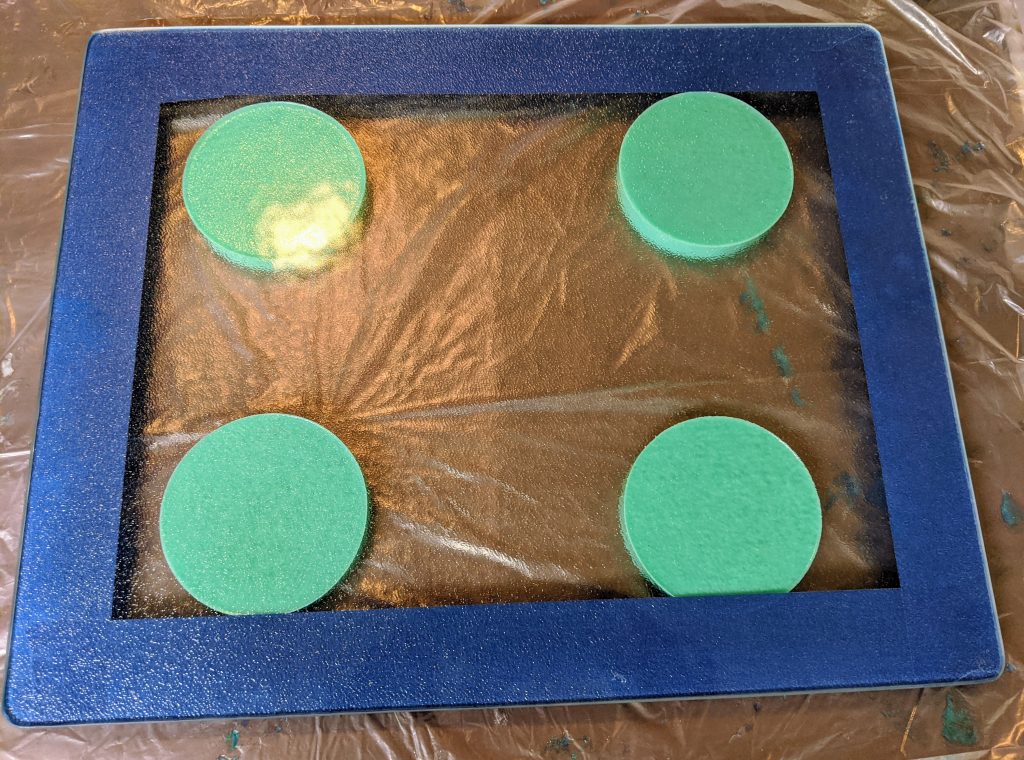
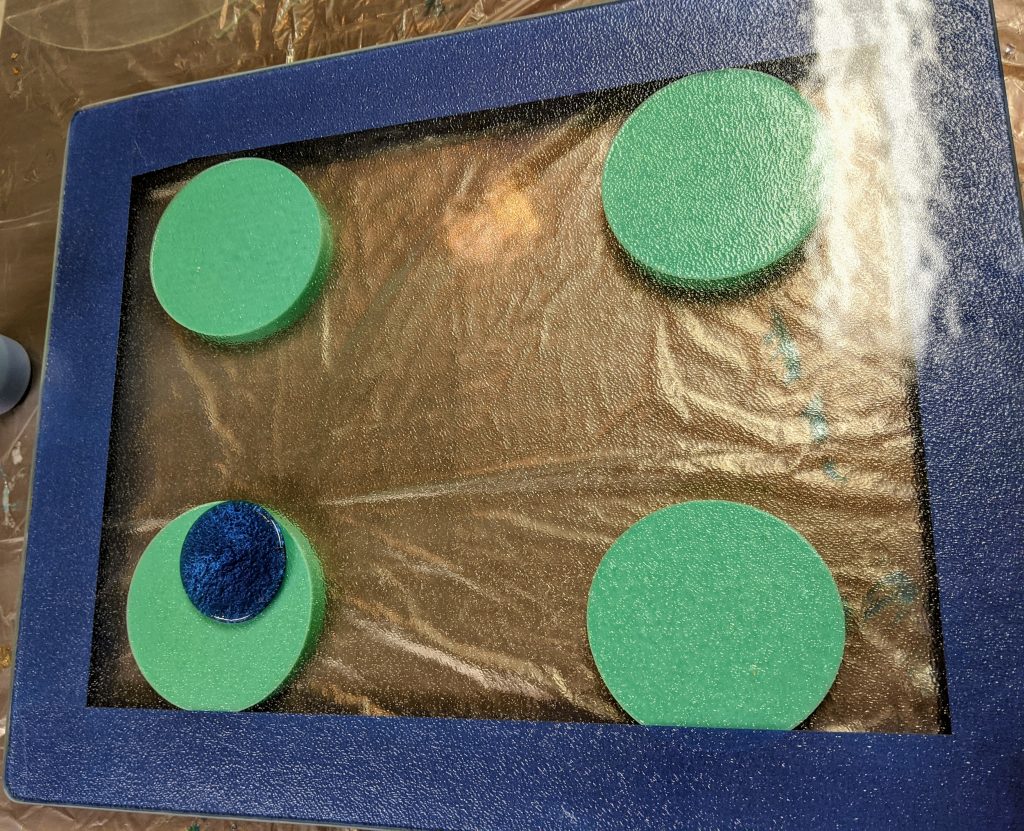
I cleaned the glass and removed the residue from the rubber feet, then used painter’s tape to cover what are the edges of the top side of the piece, as I’m pouring upside down (pouring the resin on the underside). I’m also hesitant about that, as I will have more control over the top of the resin, which will ultimately be the bottom side of the piece if things go as I’m thinking they will.

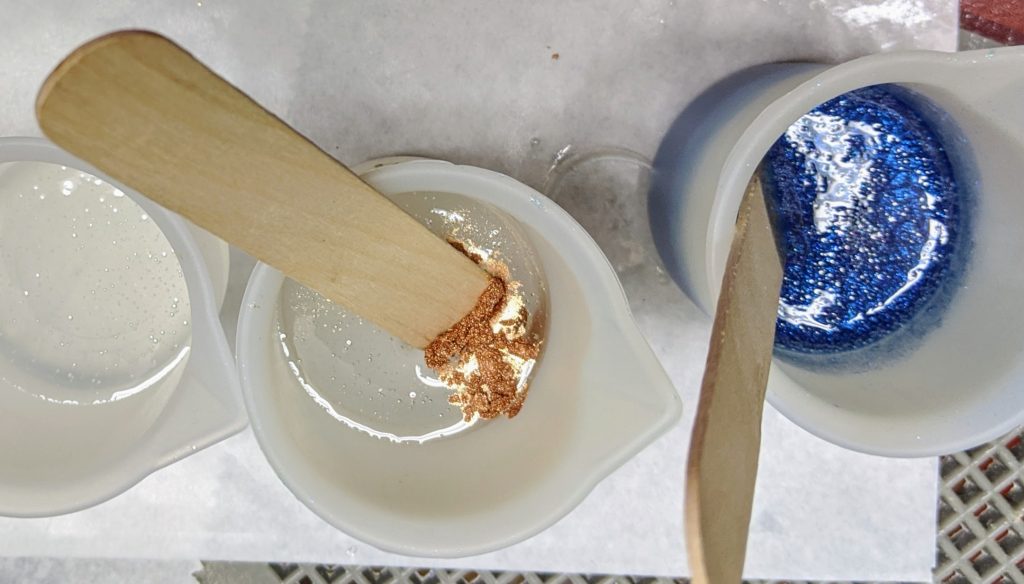
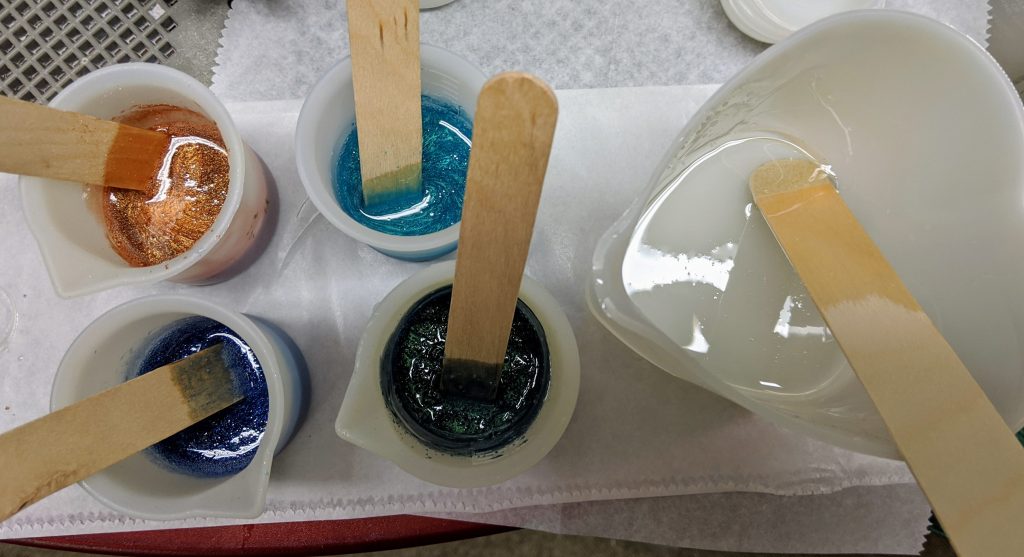
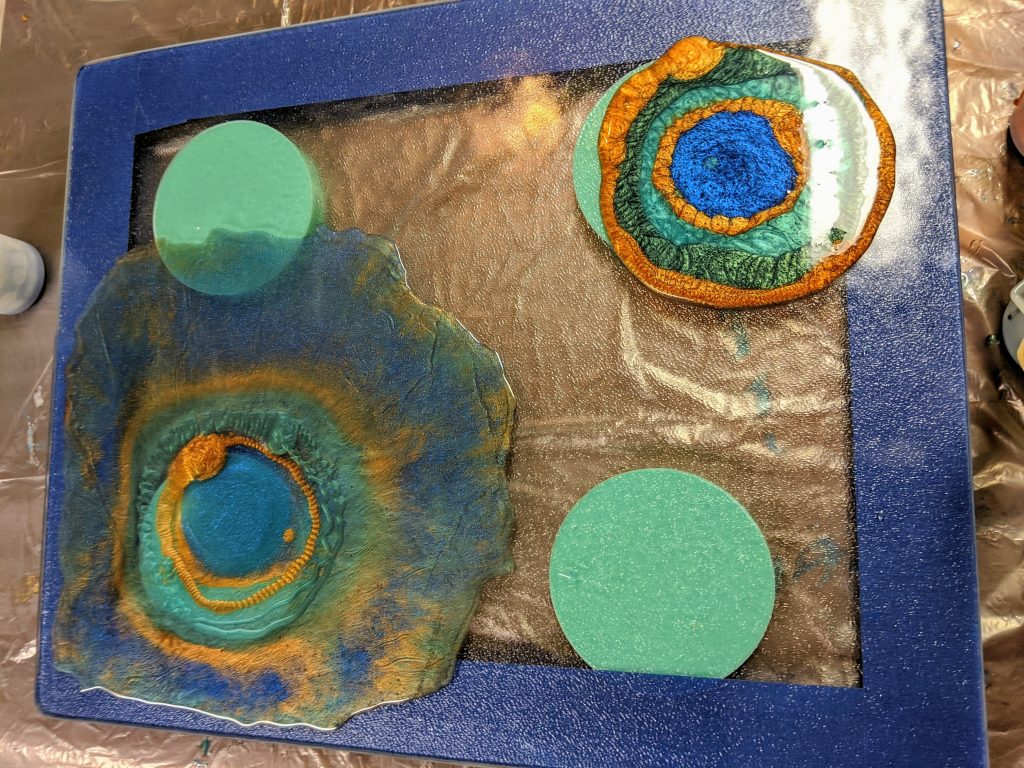
These are the pigments I selected for this project. They remind me of the colors in a peacock’s plumage. I mixed up 200 ml of resin, then split it in about fifths between the four pigments, holding back some in case I needed to add more of one color or another later.
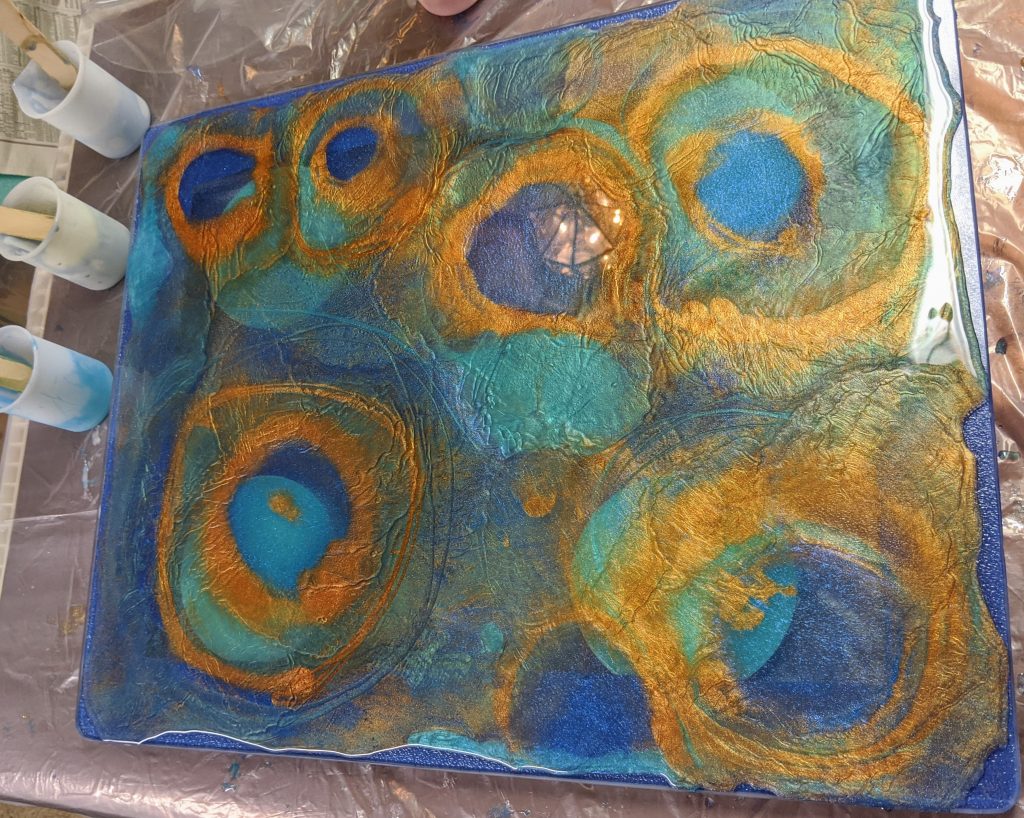
Then I began pouring the resin. I started with the deepest blue and then made concentric rings around it using alternating colors.
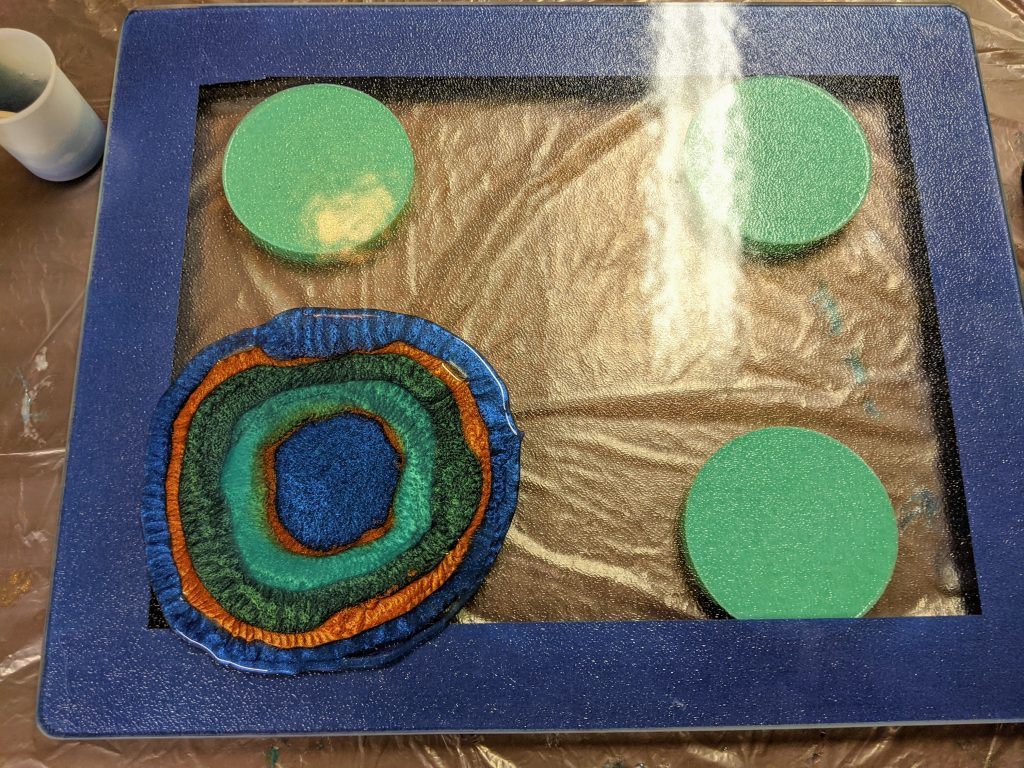
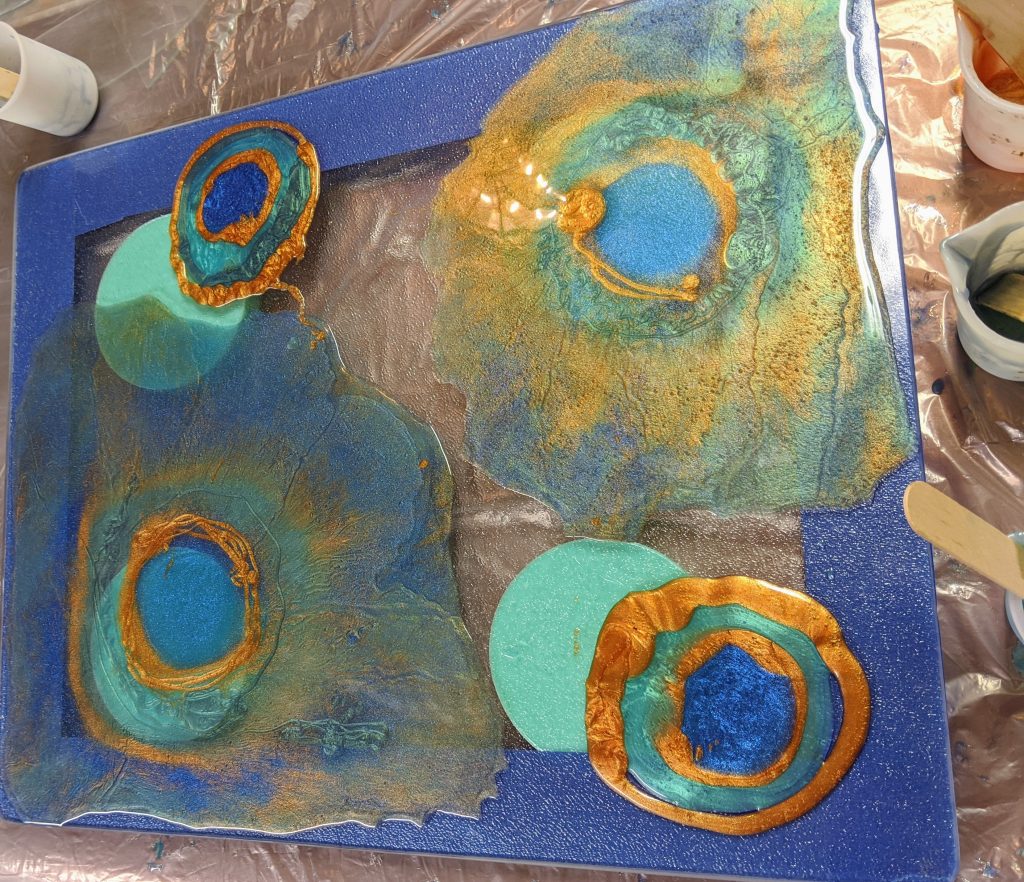
Once I had a good amount poured, I started moving the resin around the glass with my heat gun. I just wanted to spread it out and mix the colors at this point.
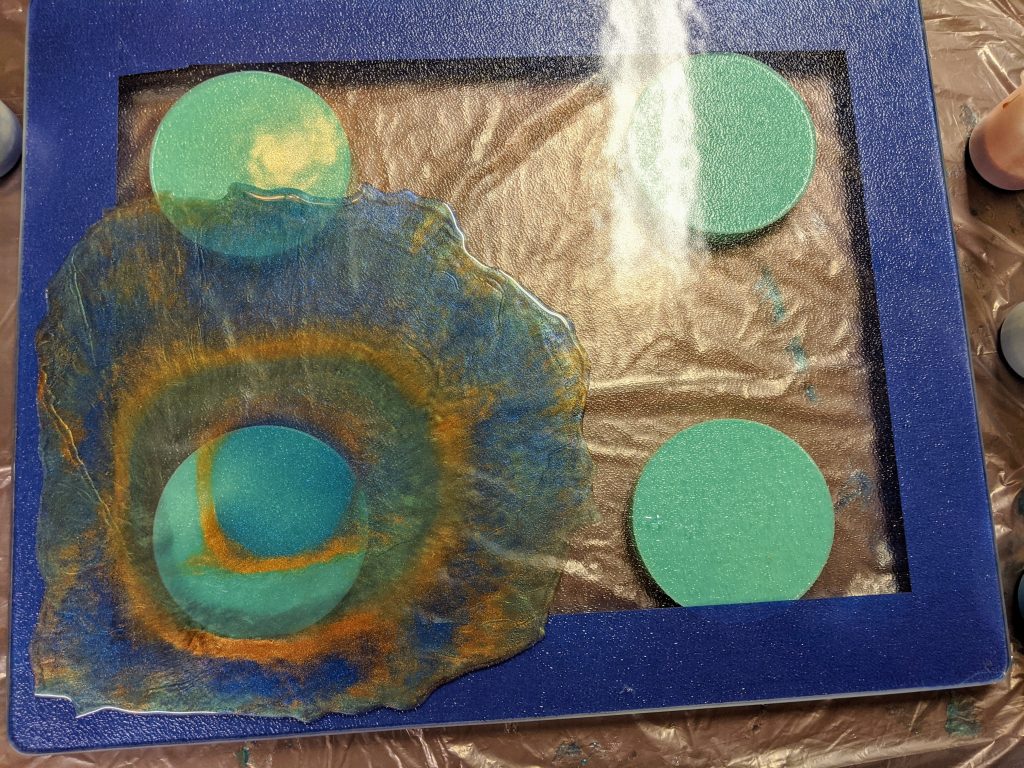
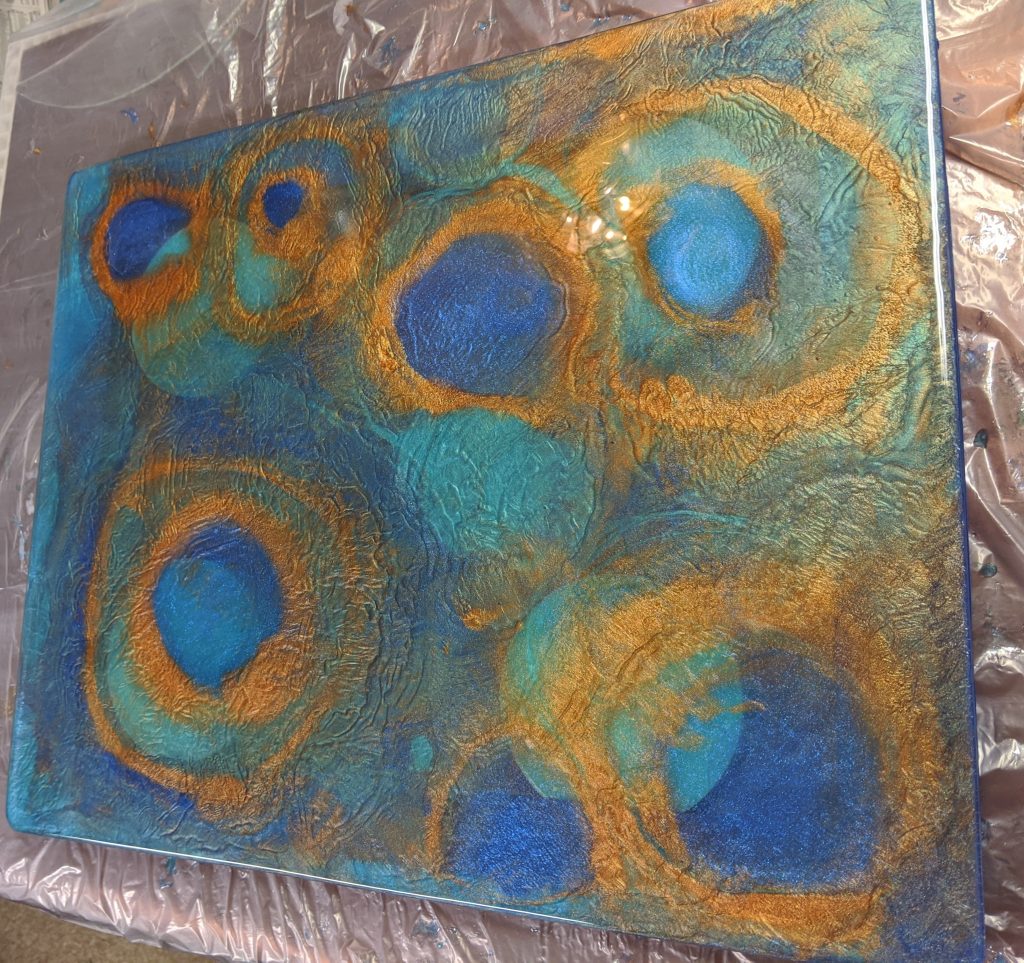
After that, I just repeated the process of pouring and spreading with the heat gun until I had the resin very close to covering all of the glass board.
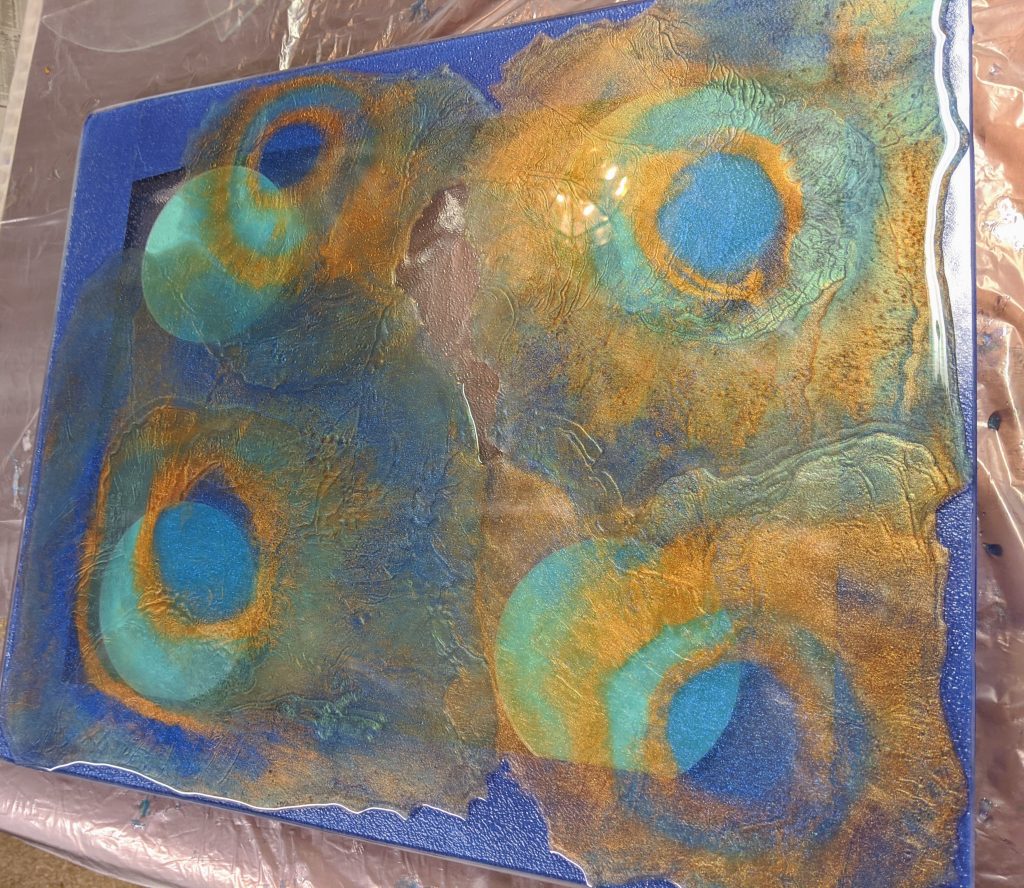
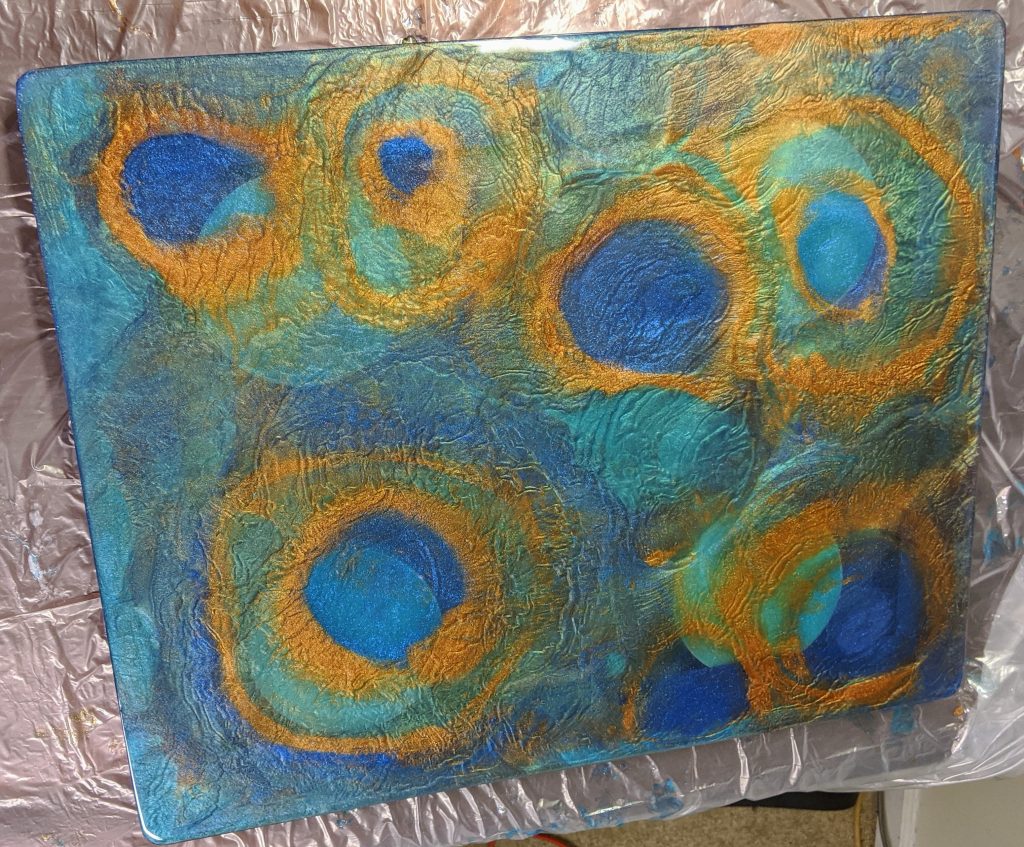
I used a wooden craft stick to move the resin to the very edges of the glass. The resin was starting to thicken at this point, so it did not drip very much.

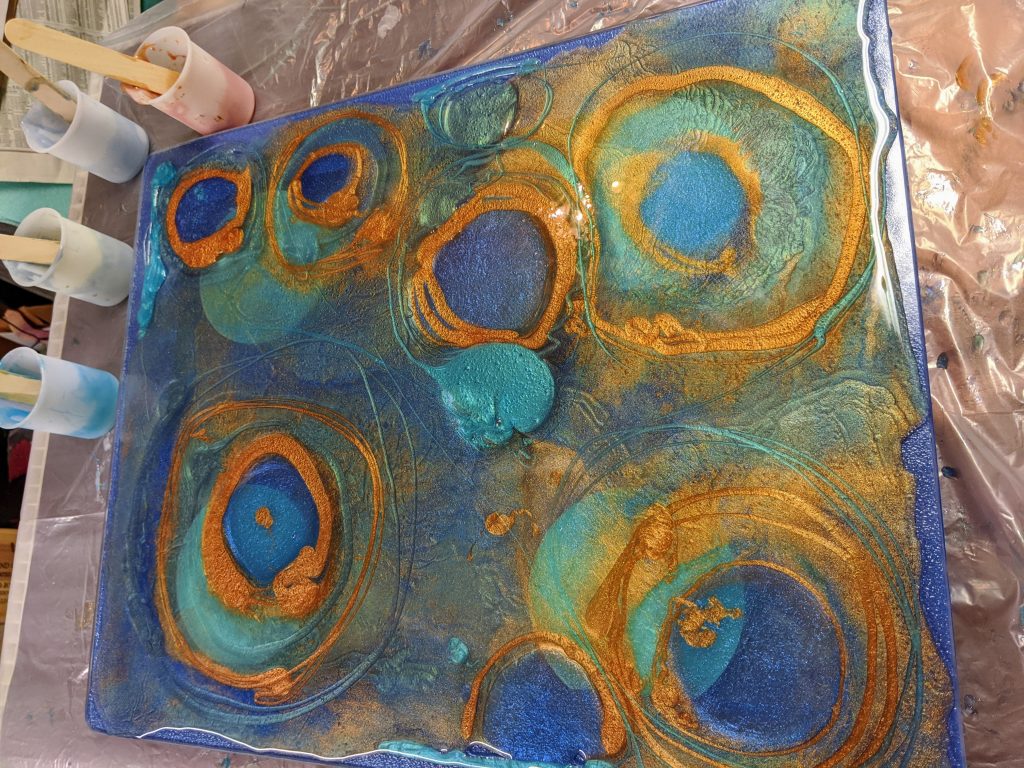
After this, I just made several passed with the heat gun, adding pigment here and there where I thought more was needed. This was mainly to remove bubbles.
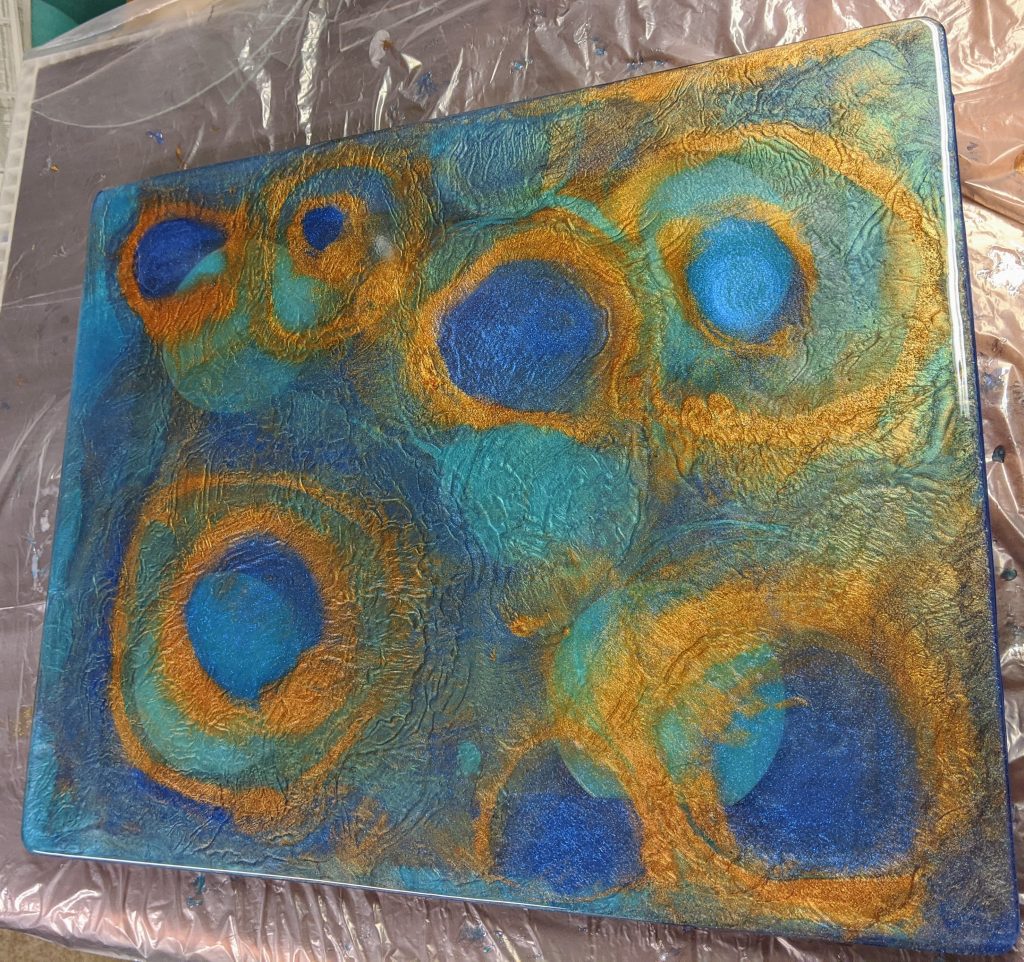
It should be cured tomorrow, so I will get a better photo of it then.