Pattern Prep

Marking the pattern pieces with their planned colors

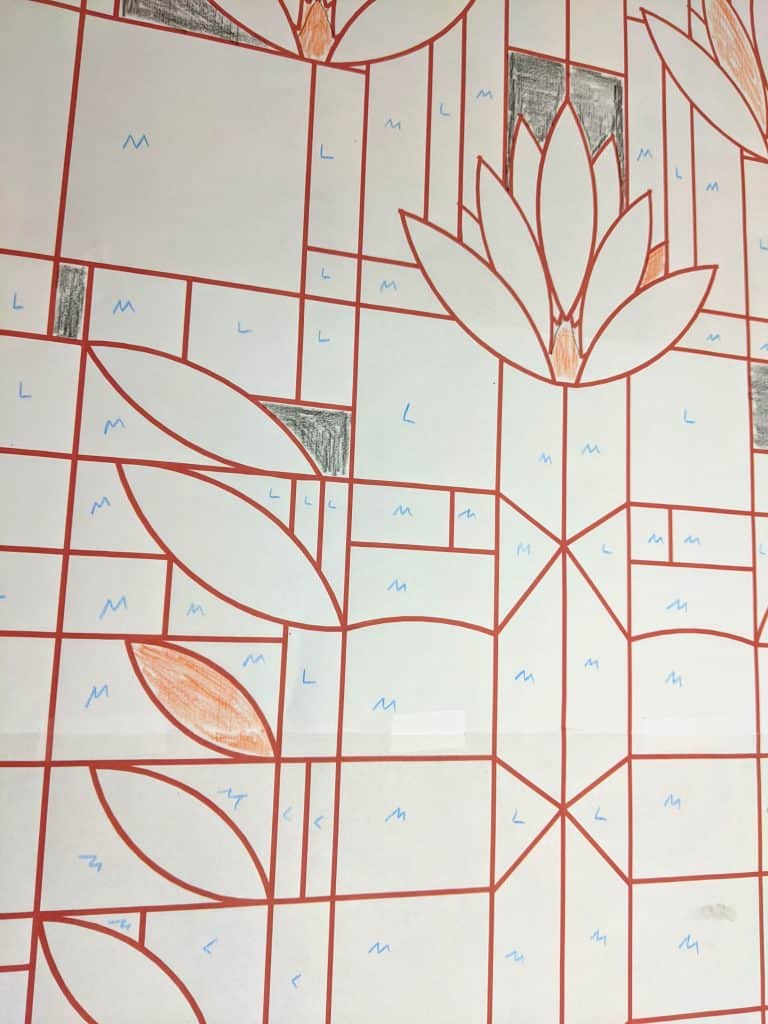
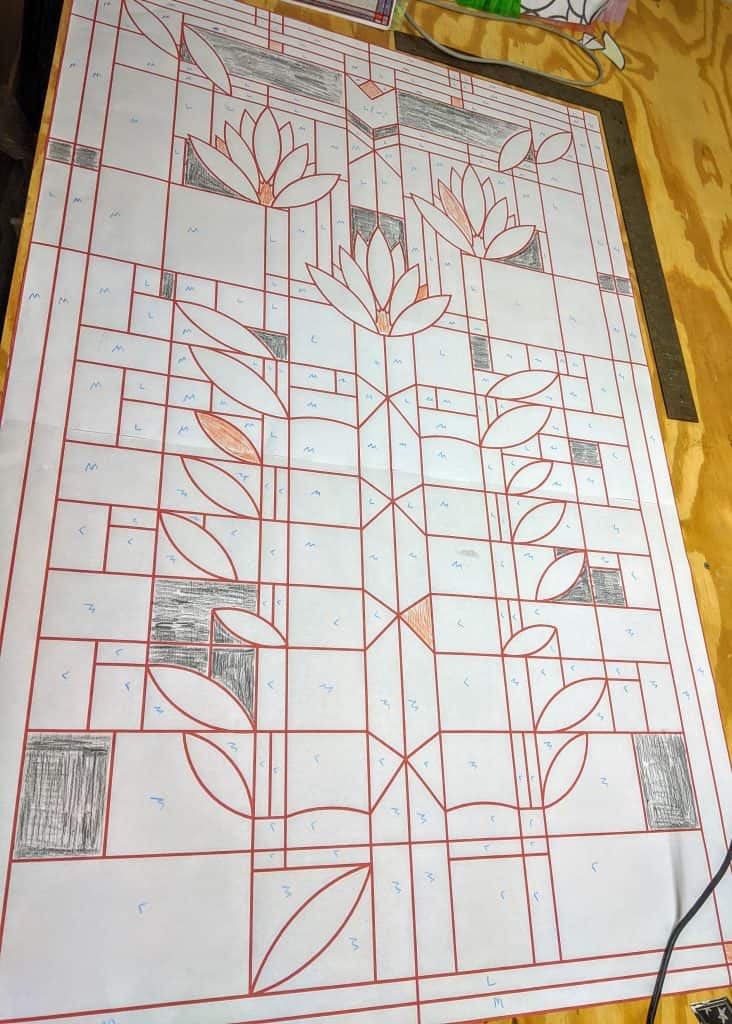
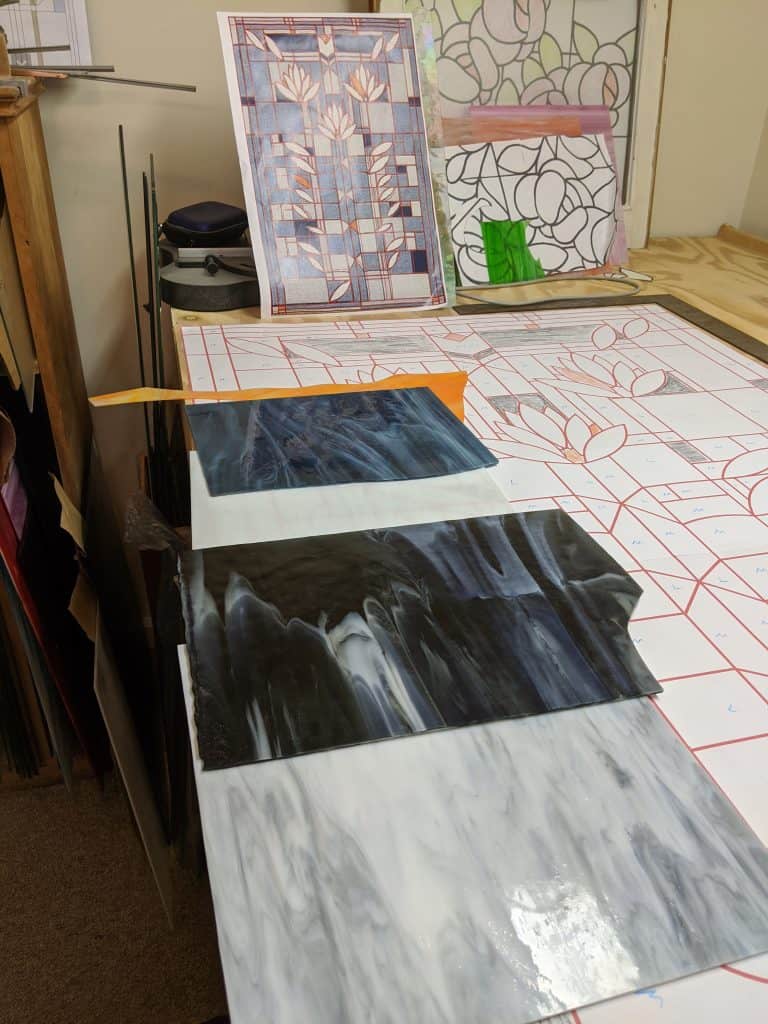
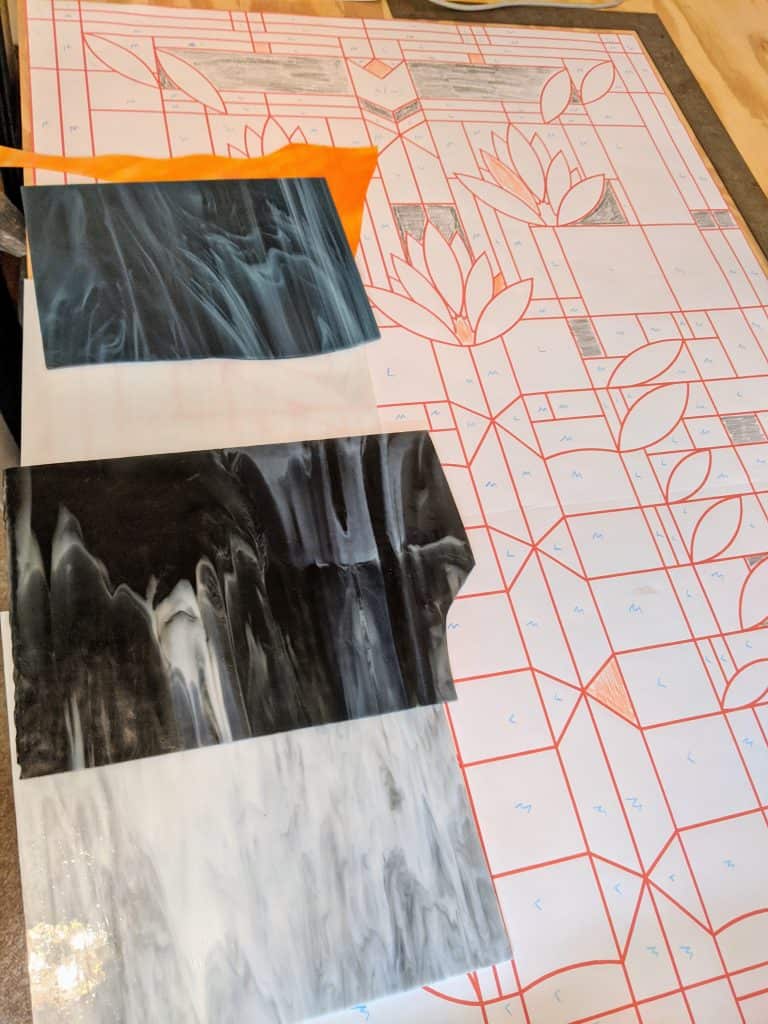
Before I start working with the glass, I lay out the pattern and mark each piece with the planned color to be used. In this case, white is unmarked, dark gray is colored in with a dark pencil, orange is colored orange, medium gray is marked with an “M” and light gray is marked with an “L”. I had to take my time doing this because the pattern is not symmetrical and the colors have quirky variations that are important to the overall look.

Hopefully I didn’t make any mistakes.
Overall view of the glass chosen, the pattern and the colored guide image.
Overview of the various shades / types of glass to be used: orange, medium gray, white, dark gray, light gray.
Do it and then do it again!

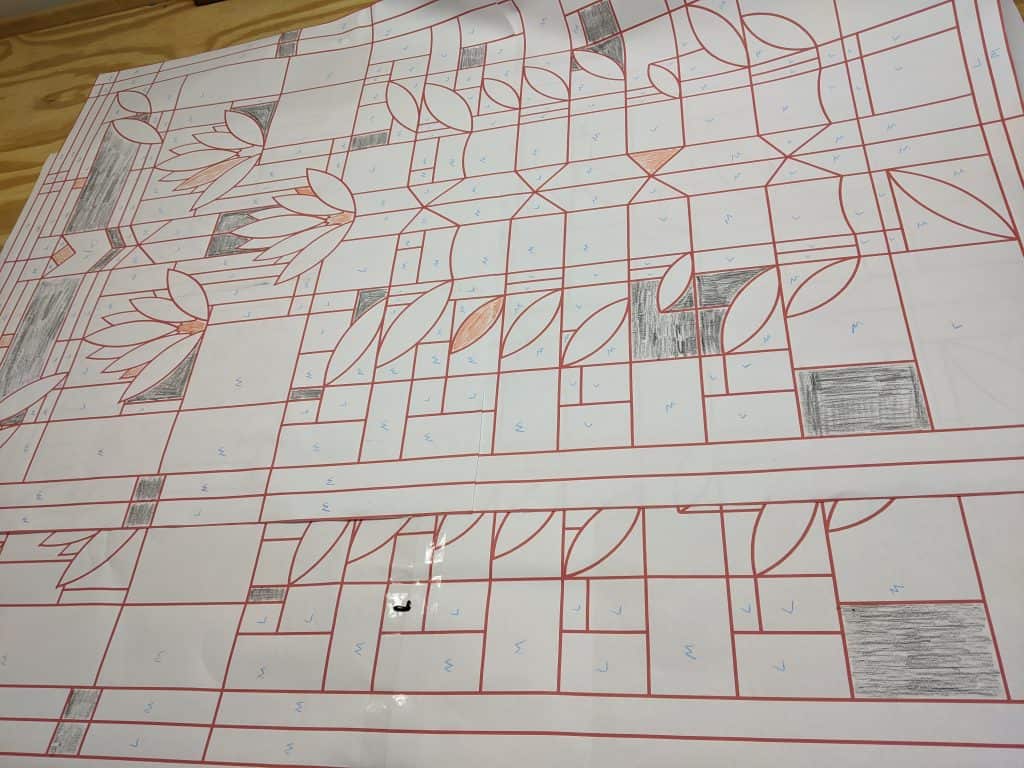
Now I’m working on coloring in a second copy of the pattern. One copy will be used to lay out the glass on top of as I progress through cutting the pieces while the other one will be cut up to use as guides for the individual pieces as I cut them.

Recycling

It’s really nice to be able to use old, recycled windows in my projects. The down side is I spend a lot of time prepping the windows so they are suitable for the projects! I’ve been working on these two windows since I finished my fireball sun, and I still have a few days of painting to do.

Scraping the old paint

I take old windows – these particular ones are one rectangle over another – and I get my husband to help me chop them in half. I then use one half with the frame for mosaics and cut the glass out of the other half for small projects like my ornaments / suncatchers / Rainbow Rows / SC Flag pieces.

I fill the holes with outdoor patch / filler
Sand down the surface after patching
Wipe down and paint all the surfaces of the wood frame