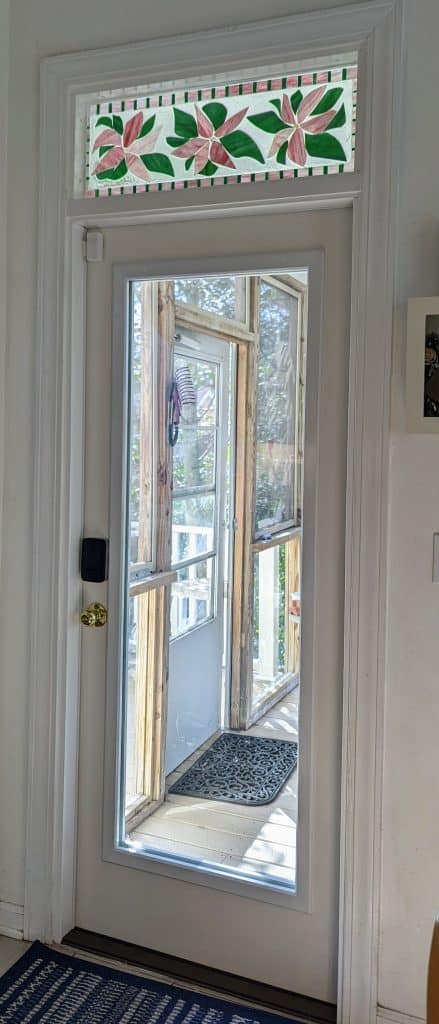
Despite the snafu where I forgot to use adhesive on the main panel, the smaller transom turned out OK. It adds some cheer to our kitchen.
Glass of Sherry
Despite the snafu where I forgot to use adhesive on the main panel, the smaller transom turned out OK. It adds some cheer to our kitchen.

I decided to try adding a border around the old smaller transom window. I made a piece of backer glass that fits the space and centered the old transom insert on it, then cut some matching pink and green glass to fit around the edge. The below photo is before I glued the border glass down.
Unfortunately I just realized that I forgot to glue the backer glass to the old transom, so there will be some tricky adjustments once the border glass adhesive cures. With three layers of glass, it’s pretty hefty.
Here is how the Hummingbird with Flowers window turned out with the sapphire blue mica sky – photos outside in the sun. I will have this and other glass items at my booth at the West Ashley Artisans and Crafters Fair tomorrow (11/19) at the Citadel Mall.
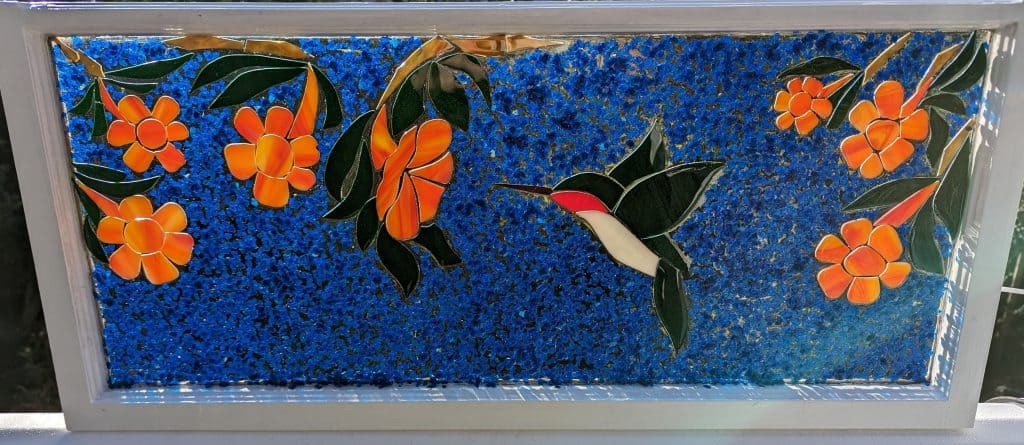
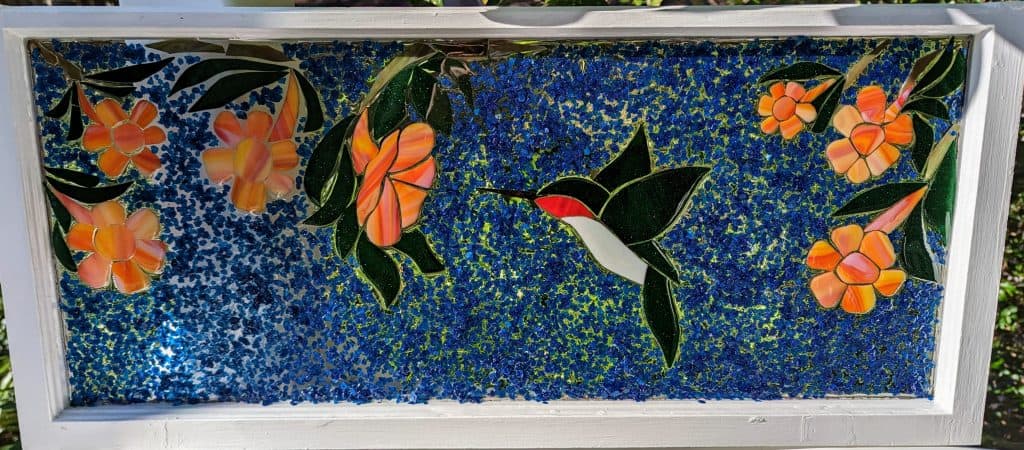
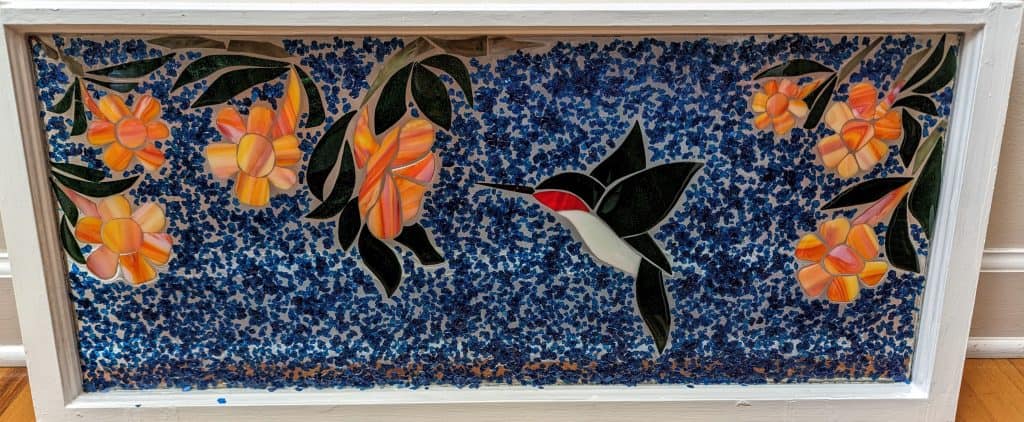
I went to pour the resin on this window a few days ago and didn’t like the look of my hardener (it looked too yellow / old). So I waited until I could buy some new resin at a local store. However, when I got it home, the new resin didn’t look much better than the resin I already had on hand, so I decided to try what I already had open on some small projects before pouring it over my whole hummingbird window.
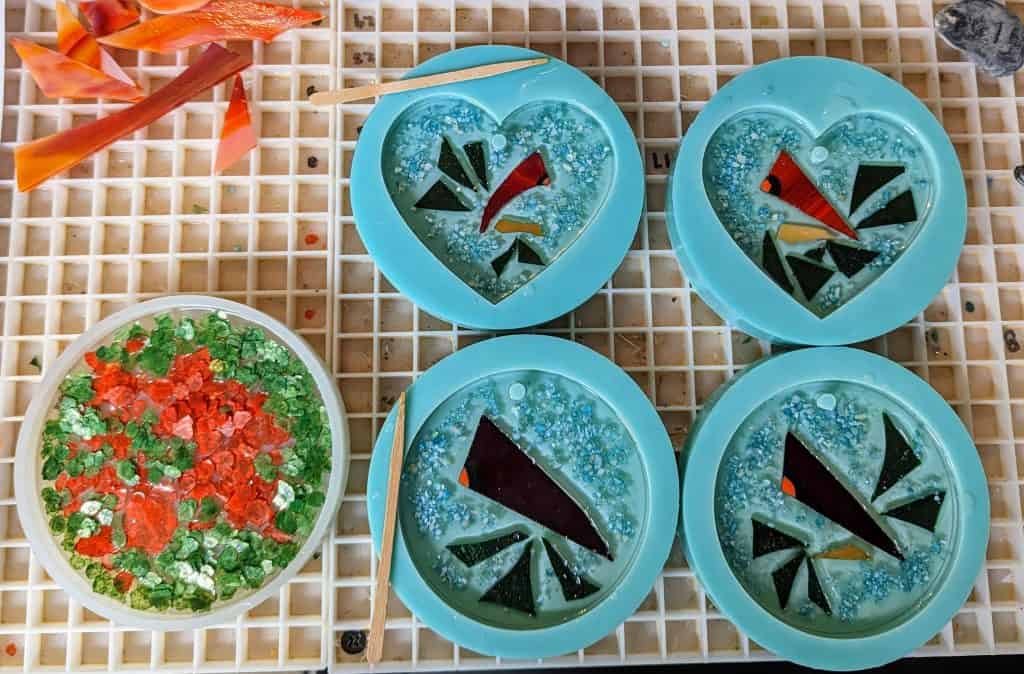
After a few hours, they looked fine, so I decided to decorate them (four ornaments and a festive red and green coaster). Then I felt better about using the resin I had on hand to do my large hummingbird window. I mixed 12 oz of resin and took the plunge.
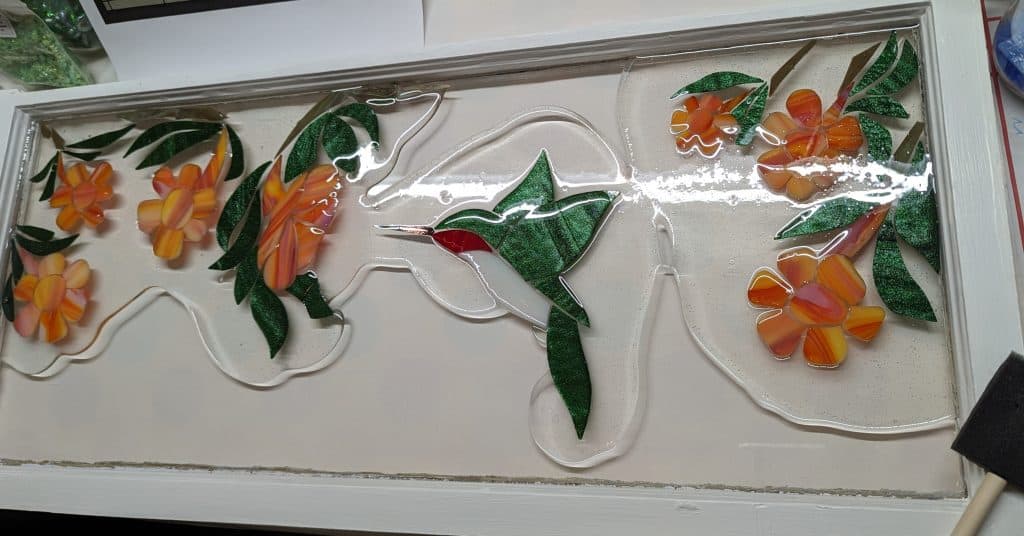
After it set for about 30 minutes, I started filling in the sky / background with sapphire blue mica chips.
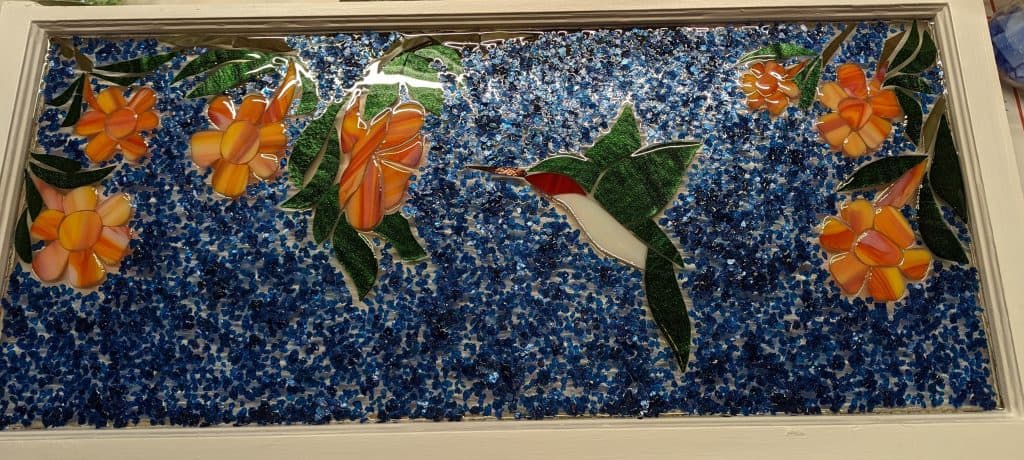
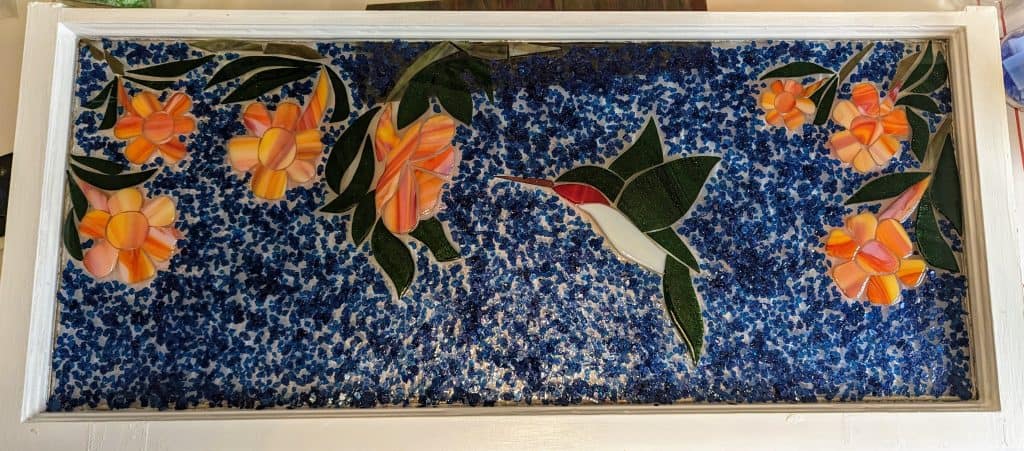
These should all be ready for the West Ashley Artisans and Crafters Fair being held at the Citadel Mall from 11am-4pm Saturday November 19th. Please stop by my booth! I will also have a few holiday themed paper crafts on hand.
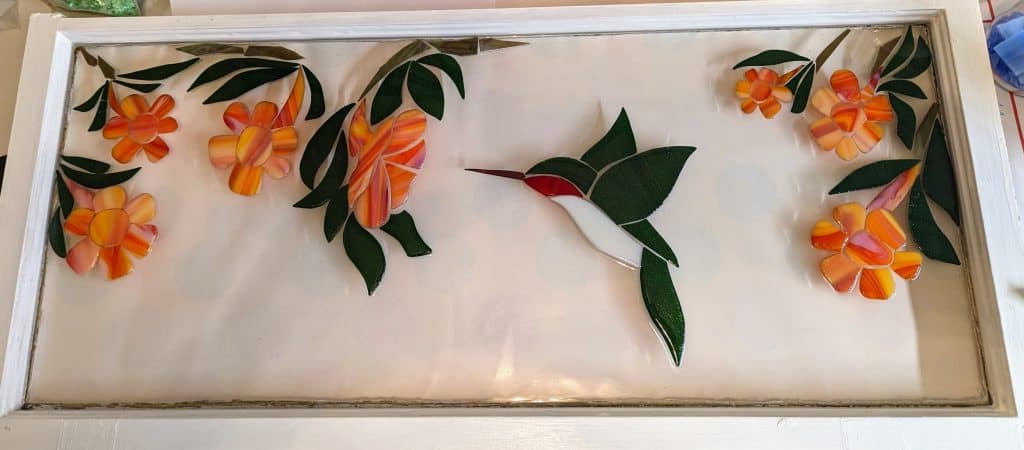
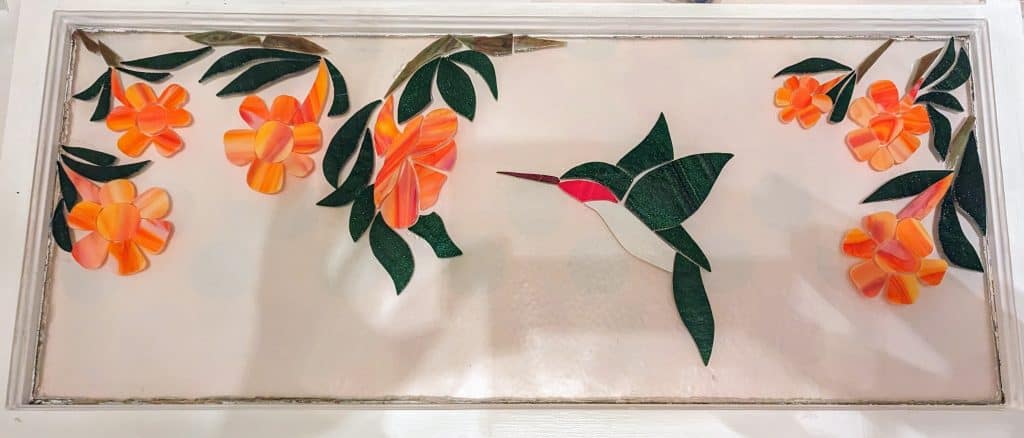
I wanted to fuss around some more with the glass in this window, but I also want to pour the resin before the West Ashley Artisans and Crafters Fair this Saturday at Citadel Mall, so I used mosaic adhesive to adhere all the glass in place – ready for the resin. I plan to use some beautiful sapphire blue mica chips for the sky / background.
I am frequently asked about creating custom windows for people. Unfortunately, due to the difficulty in obtaining glass in my area, I am unable to honor requests for custom pieces the vast majority of the time. Choosing art glass is very specific to the particular sheet / run of glass, so ordering it sight unseen can be disappointing. I have a limited amount of glass only in a limited number of colors, and ordering / traveling to get the right glass is cost prohibitive. I’m still willing to discuss custom work with people, but it is very likely that I won’t have the necessary materials easily available to complete many custom jobs.
I had already prepped a second mirror with backer glass, so I was ready to try my sea glass experiment with improvements incorporated. First I taped off the mirror glass, then I set about arranging / adhering the sea glass (this time deep blue) in place with mosaic adhesive. Now to wait a day or two for the mosaic adhesive to cure and we can try the resin coating.
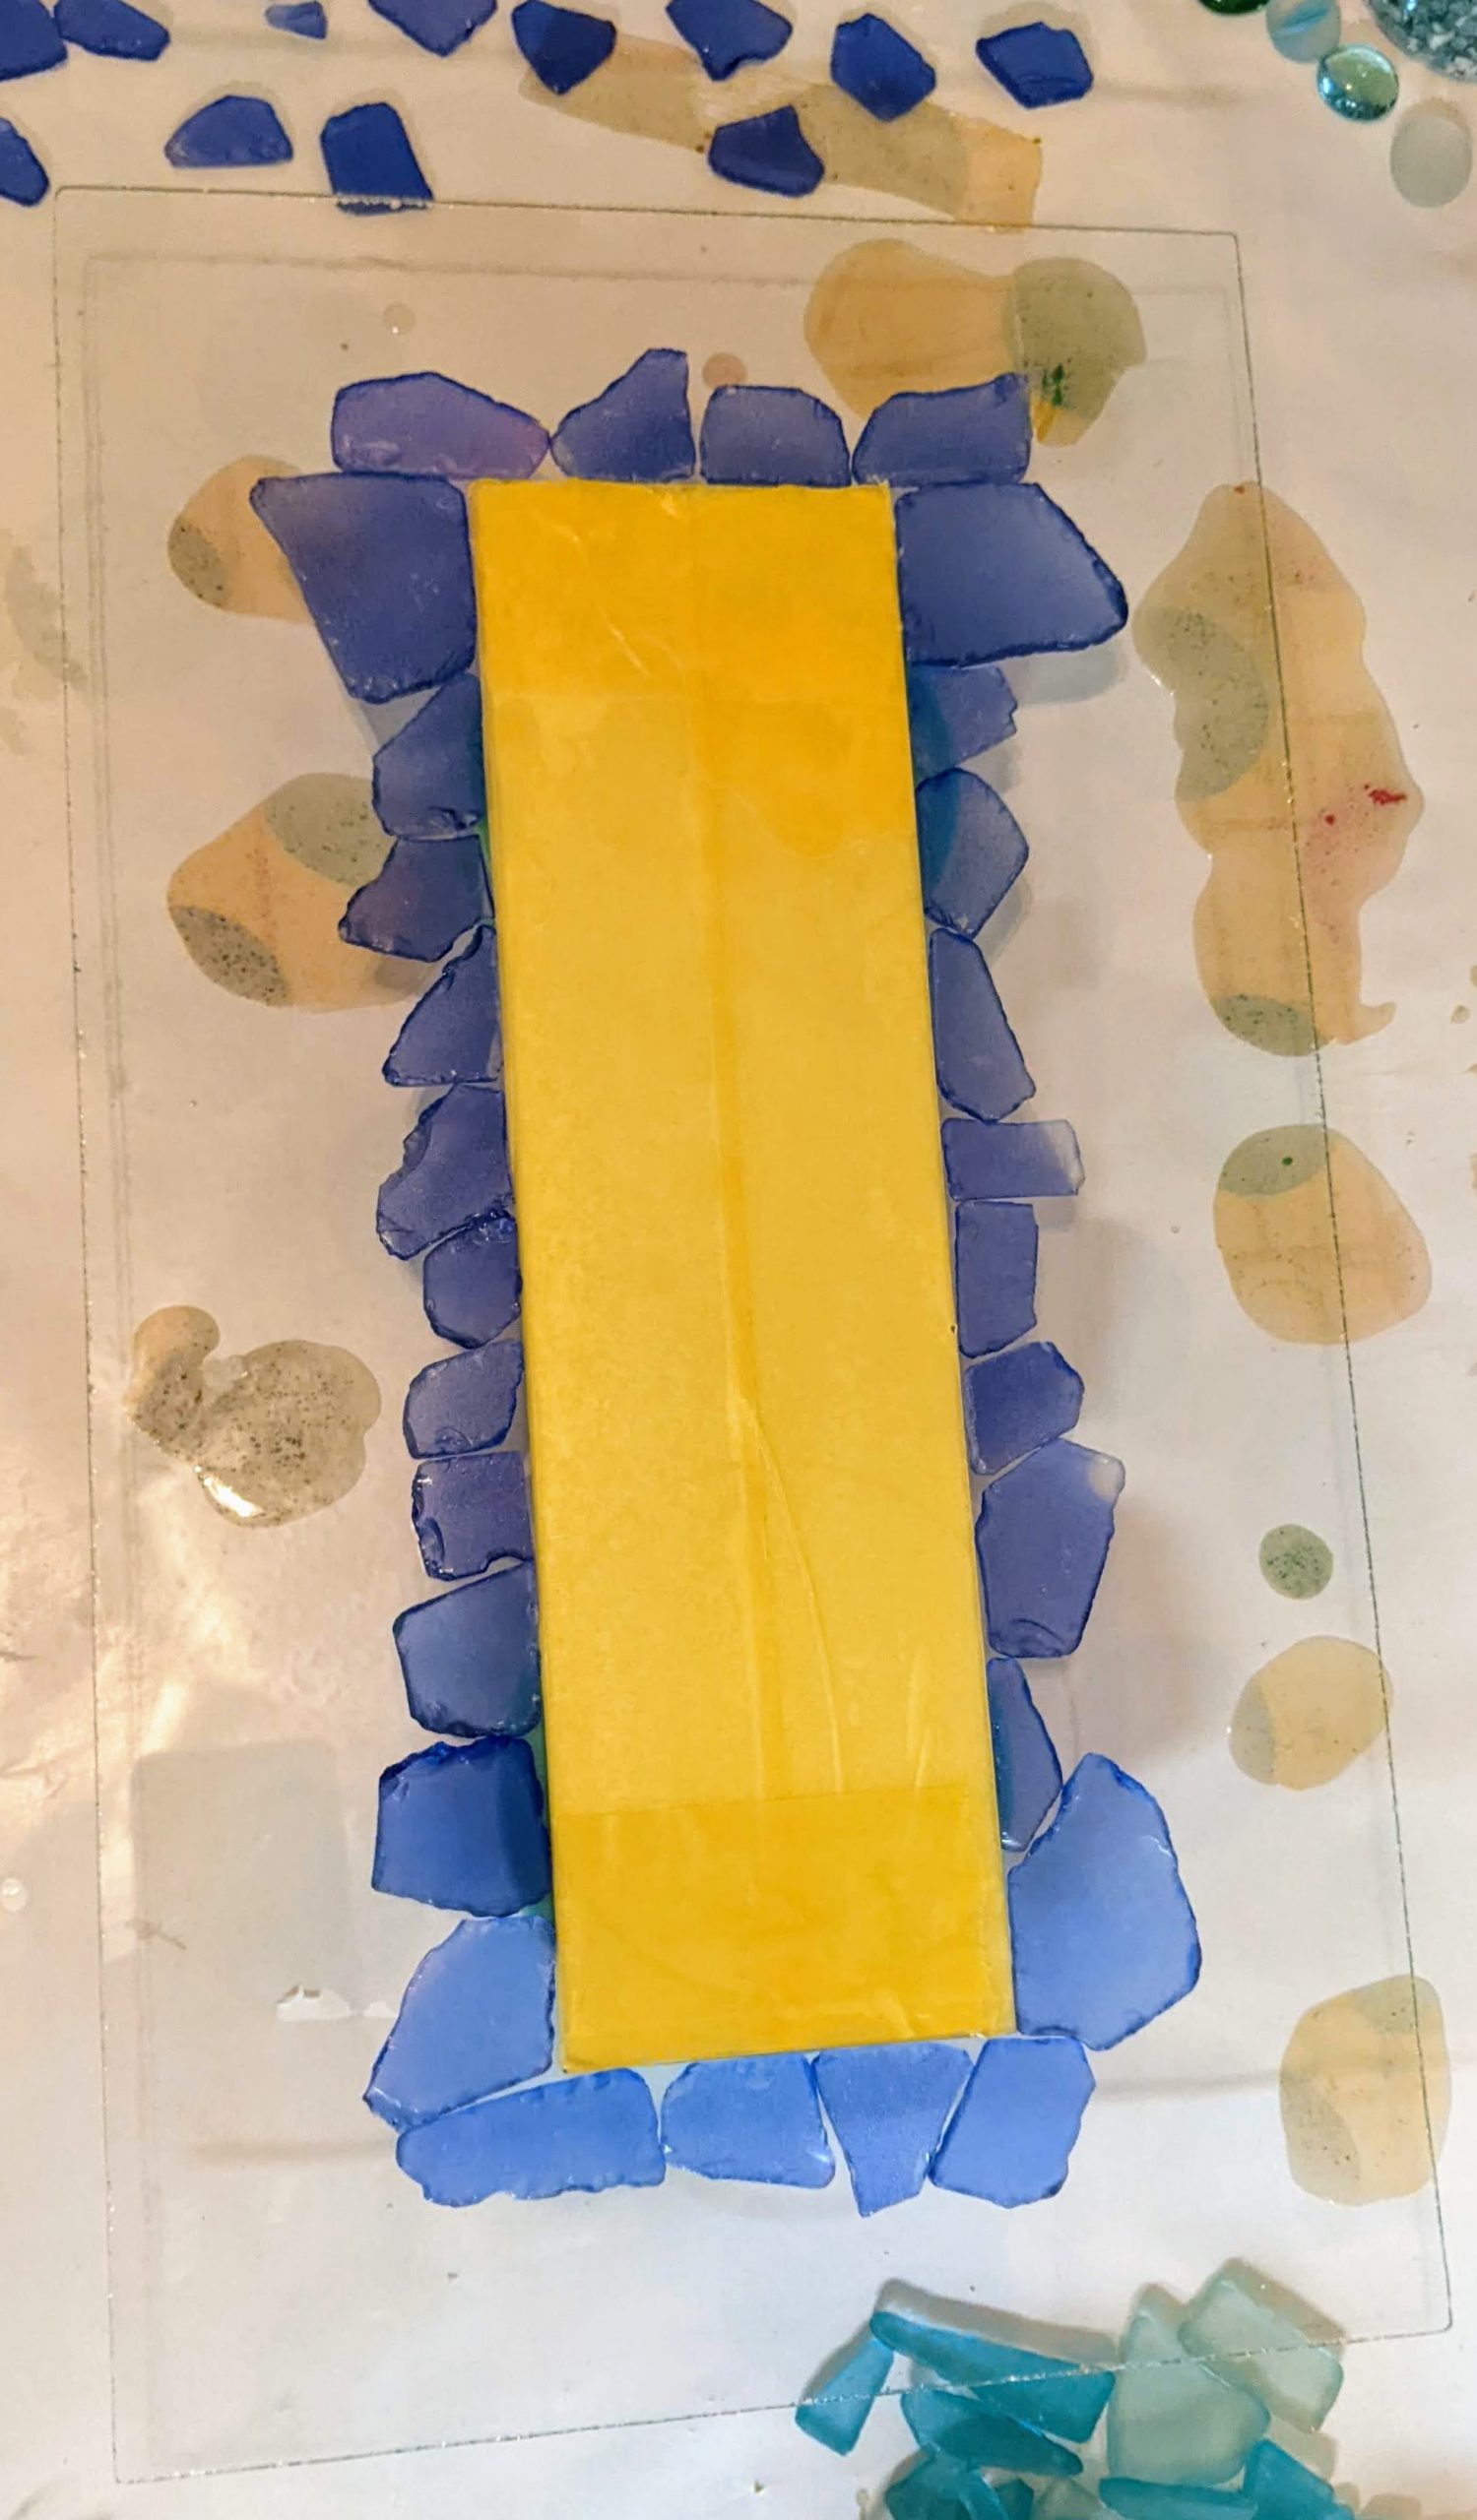
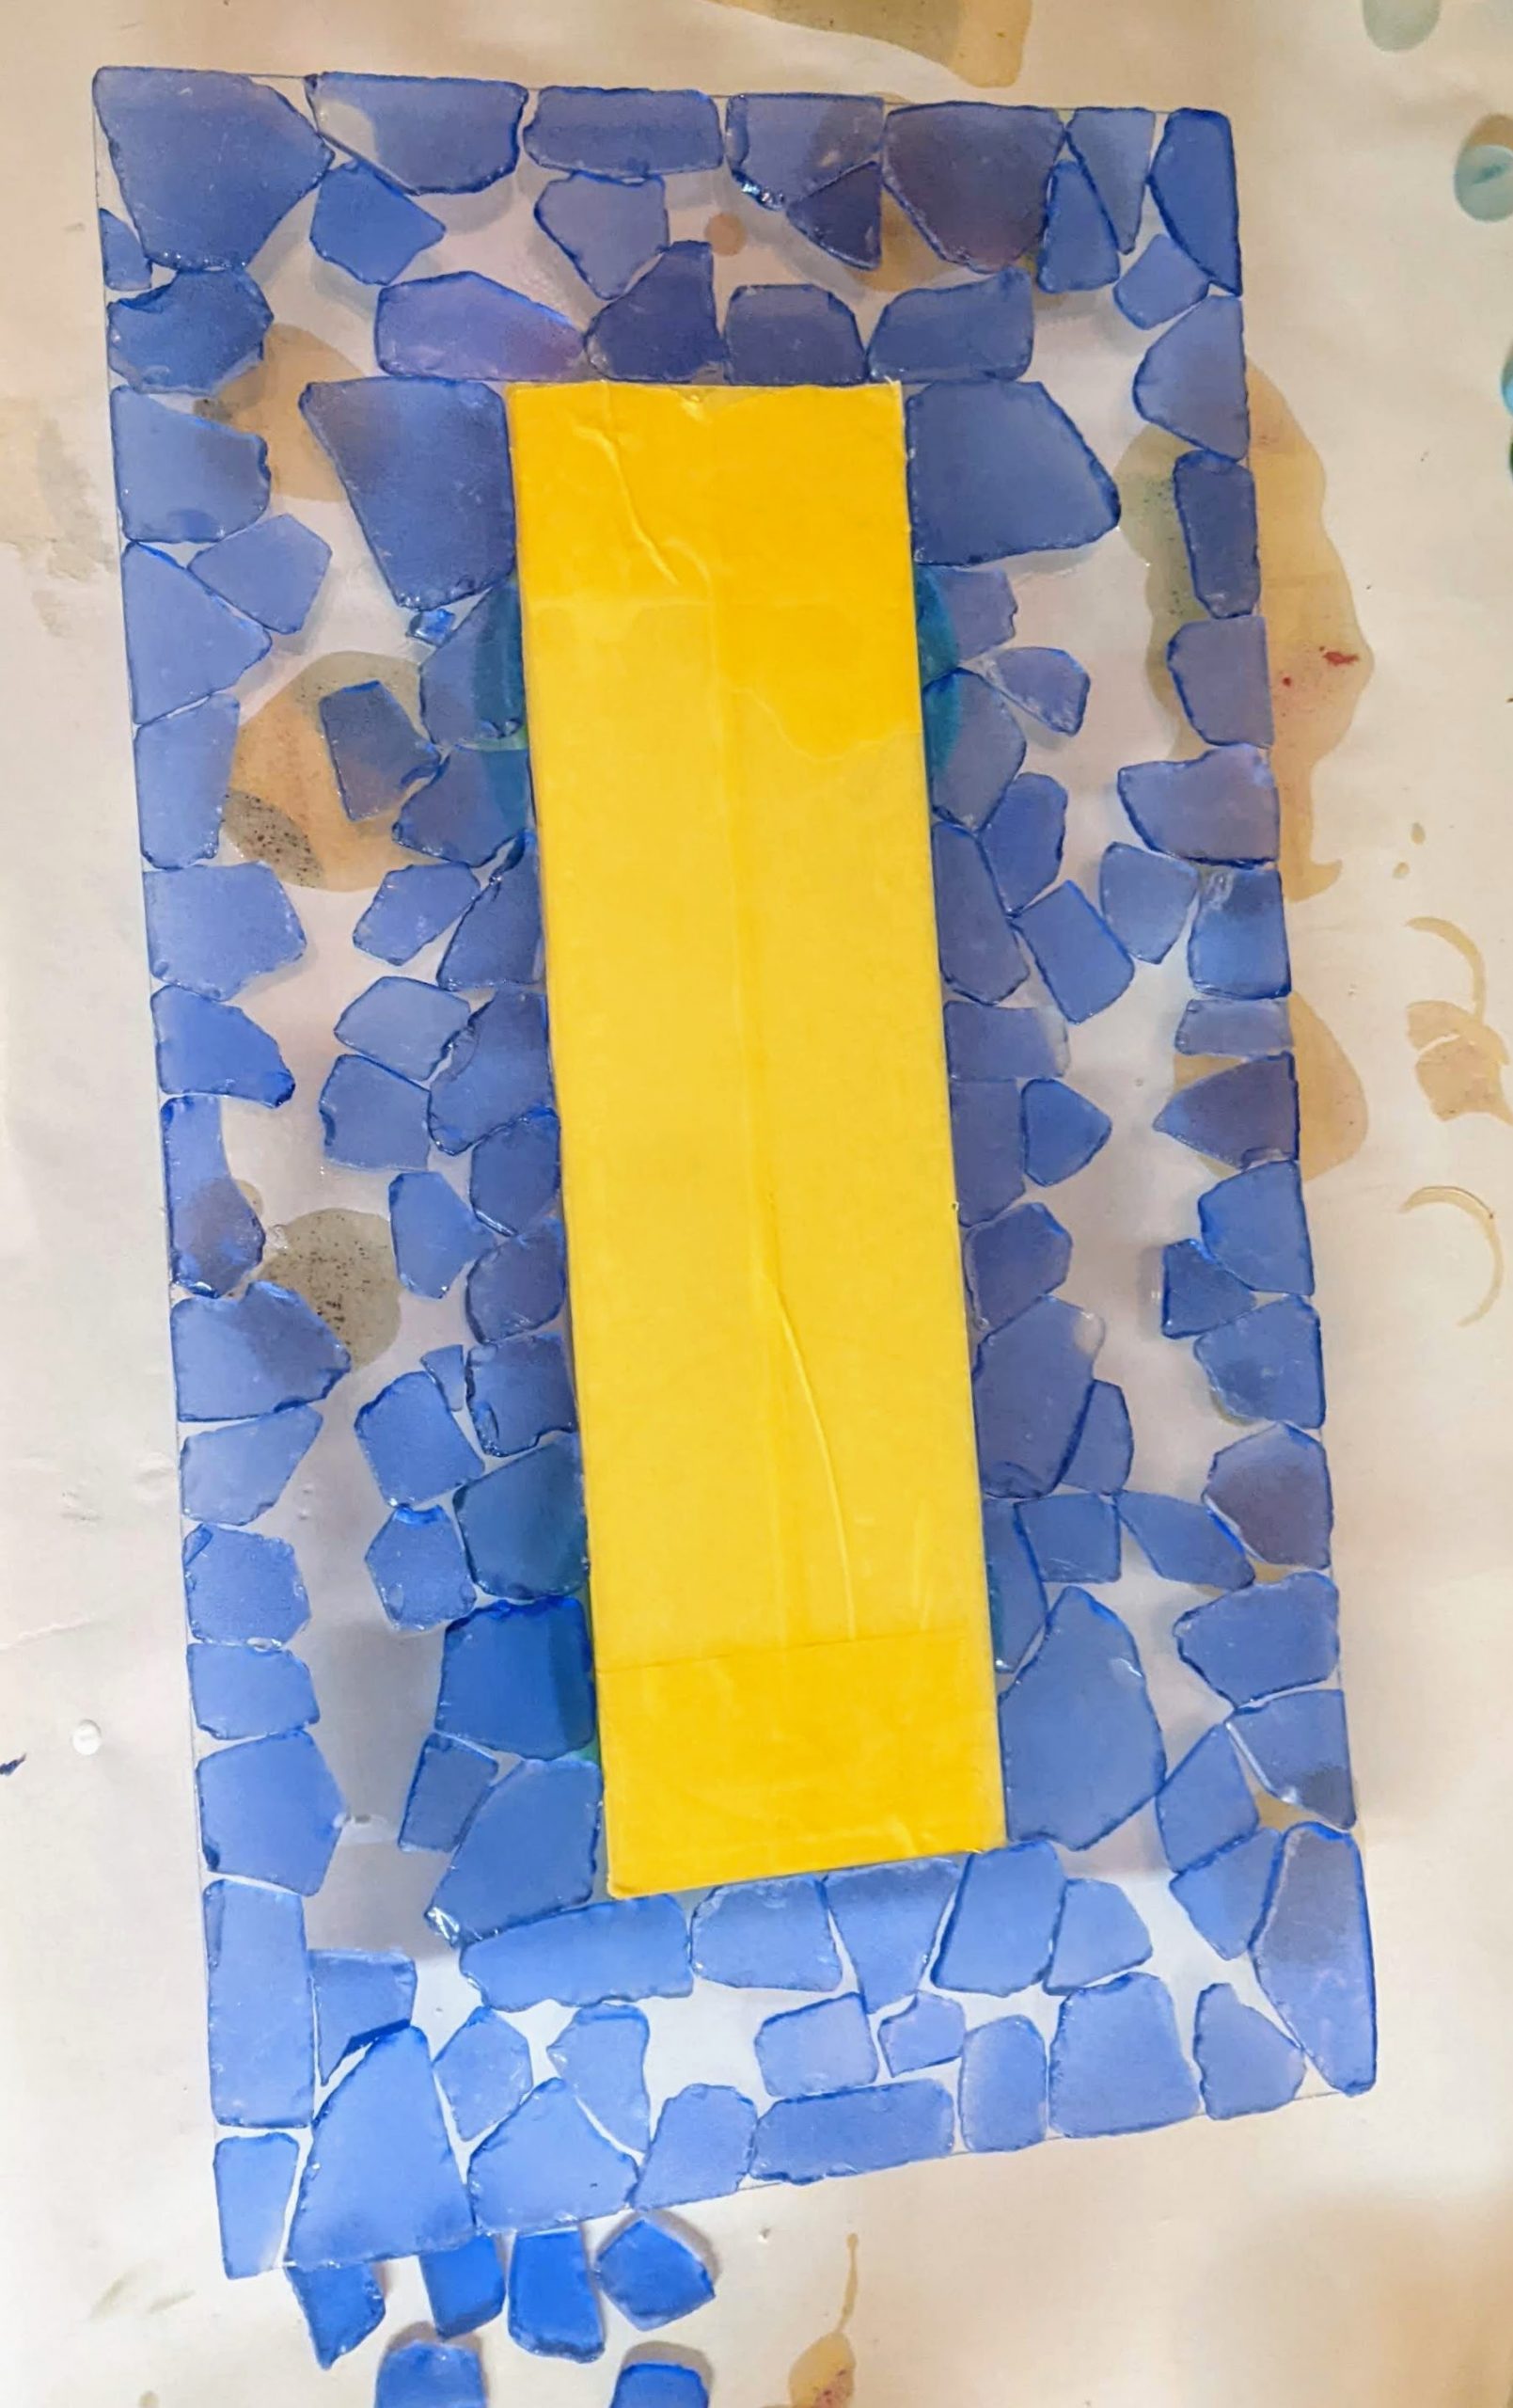
So the resin was cured enough 24 hours later to take a look at how this experiment turned out. Conclusion: changes need to be made. First, I think I should have kept the sea glass within the edges of the clear backer glass. I can fill in empty spaces with glass chips / frit, or leave them plain resin. I think it is better to tape off the edges so that no resin spills over the edge. Keeping the sea glass inside the backer glass area will allow me to do that. Second, I think I should try to tape off the mirror glass. The resin did not smooth out well over this mirror, so it ends up with a “fun house” look when you are using it. The overall piece is pretty to look at, but not functional.
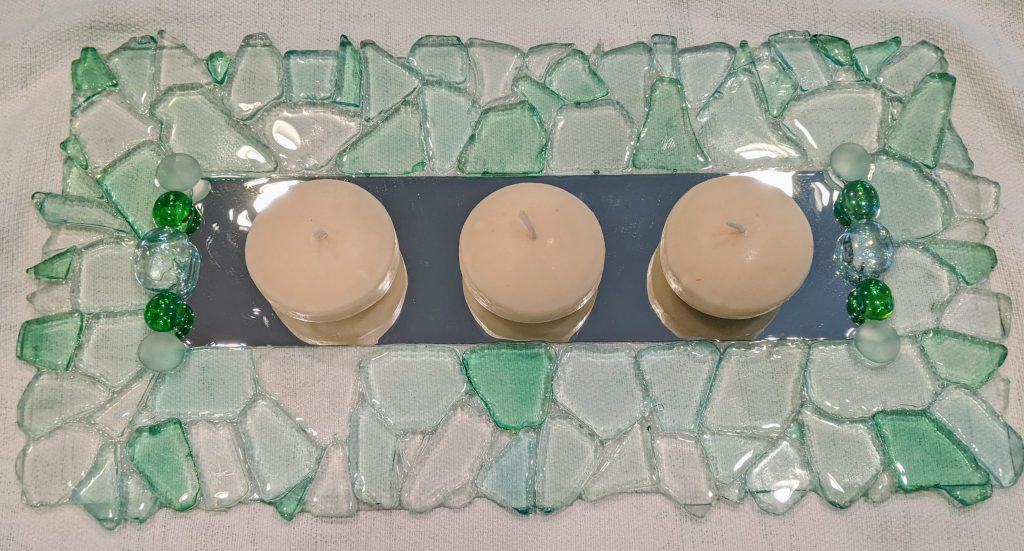
I’m not sure how best to tape off the mirror for my second try at this, but I have a few ideas.
The resin was poured on this new experiment with a mirror and sea glass this morning. Hopefully the resin will settle down nicely!
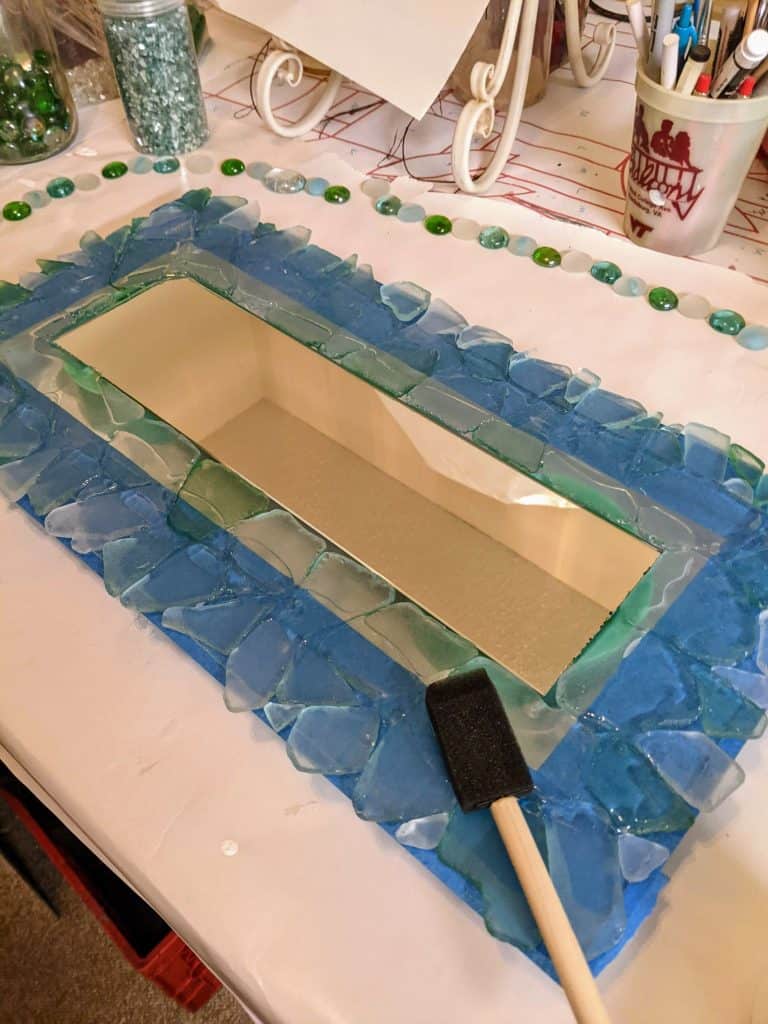
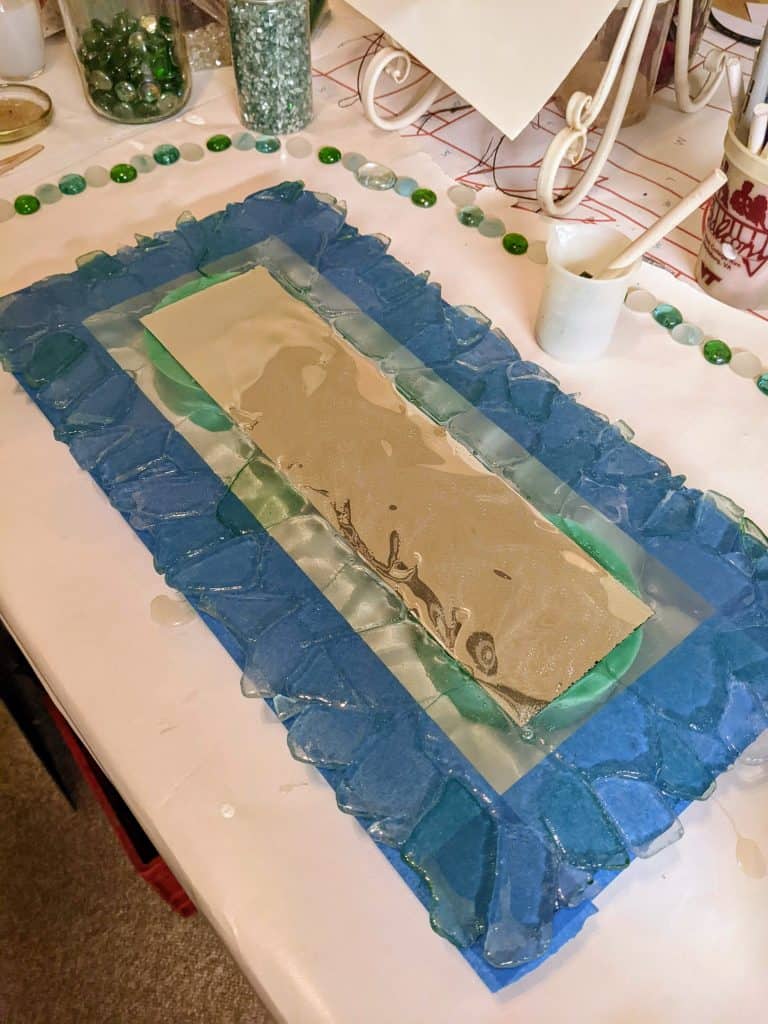
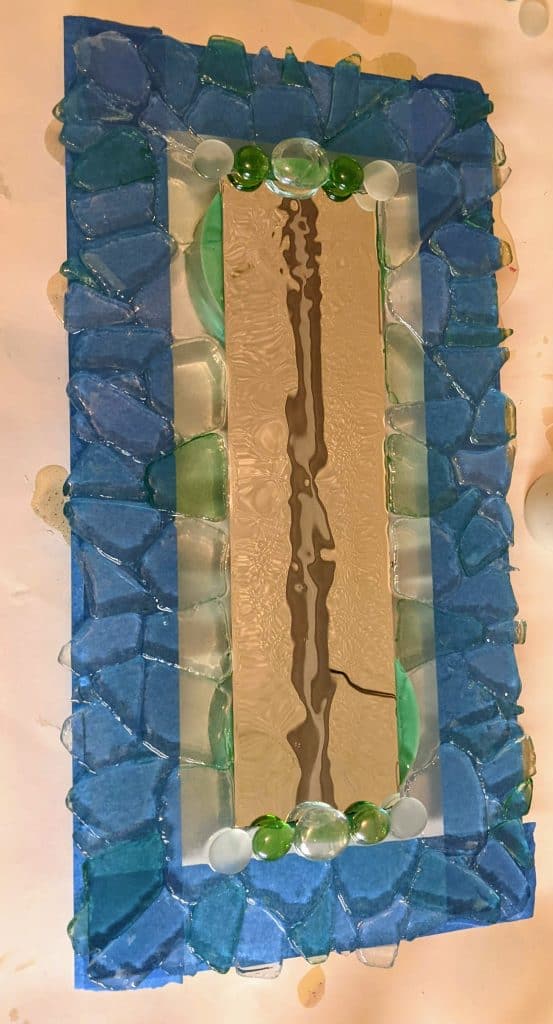
I decided to embellish the top and bottom with some glass nuggets. We’ll see how it comes out tomorrow.
I keep forgetting to take pictures / post, but I have been working on a couple of projects using some mirror and sea glass I have had for awhile. First I cut the mirror to size, then I cut some glass from some recycled windows to serve as backer glass for the mirror. That actually took me a couple of weeks as I’ve been busy with other things.
I left the mirror and backer glass overnight for the mosaic adhesive to dry, then arranged some sea glass around the mirror. I’m still deciding where to go with it – whether to add layers of sea glass, shells, other decorative items and resin – or not.