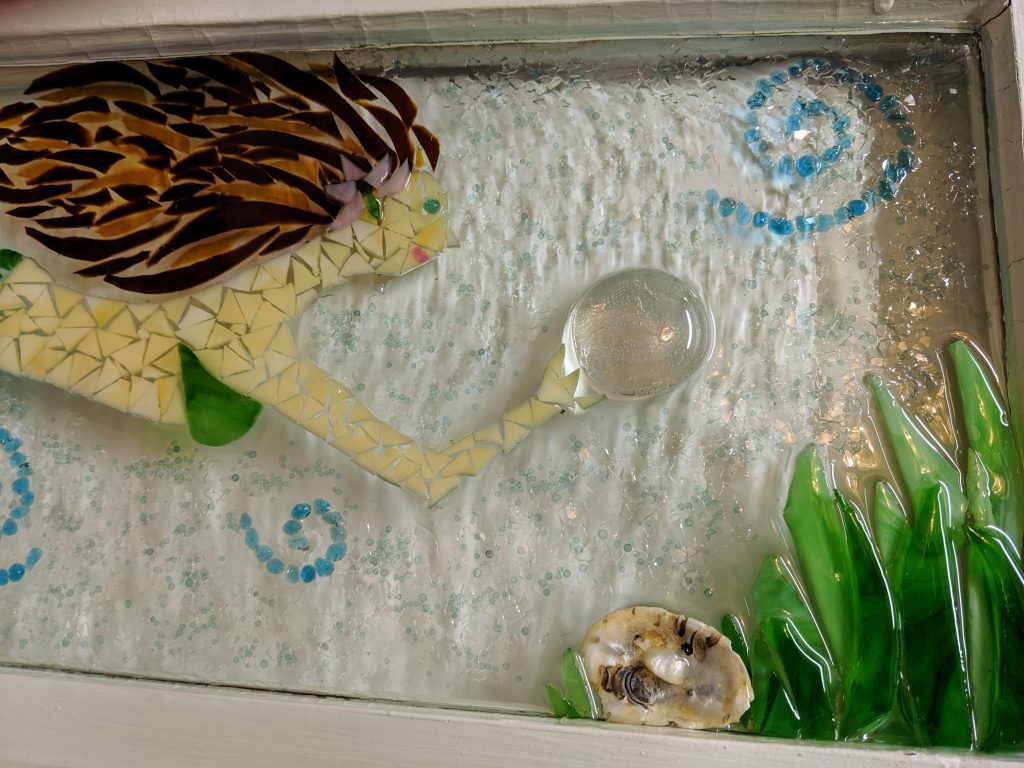
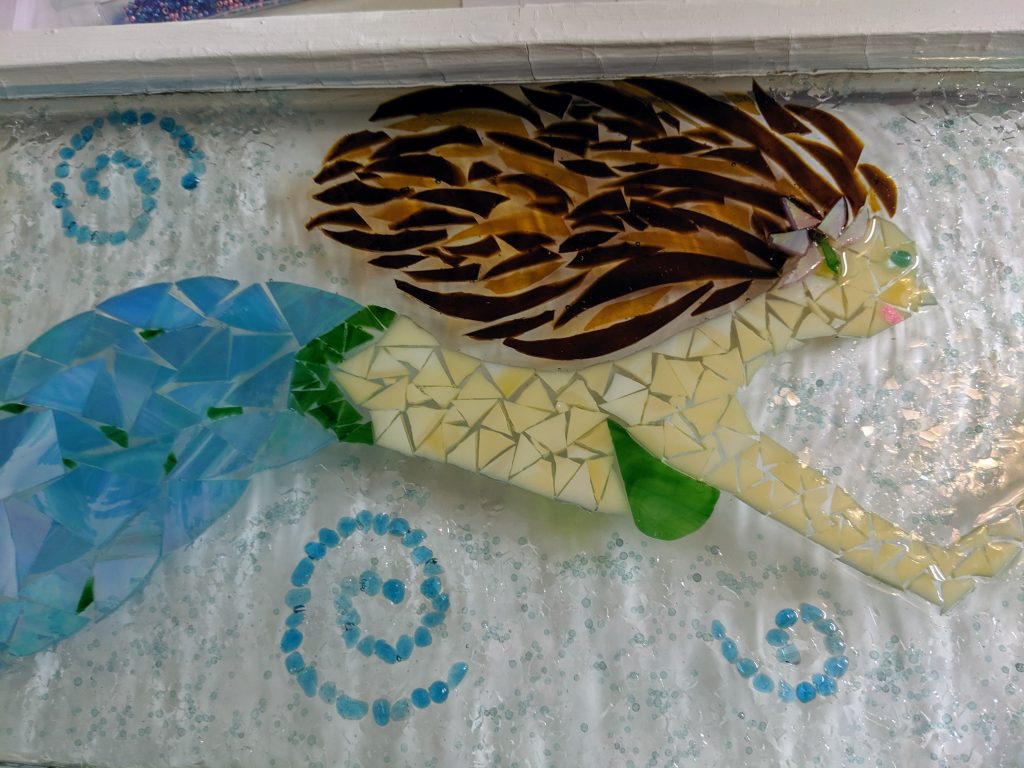
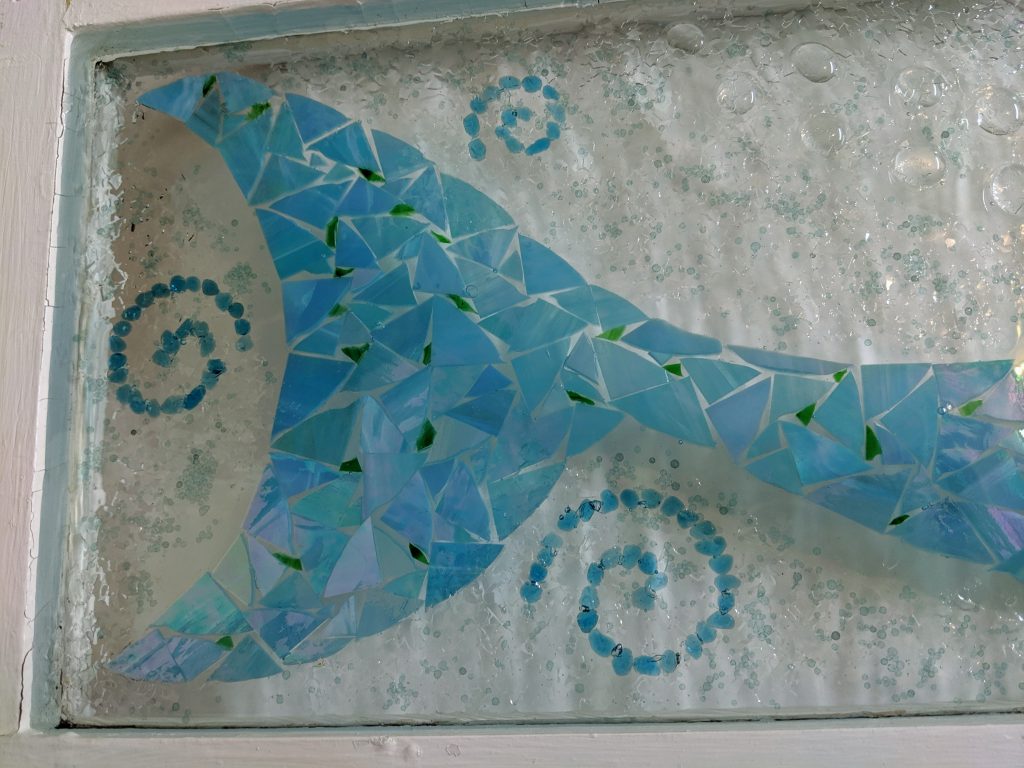
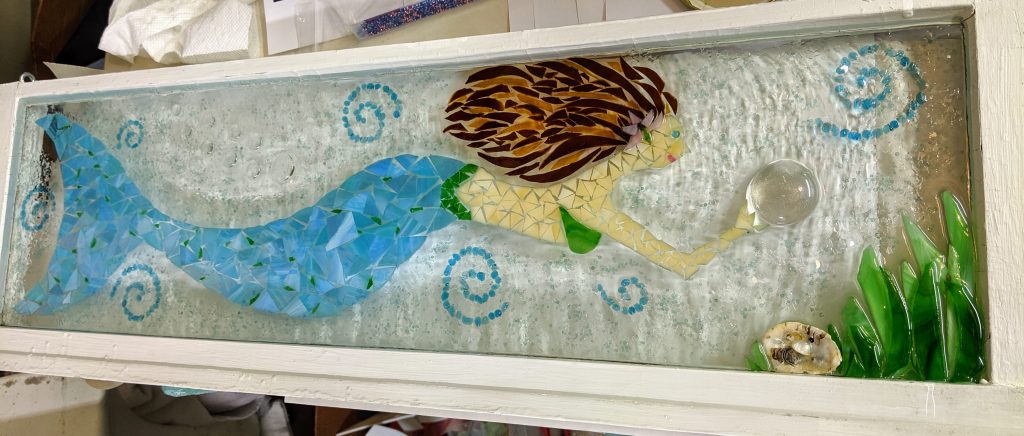
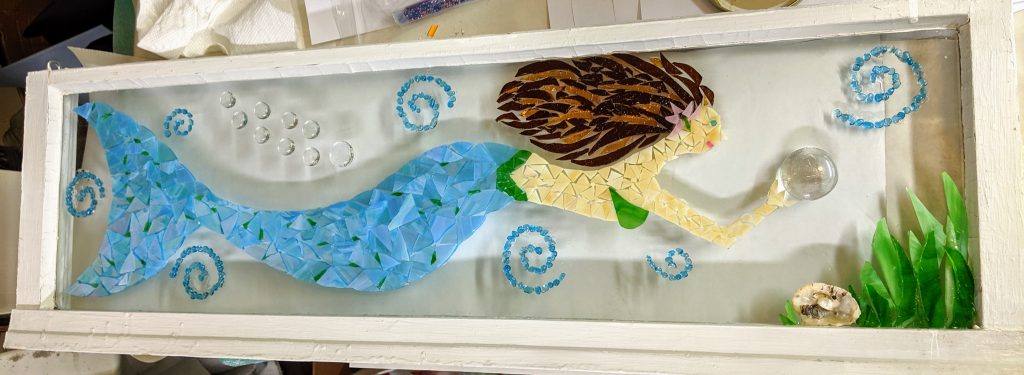
This morning I was able to pour the resin and decorate the background of the 9.5″ x 30″ mermaid window.
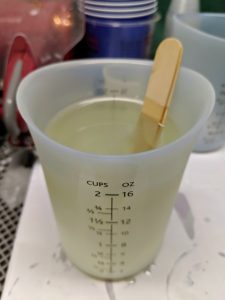
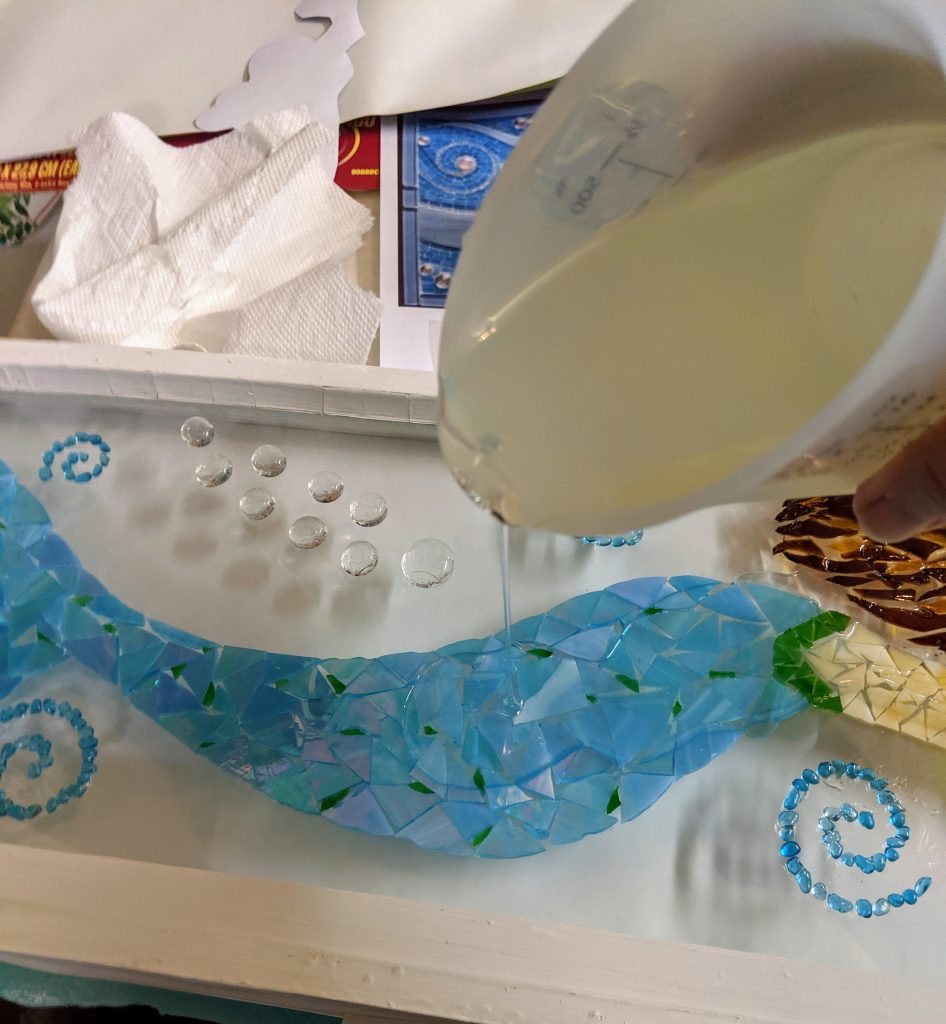
I mixed up 16 ounces of resin, which turned out to be a good amount. I had enough left over to start the first layer of one coaster, so there really wasn’t much in the way of waste. I love these silicone measuring cups because they are reusable and there is plenty of room to stir even when you fill it to 16 ounces.
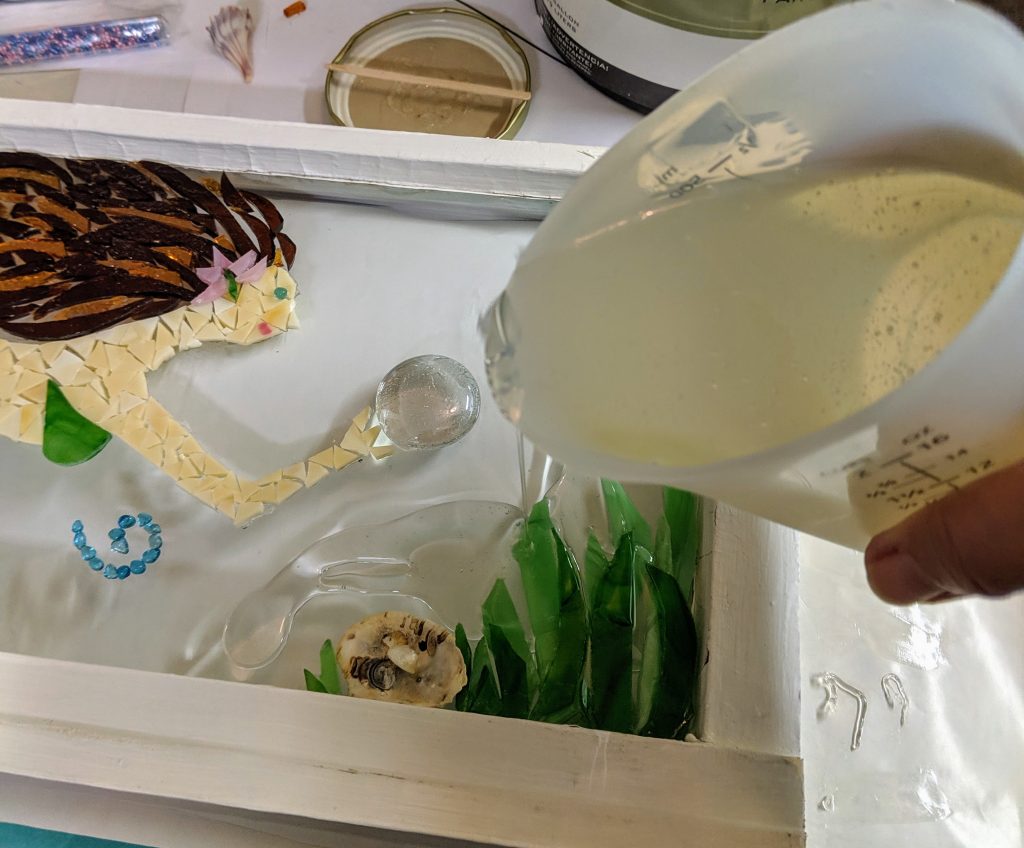
When the resin is well mixed, I started pouring it gently over the mosaic.
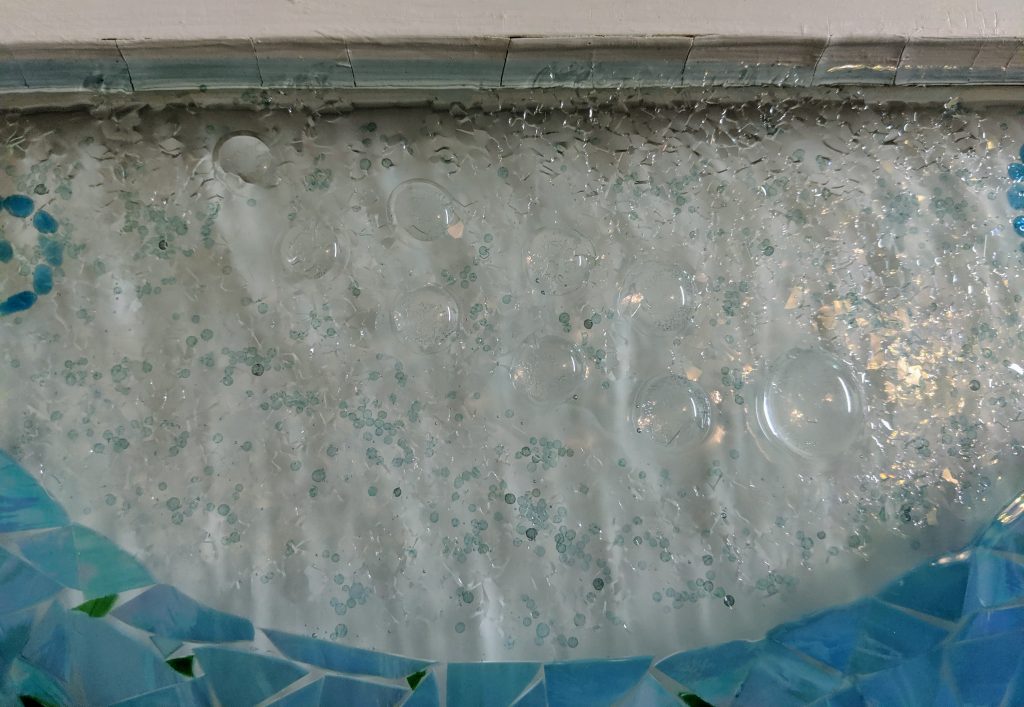
Once I feel like I have everything covered pretty well, it’s time to use the heat gun to remove the bubbles that form in the resin. I have been thinking about getting a craft blow torch for this because the heat gun is hard to control and can move the resin more than I would like.
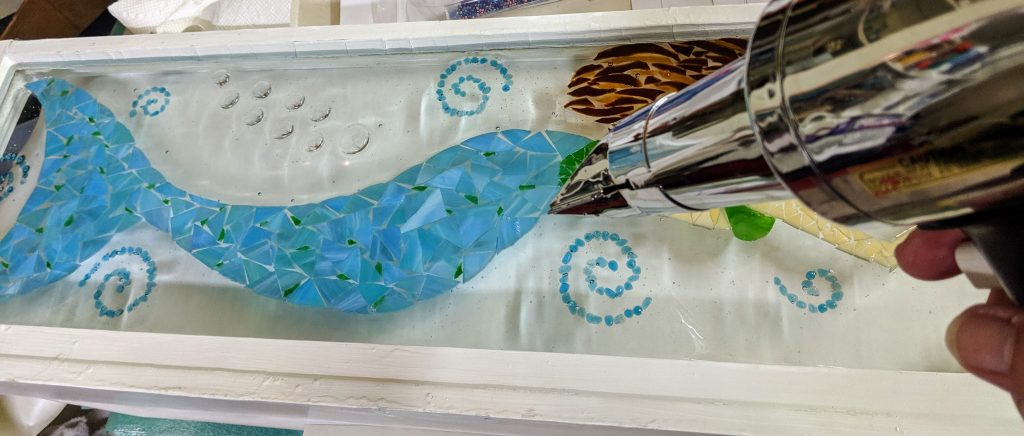
Now it’s time to add the decoration to the background. For this piece, I used some tiny blue filler (which I can’t get anymore because it was discontinued, but that’s another story). After the blue filler, I added clear glass flakes to add sparkle. My sister sent me some beads and I was thinking about using some of them, but I chickened out at the last minute because I haven’t tried them yet and I’m not sure how they will look in the resin. I’ll probably try them in a coaster first, rather than a larger piece like this.
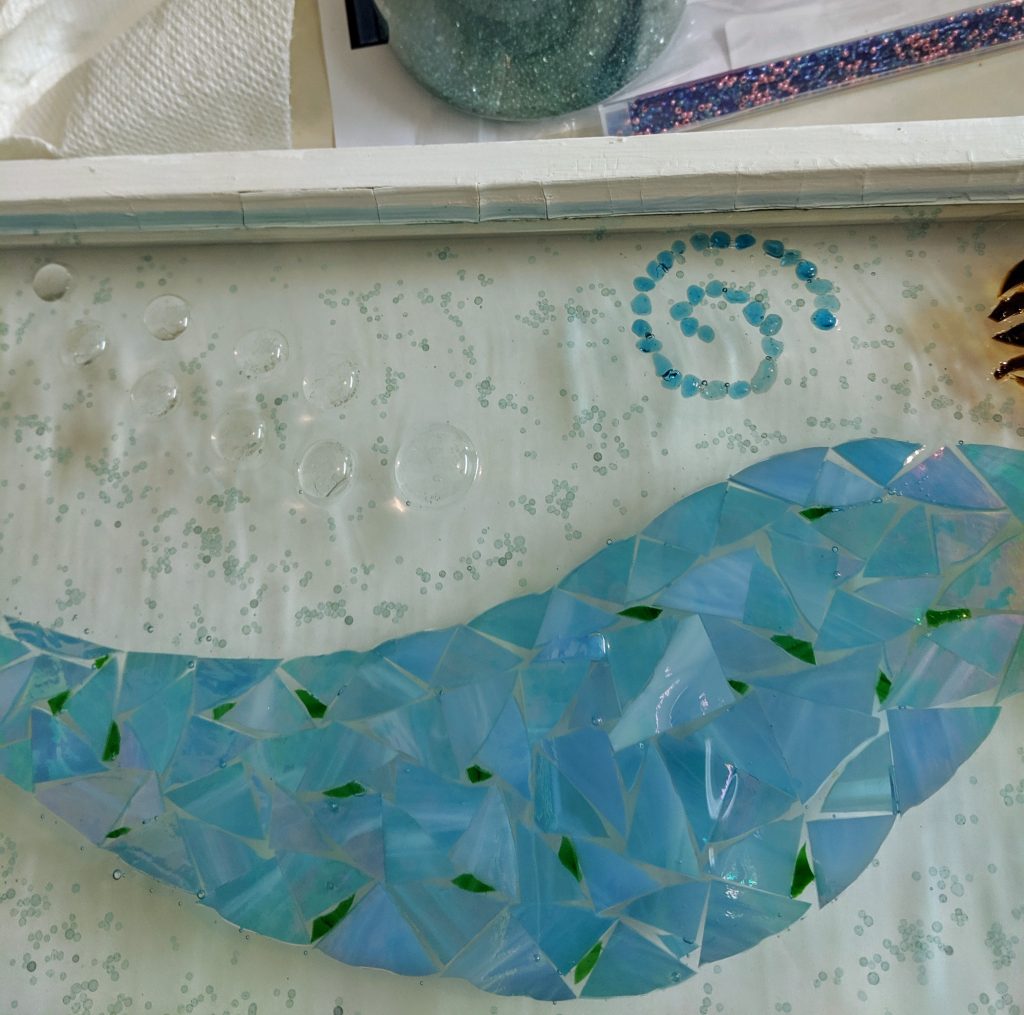
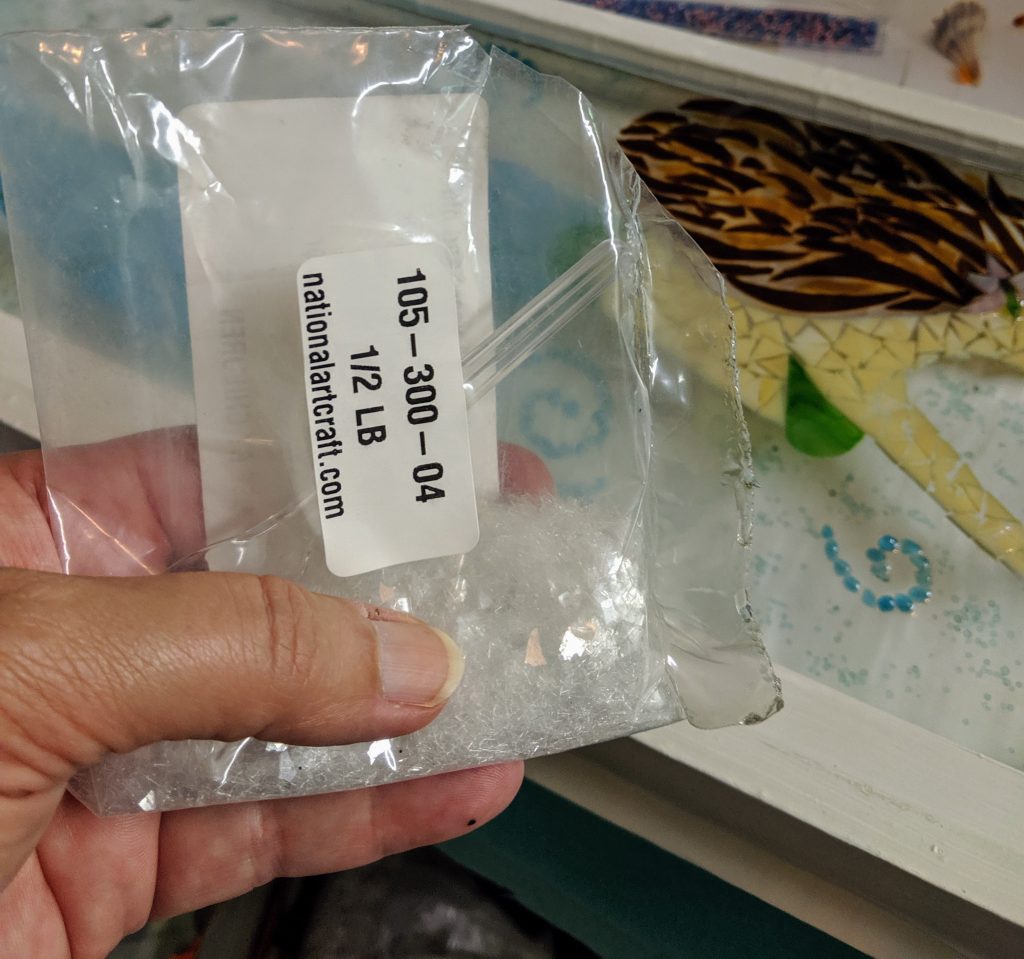
After that, I just keep an eye on the whole piece while the resin and the decorations settle down. I added a bit more of the decoration materials and touched up some spots that seemed to need a little more resin after shifting. It’s also important to check on the piece over the first hour of curing time to ensure you can remove any bubbles that form – sometimes they can be large and will detract from the look I am trying to achieve. They can be removed with the heat gun or sometimes a craft stick. Below are some up close detail photos of the window.
