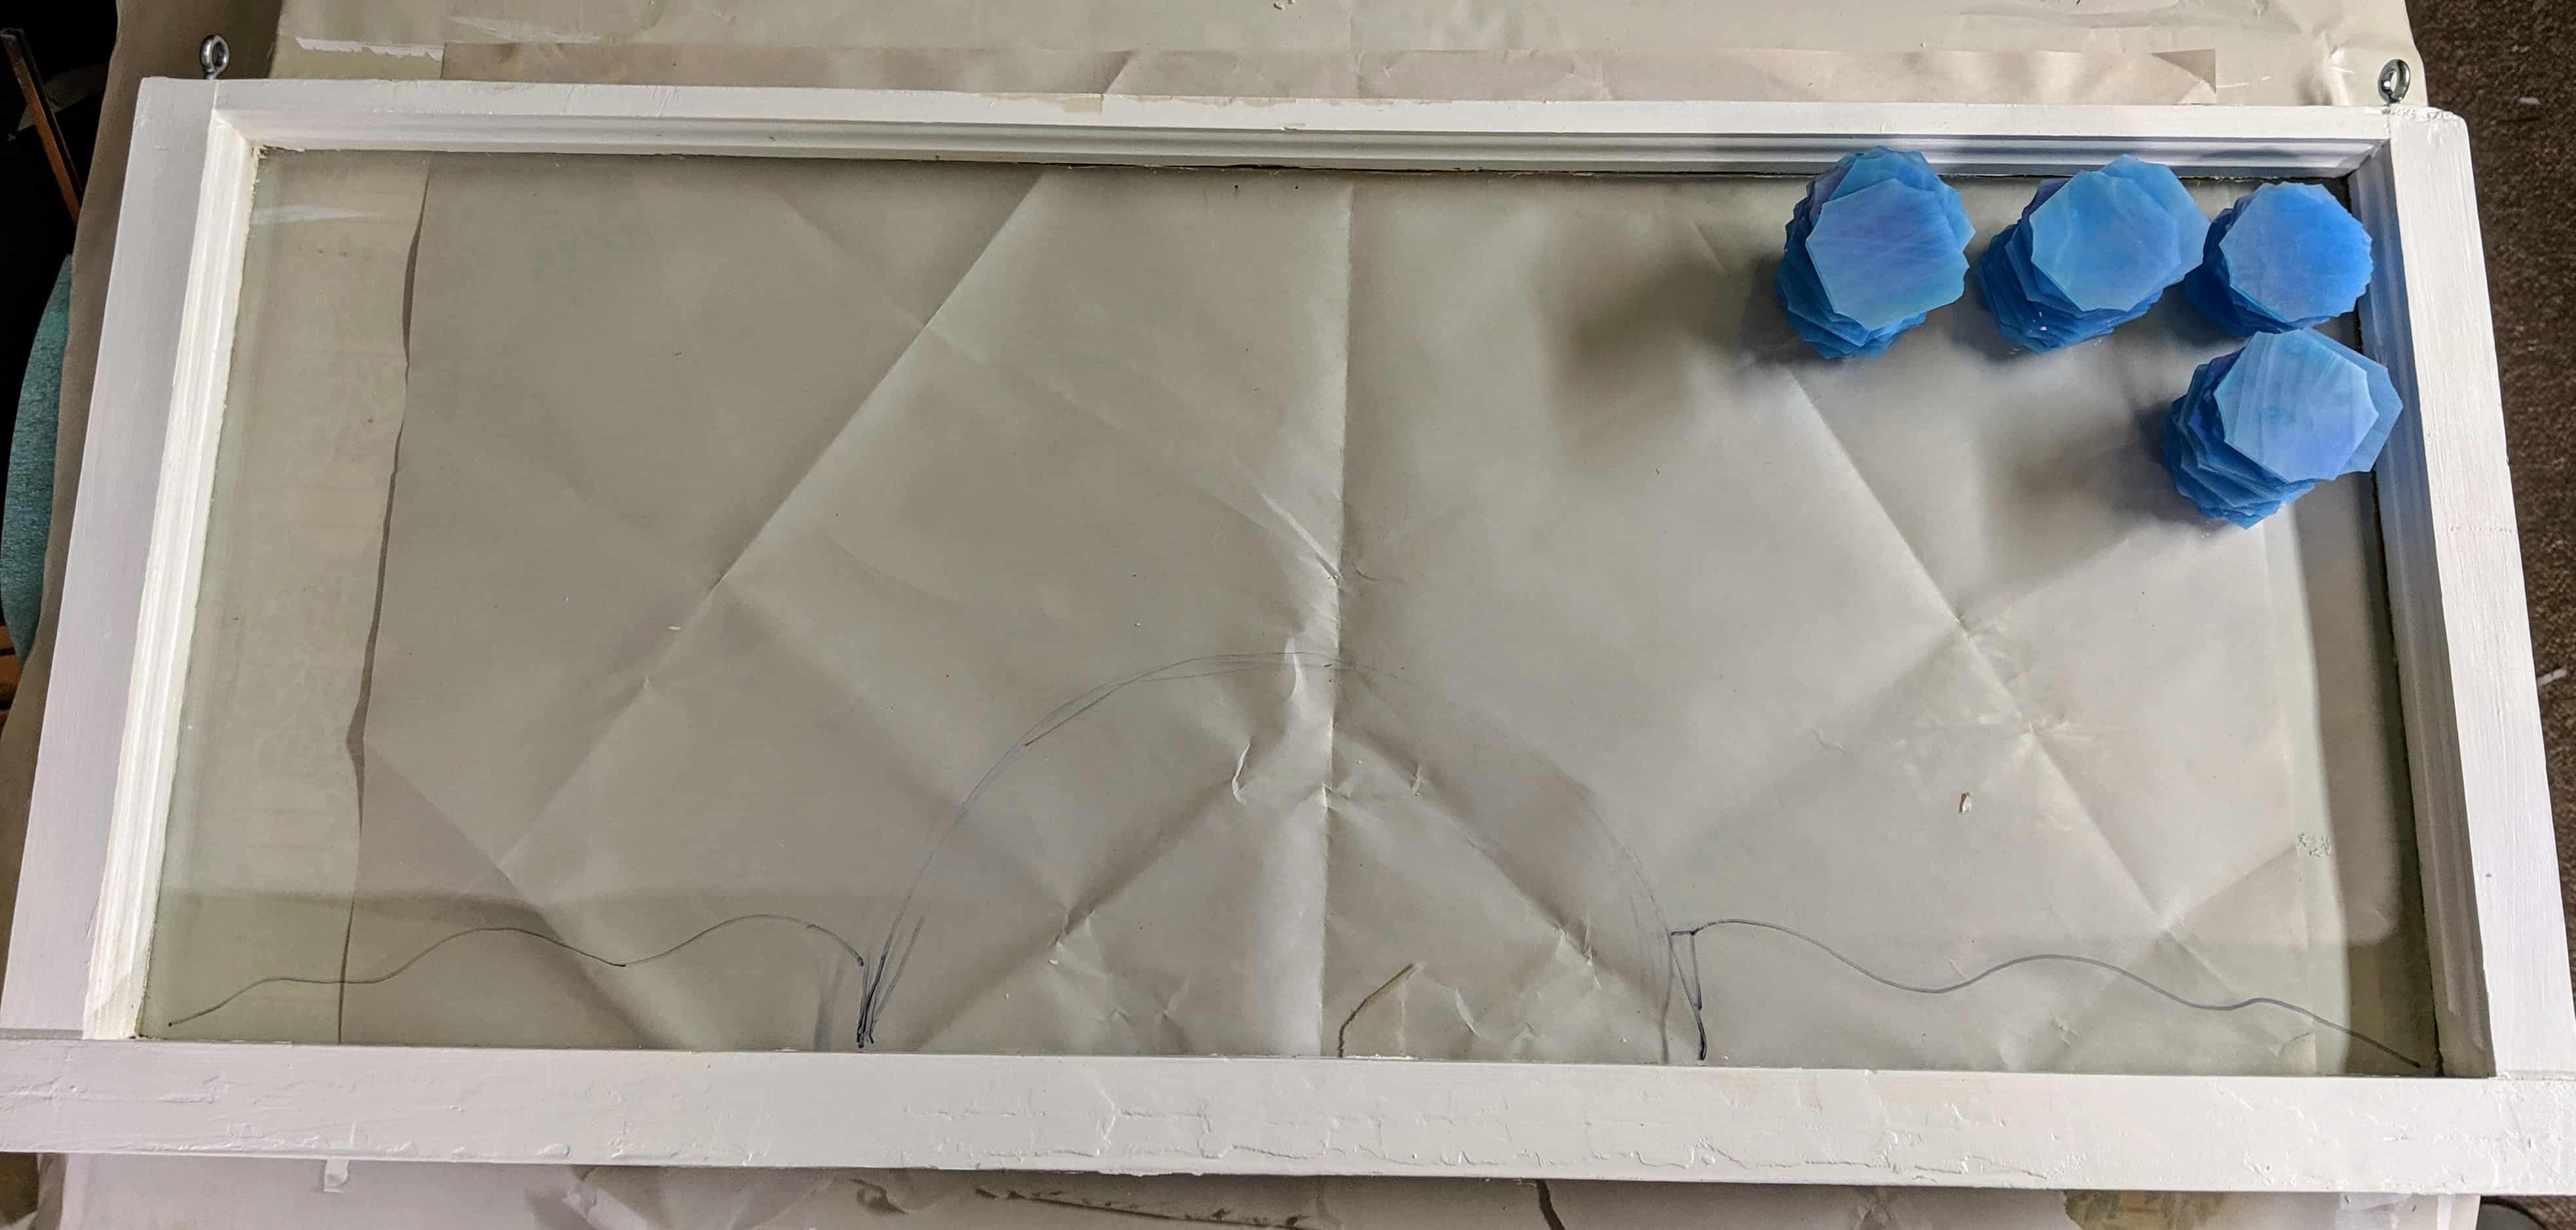
I like making sun mosaics, and they have been popular in the past, so I decided to try another with this latest old window frame I’ve been prepping. It’s approximately 30″ x 13.5″, so it’s a good size to hang at the top of a window and get some nice light. For the background, I’m using that same Spectrum iridized blue glass that I used in the mermaid’s tail. I’ve used this glass in many projects. It’s one of my favorite colors – especially for skies. I cut a sheet of this glass into strips, then into squares, then nipped the corners off to make rough circles.
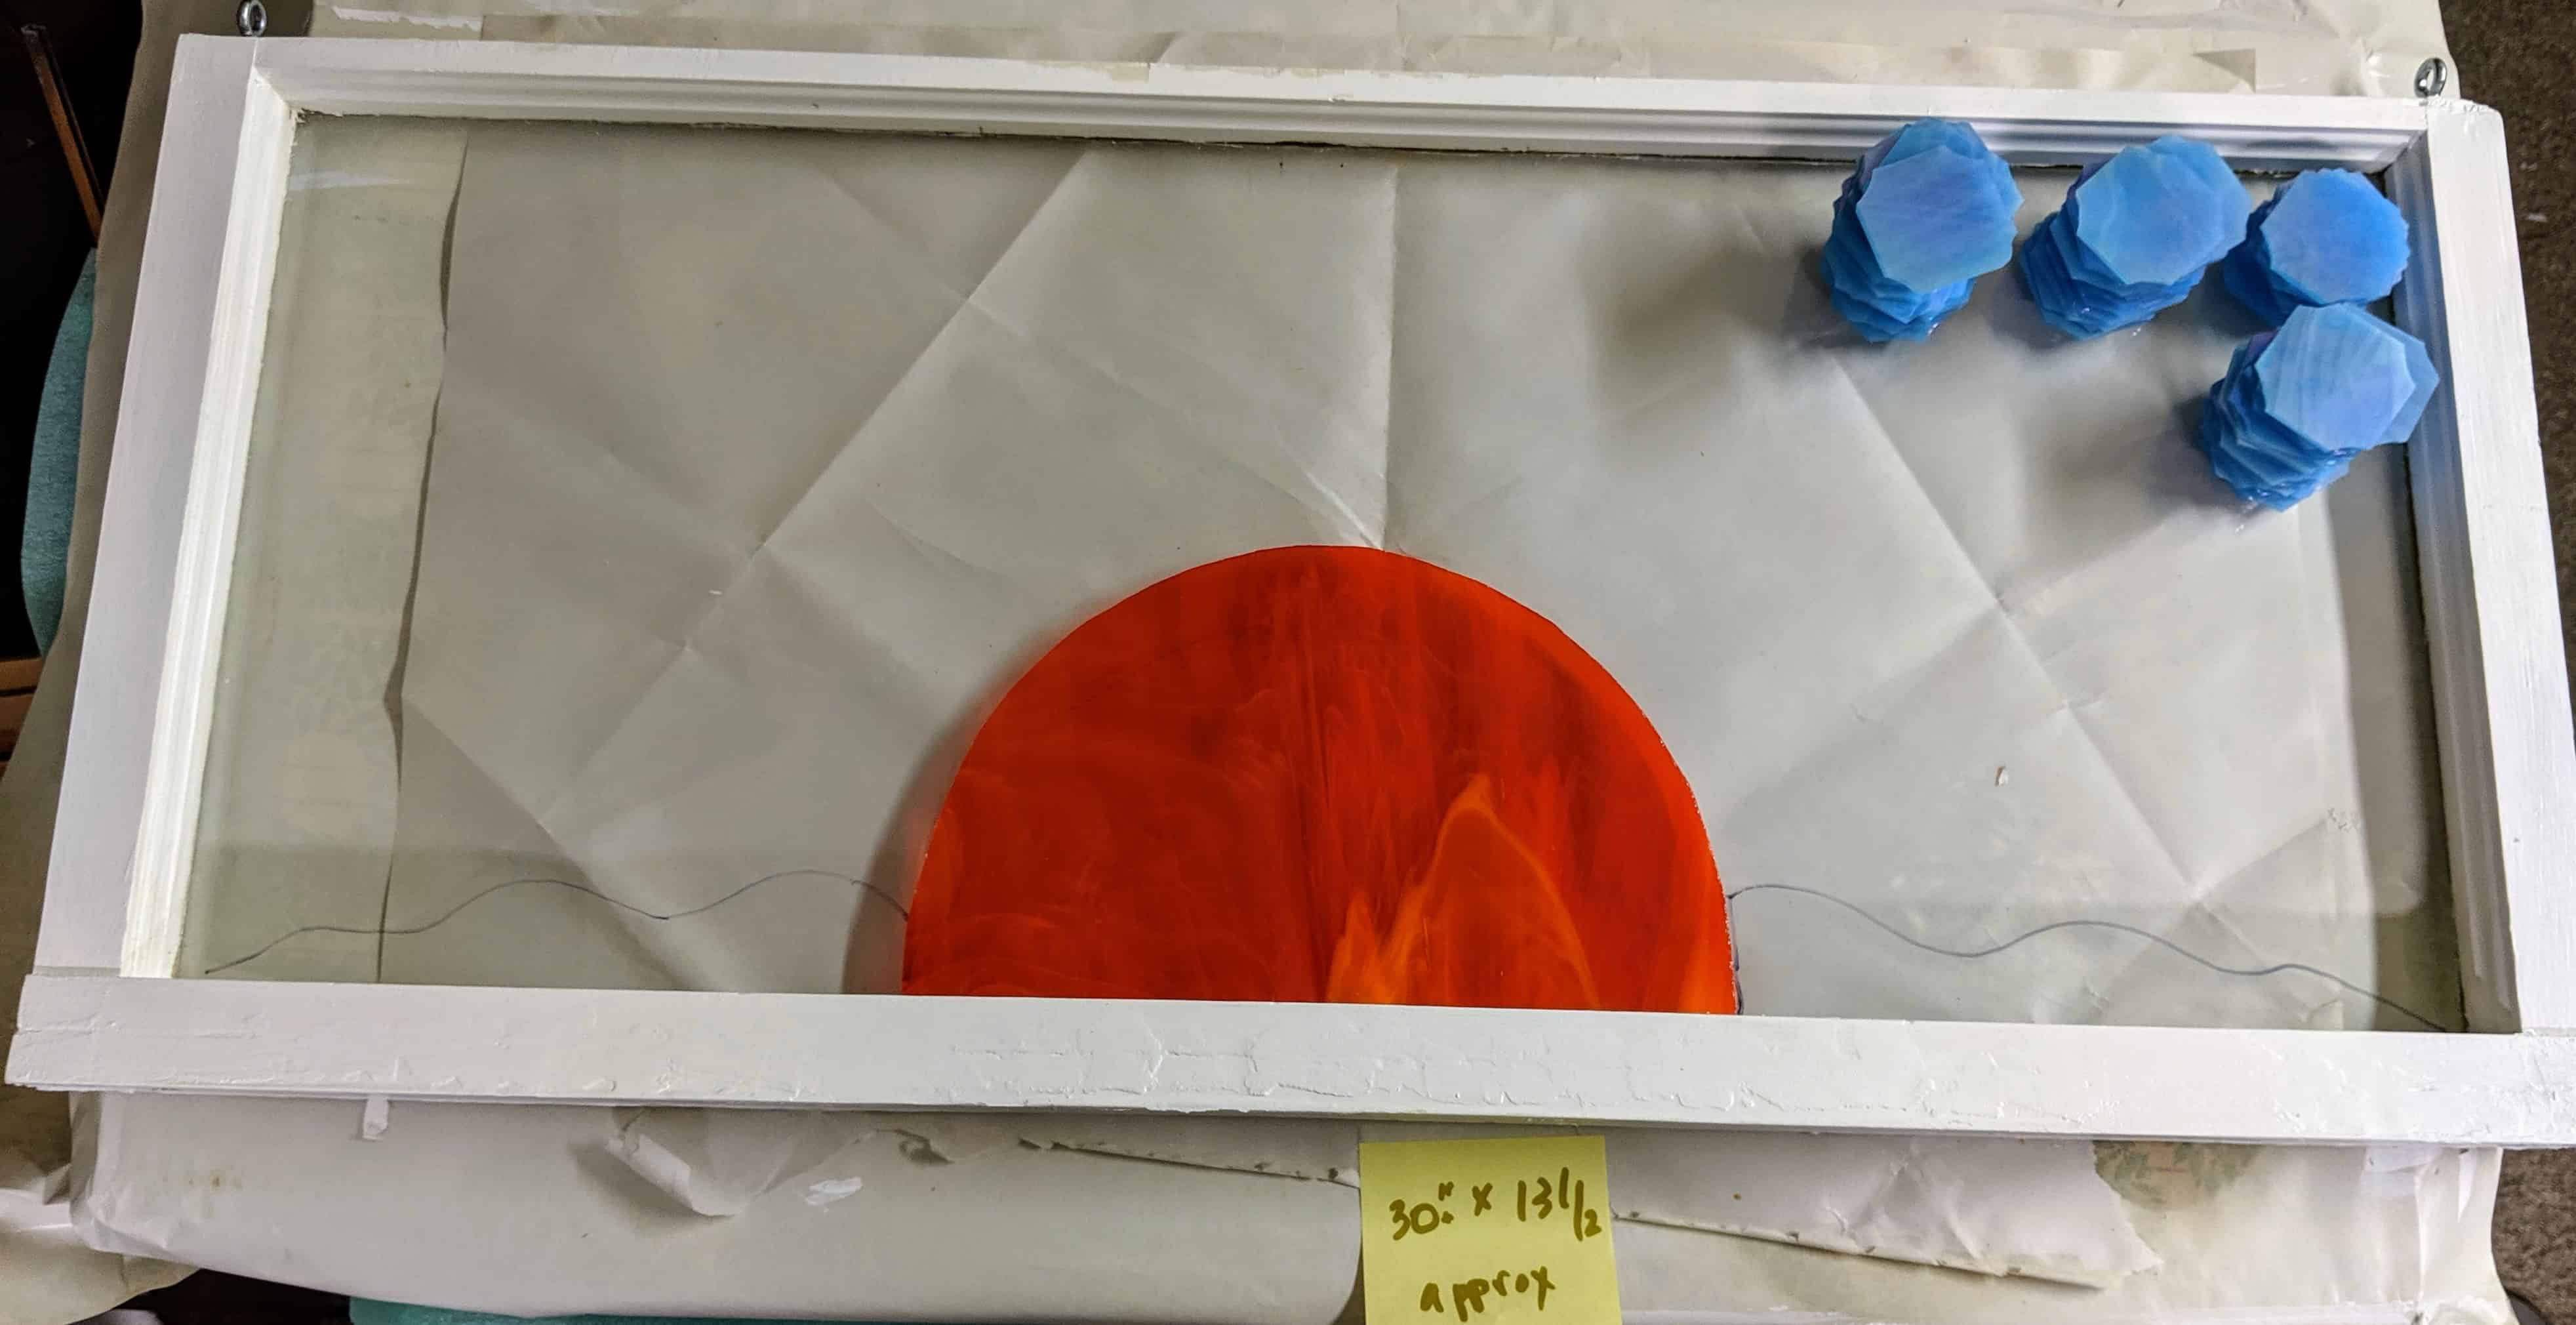
One thing about the sun is it’s not really something that just falls into a rectangular shape in my brain. I tend to want to have a nice square frame for the sun, but that’s obviously not going to happen with this mosaic. For the past few days, I have been trying to decide whether this sun will be to one side or in the middle, and how the rays will be distributed. I finally settled on this starting point for this big ball of fire. I used a circle from an old pattern I have used for the sun in the past to draw a guideline on the glass, then used a self-oiling handheld glass cutter to cut the shape. I finished off the rough edges with an electric water cooled glass grinder. Of course, I cut myself while handling the glass, but a tiny circular adhesive bandage came to the rescue so I could keep going.
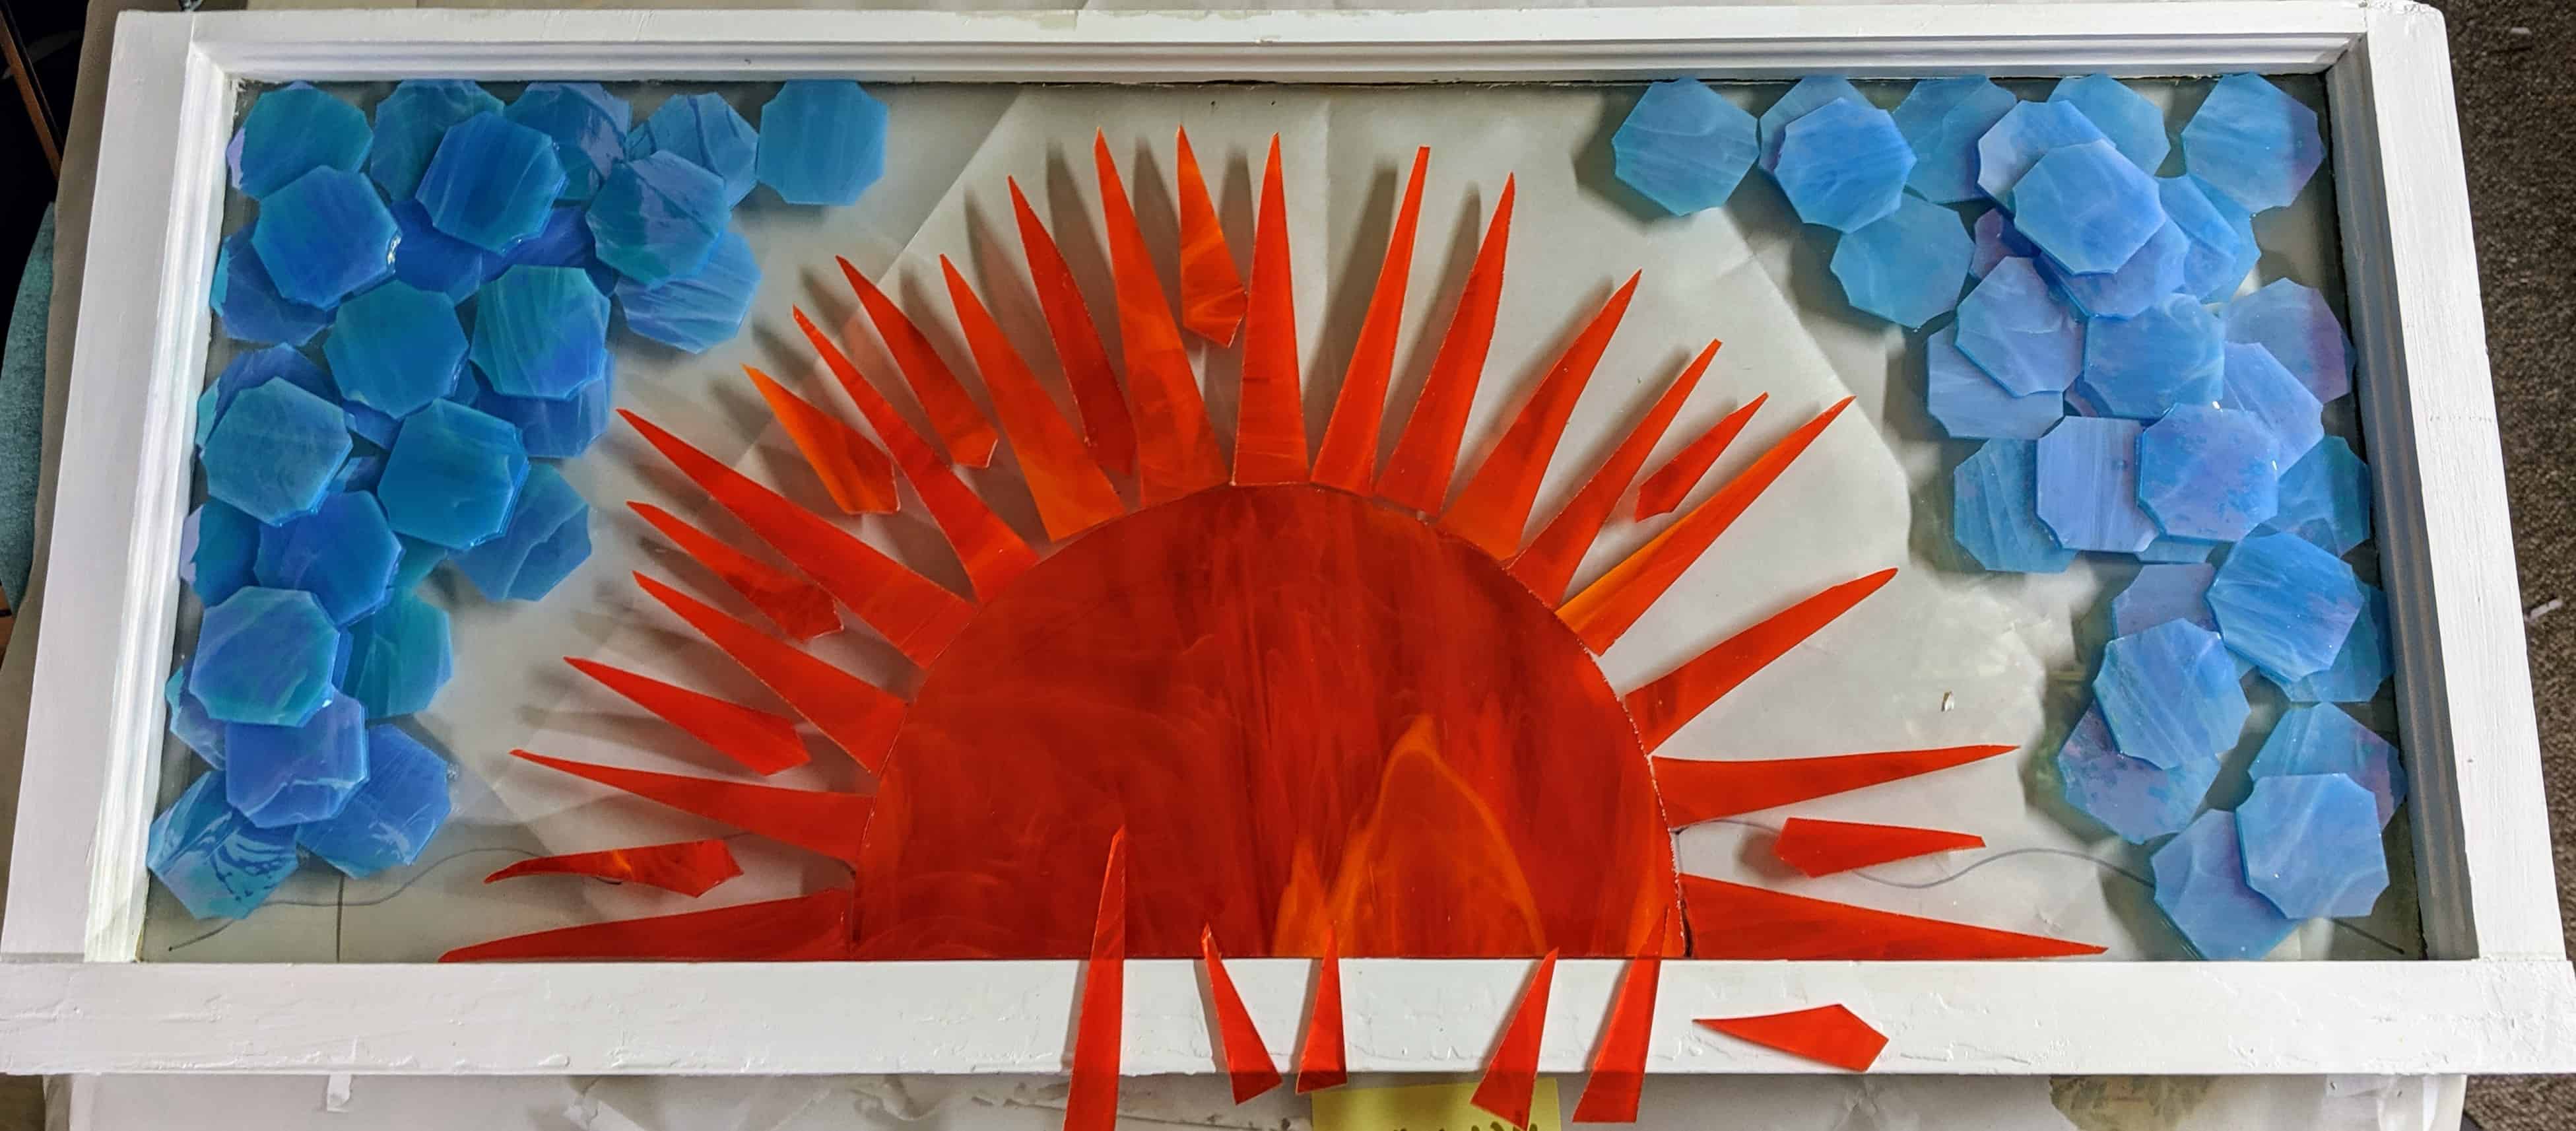
Next I had to start thinking about the rays for the sun. Since I’m not using a pattern for this piece in general, I will likely try a few options and move things around a lot before I start gluing anything in place. This way I can change my mind if I decide I want wavy rays instead of straight, or whatever. For now, I’m trying out some triangles with smaller pieces of glass in between. I have some more glass to cut before I will get an idea of how much I like where this is going. I also laid out some of the blue glass to see if I like the pairing with this design. So far I’m a bit apprehensive that the blue circles might be too large in contrast to the sun’s rays. I might want to make them smaller. Here I have them just sort of stacked / scattered around for an overall idea, they aren’t anywhere near where they will be when everything is ready for the resin. However, stacking them like this in layers might be a nice effect. I stacked the seaweed glass on top of itself (two layers of glass) in the mermaid mosaic and I really like that effect.
I liked where this direction was taking me, so I decided to fill it out a bit more to see how it would look. More band aids needed.
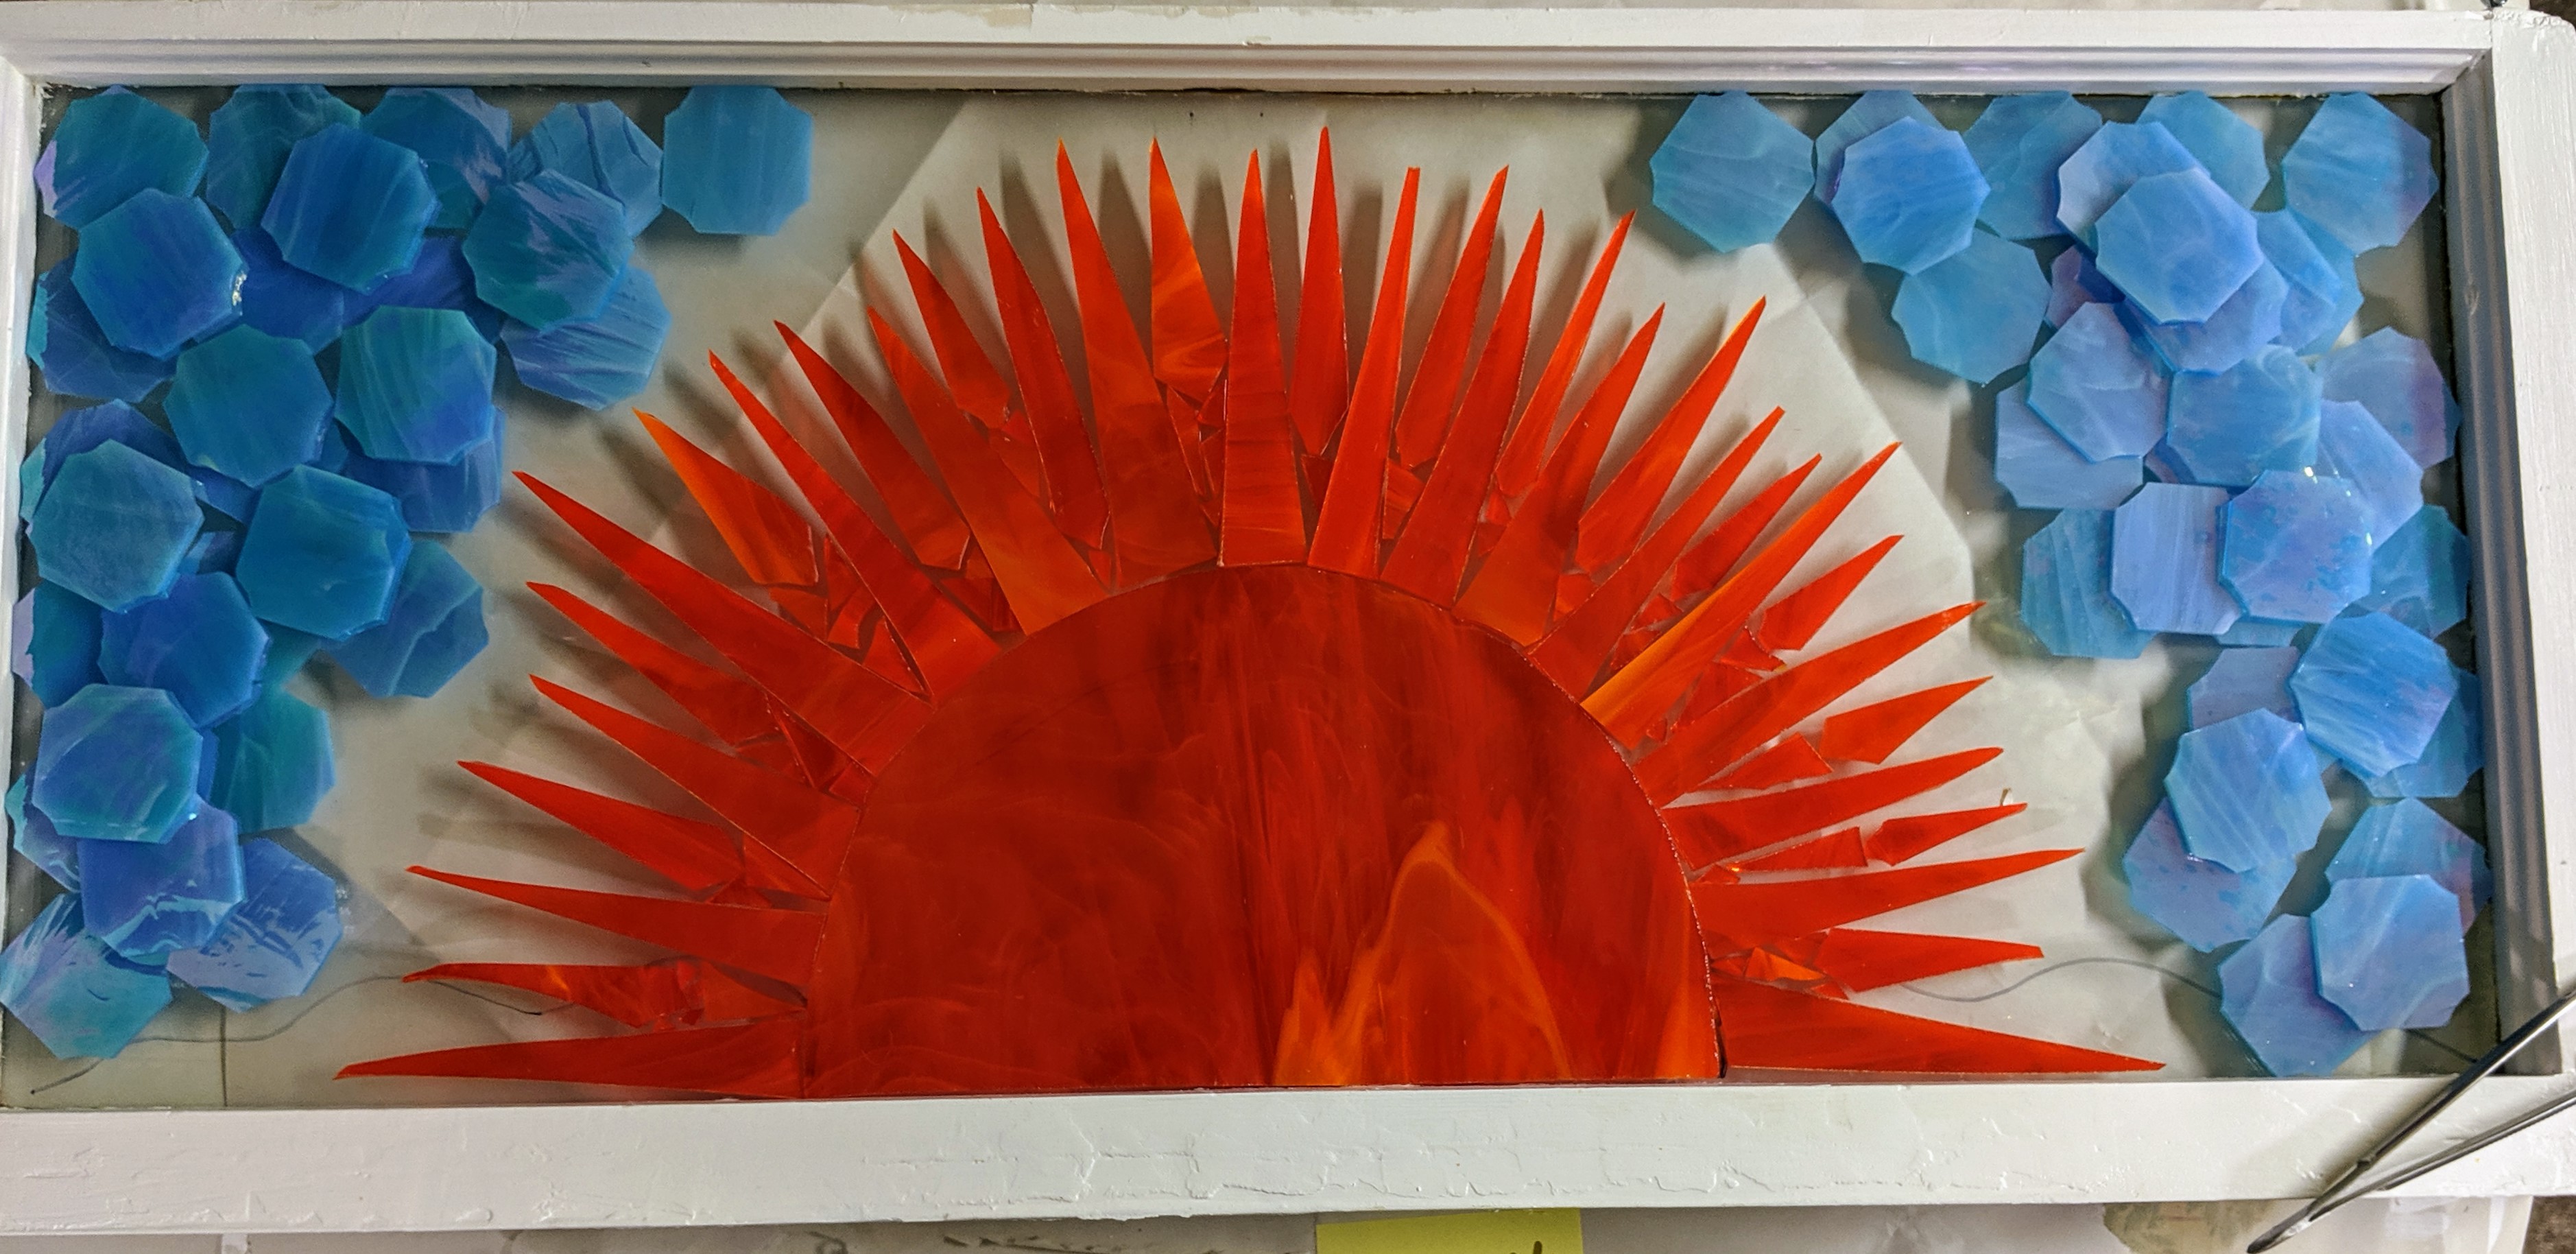
Next I glued the outer bands of glass forming the rays down. They will keep the glass forming the sun in place when I eventually pour the resin. Then I started laying out the blue sky. After I filled in as much as I could with large circles, I cut some smaller ones and repeated the process. Then I started filling in the smaller gaps with triangles and even smaller pieces.

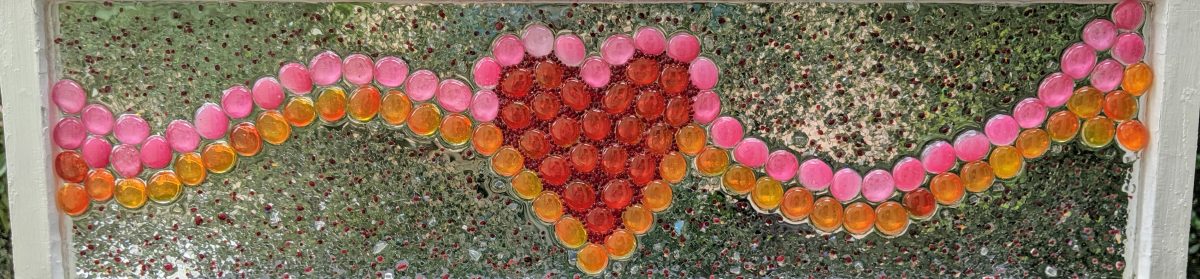
There will be a bit more filling to do tomorrow, but I have done as much I can in one day. Half of my fingertips are in pain from being stabbed with the sharp edges of the small pieces of glass. Now I need to sit back and look at it because it still needs some interest to bring it together. My eldest child says I should add some yellow to the sun – maybe some wavy rays. I can also make another layer to give it more depth, or maybe some designs with the tiny red glass pieces I have. Hopefully sleeping on it will give my brain time to formulate a plan.