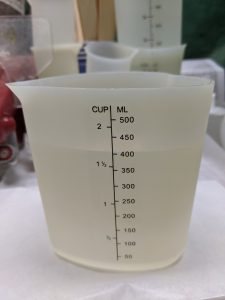
Today was the day to pour resin on the Rainbow Row / Sunset mosaics. I originally planned to do all three, but at the last minute I decided to make one of the Rainbow Rows “hangable” and affixed hardware for that purpose to the back of the piece, so I couldn’t really pour the resin on it today (need to give the adhesive time to cure). I used E6000 glue for the hardware, but I will also coat it with resin later. I started off by mixing my 400 ml of resin. It was 69 degrees in my work area, so I warmed the two parts a bit with my heat gun before mixing them.
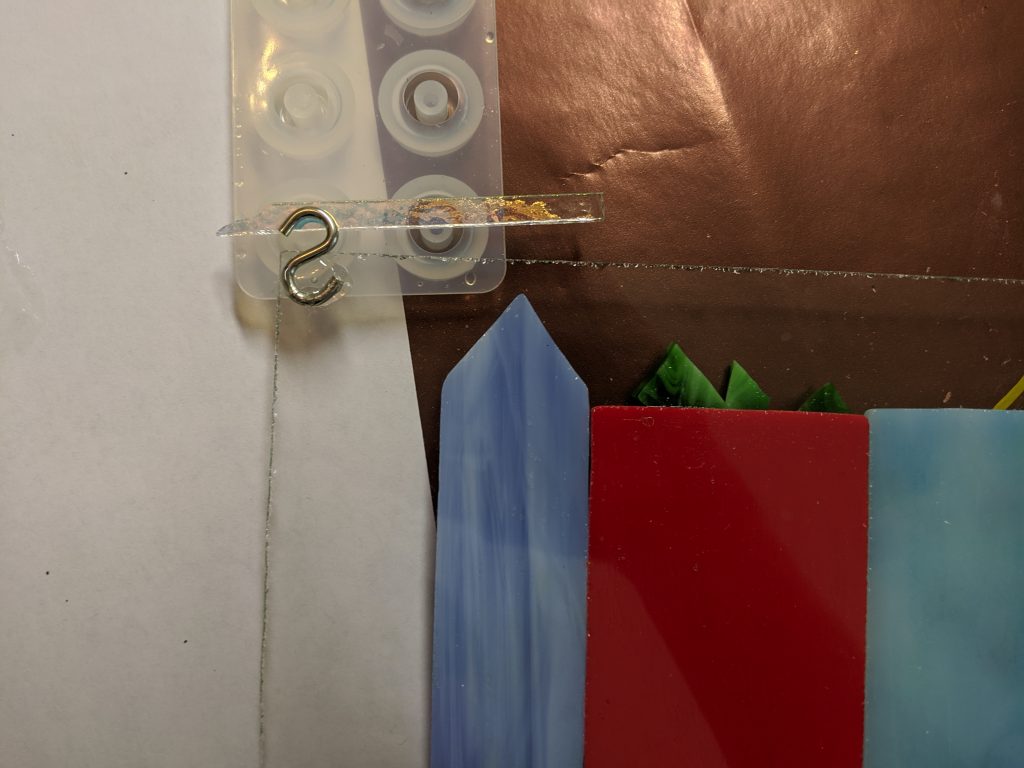
I used a piece of scrap glass to prop up the hardware while I waited for the glue to set.

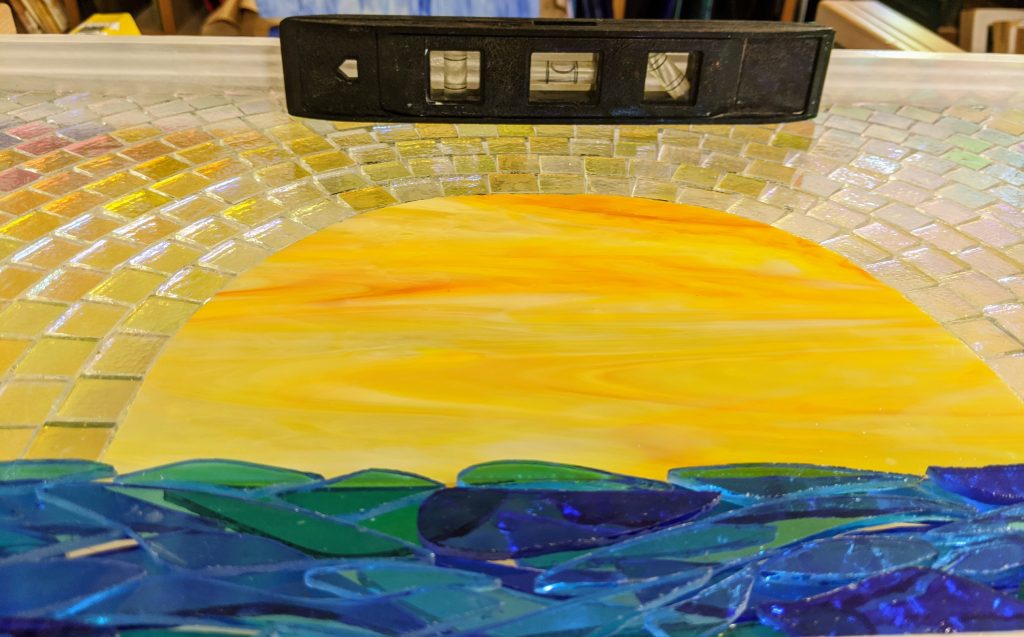
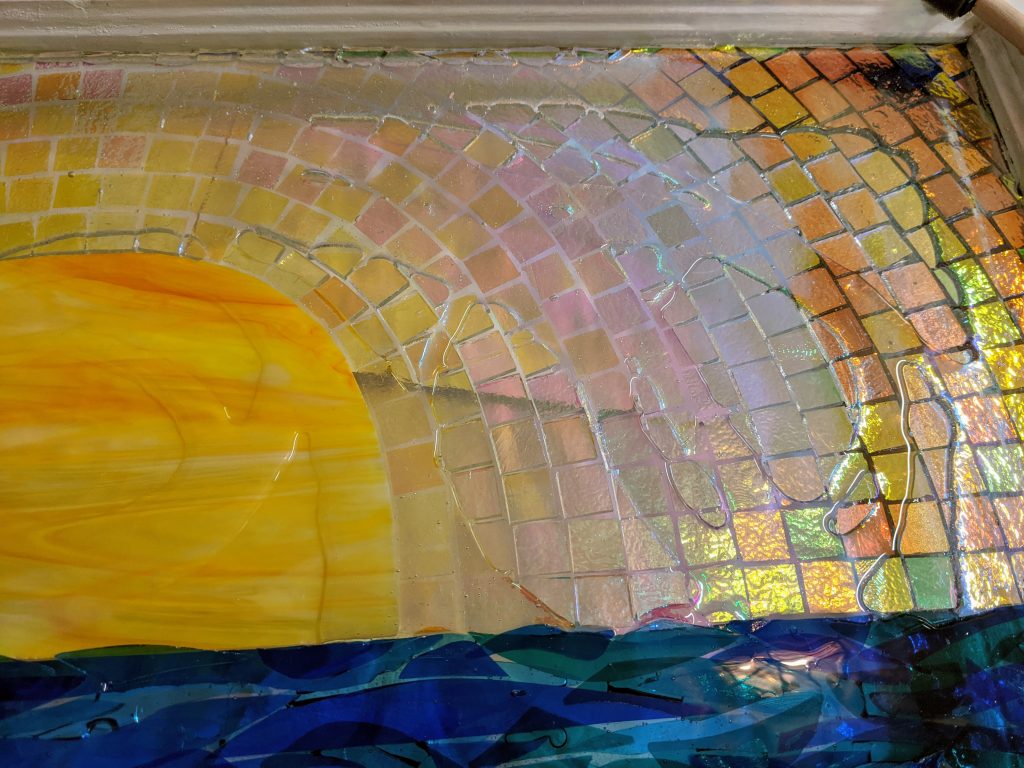
Next I used some scrap glass as “shims” to level the sunset mosaic. This is important so the resin isn’t uneven.
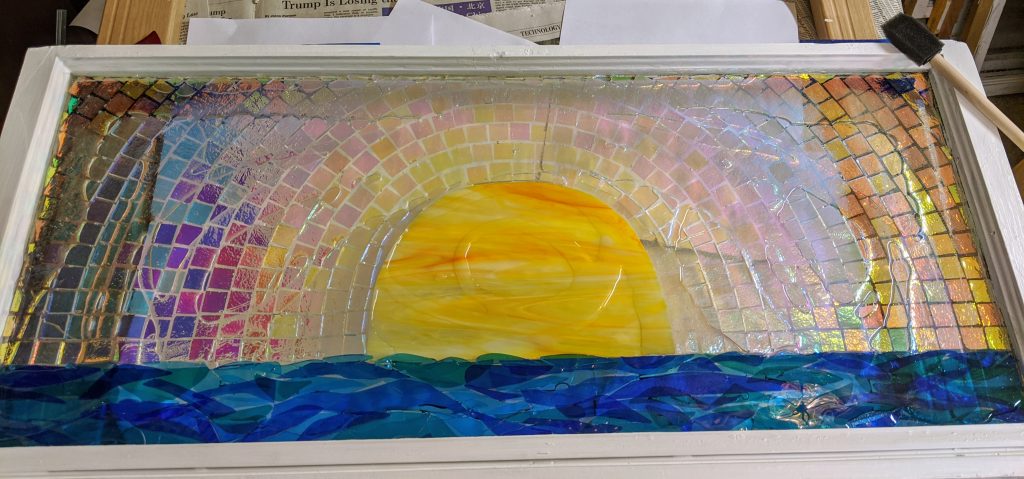
Once everything was level, I poured the resin all over the piece and spread it using a sponge on a stick. Once the resin was pretty much evenly distributed, I used the heat gun to remove bubbles and move it around for even coverage.
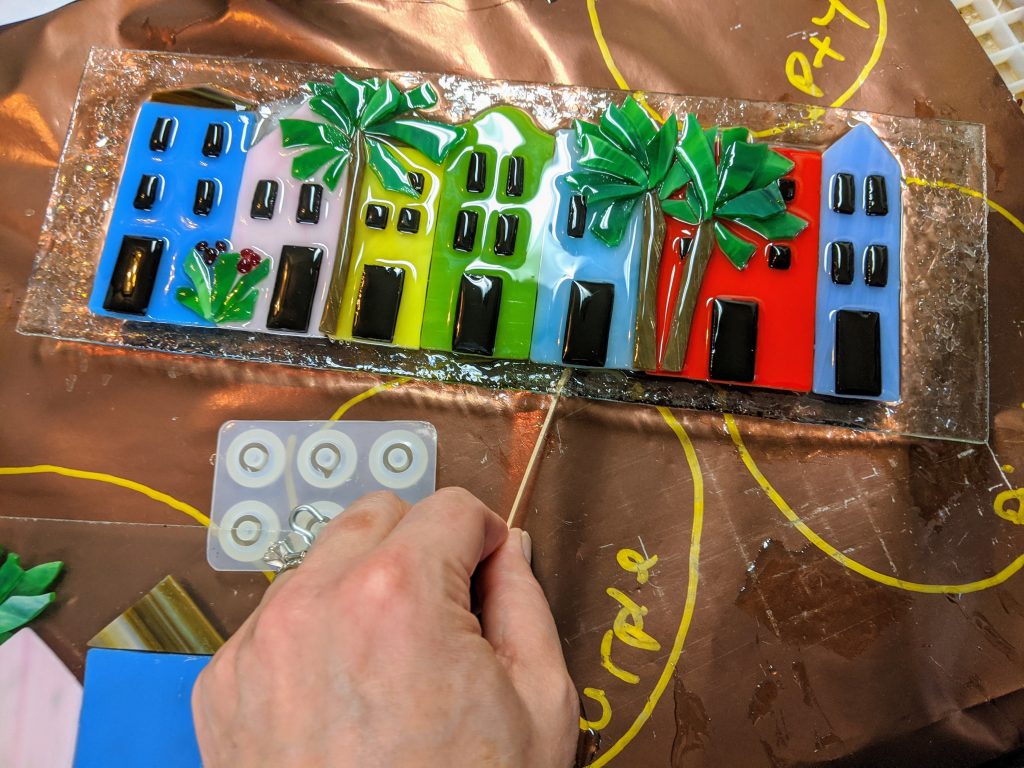
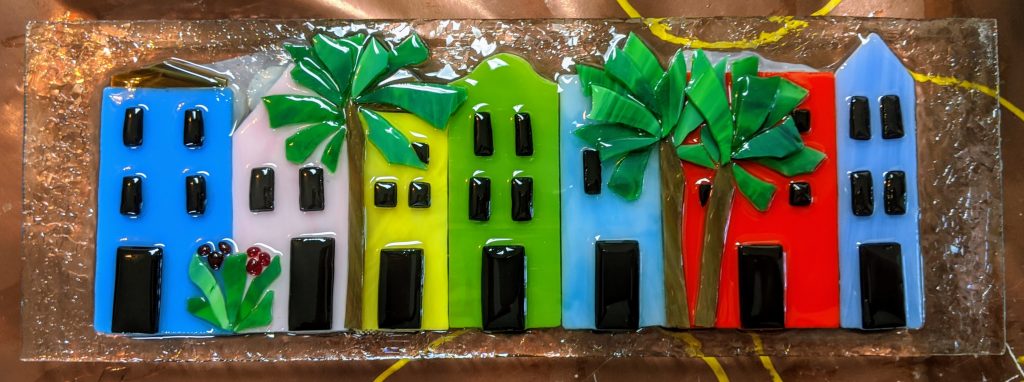
Next, I did the same with the Rainbow Row piece. It is much smaller and unframed, so I used much less resin and relied on spreading it. This helps reduce the amount that drips over the edges, as well.
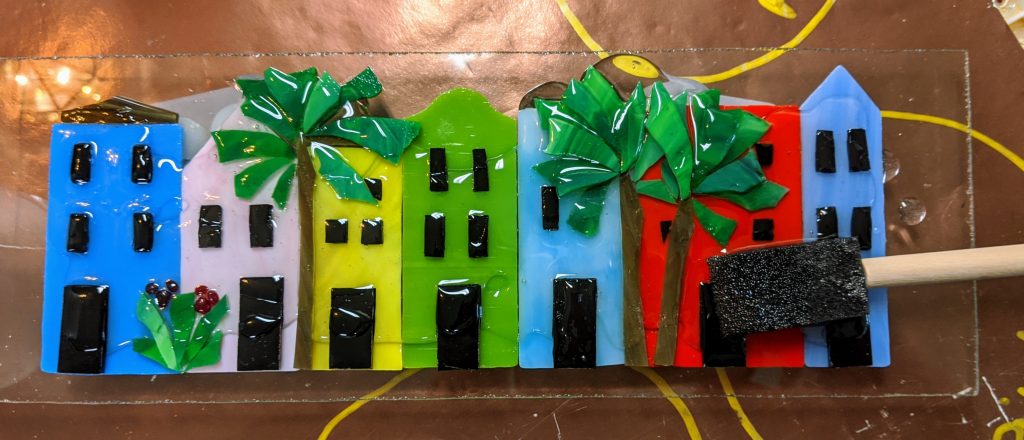
Once the resin was coating all of the surfaces, I sprinkled some clear glass chips around the edges for sparkle and interest. Then, for the next 30 or so minutes, I used a craft stick to scrape excess resin from the edges and underside of the piece. This has to be repeated as needed until the resin sets up enough to stop moving. Any that I miss can be removed afterward, but it is *much* easier to do it now. I have also cracked a few finished pieces trying to remove the drips in the past, so I spend the time up front in order to avoid the scraping later.
I also sprinkled some clear glass chips around the very edges of the sun’s rays adjacent to the frame. I did this to reduce the jagged appearance of the edges of the mosaic.
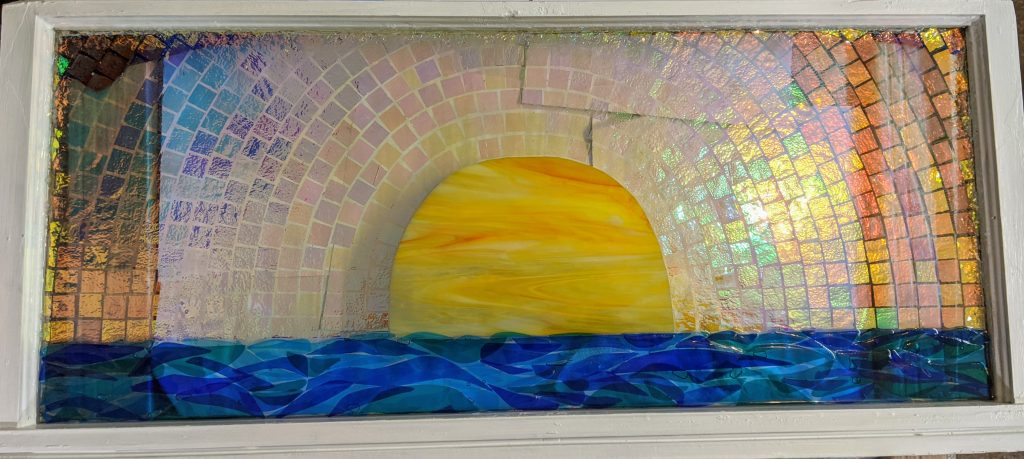
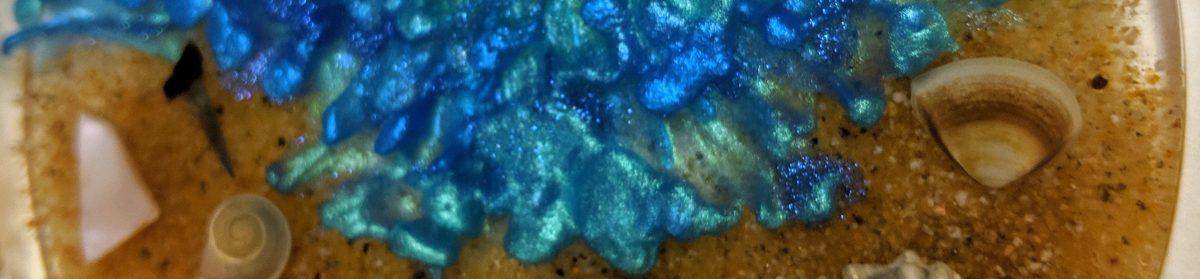
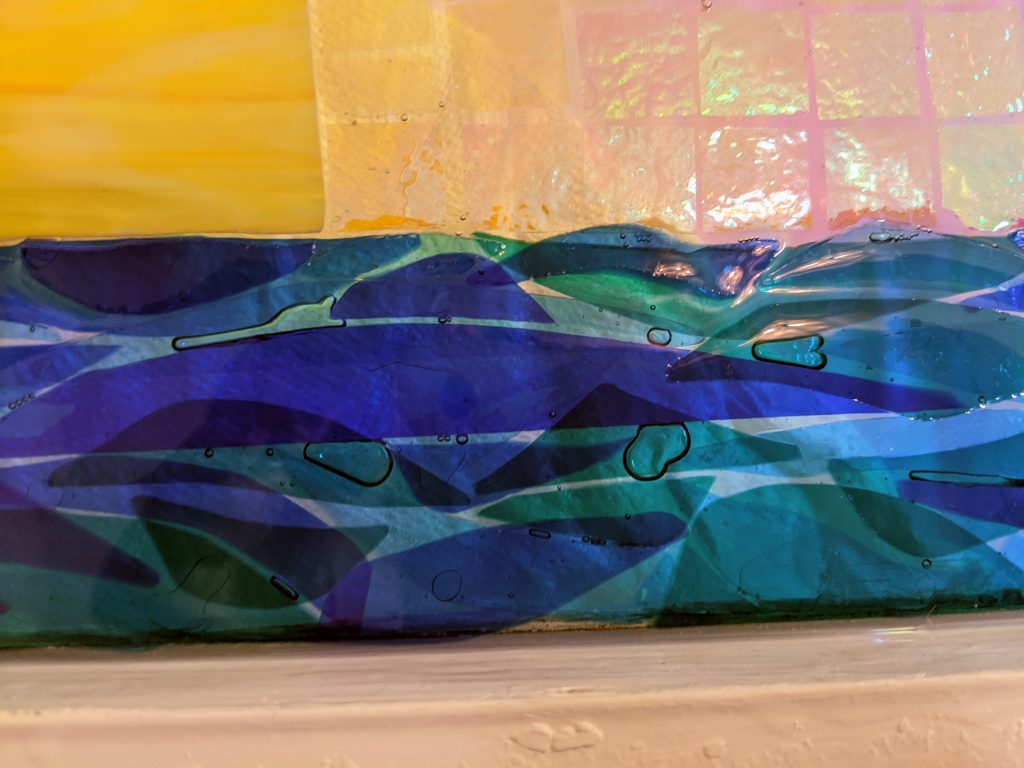
One thing I should have anticipated, but didn’t, is that there were bubbles in the resin that I couldn’t get to under the waves. This was due to the layering of the glass for this part of the piece. In the future, I will have to consider pouring the resin on the first layer, then adding the additional layers afterward. This will be a bit tricky due to the timing involved, but should reduce the bubble issues. Luckily these bubbles are part of the churning sea, so they aren’t as bad as they would be if they were in another area.
During this time, I also use the heat gun to remove surface bubbles on both pieces. This has to be done until the resin is somewhat solidified.

Now we wait! Tomorrow I should be able to get some better photos (and clean up my work area).