I didn’t break this one!

Glass of Sherry
I didn’t break this one!
So it took a lot longer than I planned to pour the background for this cute guy, but it’s finally ready to cure. I used approximately 40 ml of resin, and had planned to do it in stages so I could tape the edges, but I decided to try another approach. I think I am getting the hang of containing the resin a bit better. Next time I should tape the glass before I start the mosaic.
The upside to redoing a piece you cracked is you can improve the things you weren’t satisfied with the first time around. This little guy hasn’t been glued yet, but he will be – hopefully over the next few days. I used a darker color of beach glass because the resin coating really cut down on the color of the first seahorse and I didn’t feel like it stood out as much as I had anticipated. I also noticed that the resin seemed to add a lot of “bulk” to the first seahorse, where I was going for a leaner line. I might have let the pieces float a bit when I poured the resin (will have to make sure that doesn’t happen this time around), but I also elongated this little guy a bit to compensate. I will likely rethink the background / border a bit, as well, though I haven’t figured out where I’m going with those yet.
After cracking two finished pieces while cleaning off the excess resin from the underside, I decided to rethink the process of dealing with the resin seepage. Clearly the backer glass I’m using is prone to flexing, and I’m putting too much muscle into the scraping. I decided to try to avoid having to do so much scraping in the future by taping the undersides of the edges of the next piece. I also experimented with some resin pigment, as it looks like my favorite source of coloring has been discontinued by Michaels. I even wrote to their customer service department with a desperate plea, only to be informed that there was no more and would be no more. Oh well…..
Overall, the tape seemed to help quite a bit, though this one is still too tacky to completely examine. Today was spent getting the next glass out of its frame to try another seahorse.
I was cleaning this one up to take a photo and I managed to crack it. 🙁 I wasn’t very happy with the color of the beach glass I used for the seahorse (after covering it with the resin, the color really washed out), so it won’t be the end of the world to redo it.
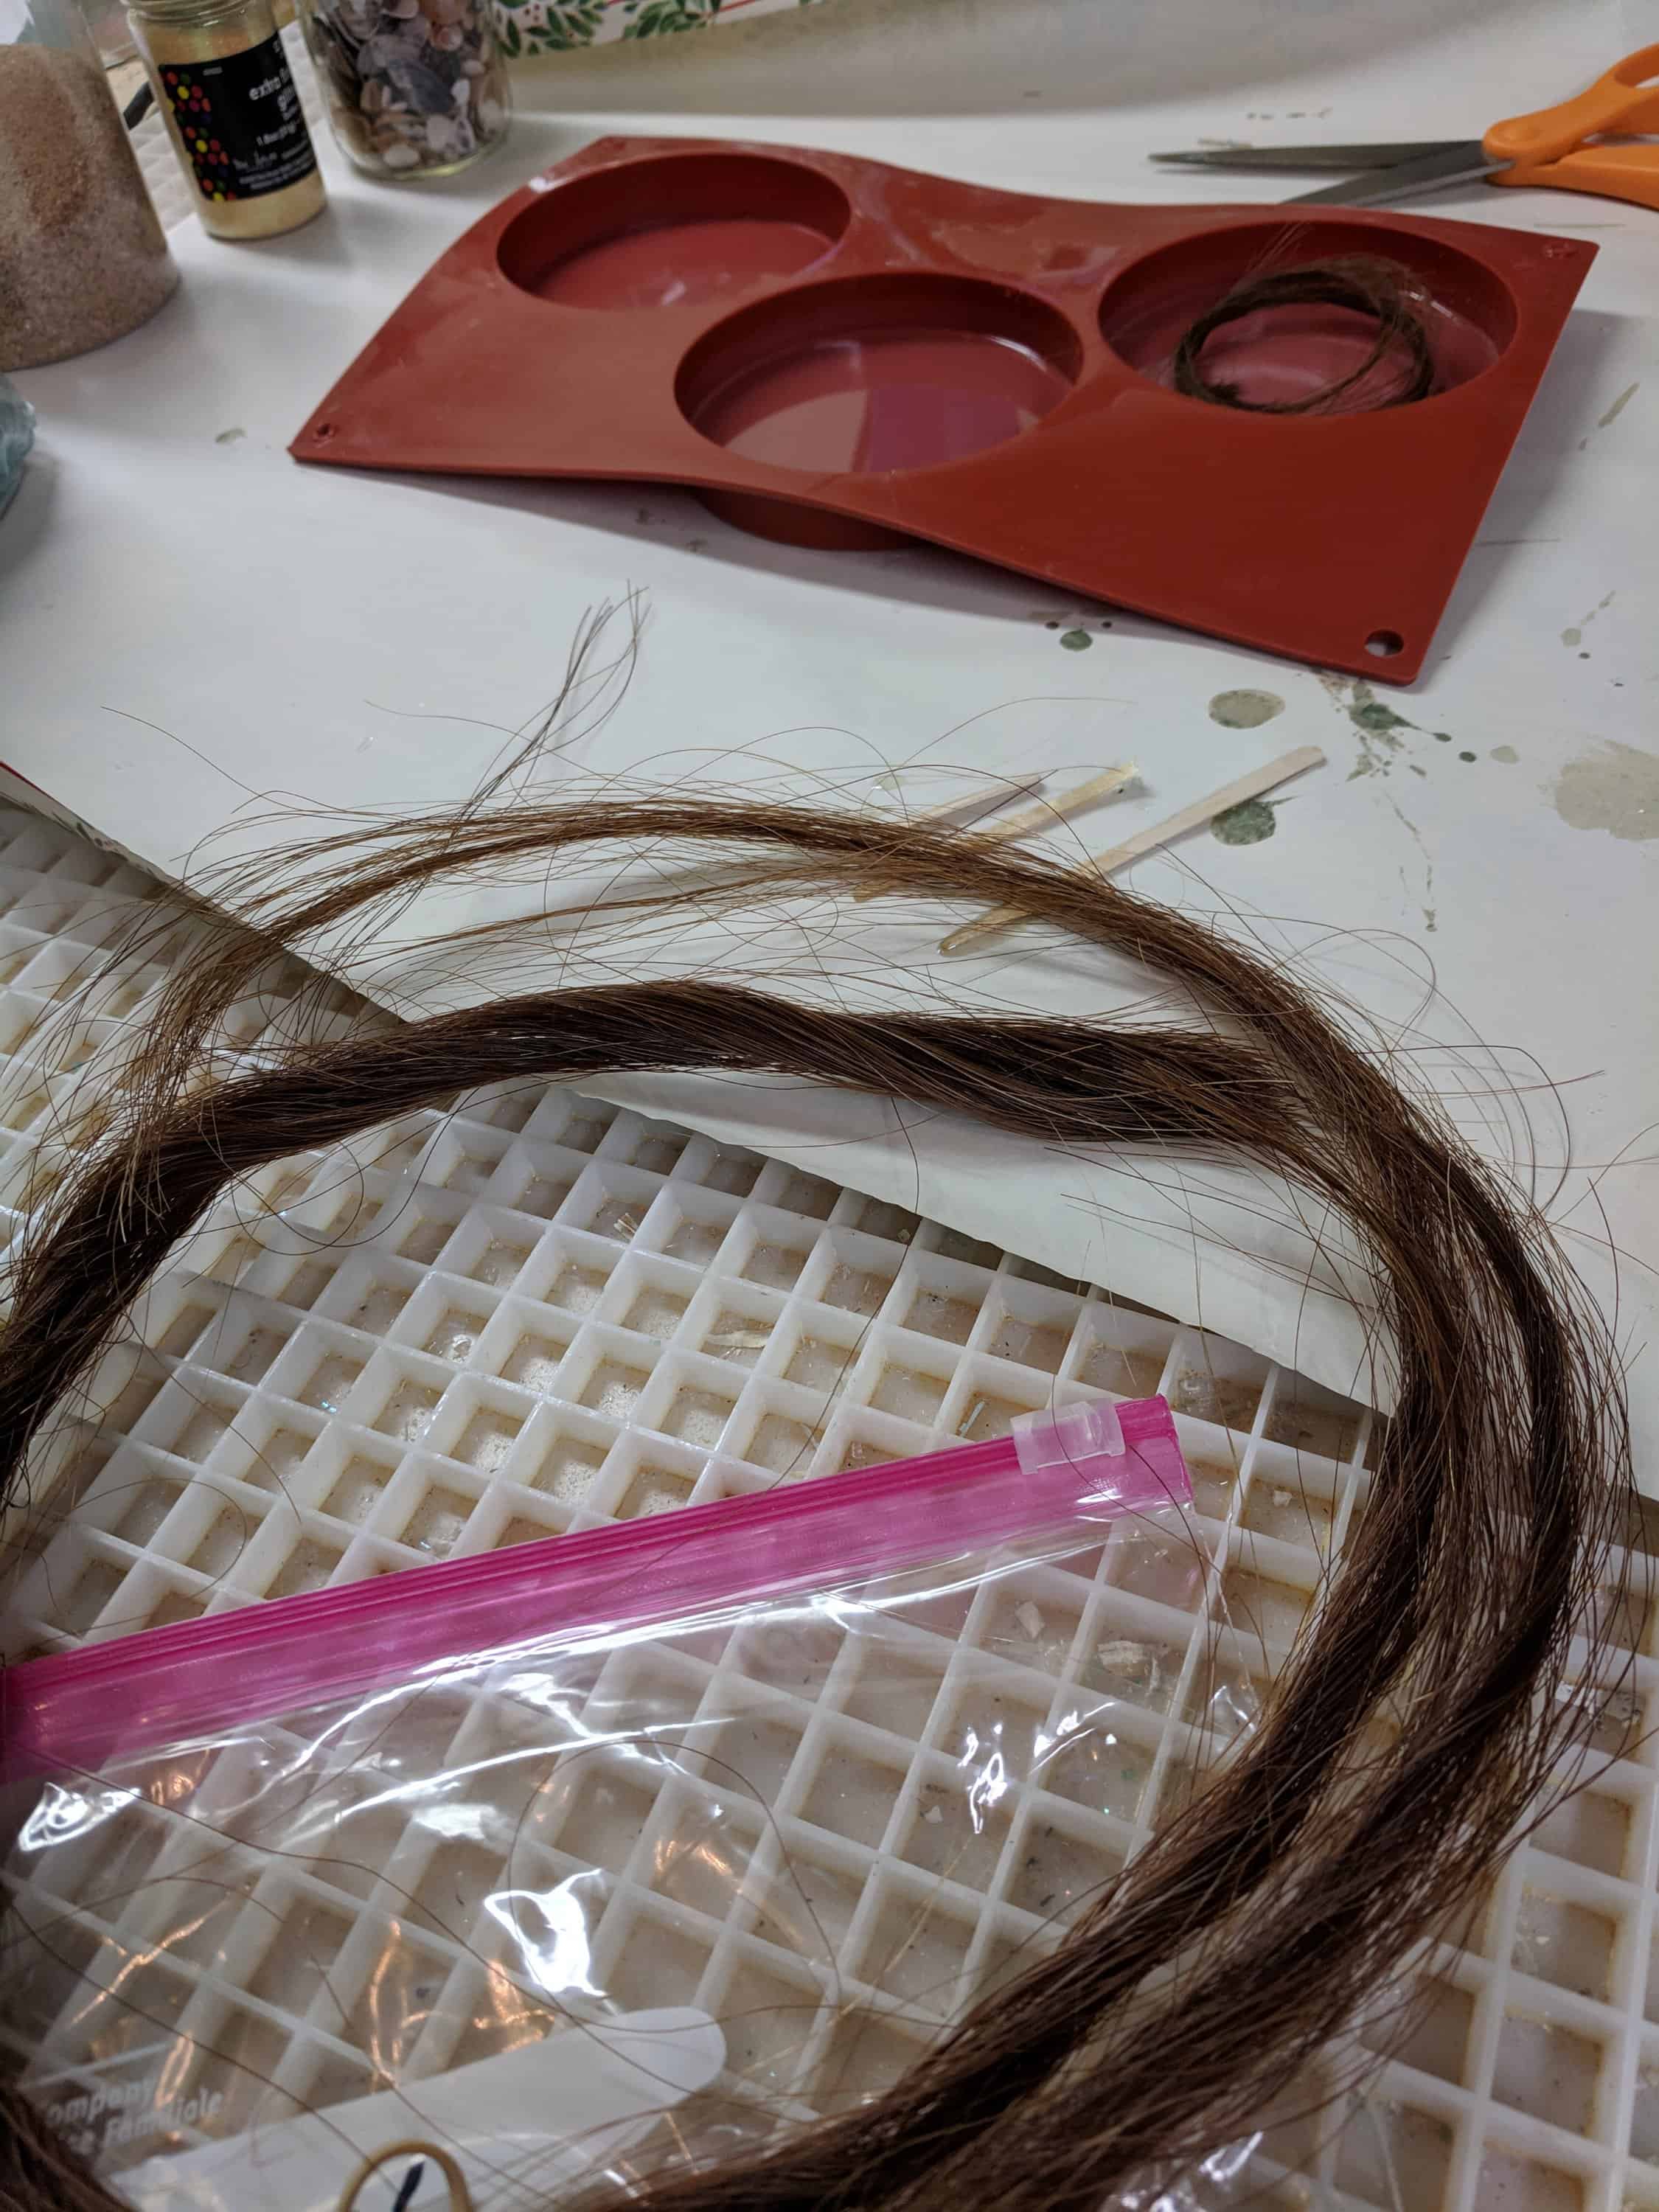
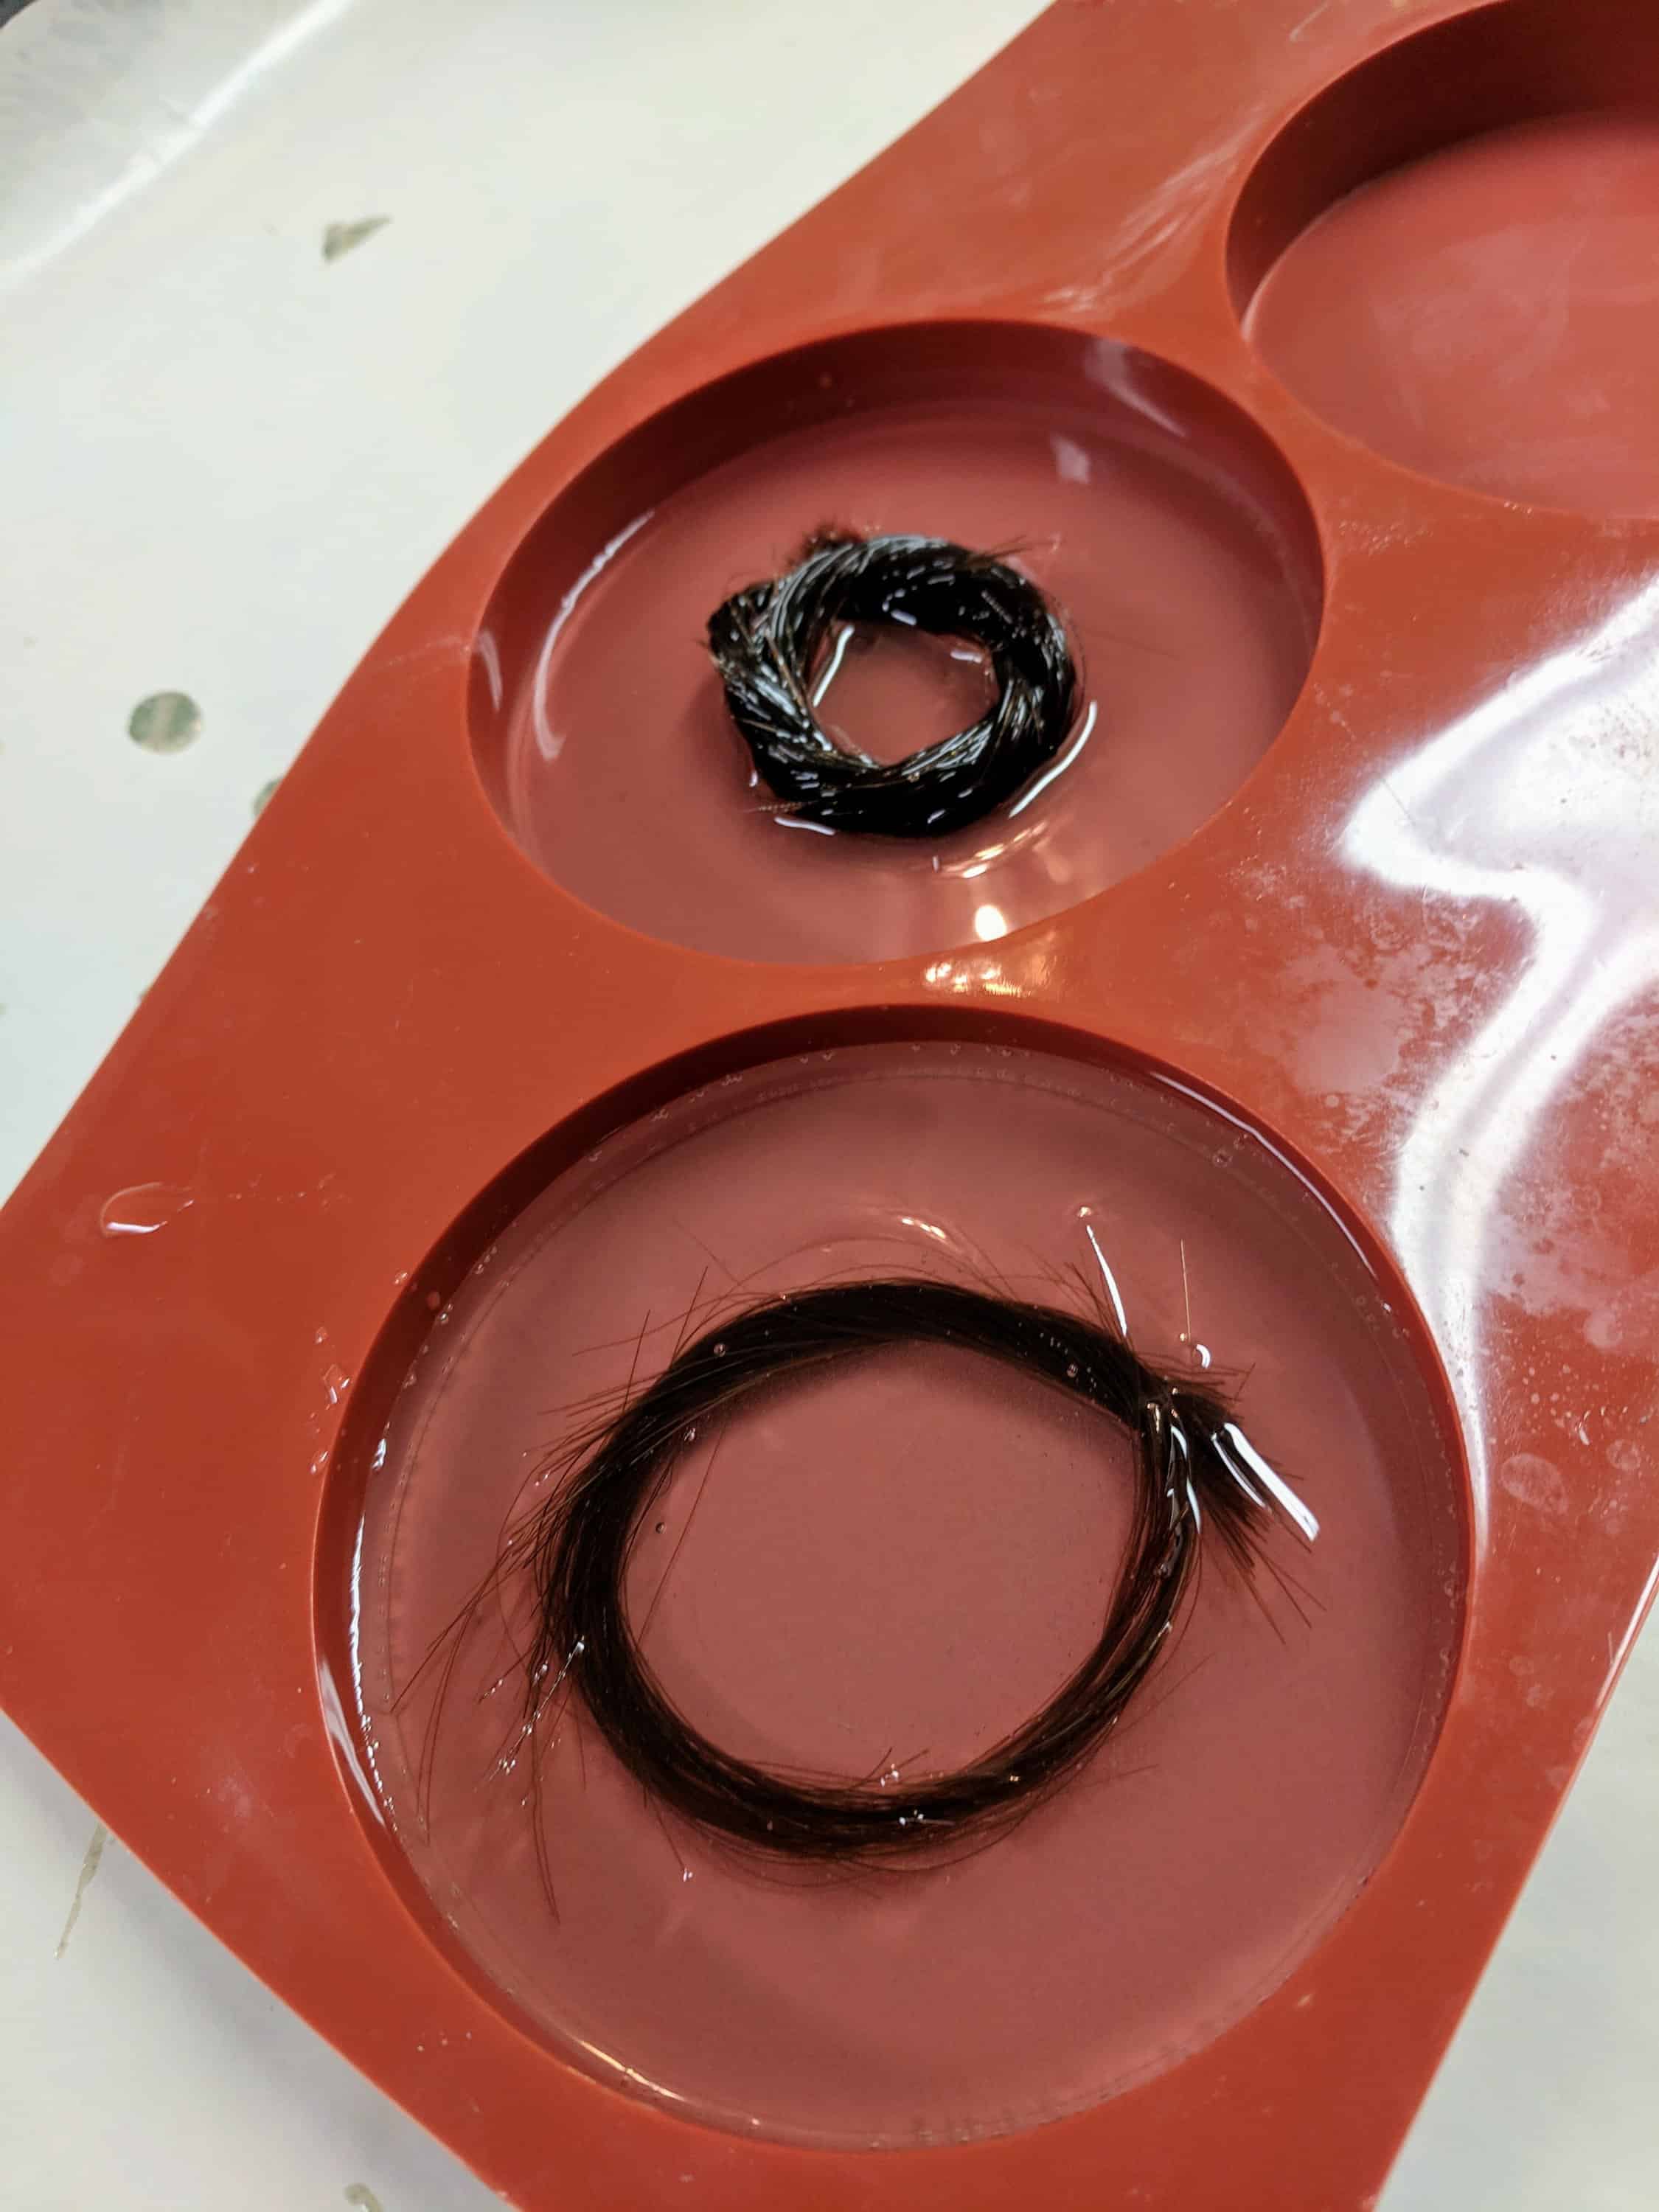
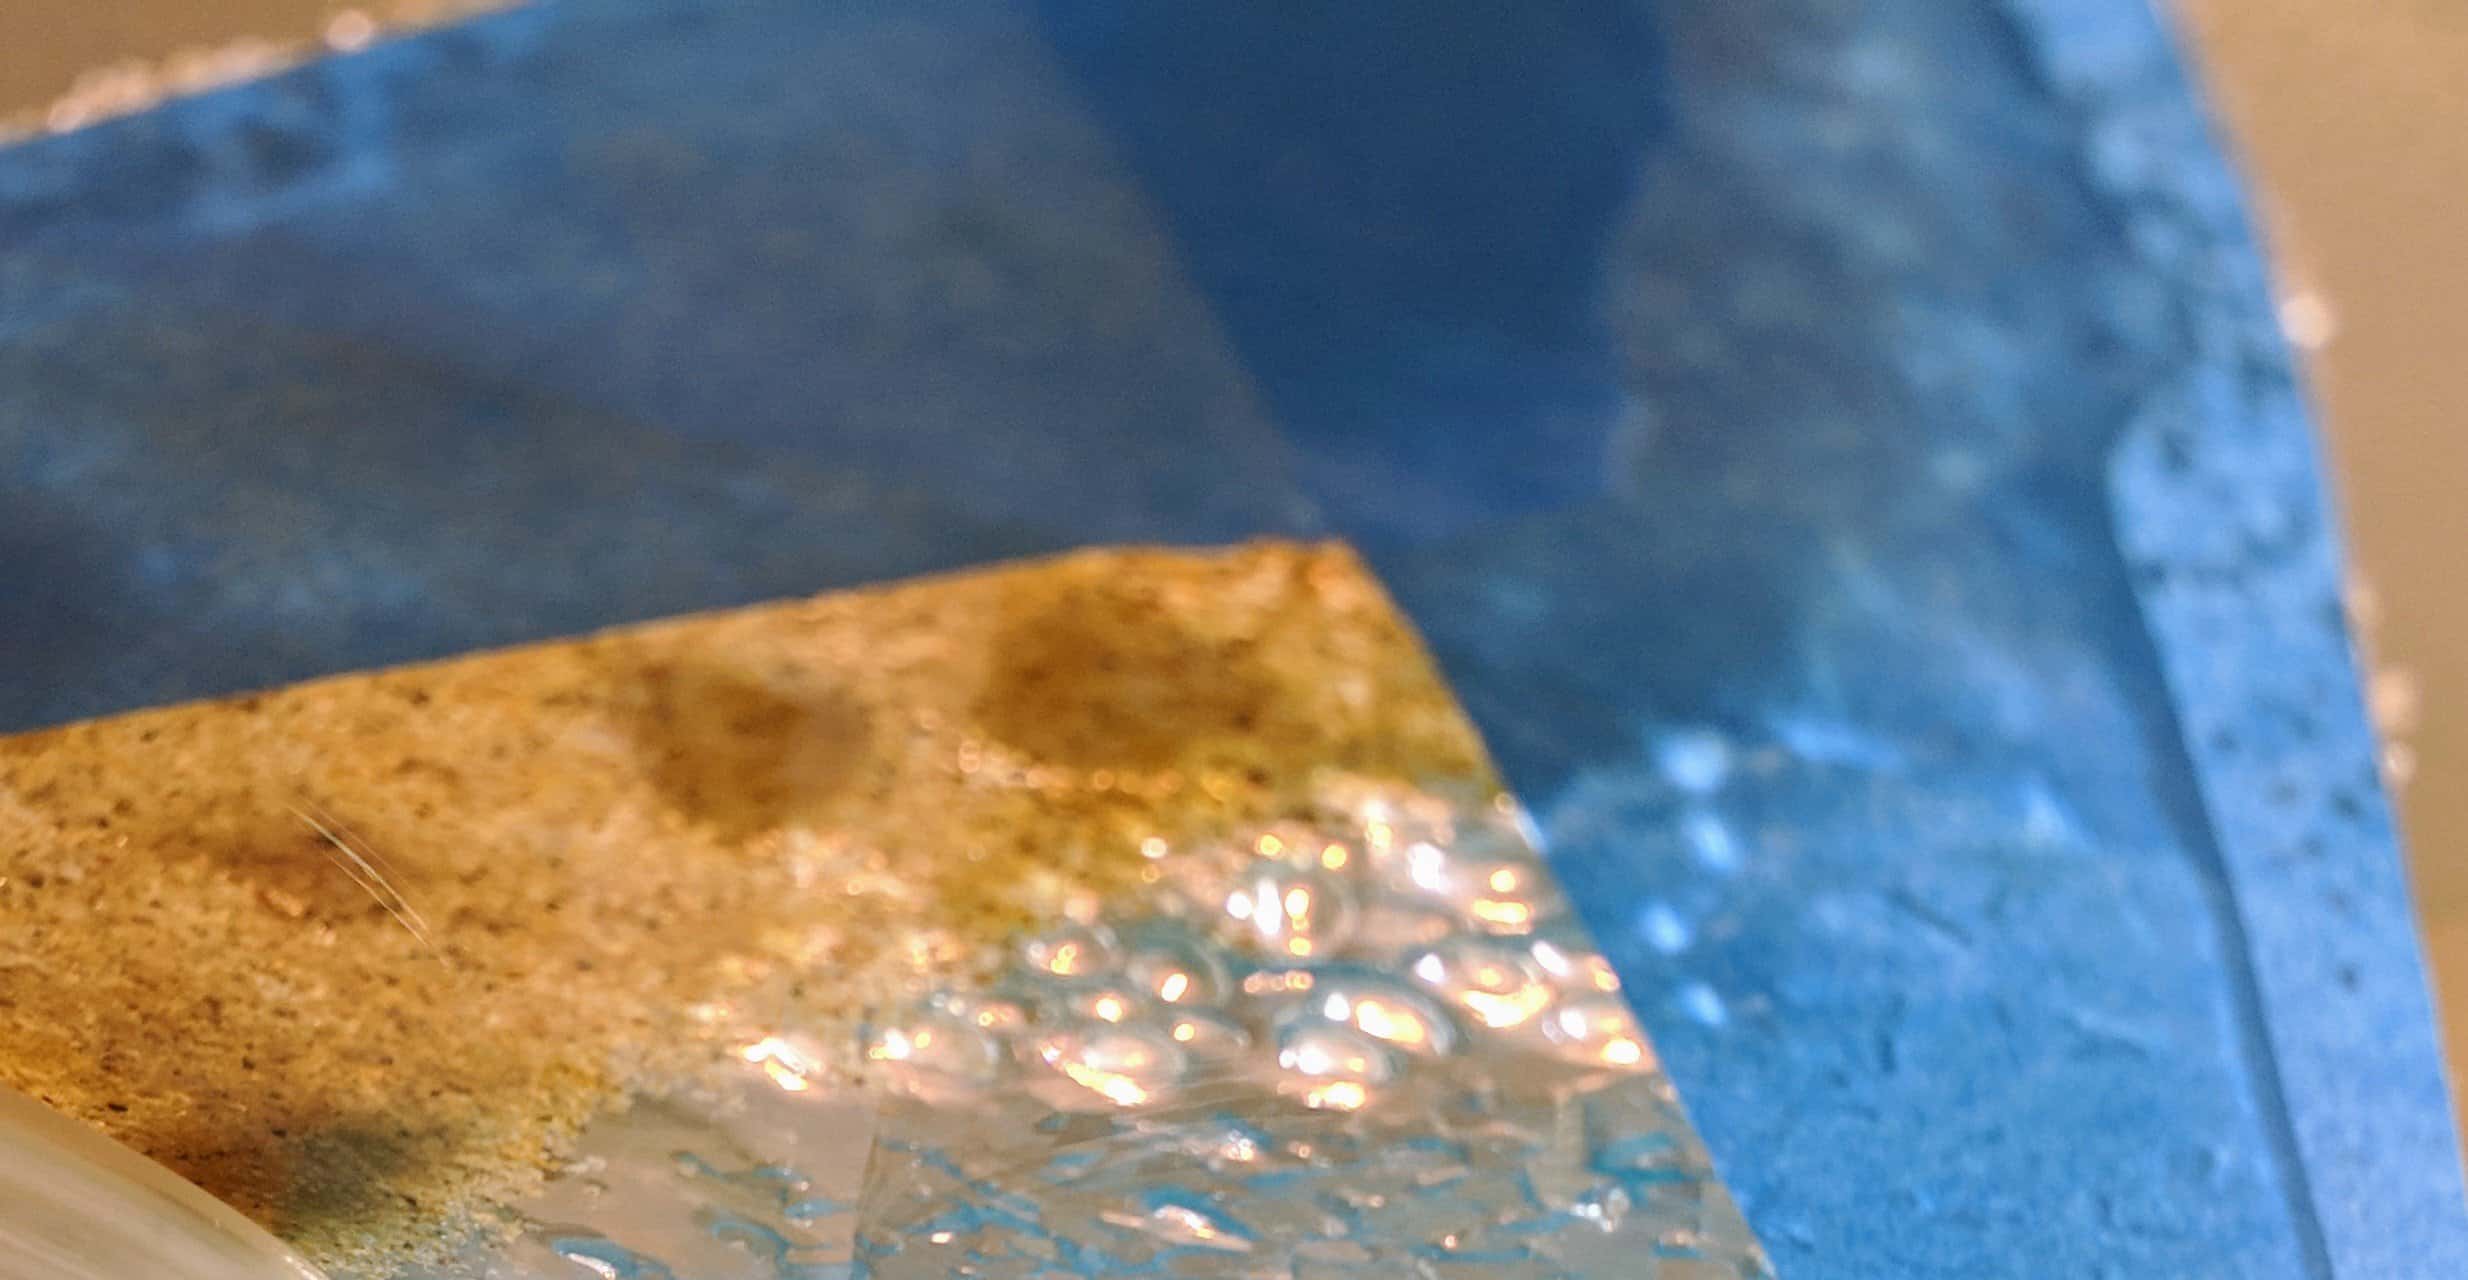
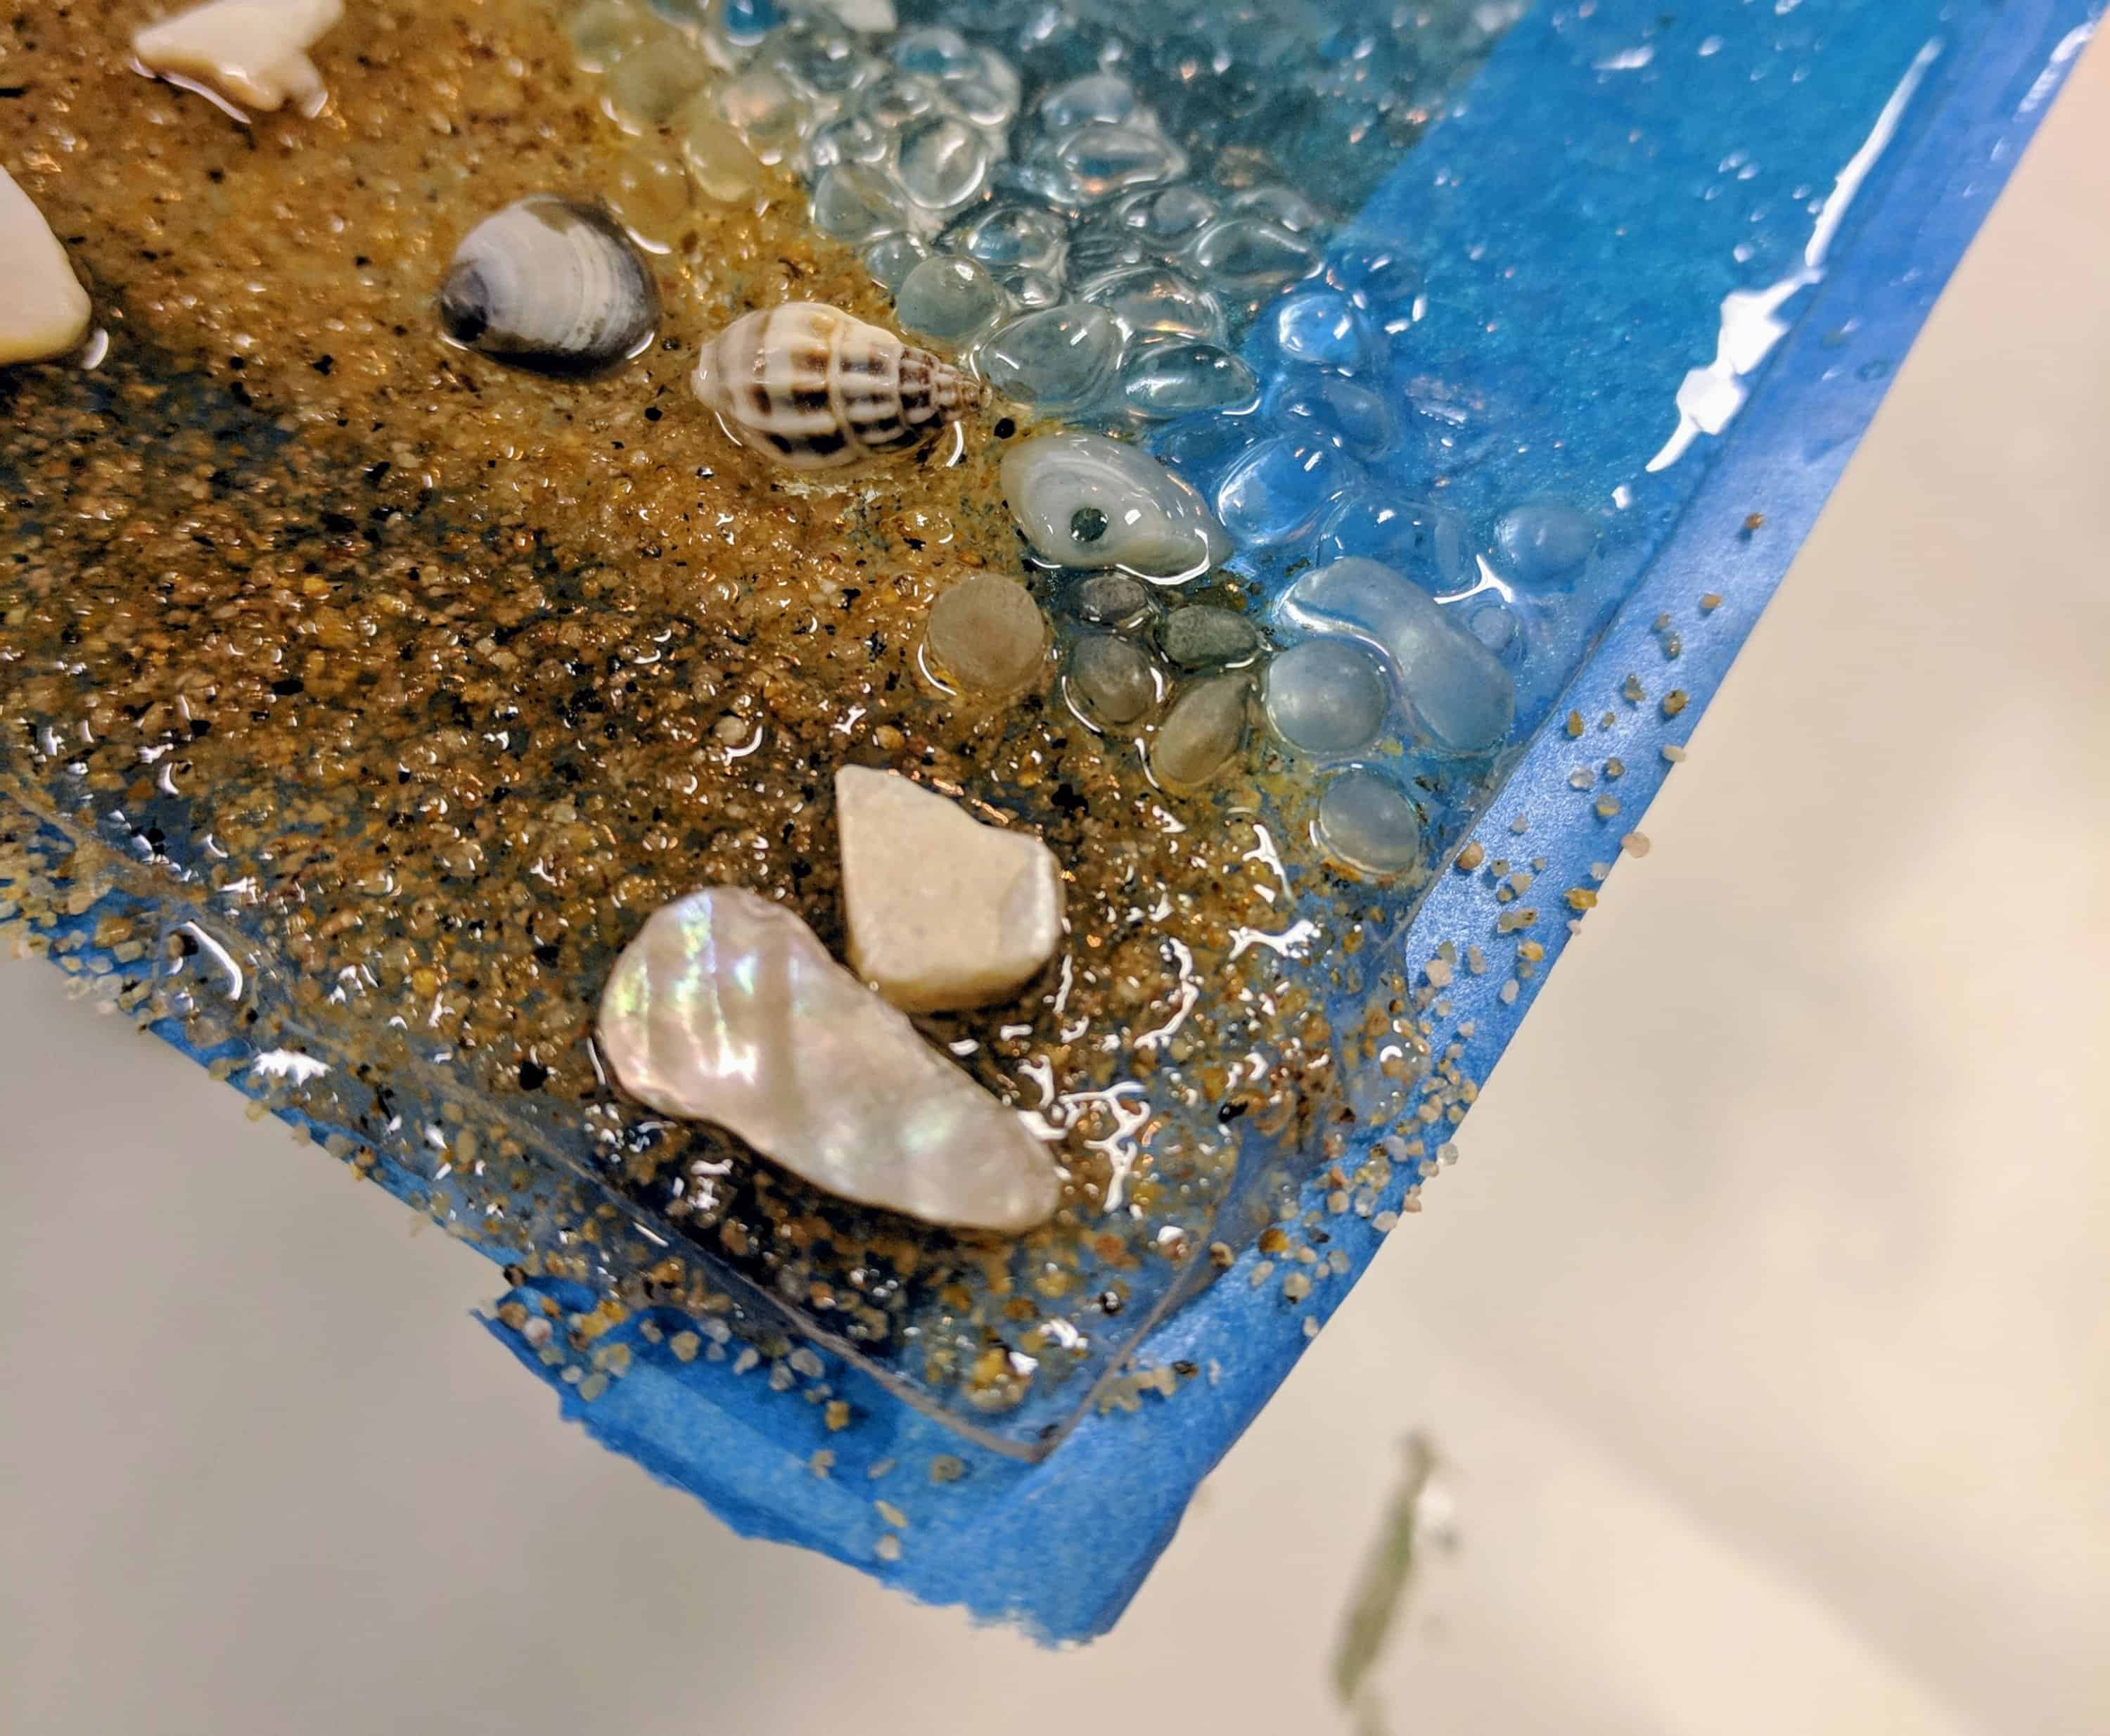
When I’m ready to “make things permanent”, I start mixing / pouring the resin. After that, I spend a couple of hours tending it to ensure no ugly bubbles form on the finished surface and to decorate a bit more. Tending the resin equates to blowing it with a heat gun and moving things around with wooden pokers, as well as wiping up any excess (especially around the edges) with a sponge on a stick. I remembered to elevate this piece so I wouldn’t have the pain of removing the paper again.
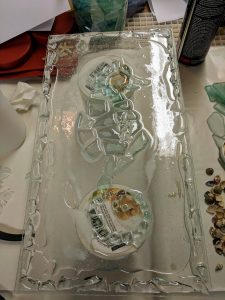
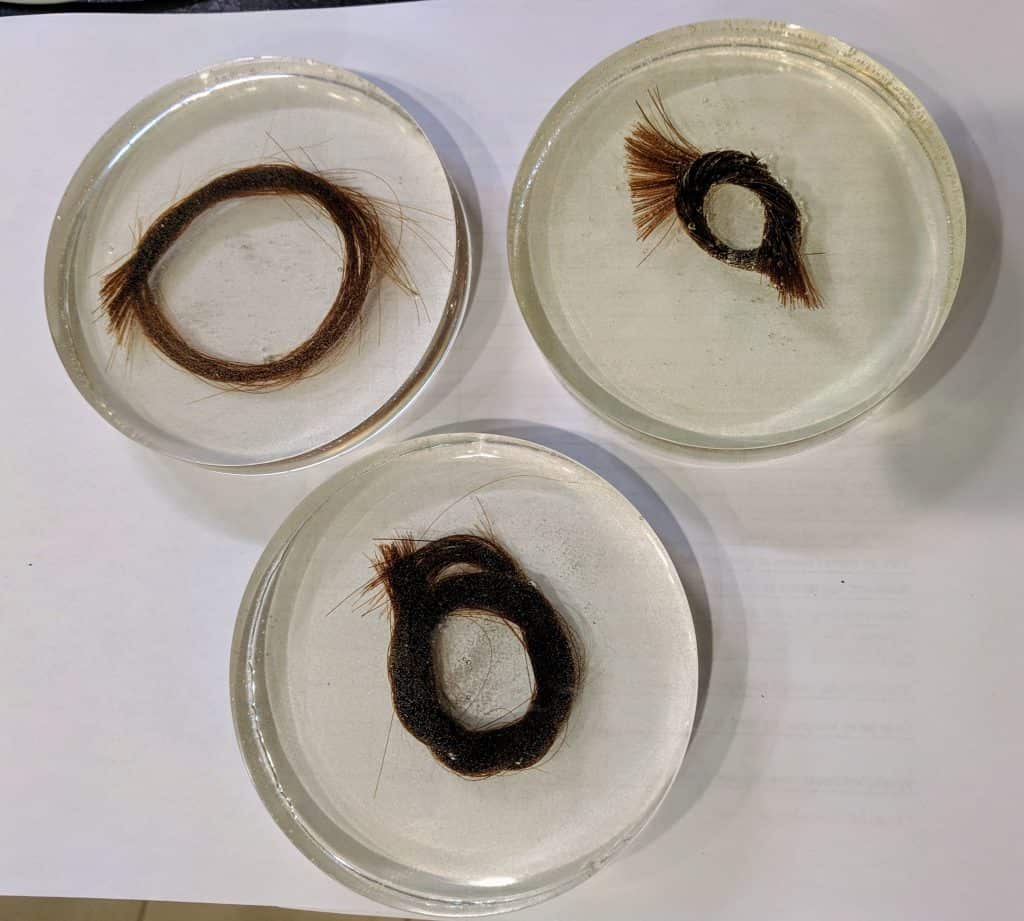
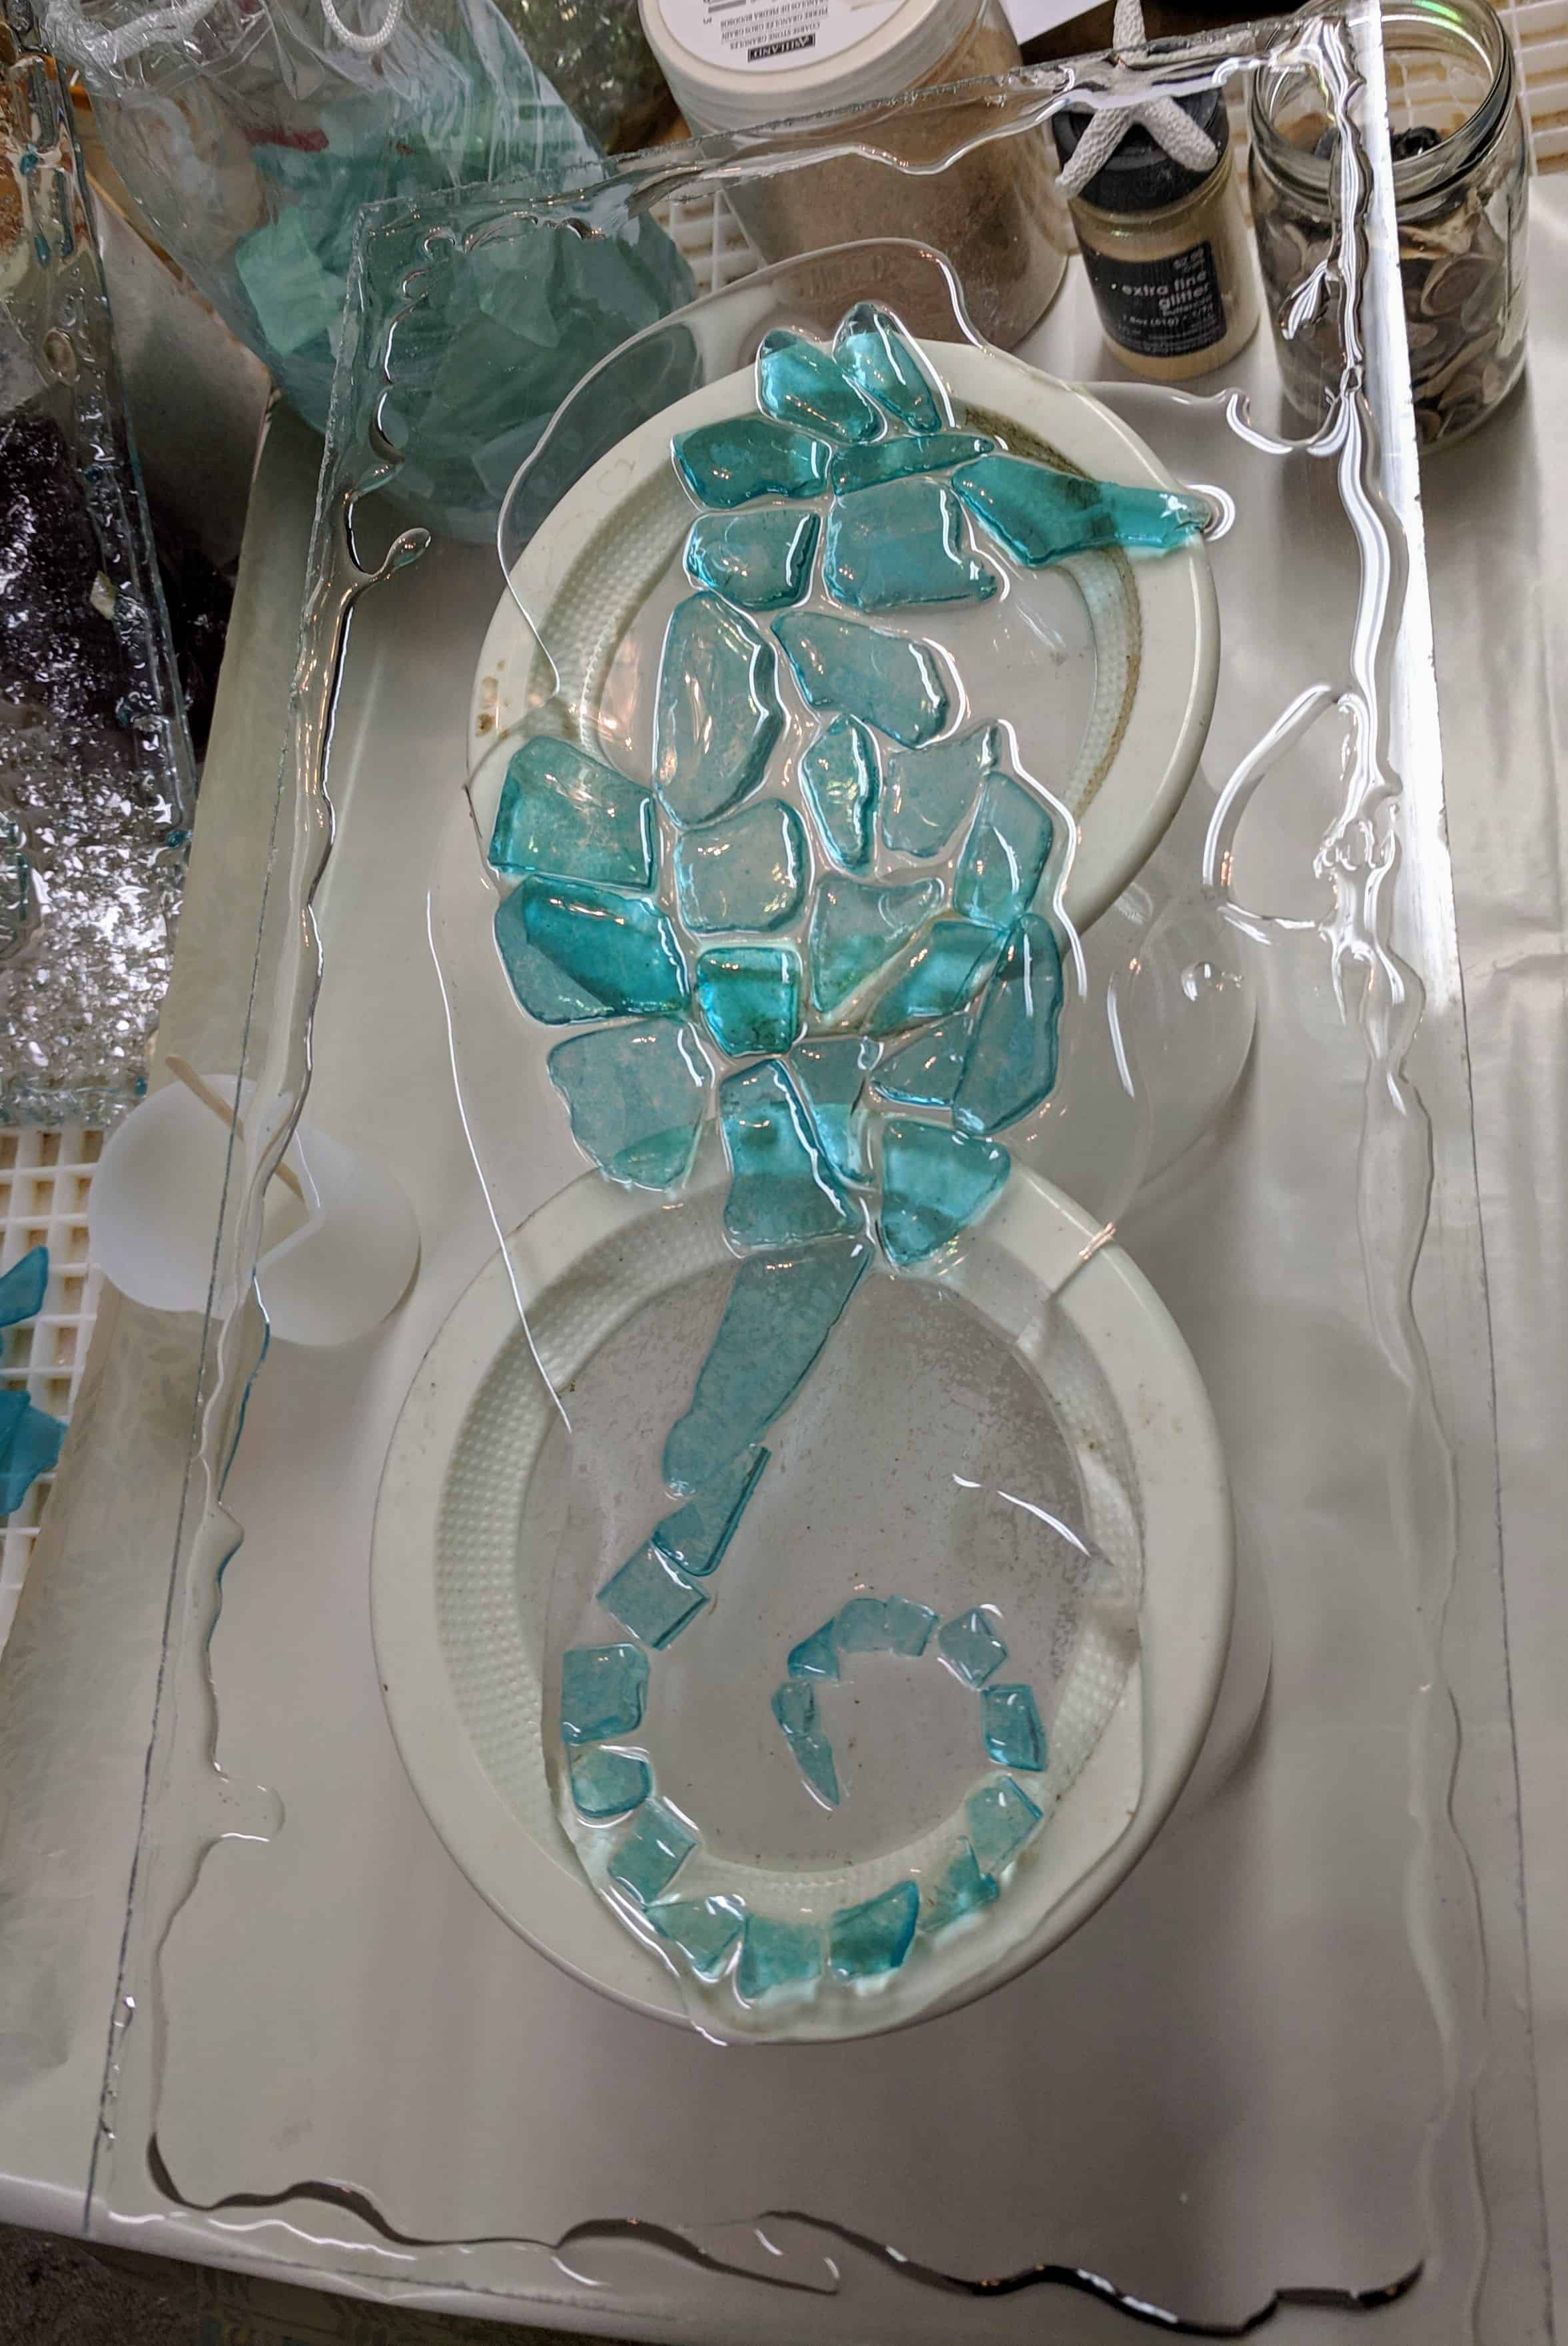
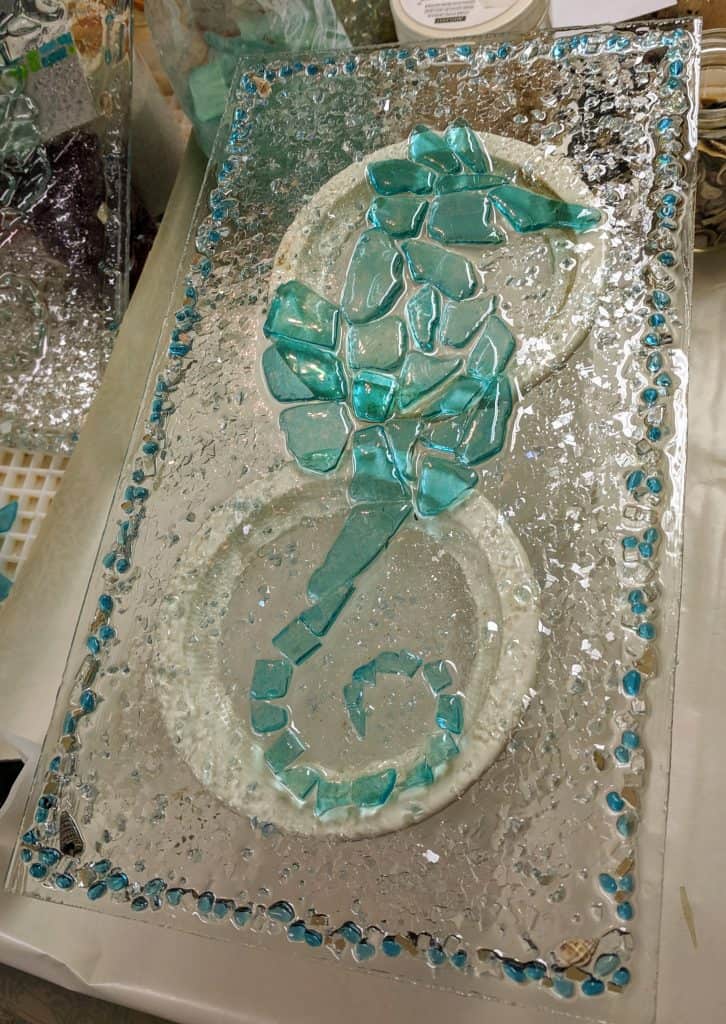
Above: Just poured. Below: after a once over with the heat gun.
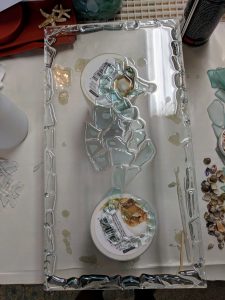
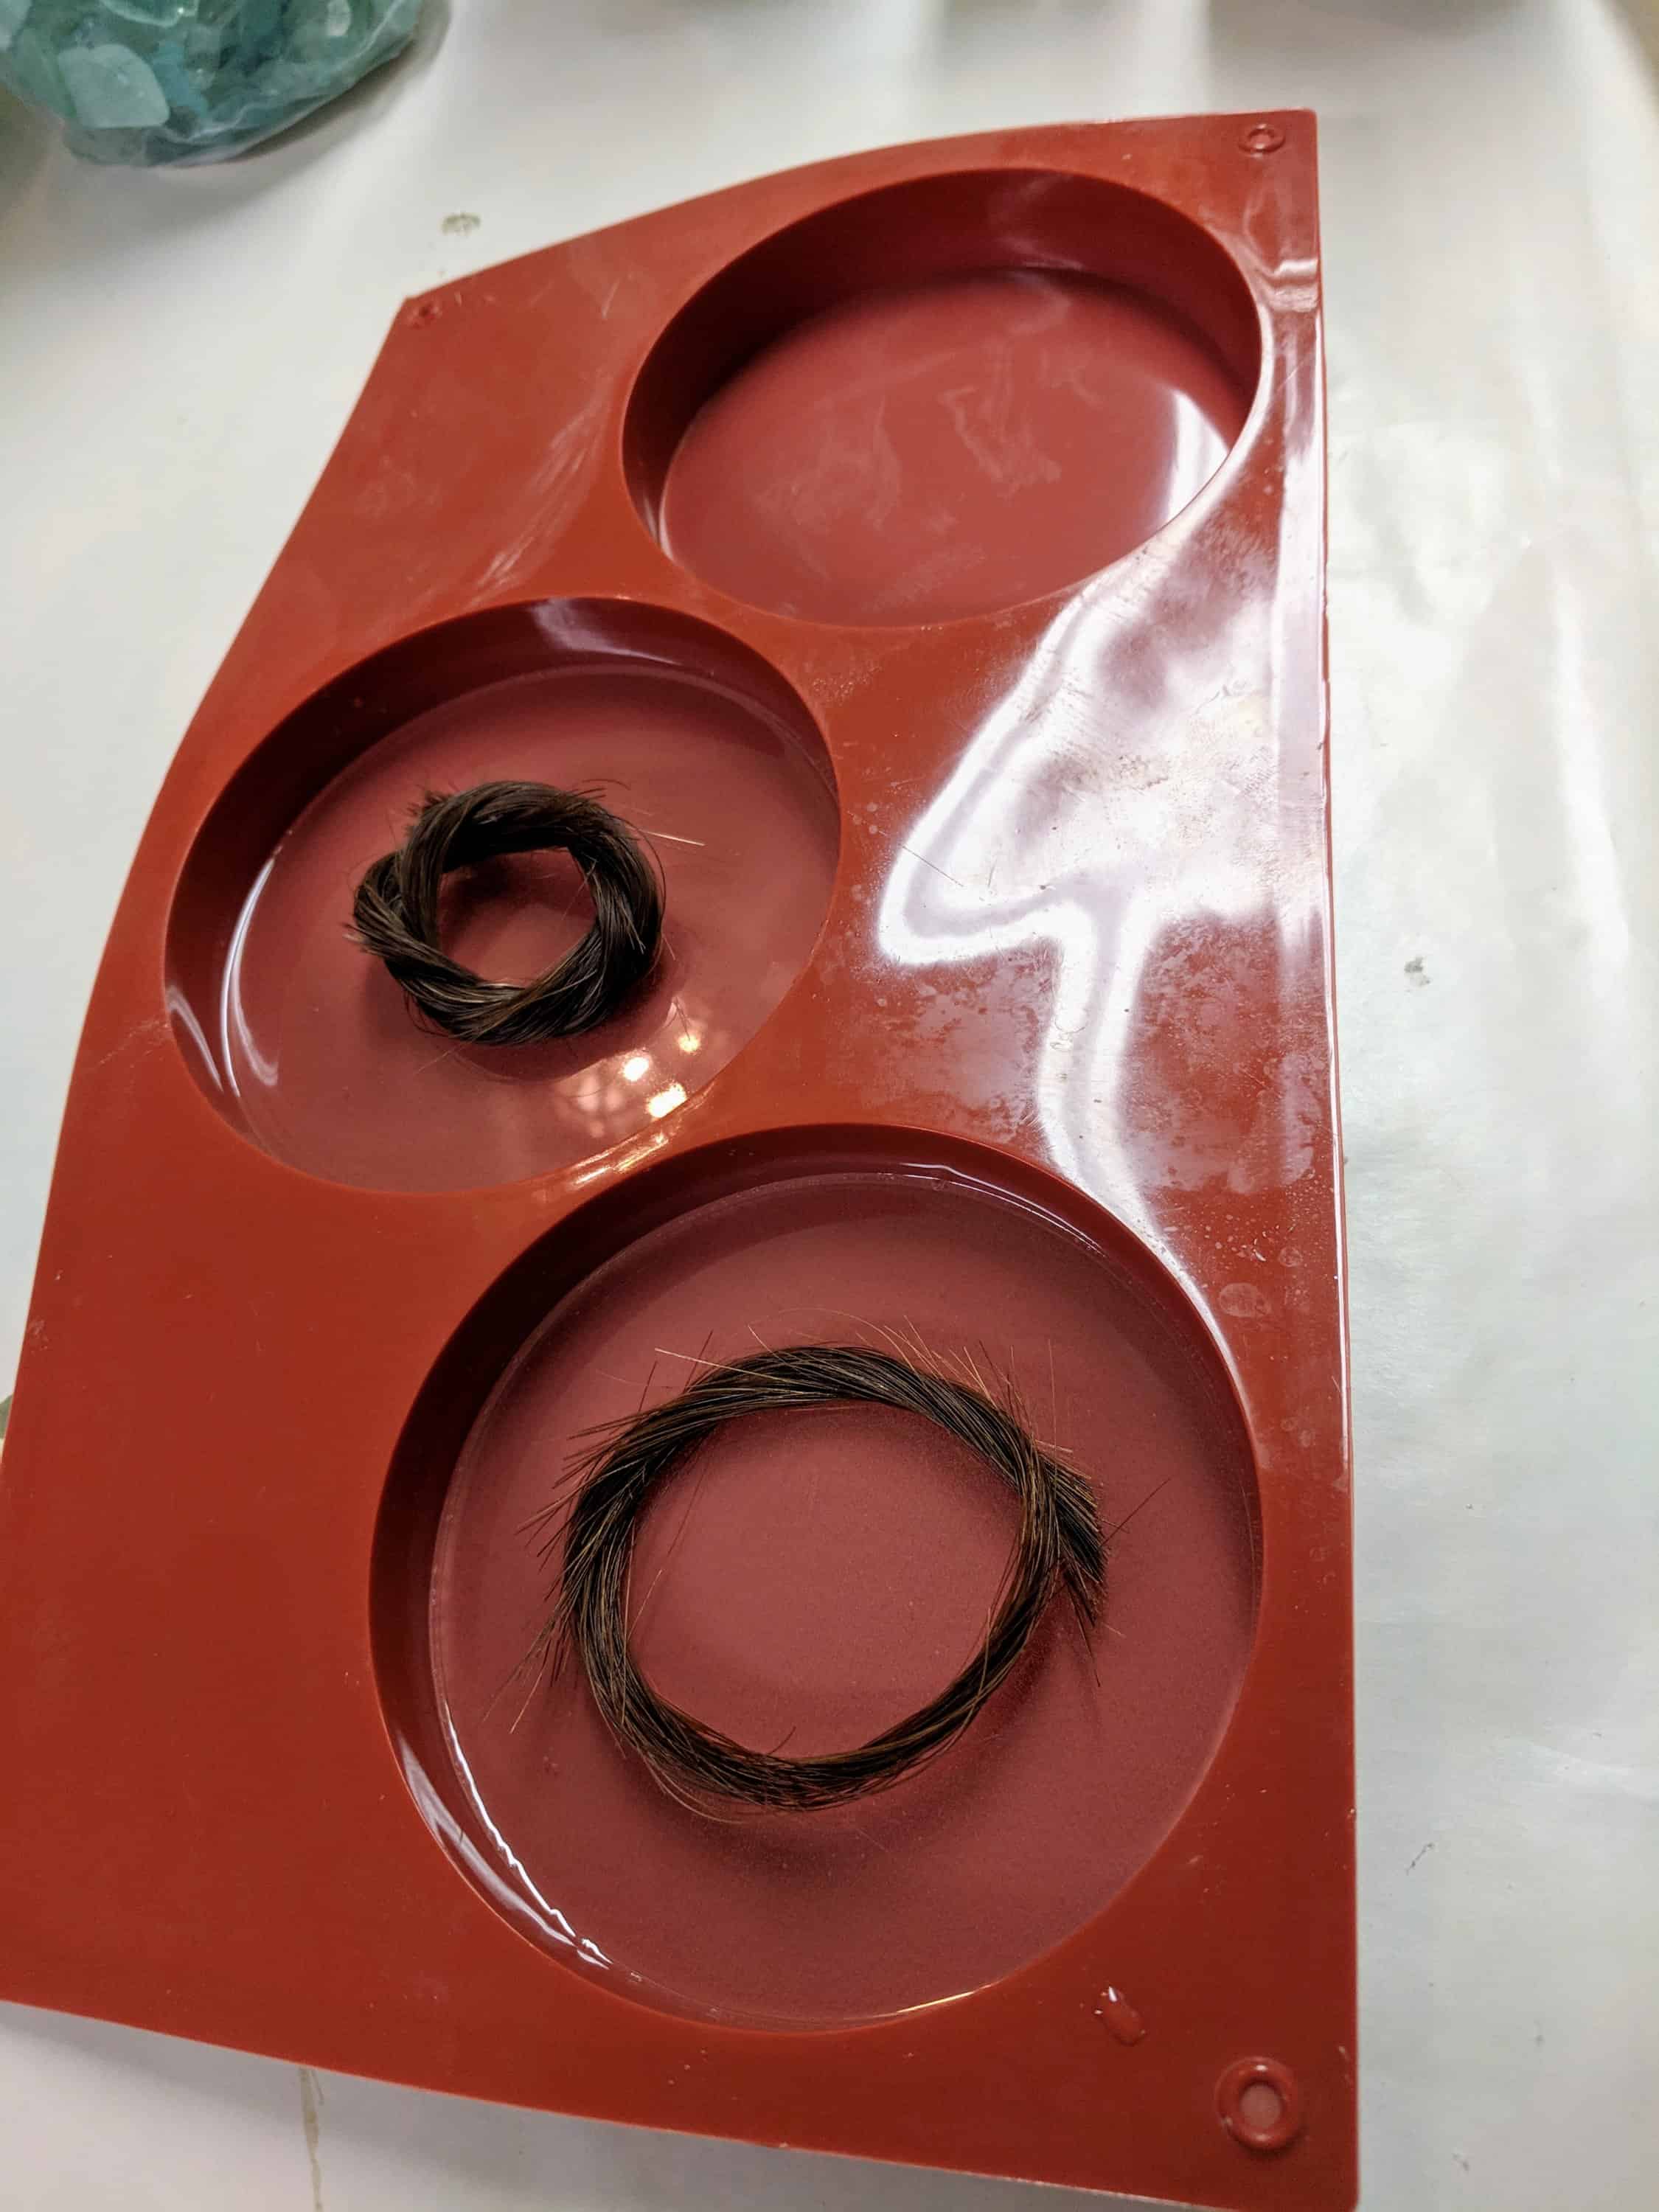
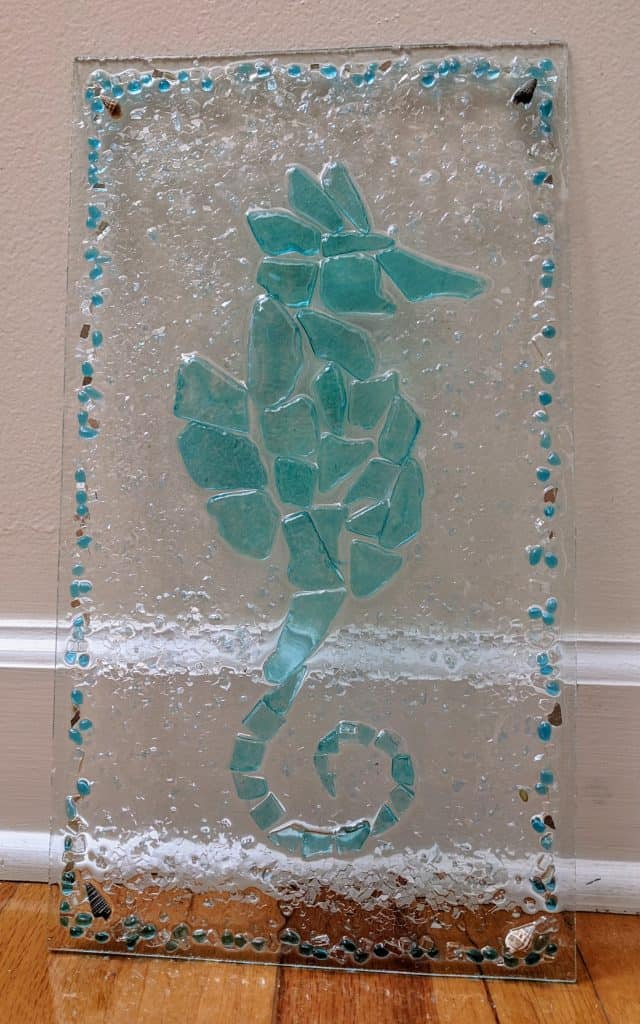
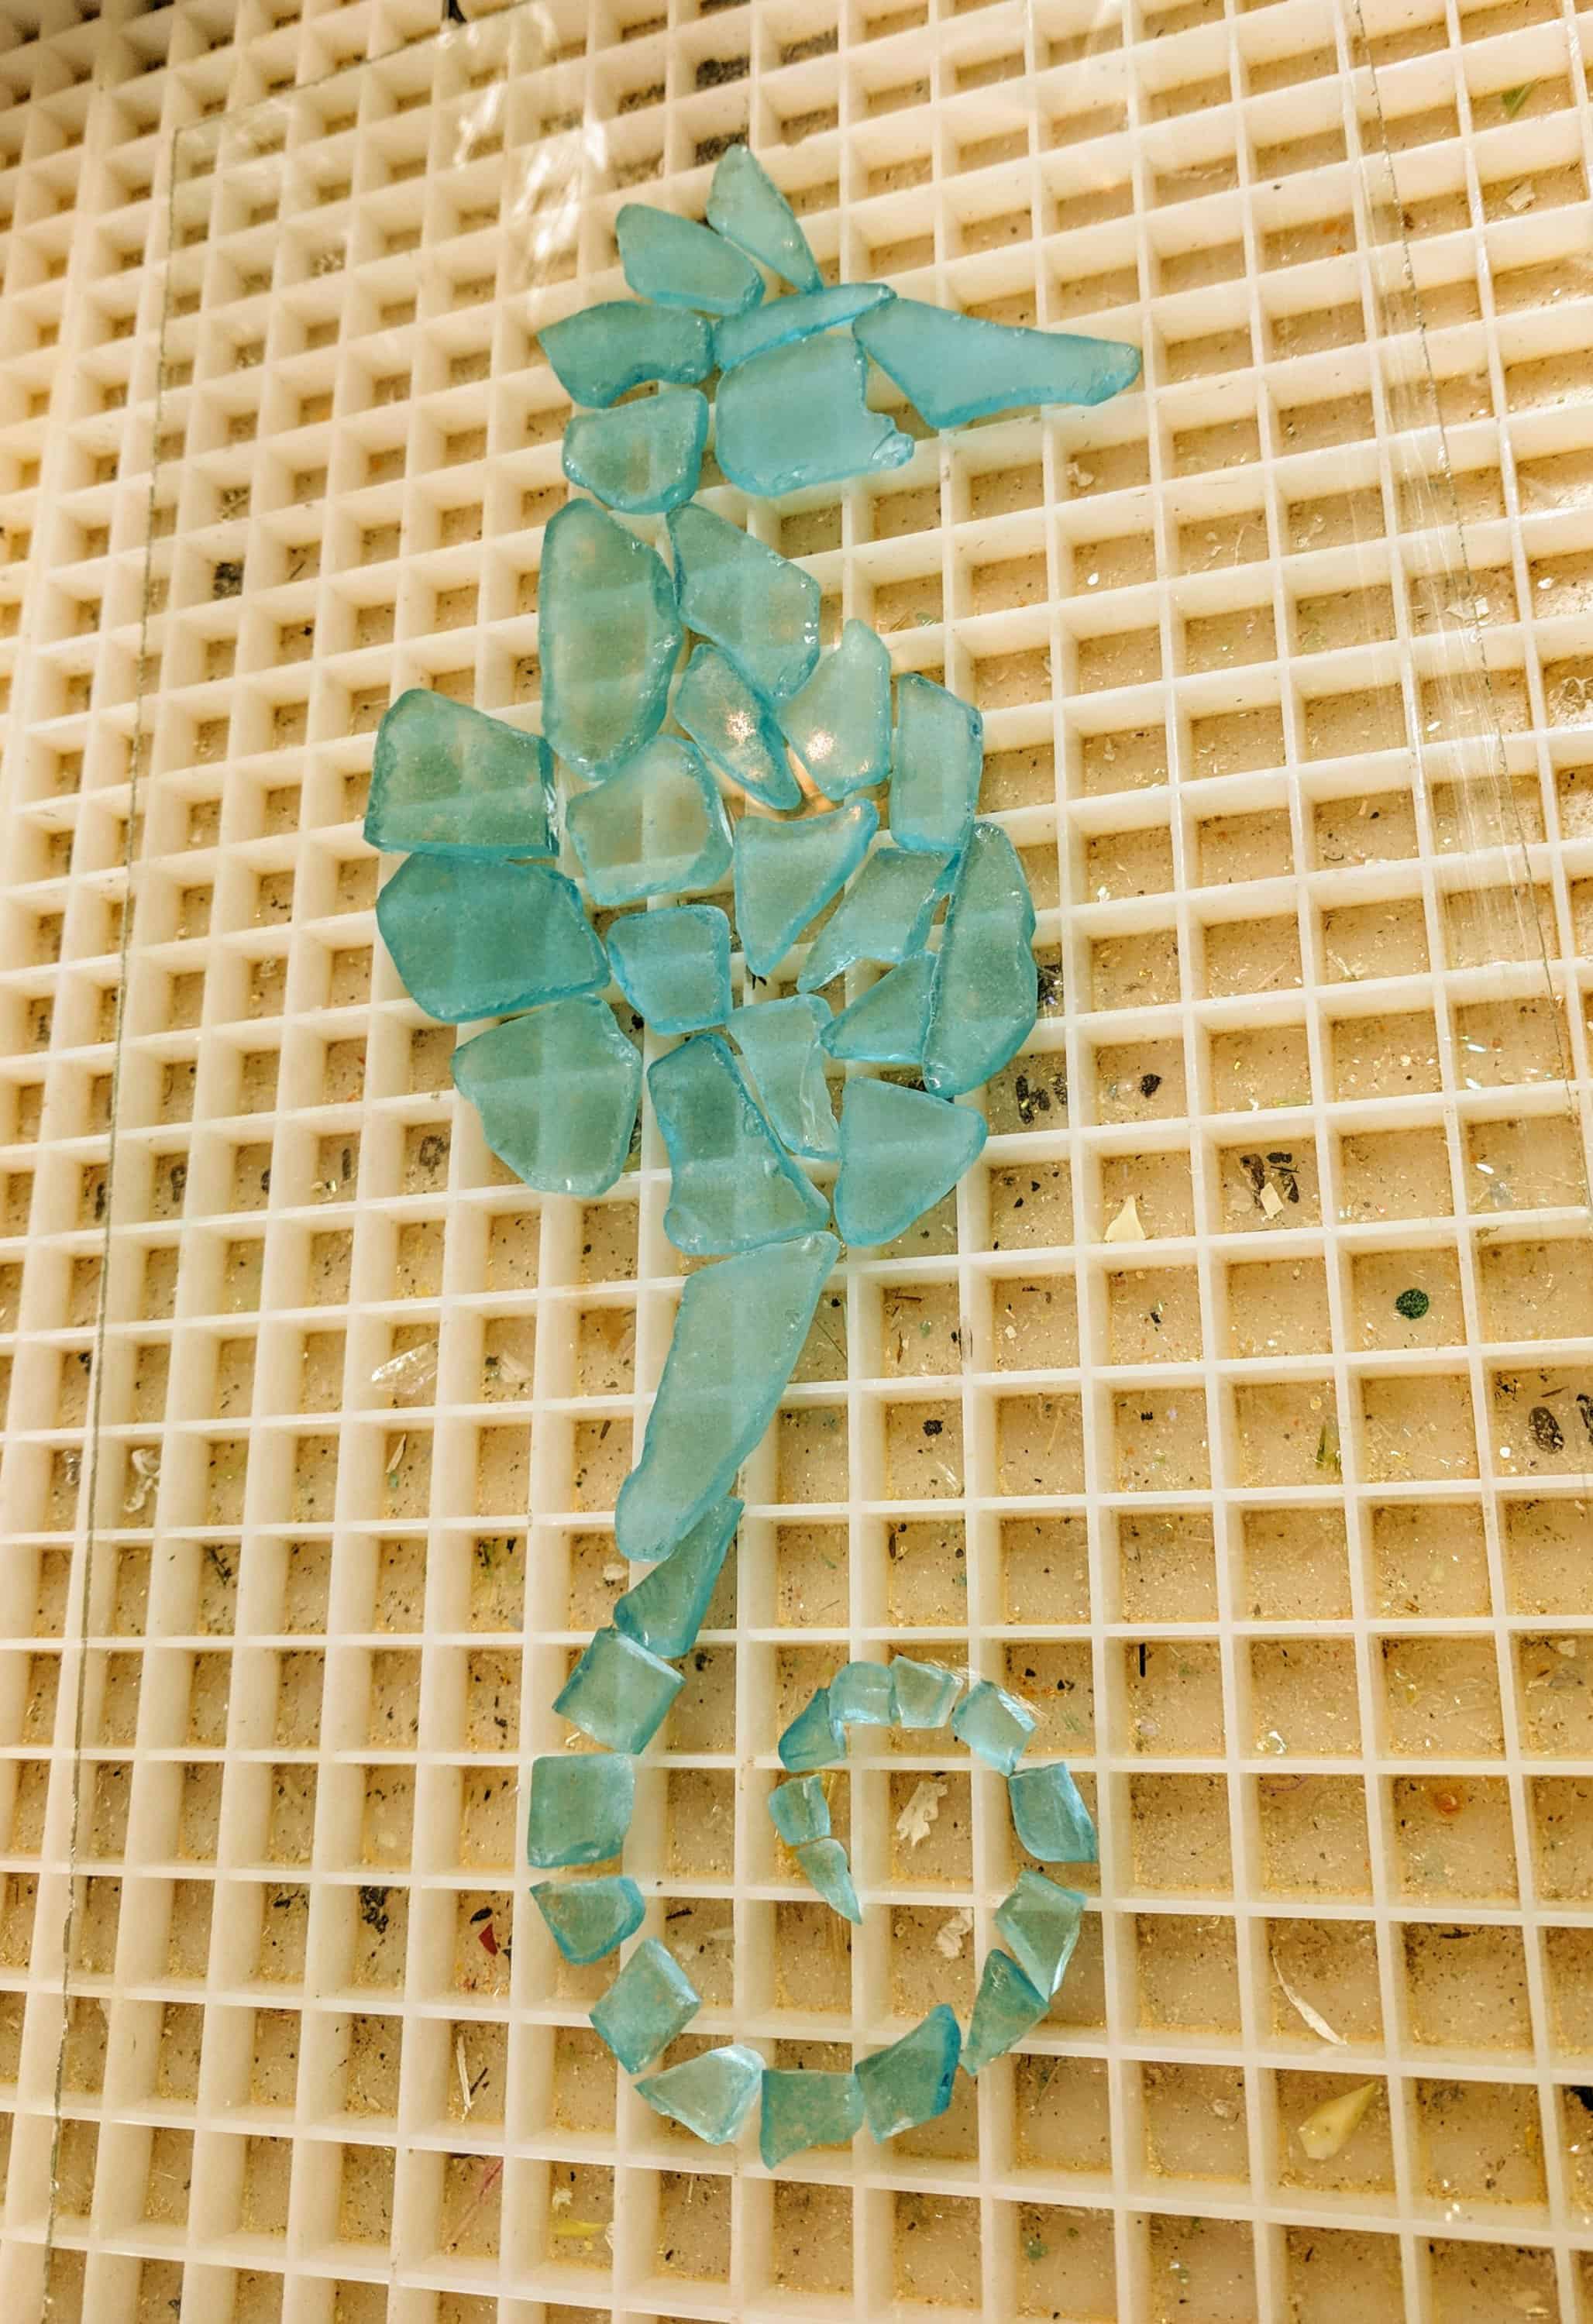
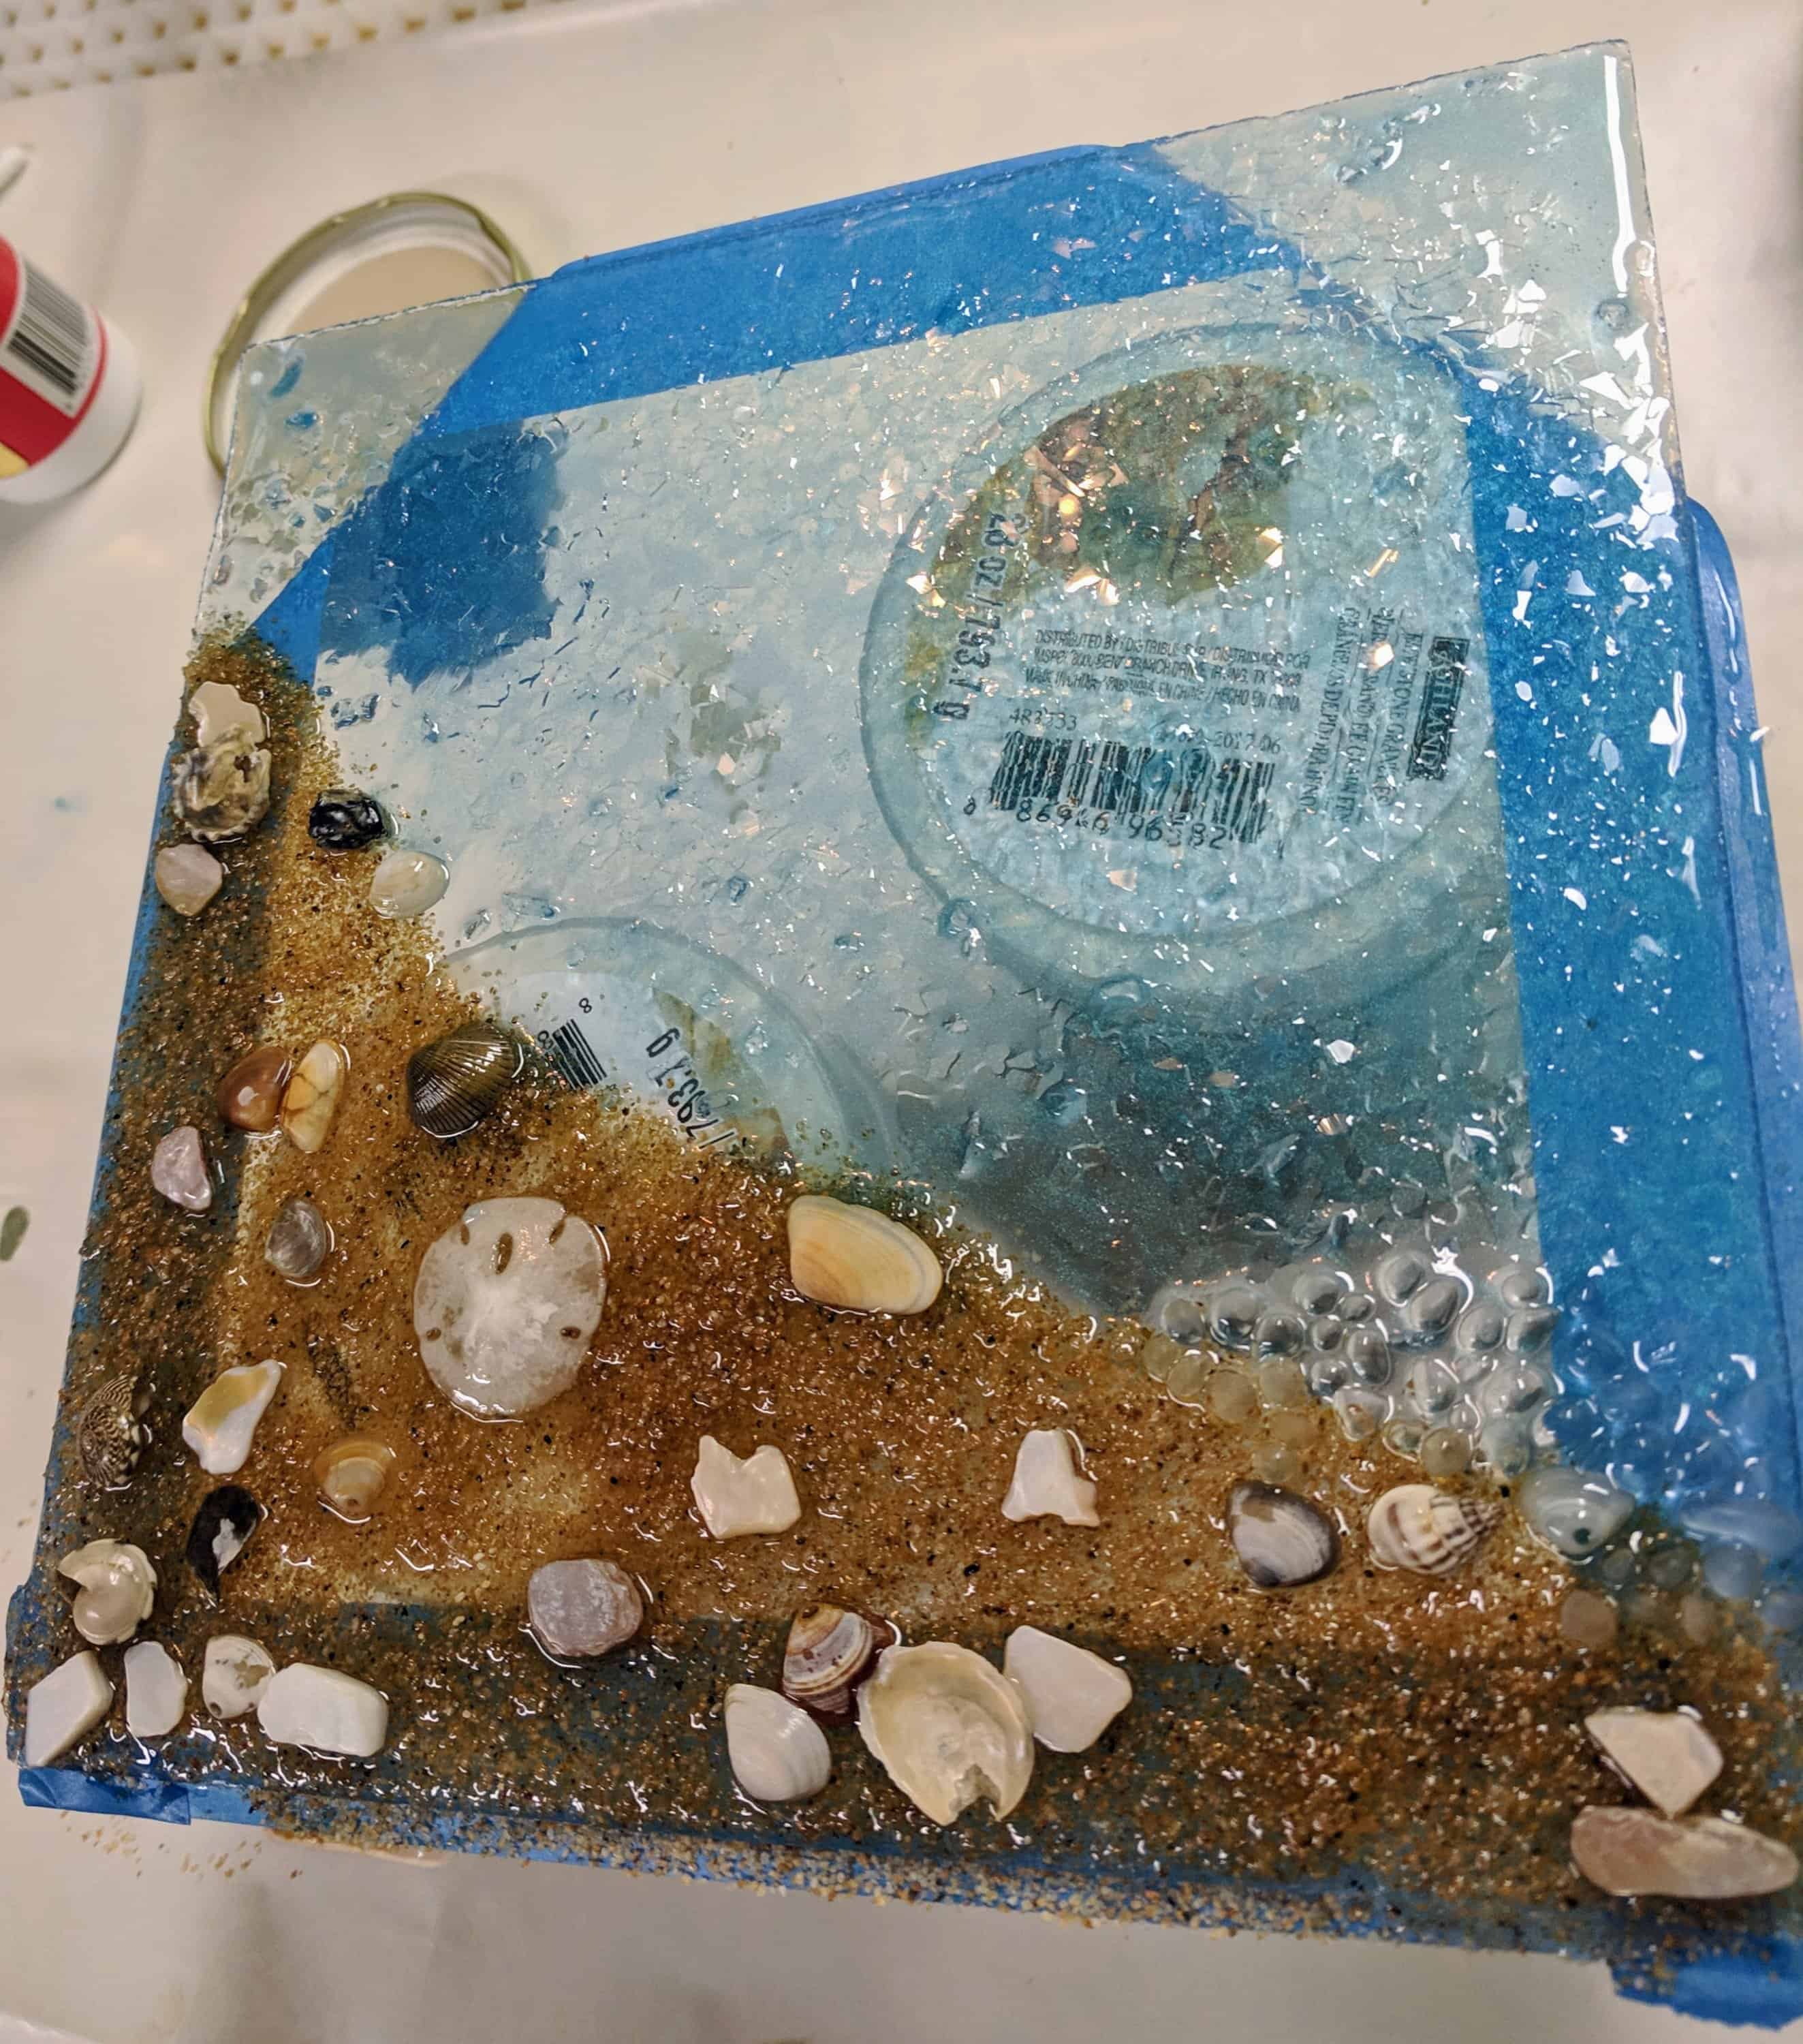
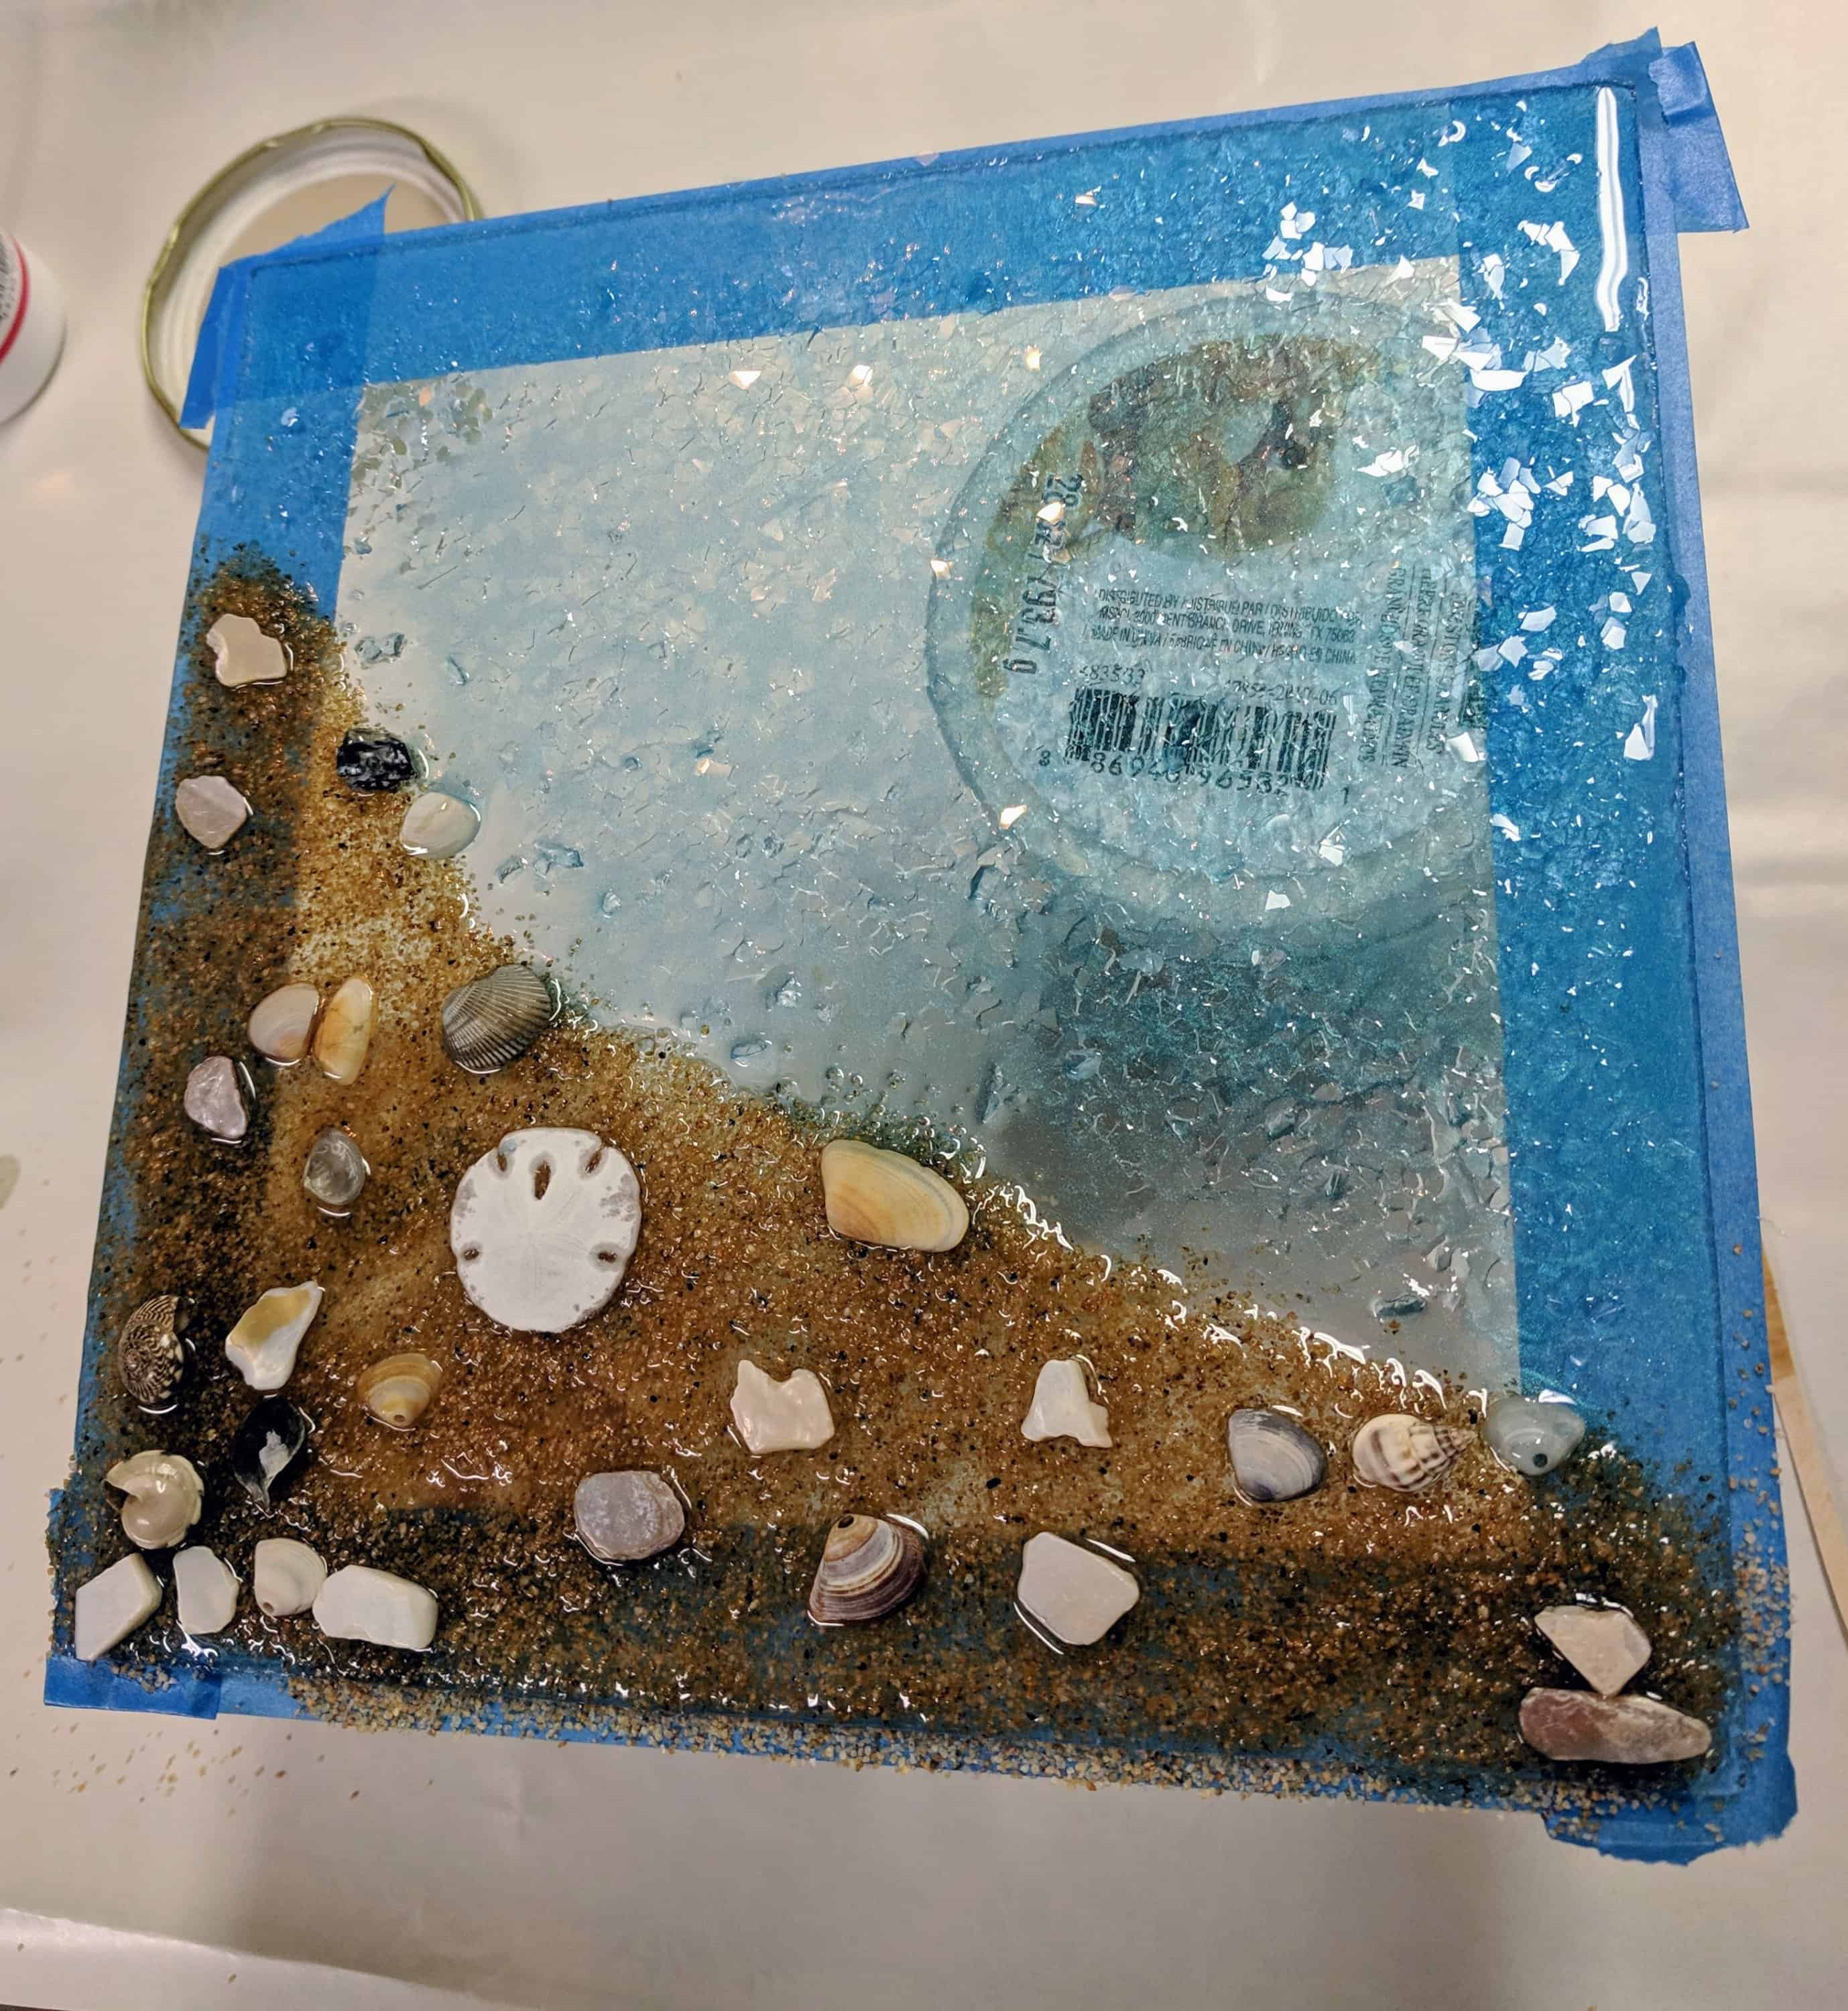
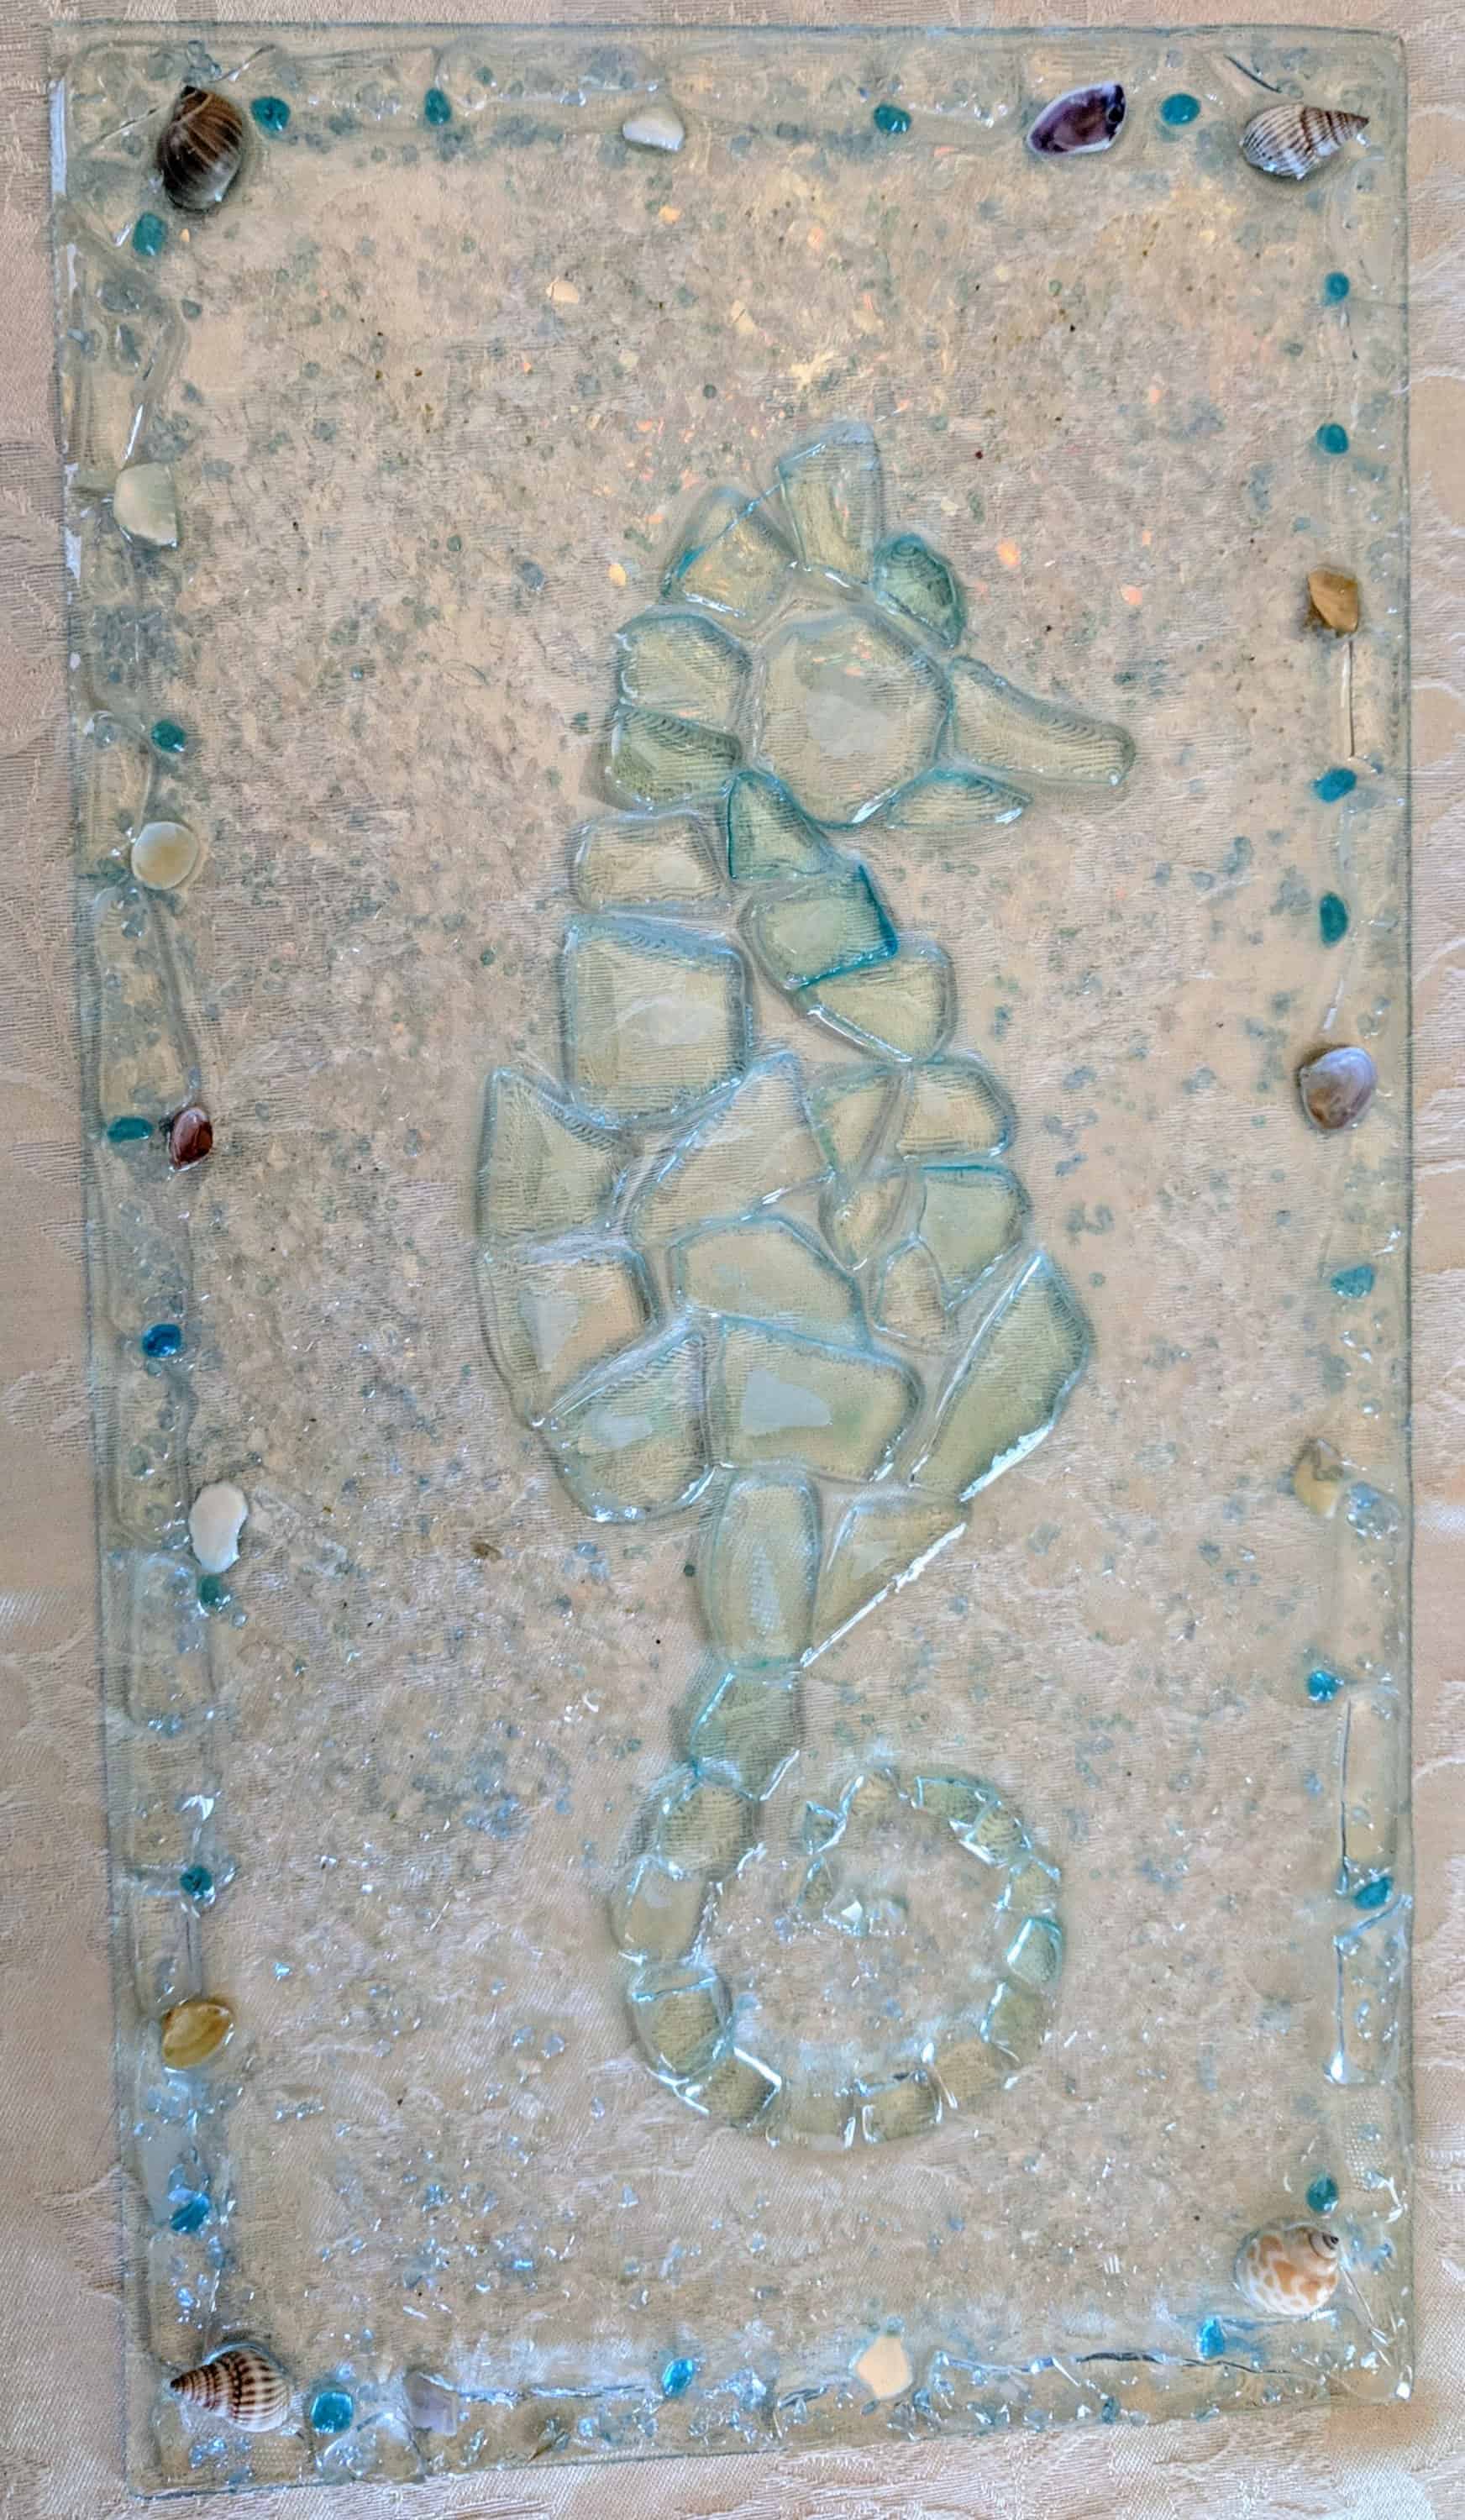
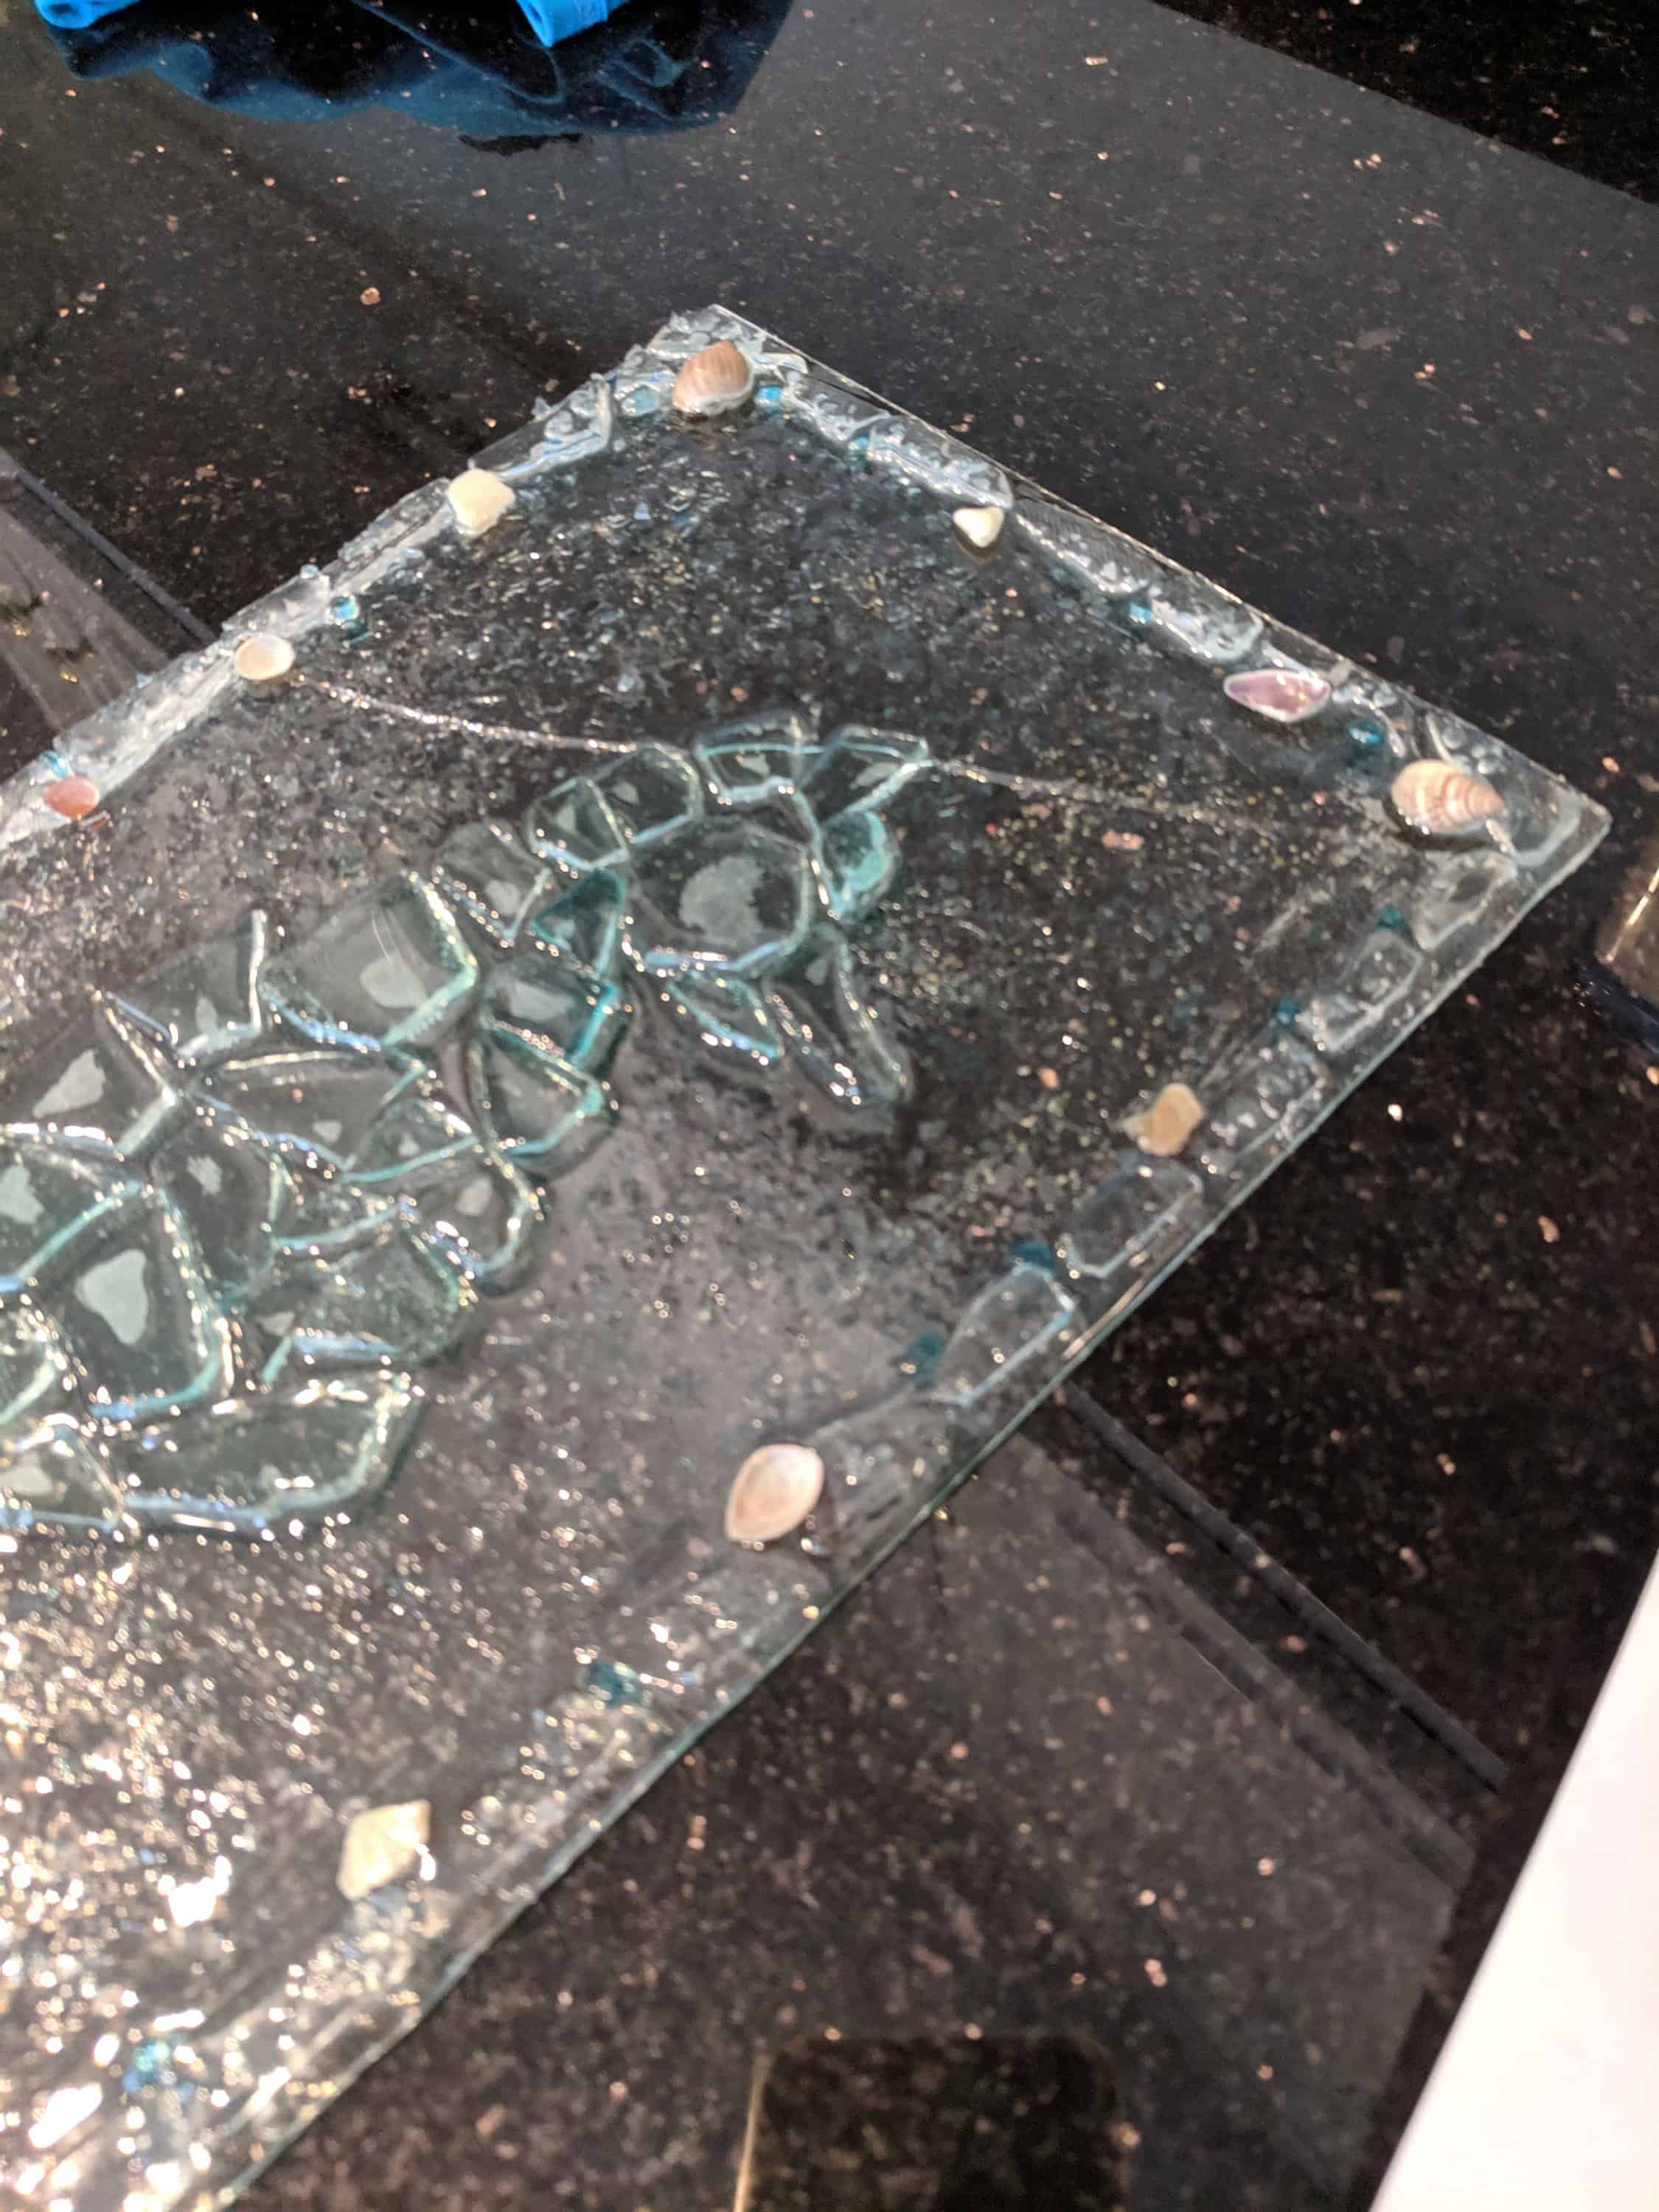
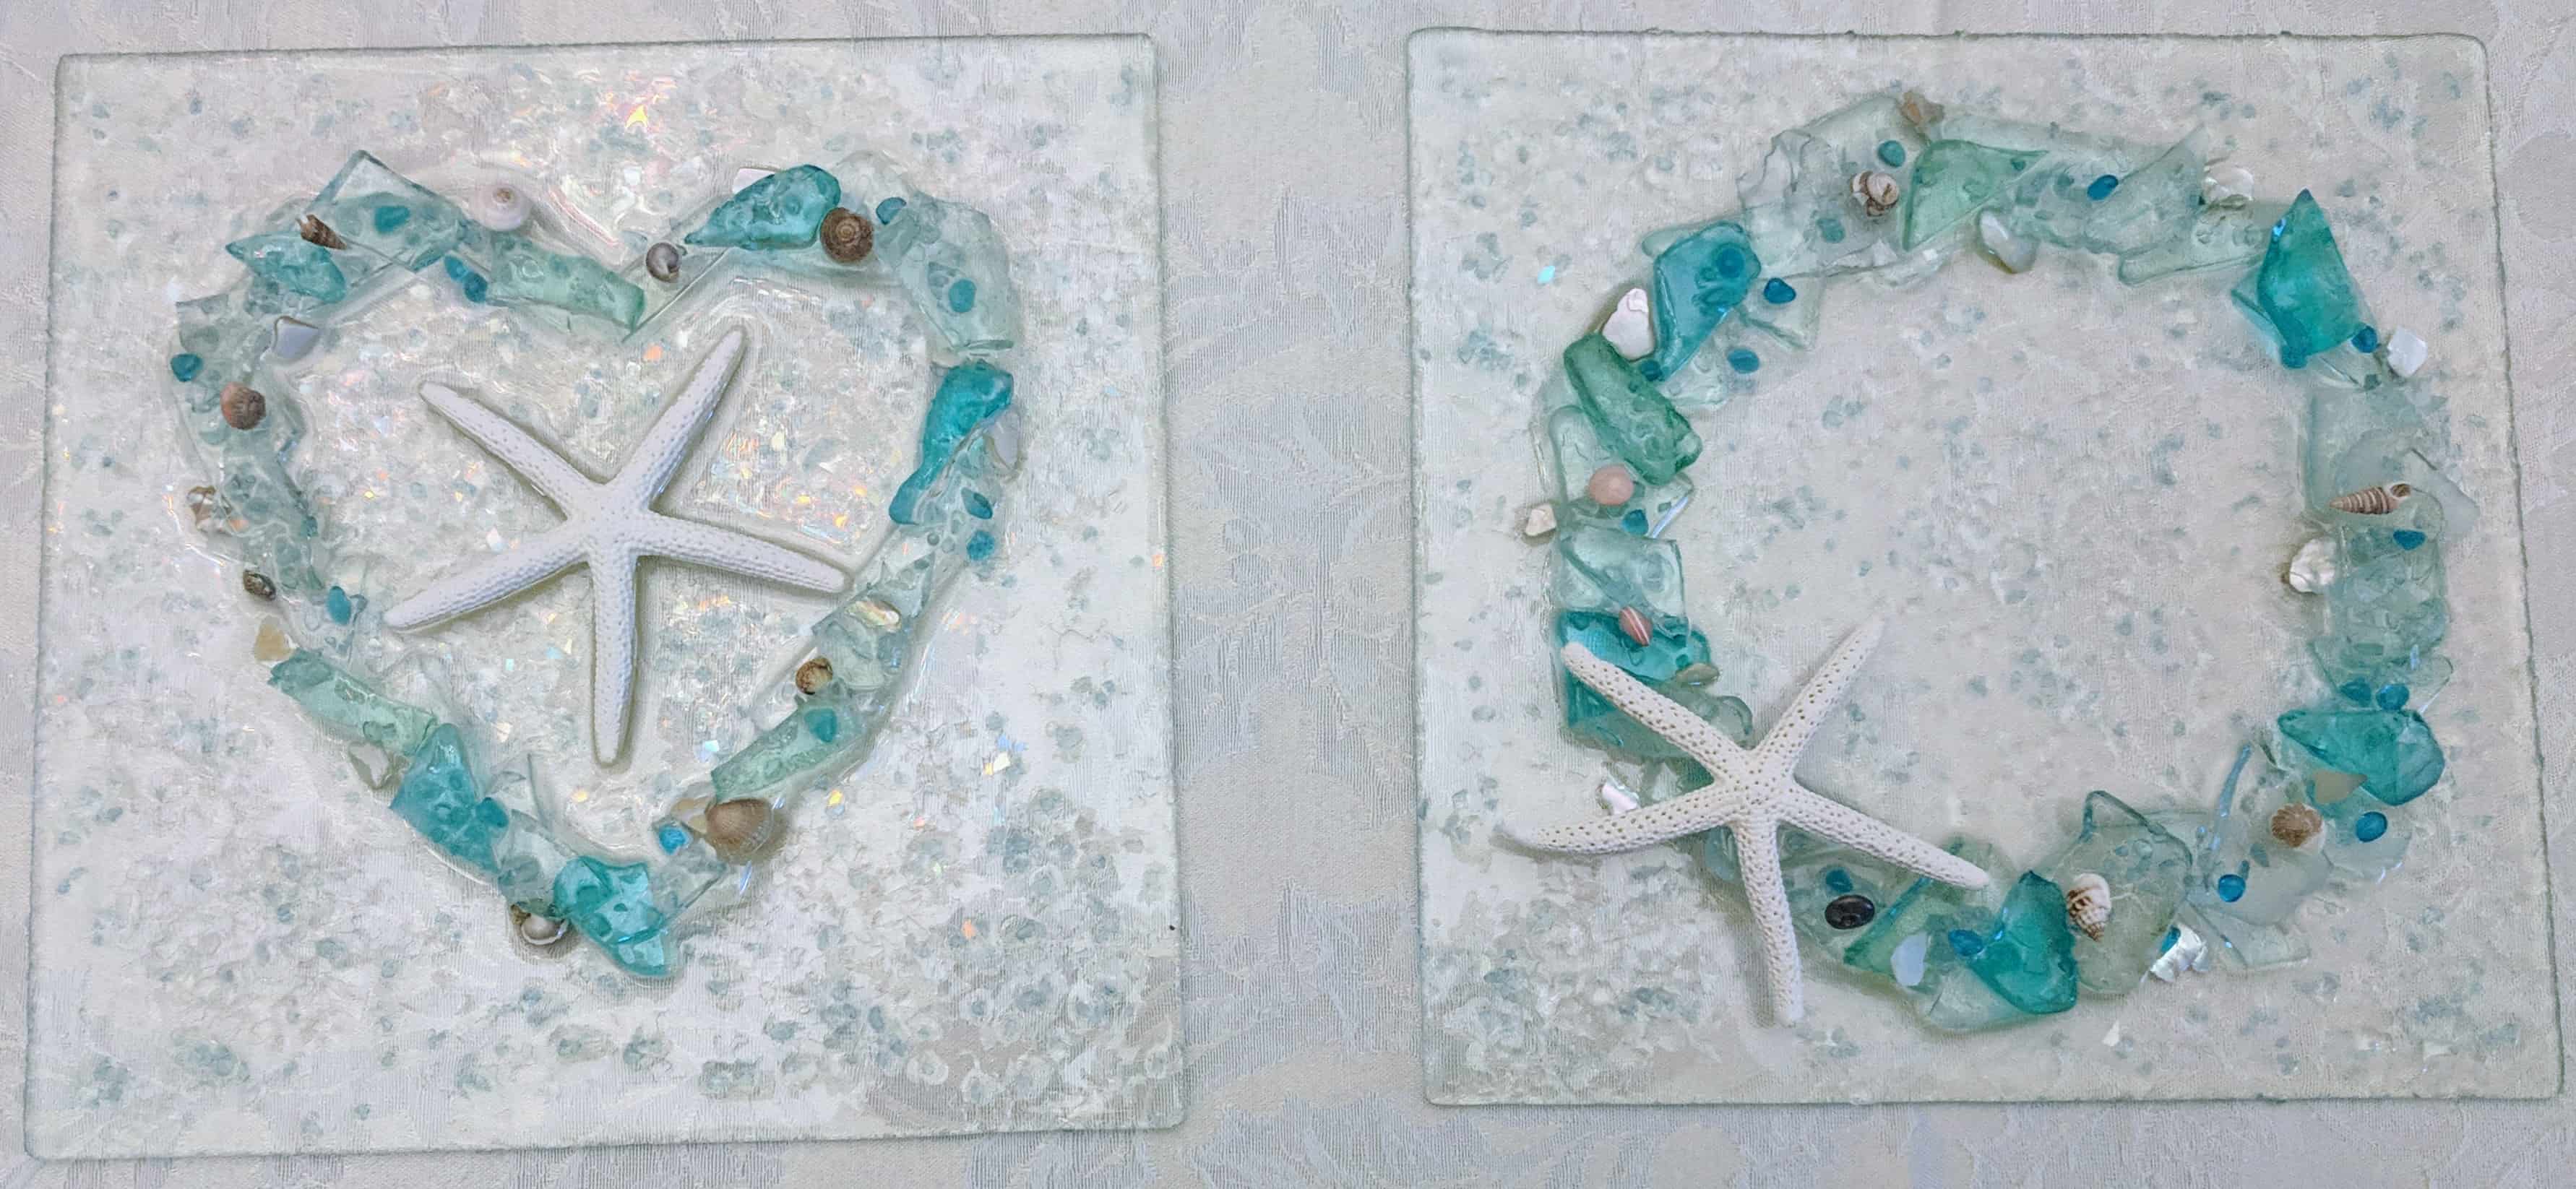
Below: Finishing the decorative details (shells, glass frit, glass chips, etc). Also making minor adjustments to positioning.
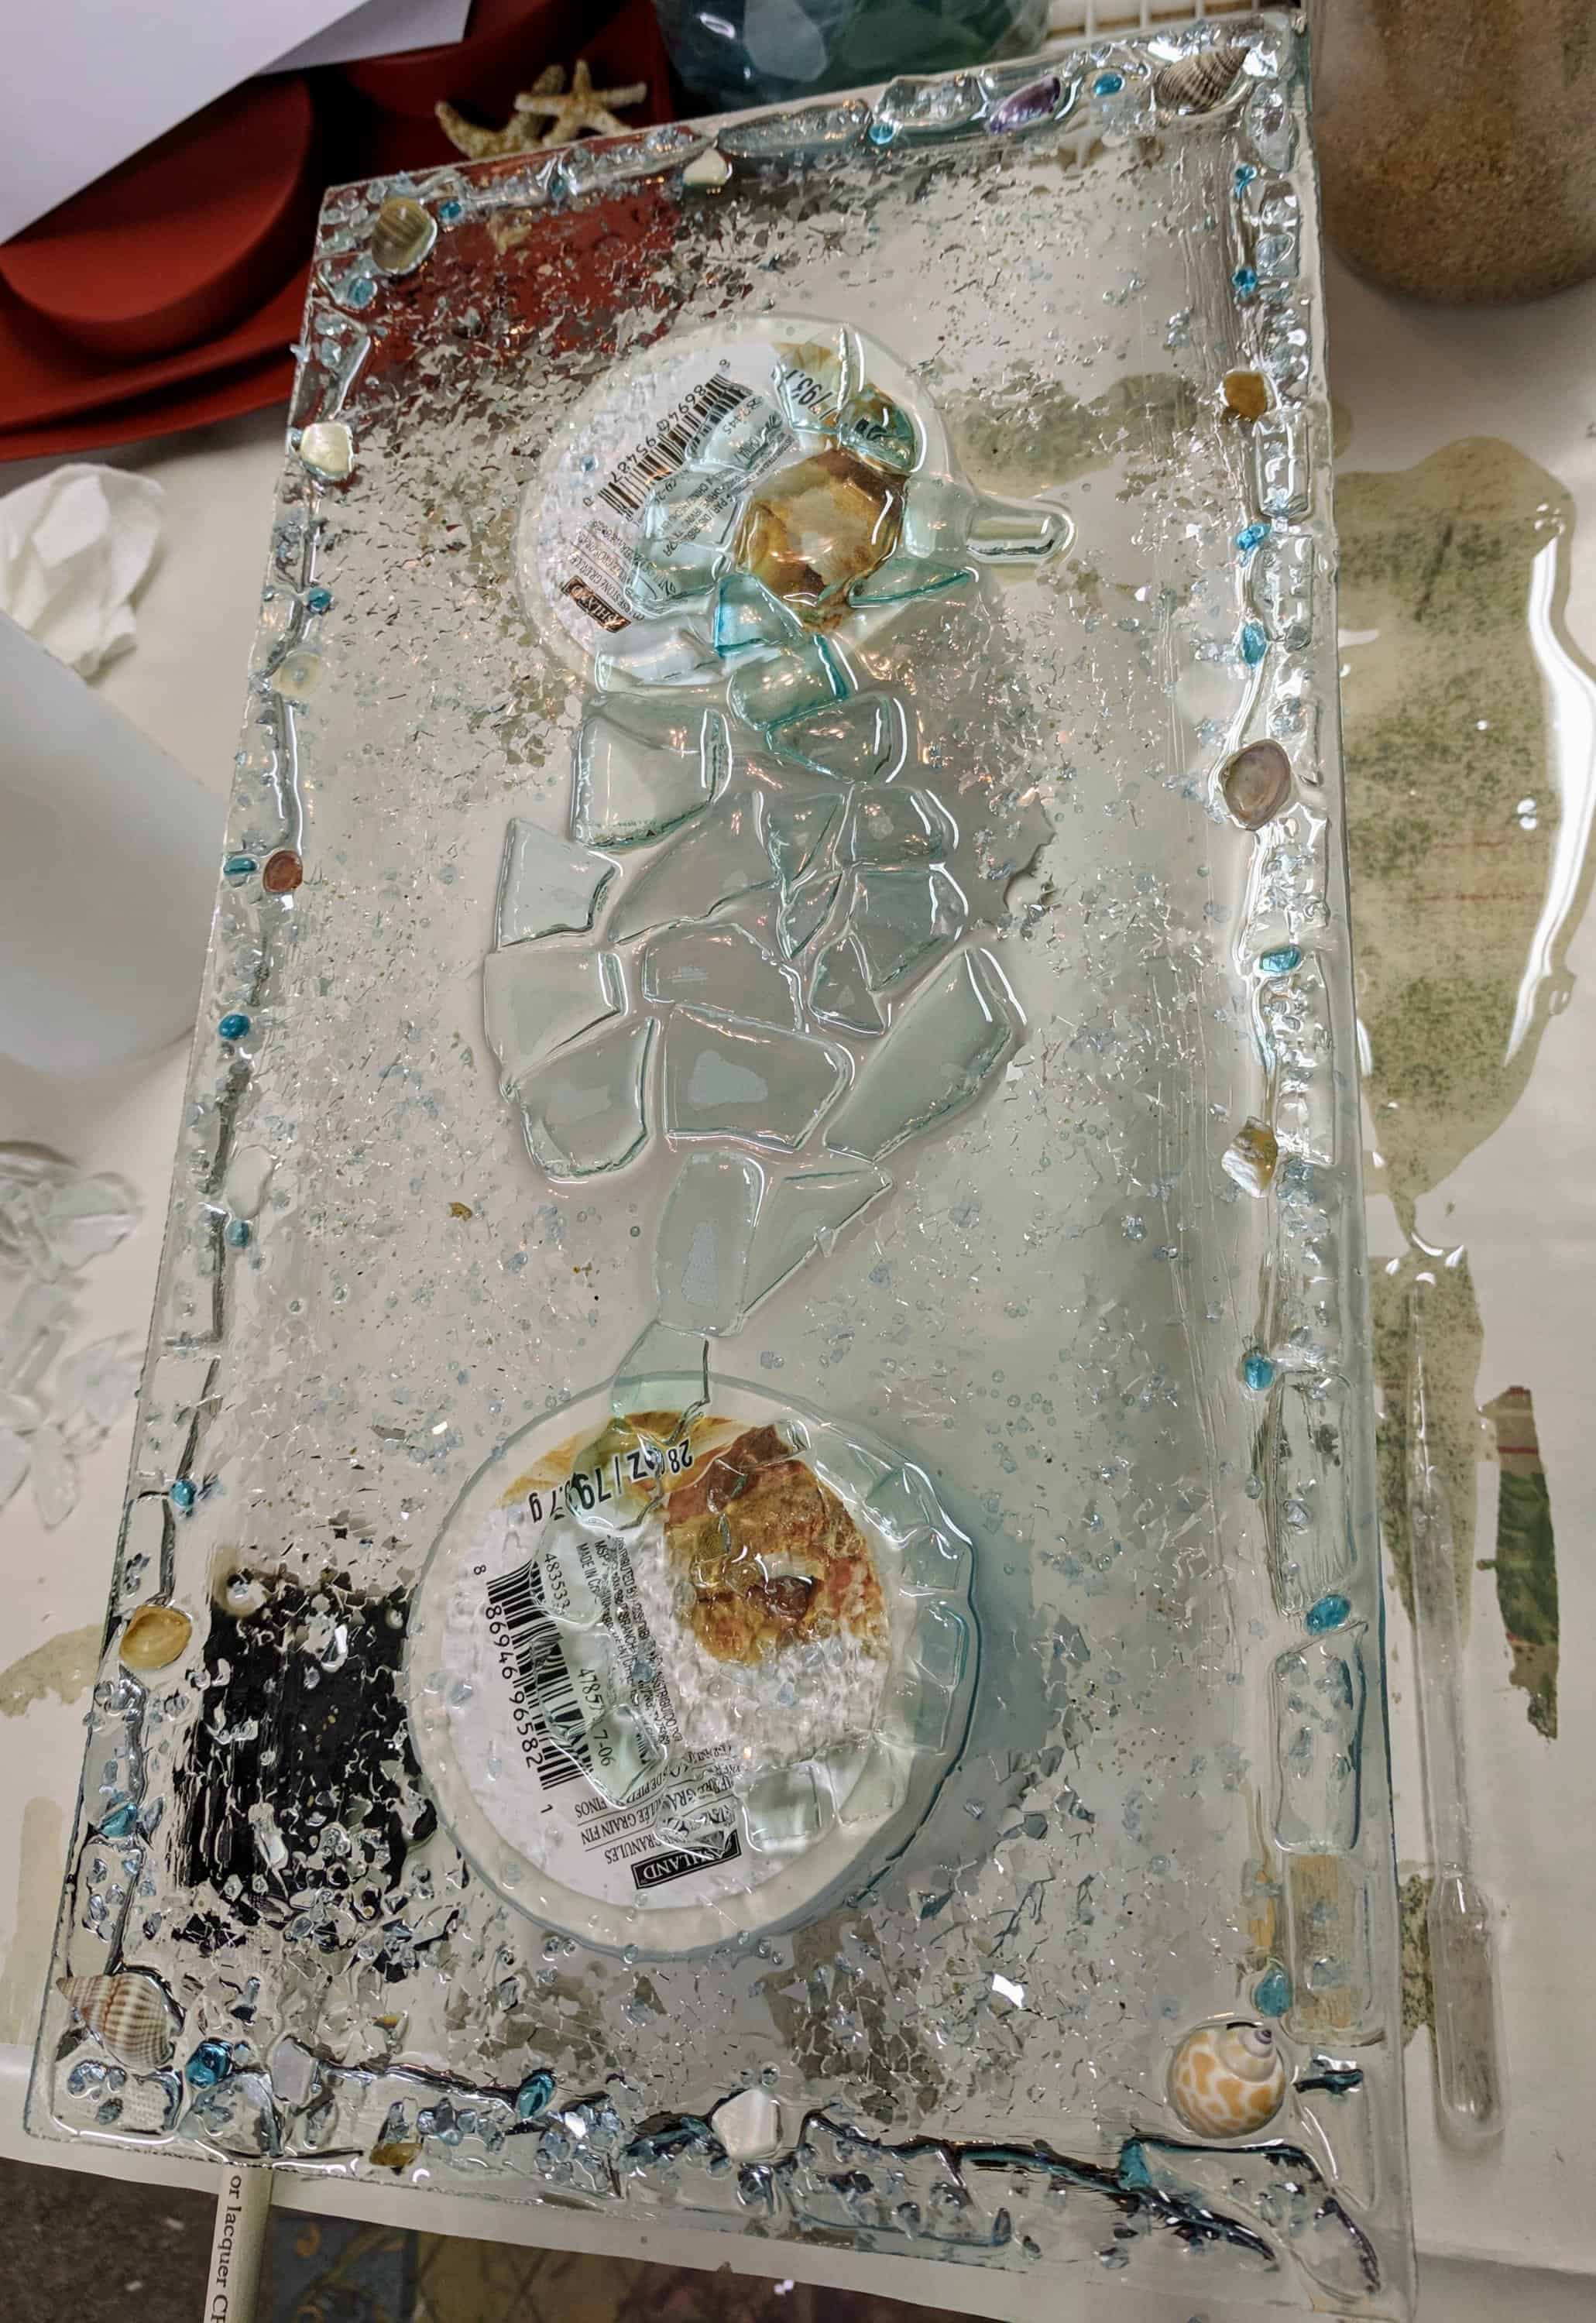
Now it just has to sit for a couple of days to cure, then I will clean up any drips, etc from the sides / back and get a better photo.
Remember when I mentioned that I forgot to raise these off the paper when I poured the resin? Well, one of the three paid the price when I was working on cleaning the paper / resin off the back. 🙁 It now has a hairline crack that might not bother some, but it bothers me. So these are the two survivors.
7 3/4″ square, 7 3/4″ × 14″ unedged and 9 1/2″ × 30″ in old window frame. The 14″ rectangular piece will be a seahorse. No idea on the others yet. I will likely have to do some additional prep work on the frame for the old window, as the paint is chipping as I try to clean it.
I’ve been trying to figure out how to decorate these for a few days. Going to pour the resin now and do some experimenting….. These three are somewhere between 7 and 8 inches square (have not yet measured since I cut them down).
Update: I forgot to lift these three pieces off the paper before pouring the resin. I guess I will get to find out what it’s like to clean off paper and resin from these when they are cured. Also, I only used 4 ounces of resin to do all three of these.