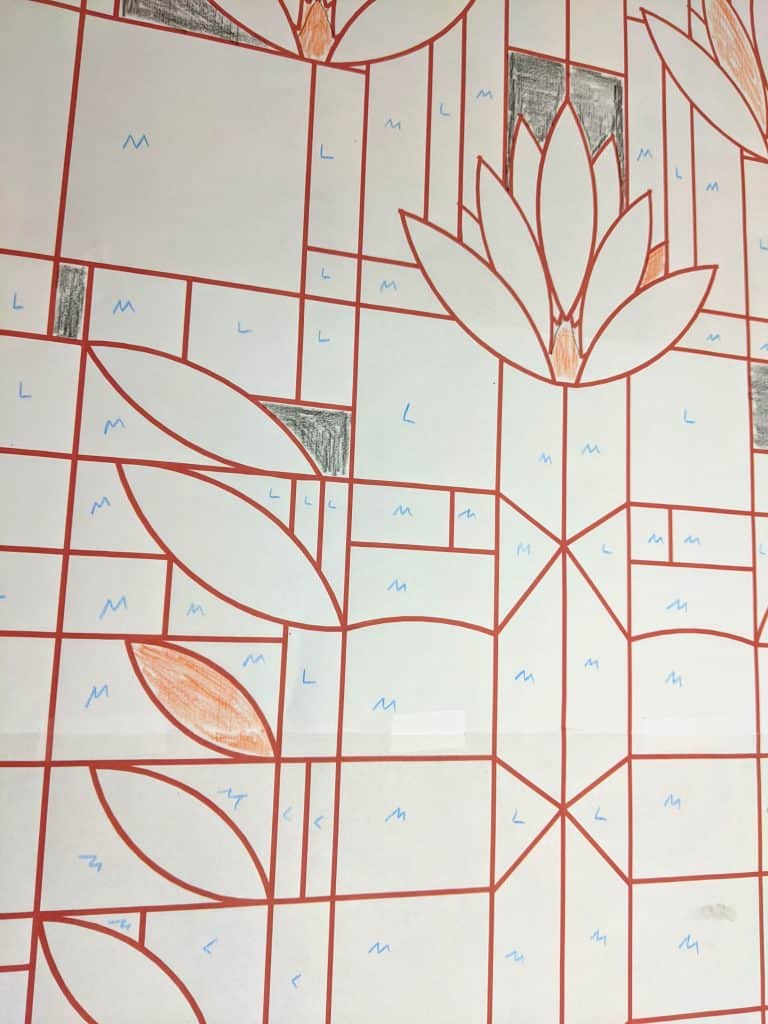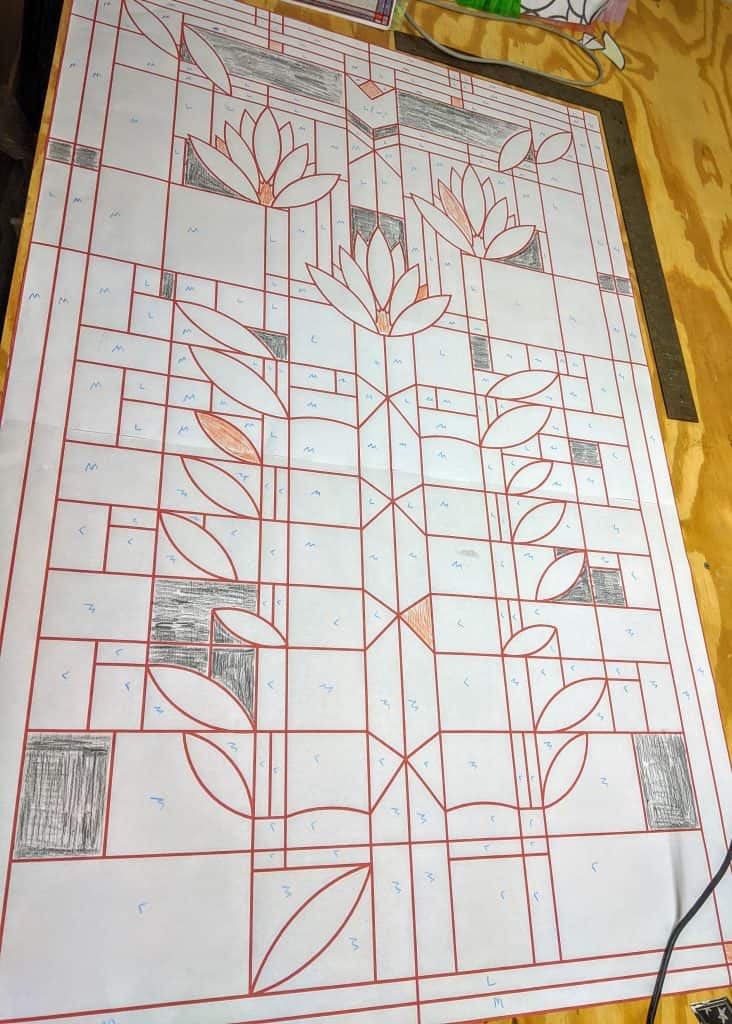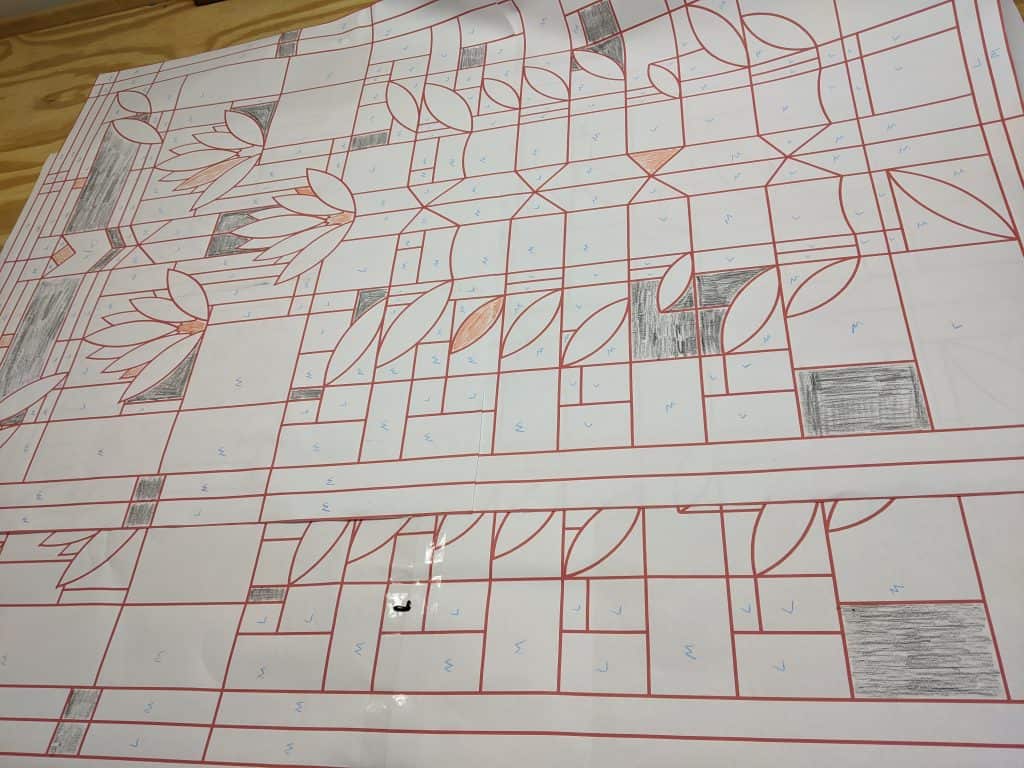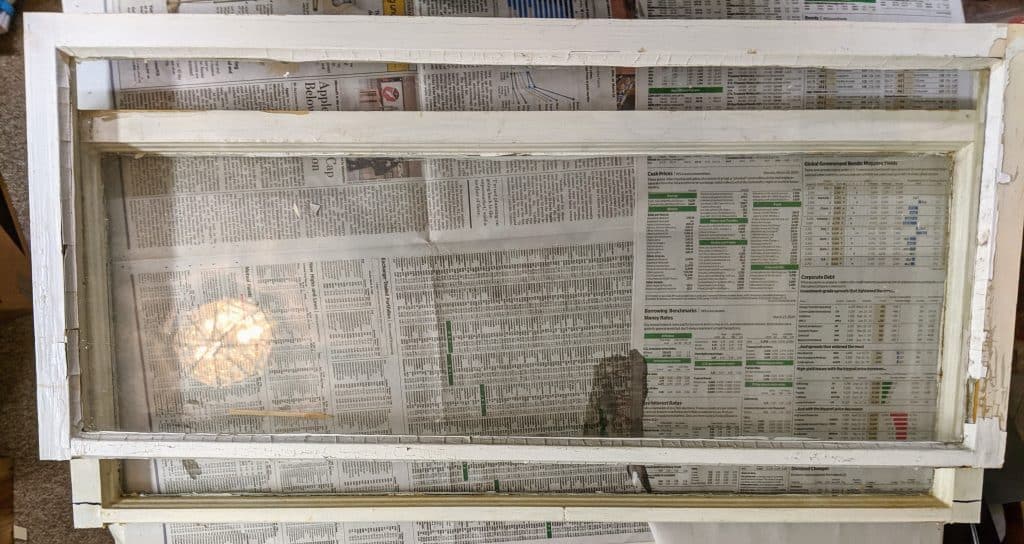
This week I finished marking all the pieces of the pattern with their intended color codes and ordered the 31″ x 48.25″ backer glass from Charleston Glass and Mirror. They recommended laminate which is apparently stronger than tempered. Hopefully I will have it early this week. In the meantime, I can start cutting out the pieces of the paper pattern I will use to guide myself on each piece of glass as I cut it. I think I will also visit Mike at Blue Heron Glass because I don’t think I have enough of the darkest glass. Hopefully he will have something on hand that is similar enough to fit the bill.
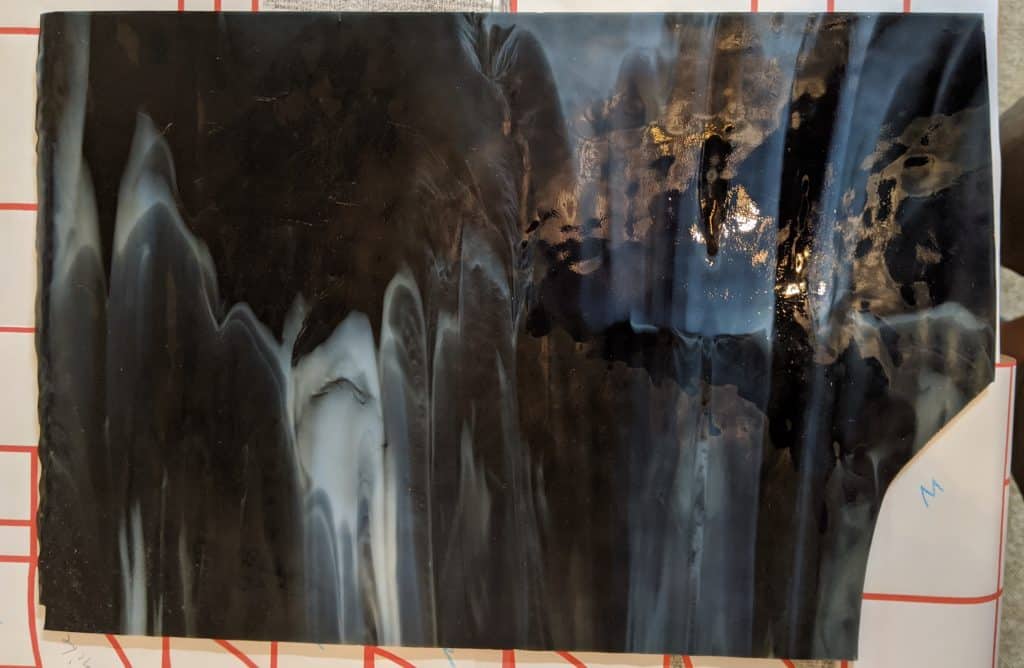
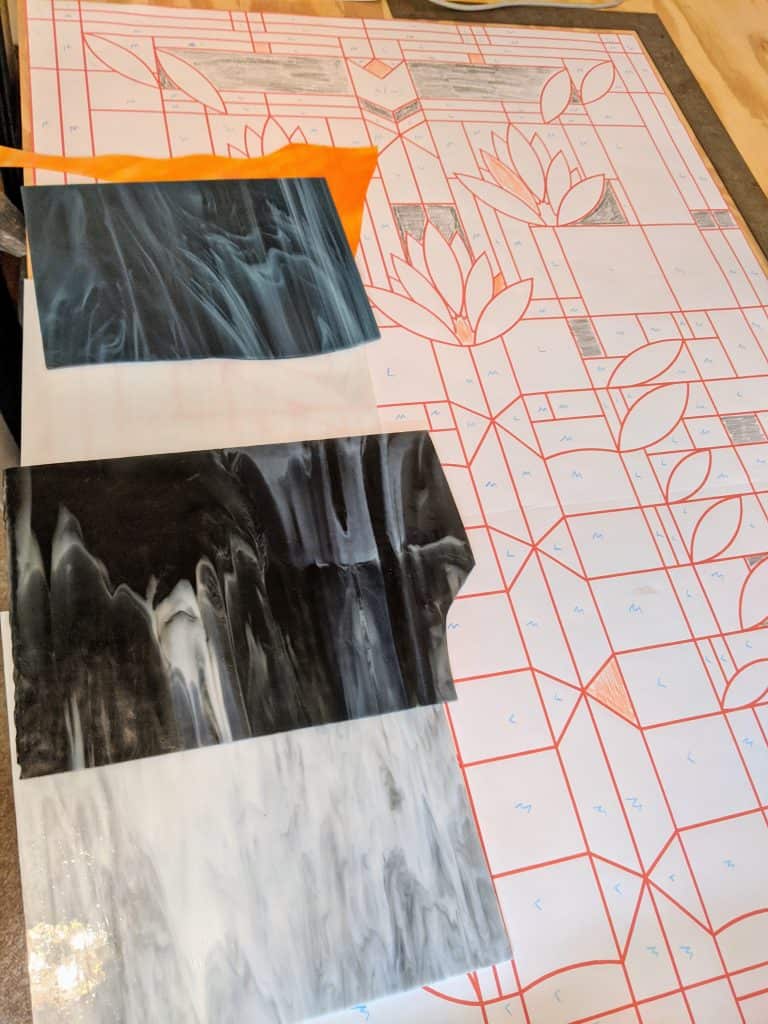
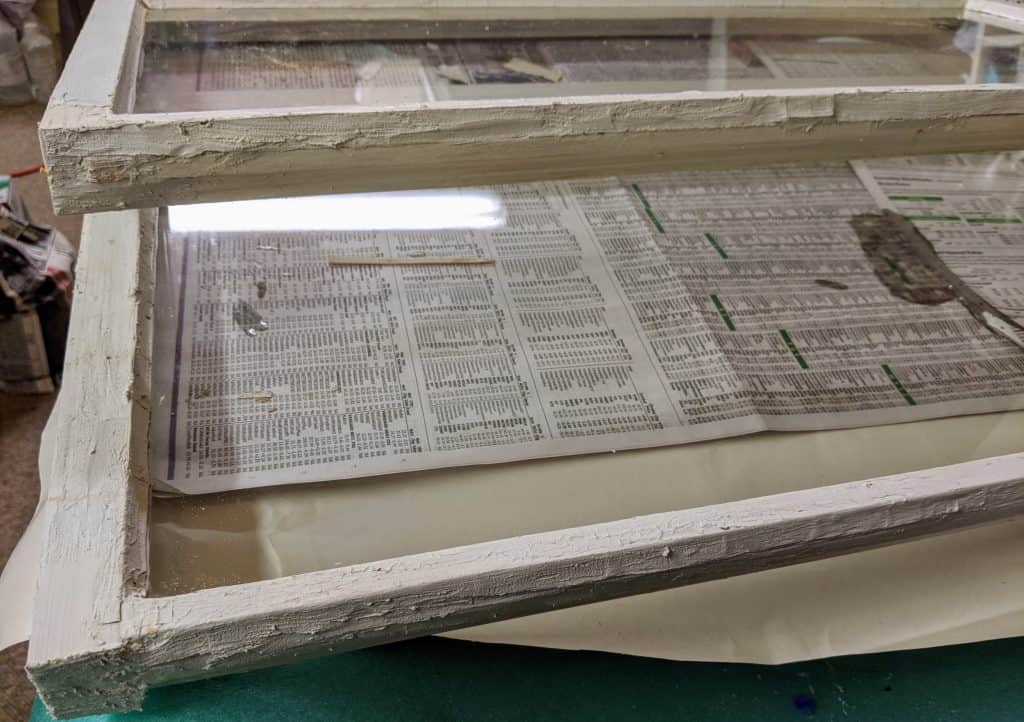
Dark glass (reflected light) 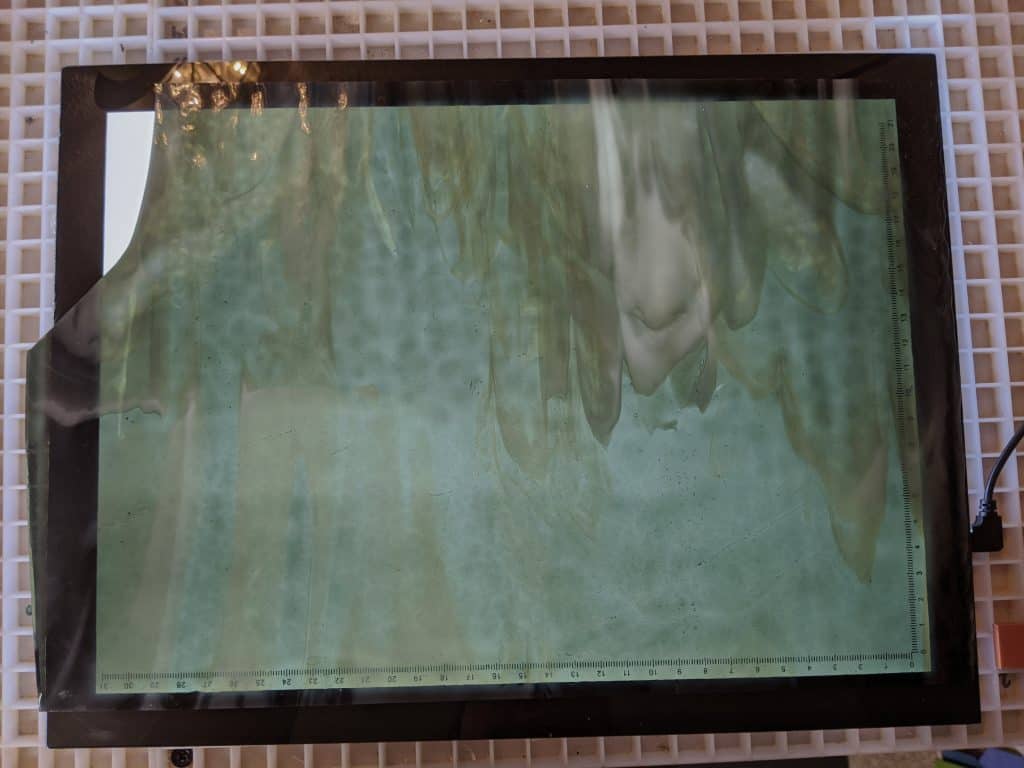
Dark glass on the light tray
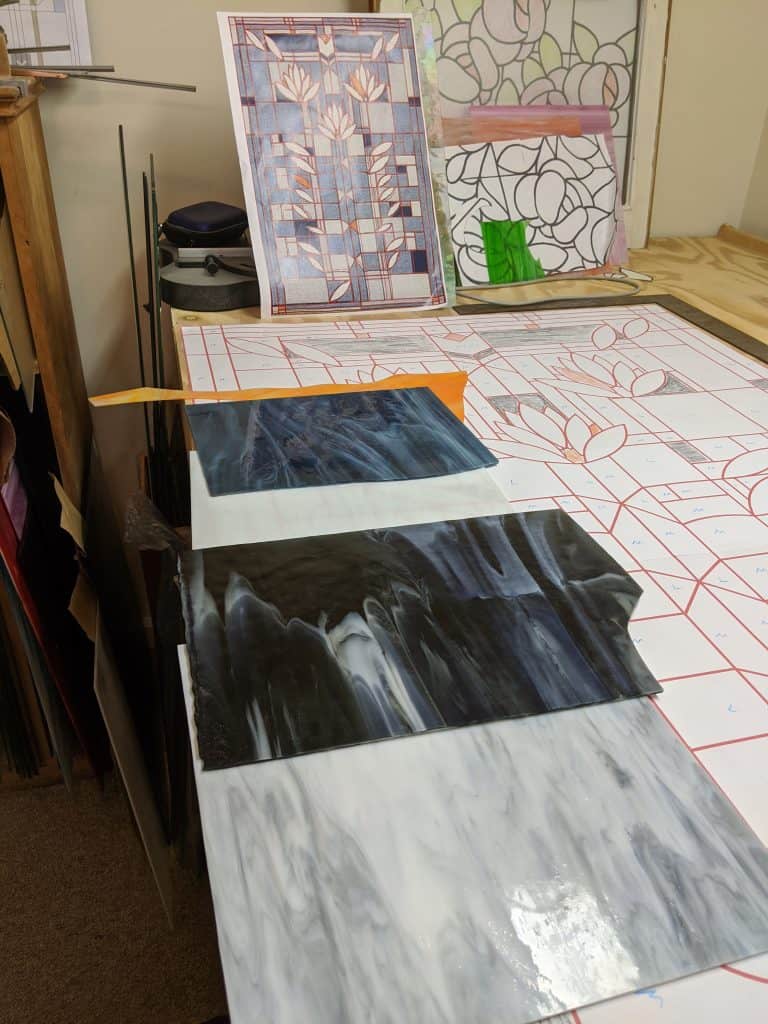
On the left is the darkest glass I’m using in the project. It looks like it is black with white swirls when viewed in ambient light. However, when the light is shining through it (as on the light tray on the photo on the right, above), it is a beautiful shade of gray.
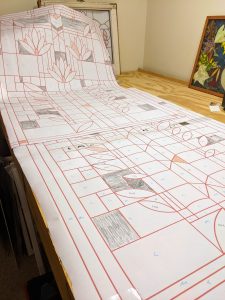
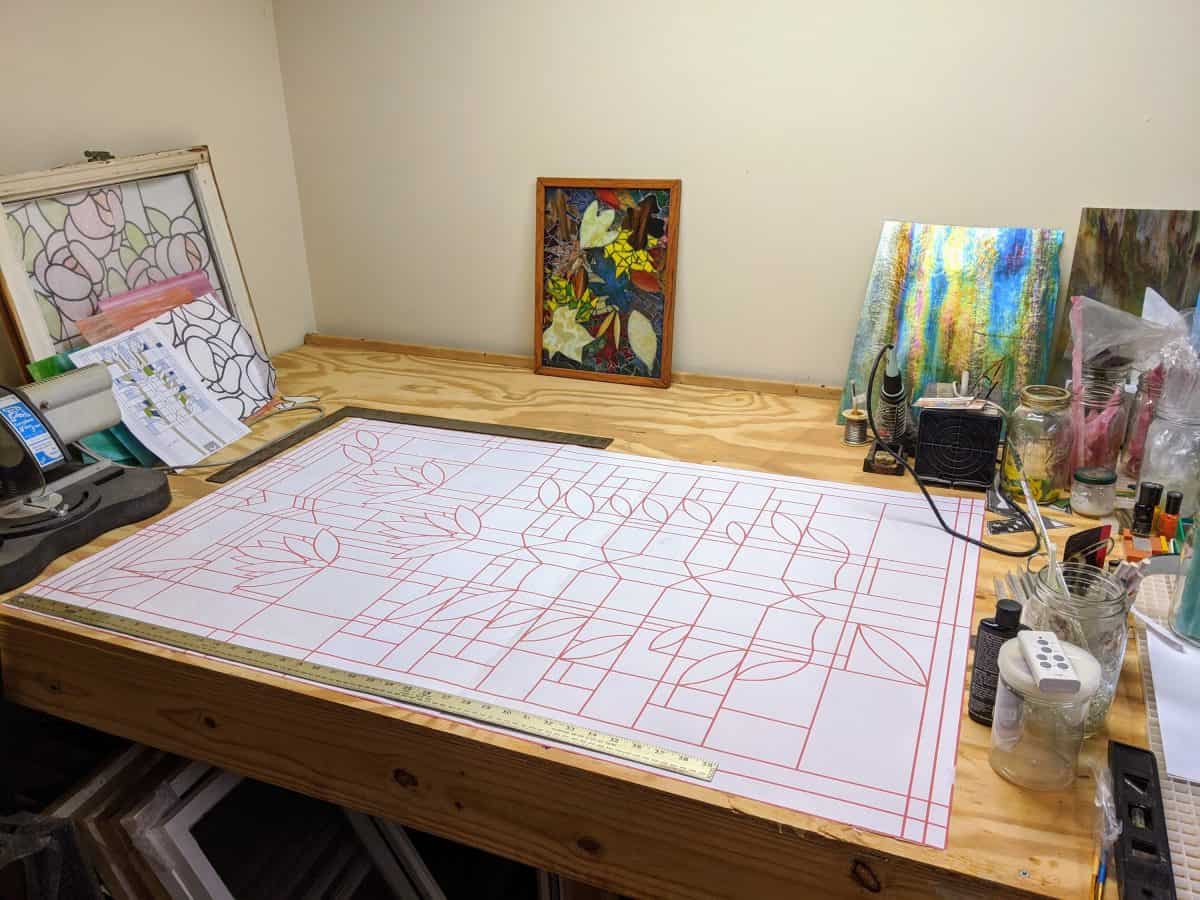
I think I will work from the right side of the pattern over to the left, since it is the furthest from where I can reach on my work table. That means I will cut the pattern pieces on the right side first, then work my way to the other edge.