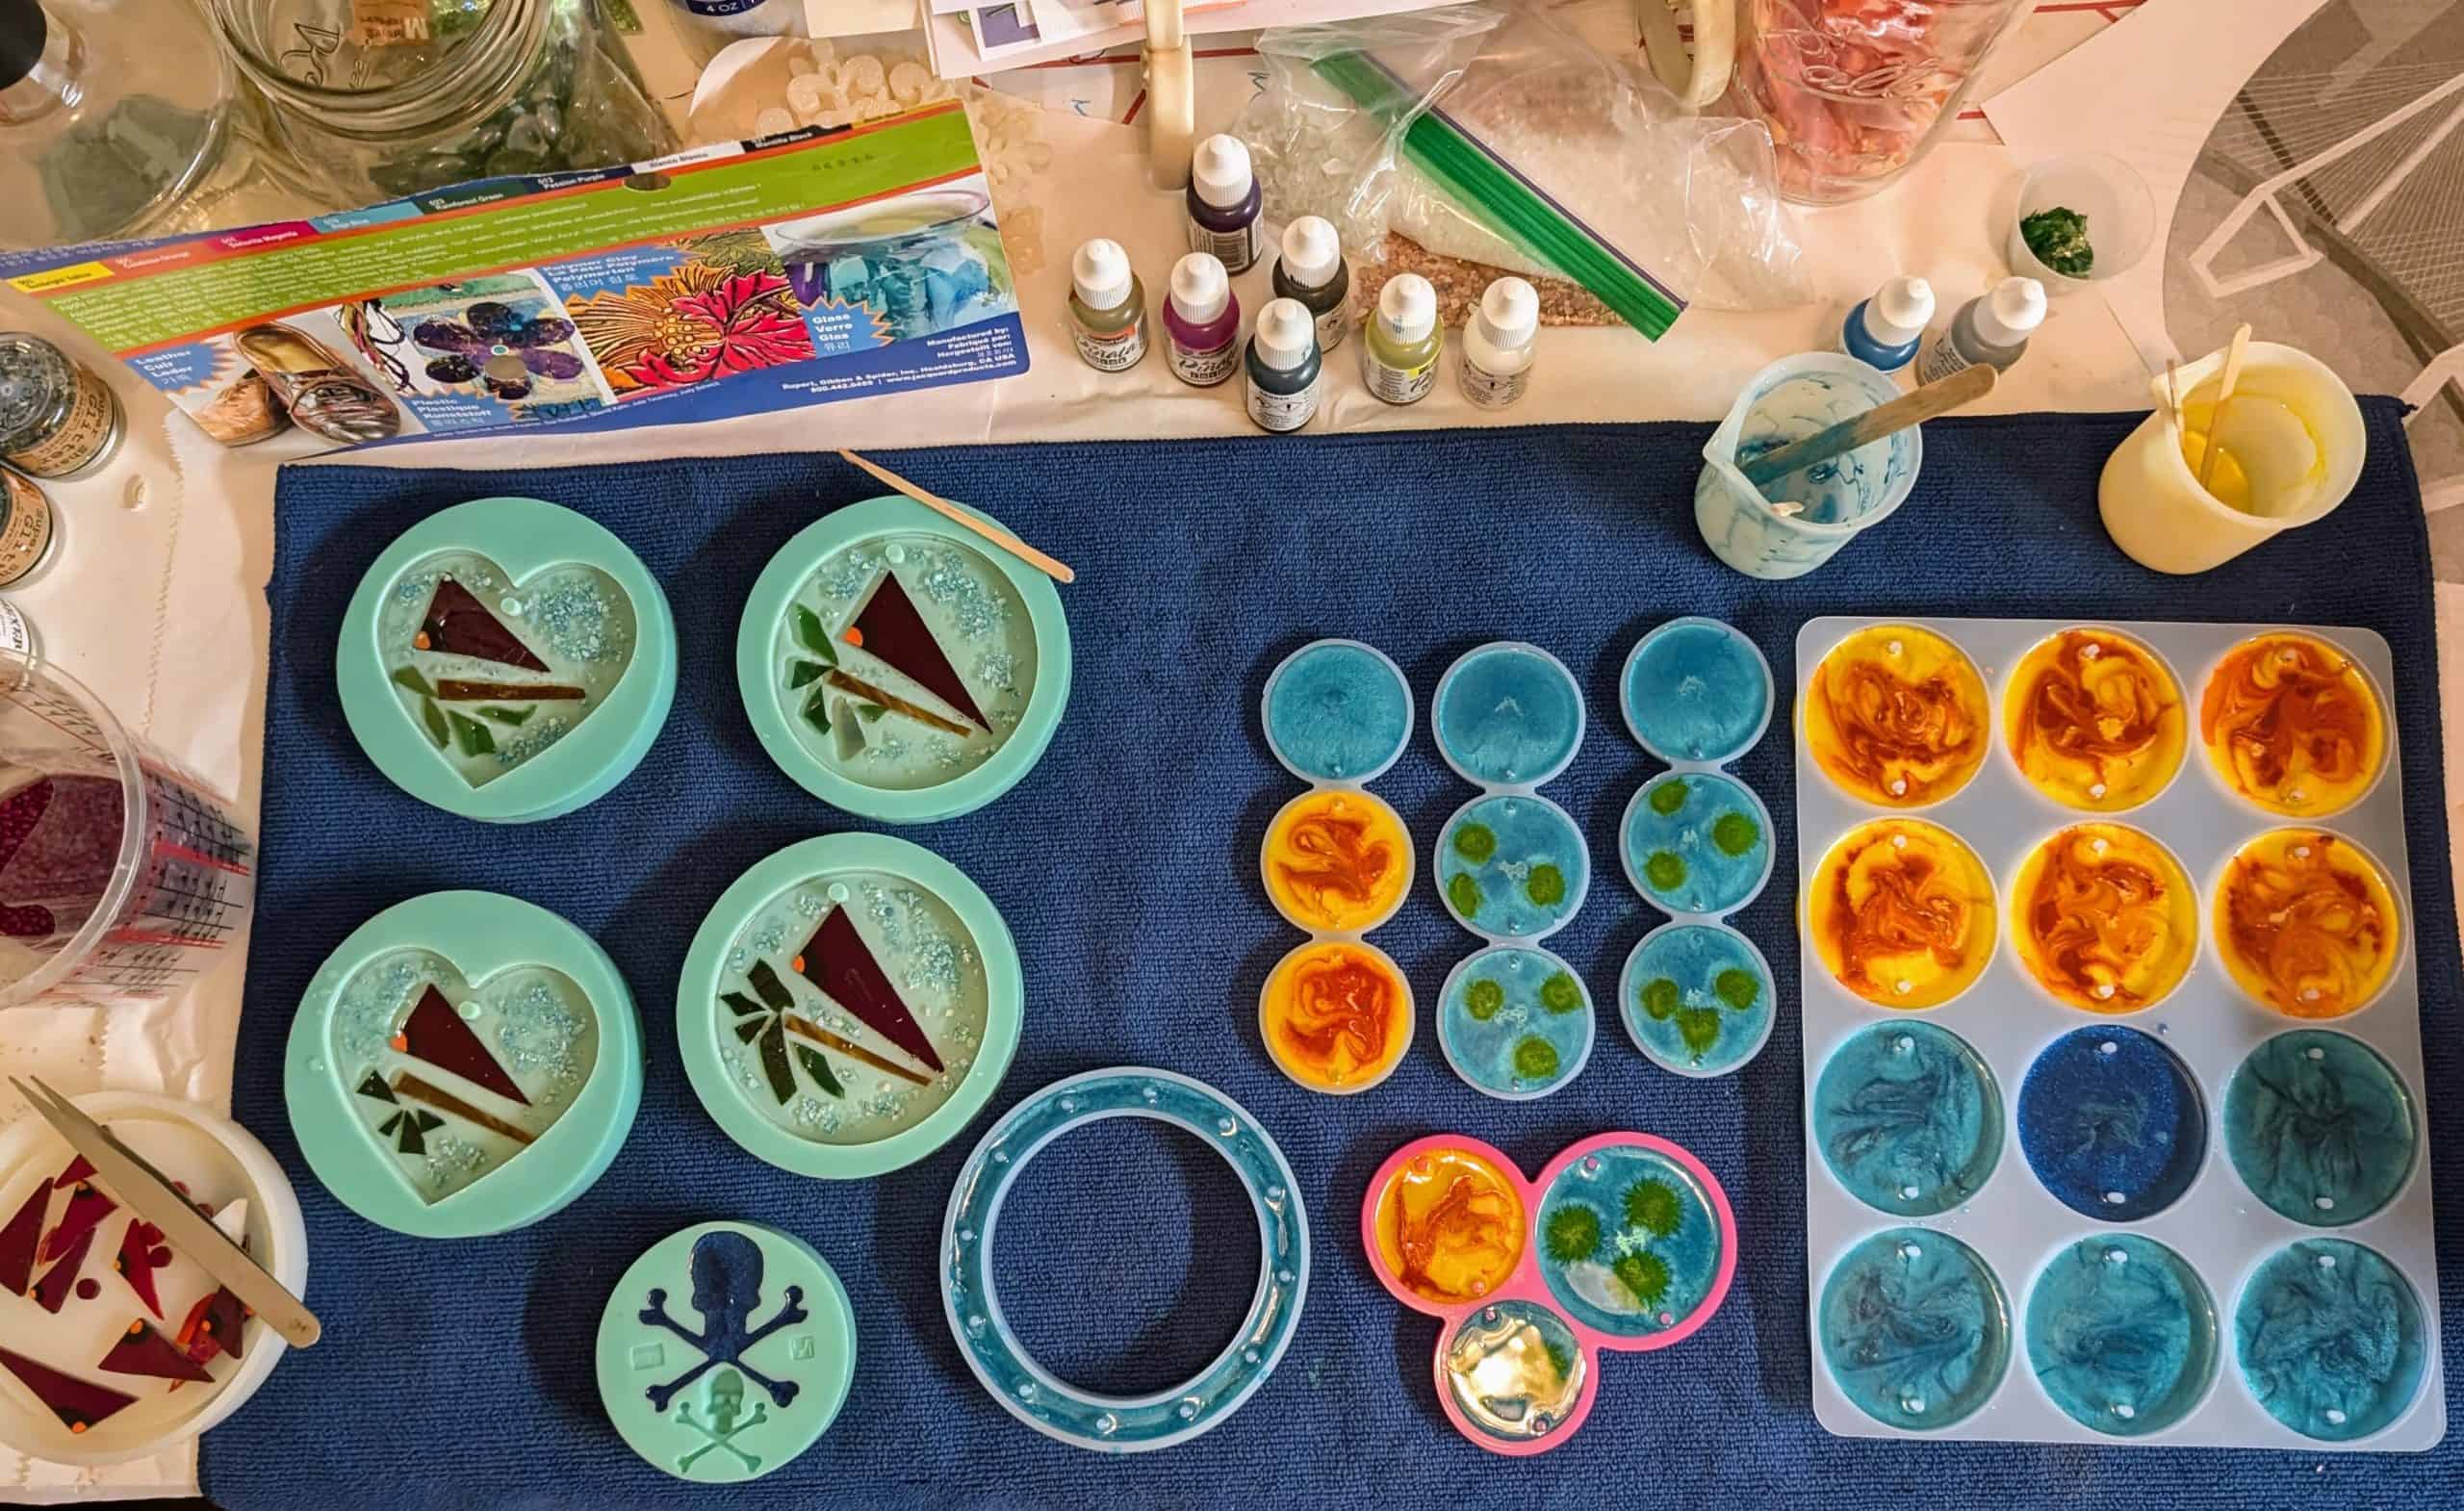
I had a request to “re-create” someone’s necklace using resin, so I bought some new molds and am trying out some different color combinations. Unfortunately I think these molds won’t work for the originally intended project, but I think they will make some cute windchime / suncatchers.
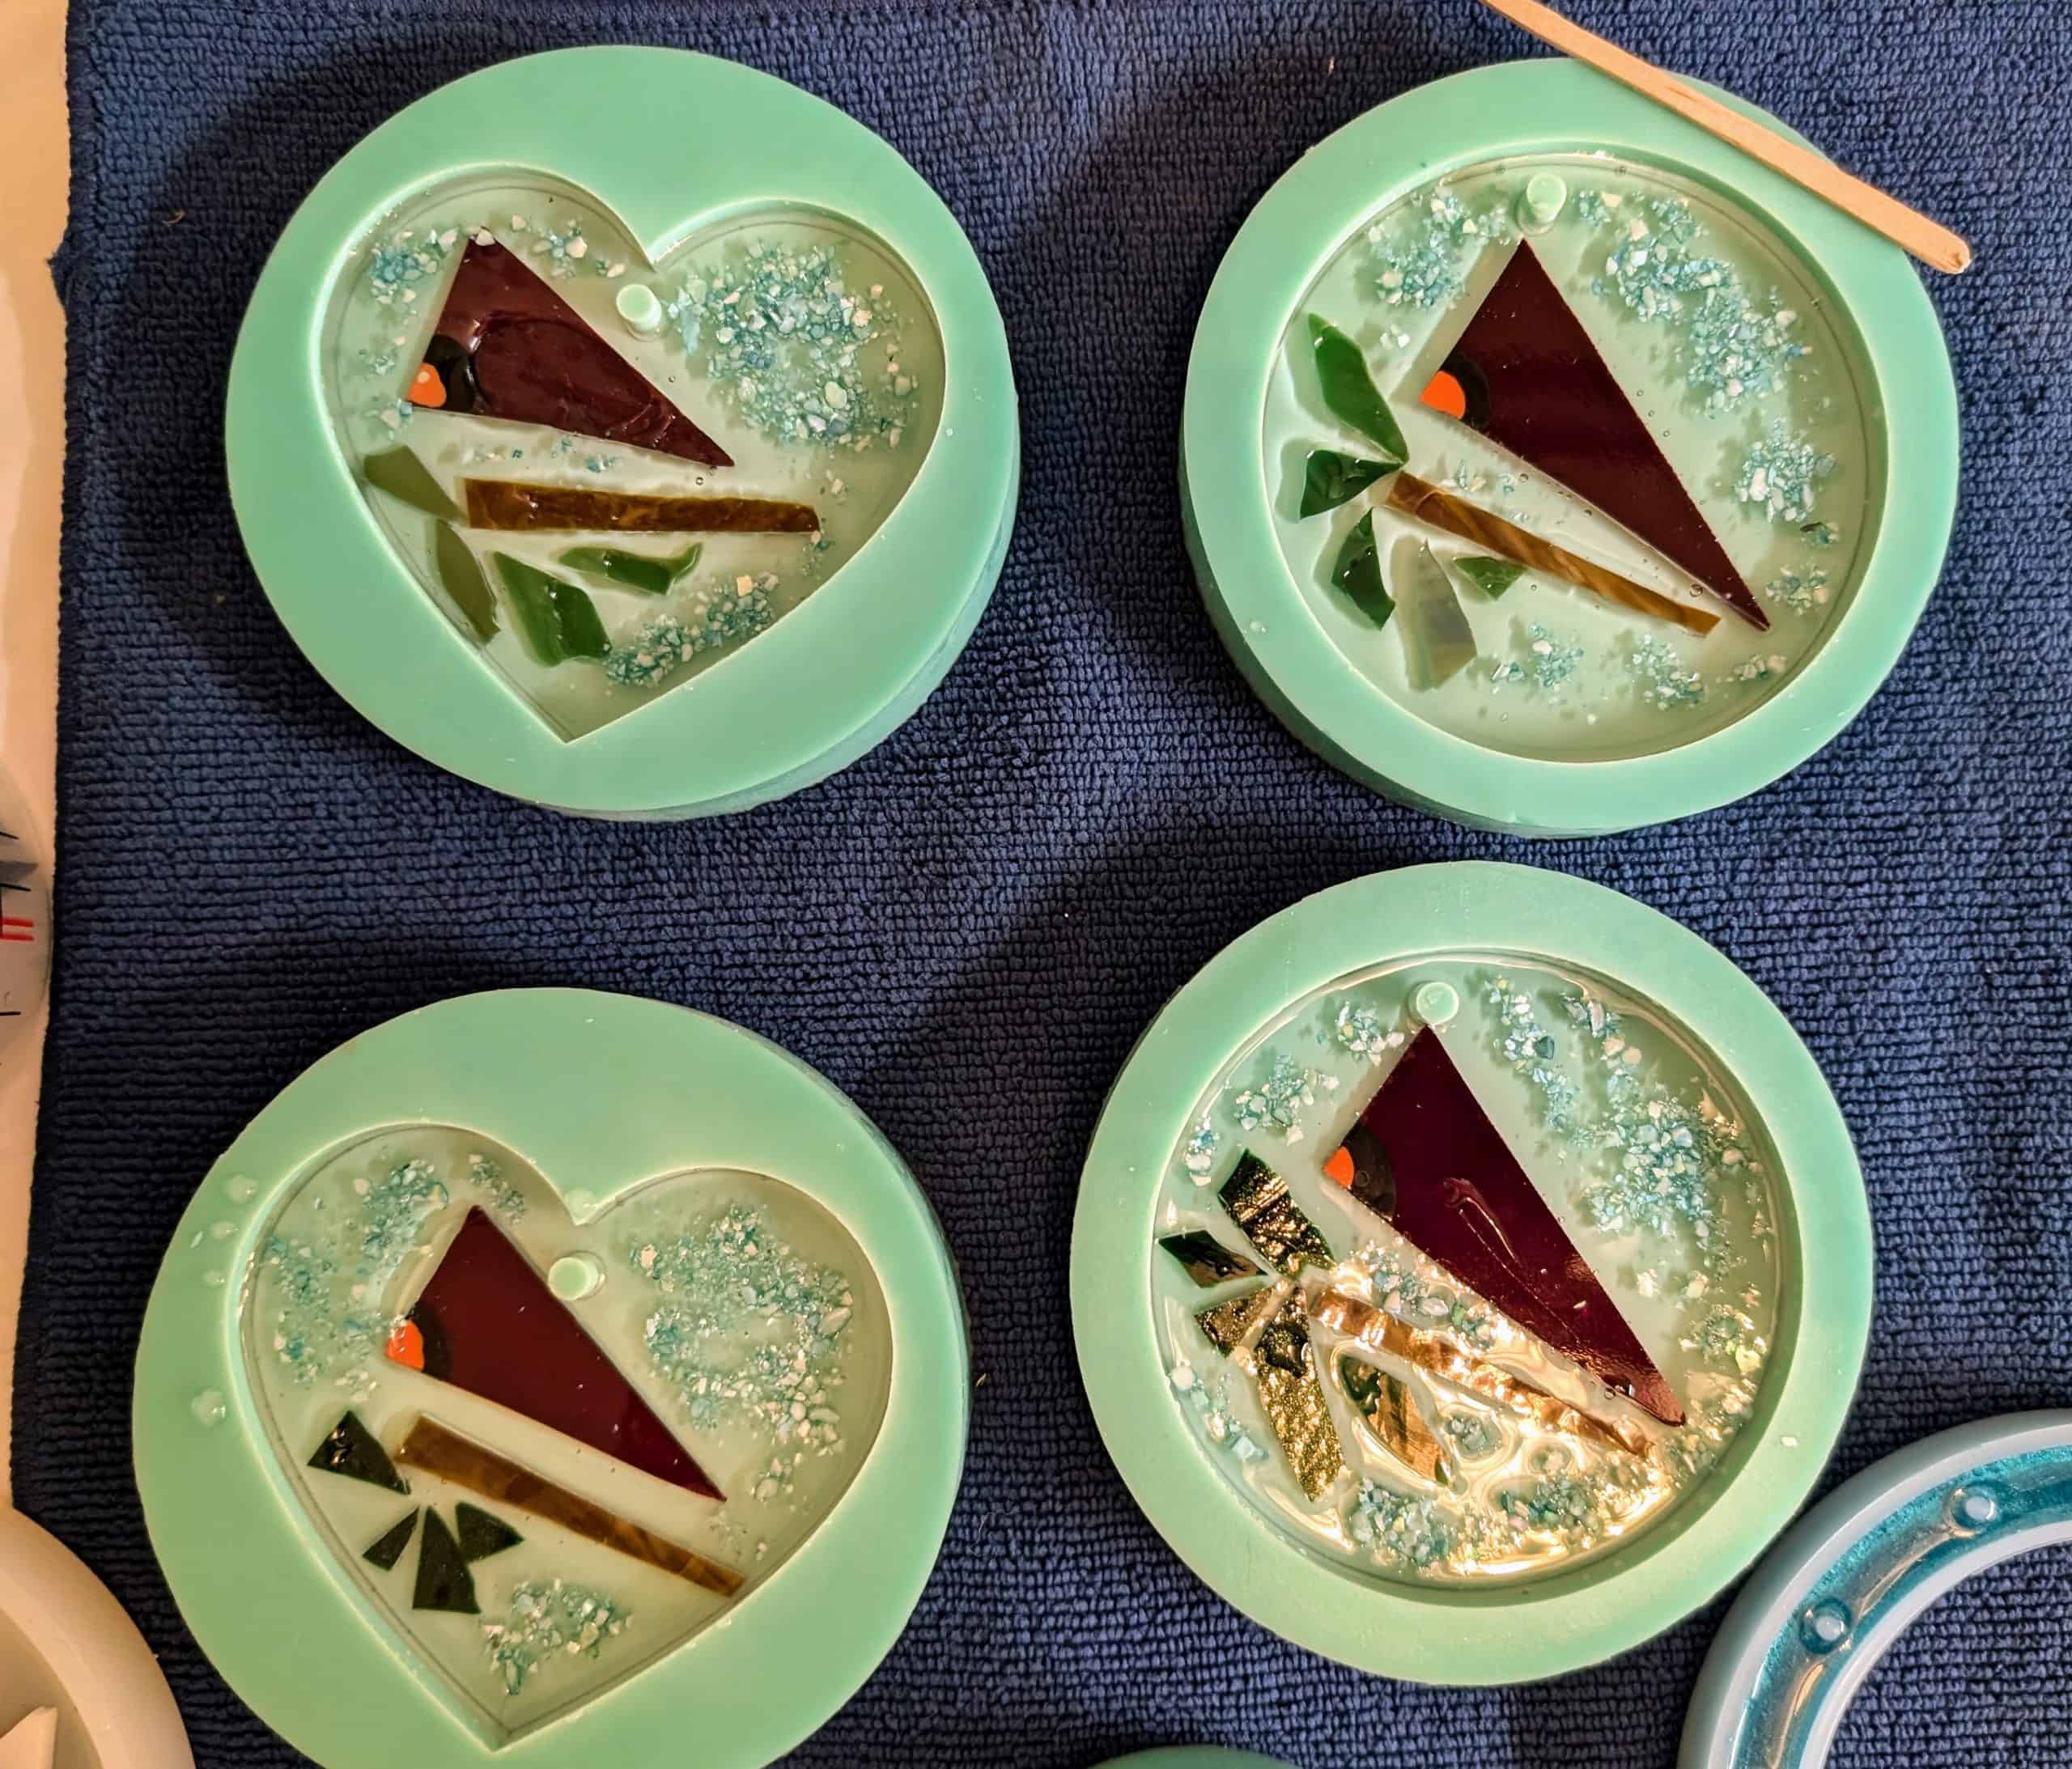
I also made a few new cardinal suncatchers & coasters while I was at it.
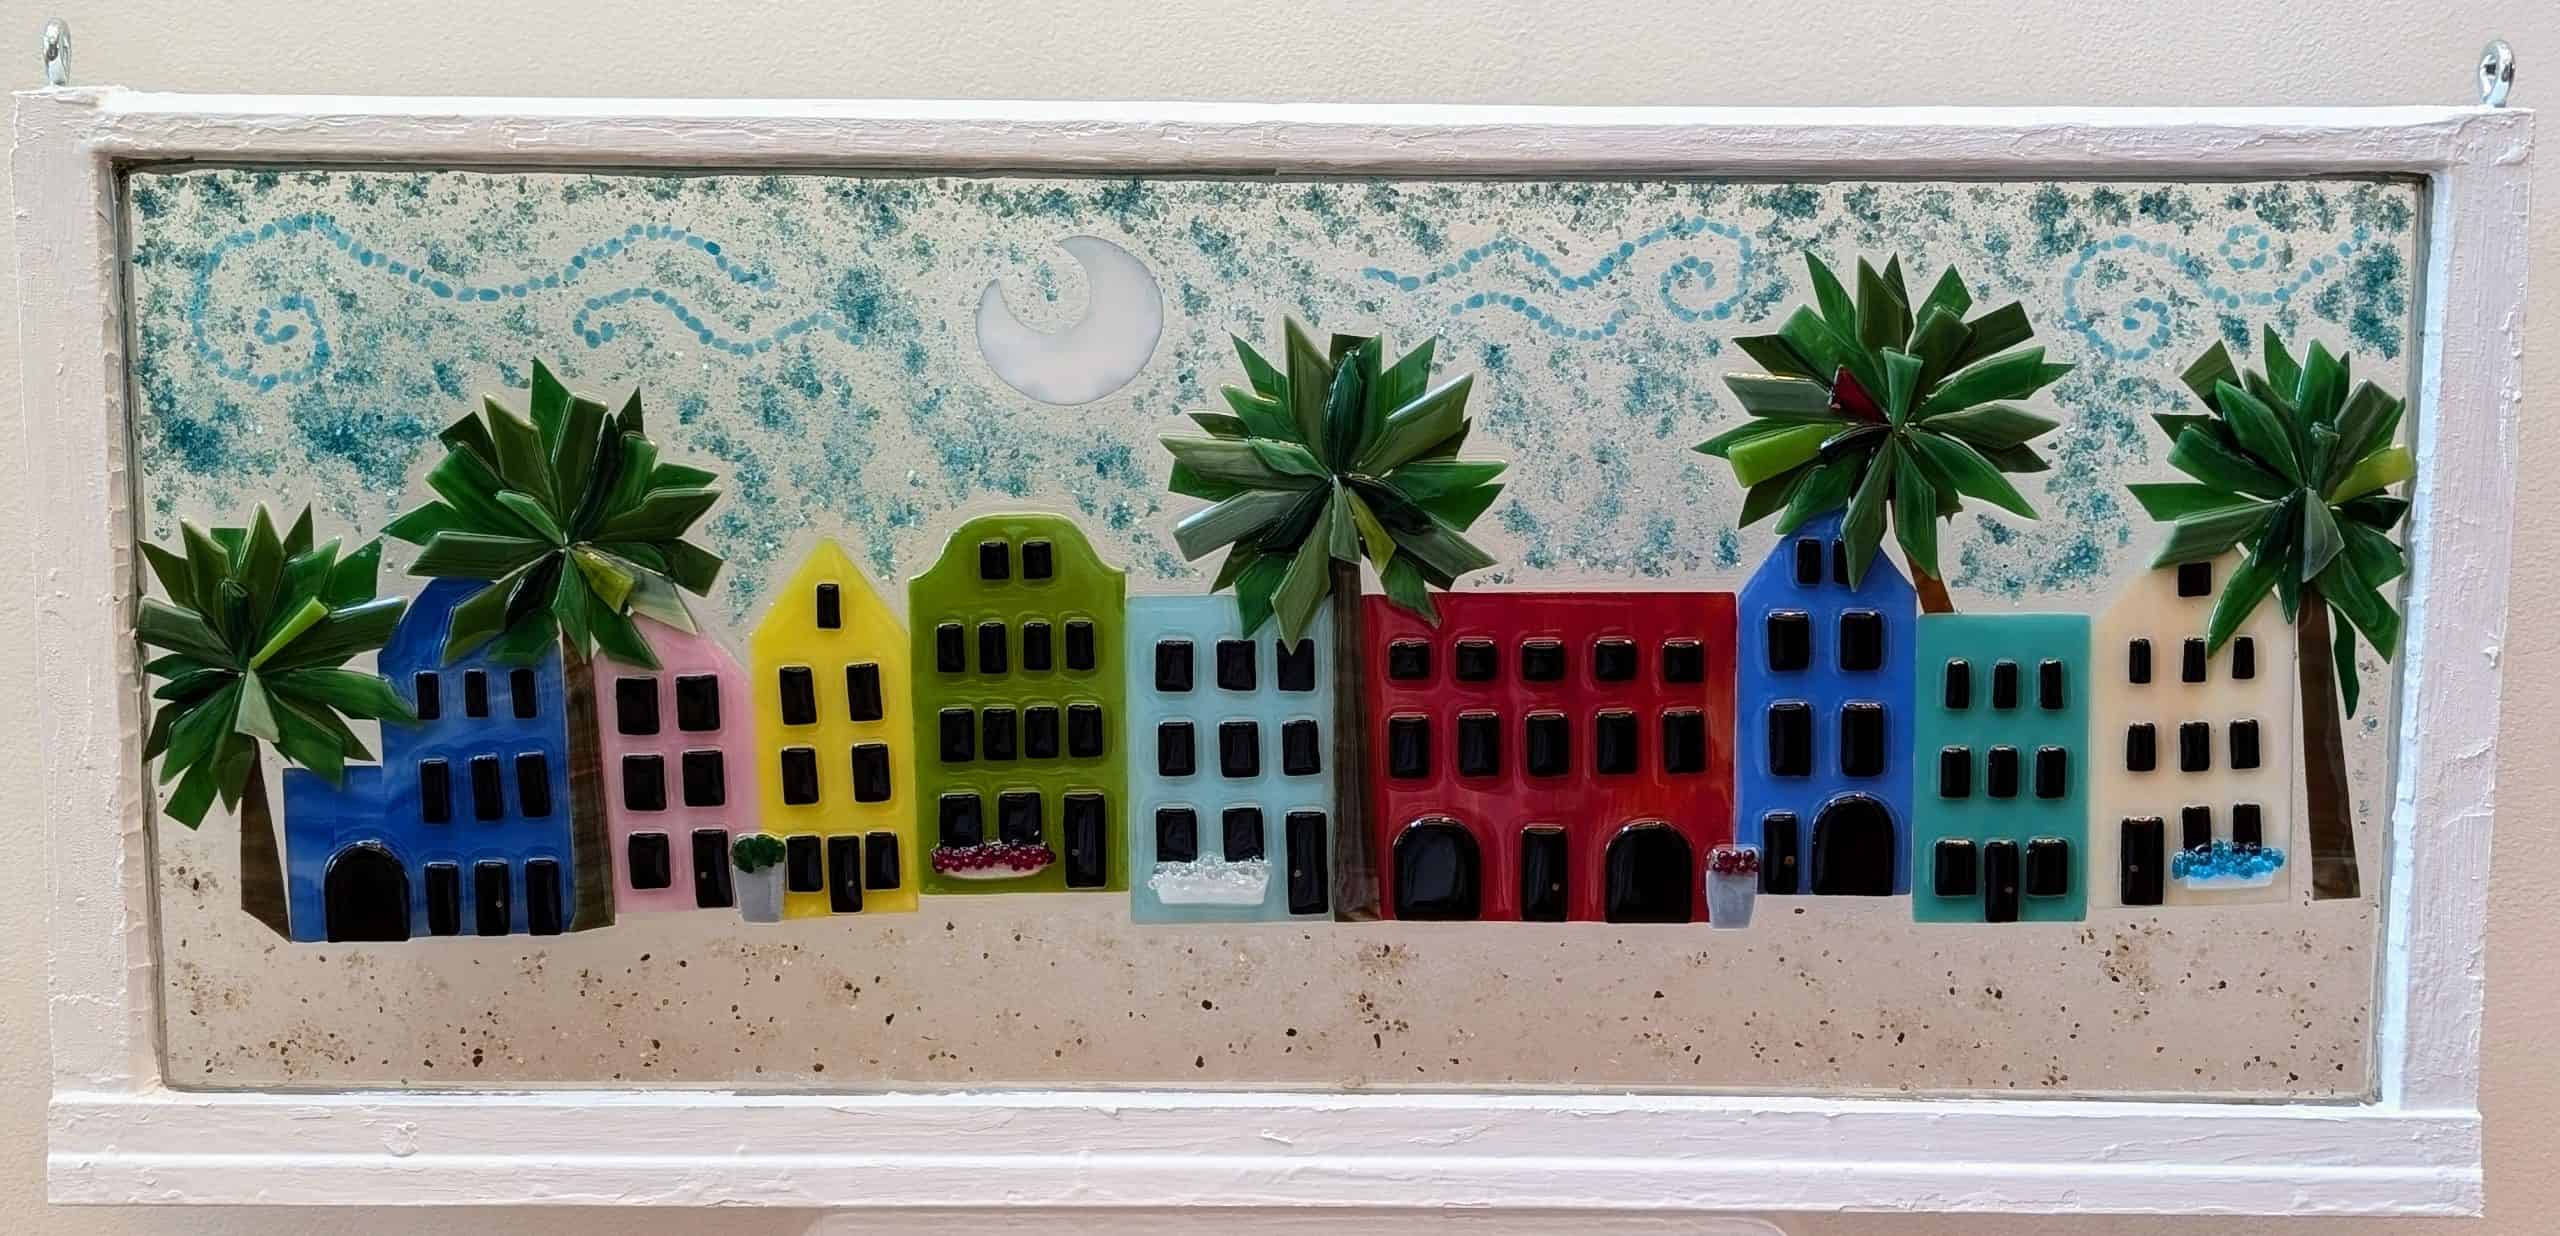
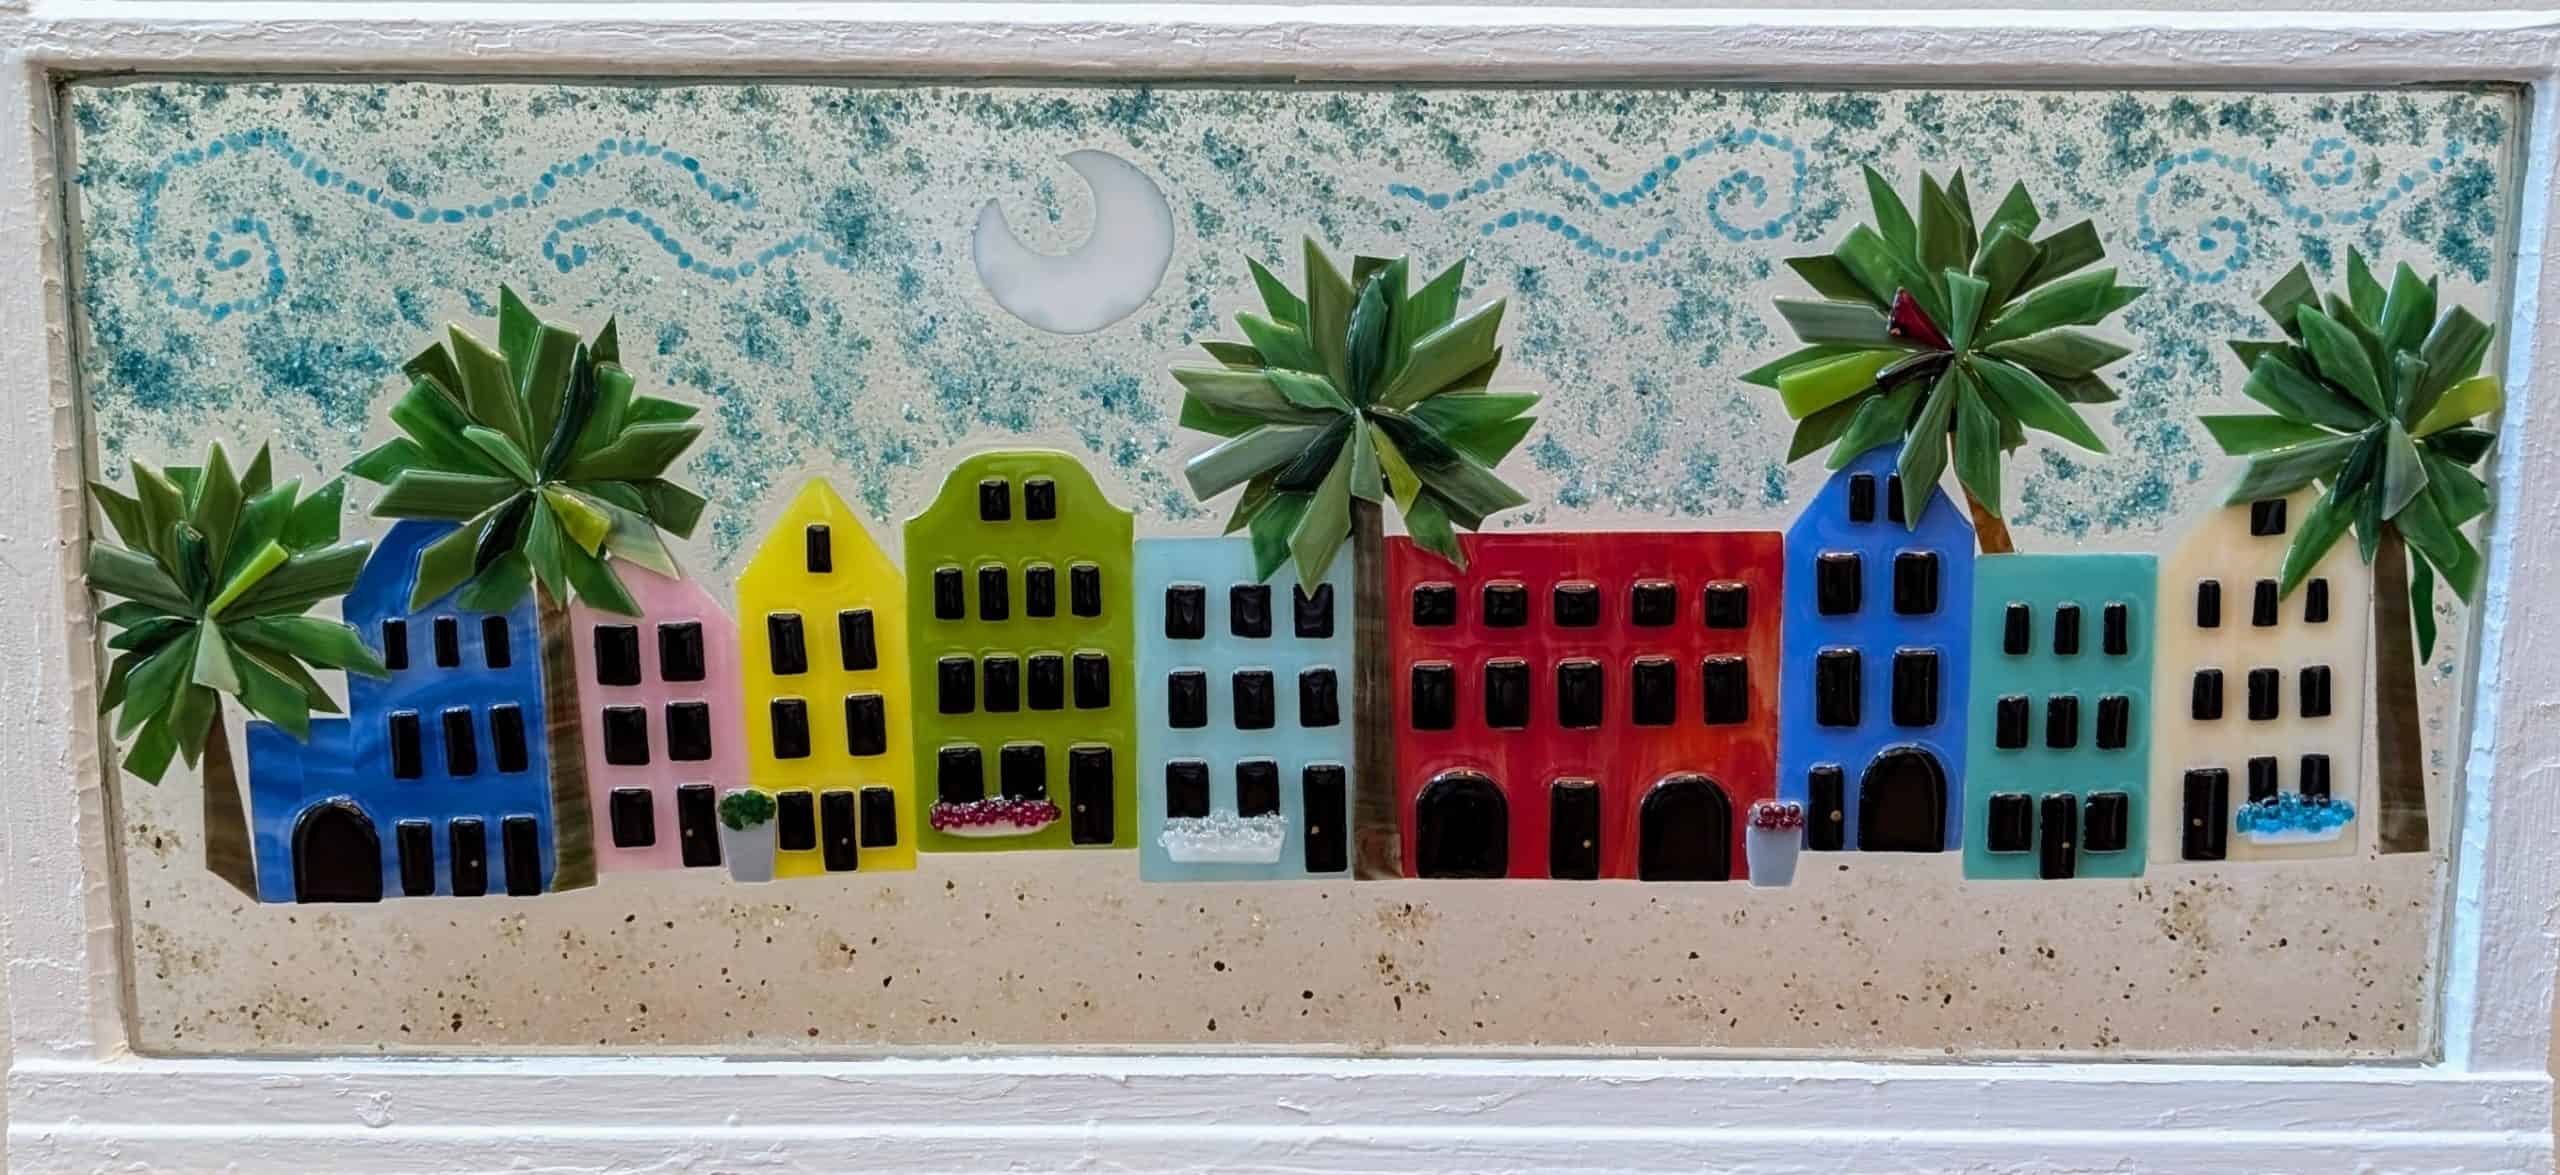
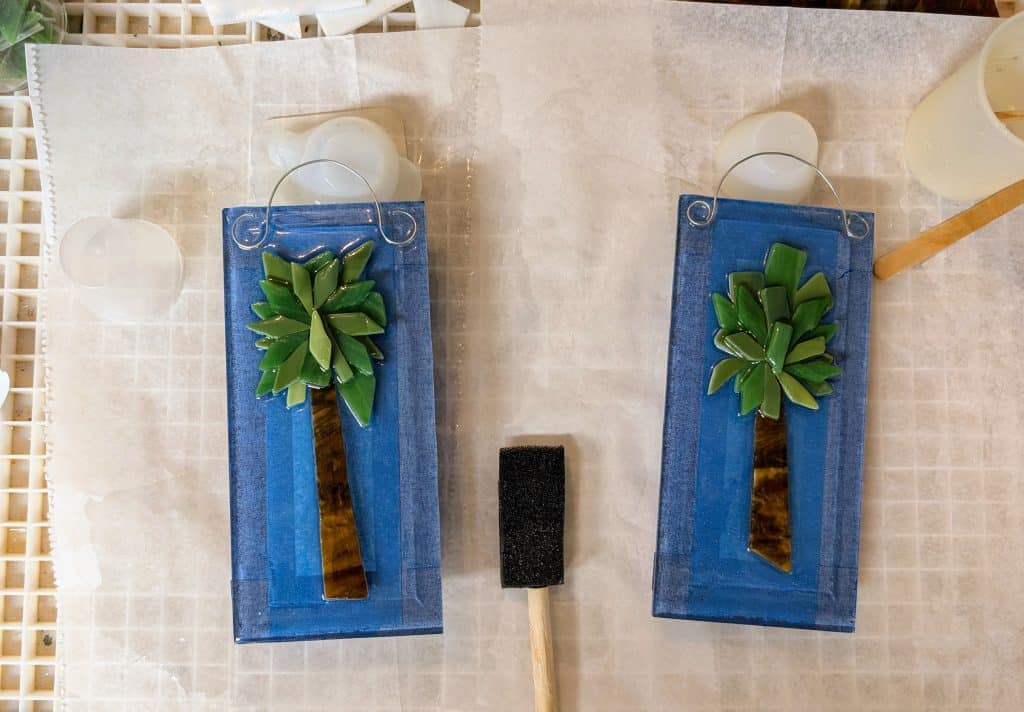
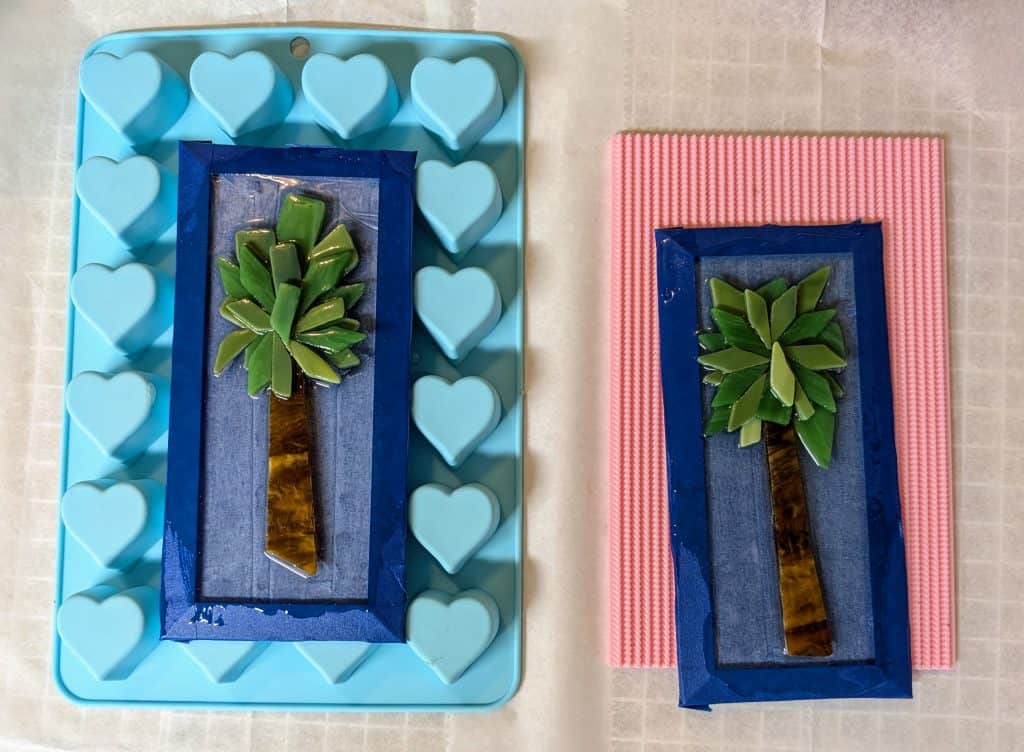
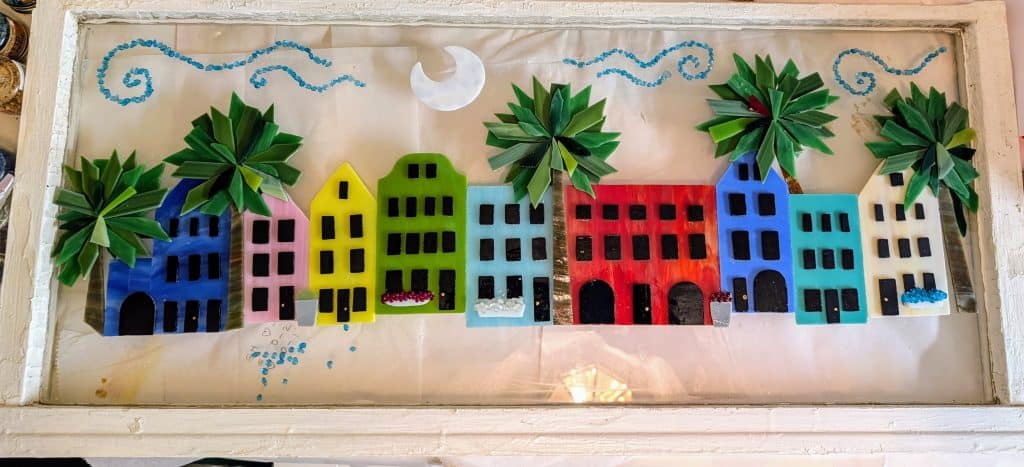
This weekend I was able to put the finishing touches on my latest, and longest (most houses), Rainbow Row to date. Also I have been working on some smaller palmetto tree suncatchers – I poured a second layer of resin on them today and added wire hangers. Fingers crossed that the resin cures as it is still pretty sticky (I used a different type than I typically use).
Originally I had planned to wrap these suncatchers with copper foil and solder them in a traditional stained glass manner, but after I pulled the tape off from the first layer of resin, I thought it would look better this way. It’s an experiment so I’m not sure it will work, so fingers crossed.
Poured and embellished the resin on this latest Rainbow Row window. While I was at it, I made a couple of palm tree suncatchers, too. I still need to paint the window frame and wrap / solder the suncatchers before they will be completely done. Of note is that I used a 16 ounce kit of Envirotex Lite resin for the window. When I measured the resin, it was actually closer to 14 ounces, which is disappointing as I benefit from that little bit of extra coverage.
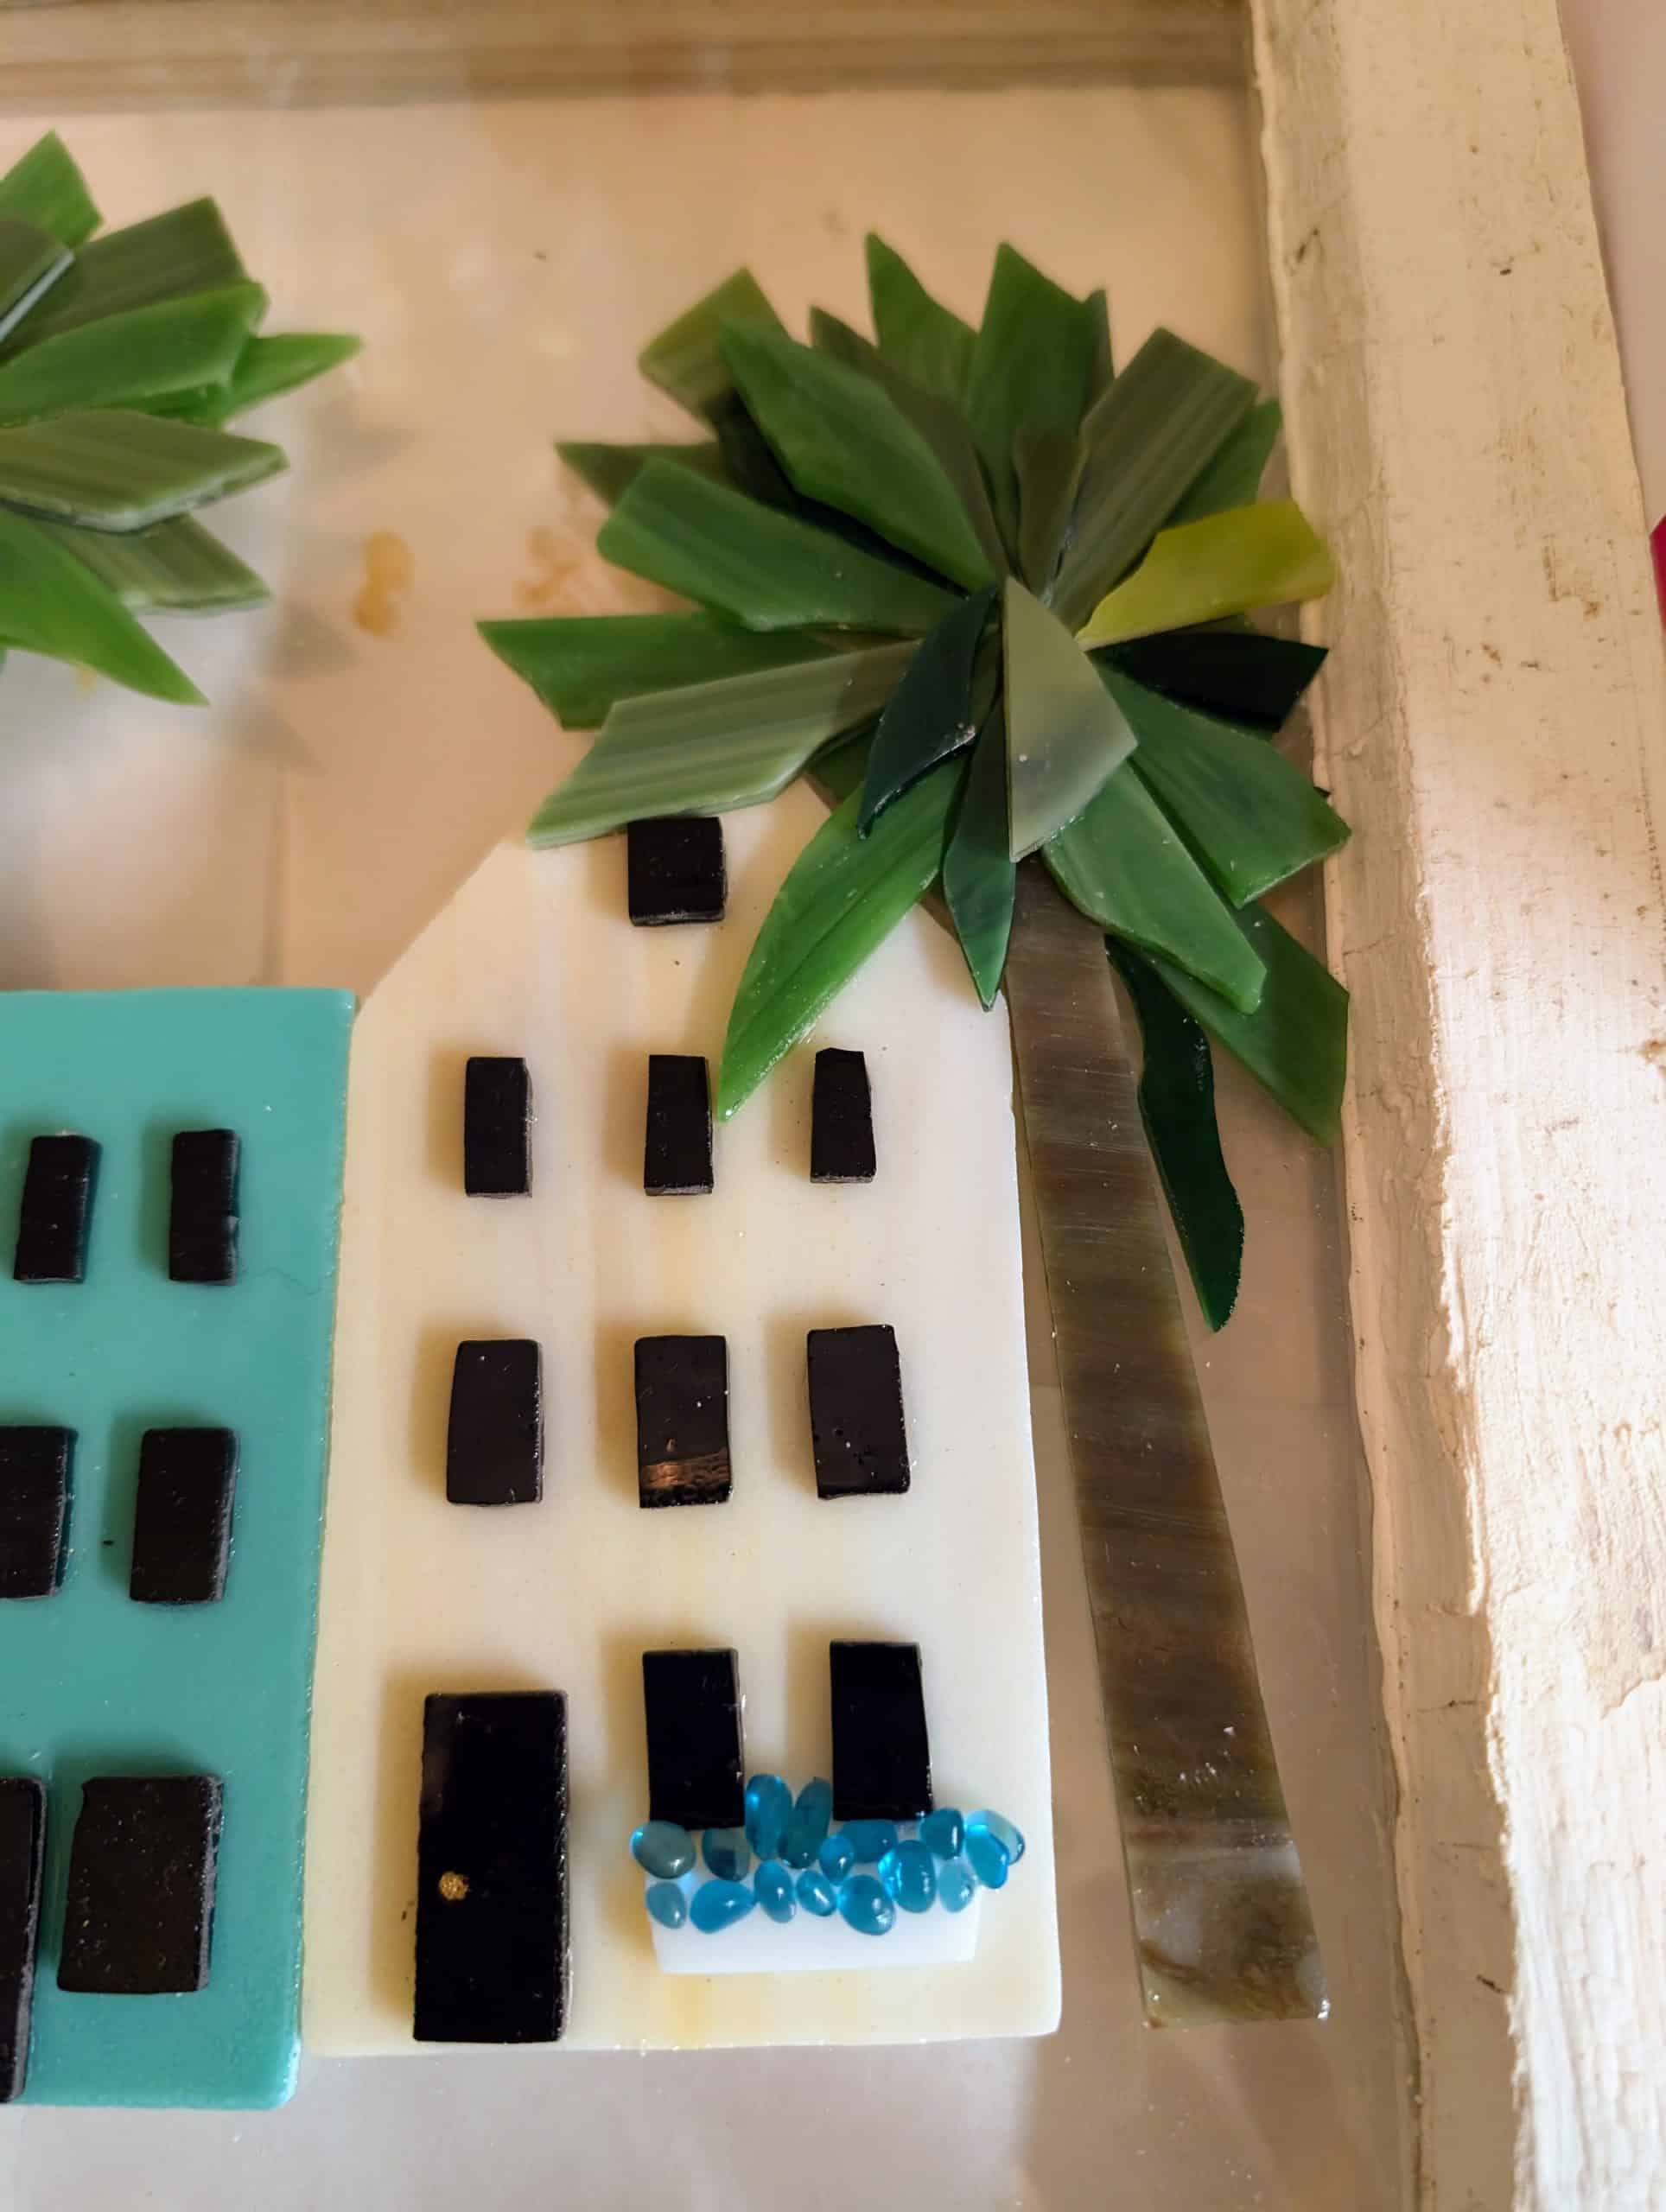
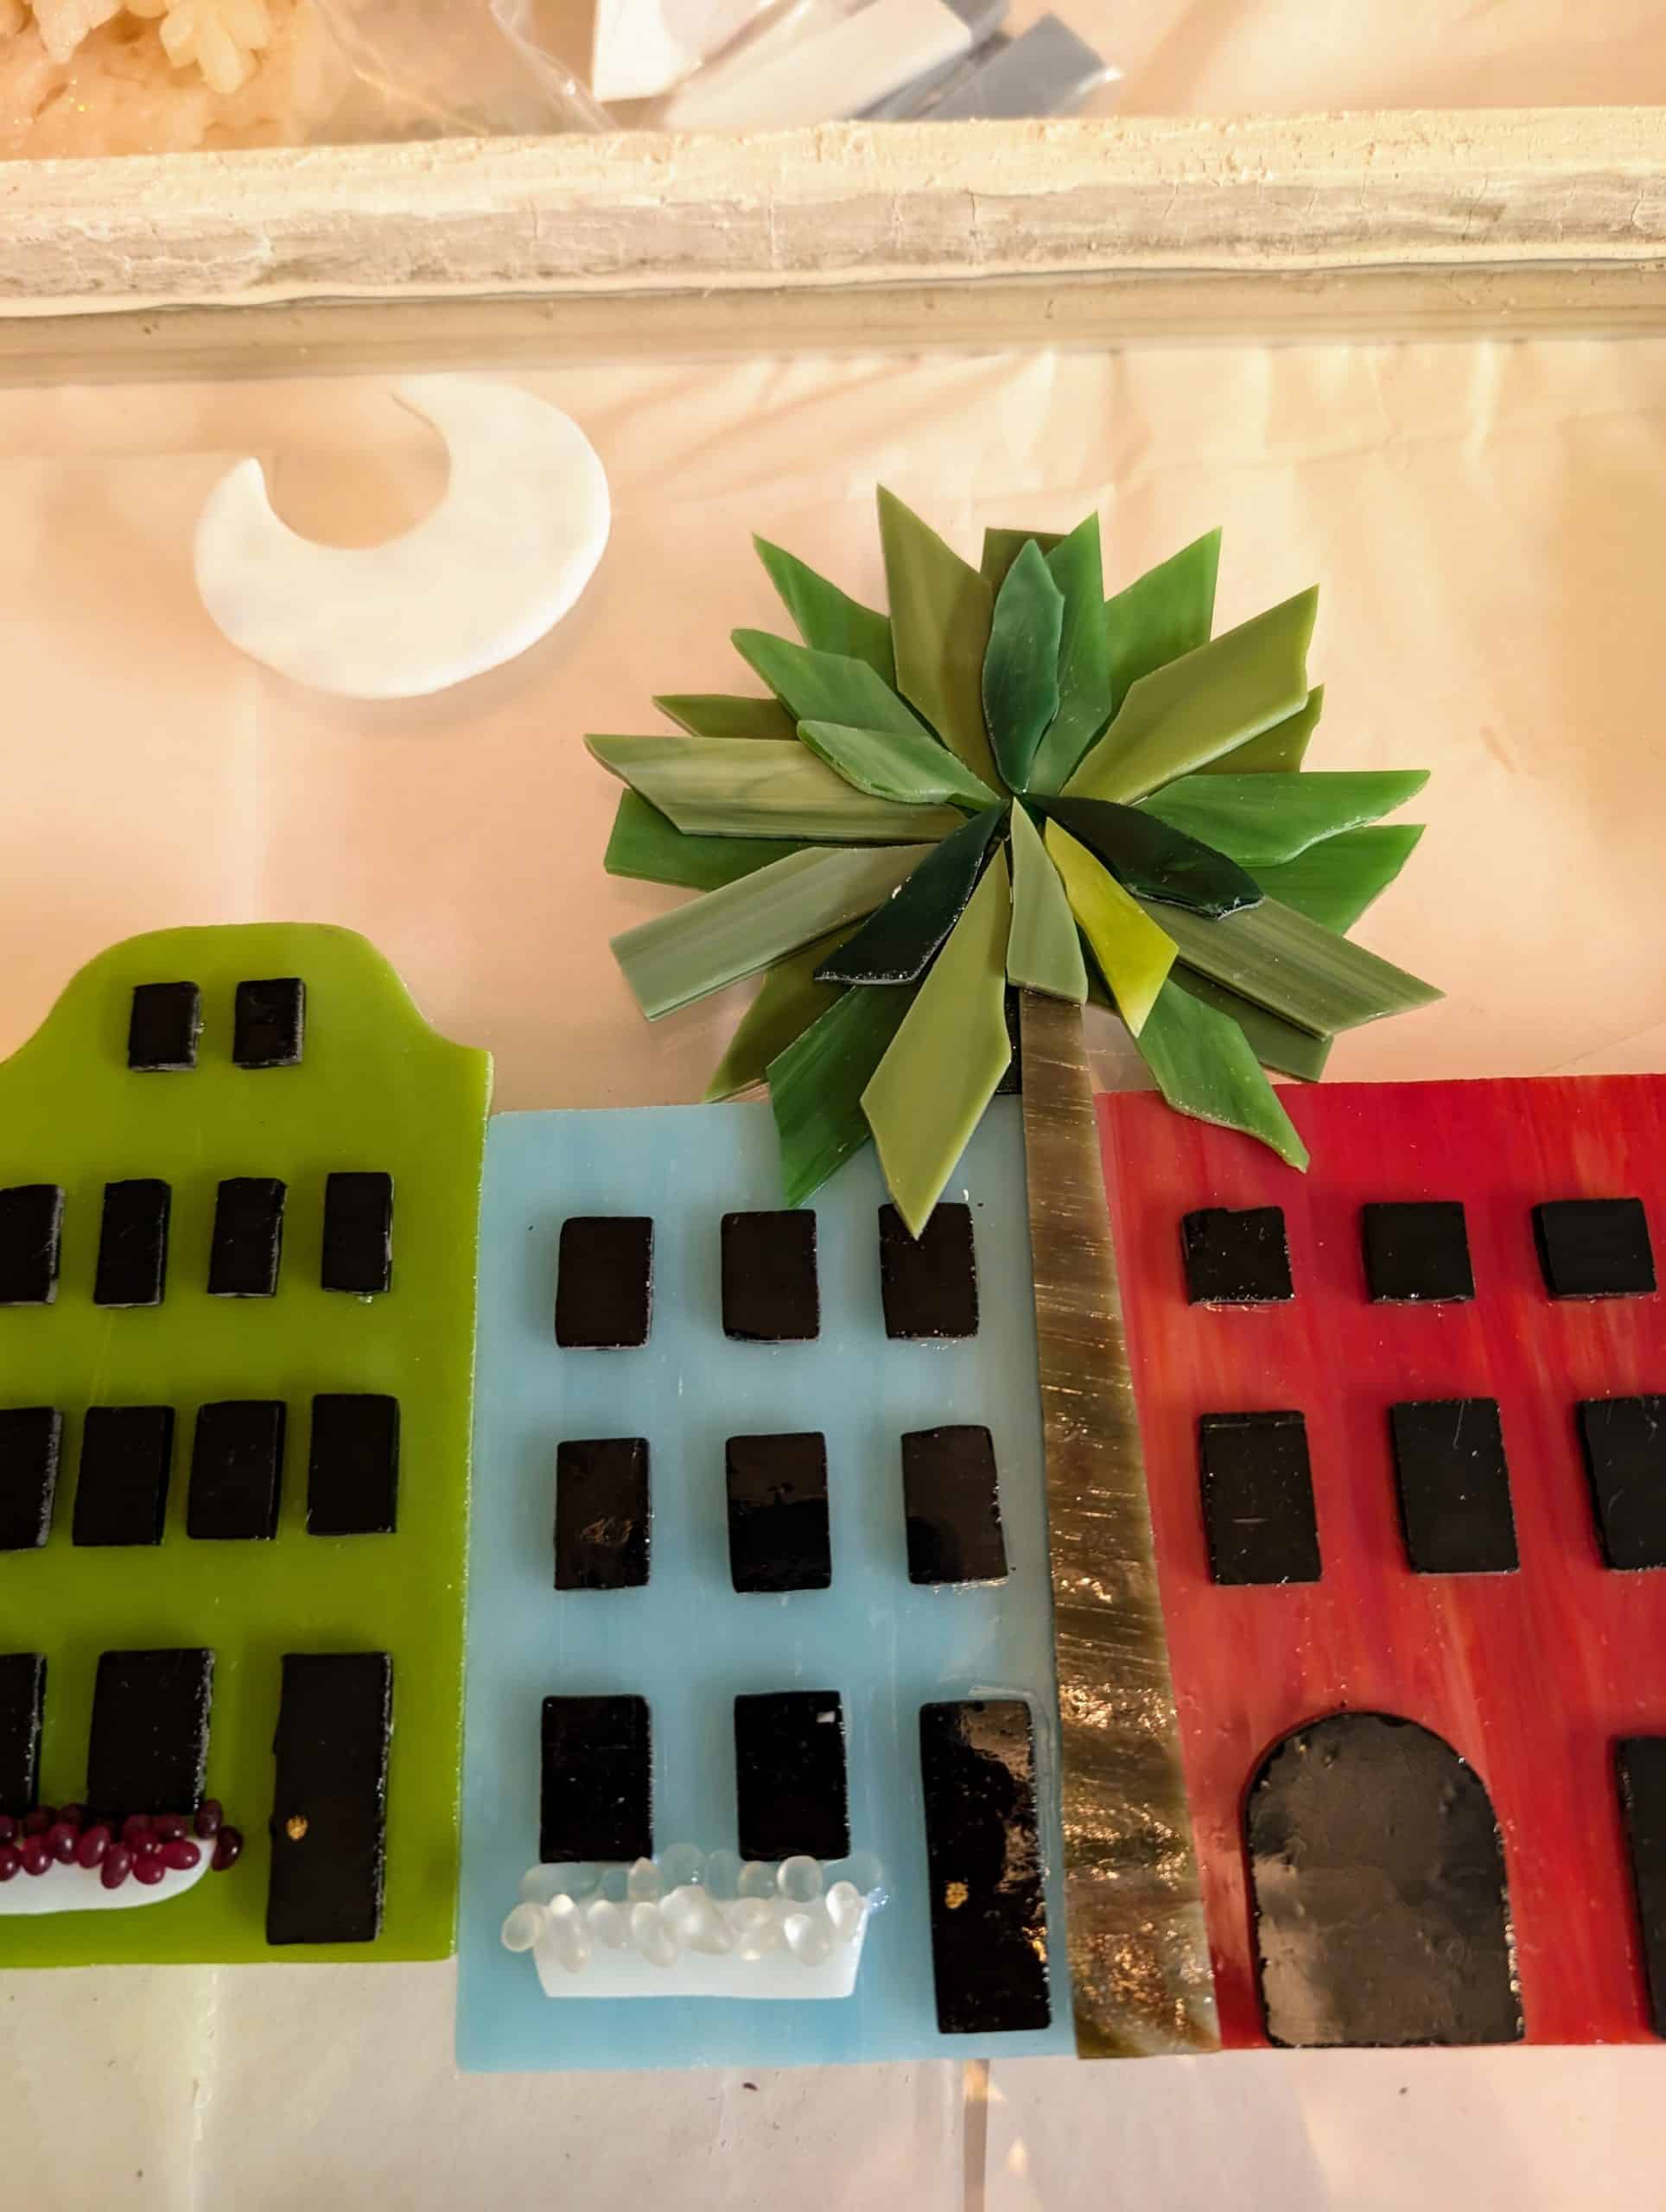
Today the palmetto trees and window boxes were set. I will wait for the adhesive to cure and then add some more depth to the window boxes. I also want to add some curly wind accents to the sky and something for the ground as well.
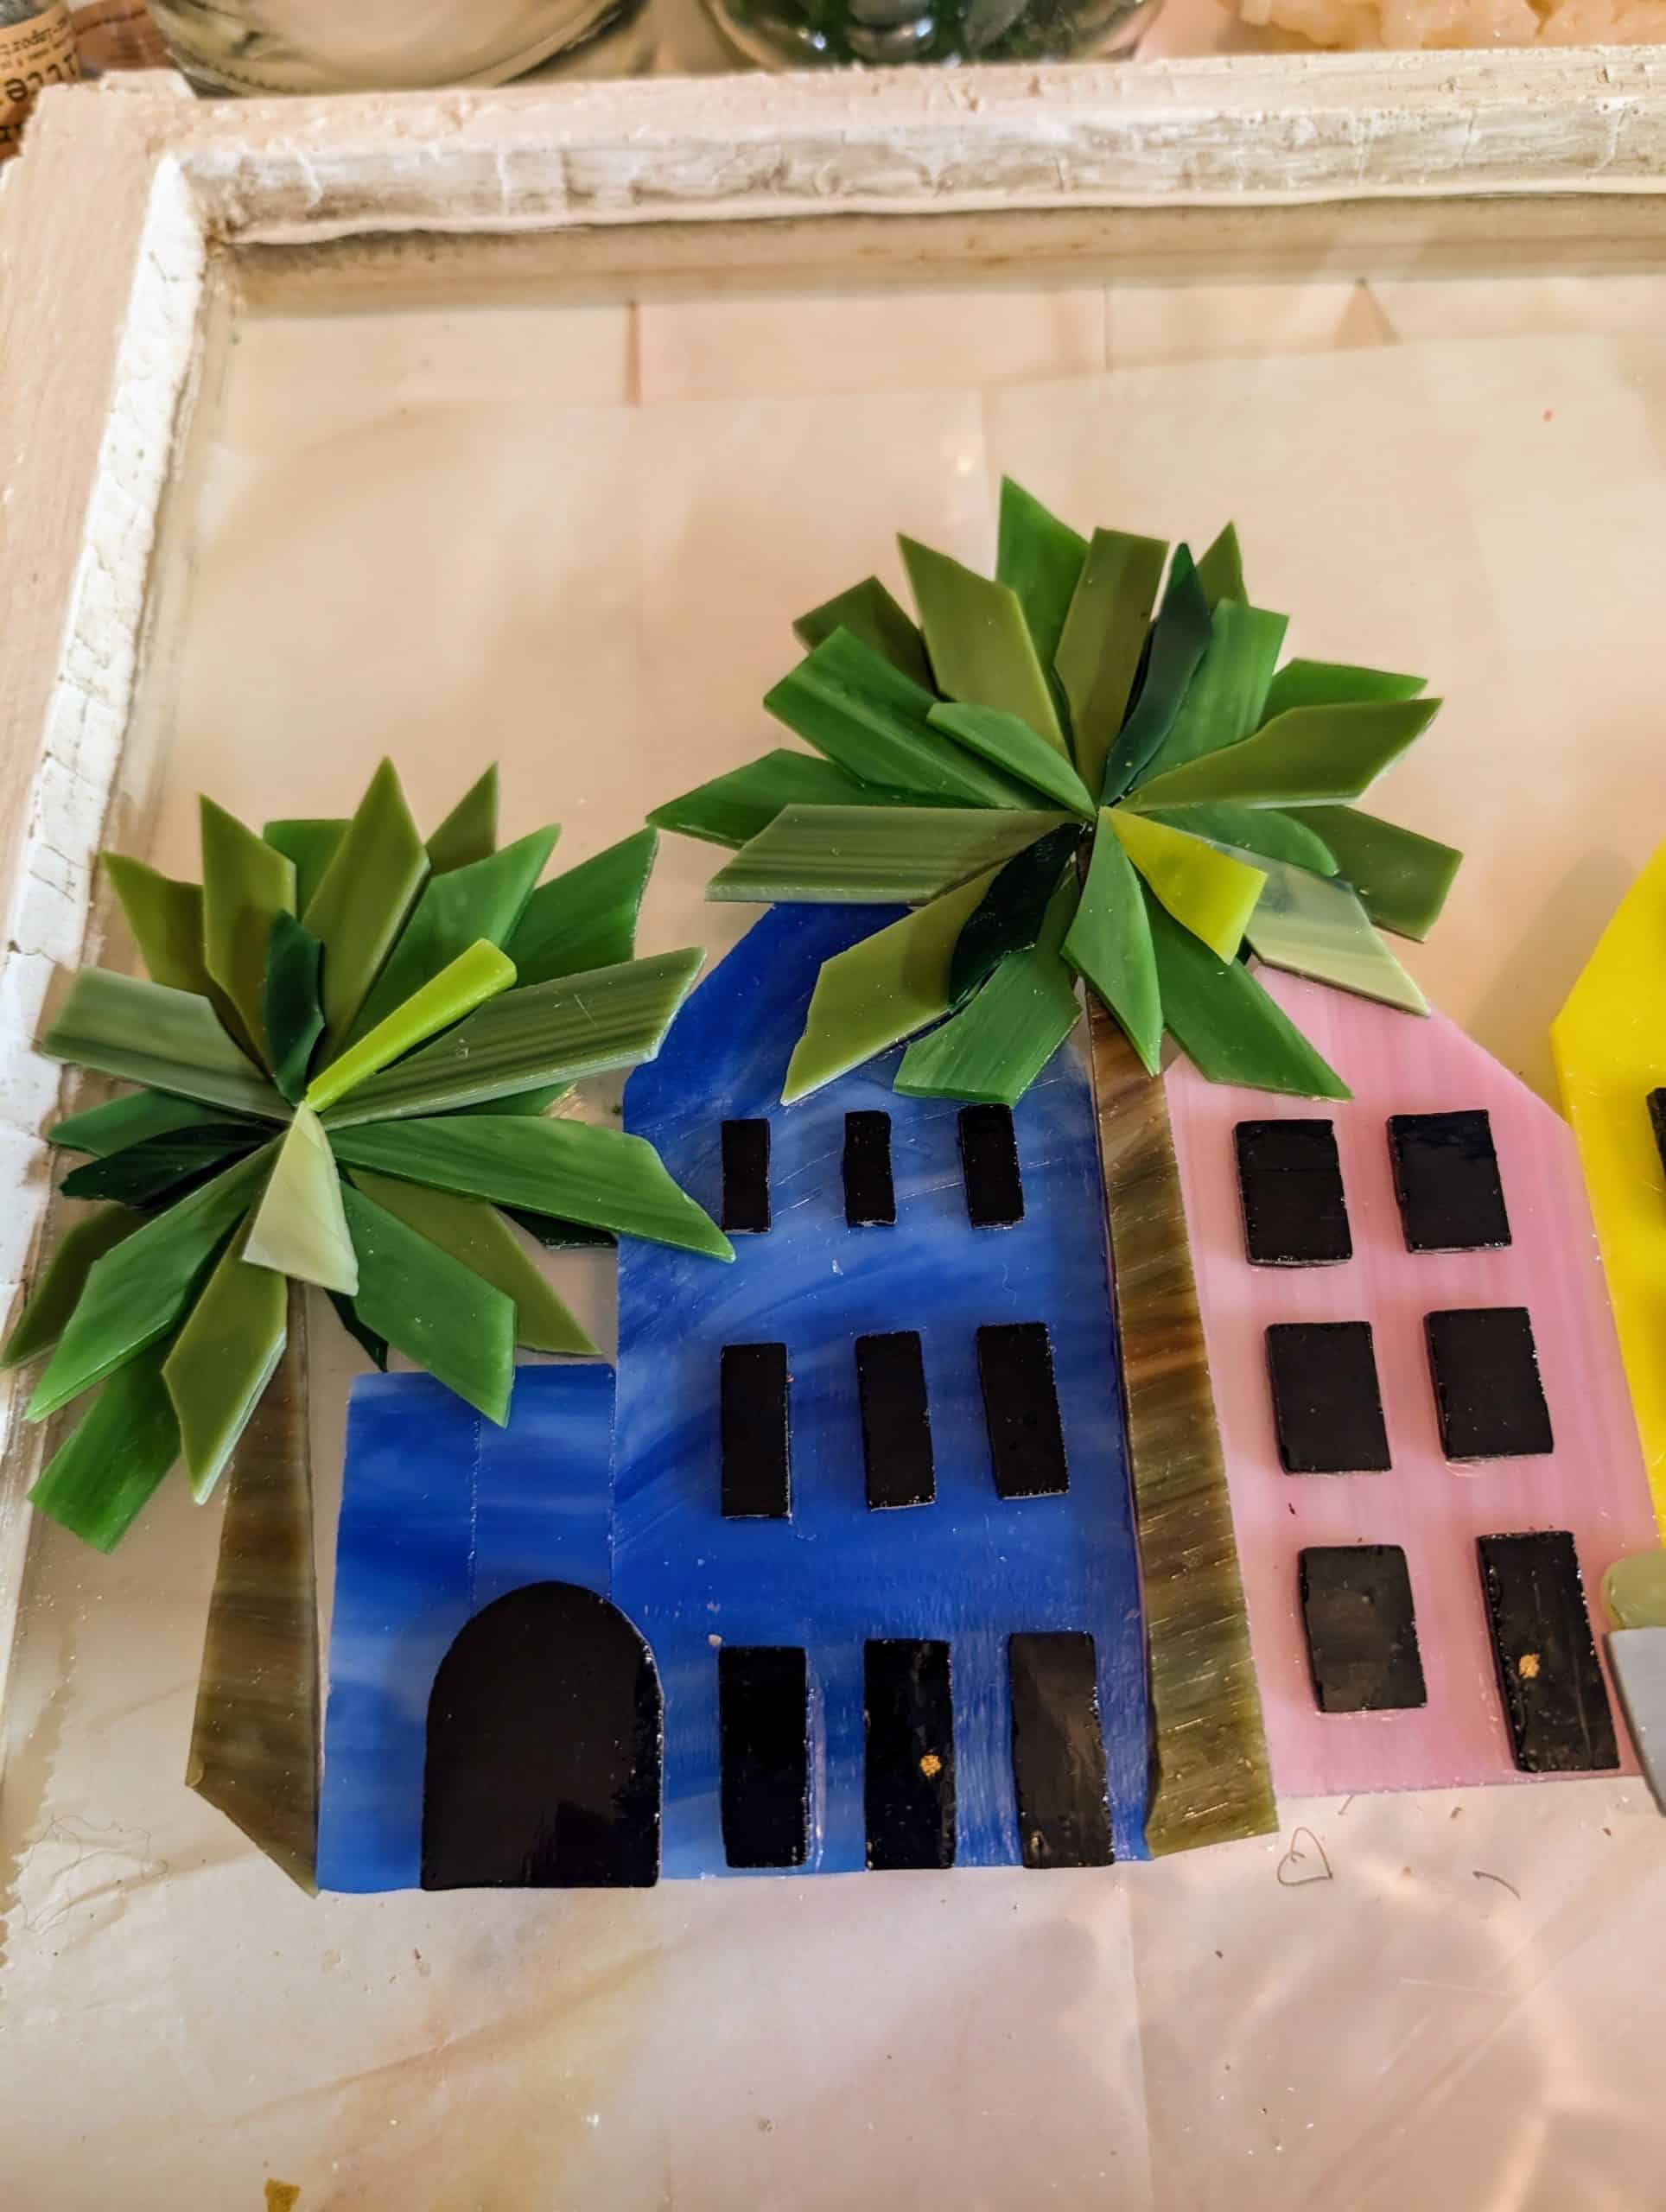
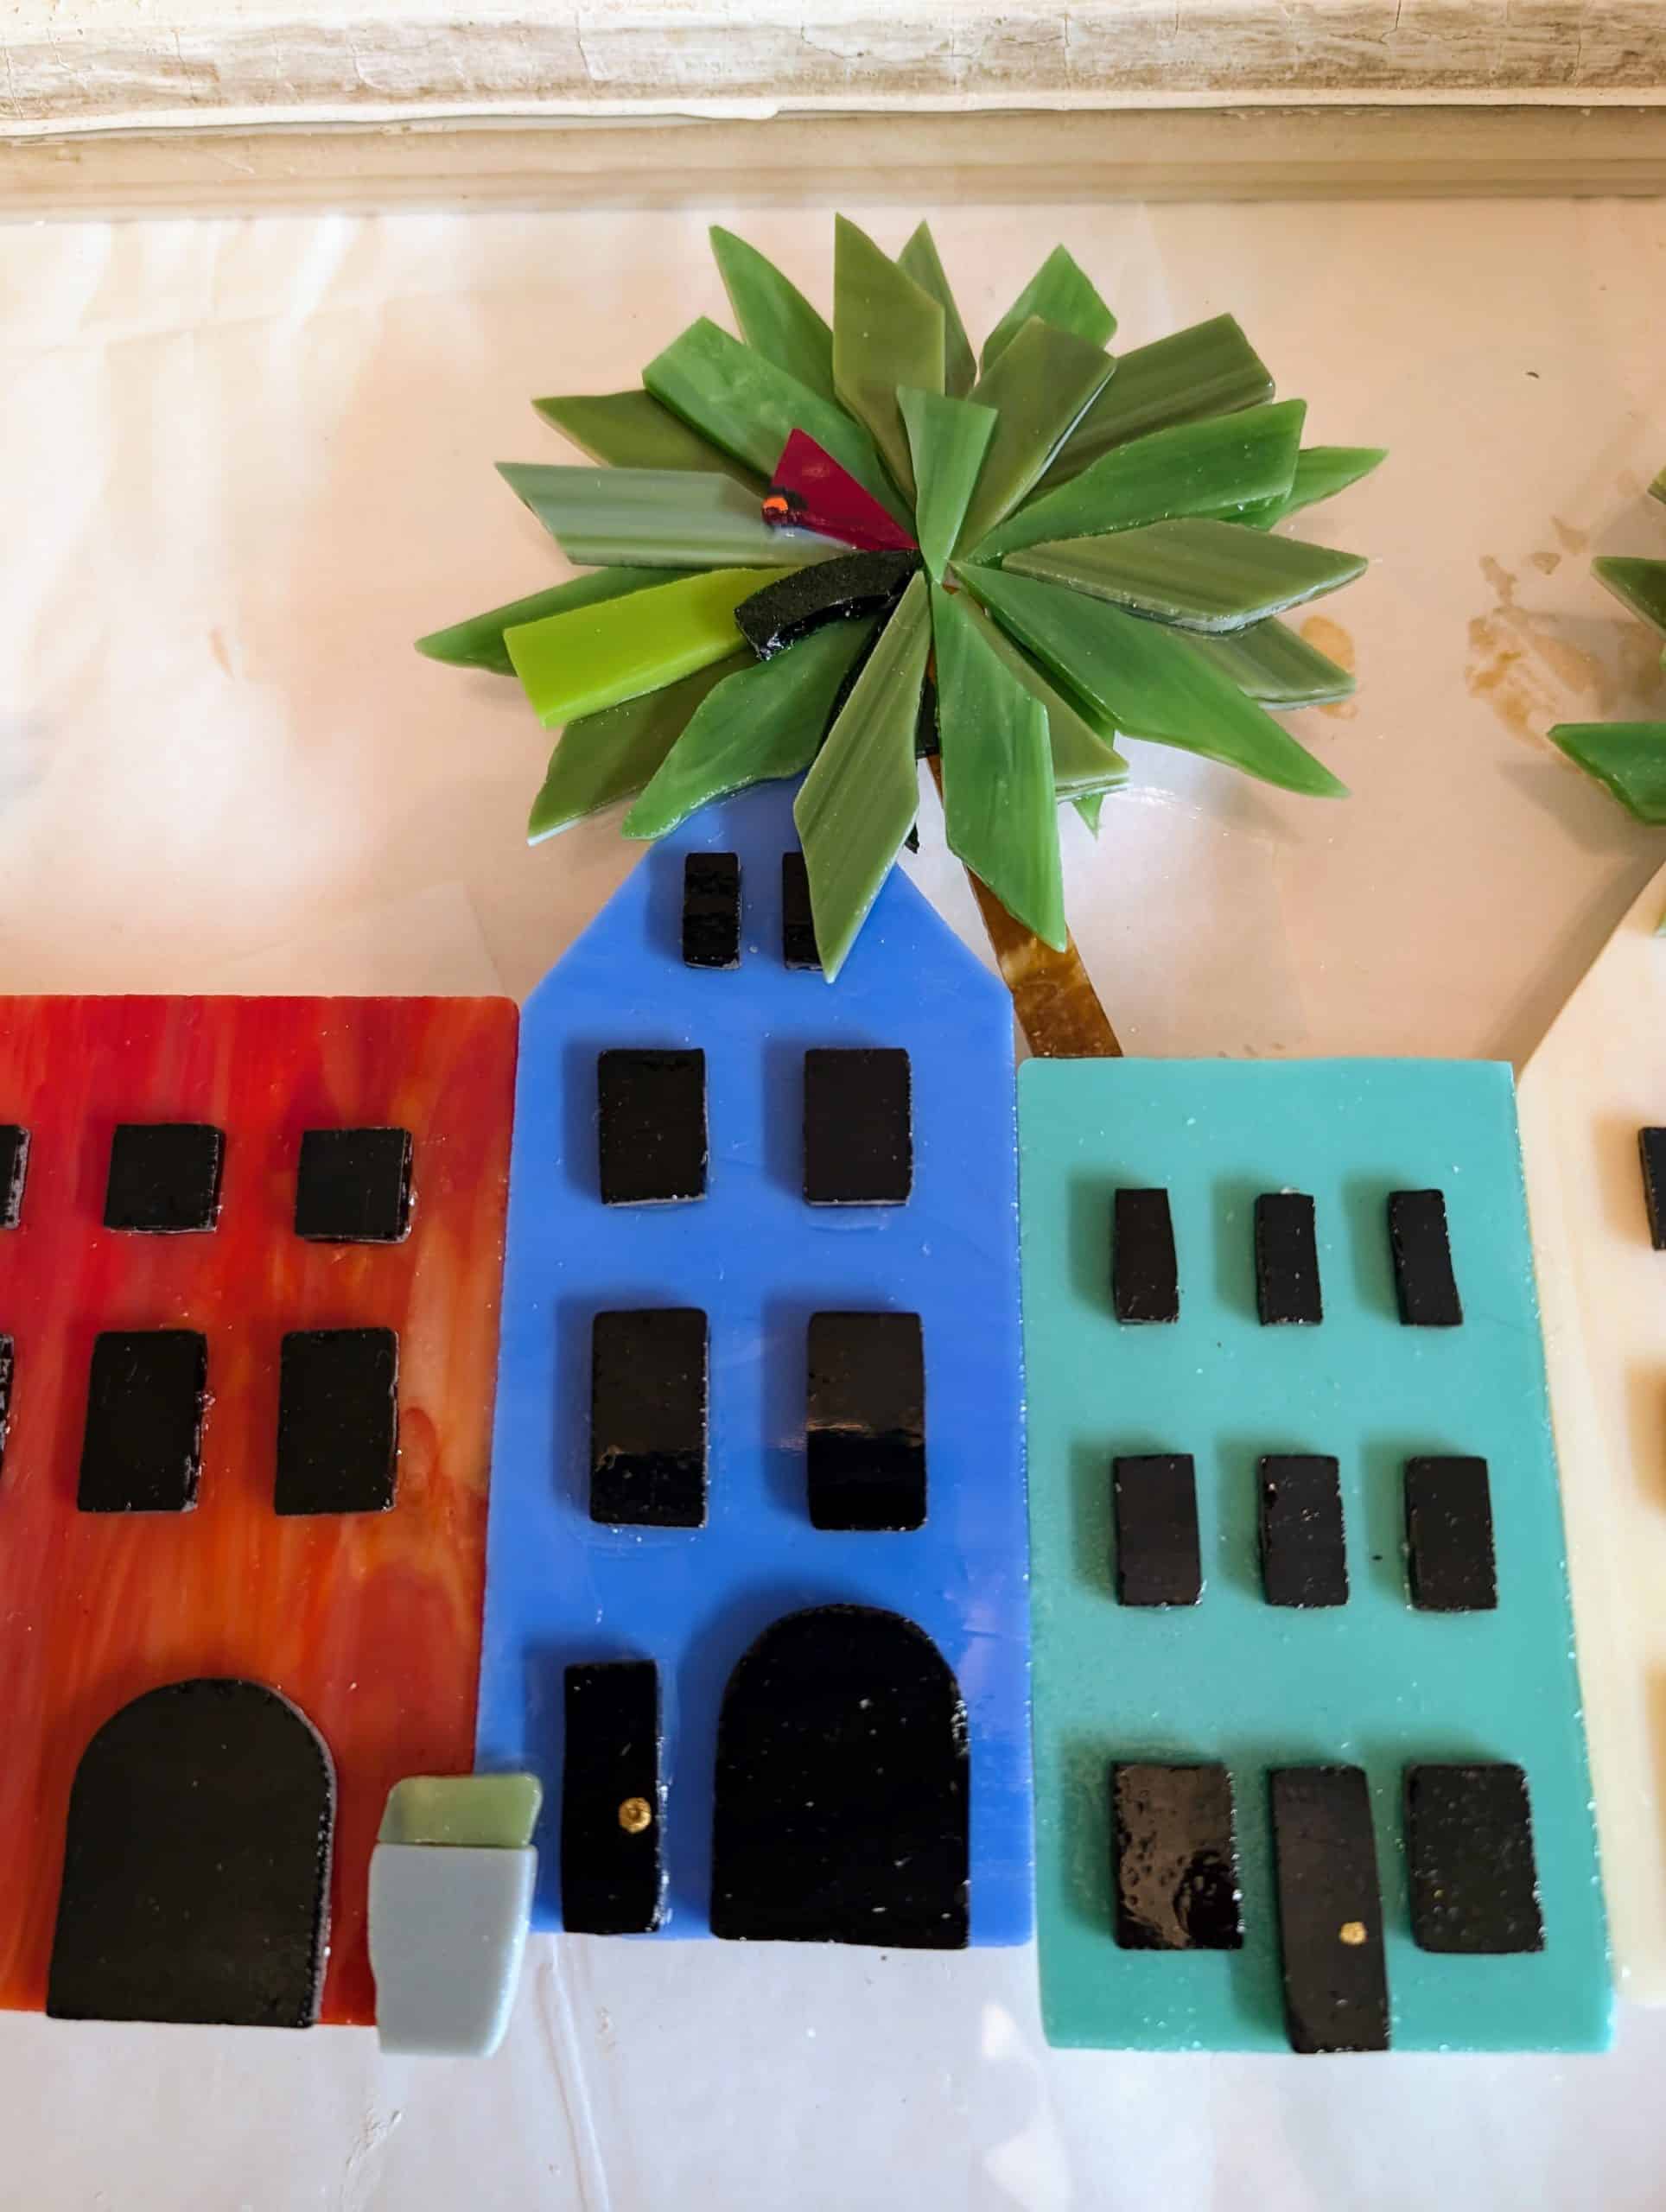
I spent some time shaping / grinding the individual windows and doors and adding some trees to the scene. I haven’t started shaping / grinding the palm fronds yet, but that still needs attention. After that, I will start adhering the smaller pieces to the houses as they need to be in place / set before I add the flowers and other small decorative details. I also shaped a crescent for the sky.
Rainbow Row in progressRainbow Row in progress, added another tree
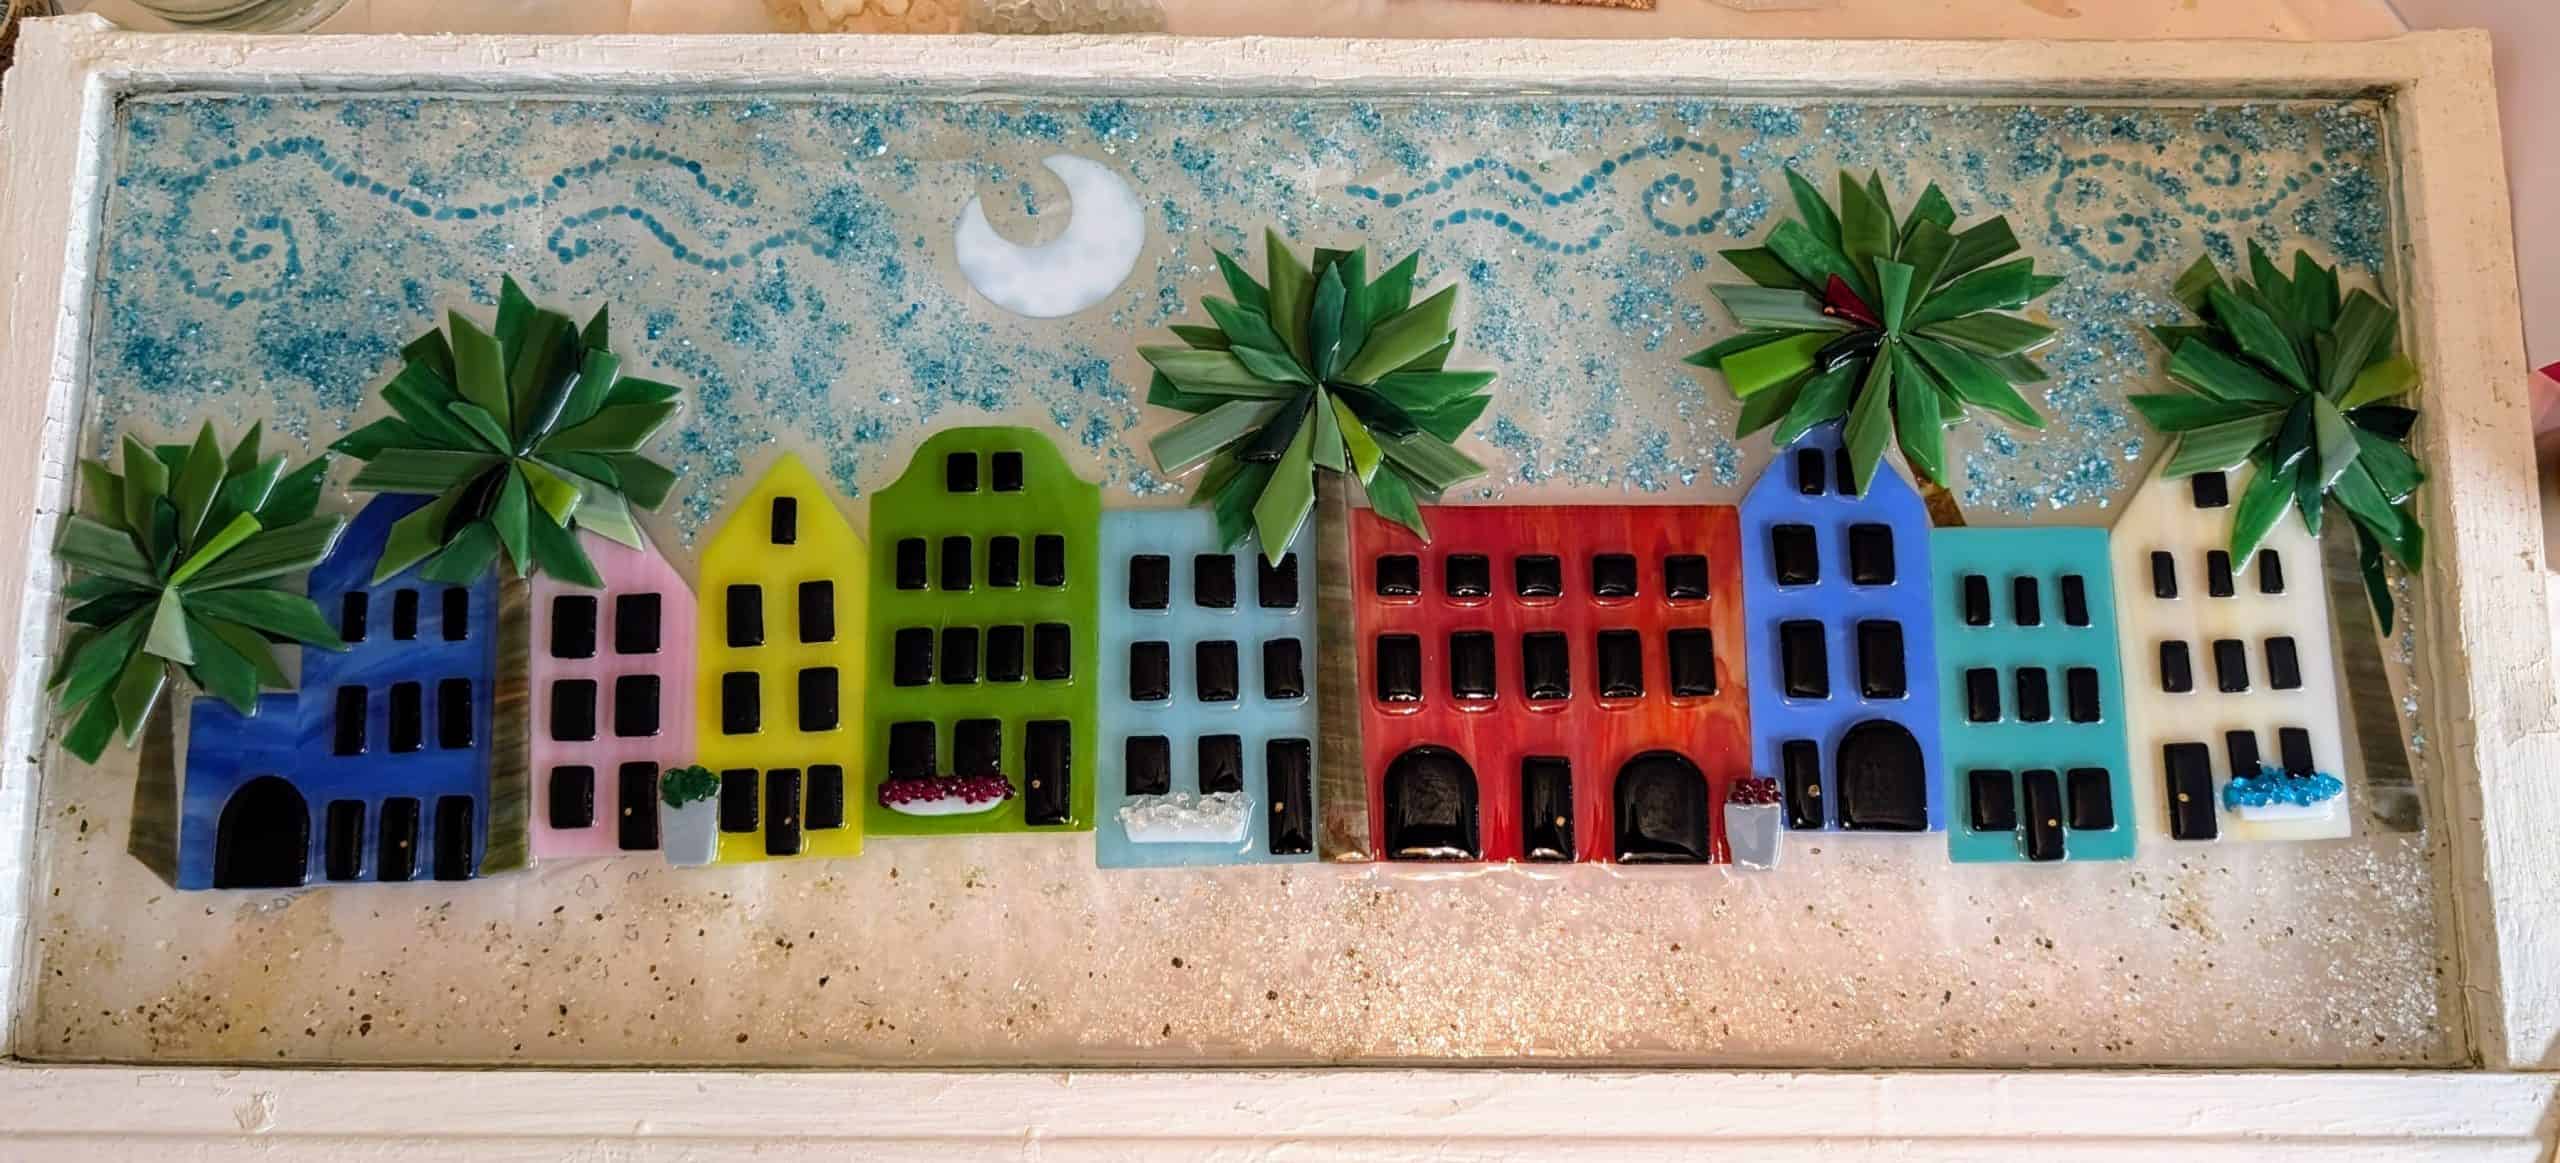
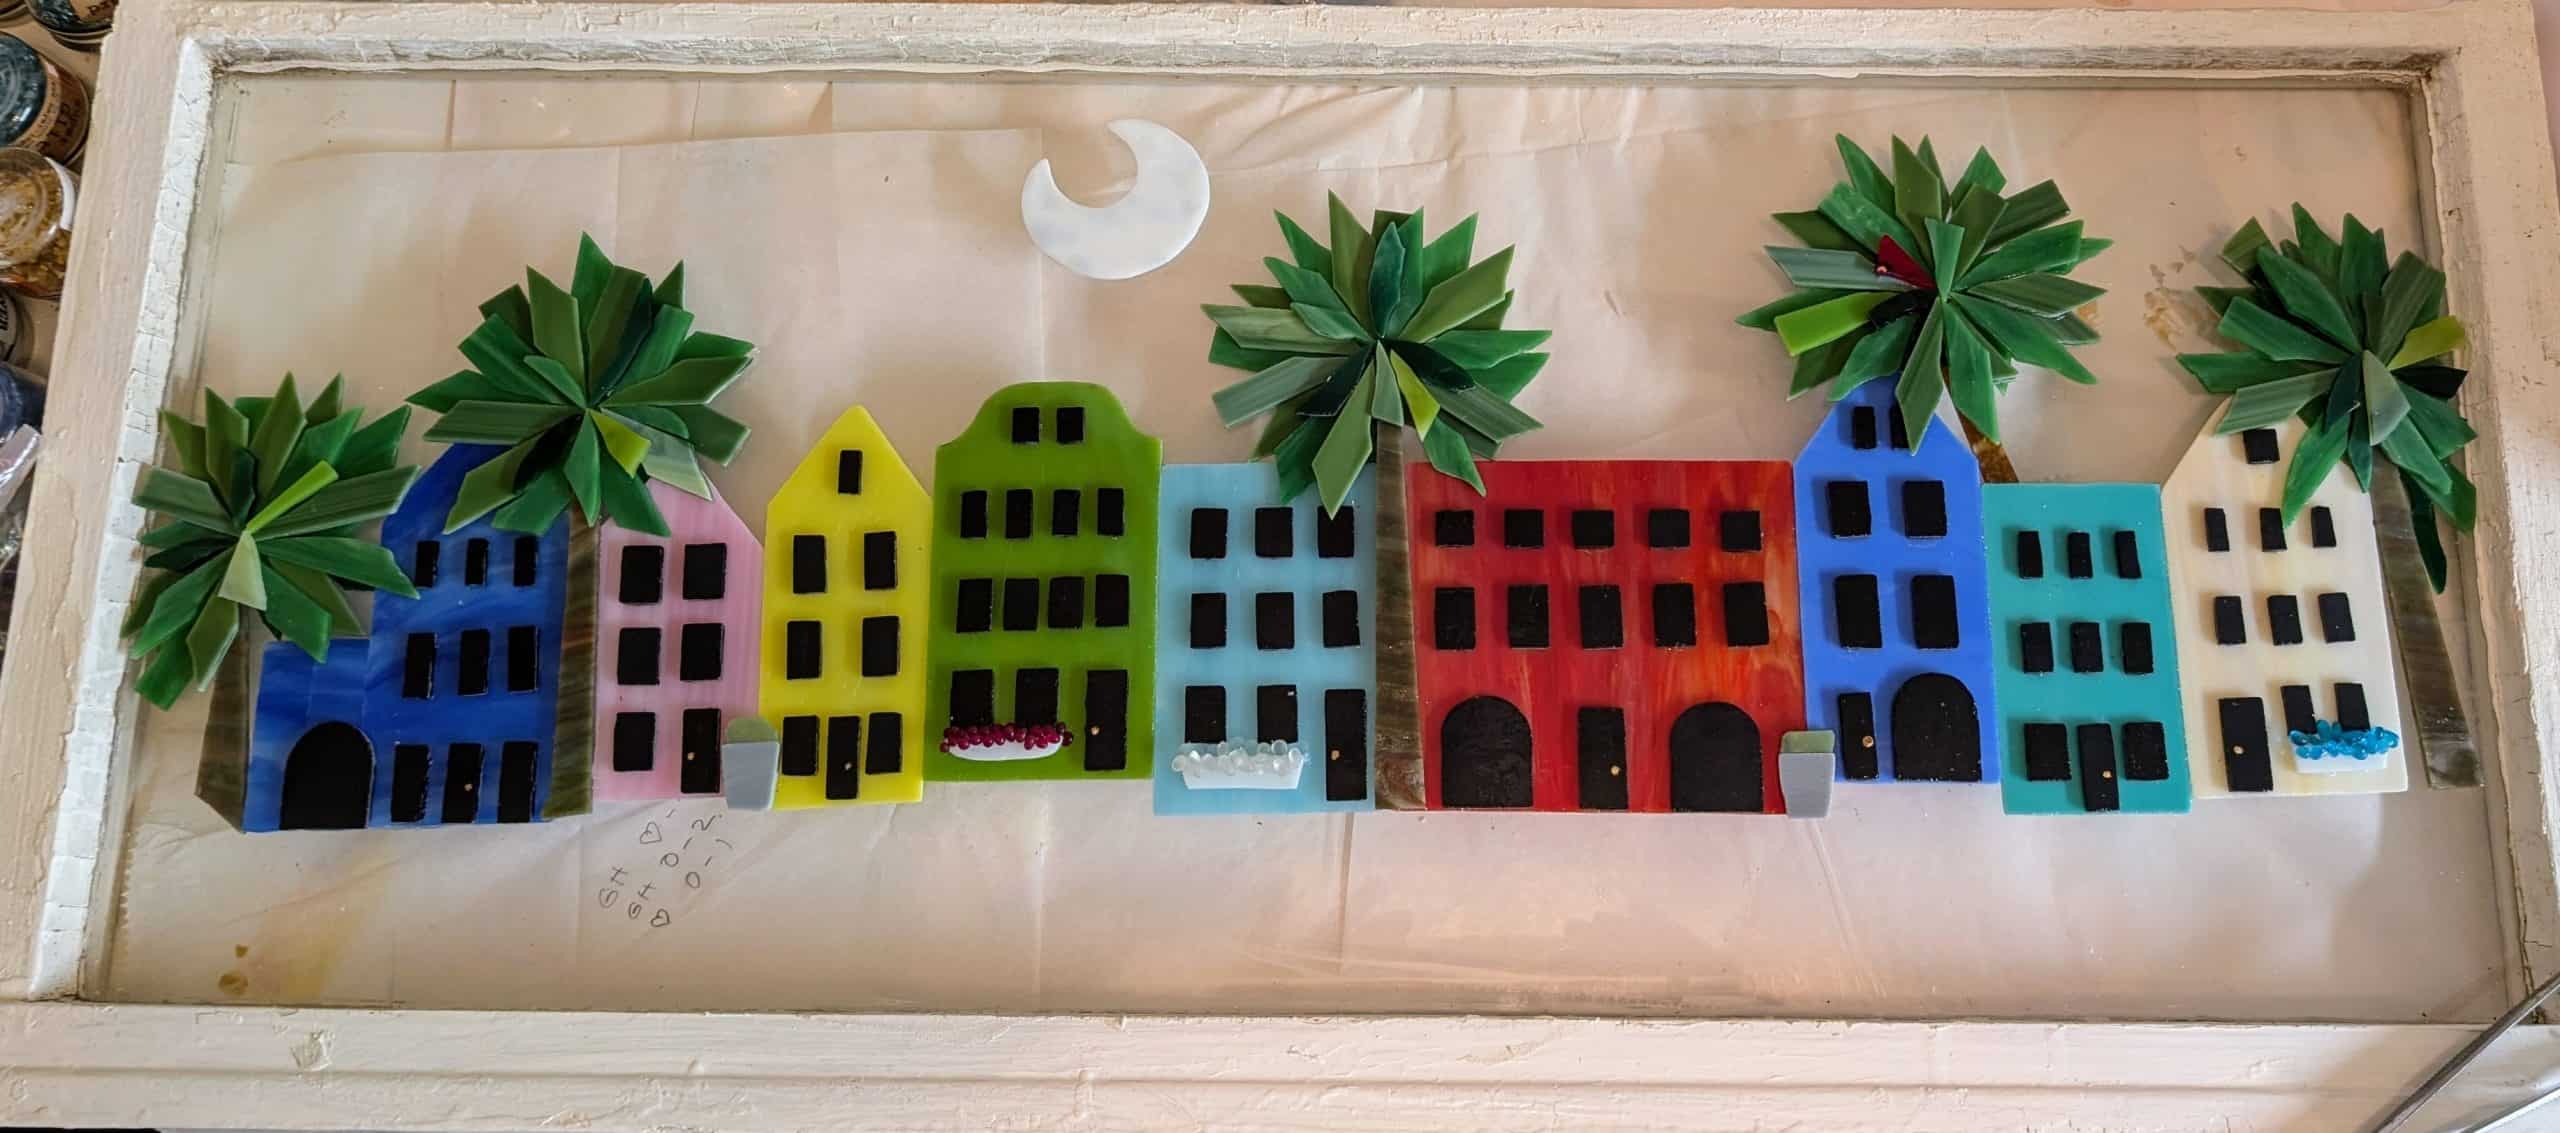
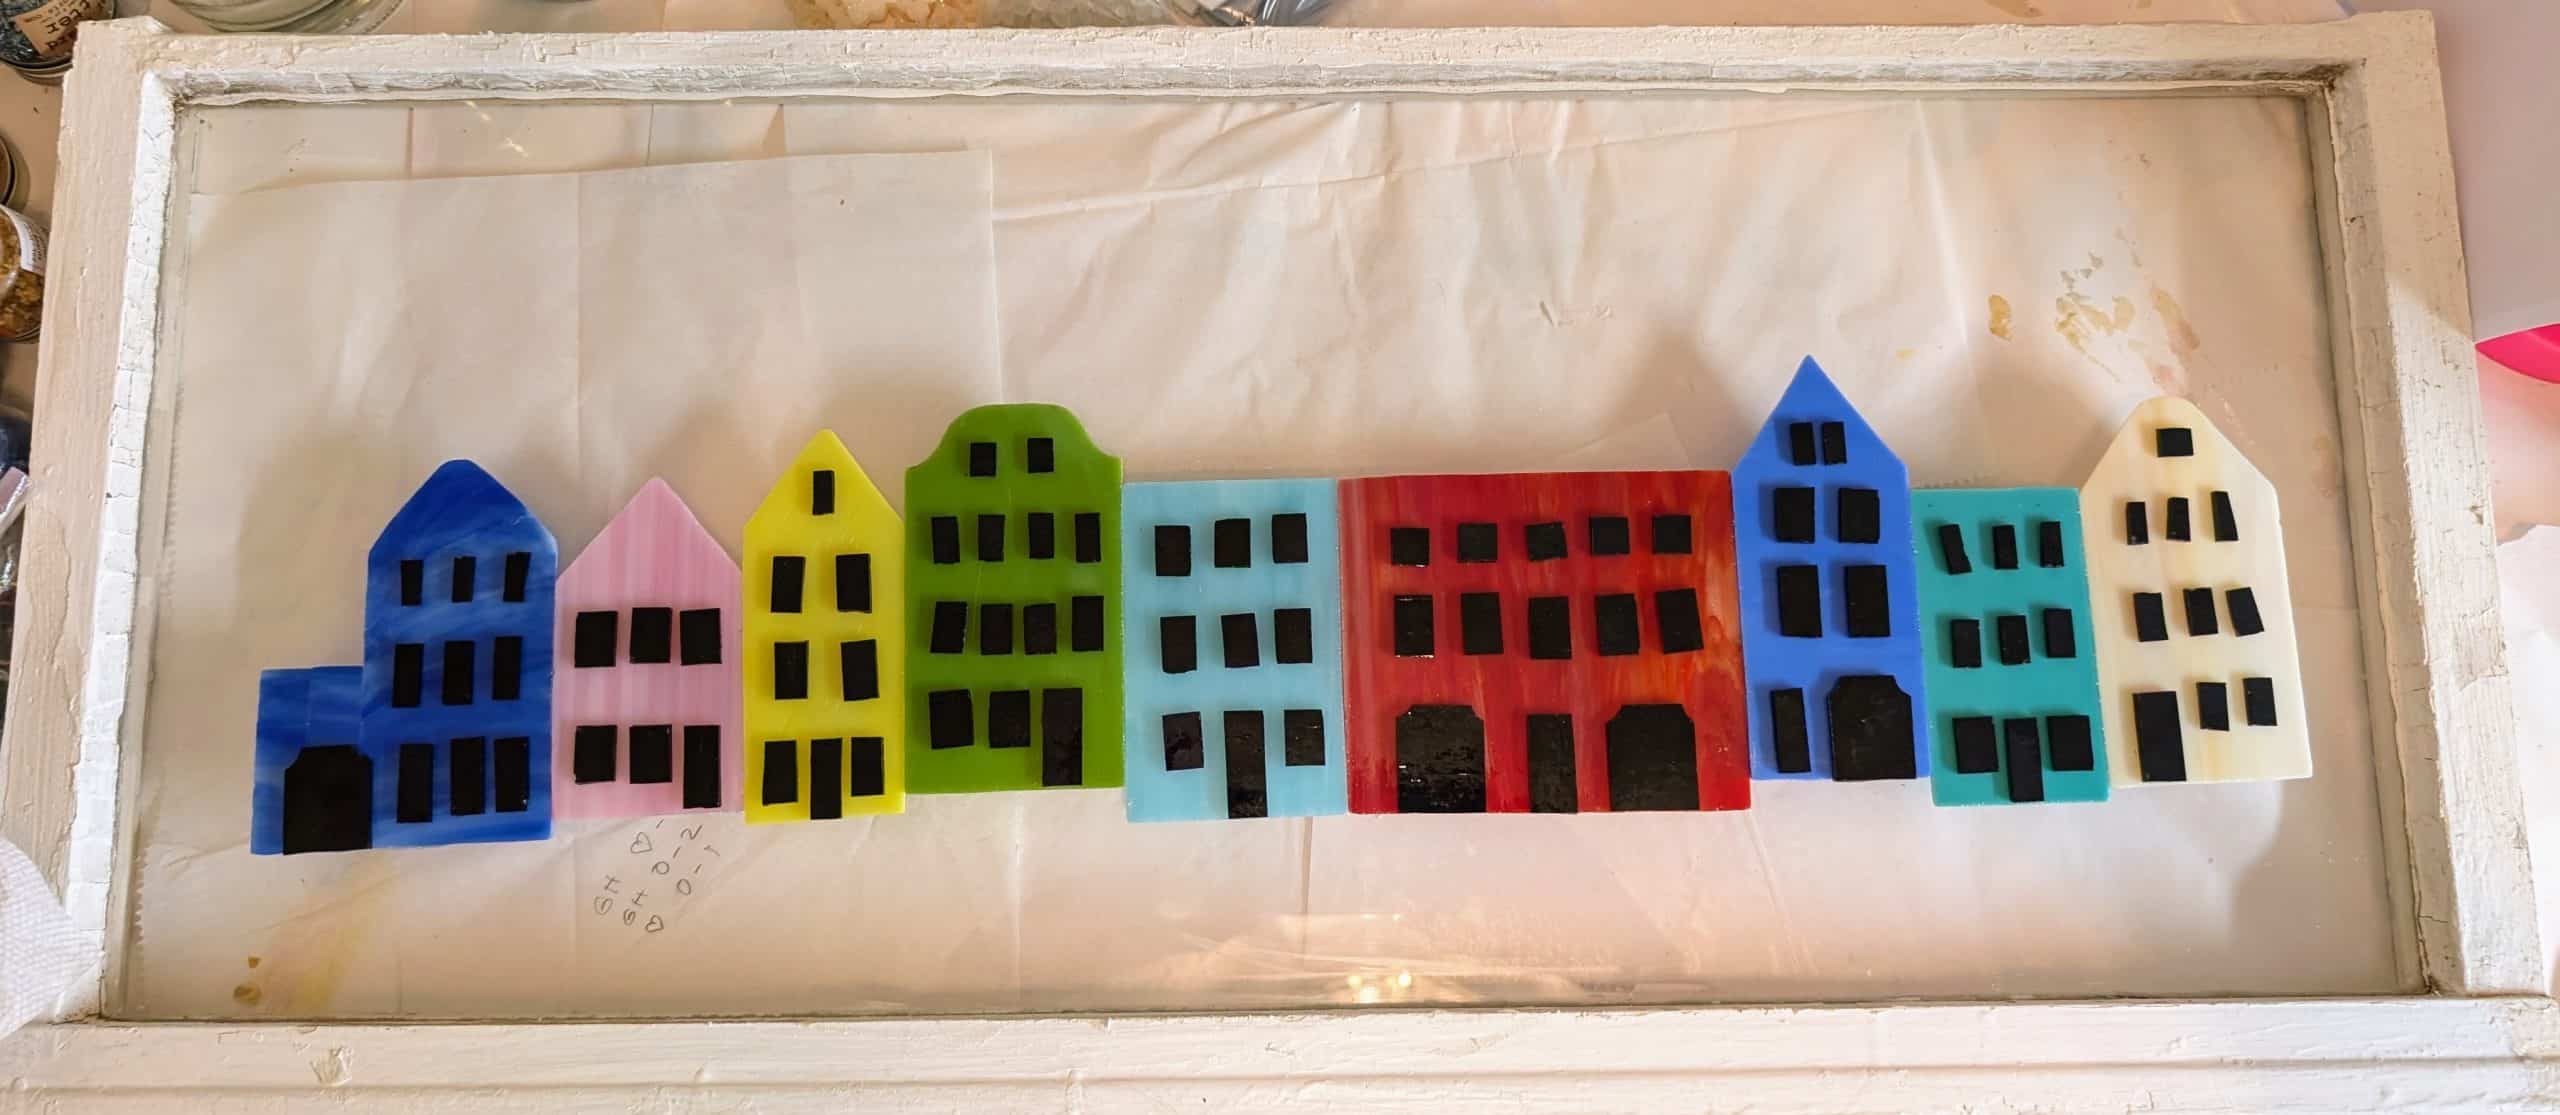
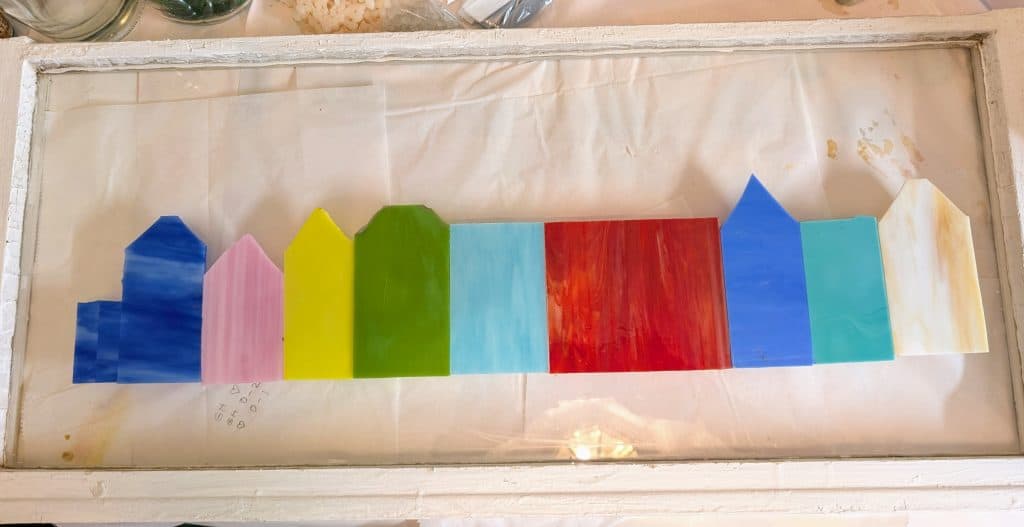
Today I used a glass grinder to smooth the cut edges of the glass and shape it. I had enough time to bond the glass pieces to the old window with mosaic adhesive. Trying a slight staggered position for this one. Usually I only include seven of the Rainbow Row homes, but I extended this one to nine total, which is what you generally see in photos of the full row.
Why am I making another Rainbow Row window? Wasn’t that my last big project? Yes, it was. However, that window already sold at the SC Artisan Center, so I want to replenish my stock. I like to keep some SC themed pieces there and all of the ones I had there have recently sold (I do have some non-SC pieces there at the moment, though). I plan to try to work in the Palmetto & Crescent from the flag into the details on this window as well.
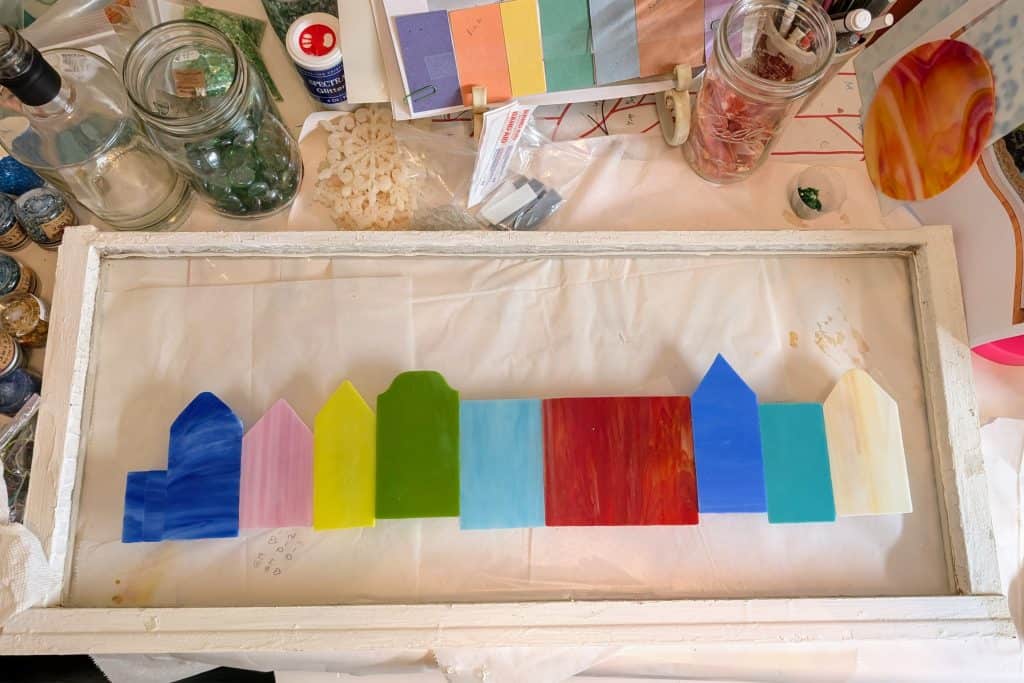
I’ve been working on prepping the old window for this project for the past few weeks. It still has some work to be done, but I started roughing out the glass for the next Rainbow Row.
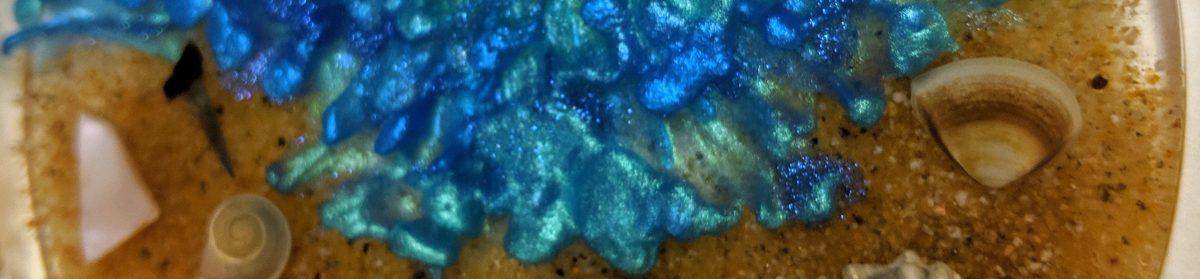
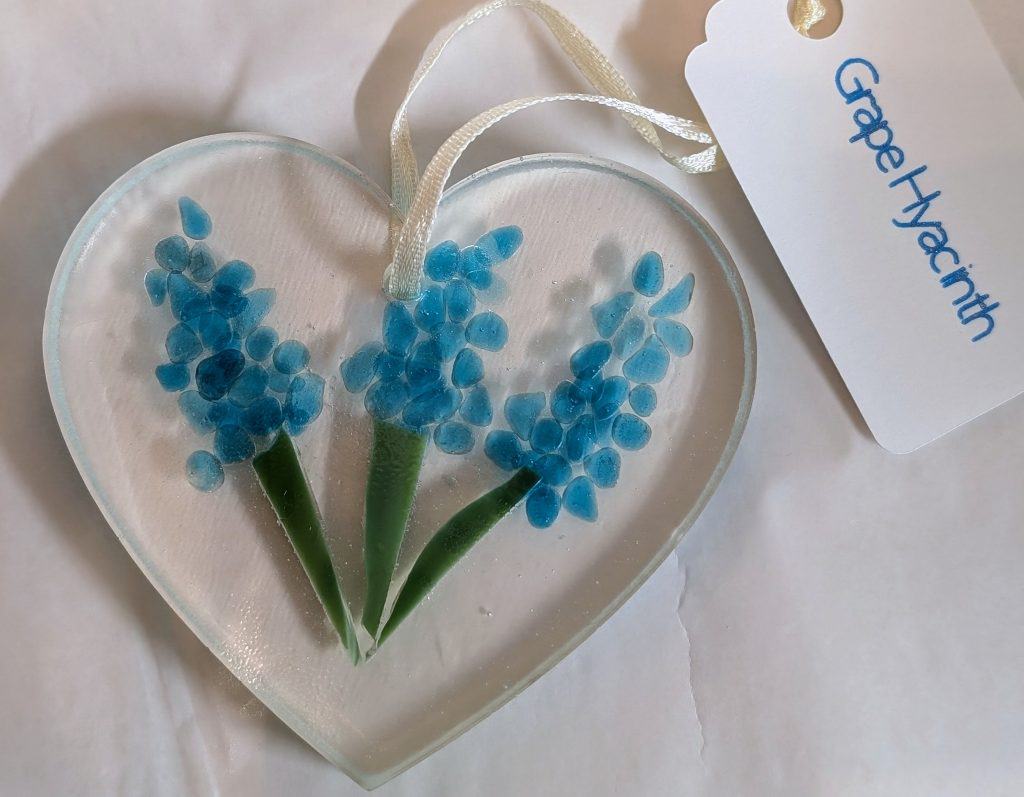
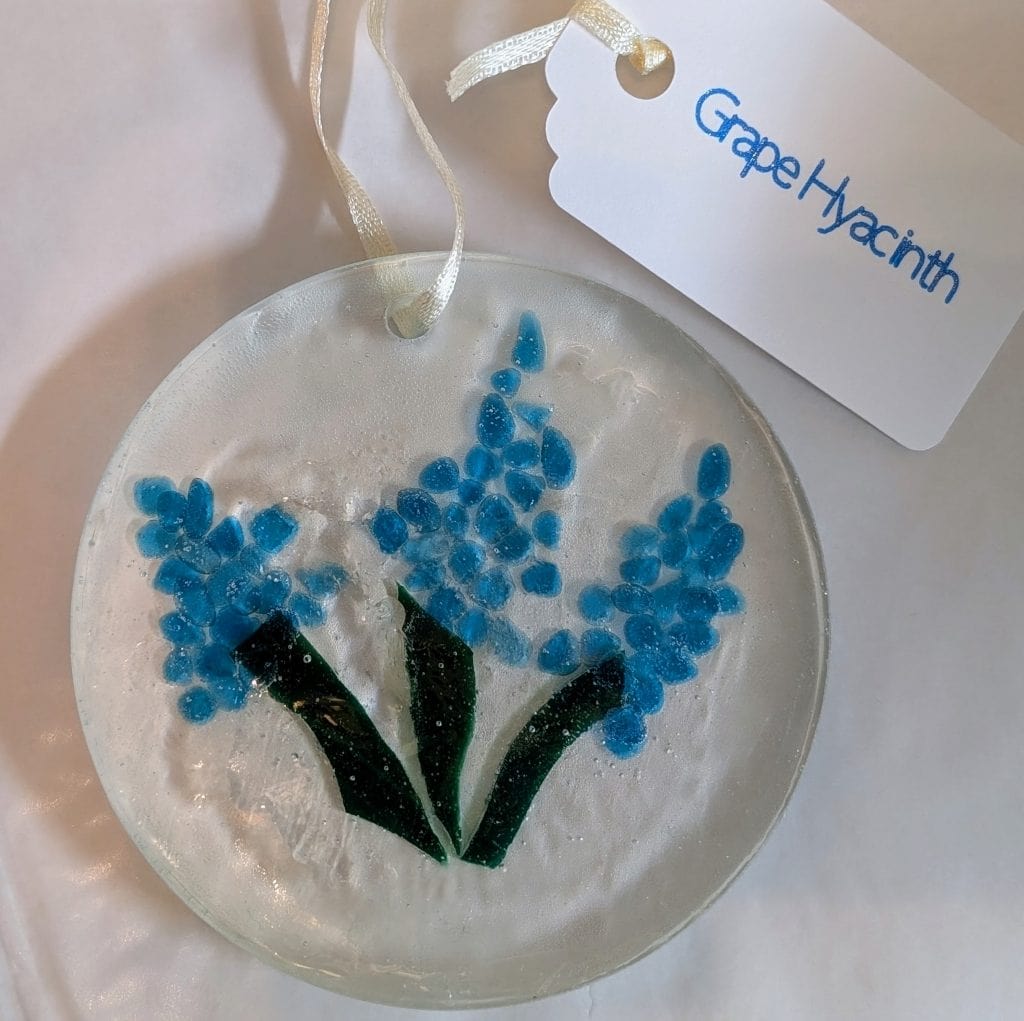
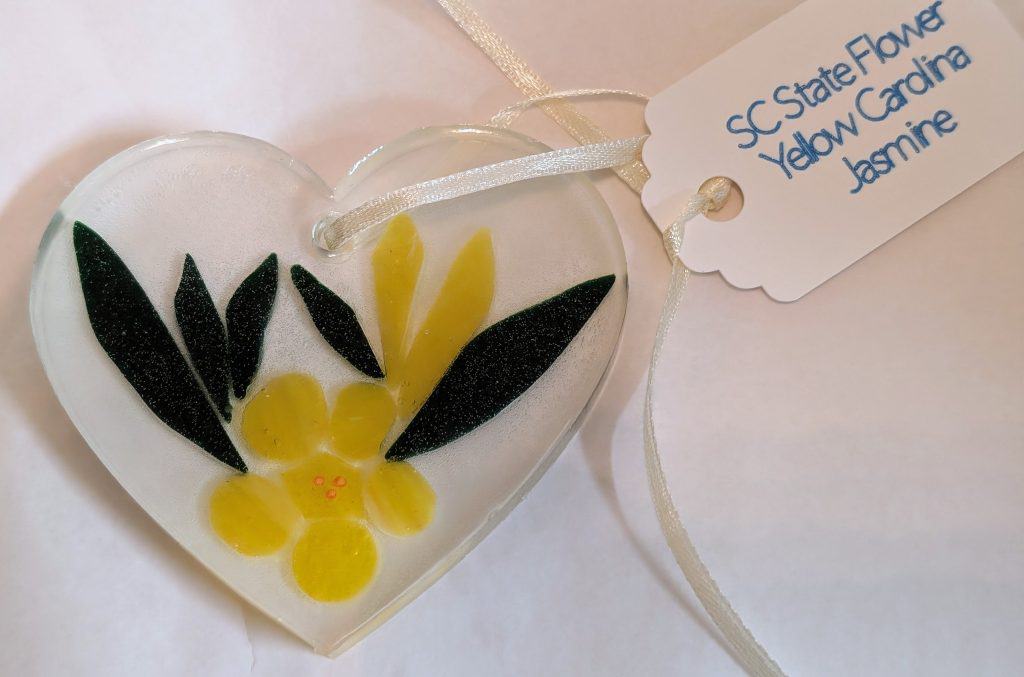
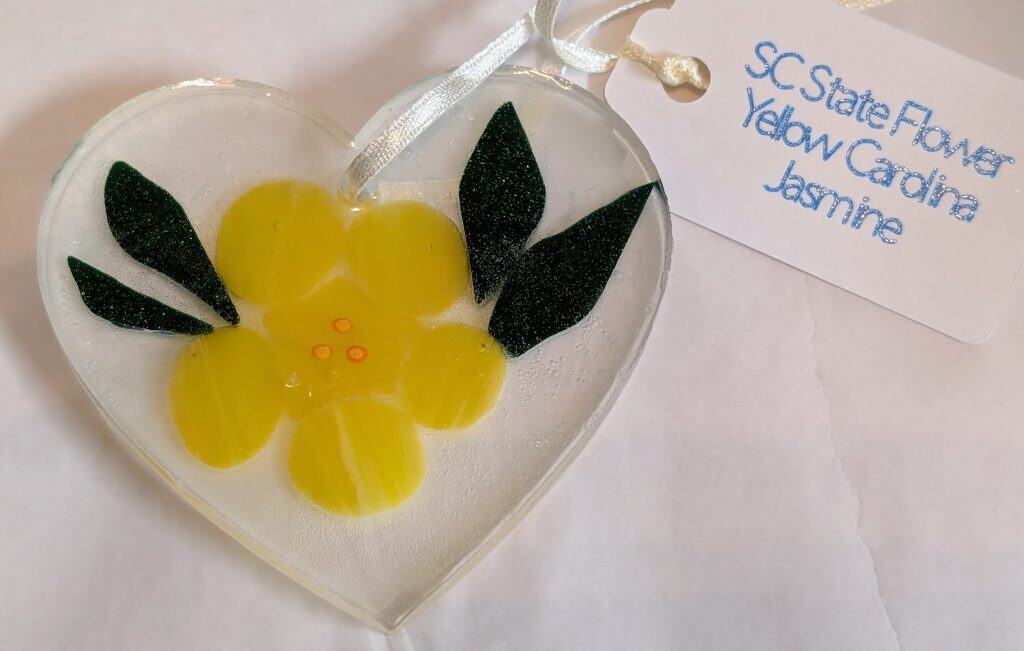
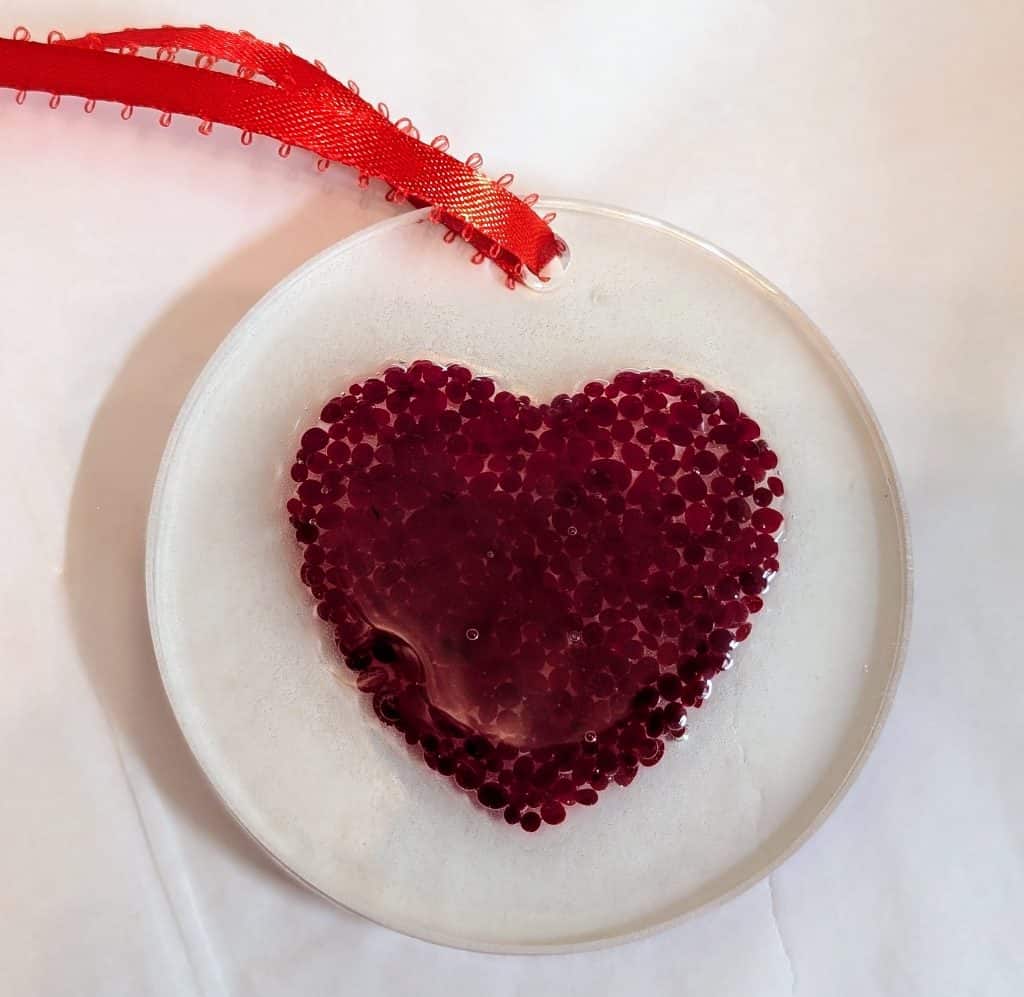
Some flowery suncatchers – it is hard to tell in the photos, but some of these have a frosted / ripple / wrinkle effect. Plus one heart made of many tiny red glass dots.