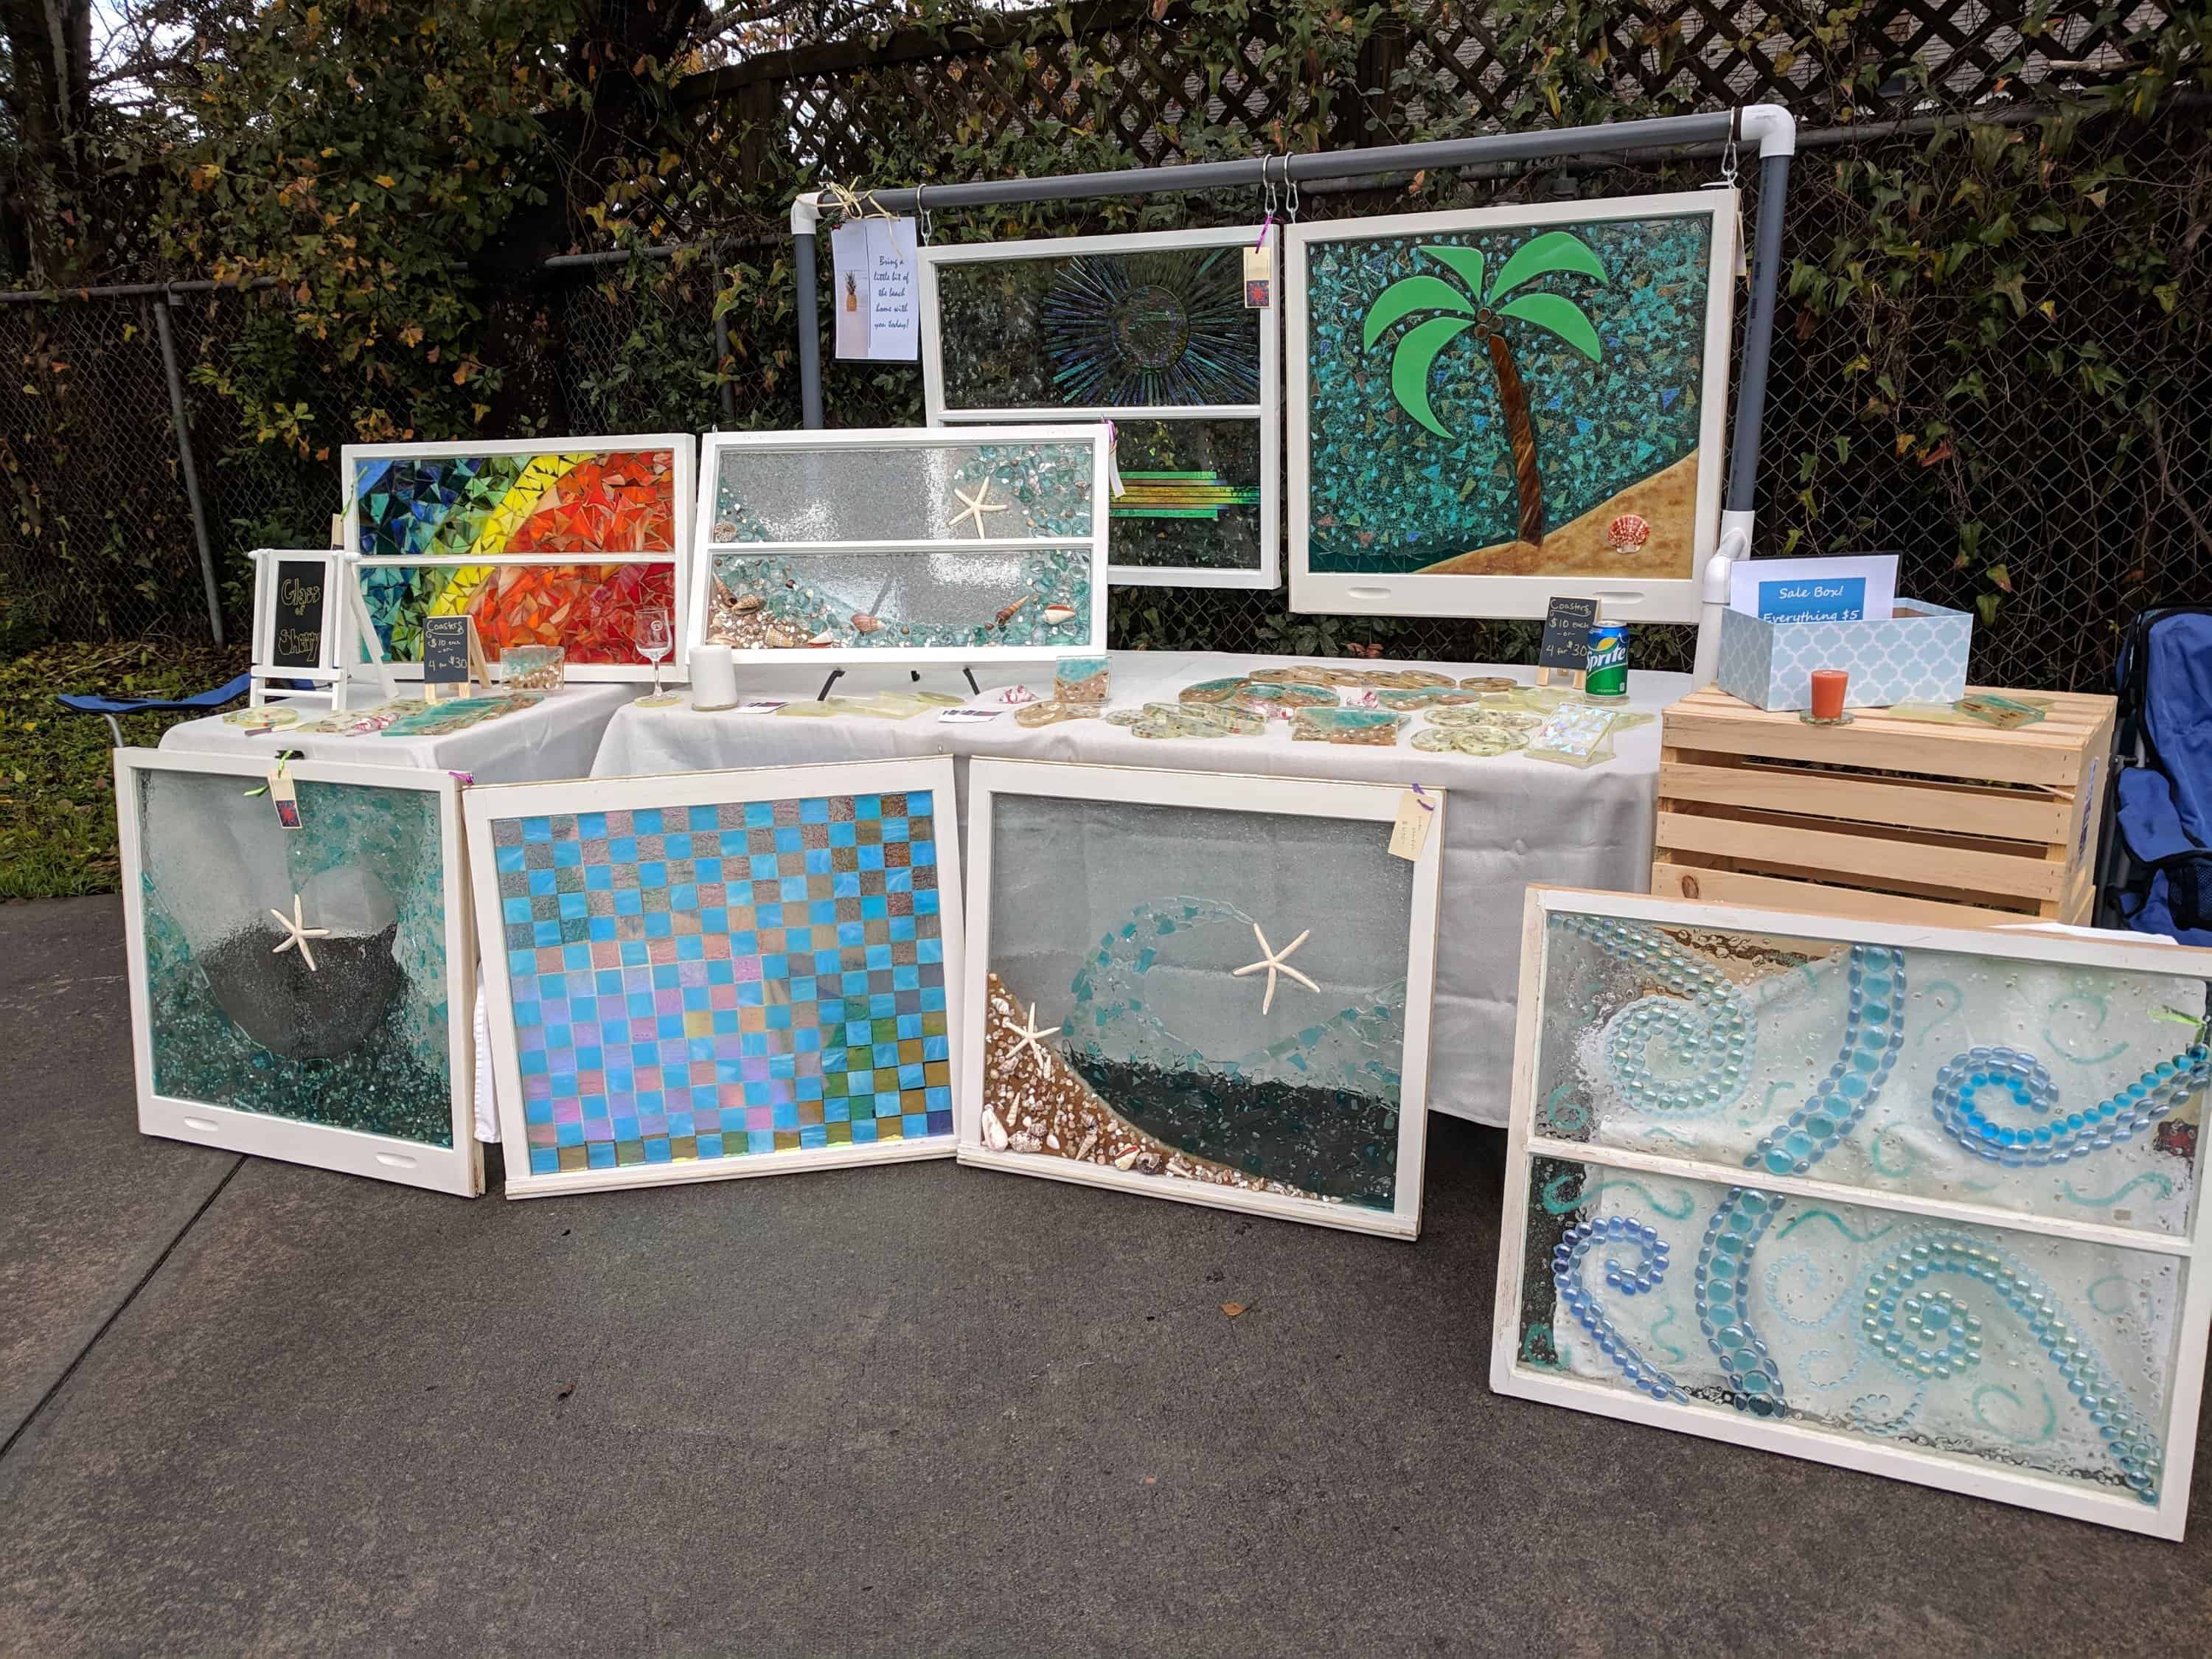
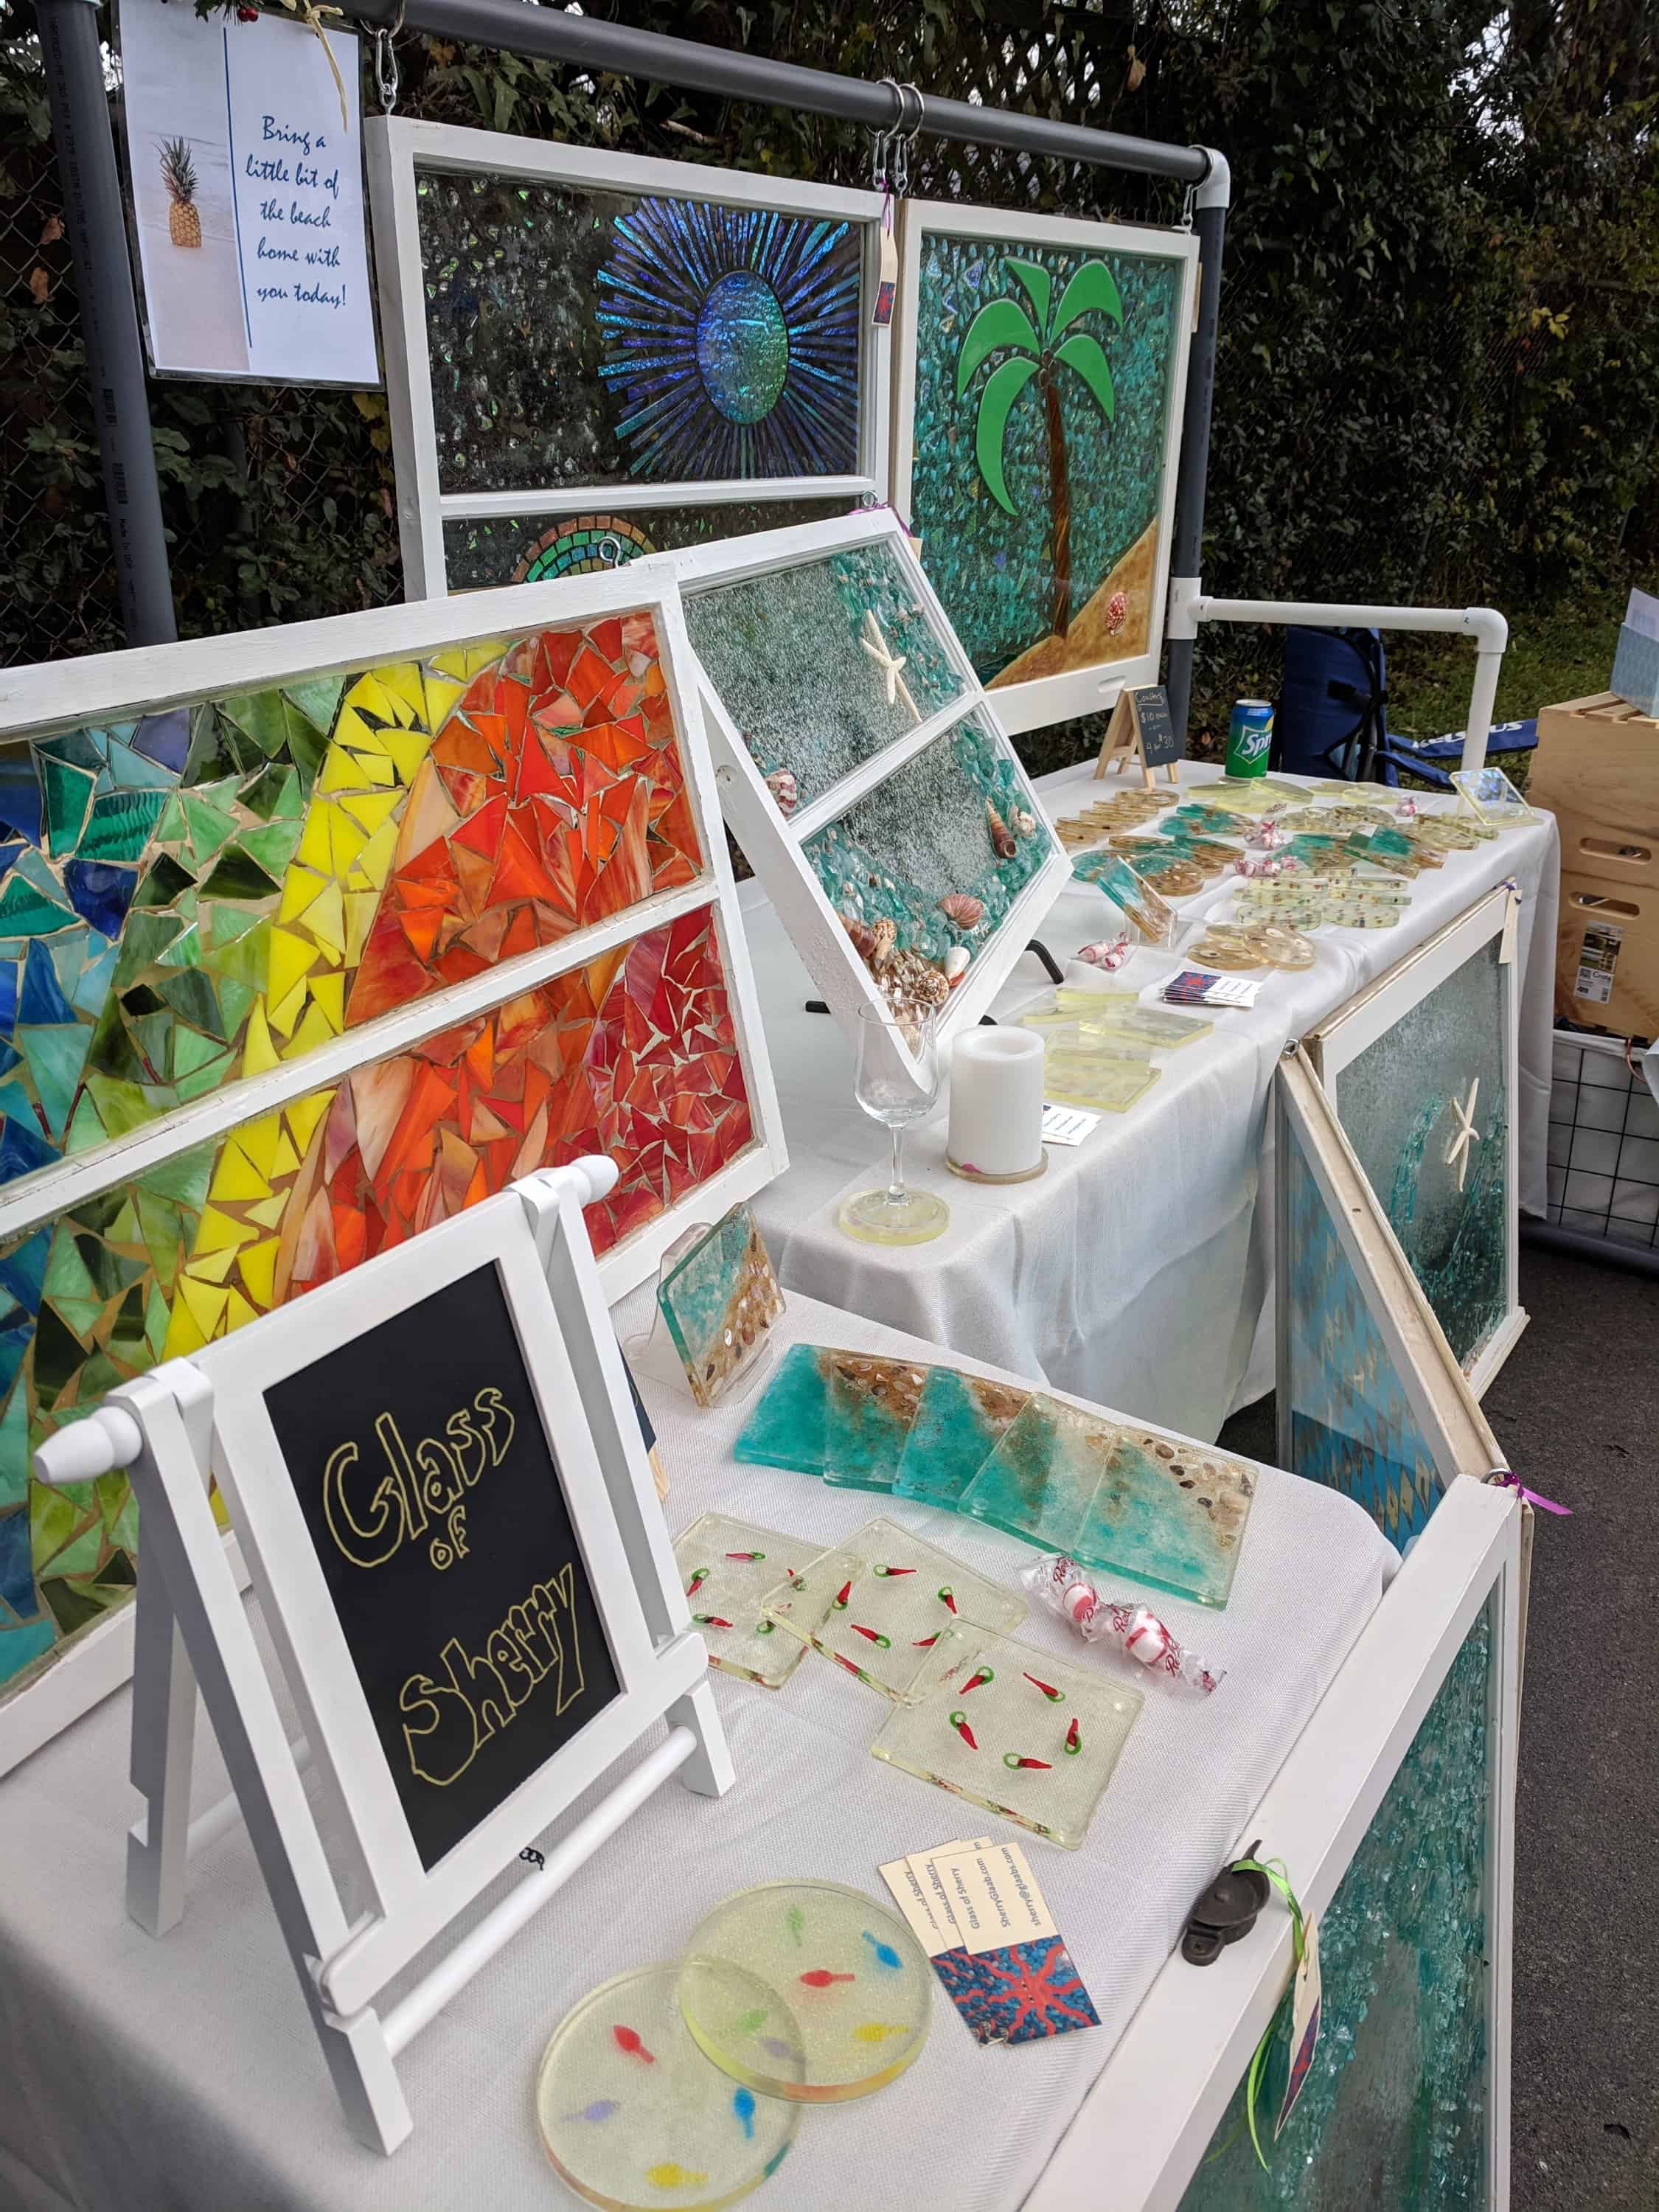
Using old windows has its pros and cons. “I got most of mine for free” is the major pro, along with the charm, no need to add a frame later, and some weather resistance factored in. Being able to recycle / reuse is a major pro! The cons, however, can be tedious and time consuming. I do not enjoy the process of prepping the old window. The whole time I’m working on cleaning up the old frame I’m wishing I were engaged in the creative, decorative process instead. Prepping old windows to a usable state, while dependent on their condition, generally involves at least the following steps:
- basic cleaning (a lot of my windows are really filthy, so this can sometimes take several tries)
- scraping off the paint in spots where it is peeling / unstable on the frame
- touching up the paint (not to make it perfect, but to at least make it stable and attractive)
- removing hardware
- touching up holes in the wood framing
- repairing unstable glazing
- scraping paint off the glass (from years of paint layers when installed in the home it came out of)
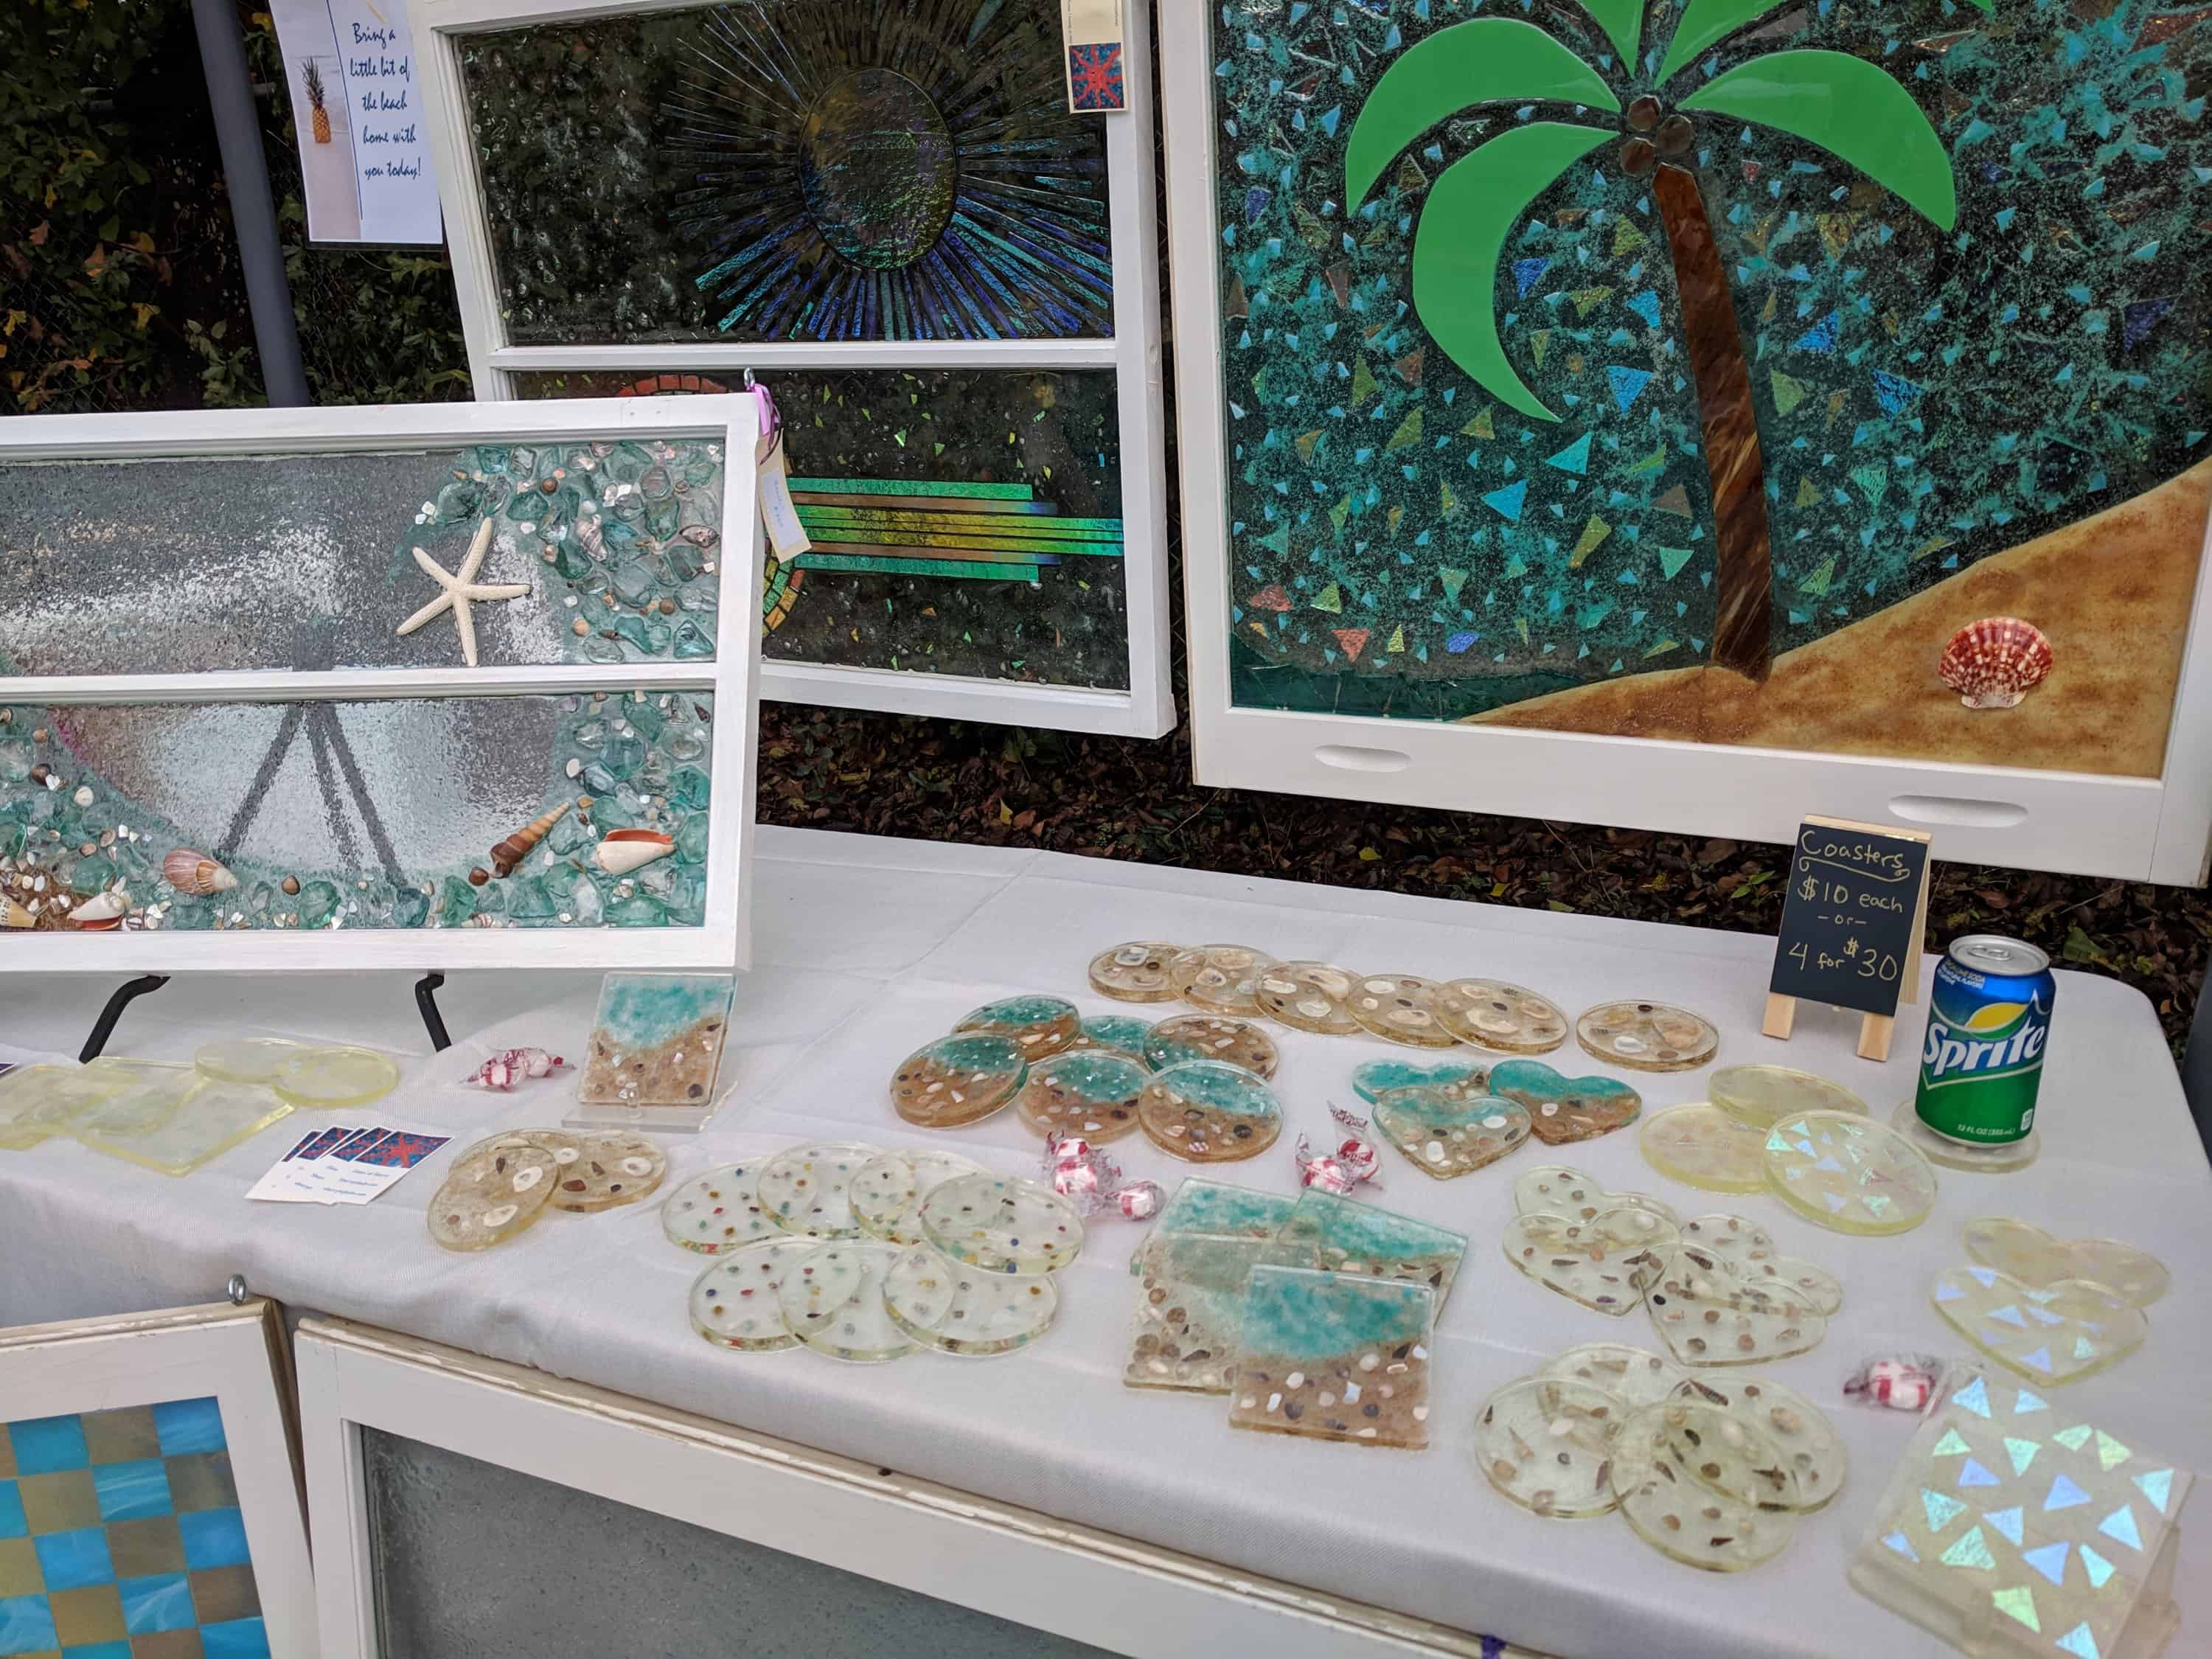
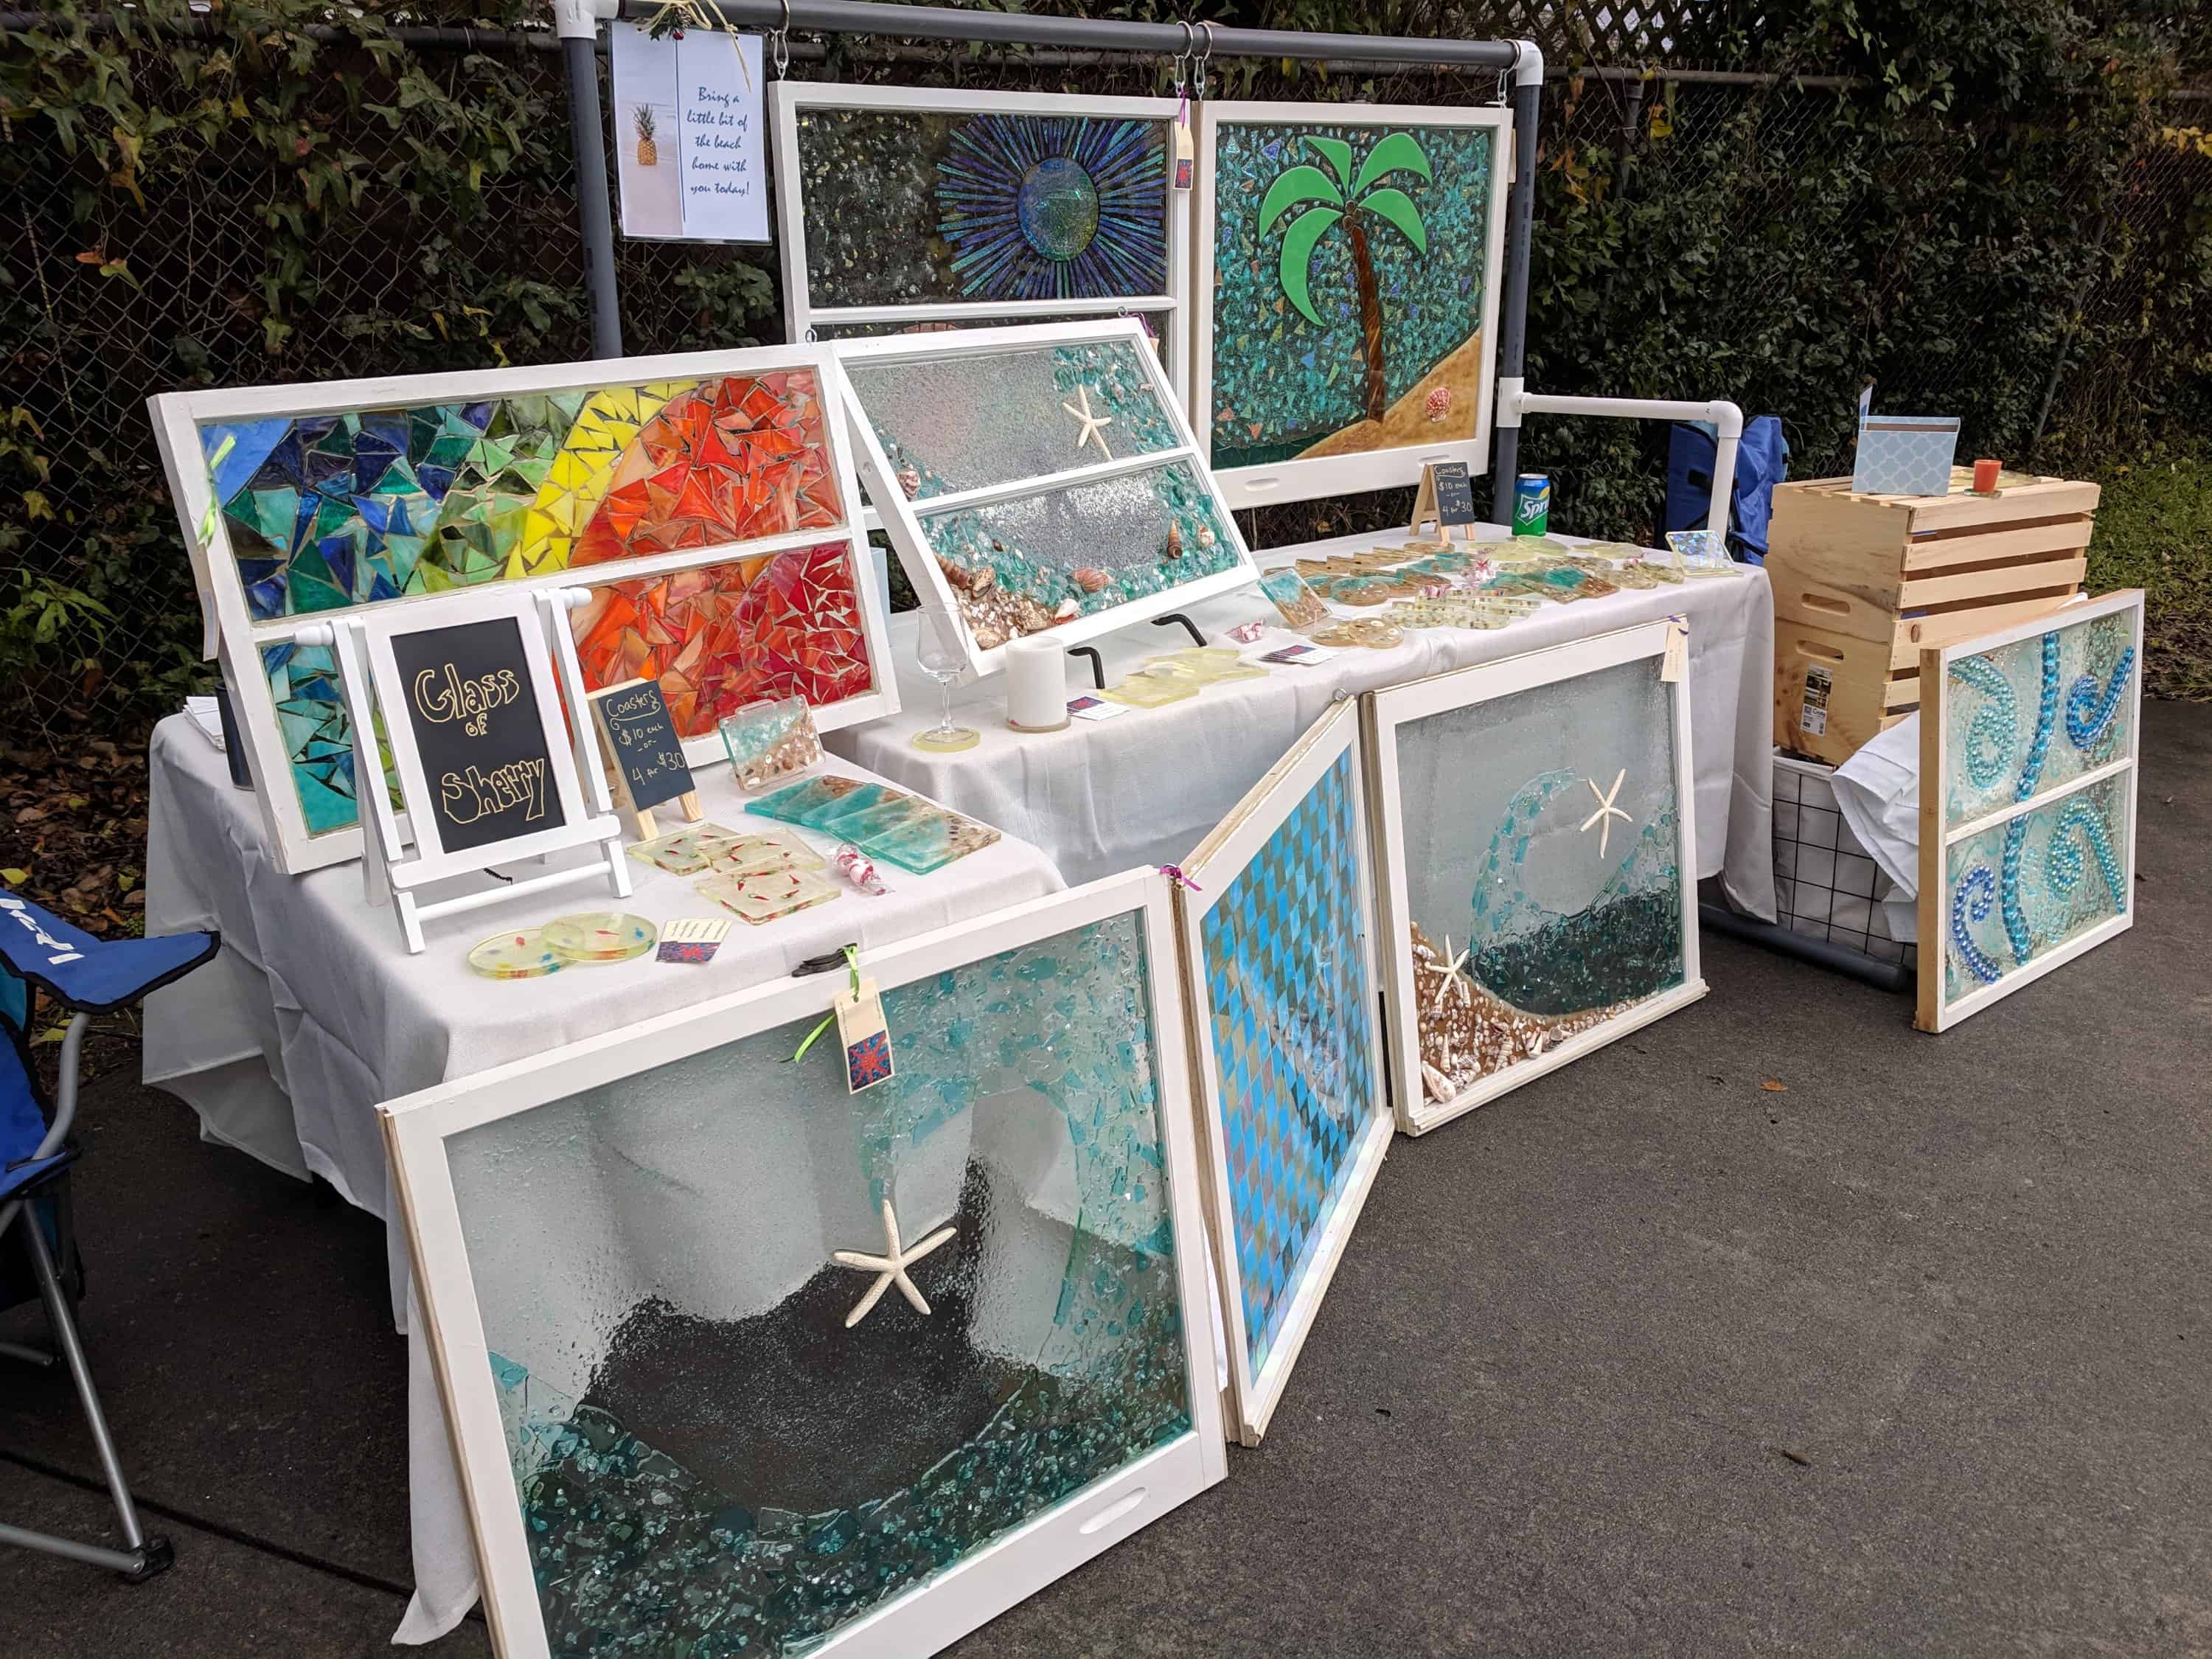
People at the last few craft fairs I attended also didn’t seem particularly thrilled about taking home a large window, so I started wondering if the prep work was worth it at all? The frames are heavy, although they are really convenient for mounting the finished product in an existing window (check out this post for an example of what I mean).
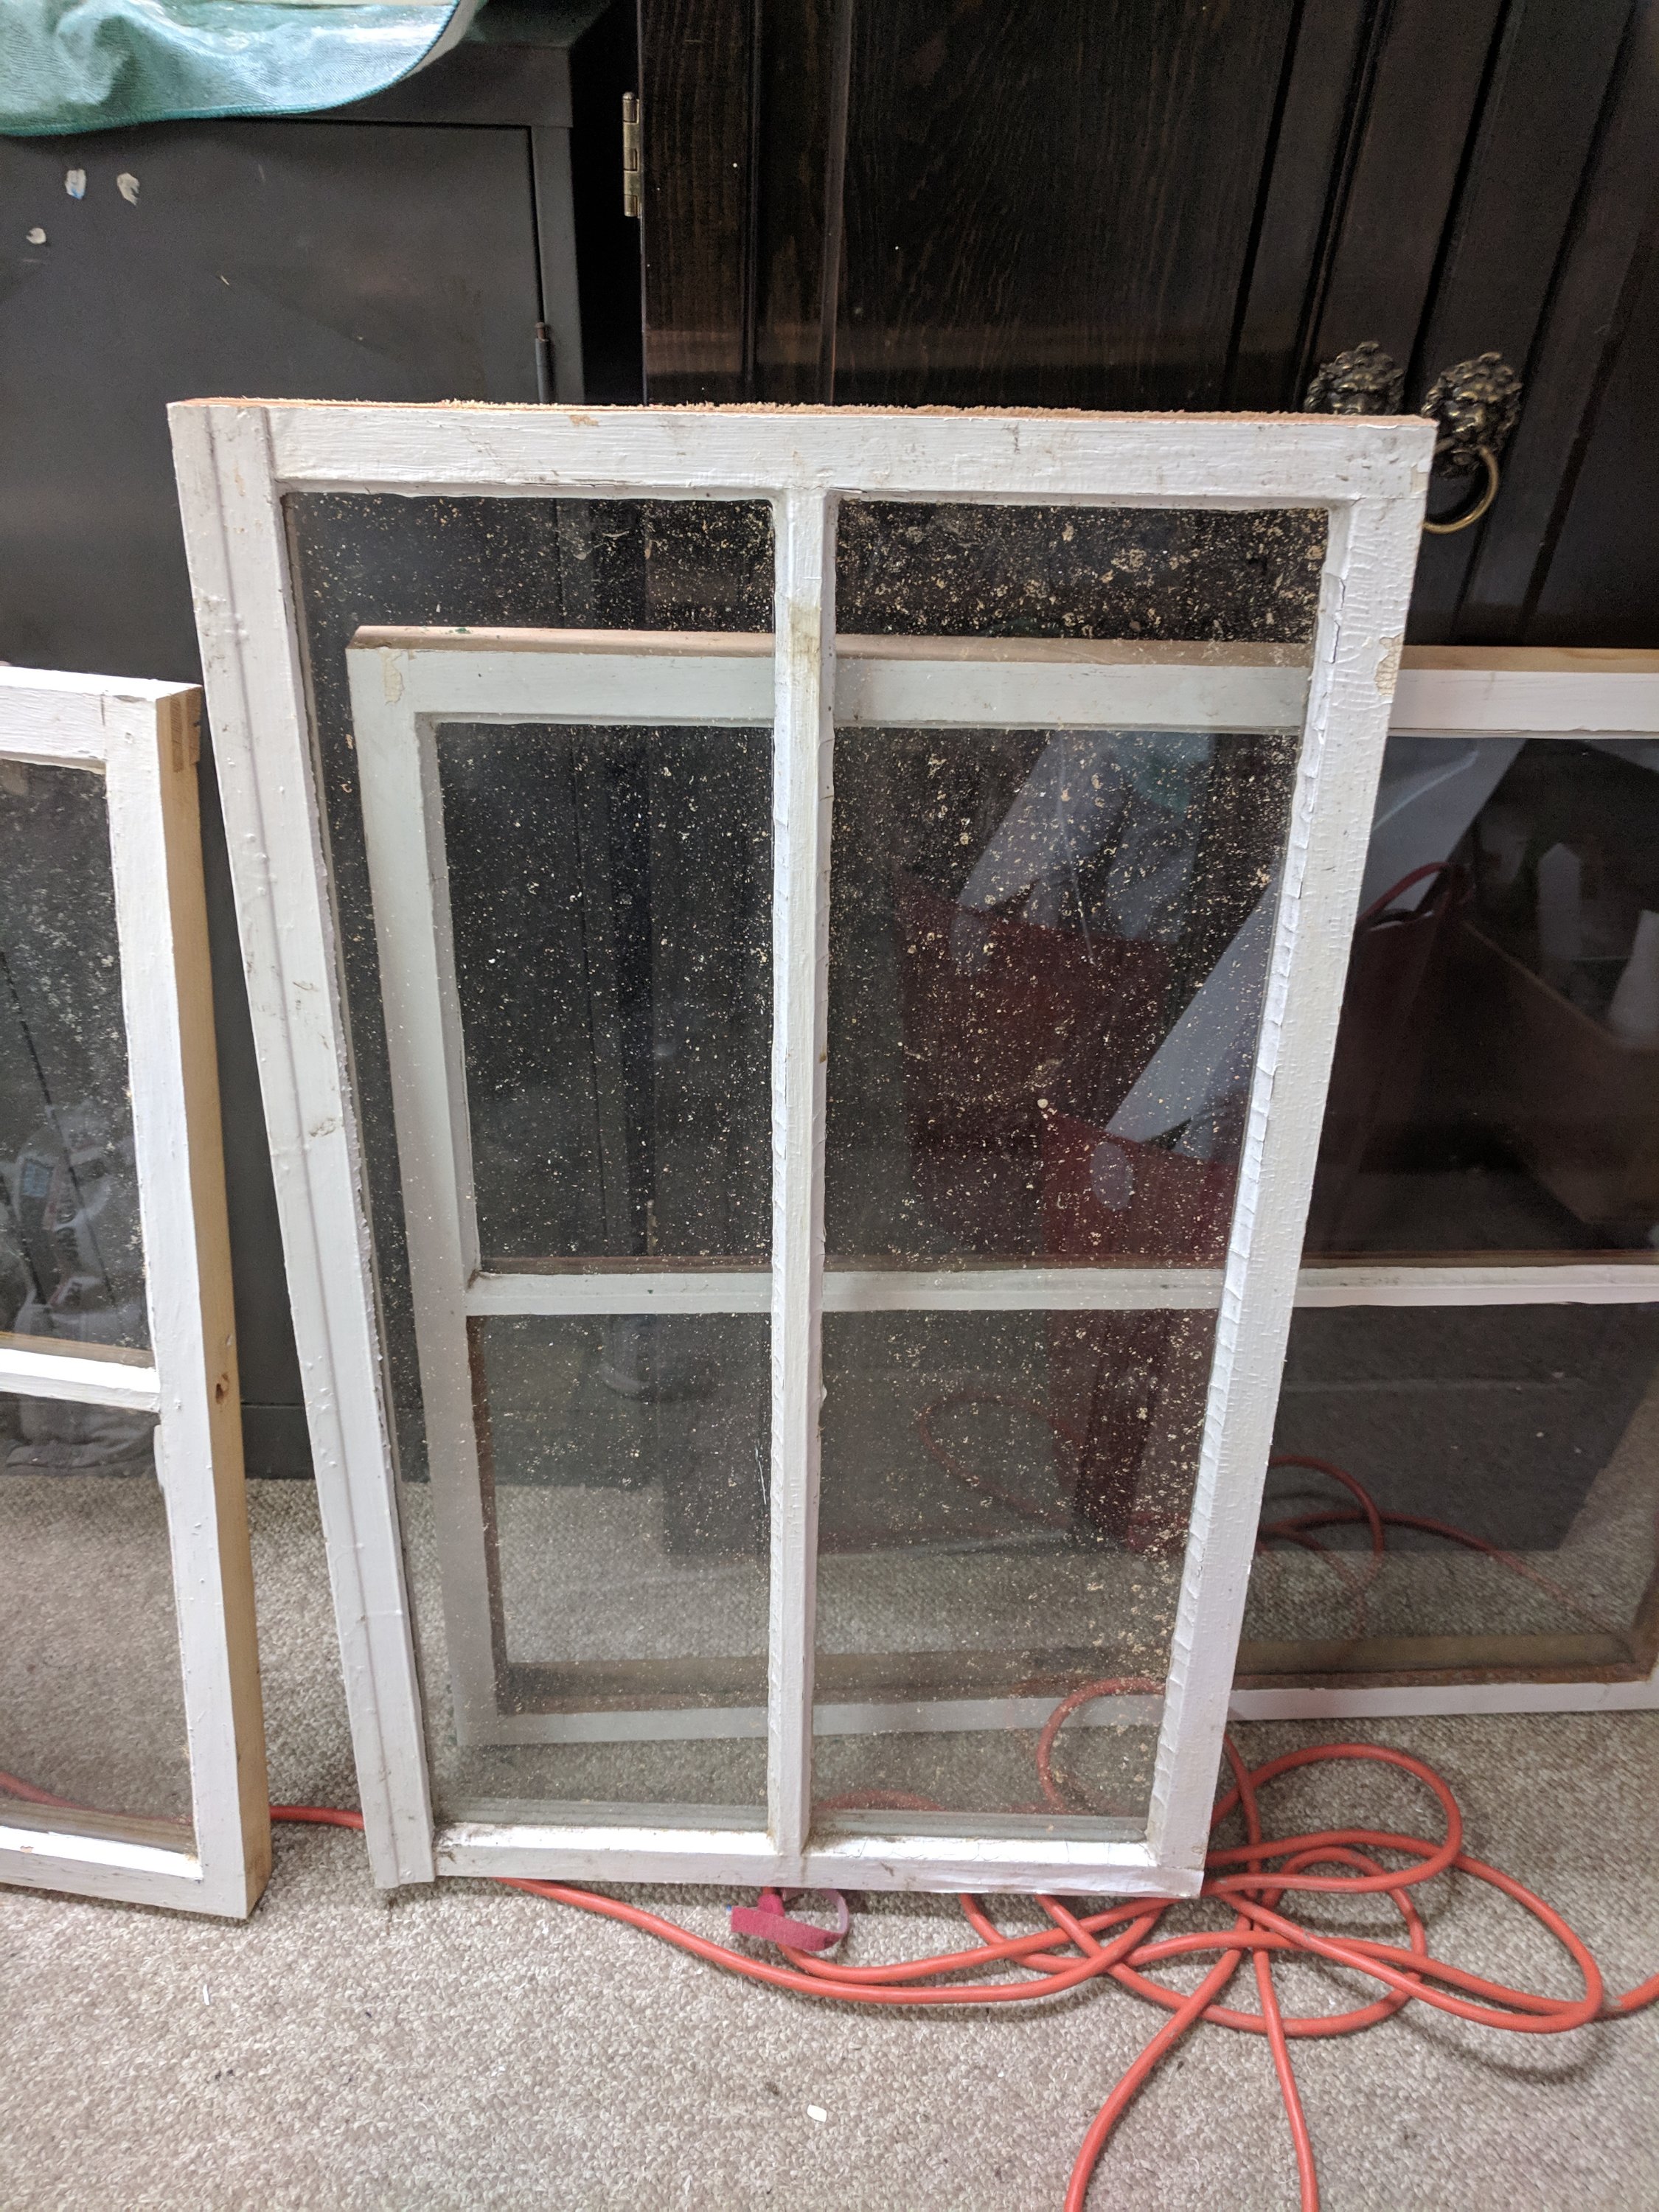
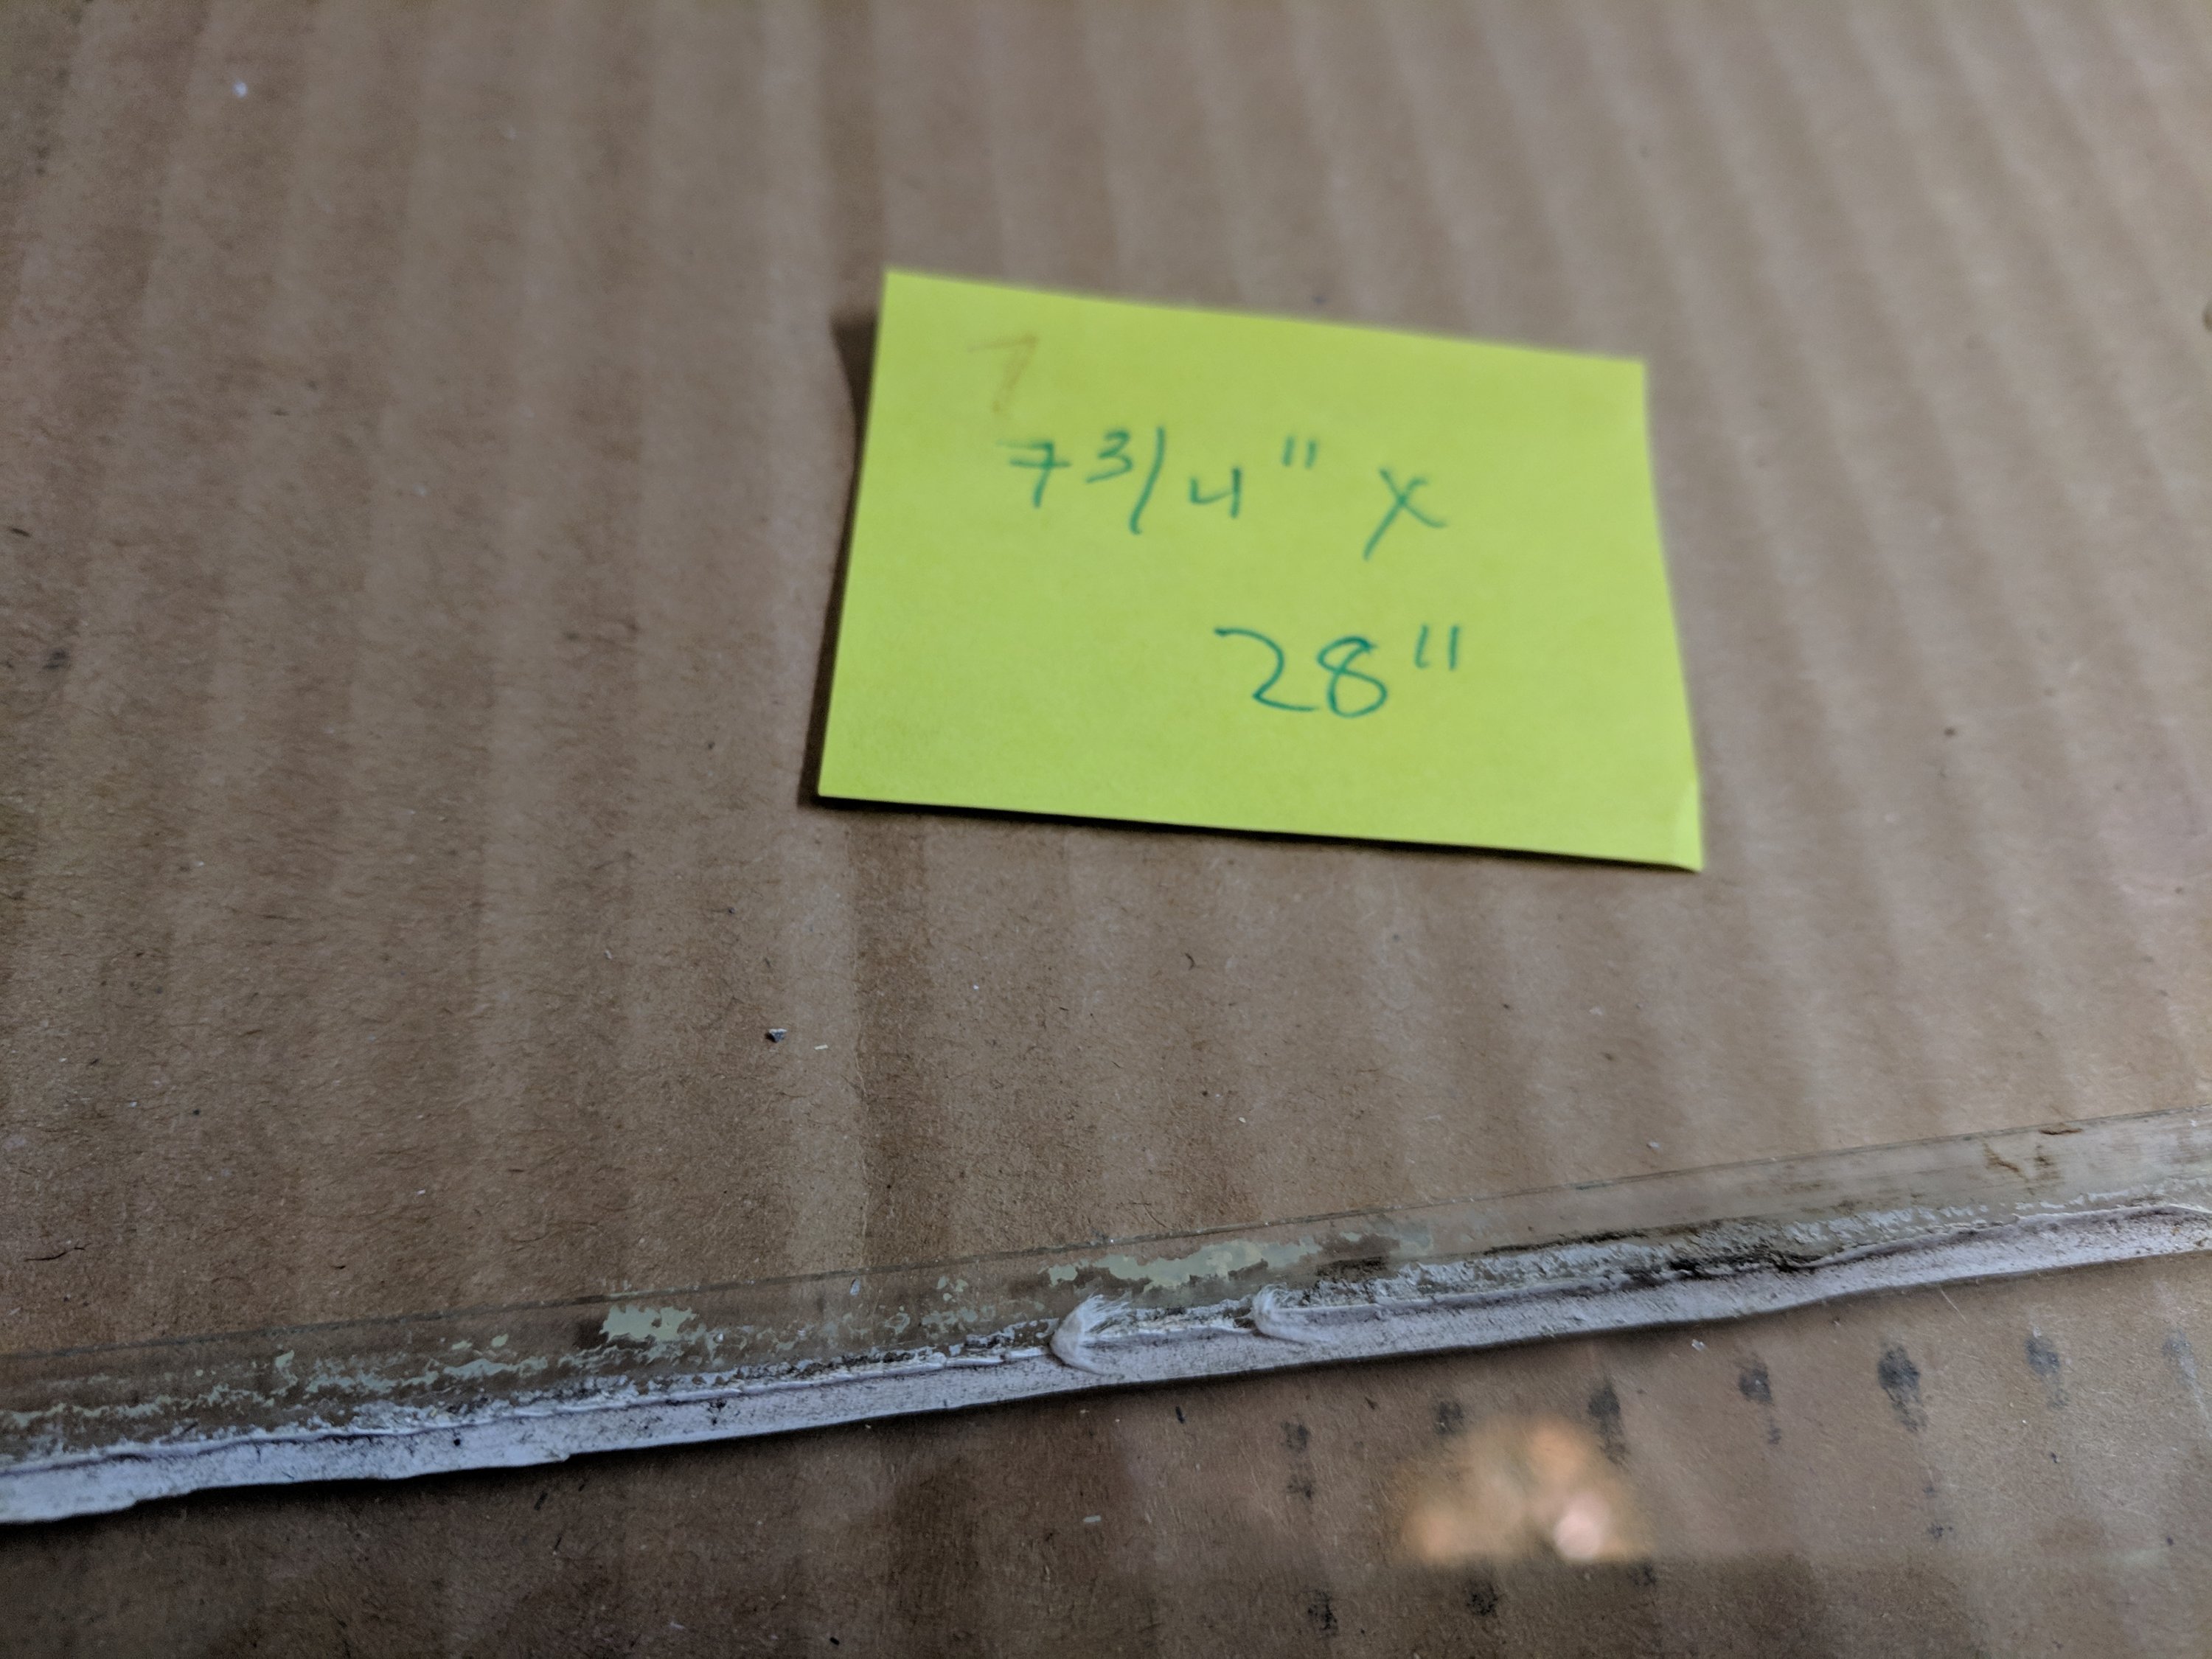
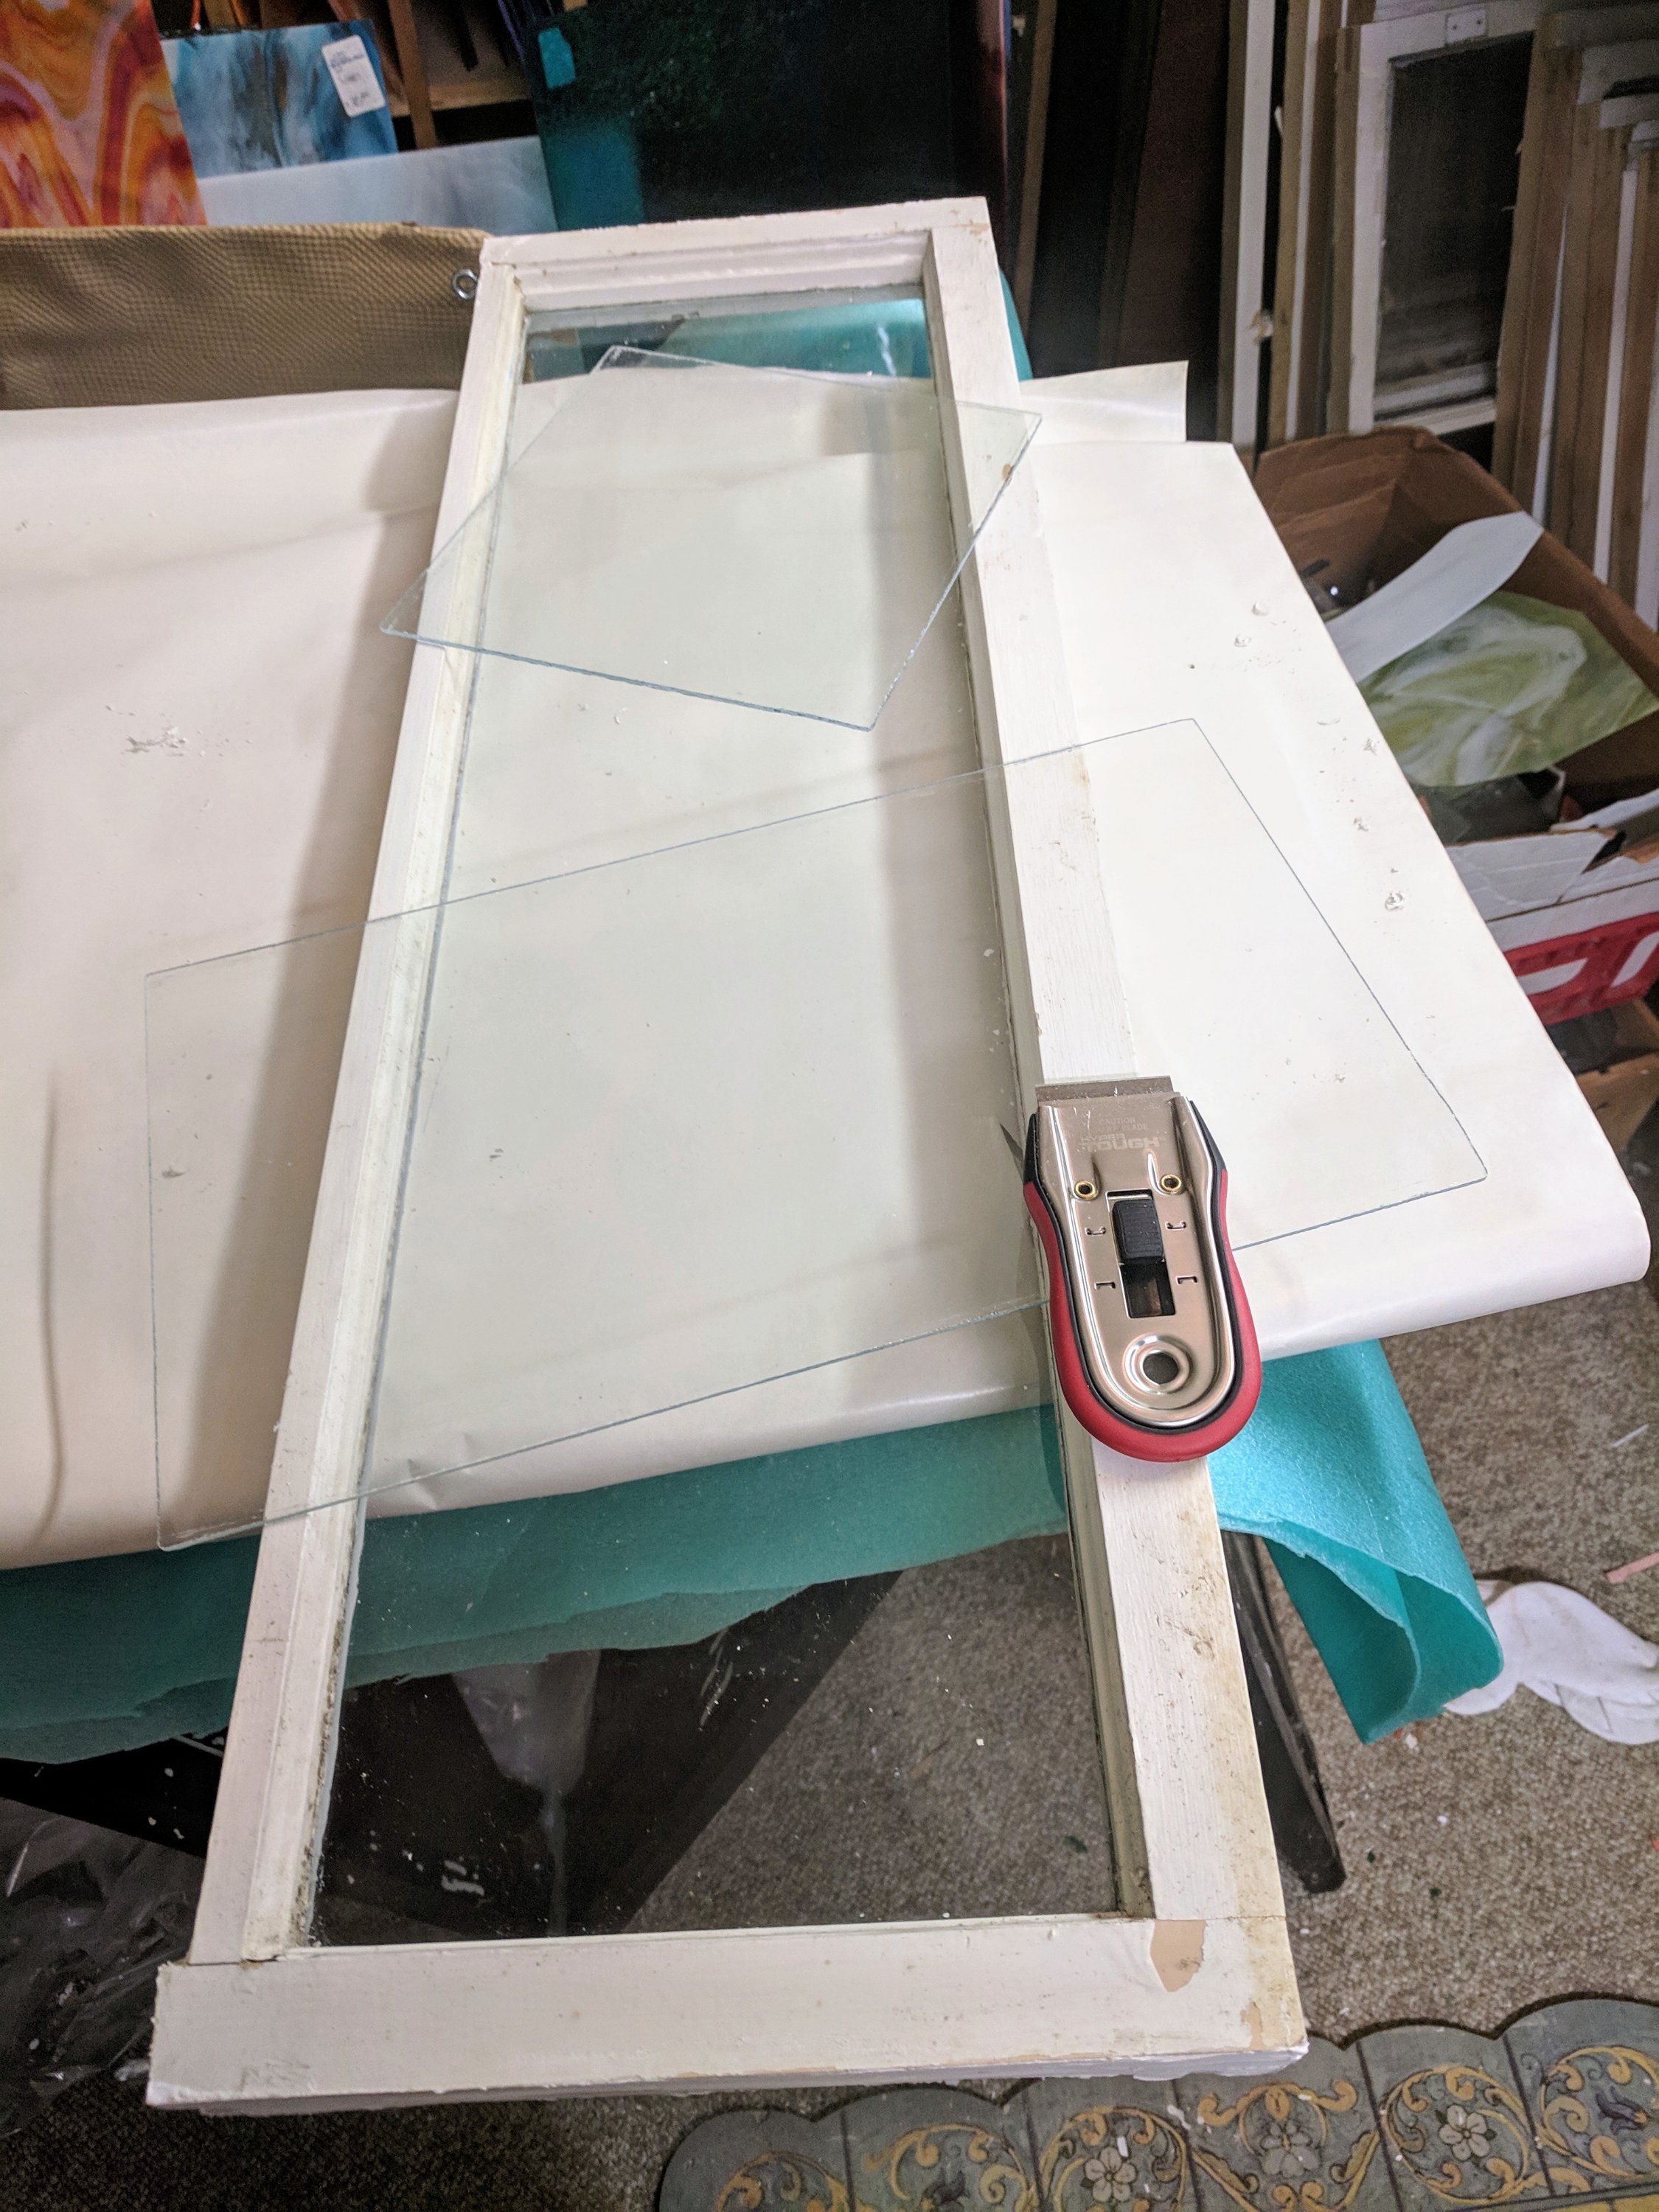
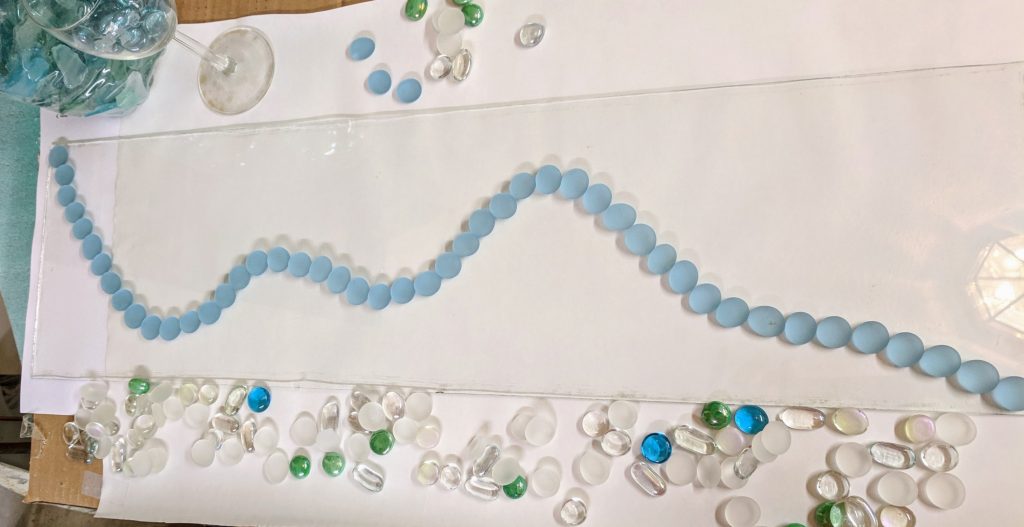
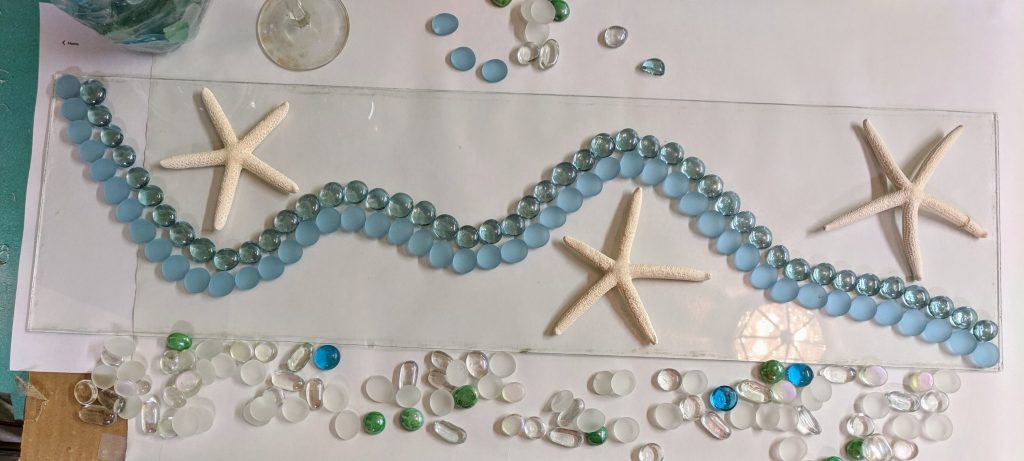
My husband suggested I try using just the glass from the old windows, so I embarked on my first attempt to remove the panes of glass from one of the old frames. First I chipped all the old glazing out from around one pane. This wasn’t too difficult, but it was pretty messy, and afterward the glass was still very well connected to the wood frame. I ended up breaking a corner off of that piece of glass trying to extricate it. I then changed tactics and sawed through the wood above the pane of glass, then gently knocked at the frame with a hammer until it came away from the glass. After a couple rounds of window cleaner and some scraping with a razor blade, I have the below sheet of glass. I have some zinc came I can use to frame it when I’m ready. I just need to decide if I should do that first or last (I’m leaning towards first).
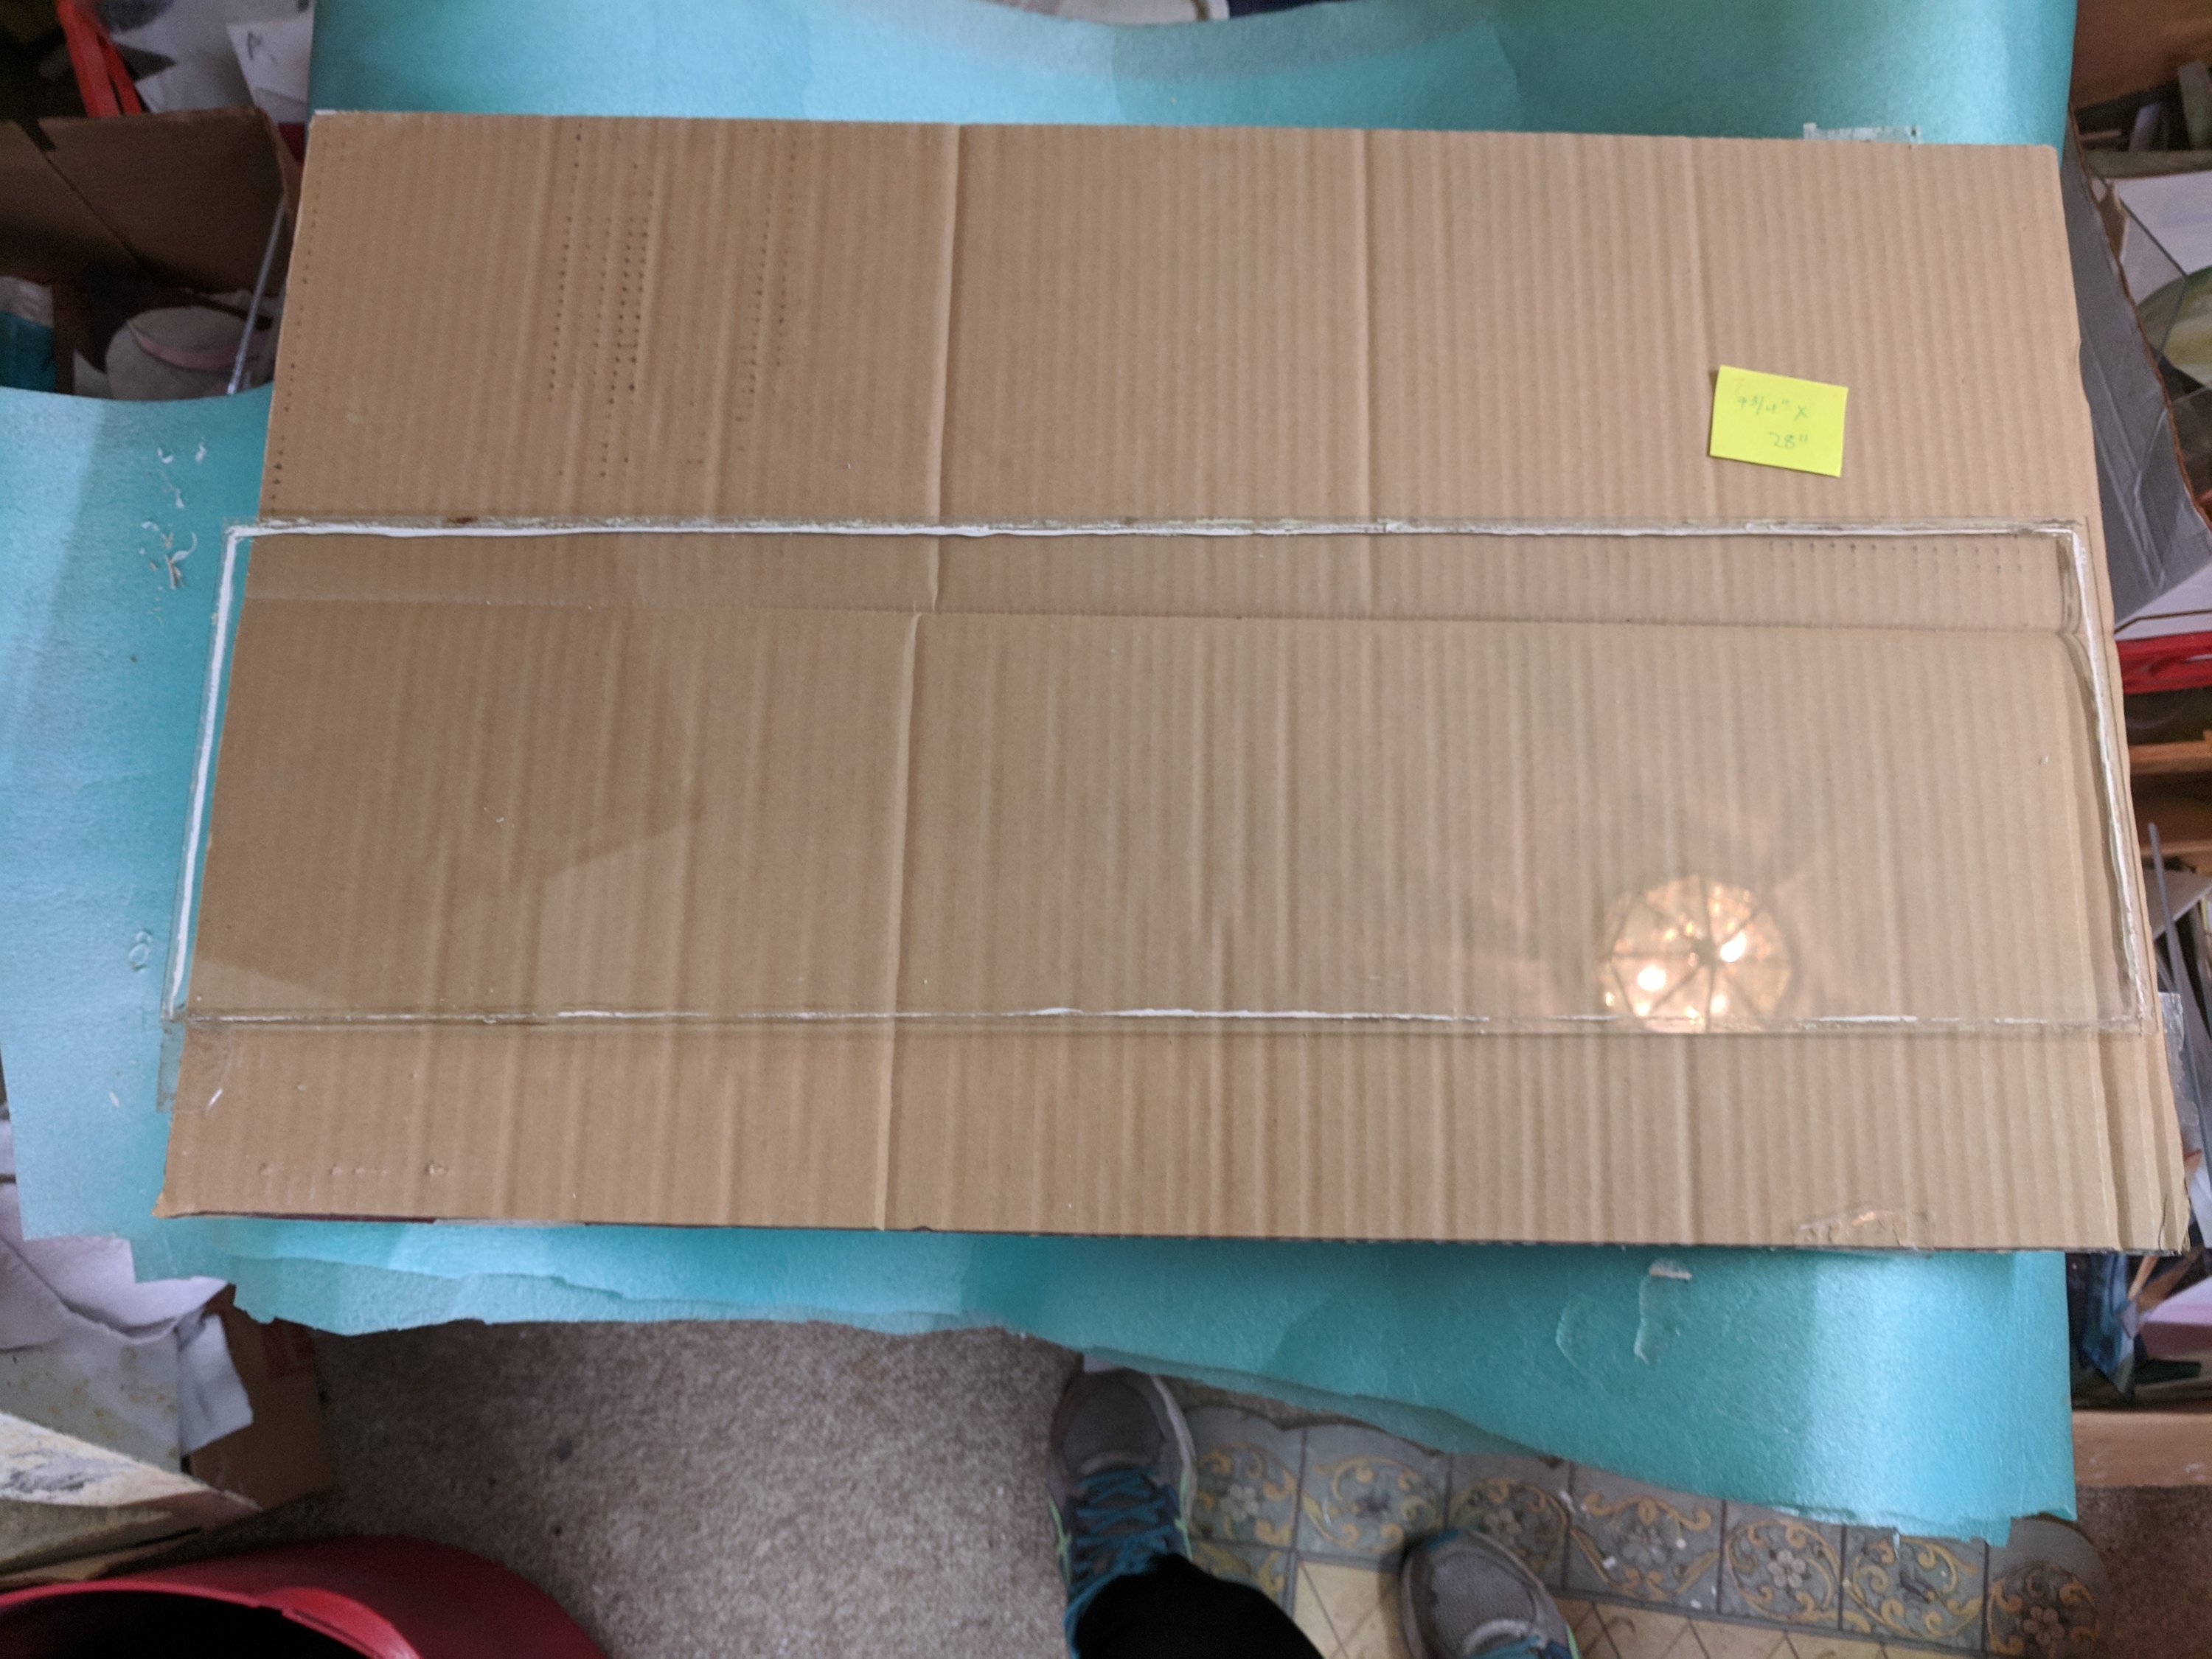
The resultant pane of glass (in this case) is 7 3/4″ x 28″. Still a lot of scraping and clean up of the glass, but it’s a million times better than painting! I did a lot of scraping on the above to get it to the point it needed to be for the next step.