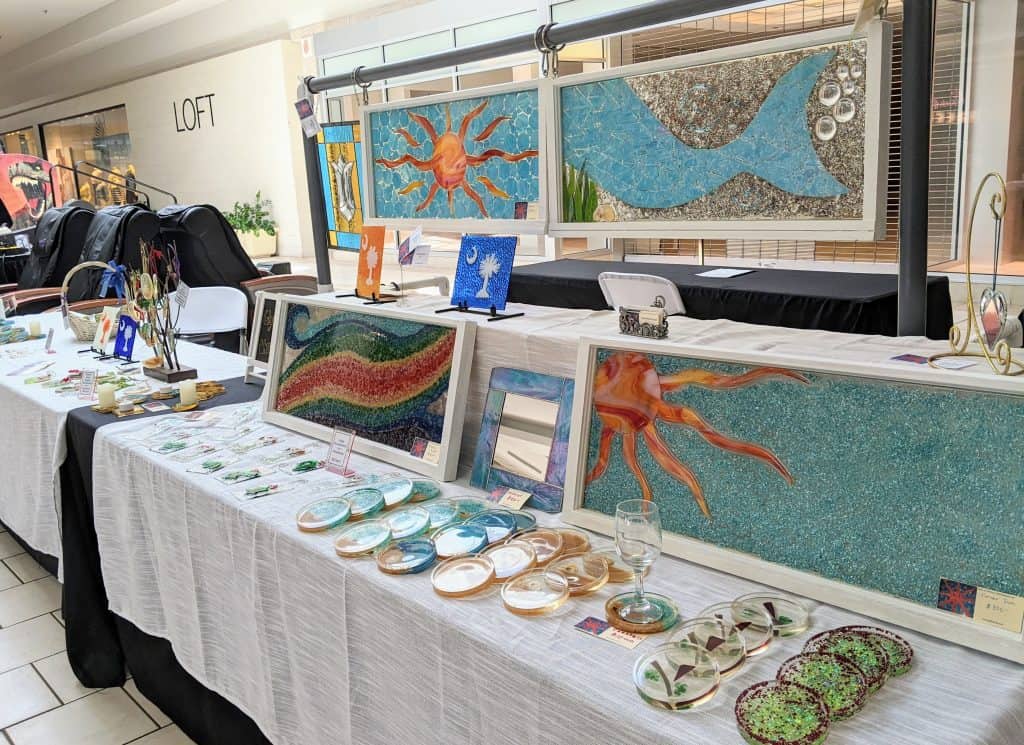
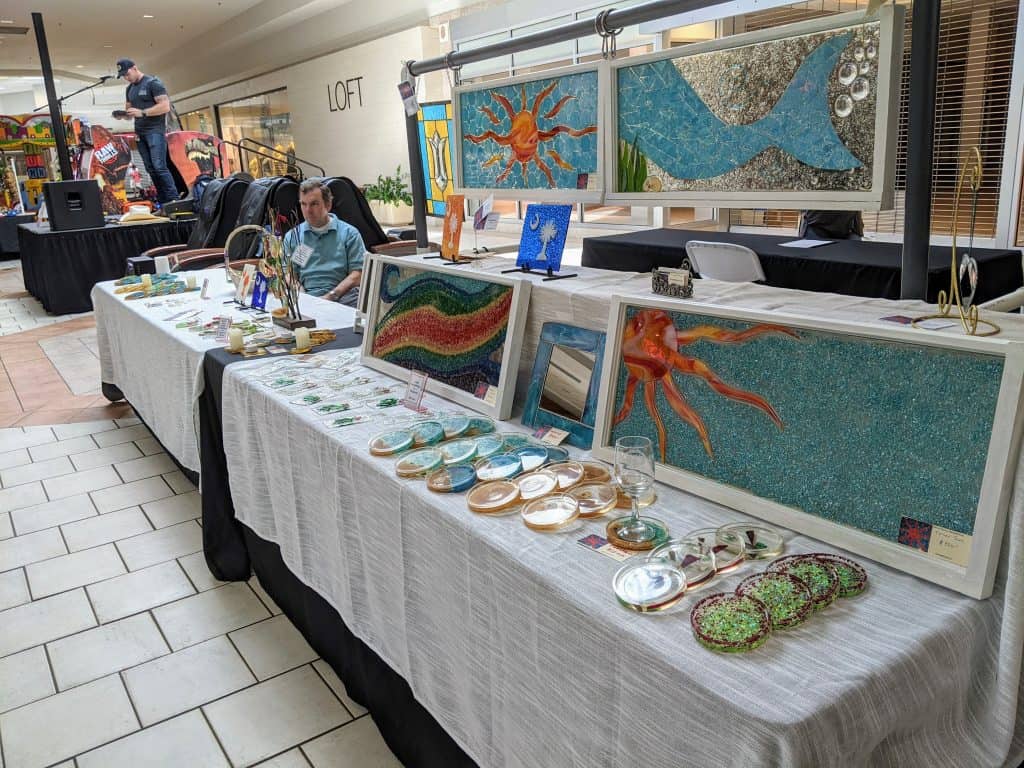
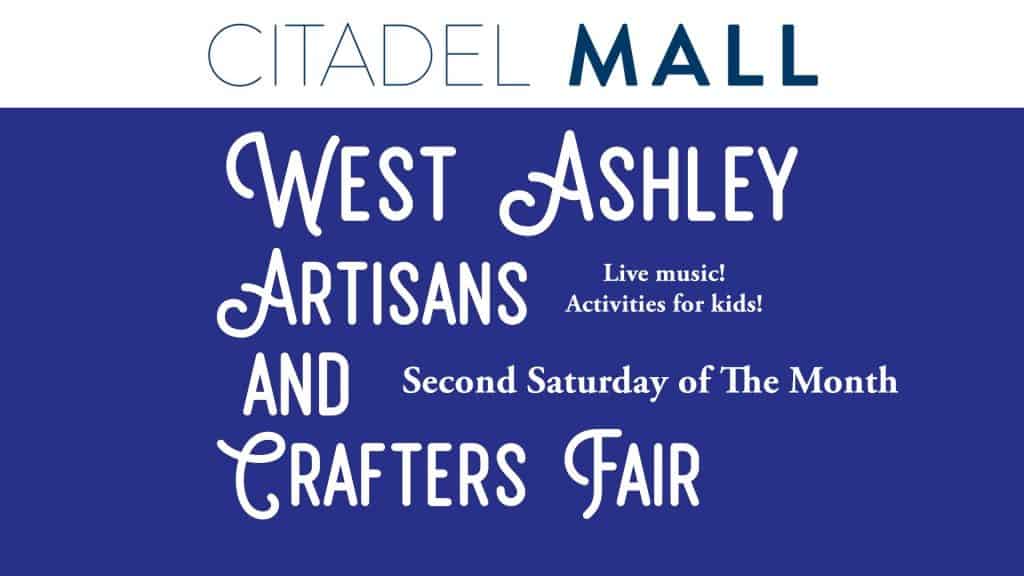
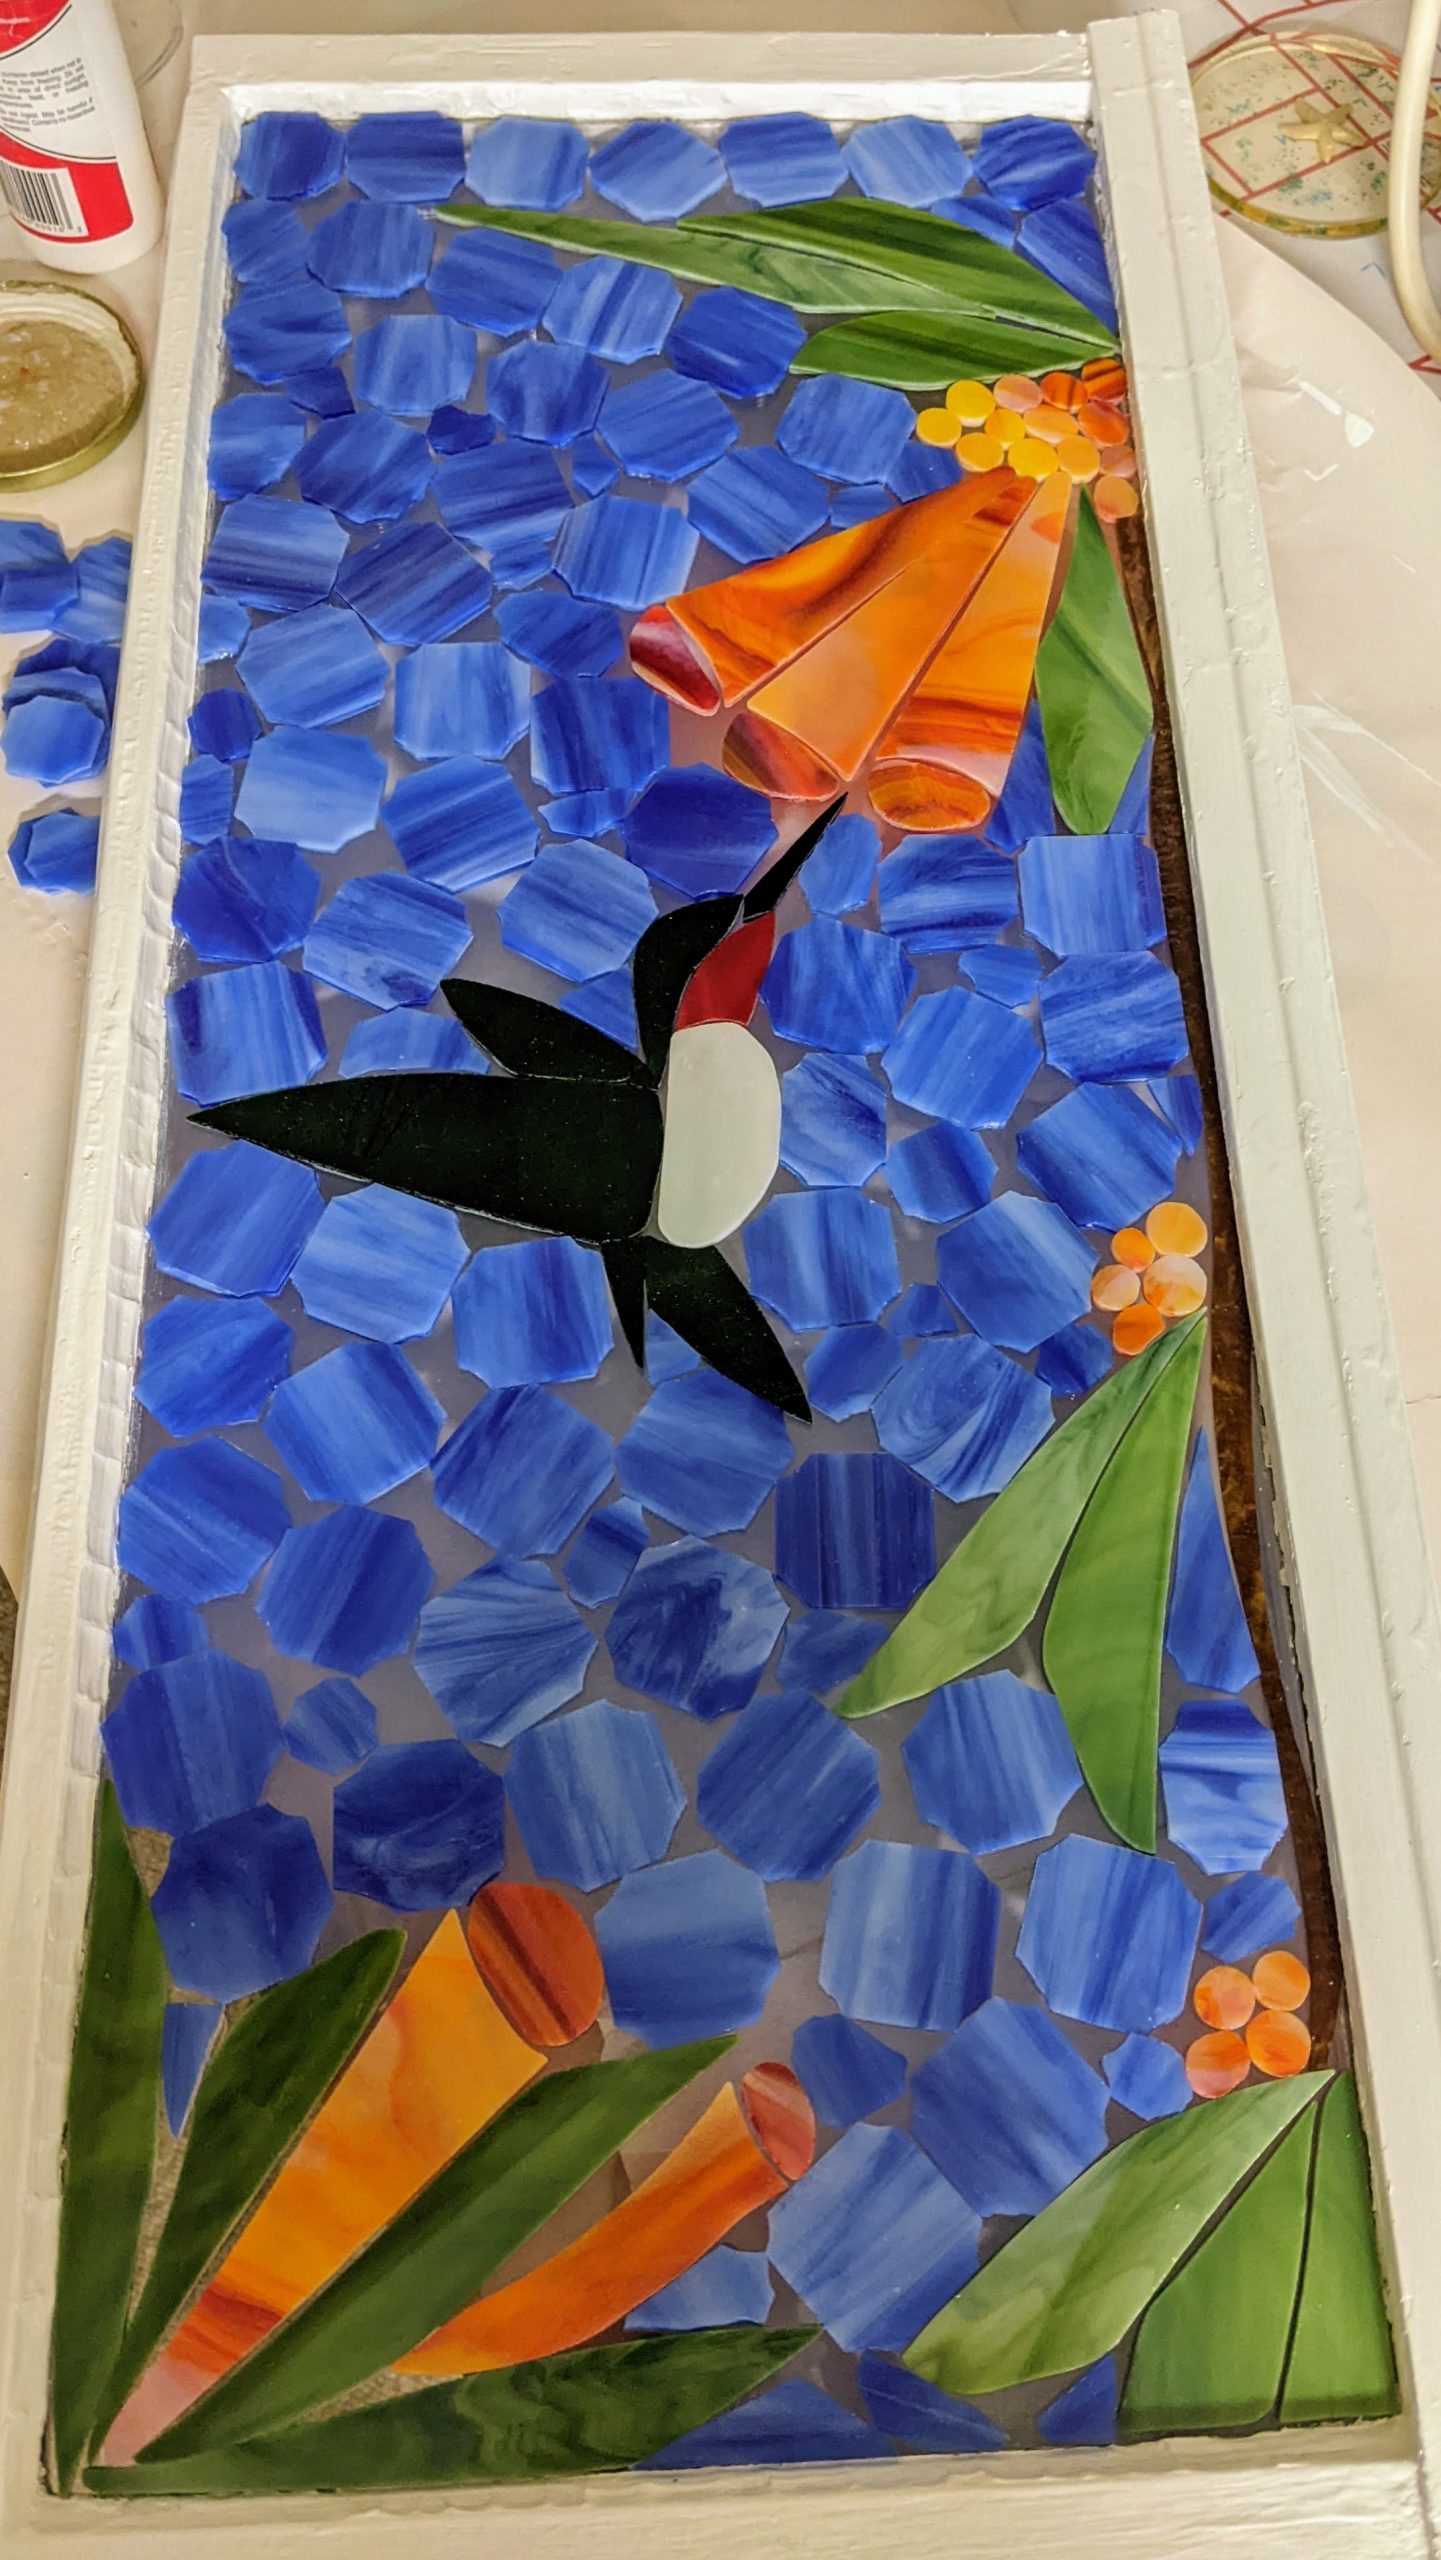
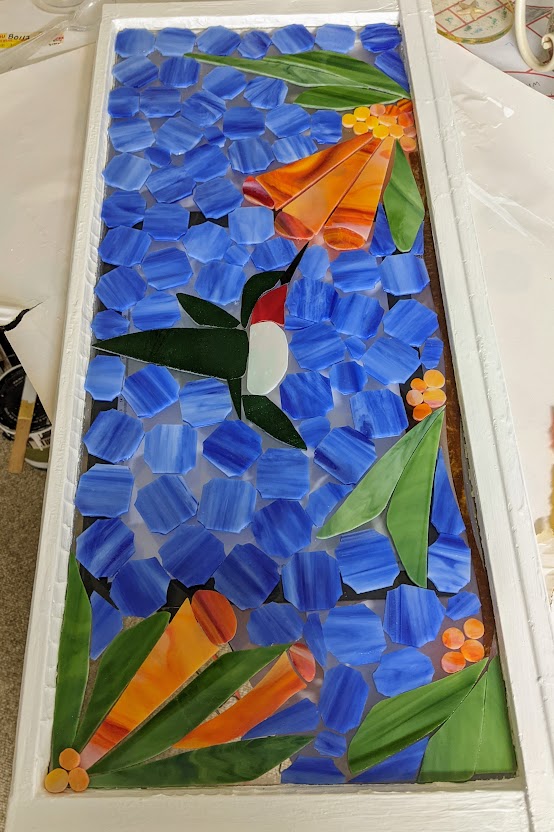
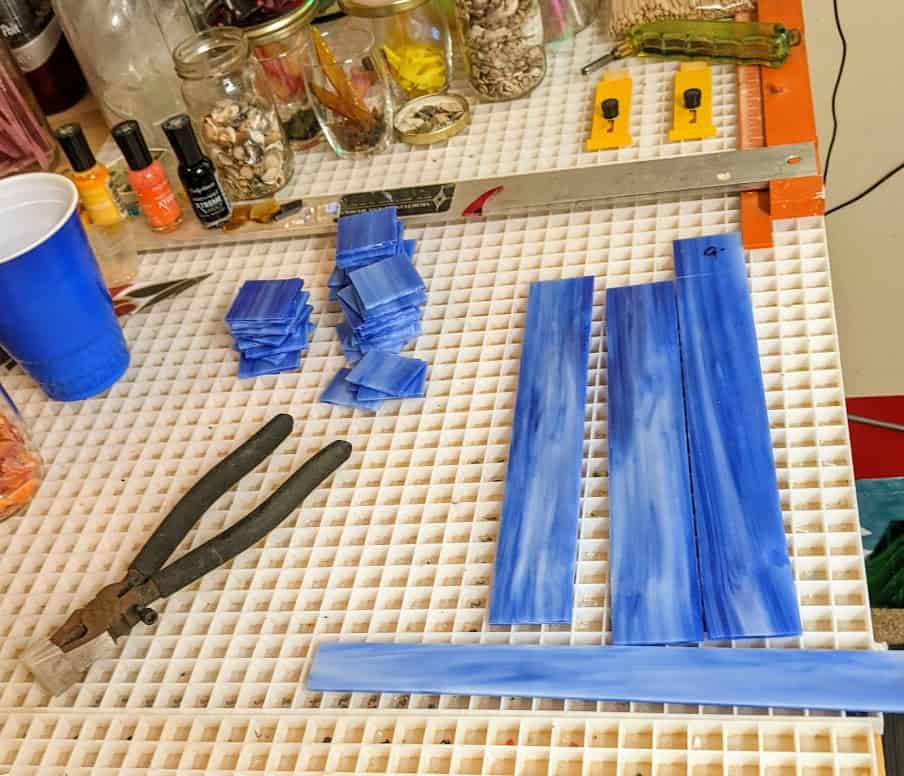
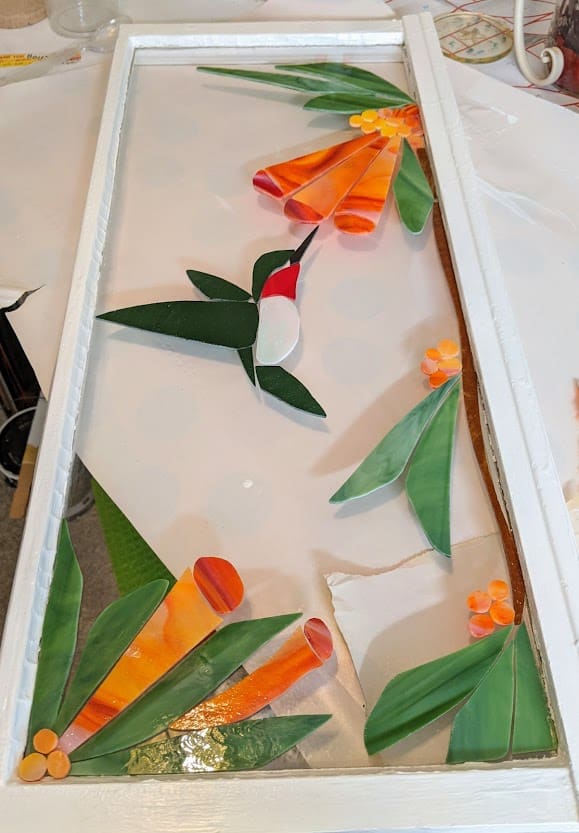
If you like this Confetti Palm window, you can support Saint John Catholic School with your bid for it! The event link is below. Bid online or in person!! You can also register to bid and buy tickets for the 23rd in person finale on the site.
I’m not normally a warm weather person, but it I have to admit that waiting for a 75 degree day to warm up my craft room enough to pour the resin was getting old! I had a bit of a snafu as on the last day that was warm enough, my resin turned out to be a bit questionable, so I tossed it and tried to buy some at my local Michael’s store. However, they did not have my usual resin (Envirotex Lite) in stock, only Mod Podge brand epoxy resin. I went ahead and tried it and it turned out to be a disaster. Tons of bubbles and it was too thick to spread and ended up being lumpy. I had to pour 16 ounces of Envirotex over the first layer to try to even out the lumps. Nothing could be done about the tiny bubbles, but it is what it is. Hopefully it doesn’t detract too much from the overall piece. I have learned my lesson though. Stick with the products you know and love!
I filled in the larger gaps in the blue background and now I think this one is ready for the resin coating. I just have to wait for the weather to warm up a bit so the temperature in my work room is warm enough to pour the resin.
Today I spent some time filling in the smaller gaps in the blue background. The hummingbird window is almost there! Once the mosaic adhesive cures, I will look at the whole window in the light and decide what other smaller gaps still need to be filled. After that, it will be ready for the resin.
Working on gluing the background in place today. I needed to cut some more pieces, only to discover I had a helper hanging out underneath my Morton Glass Works straight edge… Luckily I was gentle with the piece of glass I was trying to shove underneath it. My husband said he heard the scream two levels up in our house. Thanks to the hubs for relocating Mr. Lizard outside in our yard!
Lizard laying low under the metal cutting guide
I’ve got the larger pieces of blue glass cut and glued down for the background. My next thing to focus on is cutting small pieces to fill the larger gaps in the background.
Working on filling in the background now (everything is glued down).
Today I cut the larger pieces of the blue background for the hummingbird and laid them out. I will remove them and glue down the bird and flowers before I commit the background, though. Right now I’m still figuring out the layout options. I am thinking a few more green leaves might be nice, but I want to show it to my friend in whose home it will eventually live first.
Larger pieces of blue background laid out to get an idea of color.
Starting to fill in with some more vine, leaves, flowers and flower buds. Next will be the blue glass for the sky, which was chosen by the friend for whom I am making this one. Nothing is glued down yet as I’m just in the beginning stages and want to be able to change things if needed.
Today I made progress laying out the hummingbird along with the beginnings of a trumpet vine. Still lots more to do, including some fine tuning of the bird itself, but I wanted to start to try out different layouts for the flowers and vine.
I’ve been working on prepping a recycled window (sanding, painting, cleaning, etc) that will be positioned vertically and hold a sparkly hummingbird. Today was the first day the rough shape of the little bird (who’s actually significantly larger than real life) began to emerge. Still lots more to do, but he’s looking more “bird-like”.