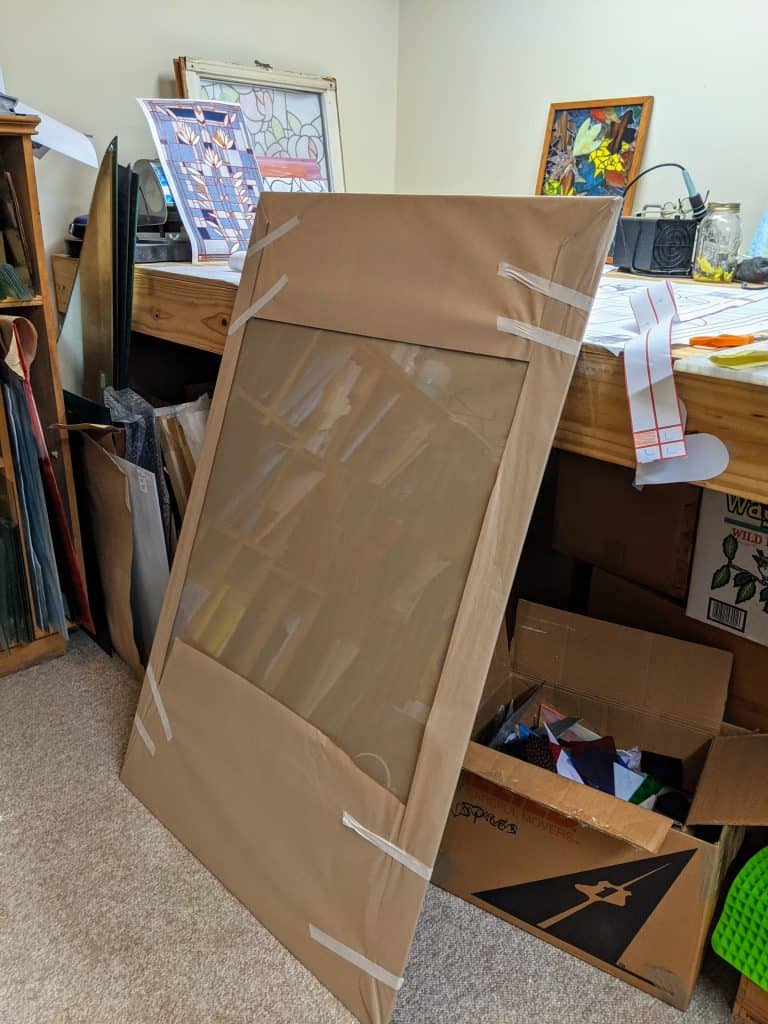
Today I picked up the clear backer glass for the project from Charleston Glass and Mirror. It’s heavy, but not unmanageable. The interesting development is that I sent photos of the darkest gray glass piece to the owner of Blue Heron Glass here in Charleston and he thinks he recognizes it and ordered me a sheet! That is great news as I don’t have a large enough sheet of it for all the dark gray pieces. He is the Glass Detective.
This week I finished marking all the pieces of the pattern with their intended color codes and ordered the 31″ x 48.25″ backer glass from Charleston Glass and Mirror. They recommended laminate which is apparently stronger than tempered. Hopefully I will have it early this week. In the meantime, I can start cutting out the pieces of the paper pattern I will use to guide myself on each piece of glass as I cut it. I think I will also visit Mike at Blue Heron Glass because I don’t think I have enough of the darkest glass. Hopefully he will have something on hand that is similar enough to fit the bill.
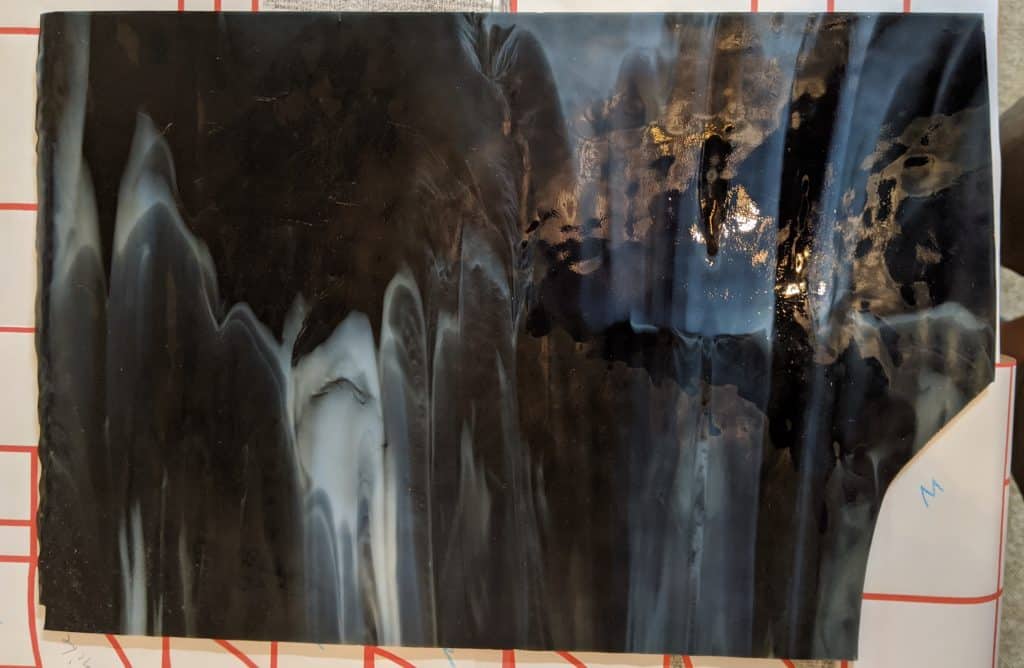
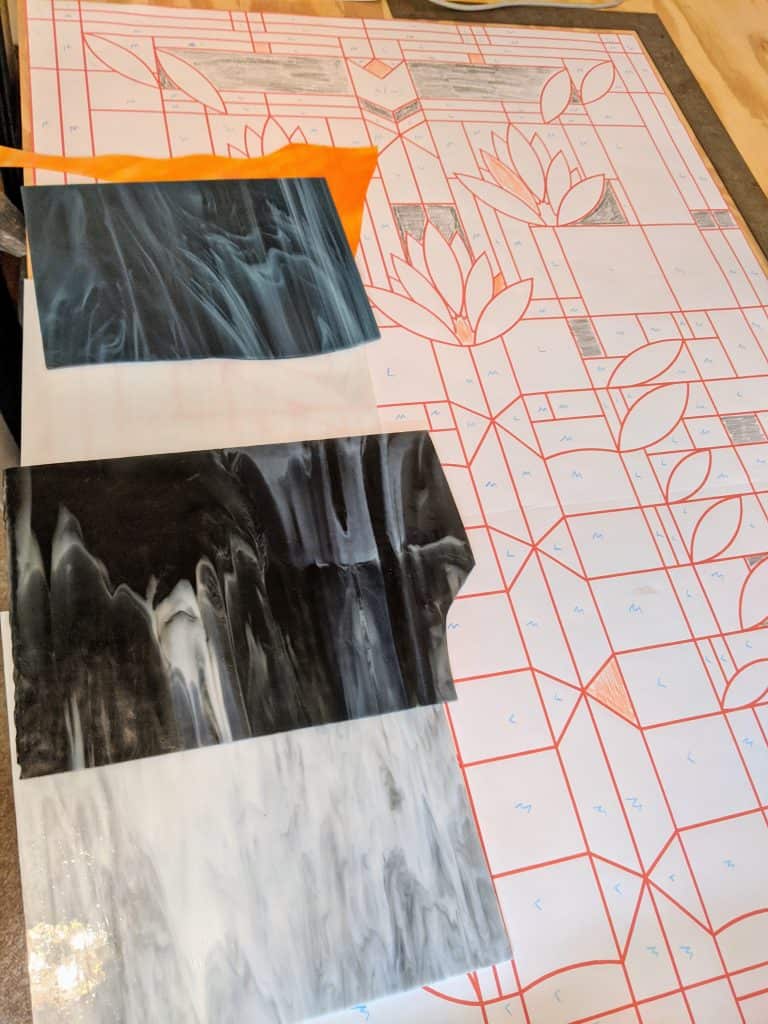
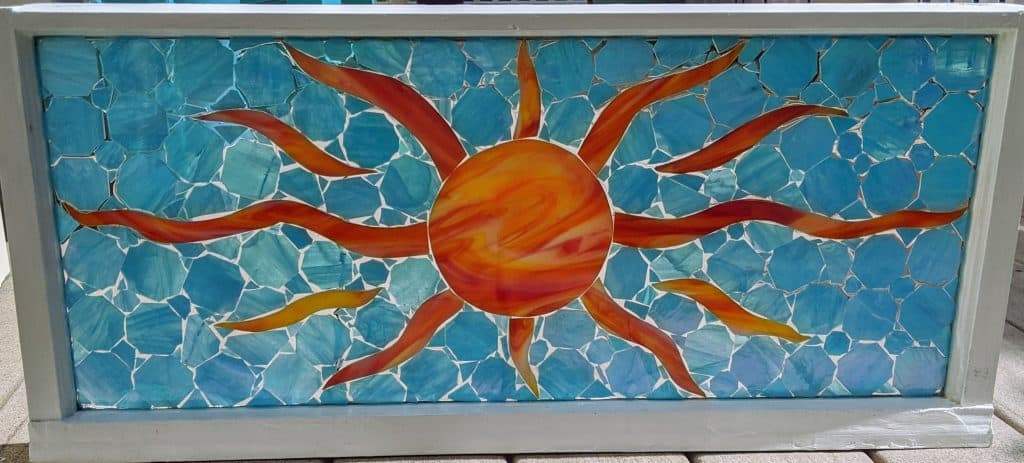
Dark glass (reflected light)
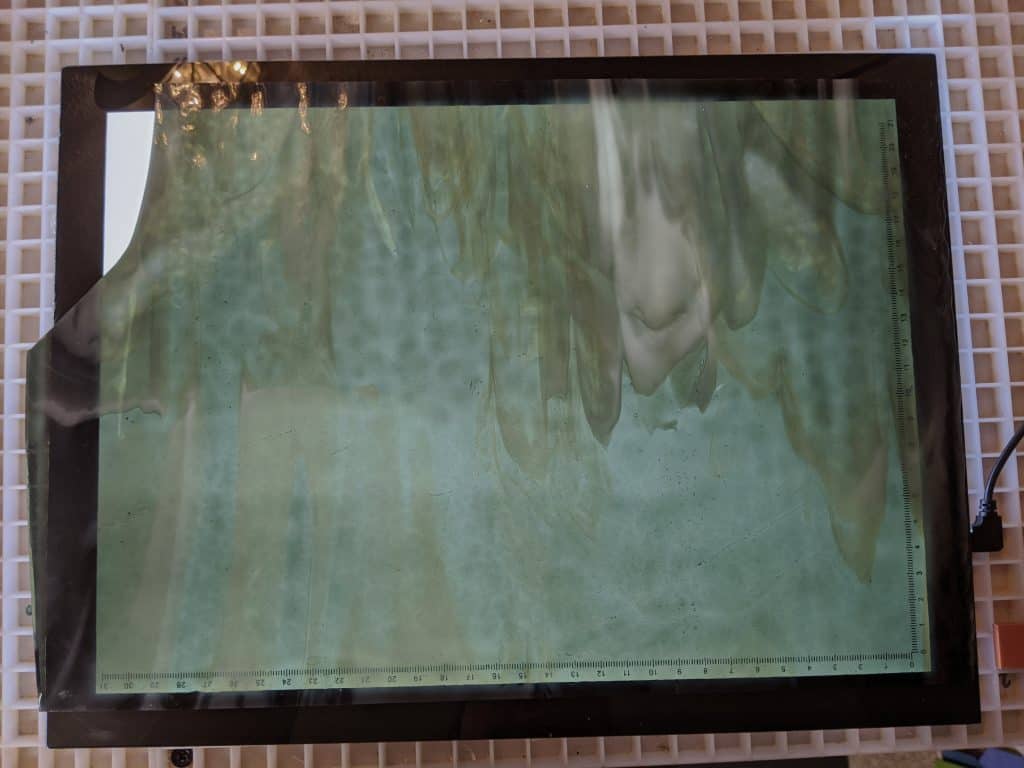
Dark glass on the light tray
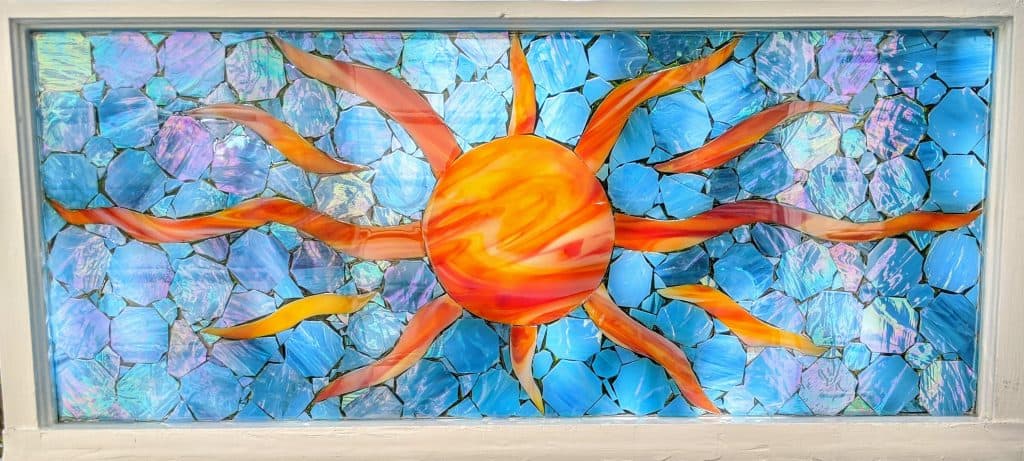
Sometimes it’s hard to believe this is the same piece of glass when viewed in different lighting.
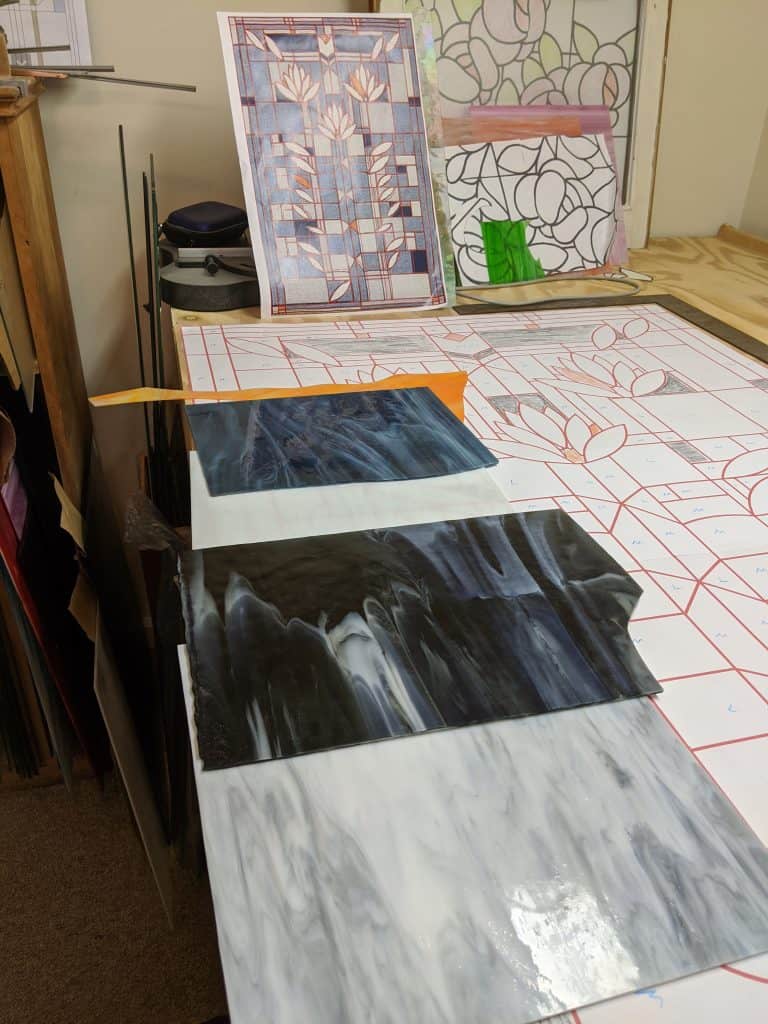
On the left is the darkest glass I’m using in the project. It looks like it is black with white swirls when viewed in ambient light. However, when the light is shining through it (as on the light tray on the photo on the right, above), it is a beautiful shade of gray.
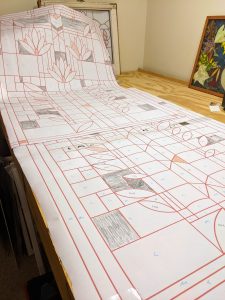
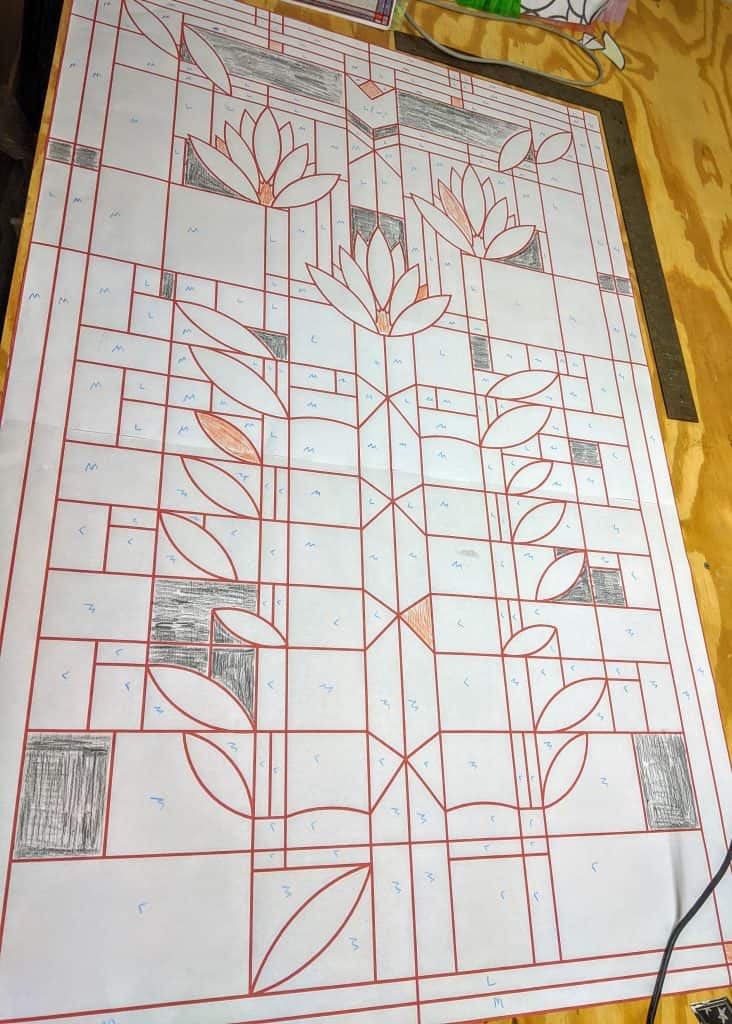
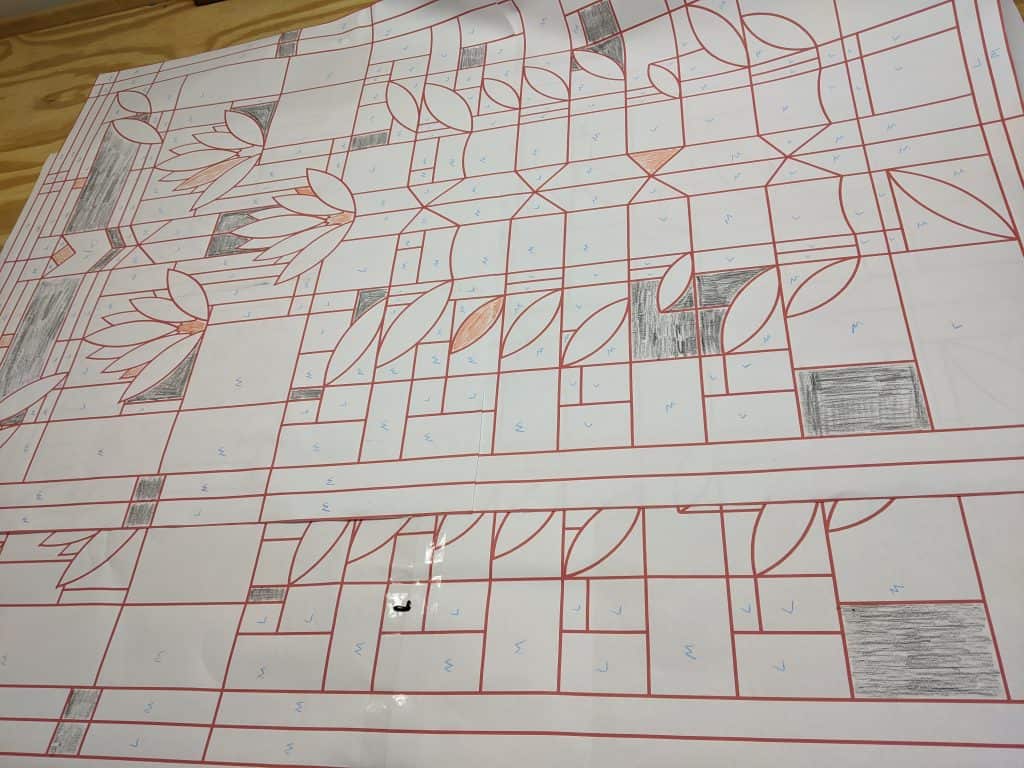
Both copies of the pattern – color coded
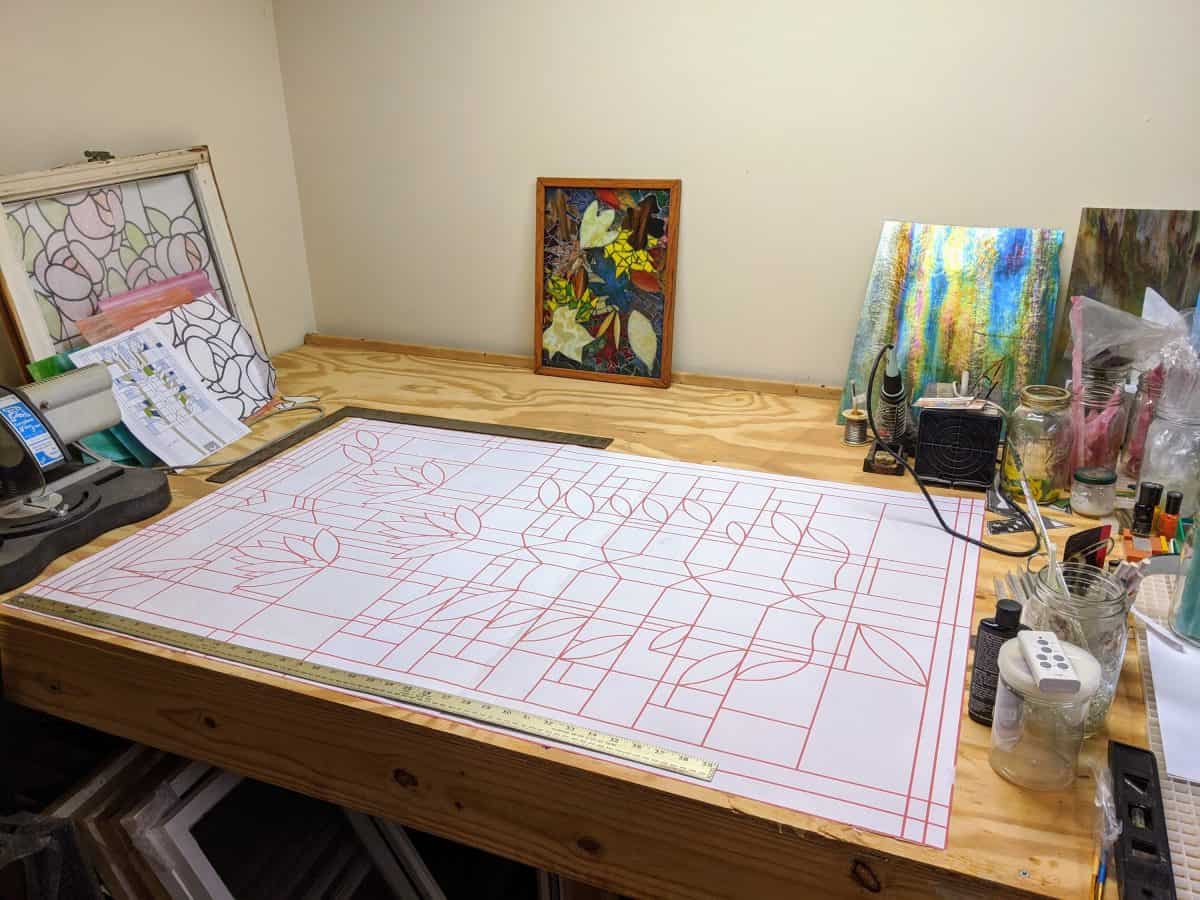
I think I will work from the right side of the pattern over to the left, since it is the furthest from where I can reach on my work table. That means I will cut the pattern pieces on the right side first, then work my way to the other edge.
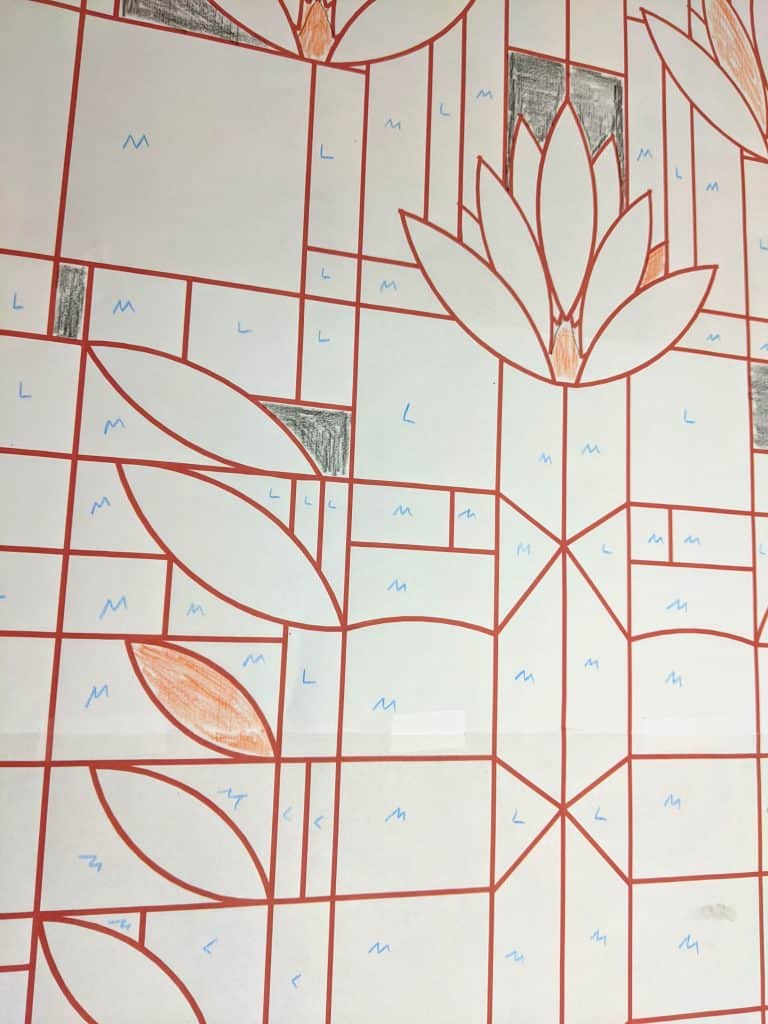
Marking the pattern pieces with their planned colors
Before I start working with the glass, I lay out the pattern and mark each piece with the planned color to be used. In this case, white is unmarked, dark gray is colored in with a dark pencil, orange is colored orange, medium gray is marked with an “M” and light gray is marked with an “L”. I had to take my time doing this because the pattern is not symmetrical and the colors have quirky variations that are important to the overall look.
Hopefully I didn’t make any mistakes.Overall view of the glass chosen, the pattern and the colored guide image.Overview of the various shades / types of glass to be used: orange, medium gray, white, dark gray, light gray.Do it and then do it again!
Now I’m working on coloring in a second copy of the pattern. One copy will be used to lay out the glass on top of as I progress through cutting the pieces while the other one will be cut up to use as guides for the individual pieces as I cut them.
So I had to clear off most of my work table for the pattern for this next window project. This will be going into a large window (31″ x 48″) for privacy in a powder room. We discussed the glass to be used over the weekend and settled for art glass in shades of gray, white and orange (no clear). I have to special order the clear backer glass that I will use to mount the individual pieces in place. I had considered making this with lead or copper foil, but after researching issues of strength with a window this size and discussing with my friends who will take this home, this will be a resin pour! The size will bring some challenges along with it because I will need to be able to reach all sides of it when I pour the resin, but I think it will be a fun project.
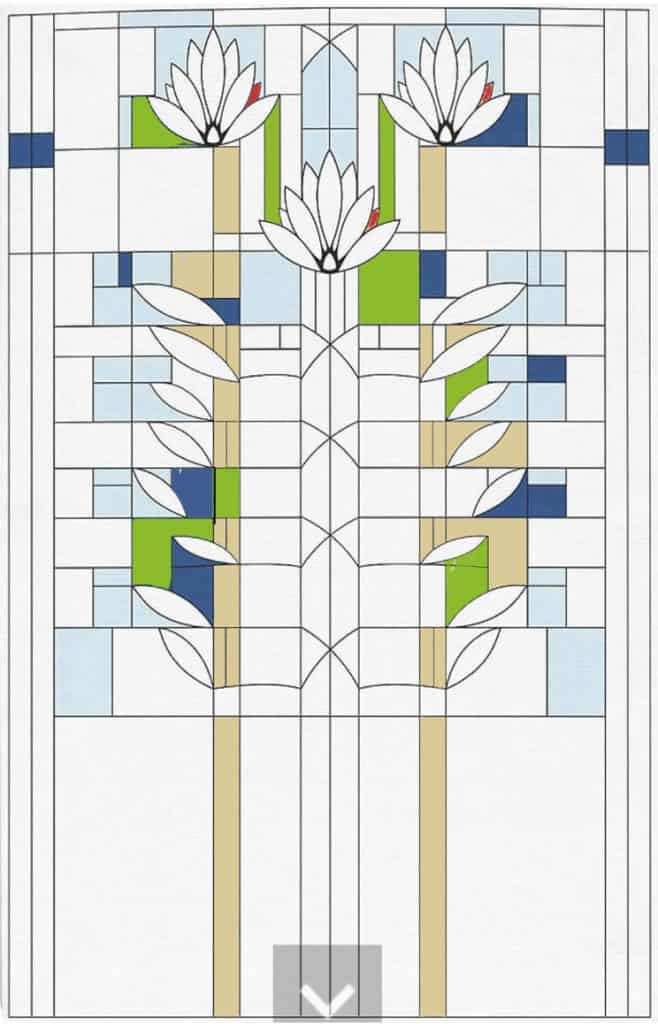
Some friends are doing some home renovation and have asked me to make a glass panel to decorate and provide privacy in a 31″ x 48.25″ window in what is to become a new powder room. I was planning to do it with resin, but when they shared the design they chose with me, I started having second thoughts.
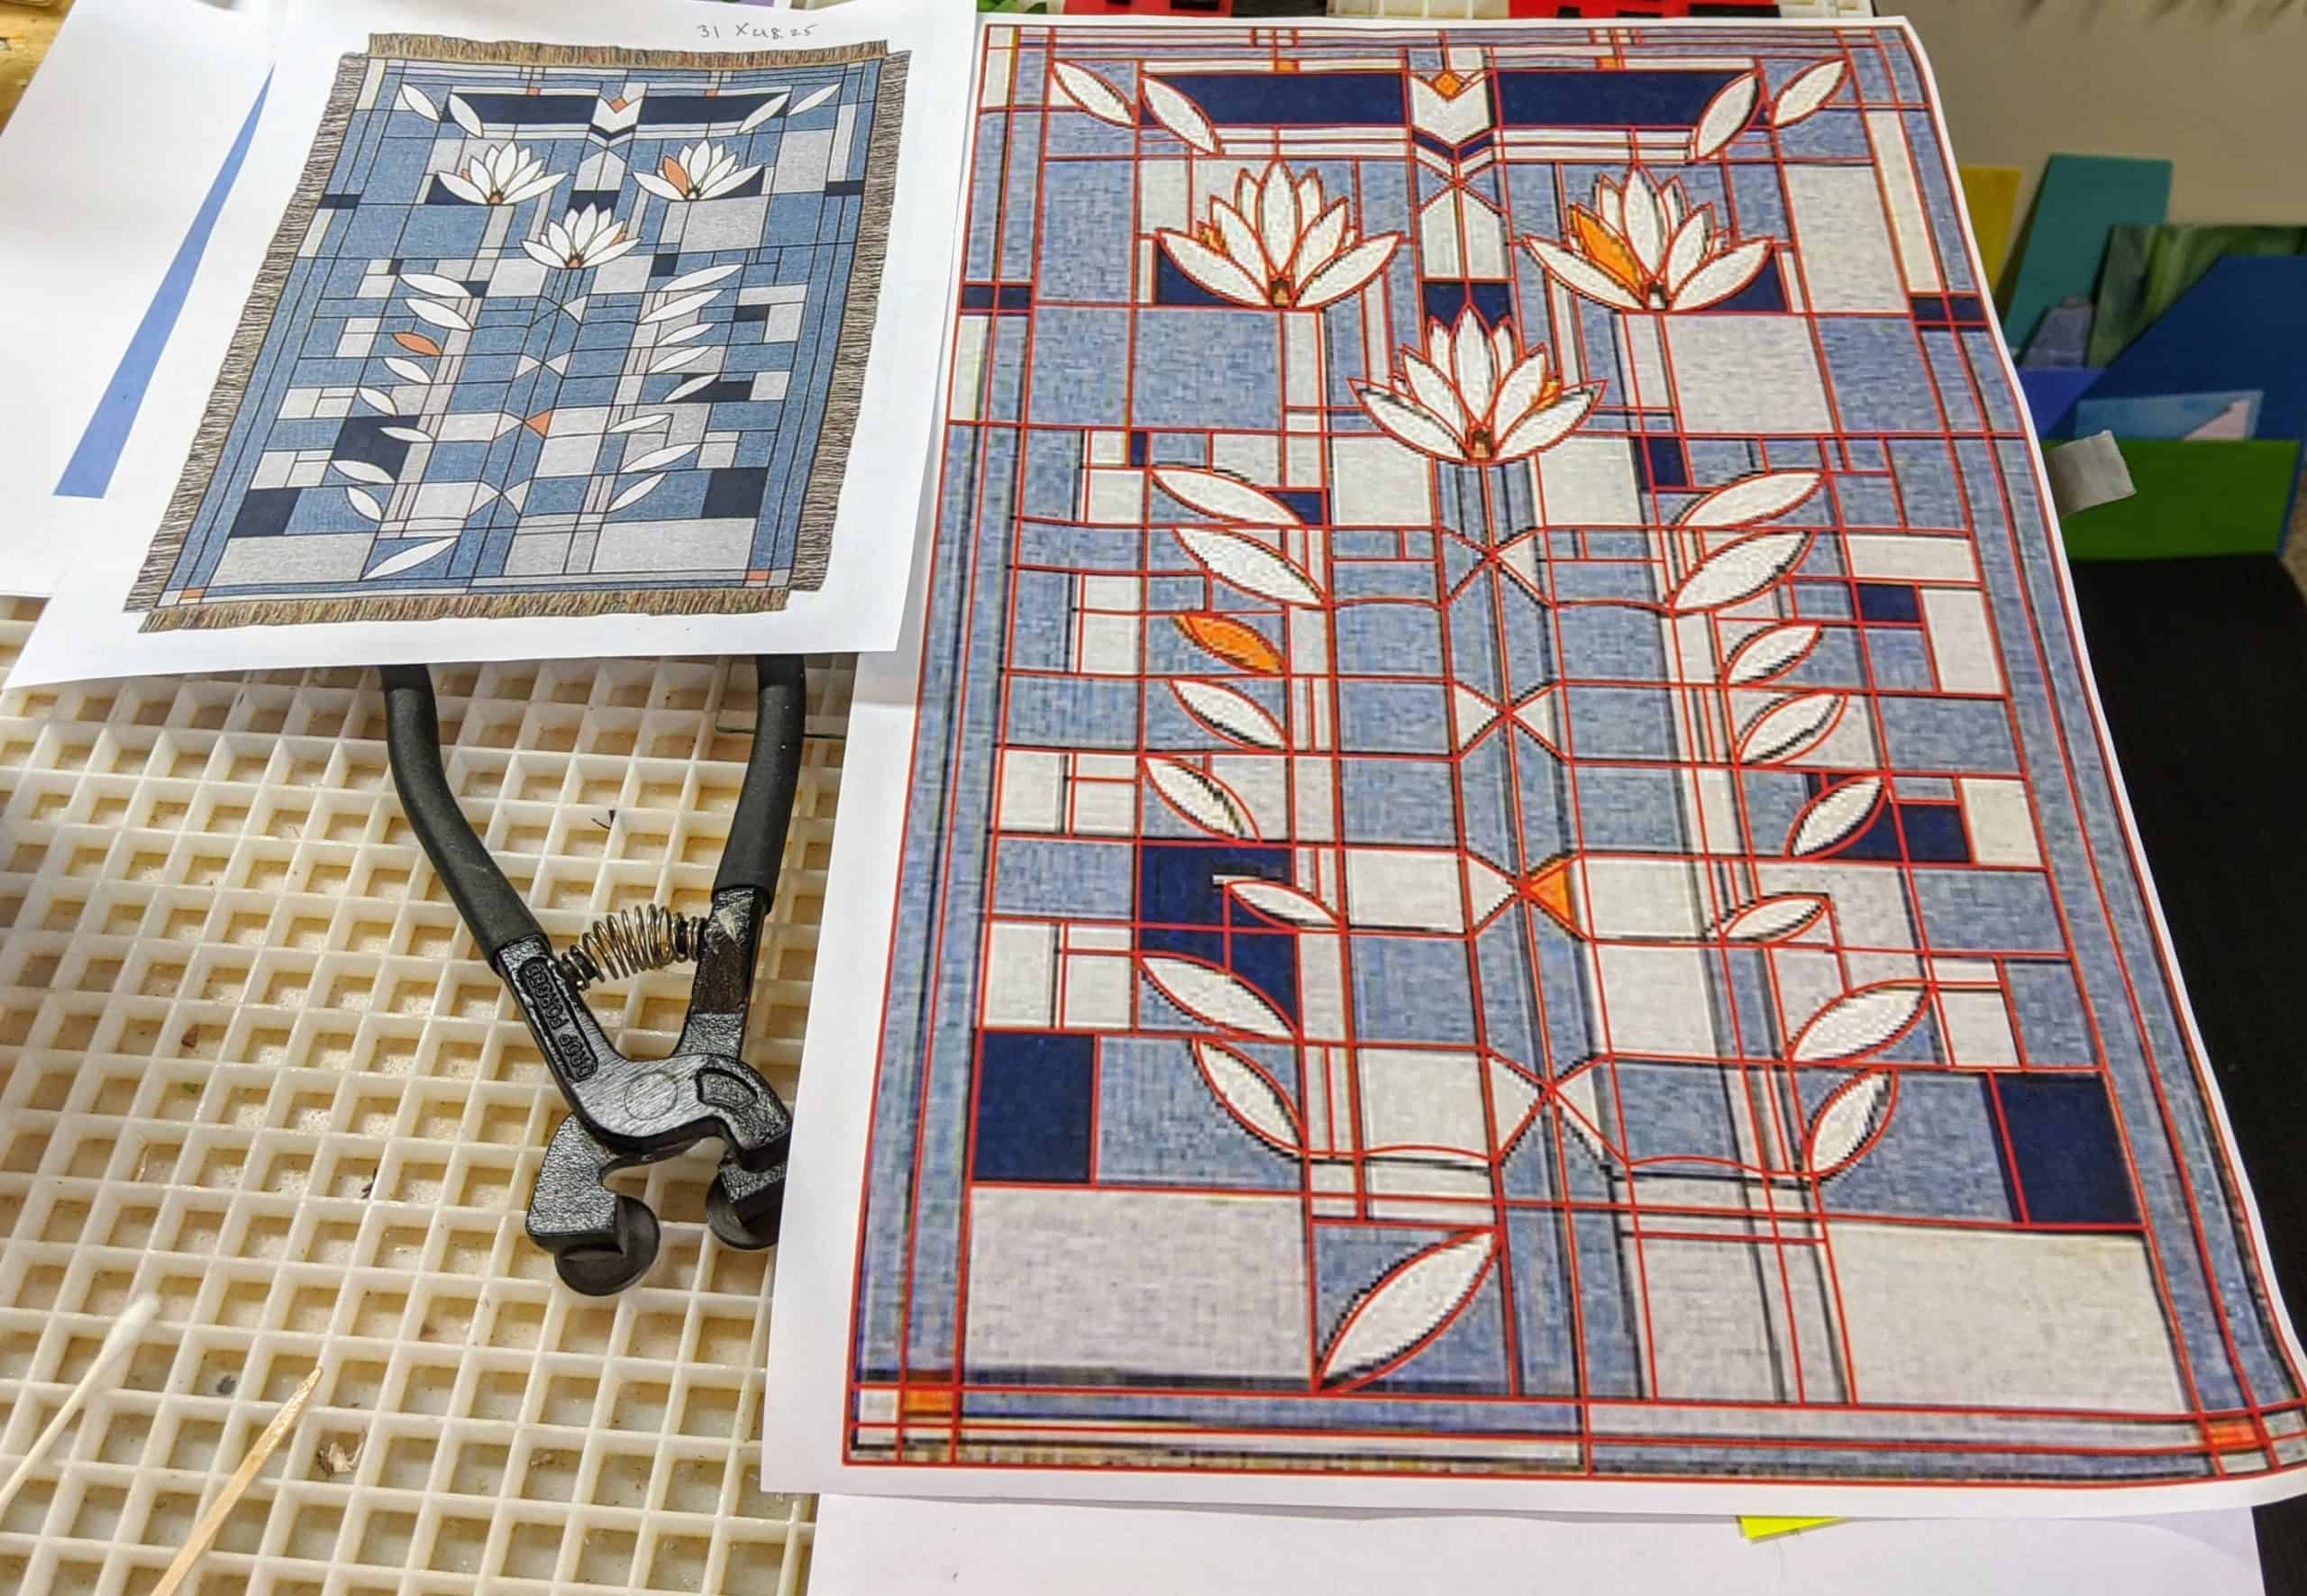
Frank Lloyd Wright – Waterlilies
It’s actually just the top half of the pattern (in order to fit their window). When I saw all that clear glass area, I realized that it would be difficult to achieve the level of privacy they would likely desire for a big window by a toilet! I might have to dust off my soldering iron and see if I can do it with copper foil.
I’ve never made such a large panel without a solid background, and I’m pretty sure a piece this size would require some significant reinforcement. I’m also not the best at fitting pieces for a copper foil project that has to fit an exact opening, so my confidence is a bit low that I wouldn’t end up with a disaster on my hands if I did it with copper foil.
Perhaps I could use a light blue background instead of clear. Even still, the large rectangles at the bottom won’t provide a lot of privacy. I would have to use opaque glass, which I don’t believe I have on hand. I will have to think about it for awhile.
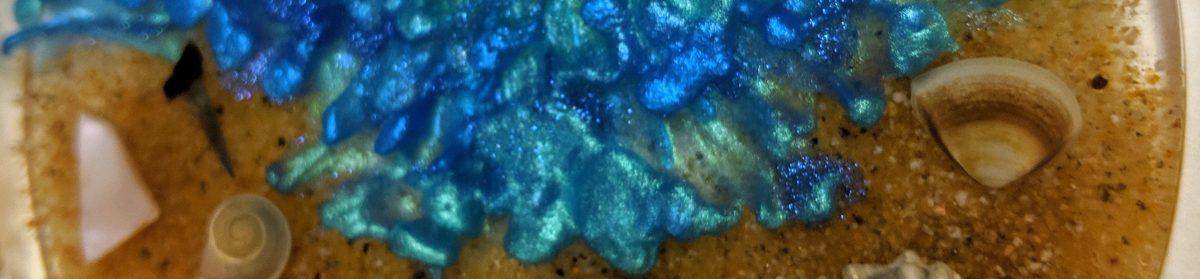
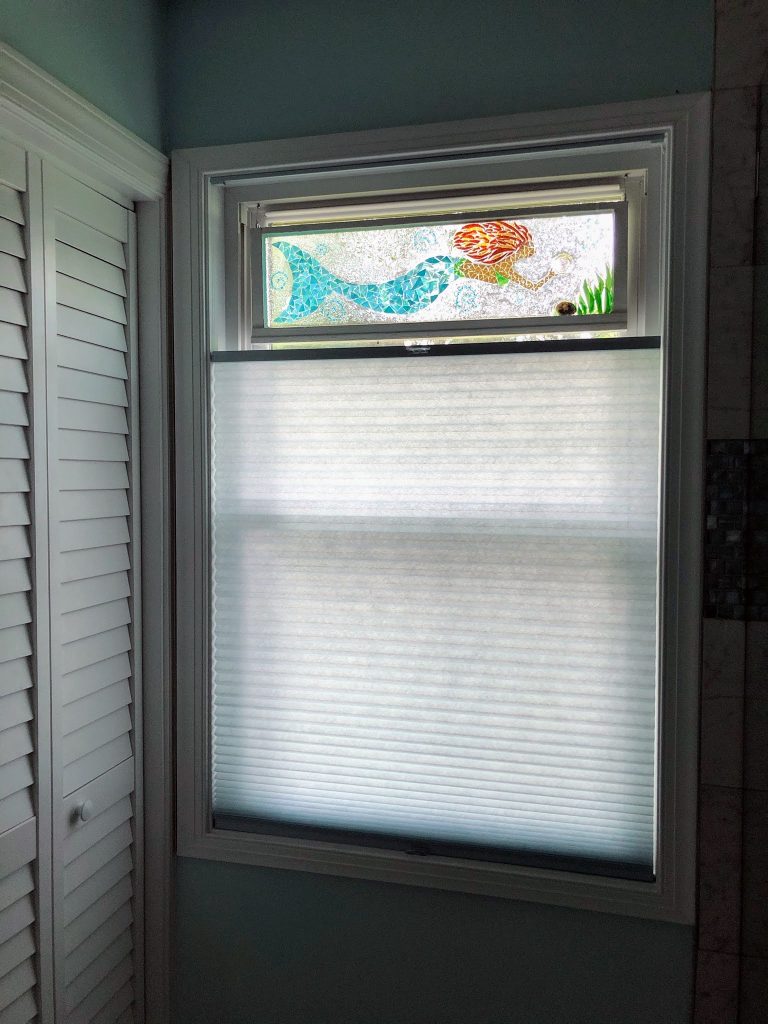
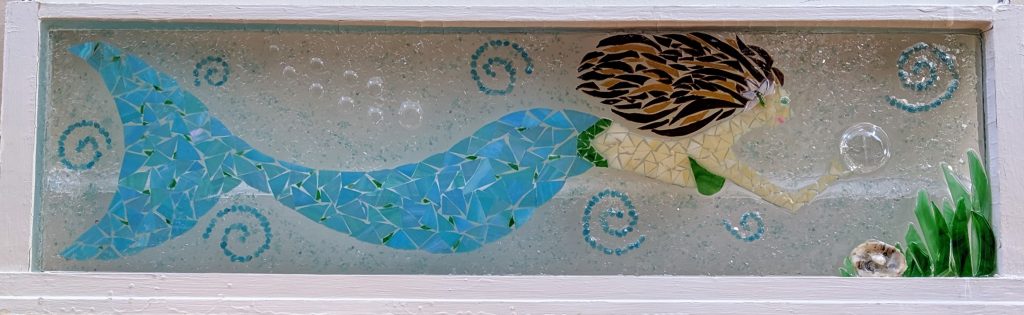
I received a nice note / photo from the adoptive family of my mermaid mosaic. I don’t often get to see the ones that swam away again, so this was a treat!
Mermaid installed in a window 9.5″x30″ stained glass mosaic set in resin. – still one of my favorites!
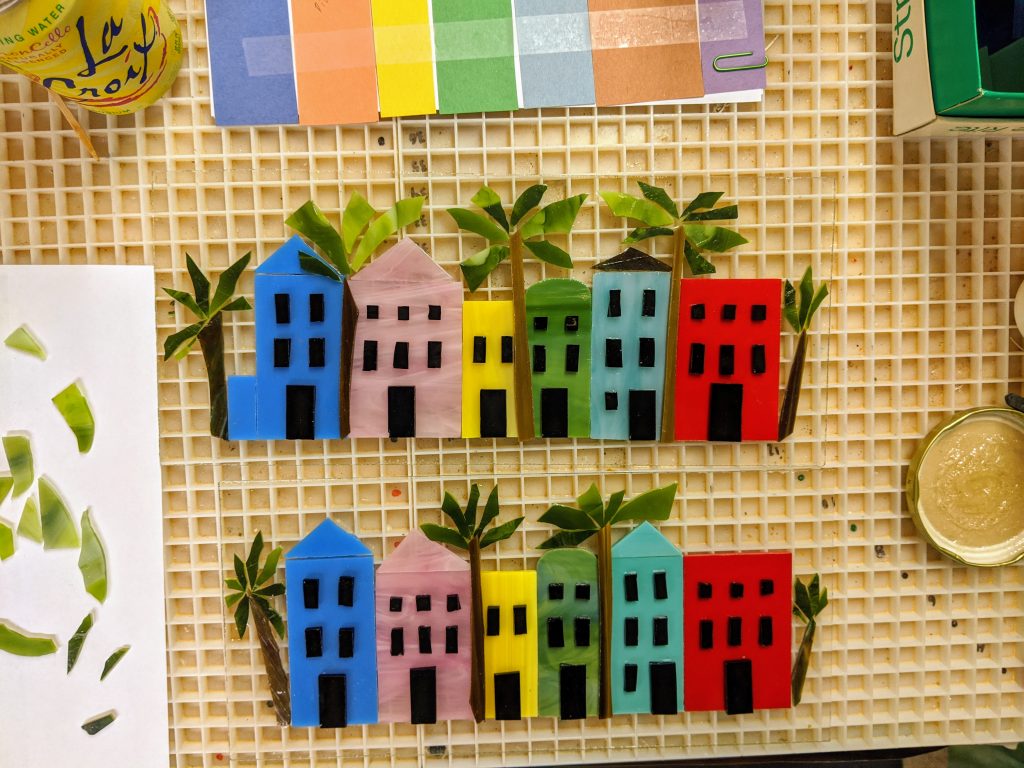
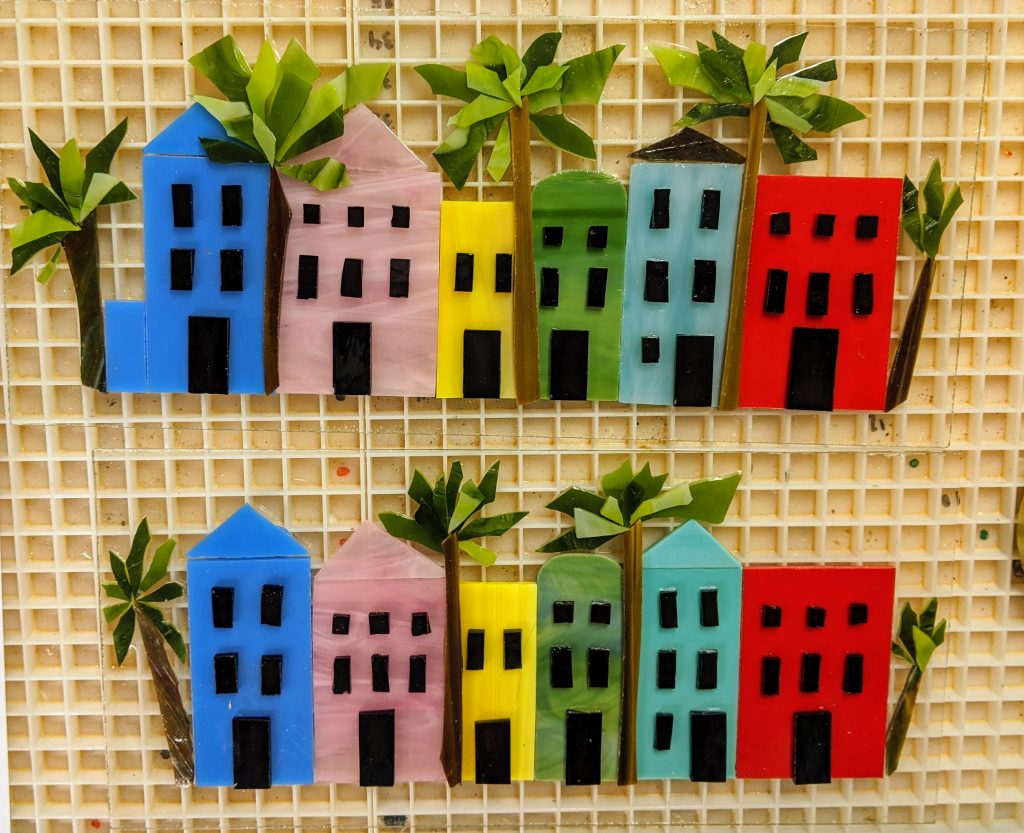
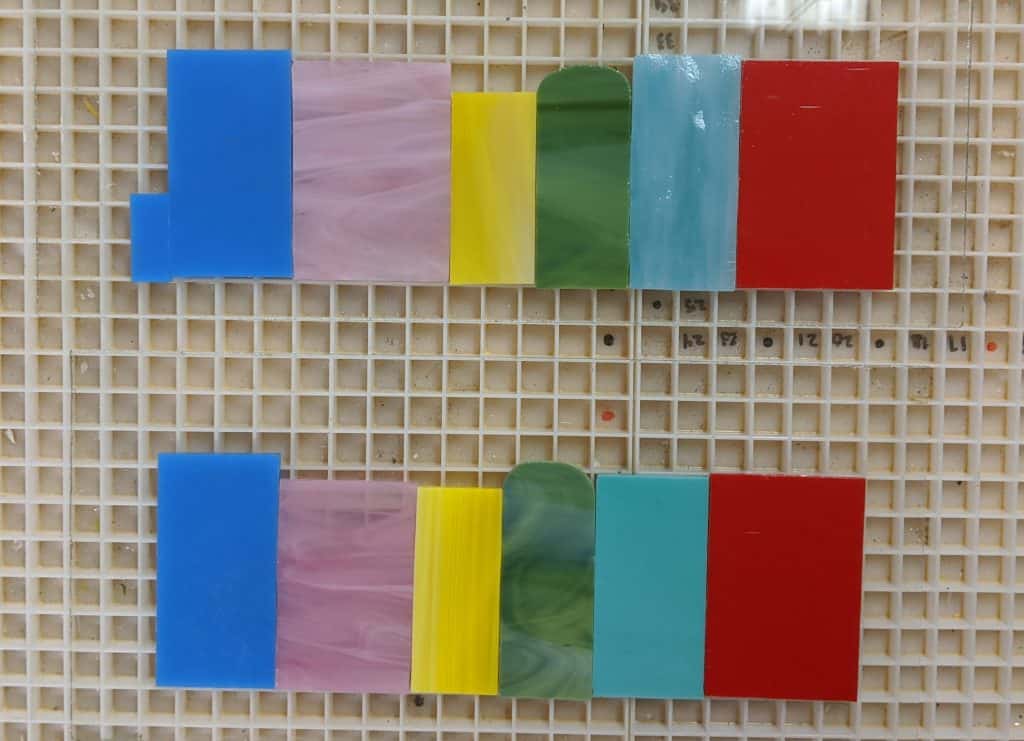
I use the plain glass from half of an old window to make smaller projects, like these Rainbow Row pieces. The old window glass is used as the base / background for the little scene. I then cut stained glass in various colors. I use a photo of Rainbow Row as a reference to help plan the colors and shapes of the houses. I also noticed that one of the houses in my reference photo has a little garage off to the left, so I’m going to see how it looks with that added on the top panel.
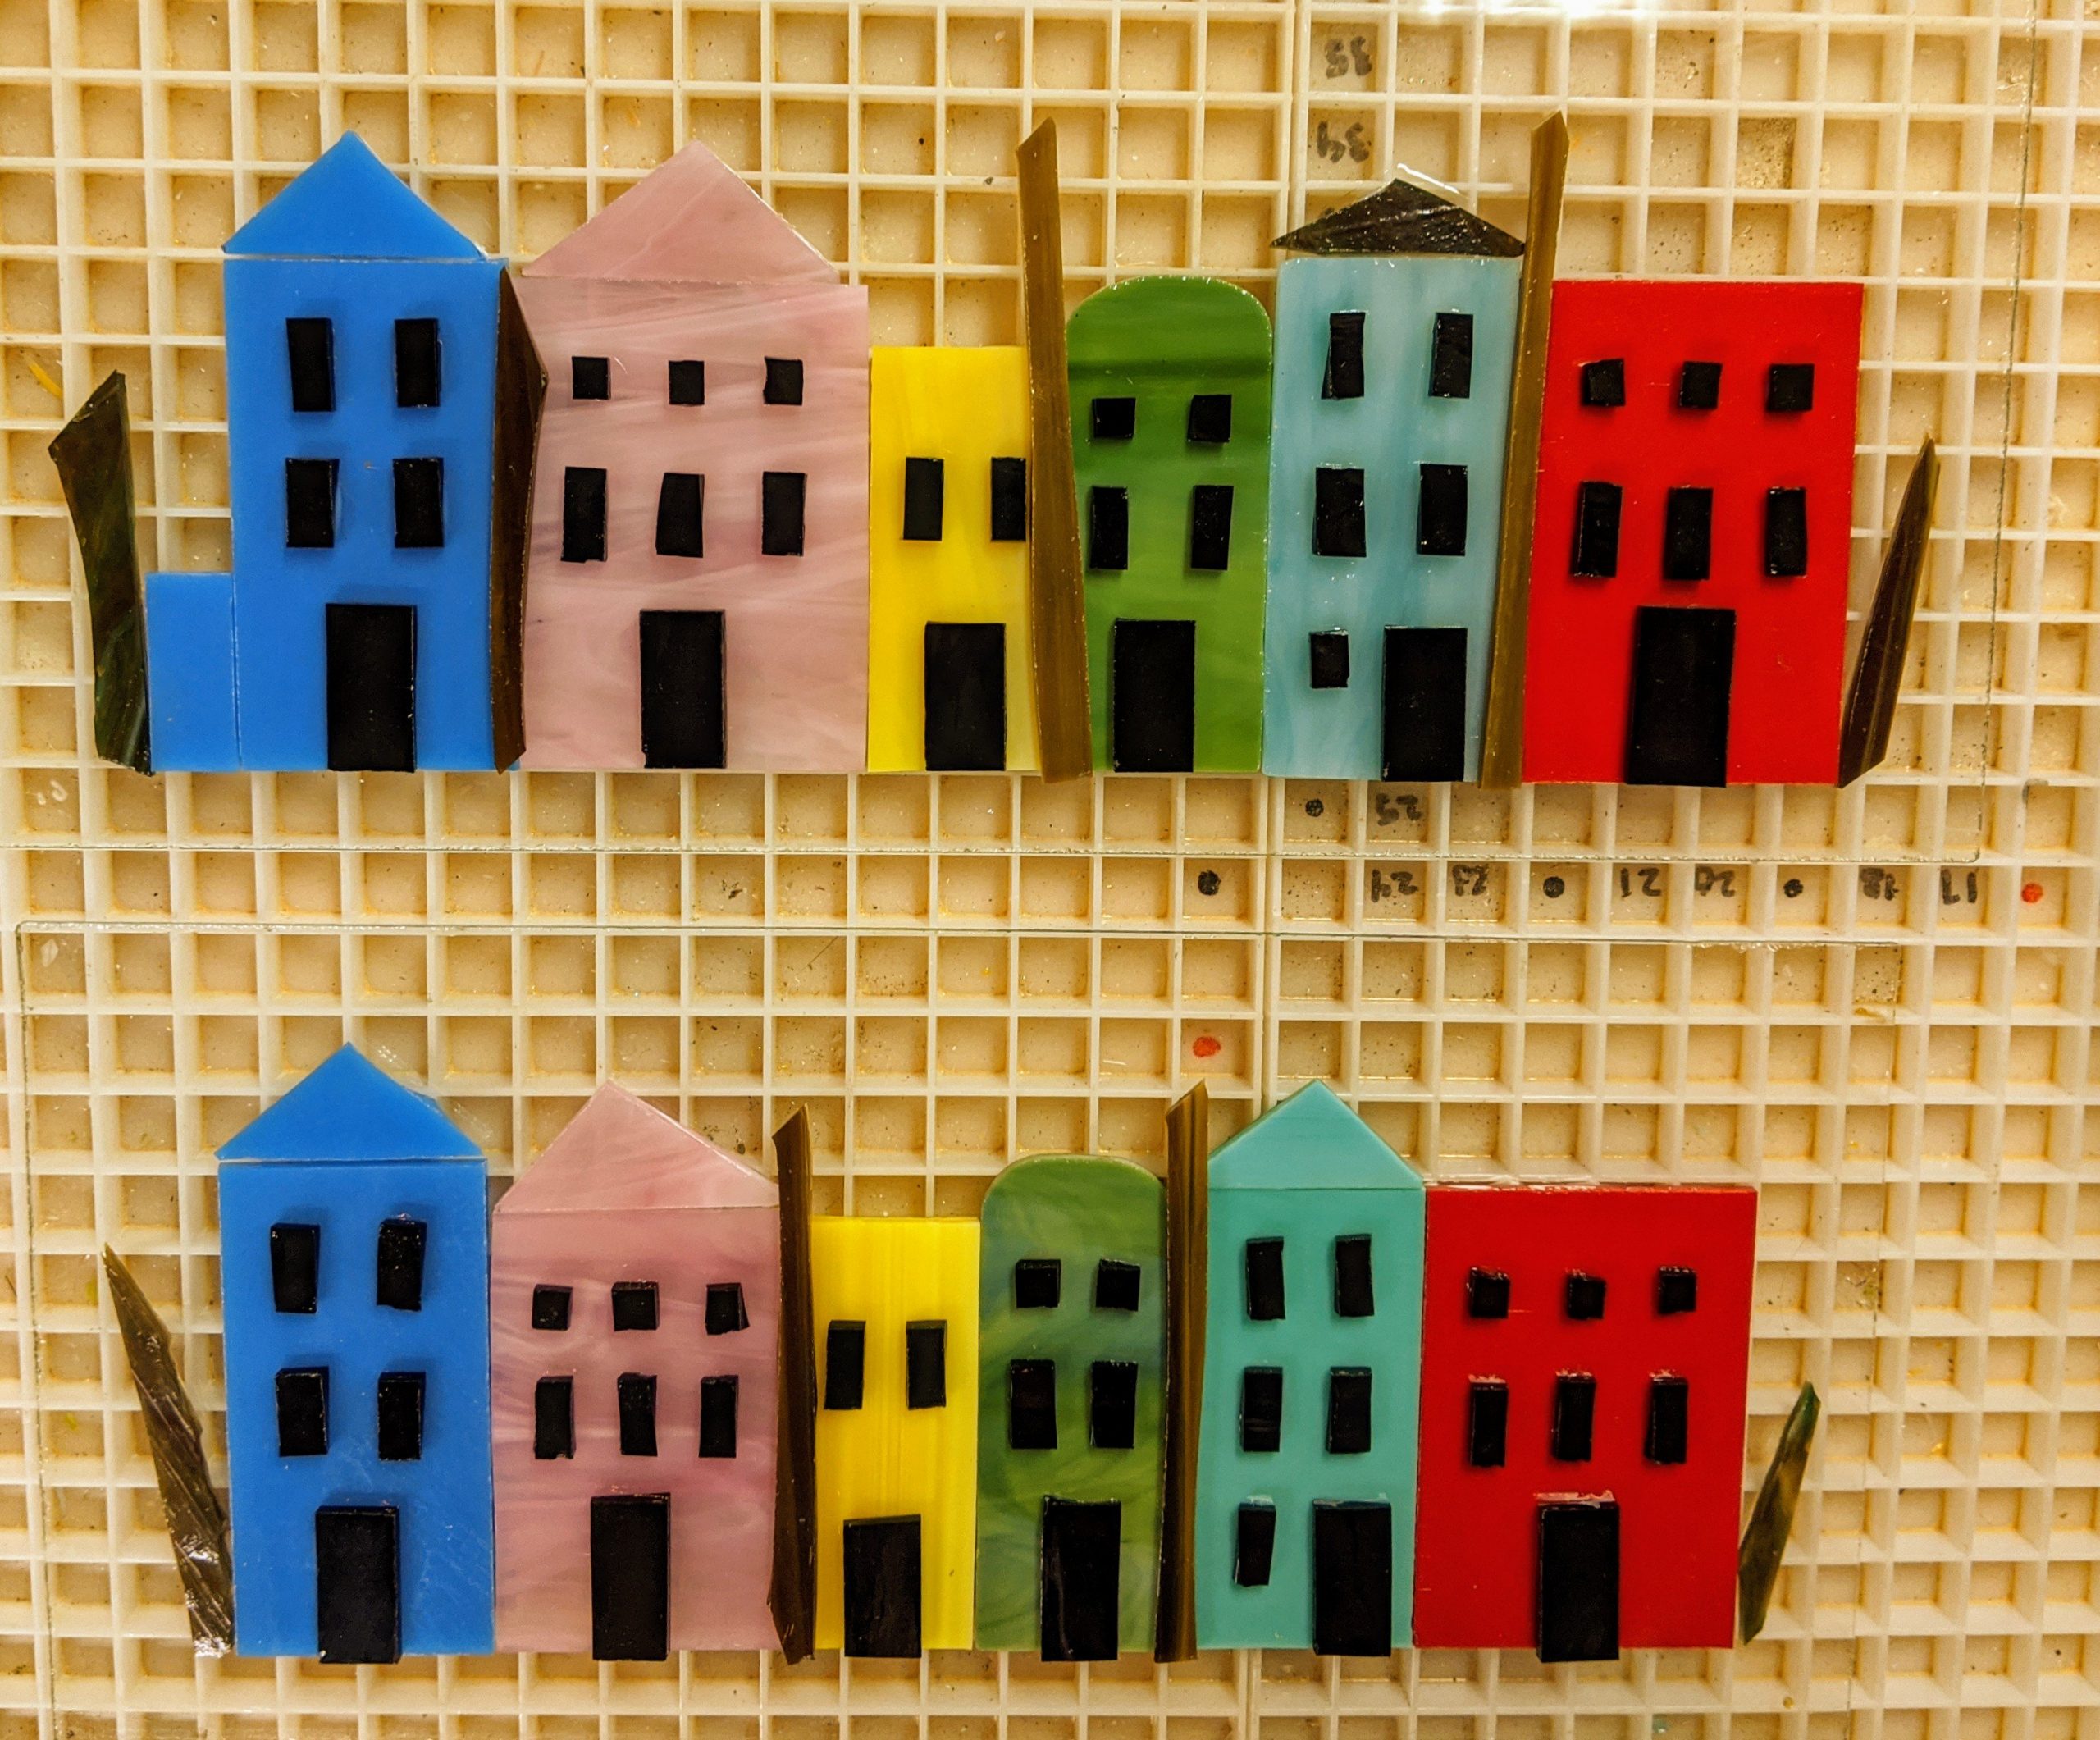
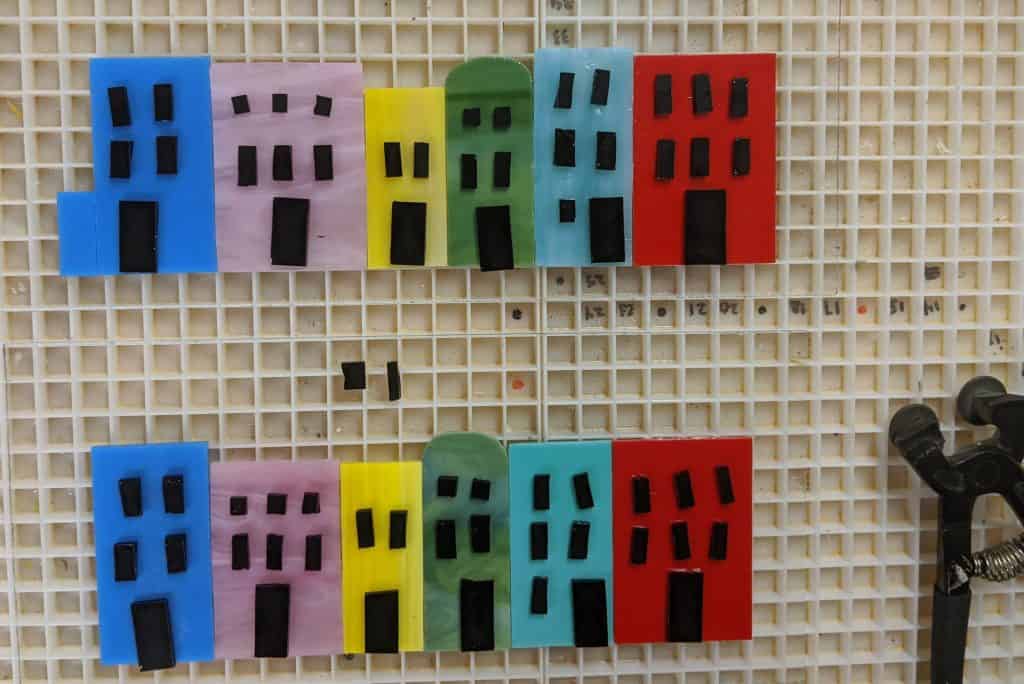
Arranging the rectangles for the houses on the base glassAdding detail – windows and doorsAdding roof / tree trunk detail
Today I finished cutting out the rectangles for the houses (I had already started some of them) as well as the doors and windows. I glued the house rectangles in place and arranged the other details while it dried. I will glue the windows, doors and tree trunks another day.