Making Ornaments

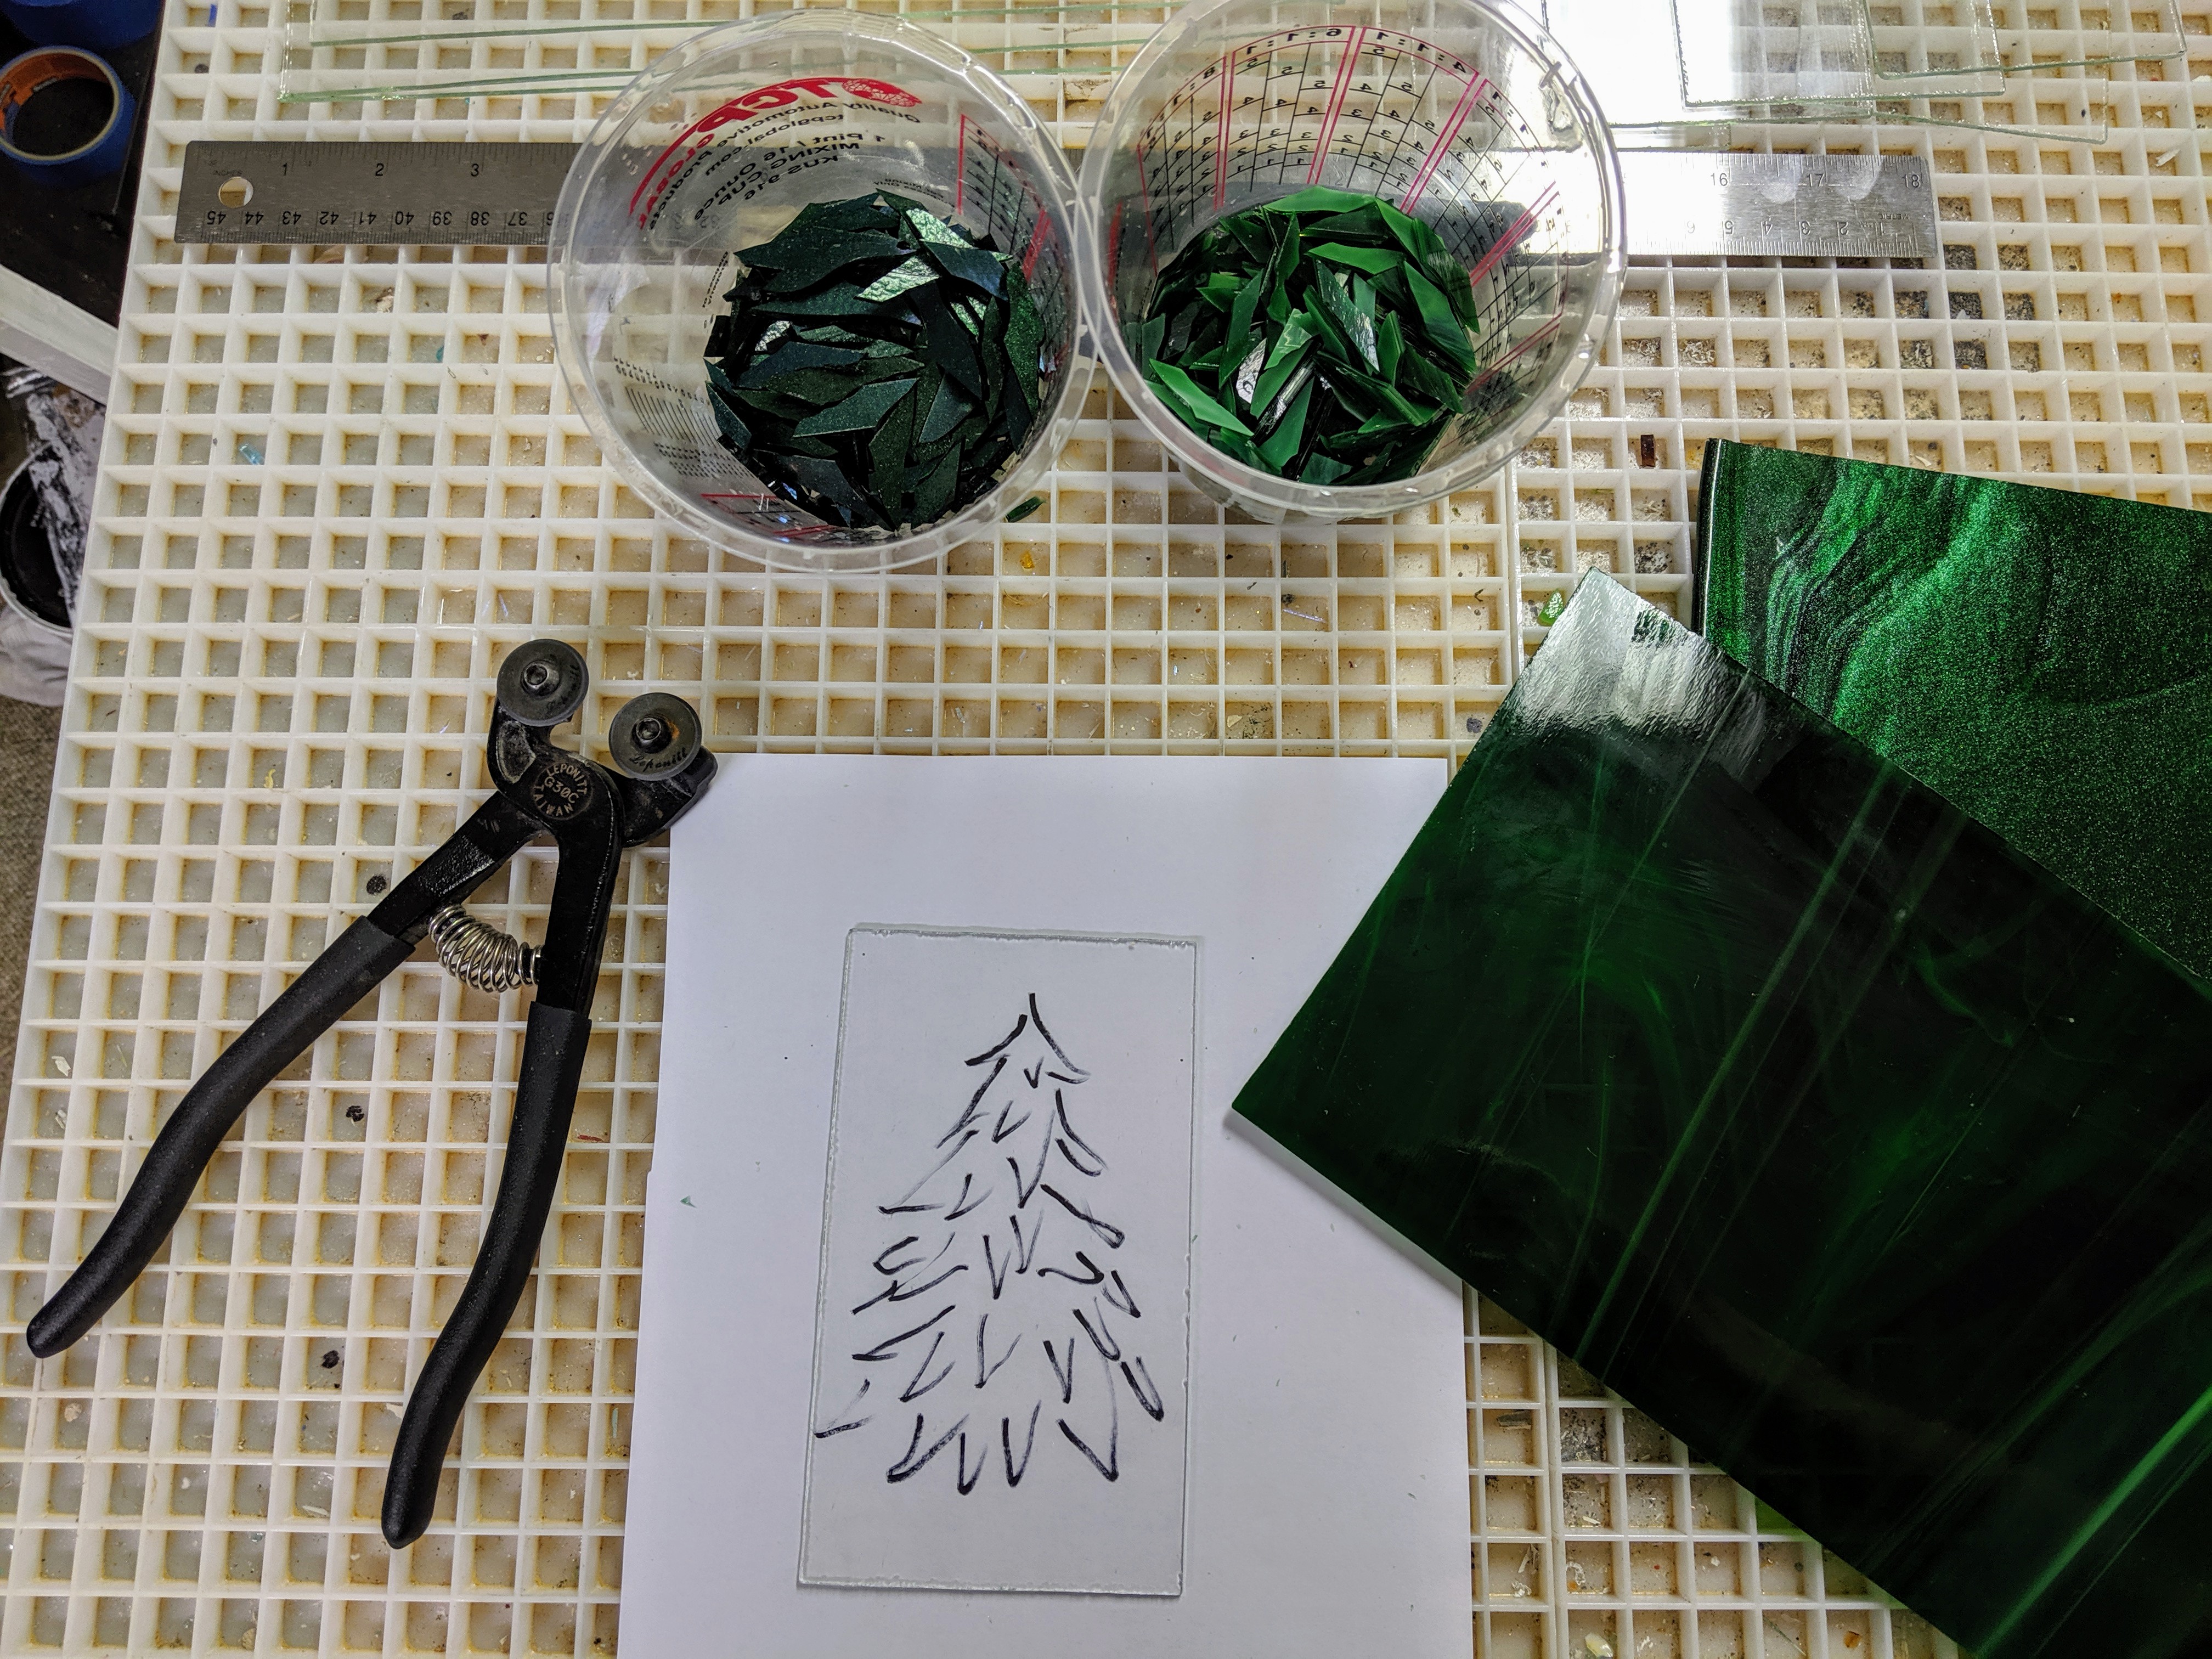
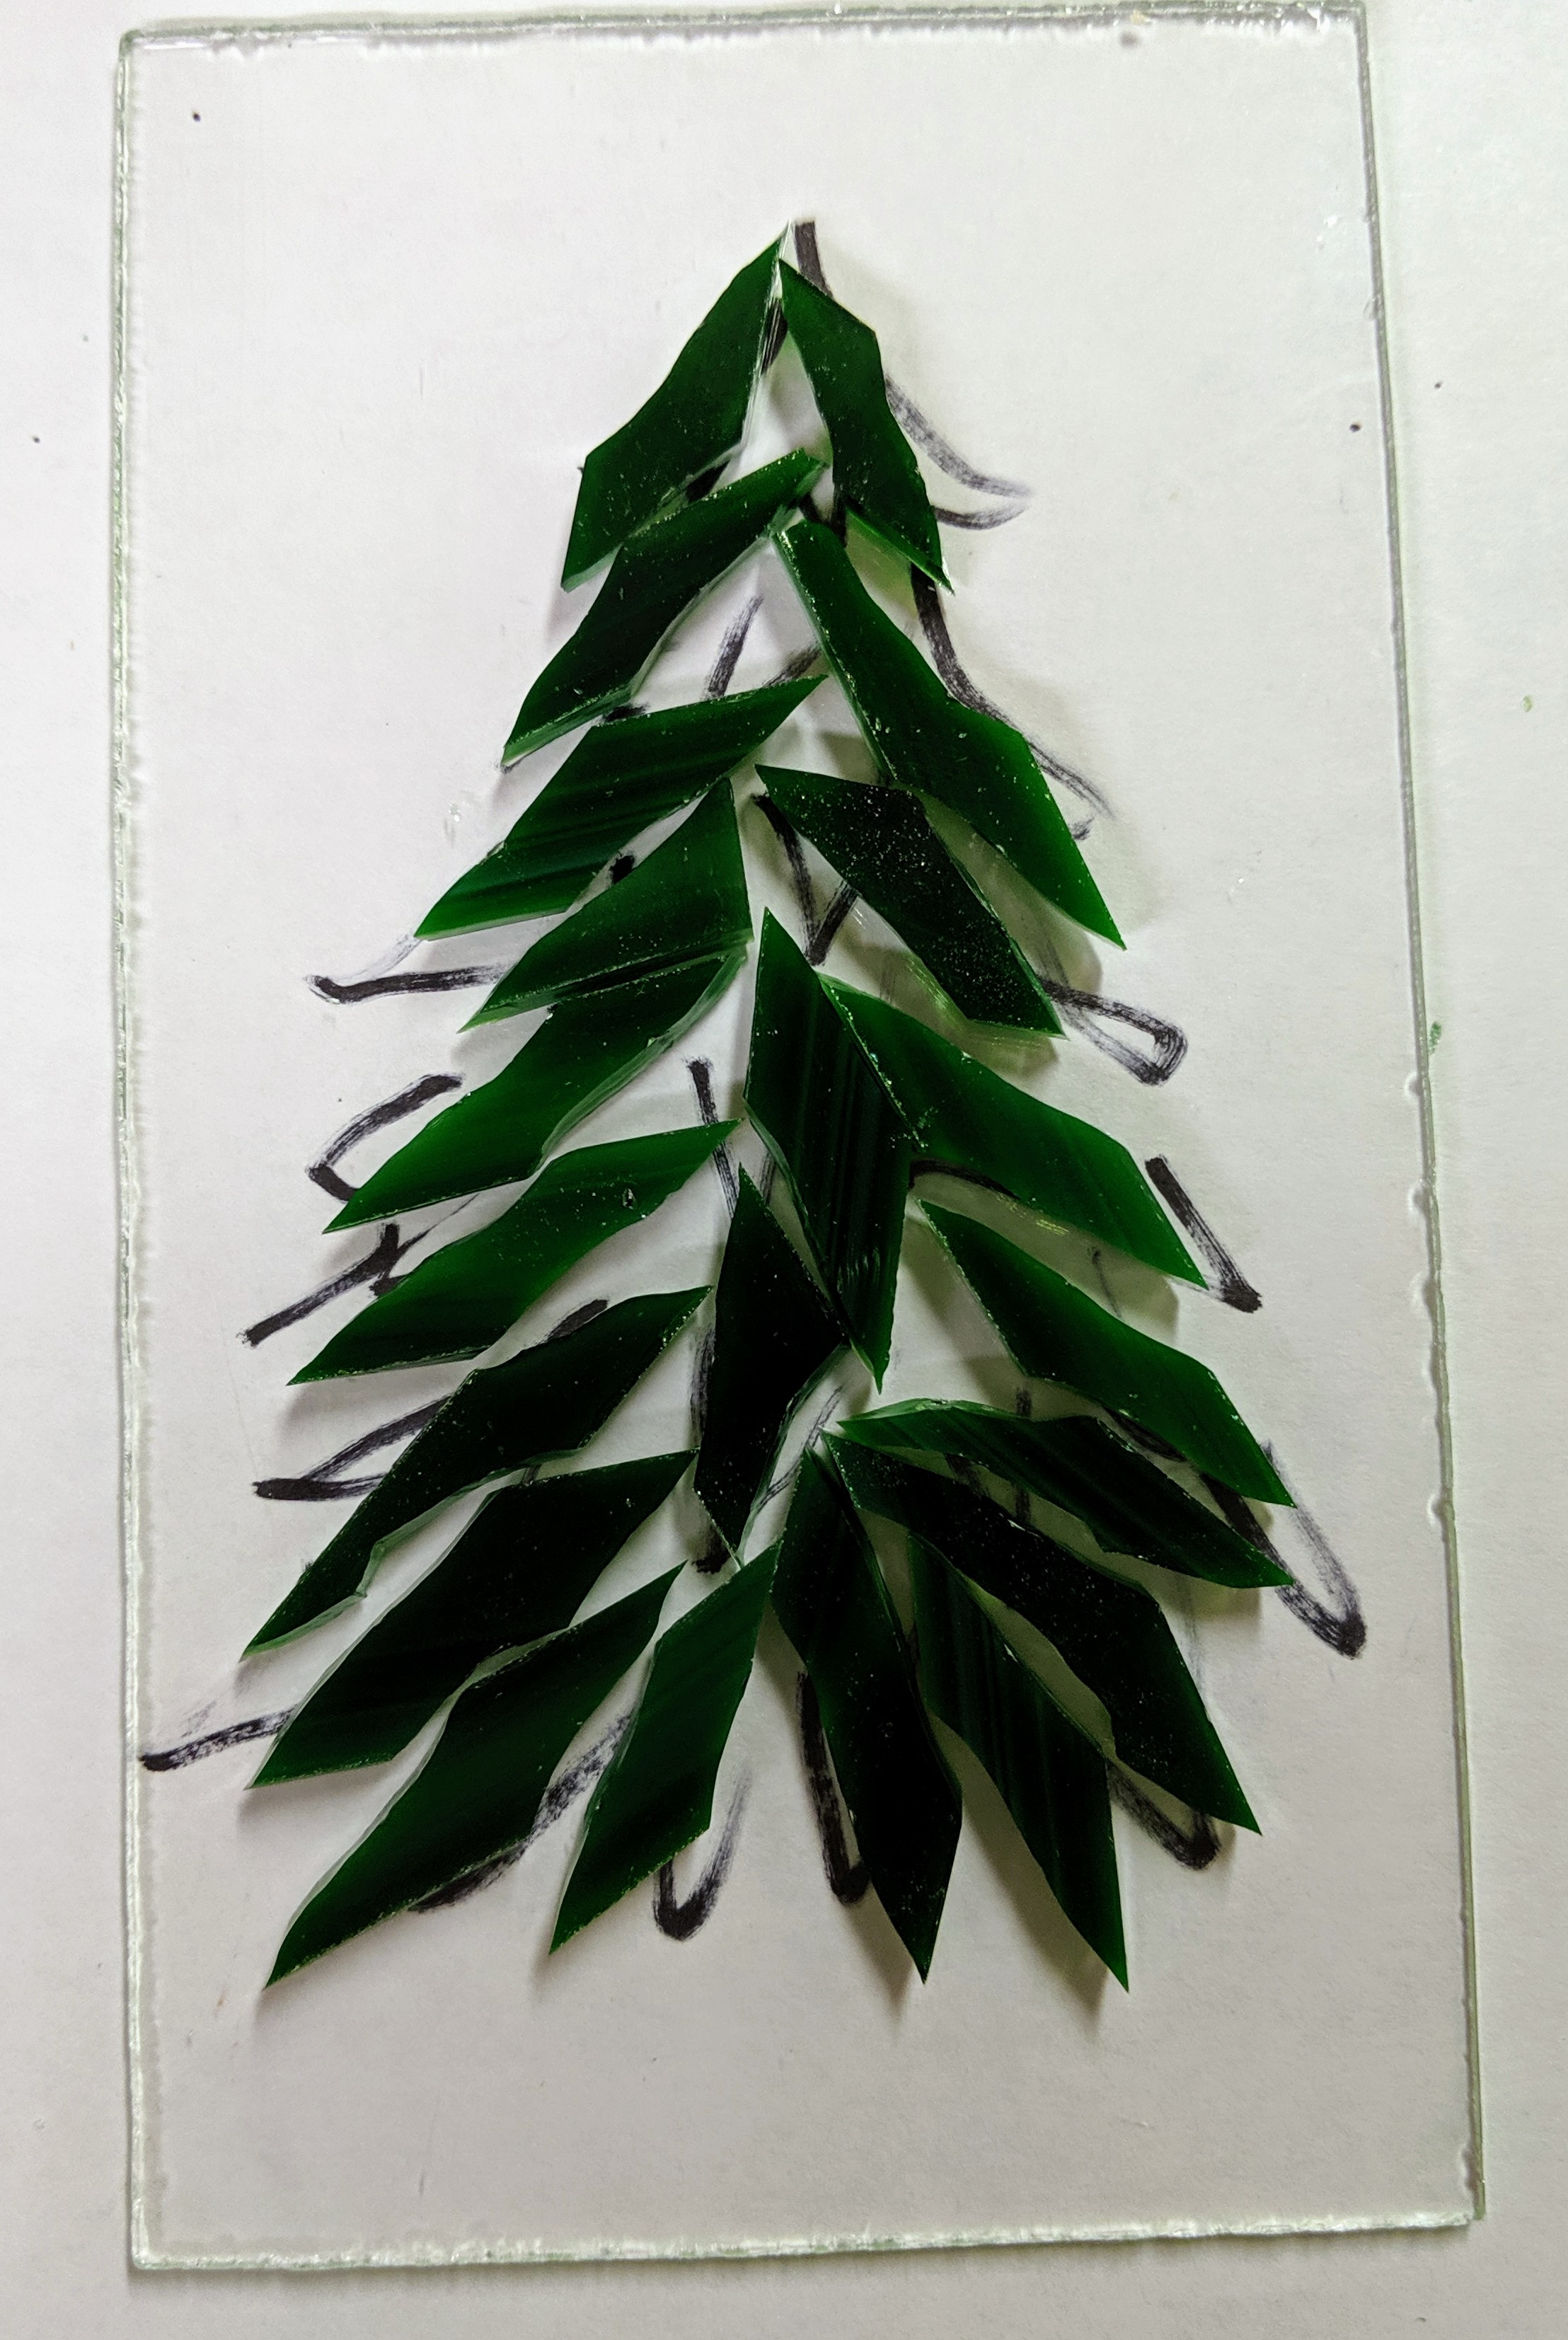
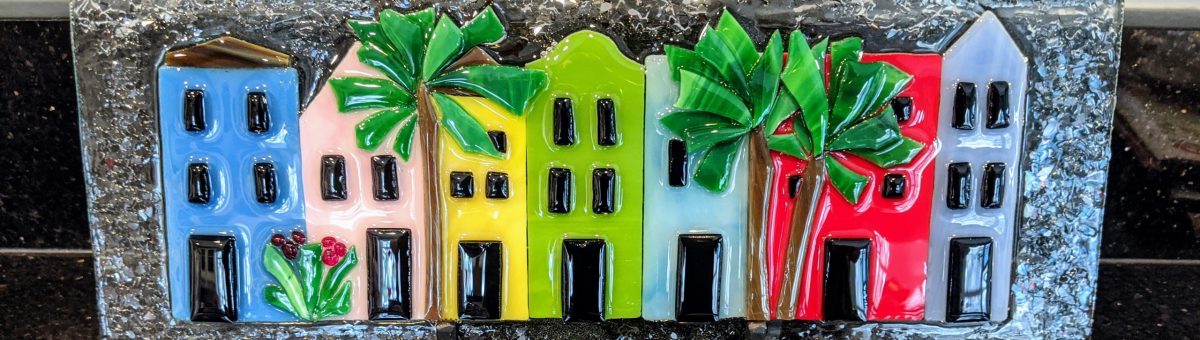
I’m trying to stock up on ornaments for my booth at the Charleston Holiday Market, which will be held at the North Charleston Convention Center November 8-10, 2019. I glued these winter scene glass ornaments yesterday and plan on pouring the resin and finishing the details today.

Winter Scene Trees about half complete.

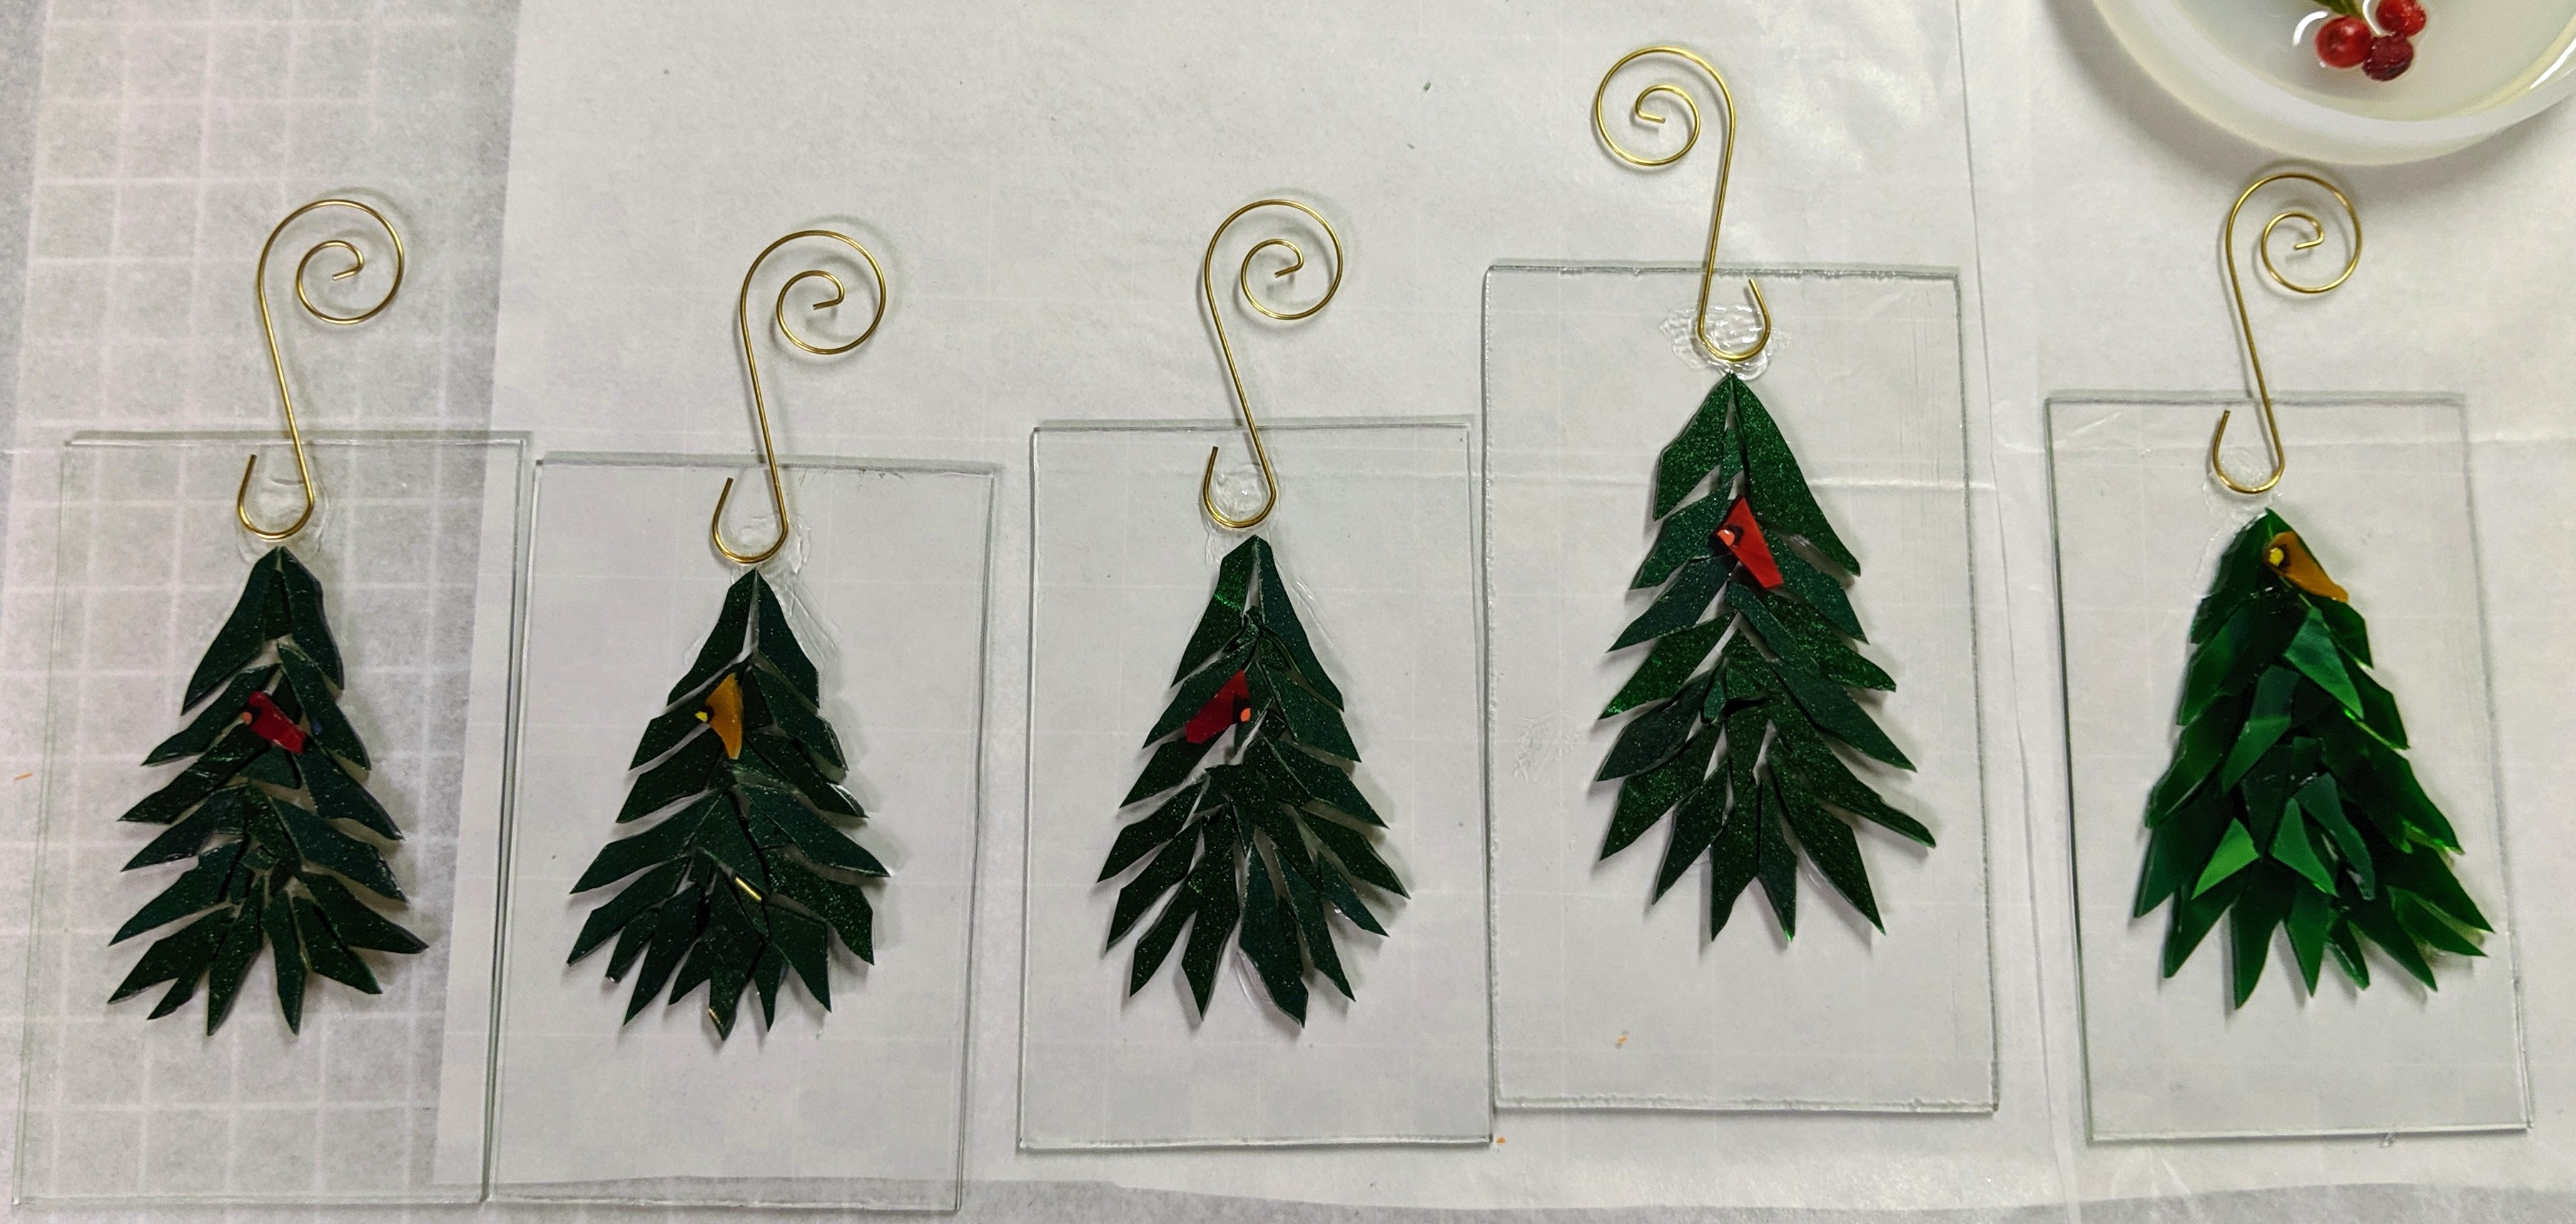
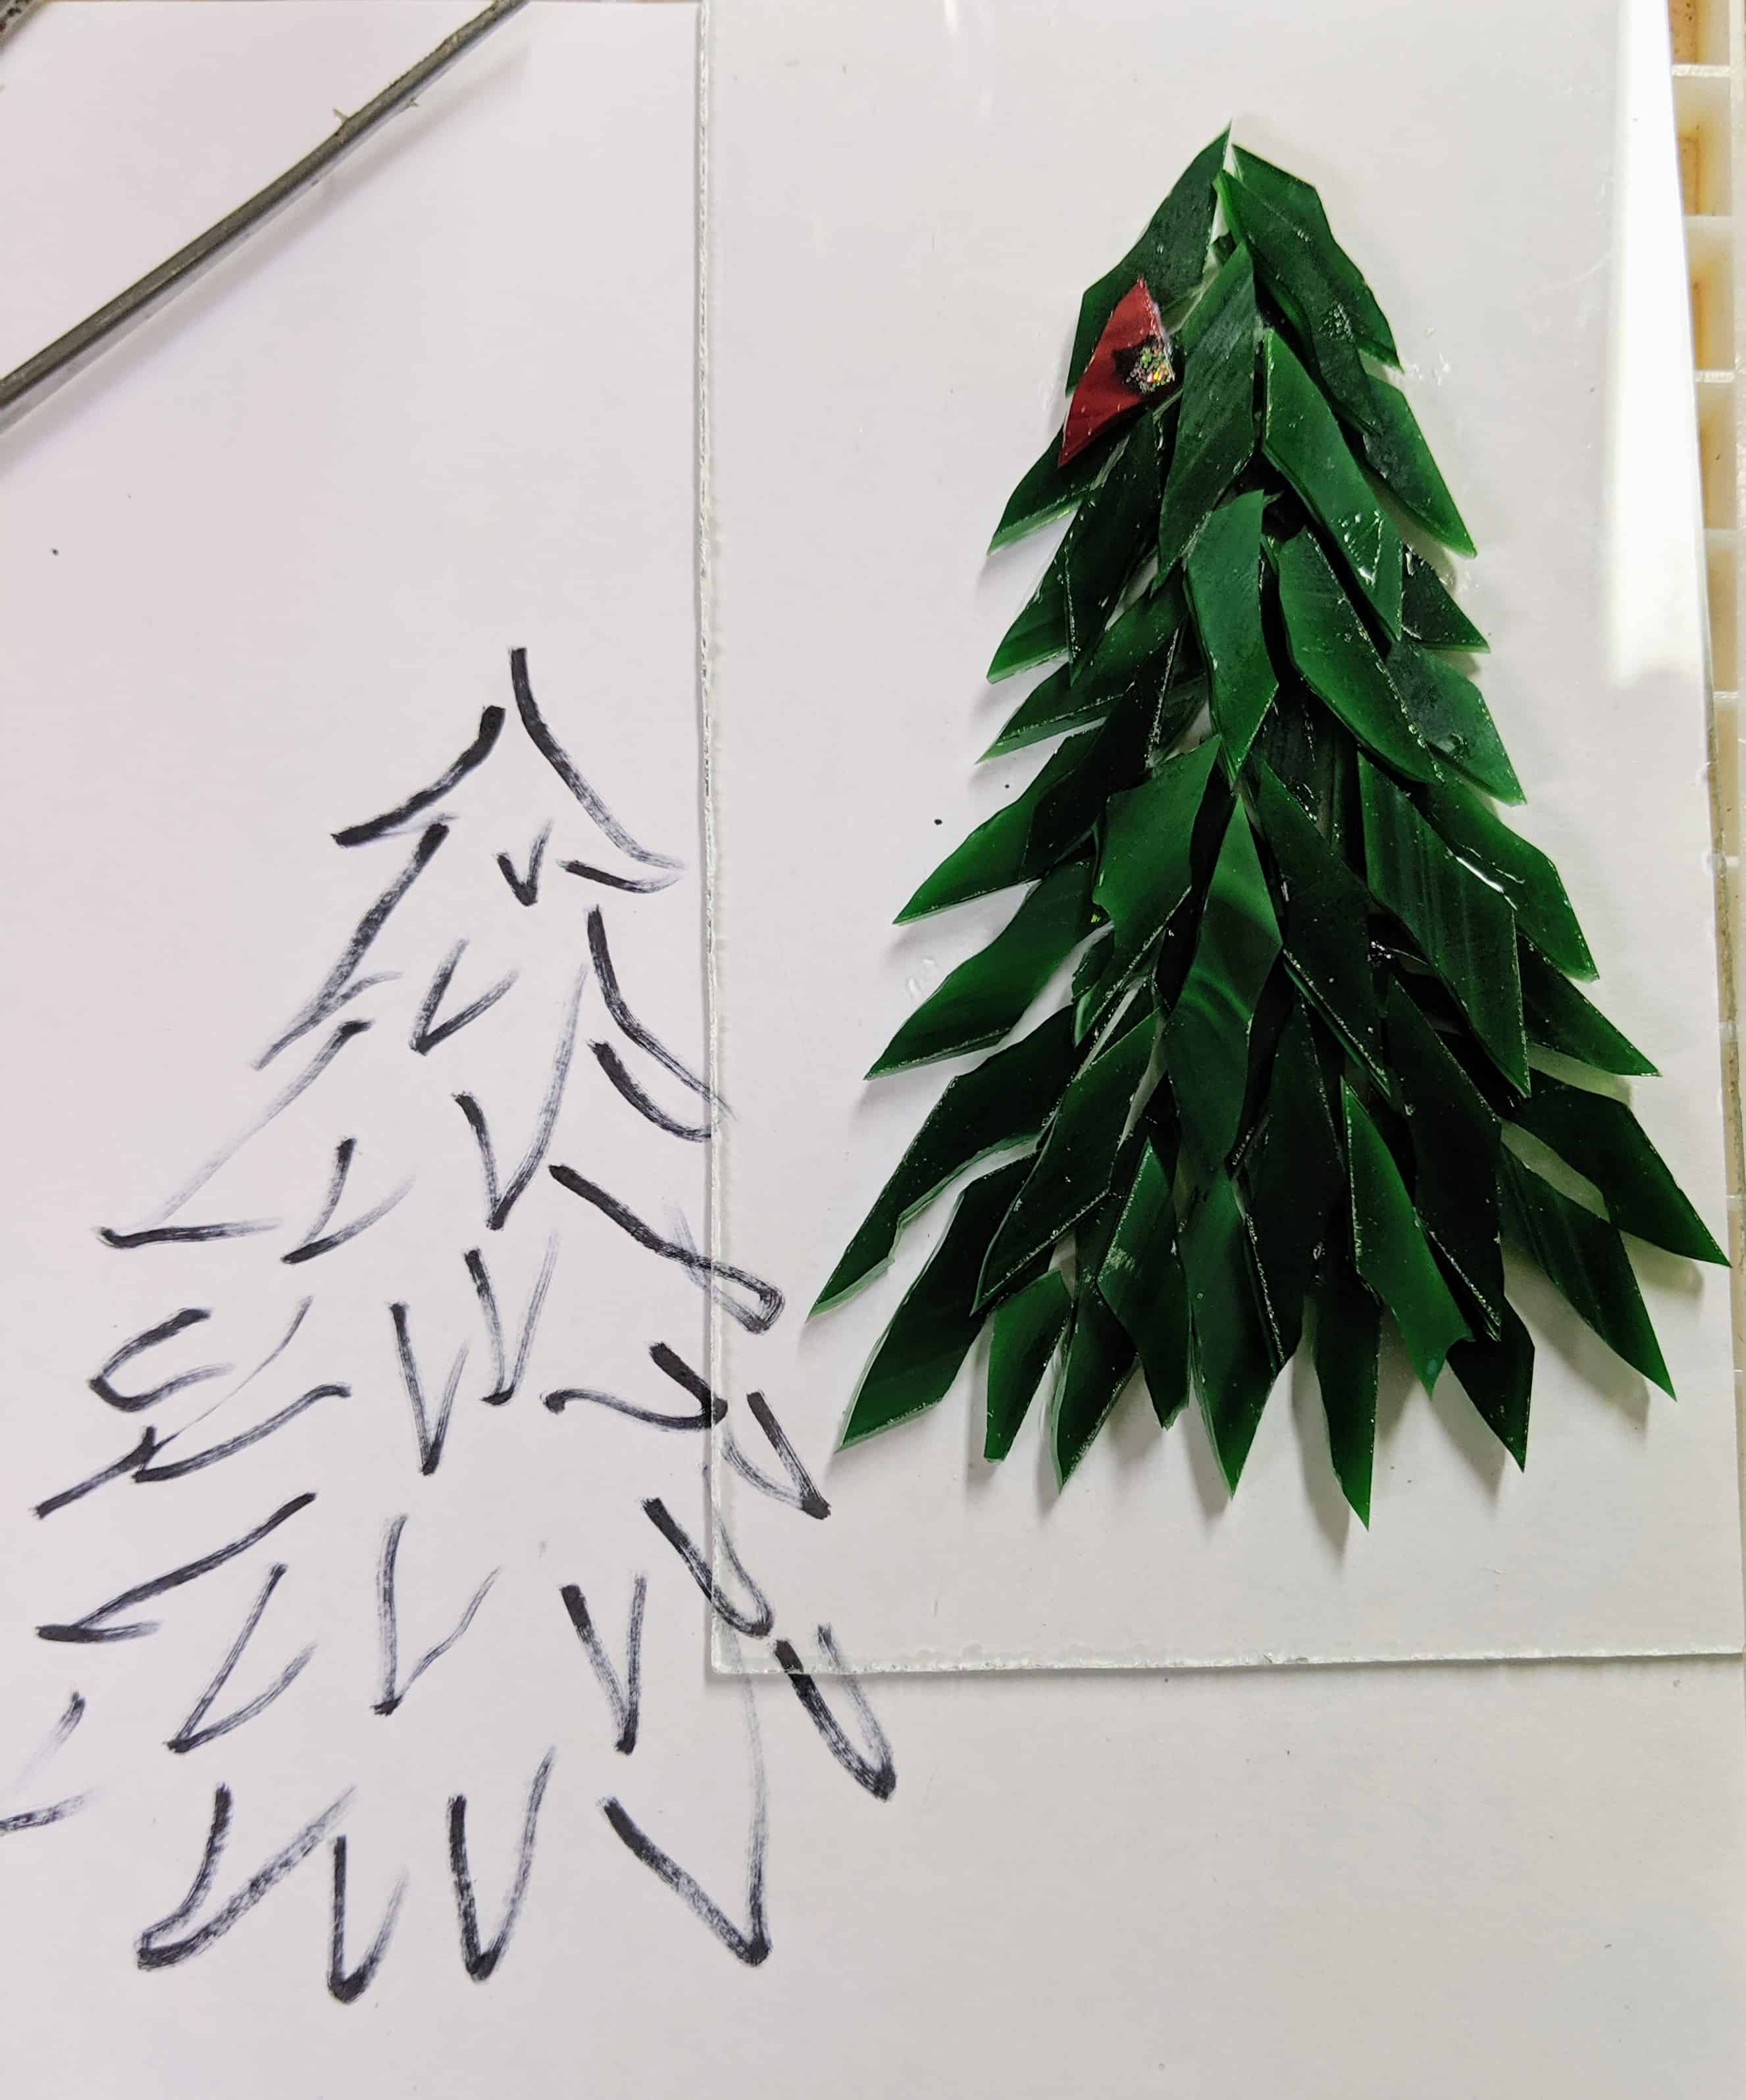
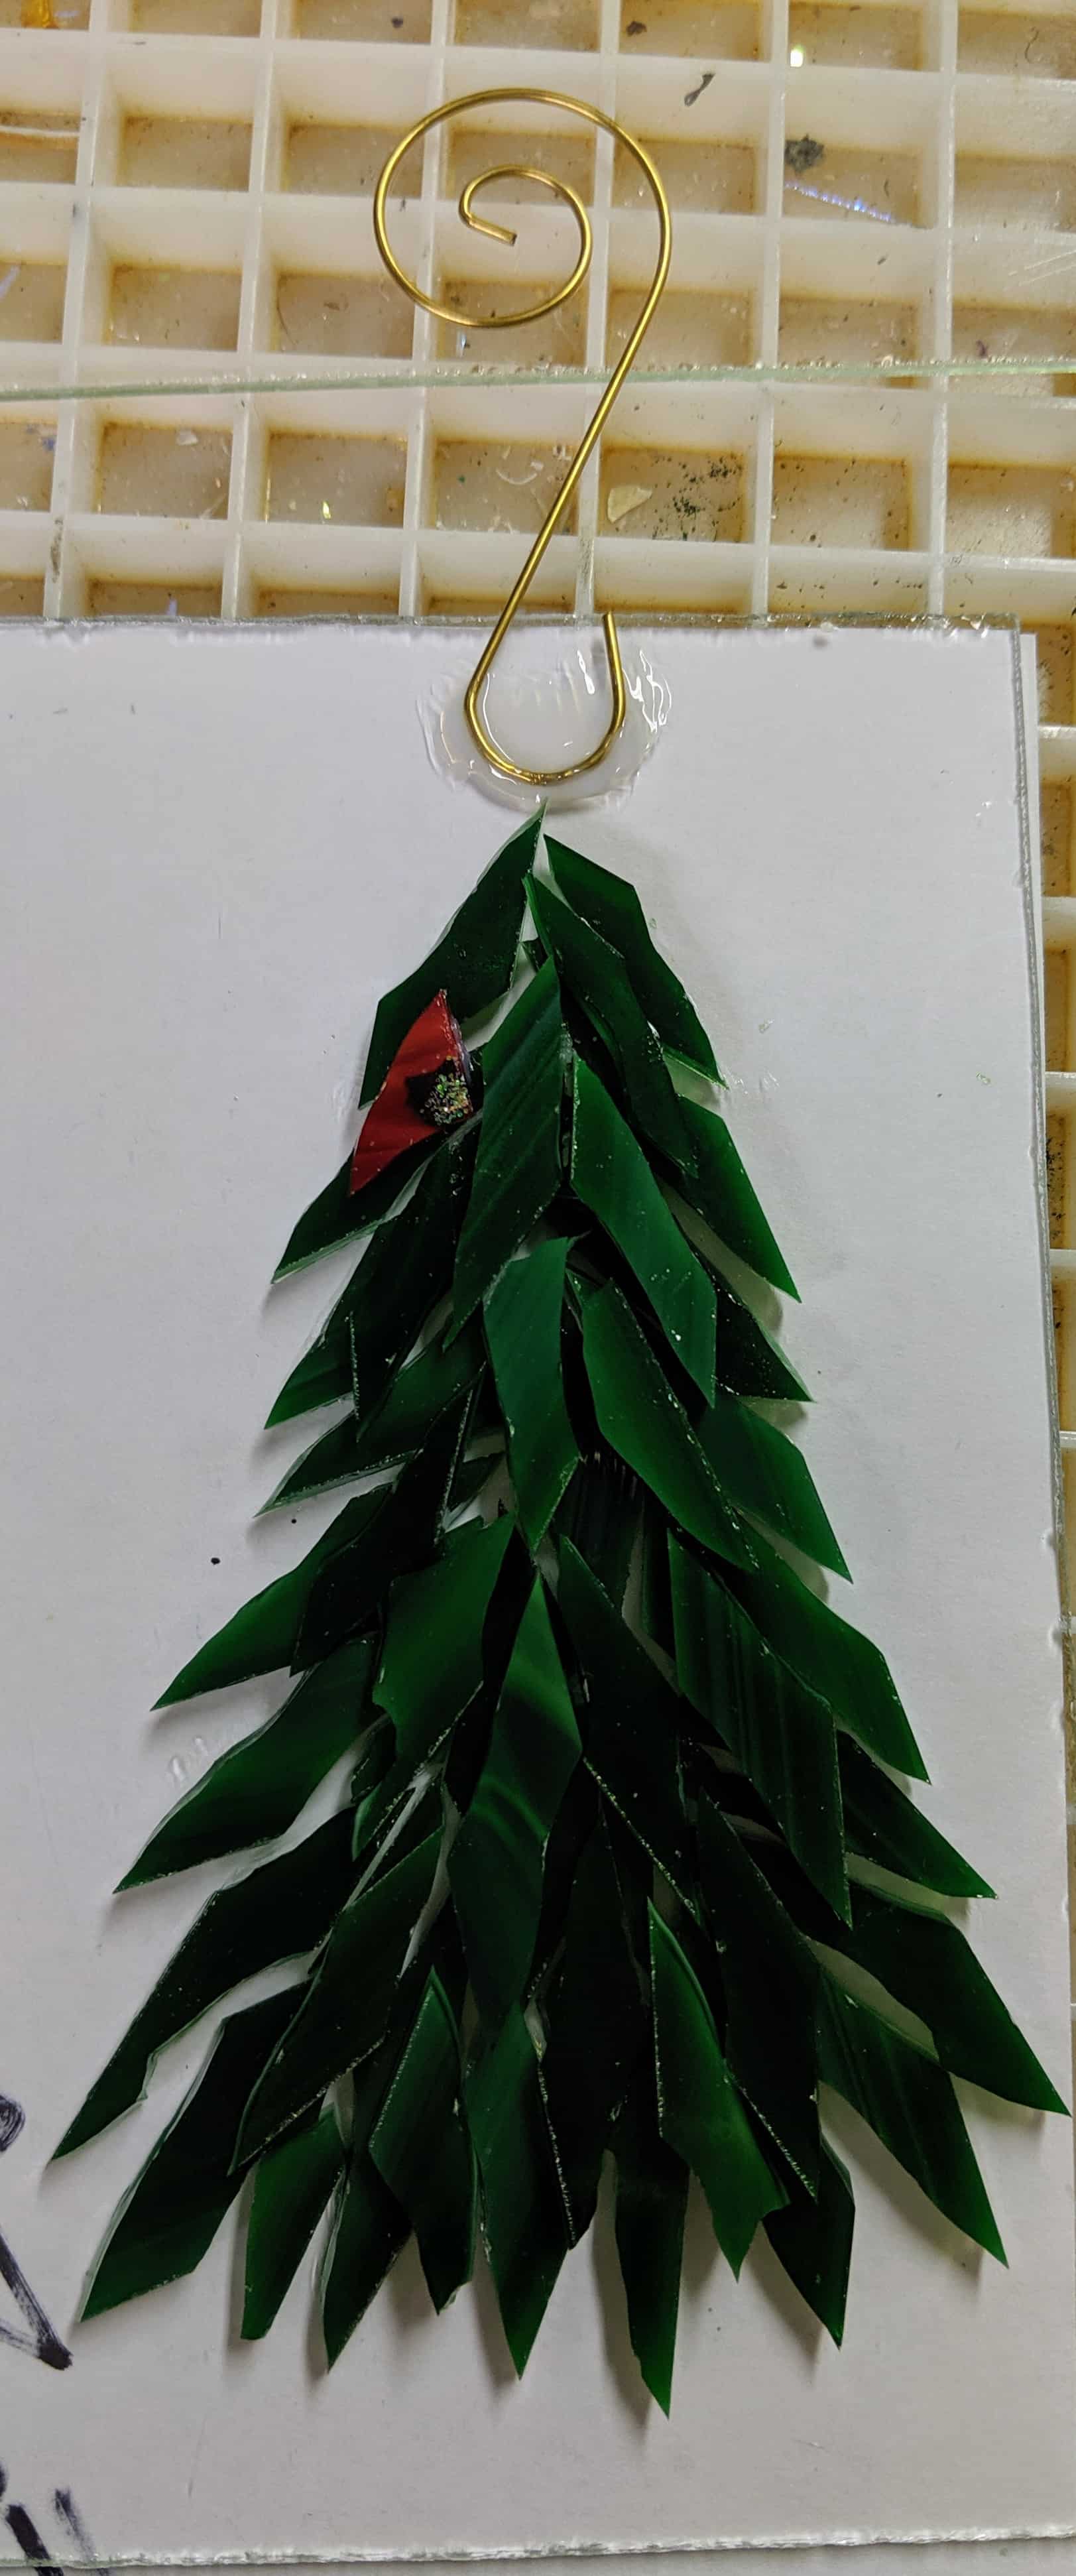
Here are a couple of snapshots after the resin was poured and decorated, but not yet cured. I have been making these with the rectangular background instead of the free shaped tree ornaments because the tree branches are pretty sharp. The rectangle keeps you from having to hold the pointy part of the tree glass. The one ornament with the blue background is an experiment – I’m trying to see if putting painters tape on the back is helpful in keeping the resin drips off the back. All of the others I have to keep wiping down the underside to keep drips from forming, and this is a very time consuming, sticky undertaking. I tried the tape once before and didn’t have much luck, but I thought I’d try again.

Two to three days’ worth of ornaments.

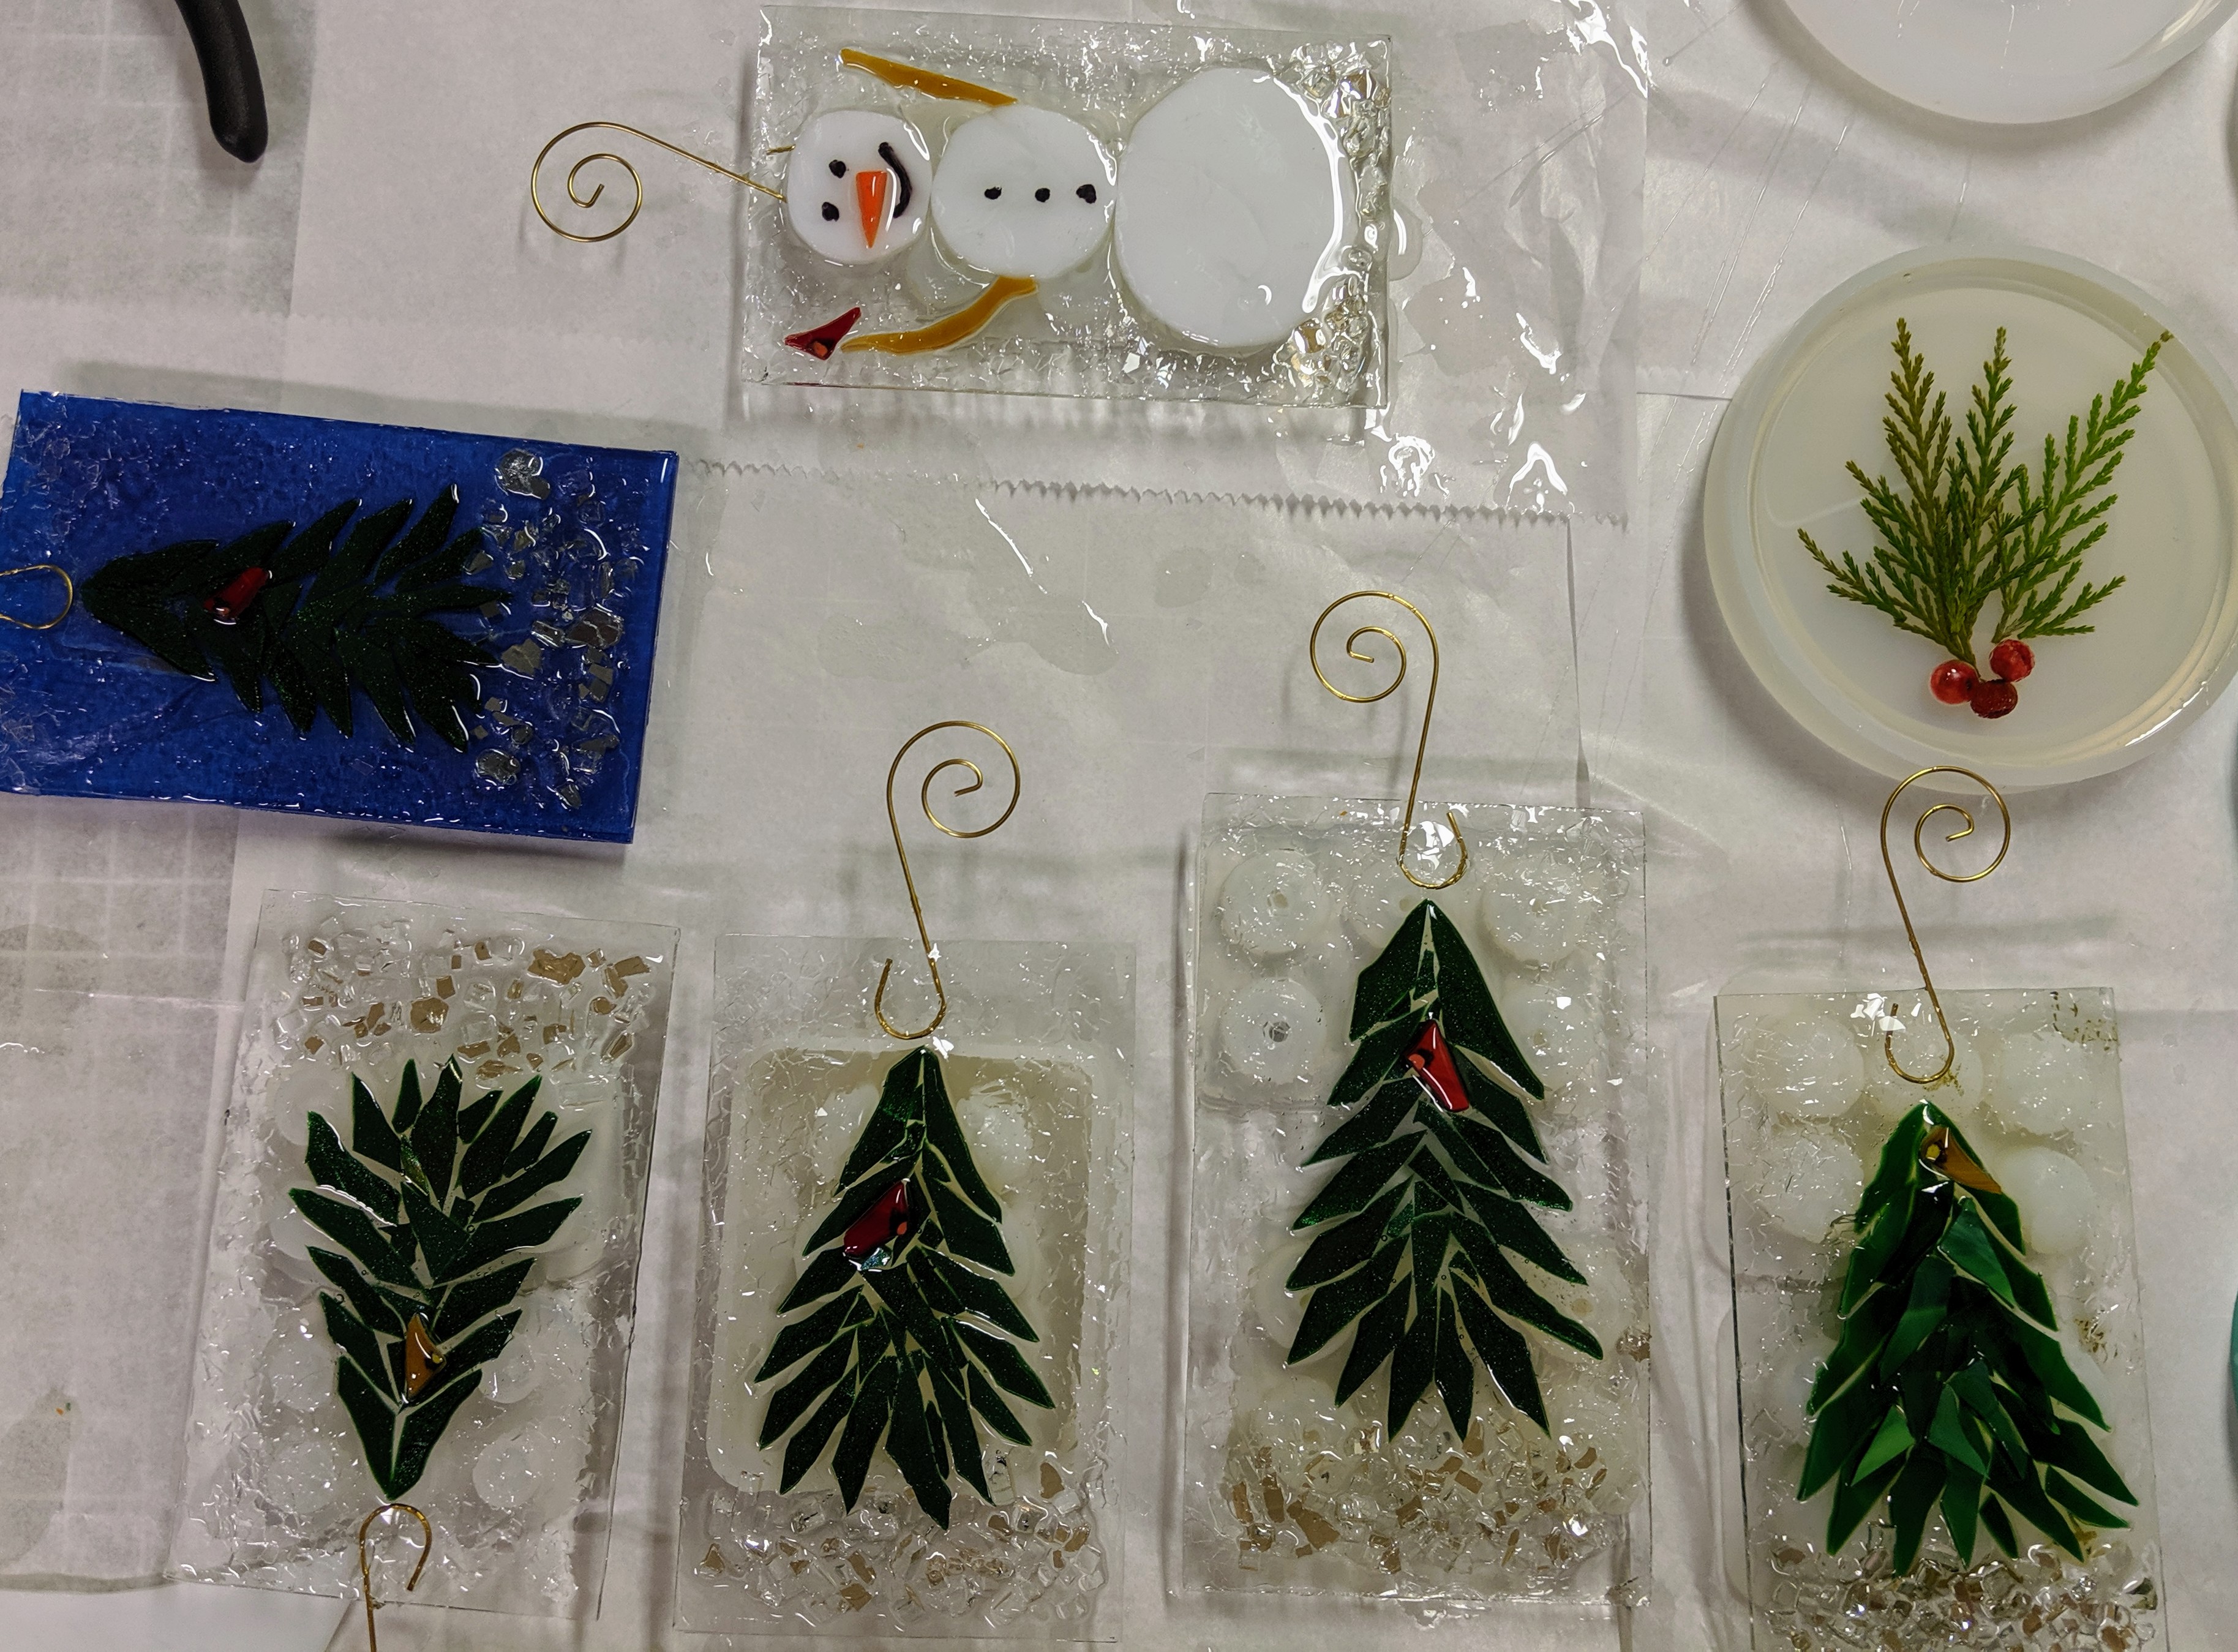
I also decided to make a couple of snowmen ornaments. I really love the trees, but variety is the spice of life, right?

Glass snowman ornaments.

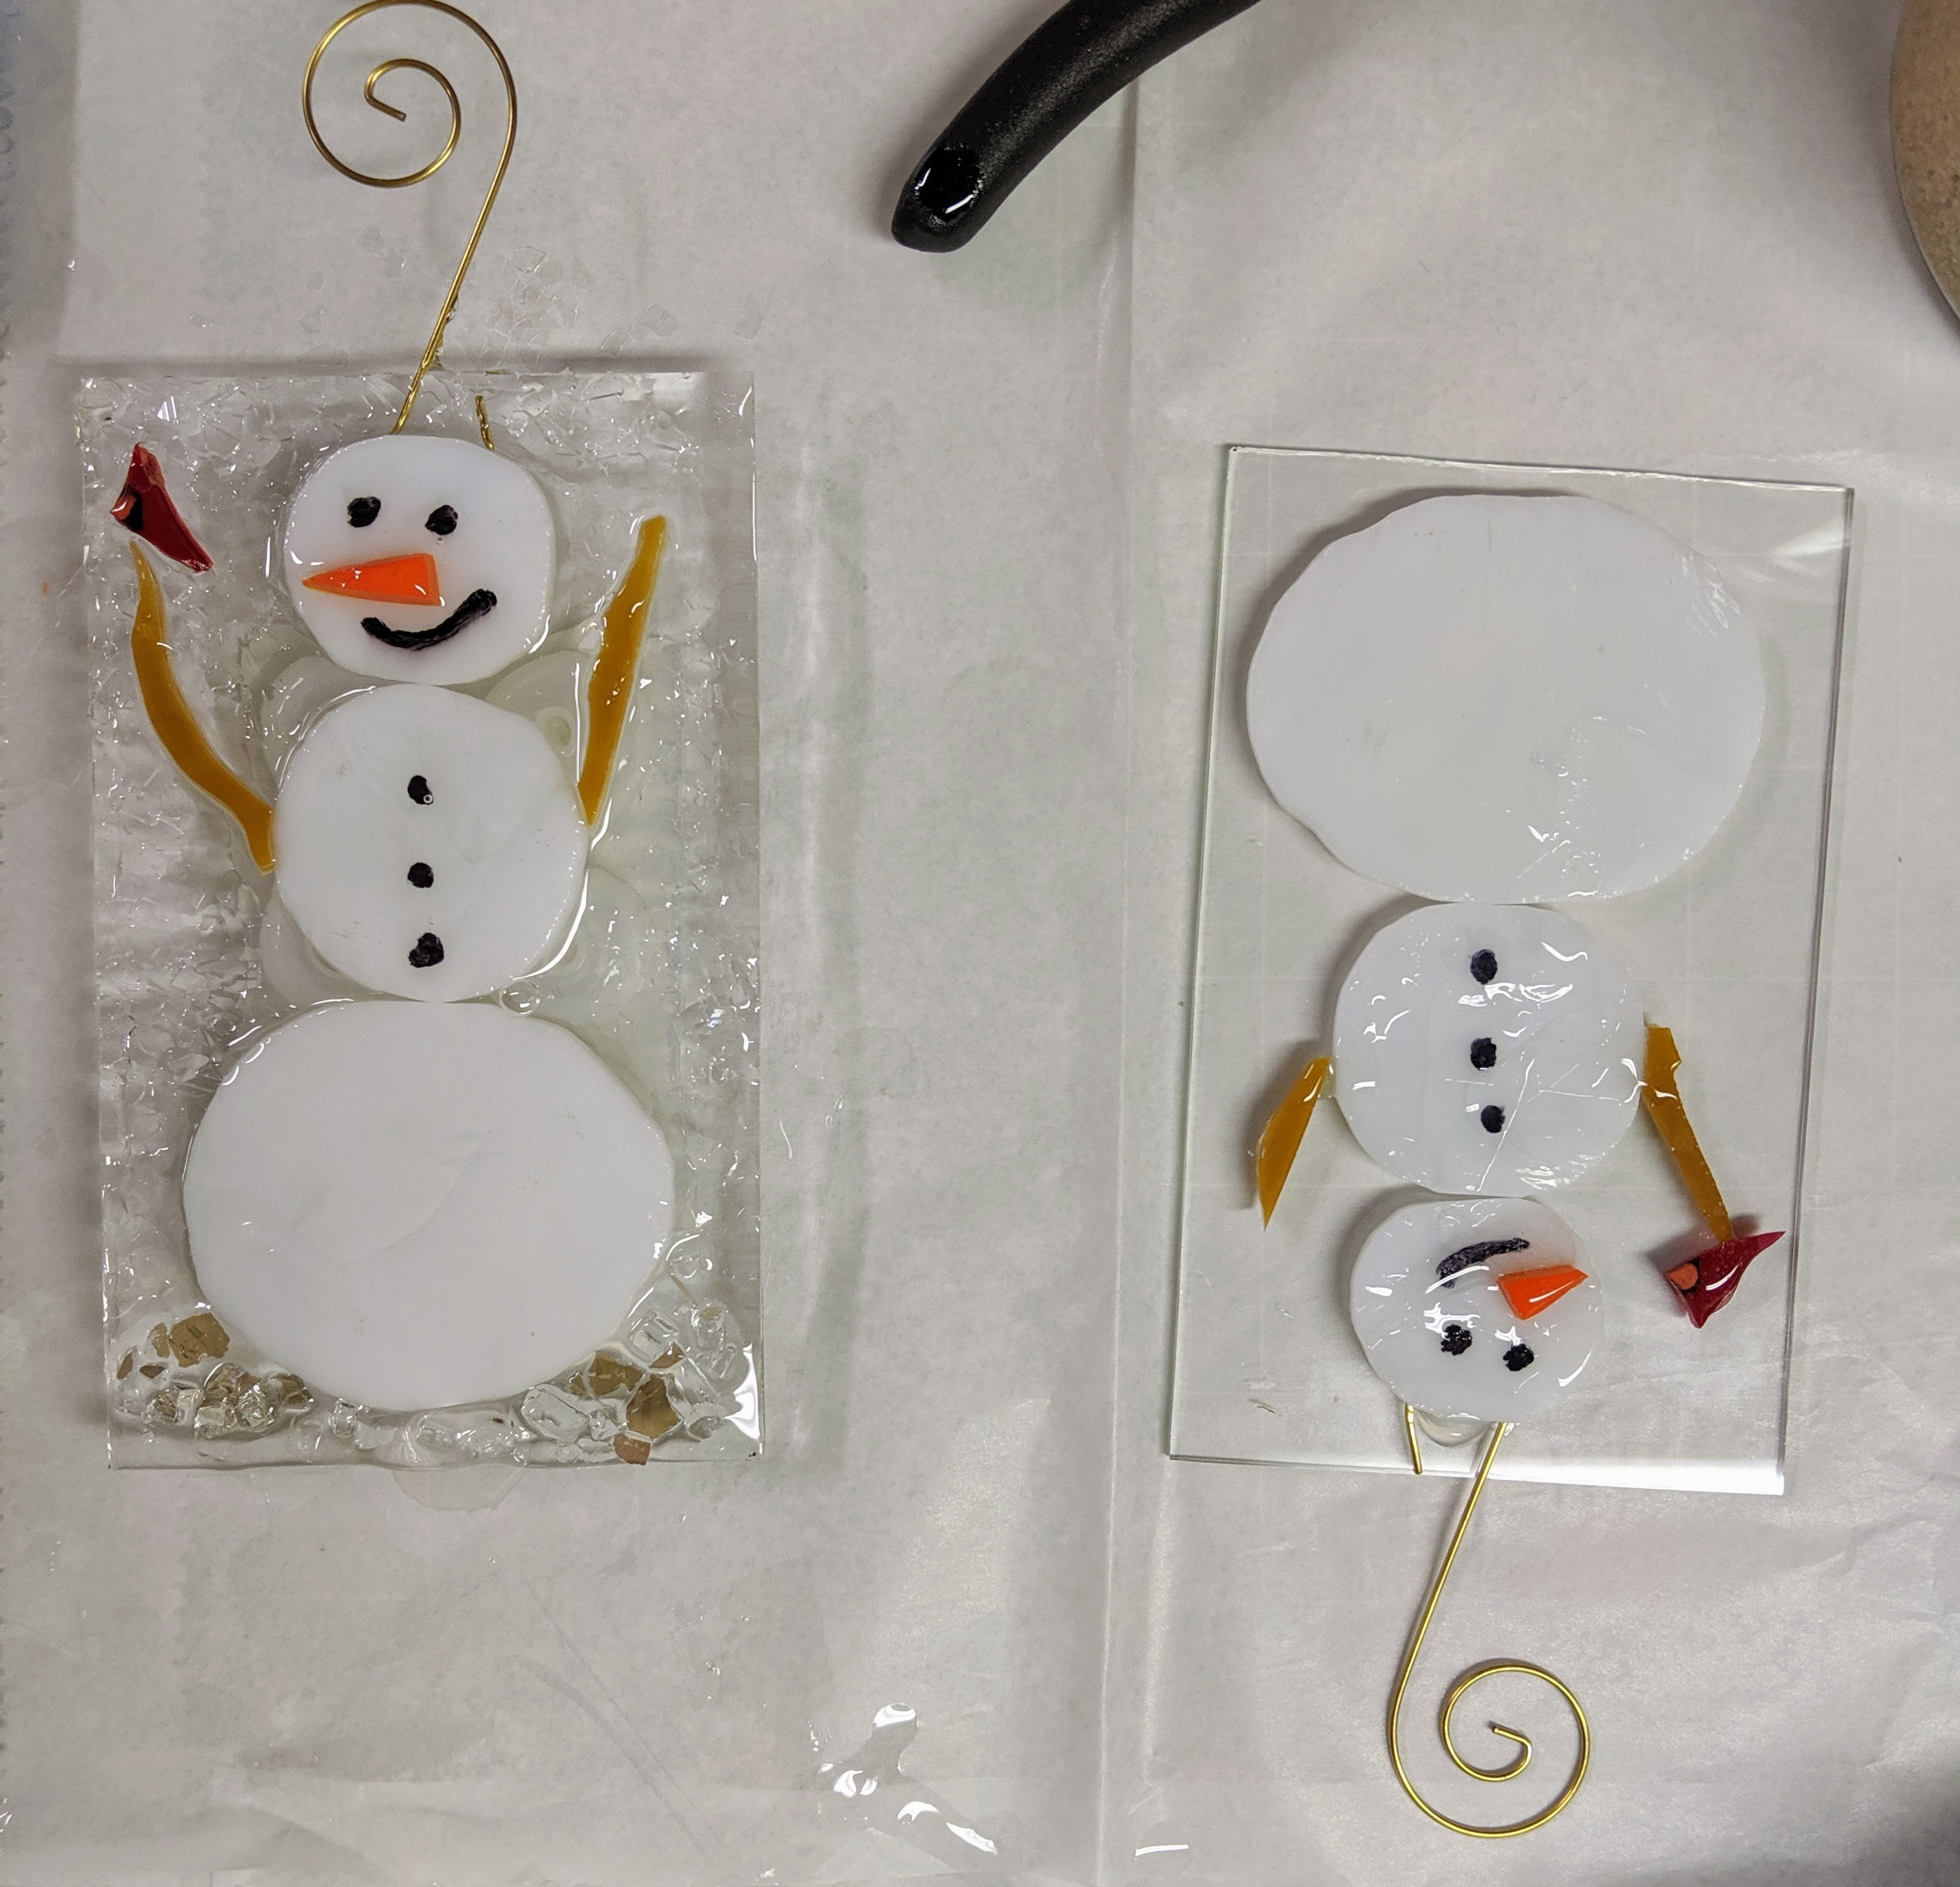
The one on the left has its resin coating and glass chip decorations. The one on the right has to wait another day for its resin, as the glue that holds the hook in place is still drying.

Evergreen trees

I just started a dichroic window project, but yesterday my eldest child suggested that I make some evergreen trees, so I set that aside for a few days. I decided to start with just a small suncatcher and then see if I could expand it a bit in future projects. First I looked at some photos of trees online to decide what “look” I liked, then I grabbed a Sharpie marker and made a rough sketch. After that, I cut some clear background glass. Then I pulled out some green glass and cut it into strips. The strips were cut with mosaic nippers into pieces that would become the branches.

A sketch and the raw materials

Now it was time to start laying out the branches. I liked the way the first layer looked, so I went ahead and glued it down using Mac glue.

The first layer

I might make some later on with just one layer, but for this tree I decided to fill in the gaps with a second layer, giving the tree more dimension. I also added a whimsical little cardinal bird to it. I have to wait for the glue to dry before I pour the resin layer, but for now, this is how it looks.

The second layer

I also added a hanger that will be held in place by the resin. I won’t use hangers if I make a larger version of this later on.

Everything glued in place

Tomorrow I can pour the resin and decorate it with some glass chips for snow and sparkle.