Second stage of ornaments

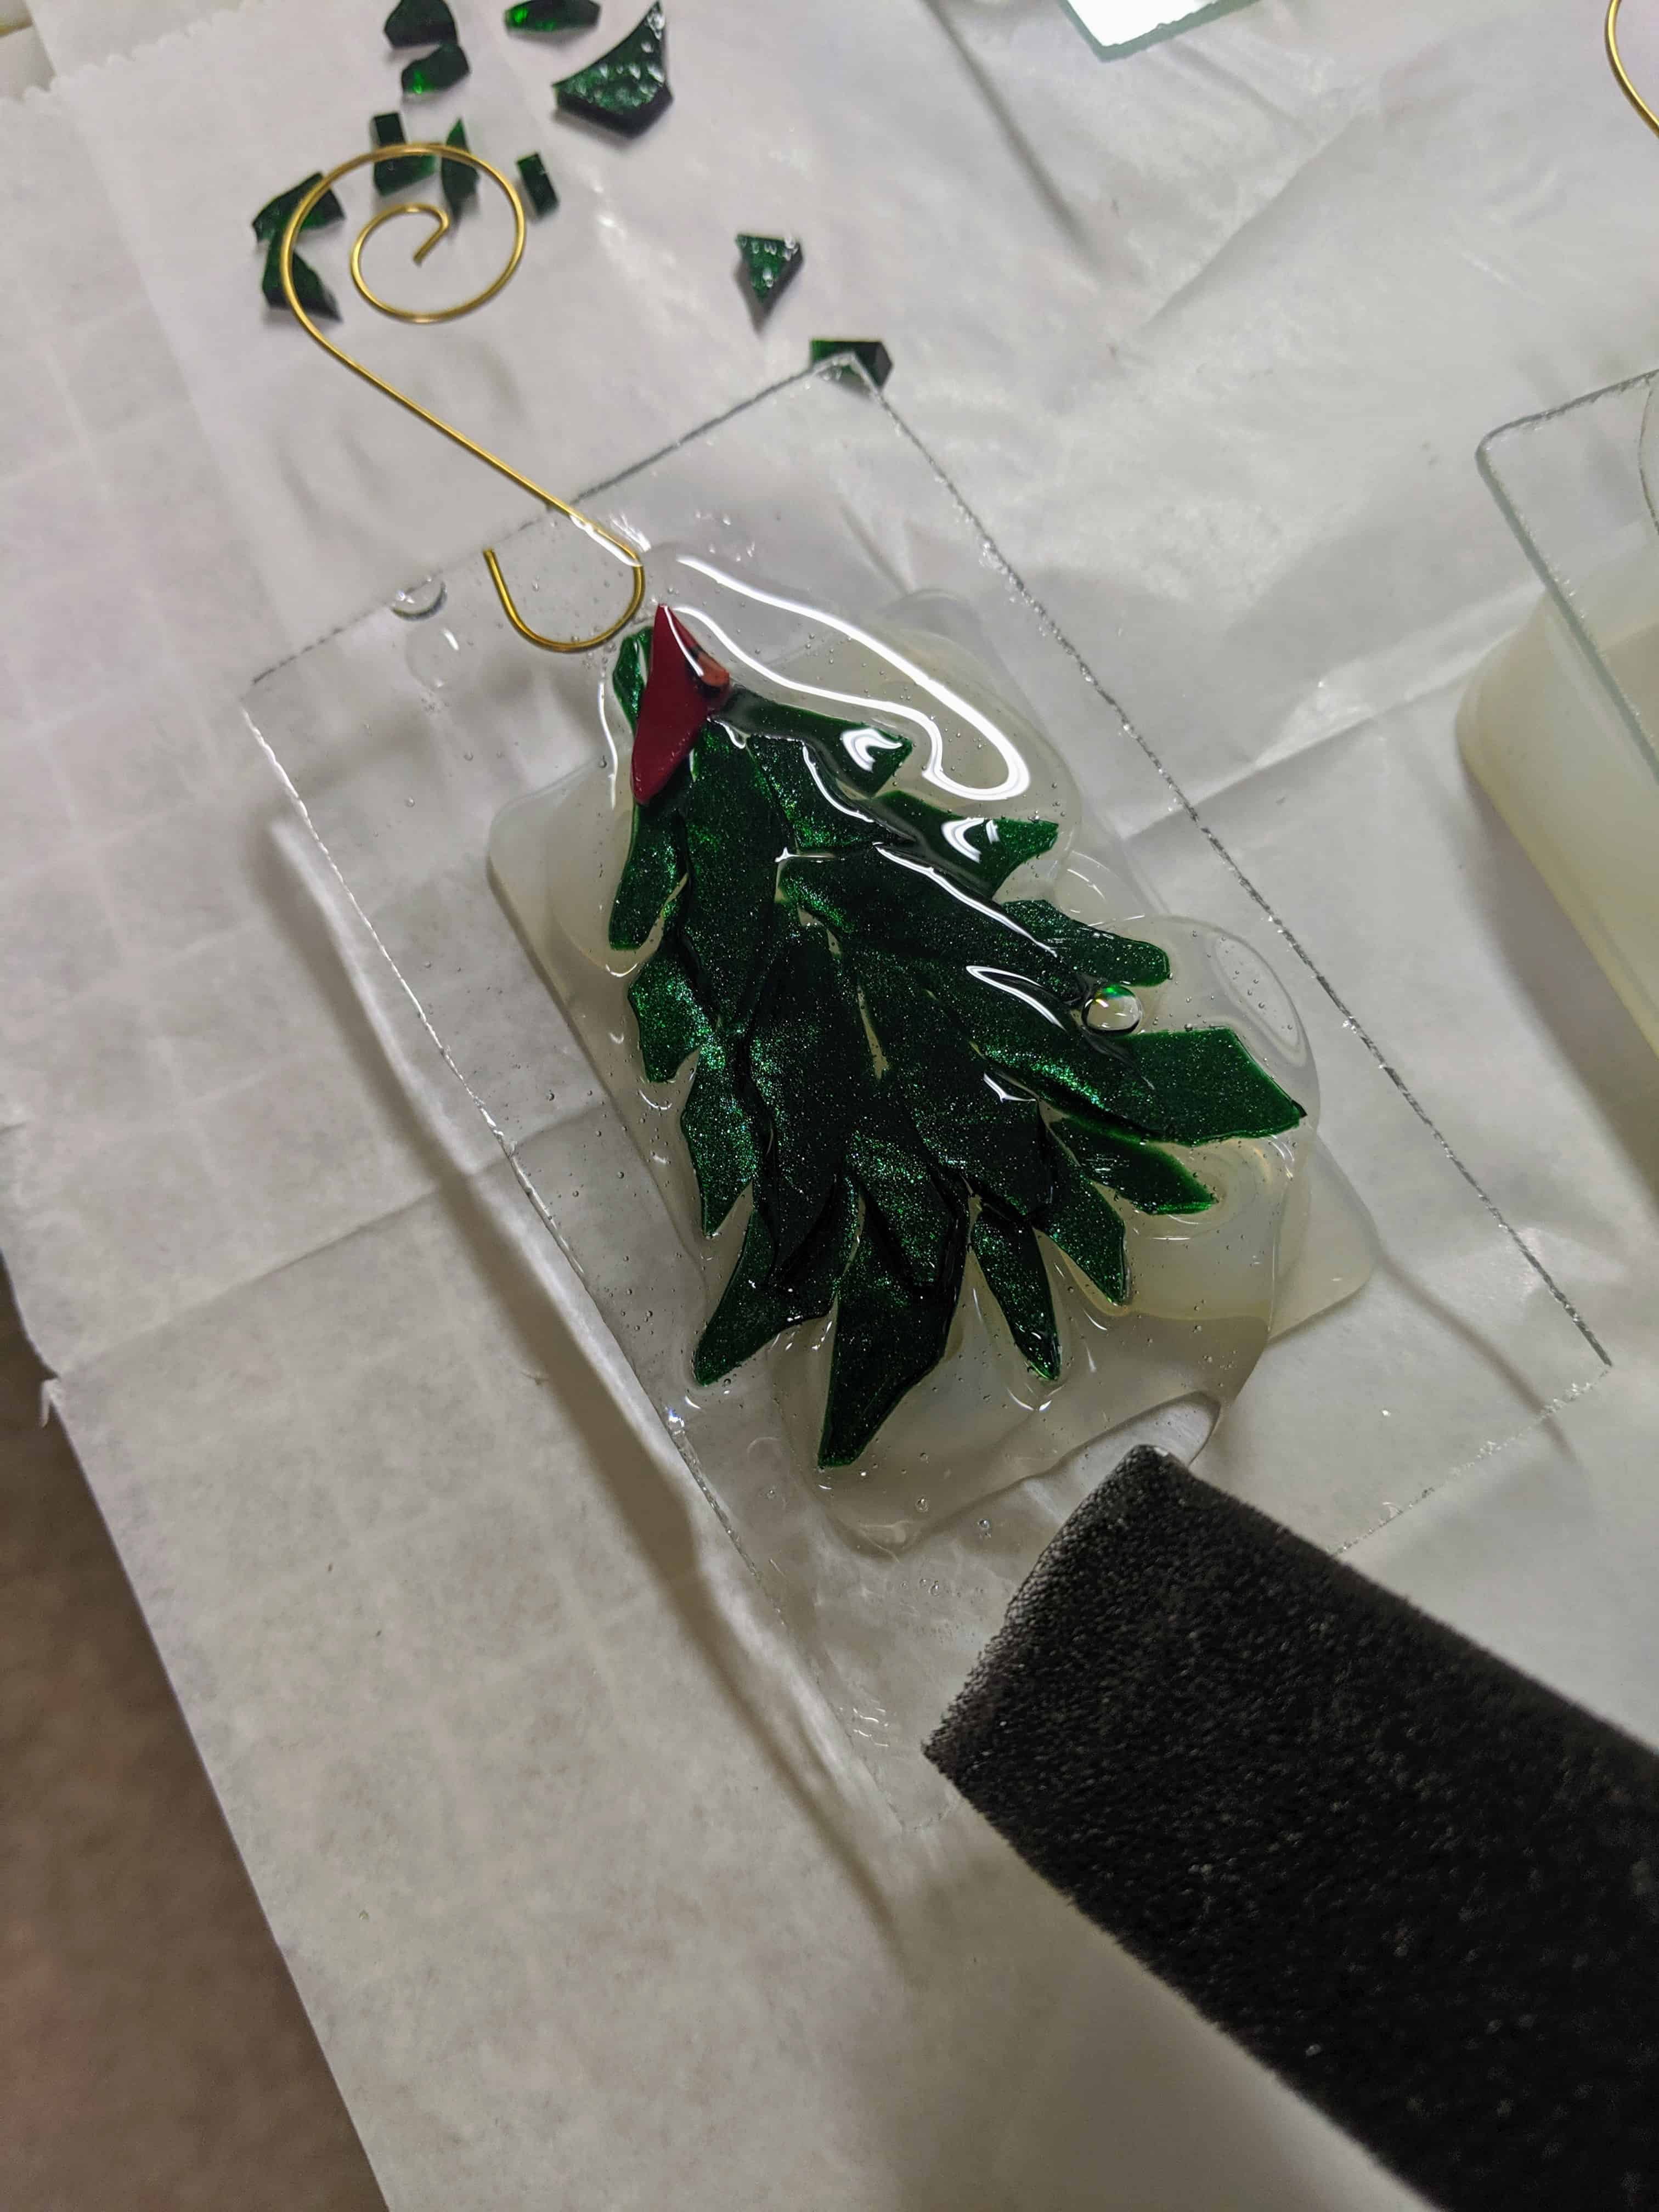
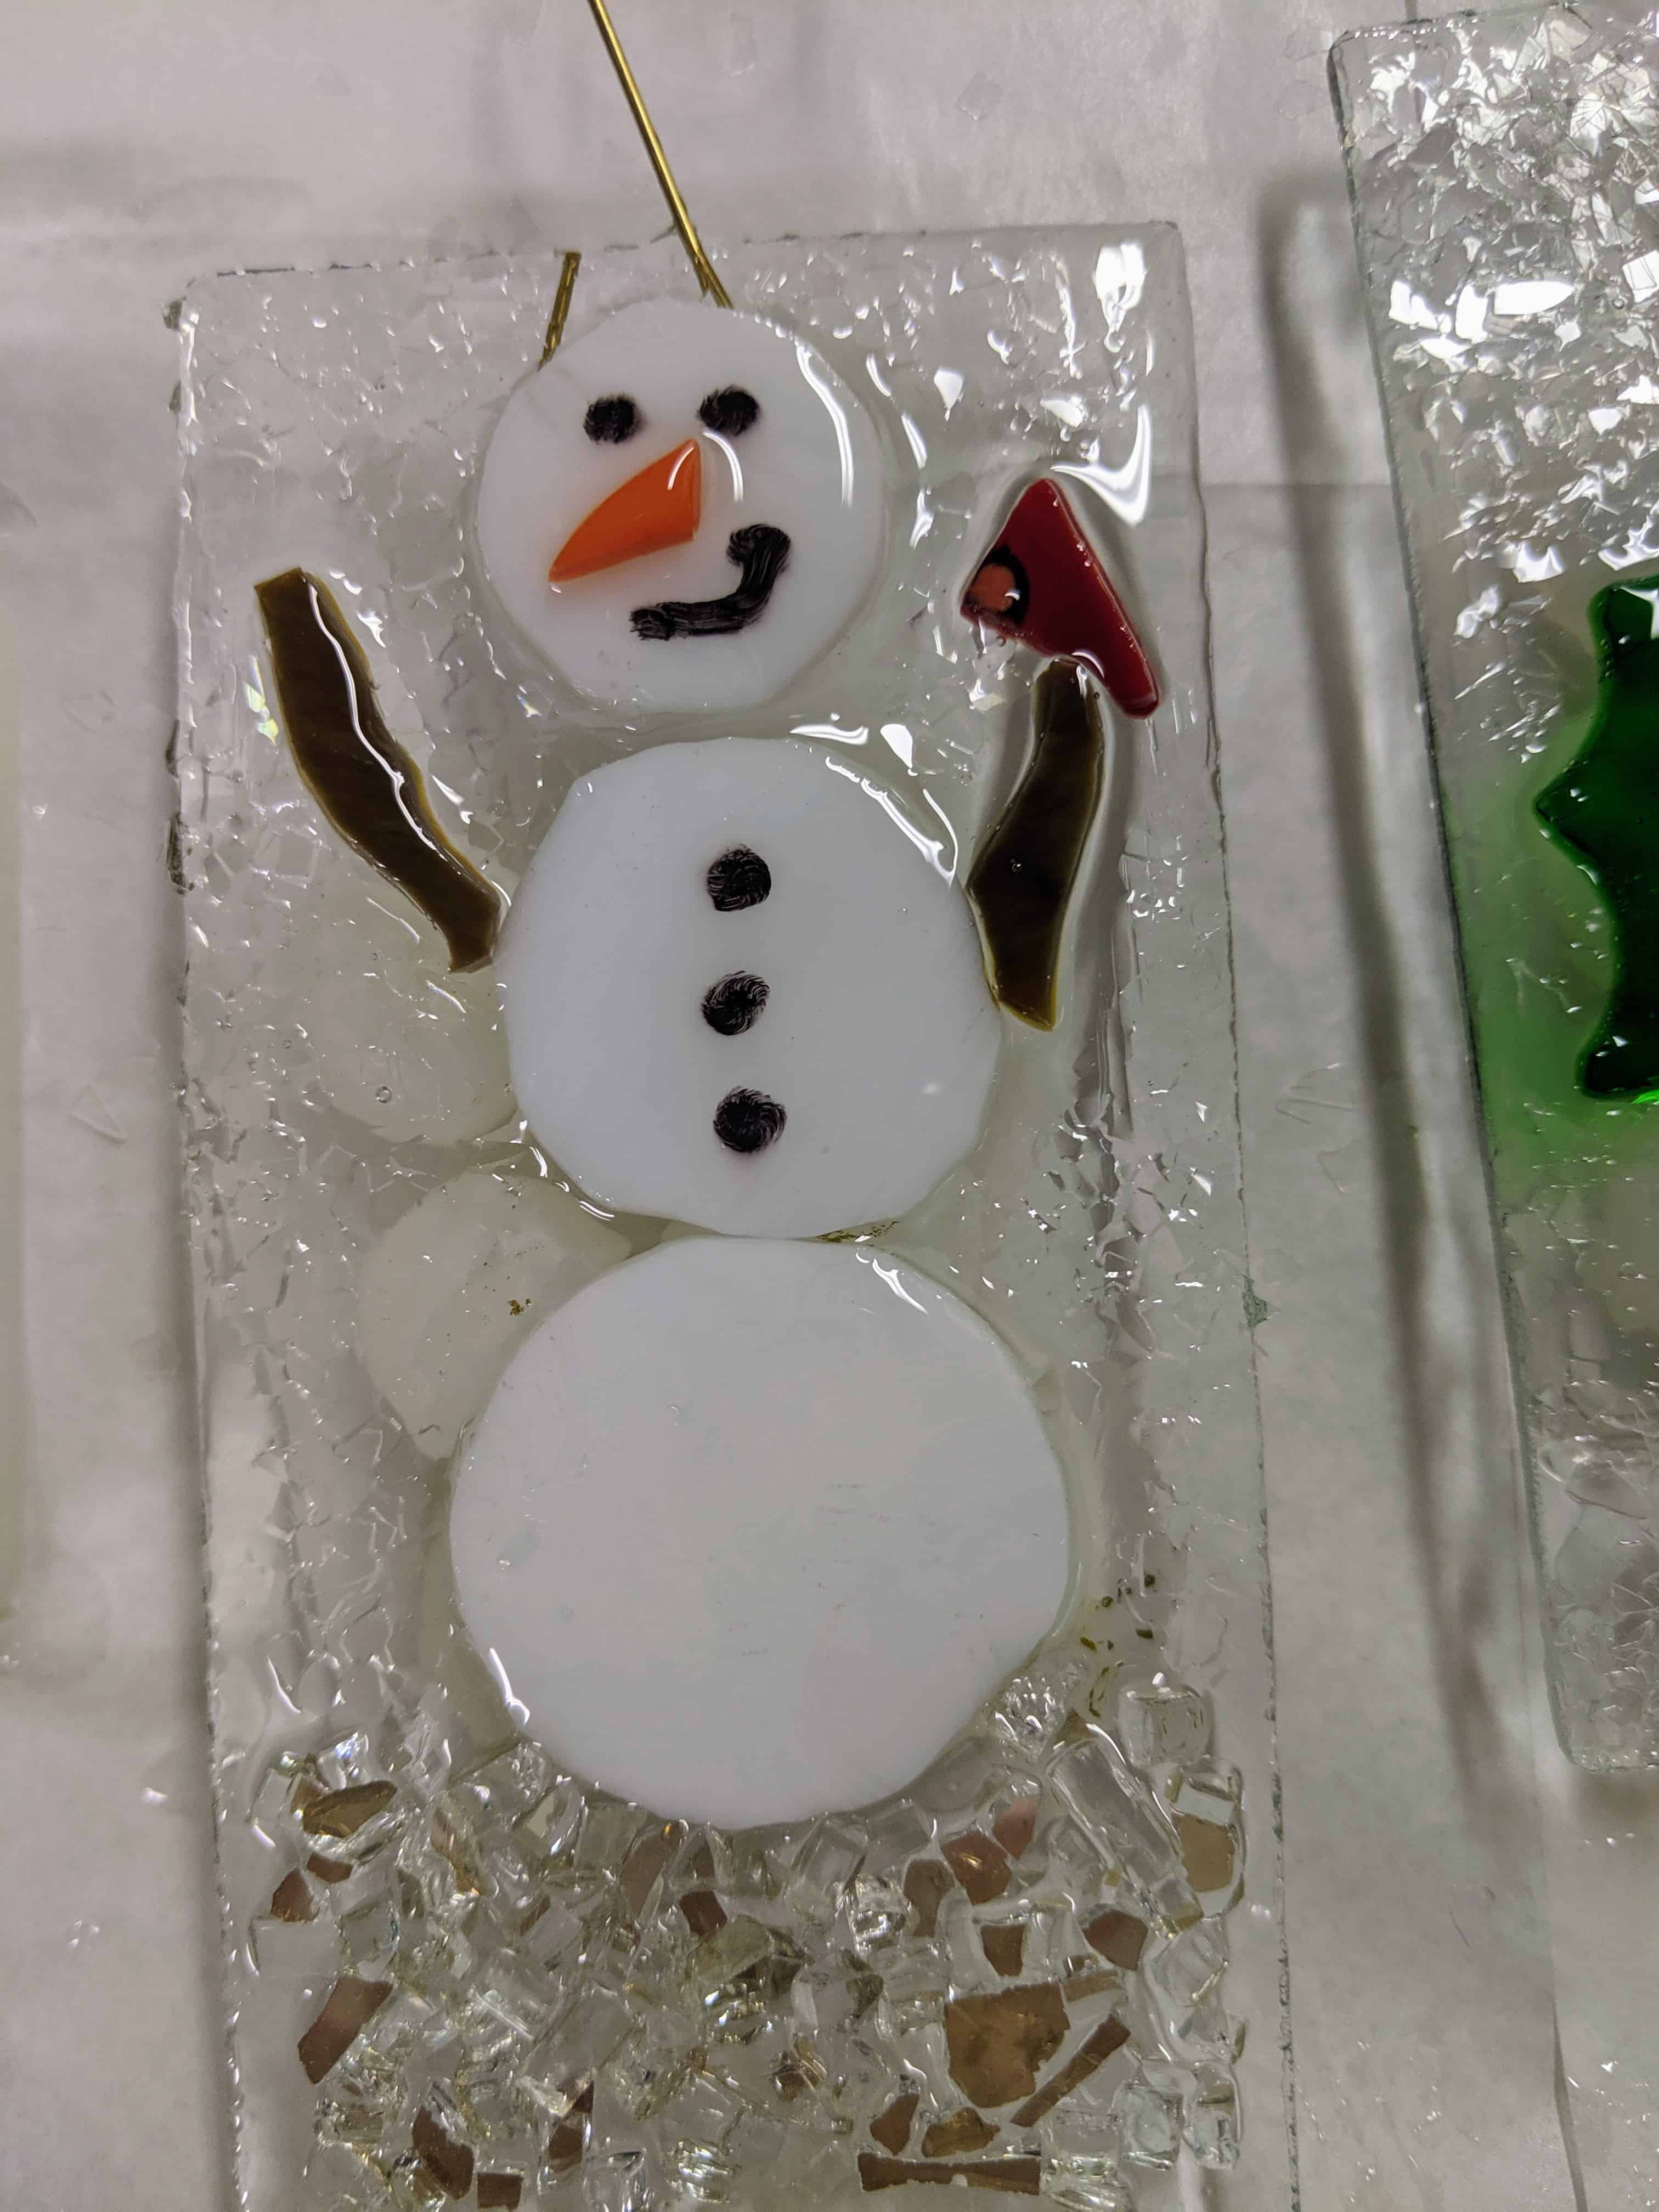
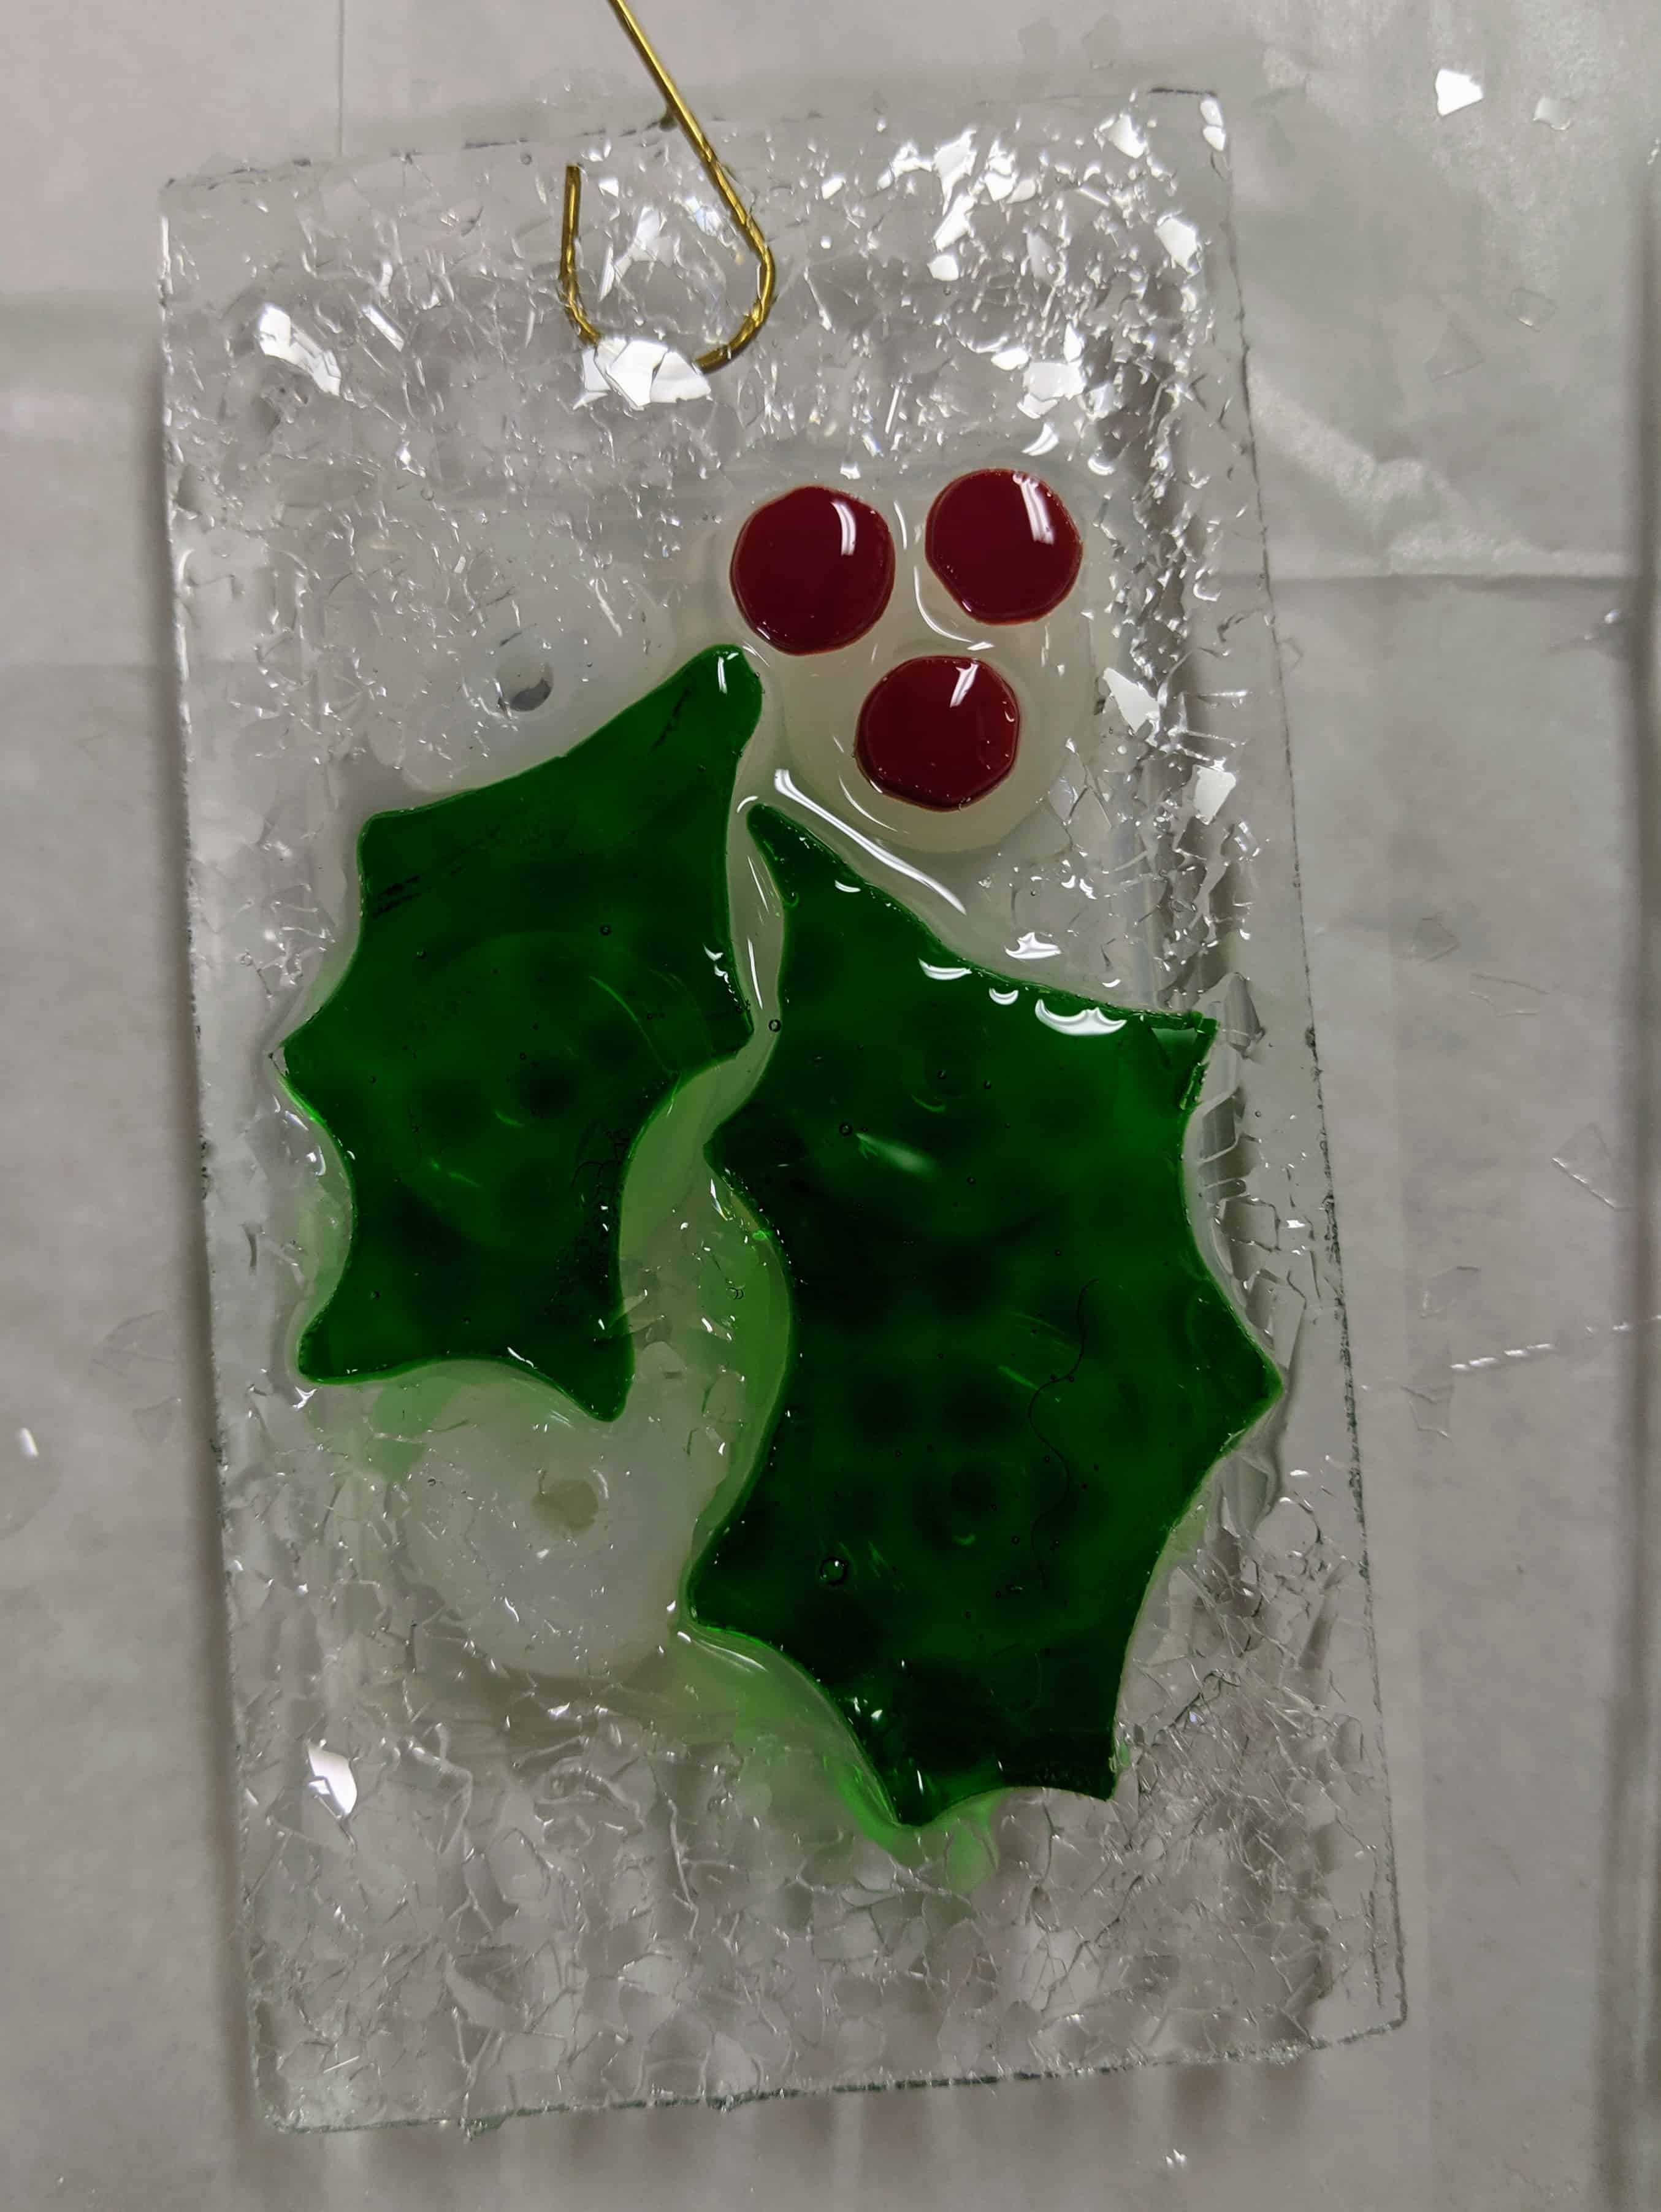
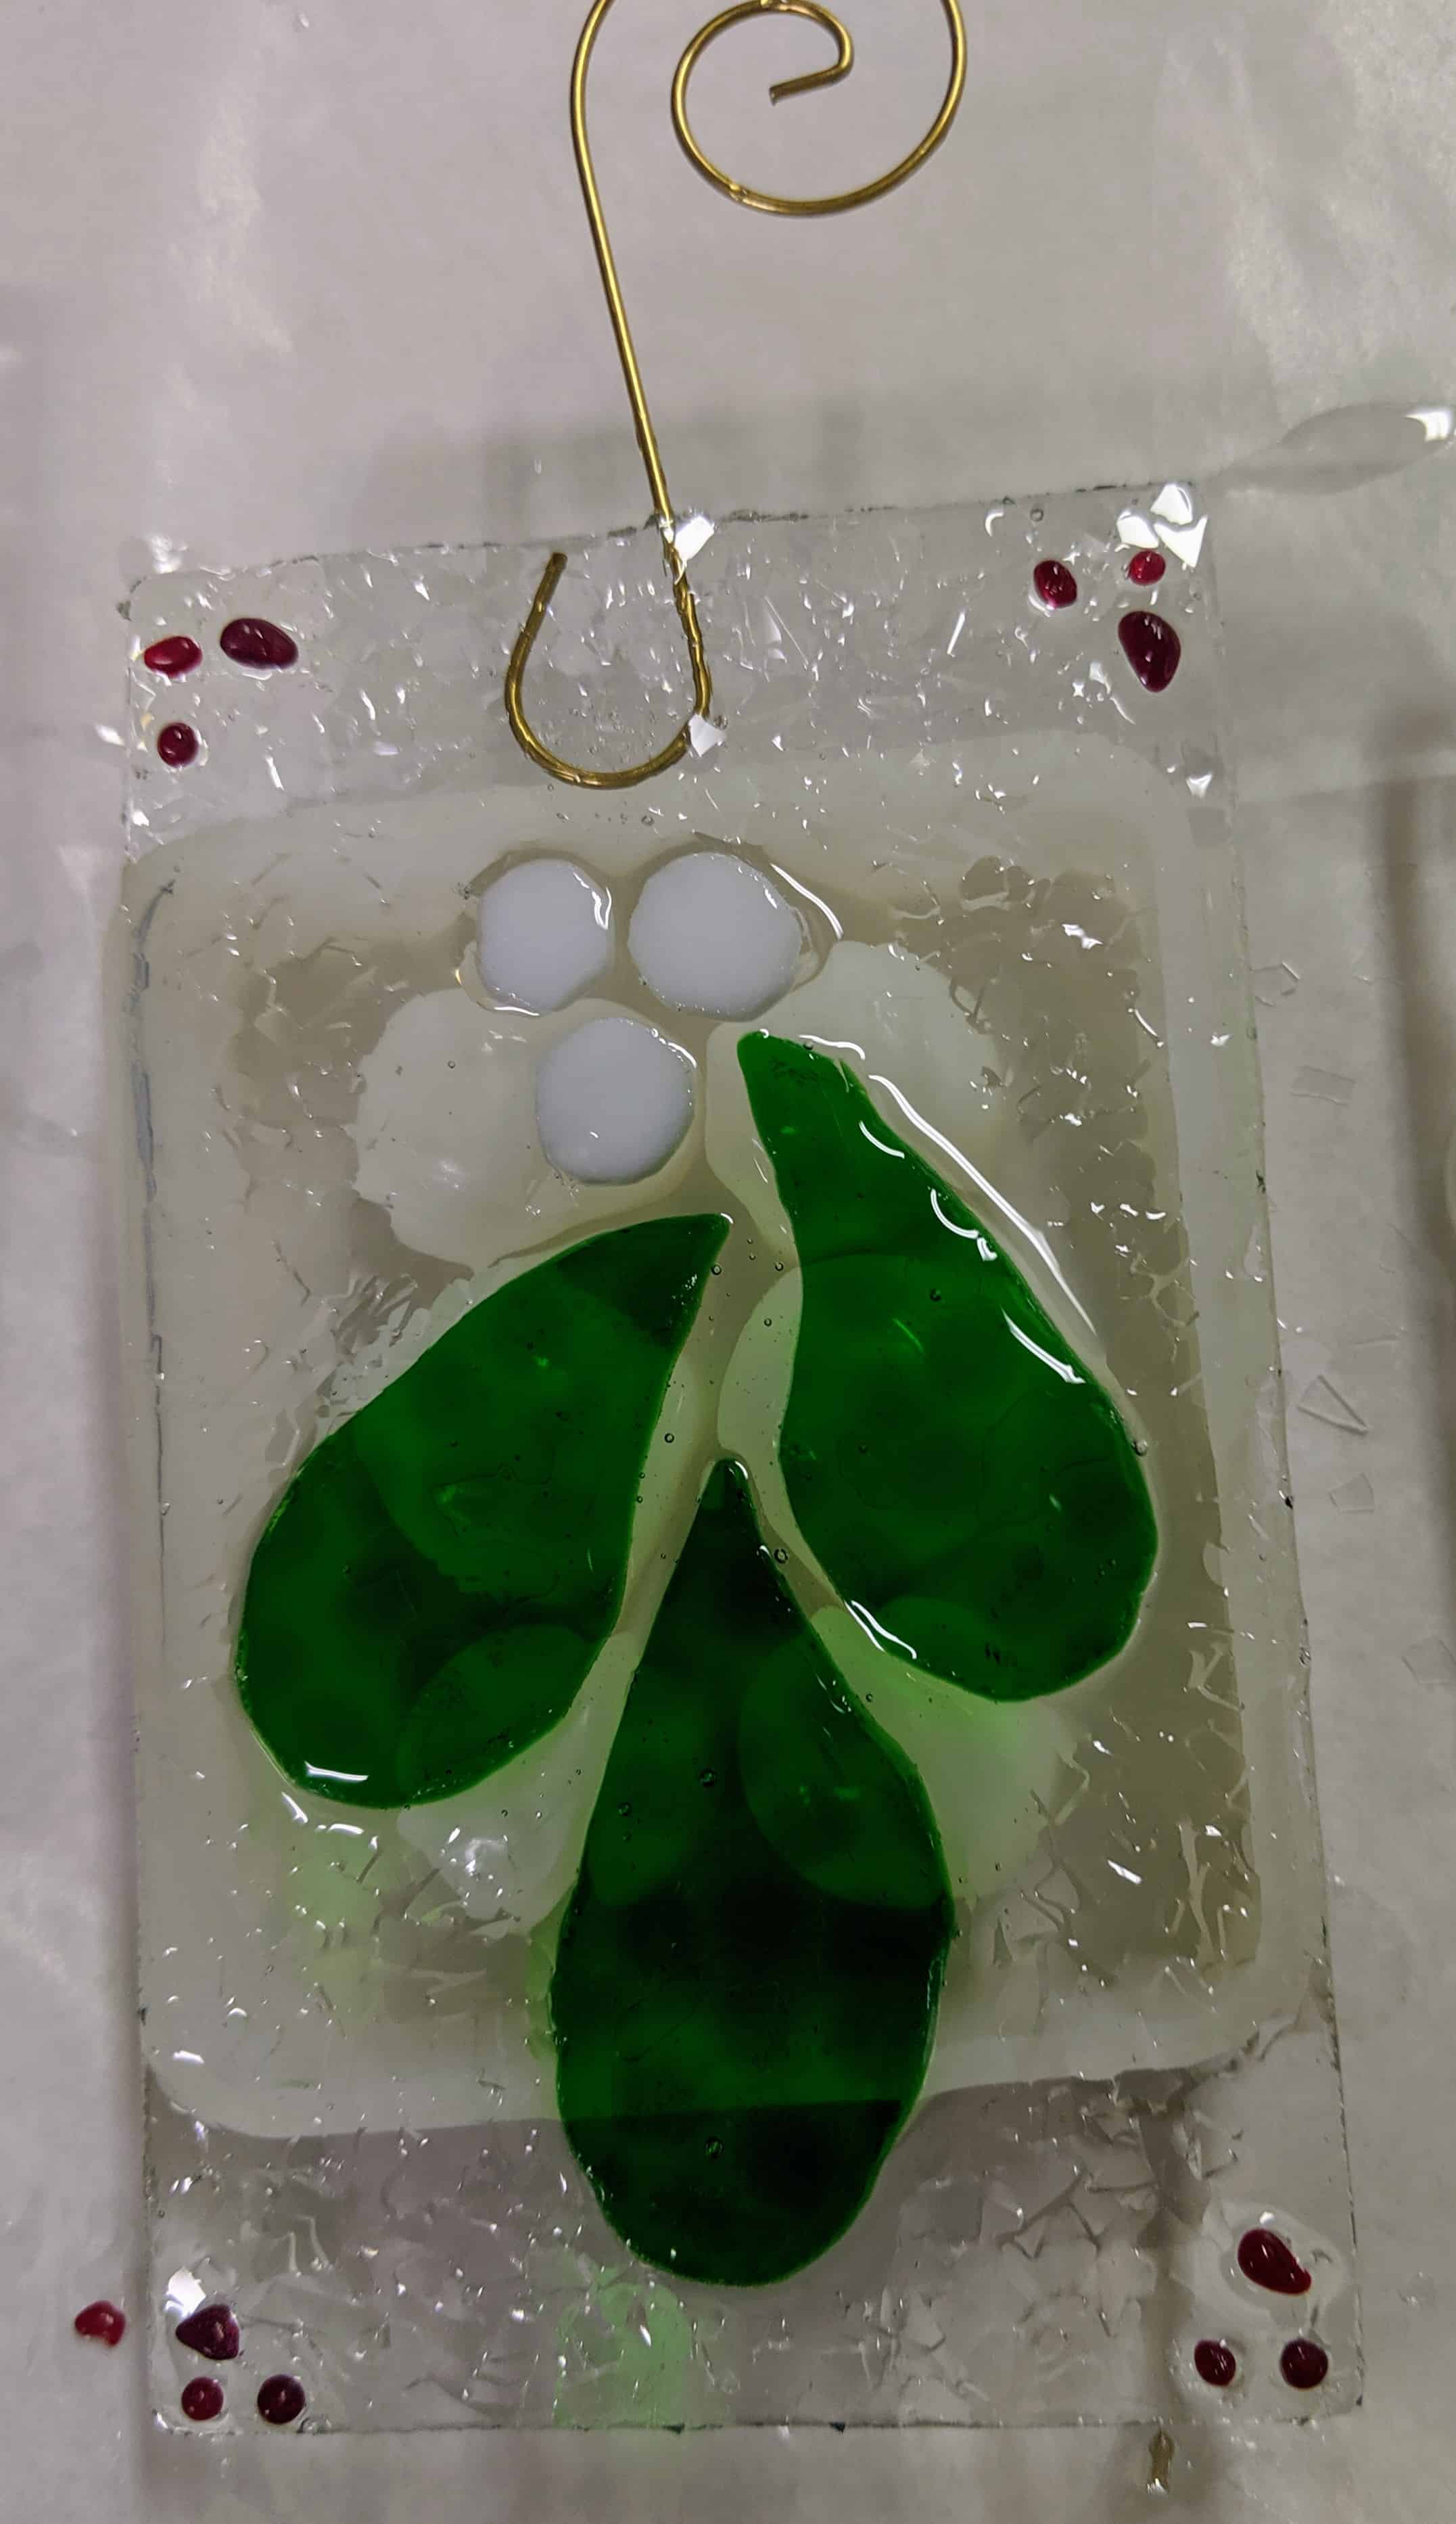
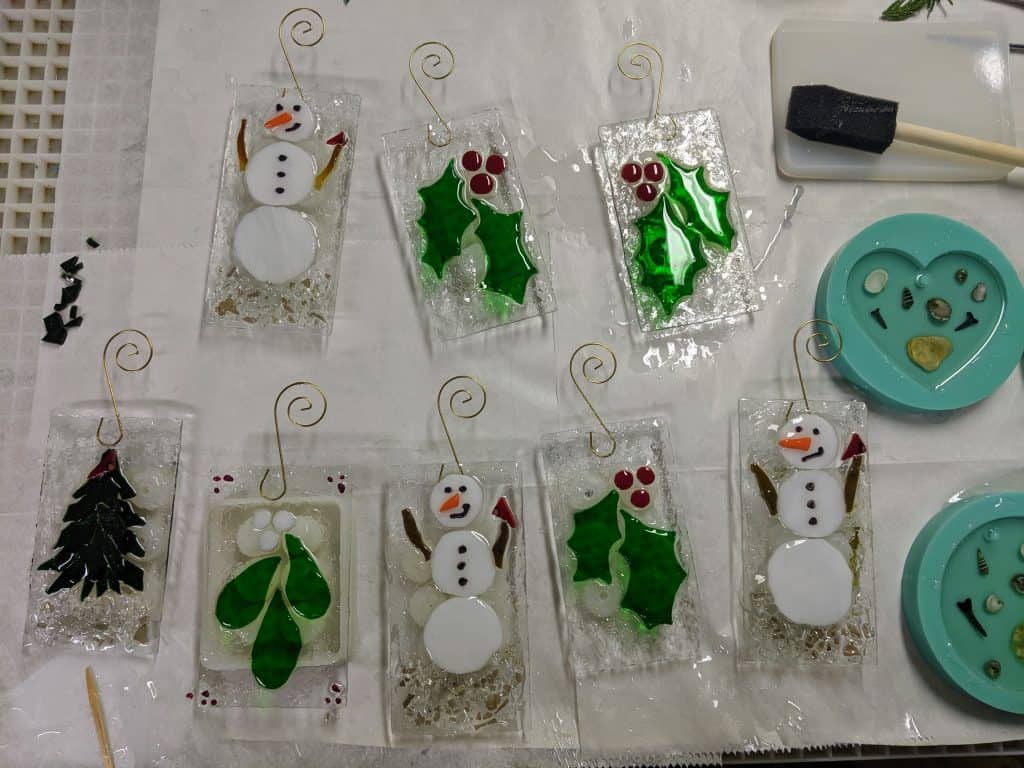
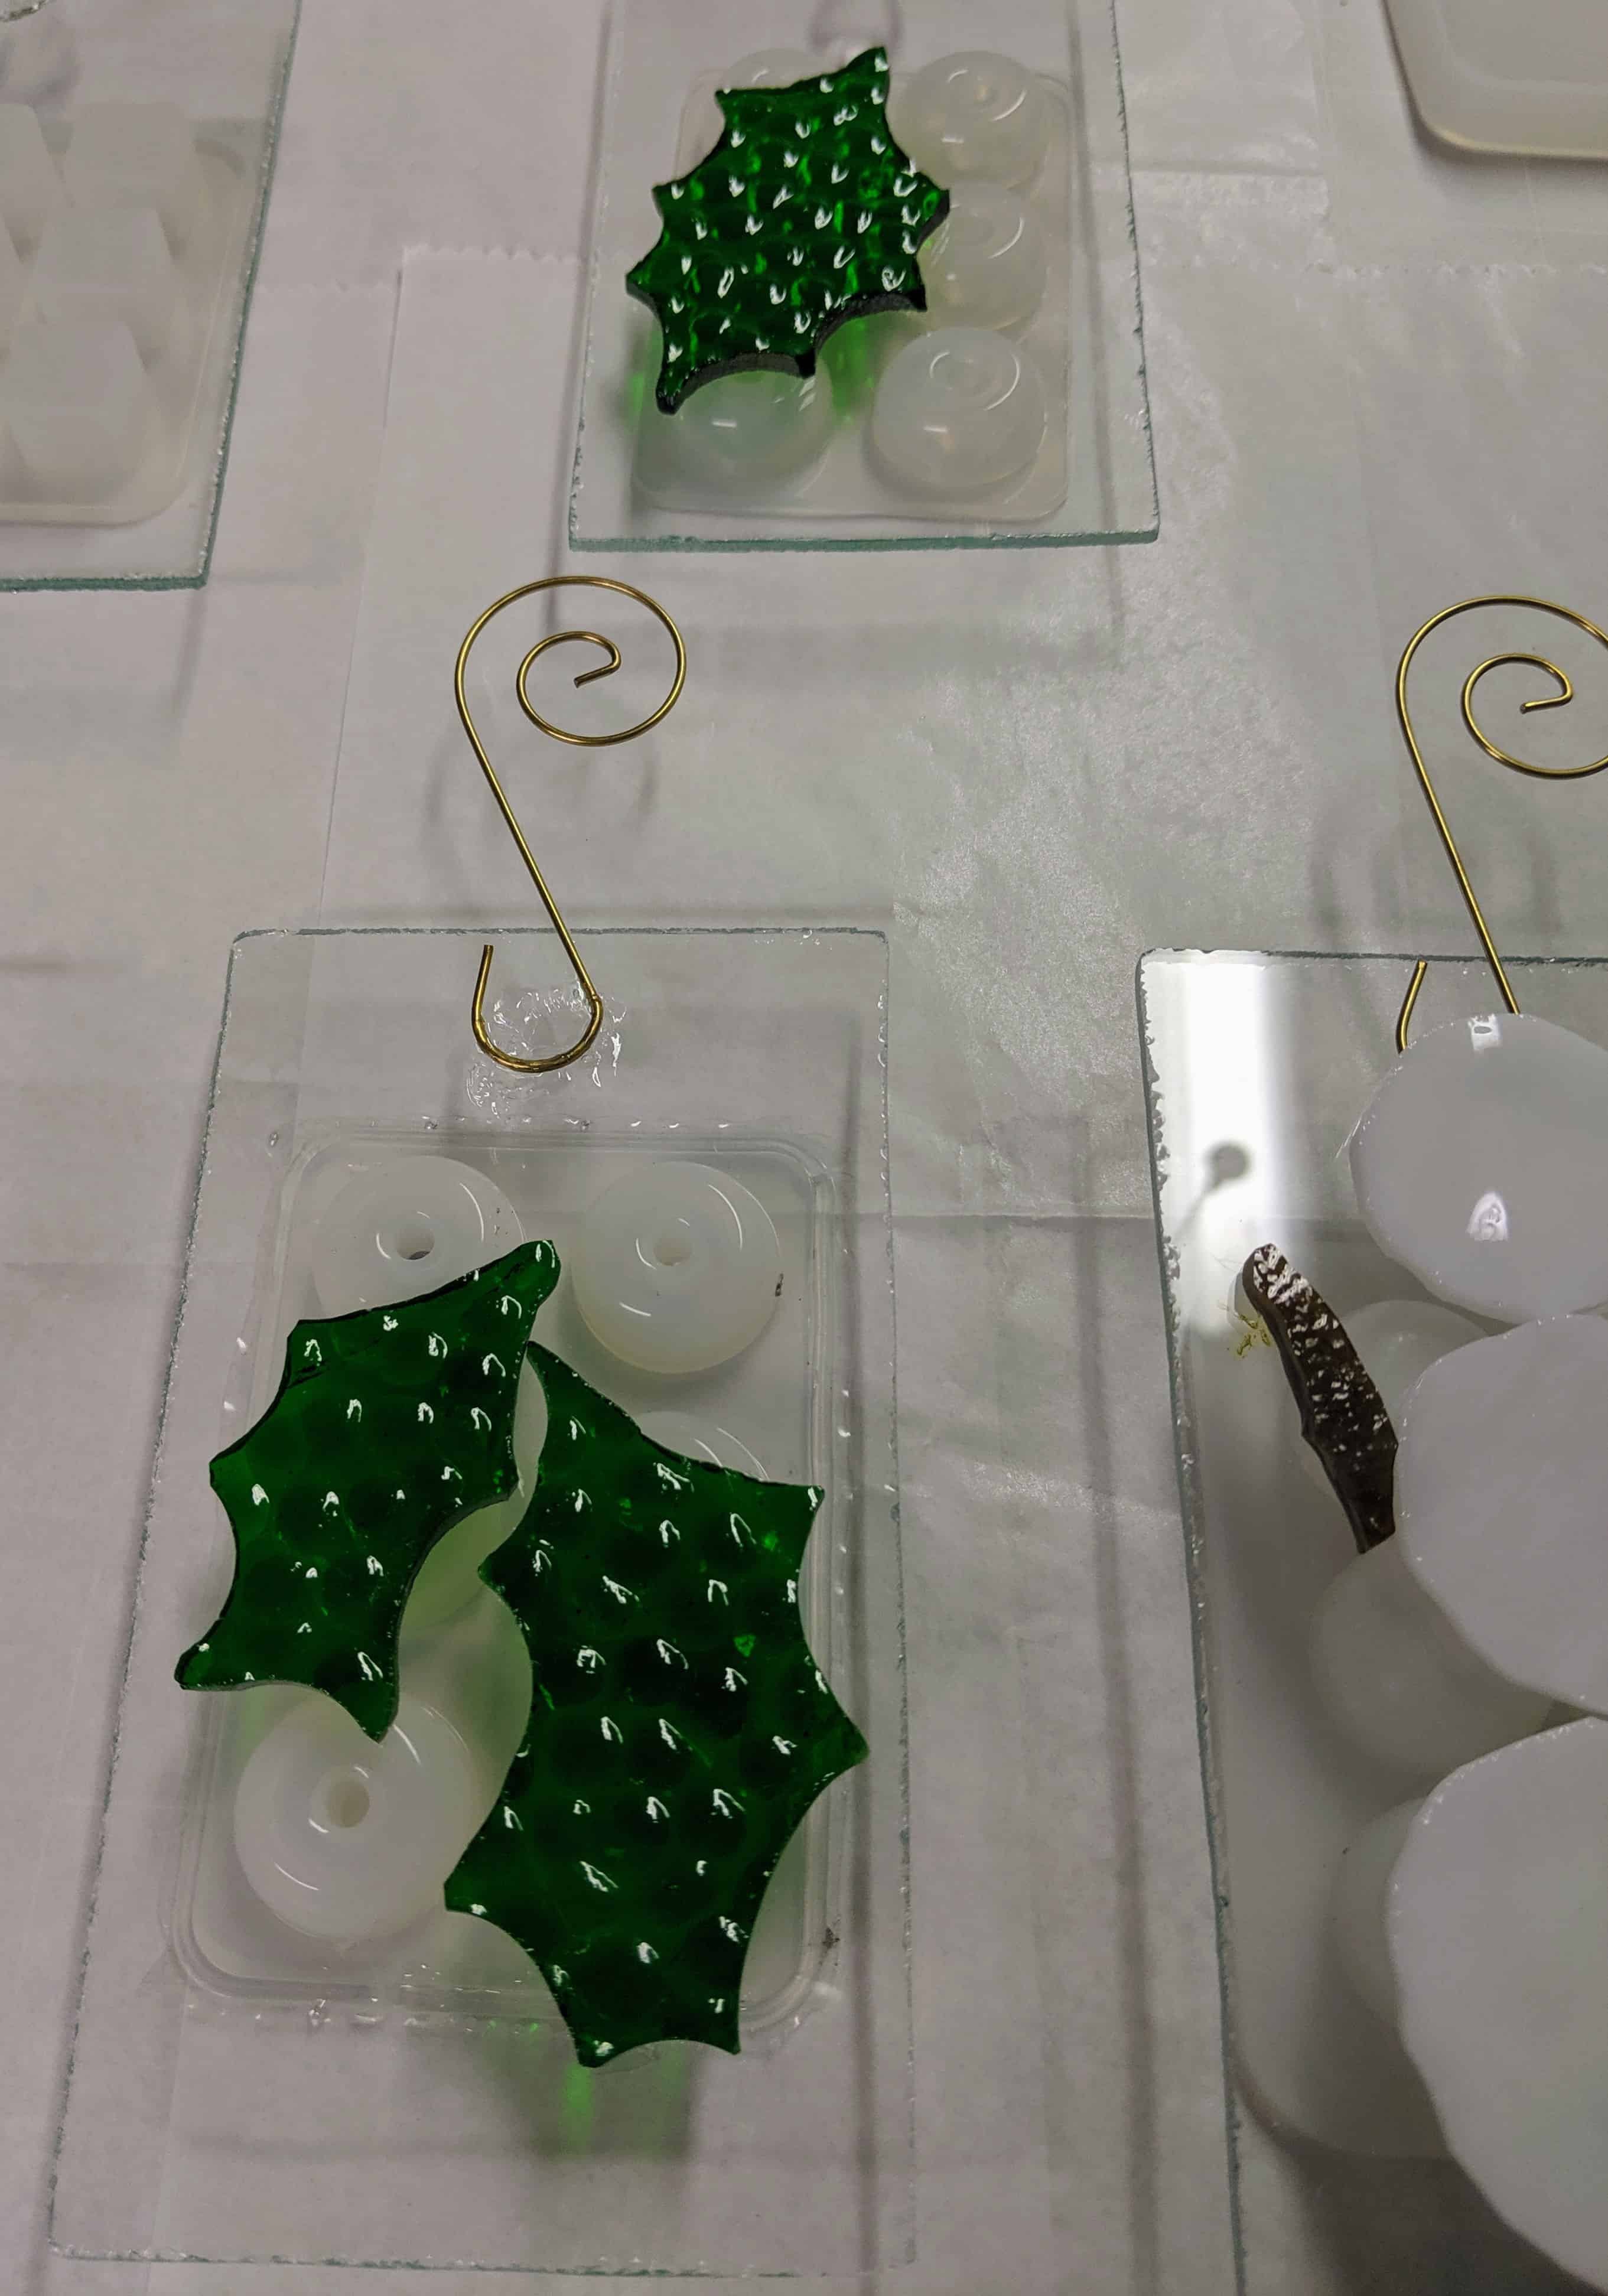
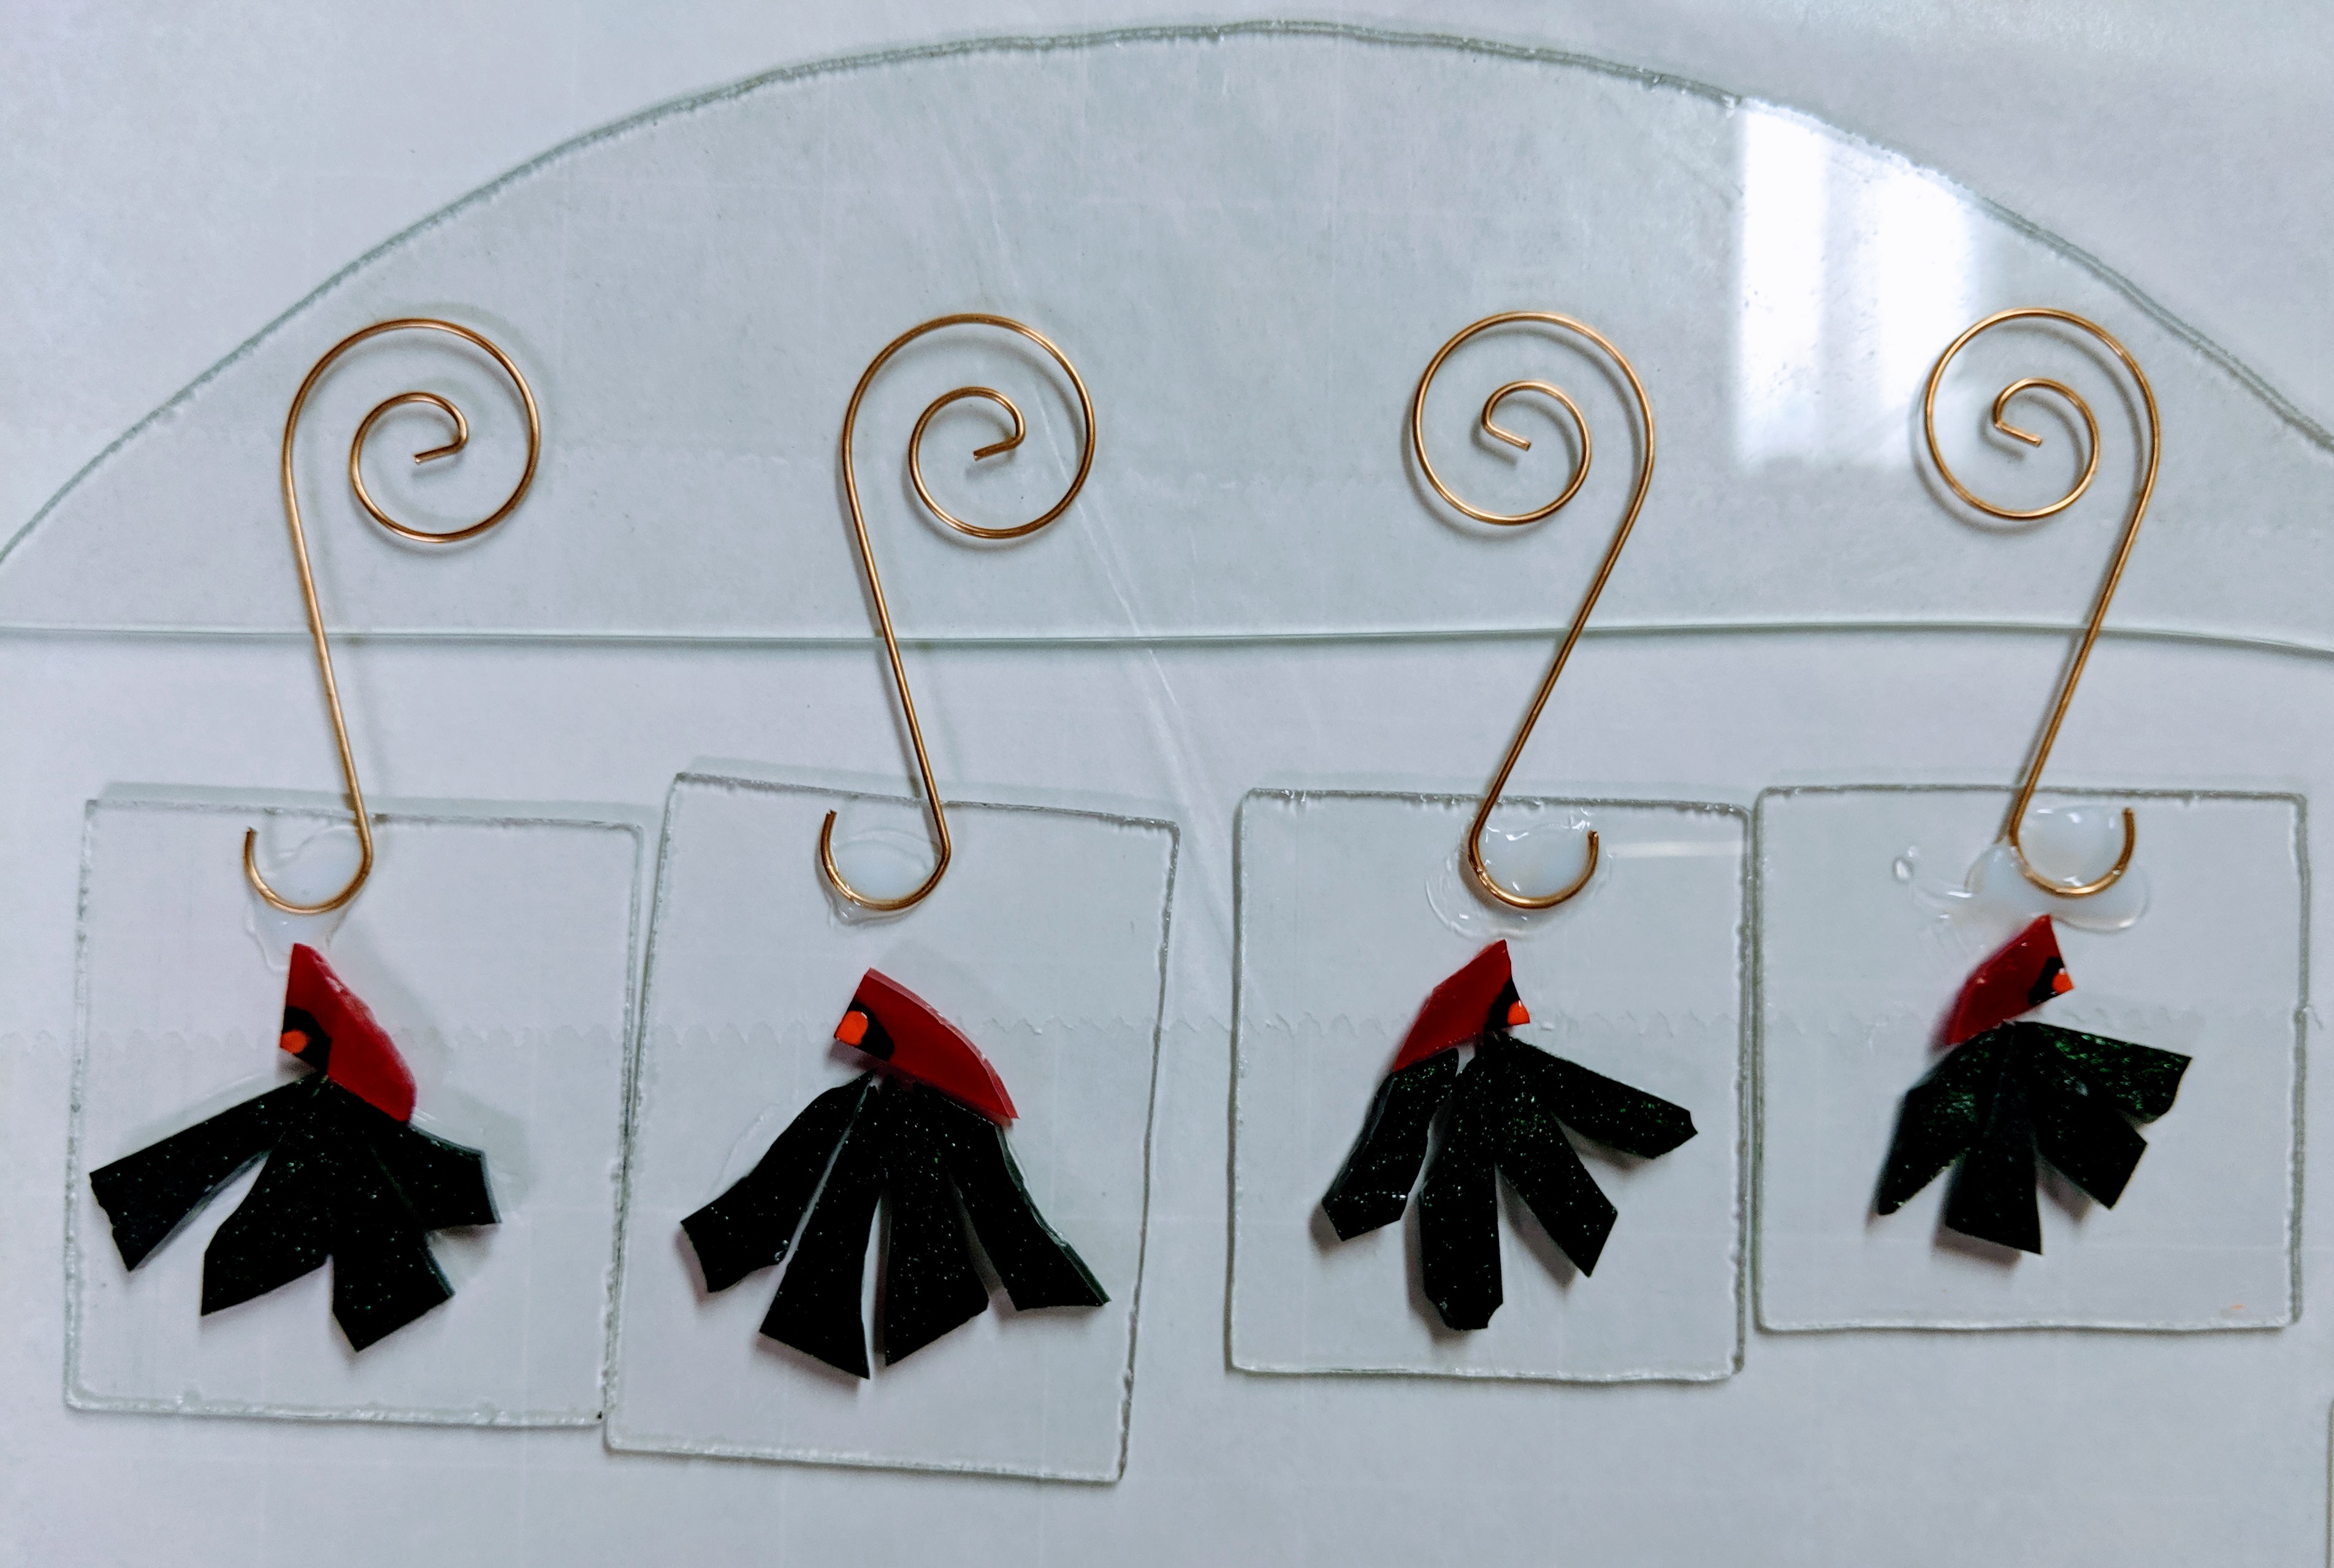
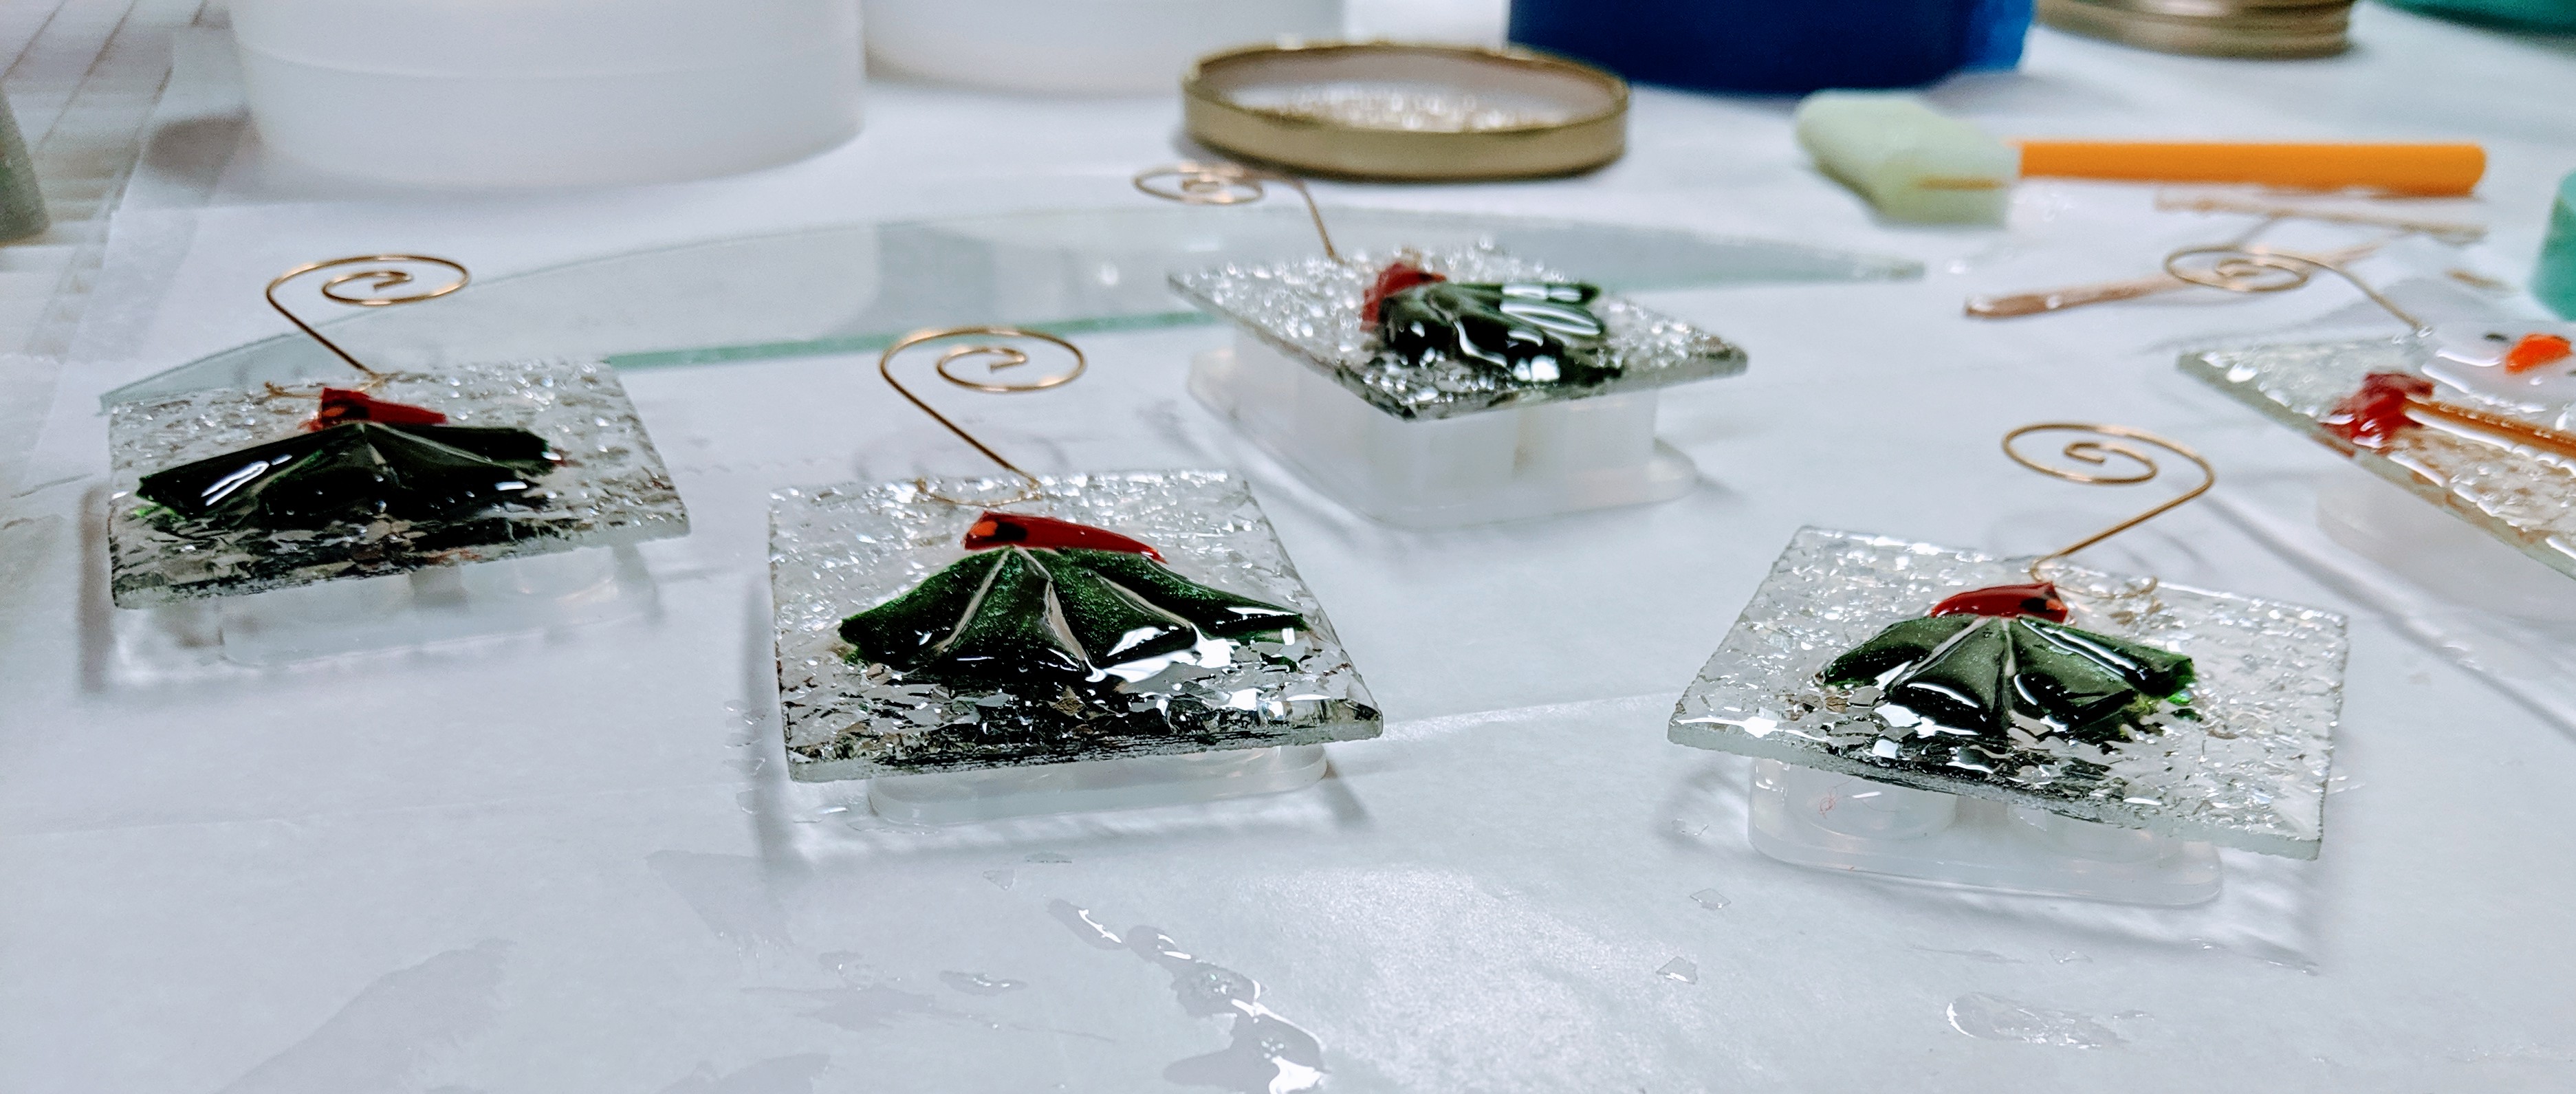
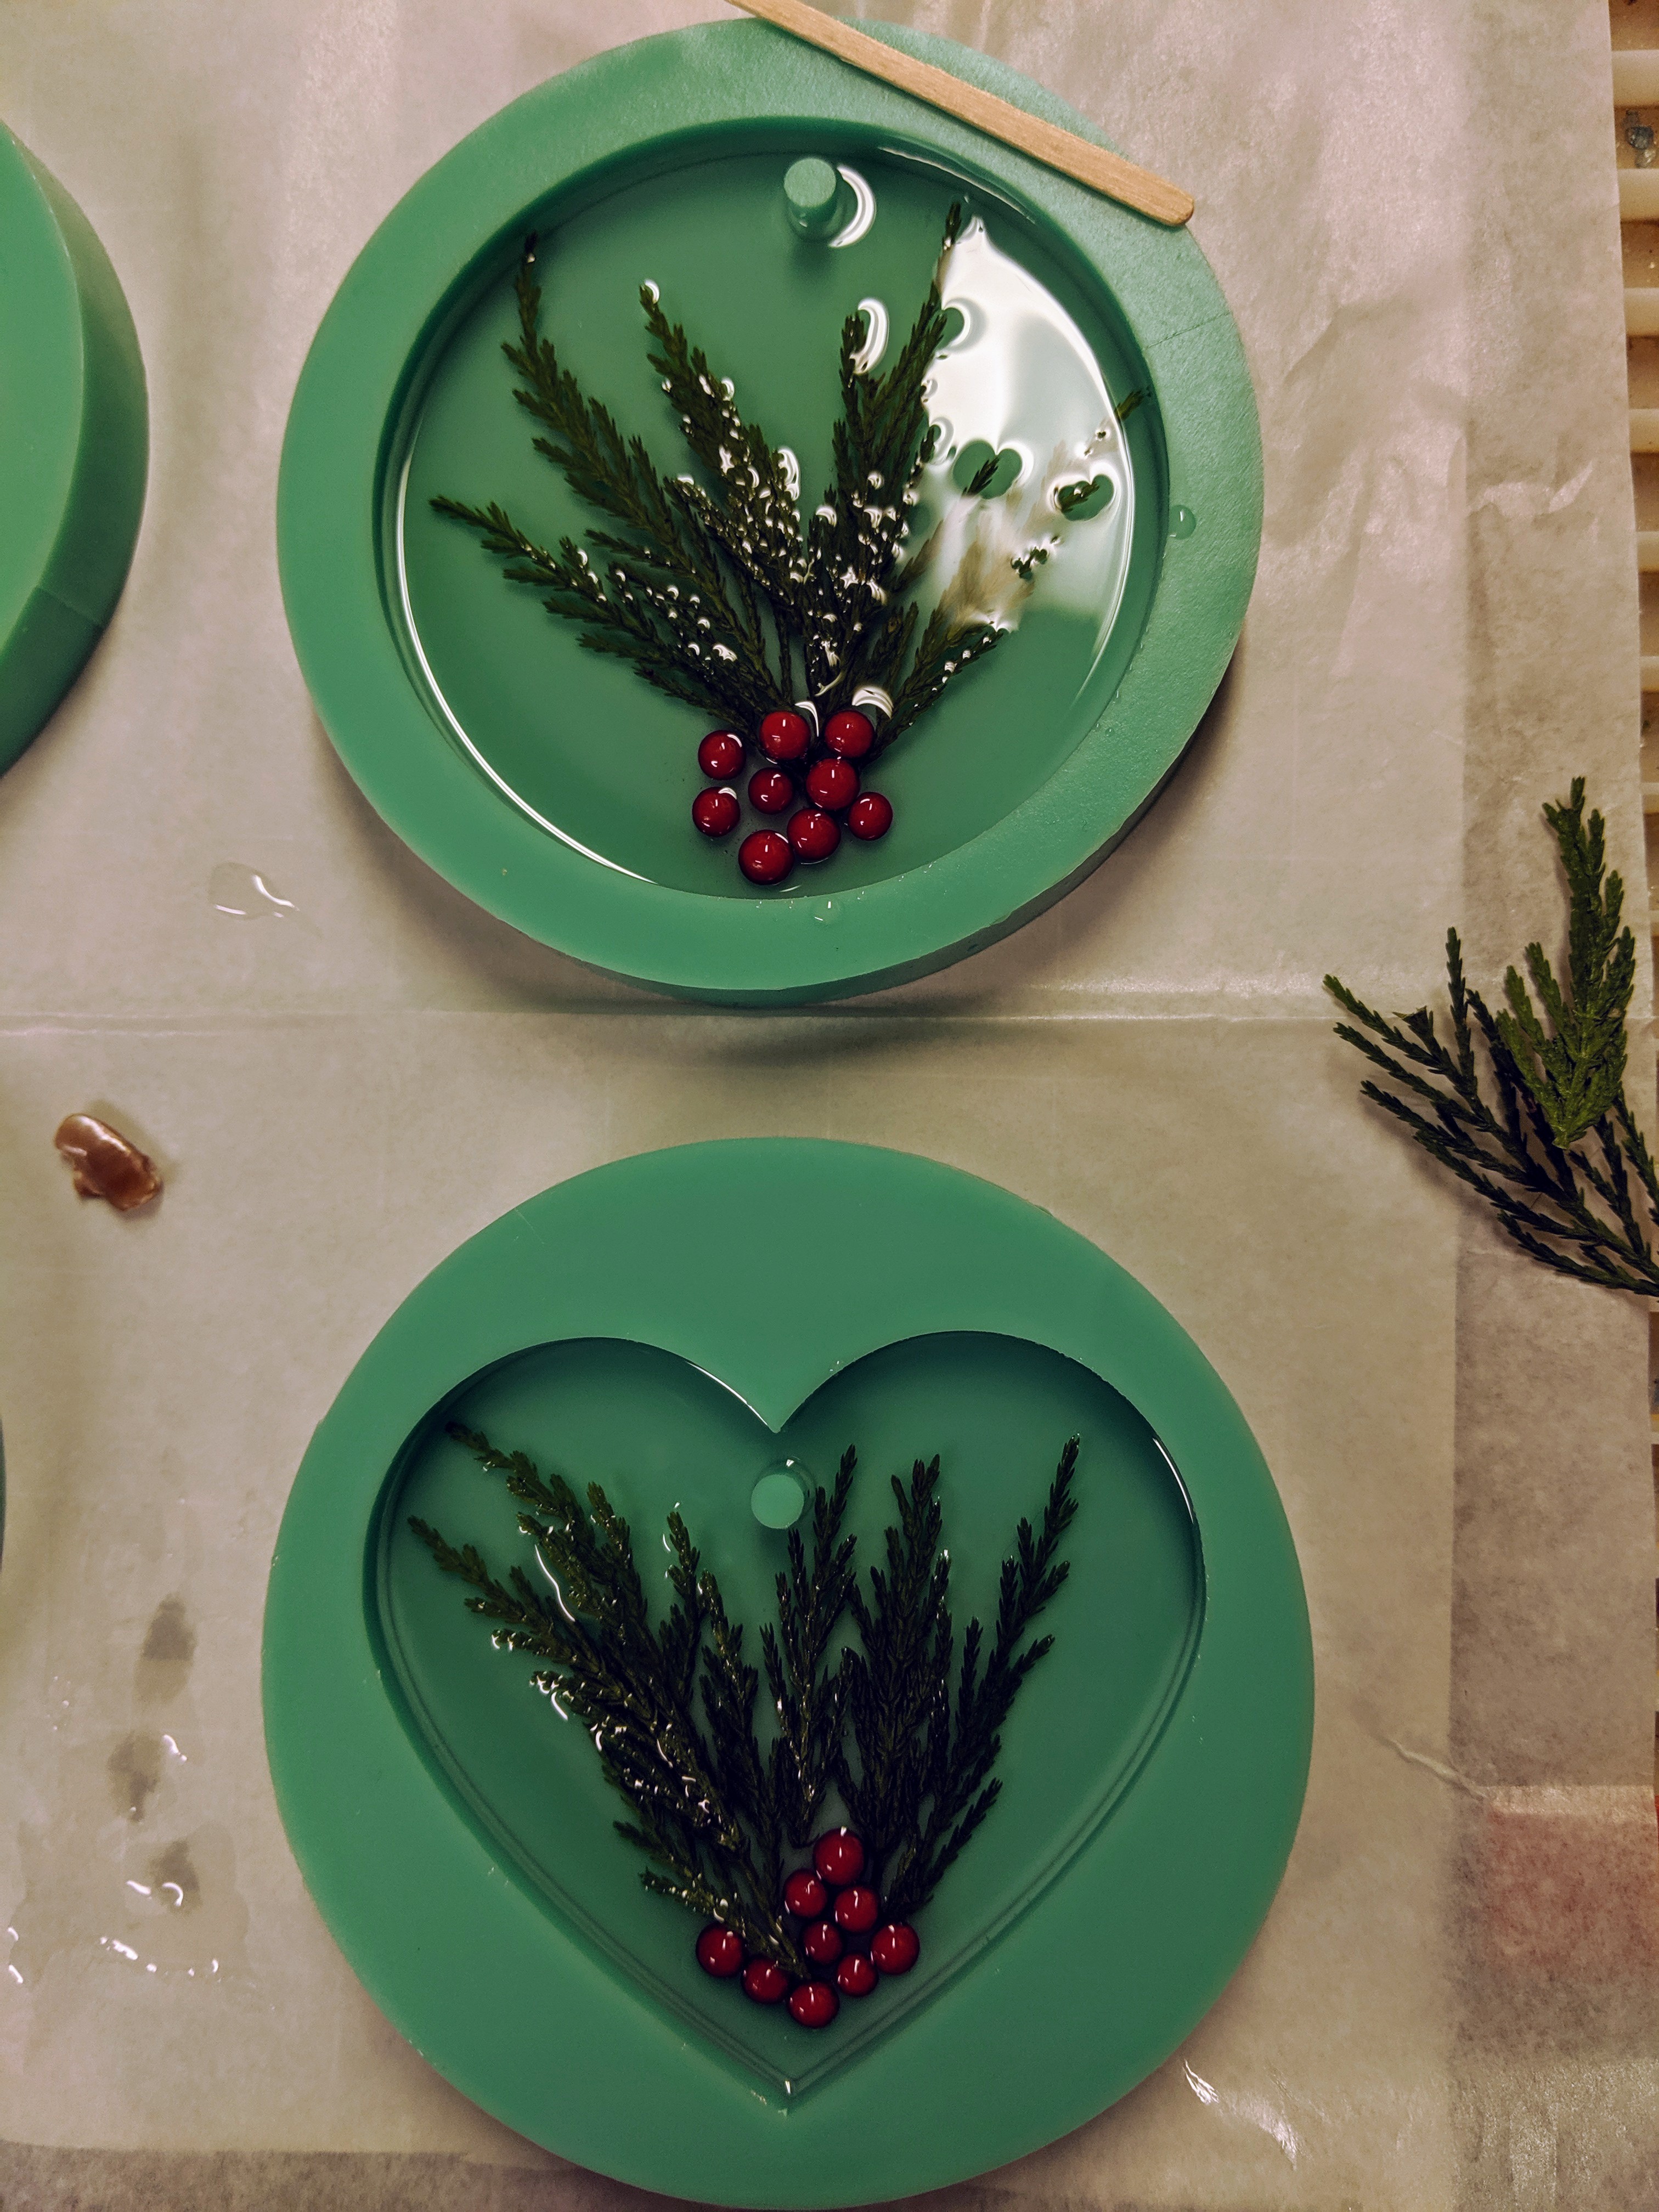
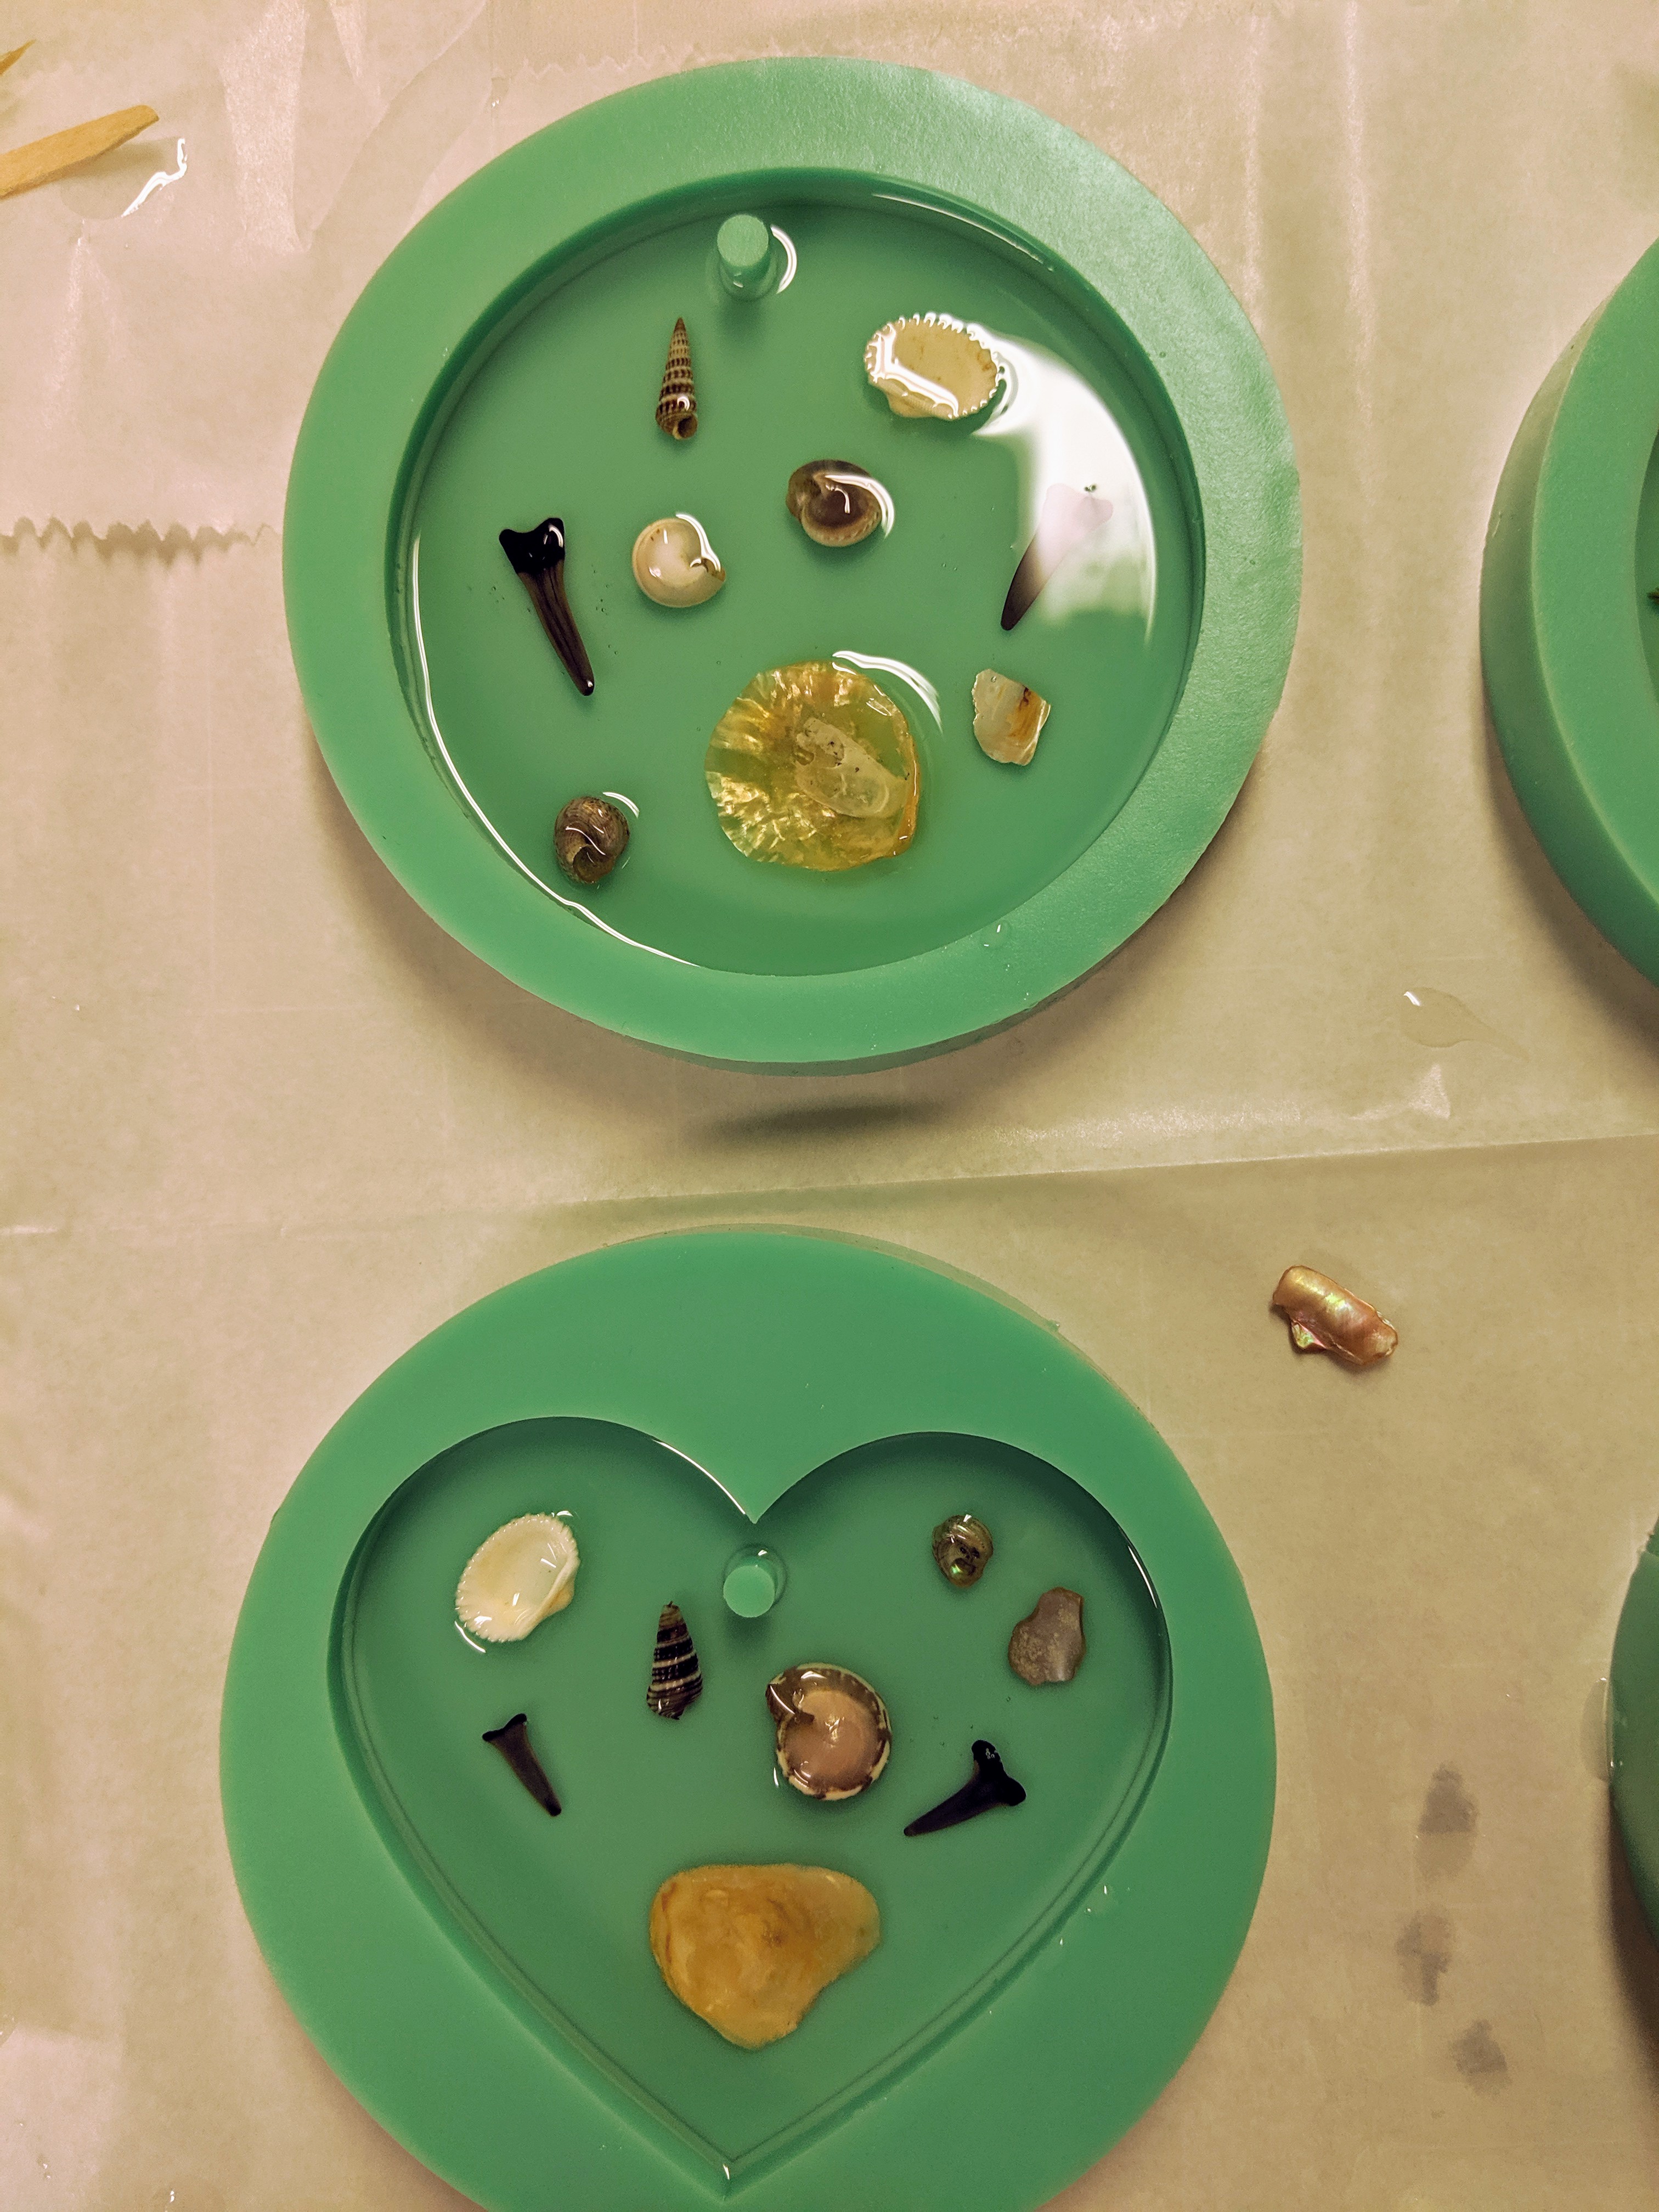
Today I finally got enough time to pour the resin on my next batch of ornaments. I prepped several a few days ago, but it takes a couple of uninterrupted hours to do the resin stage properly, and today was the day.

Ready for decoration / resin.

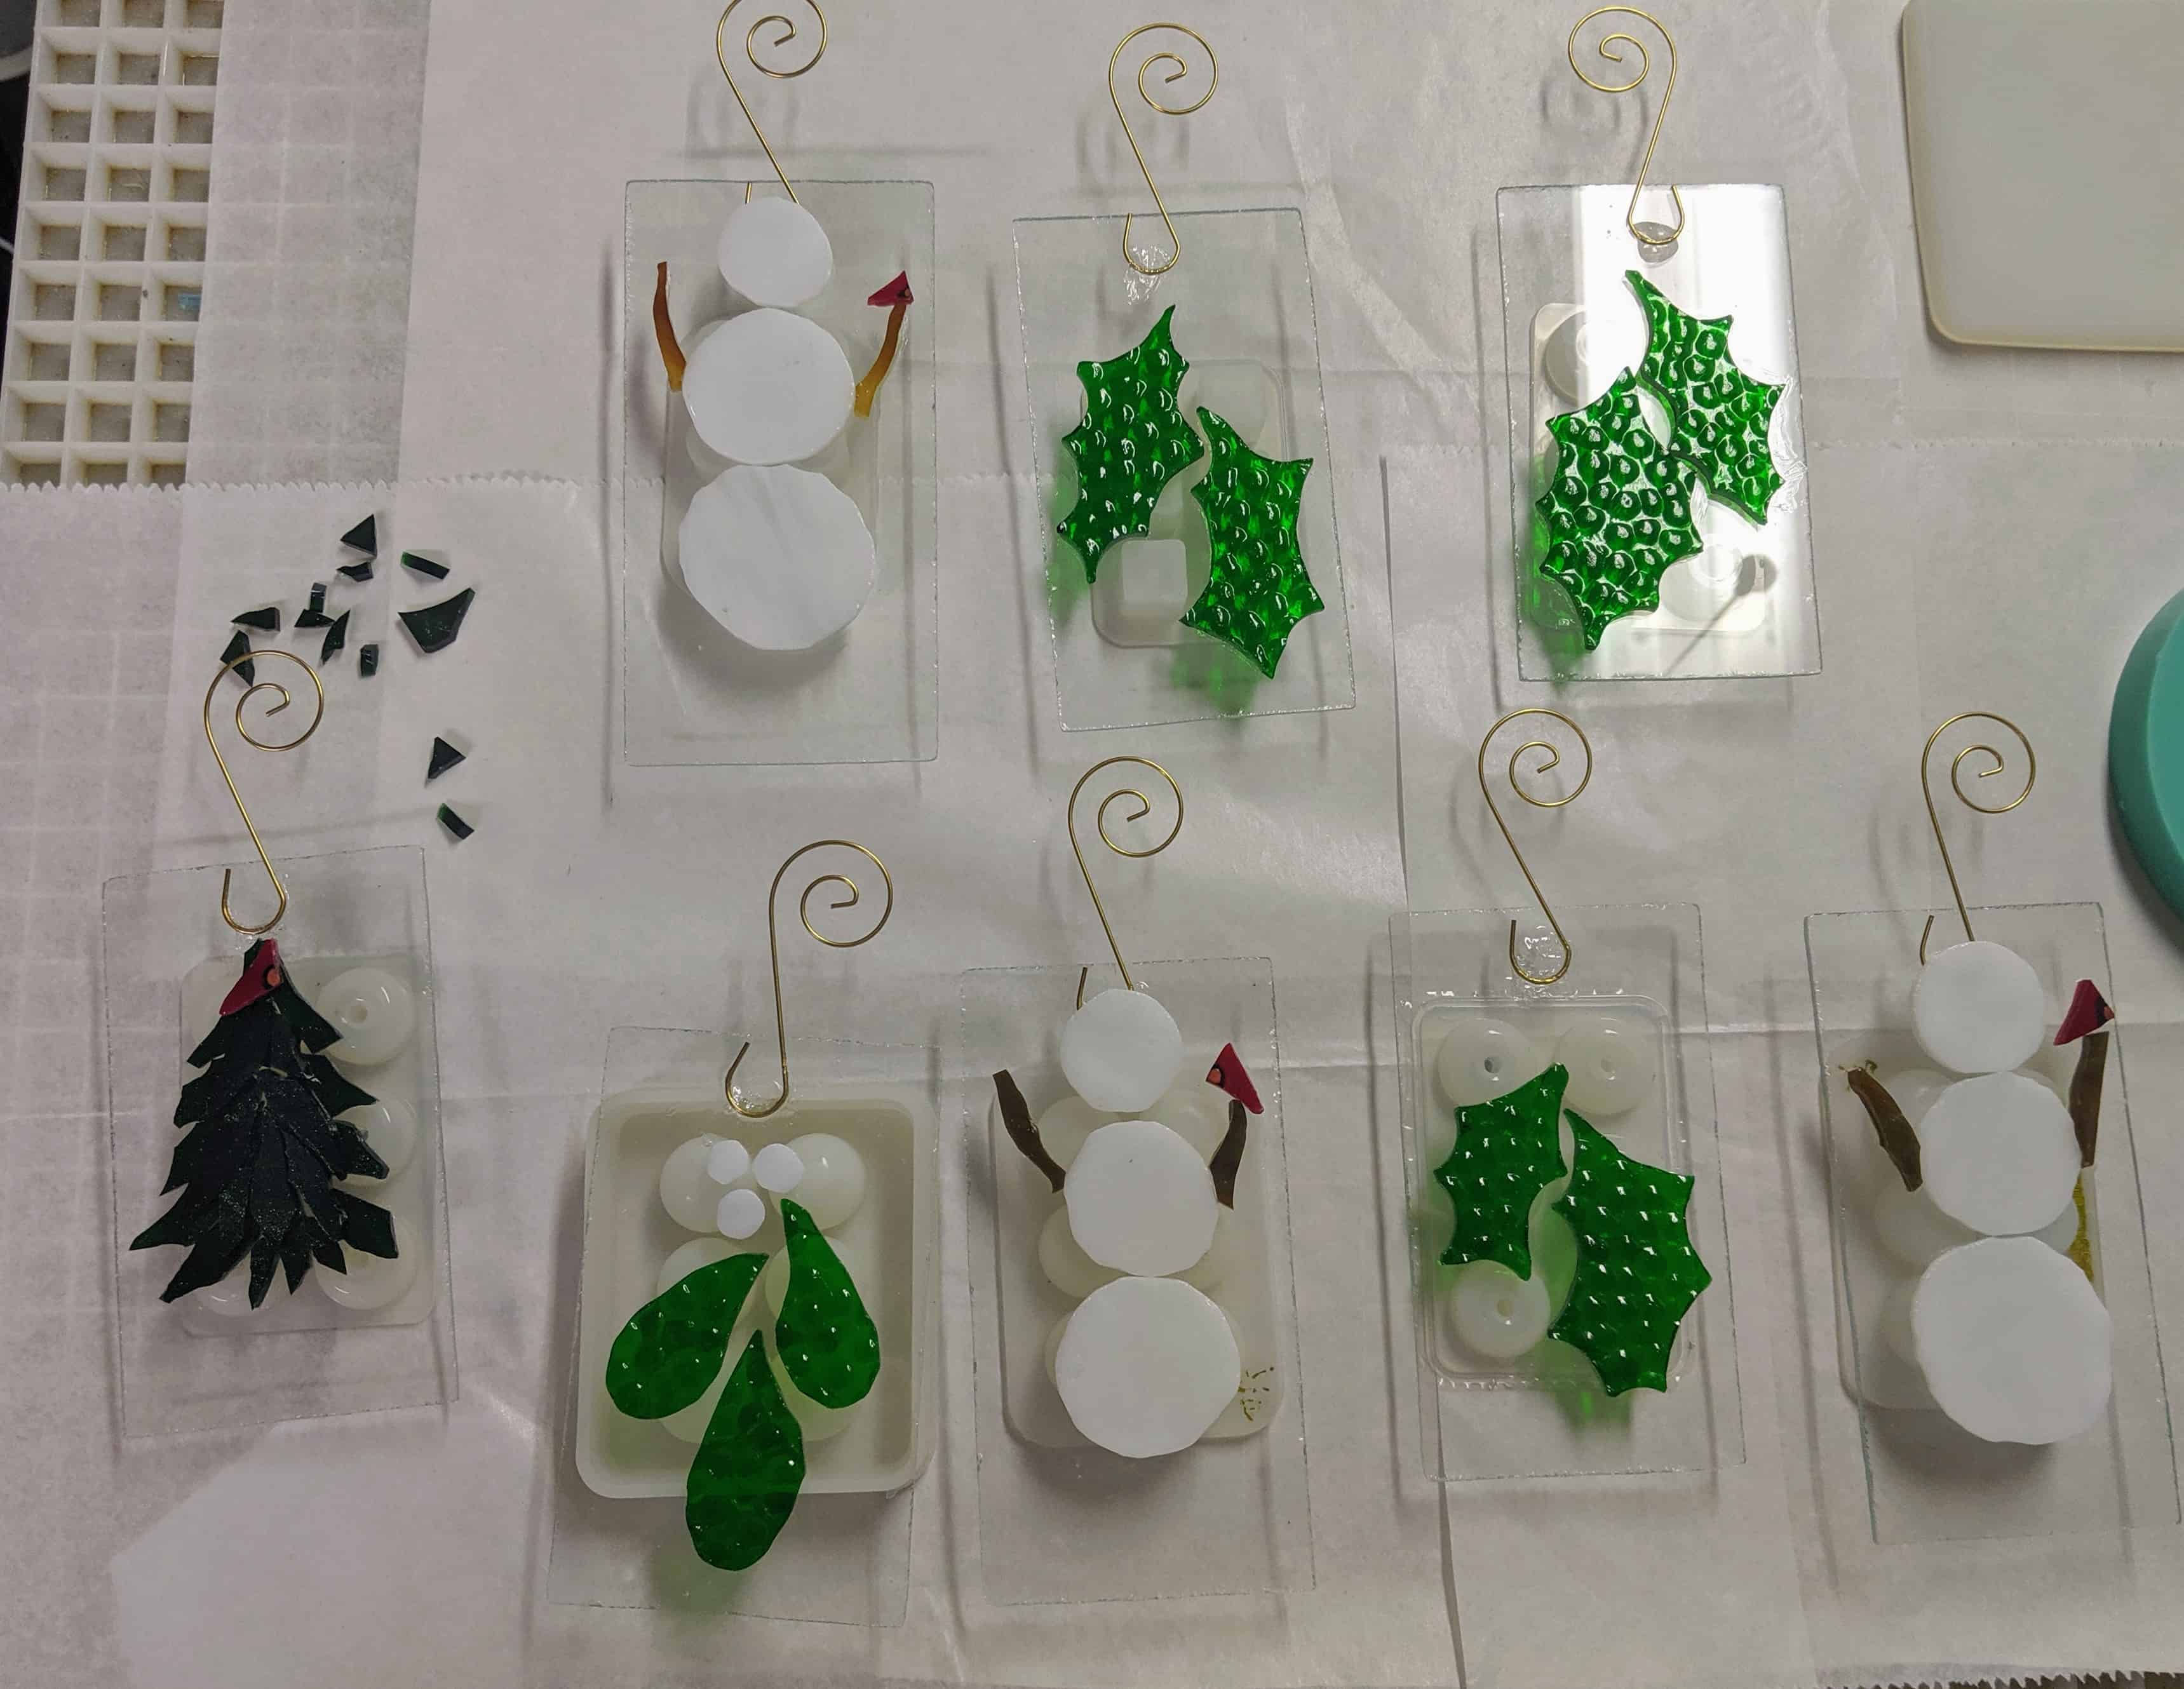
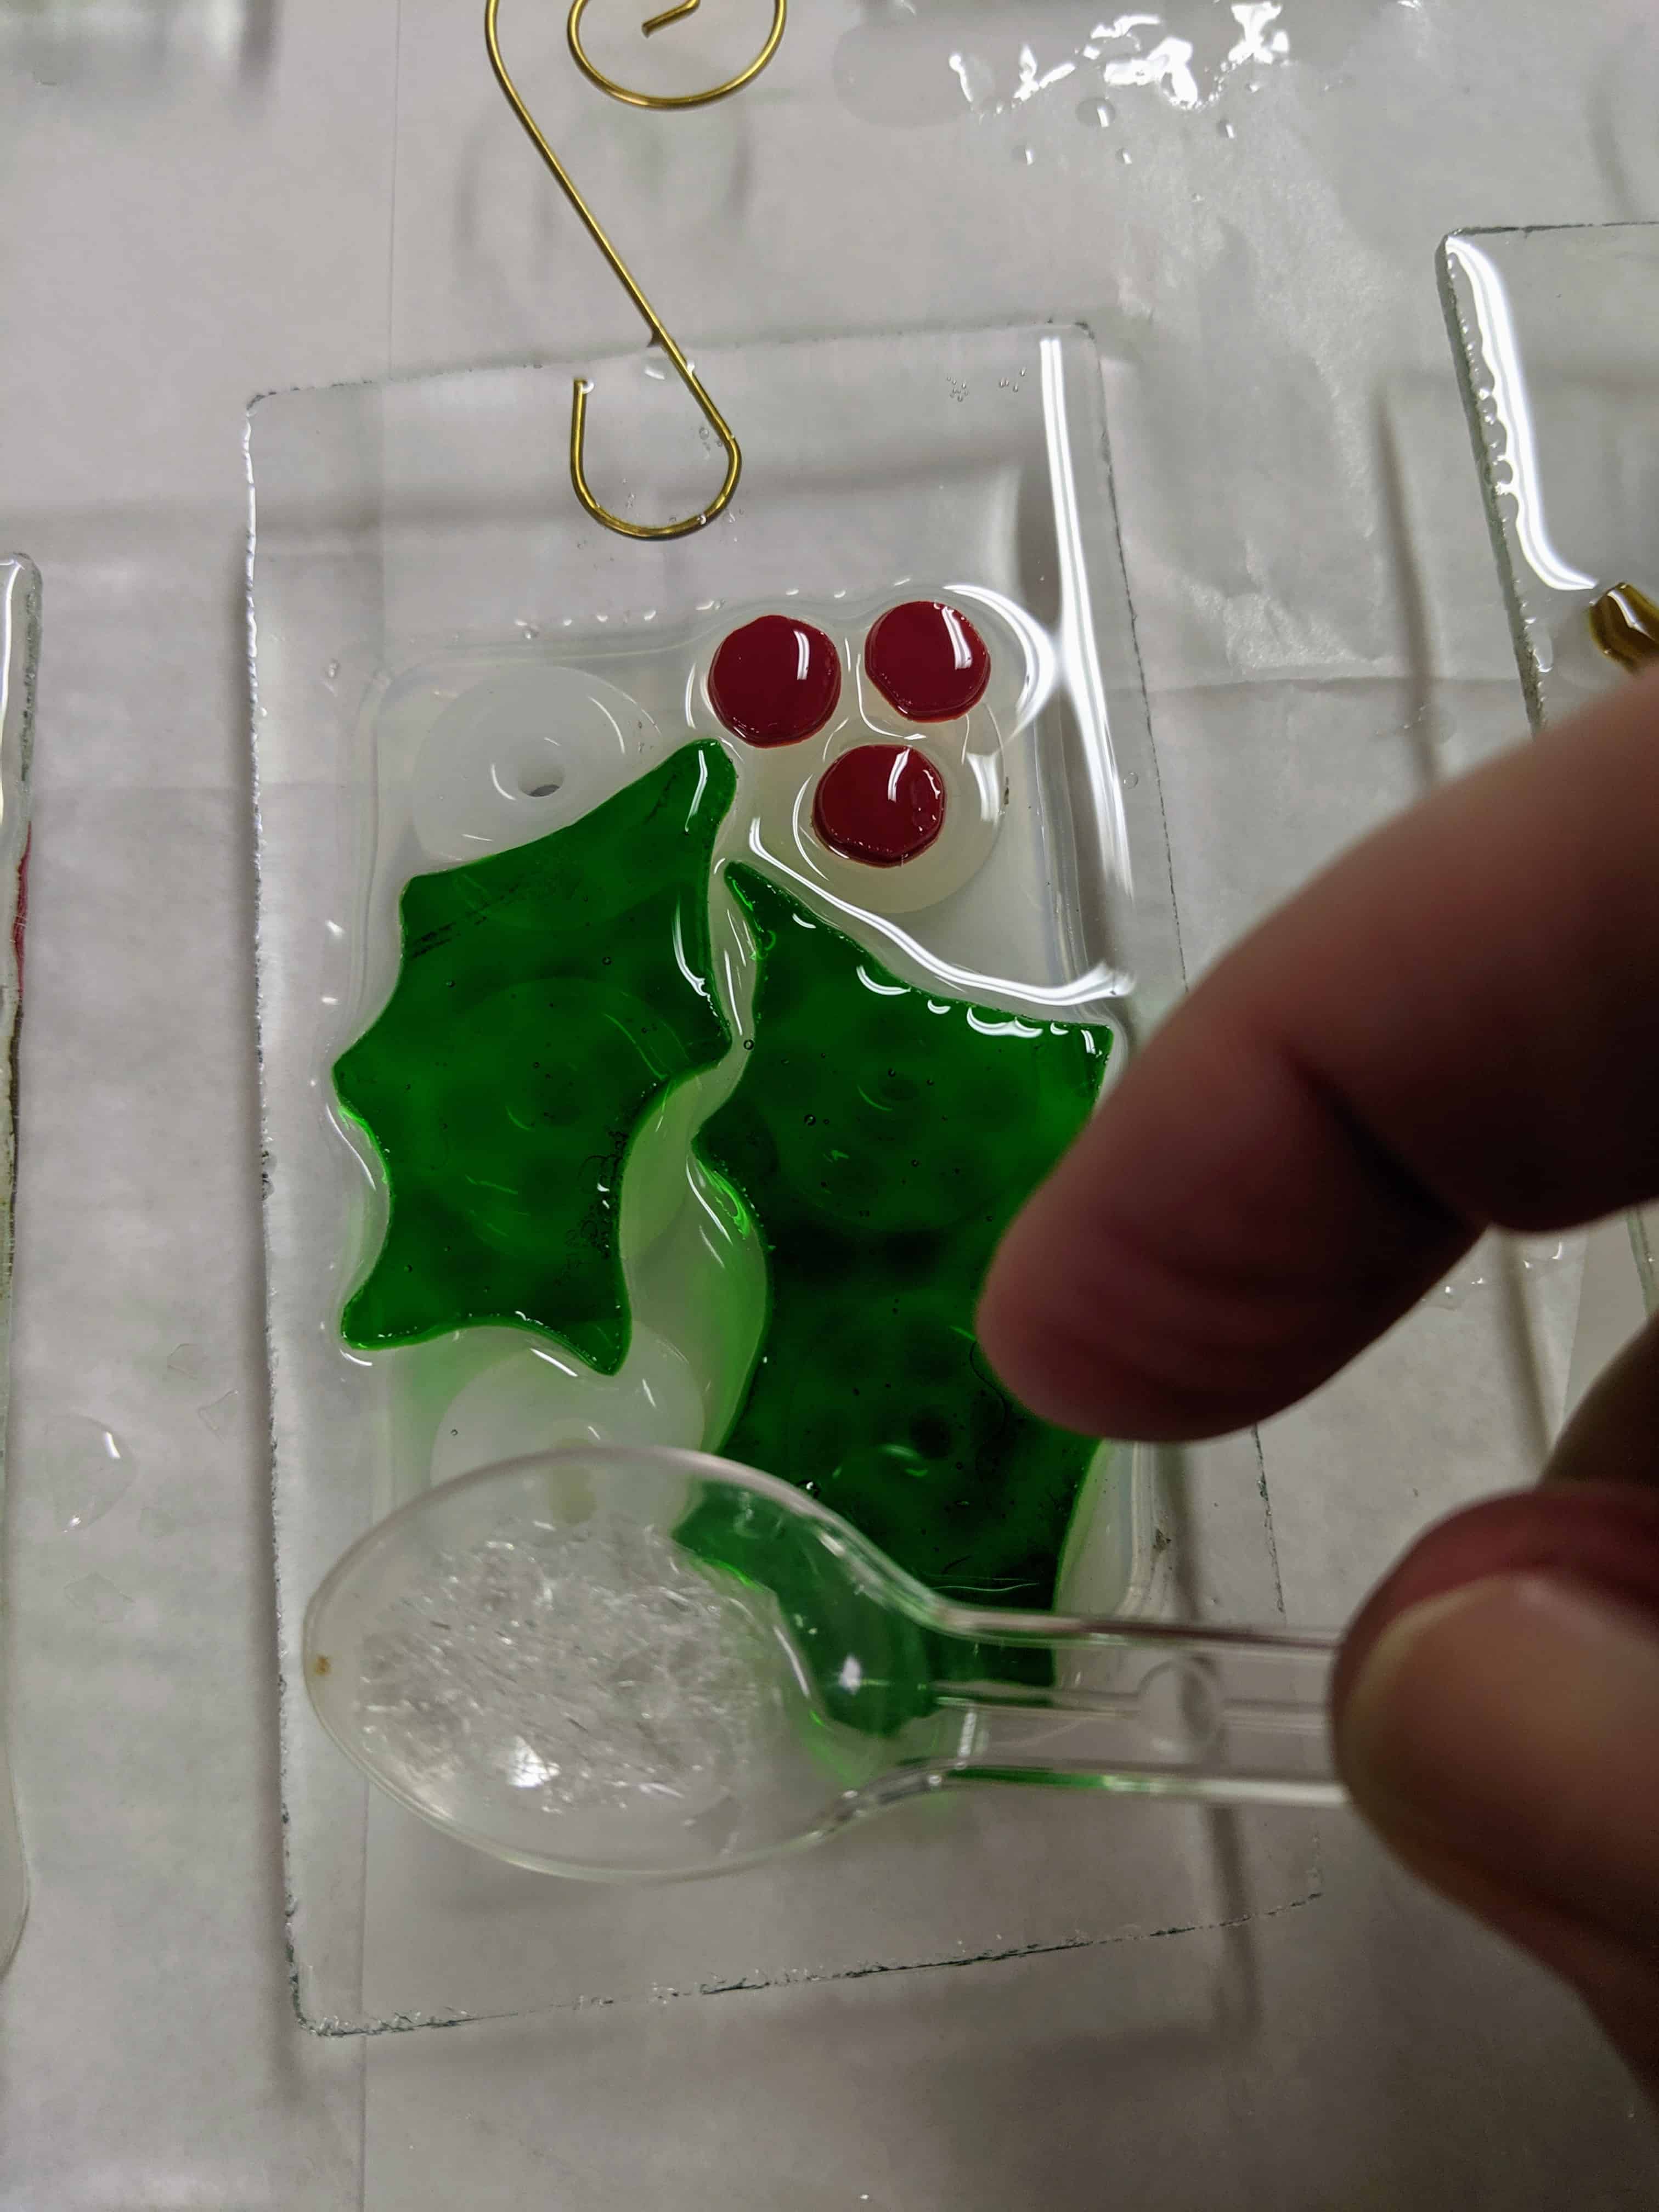
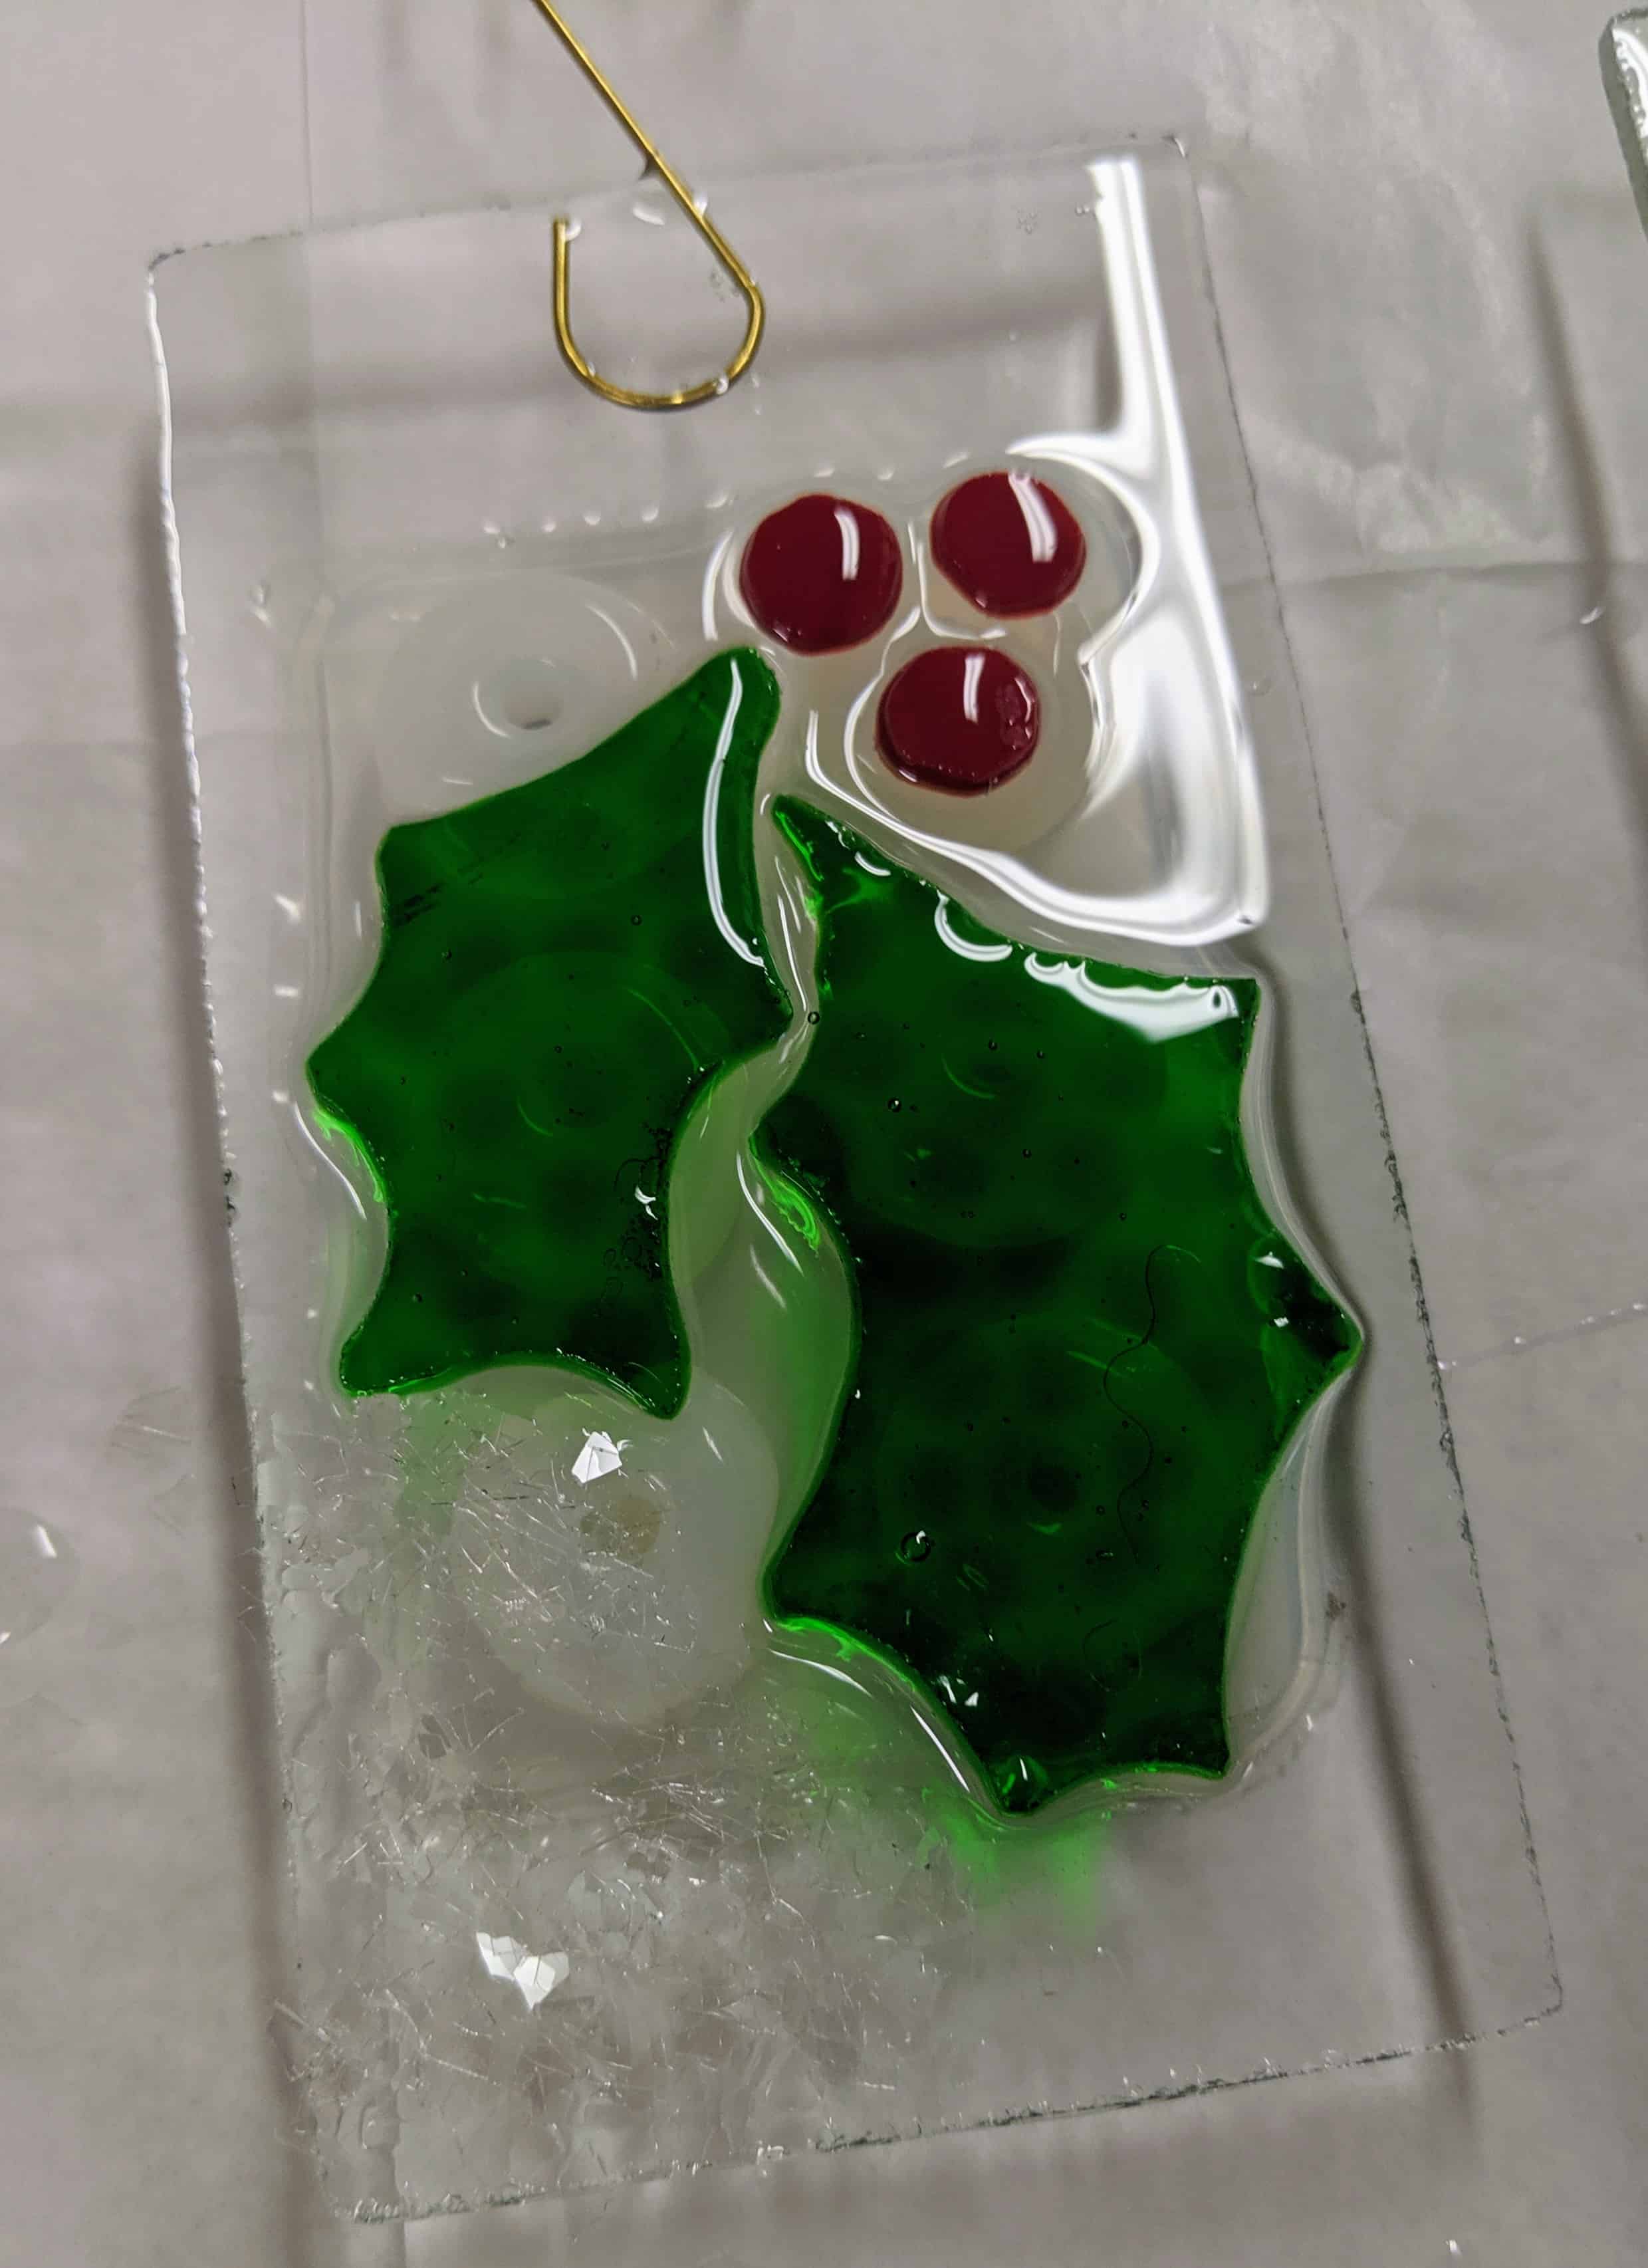
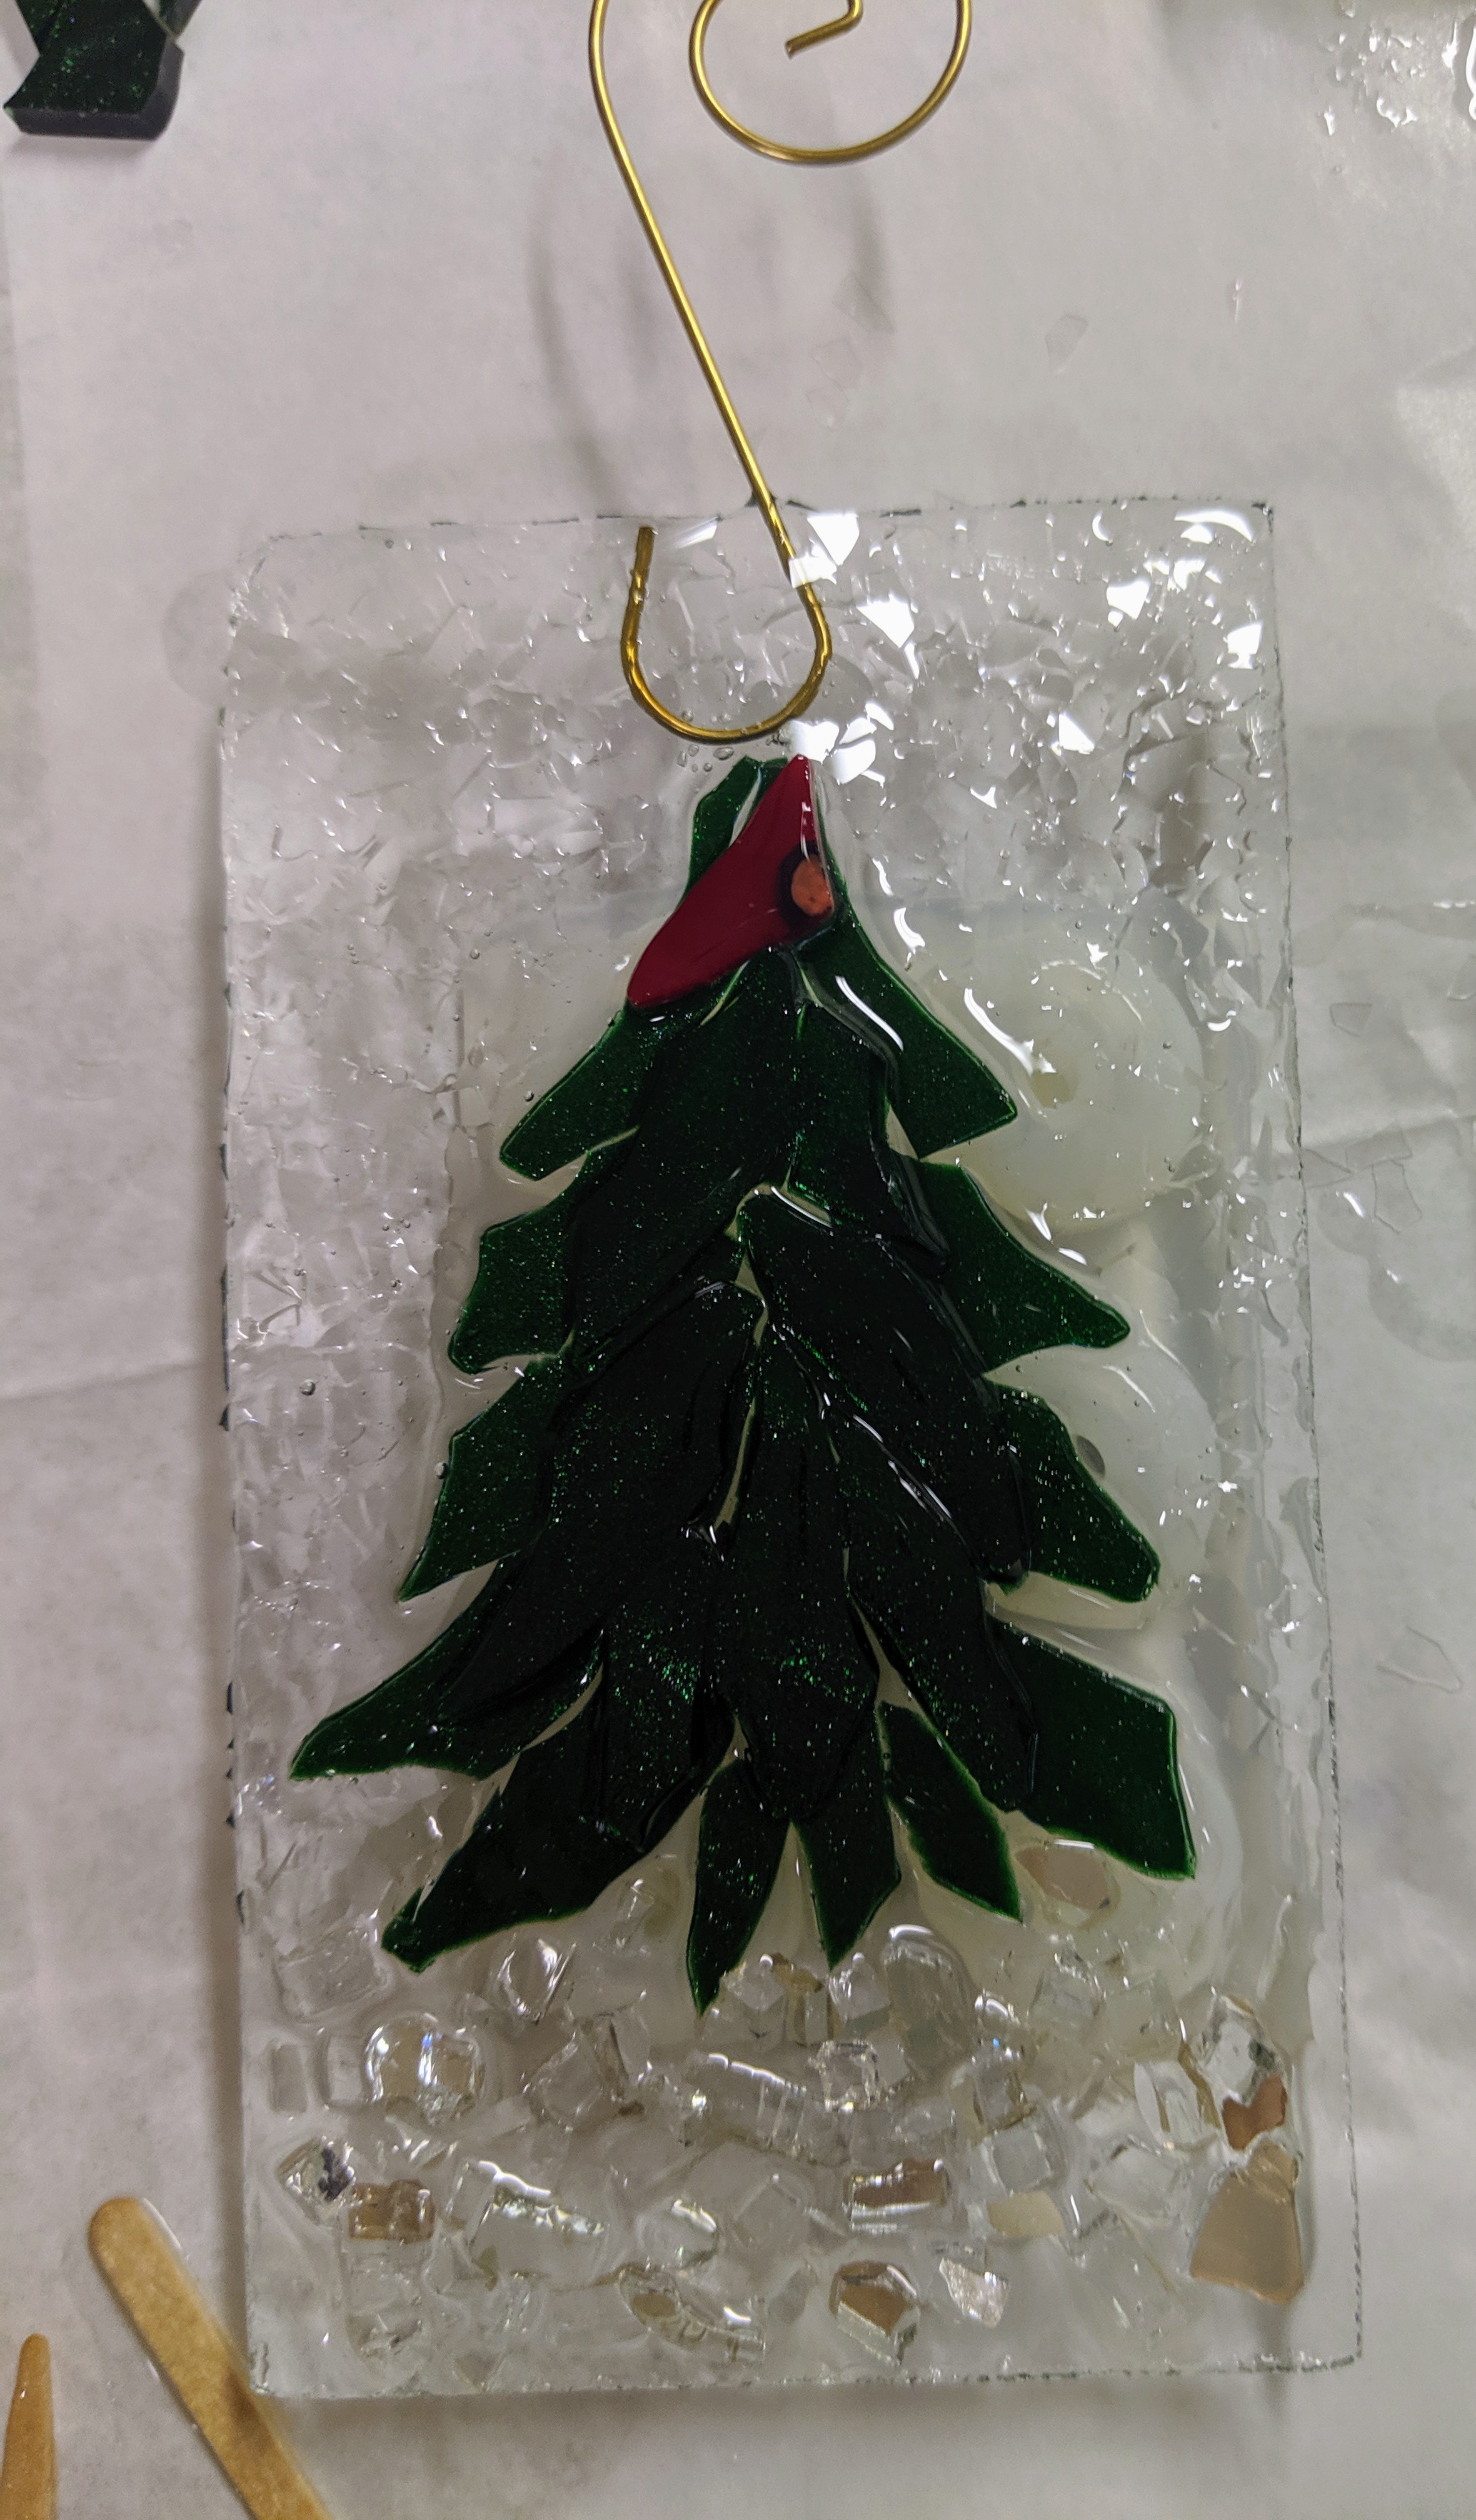
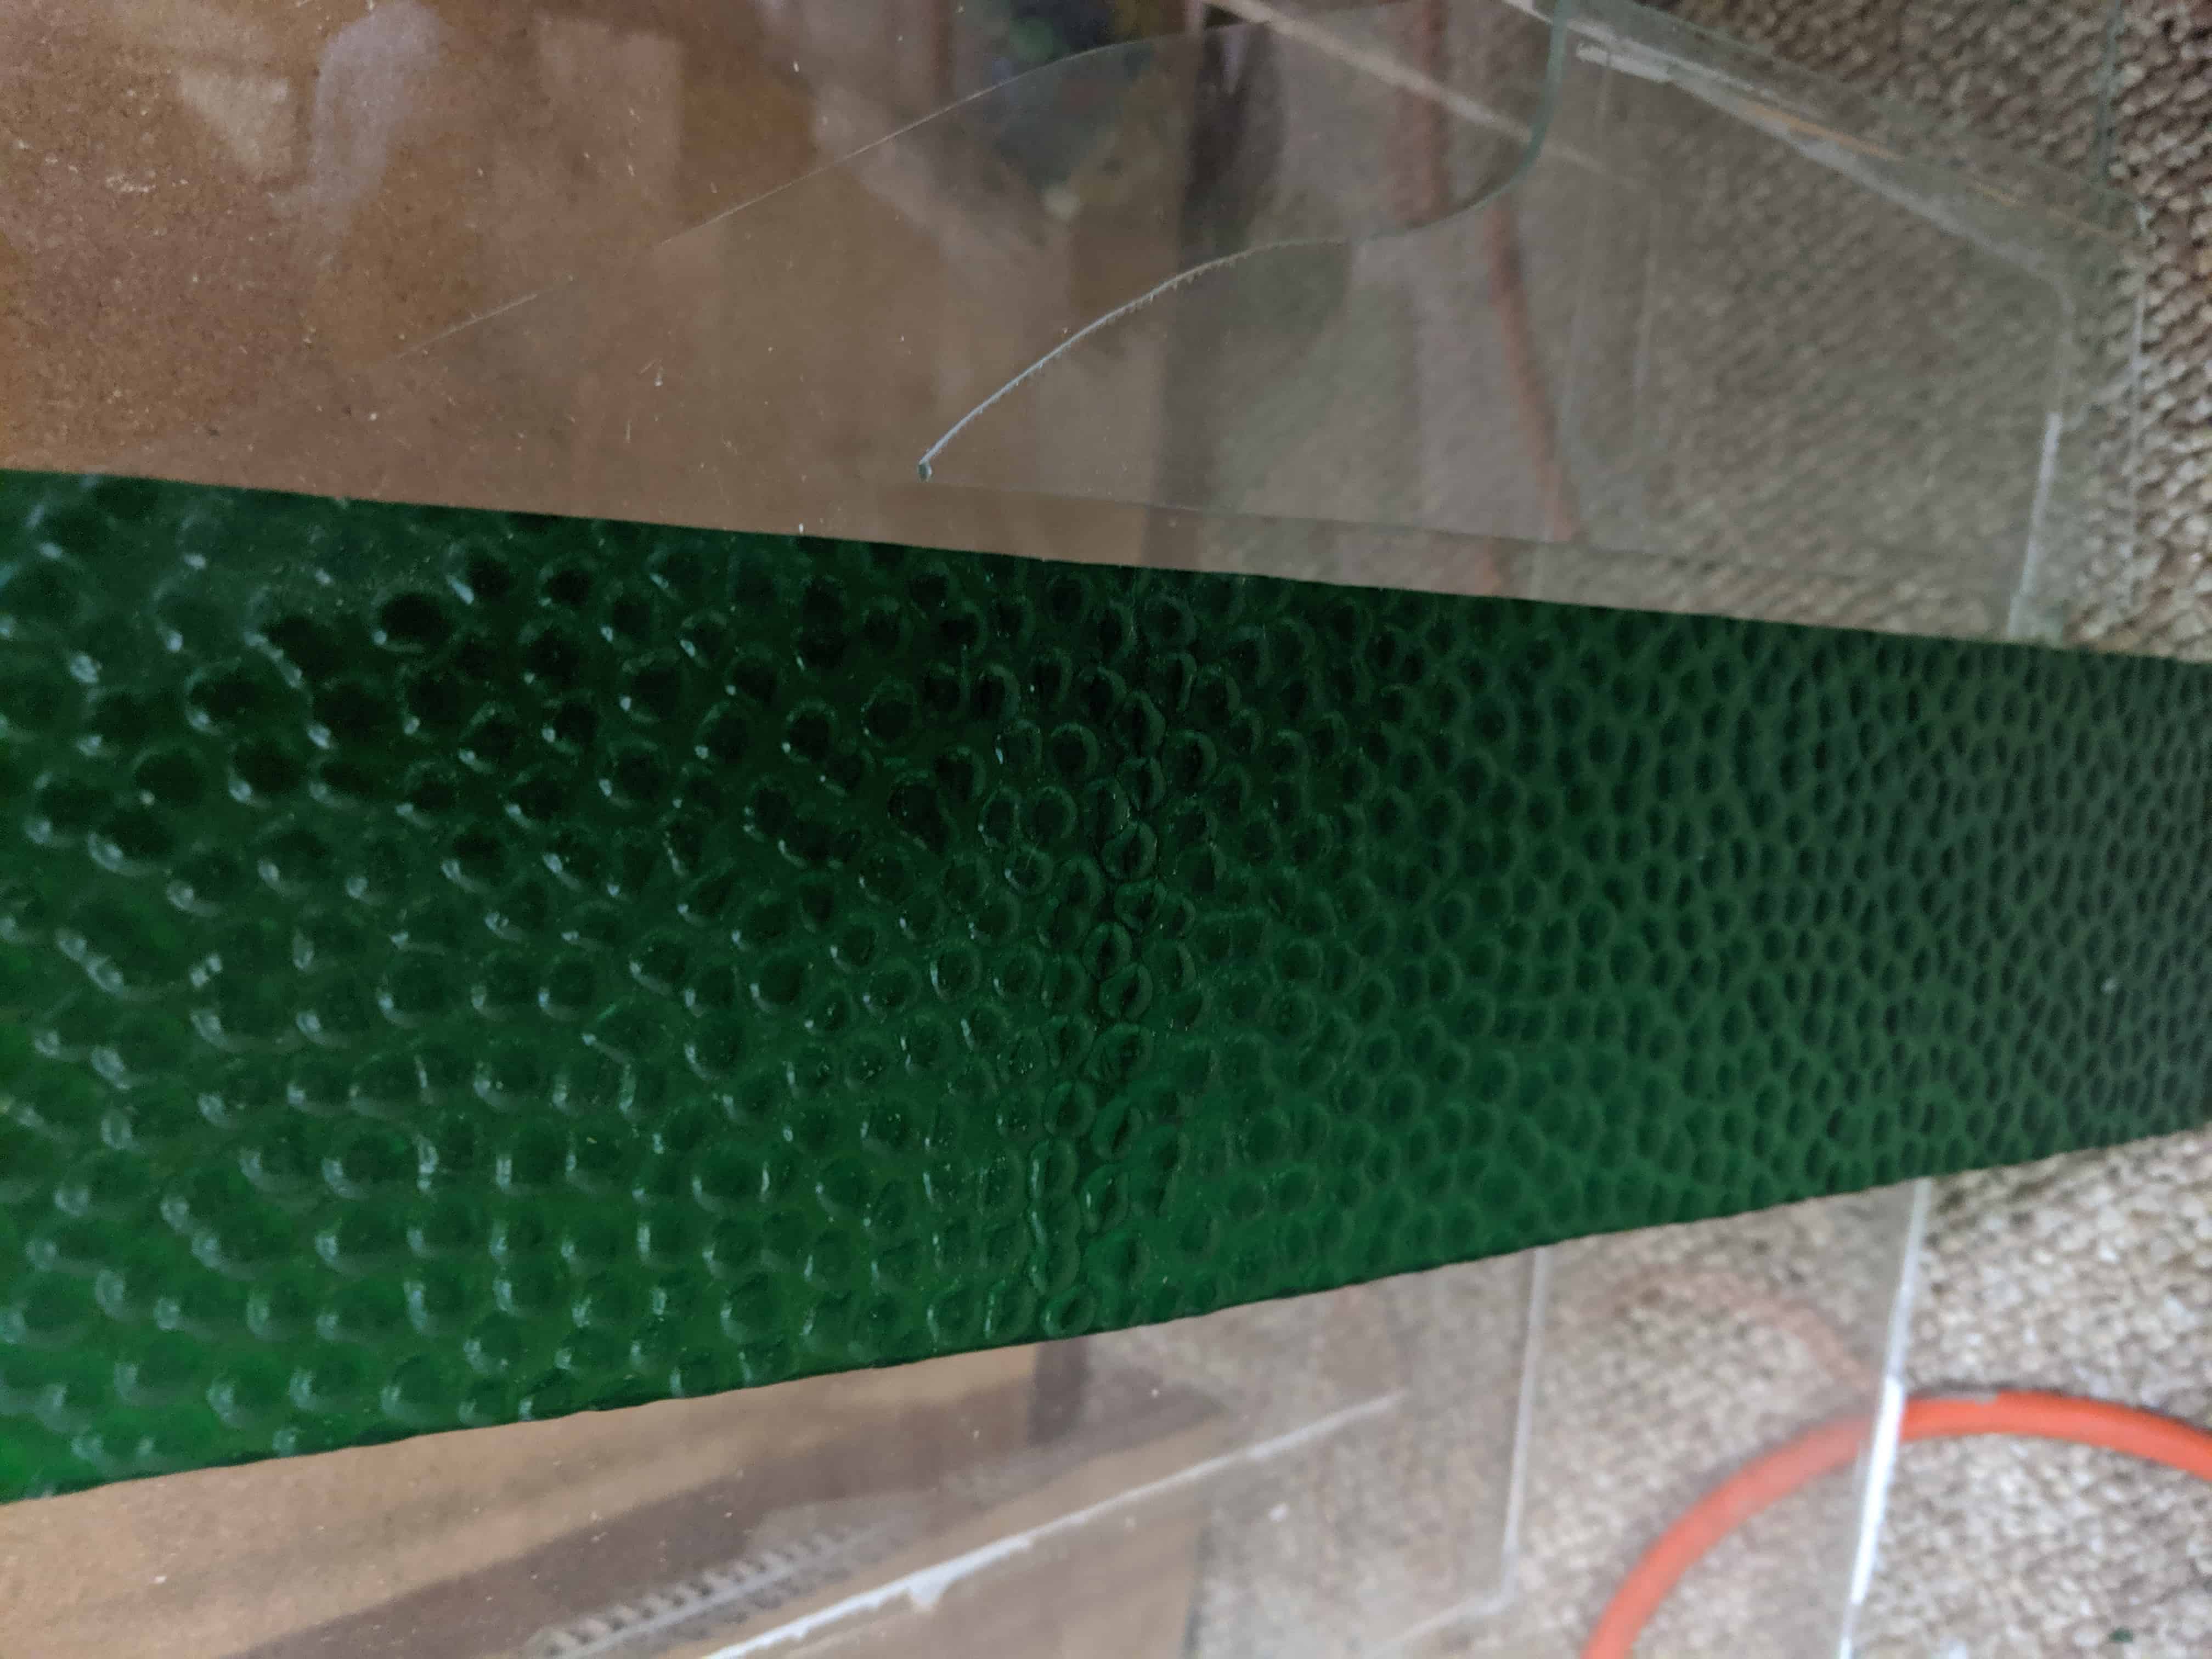
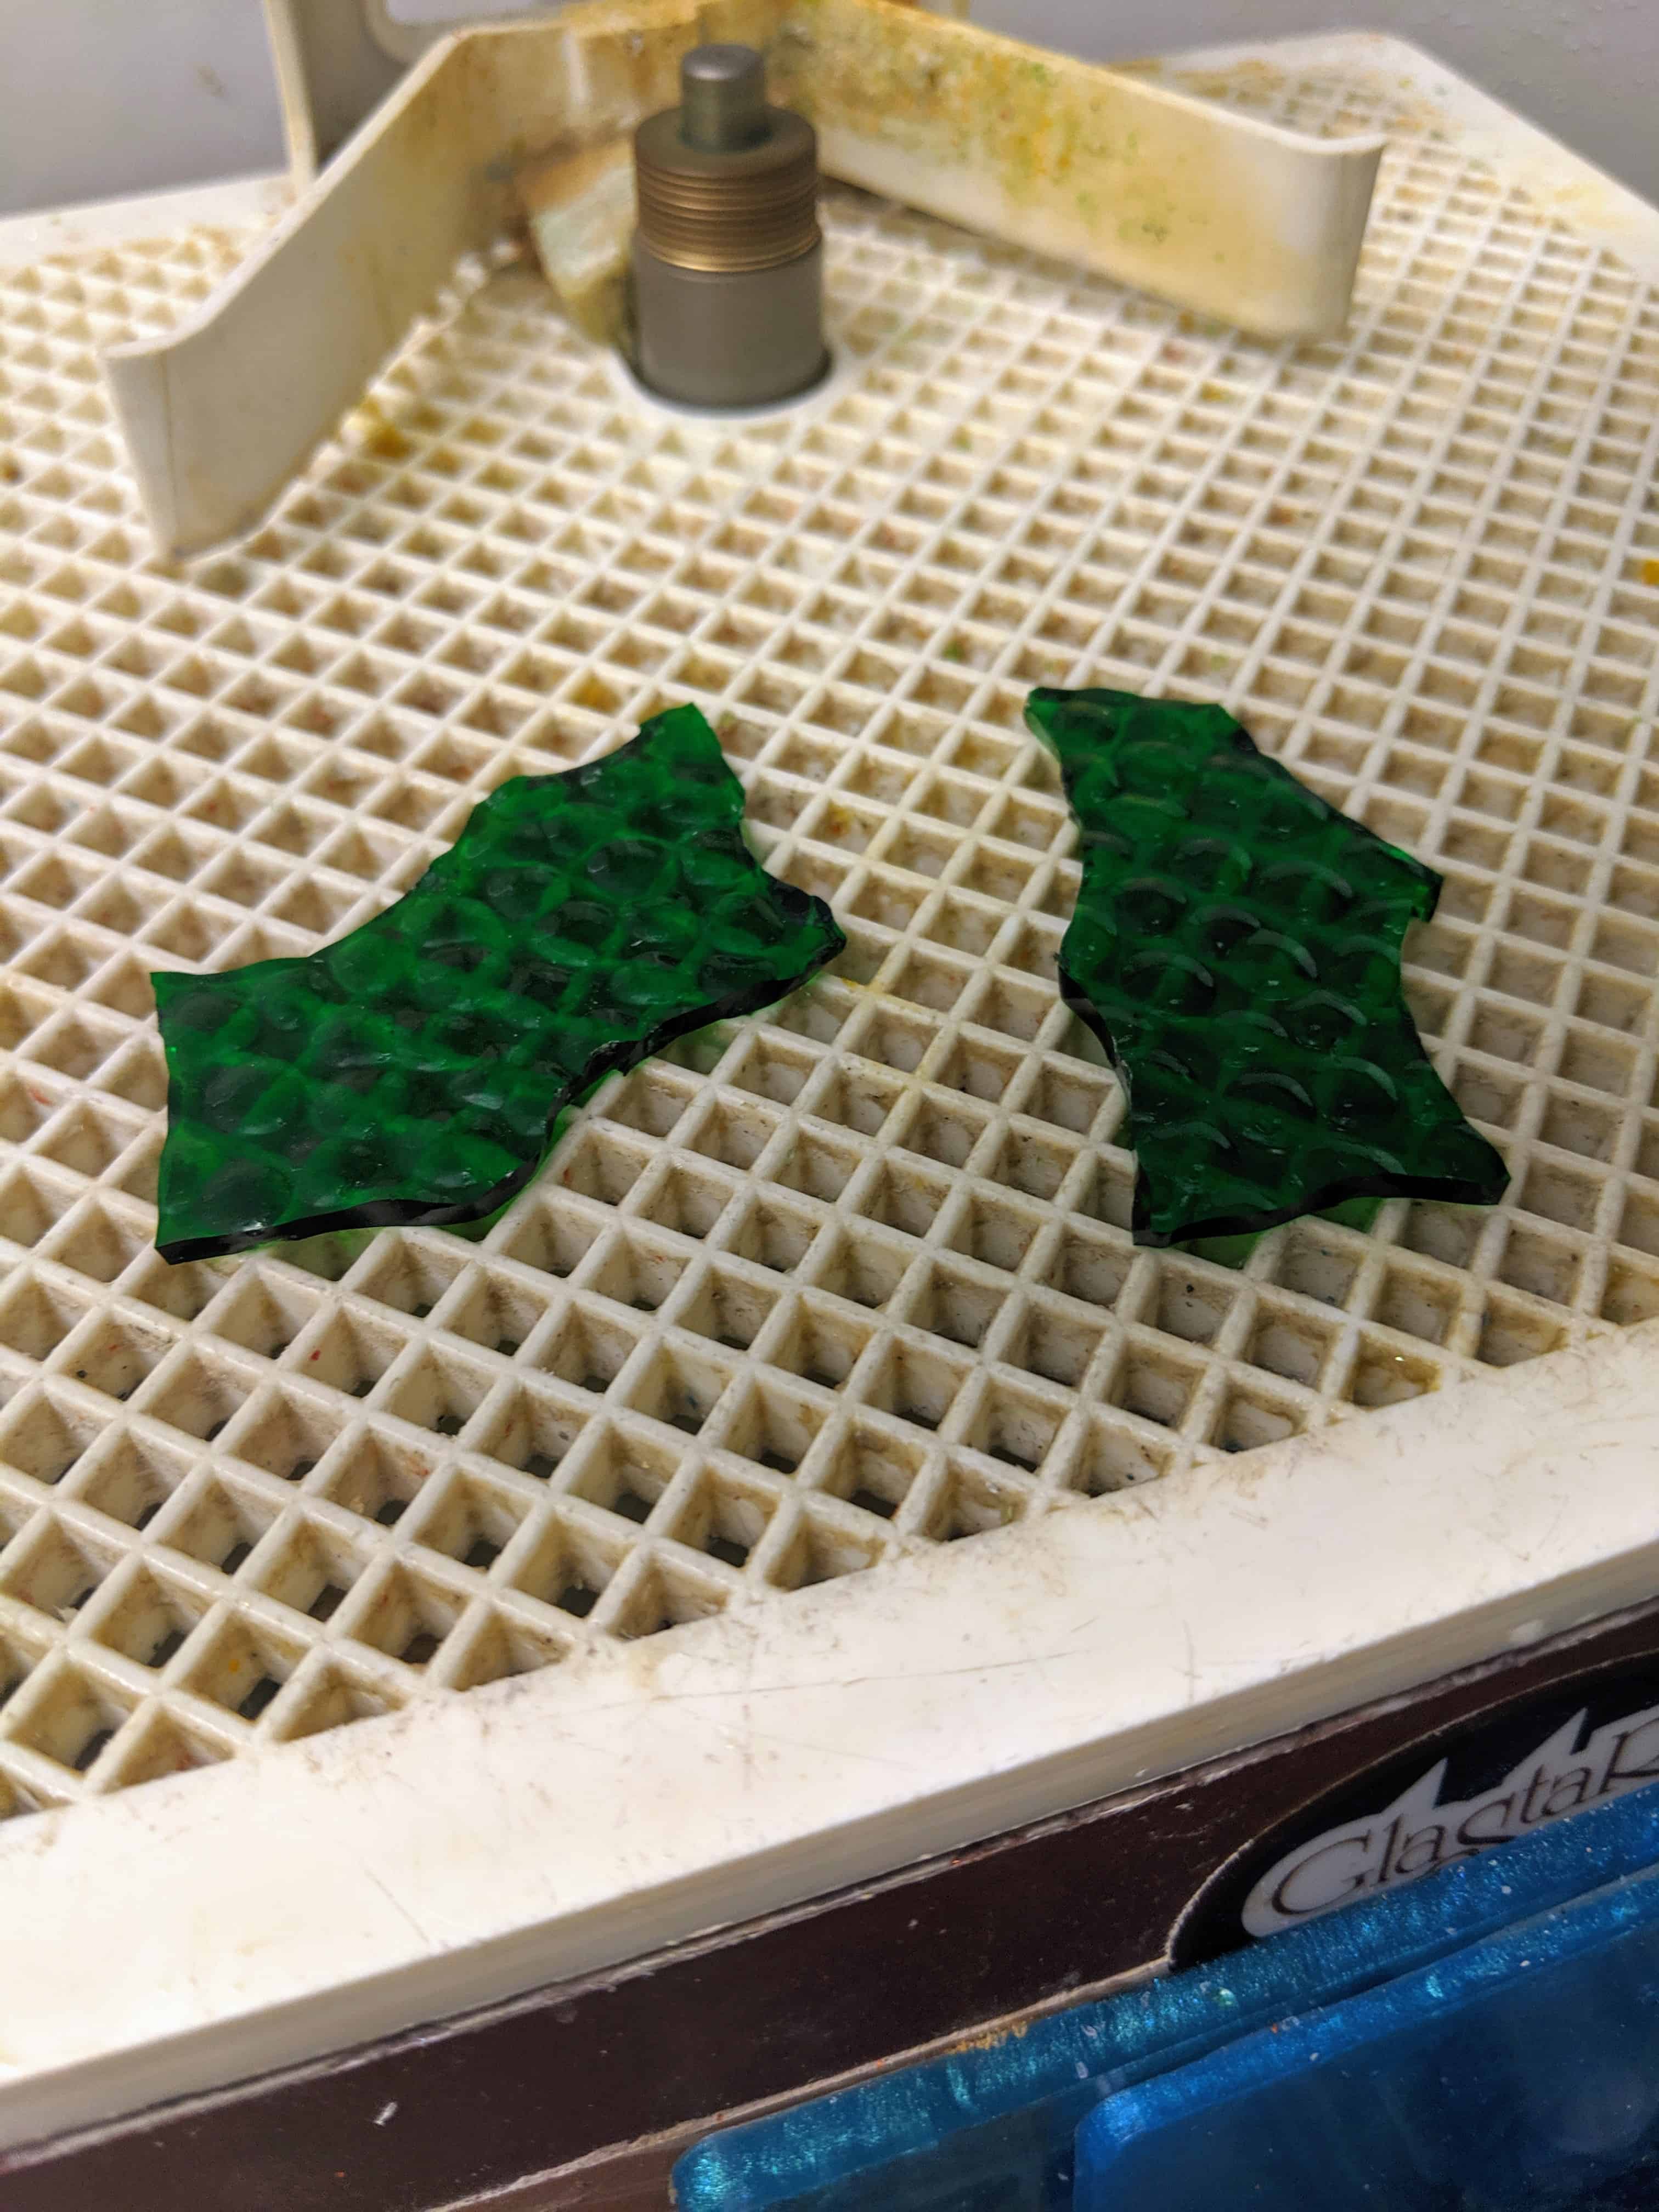
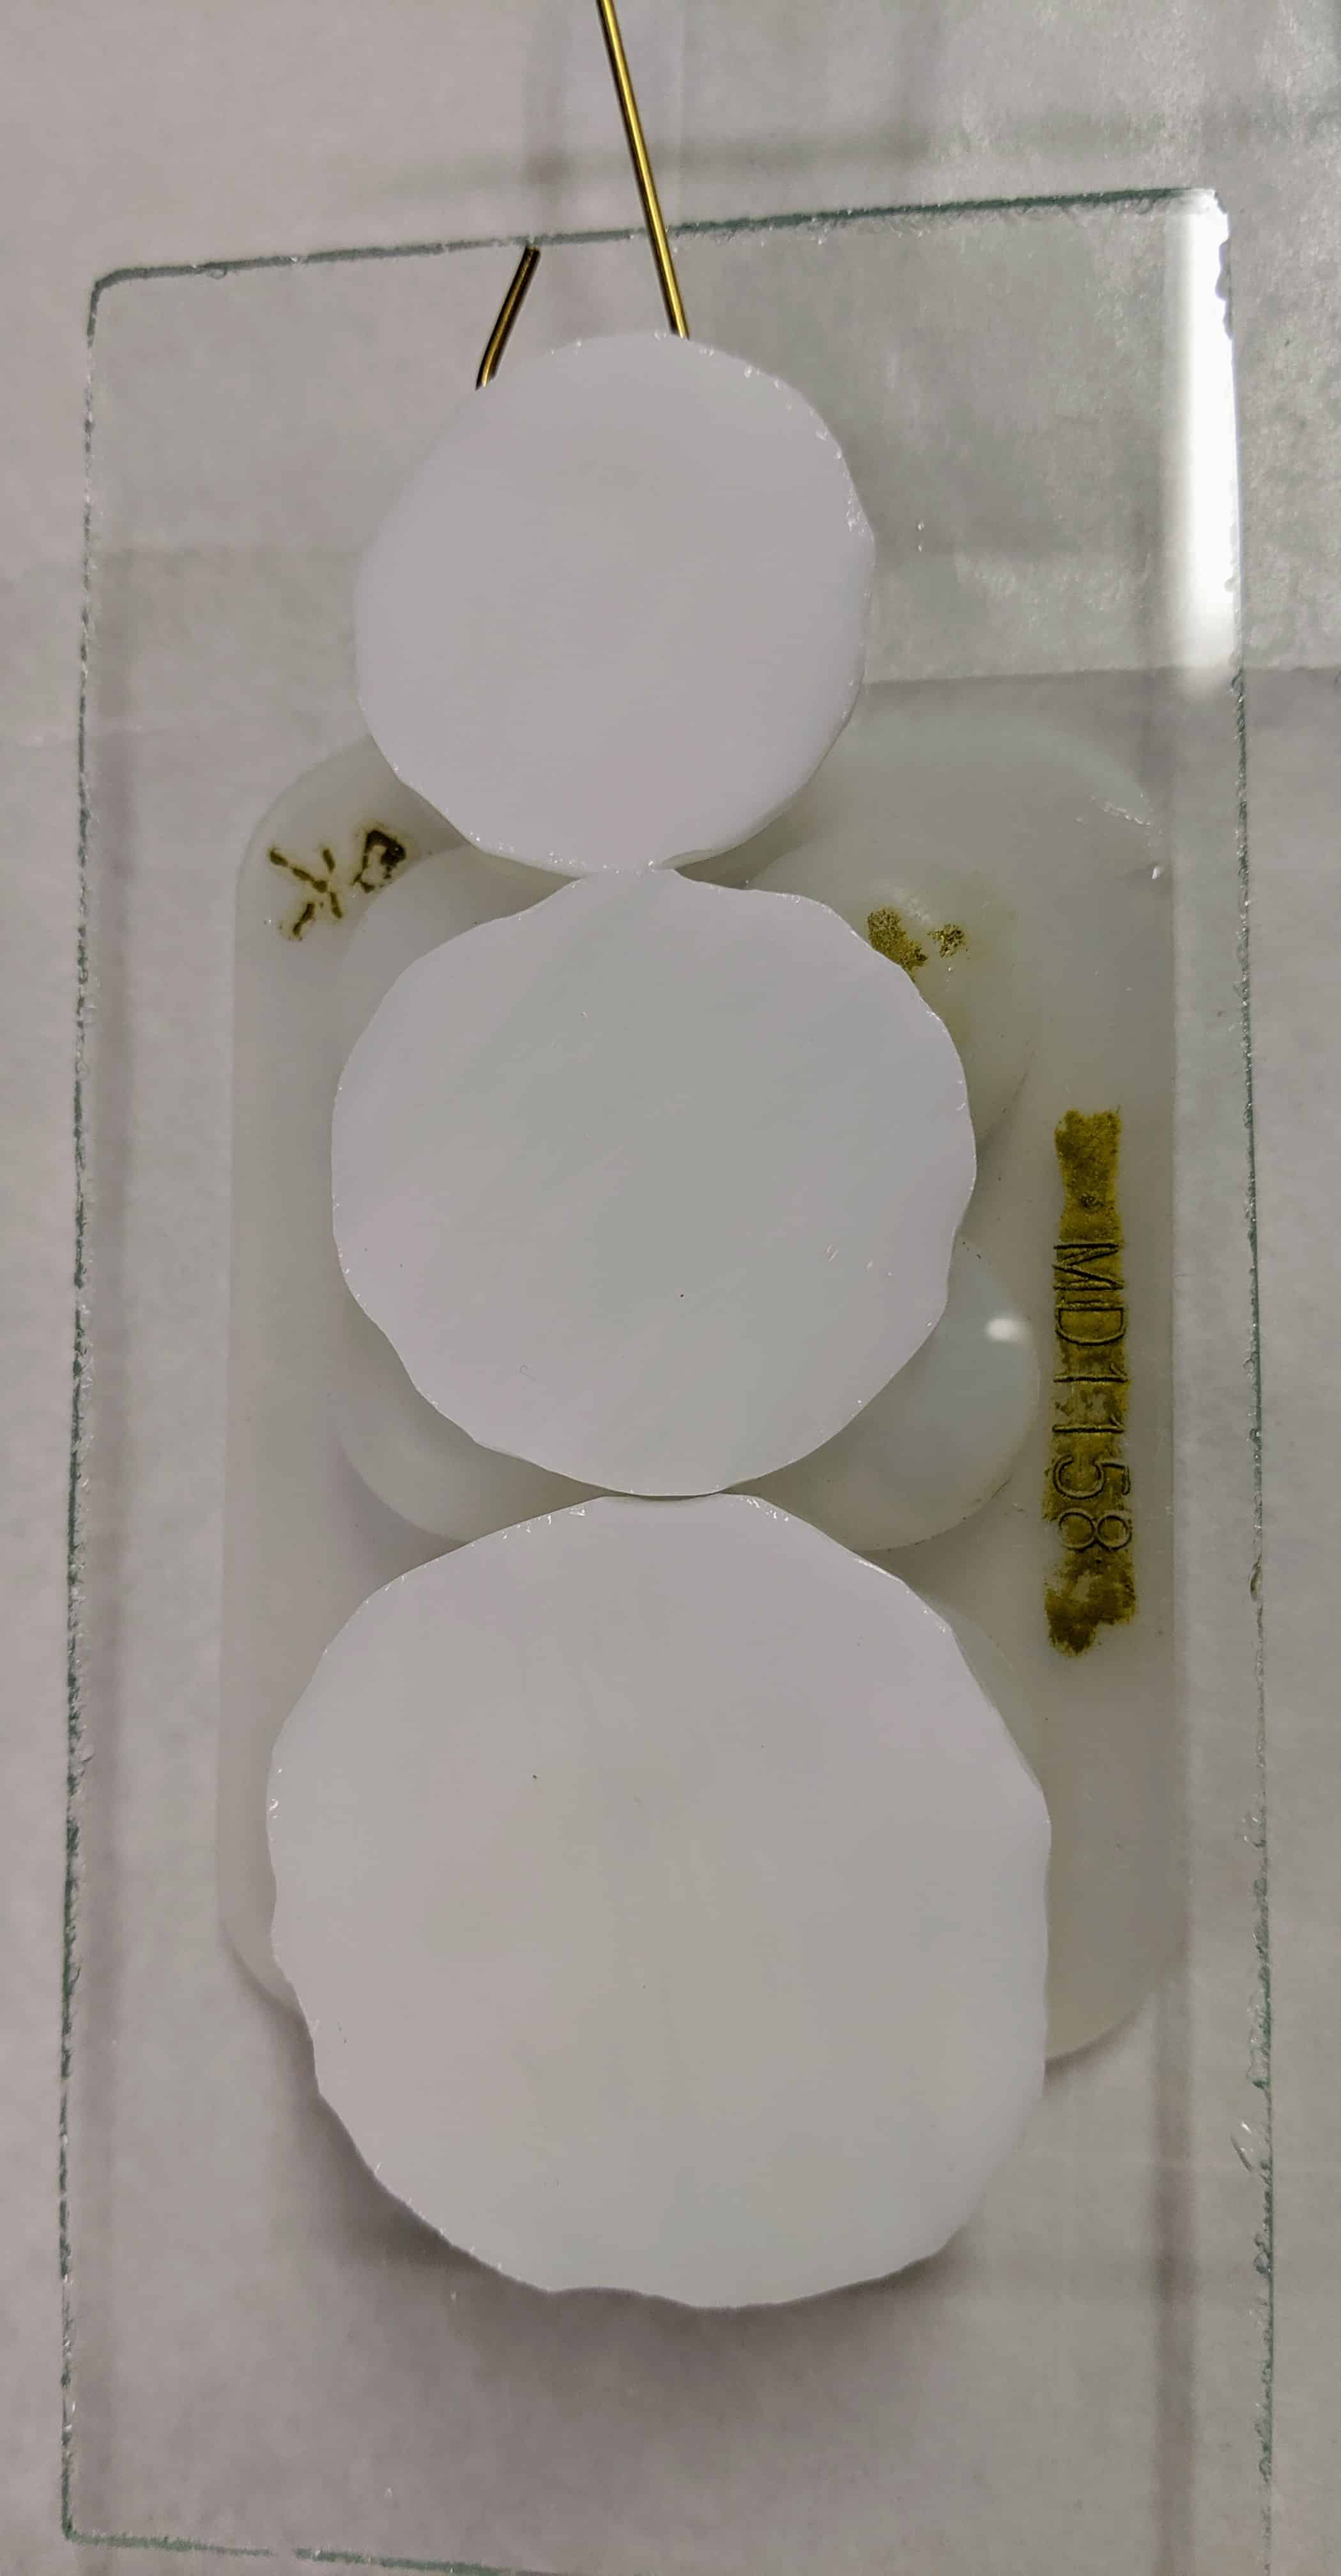
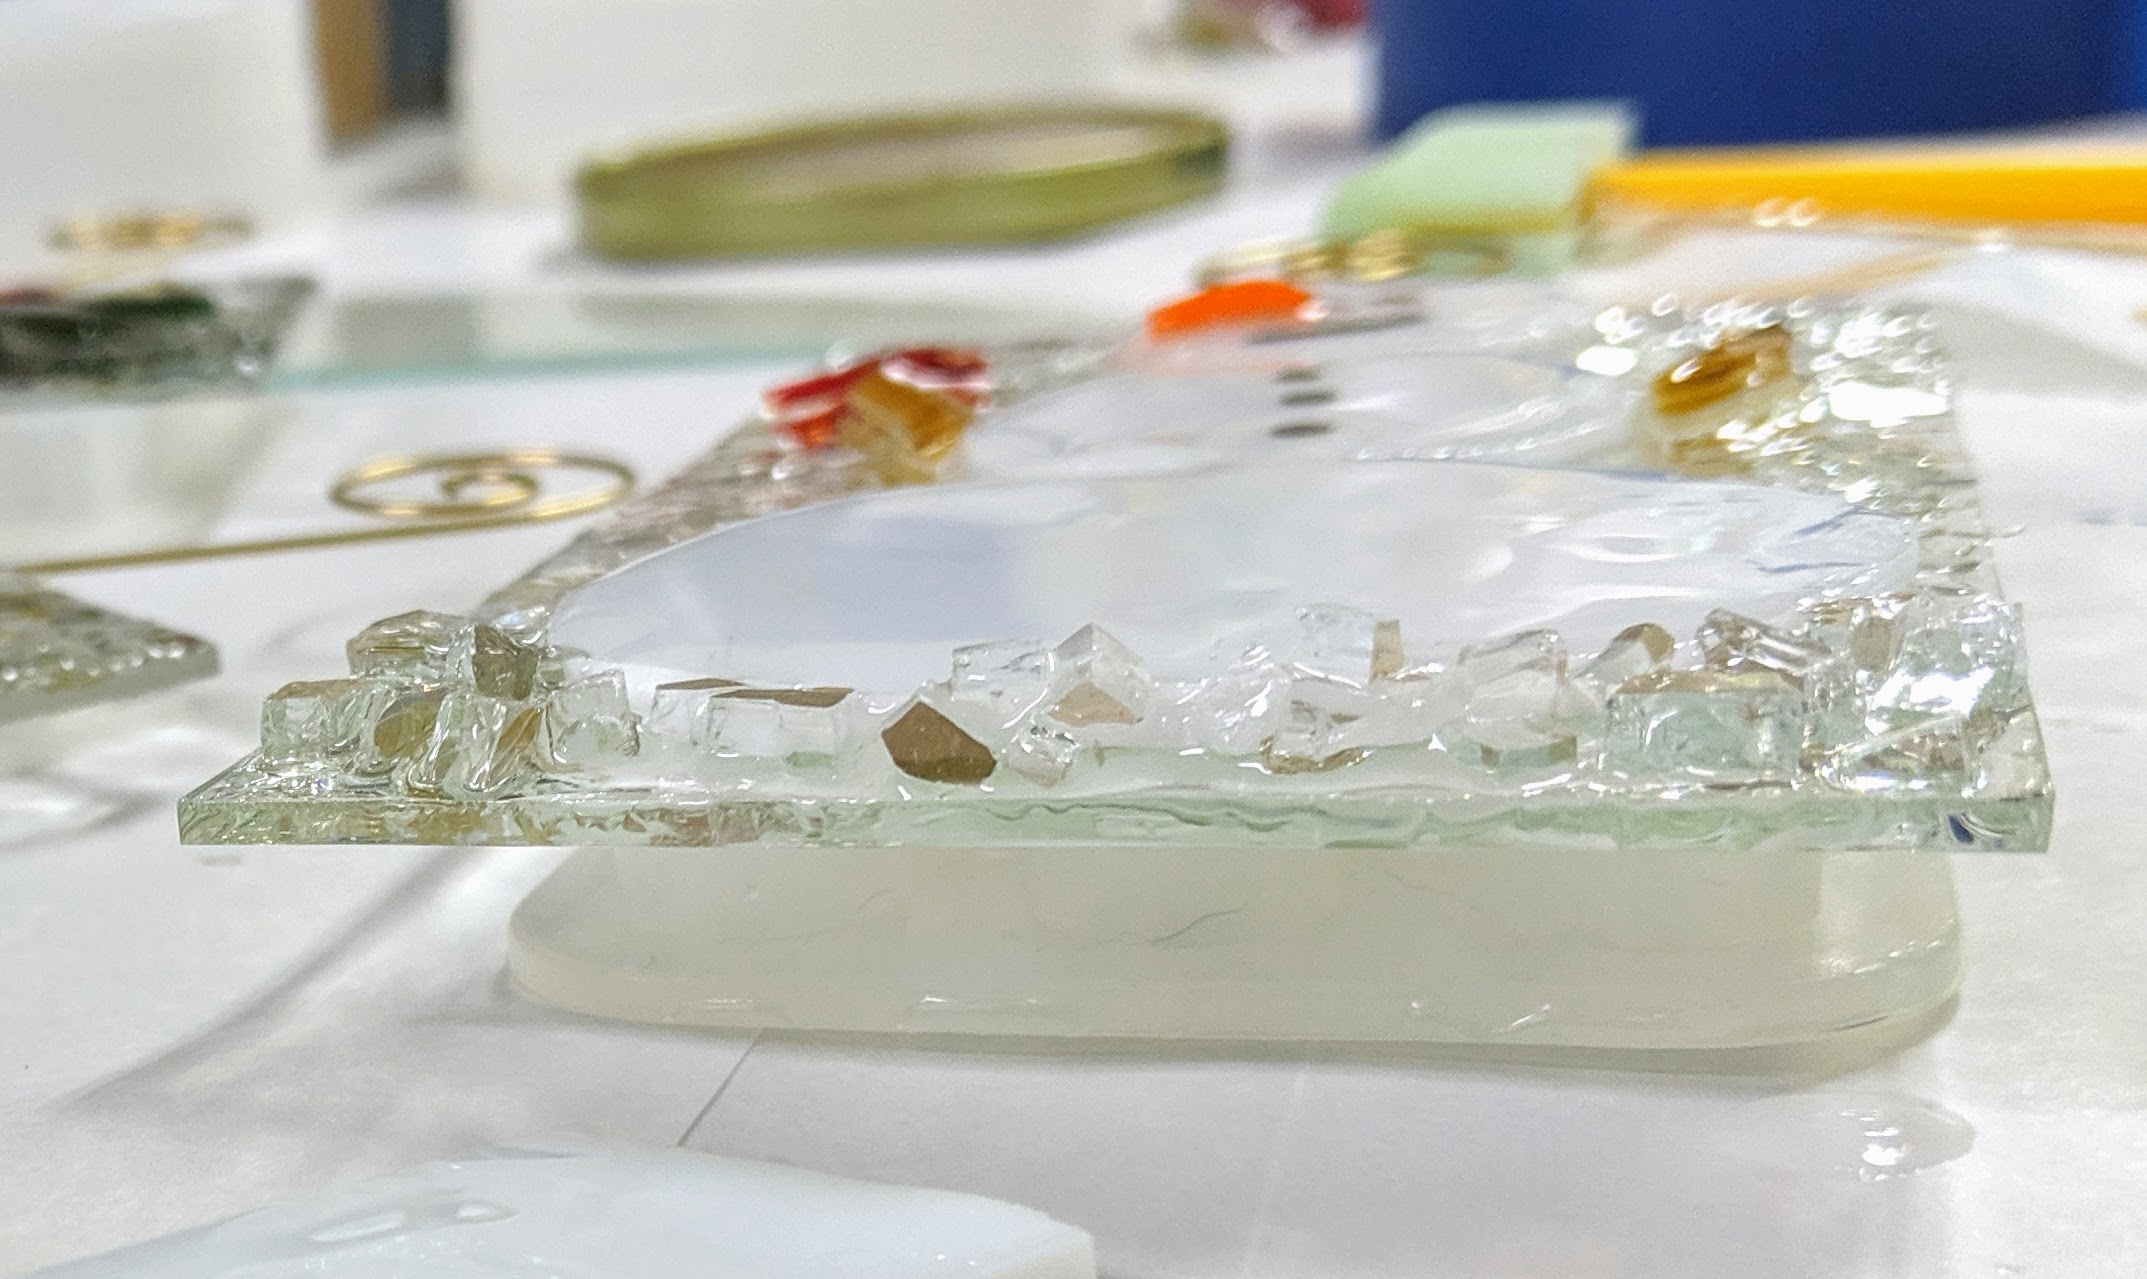
I had to cut and grind a few more pieces of glass for the red berries and the carrots for the snowmens’ noses. After that I was ready to pour the resin. It’s really more of a drizzle than a pour, then I spread it across the surface of the ornament with a sponge on a stick. After that, there is a lot of scraping of drips off of the backs of the glass. Any drips that I miss will require some sanding after the resin cures, but I really prefer to take a proactive approach and just remove the drips as the form whenever possible. I also use a heat gun at this point to remove bubbles.

Spreading the resin with a sponge.
How it looks when the resin is poured and spread.
Adding glass flakes for sparkle on the background.
Glass flakes on the bottom left corner.
Decorated and curing, still gooey.
Mistletoe decorated and curing, still gooey.
Tomorrow evening I should be able to get some better pictures of these!

Snowmen and Greenery

To make these snowman, tree and leafy ornaments, I start with white and green glass and cut it down until it is close to the shape I want. I then grind the pieces to smooth them and make them look more like the desired item (snowball, holly, mistletoe). It will be interesting to see how the texture of the green glass looks after I pour the resin. Past experience has shown me that the texture will be mostly lost once the resin is applied, but I haven’t tried it with this glass yet.

I like this green glass for evergreen leaves.

Here is a snowball in the making on my glass grinder. Yes, I do slice my fingertips while I grind the glass – I try to do a quick once around all the edges to minimize the damage to my fingers, but they still get a bit of wear and tear.

Birth of a snowman.
Rough Holly leaves before they have visited the grinder.
Laying out / gluing pieces for a snowman.
Laying out / gluing holly leaves.

Once I have the larger pieces of glass ready, I glue them to the clear glass ornament bases. I glued the ornament hooks on the bases yesterday.

Glued down – tree, snowmen, holly and mistletoe.
.

I will pour the resin and add the detailed accents and some more small glass pieces for red berries at the same time. I like to add crushed glass “snow” under the snowmen and trees, and clear glass flakes to the backgrounds. I might cut some red berries for the holly from glass (like I did for the mistletoe), as the red balls of glass I have might be too small in proportion to the leaves I cut. I was hoping to pour the resin for these today, but I just ran out of time.

More small things

I needed to finish the second snowman ornament I started yesterday and use up some leftover glass, so today I made some smaller ornaments with Cardinals and some greenery, plus a few resin ornaments.

Laying out the glass pieces
Next I glued the hangers onto the base of the ornament.

Next I poured the resin, then added the glass chips and chunks for the snowy effect in the background. I always elevate the pieces on a silicone mold so I can wipe off drops while the resin cures. I have tried using painters tape around the edges of the back side, but it’s more trouble to me than doing this and I get better results.

Ornaments raised a bit off the work surface.
Close up view of the snowman ornament to show that it is raised off of the work surface.

I also poured the first layer and decorated a few more resin ornaments. I am using greenery from my yard and some store bought berries, as the ones from my yard don’t look as nice in the resin. Also some shells and beachy items.

First layer poured and decorated.
First layer poured for two beach-y ornaments.