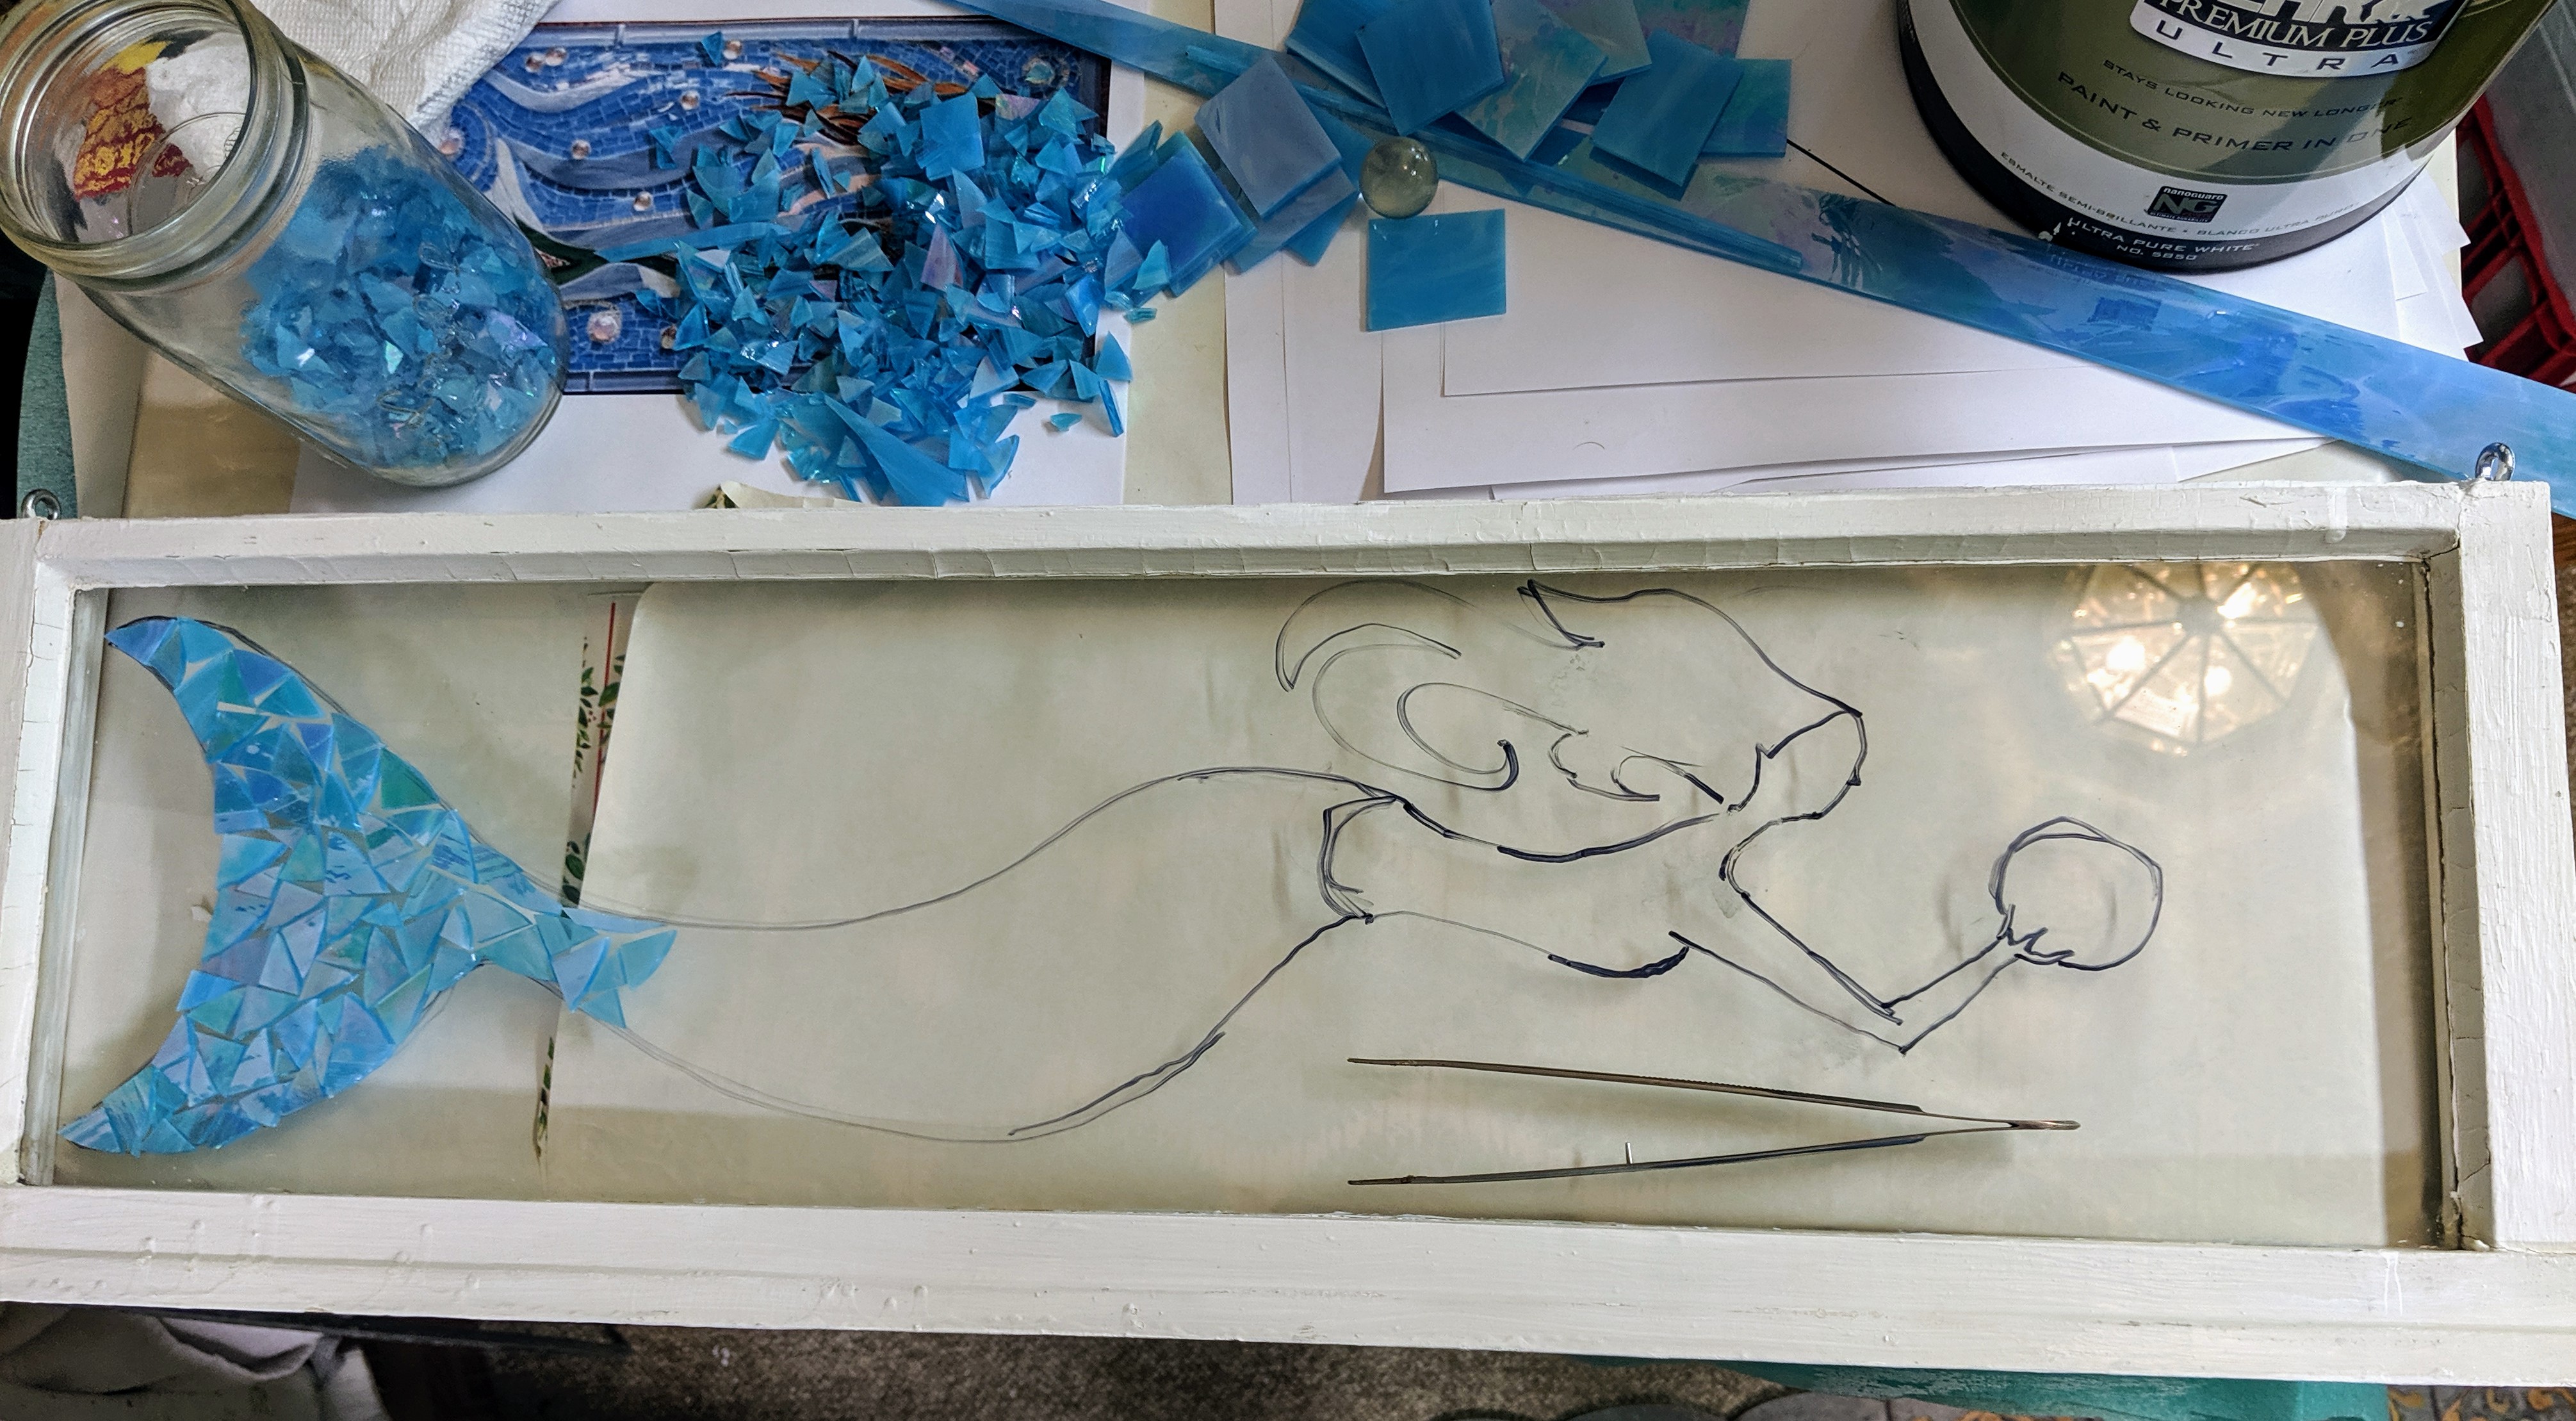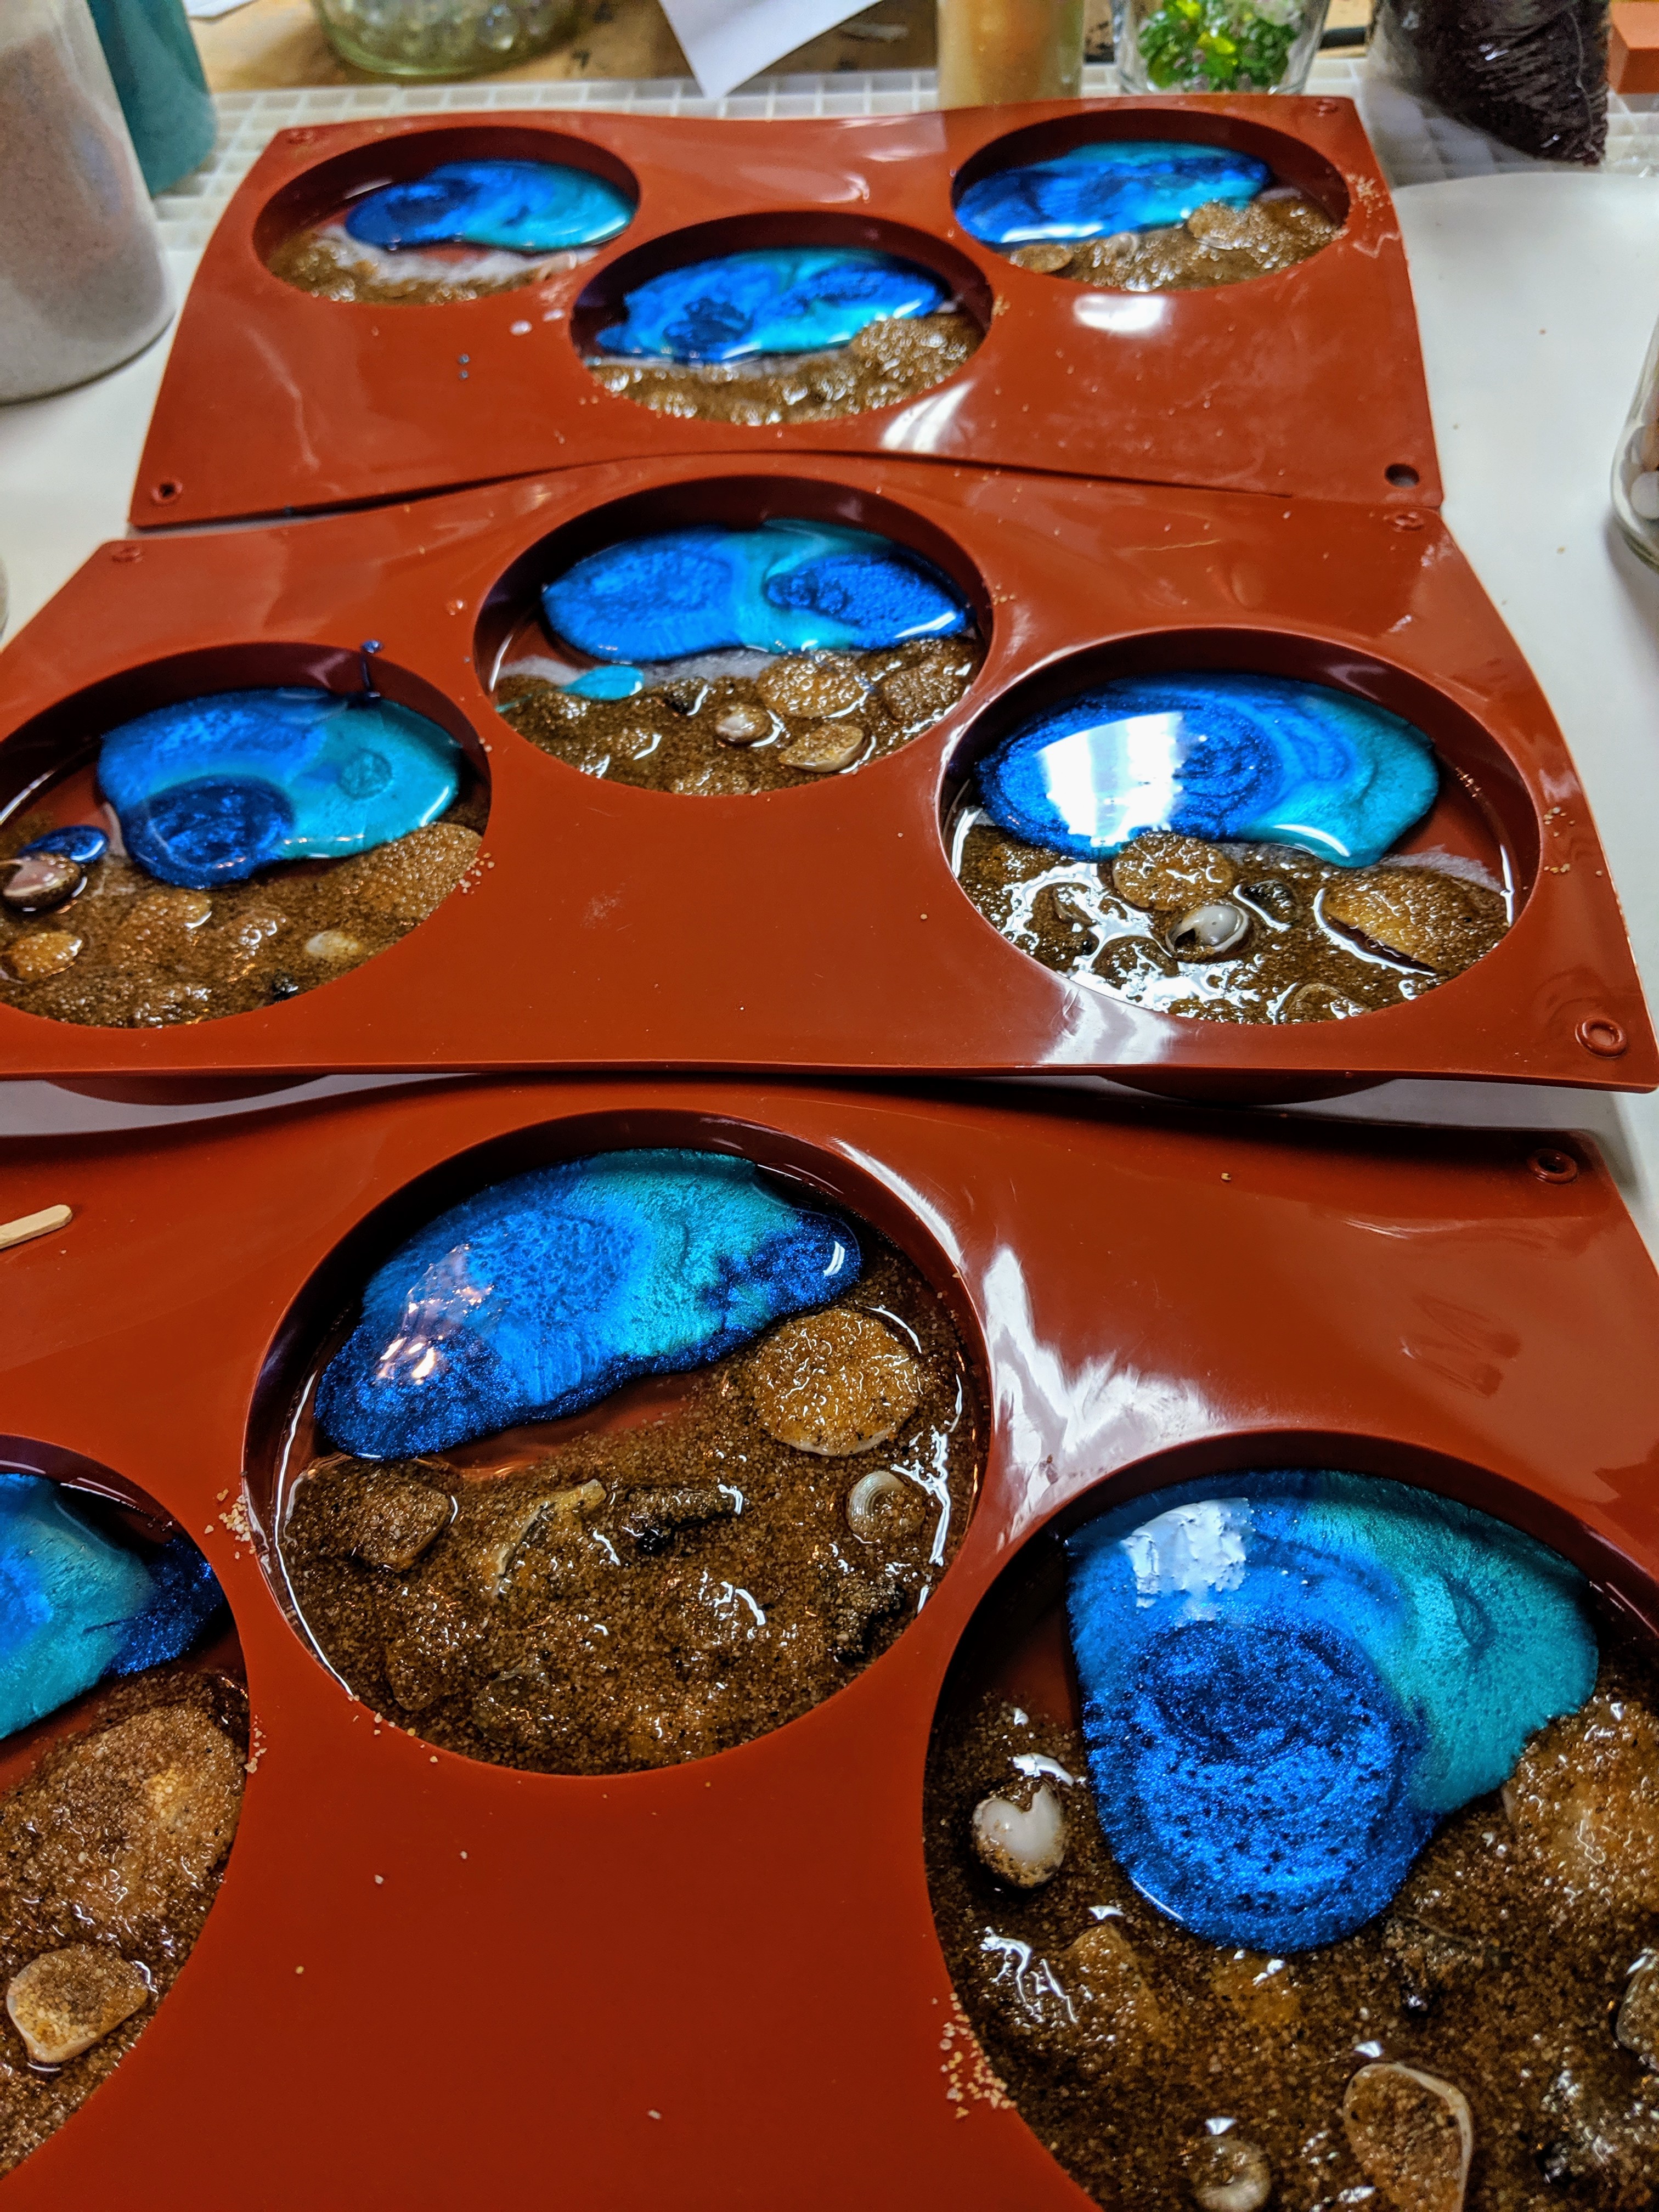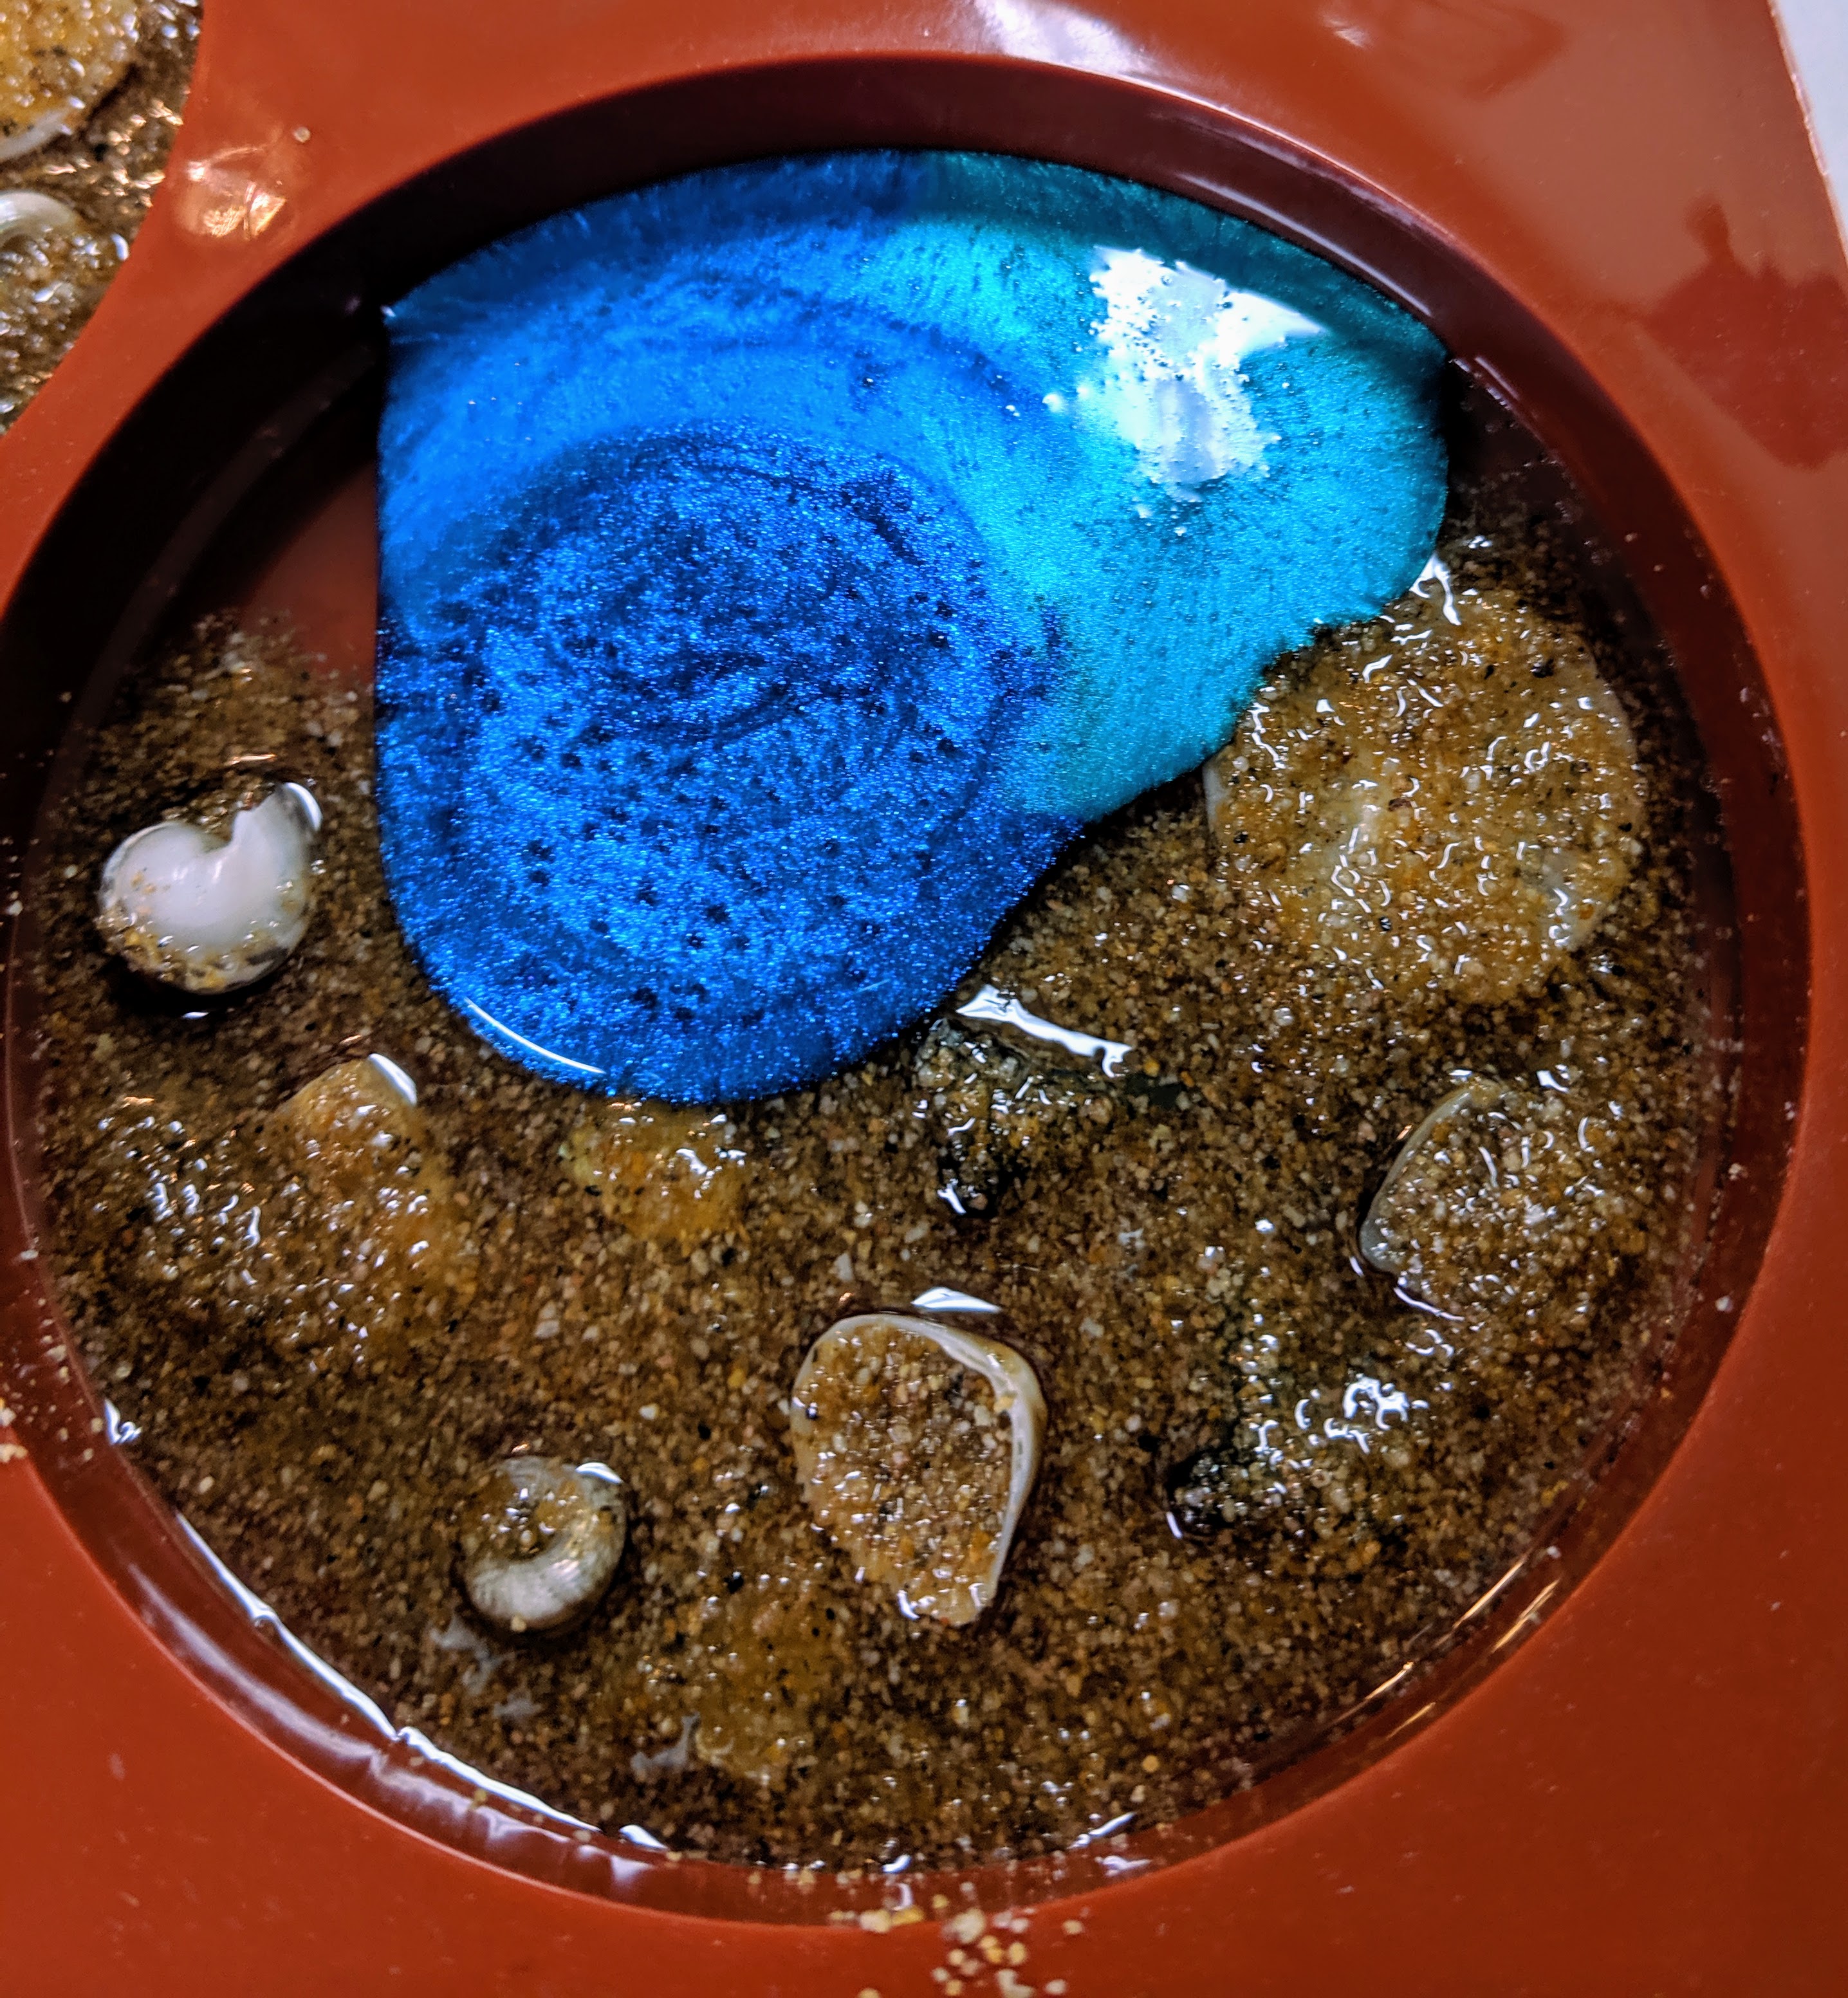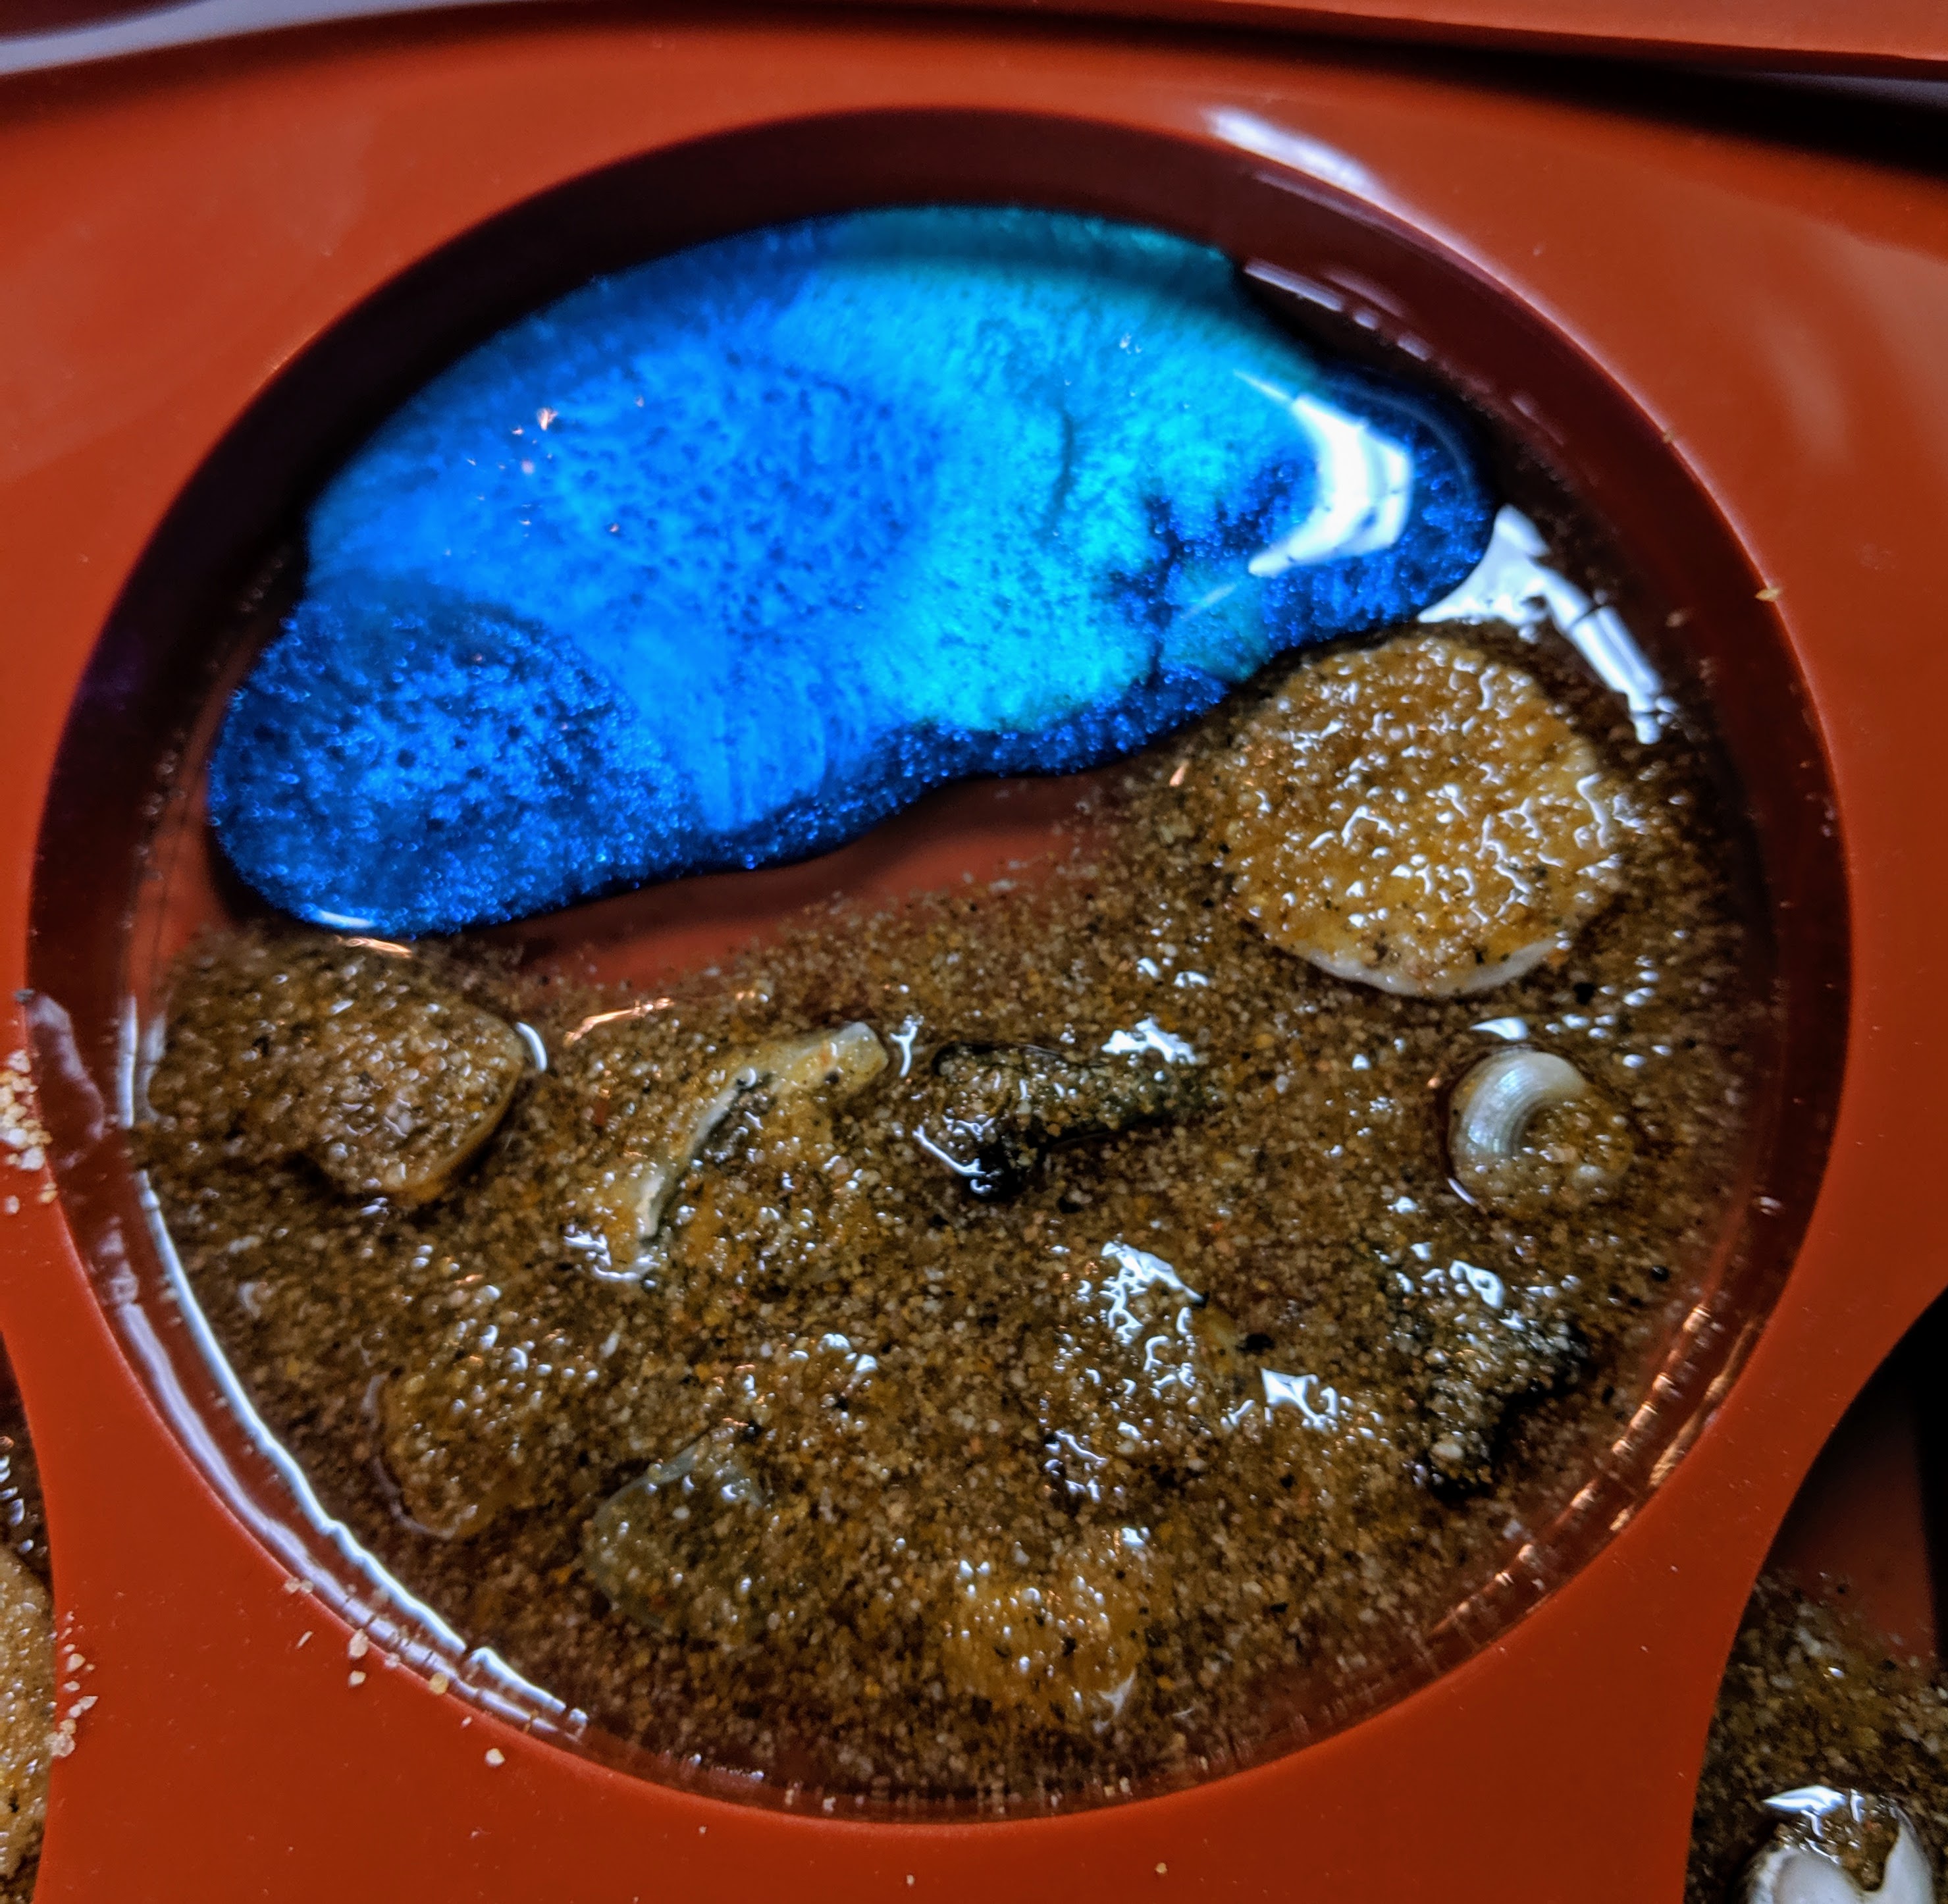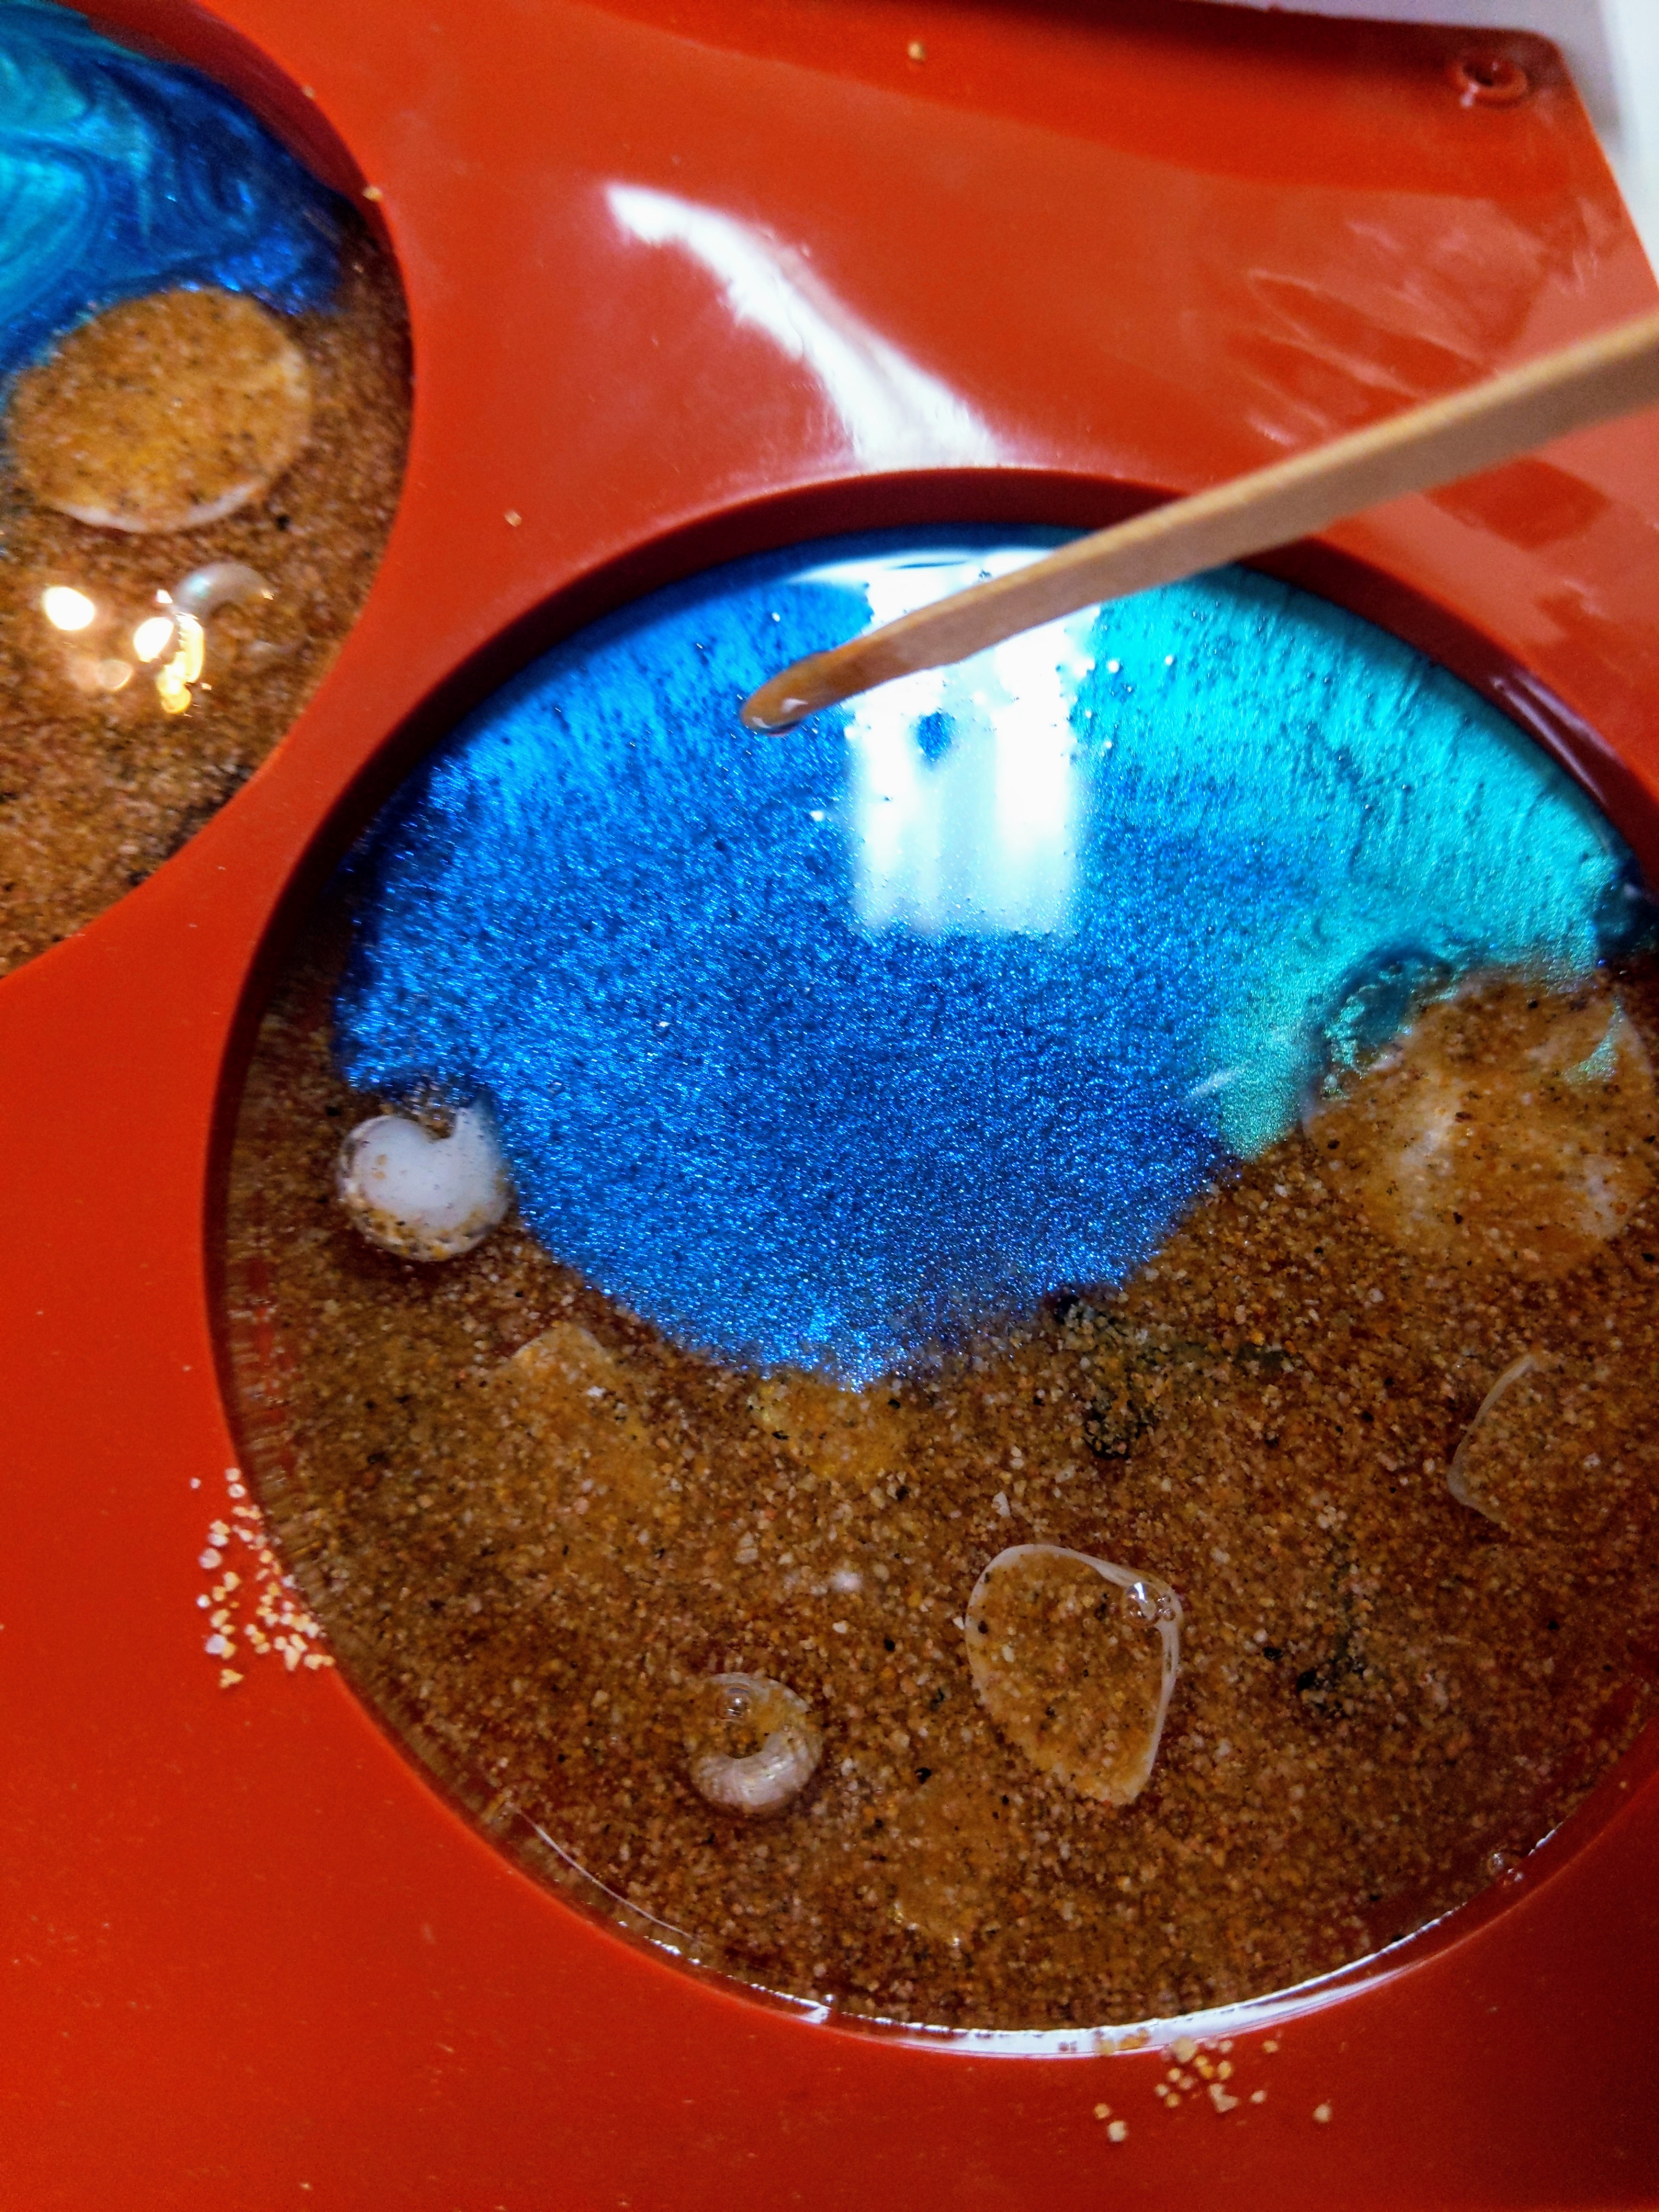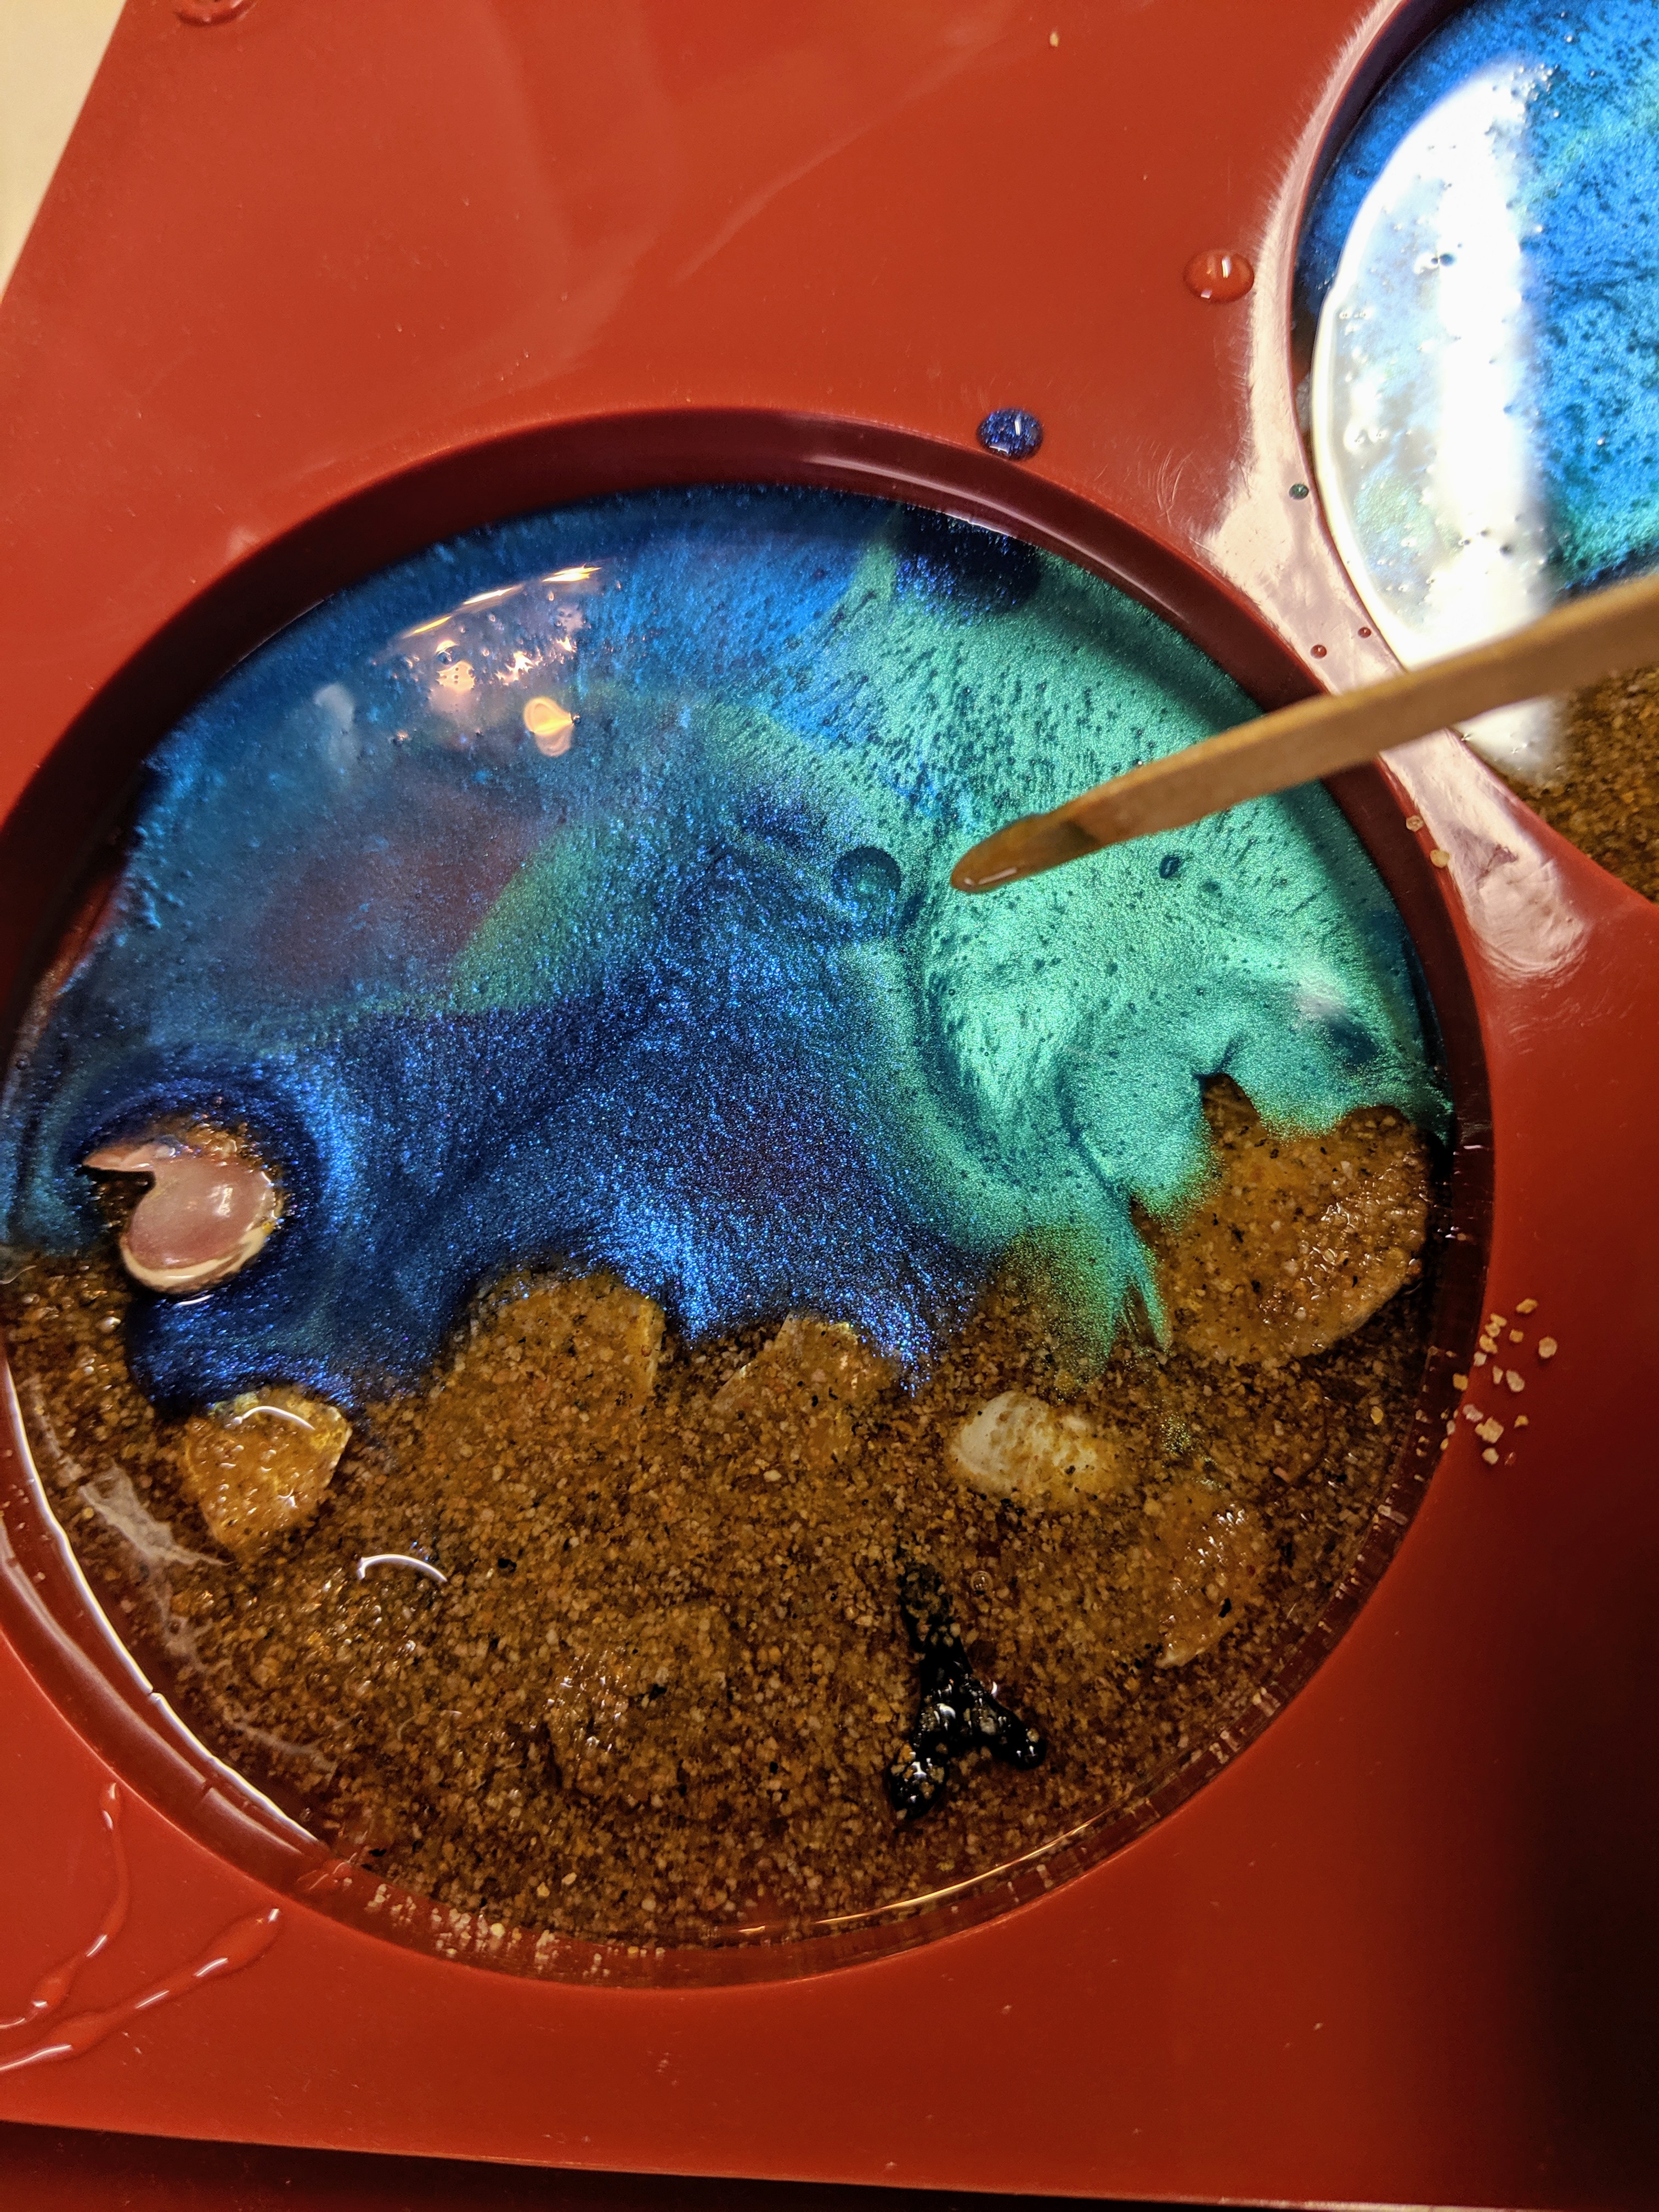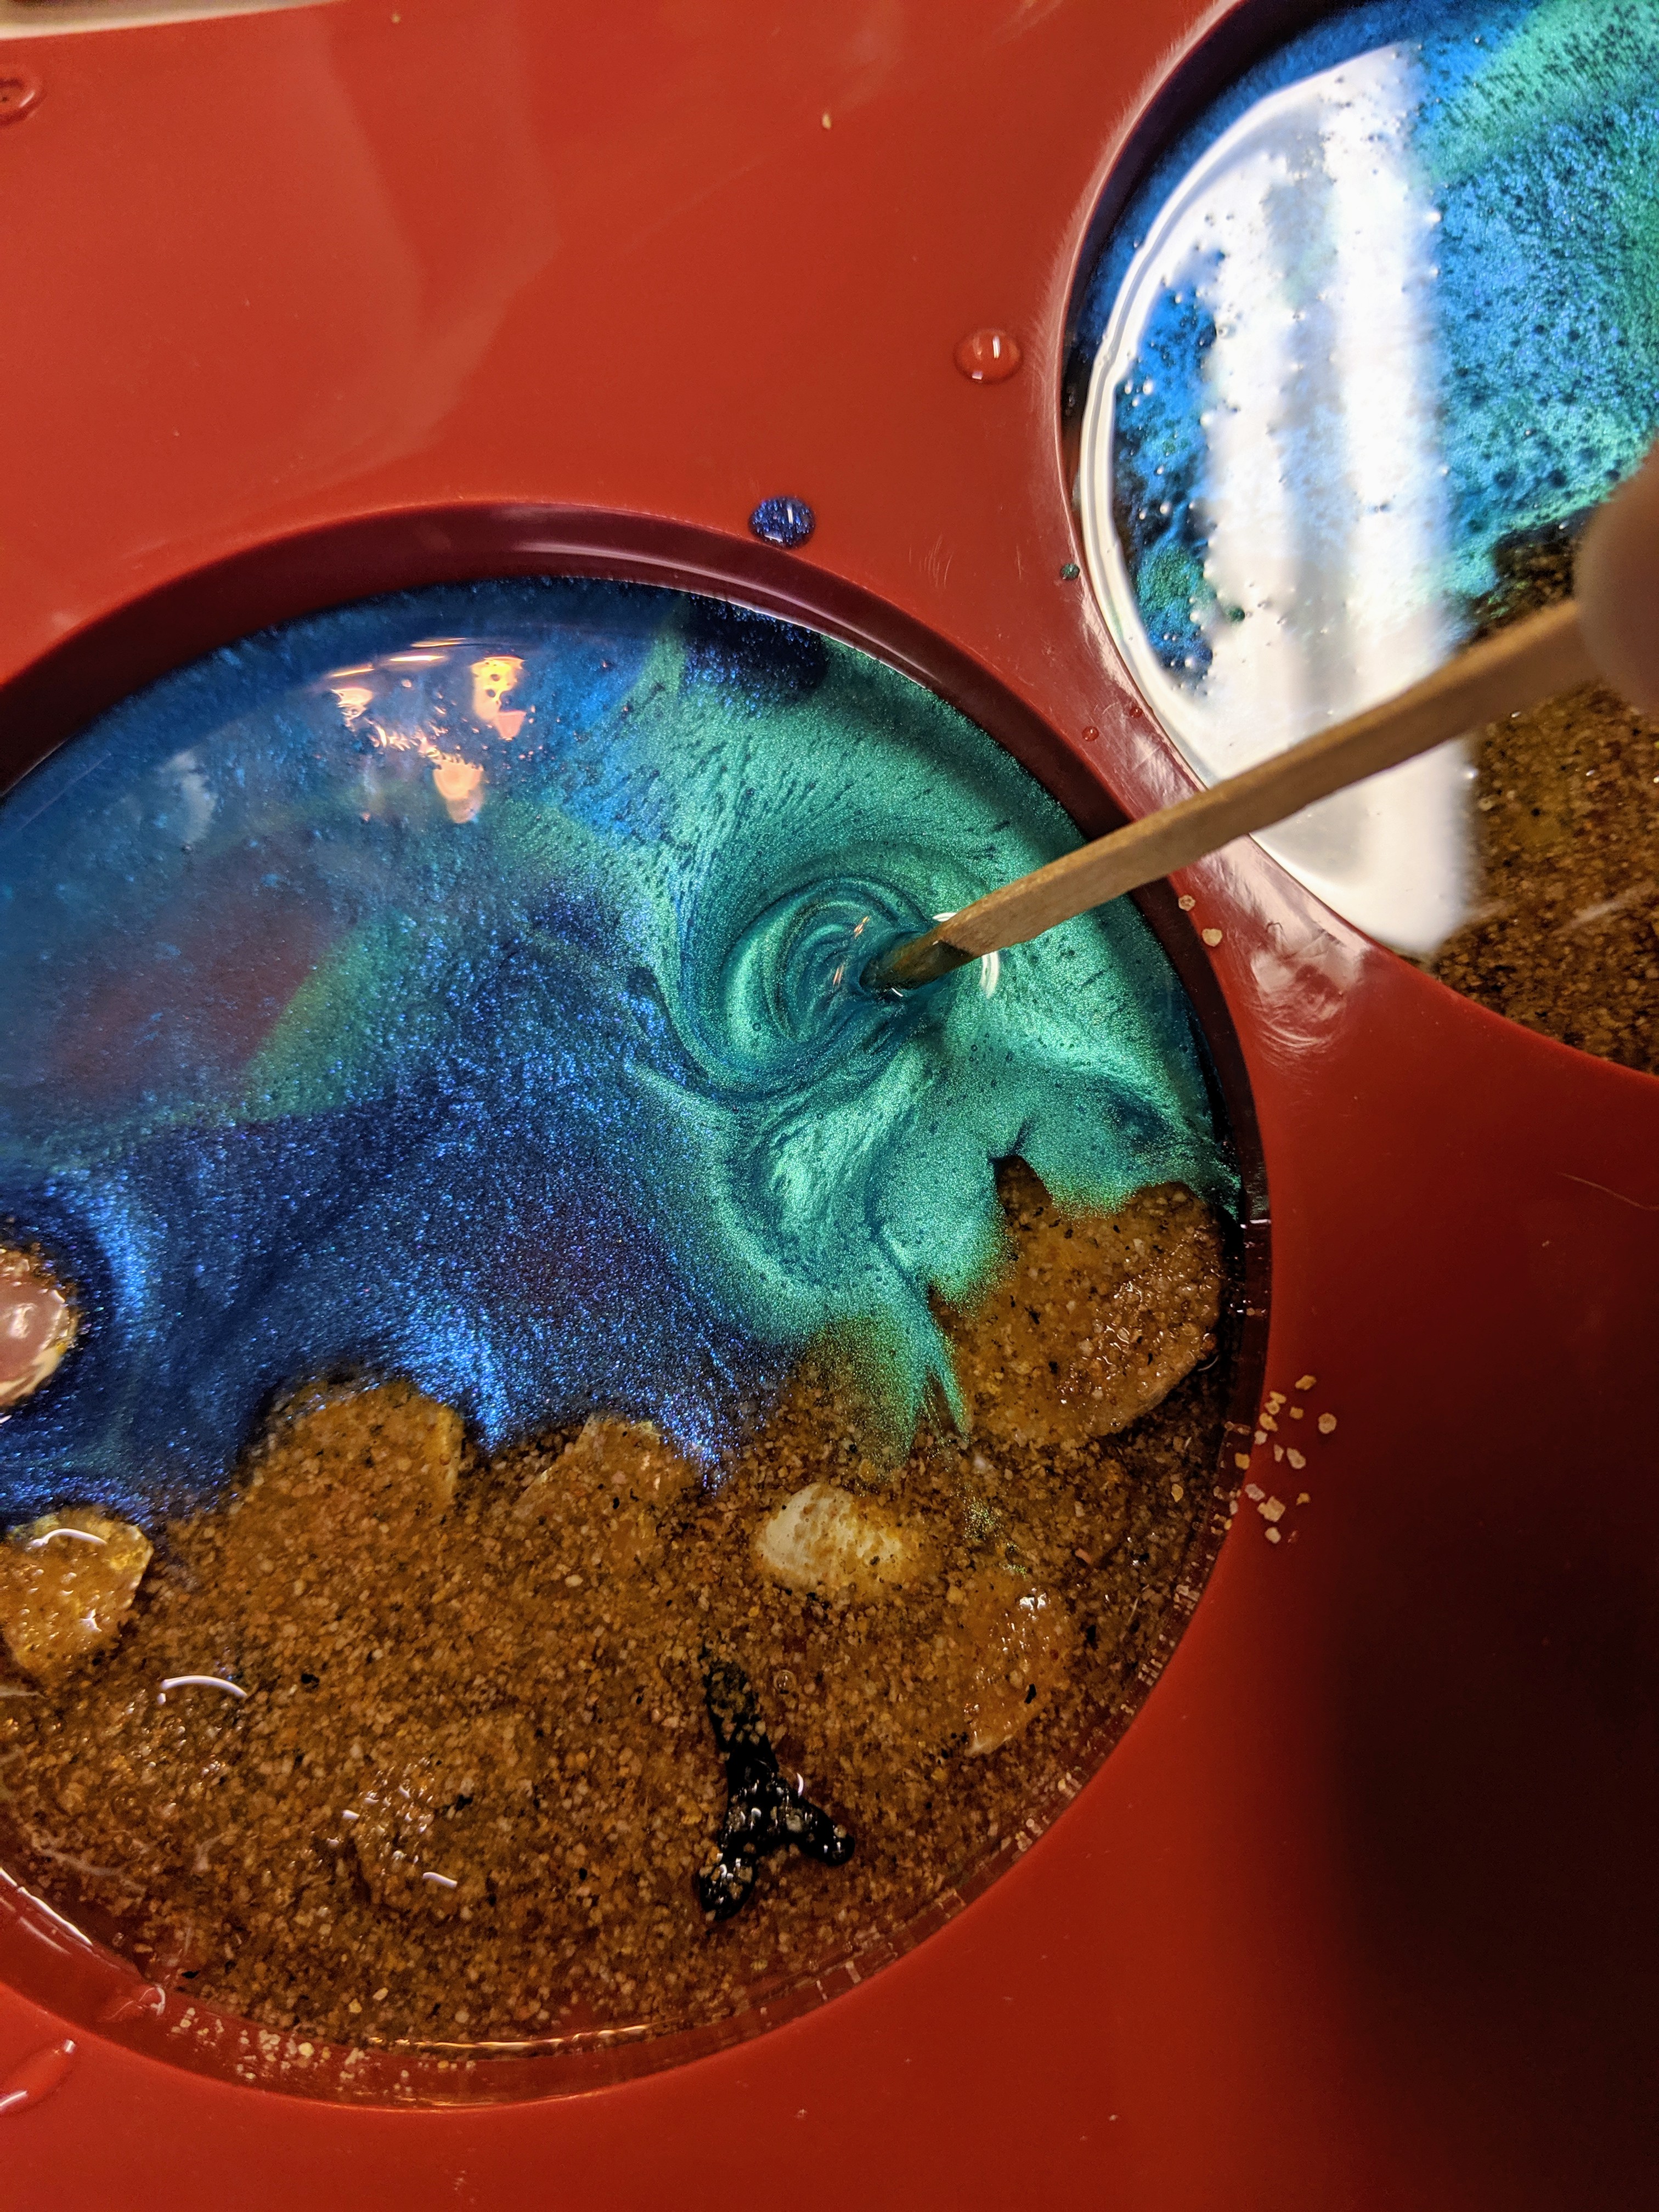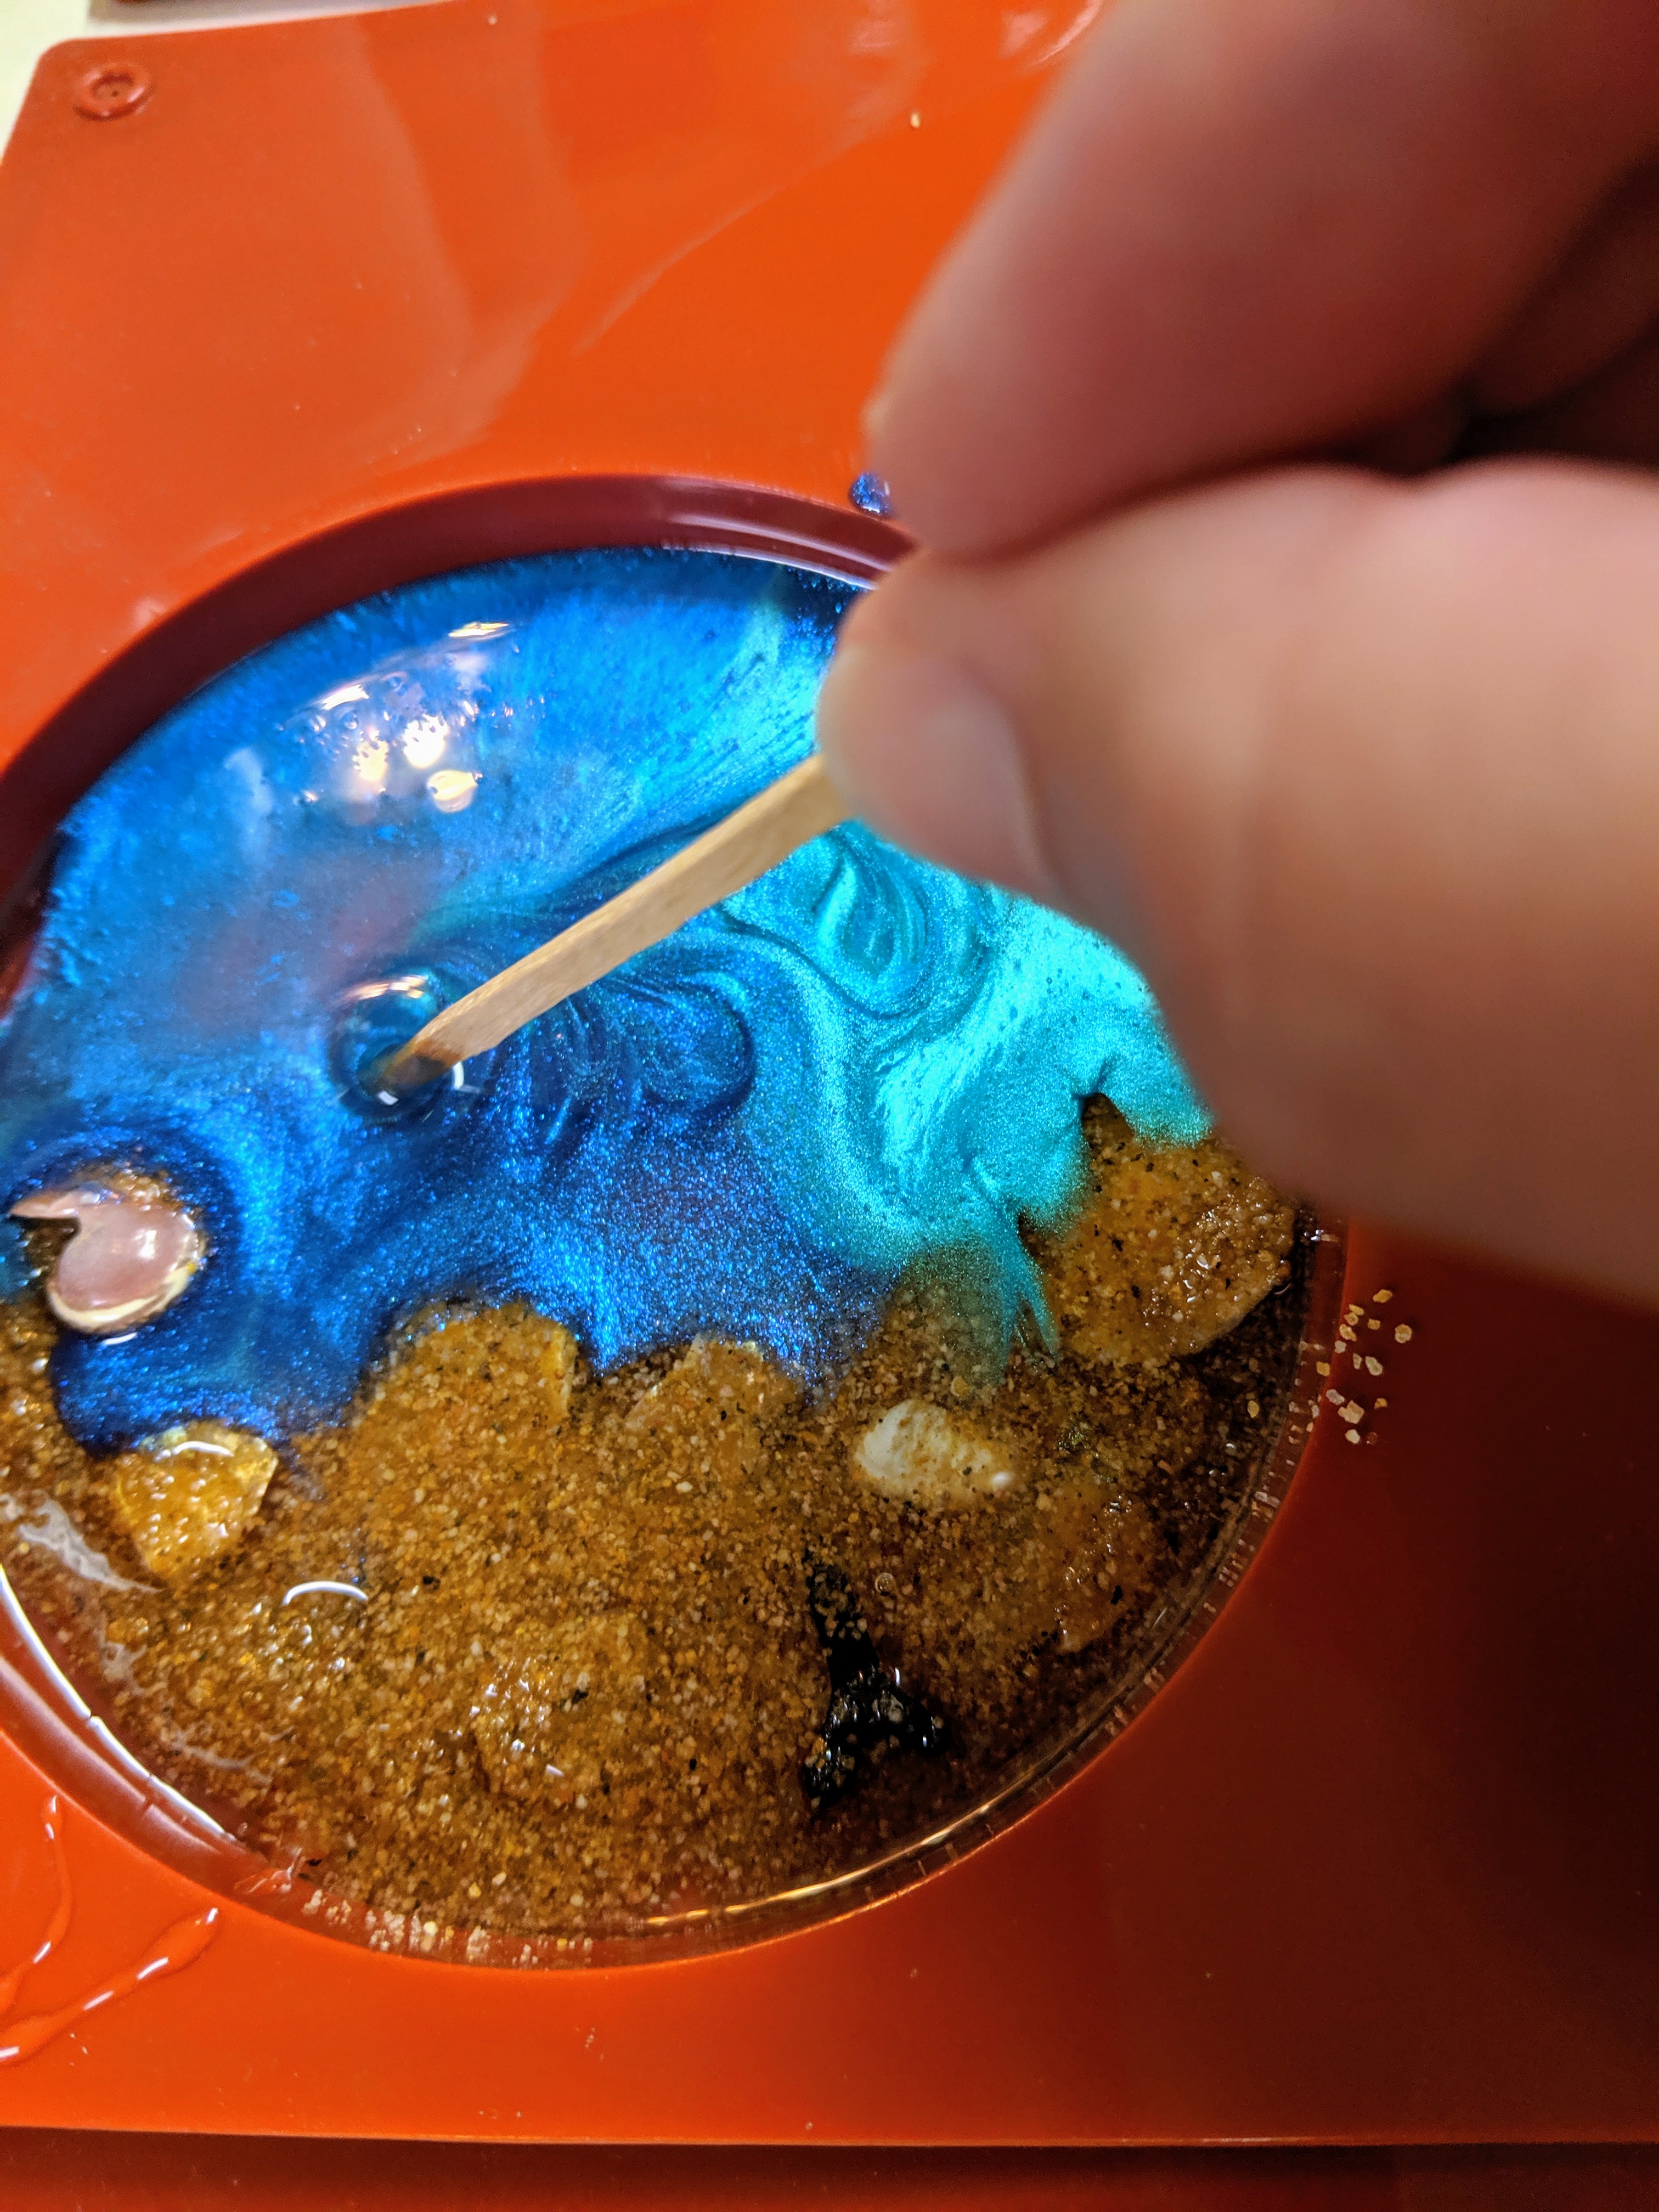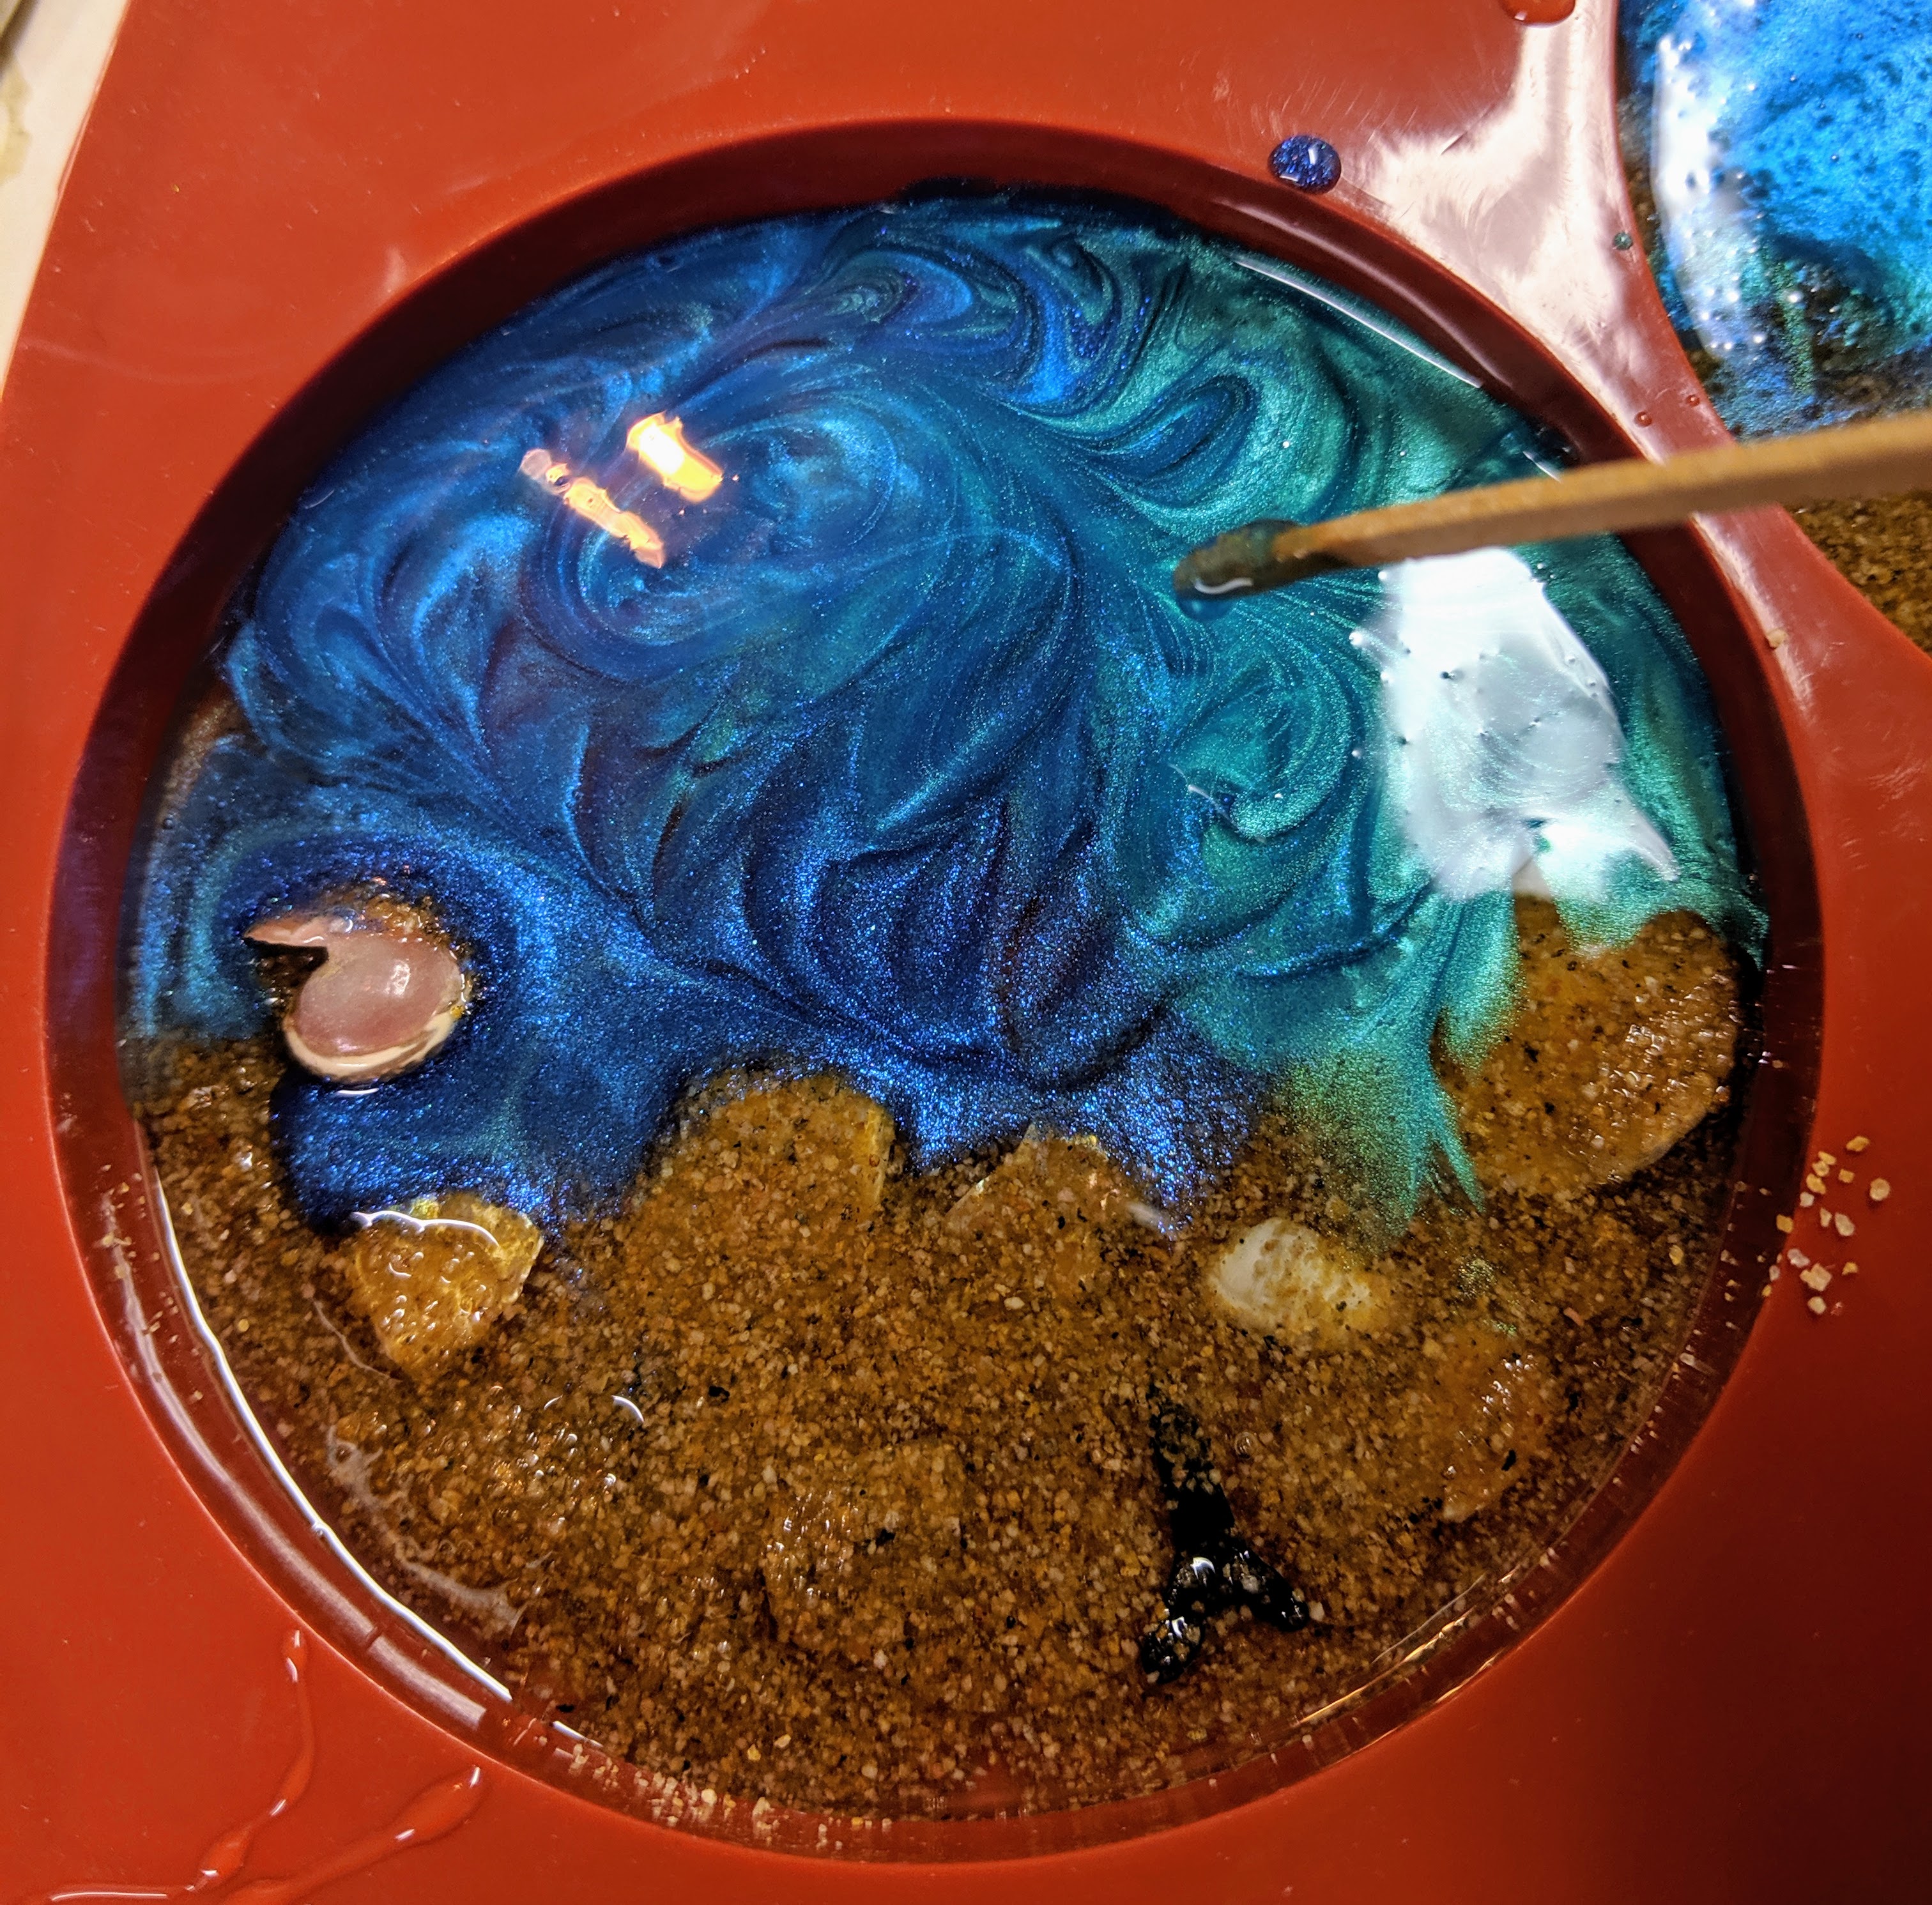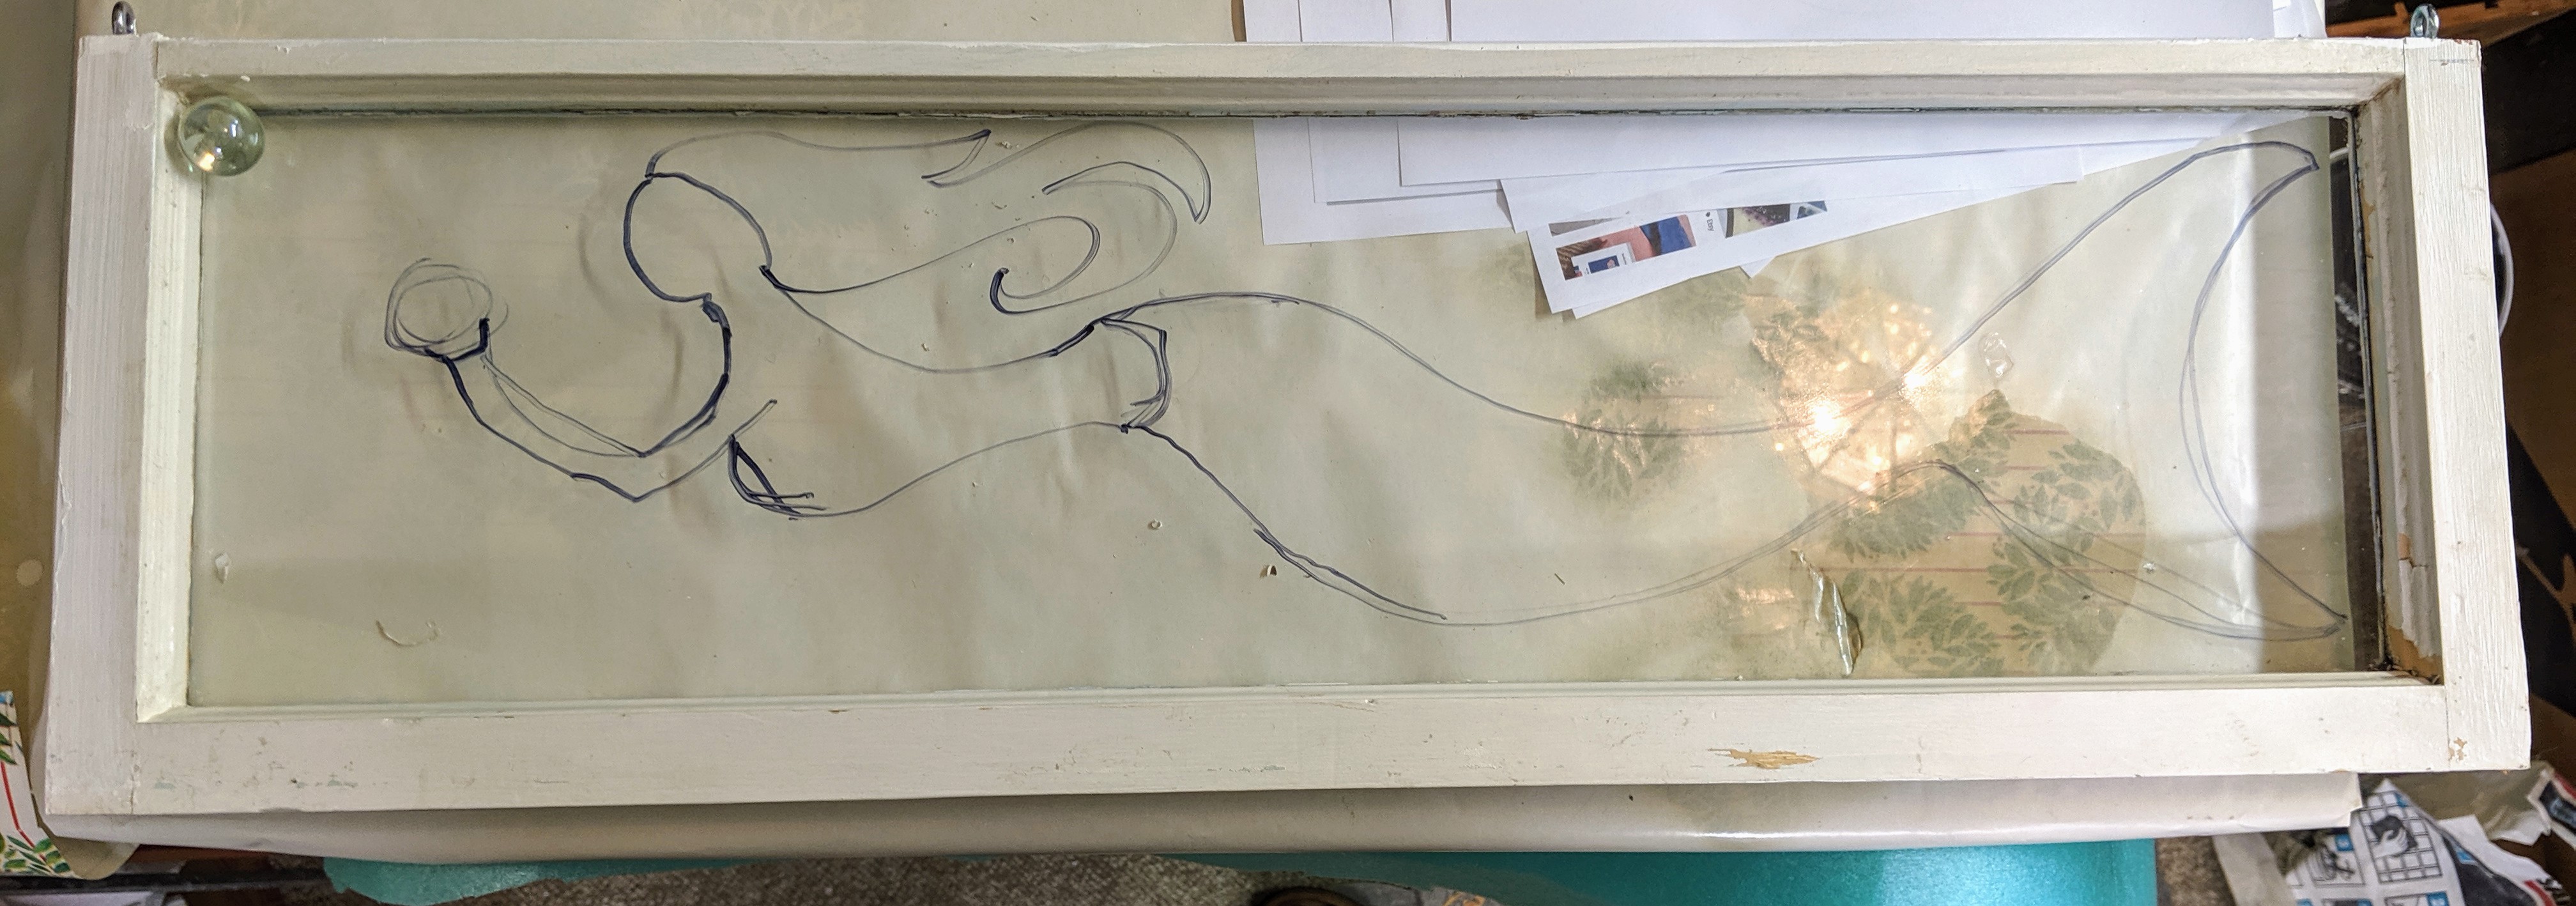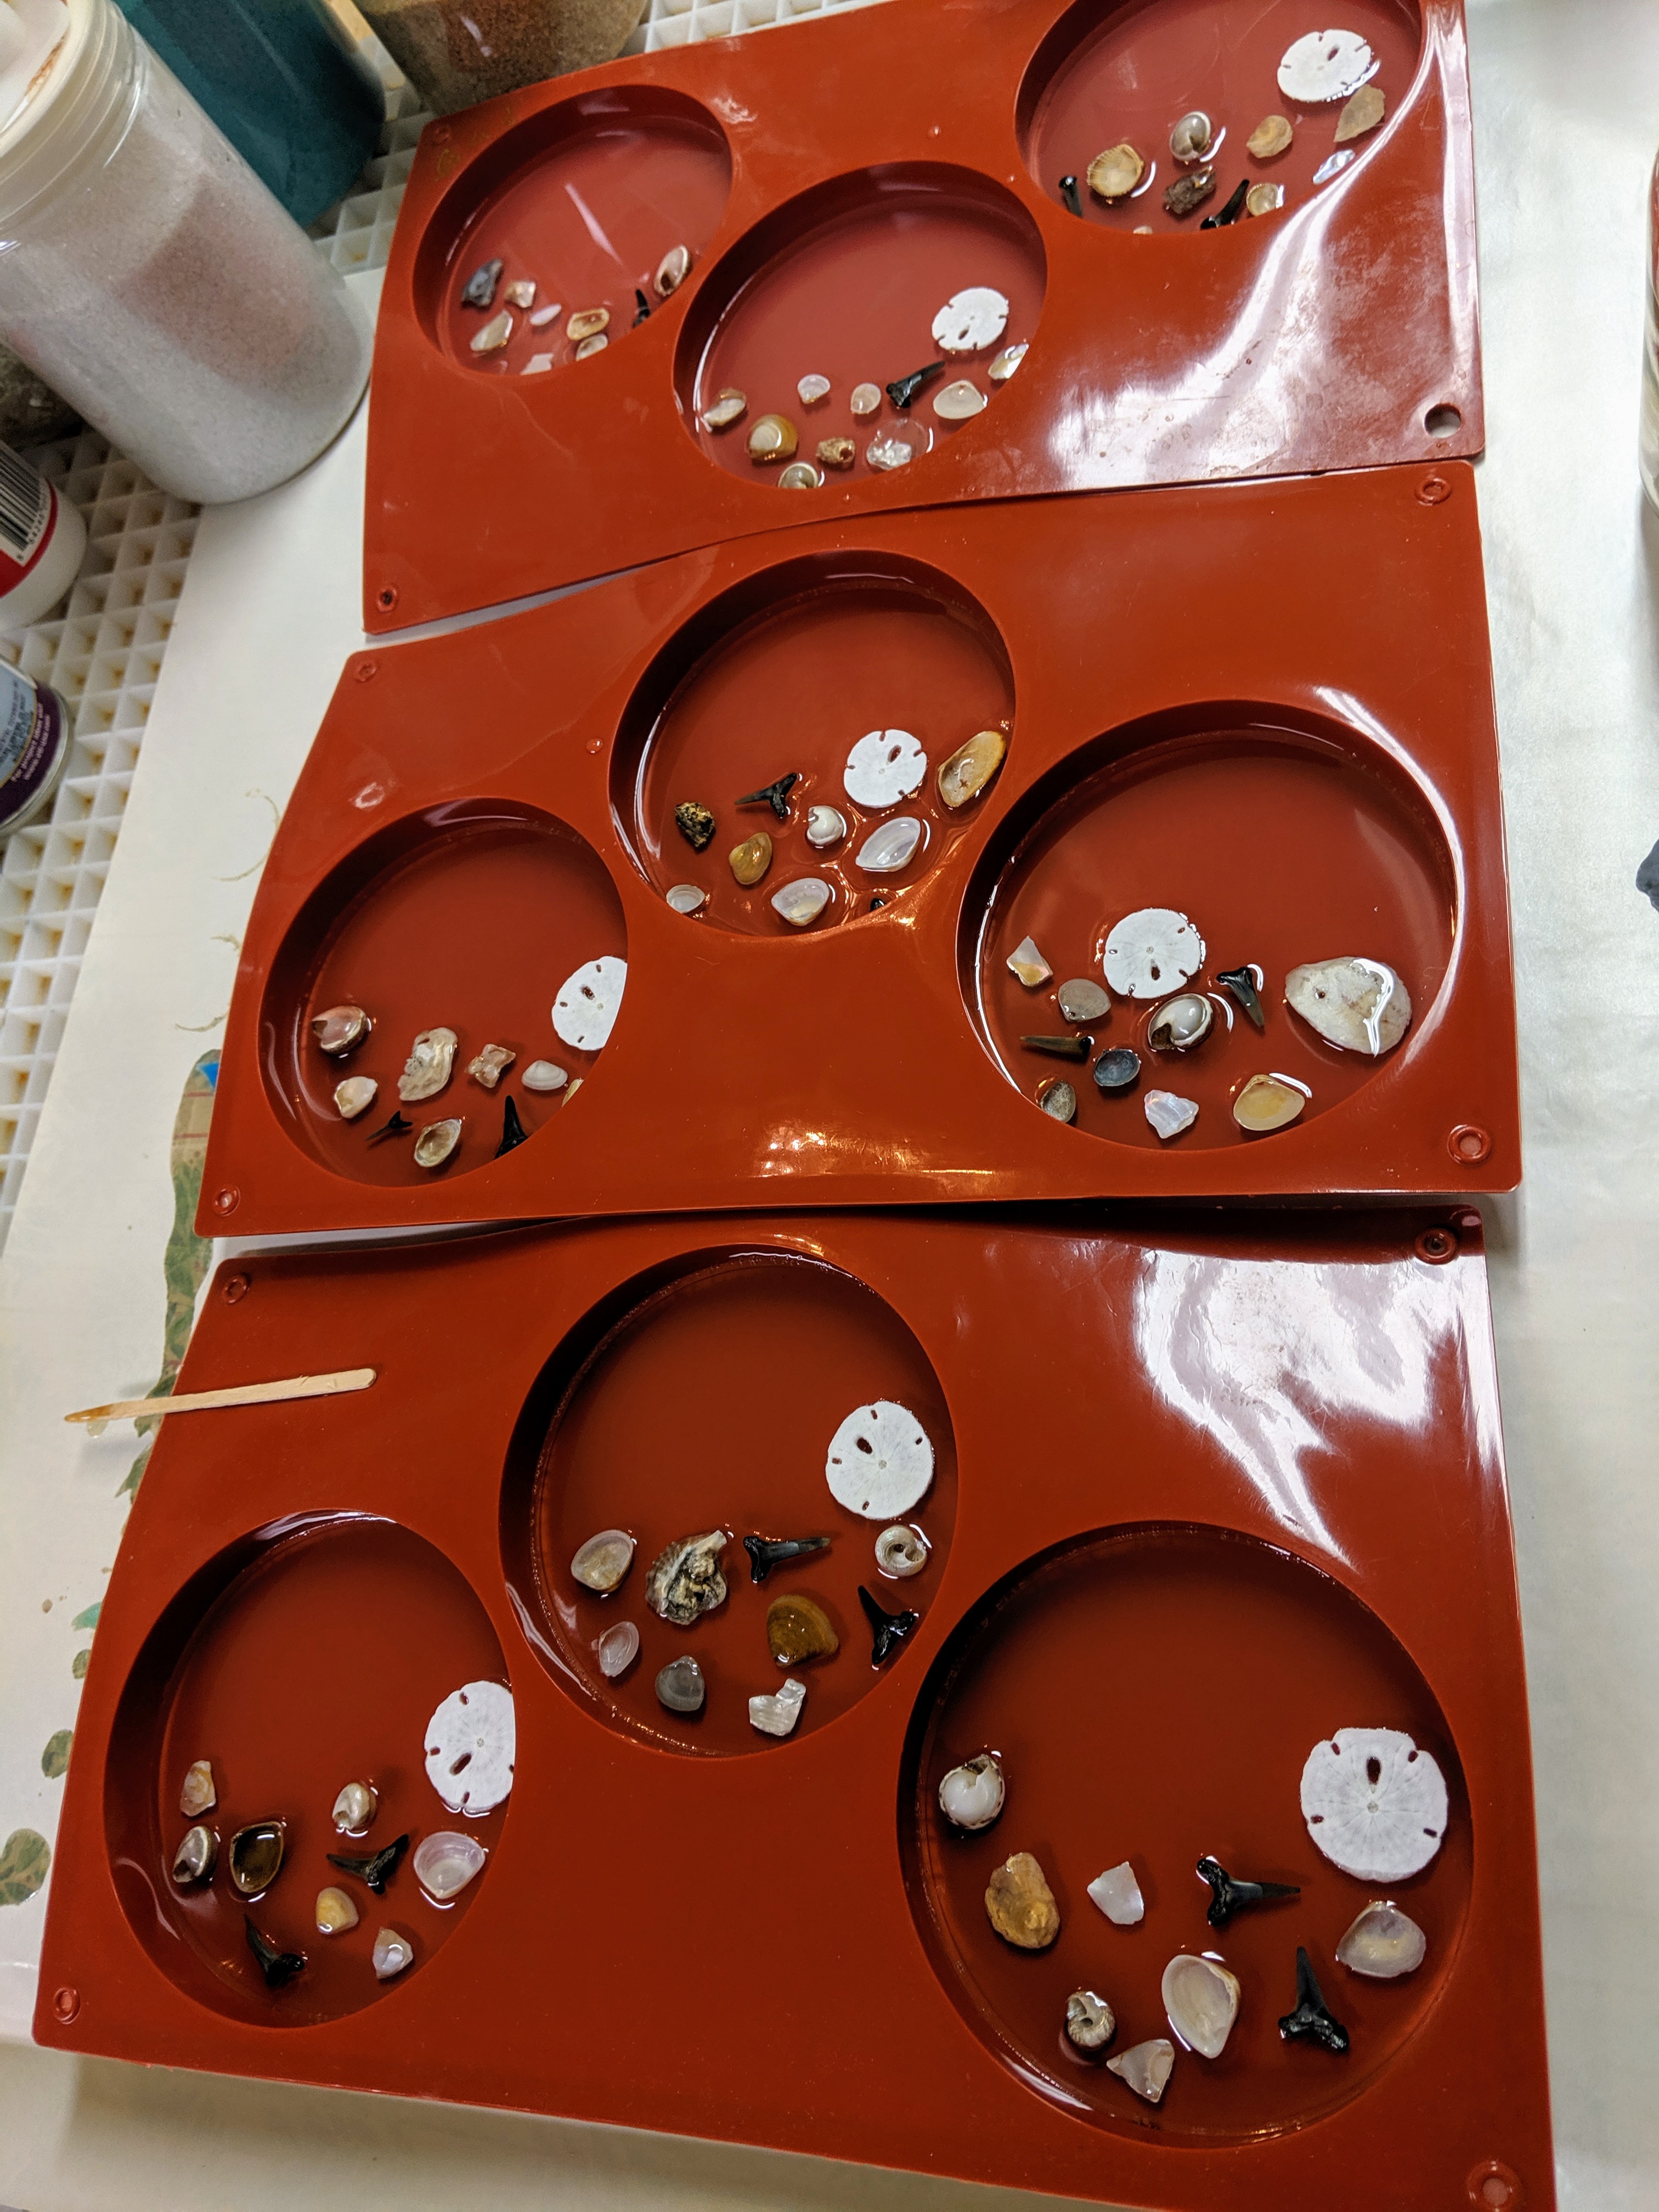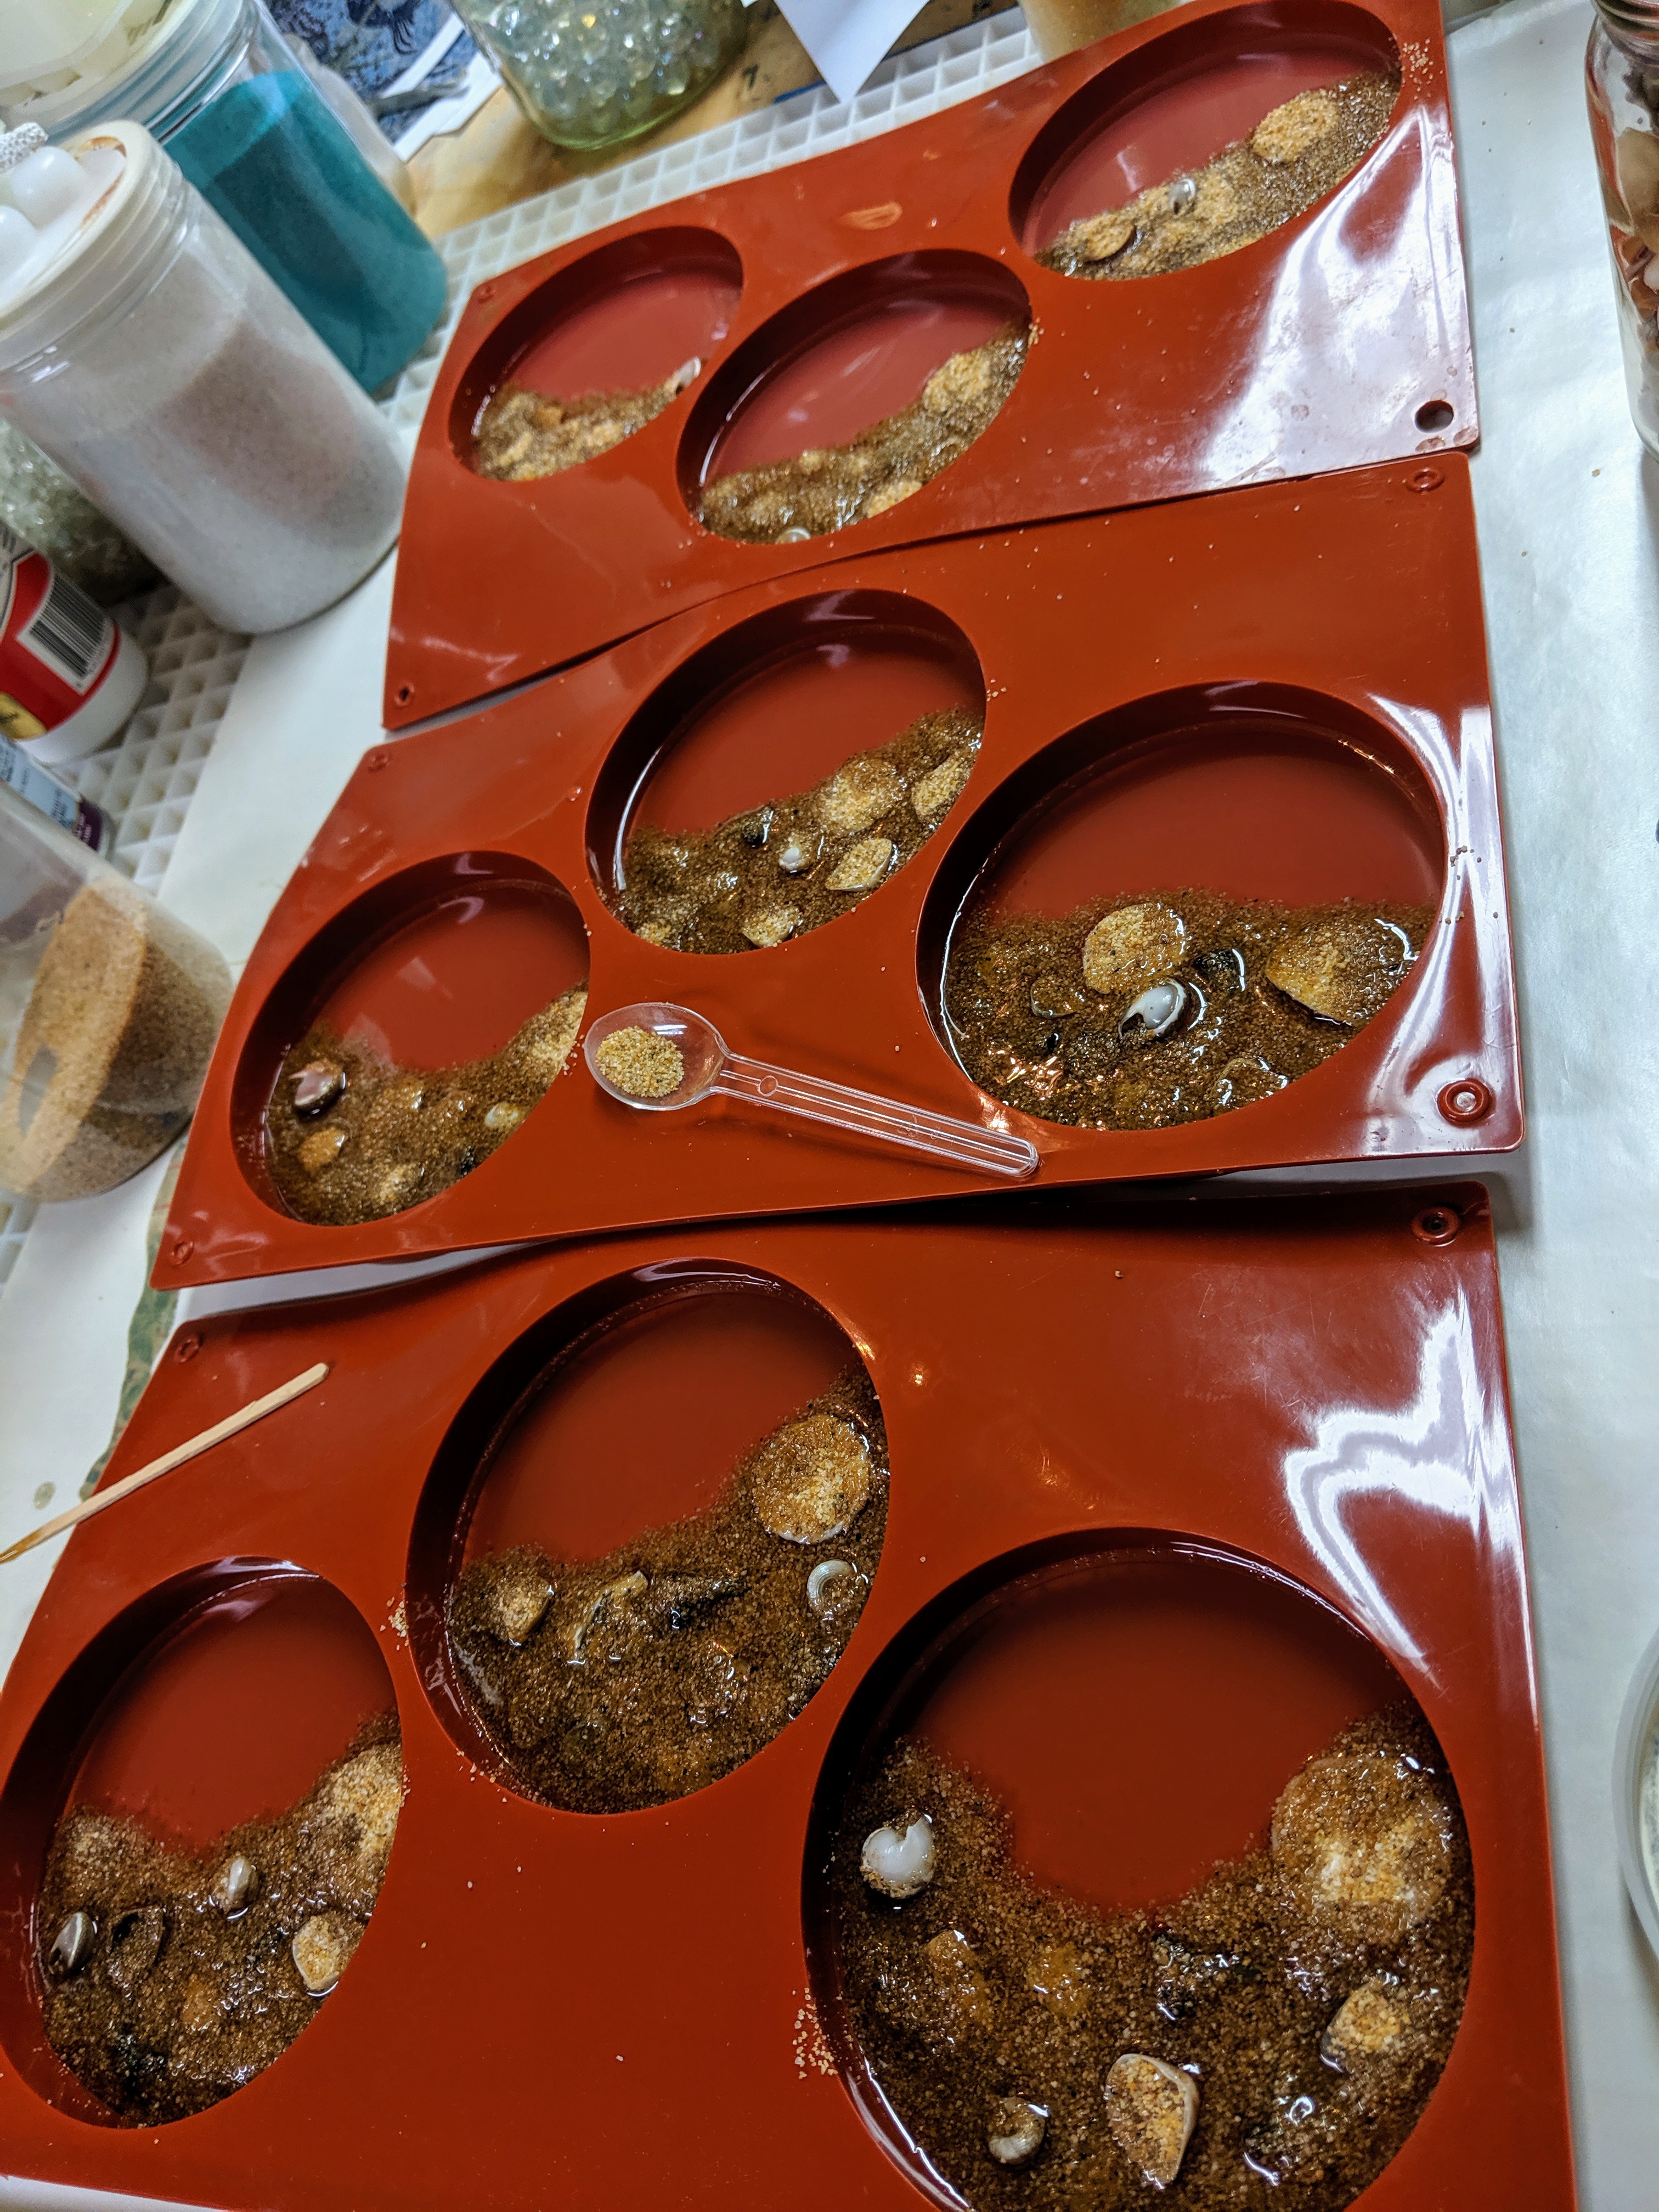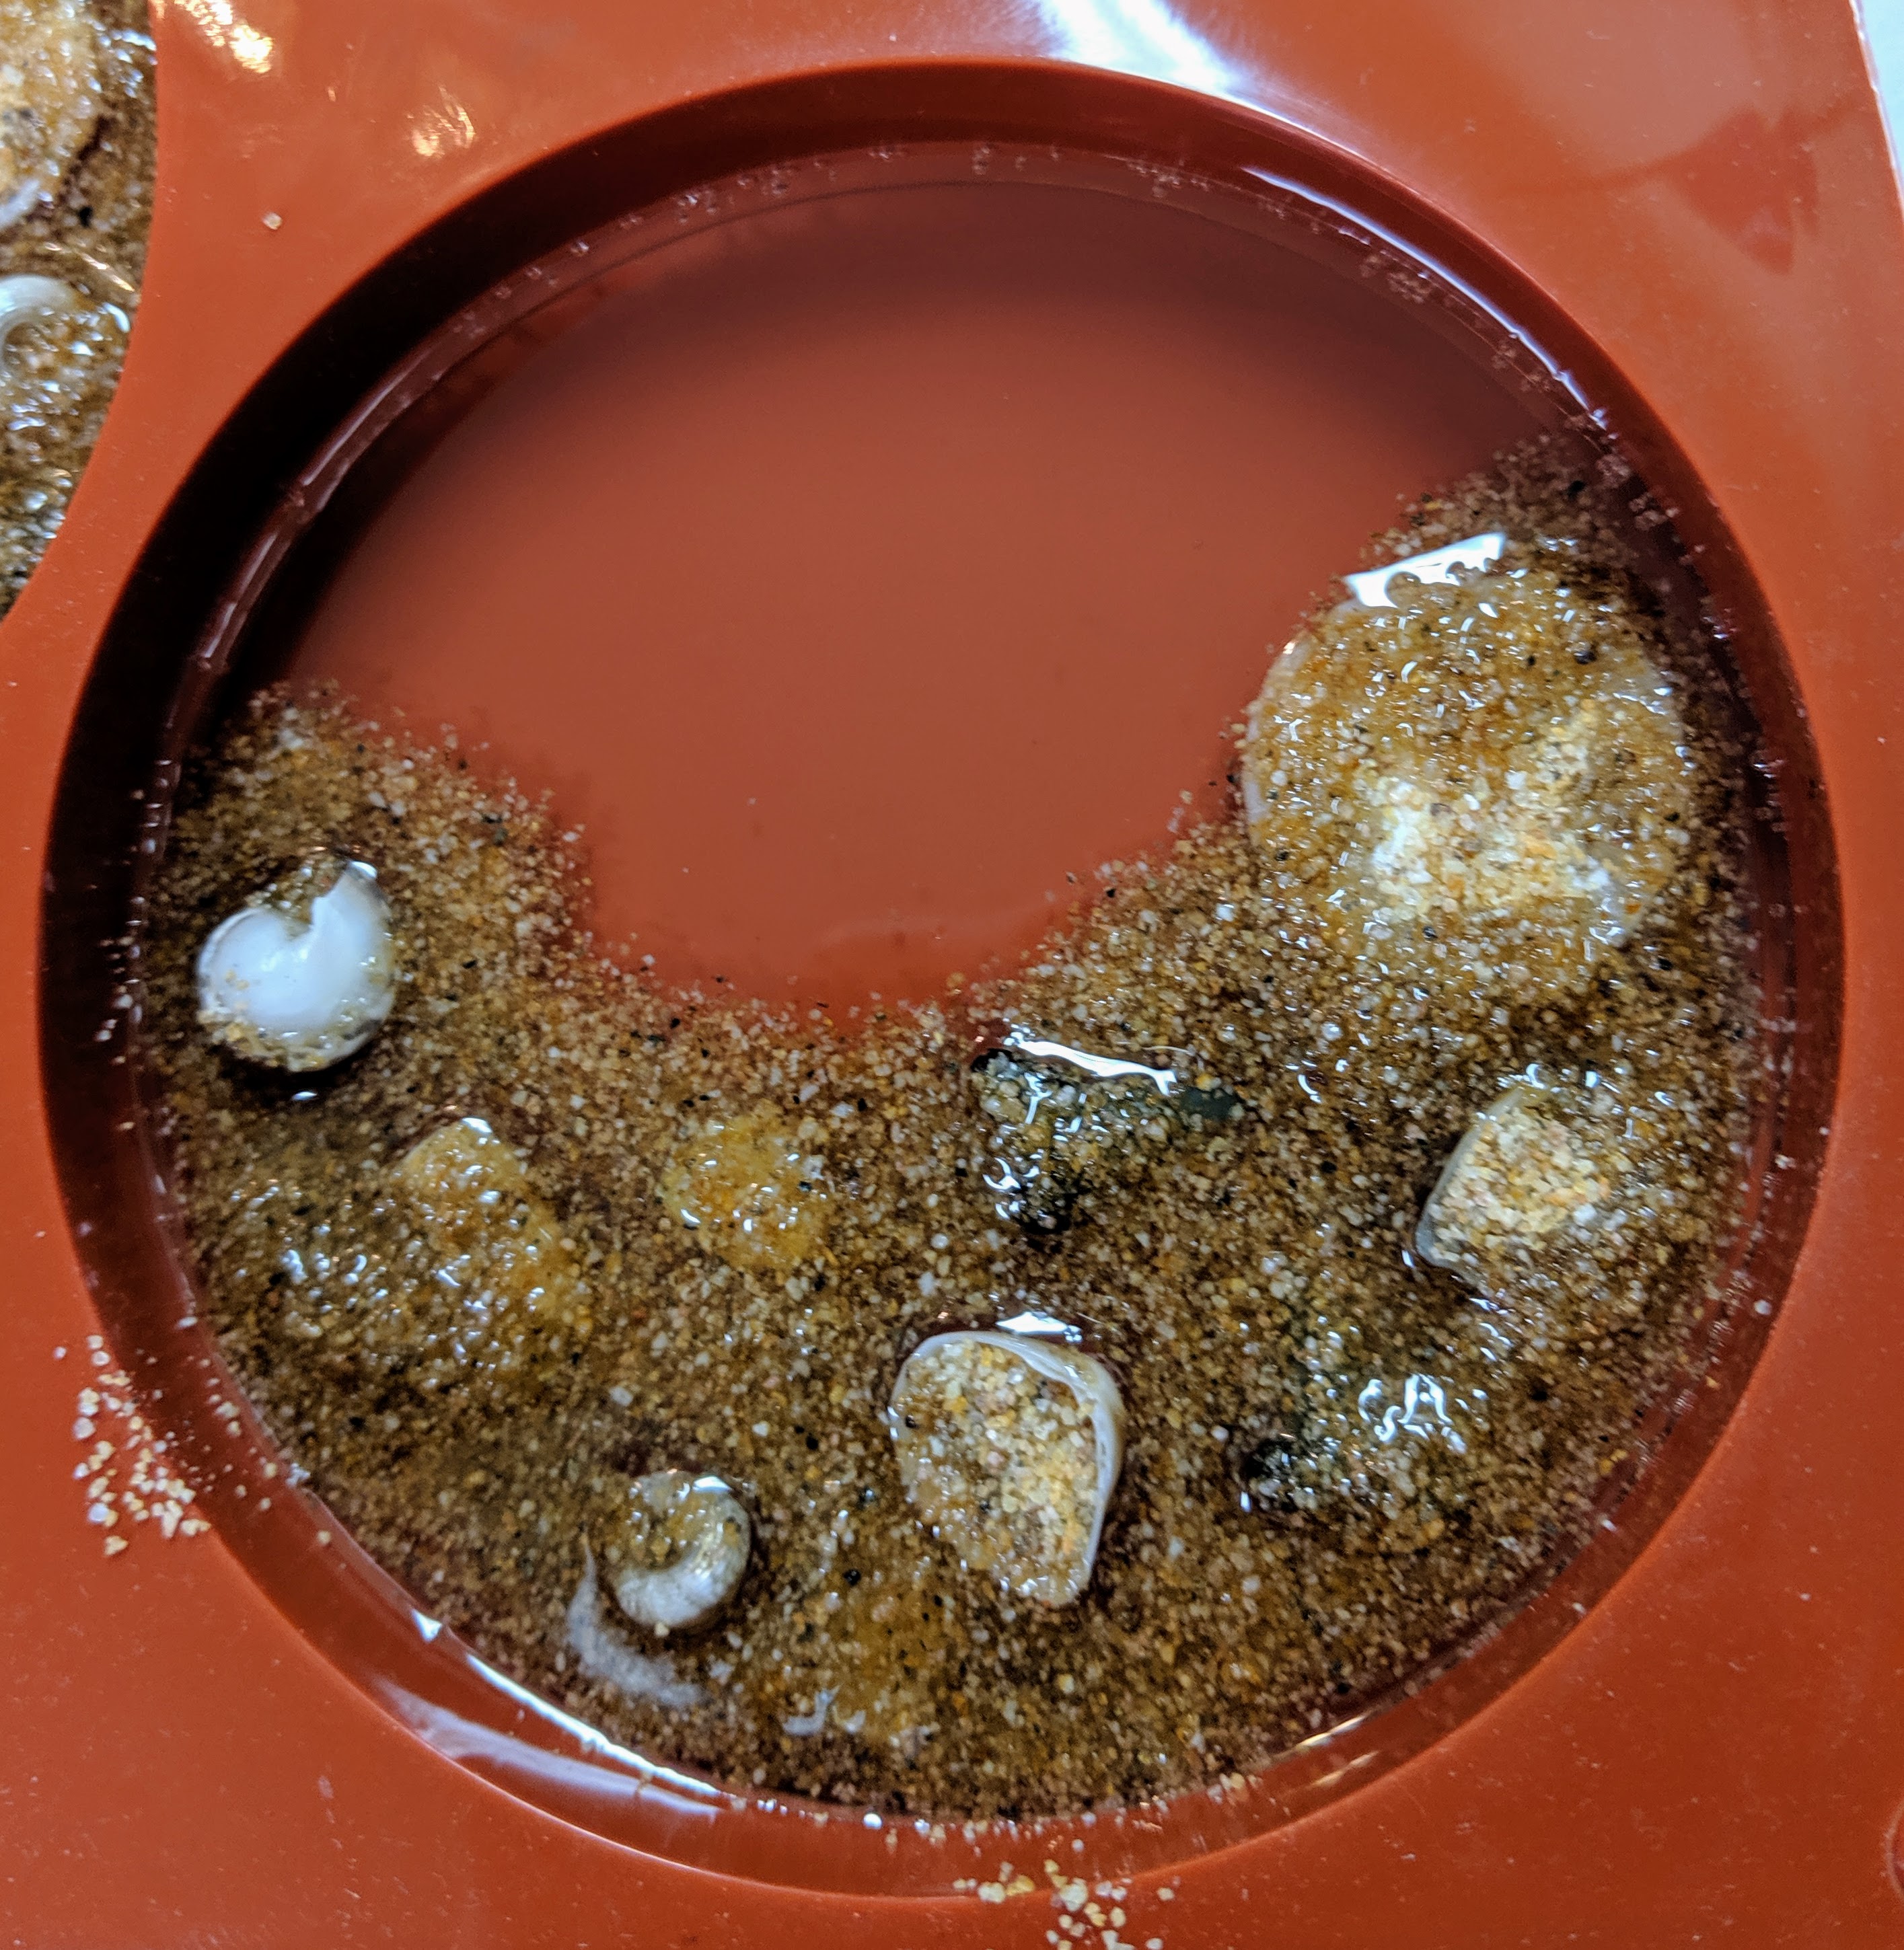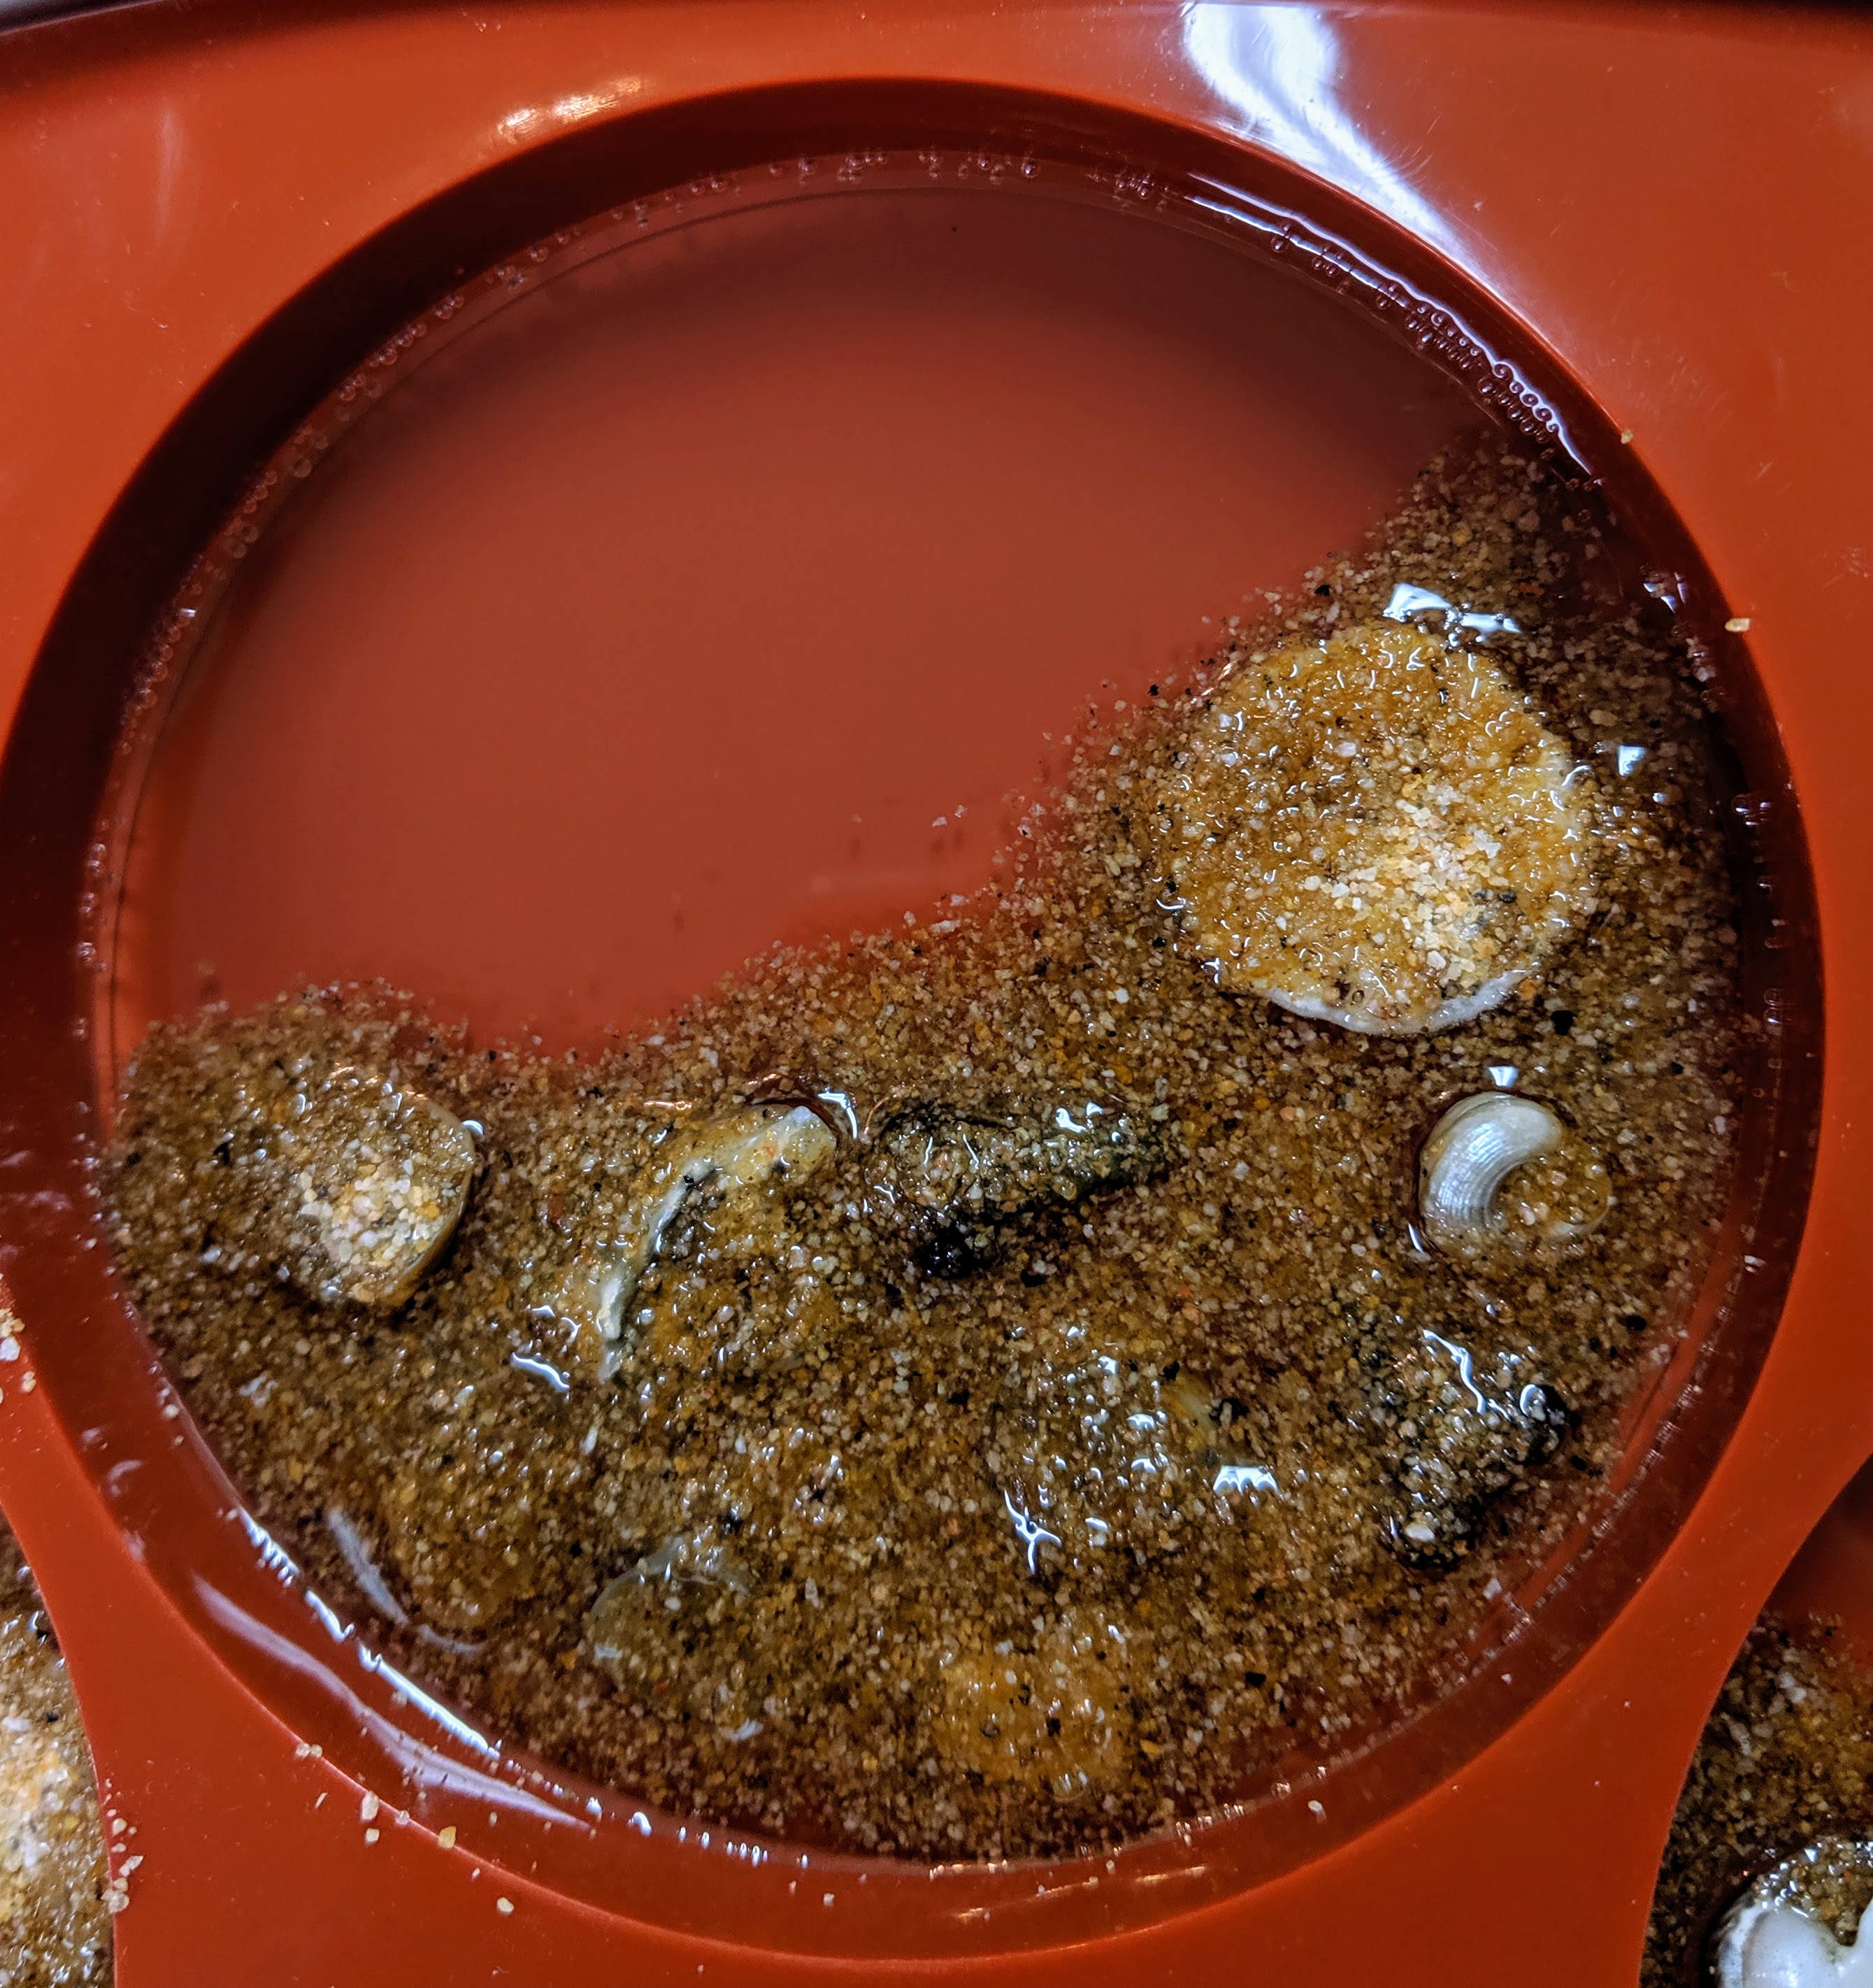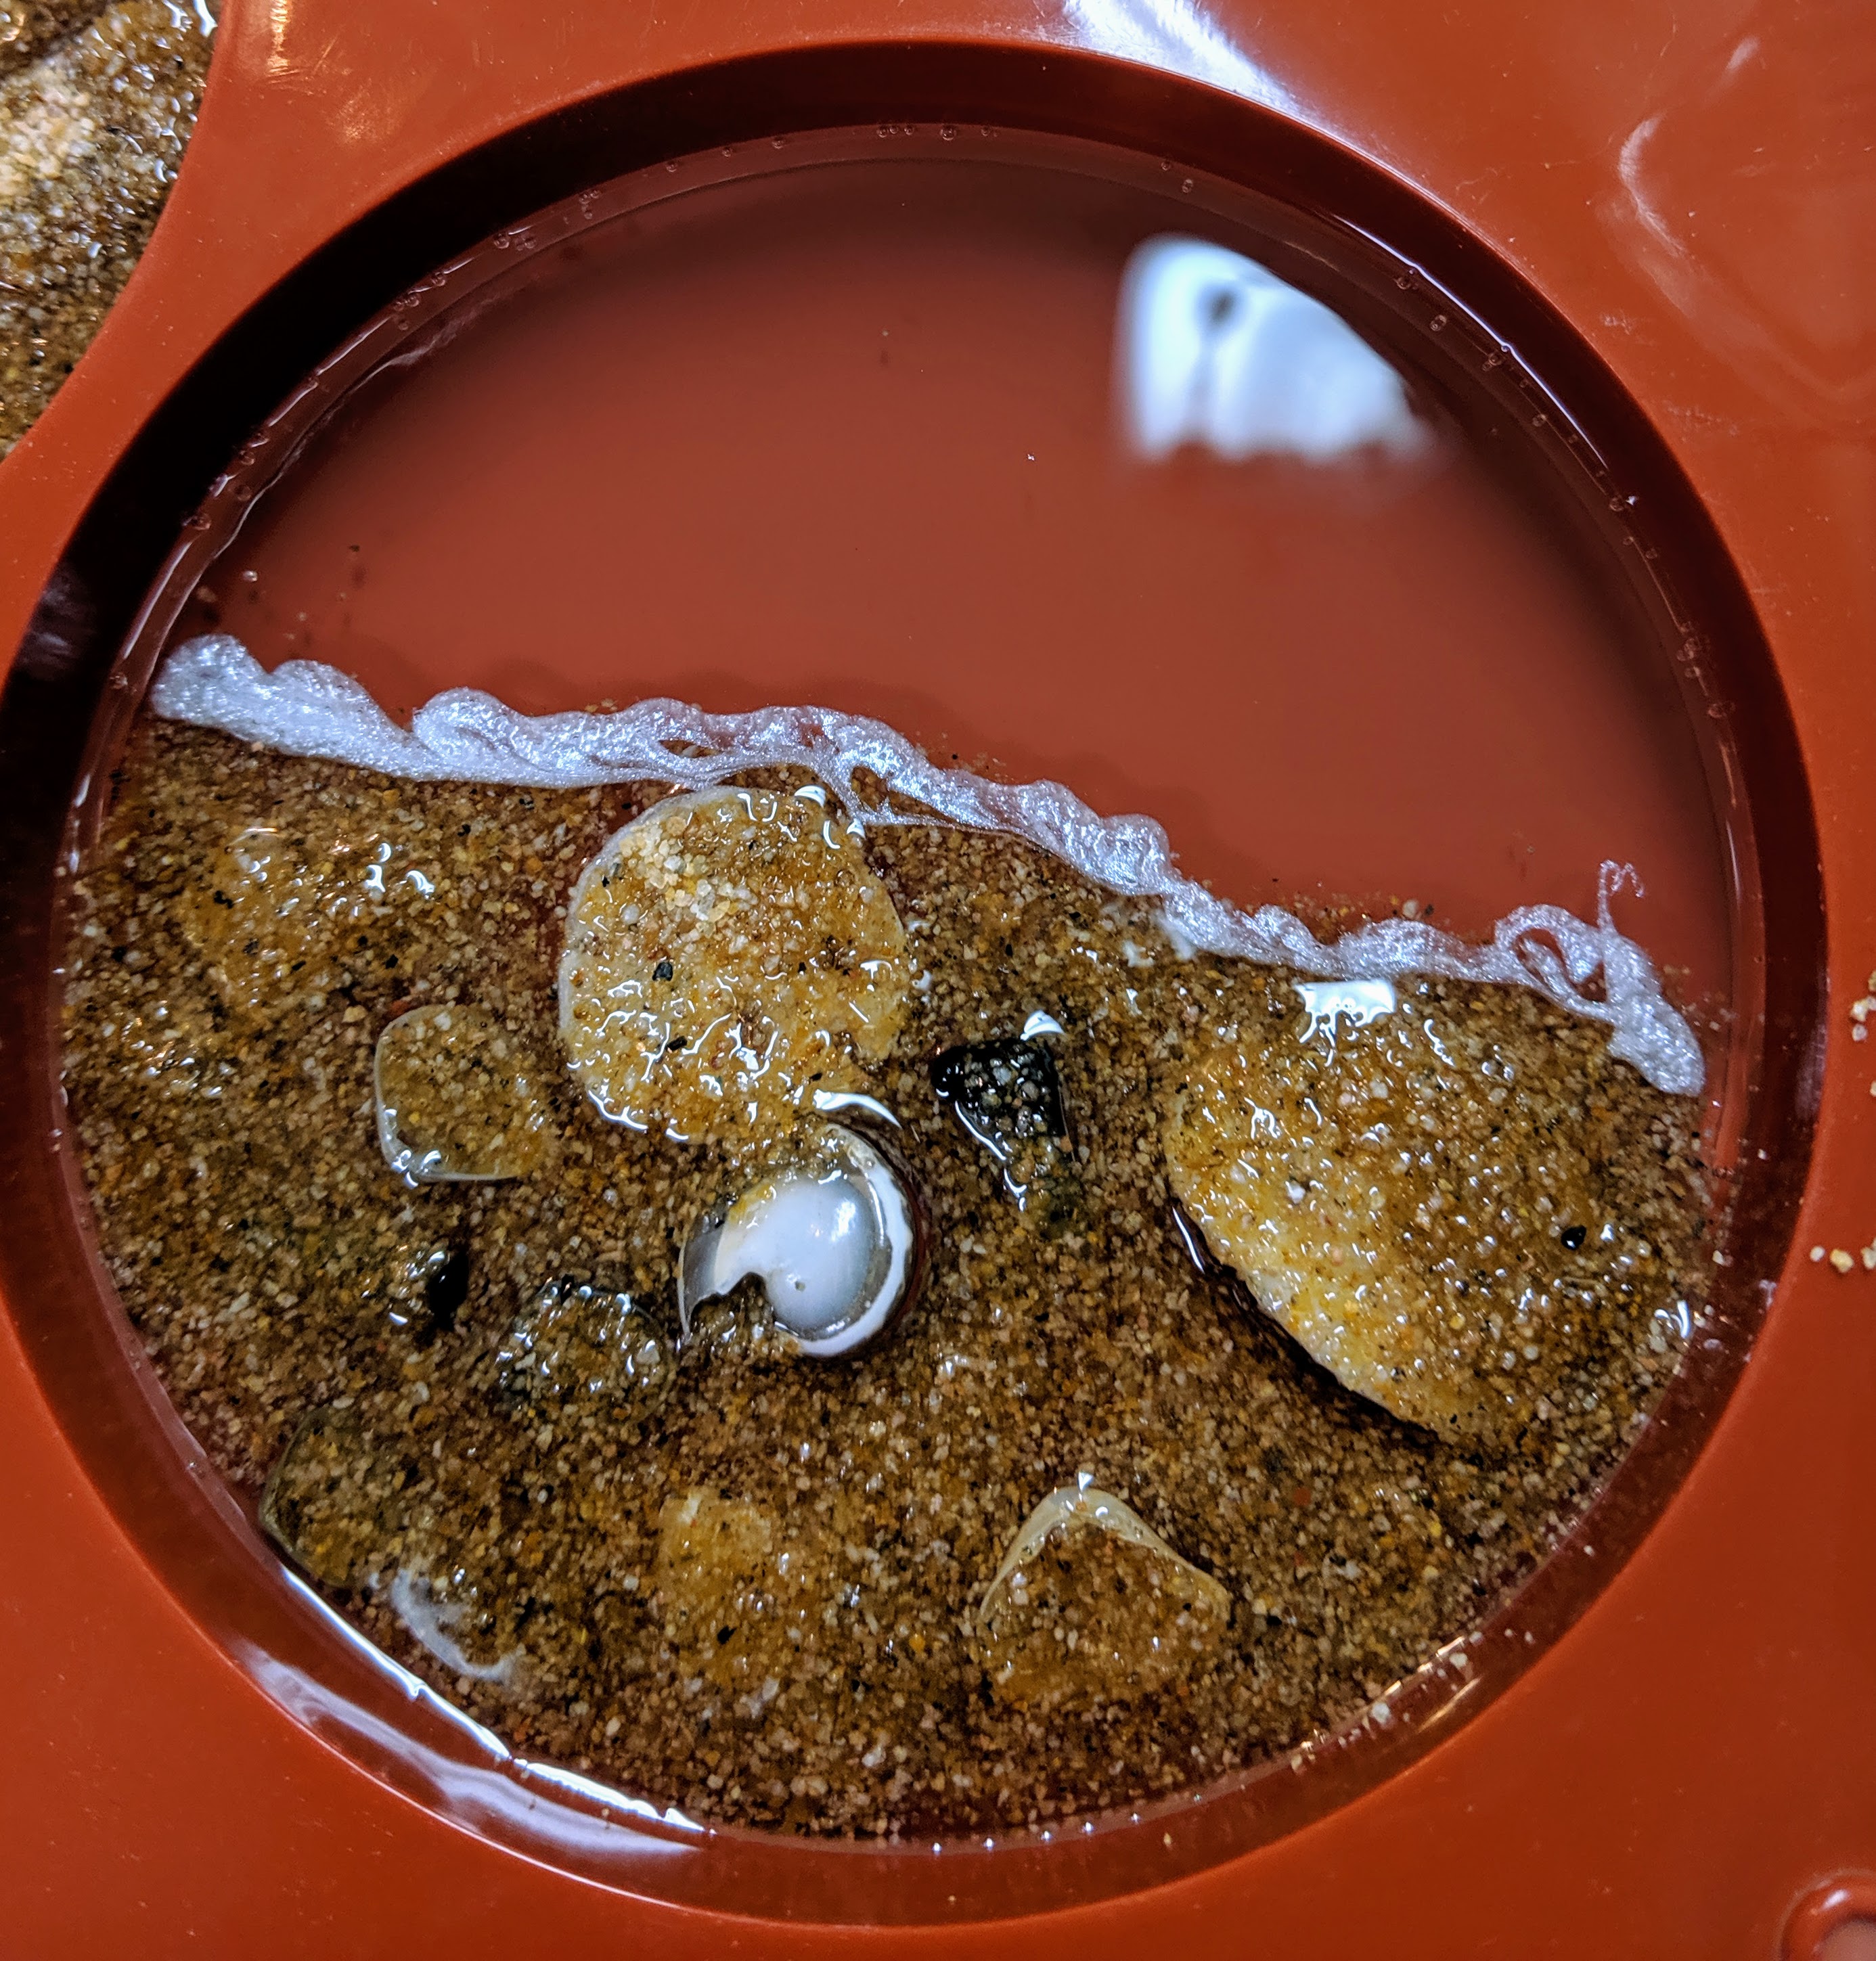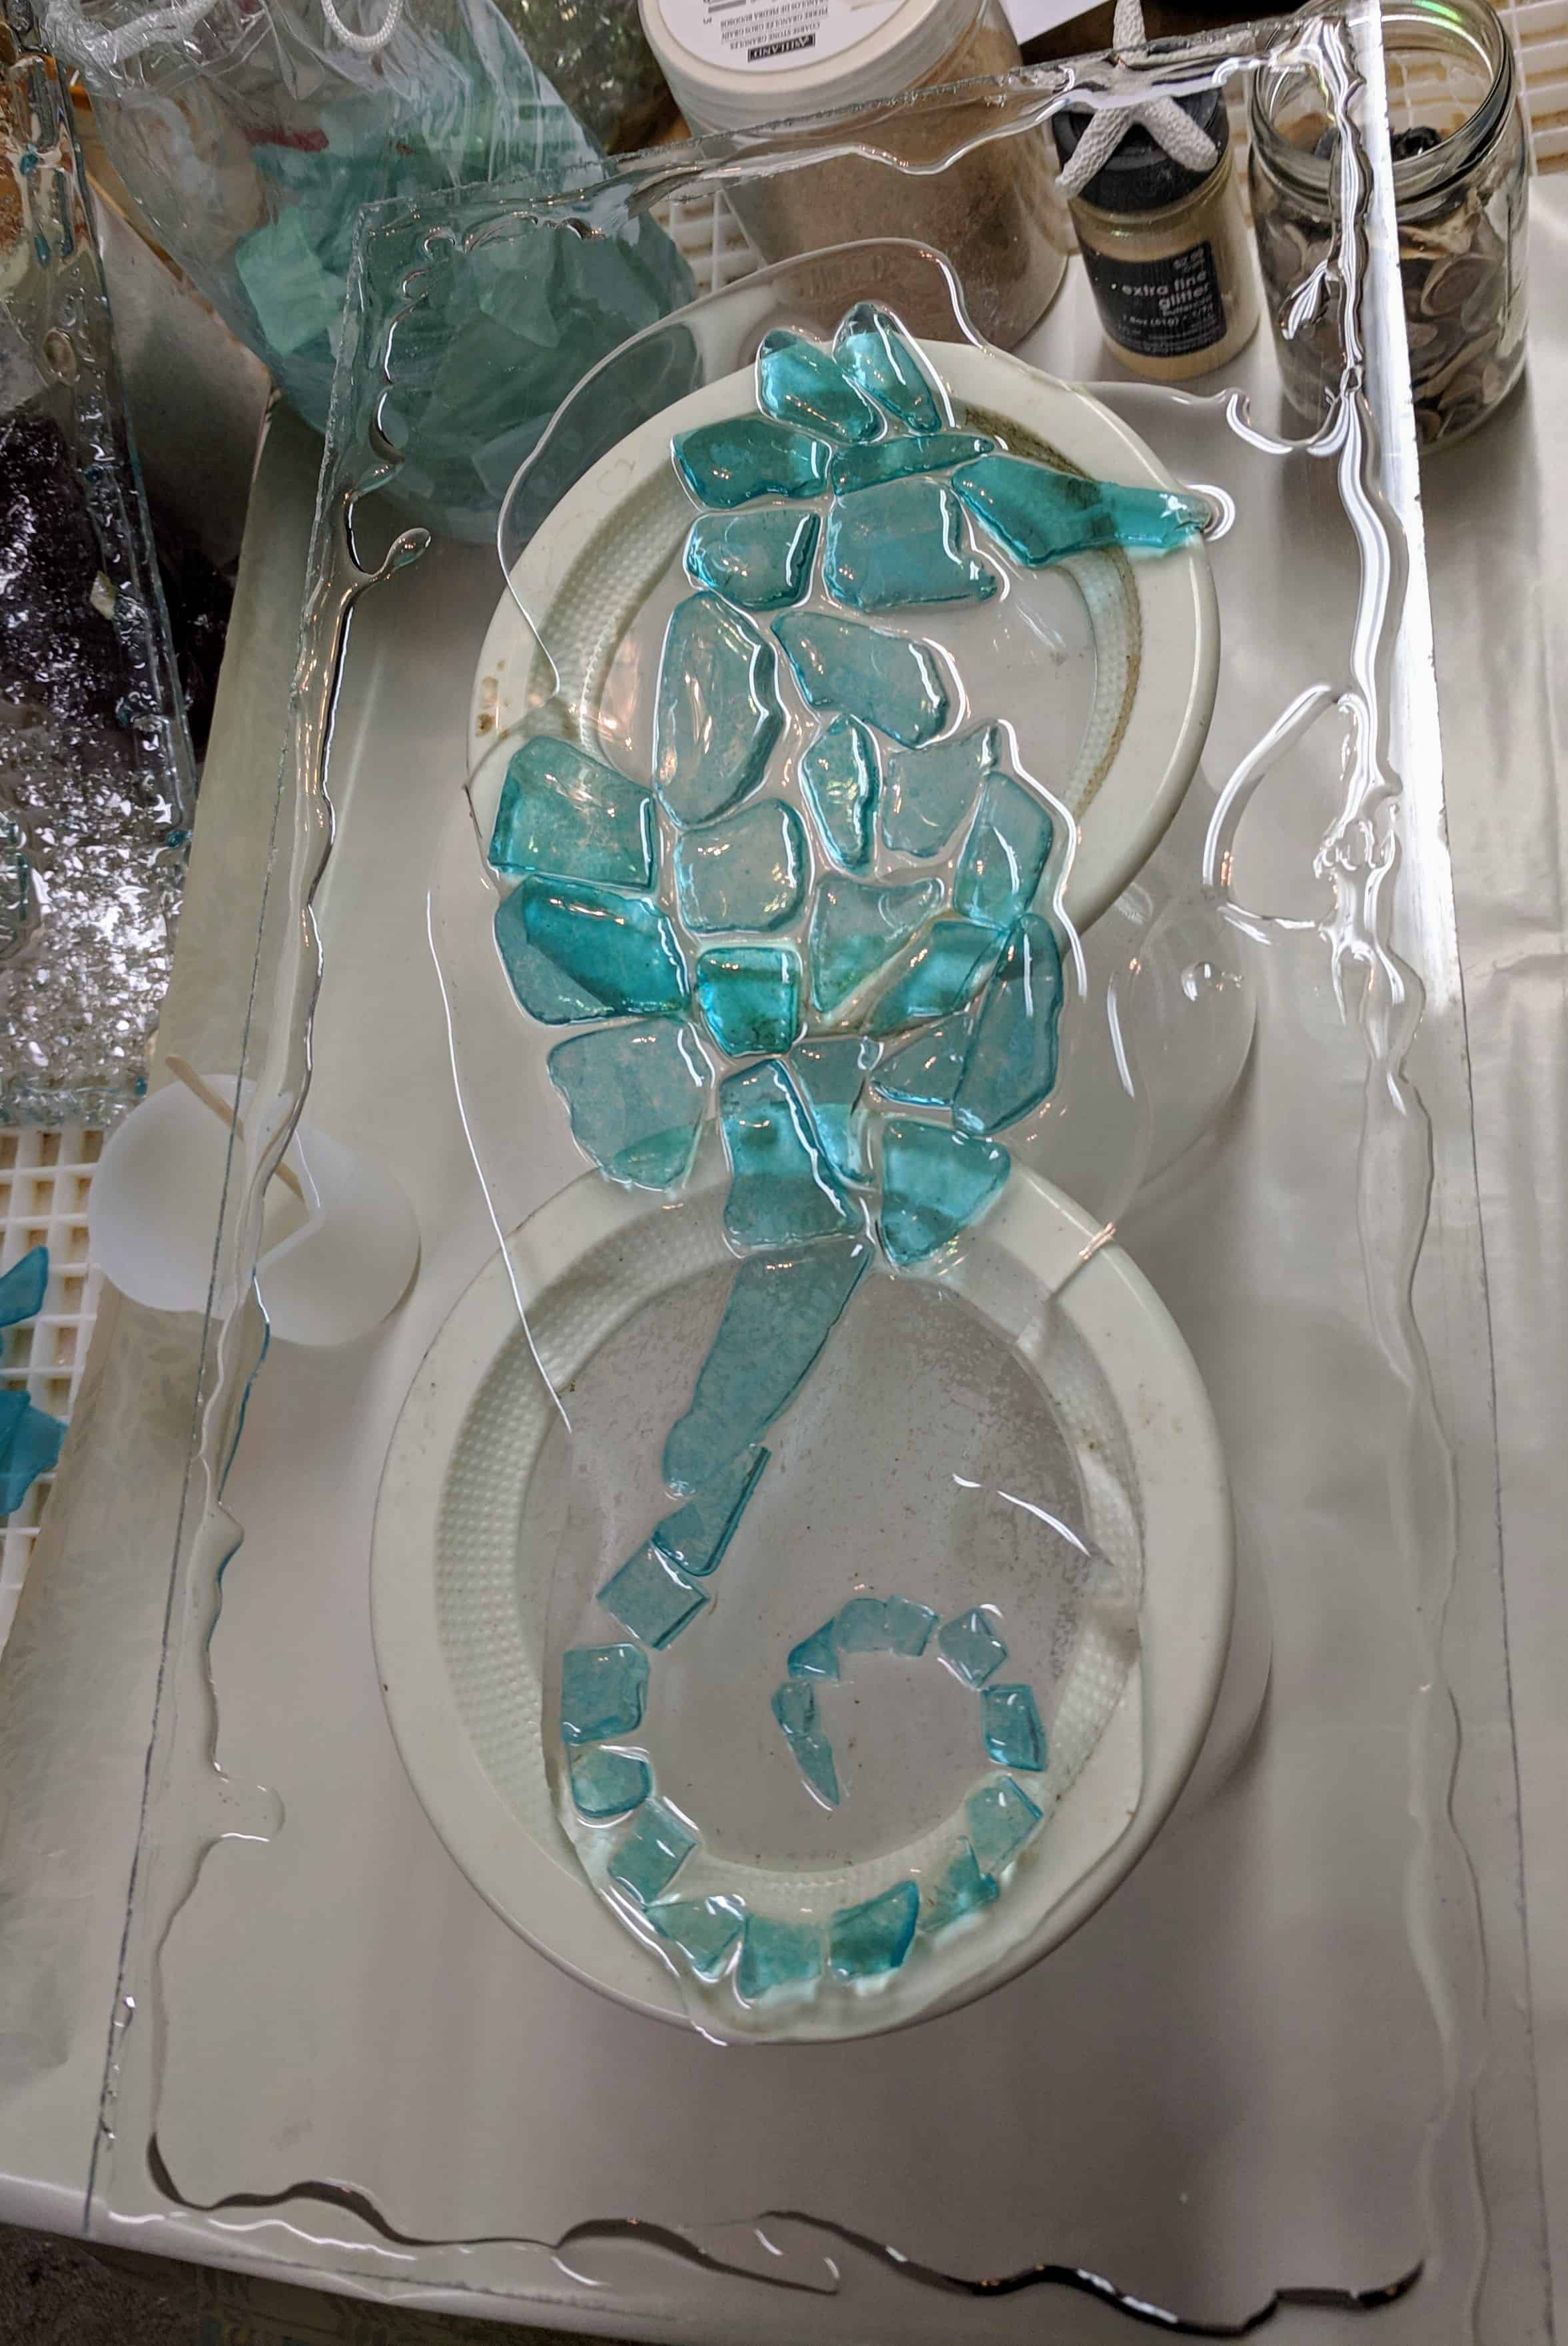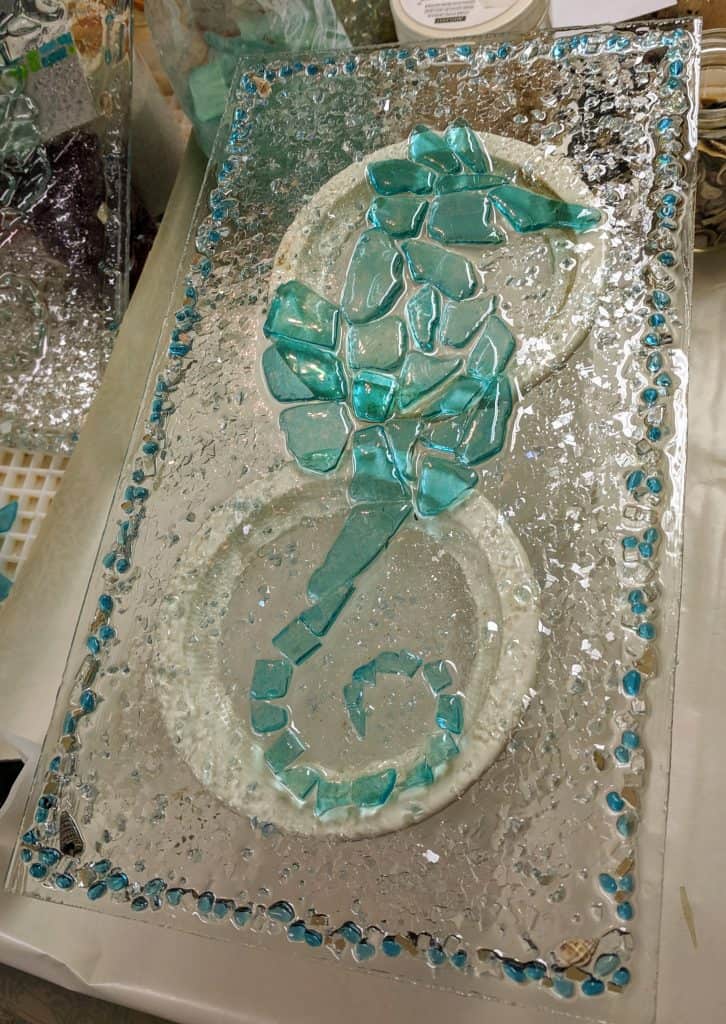
Today I was able to pretty much finish the mermaid’s tail. I used Mac glue to secure the pieces of glass around the edge of her tail, then arranged the rest inside the ones that are glued down. This way the glass pieces at the outer edges of the design will hold the rest of the glass pieces in place. I can do this because the resin will hold everything in place when I pour it in the last step of making the window.
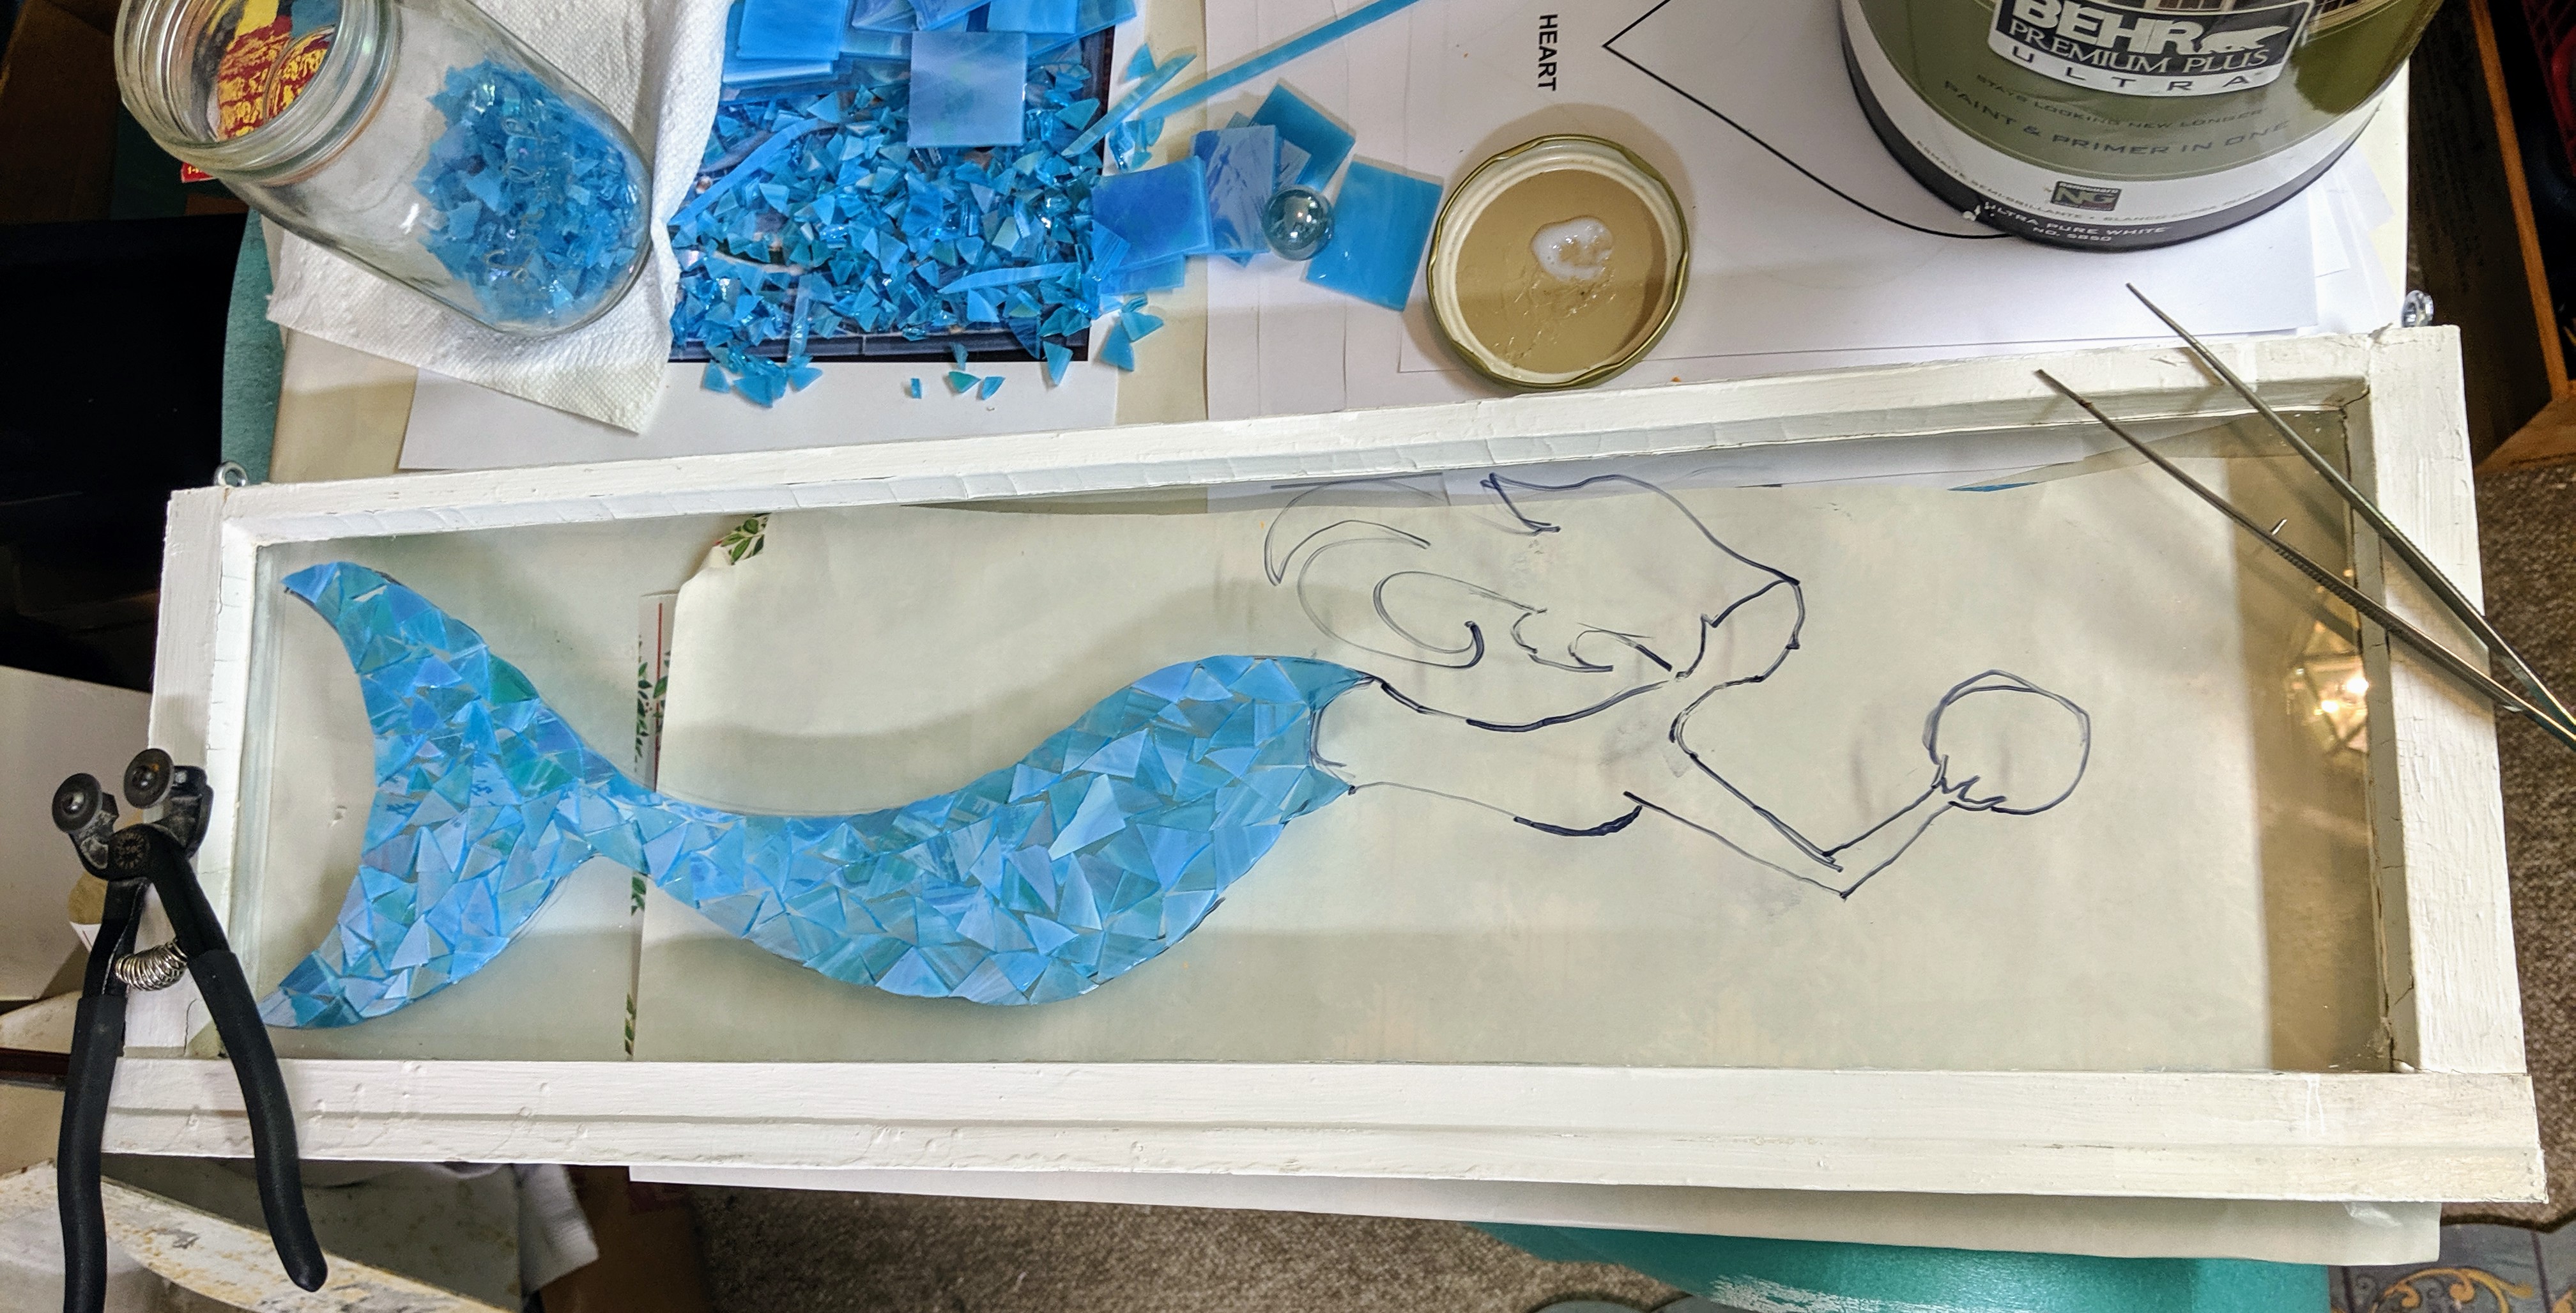
I’ve been planning this mermaid in my head, little by little, but sometimes the decisions about layout and color are more difficult than others. While I was filling in her tail, I was thinking about what color to use for her upper body, but I am having trouble making up my mind. This is partially because I have a bunch of glass on hand and I want to use some of it, rather than buying more (so I am limited in my options), and partially because I can’t easily envision how she will look in the end with one shade of pink, cream, brown or tan vs. another. I even considered using something unusual like green. There are so many options!
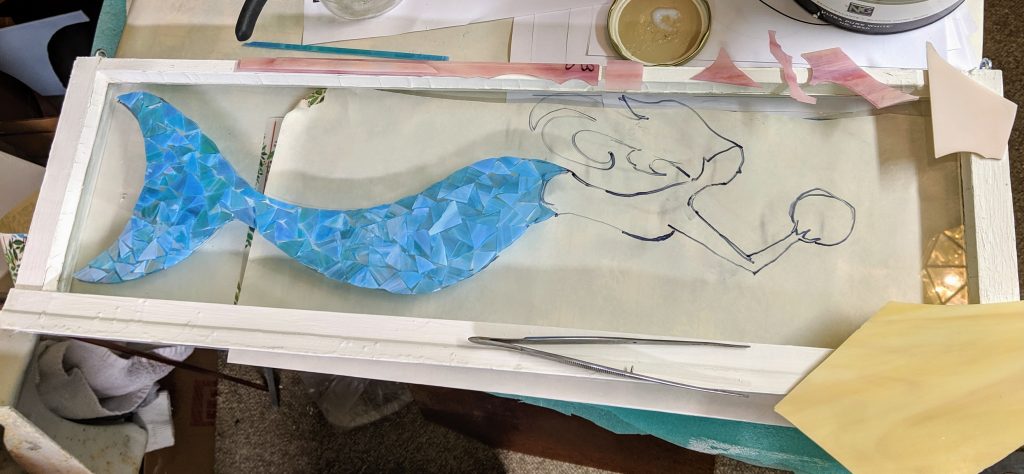
I have a feeling I will end up trying a few different options rather than jumping in with the “right” one from the start. I did have some luck choosing the glass colors for her hair, however, as I ran across two shades of amber/brown that seem to complement each other (see below). I guess for now I will start working on her tresses and then revisit her upper body to see which shade looks best with her blue tail and new head of hair.
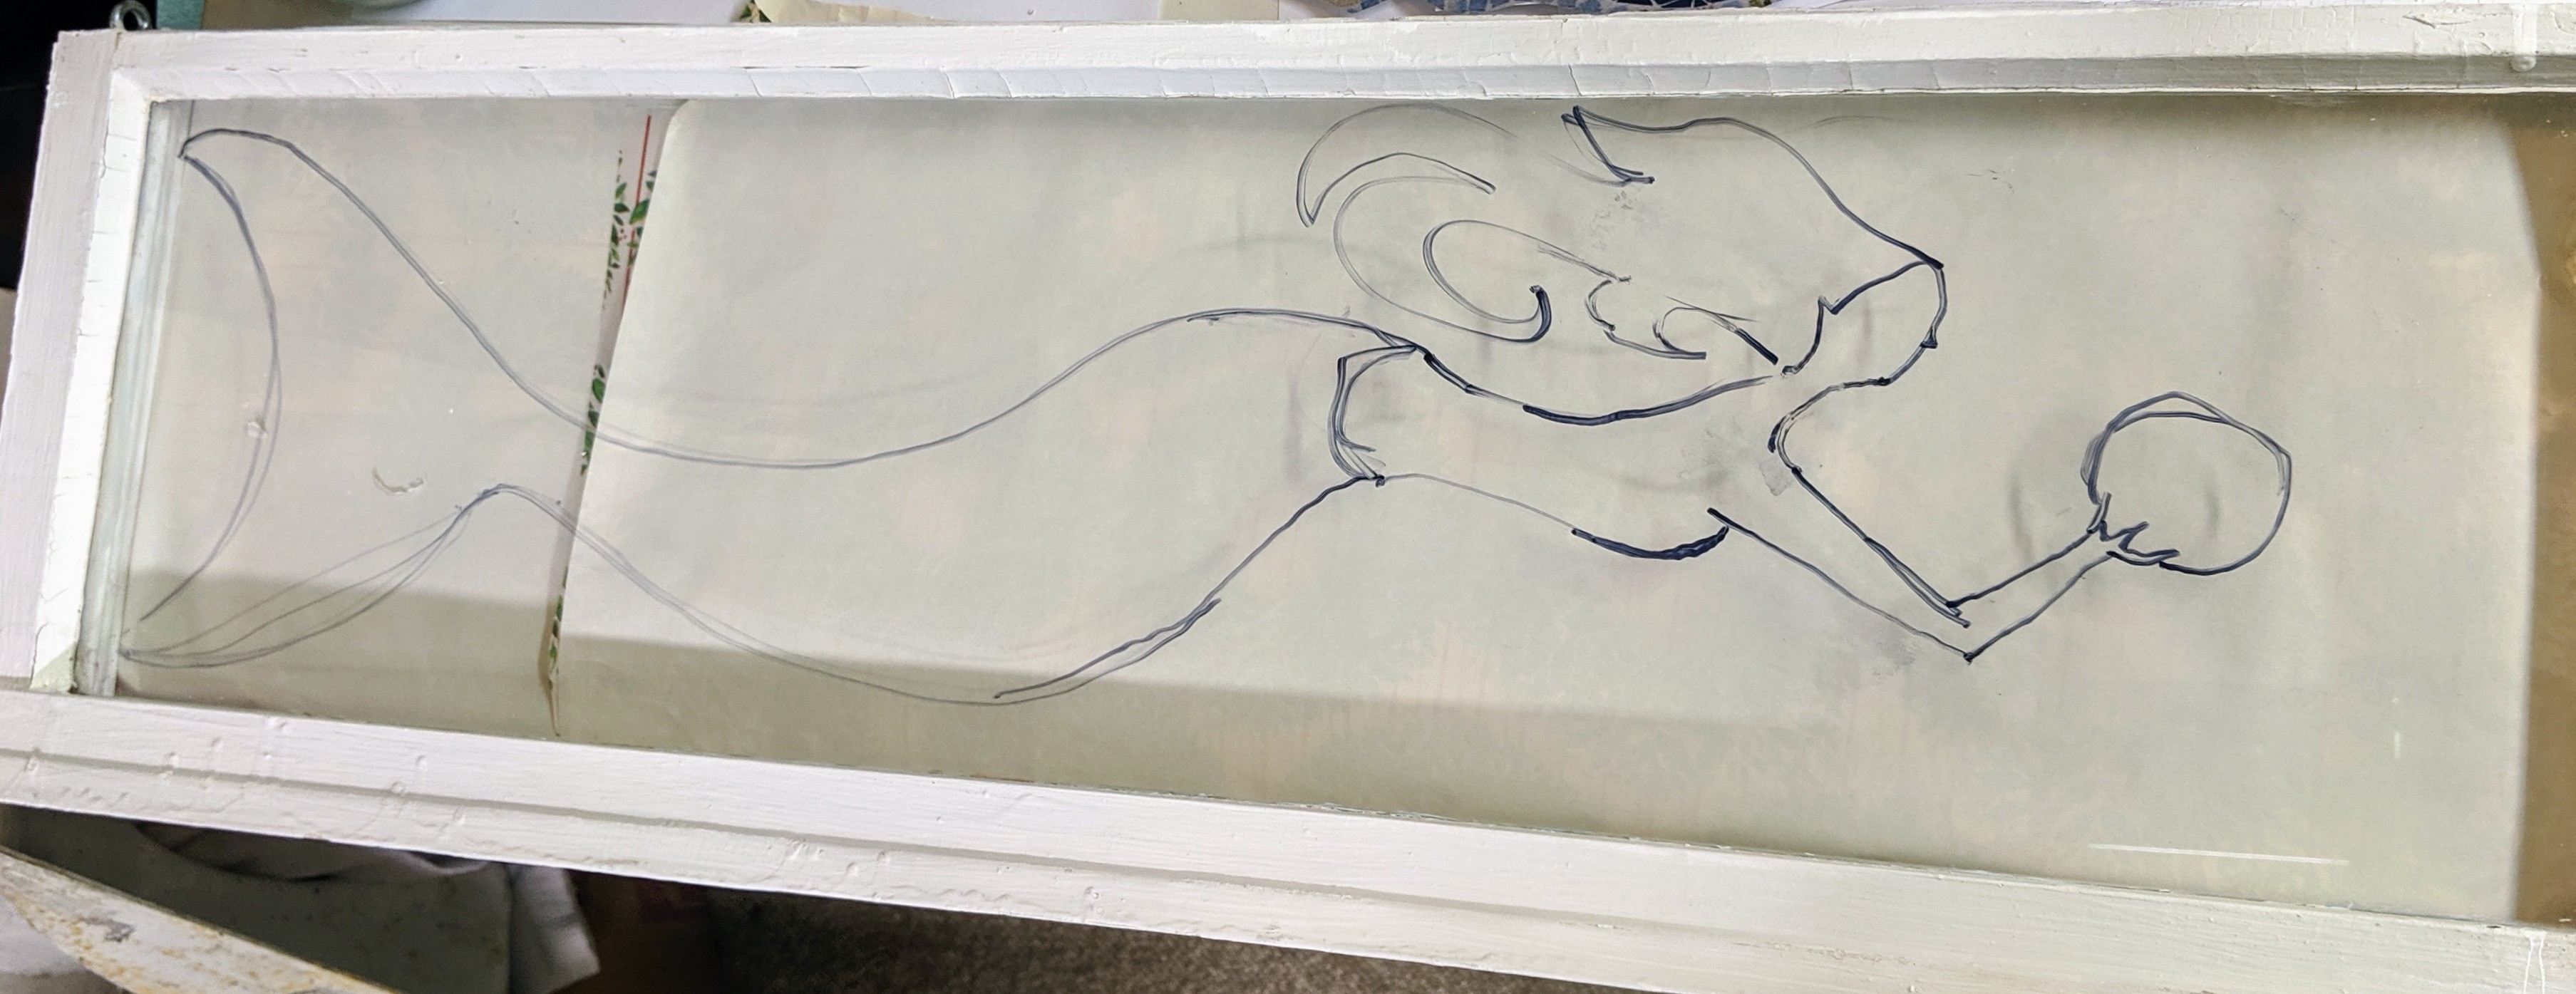
It’s interesting because when I started thinking about the mermaid, I thought her hair would be the most difficult part to do. It’s turning out that her upper body is the hardest part of the project for me to plan.