Testing the resin

View pieces I have on hand available for sale at this link: https://sherryglaab.com/?page_id=2255


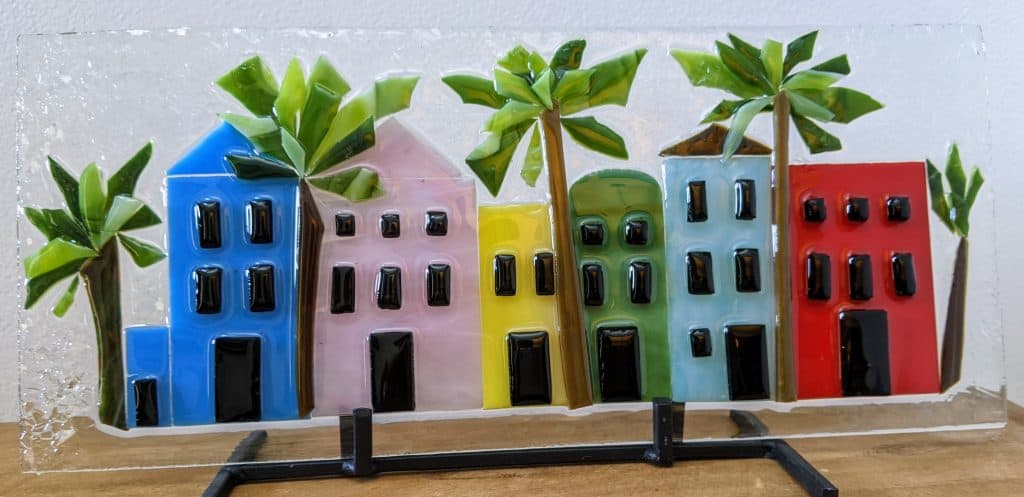
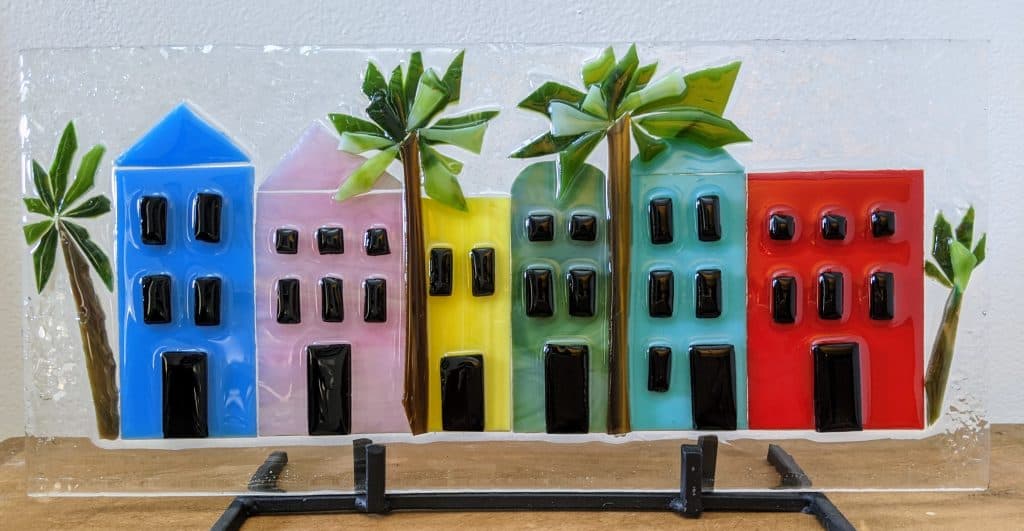
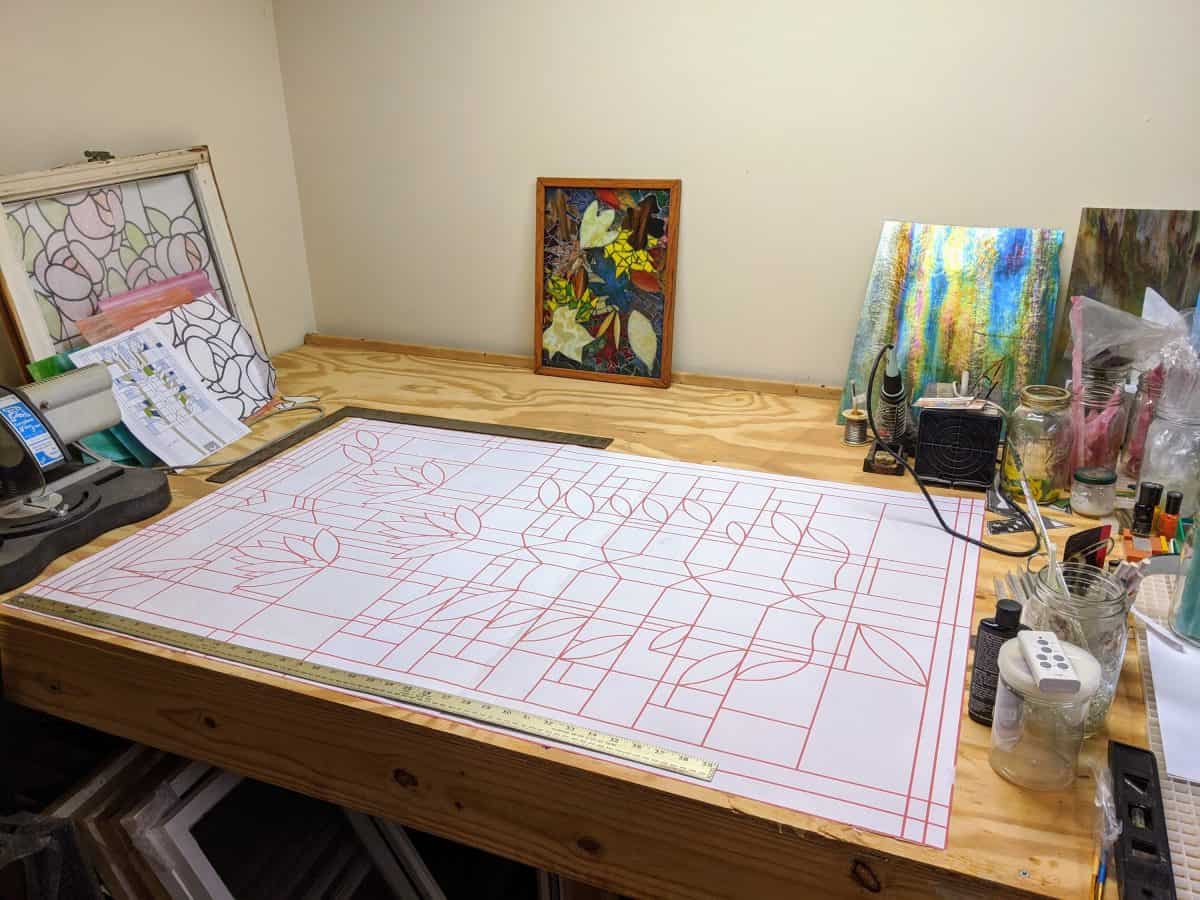
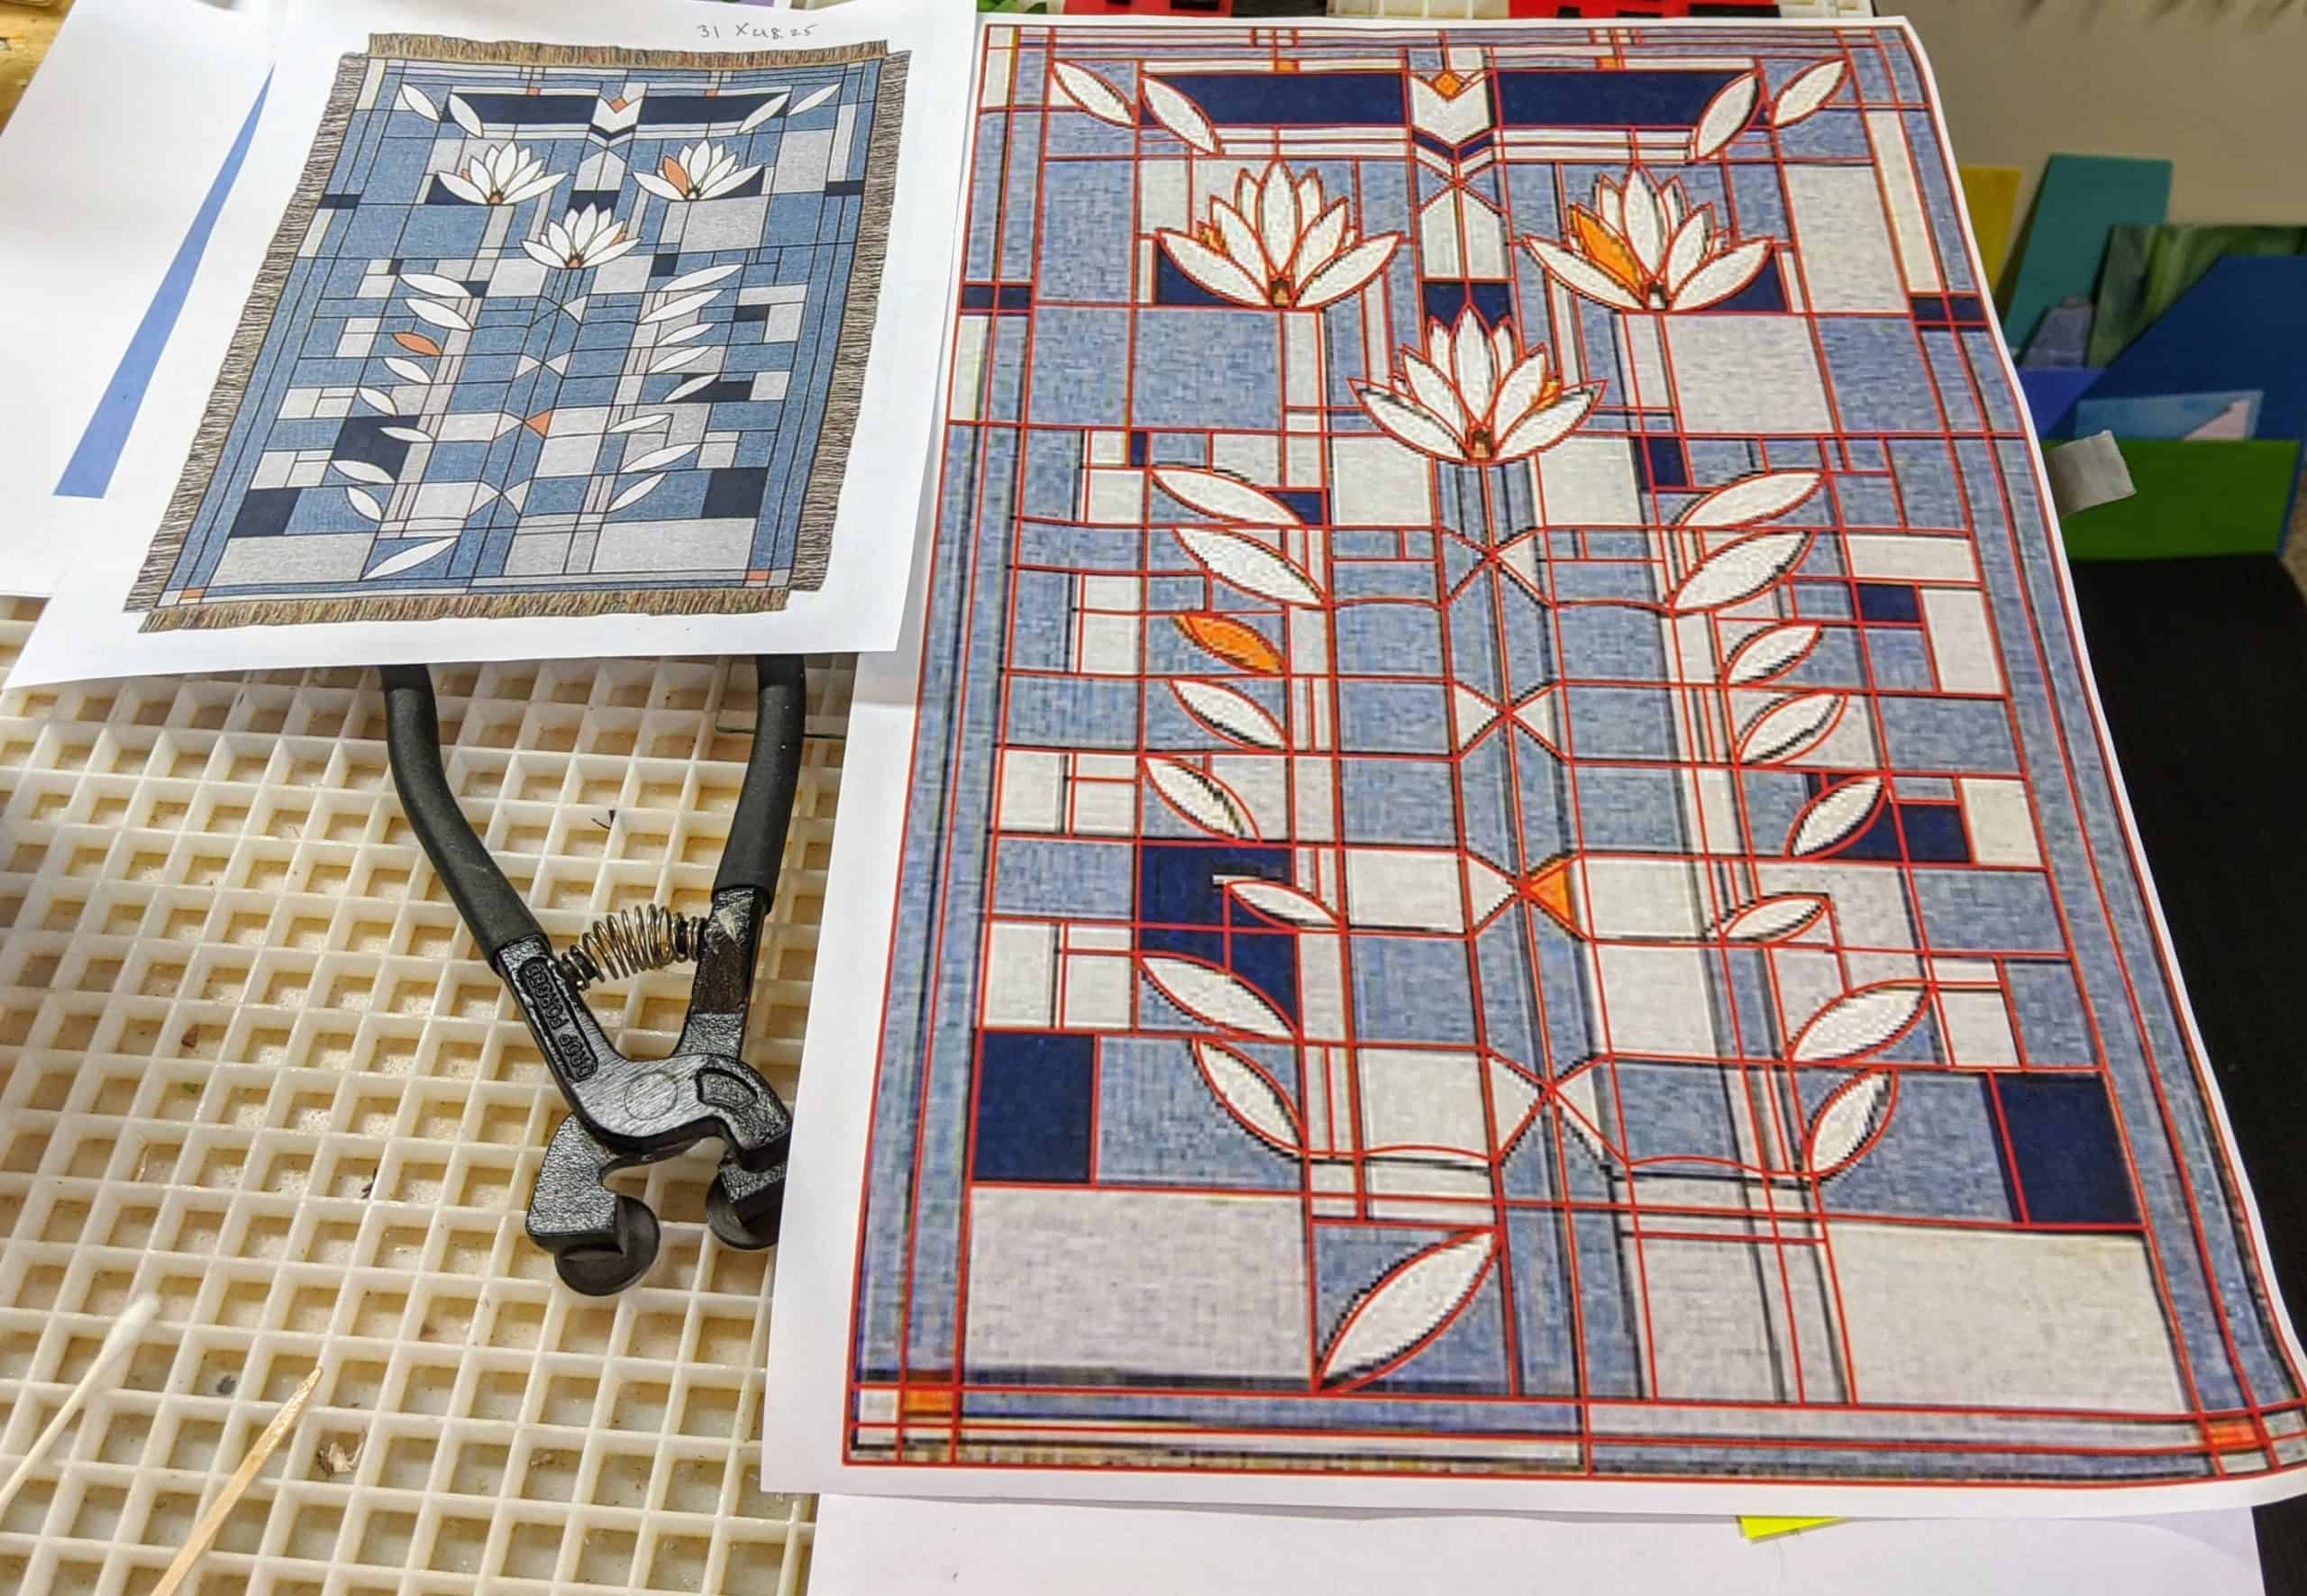
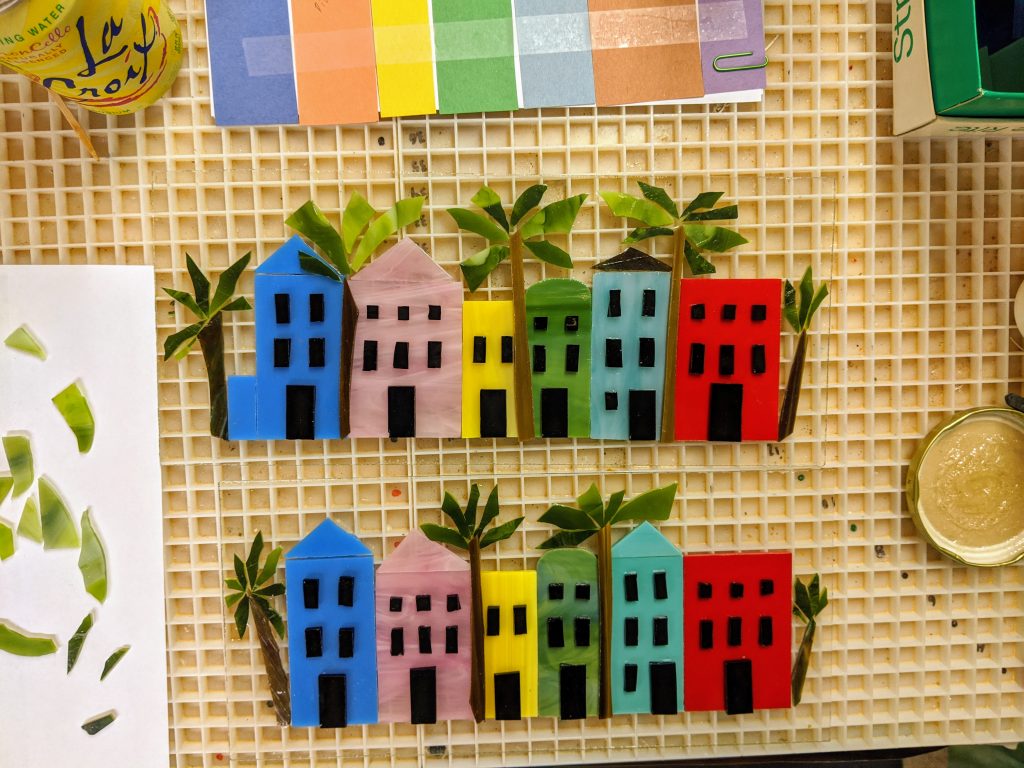
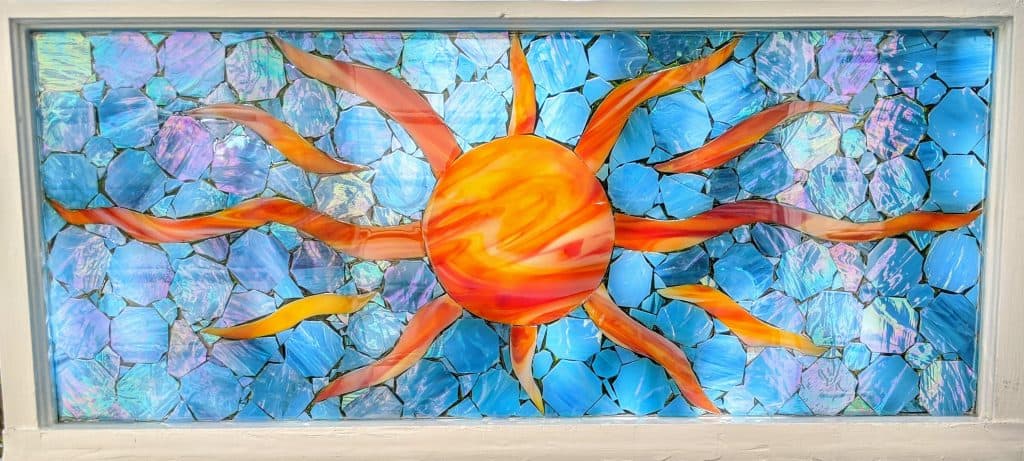
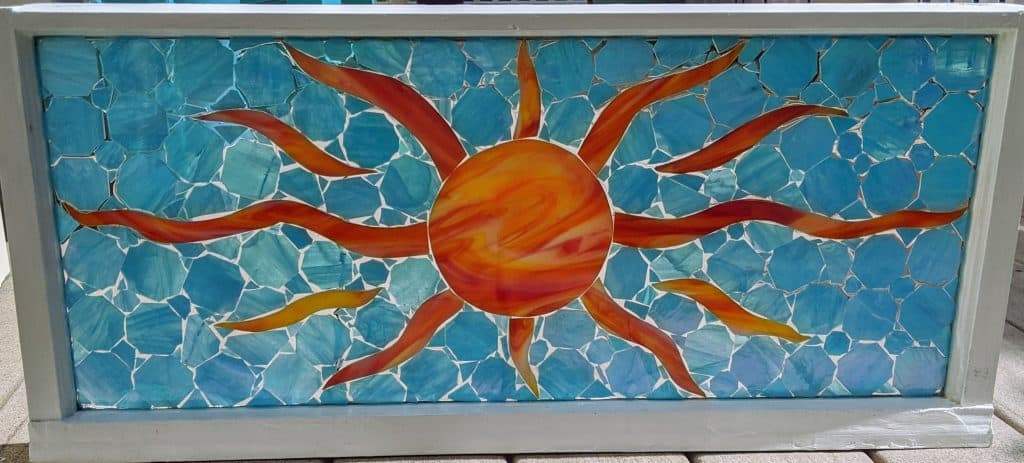
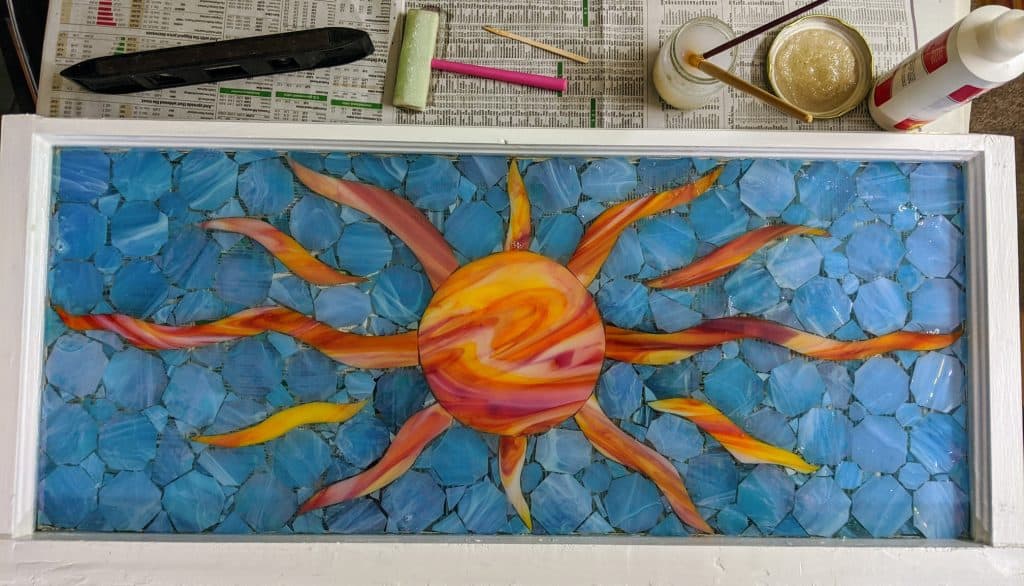
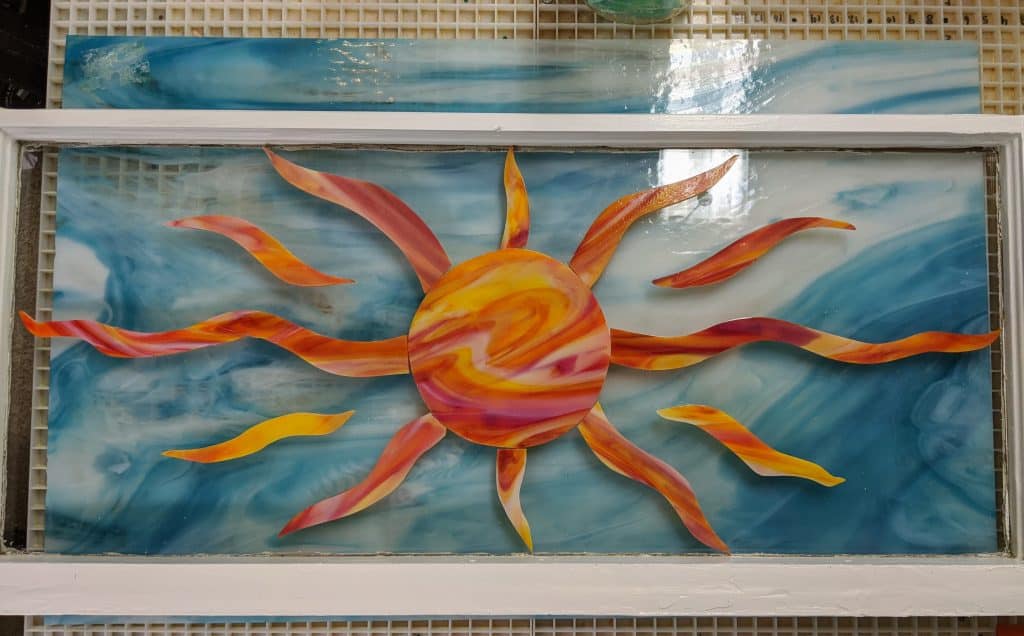
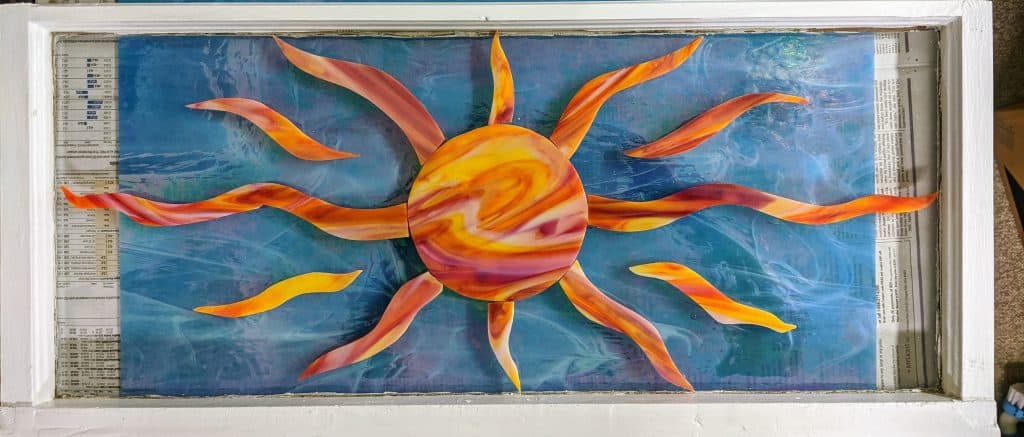
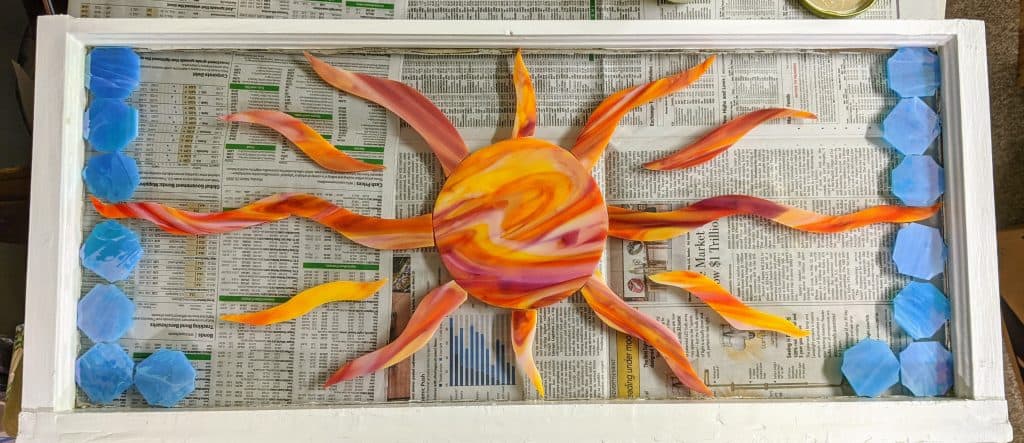
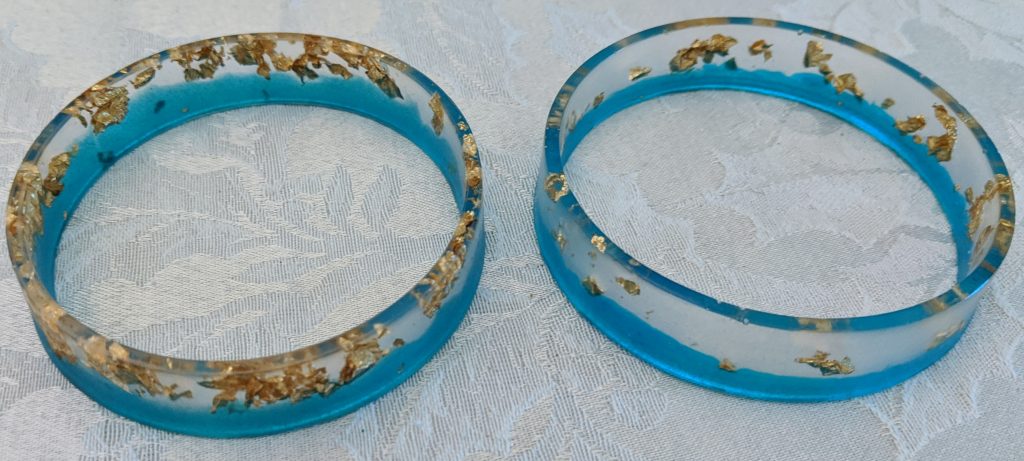
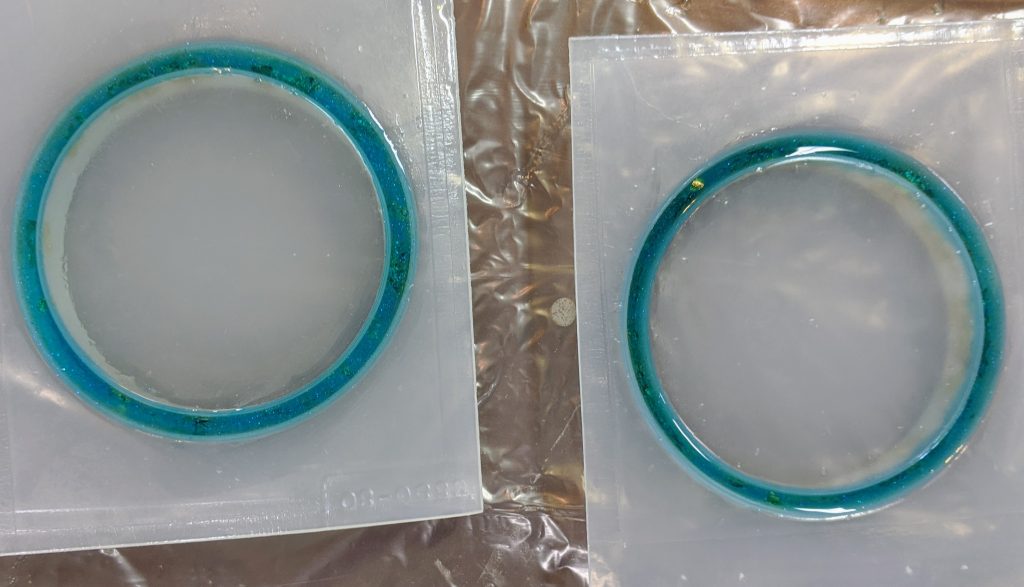
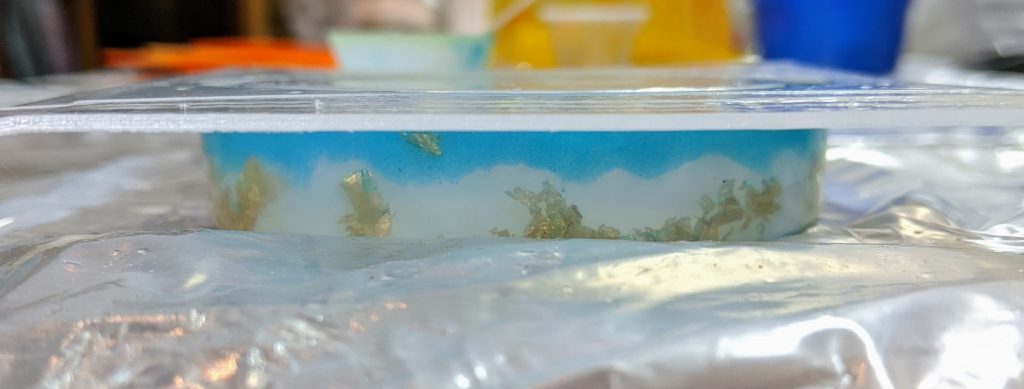
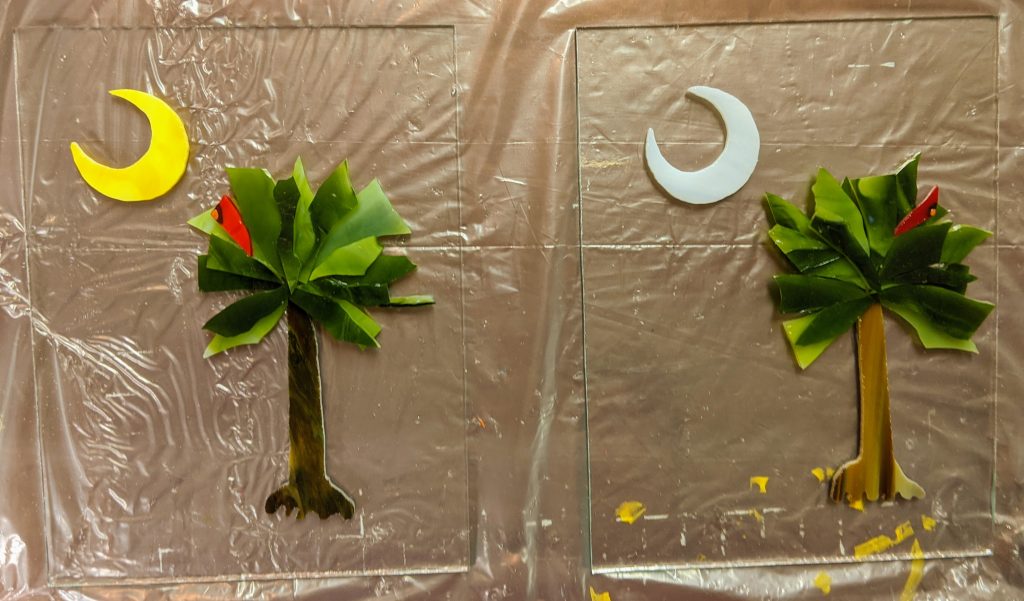
It’s been several months since I poured any resin, so I thought it would be a good idea to test out my resin on some smaller projects before I try it on the big Frank Lloyd Wright window. Some of my resin hardener has yellowed, so I had to toss it. Technically I could use it for projects that have pigments added to the resin, but I don’t want to chance it since most of my projects need clear resin. I had a batch on hand that hadn’t yet been opened, so I used that on these two Rainbow Rows that I made prior to beginning work on the big window. Luckily the temperature in my work area is at the ideal (75 degrees F) for resin right now.

Ready to pour the resin

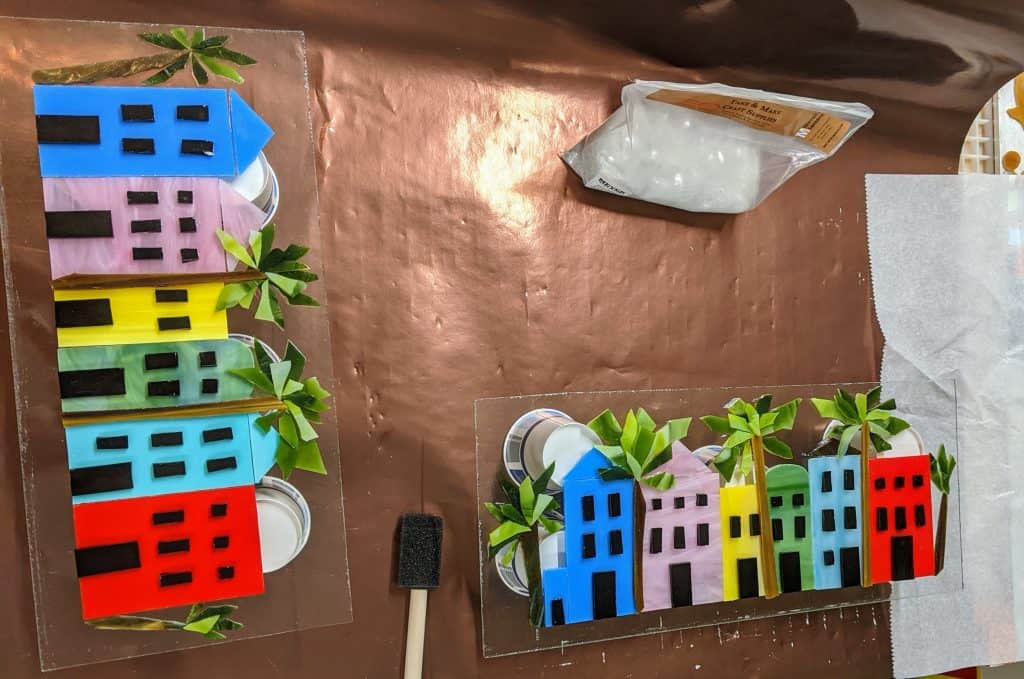
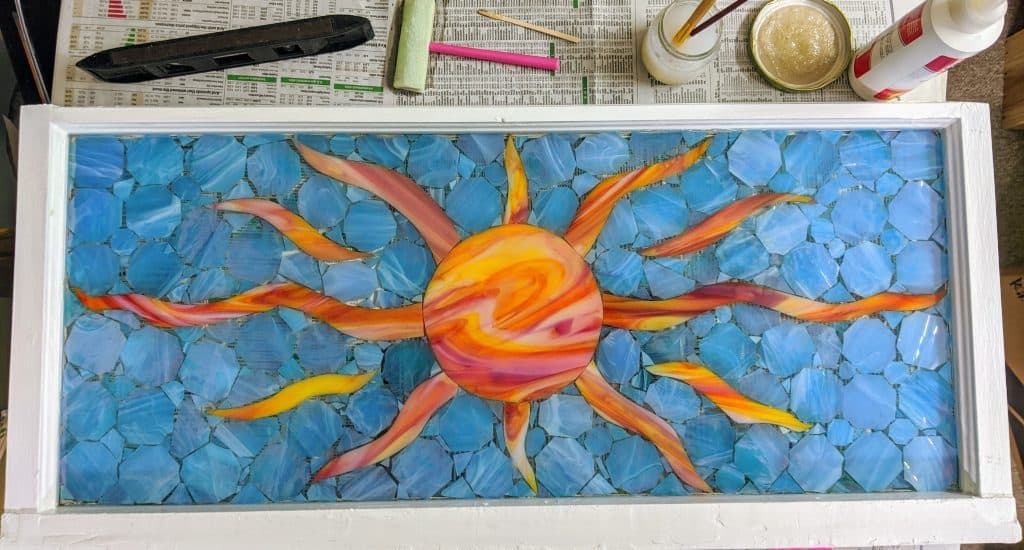
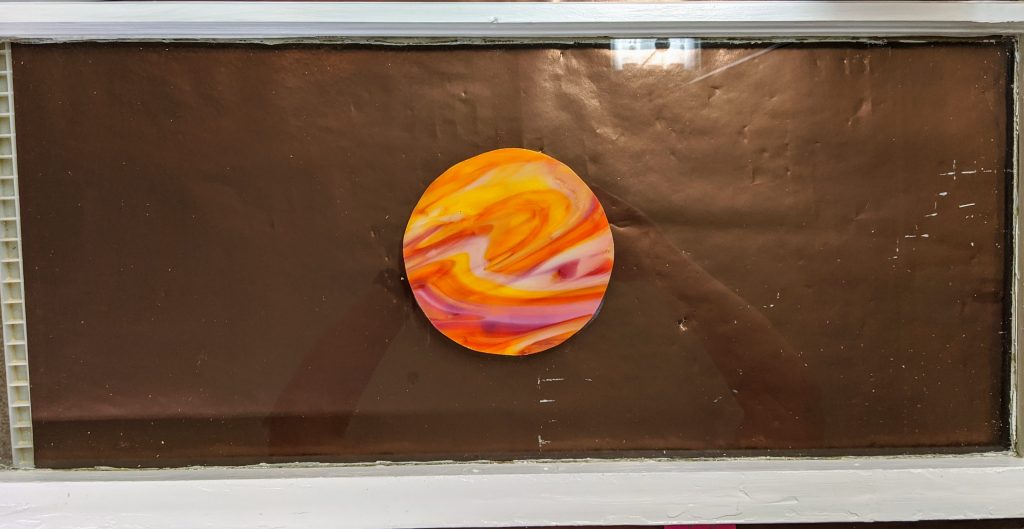
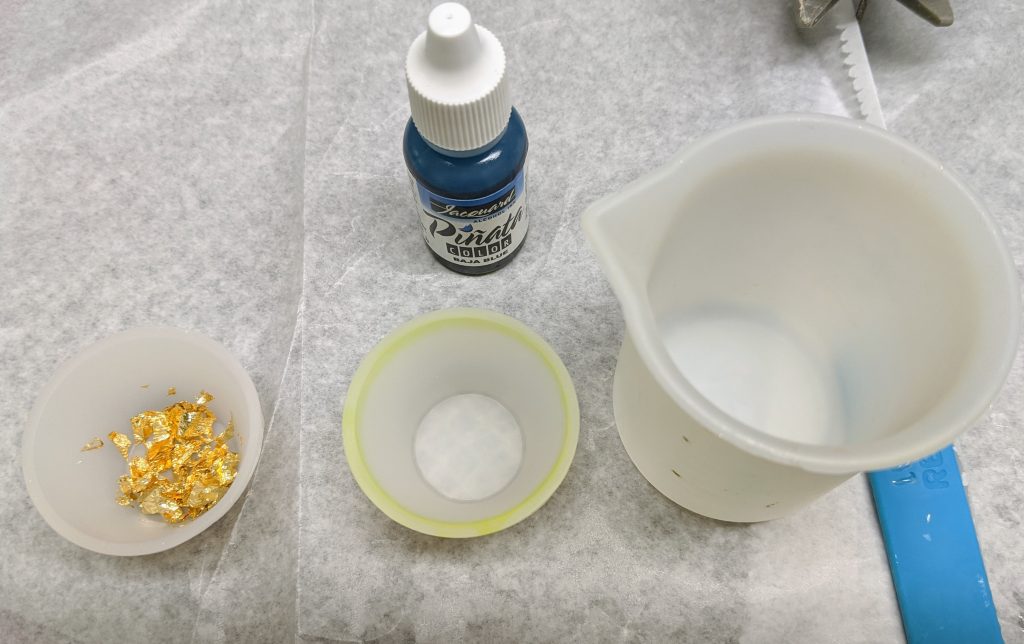
I meant to mix up about 8 ounces or resin, which is too much, but I can always make a couple of ornaments or coasters with the extra. I ended up overpouring and had 12 ounces to use up, so I made some ornaments and a big mess, too.

Too much resin!

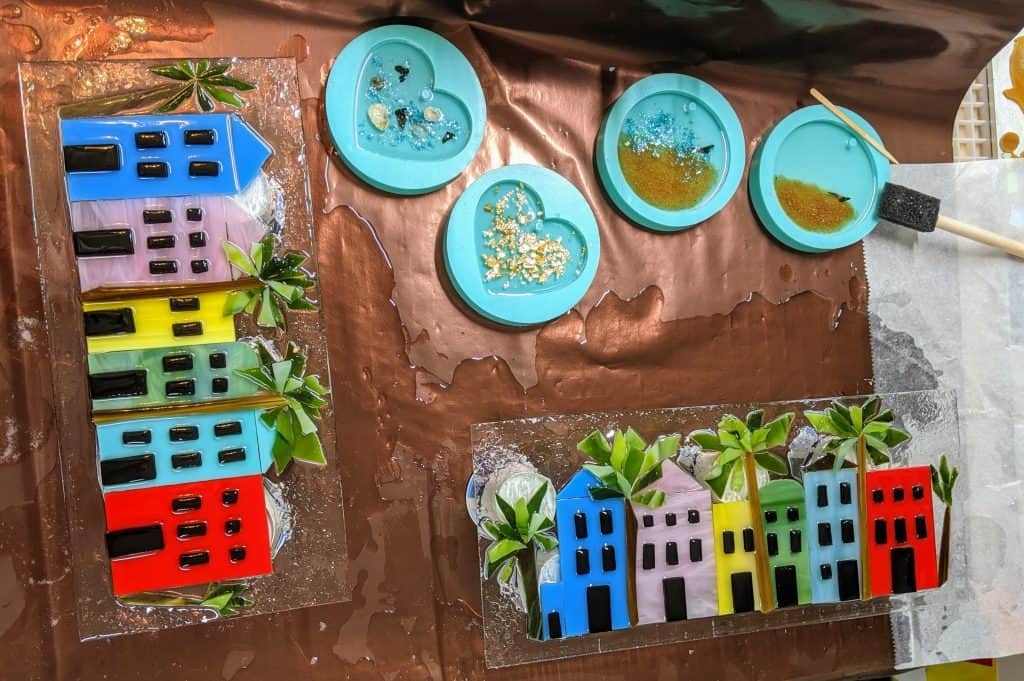
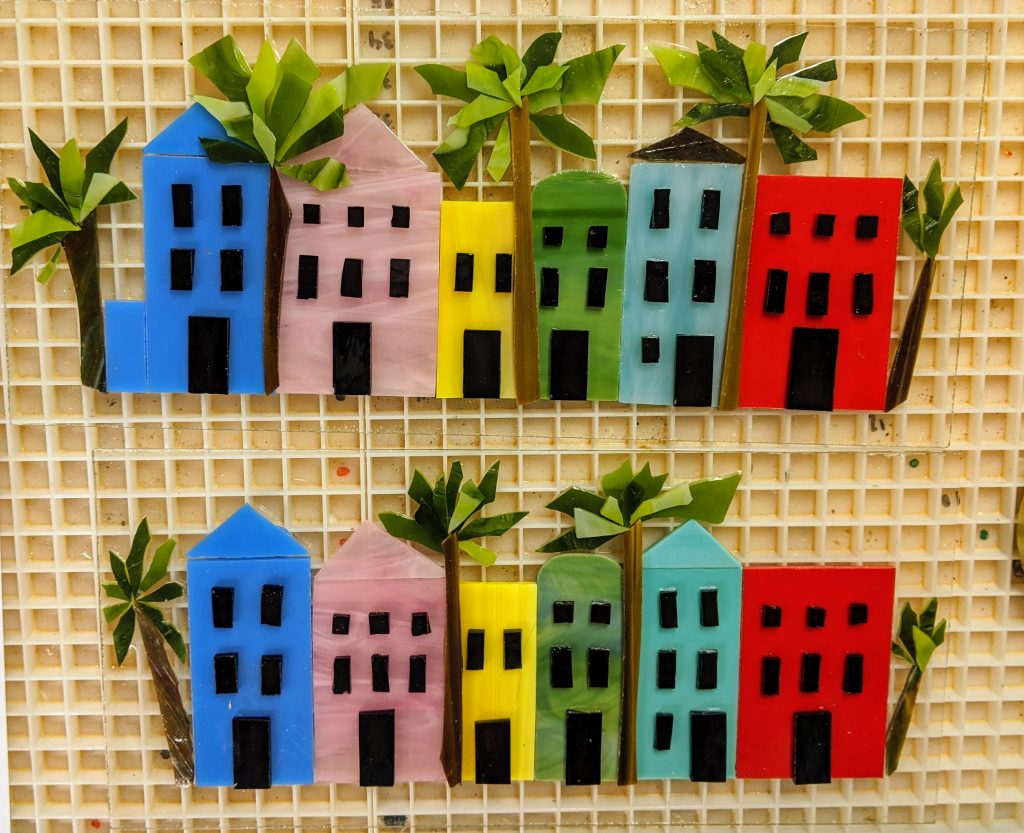
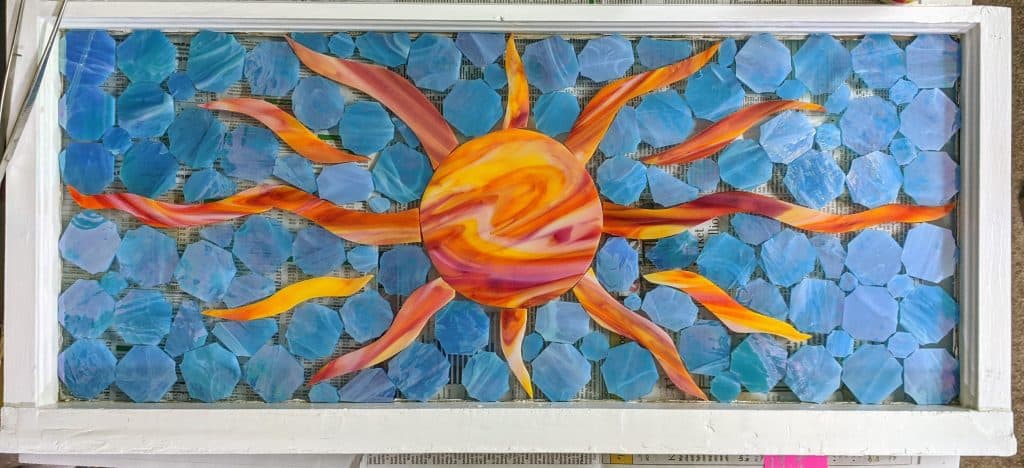
That’s why I put down paper on my work surface, though, so no worries on the mess! And the resin looks great – these two rainbow rows are ready to go a day later.

Rainbow Row, 13 and 3/4″ x 6″, $70
Rainbow Row, 12 and 10/16″ by 6″, $70

It’s a BIG one!

So I had to clear off most of my work table for the pattern for this next window project. This will be going into a large window (31″ x 48″) for privacy in a powder room. We discussed the glass to be used over the weekend and settled for art glass in shades of gray, white and orange (no clear). I have to special order the clear backer glass that I will use to mount the individual pieces in place. I had considered making this with lead or copper foil, but after researching issues of strength with a window this size and discussing with my friends who will take this home, this will be a resin pour! The size will bring some challenges along with it because I will need to be able to reach all sides of it when I pour the resin, but I think it will be a fun project.

Pattern with basic color scheme
Pattern to scale

Fireball Sun Poured

Today I finished filling in the small gaps in the blue sky background on this sun, which I decided to call “Fireball”. I didn’t glue the background glass in place (just the glass for the sun). That was foolish, but I did it because I was impatient and didn’t want to wait a few days before pouring the resin. If I glue the glass in place, I have to wait for it to completely cure / dry. The benefit is that there are a lot fewer bubbles when I pour the resin.

Resin poured
Bubbles!

To get rid of the bubbles, I had to stand over the mosaic for a couple of hours and blow them with my heat gun. I ended up just running the heat gun over it every 5-10 minutes. Hopefully no more have popped up since I left it, but it seemed to be done with the bubble phase after about 1.5 hours. This is pretty long – it shouldn’t generally take that long to set, but I was very quick with the mixing today since I didn’t have any pigments, etc to mix in and I was only working on this one project. I used 16 ounces of resin and only had a very small residual amount left over.

Now we wait!

Every sun needs some sky

So I spent a couple of days figuring out how to make the background, or sky, for this sun mosaic. I had planned on a completely different approach, but after looking at various types of glass, I decided that the background I had in mind was too “busy” for the glass I chose for this sun.

To help me make the decision, I set the whole window over large pieces of “sky” glass. I really had planned on making the background out of many, varied shades and types of blue glass, but ended up deciding that the iridized Spectrum (one of my standby favorites for lots of things) would be best against the multifaceted colors of the glass I used for the sun.

Now to cut it into a zillion pieces!
Starting to fill in the sky

I spent today cutting the larger pieces for the sky / background. It will likely take a couple of days to fill in the smaller spaces between these.

Still a lot of holes to fill!

A New Sun

It’s always fun to start a new project. It can be a challenge to decide what to do next when you’re looking at a plain window. I really like to do sun mosaics, and I have a neat piece of glass that just shouts “SUN!” to me, so a few days ago I measured the middle of the window and then figured out what size sun I thought would look good there. I cut the circle down with my manual glass cutter, then smoothed the edges with my saw and grinder and glued it in place. Today it was ready to be joined by some rays.

Just a fiery ball of glass in a recycled 13.5″ x 30″ window.

I free-form cut the longest rays that will go to the left or right of the ball with my manual glass cutter, then smoothed the shapes with my saw and grinder.

Once I had a few cut out, I set them in place around the ball of the sun. I’m not worried about the small gap between the ball and the rays because I plan to add a second layer of glass in a circle around the edge of the ball when I am further along with the base layer of glass.

I plan to add a lot more detail in the background, but for now I want to get the major focal points in place around the sun. I haven’t glued any of the rays in place yet, but the ball of the sun is glued down.

Main rays of the sun laid out

I think I might try to not use any more of the glass I used for the main sun / rays in the rest of the background. The decision I have to make now is whether the rest will be various shades of blue or if I will add more yellow / orange / red flame accents. Once I fill in the entire background with glass, I will coat it with resin to bring everything together. While I was working on this, I rough cut two additional circles and some extra main rays in case I decide to make some additional, similar projects from this sheet of glass. While working with the extras, I stacked them together and really liked the look of the rays overlapping. That might be the next version of this – layered rays. The pieces get heavy when I use a lot of layers, but it might be a fun experiment.

Results…

So today is a results day – didn’t start anything new, just got to see the results of previous hours of work.

Palmetto & Crescent, yellow – approx. 6″ x 7.5″
Palmetto & Crescent, white – approx. 6″ x 7.5″

My first shot at the bracelets was interesting. I had a pretty rough time getting them out of the molds. Ironically, the one without the mold release was harder than the other one. I’m not really that excited about them. I think I need to pour a little less resin into the mold so the resin doesn’t get to the top. I’ve got a lot of sanding to do on the top edge.

Second attempt (all one pour) at left, first attempt at right (two stage pour)

The next project on my list will be a 13.5″ x 30″ window. I have no idea what I’m going to do. A sun? Maybe some spring flowers? A beachy scene?

What should I make with this?

Branching out

I finally got around to making some Palmetto and Crescents with variety today.

Laying out the pieces of glass for the Palmetto and Crescent panels

First, I mixed 80 ml of resin and then separated it into clear, a small container of clear with metallic flakes and one that would end up blue tinted.

I also finished pouring the resin for my new bracelet molds. I’m not too sure how to get my desired look yet, but it’s just the first attempt. I think they might make a nice addition to my PetMemoryBeads.com offerings once I figure it out. I started pouring the one on the left a few days ago, with a clear layer then adding metallic flakes, then a little blue over that. I think mixing the flakes directly into the resin before pouring into the mold will make the flakes distribute better in the mold. I also needed to add more blue to the first mold today to fill in the space. For the one on the right, I mixed the flakes directly with the clear resin before pouring into the mold. The mold on the right also has been coated with Castin’ Craft Mold Release. I ordered the molds not realizing that they are stiff plastic, not silicone, which all of my other molds are made of. I never need mold release for my silicone molds, so I didn’t have it on hand when I poured the first one.

Side view of second / right hand bracelet mold

I actually poured the clear resin over the tree panels first, then tended to the bracelets, so my photos are a bit out of order. I decided to add a little red bird to the trees for interest. I also set aside some decorative class chips, mica, etc for decorating the background areas of the Palmetto and Crescent panels. I use a lot of materials from Meyer Imports and I really like their products.

Ready to pour / spread the resin