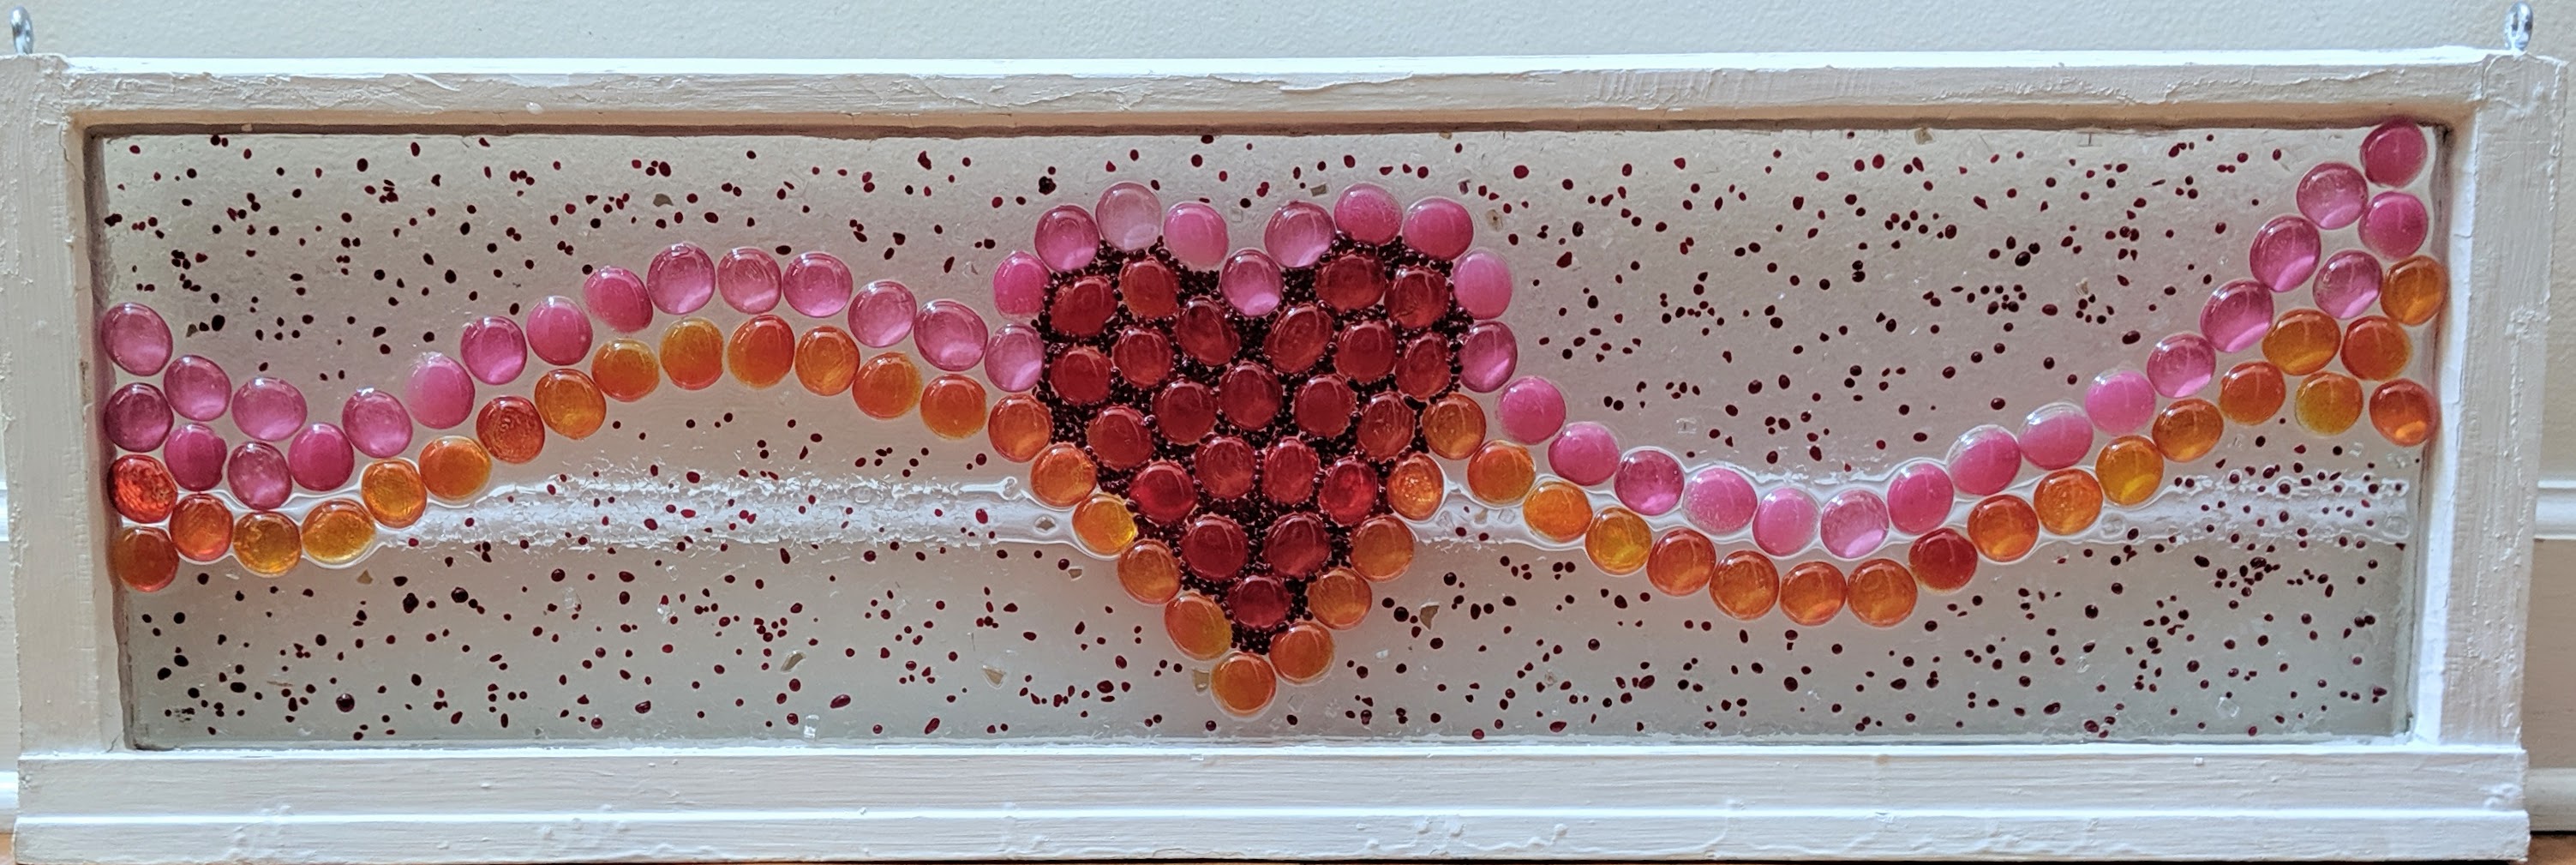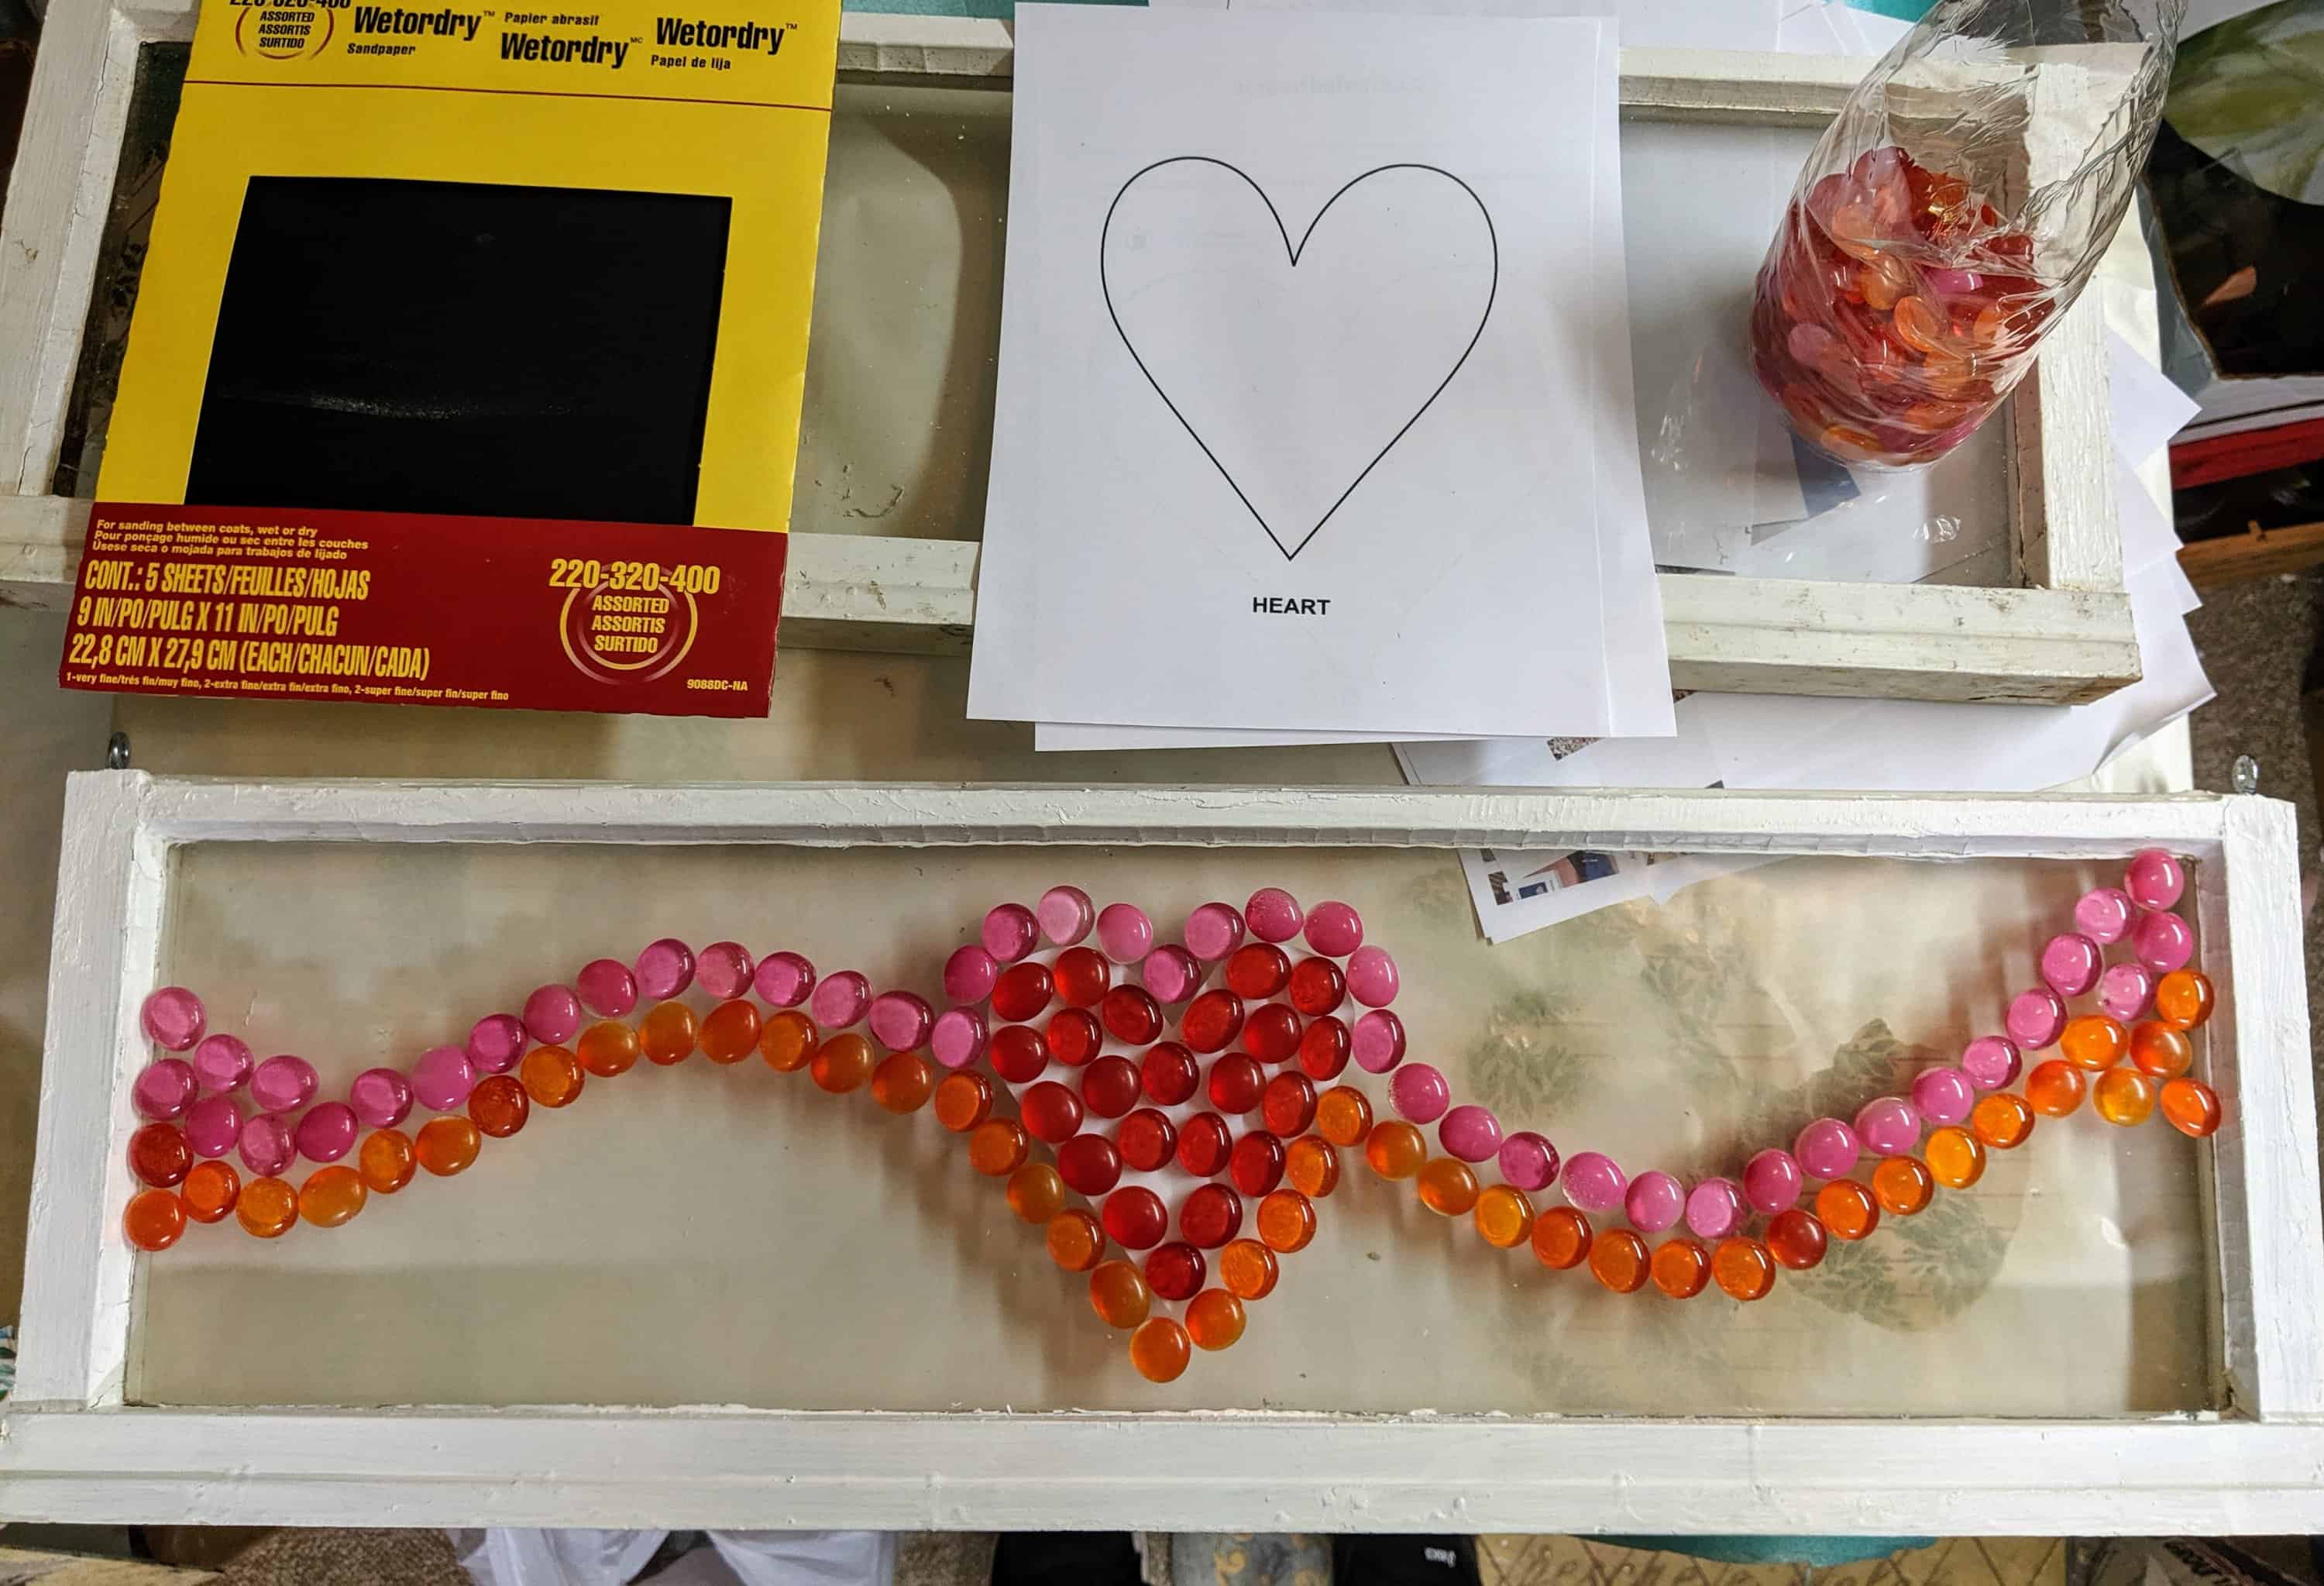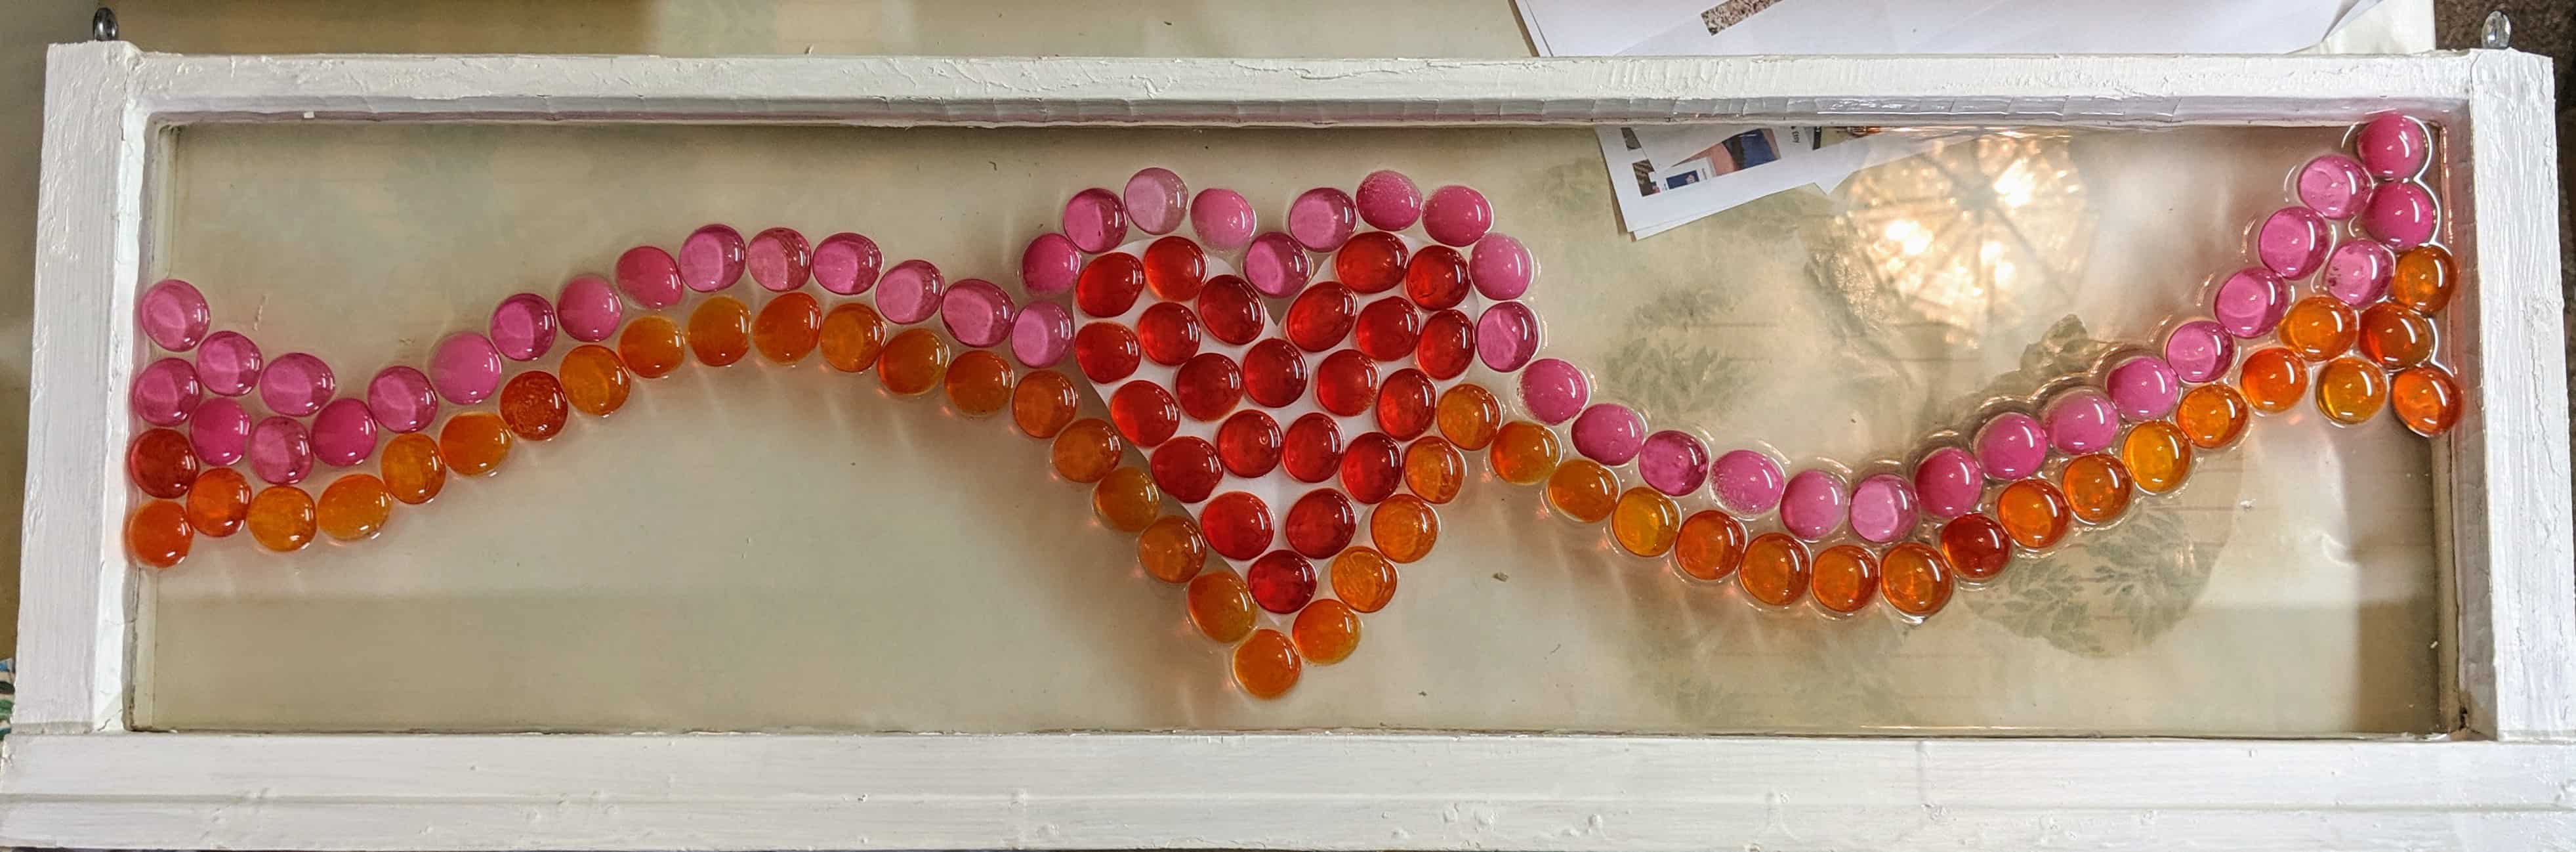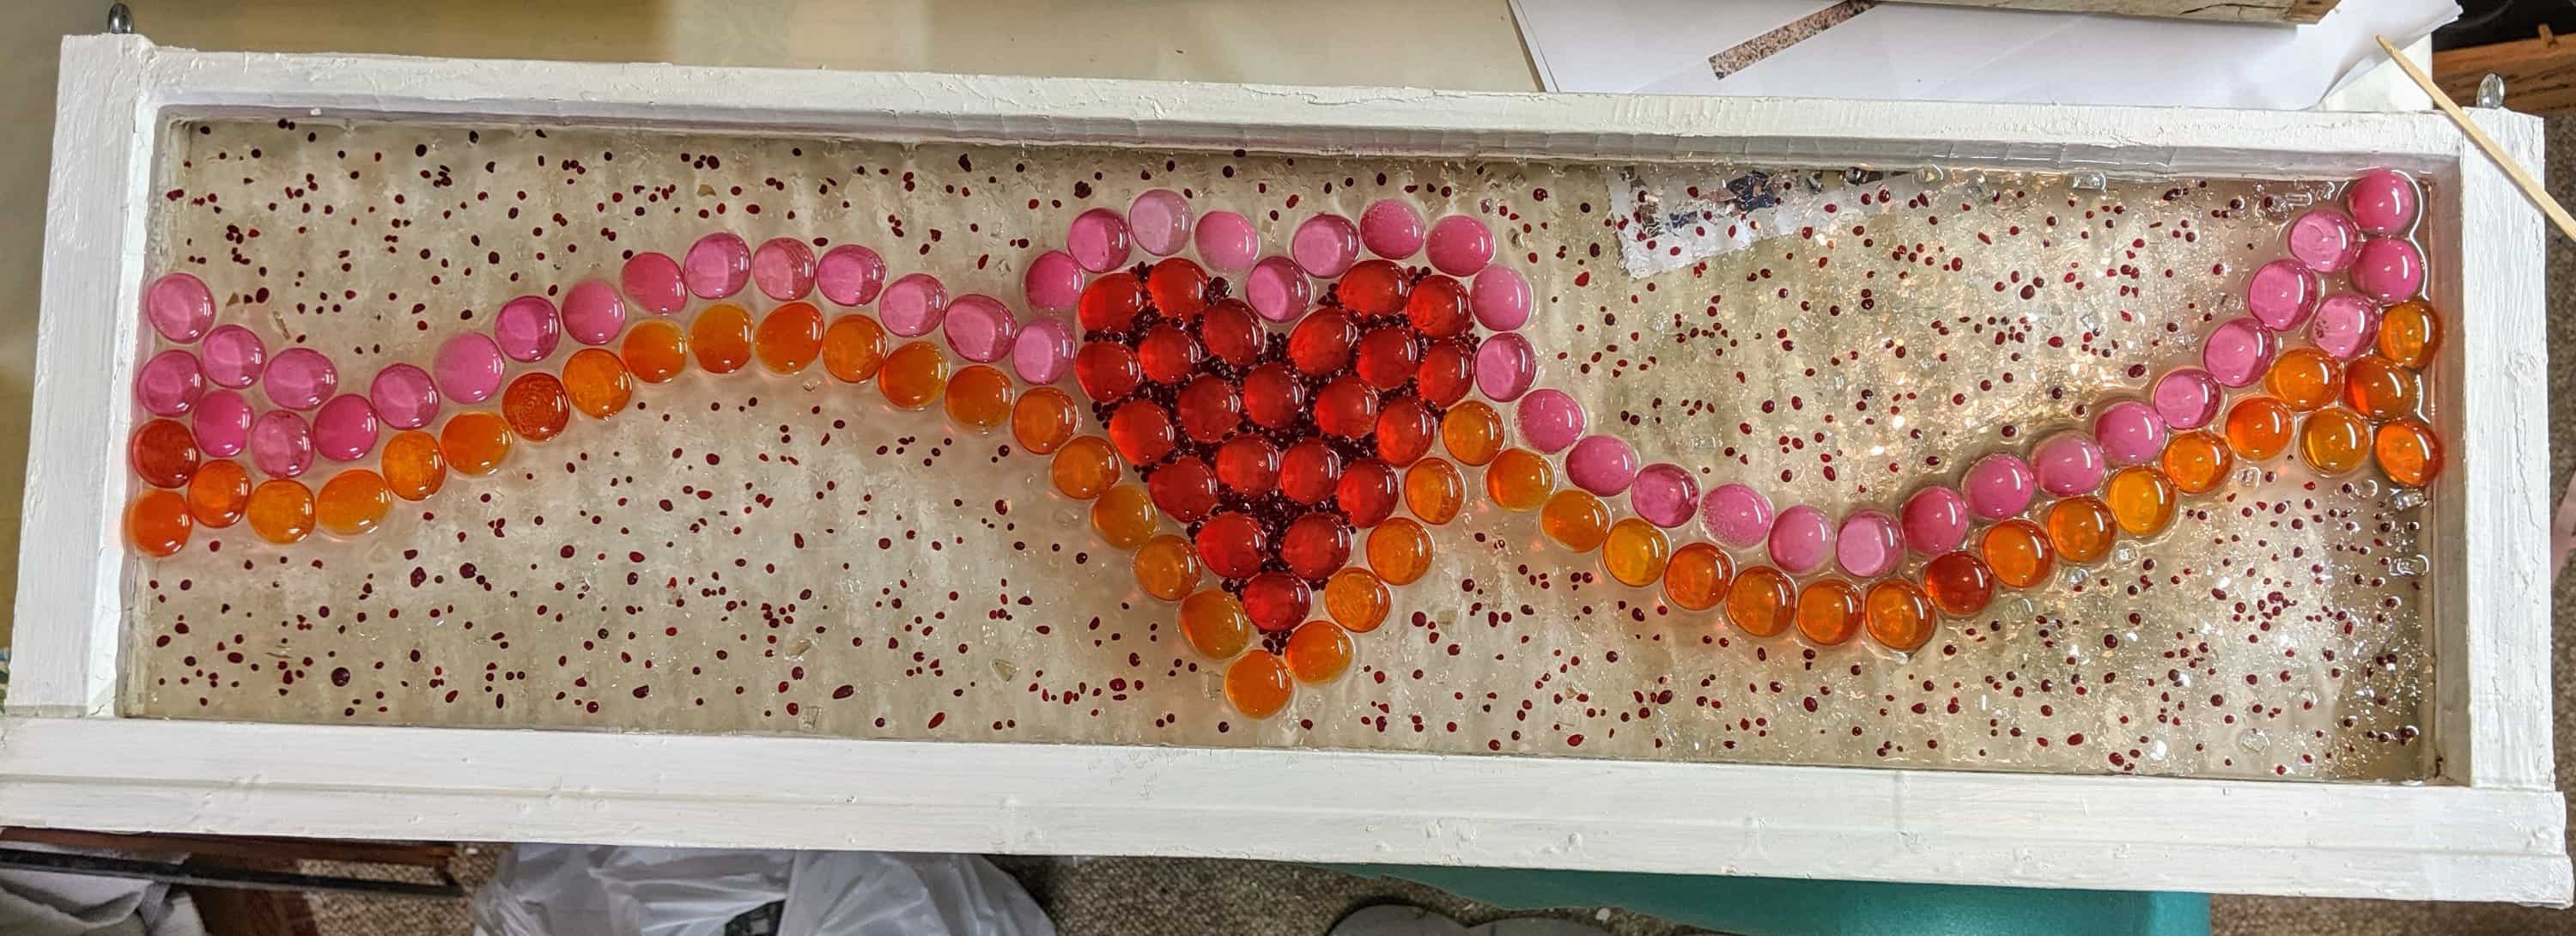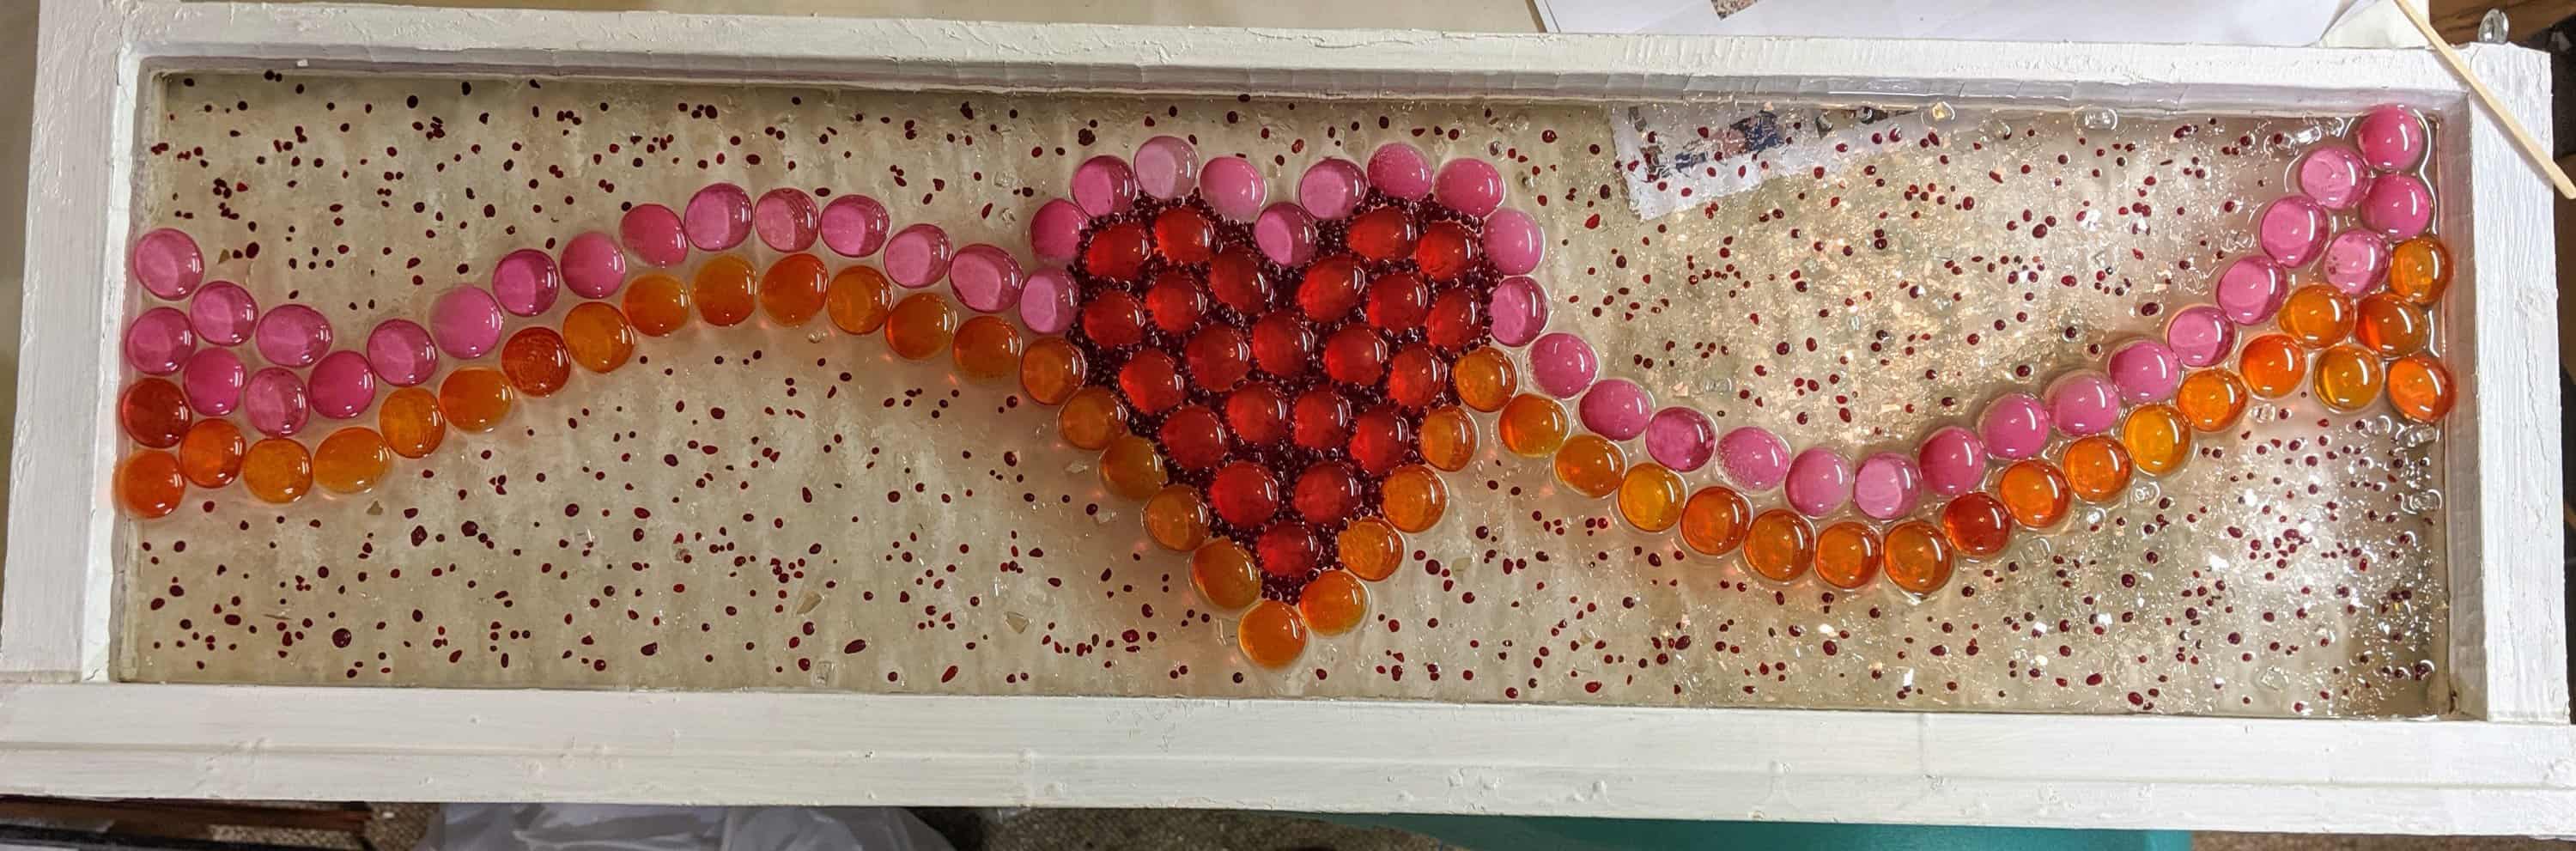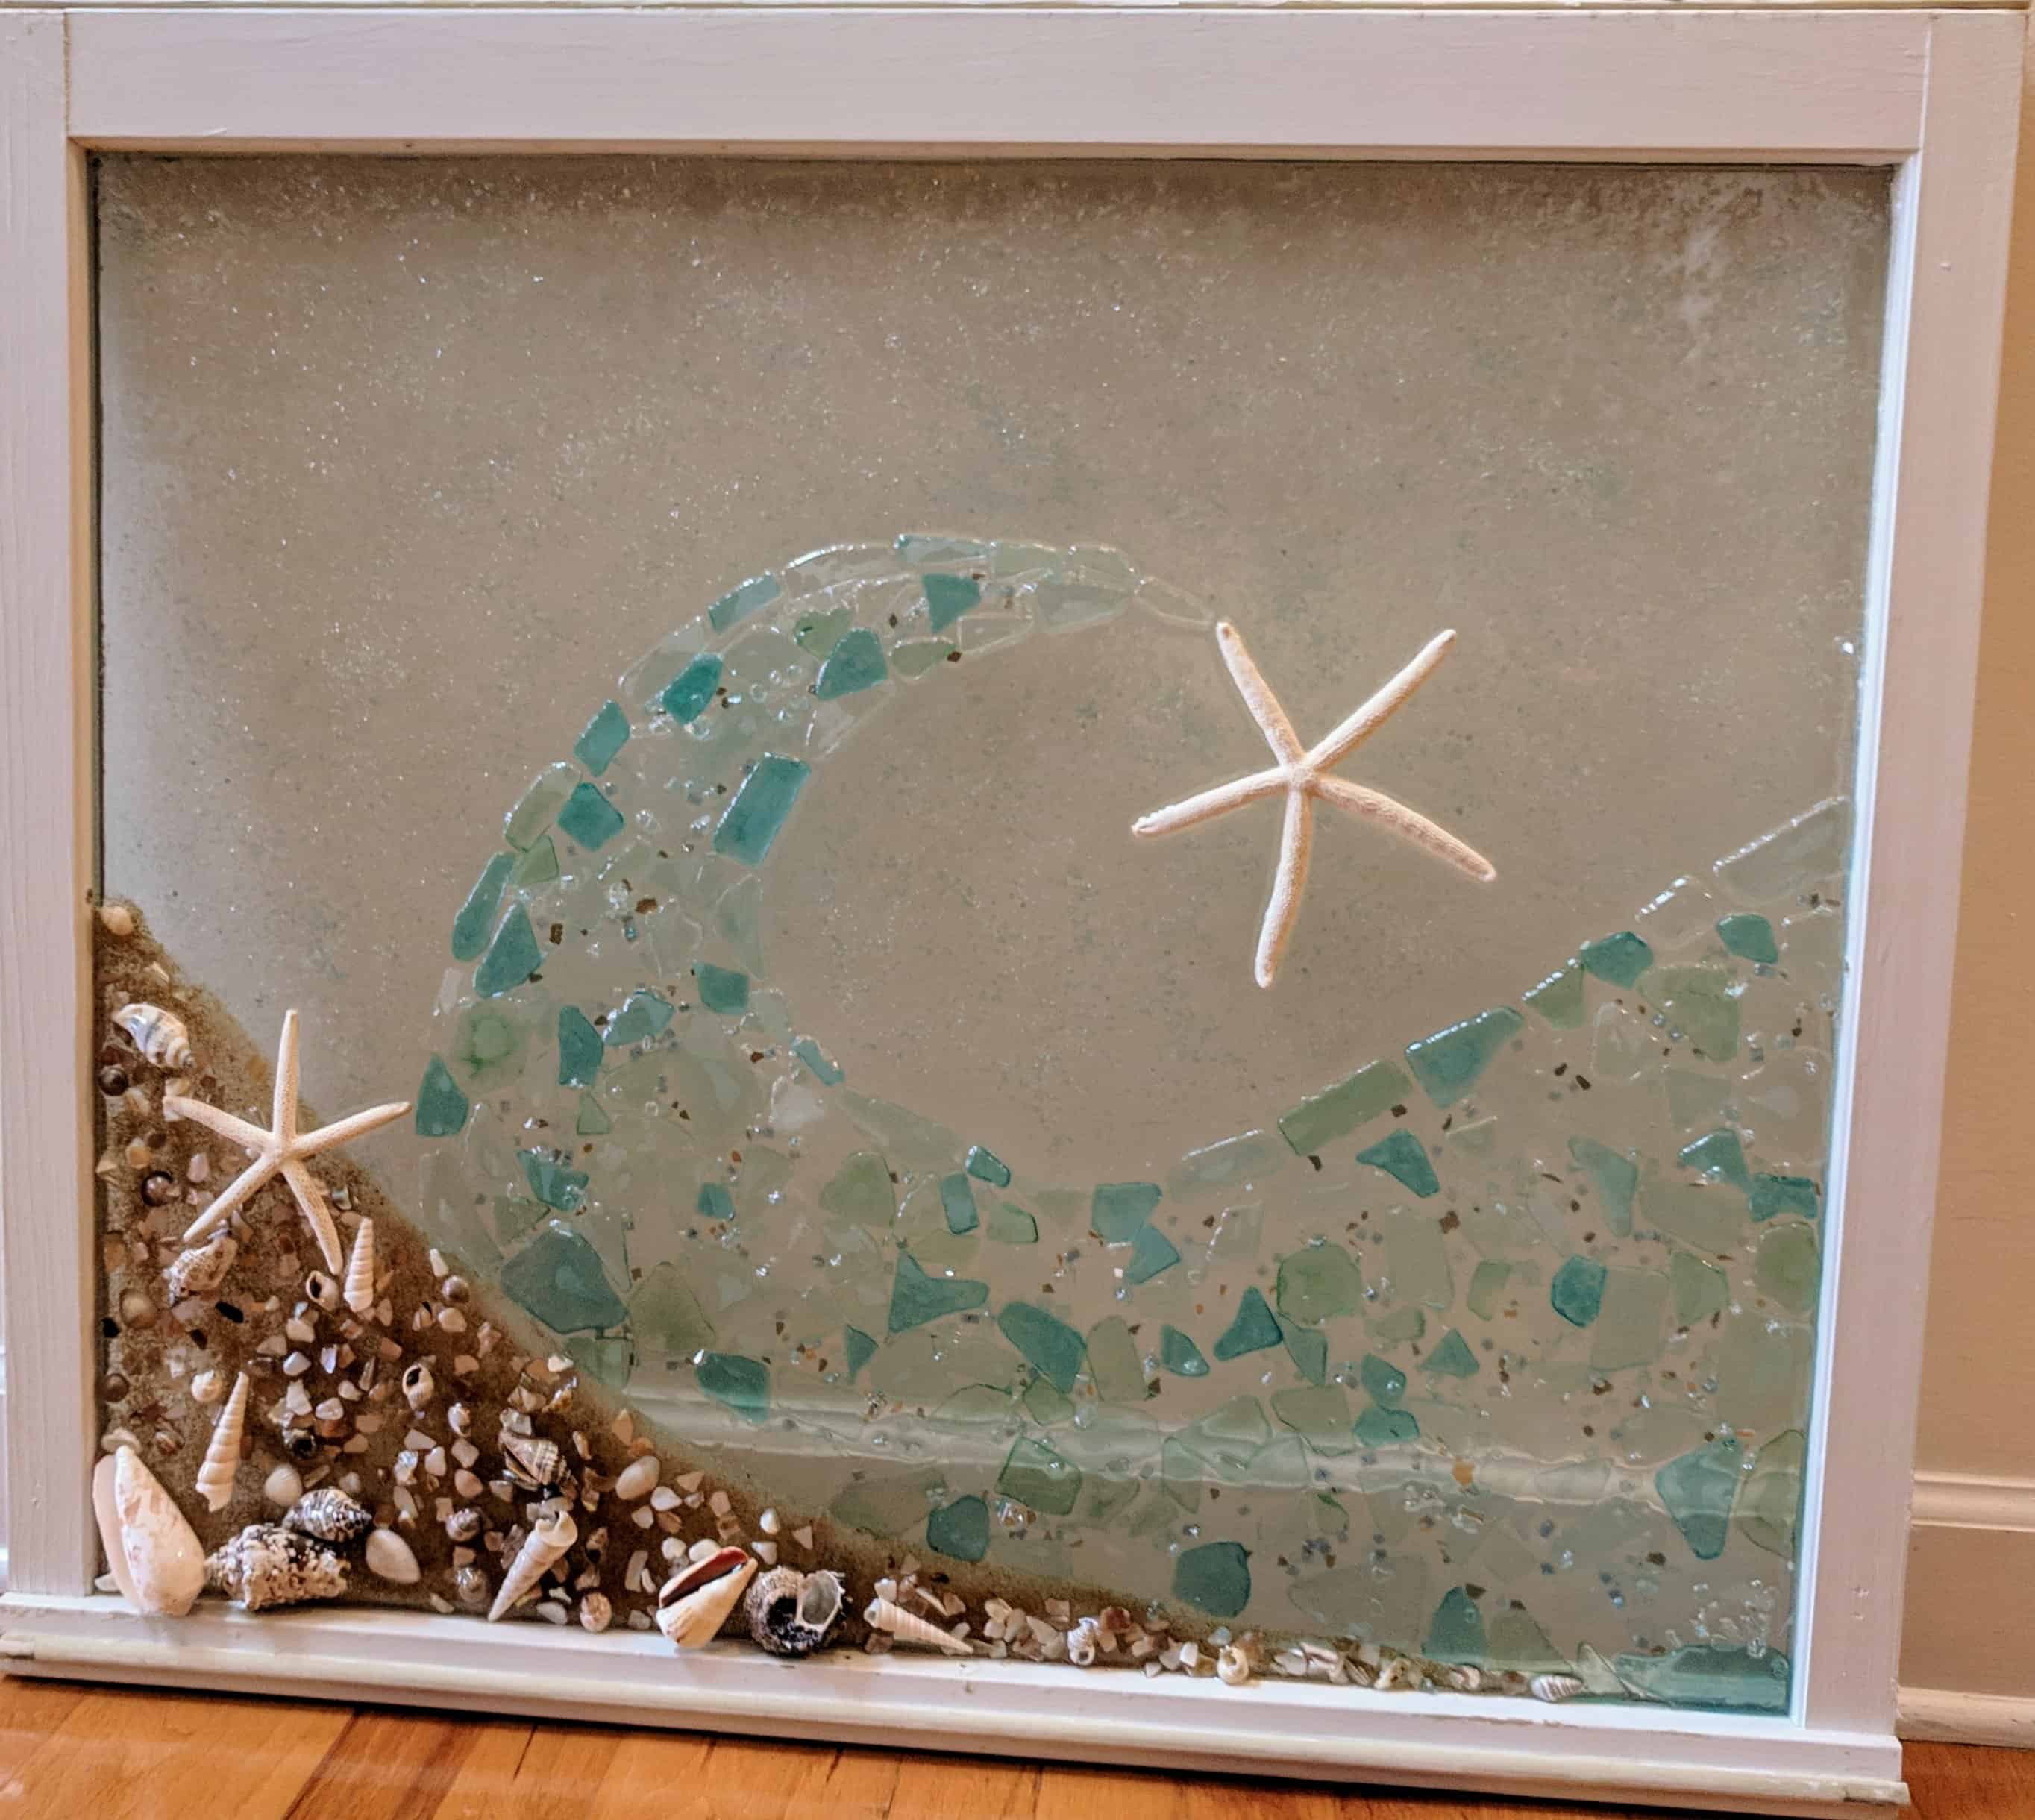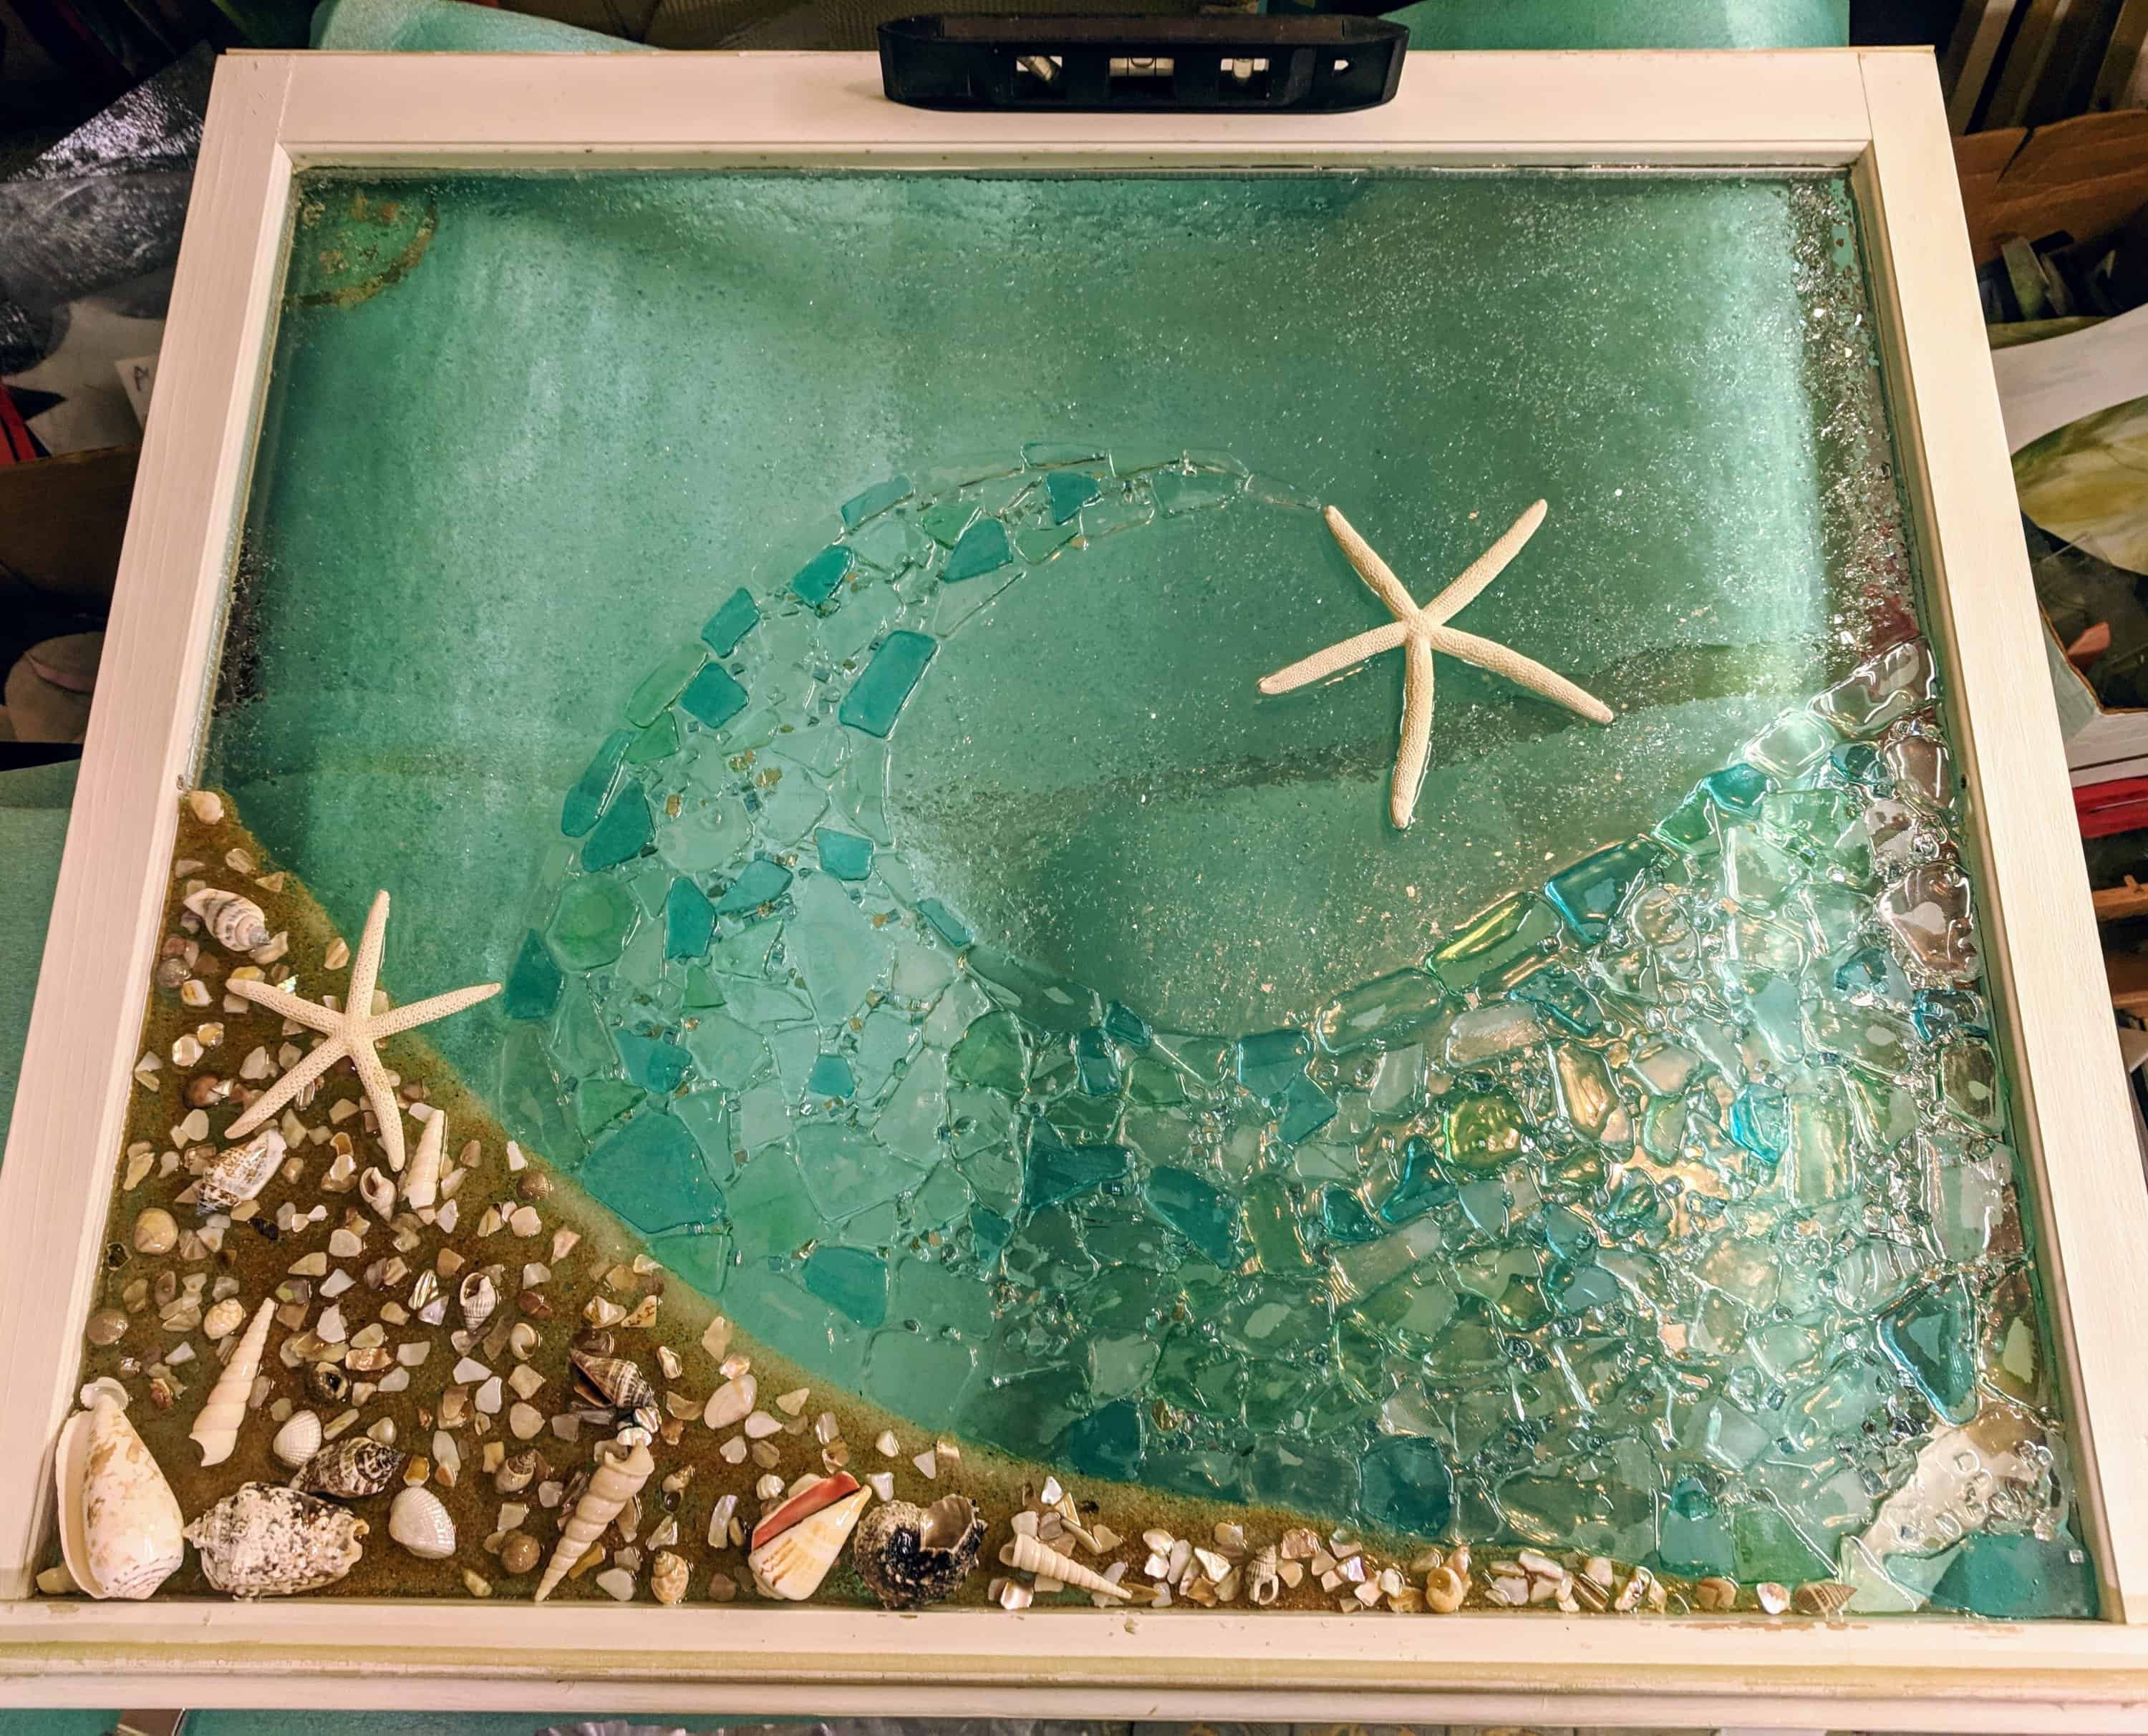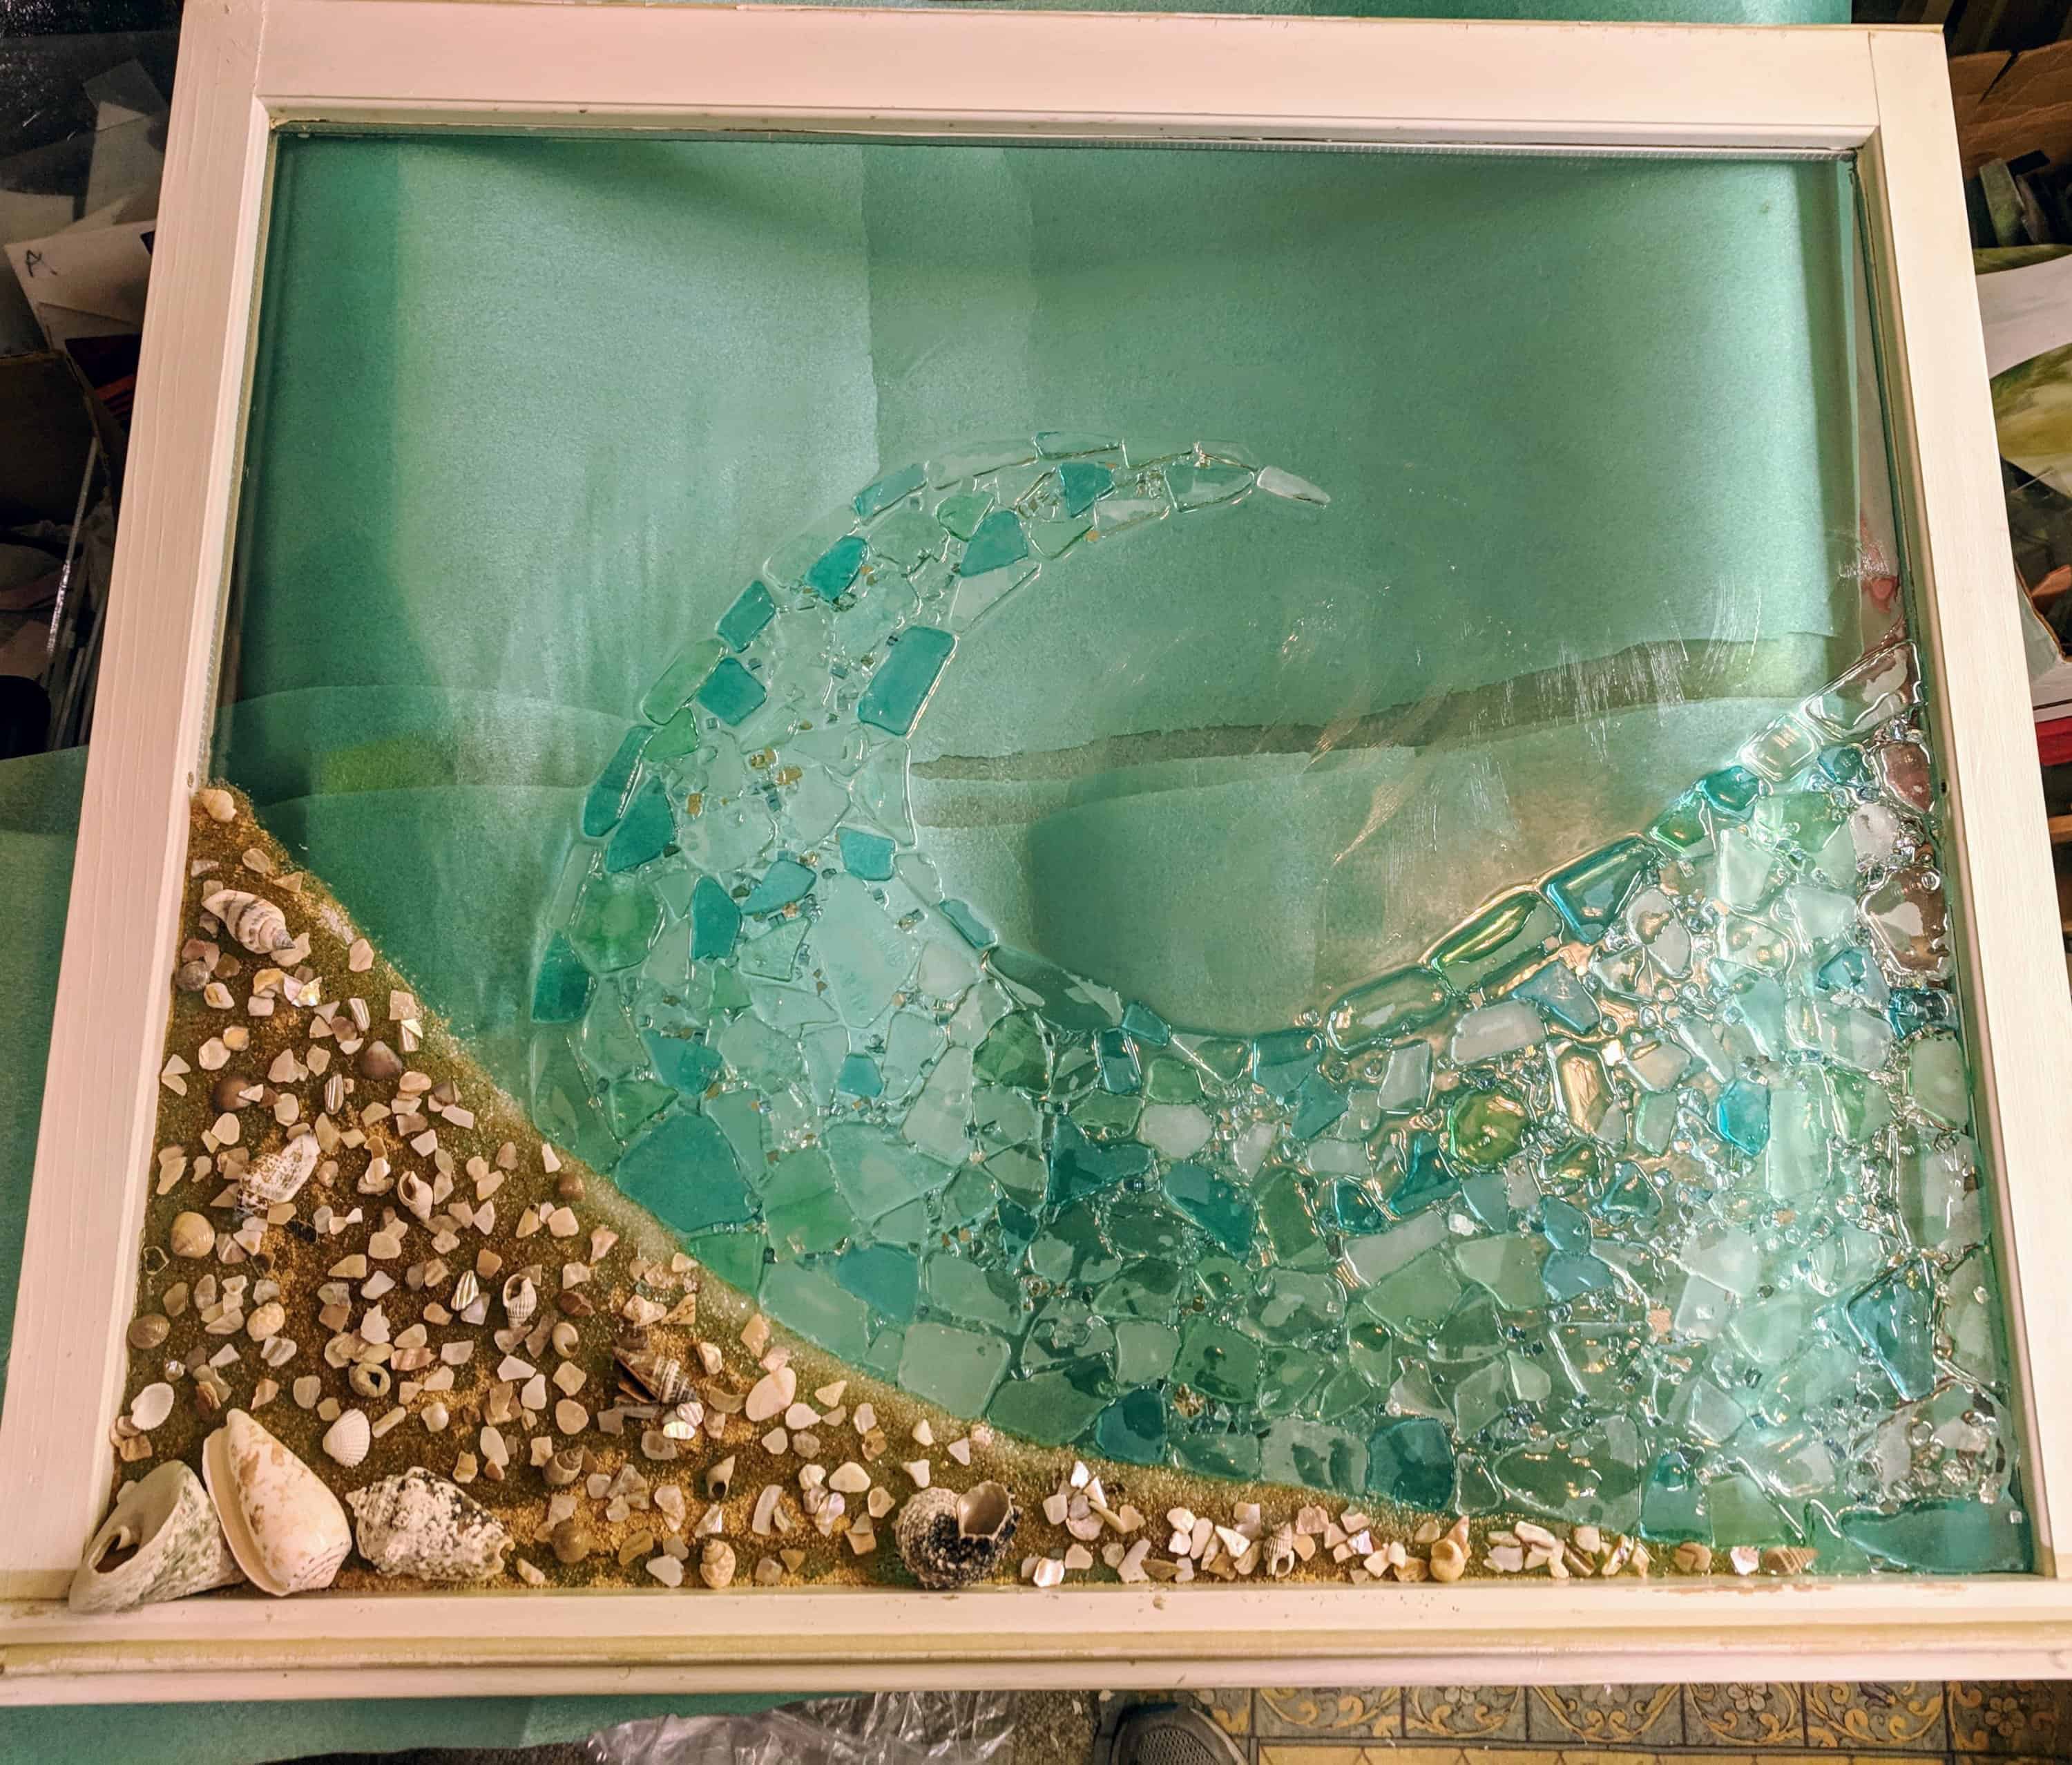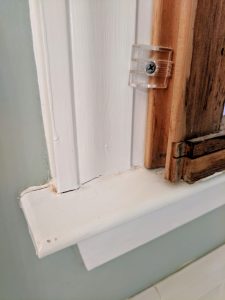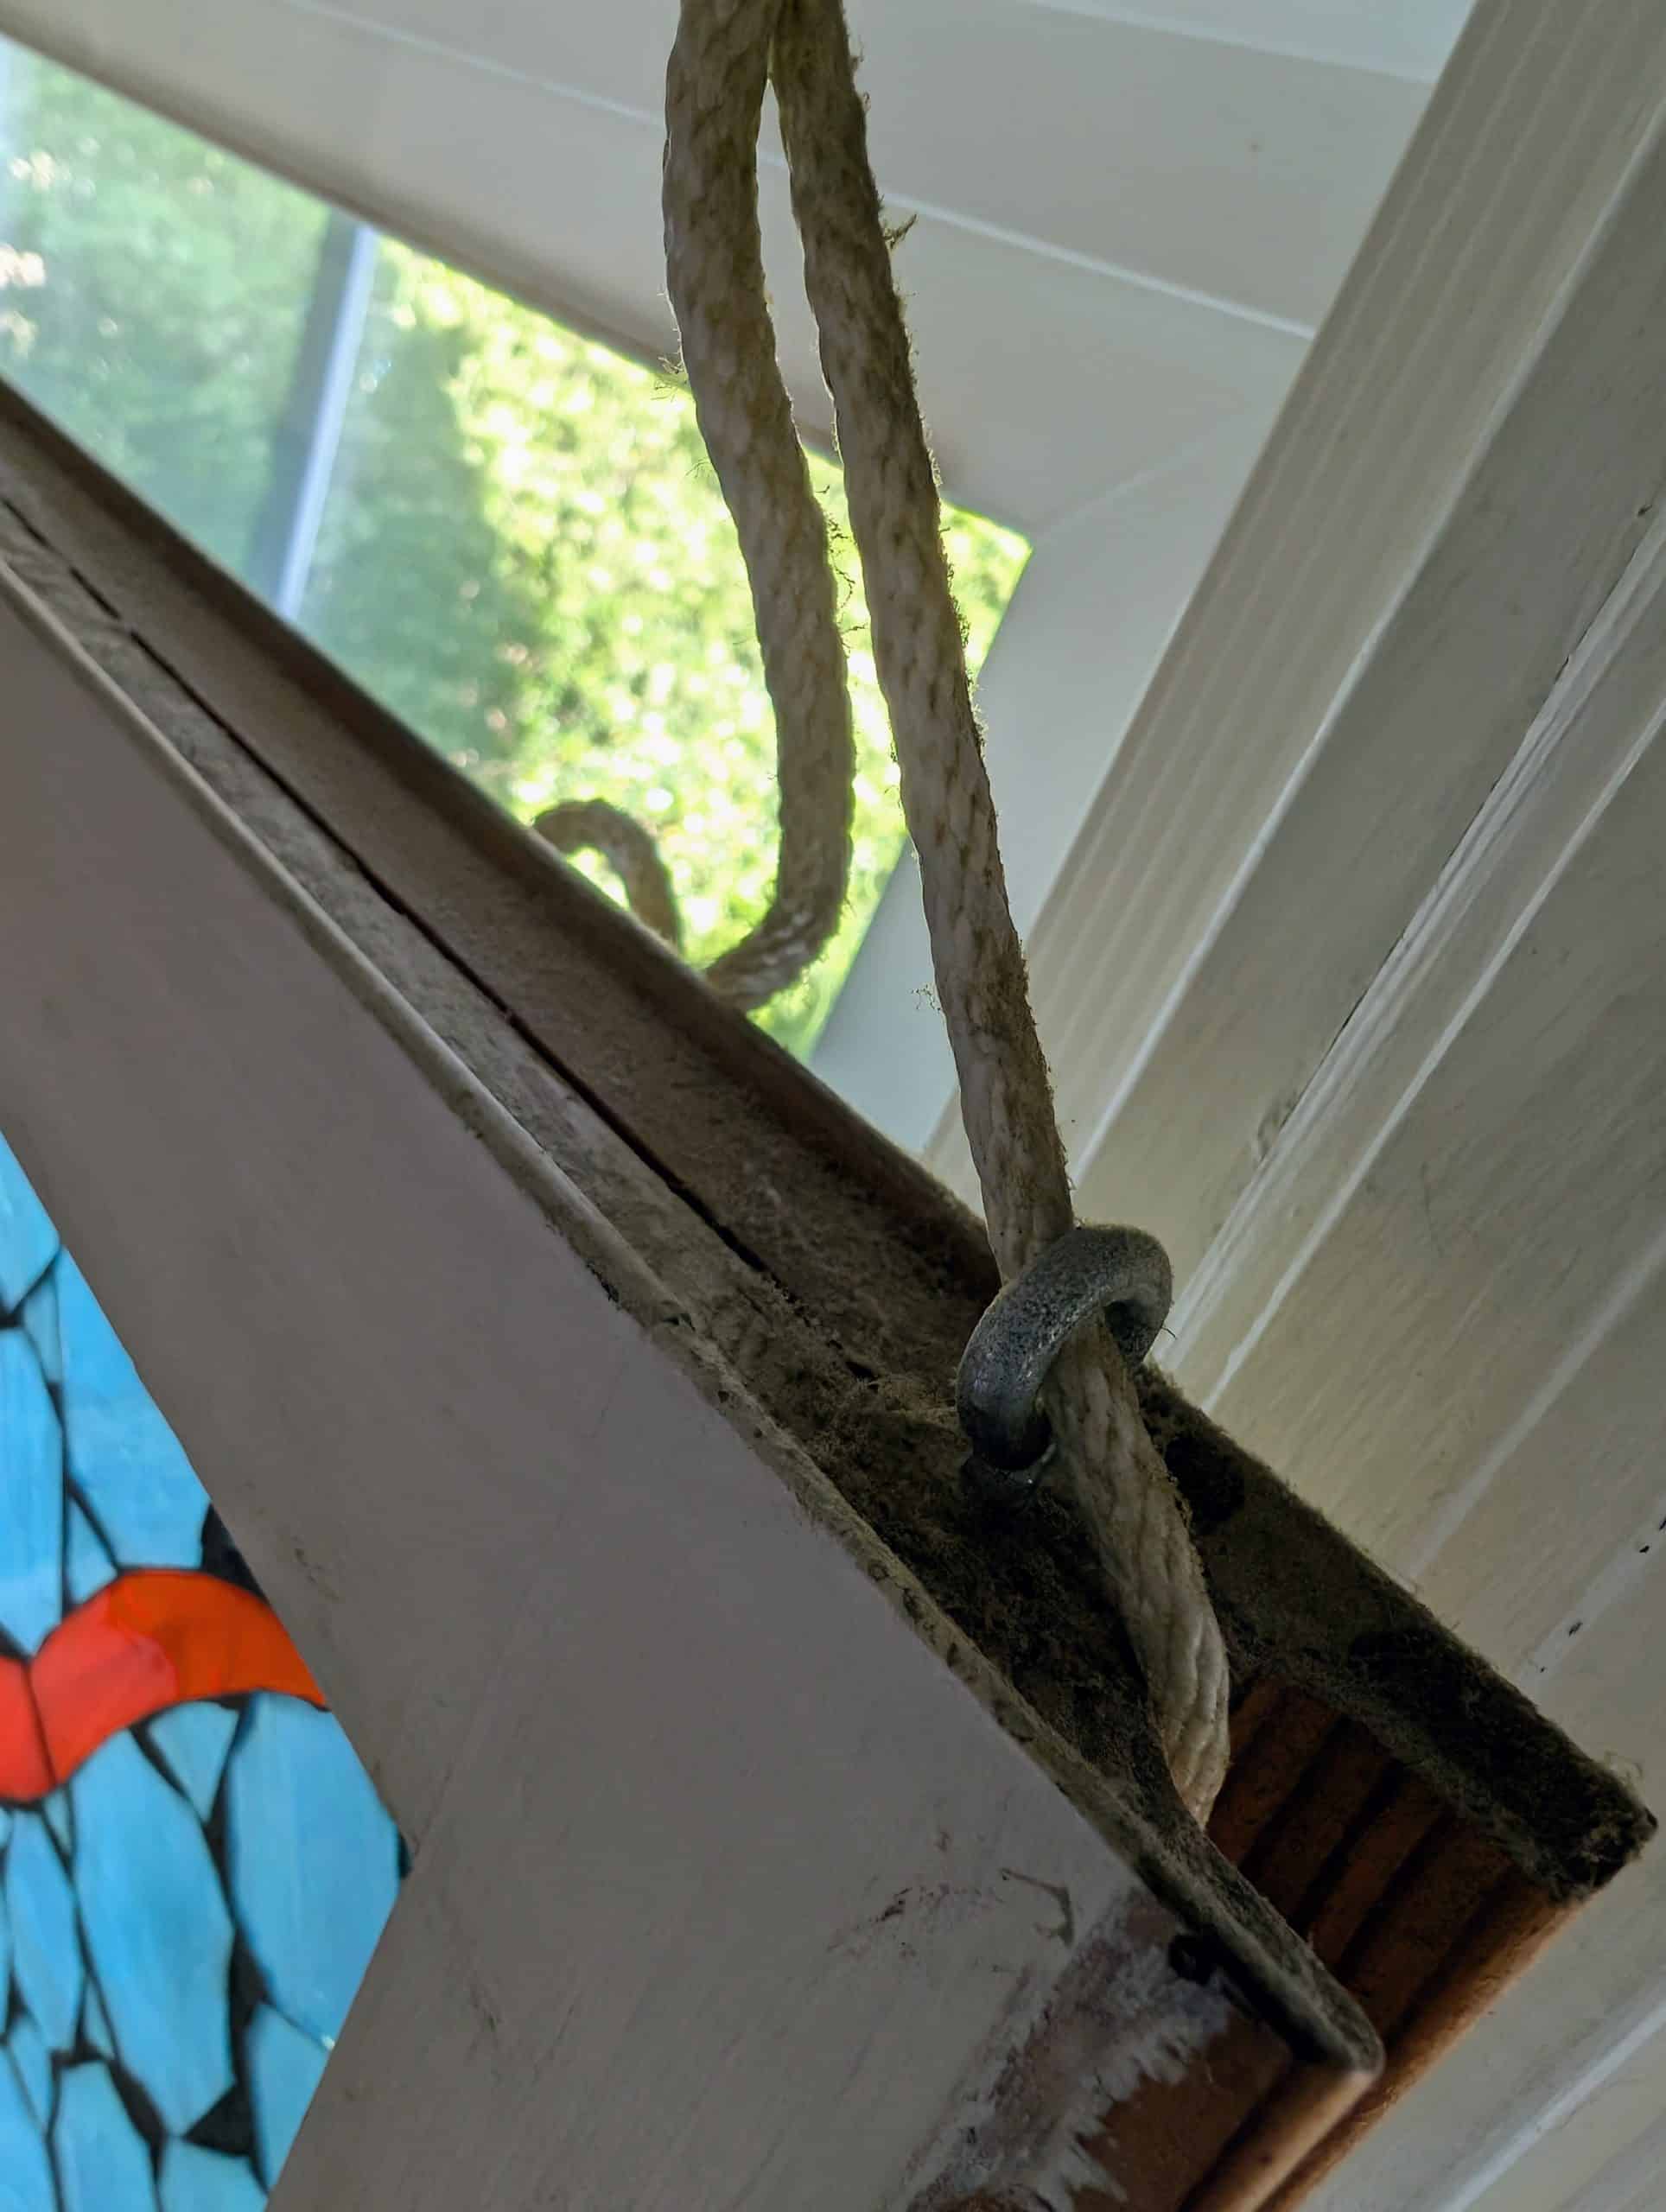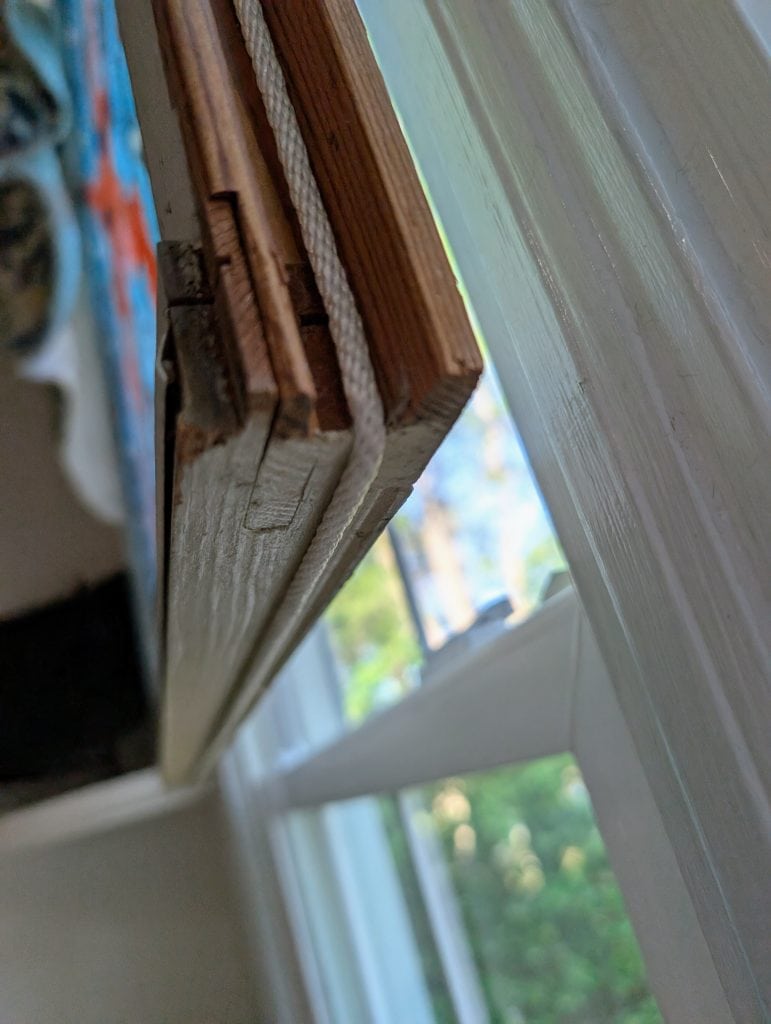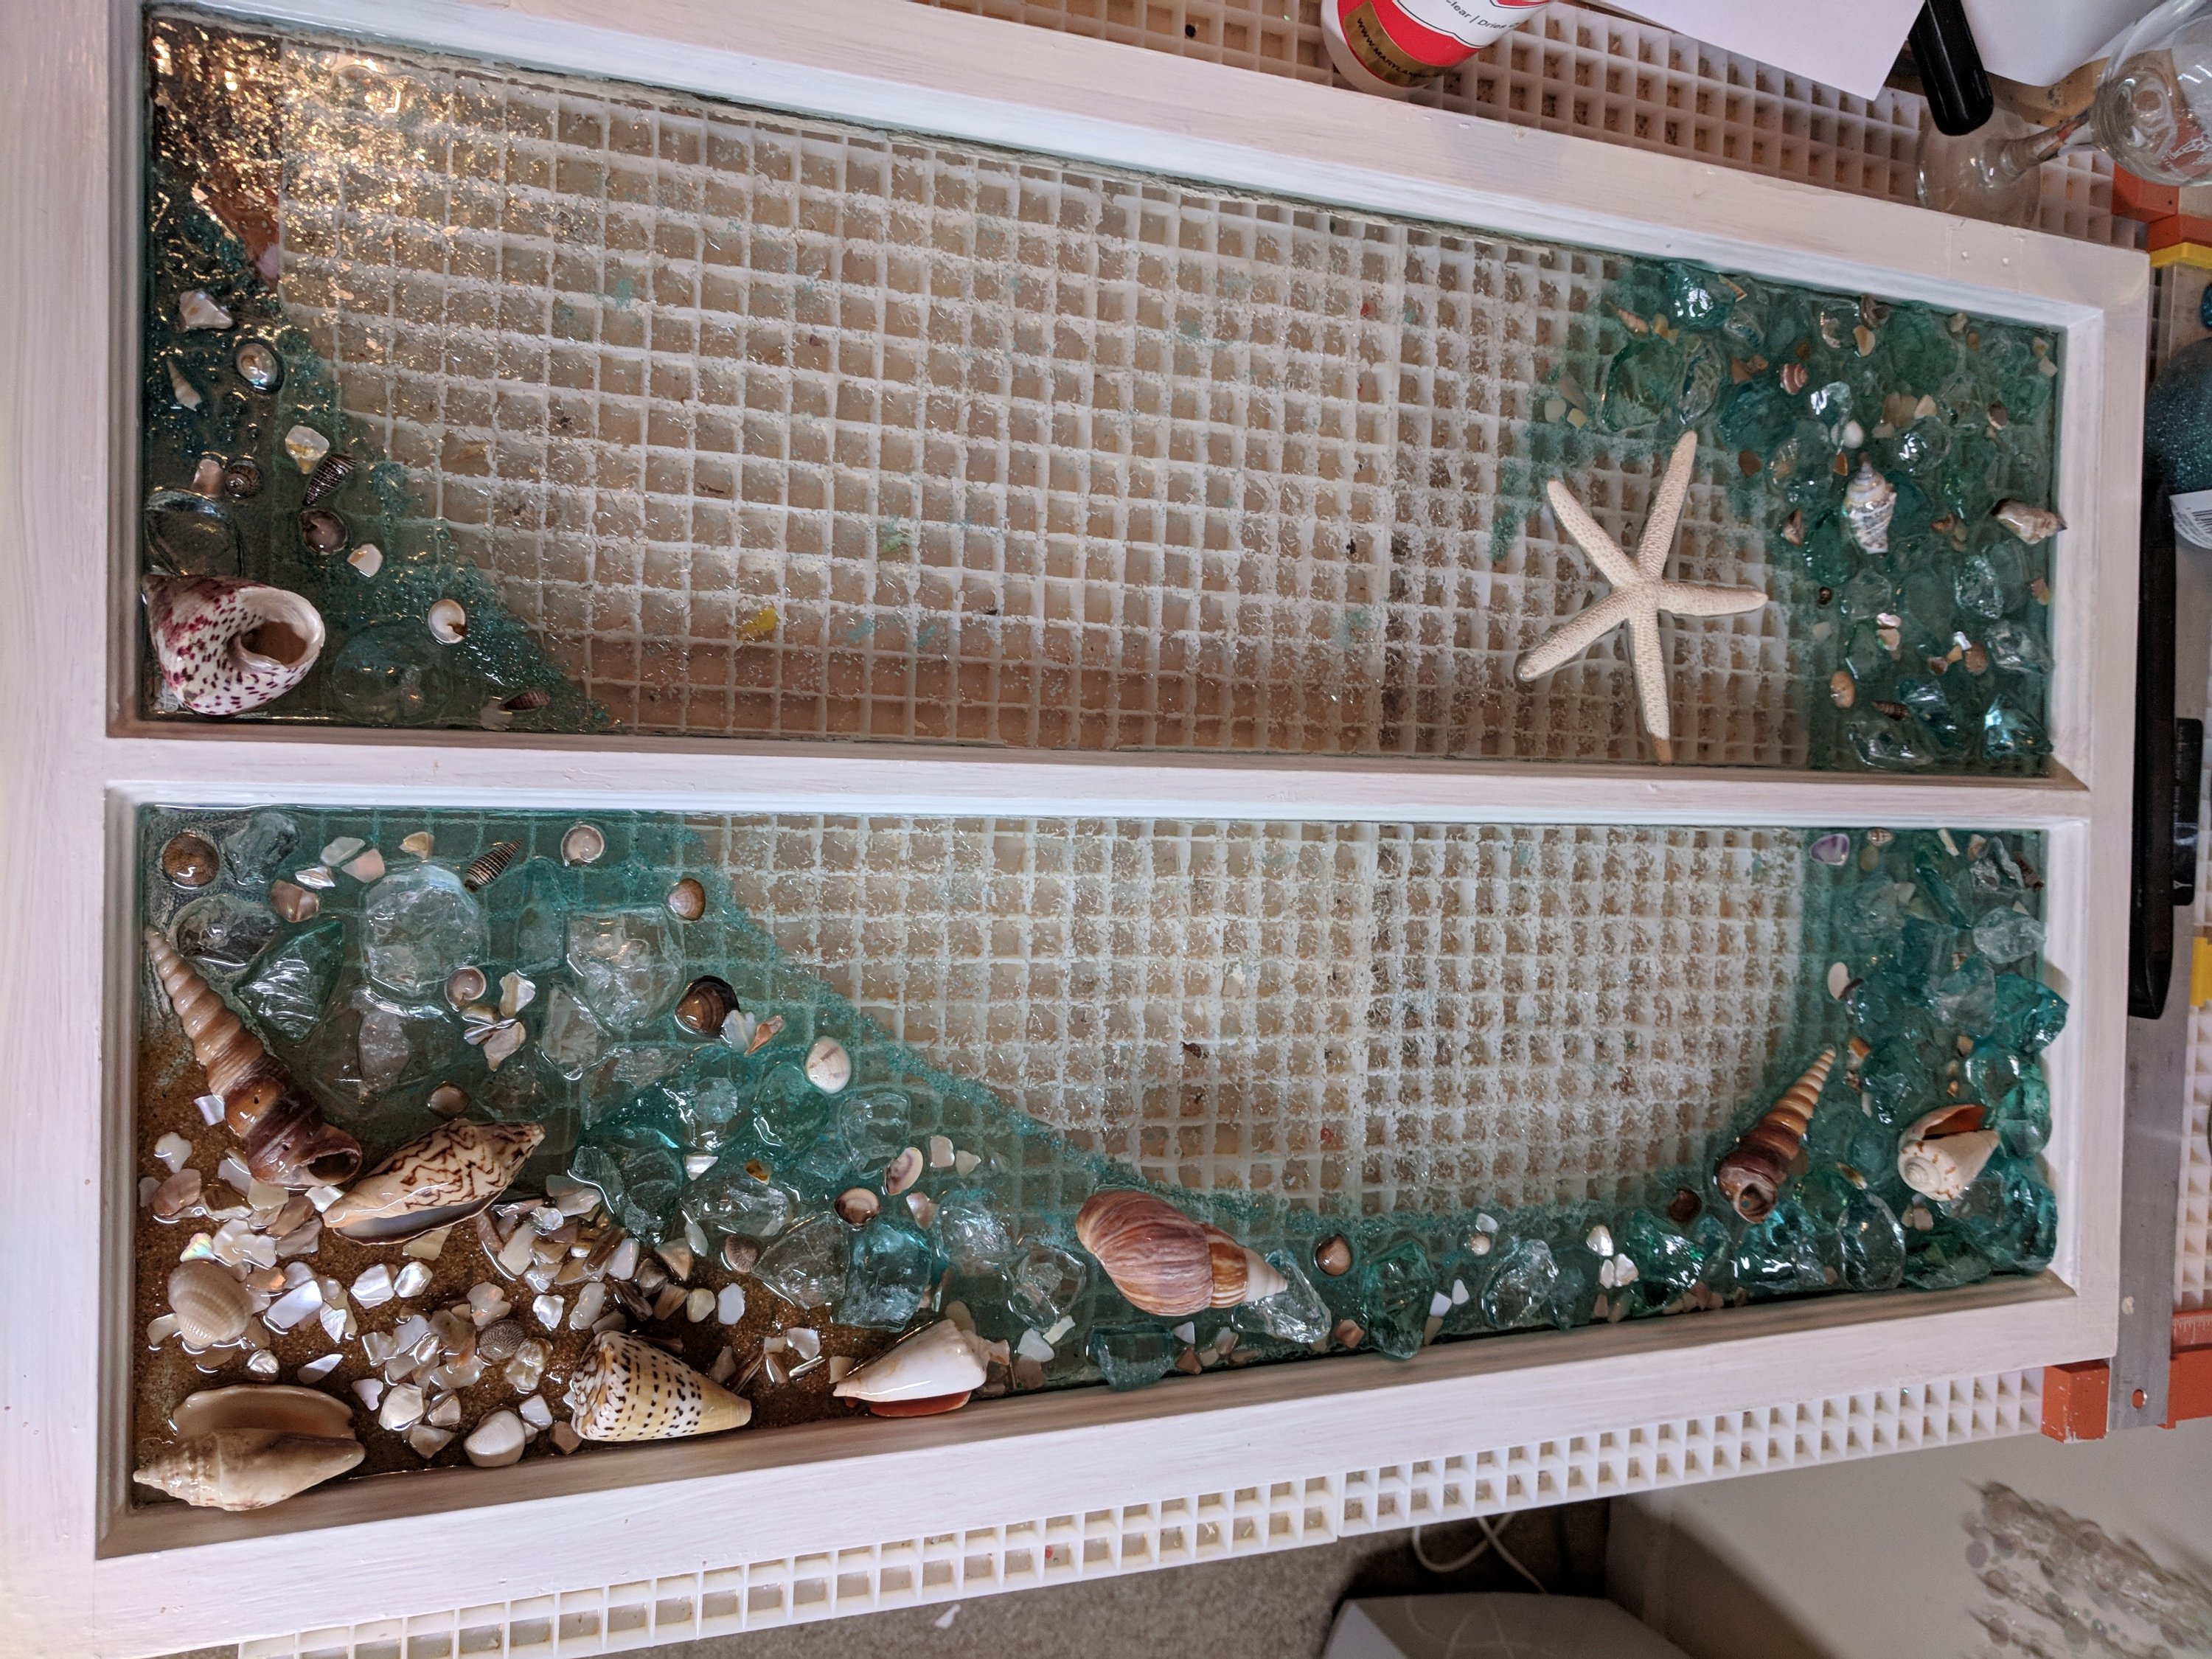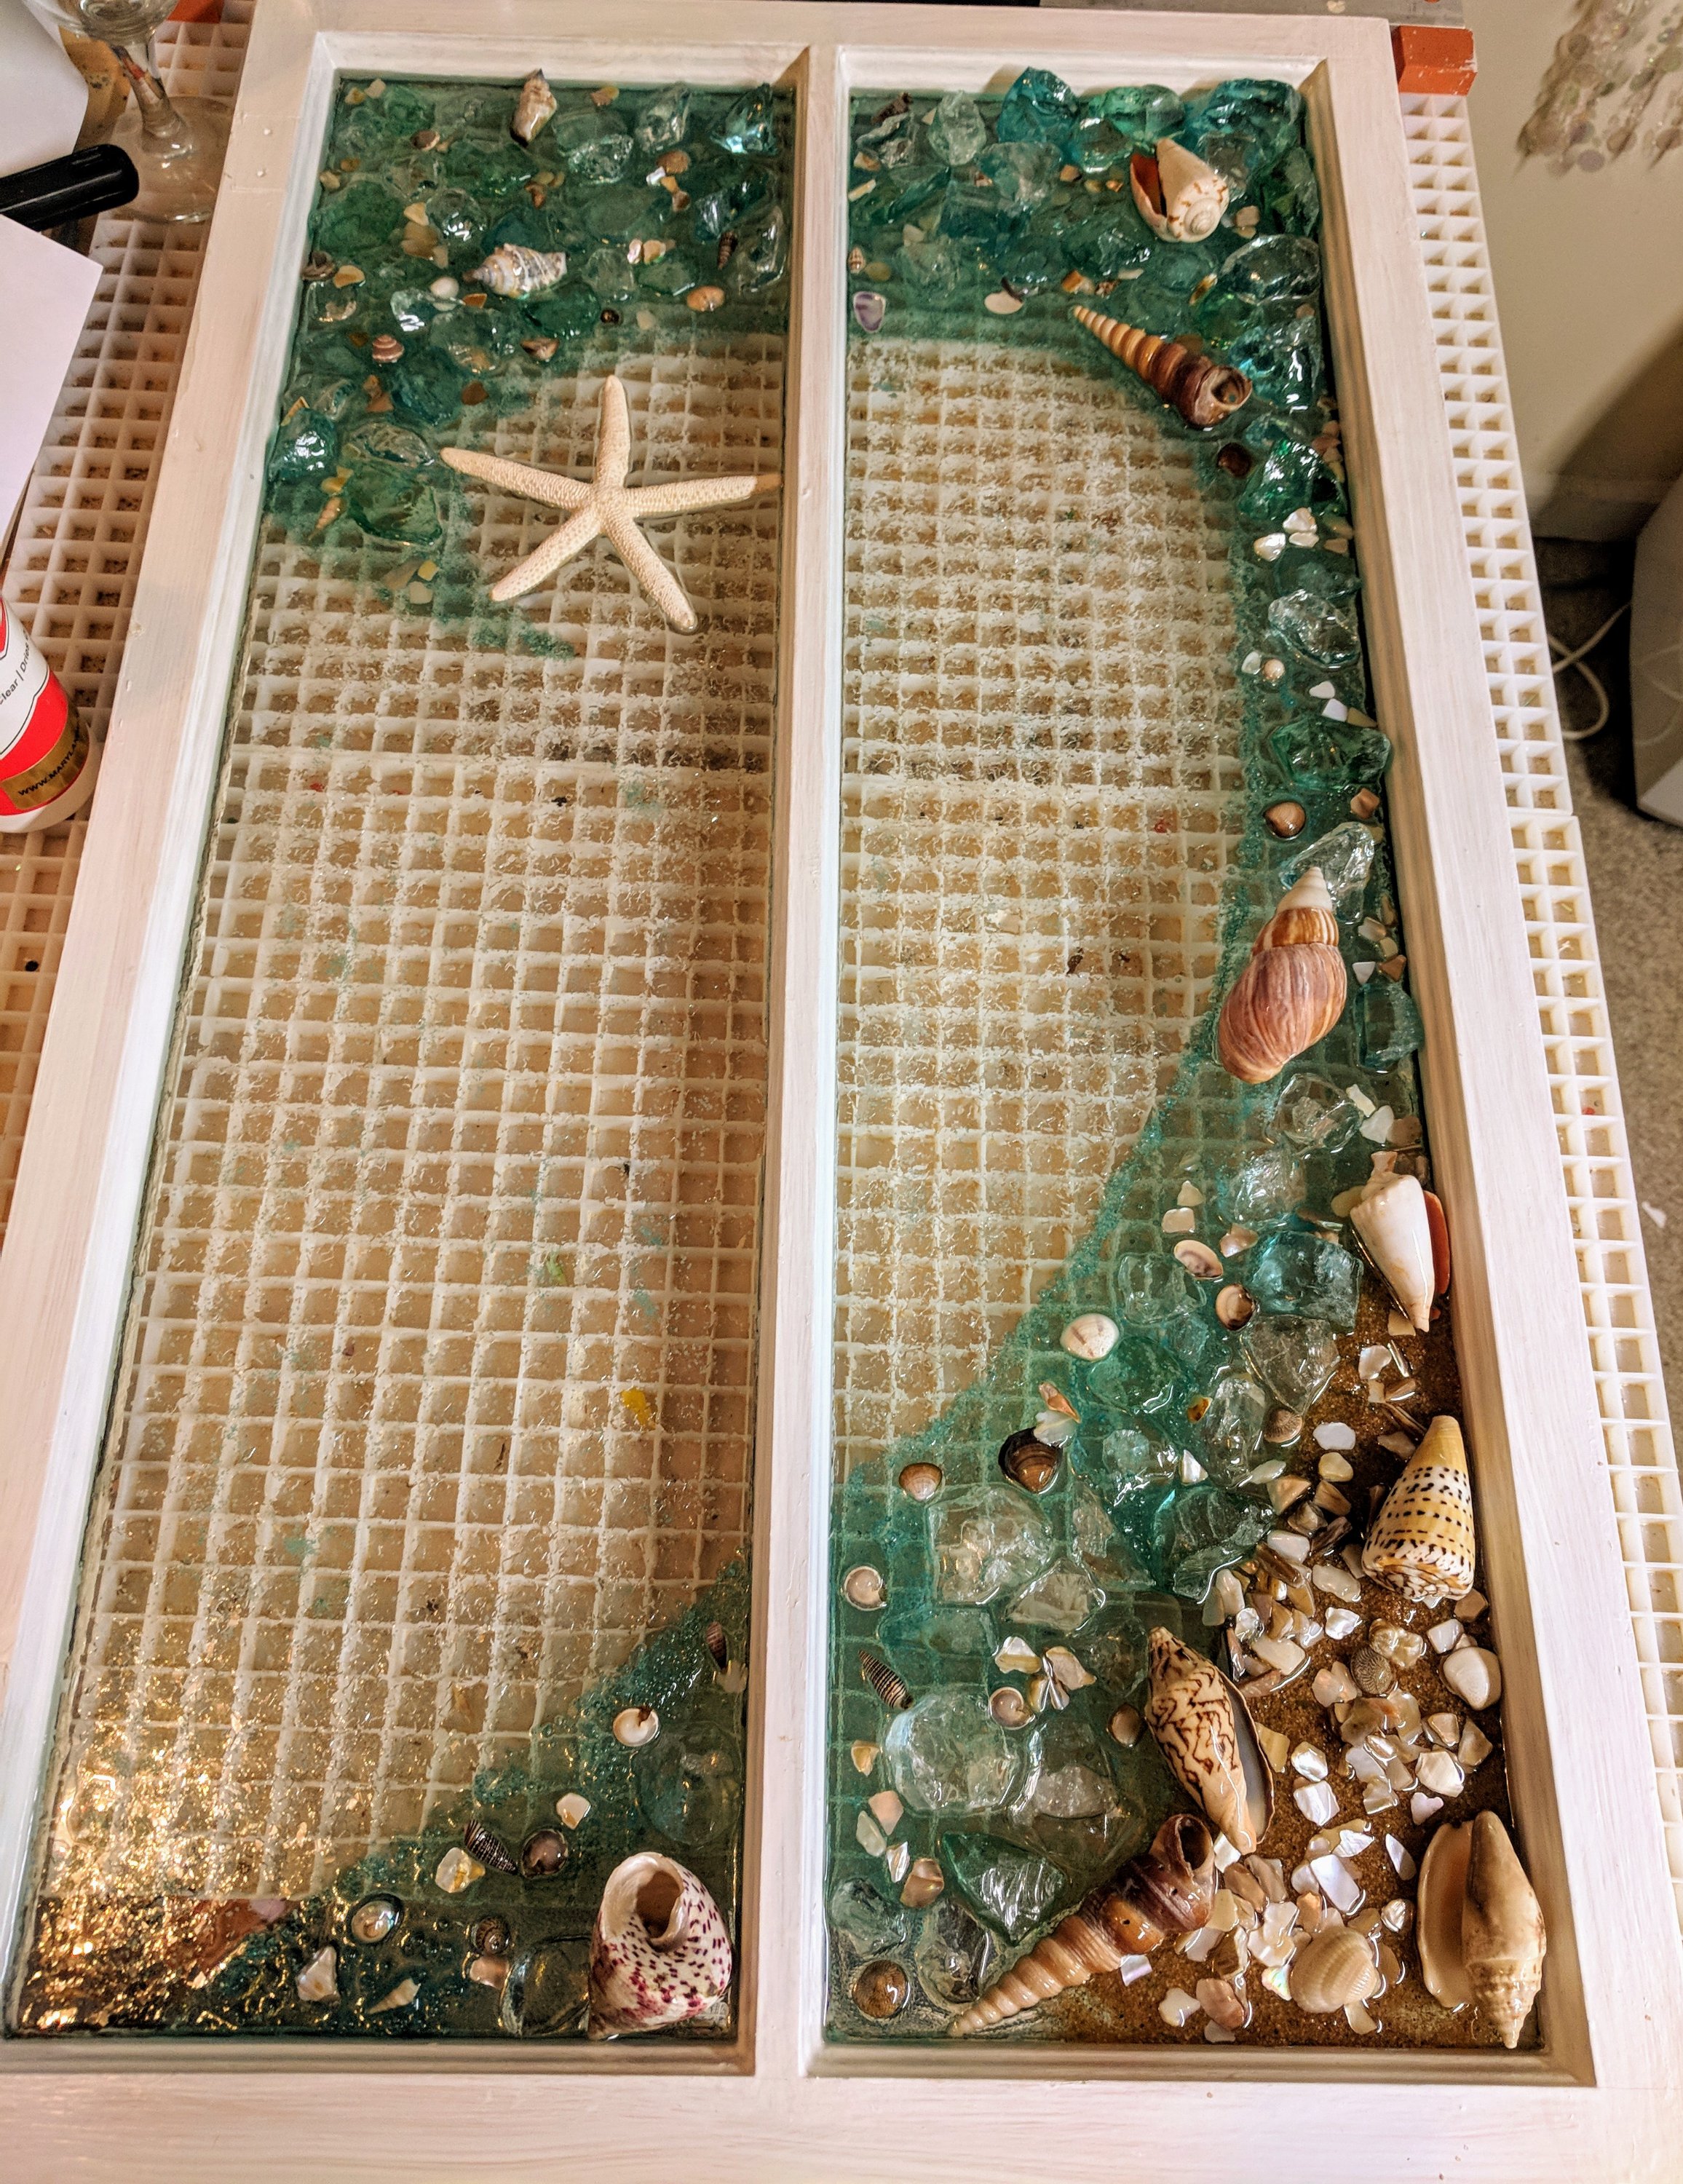
Today is a prep day. I have to do a little cleanup / painting on this window frame, clean up my resin measuring cups and pour a base layer of resin in my next batch of coasters before I can do the fun, creative part.

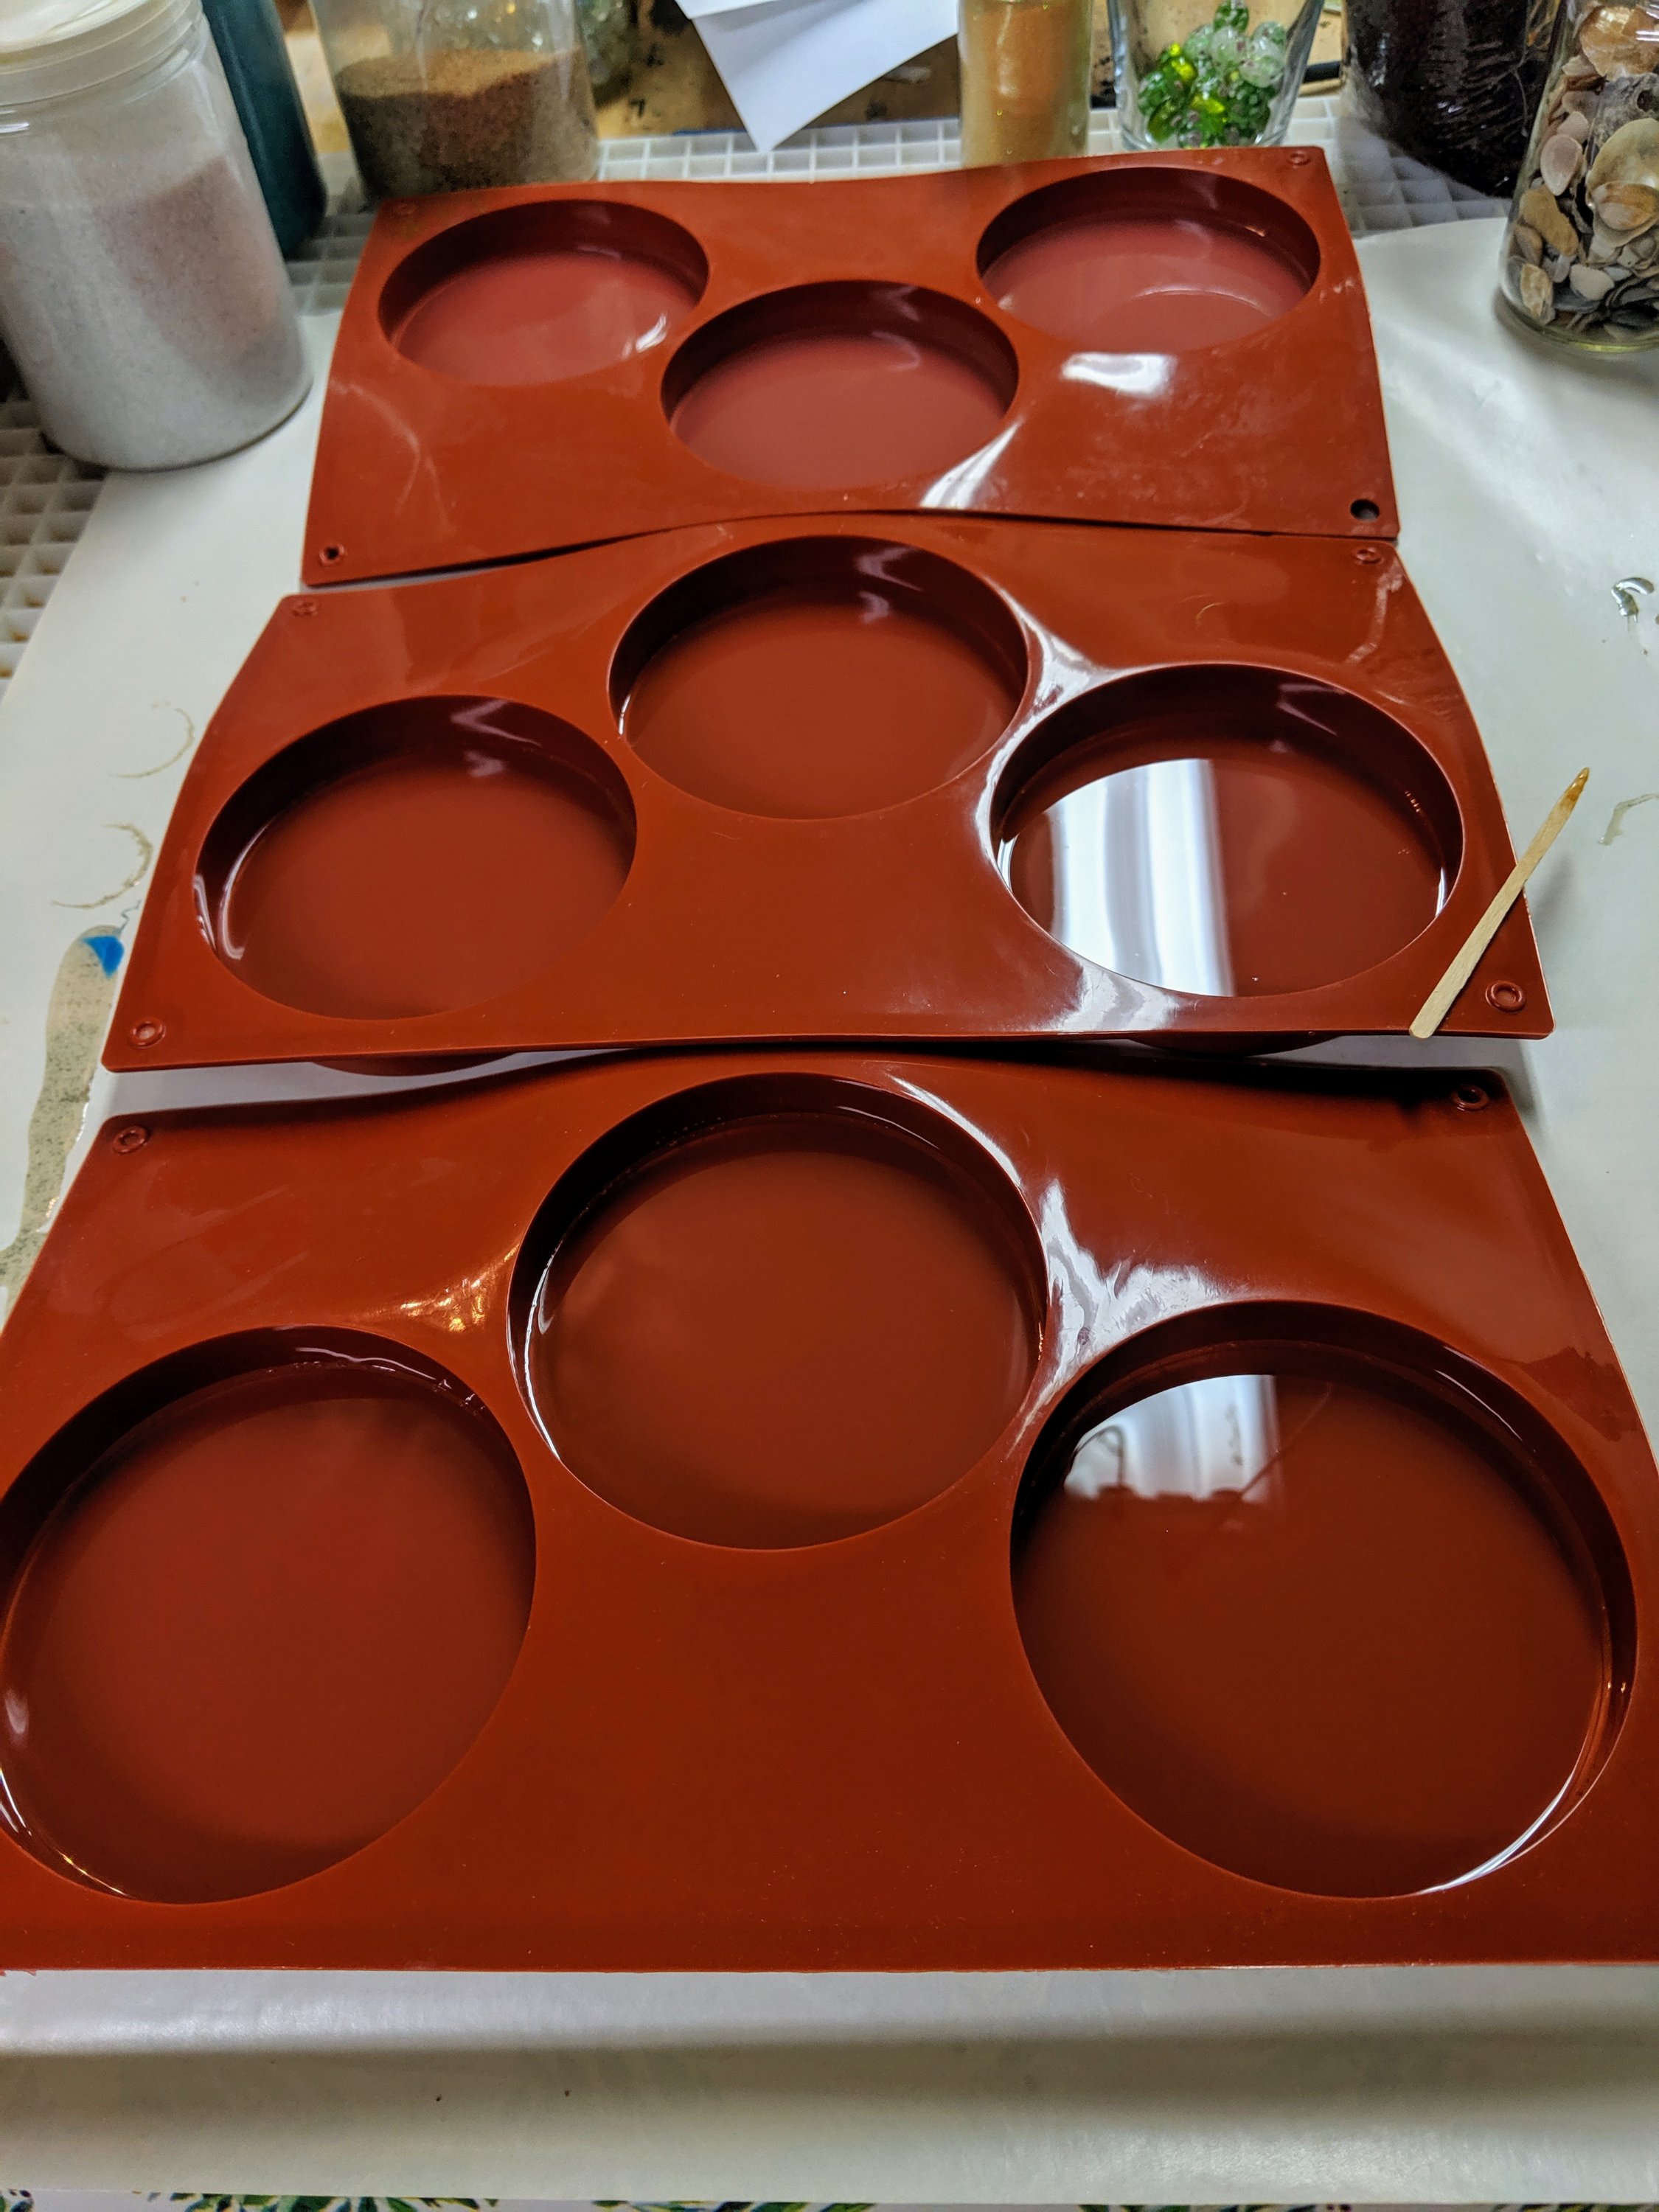
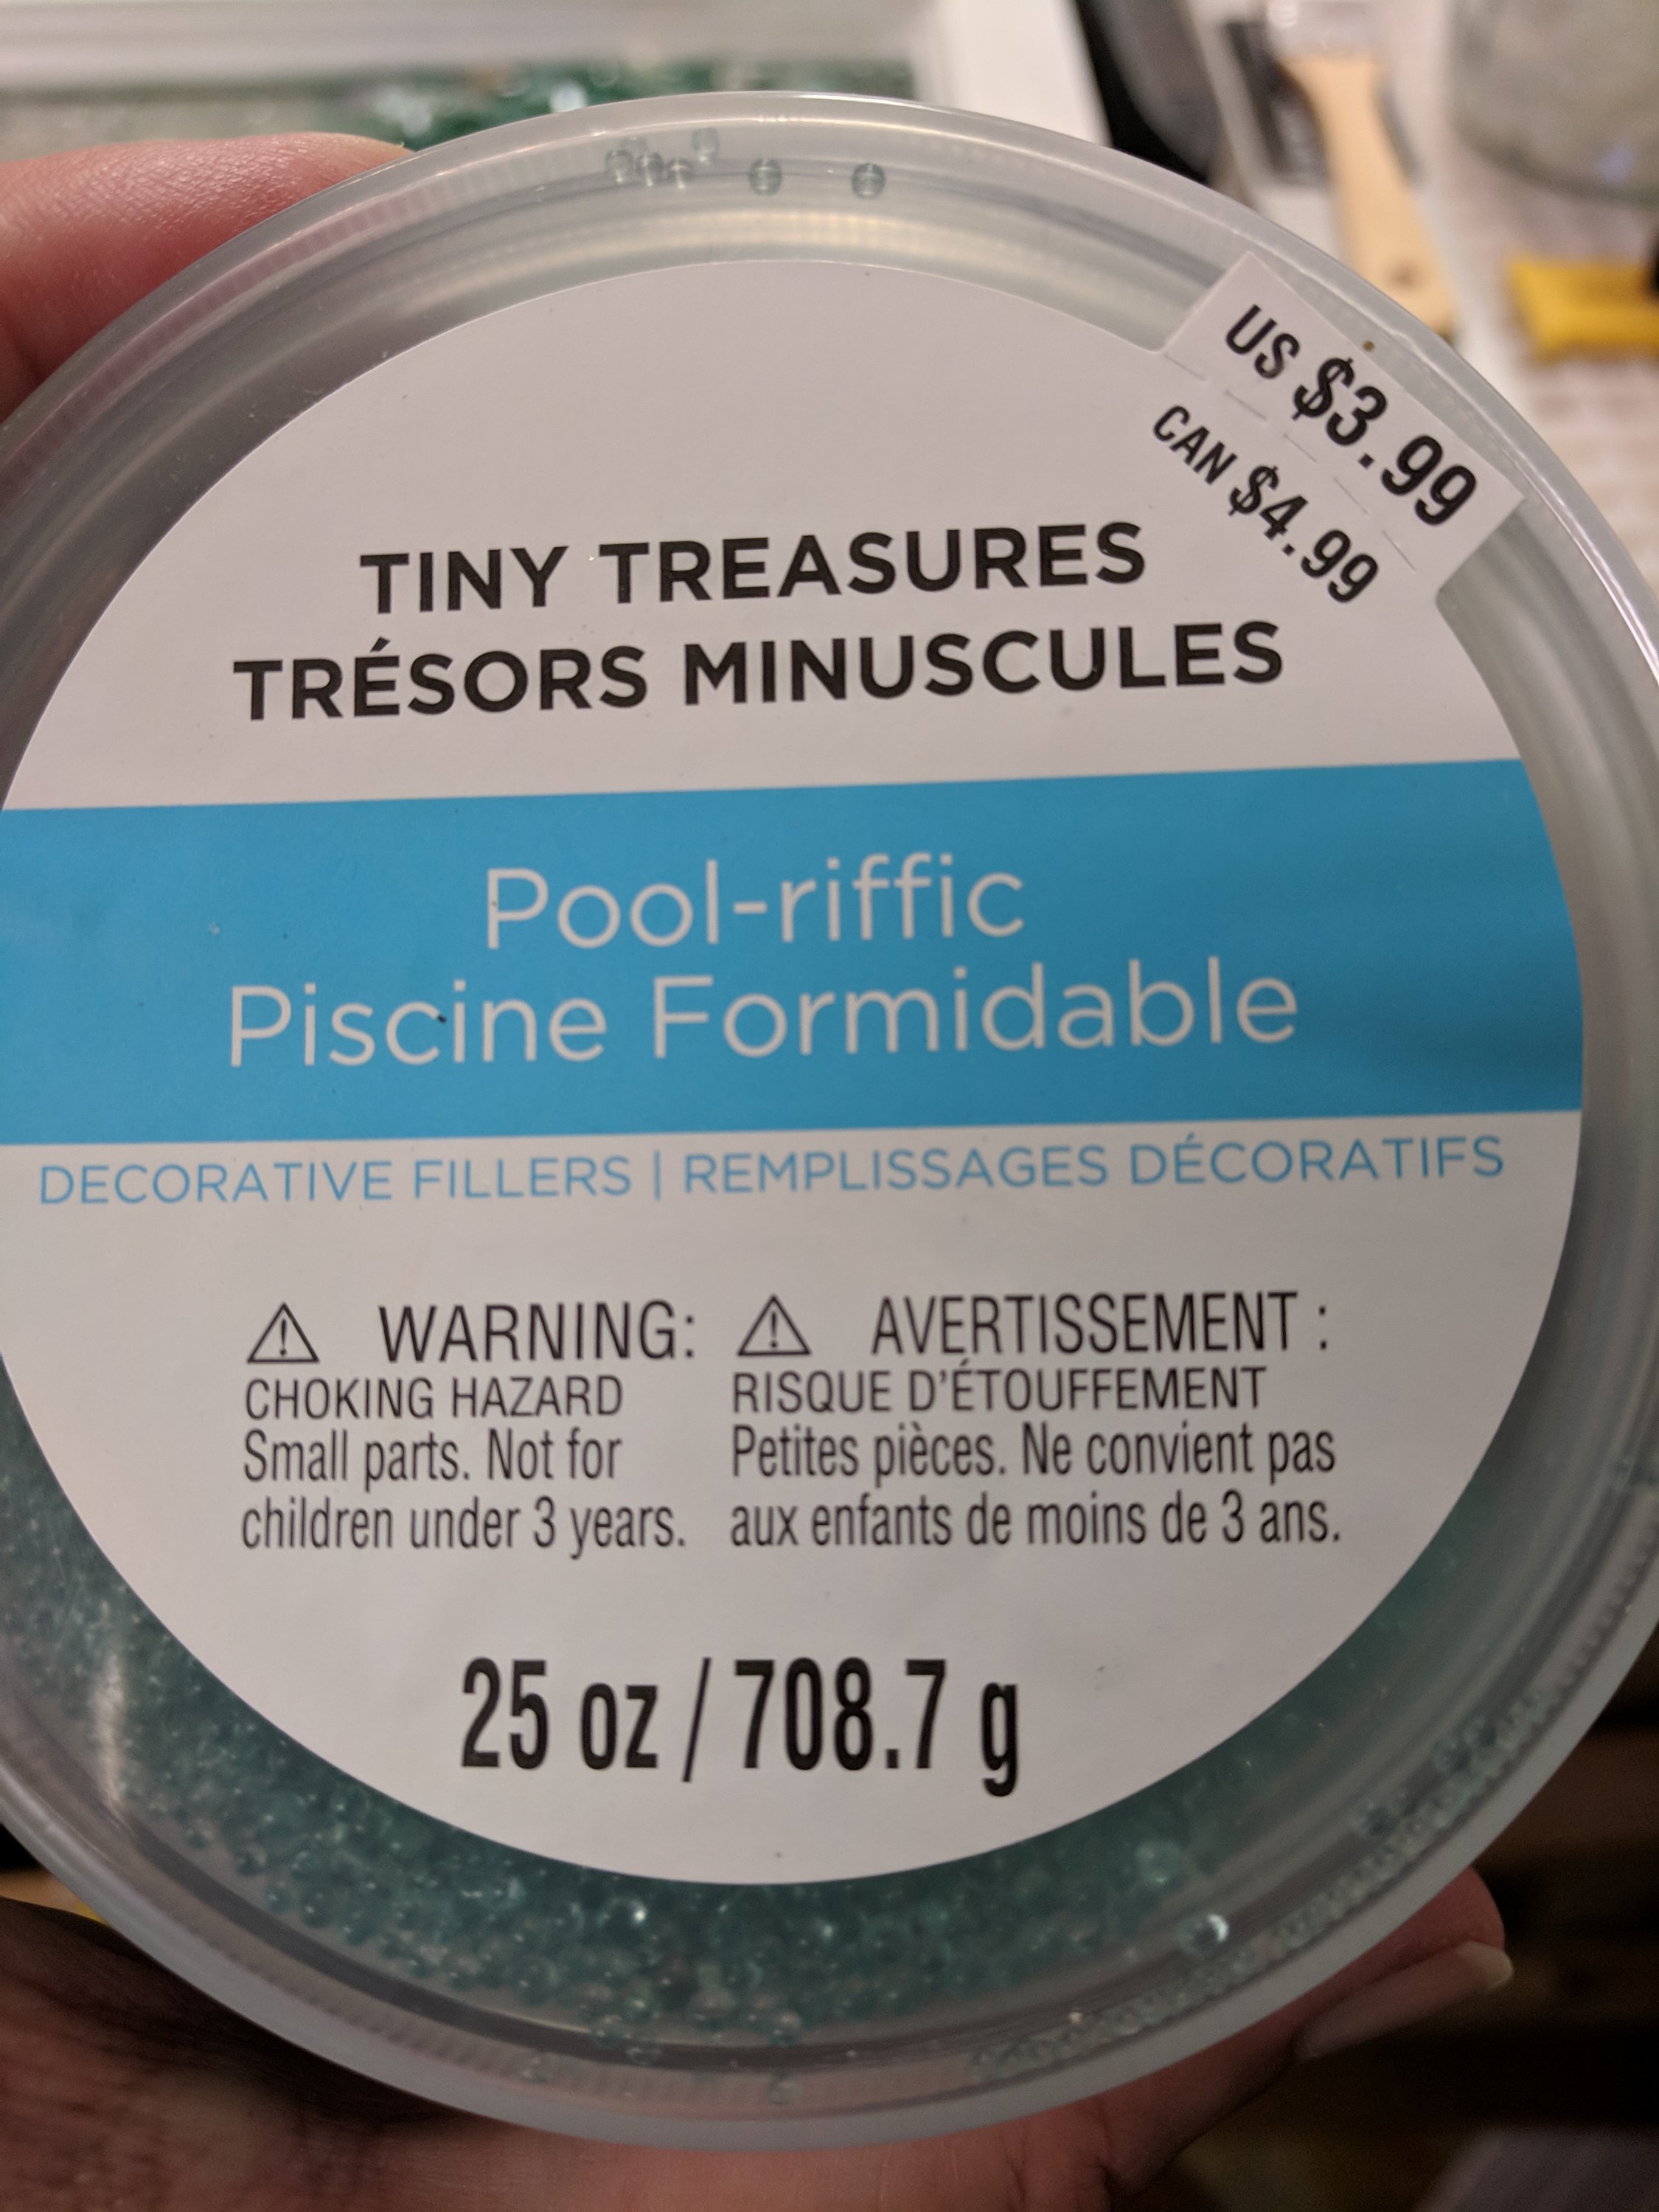
When I started using resin, I used disposable cups for measuring. That seemed wasteful, so I switched over to these silicone cups that I can clean and reuse indefinitely.
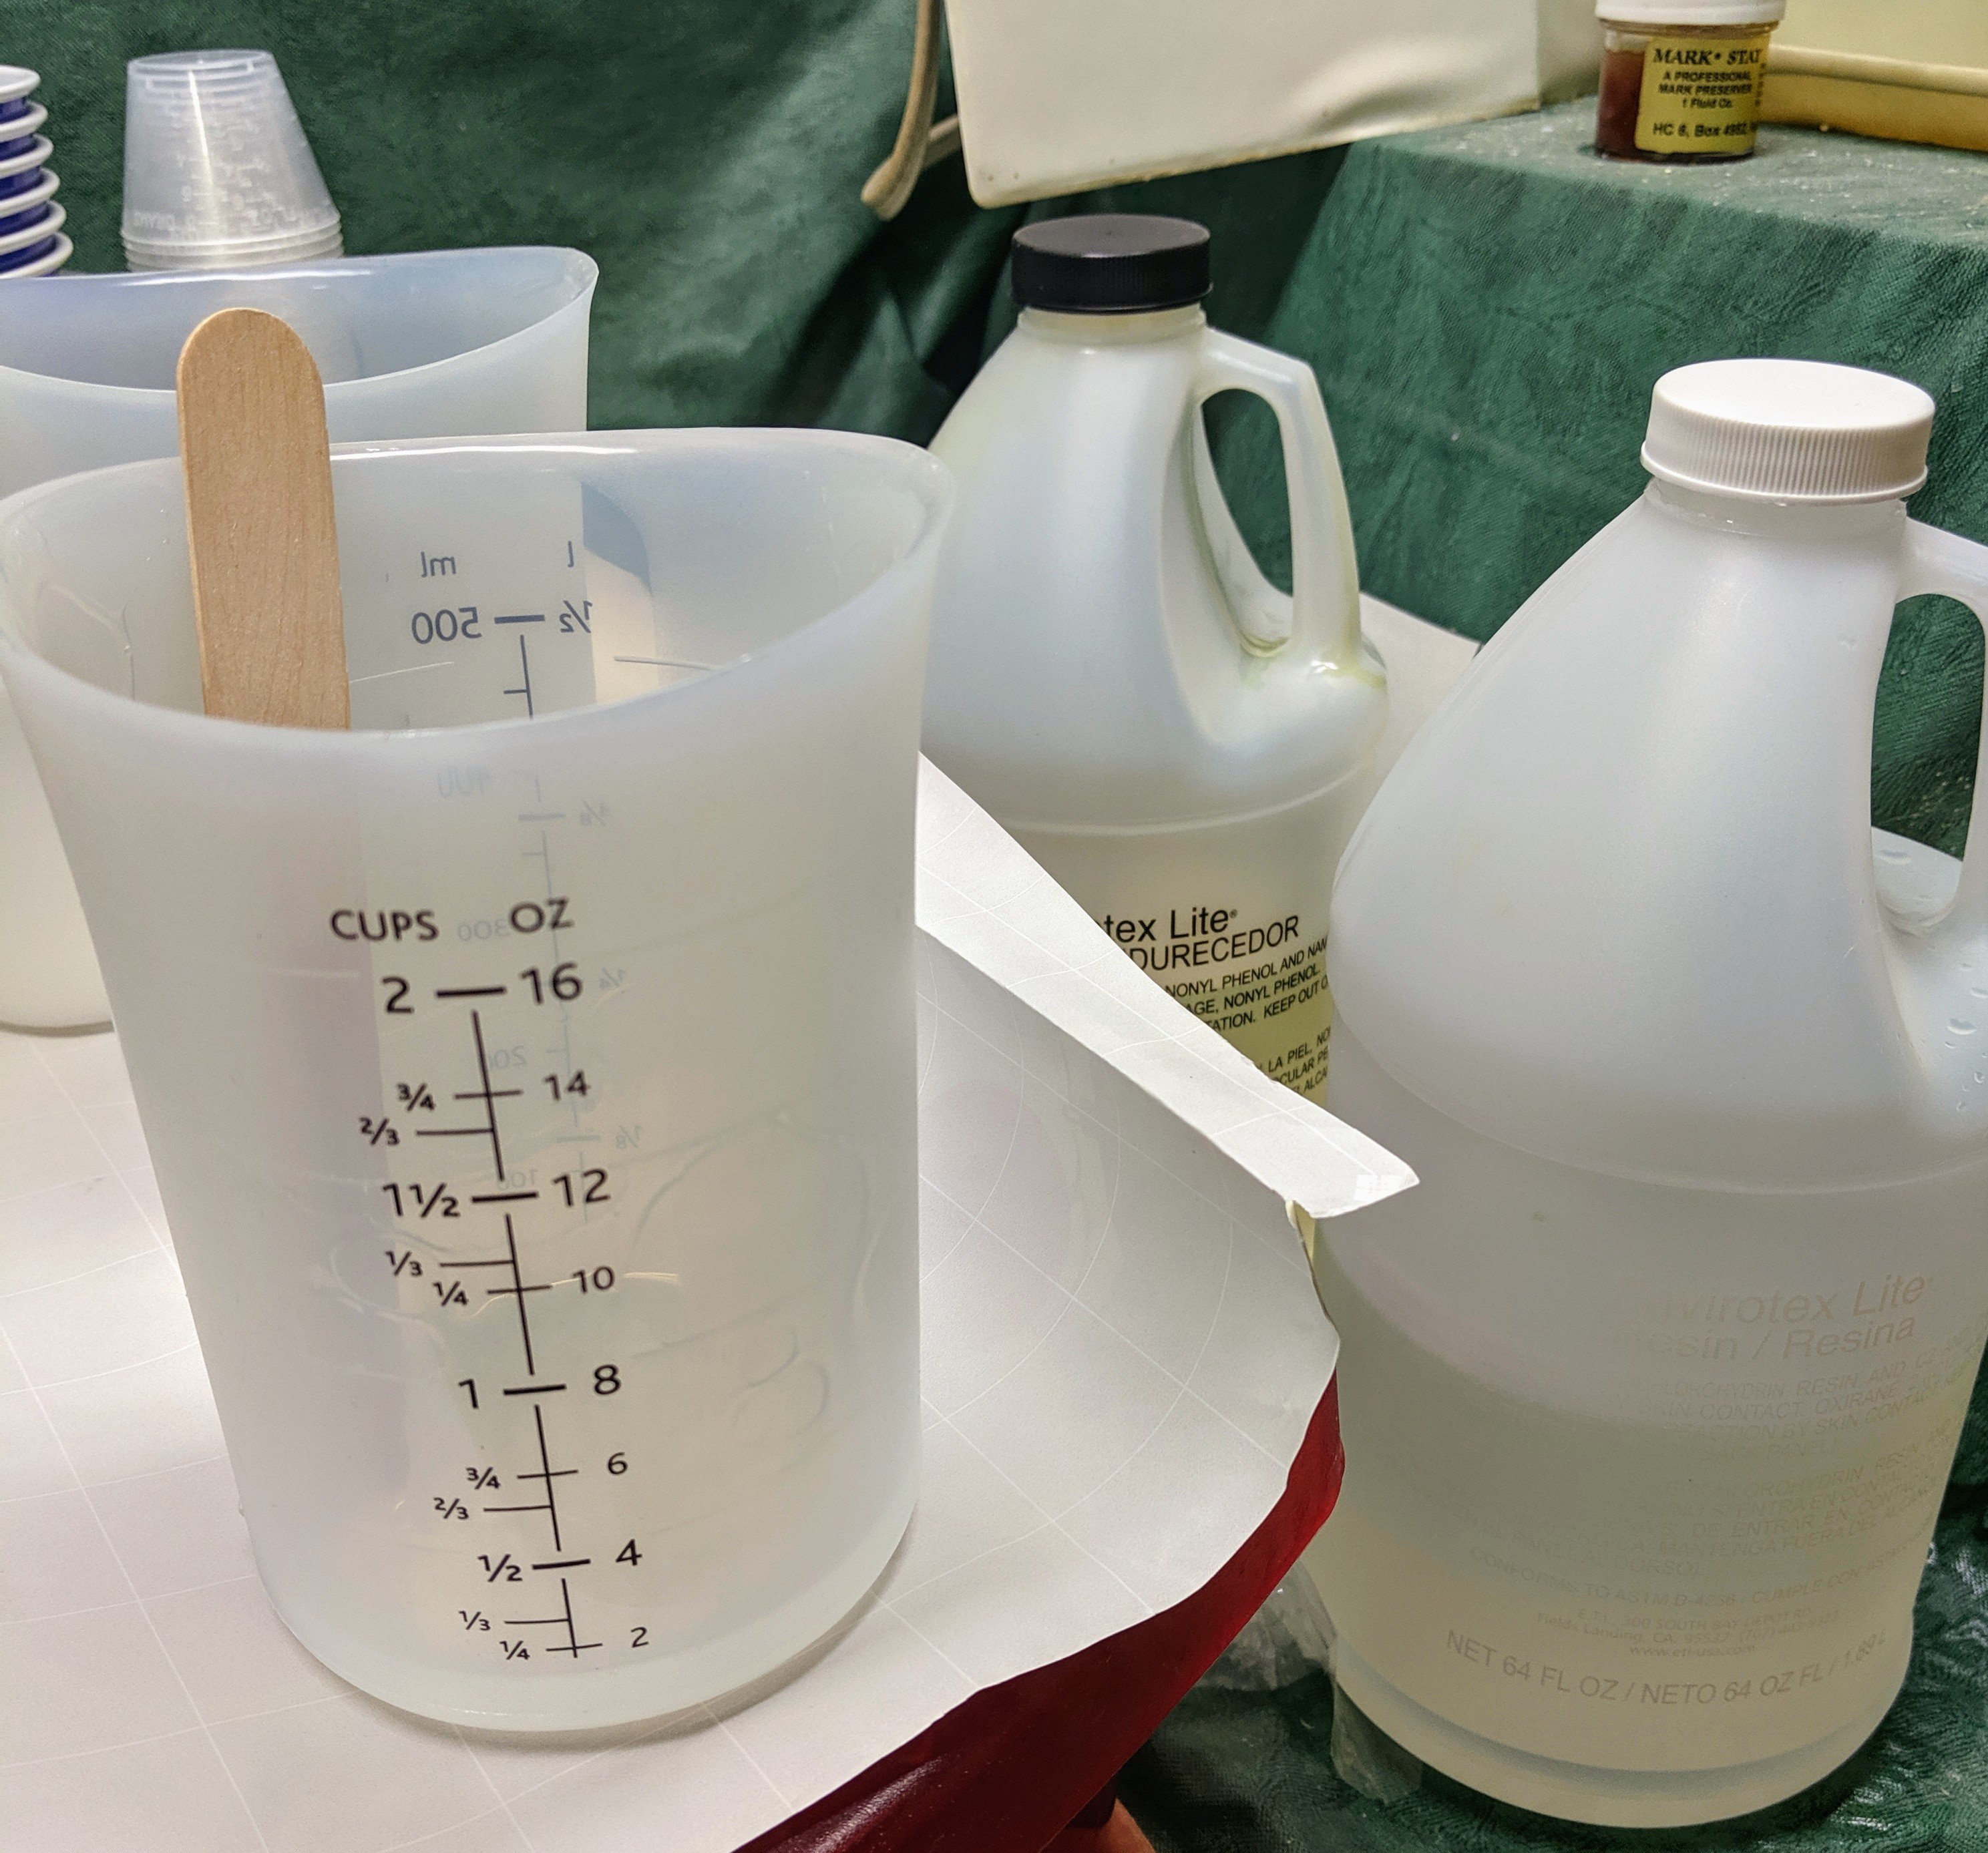
When I’m done pouring the resin, I just leave the stir stick in place to dry for a day or two. Once the resin cures, it is easy to just pull the stick out of the cup, bringing with it any leftover resin in the bottom.
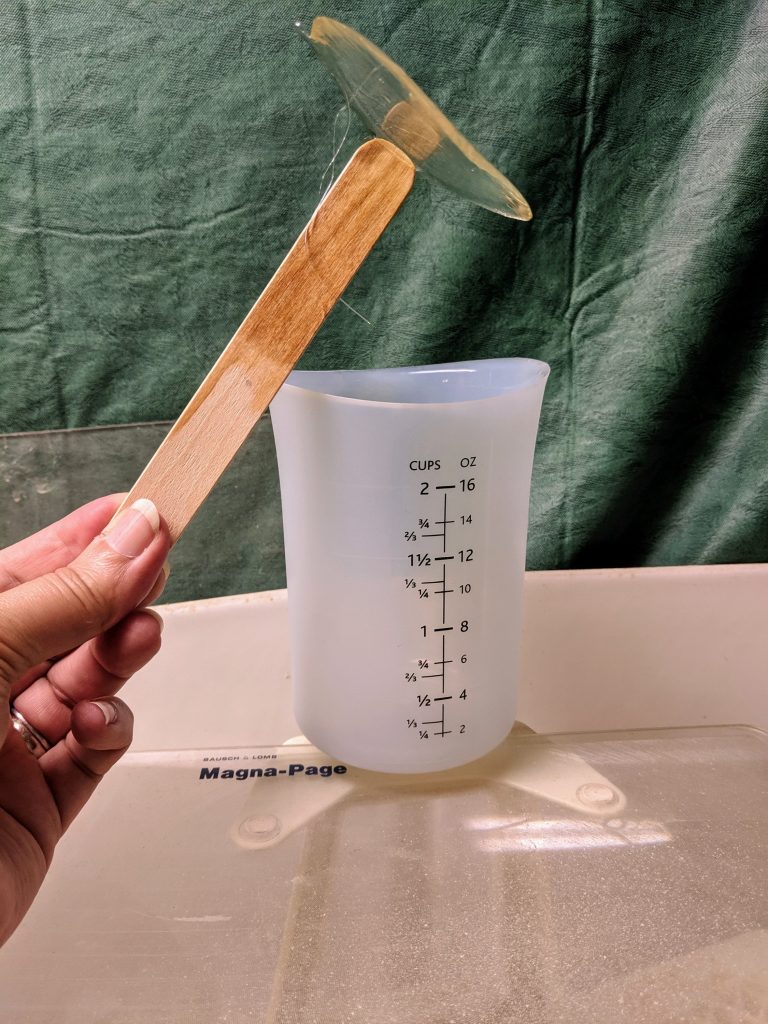
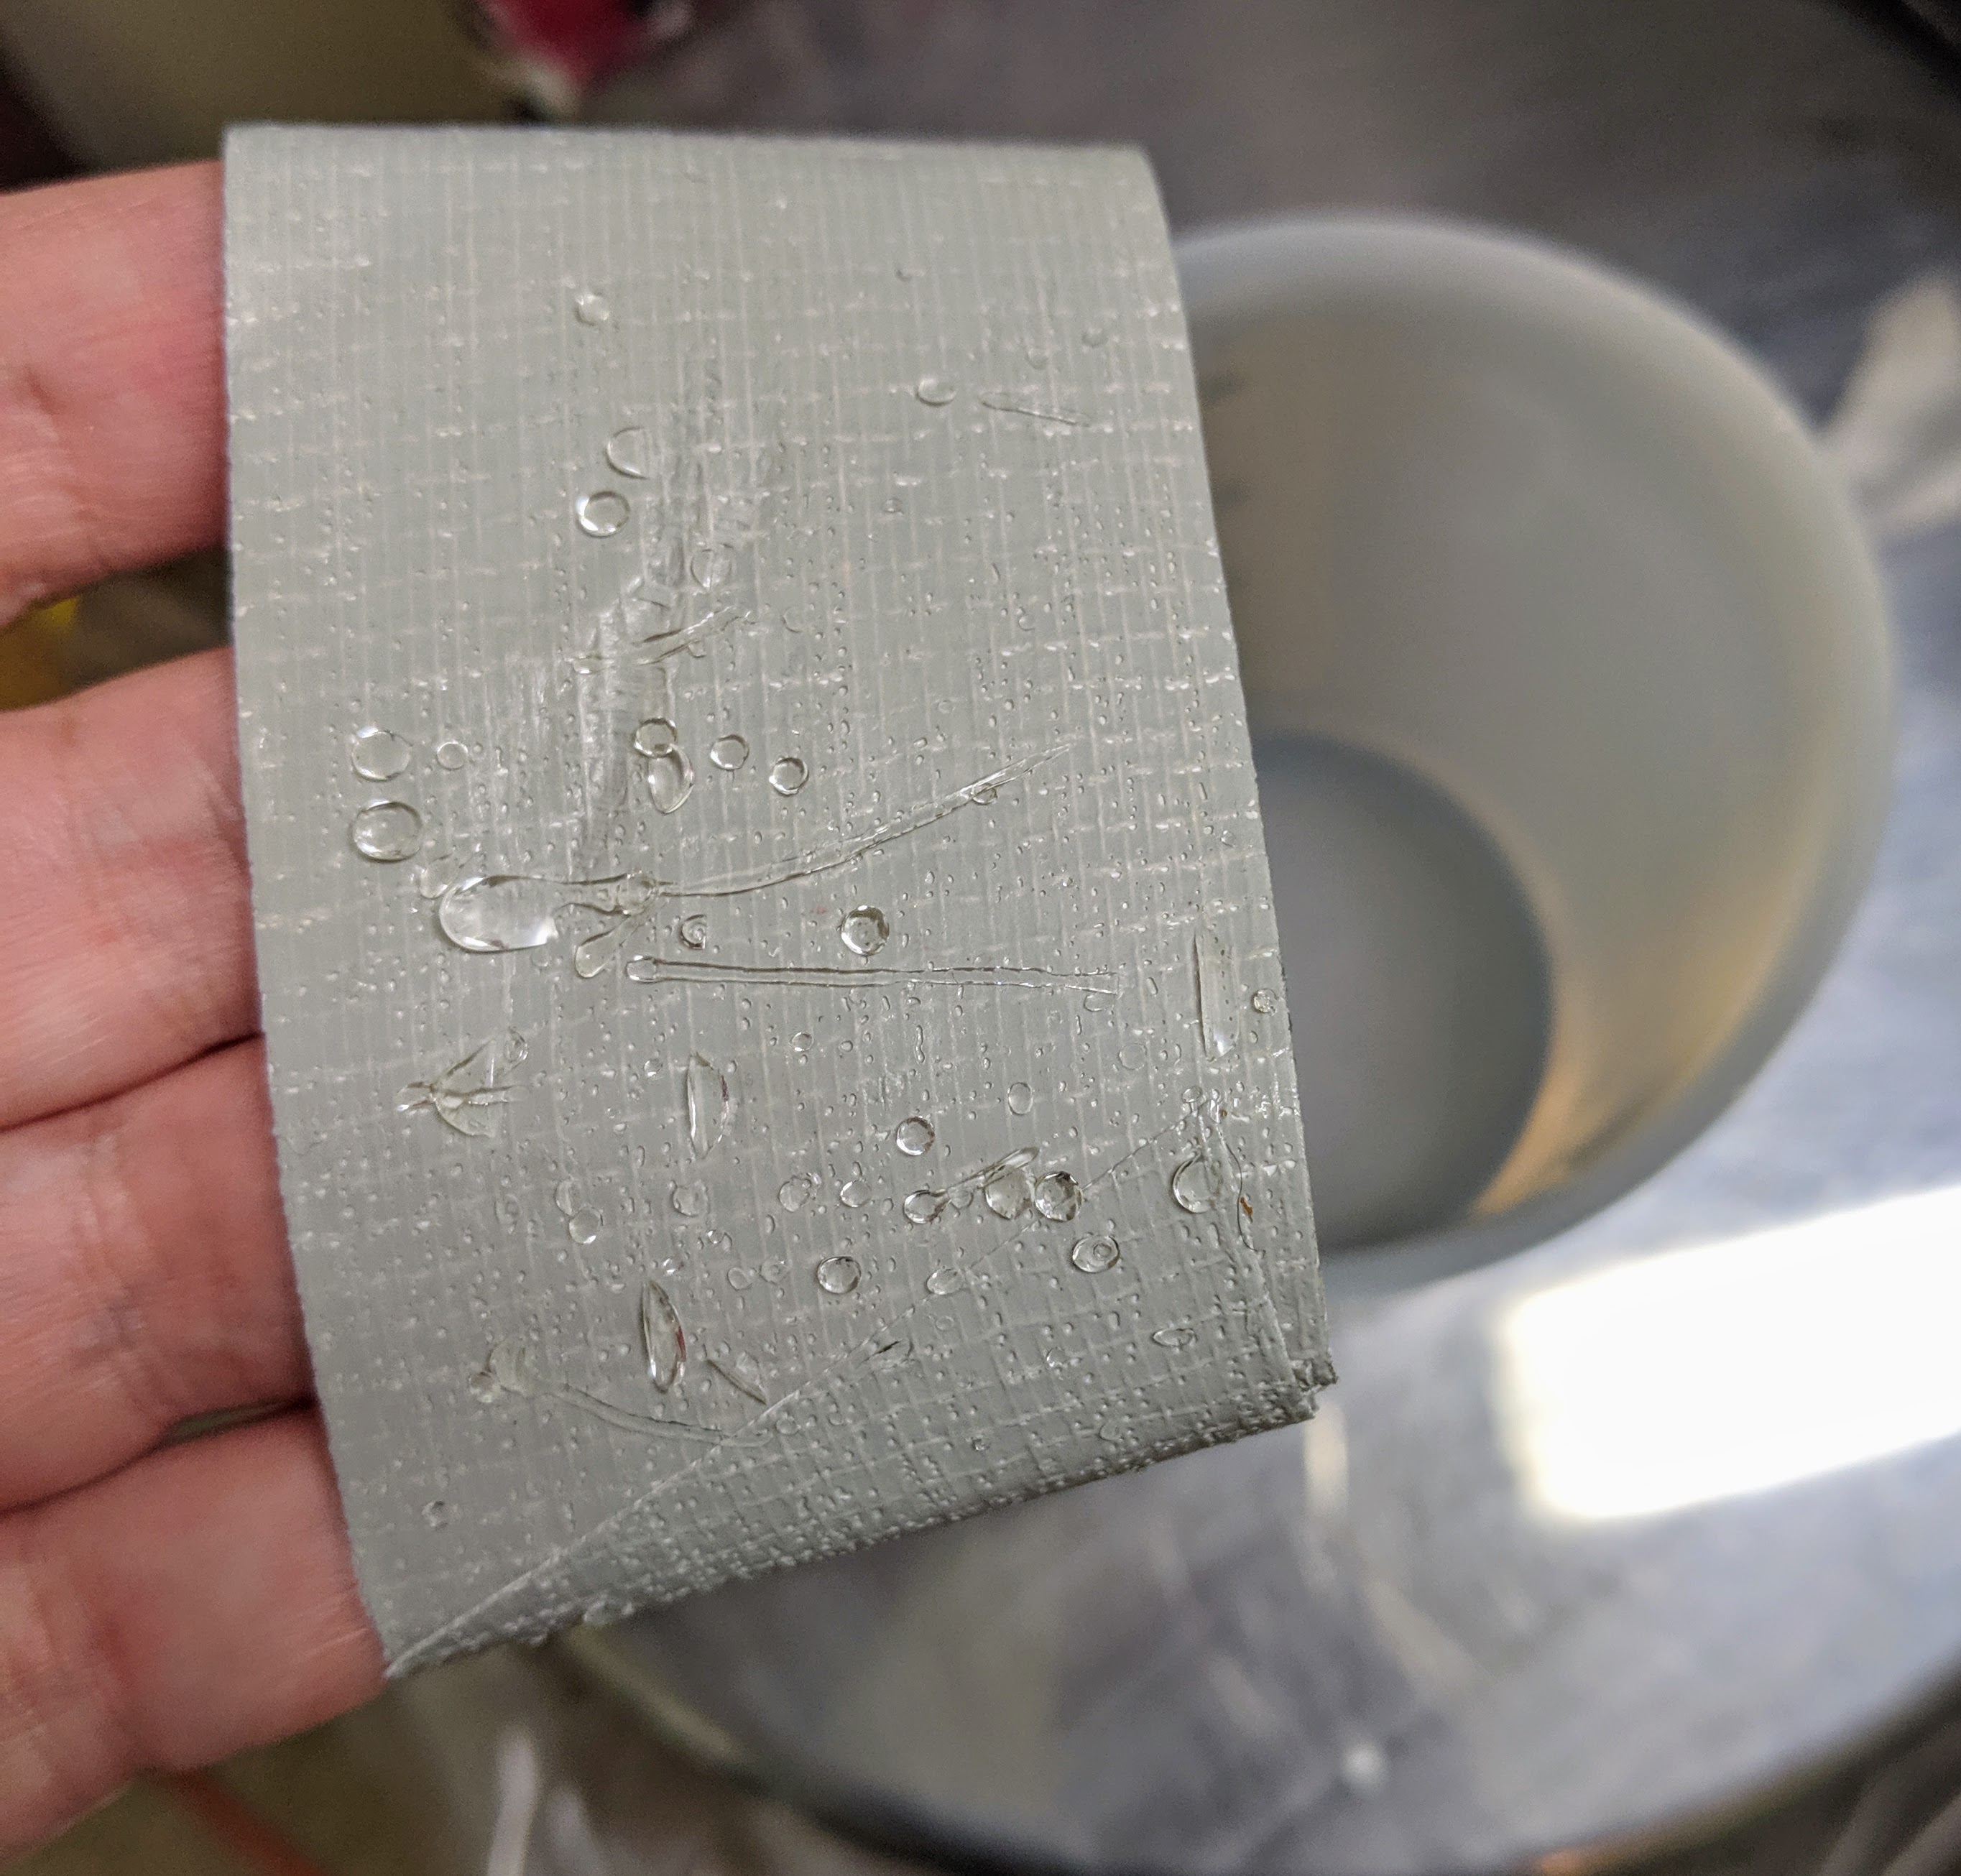
I then cut off enough duct tape to fit two fingers in and use it to pick up the rest of the cured resin from the inside of the measuring cup. It comes right off and leaves a nice, clean, ready to use surface.

In the above photo, you can see the little drops of cured resin stuck to the sides of the silicone measuring cup. Below is how it looks when I use the duct tape to remove the drops from the cup.
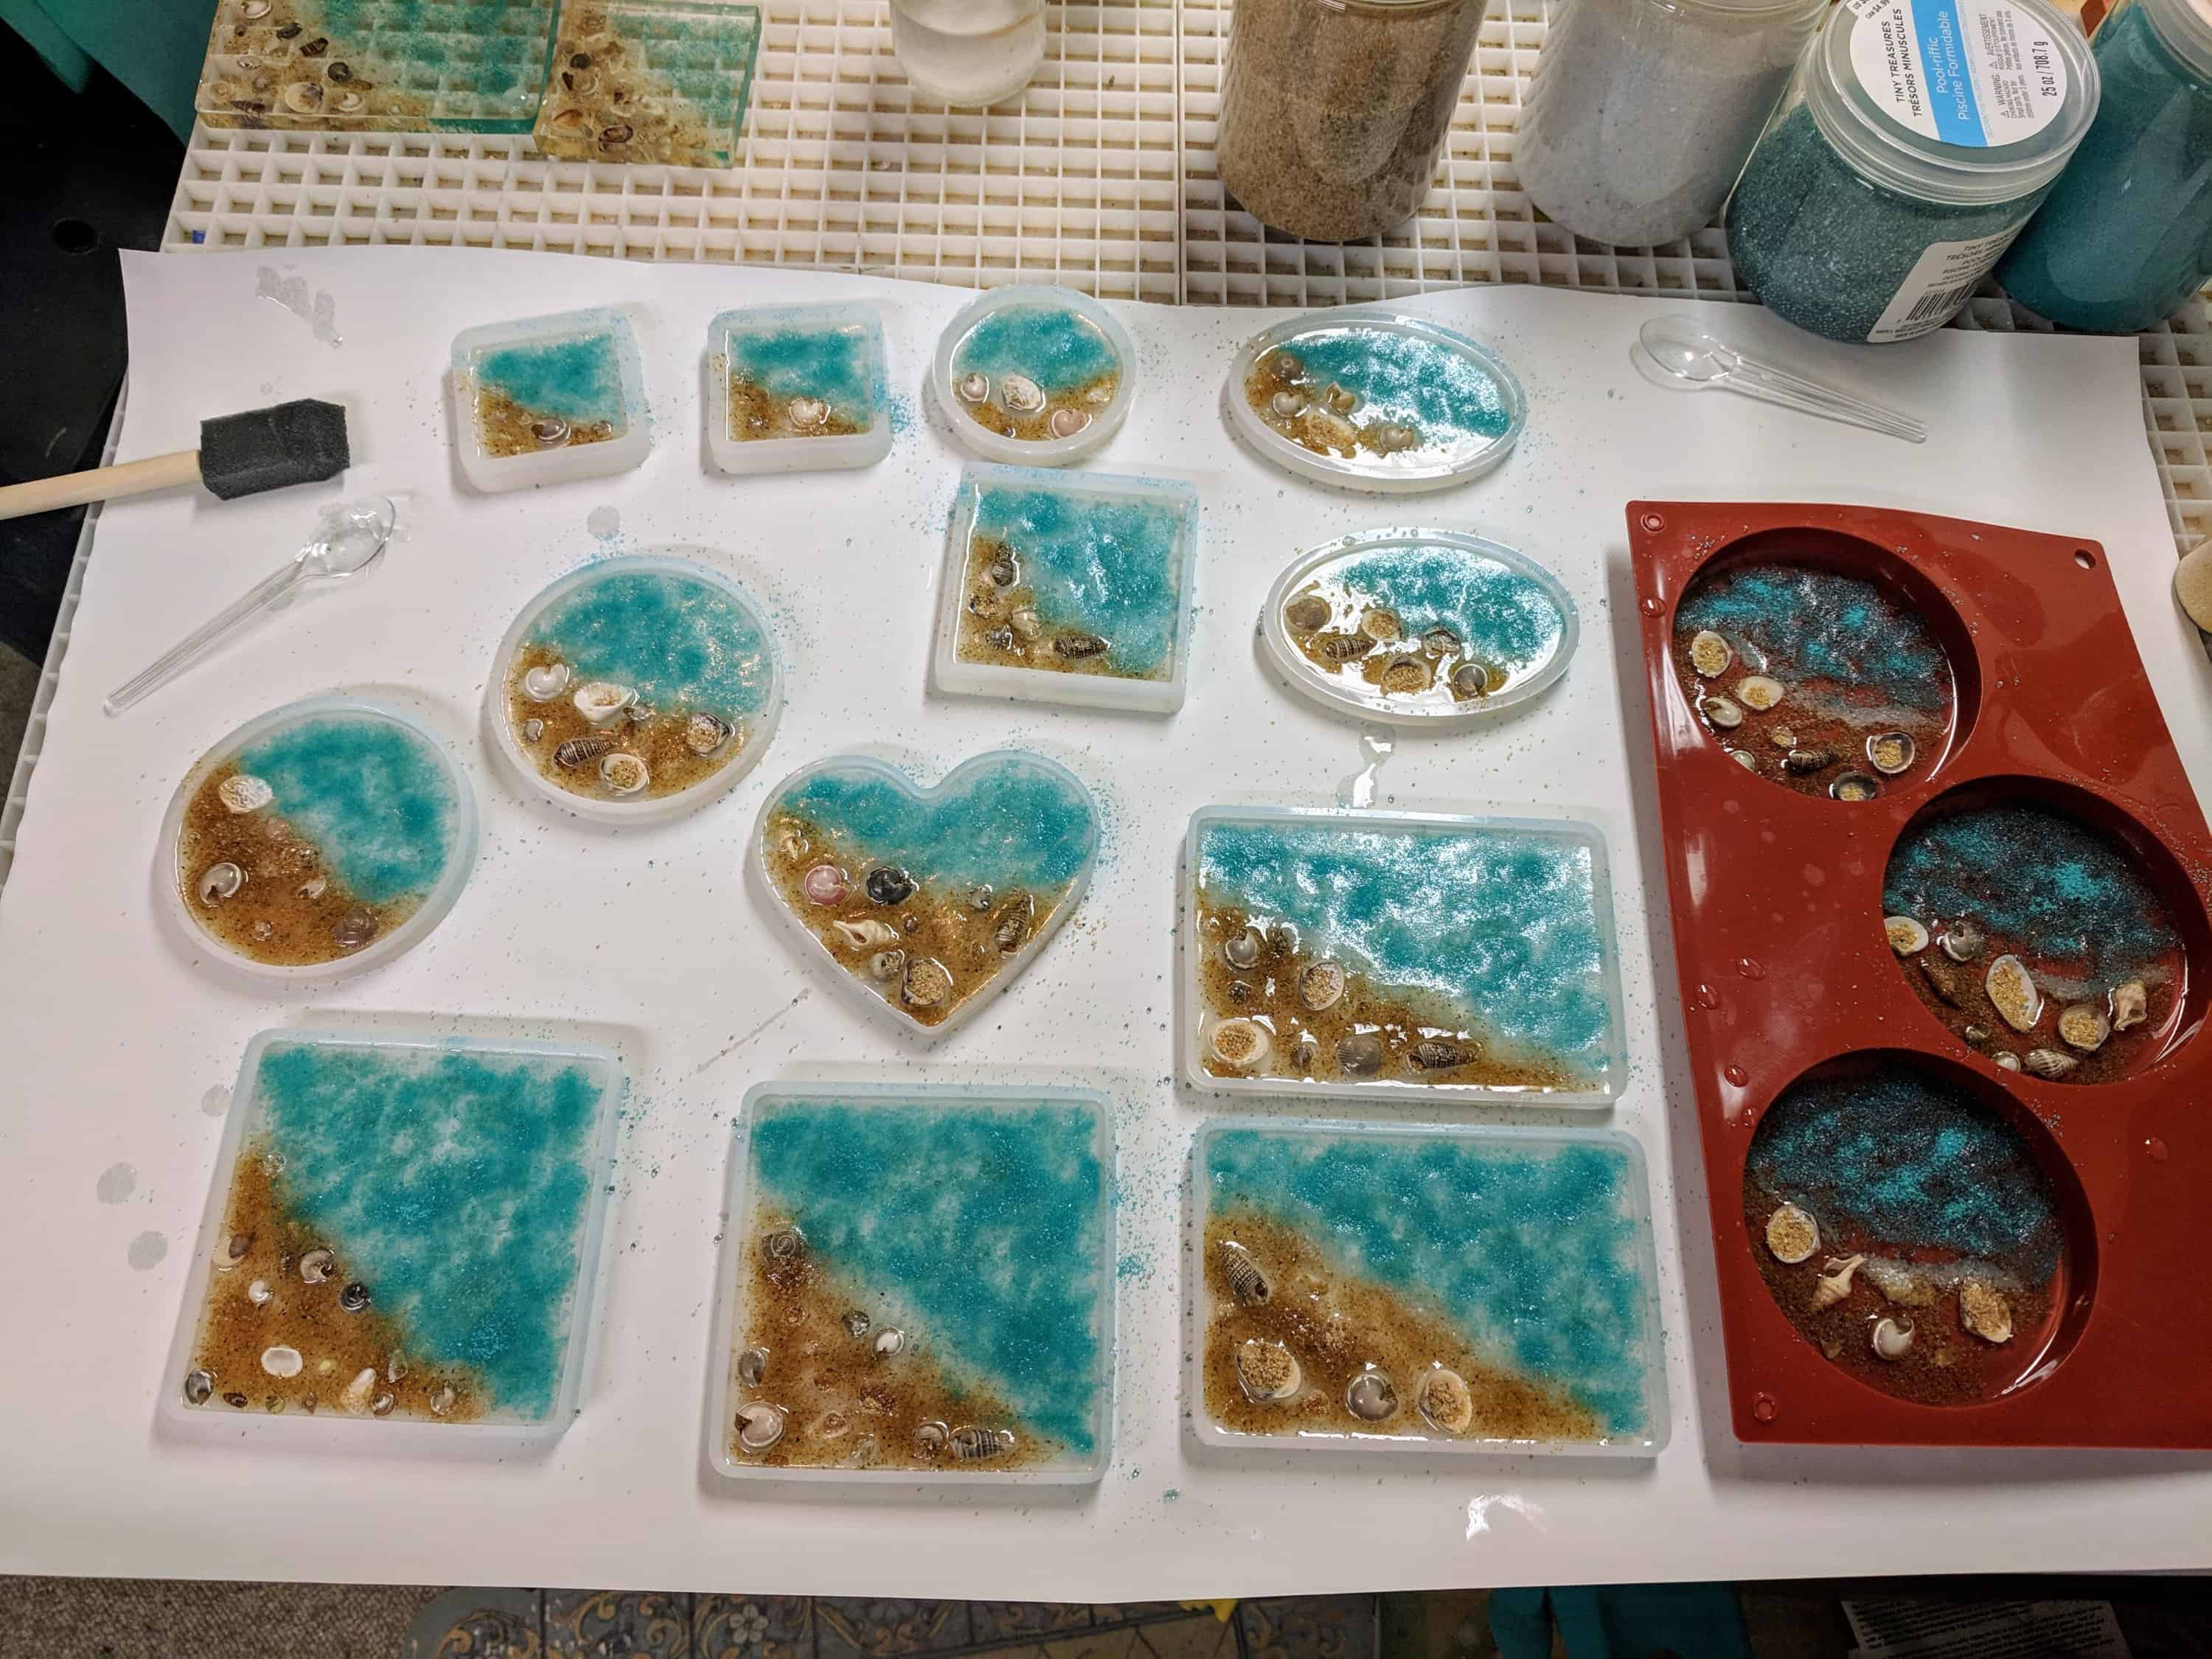
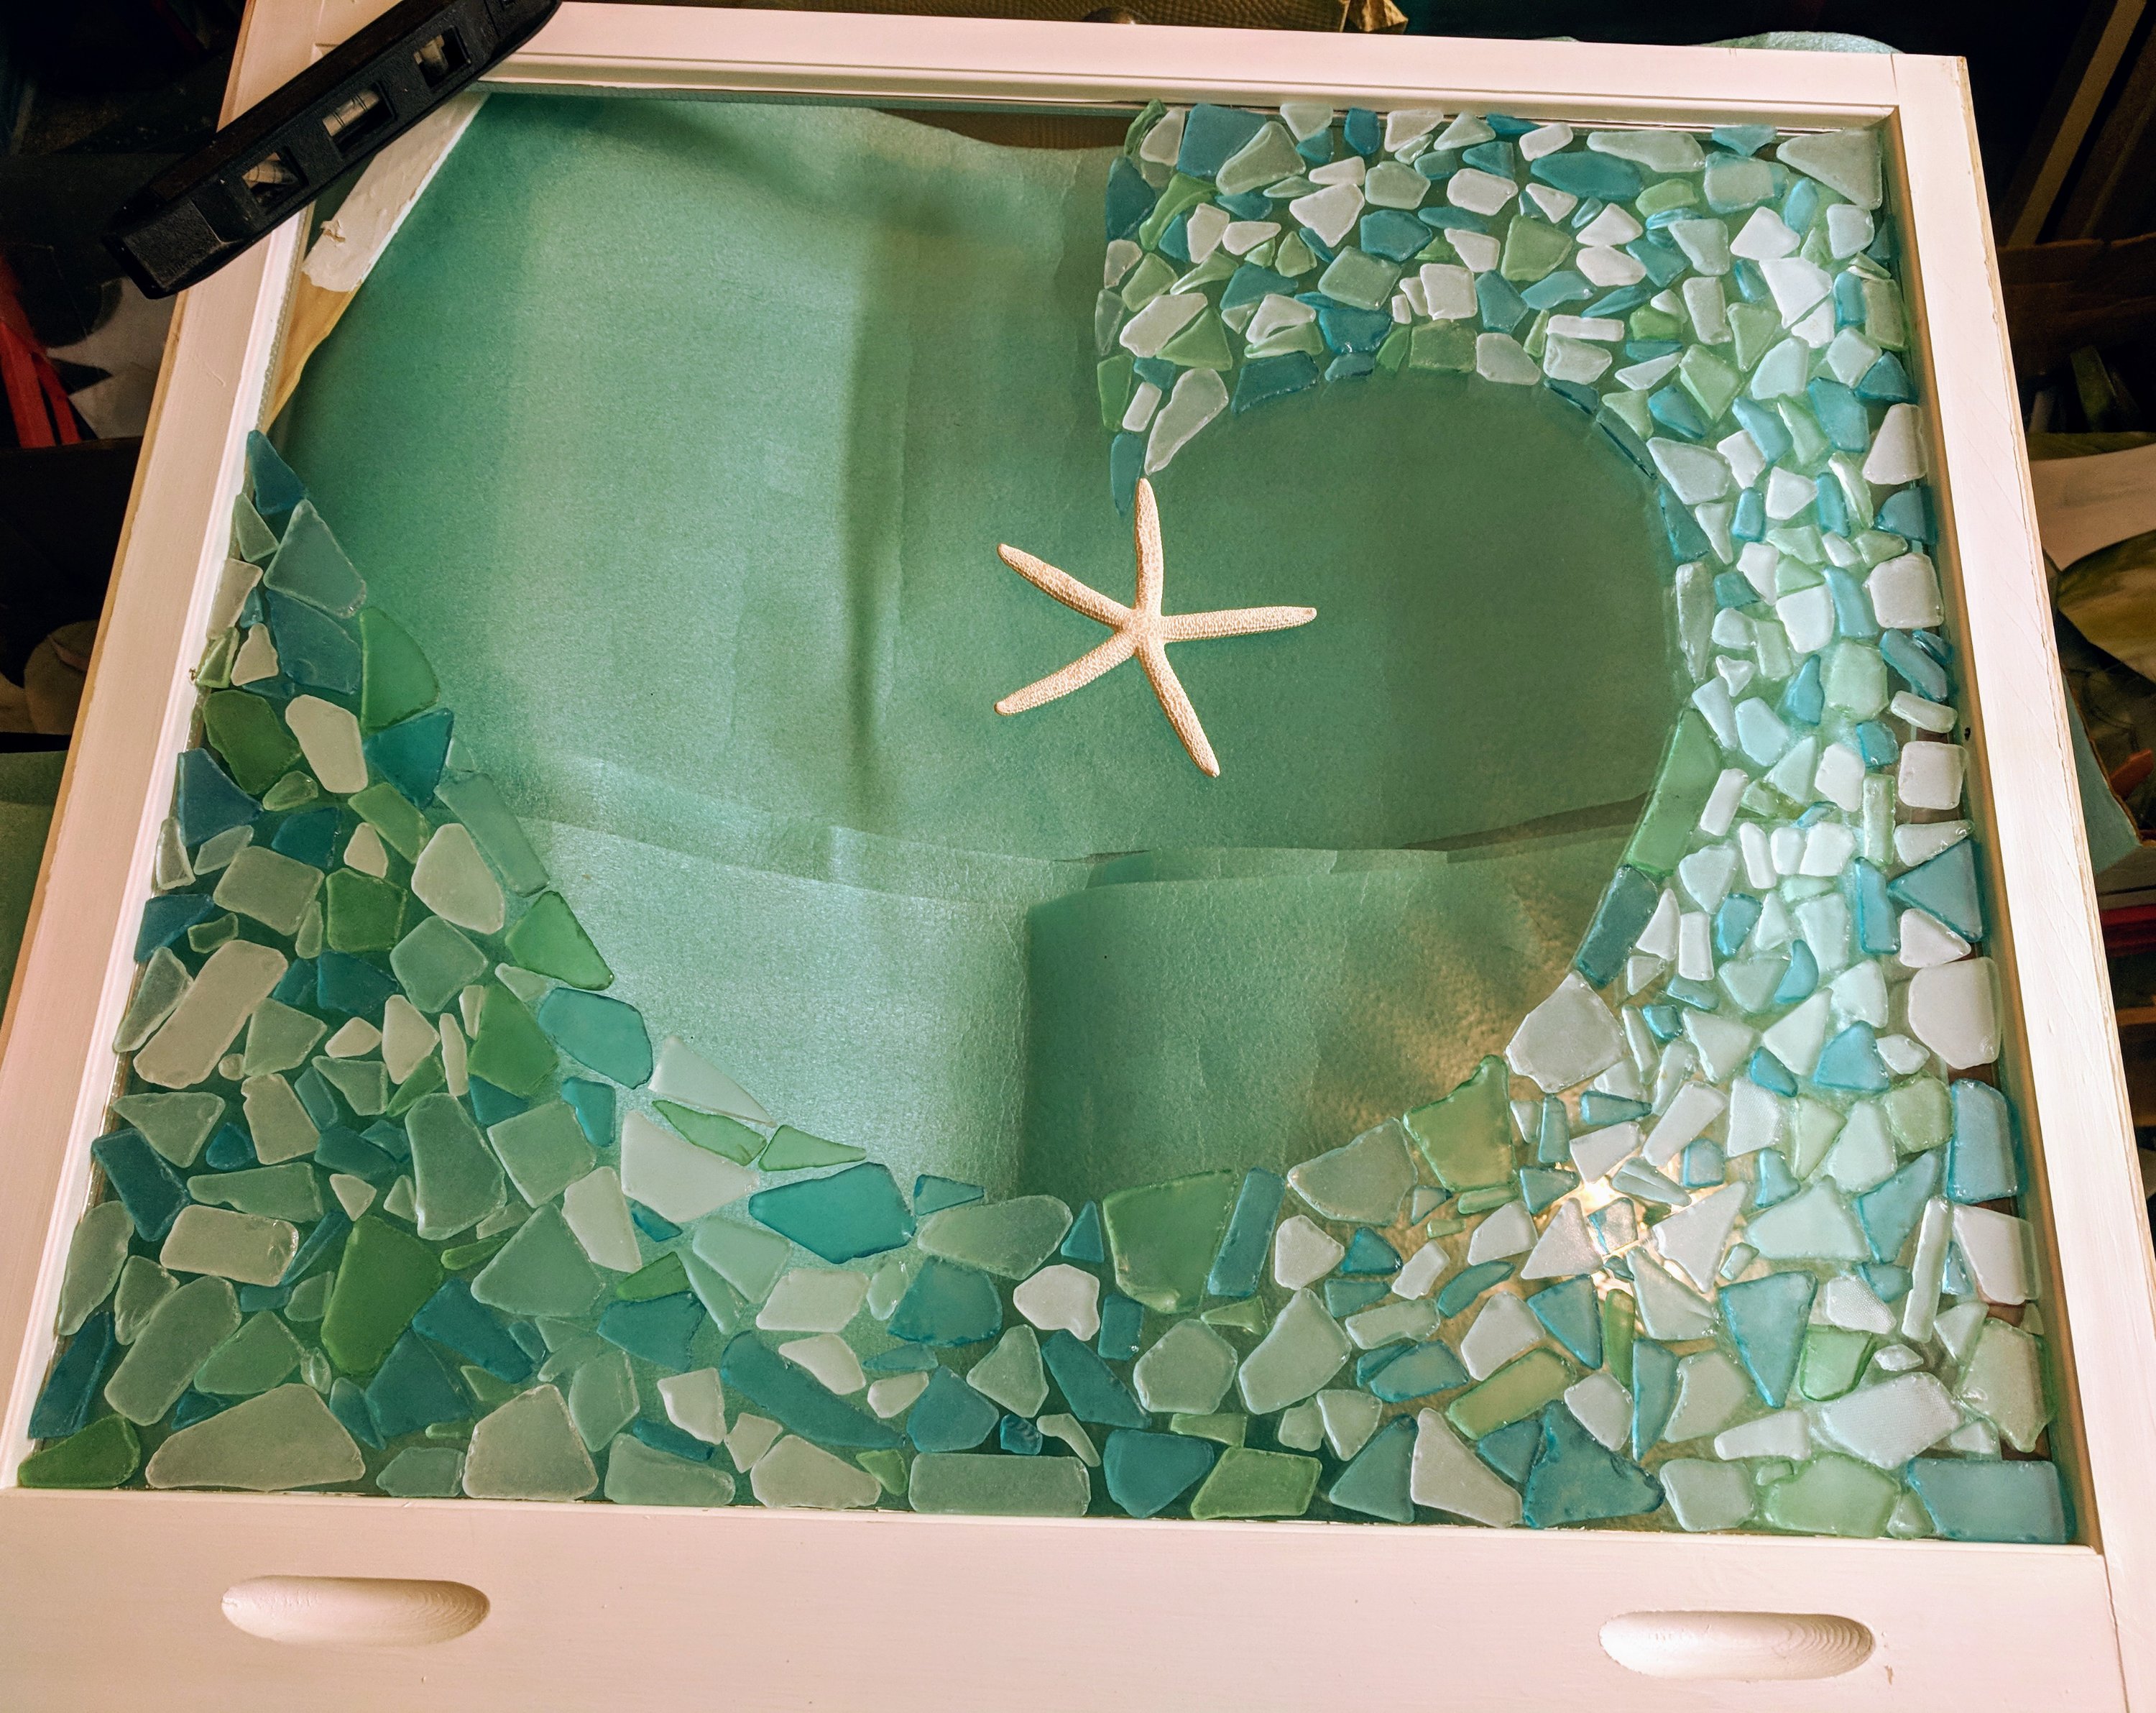
I decided to pour another base layer of coasters while I was at it. Now I just have to wait for the paint to dry and the resin to cure before I can continue.