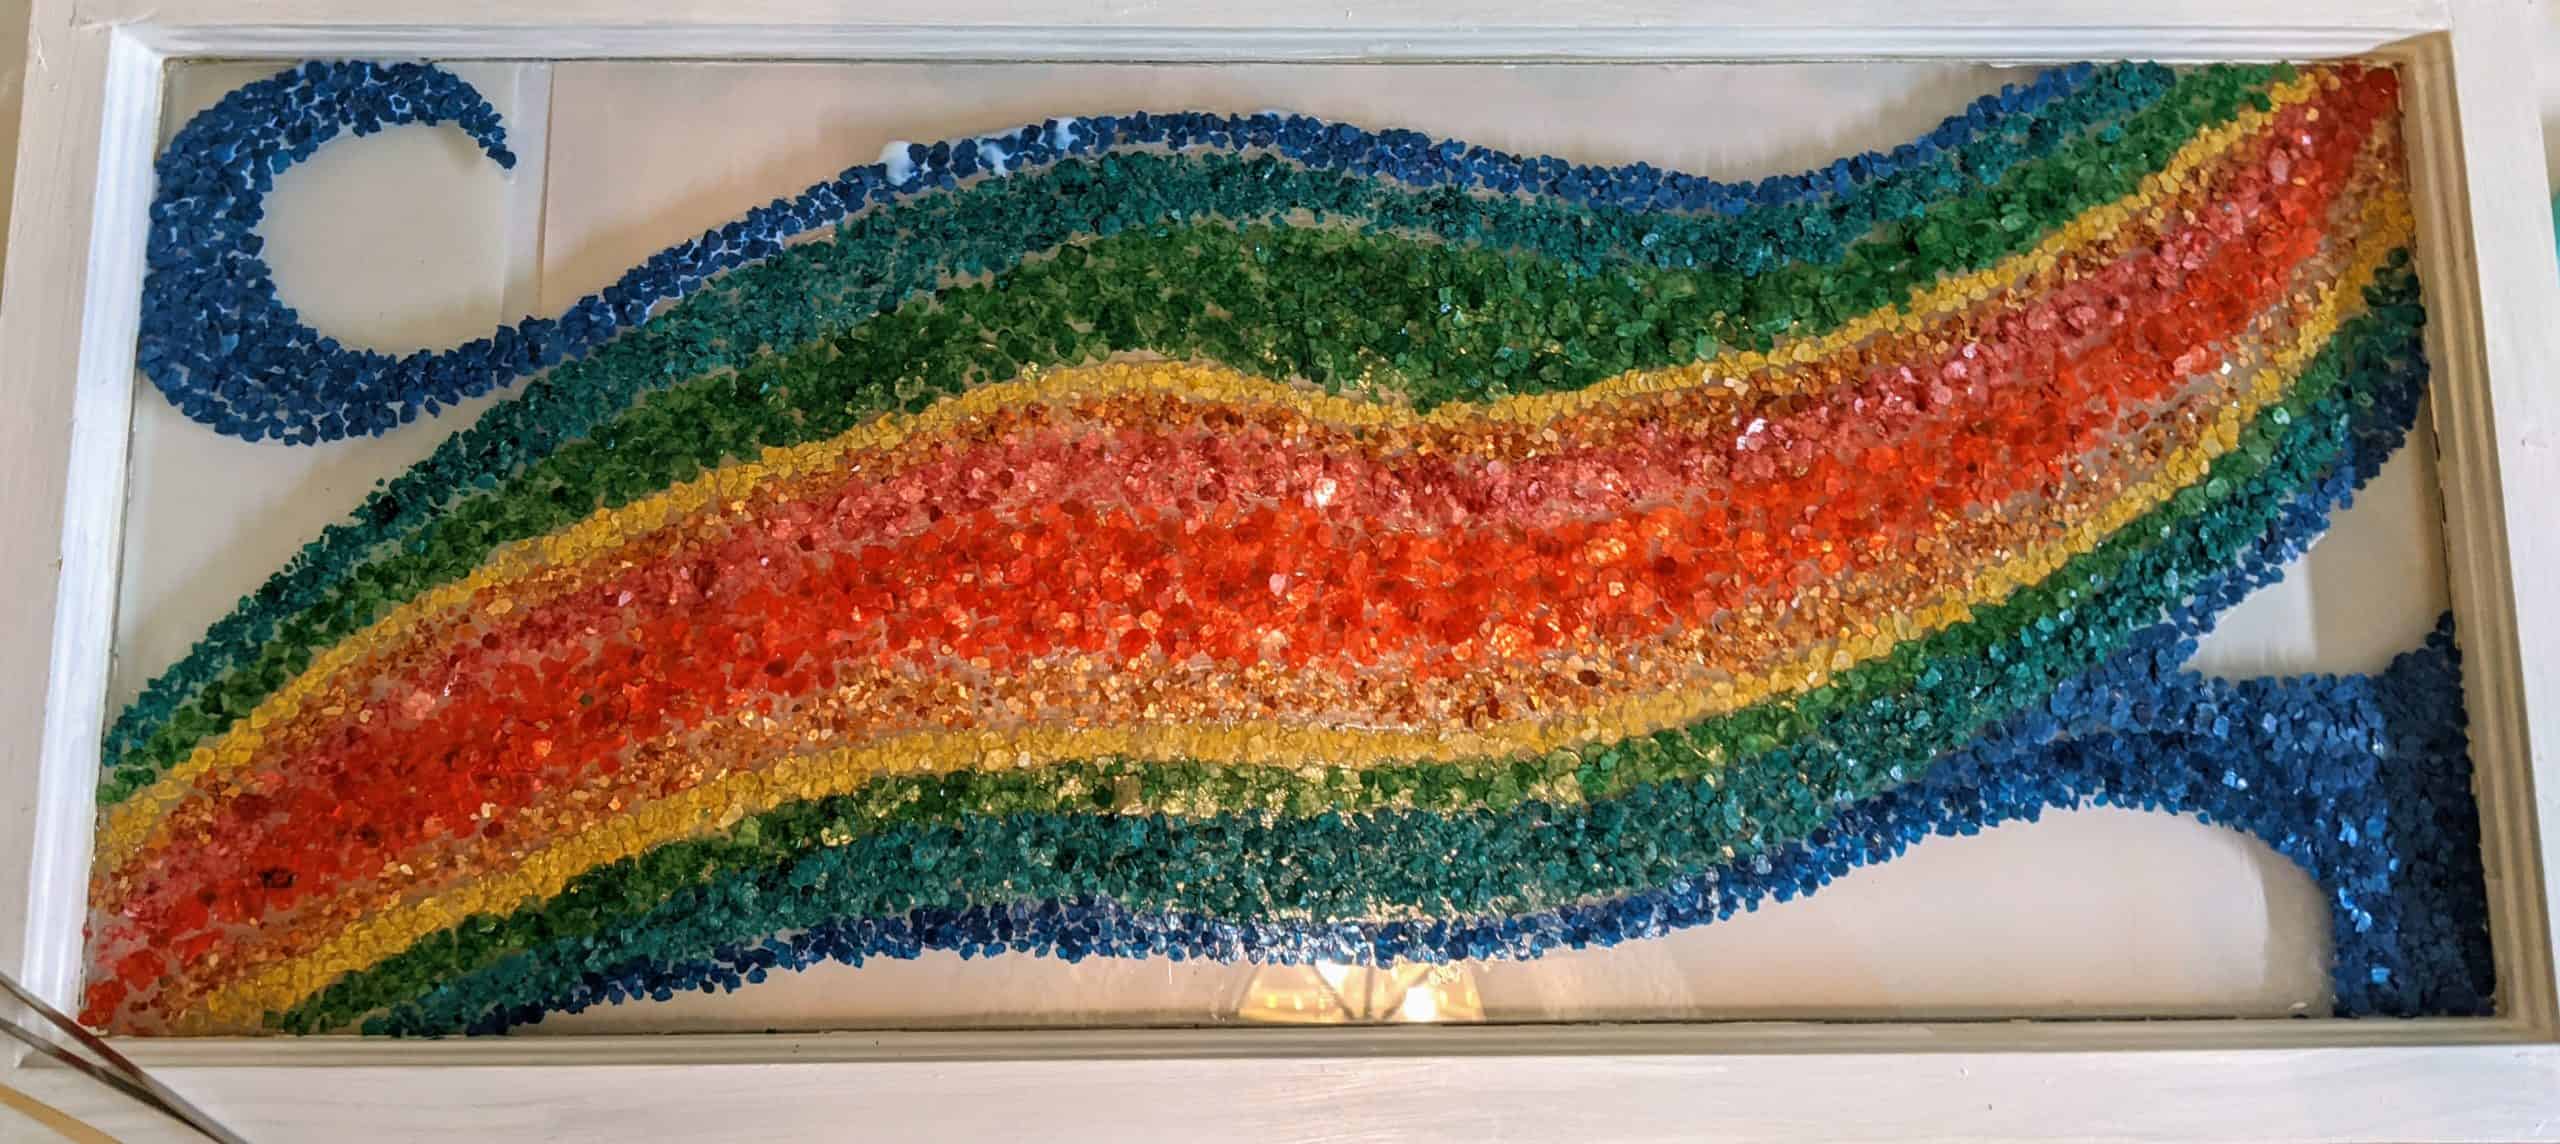
I’m adding a little bit more every day or two to the mica rainbow window. It is slowly taking shape!
Glass of Sherry
I’m adding a little bit more every day or two to the mica rainbow window. It is slowly taking shape!
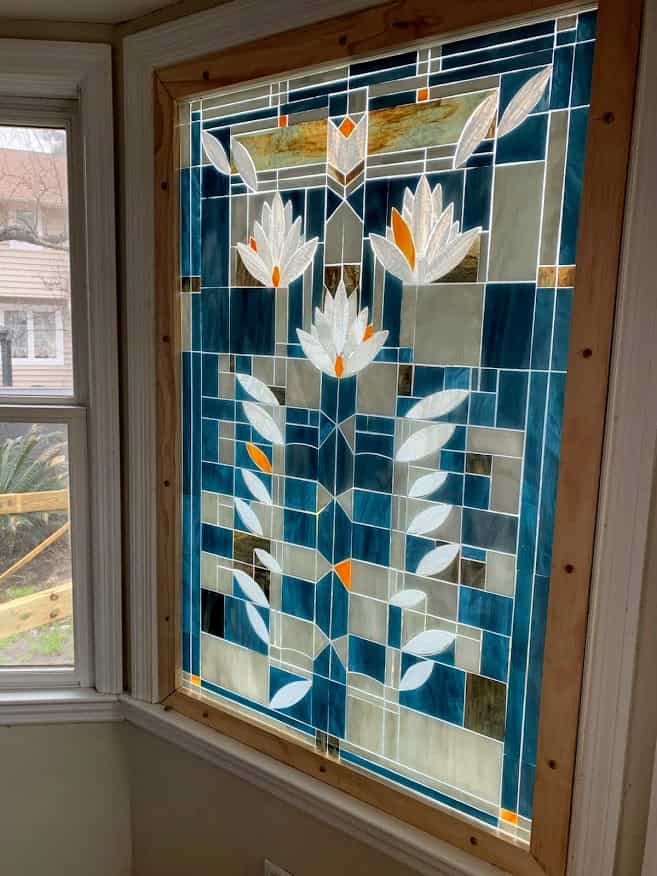
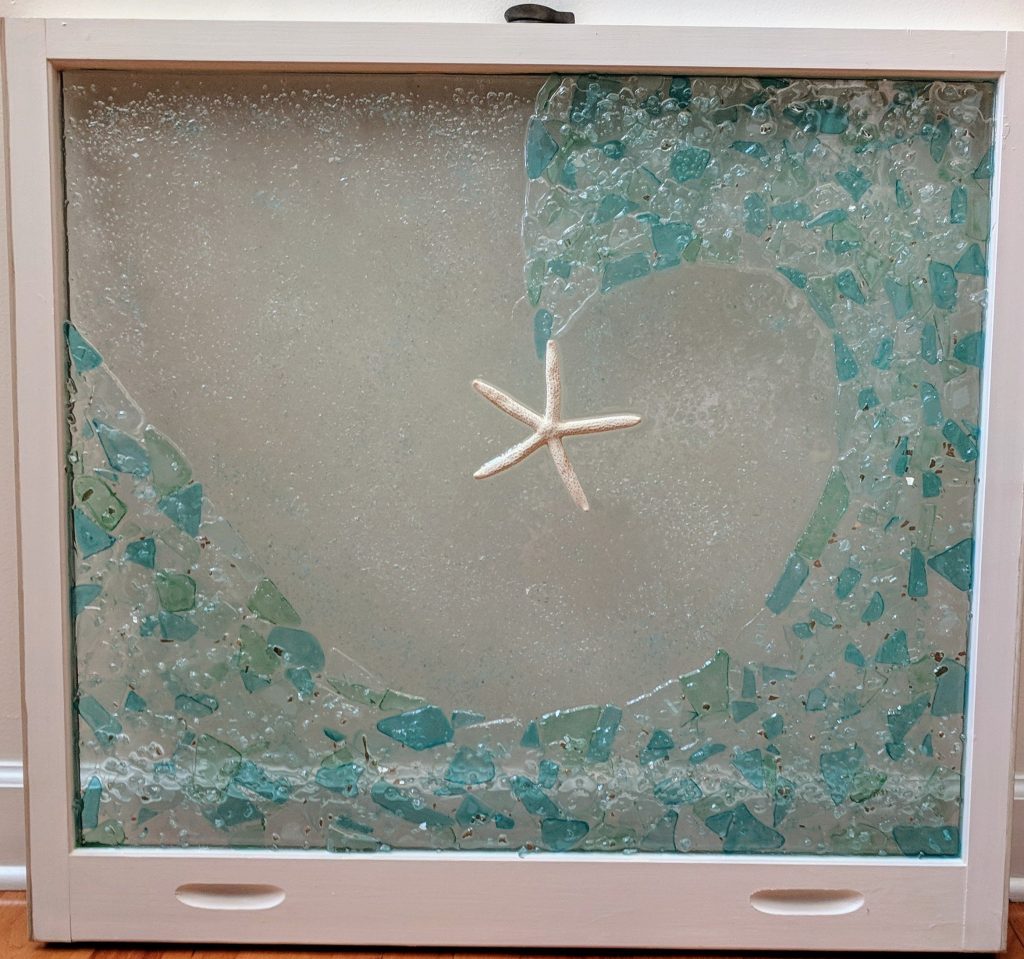
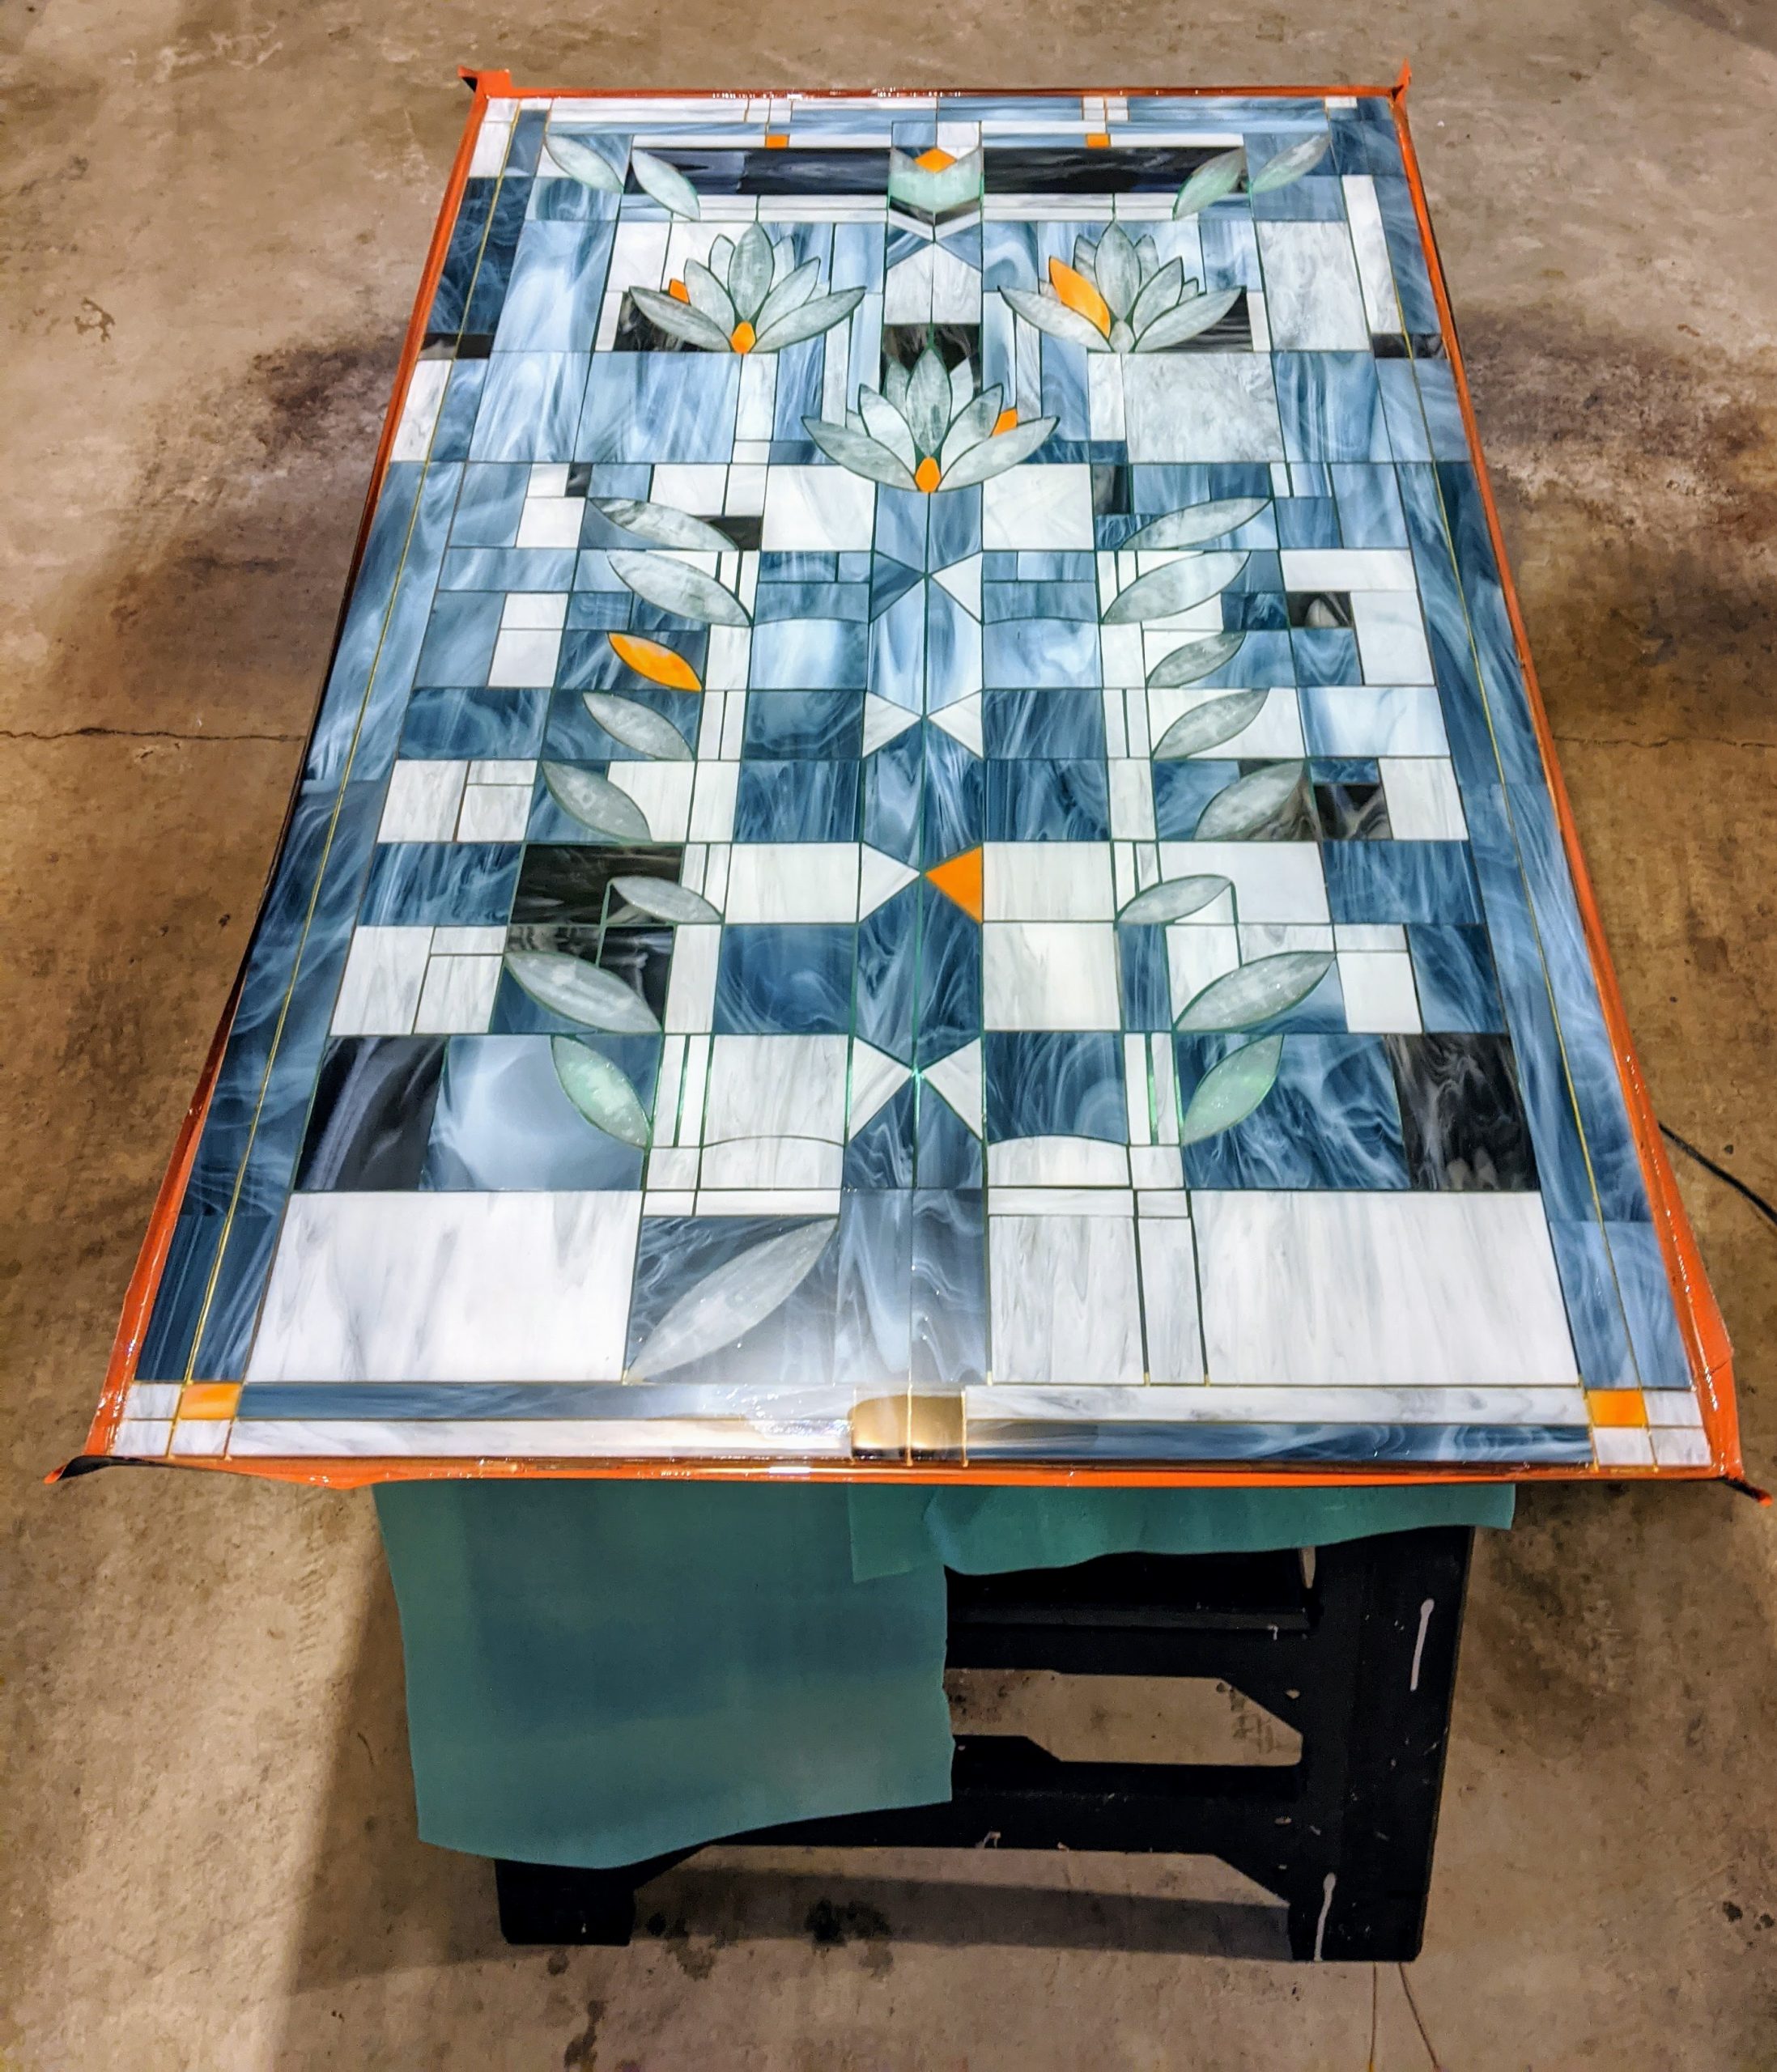
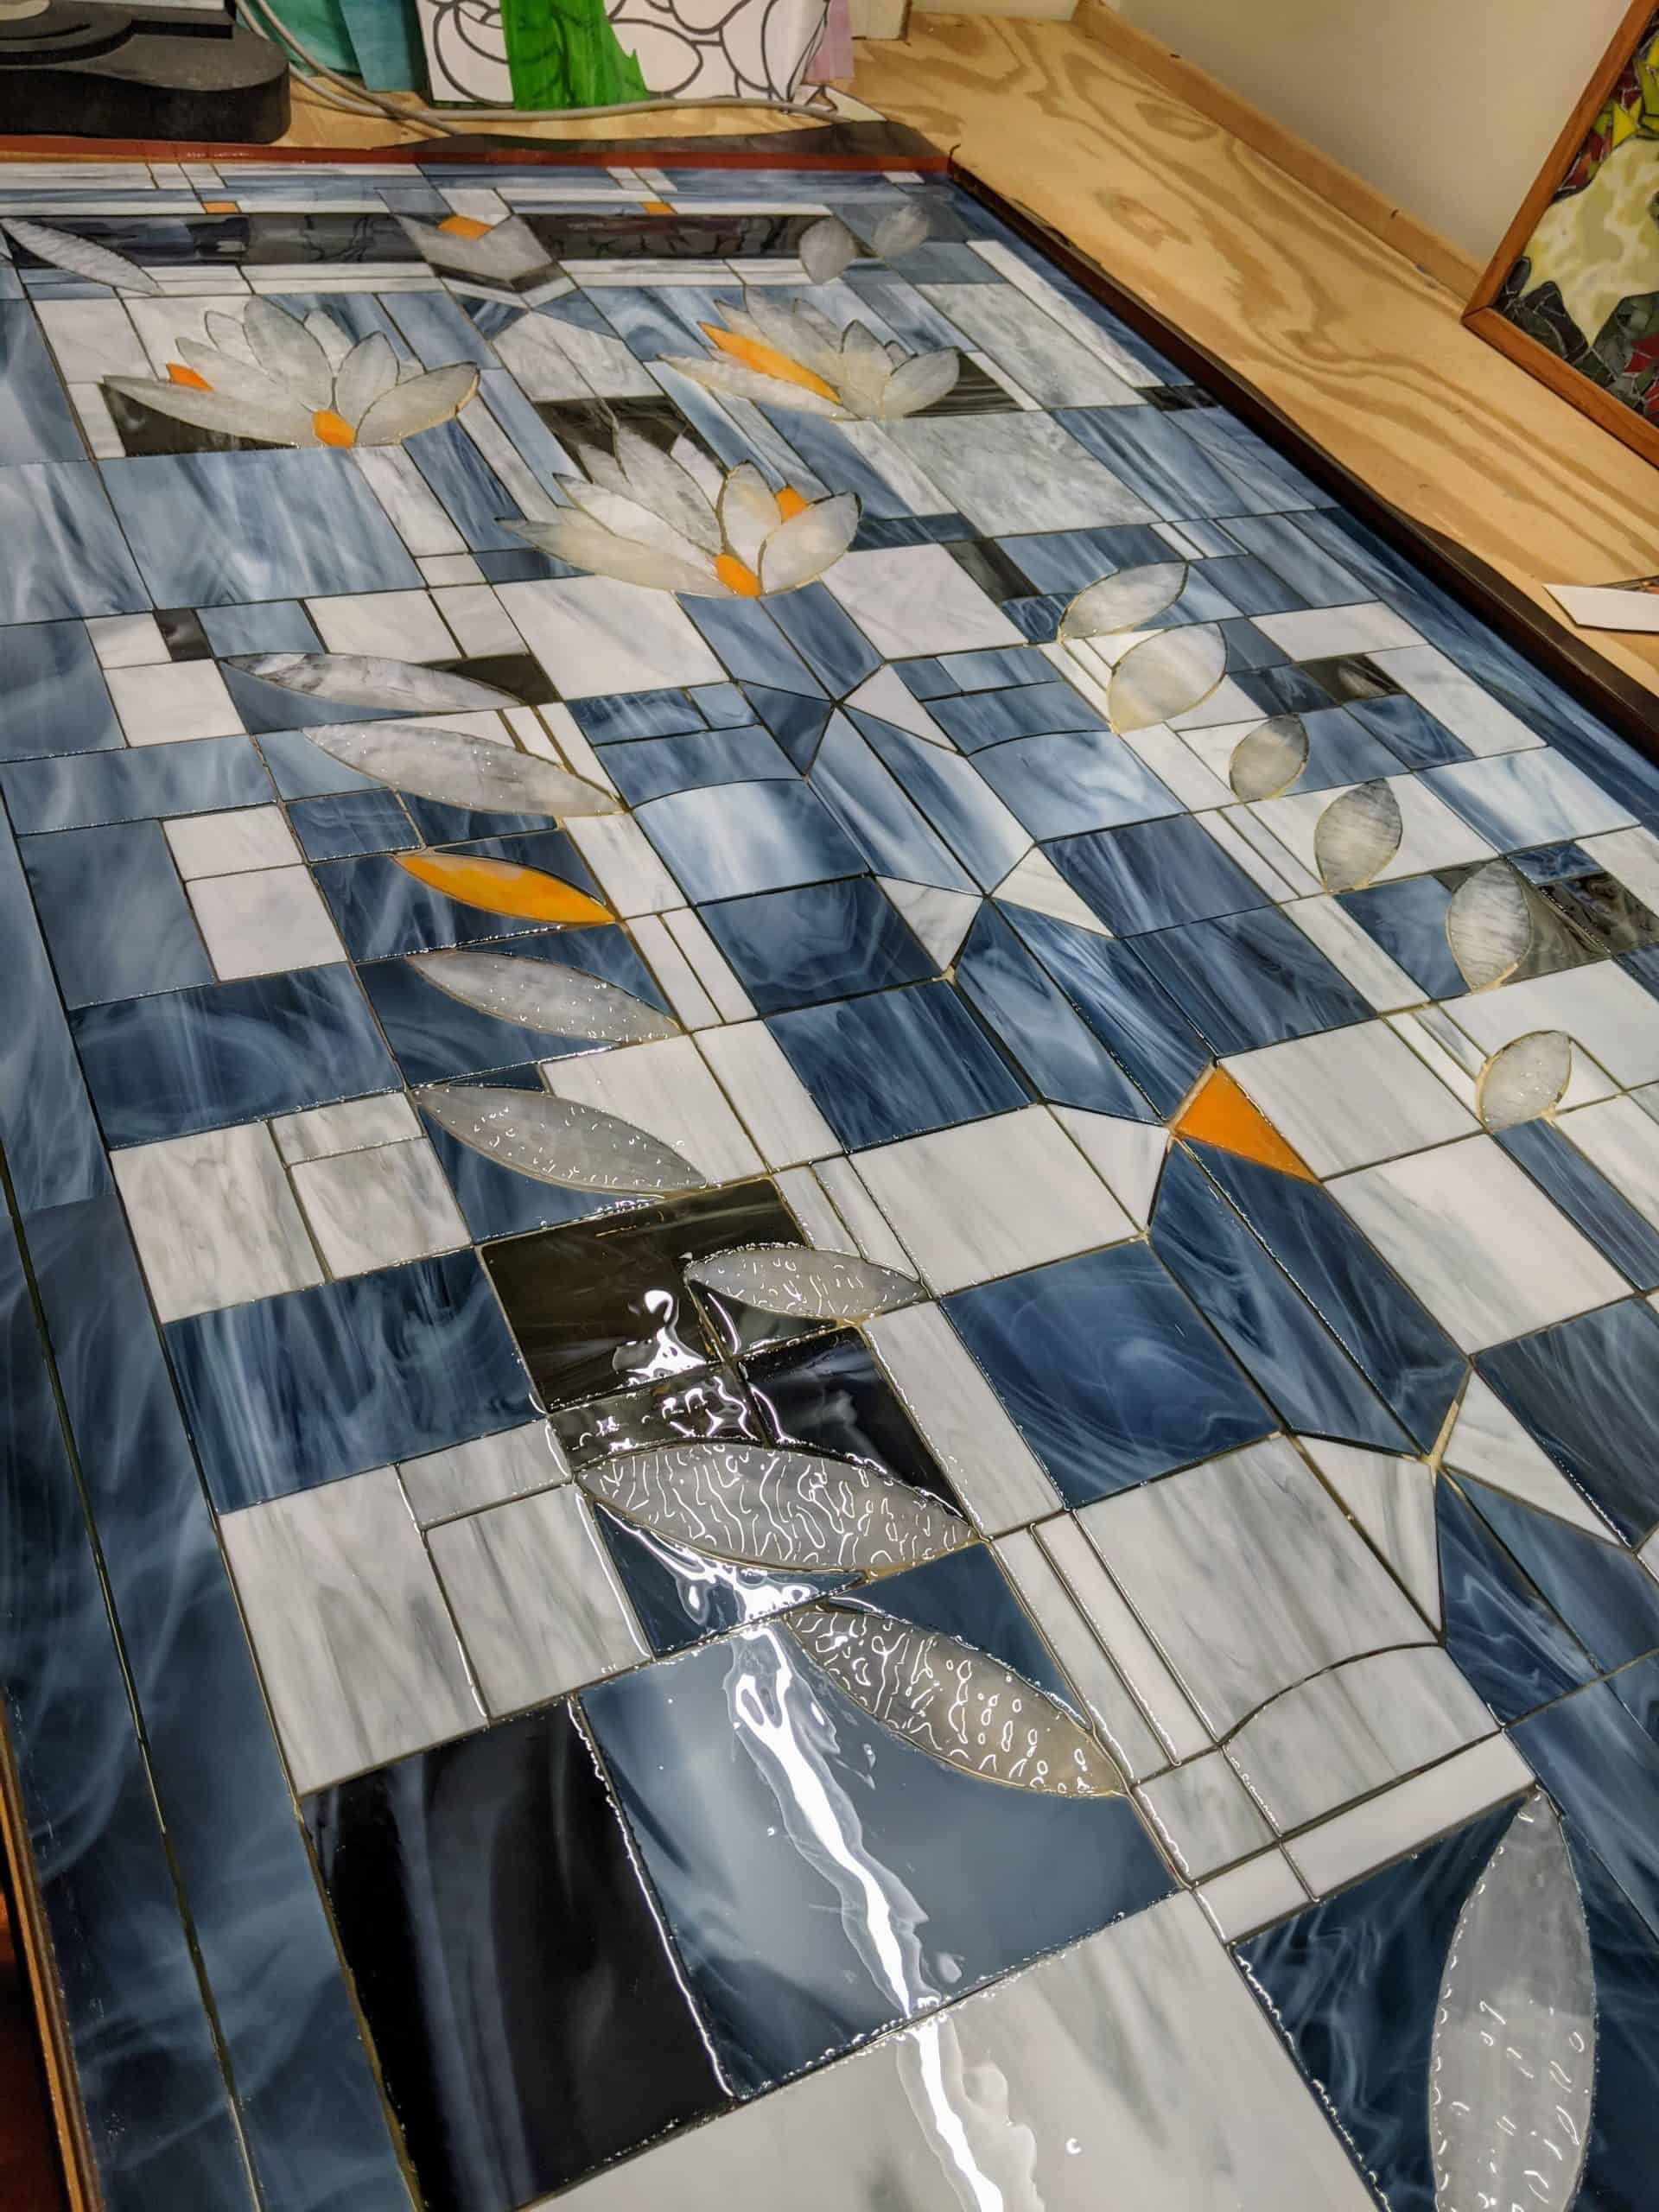
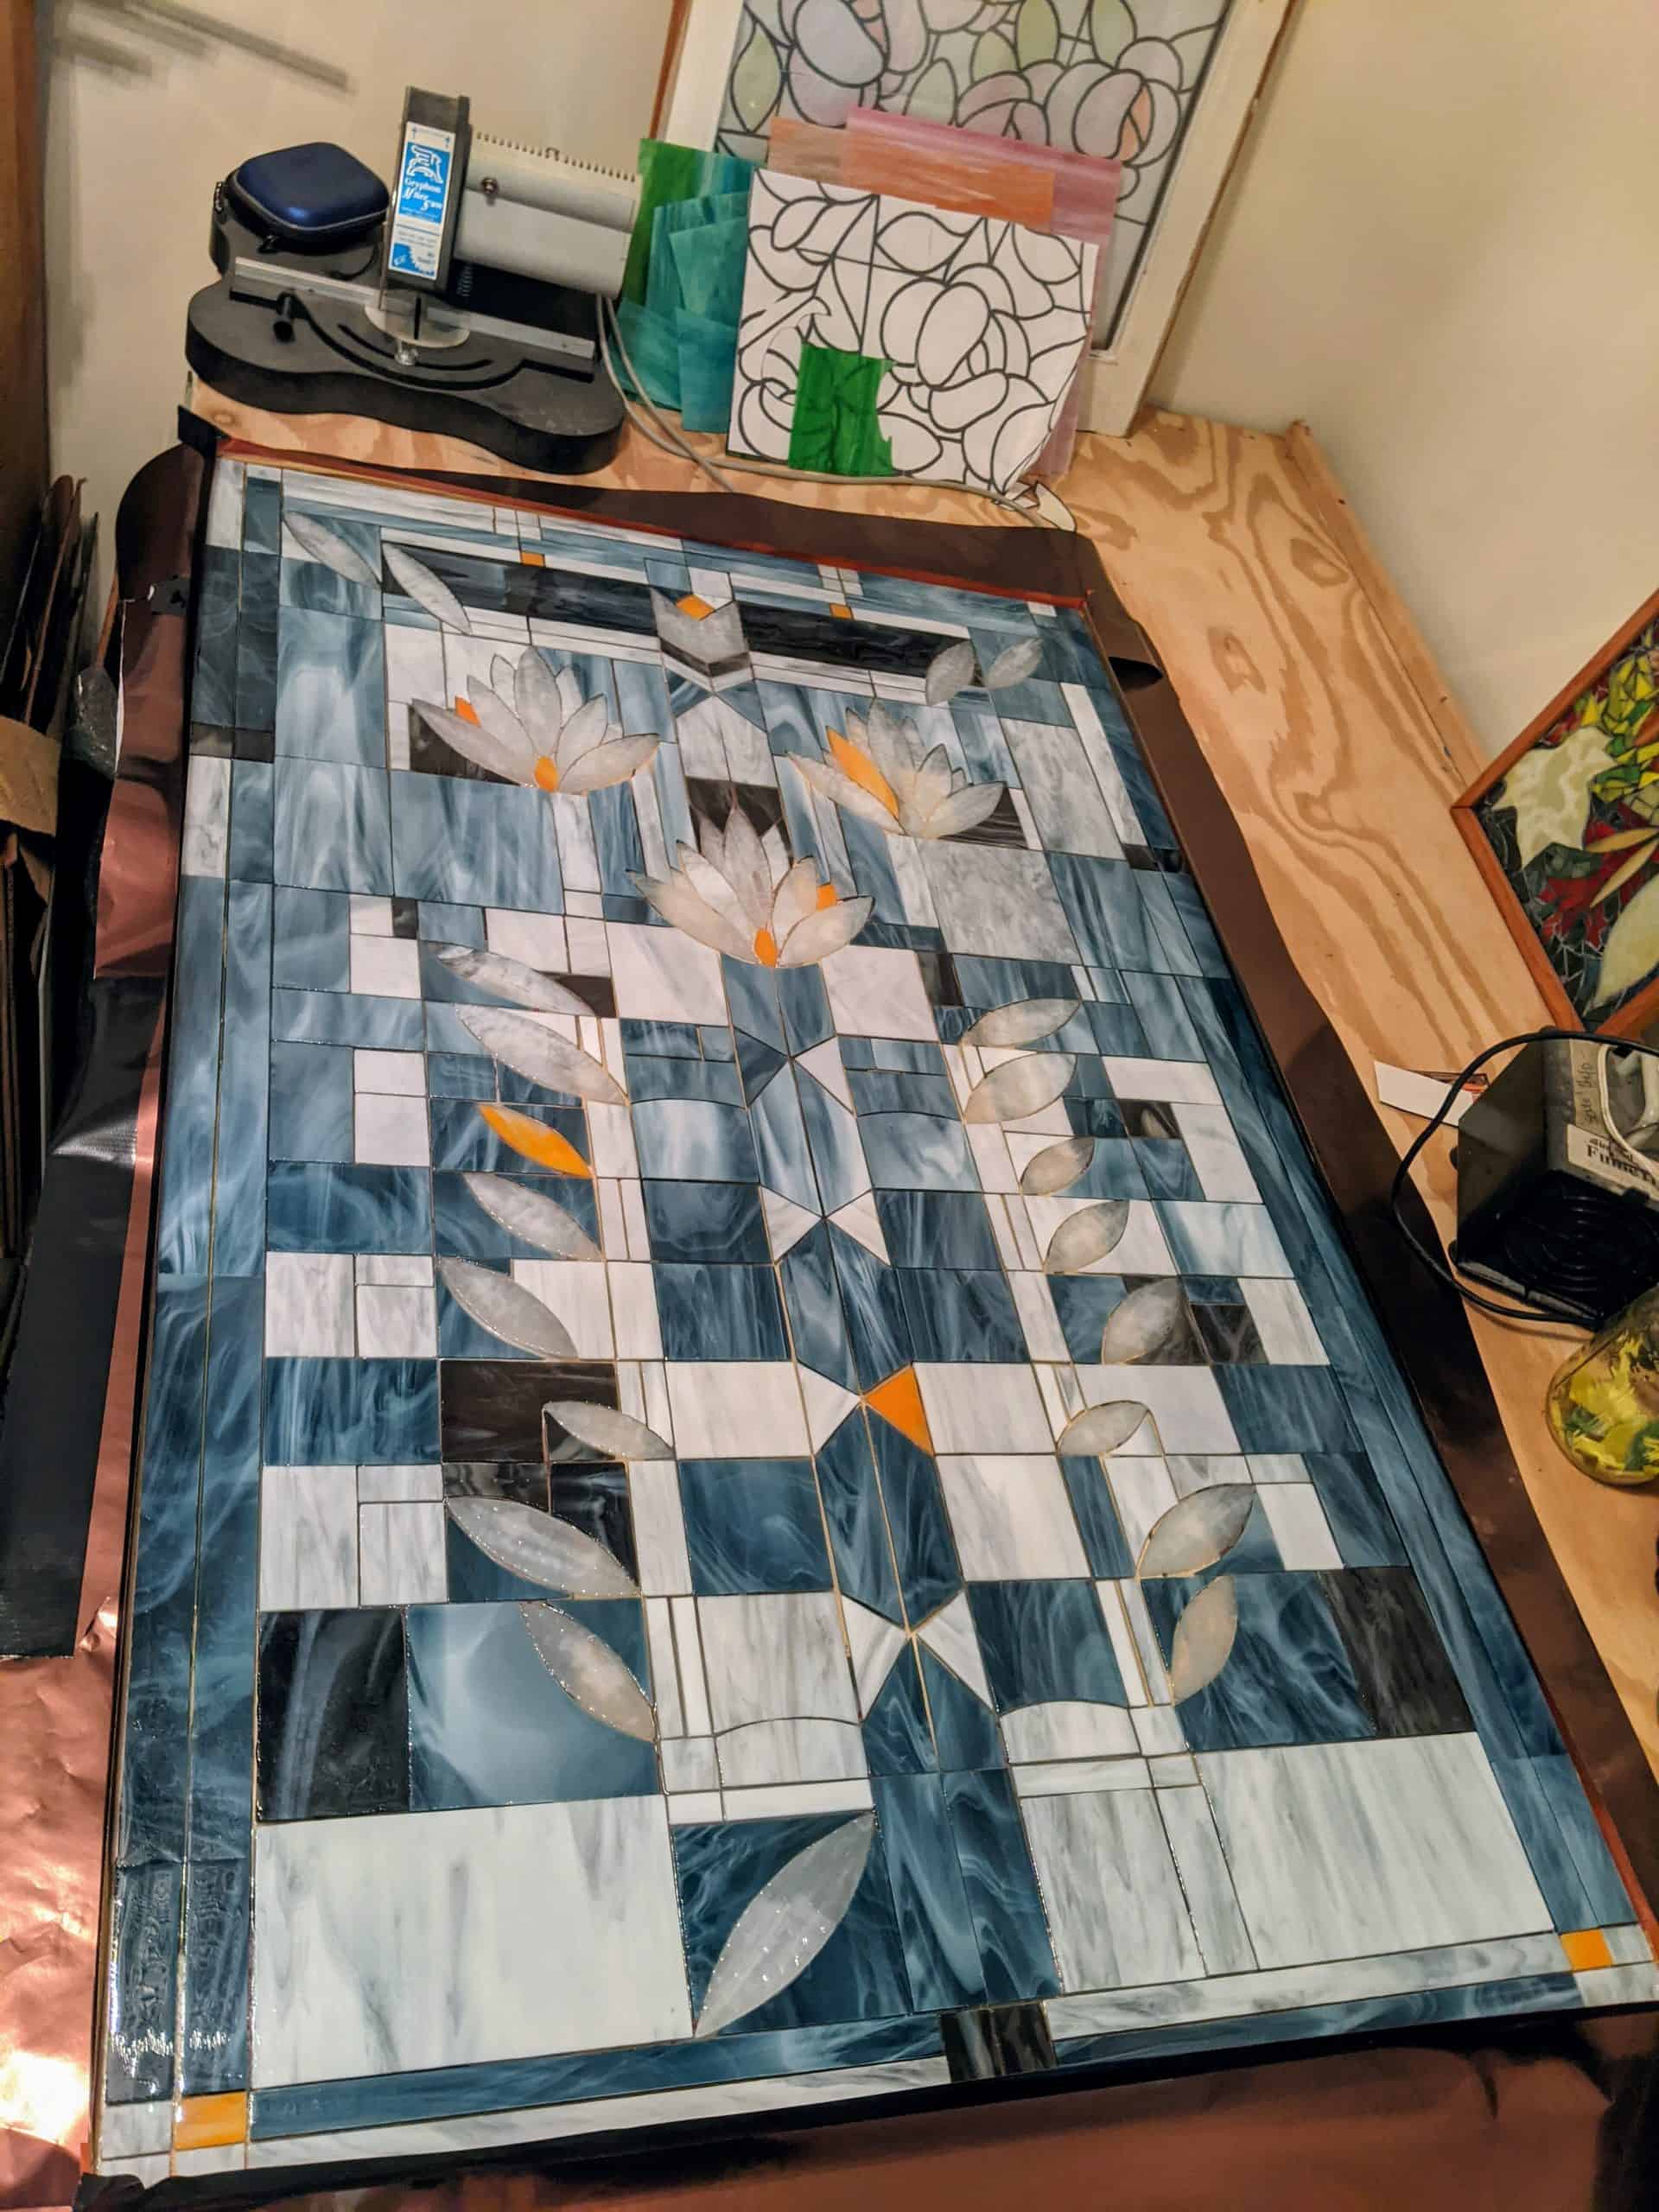
I finally got a snapshot of the large Frank Lloyd Wright inspired window installed in its new home.
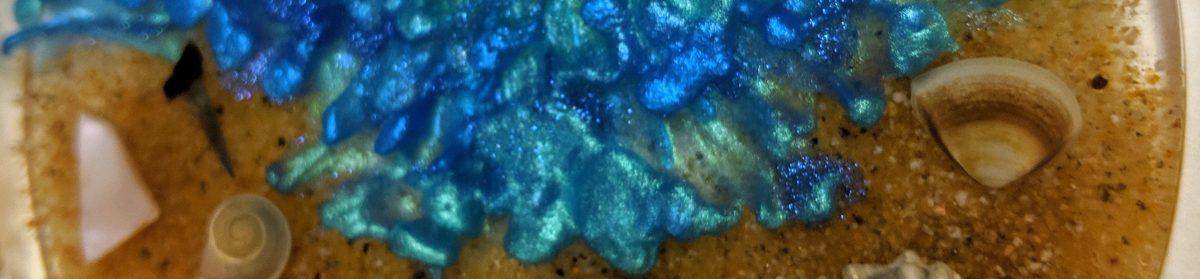
If you like this beach glass window, it is up for bids through Feb 20th in support of an amazing local school, SJCS! You will also find one of my resin-embellished lazy susans in the auction. Happy bidding! https://qtego.net/qlink/saintjohn
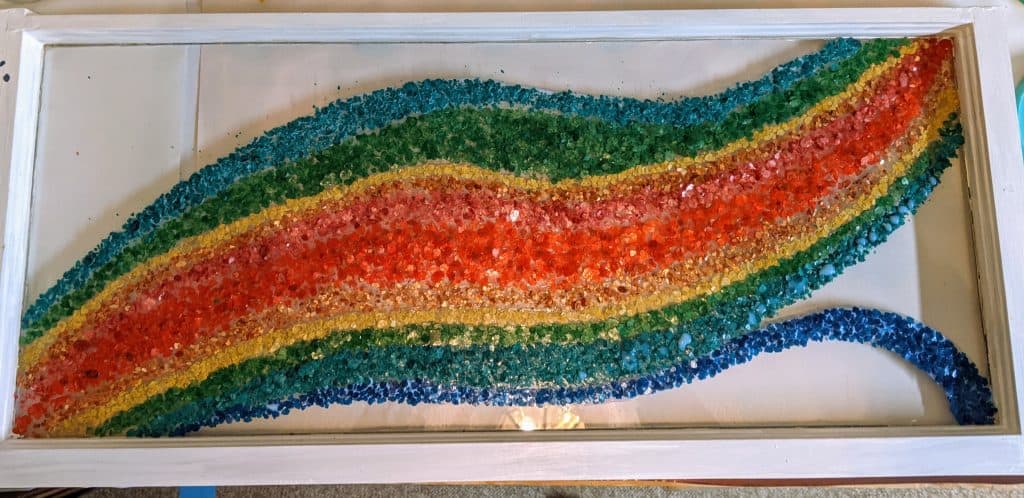
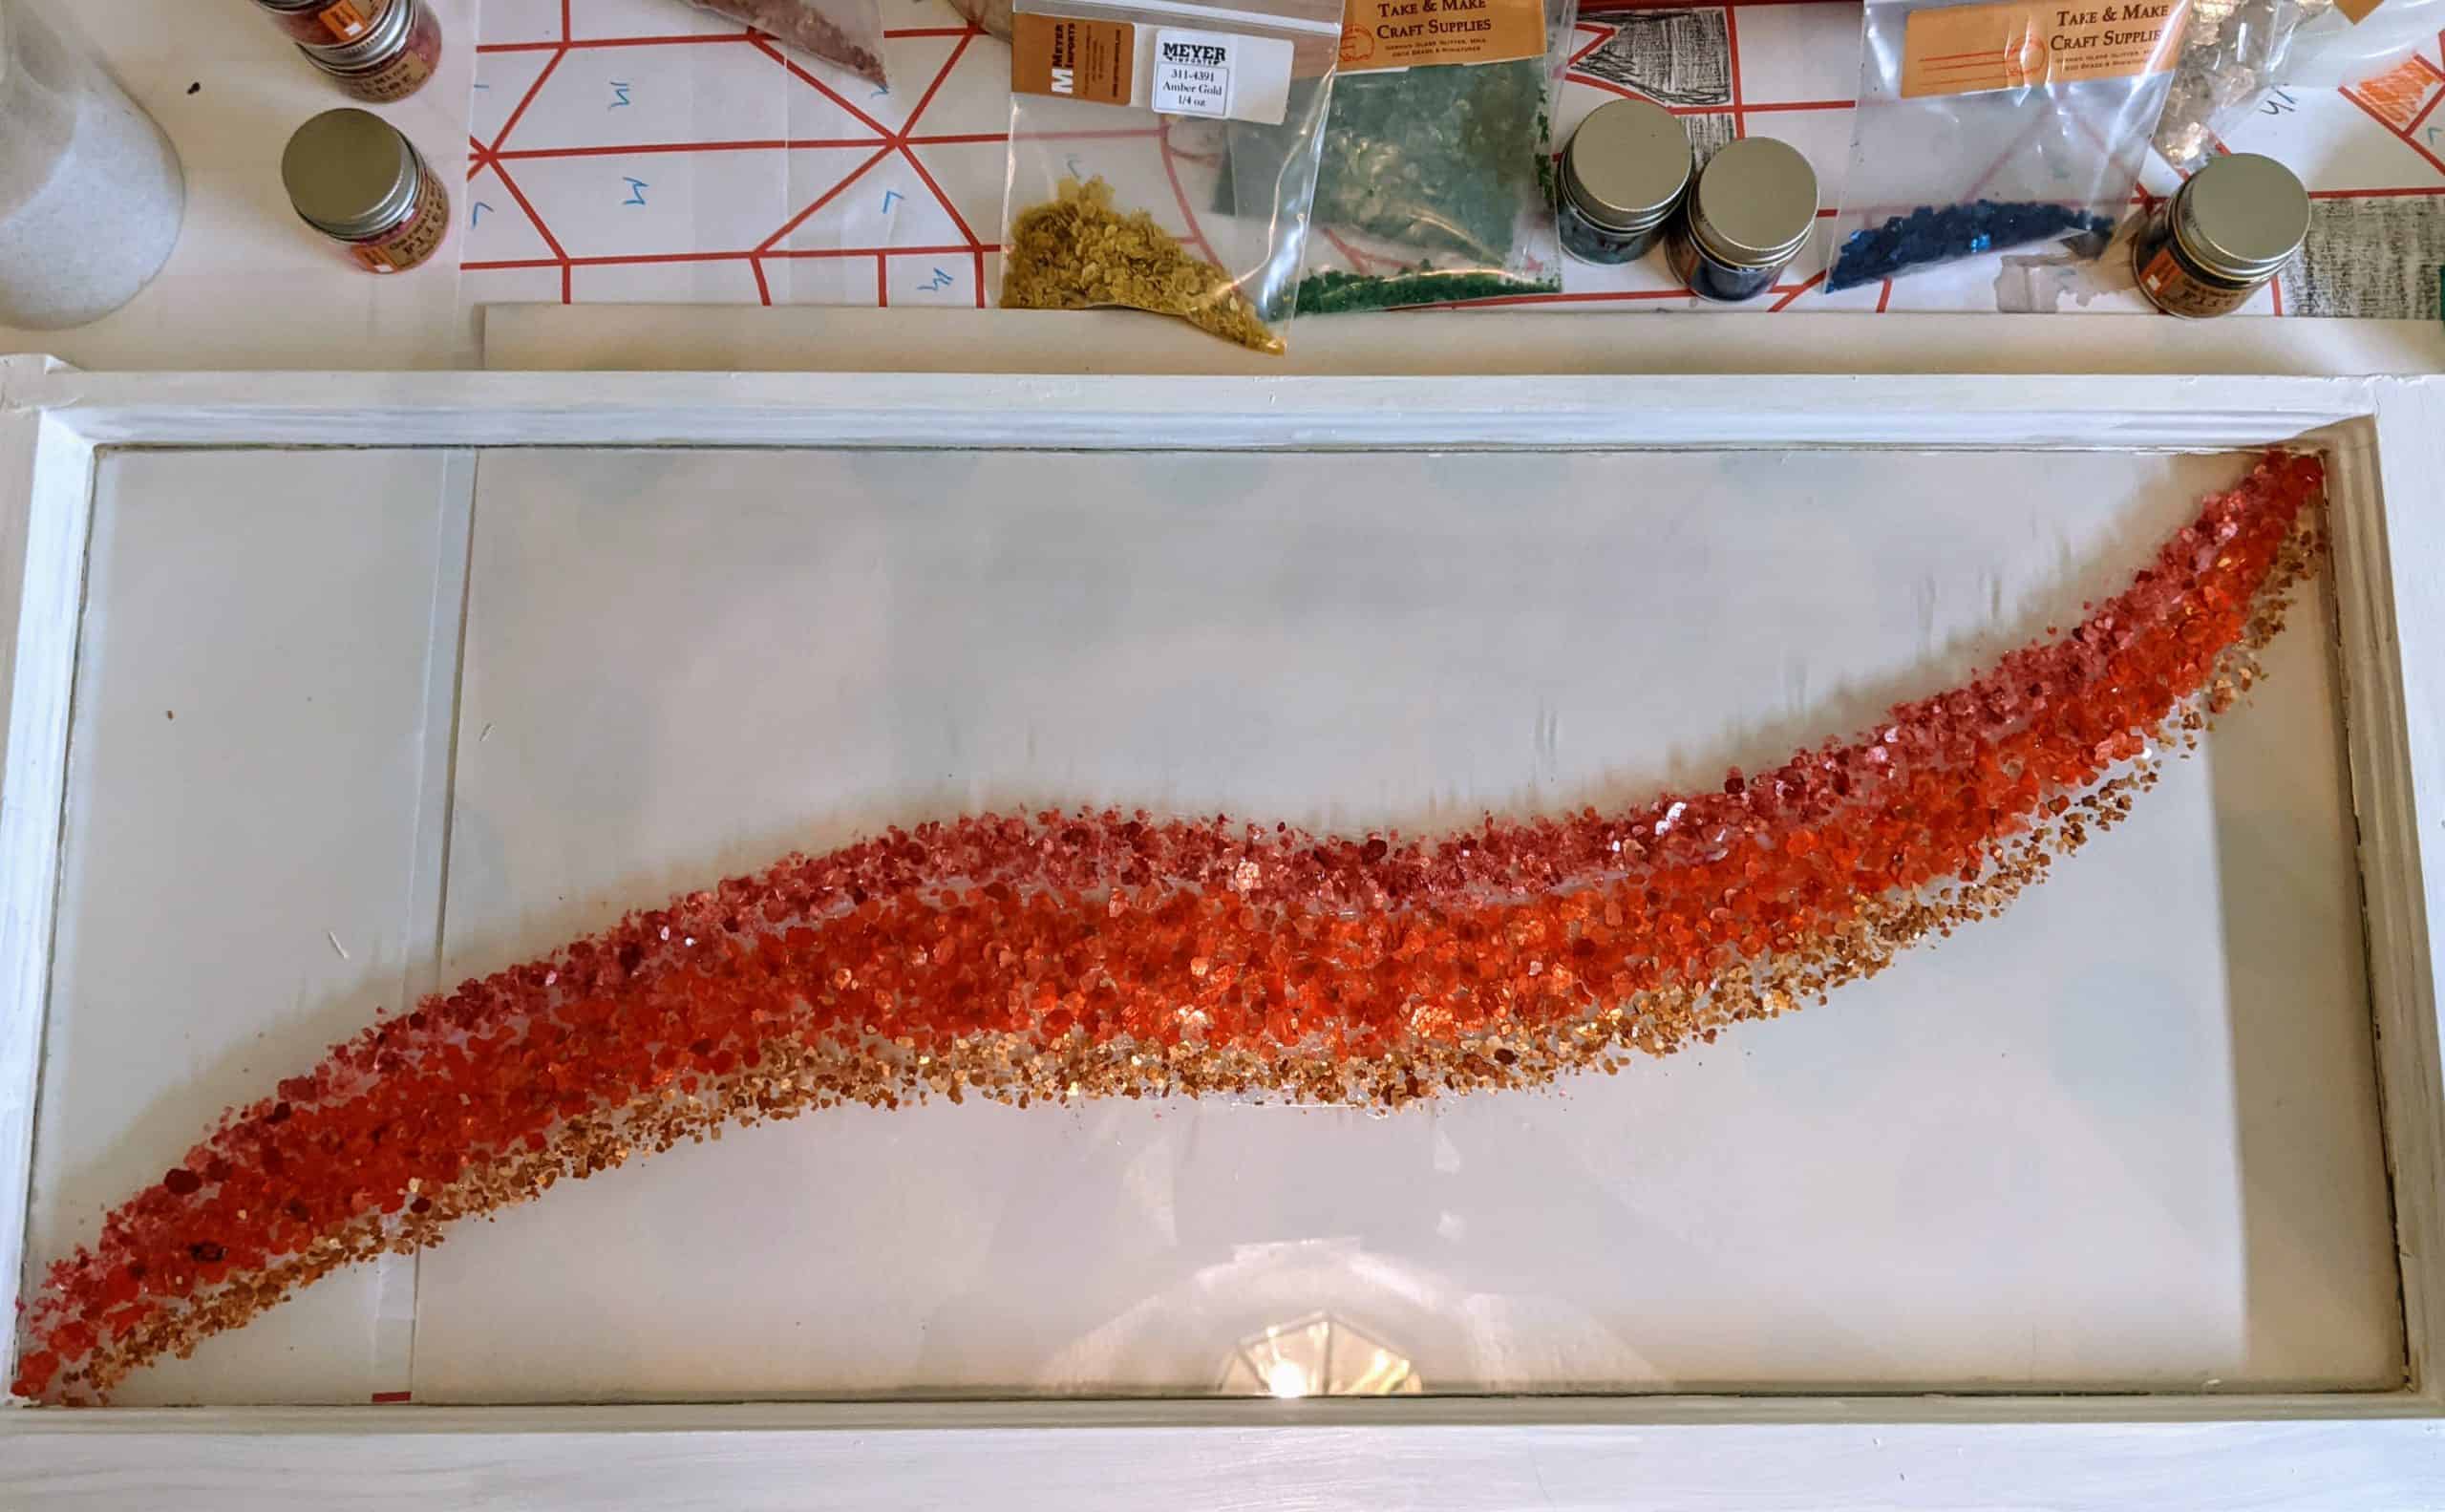
A rainbow, like a community, just isn’t right without all it’s colors. 🙂 Still a ways to go on this one.
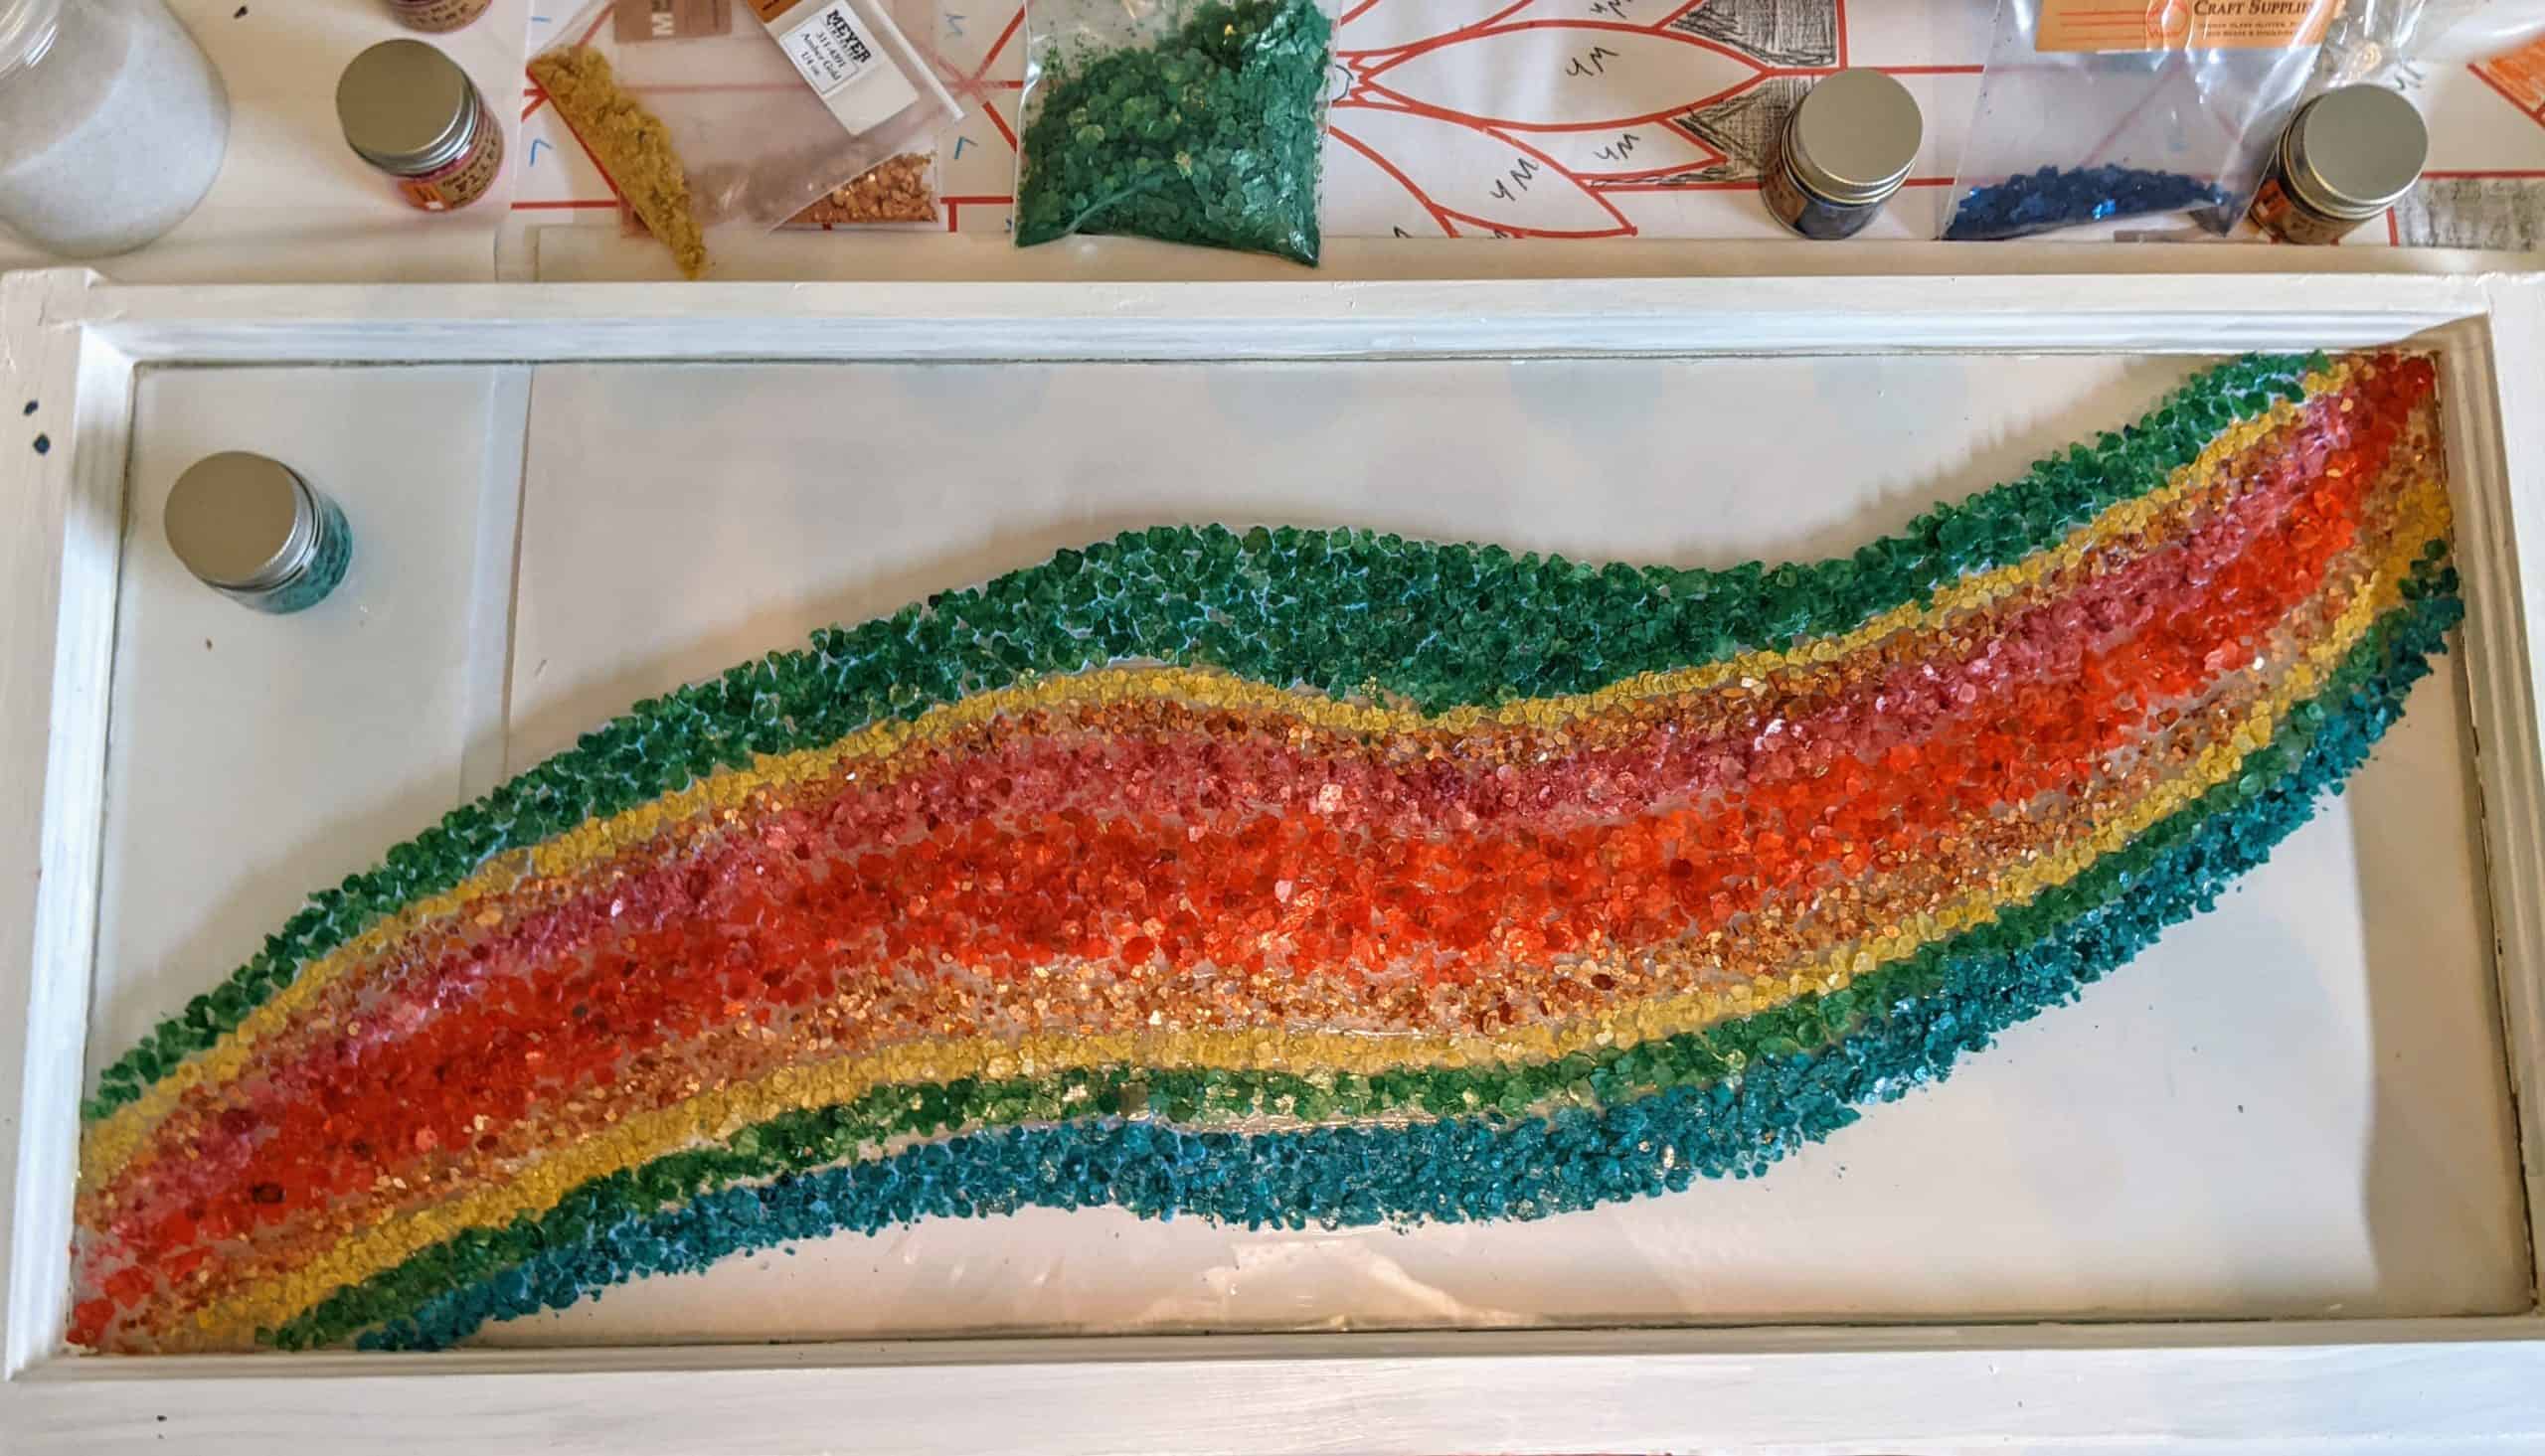
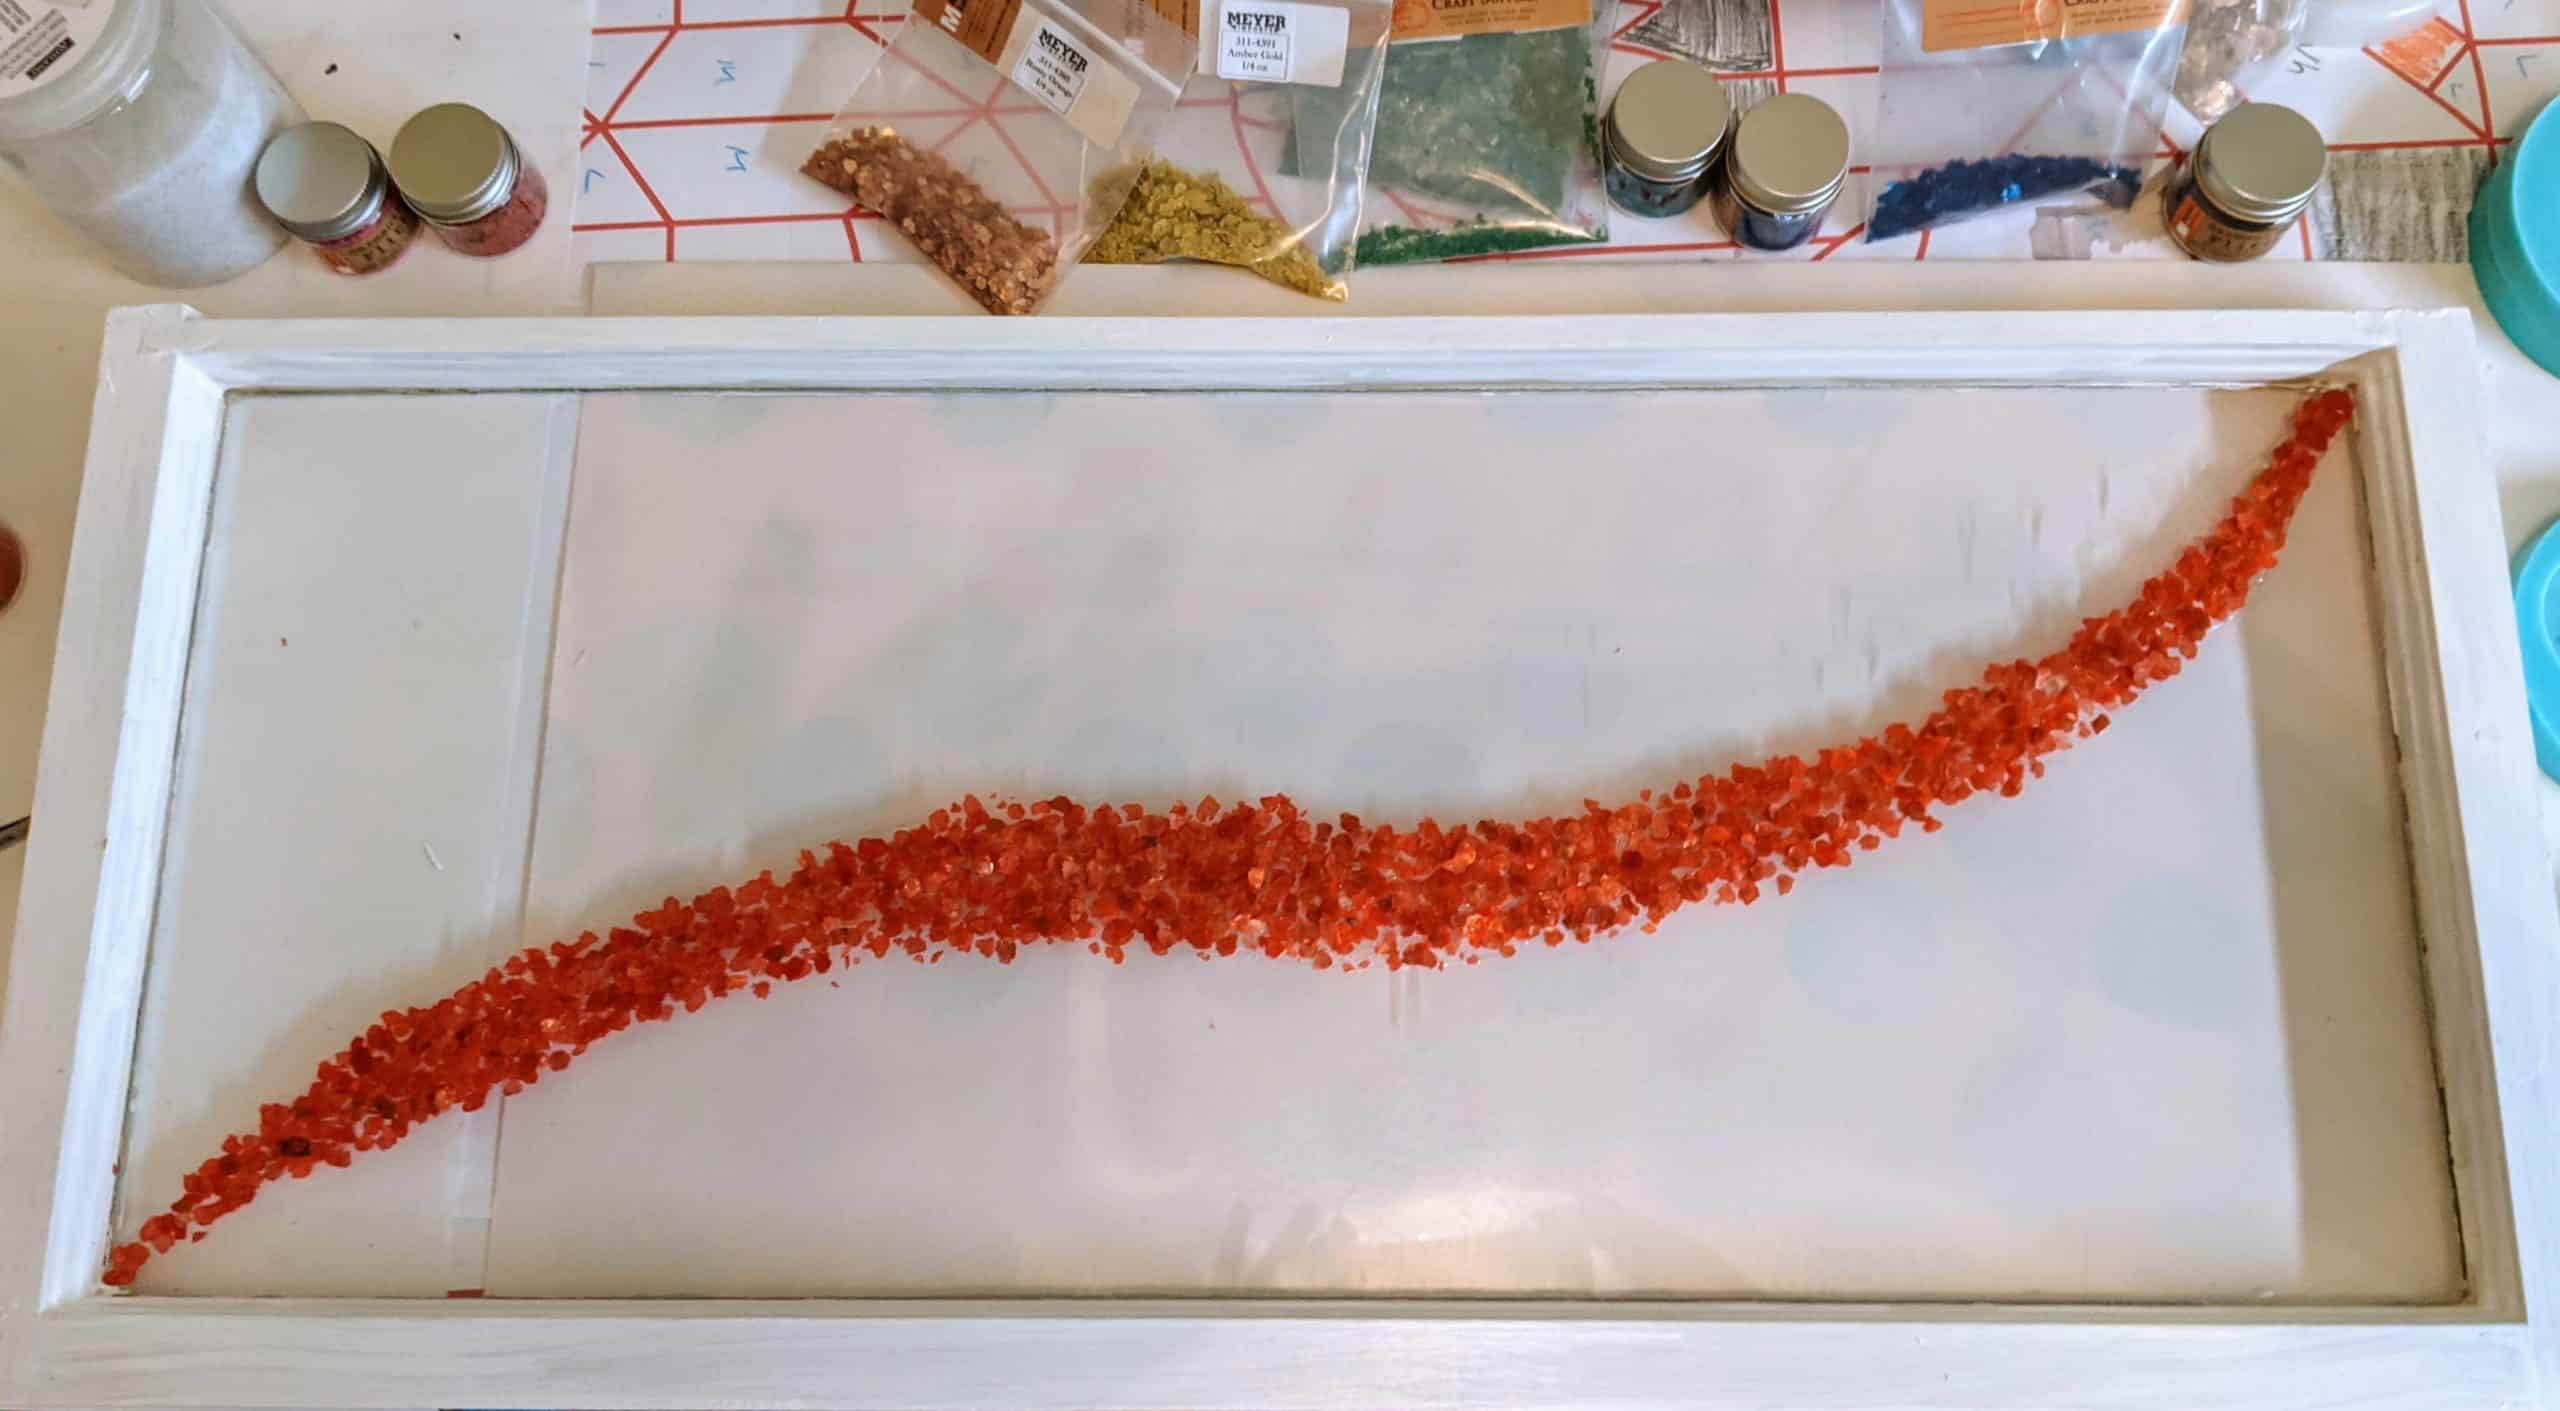
I actually started this last week, but forgot to take a picture. I decided to use up some of the mica I have left on a bigger project – a wavy rainbow window. I am starting in the middle with red and will spread out in waves from there.
Yesterday the friends who will be the recipients of the big Frank Lloyd Wright window came over and we decided to do another layer of resin. I decided that I really needed to move it to the garage for the final layer so I could access all sides of the window, despite the space being more prone to dust / humidity. Luckily it is an unseasonably warm day and the temperature in the garage was 75, which is perfect for my resin (Envirotex Lite).
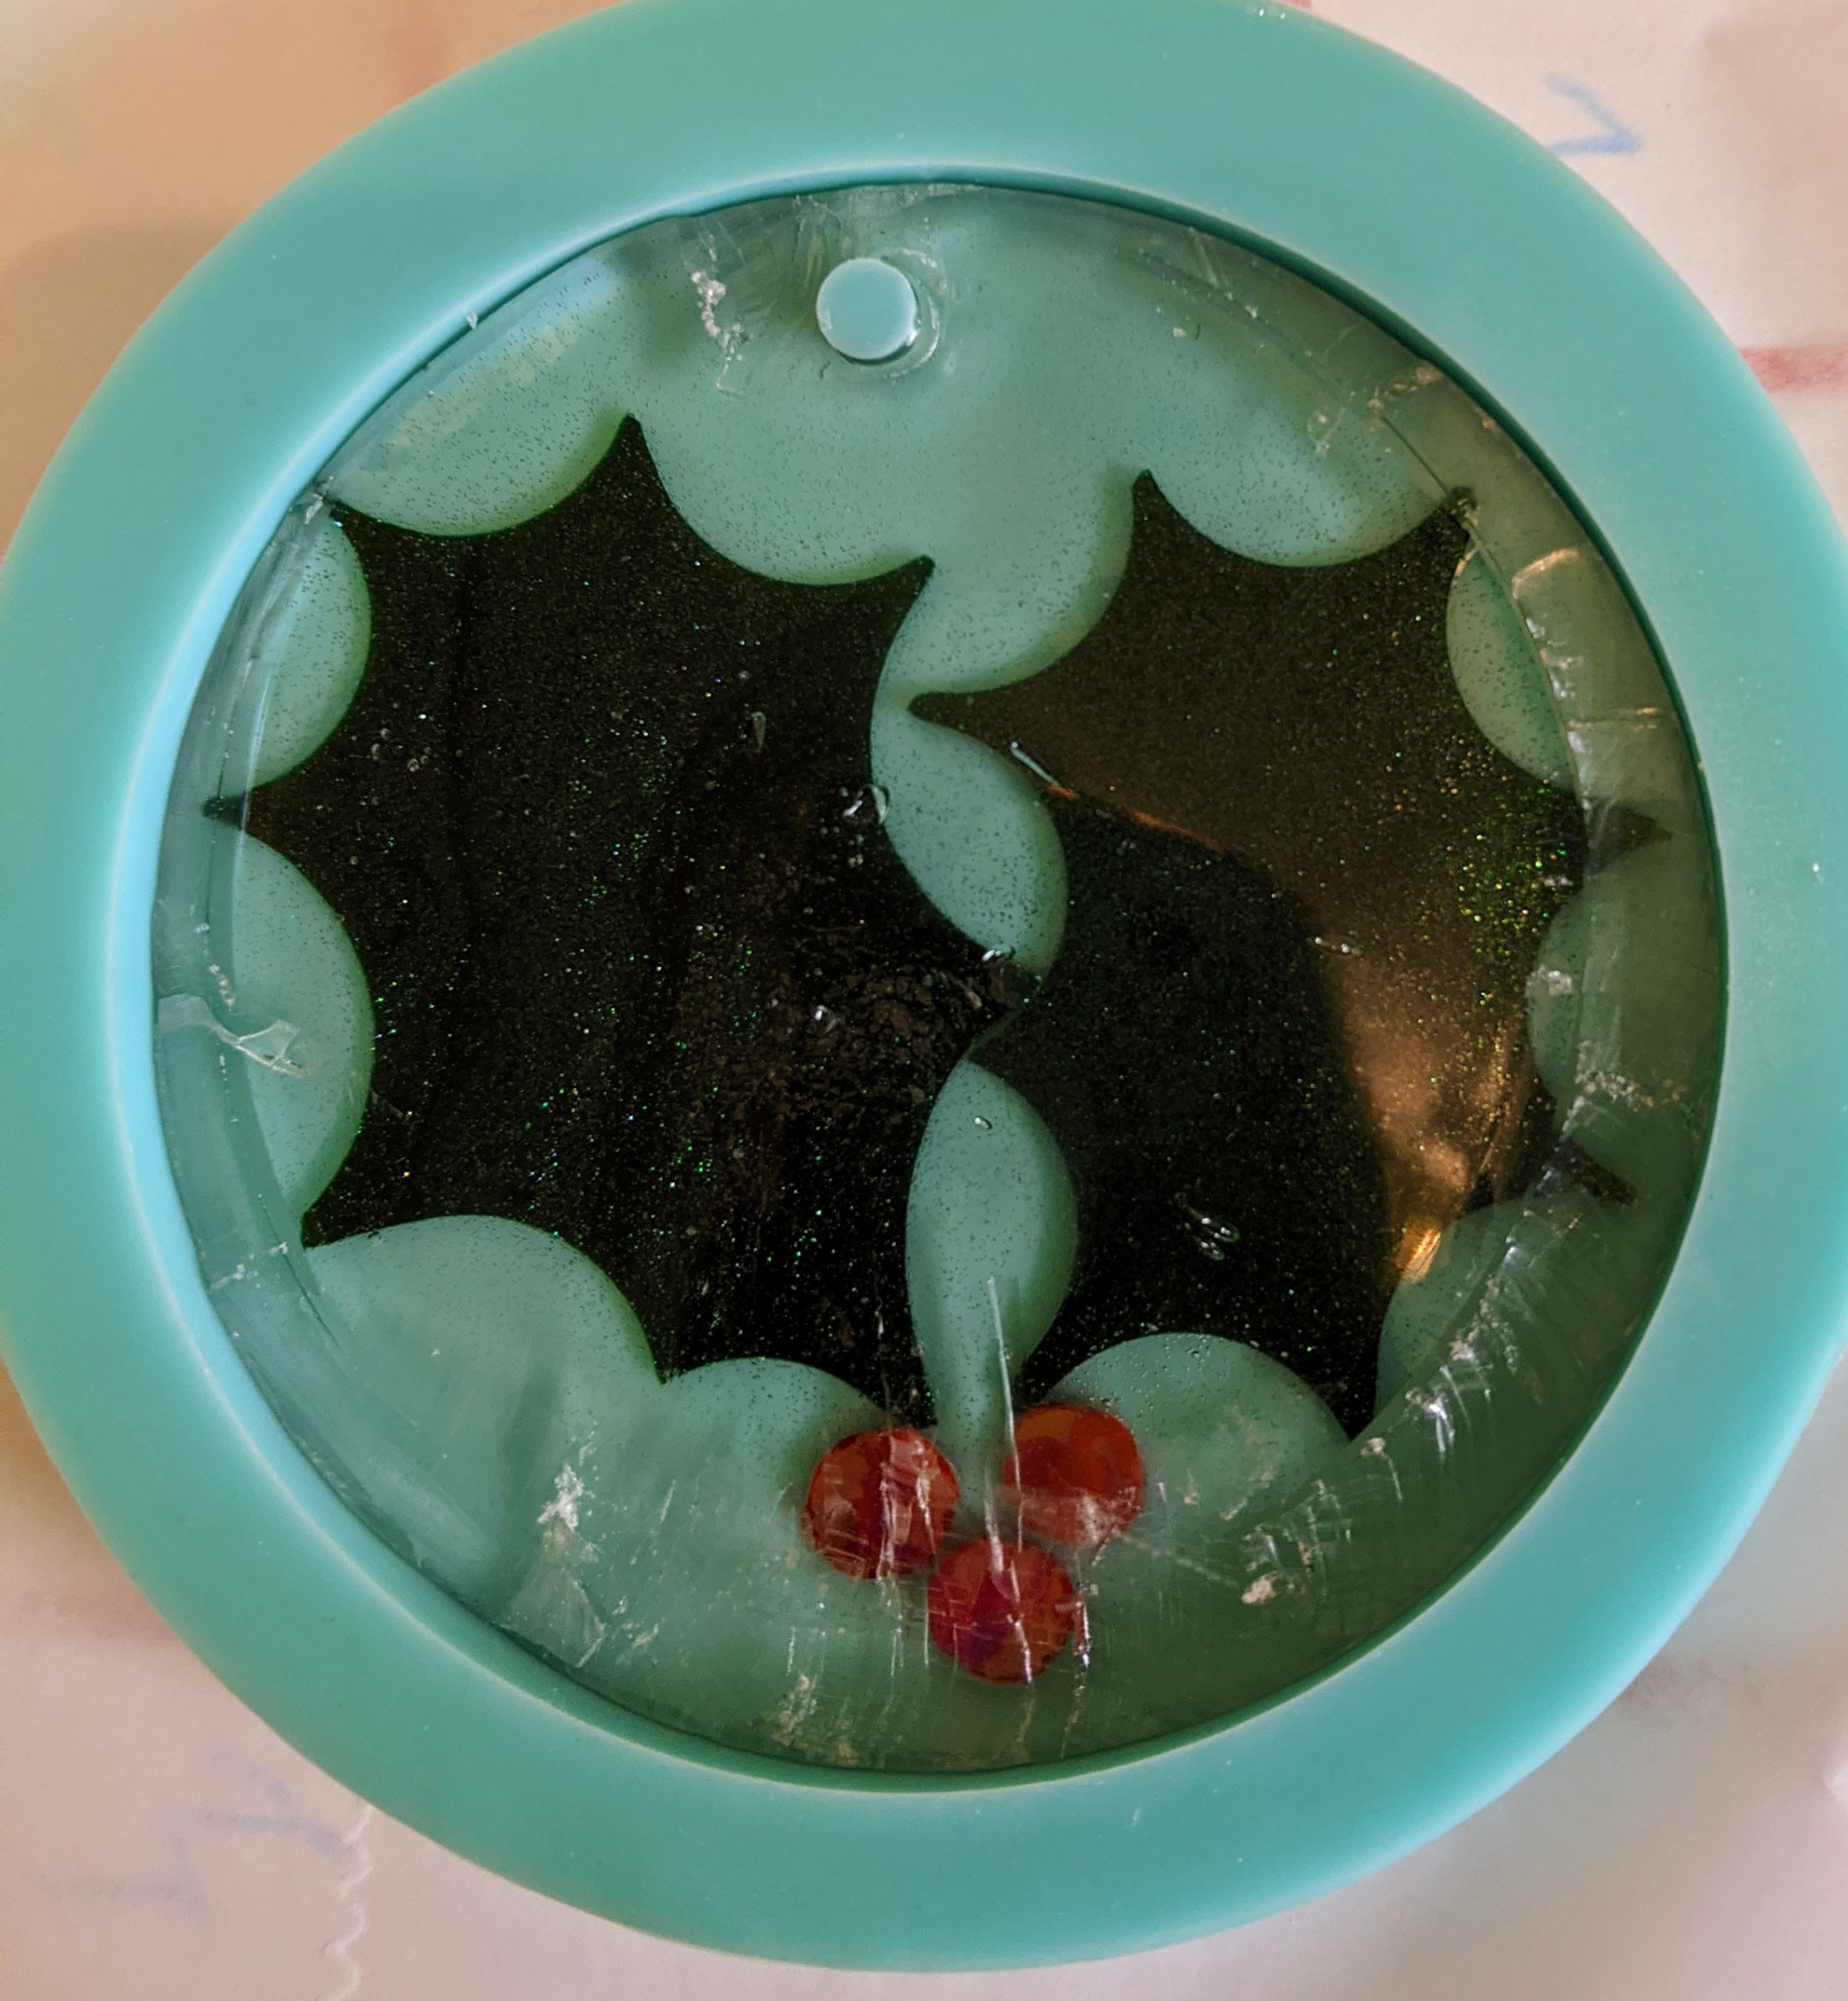
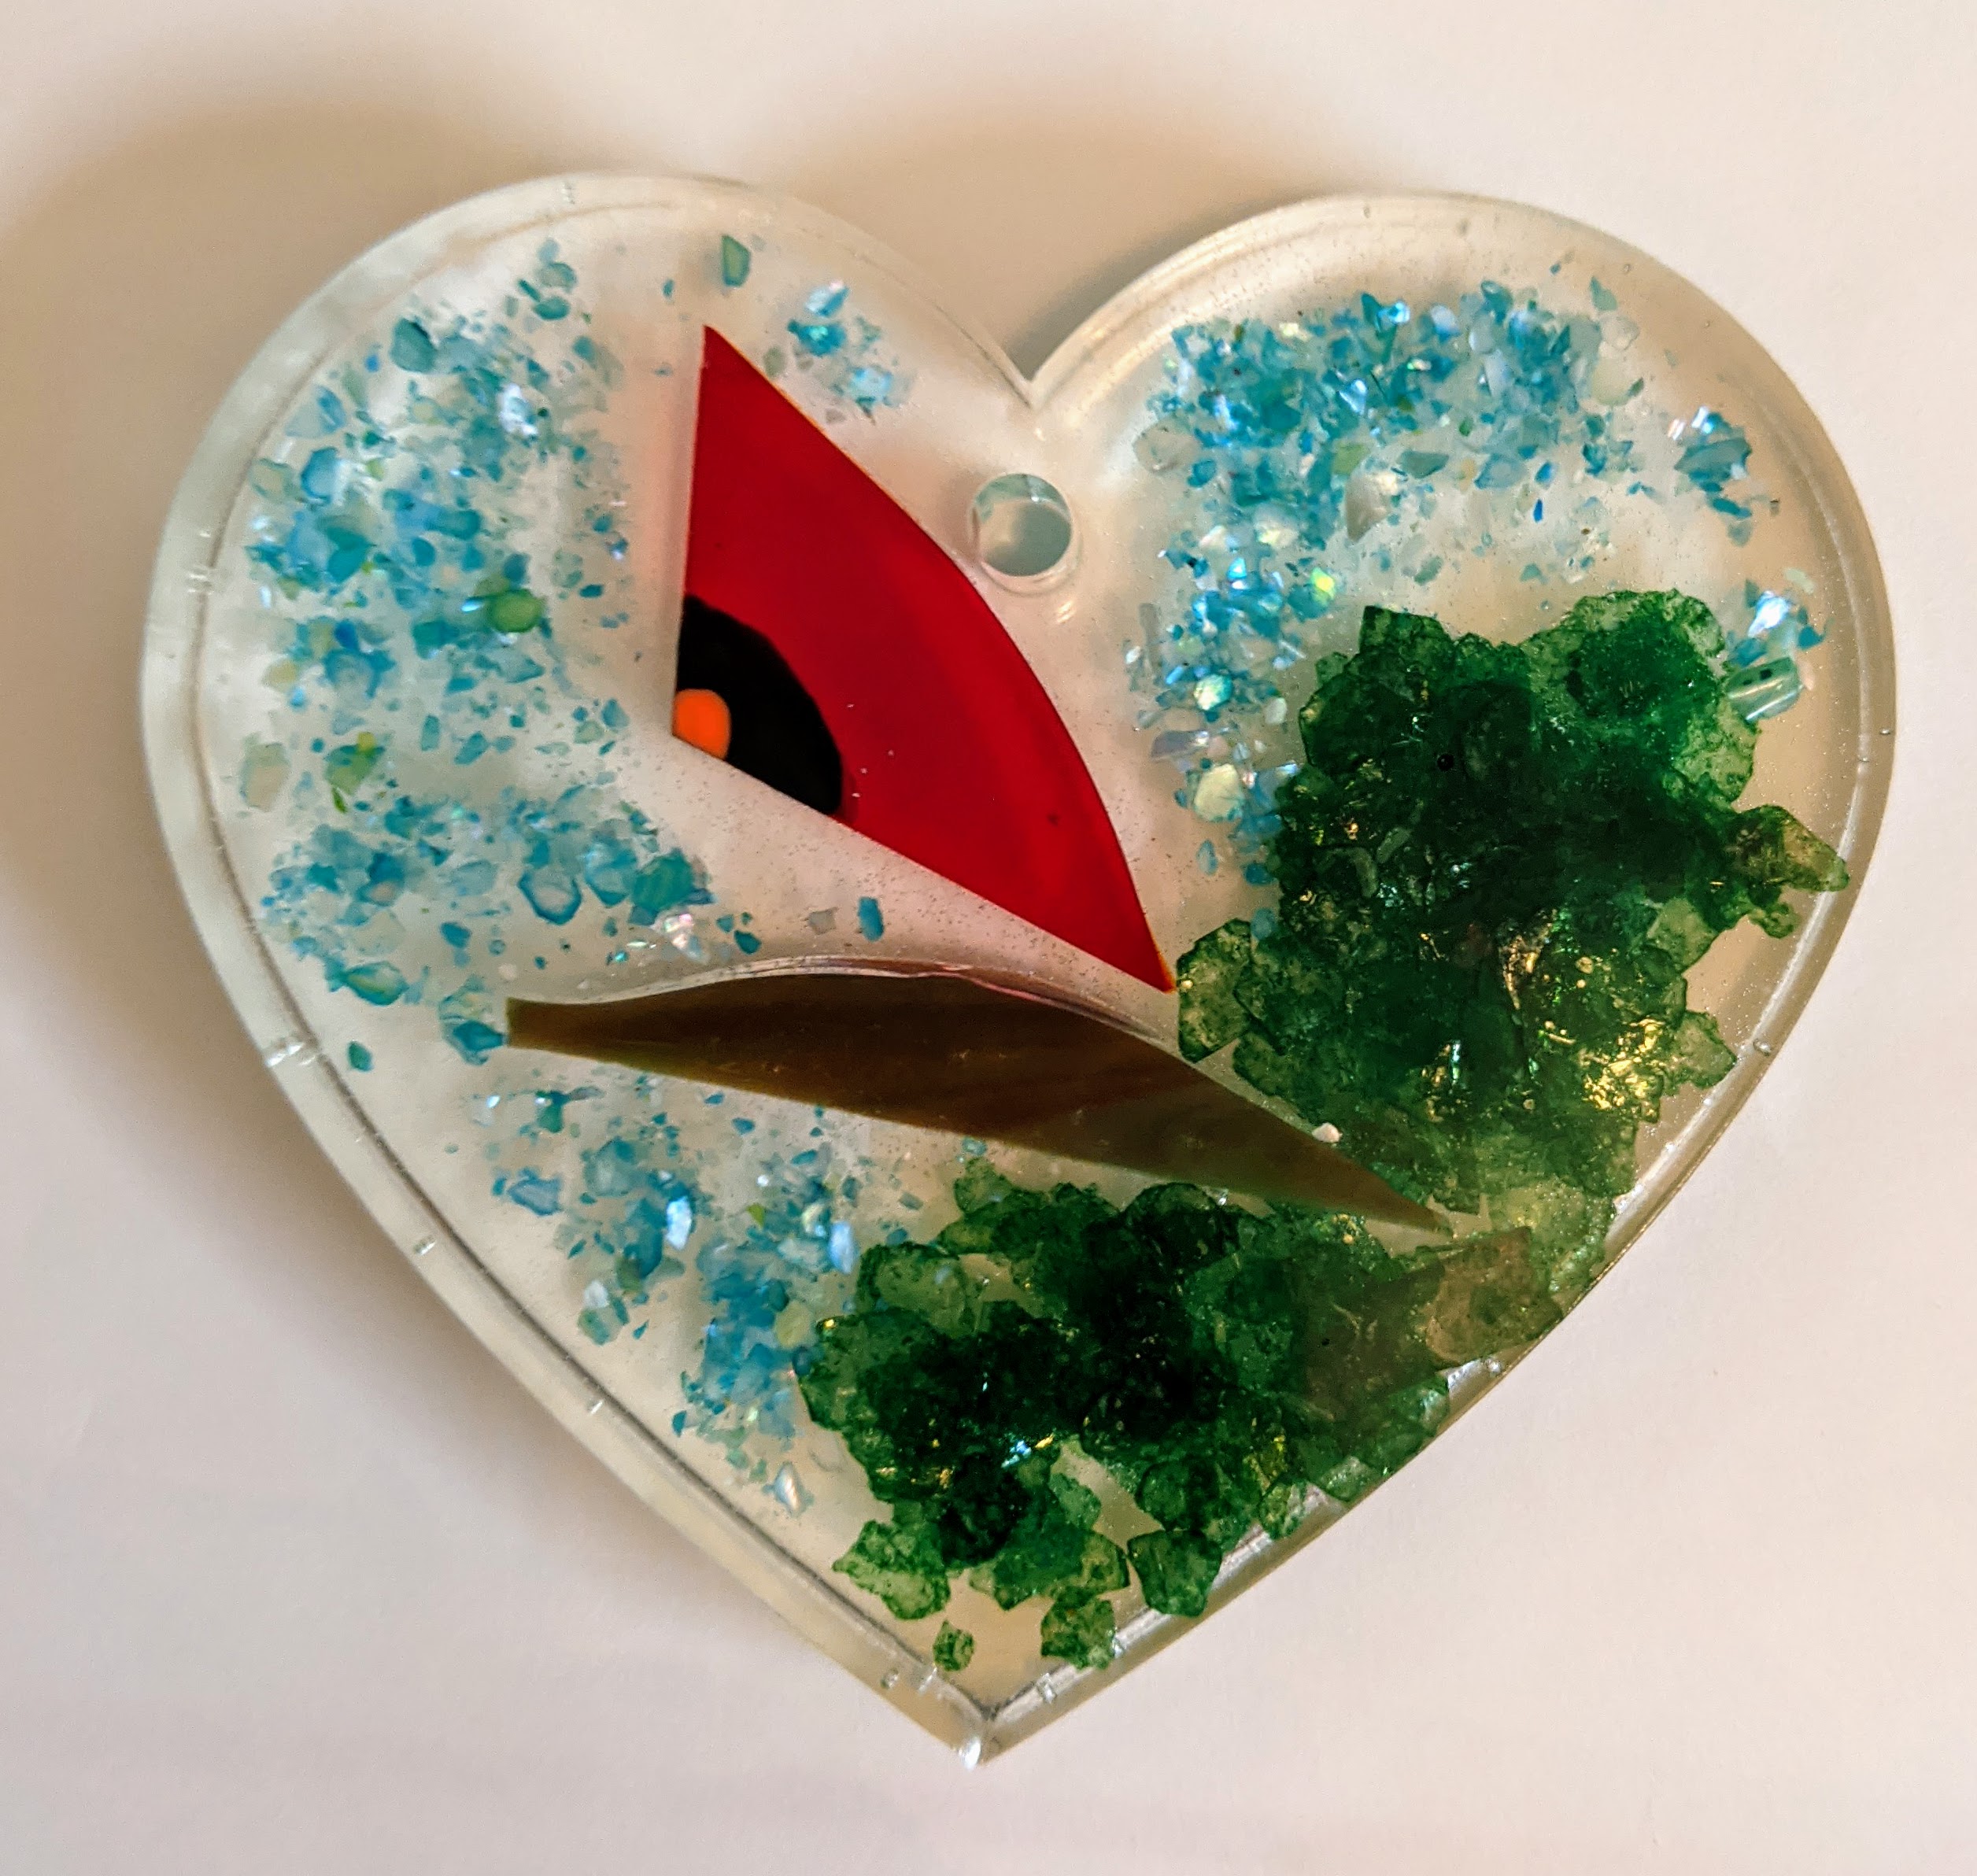
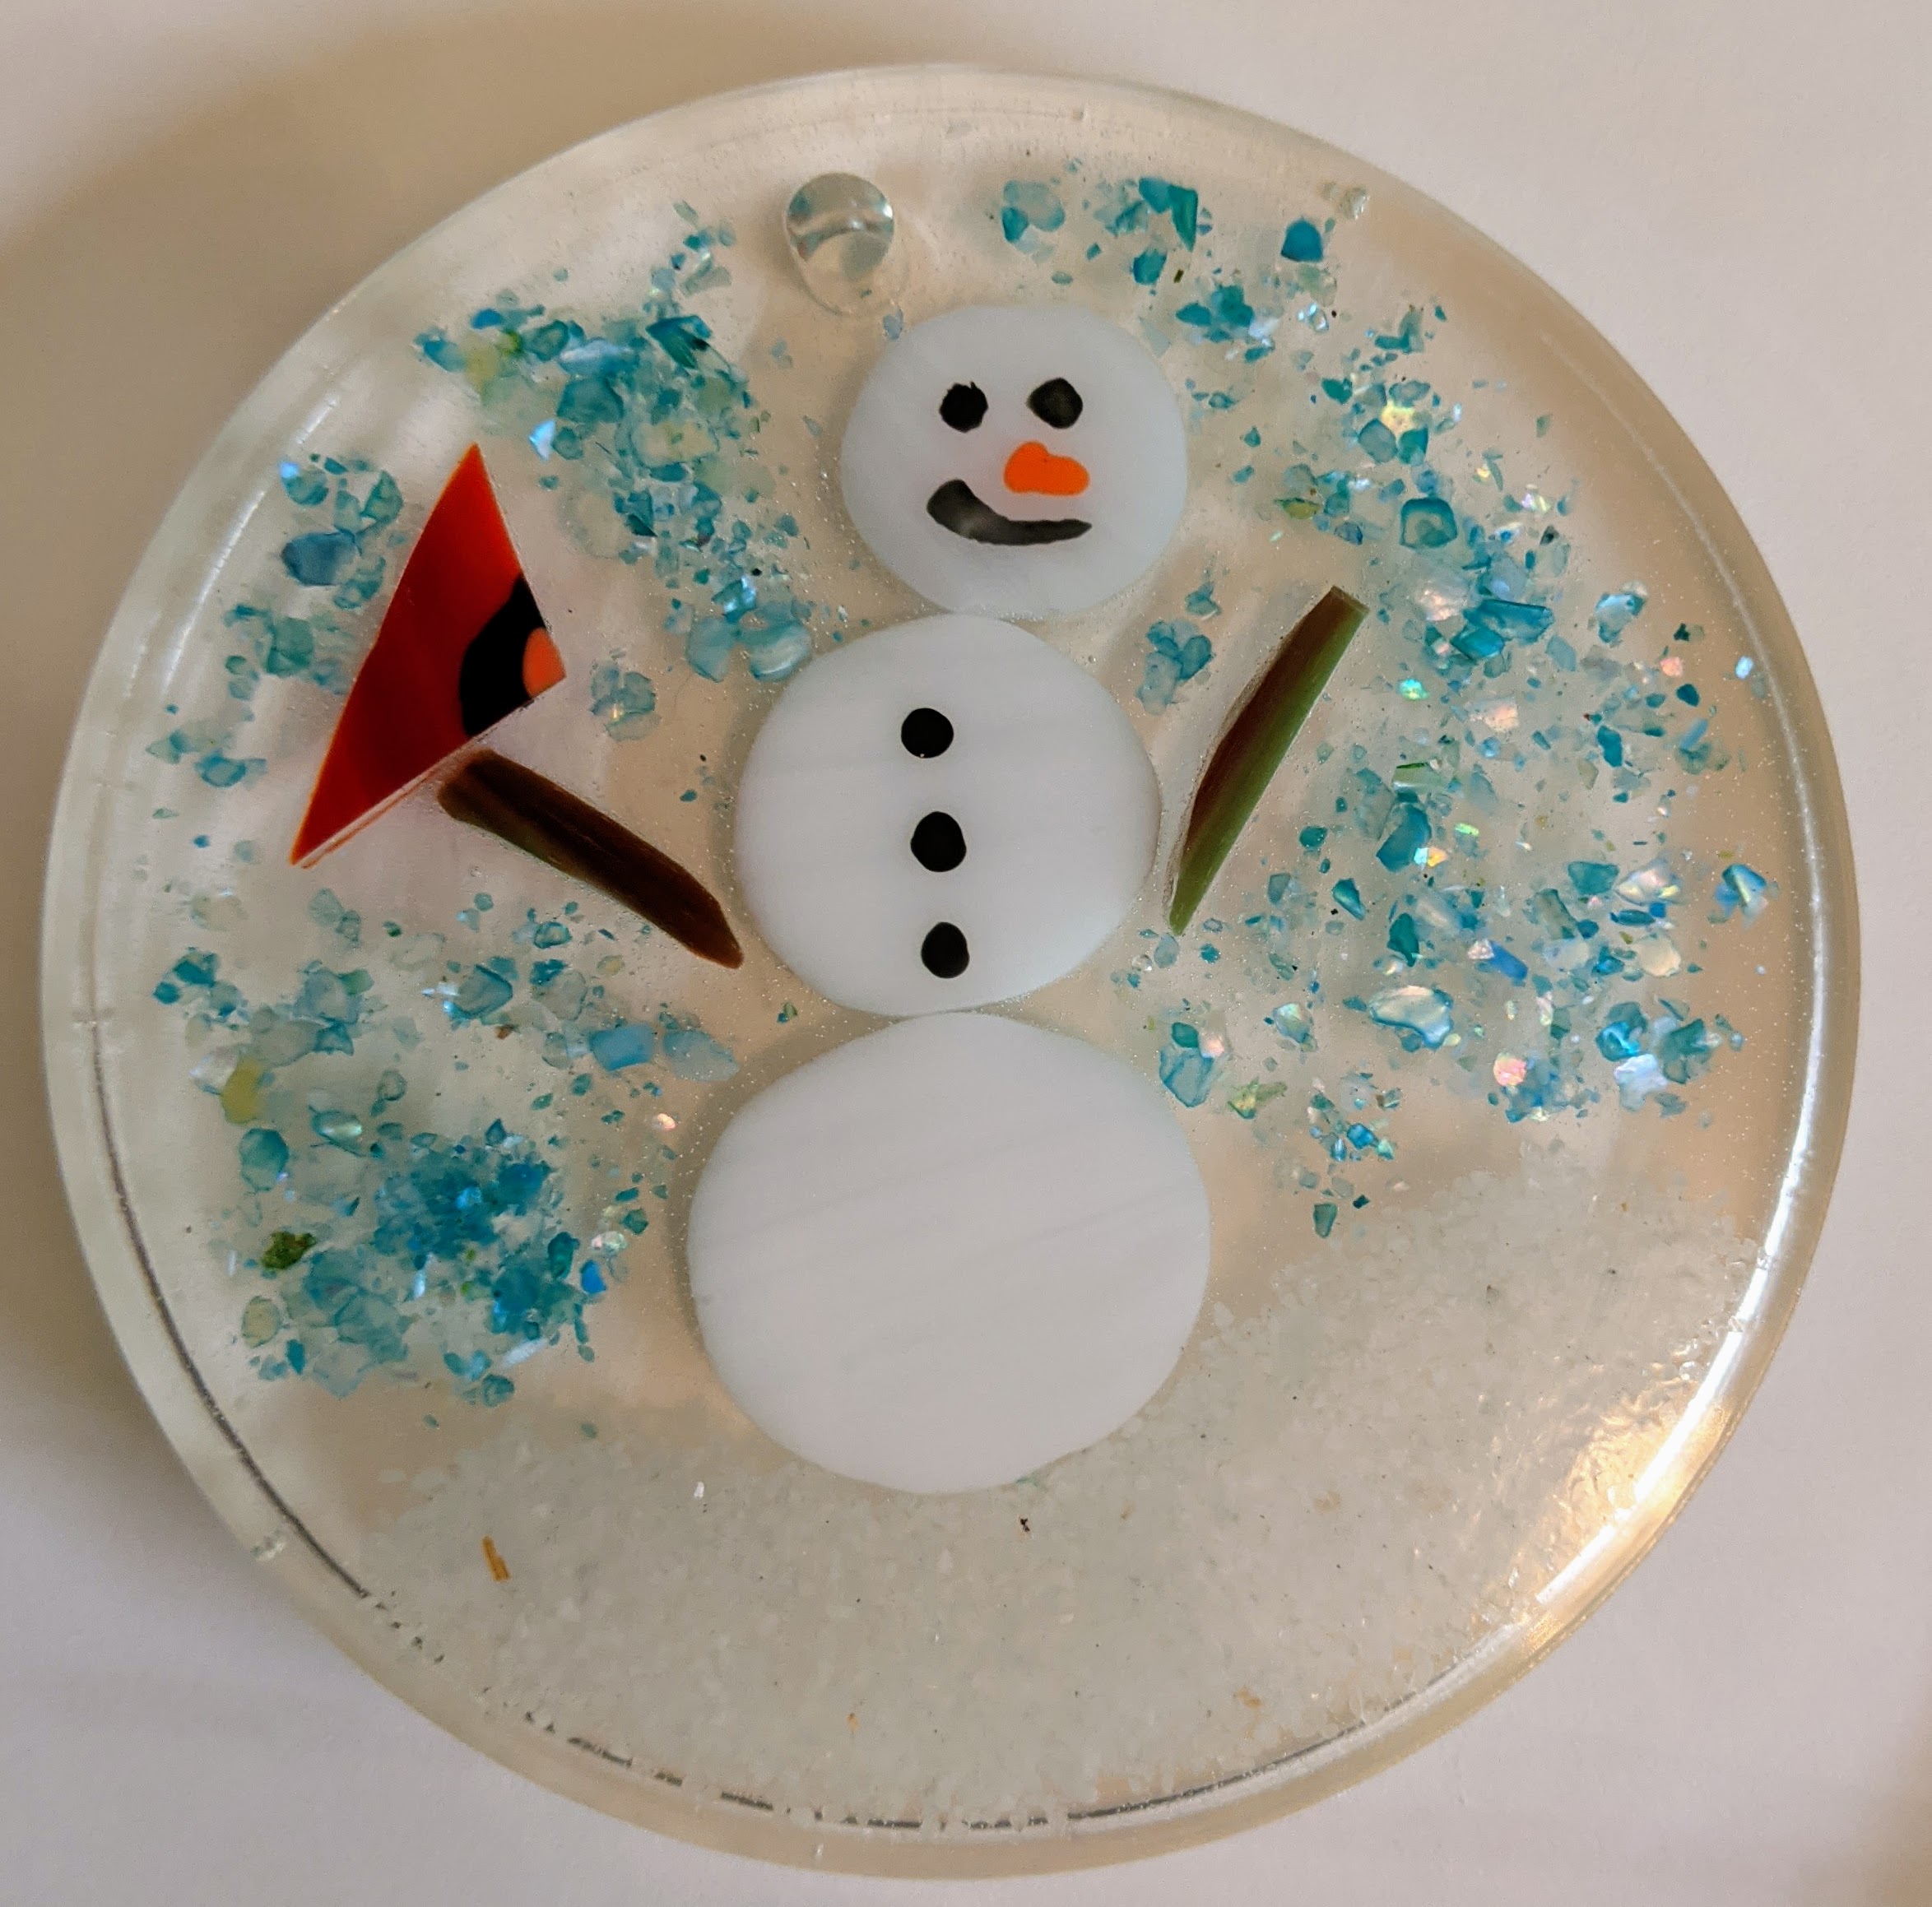
This took a bit of planning as I had to mix up a lot more resin than usual and keep my family out of the garage (next to impossible today for some reason). However, after pouring, spreading and using my heat gun to clear the resin, everything looks good so far. Hopefully we can move it into the mud room later in the evening so the temperature remains a bit more consistent while it continues to cure overnight. In the meantime, I had a few smaller projects in the works I wanted to continue / start. Unfortunately this included repairs on a holly suncatcher I made yesterday. I had covered it with some wax paper to keep dust out while it cured and the paper made contact with the resin and made a giant mess. I had to carve some lumps off of the suncatcher today when it was cured enough, reinsert it into the mold and sort of “top it off” with another layer of resin. We’ll see how good it looks tomorrow (hopefully). I don’t think it will look as good as it would have had it not needed the repair, but I can likely keep it to use at home.
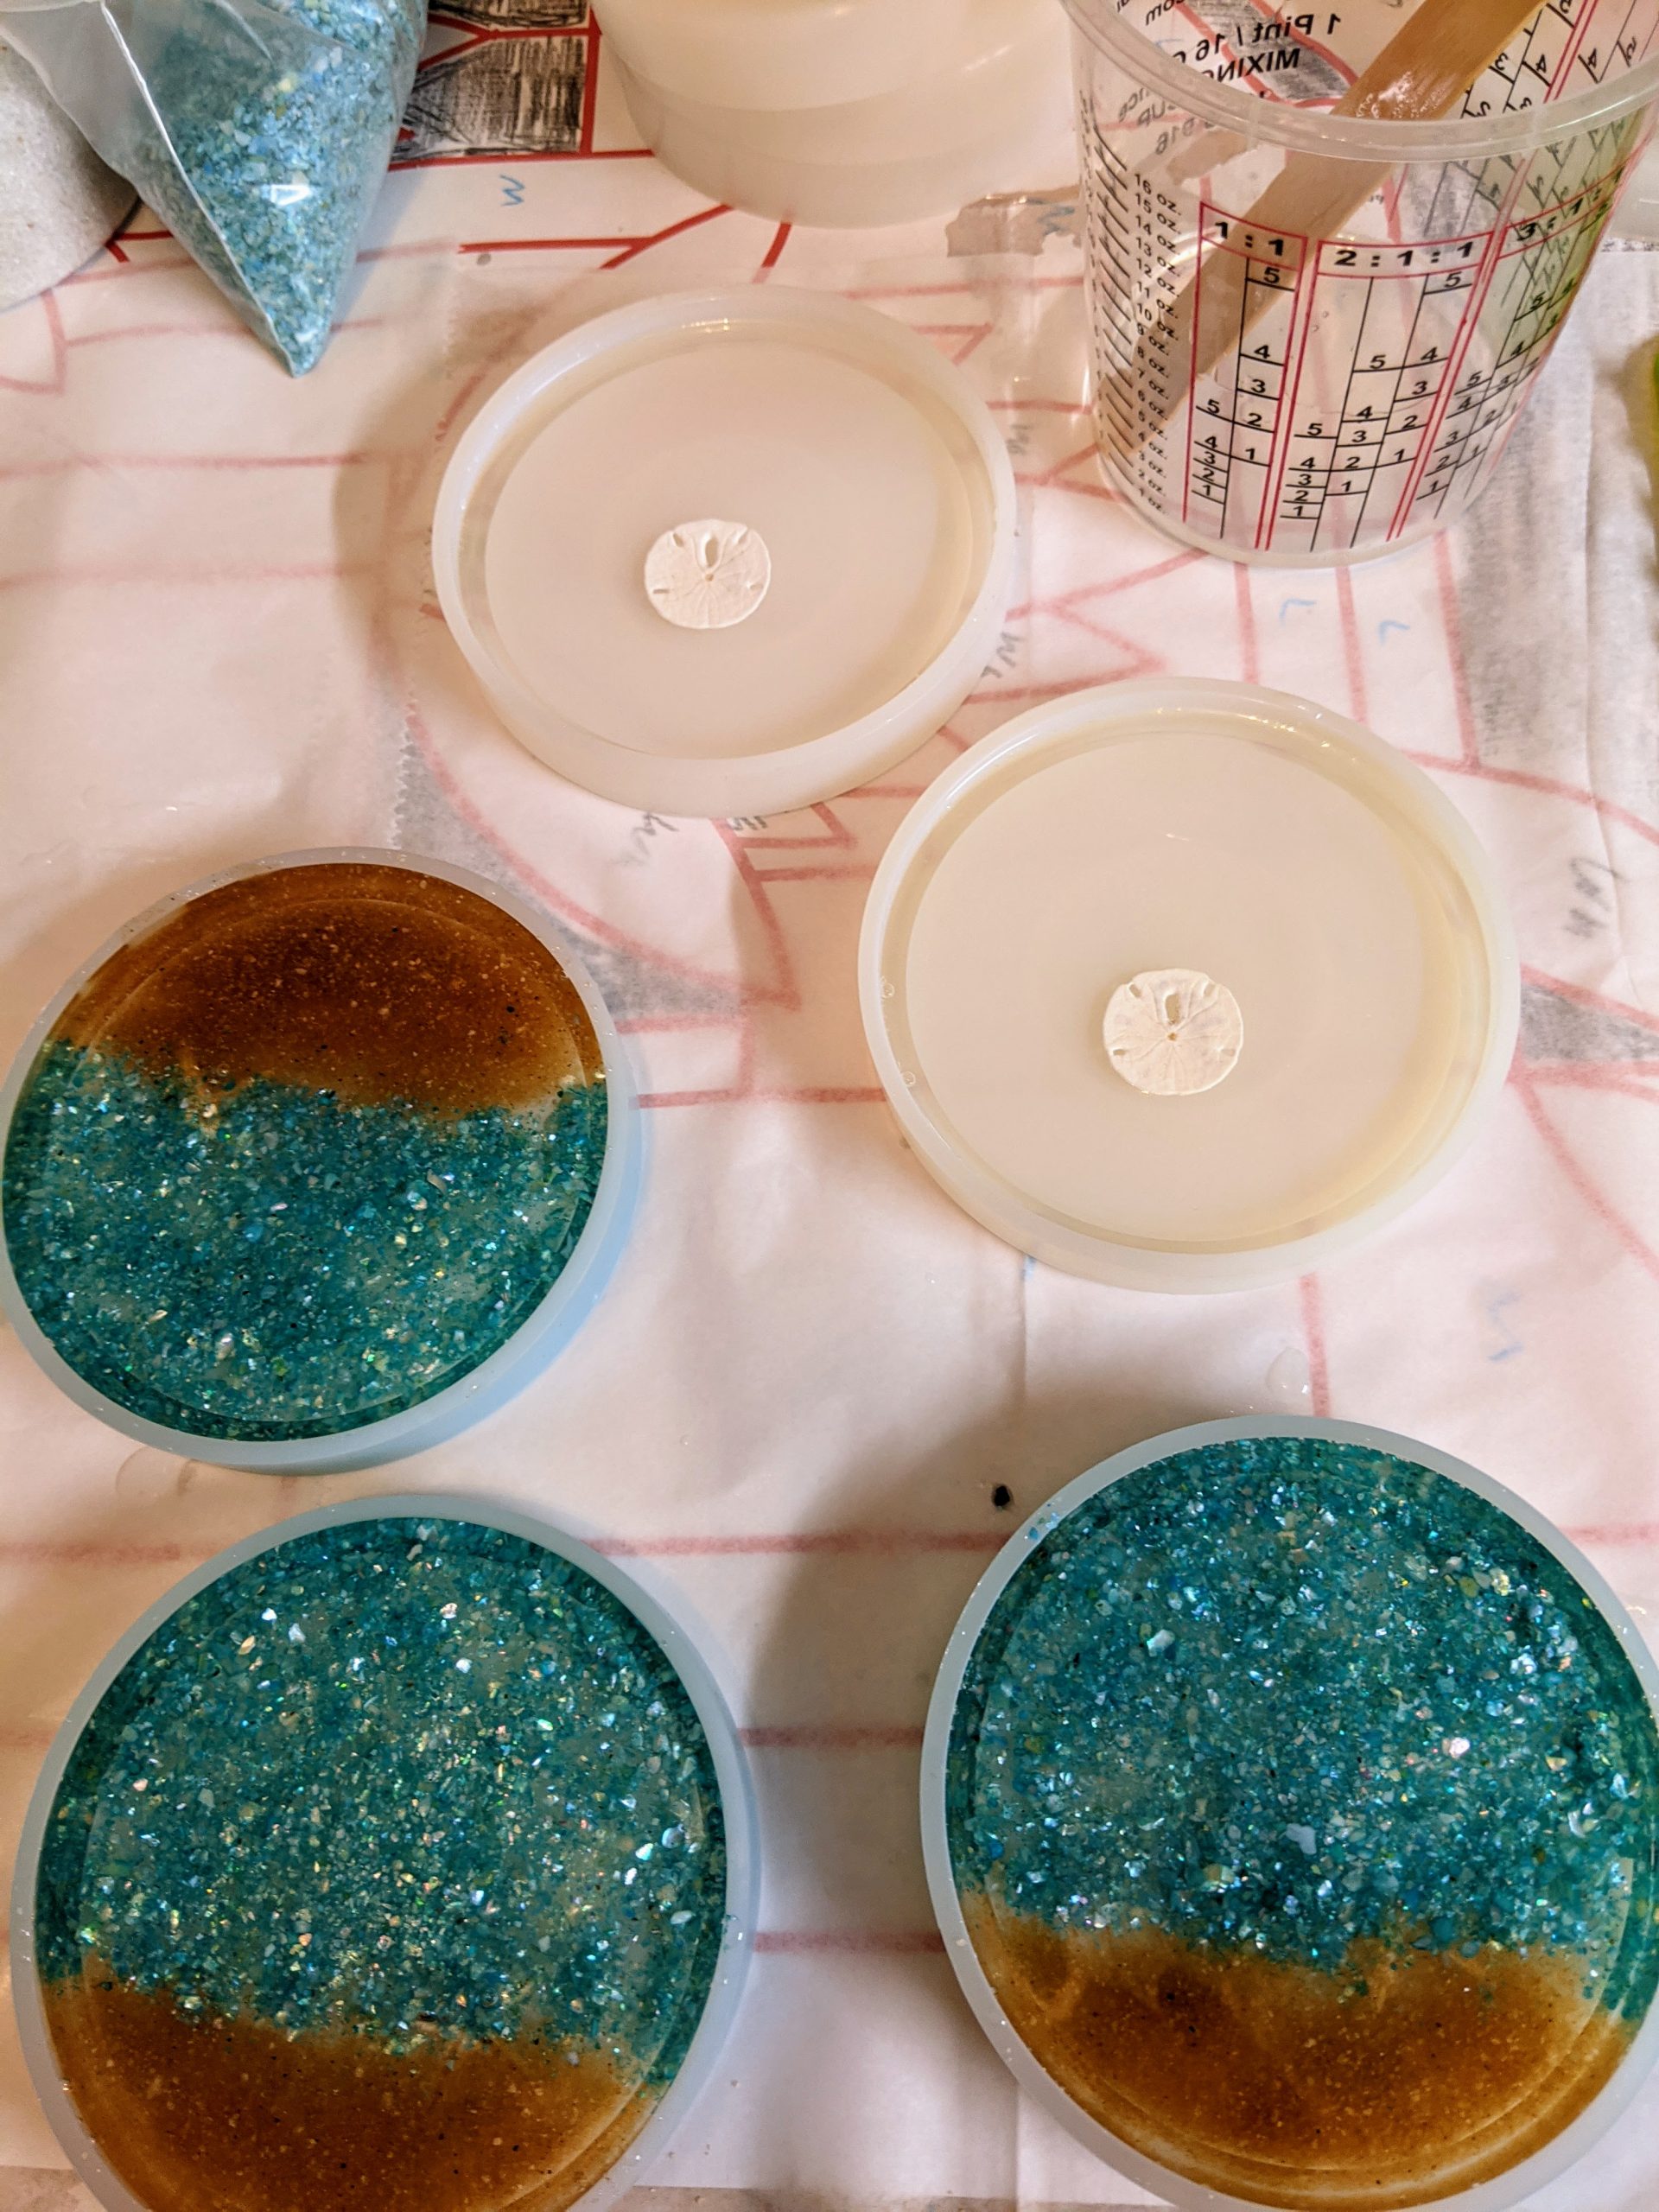
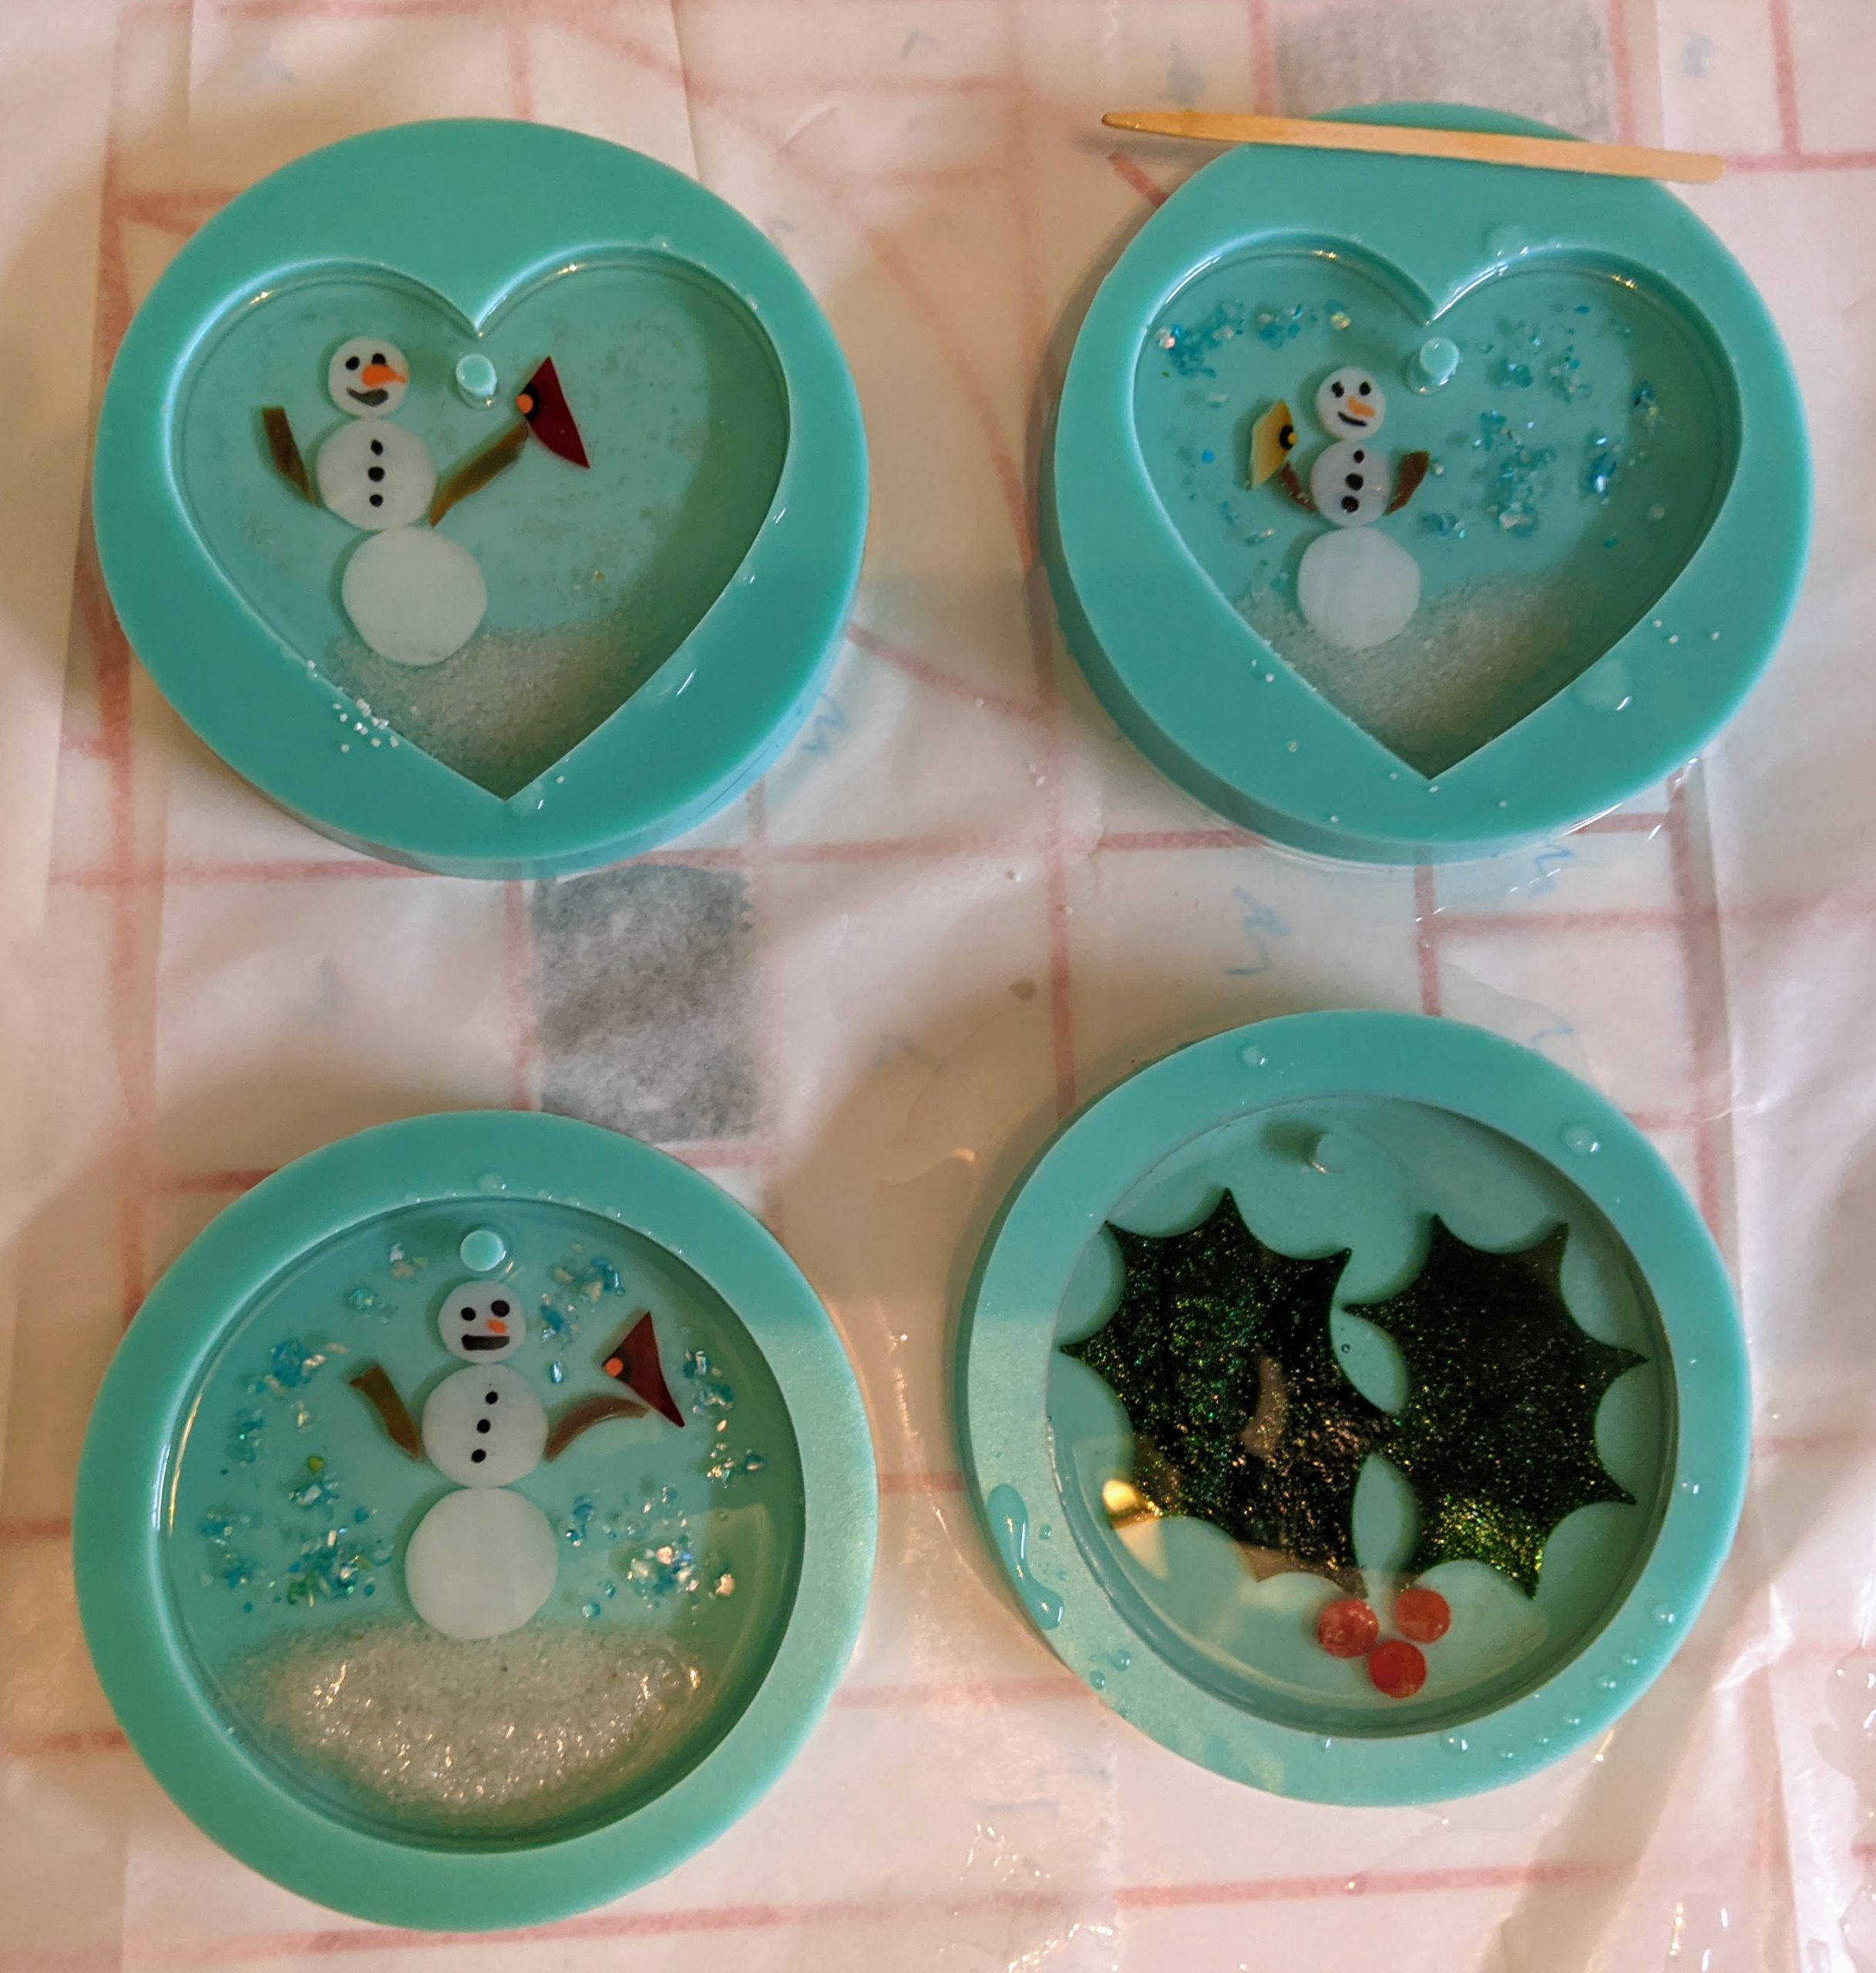
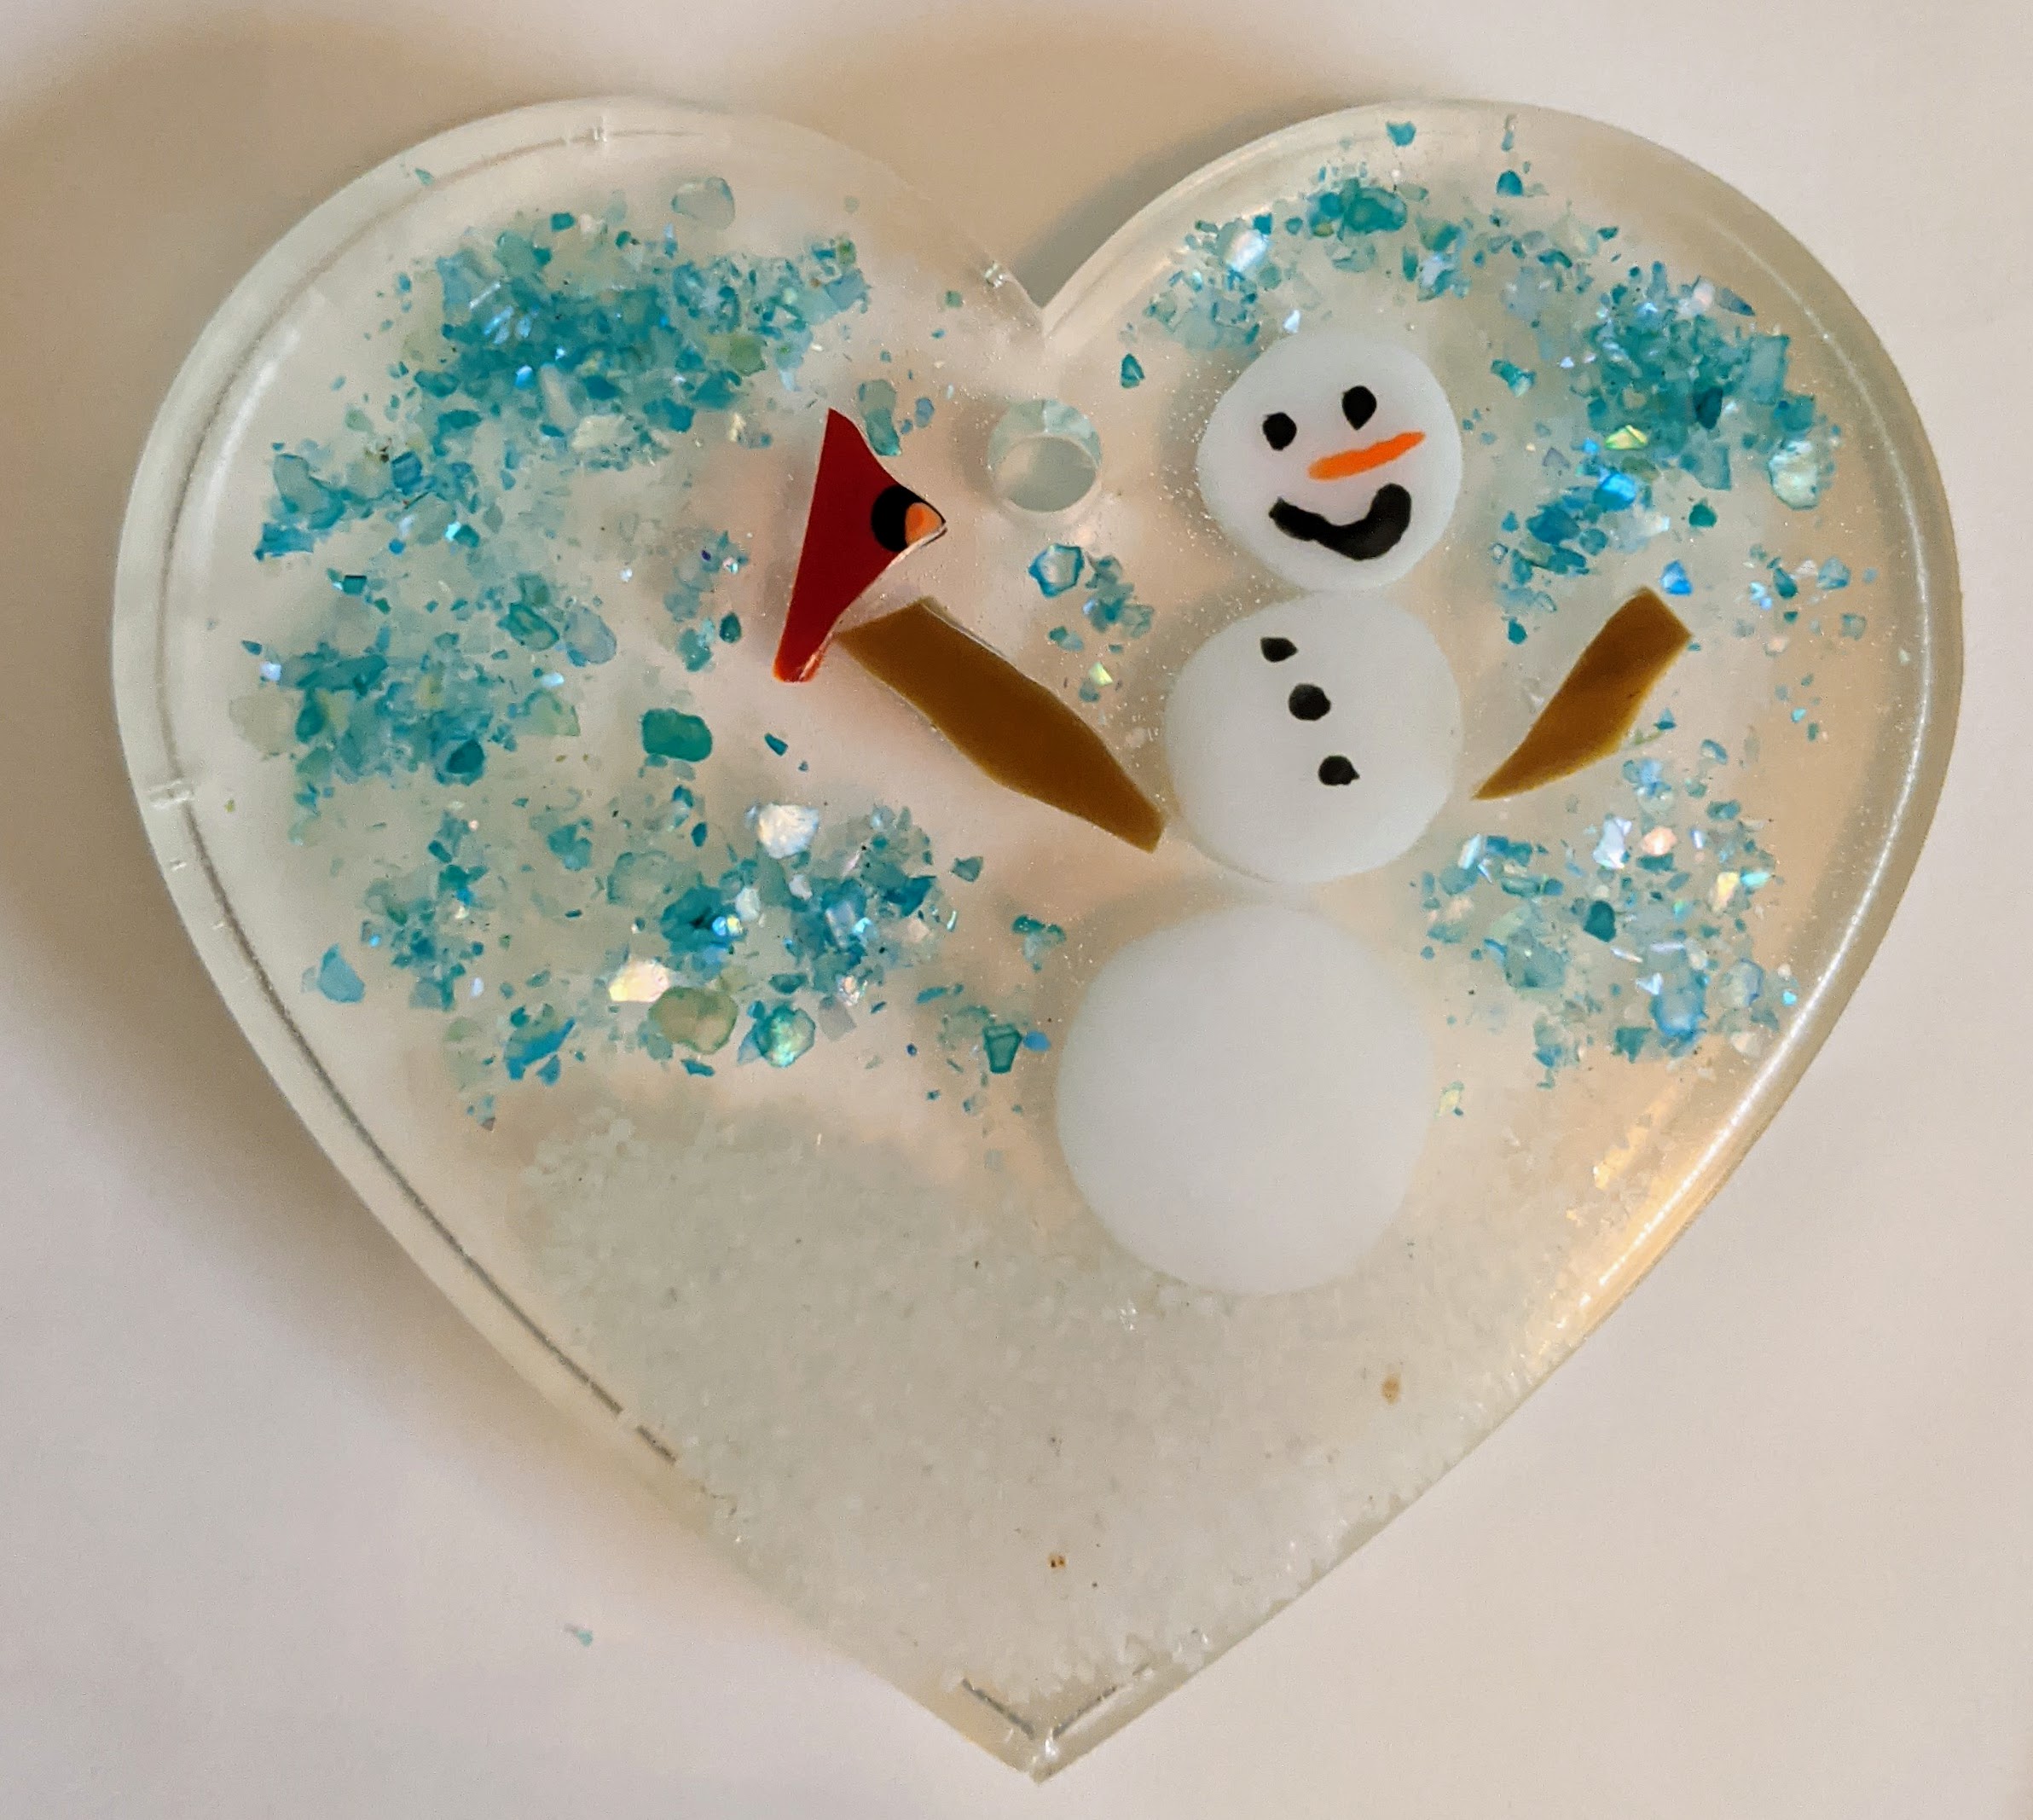
So all in all, I poured a second layer on three beachy coasters, first layer on two more beachy coasters, repair layer on the holly suncatcher / ornament and the first layers on three snowman ornaments.
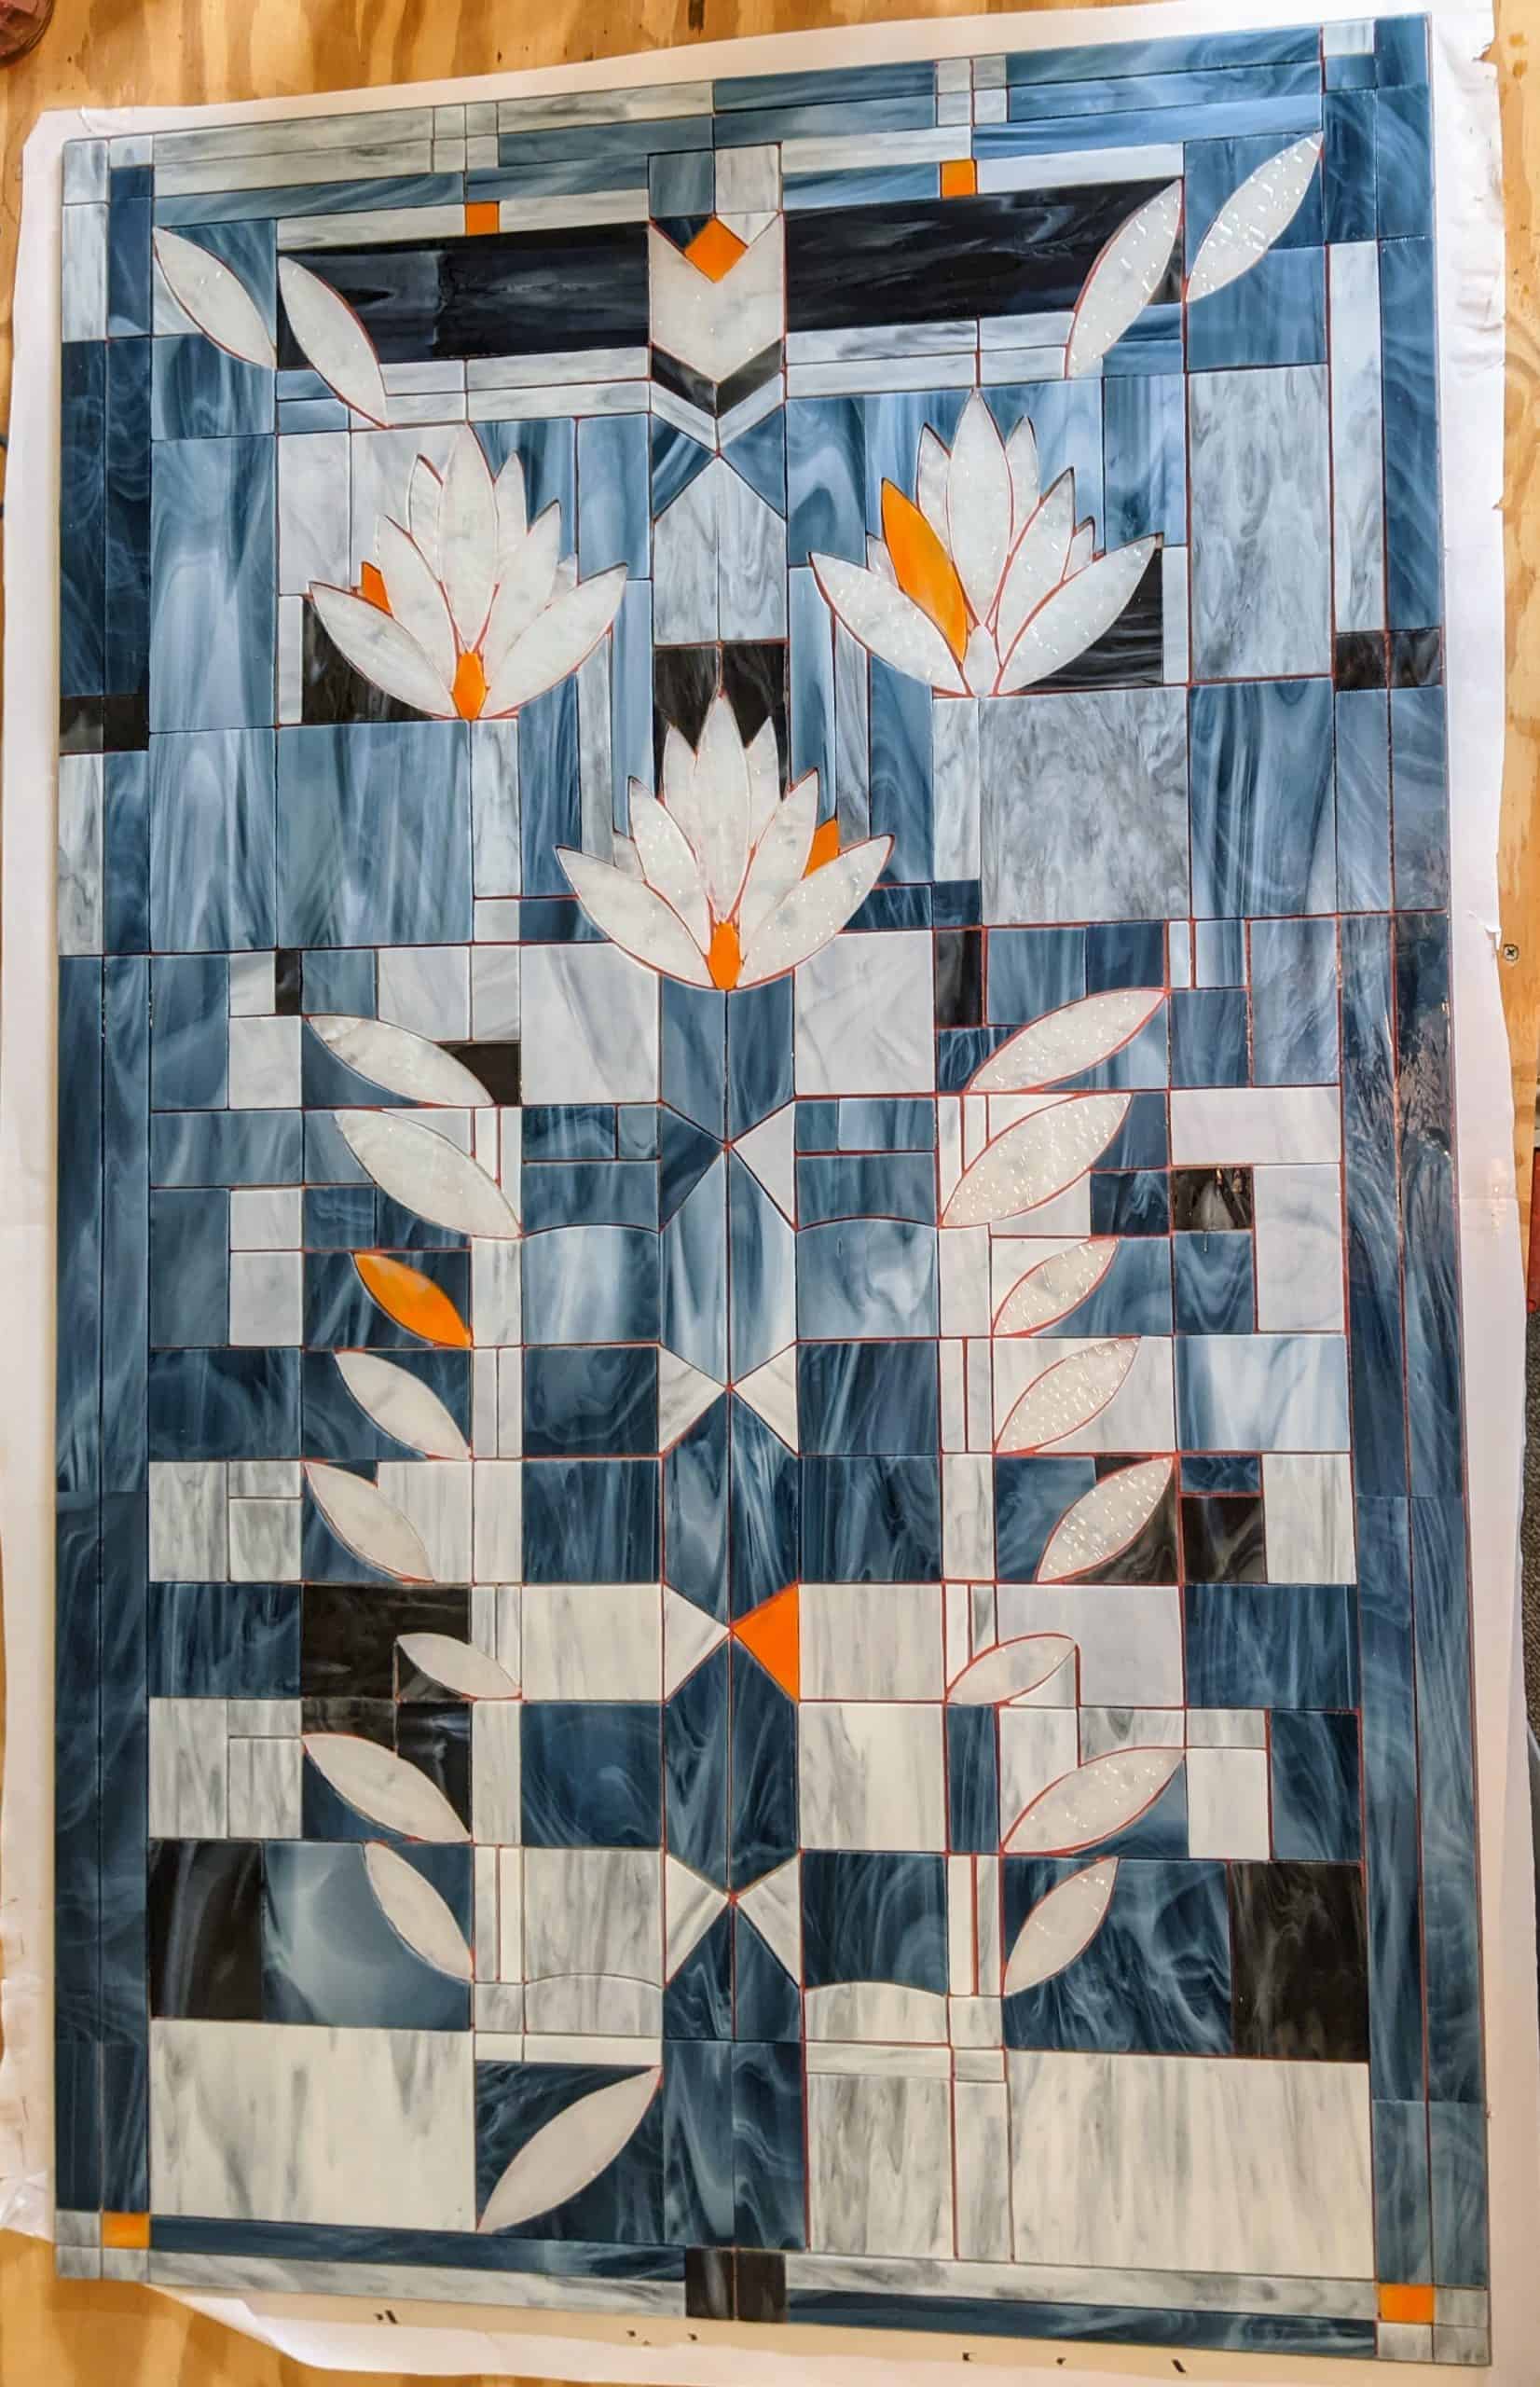
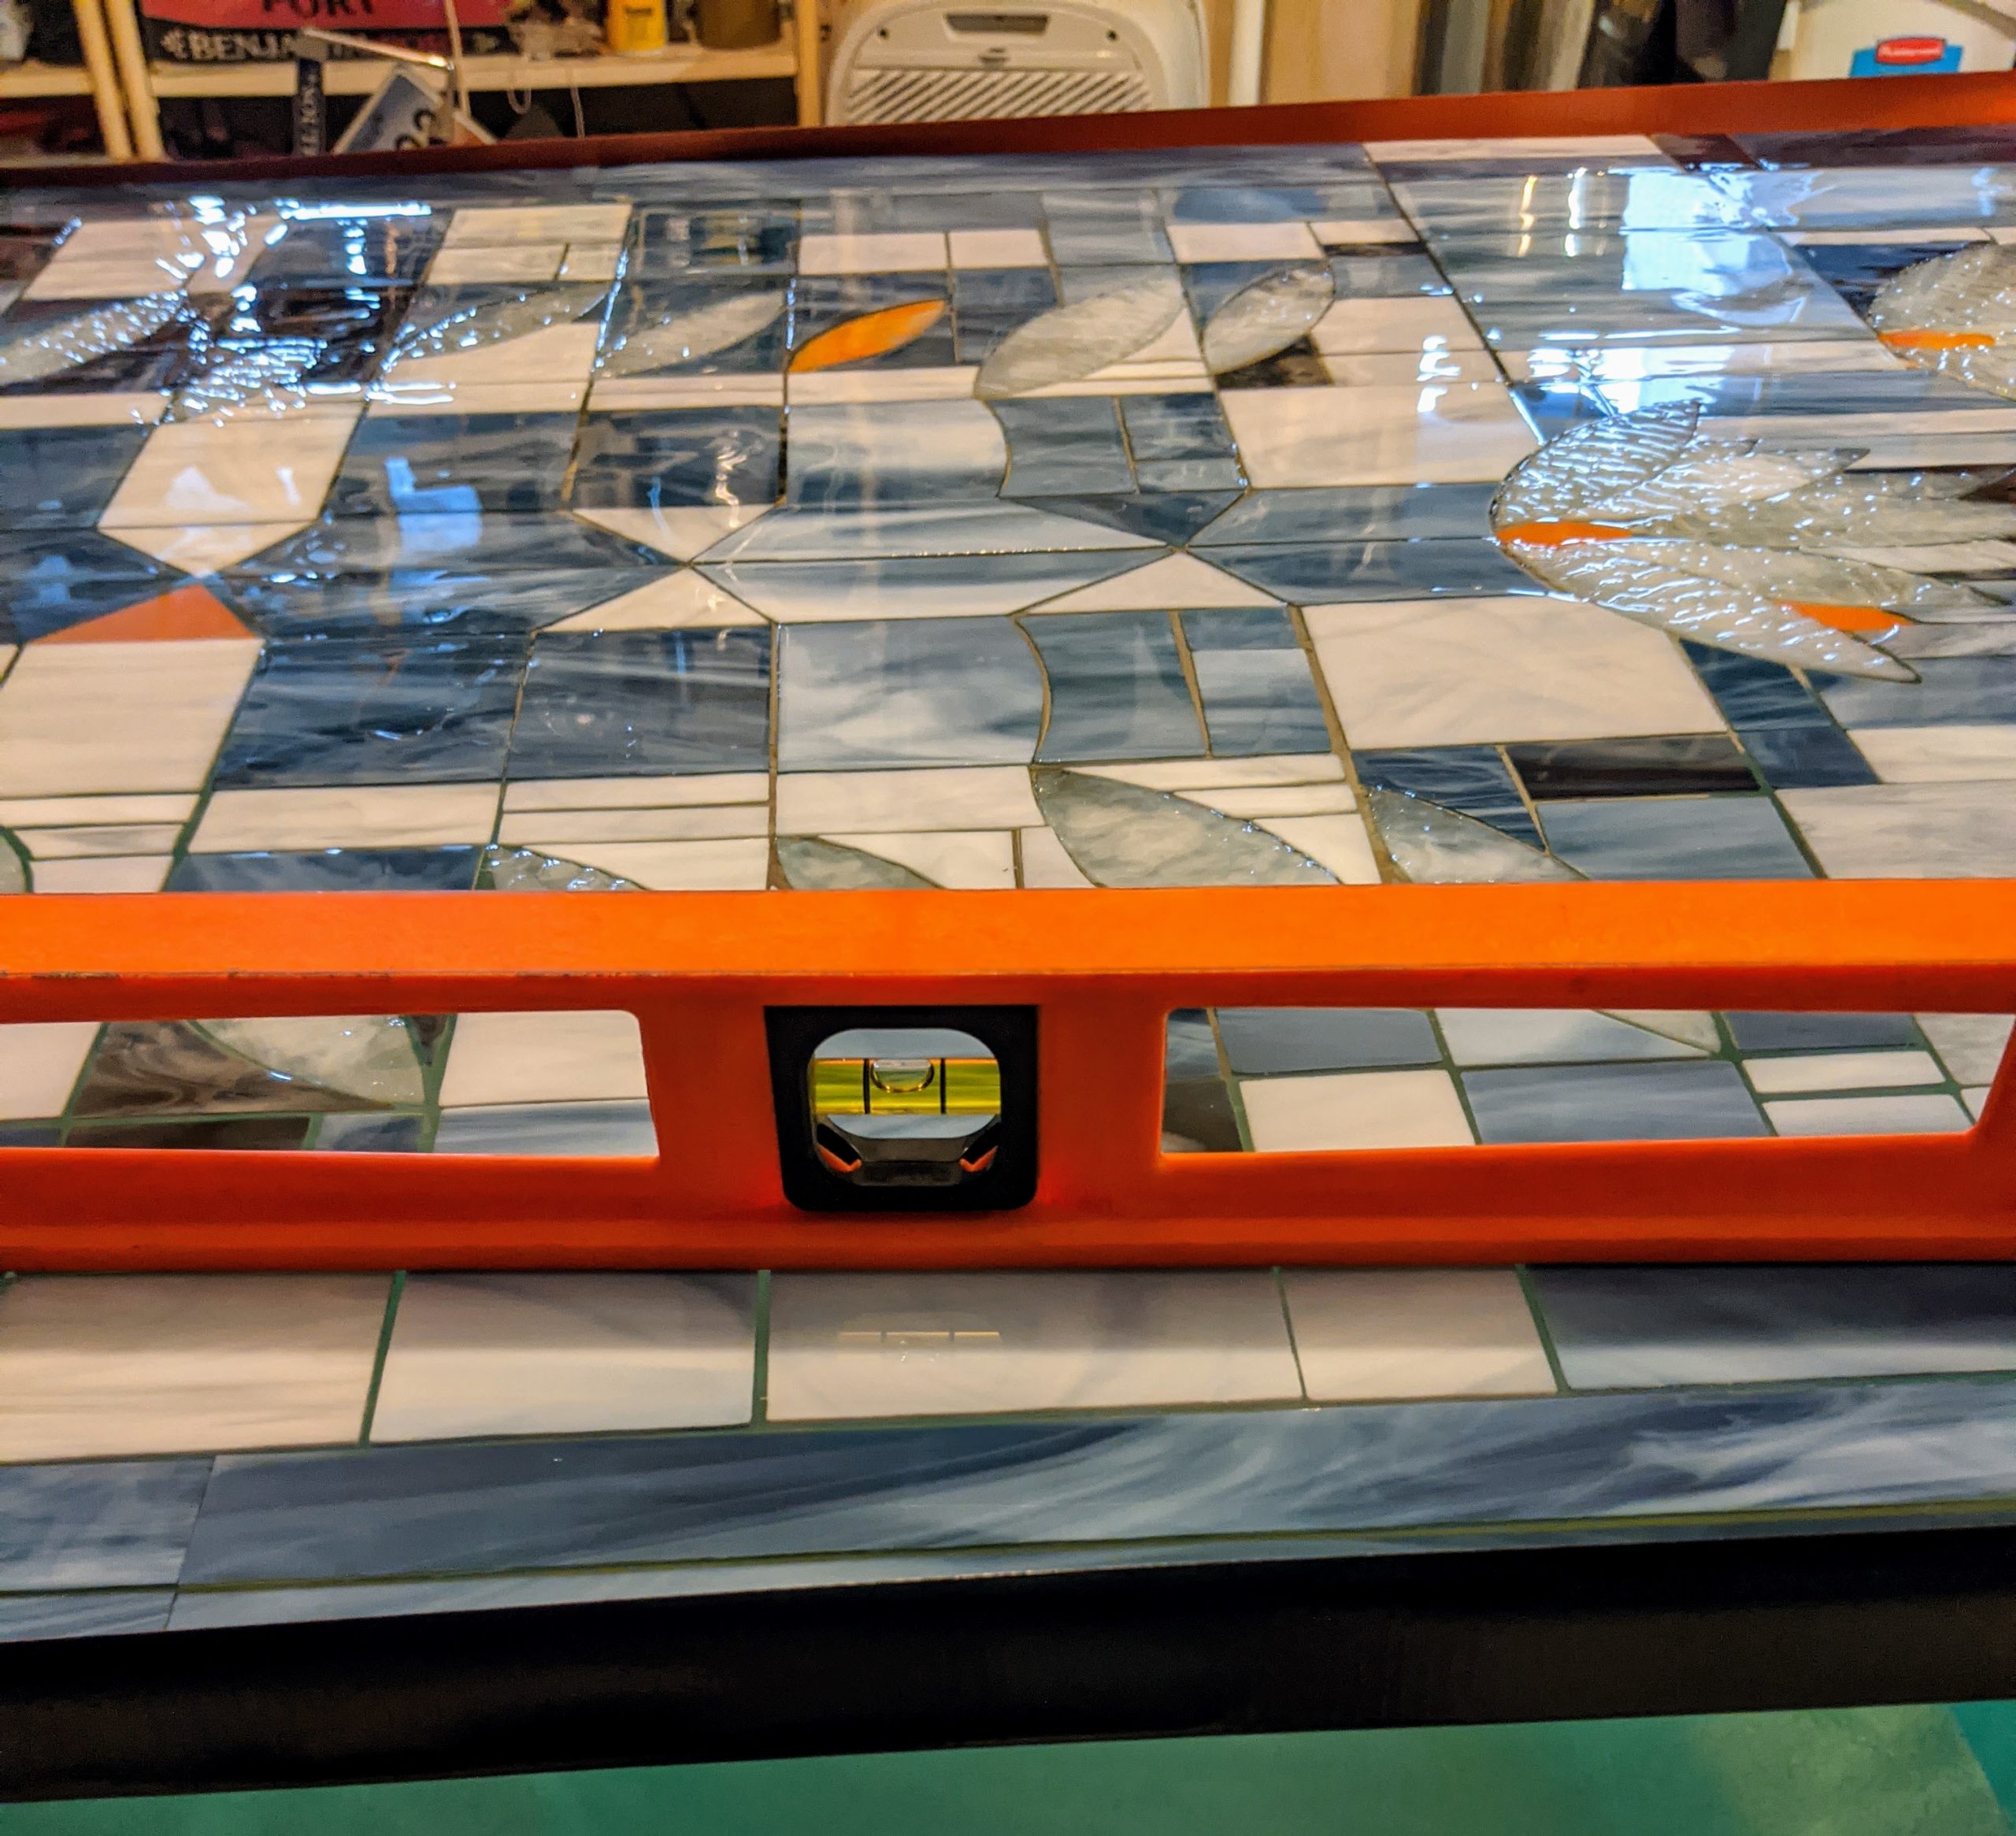
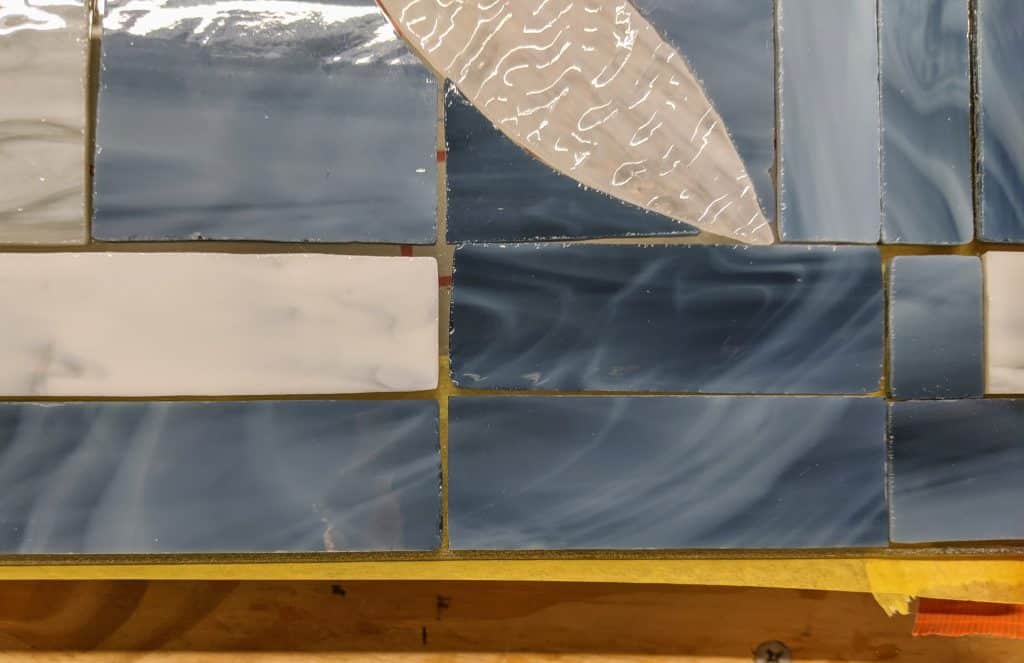
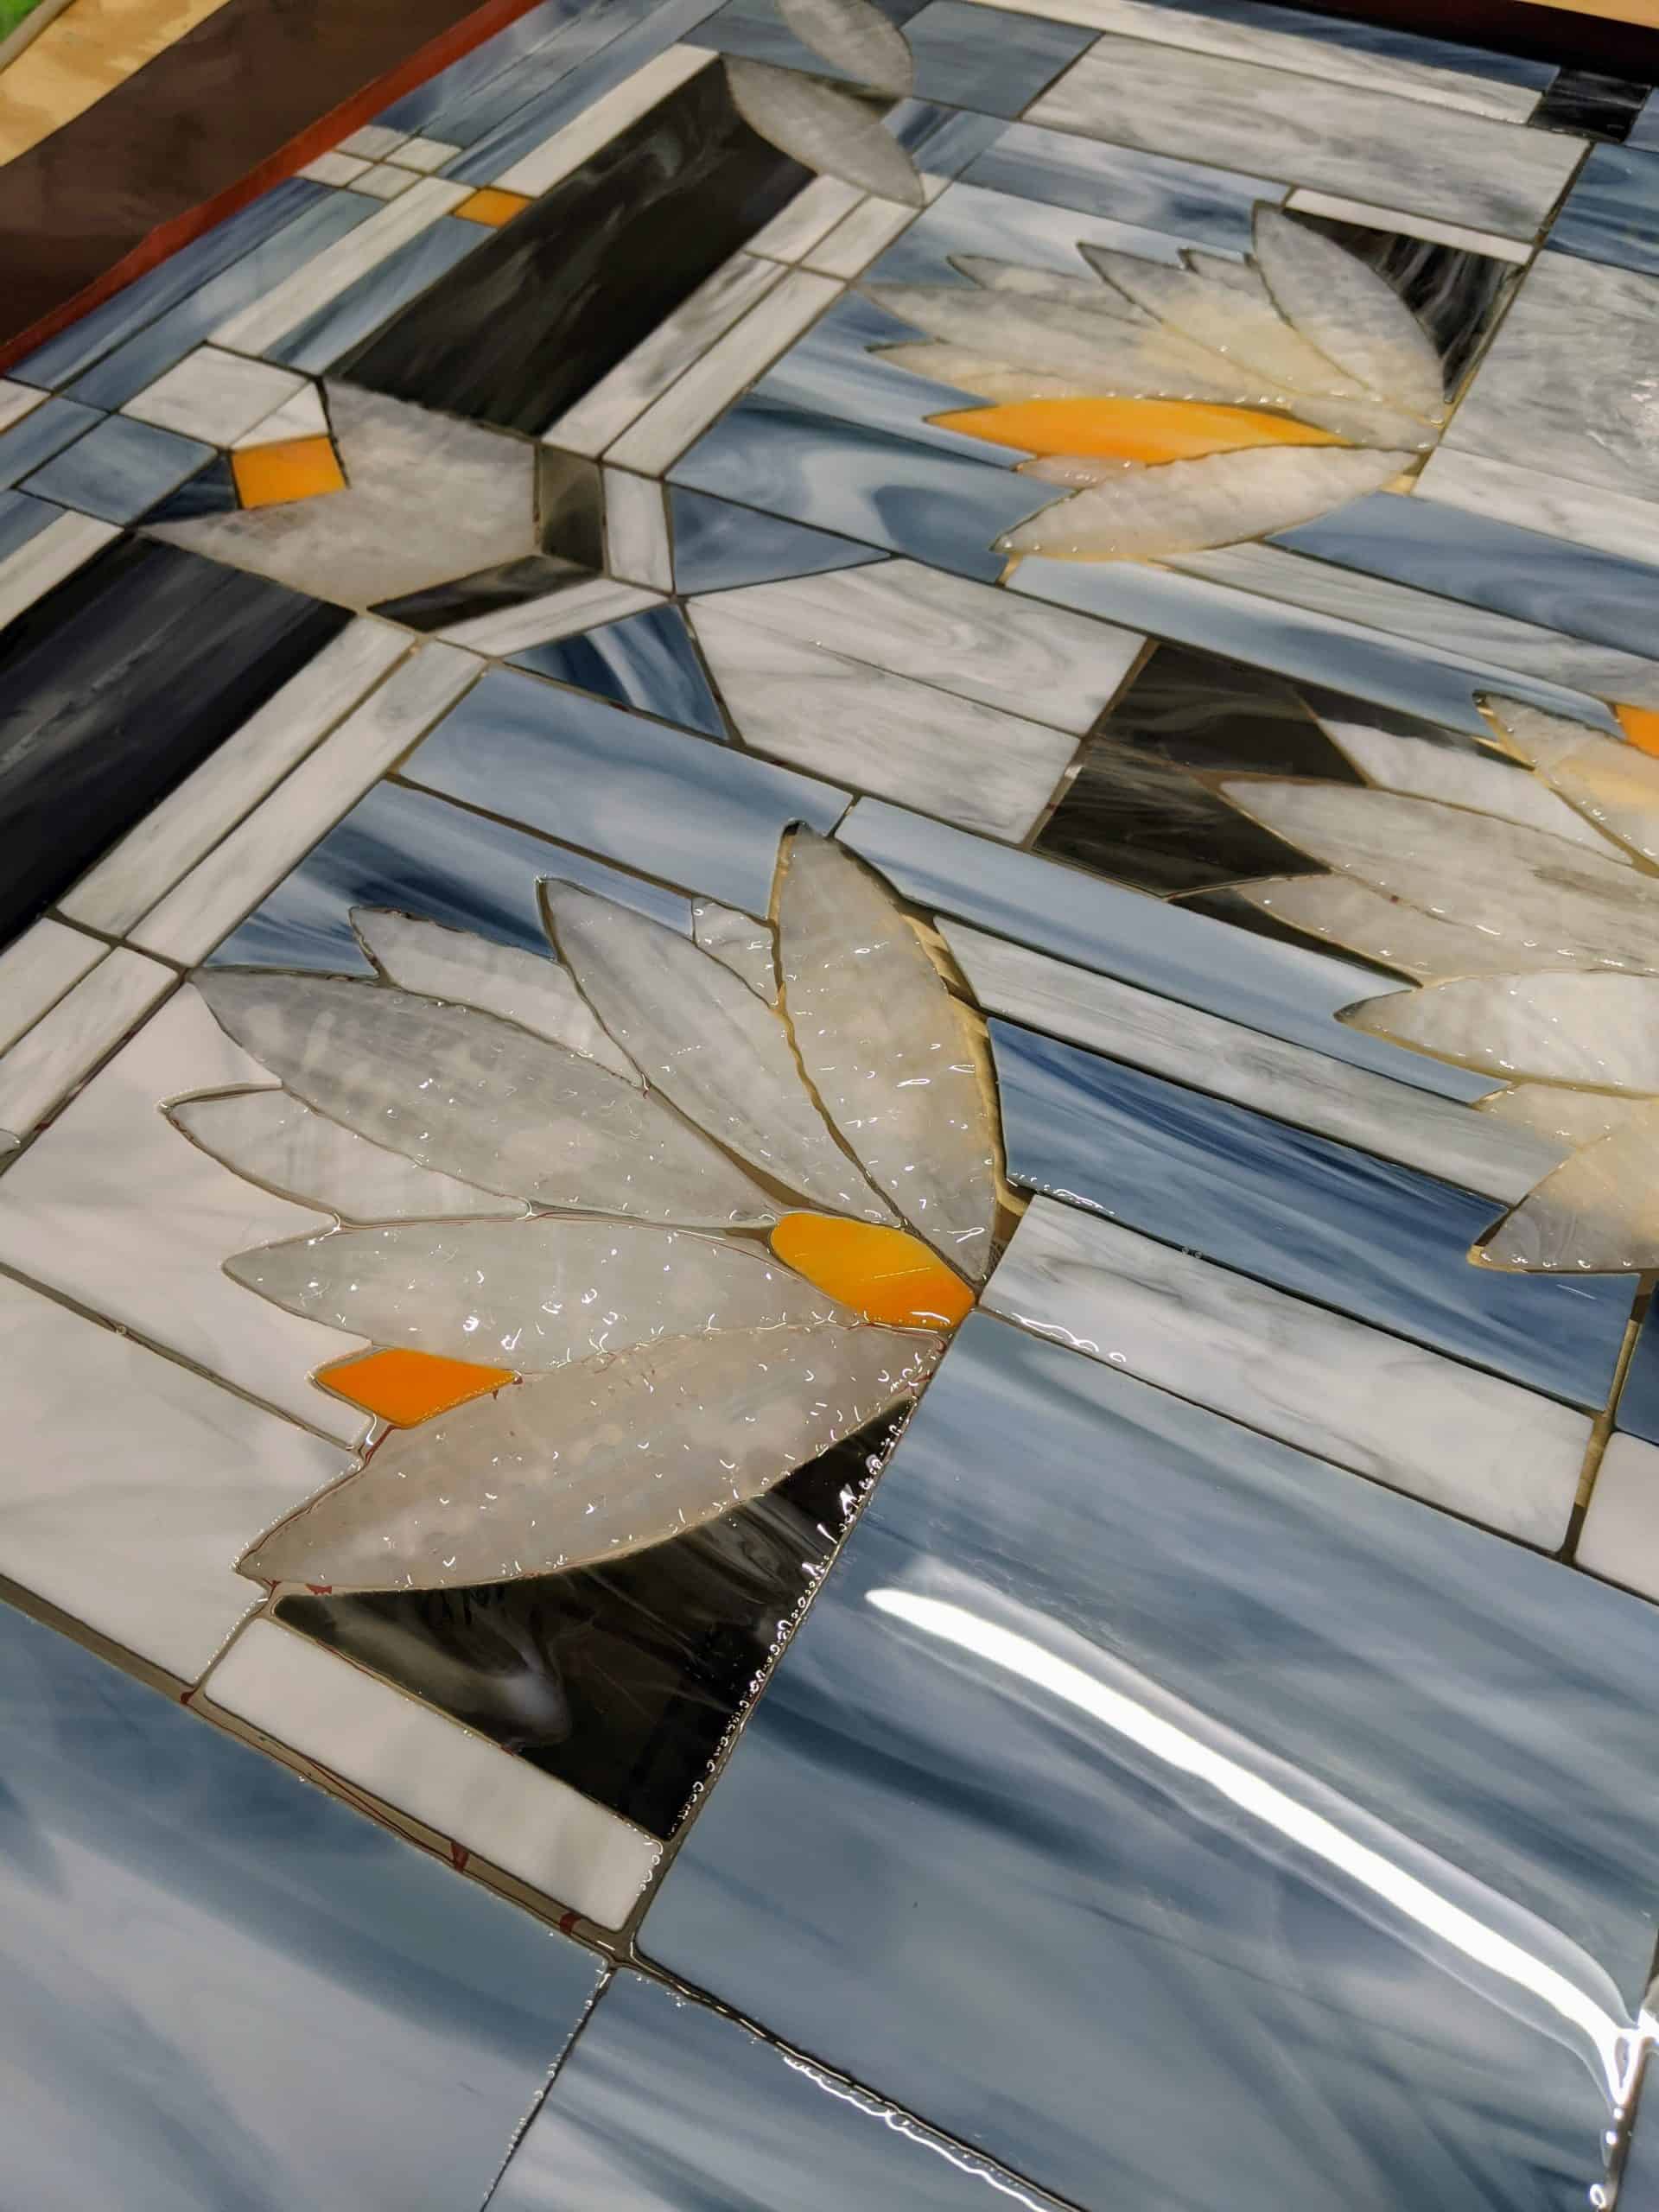
This afternoon I added a second layer of resin to the panel. Grr. It looks great overall, but the devil is in the details for me. The second layer had some issues. One issue was where the resin didn’t lay invisibly over the first layer. I tried to minimize that by blowing resin into the edges of the glass pieces. However, as bubbles formed, I tried to remove them with the heat gun. One spot in particular “lumped up” when I was doing this. I can repair it by filing down the lumpy parts and pouring a new layer over everything, but one goal was to preserve the texture of the glass I used for the petals of the lilies. If I pour another layer, the texture will be lost.
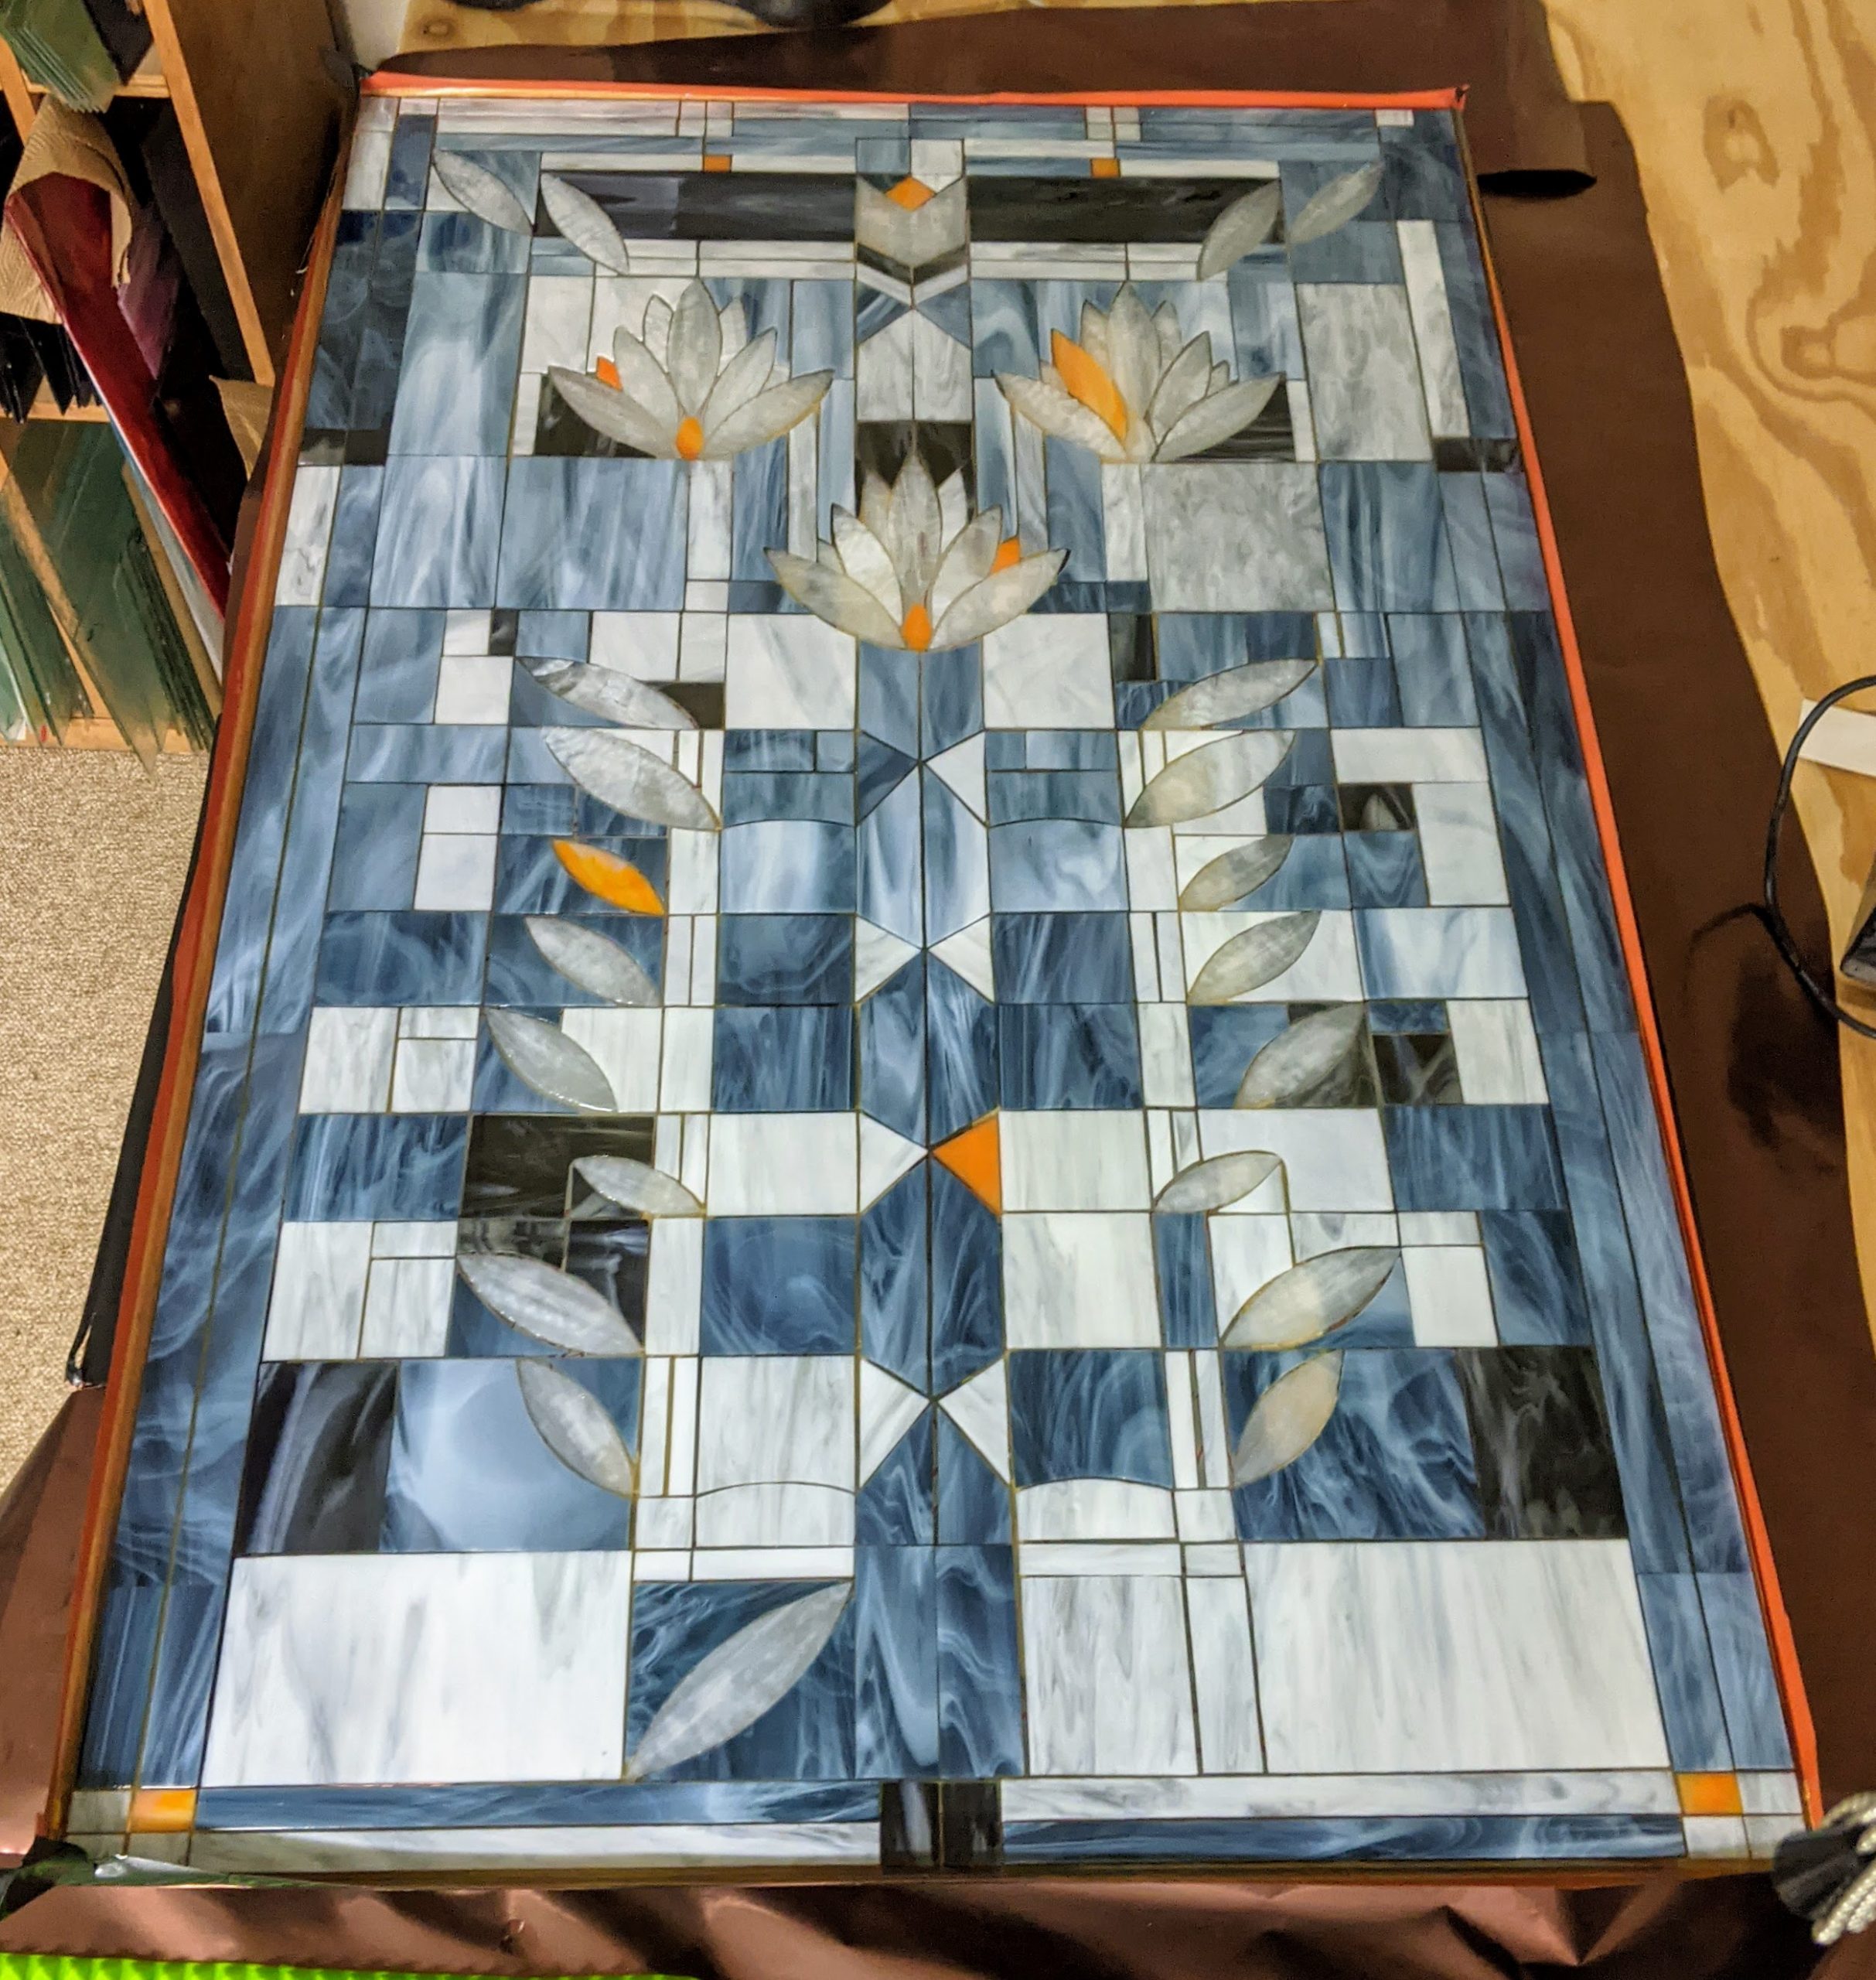
Two layers of resin
You can’t see it in the photos, but we’ll make a decision after everything cures.
Now that I have verified that my resin is OK, I prepared to pour the first layer of resin on the large Frank Lloyd Wright stained glass window project I’ve been working on since early August. I used some boards to elevate the window off of the table, then taped around the edge using a layer of painter’s tape and a second outer layer of duct tape.
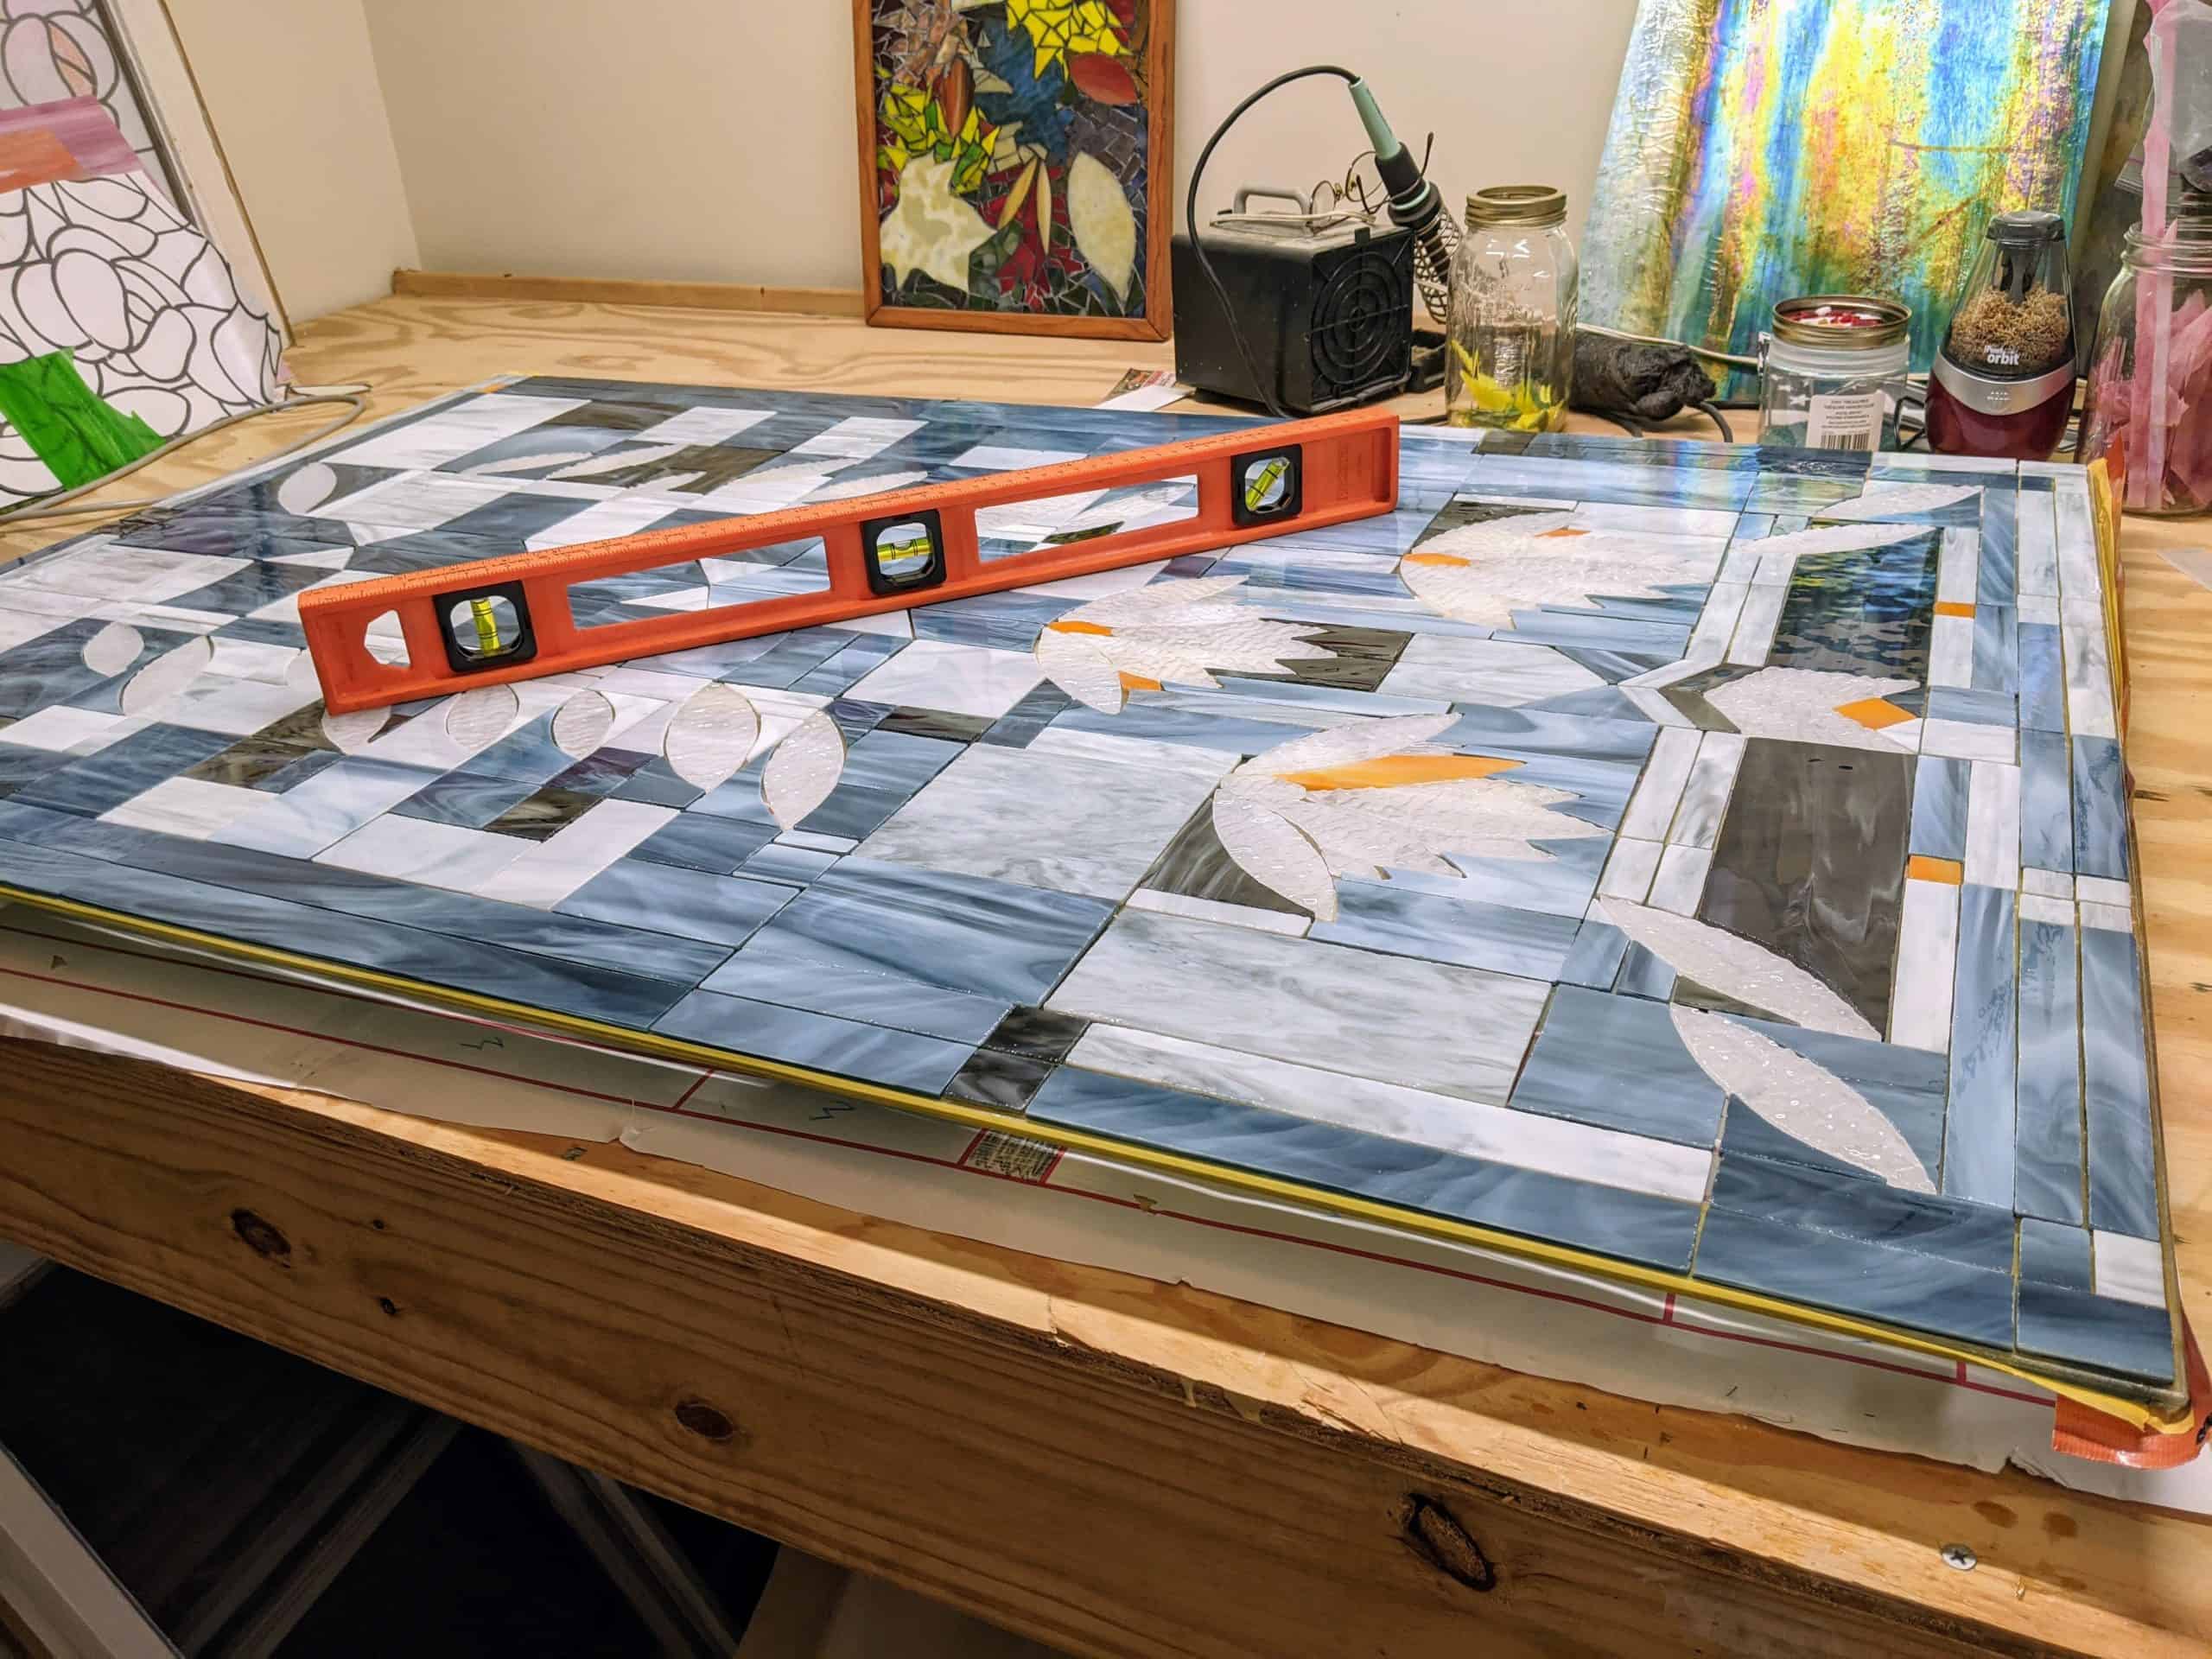
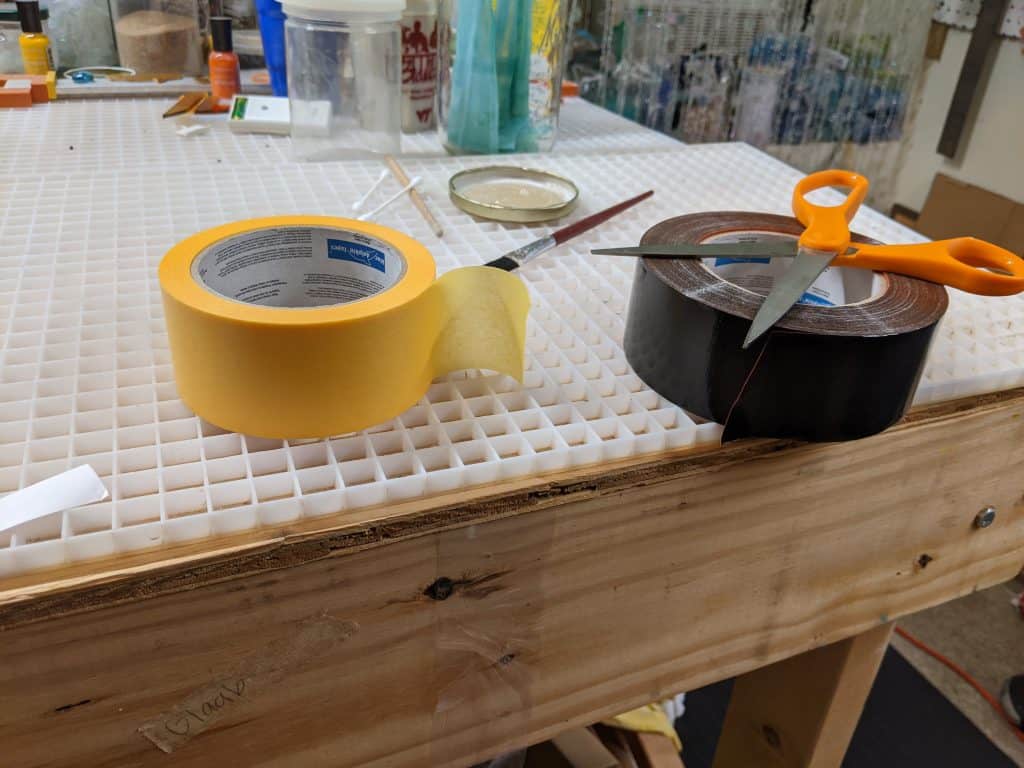
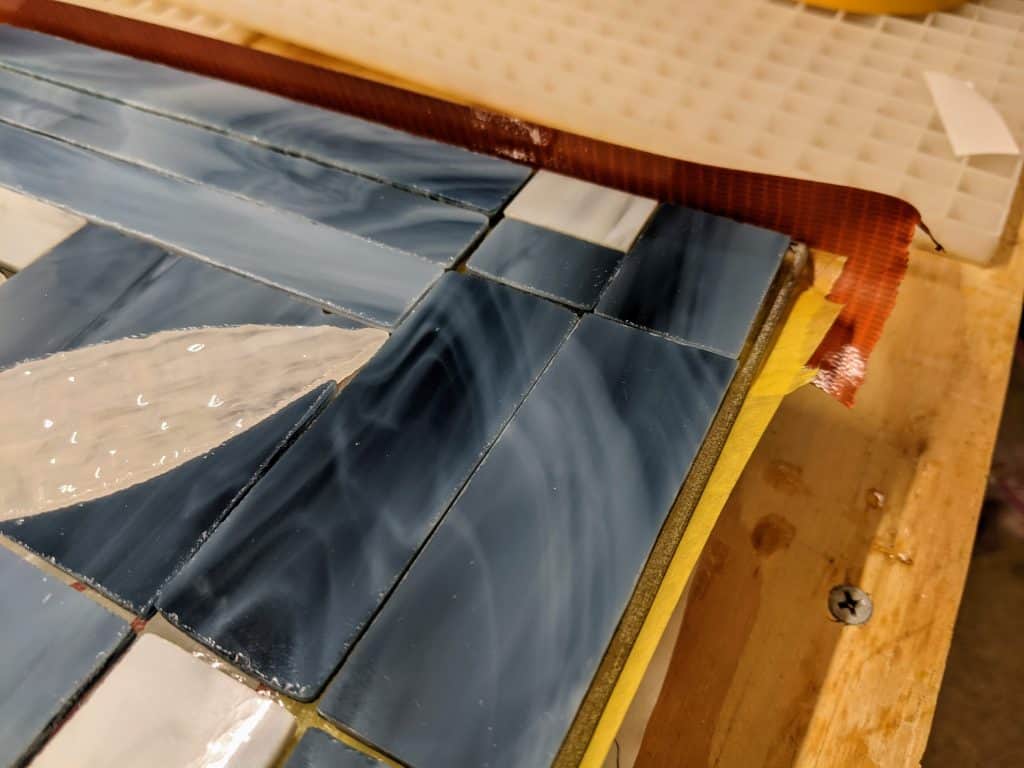
My hope is that the painters tape will come off easily, while the duct tape will create a strong edge for the resin.
Once all the tape was in place and secure, I mixed 16 ounces of resin and poured it over the panel. I then used a sponge on a stick to distribute the resin as much as I could over the panel. I will have to repeat this with another layer later, as more resin will be needed to fill in all the gaps.
I then used my heat gun to further distribute the resin and remove bubbles that popped up while the resin settled. I spent about an hour and a half doing this.
Now I just need to wait overnight for the first layer to cure. After that, I will repeat with a second and hopefully final layer to fill in the remaining crevices.
Finished securing all the pieces in place with mosaic adhesive. A couple got bumped and aren’t exactly where I’d like them to be, but hopefully not too noticeable. I had to redo a few pieces for various reasons (one piece of glass was just not flat enough, dropped one piece and it broke, etc). Thanks to the hubs for turning the piece around on my work table so I could reach the far side! Now to let the adhesive cure for a week or so. That gives me time to figure out how to elevate the whole piece off of the table surface when I pour the resin.